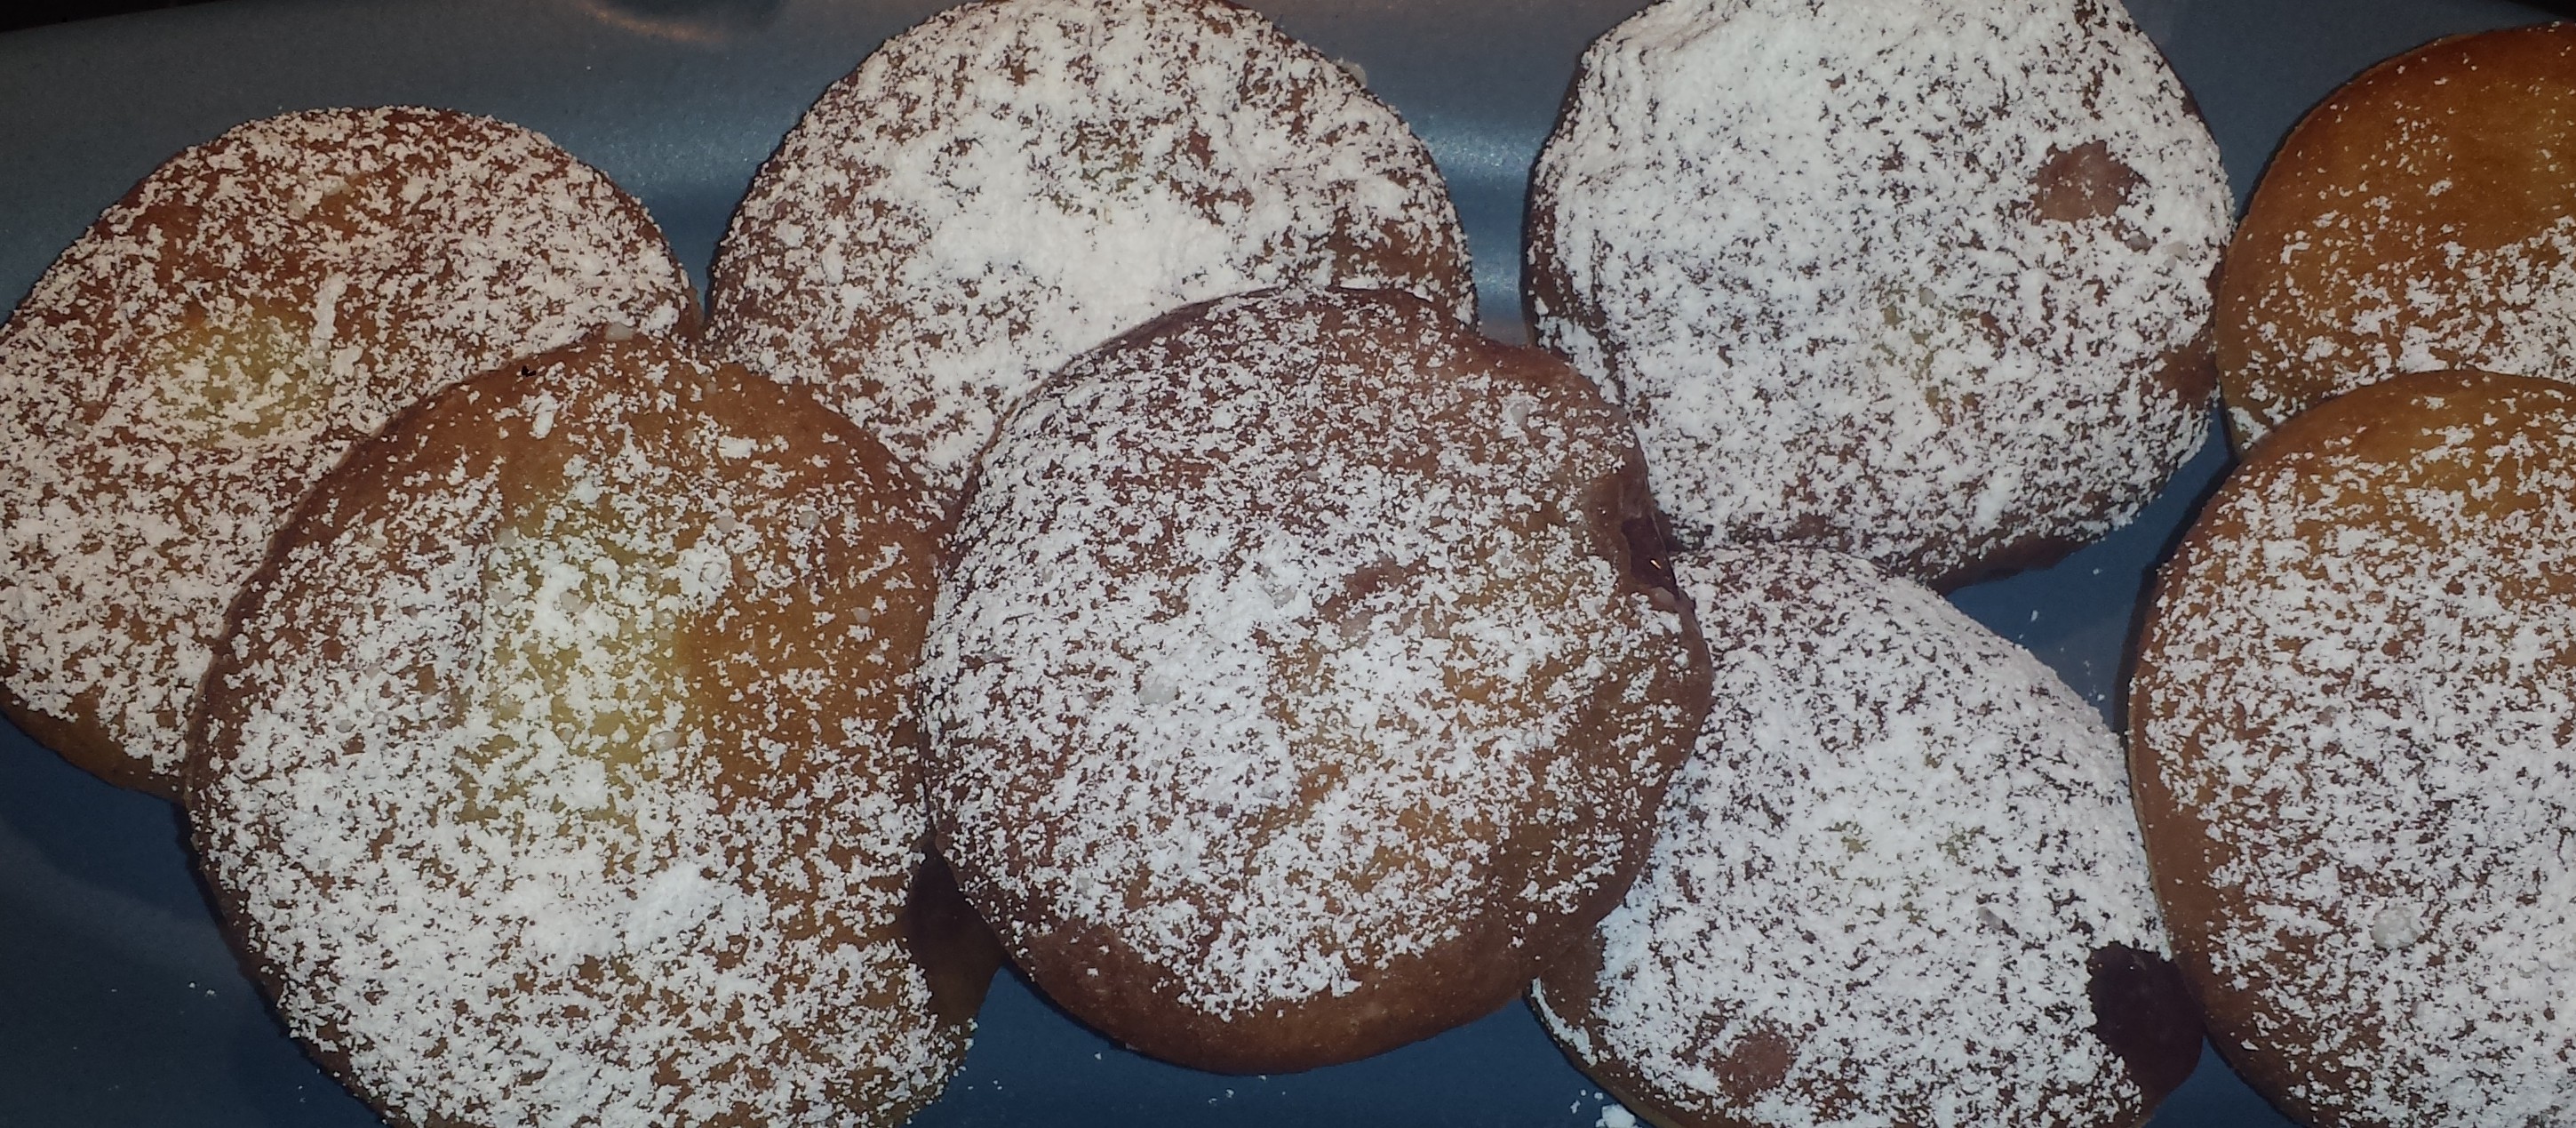
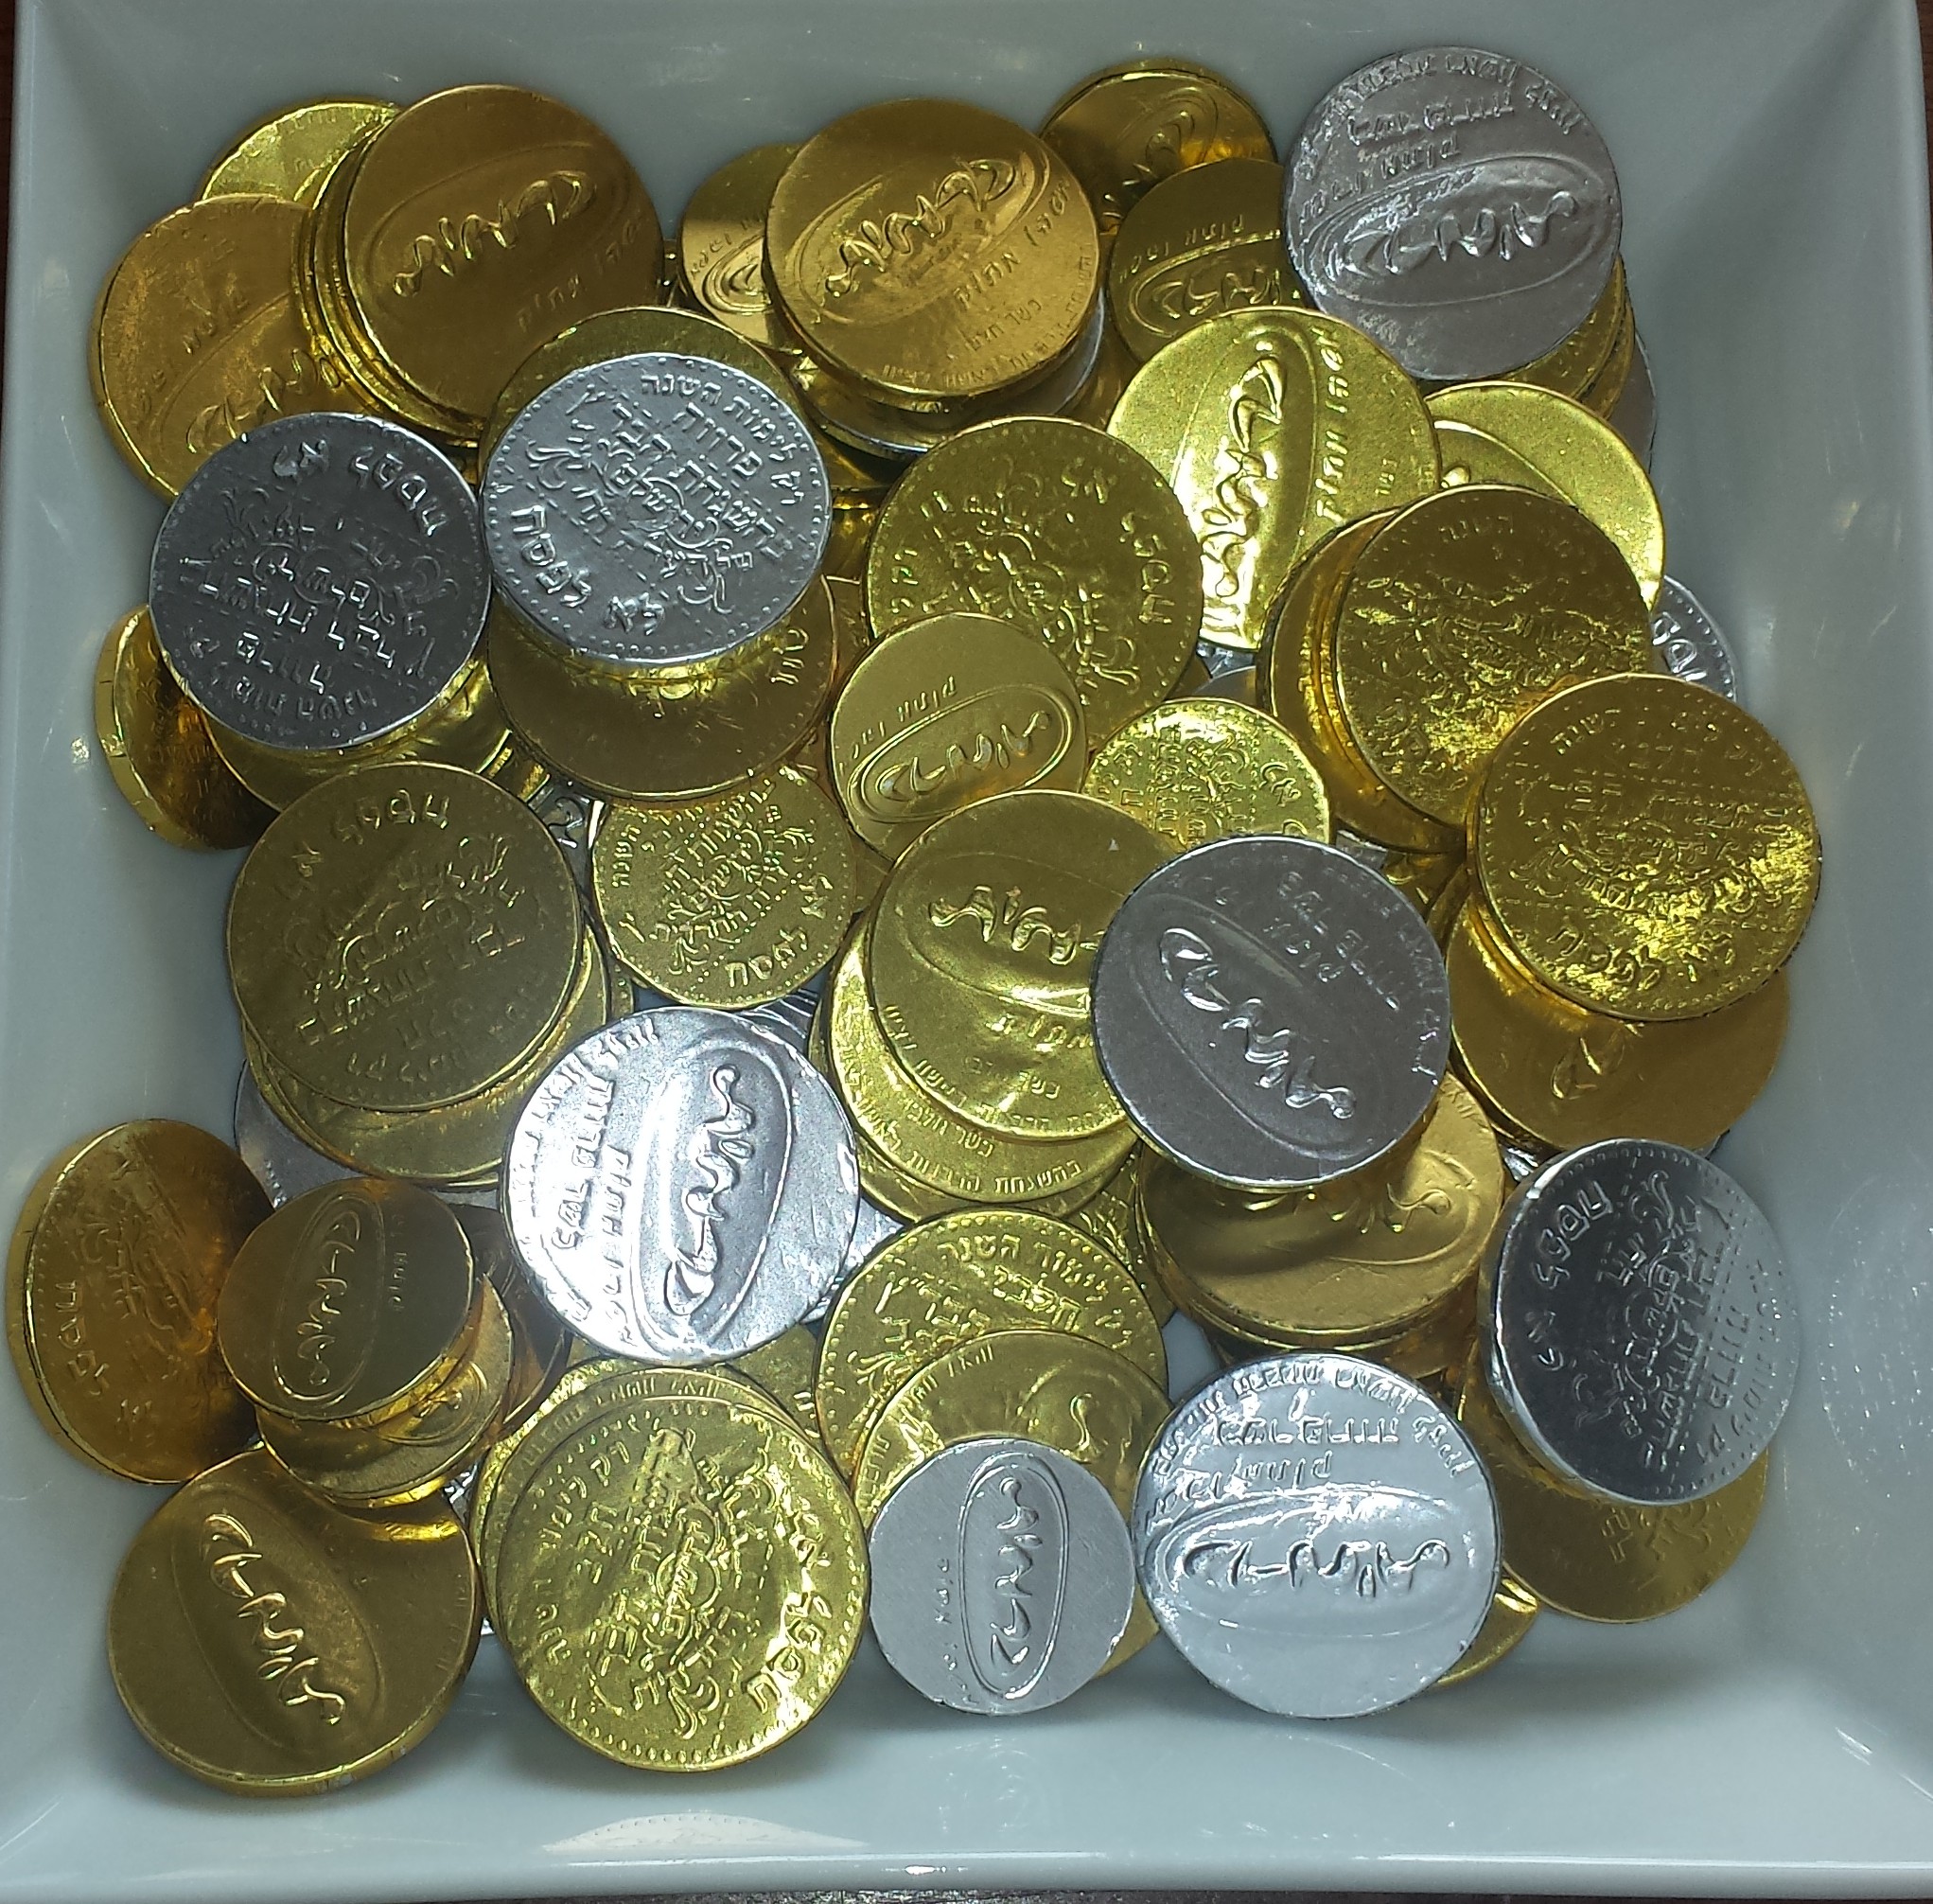
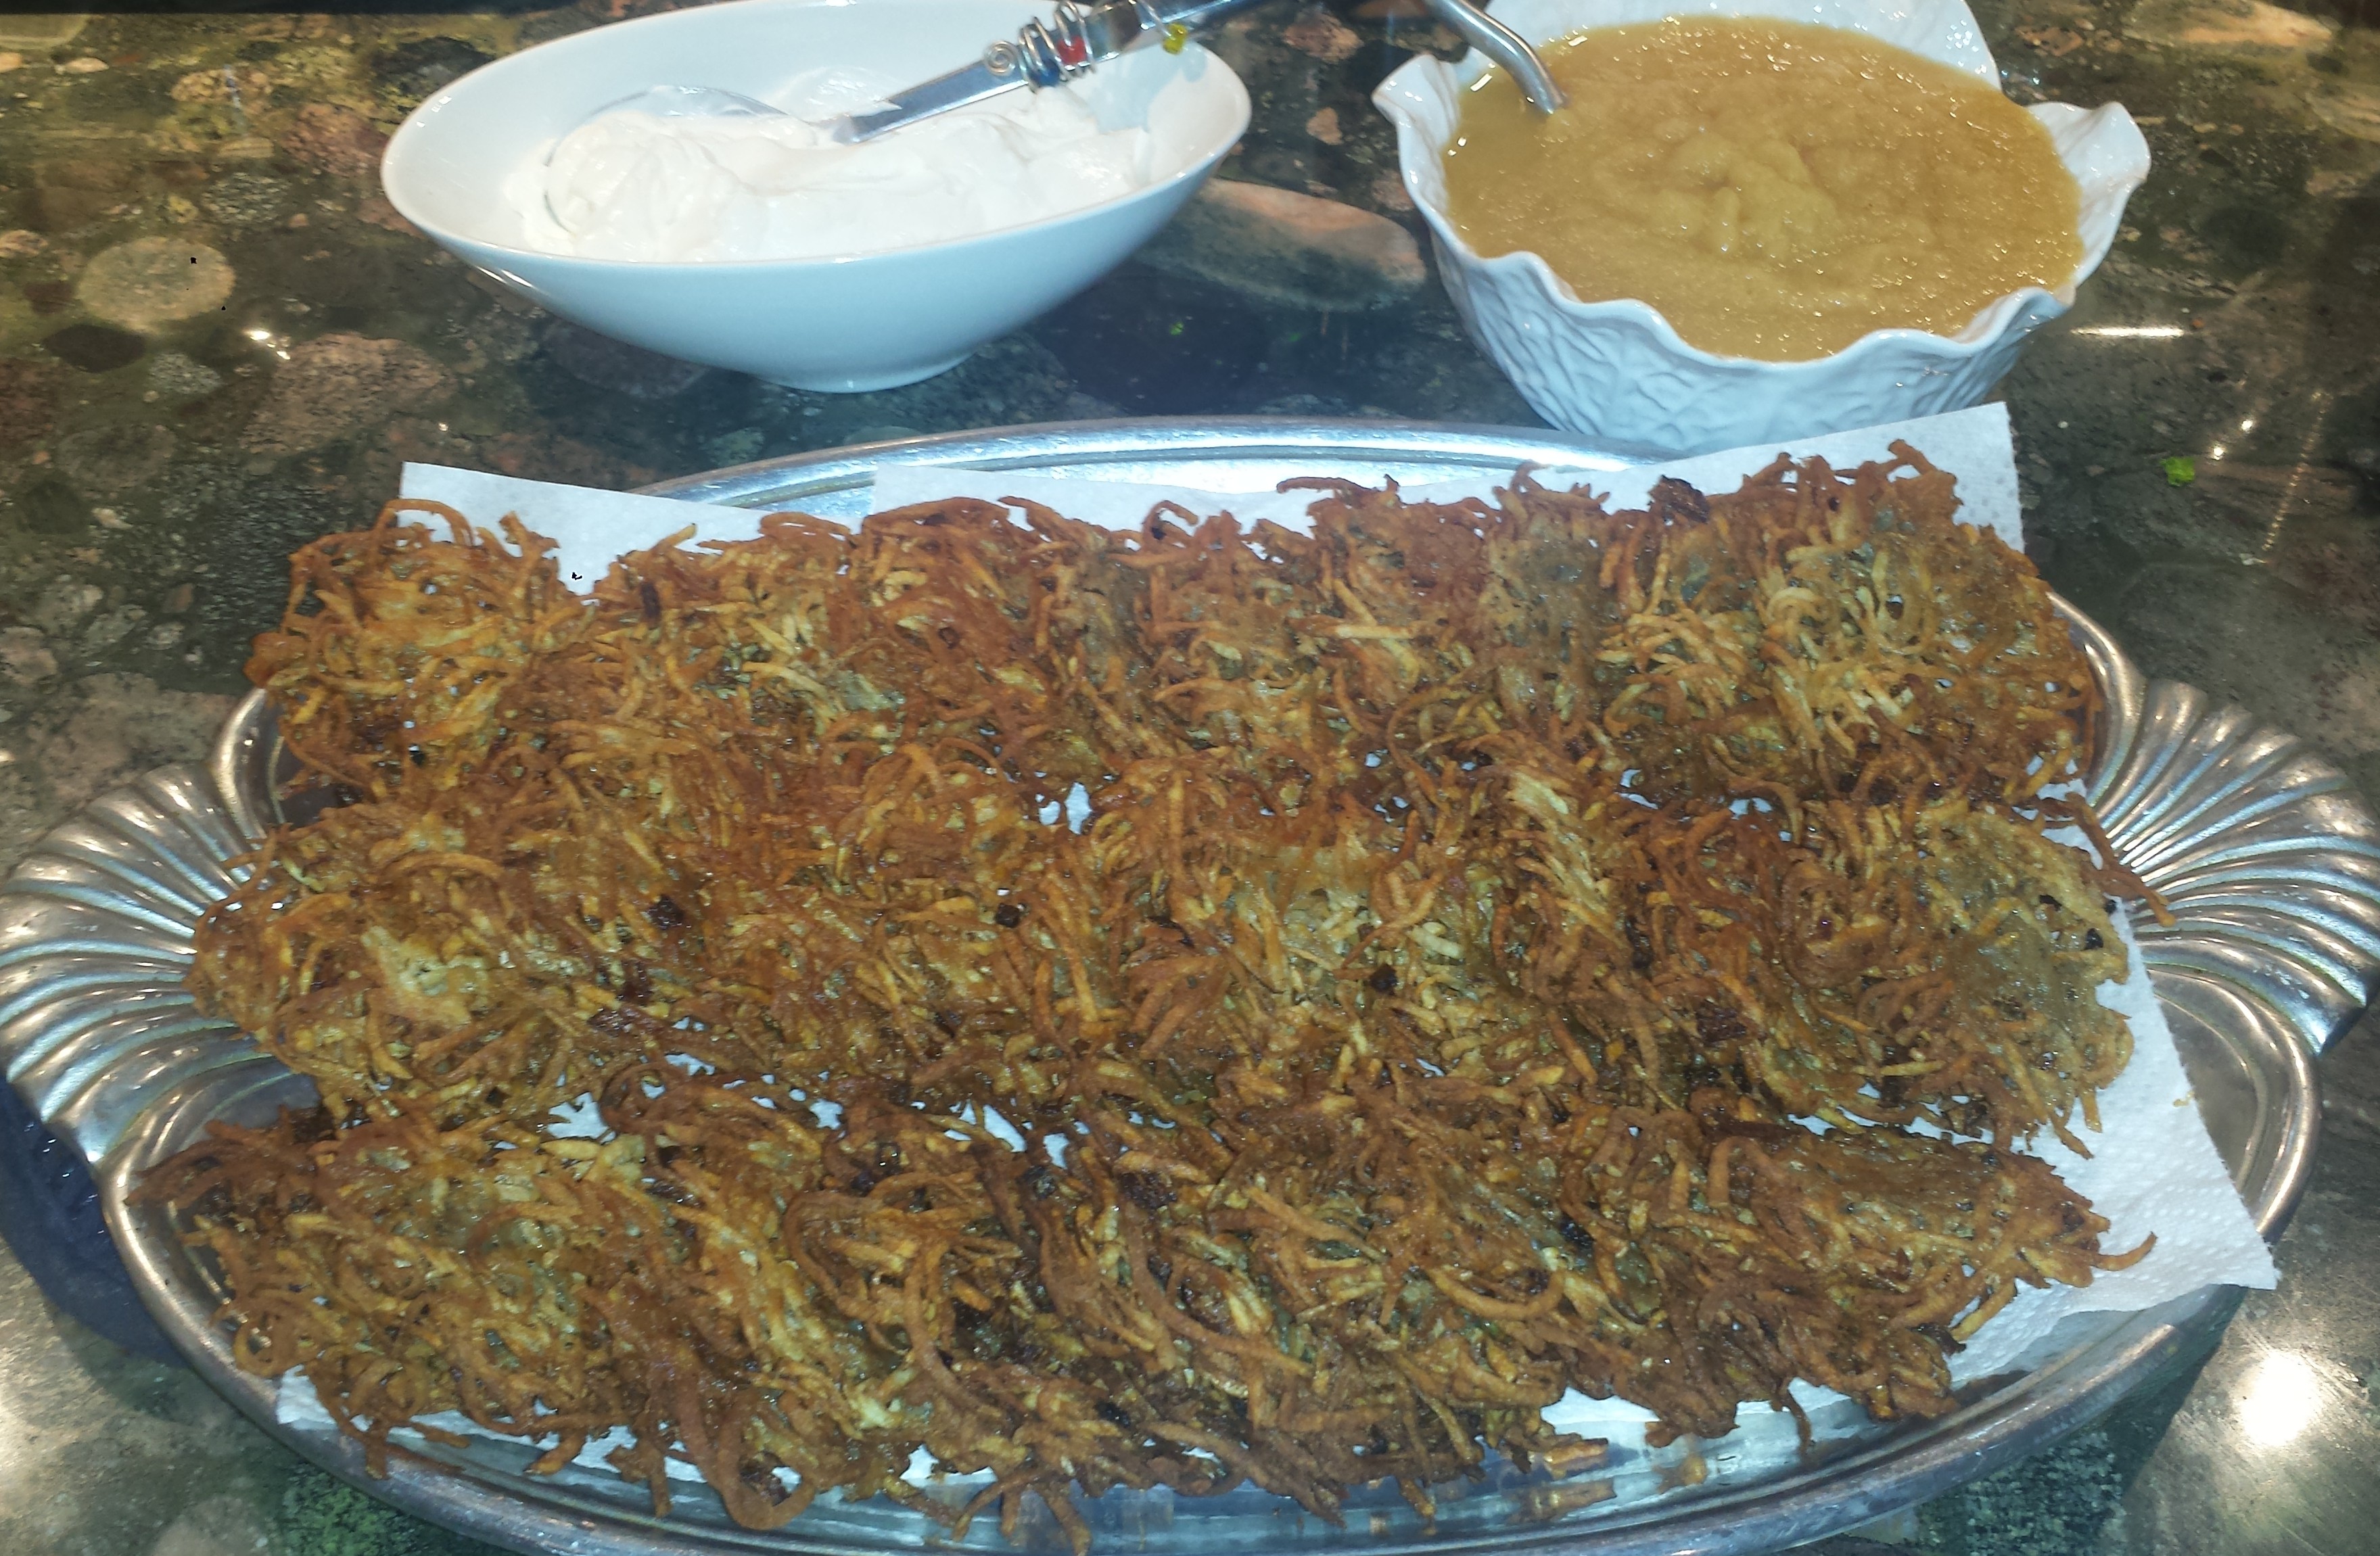
OMG! I see why sufganiyot is all the rage in Israel during Hanukkah! Fried dough still warm from the pan, filled with yummy jam and sprinkled with powdered sugar, is pretty hard to beat. I tend to stay away from fried foods, however, on Hanukkah when it’s traditional to eat foods fried in oil, I make an exception. I recently posted a recipe for yummy Potato Latkes, which are a classic Hanukkah treat, in case you prefer savory over sweet. I made sufganiyot quite a few years ago, following a recipe I got from Temple Emanu-El when Eric and I were taking a Mommy and Me Tot Shabbat class. We had a lot of fun making doughnuts and I remember it being a fun kid activity (the jelly and powdered sugar part anyway). That was quite a while ago, since Eric is now turning 26! I know the recipe is around here somewhere and I will probably find it when I’m no longer looking for it, such is the way of misplaced objects which seem to turn up right in front of your nose. I’m fully expecting to stumble upon this recipe within the next couple of days.

Since I couldn’t find my recipe, I turned to “The Mile End Cookbook – Redefining Jewish Comfort Food from Hash to Hamantaschen” given to me by my friend, Karin, for my birthday. It’s a great cookbook filled with recipes for all kinds of dishes I have heard of (mostly from my Mother in Law) but never knew what they were, like Kasha Varnishkes and Kreplach. By the way, for those left wondering, they are a noodle/grain dish and meat dumplings, respectively. “The Mile End Cookbook” offers an easy recipe for Jelly Doughnuts, called Sufganiyot in Hebrew. These doughnuts are light and delicious but not too sweet, although that is partly determined by the type and quantity of the jelly that is used. I used a Santa Rosa Plum jam that I made last year from plums from my garden, which is a blend of sweet and tart that offsets the sugar nicely. A strawberry or grape jelly will yield a sweeter result.

TIPS: I used a bread maker set on the dough setting to make the dough but I have provided directions for both ways below. This recipe makes 2 dozen or more doughnuts. I made half and refrigerated the other half but it never rose quite well enough. I am not an expert baker though, so perhaps there are tips on saving dough that I don’t know. Unless you are making for a large crowd, I would recommend halving the recipe.

SUFGANIYOT
4 Tbsn instant yeast
1 cup lukewarm water
1/2 cup sugar
4 eggs, lightly beaten
1/4 cup unsalted butter, melted
1 tsp ground nutmeg
5 cups all-purpose flour
4 tsp kosher salt
1-2 cups vegetable oil
1/2 cup jelly
1/4 cup powdered sugar
pinch coarse salt
DIRECTIONS FOR MAKING DOUGH USING HAND METHOD:
- Add the first 6 ingredients to a large bowl and stir to combine. Add the flour and salt and stir (or mix with your hands) until the dough comes together (it will still be wet and sticky). On a well-floured surface, knead and shape the dough into a thick disk, transfer it to a bowl that’s greased with oil and let it rest in a warm, draft free area for 1 hour.
DIRECTIONS FOR MAKING DOUGH USING BREAD MAKER:
- Add the water(warmer than lukewarm but not hot), butter and eggs to the bread maker. Then add salt, flour, sugar and yeast in that order. Turn the bread maker to dough setting (which is usually about 20 minutes or so). Let dough rise another half hour but watch to make sure it doesn’t hit the lid.

FOR DOUGHNUTS:
- On a well-floured surface, flatten the dough and roll it out into a 1/4 inch thick disk (Like a really thick pizza dough).

- Line a cookie sheet with parchment paper and brush with oil.

- Using a 2 inch round cookie cutter or juice glass, cut out as many circles of dough as you can.

- Transfer circles to cookie sheet, leaving room for expansion. Collect the dough trimmings and form them into another ball, roll it out again and cut more circles. Repeat until dough is used.

- Let the dough circles rest in a warm, draft free area for 1/2 hour.

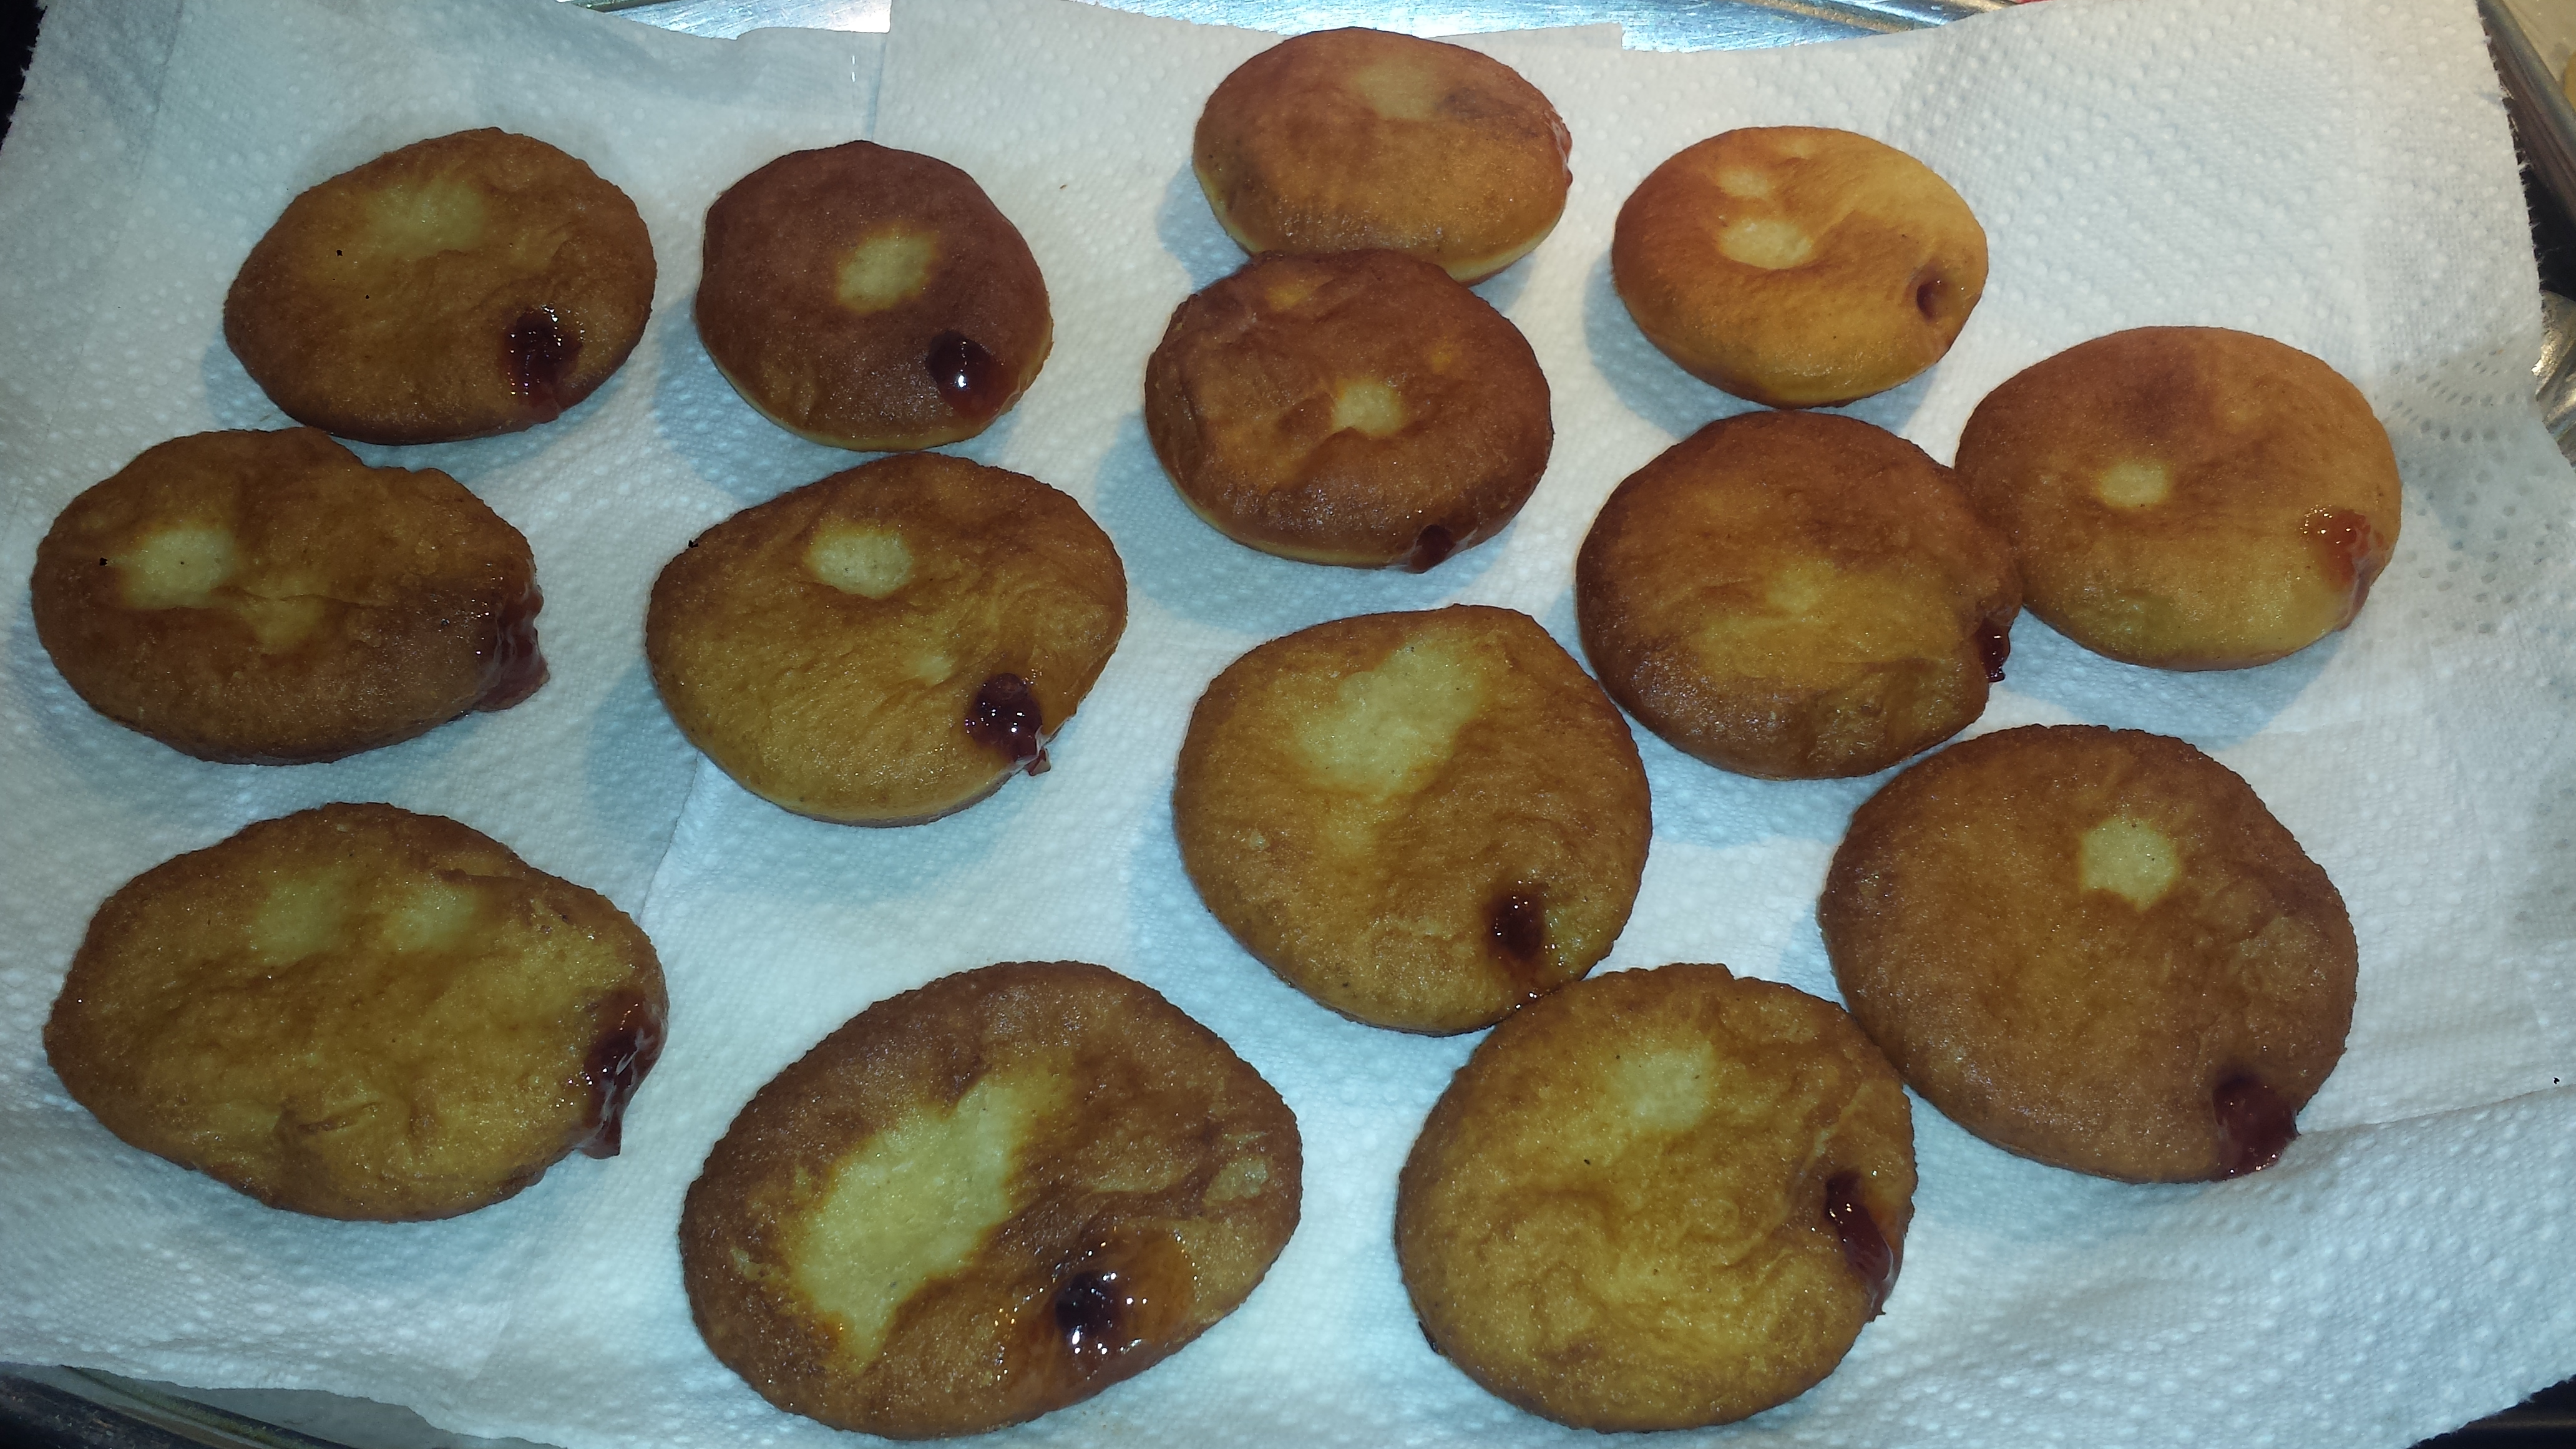
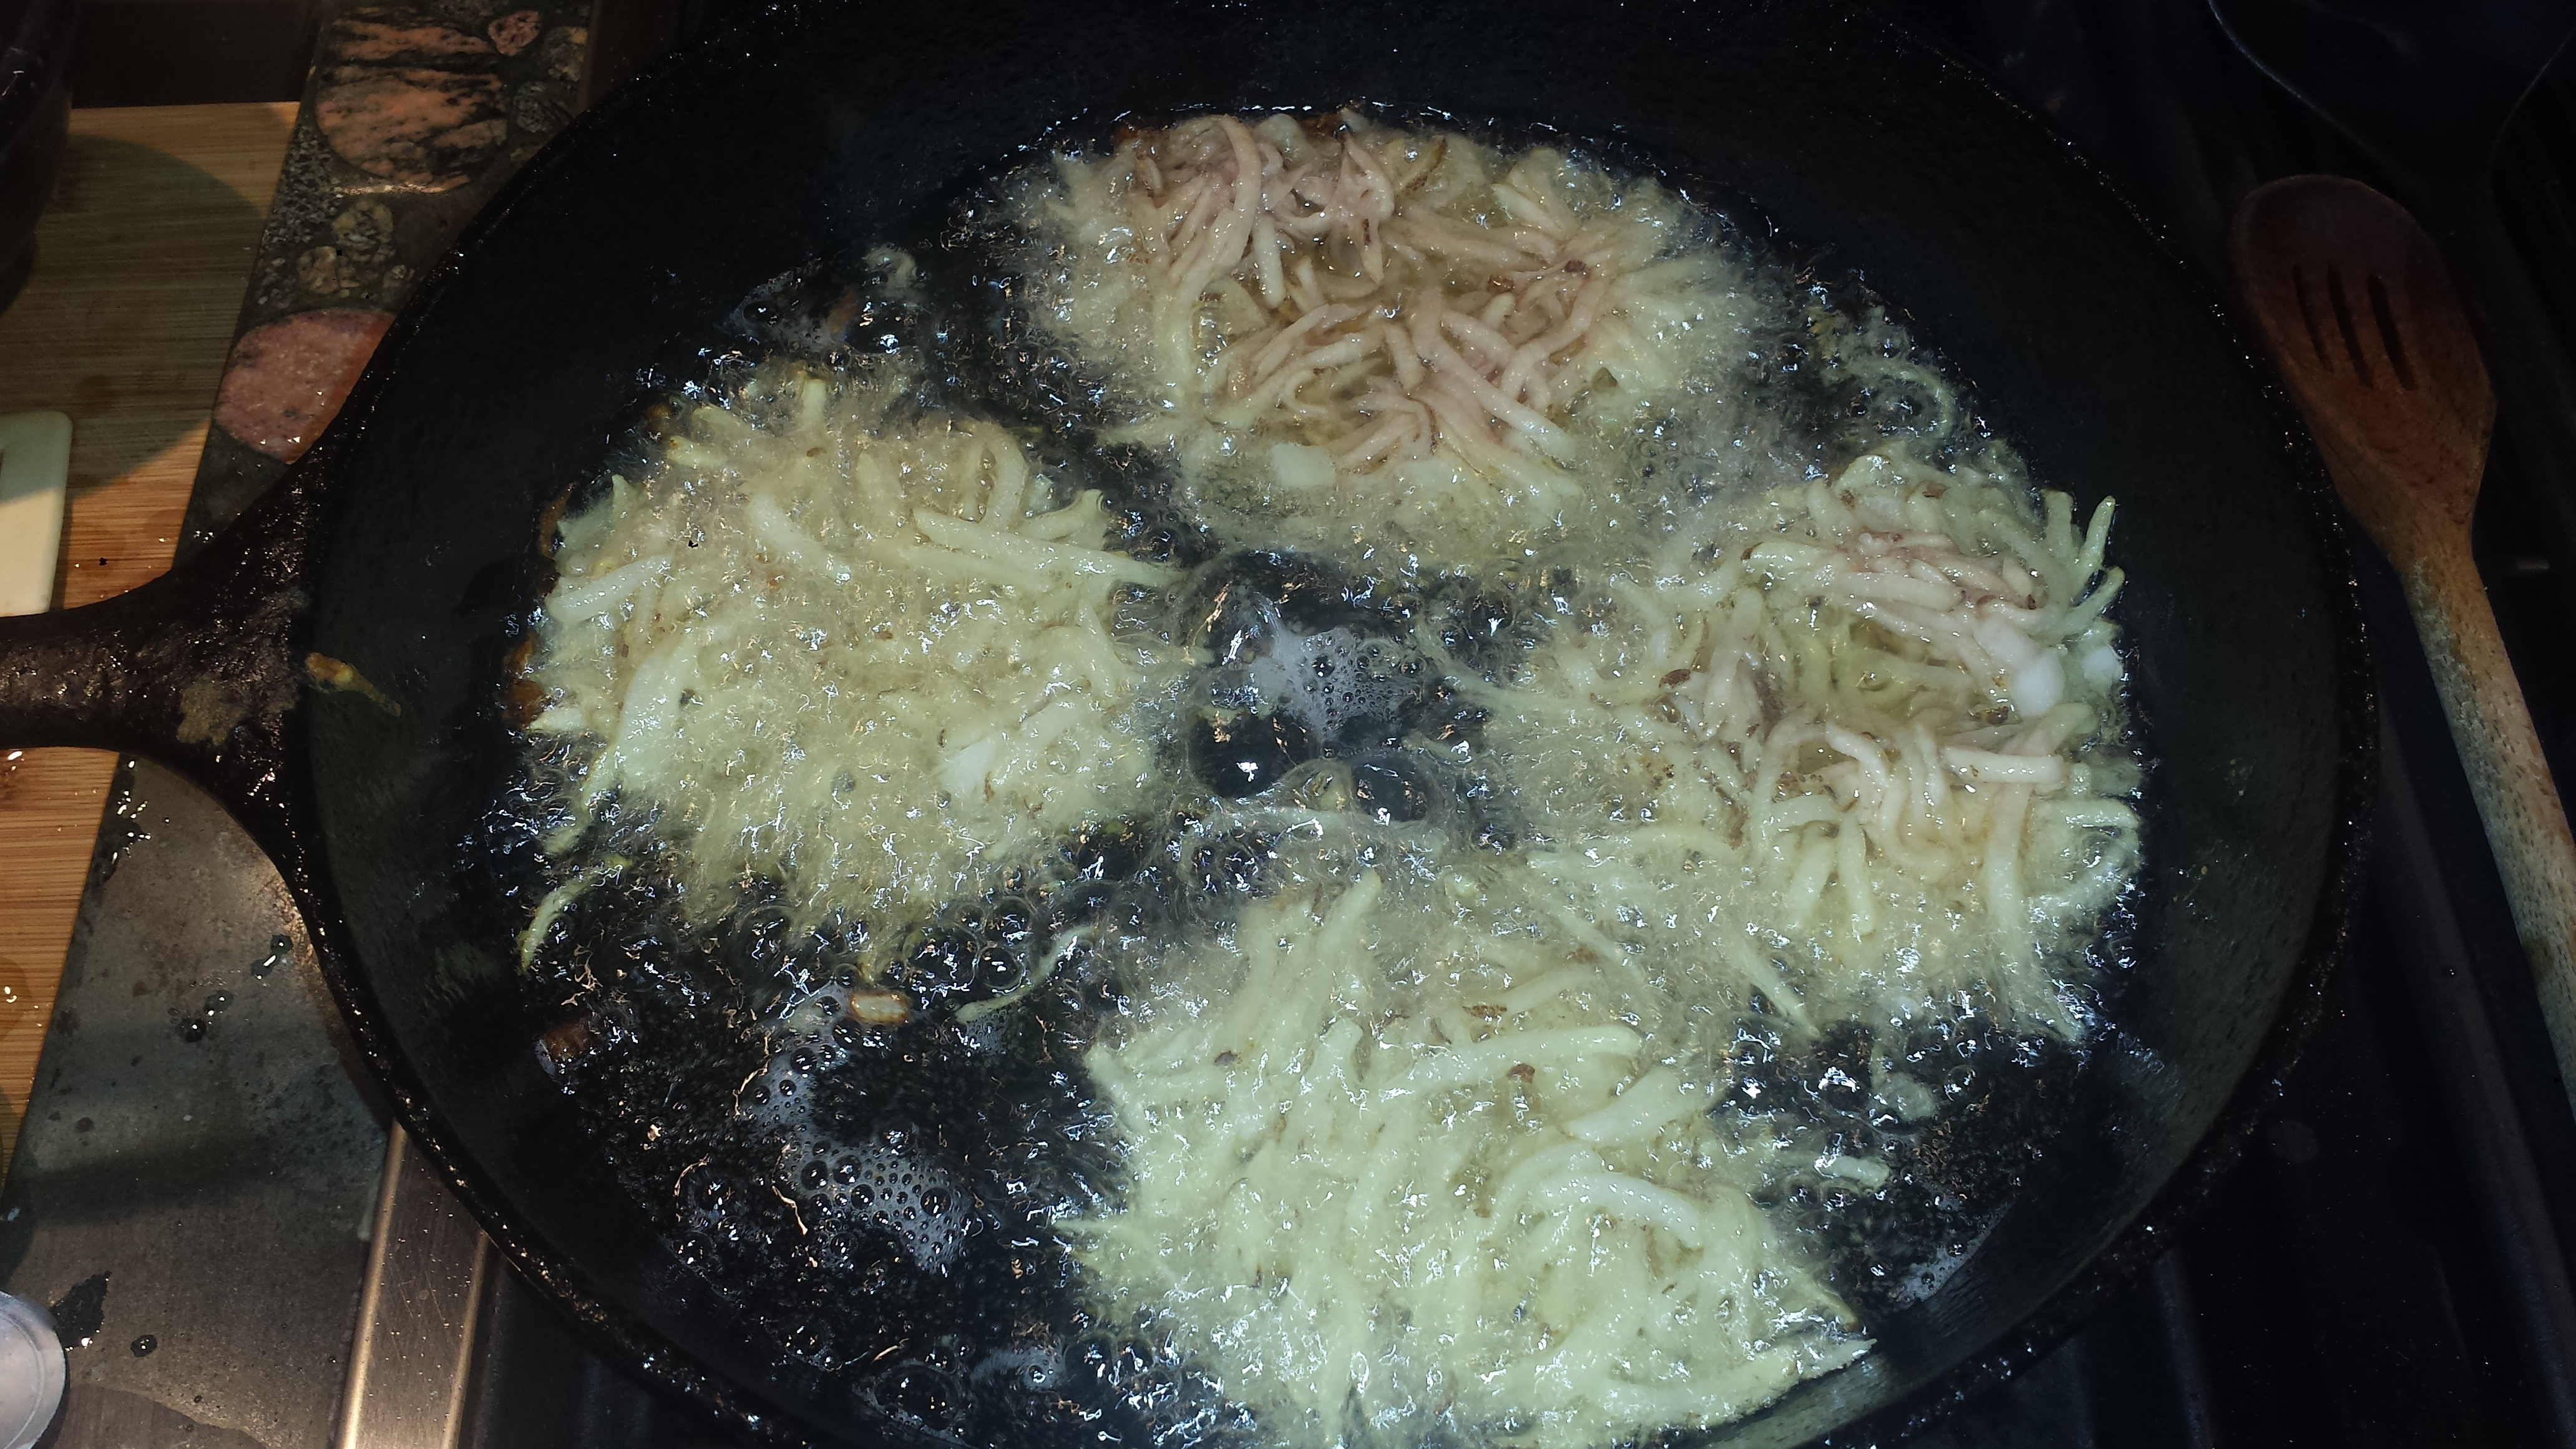
- Heat about 1 inch of oil in a high sided skillet over medium high heat until very hot but not smoking (365 to 375 degrees). Working in batches, fry the doughnuts until they’re golden brown on one side.

- Flip them over to fry the other side. (2 or 3 minutes total)

- Transfer to papertowels to drain.

- Put jelly in a pastry or Ziploc bag with a small hole cut from one corner. When cool enough to handle, insert a small knife (I used a chopstick) into the side of each doughnut and more it around to make room in the center for jelly.

- Insert the tip of the bag in the opening and pipe in as much jelly as possible. If you have a cake decorating tip you can insert that in the hole before adding the jelly to the bag for easier piping.
- Repeat with the remaining doughnuts.

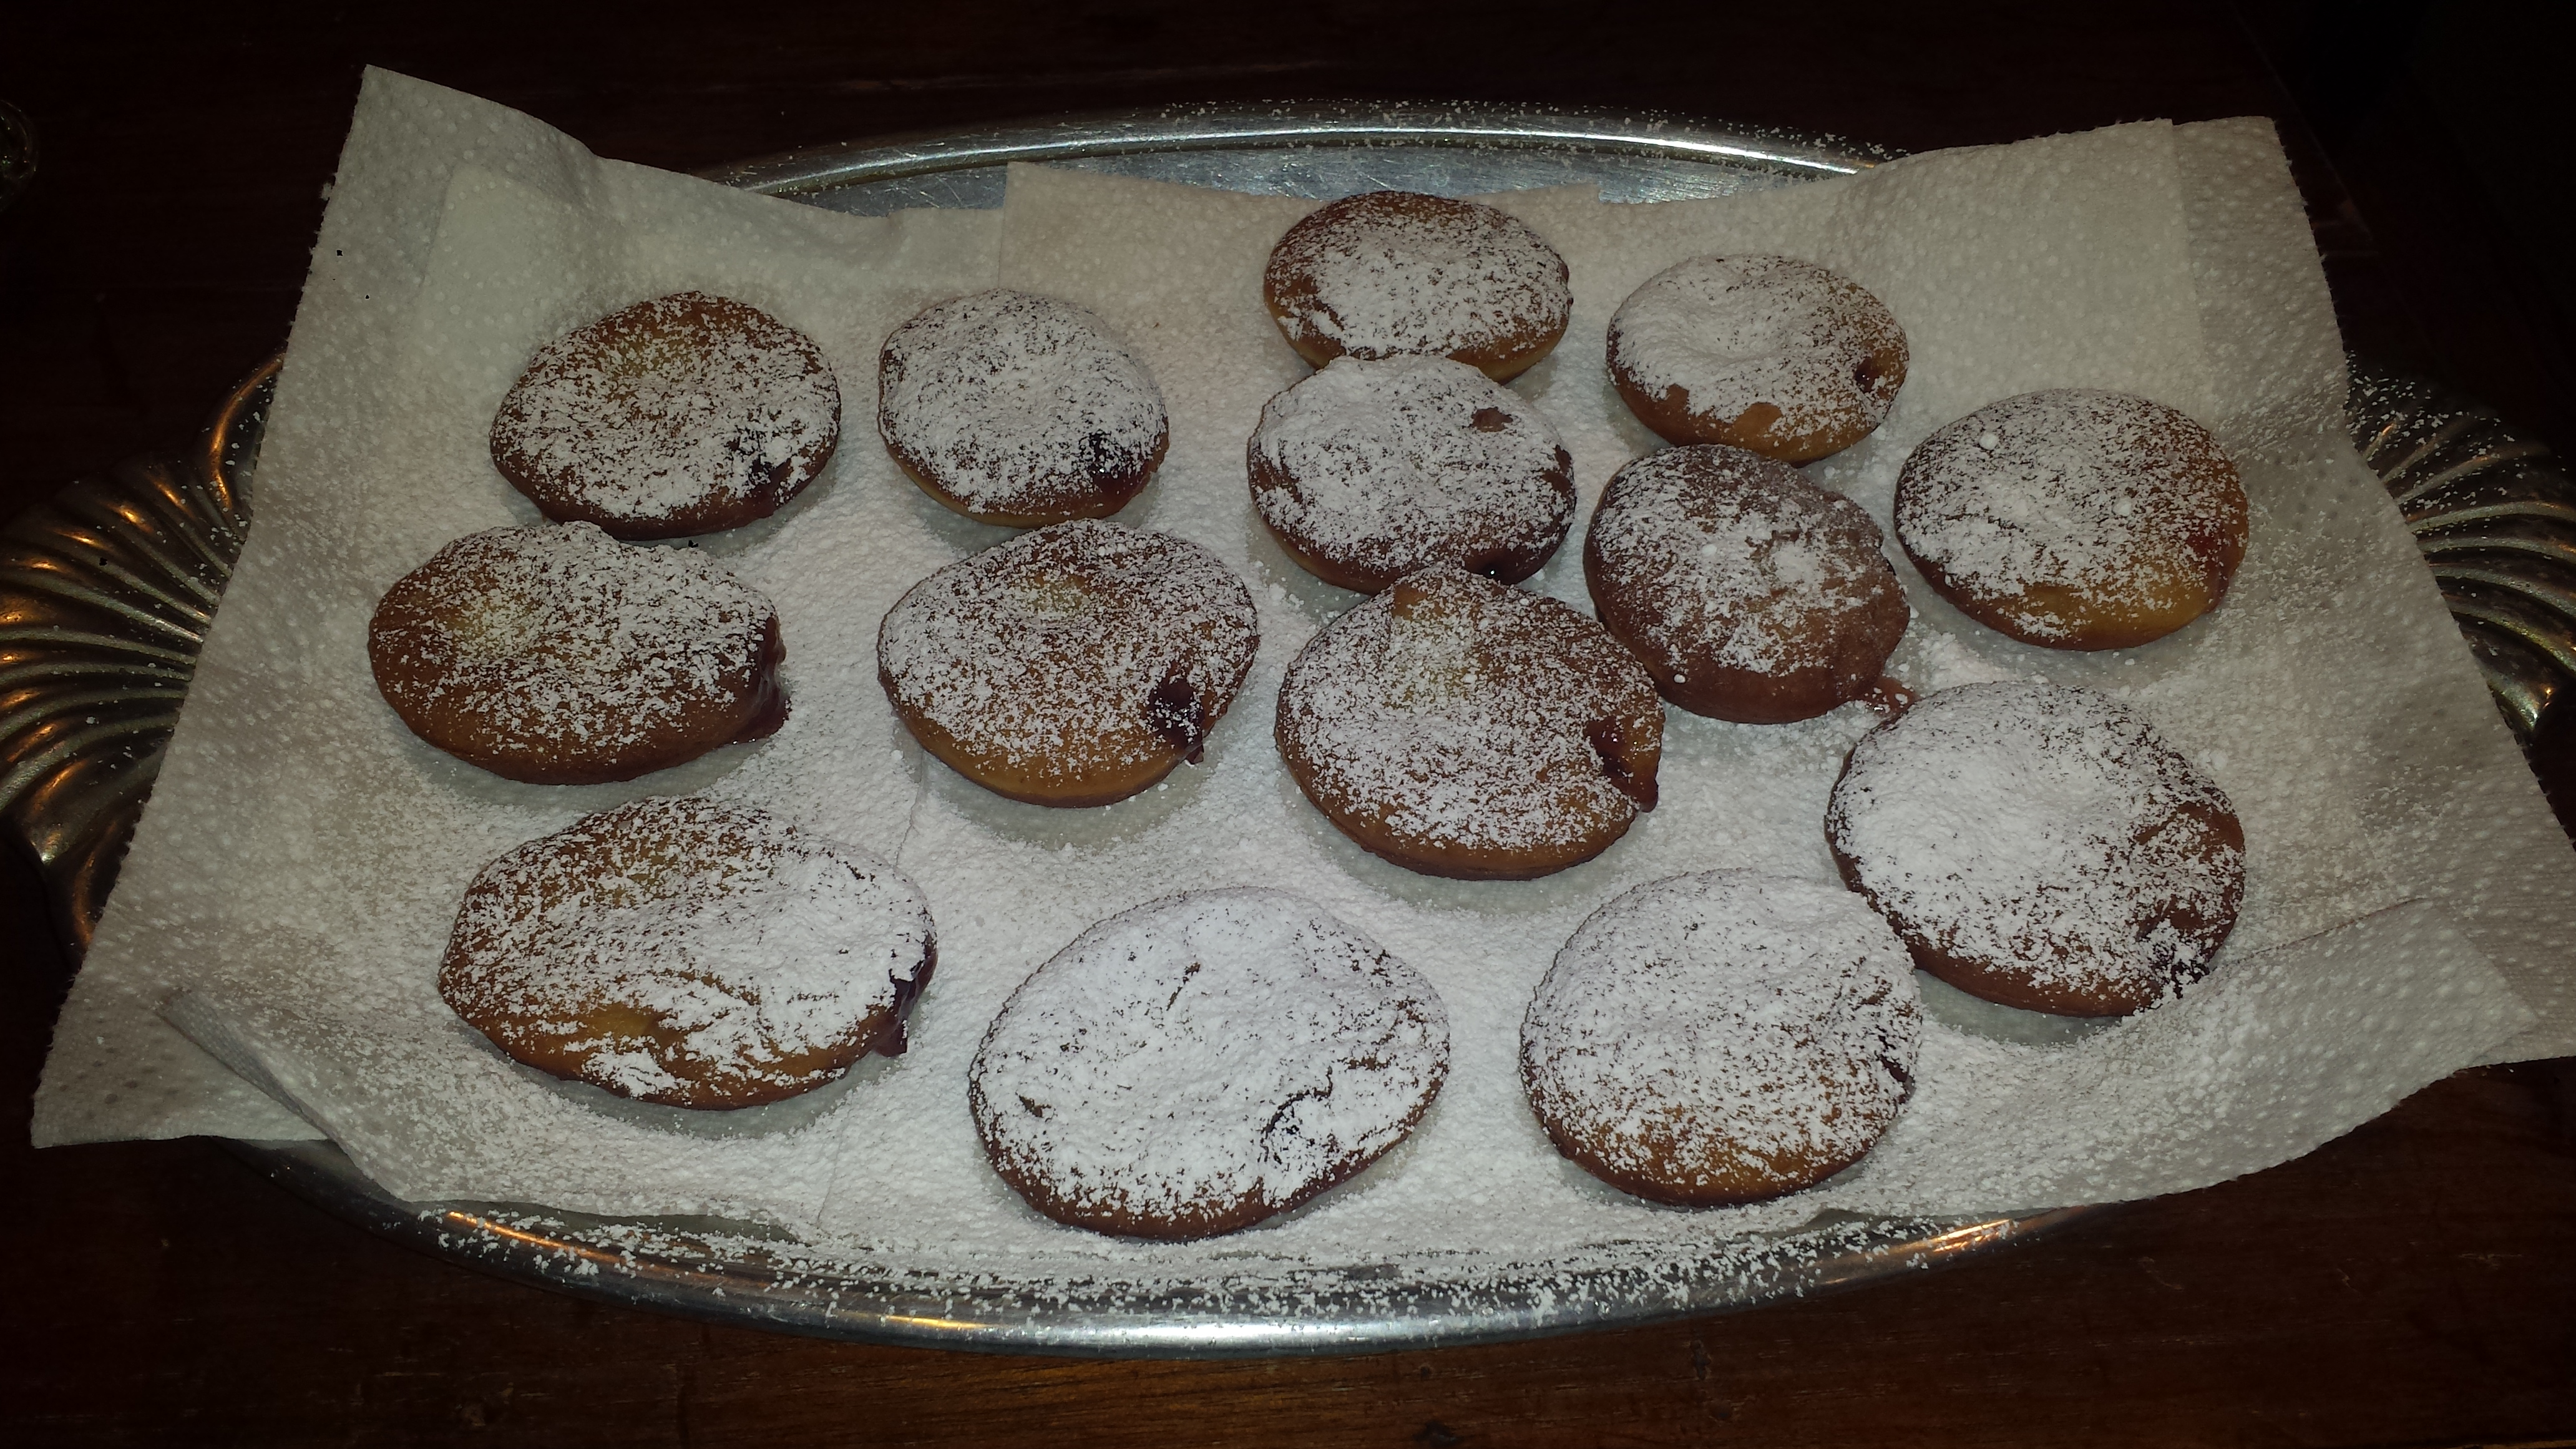
- Dust the doughnuts generously with powdered sugar and a pinch of coarse salt.
4 Tbsn instant yeast DIRECTIONS FOR MAKING DOUGH USING HAND METHOD: DIRECTIONS FOR MAKING DOUGH USING BREAD MAKER: FOR DOUGHNUTS:Sufganiyot (Jelly Doughnuts)

1 cup lukewarm water
1/2 cup sugar
4 eggs, lightly beaten
1/4 cup unsalted butter, melted
1 tsp ground nutmeg
5 cups all-purpose flour
4 tsp kosher salt
1-2 cups vegetable oil
1/2 cup jelly
1/4 cup powdered sugar
pinch coarse salt


