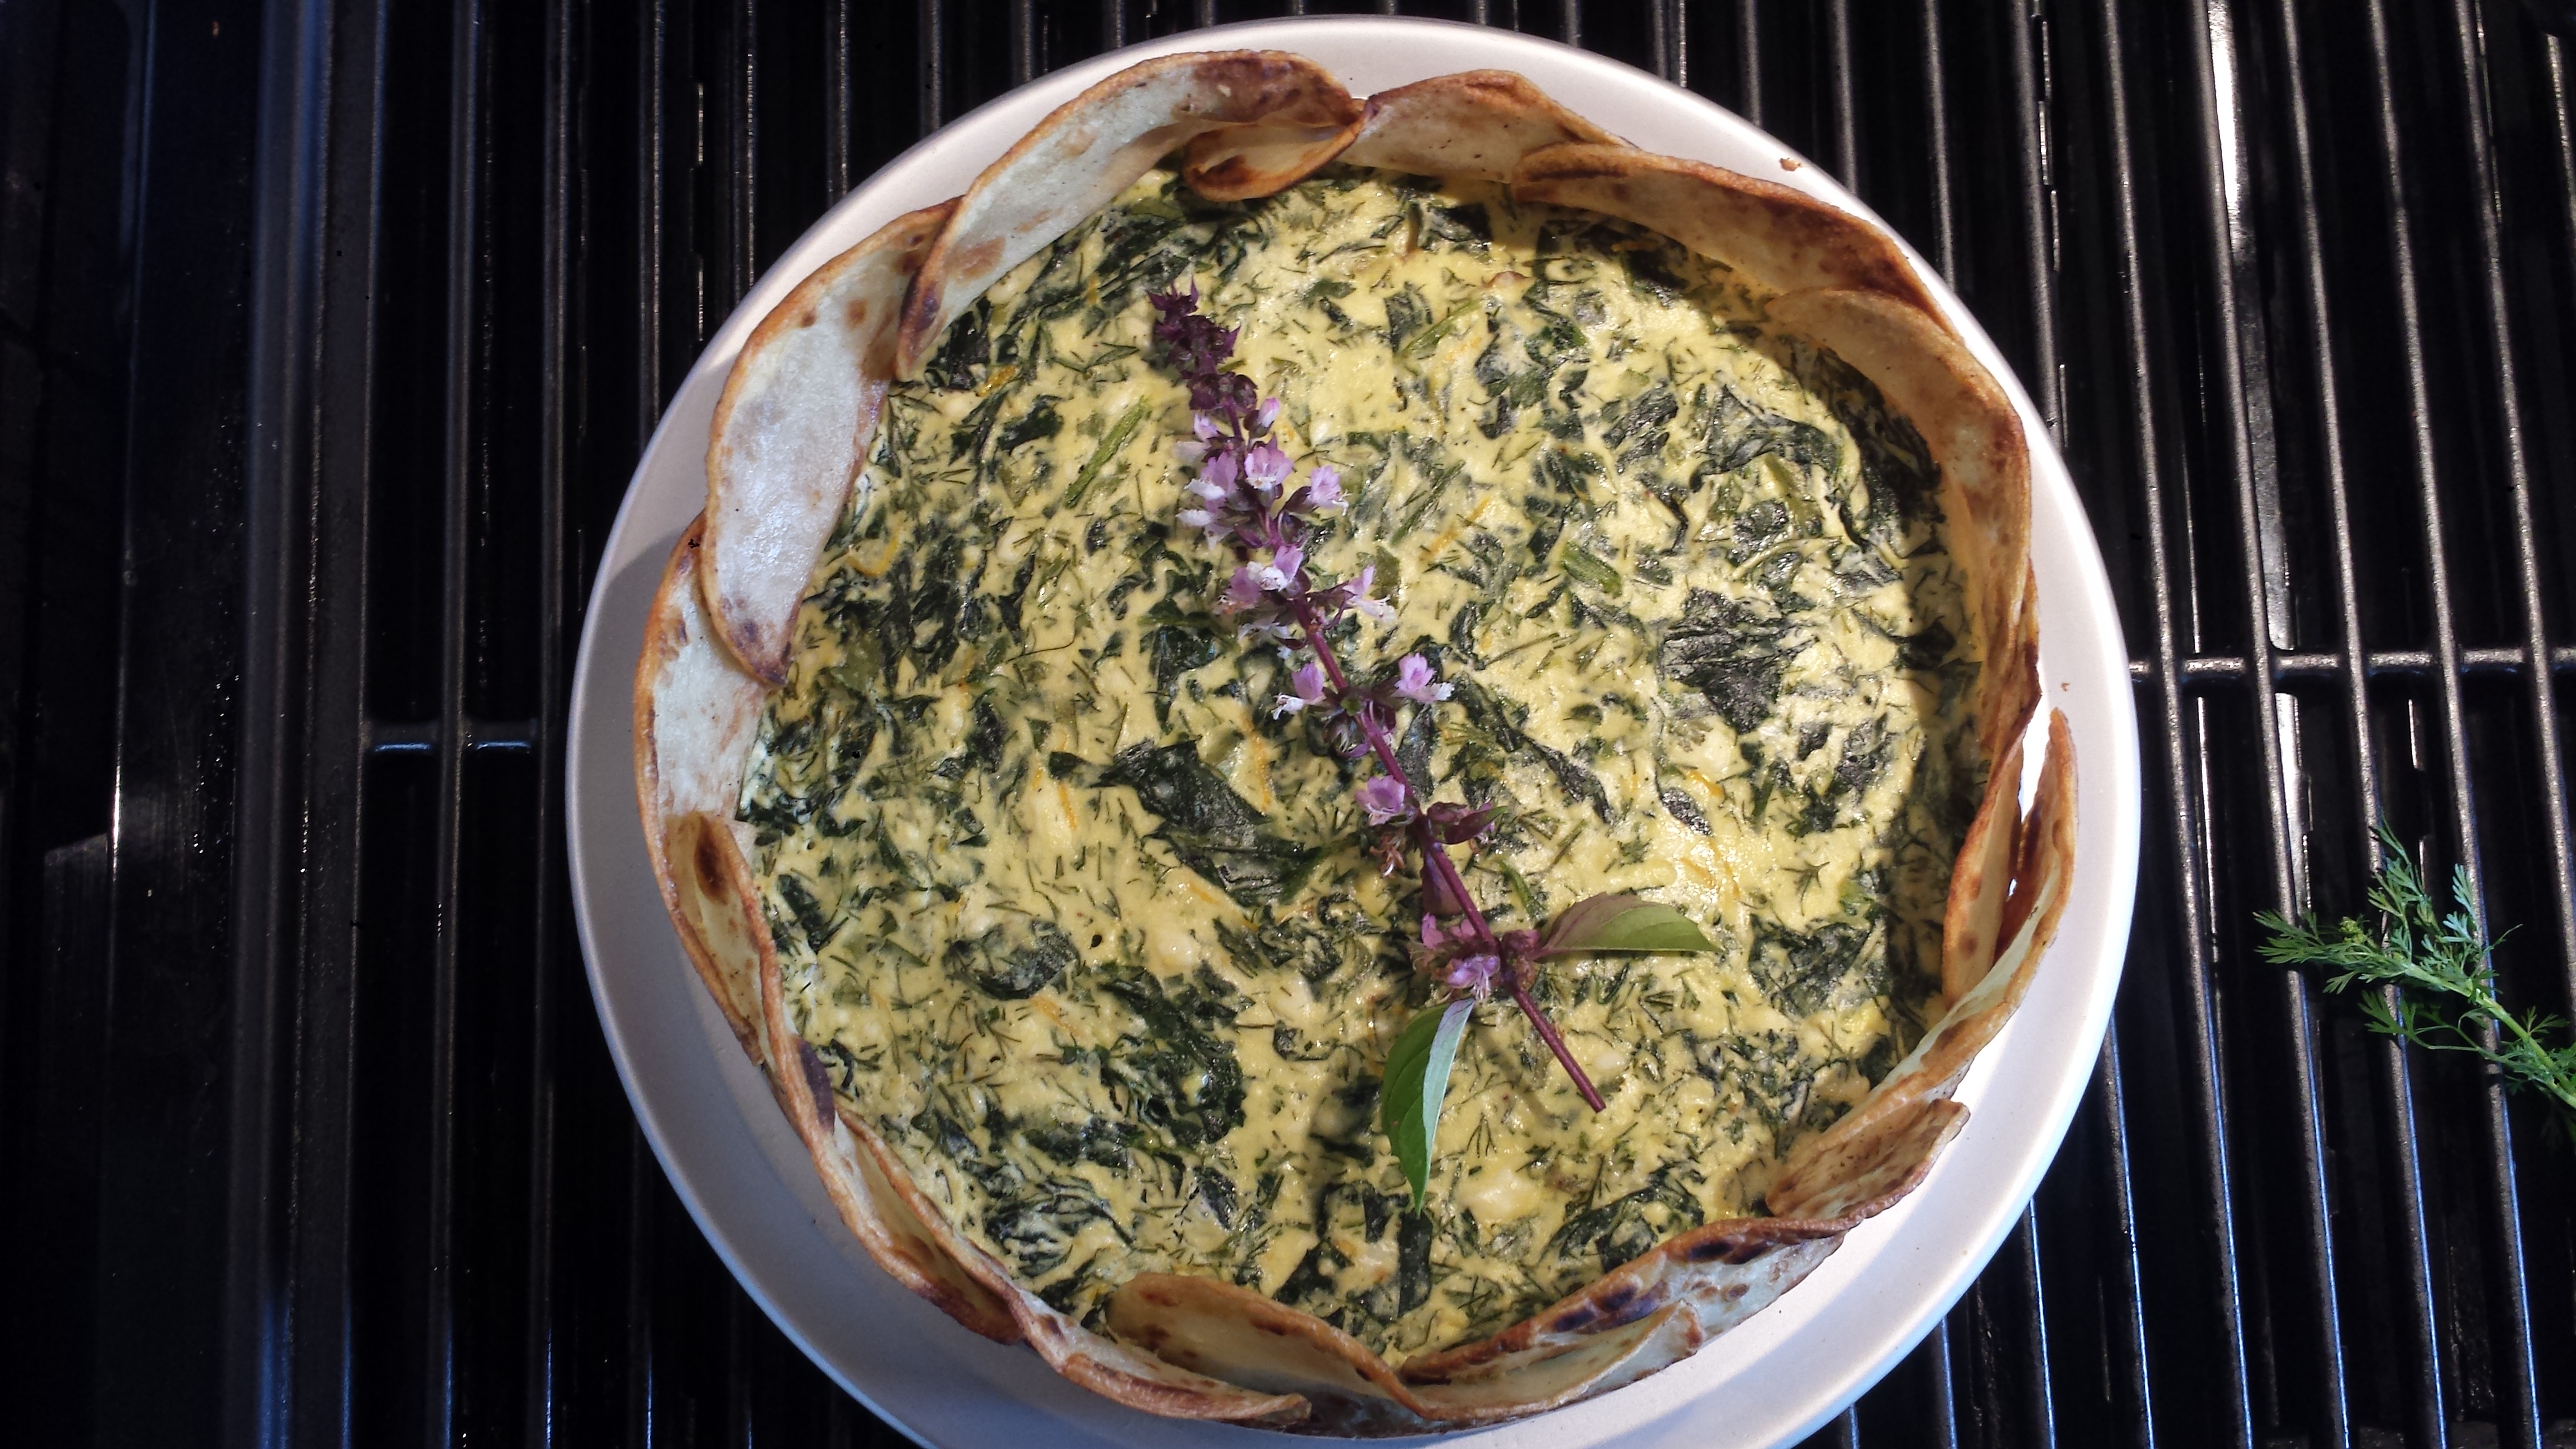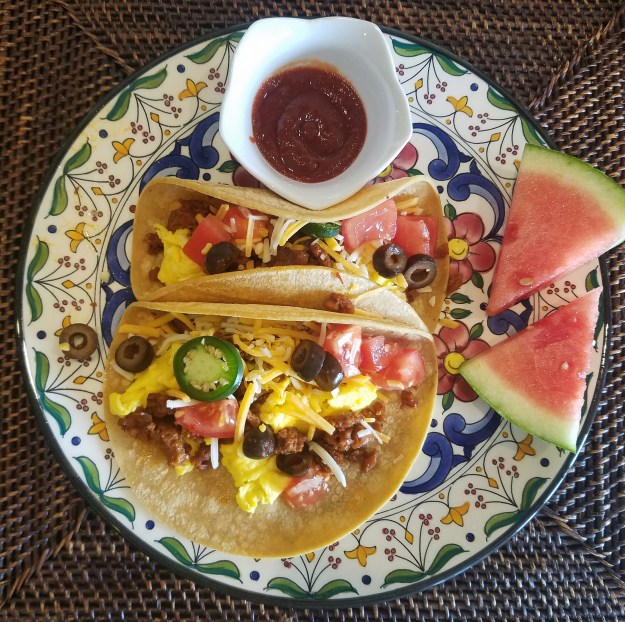
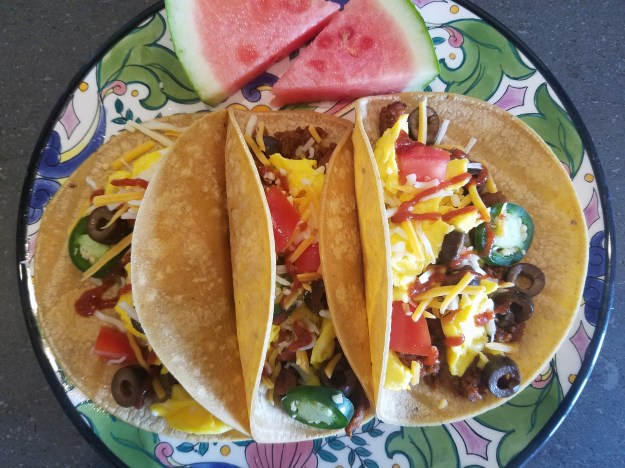
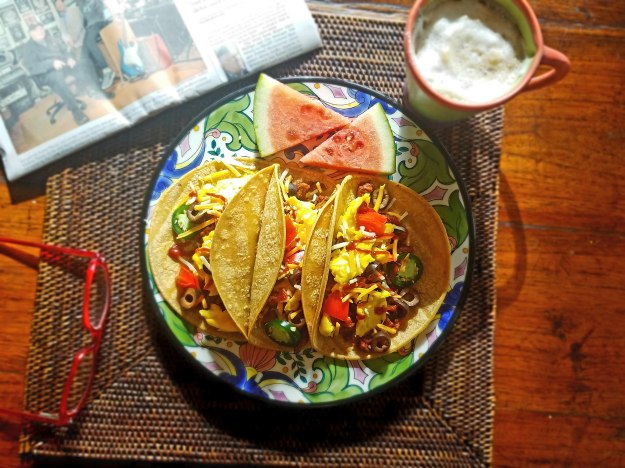
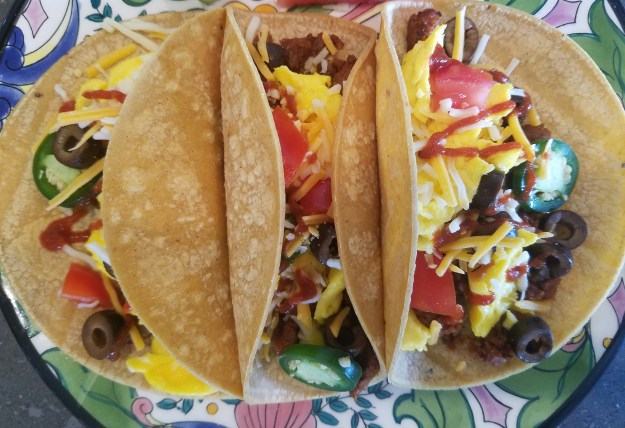
I was tired of toast for breakfast, so decided to ratchet it up a notch with breakfast tacos. I love Mexican food so this was a no brainer, and even though these tacos are vegetarian, they even satisfied my husband who went back for thirds. Warm corn tortillas loaded with Mexican Chipotle ‘vegan sausage’, scrambled eggs (or tofu), jalapenos, black olives, tomatoes and shredded cheese were a great way to start the day. I’m pretty sure you will like them too. We had them for Sunday morning breakfast but I would eat them for dinner too…
Those that follow me know that I’m not a fan of fake foods, i.e. fake ‘meat’. I usually prefer to make my own substitutions, or just not eat it at all, so I have pretty much stayed away from store bought ‘meat’. Luckily for me (and vegetarians everywhere), our choices are getting better all the time and I decided to give the Field Roast Grain Meat ‘sausages’ a try. I chose the Mexican Chipotle because I thought the flavors would be great in a taco. Well, I loved it. My husband loved it. I will definitely be trying the other flavors too.
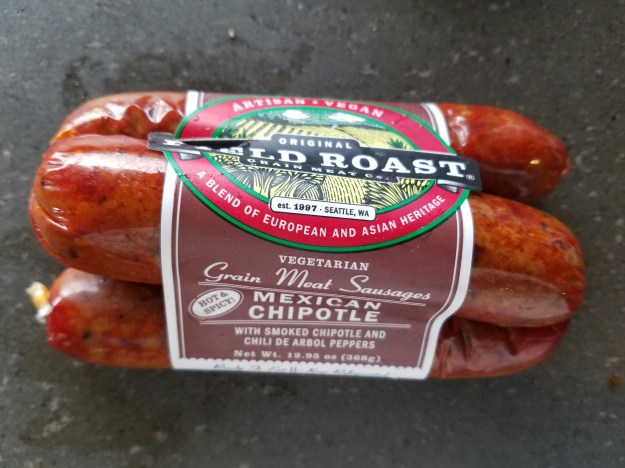
For those like me that don’t know, grain meat is a combination of grains and vegetables that are ground up like a traditional sausage. The links are encased in plastic, which must be removed before cooking, in contrast to natural casings which are made from animal intestines. Sausage is sometimes enclosed in artificial casings made of cellulose, collagen or synthetic materials, so know what you are buying.
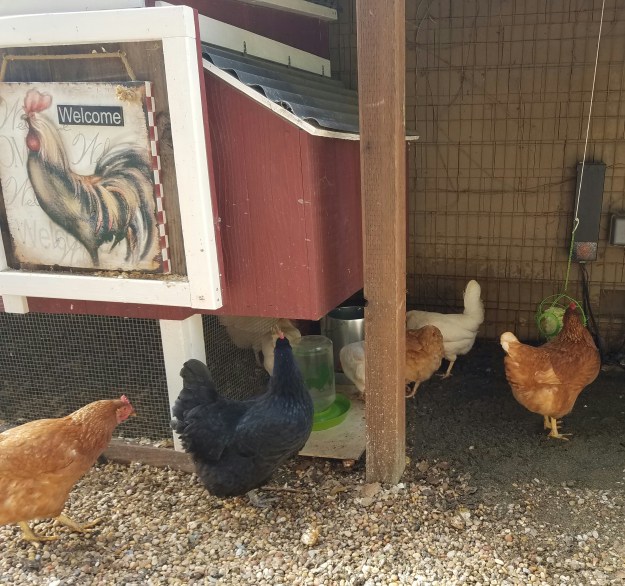
I have 12 chickens, most of whom have been rescued from factory farms so I am lucky enough to have plentiful and beautiful eggs from happy hens who have been given a second chance at life. If you don’t have access to eggs from your own backyard or a farmers market, look for Pasture Raised eggs in your supermarket. All the other labels like Cage Free and Organic are misleading. I have written about this before so won’t repeat myself. For those that haven’t read my egg rant or are still confused about egg labeling, click HERE for more info on how to decipher egg labels. They are designed to keep people from making informed decisions. (i.e. organic may not mean what you think it does). The bottom line is DON’T BUY CHEAP EGGS. My chickens, ambassadors for factory farmed animals, have their own Facebook page, Mrs Vs Rescue Chickens .Check them out. They love new followers.
*If you are vegan or don’t eat eggs, tofu makes a good scramble. You can buy boxed tofu scramble or you can make your own using extra firm tofu. Click HERE for a Basic Tofu Scramble Recipe.
BREAKFAST BURRITOS
- 2 Field Roast Mexican Chipotle Sausages (vegan)
- 1/2 block firm tofu or 3 pasture raised eggs*
- 1 Tbsn olive oil
- 1 tsp vegan butter or butter
- 6 corn tortillas
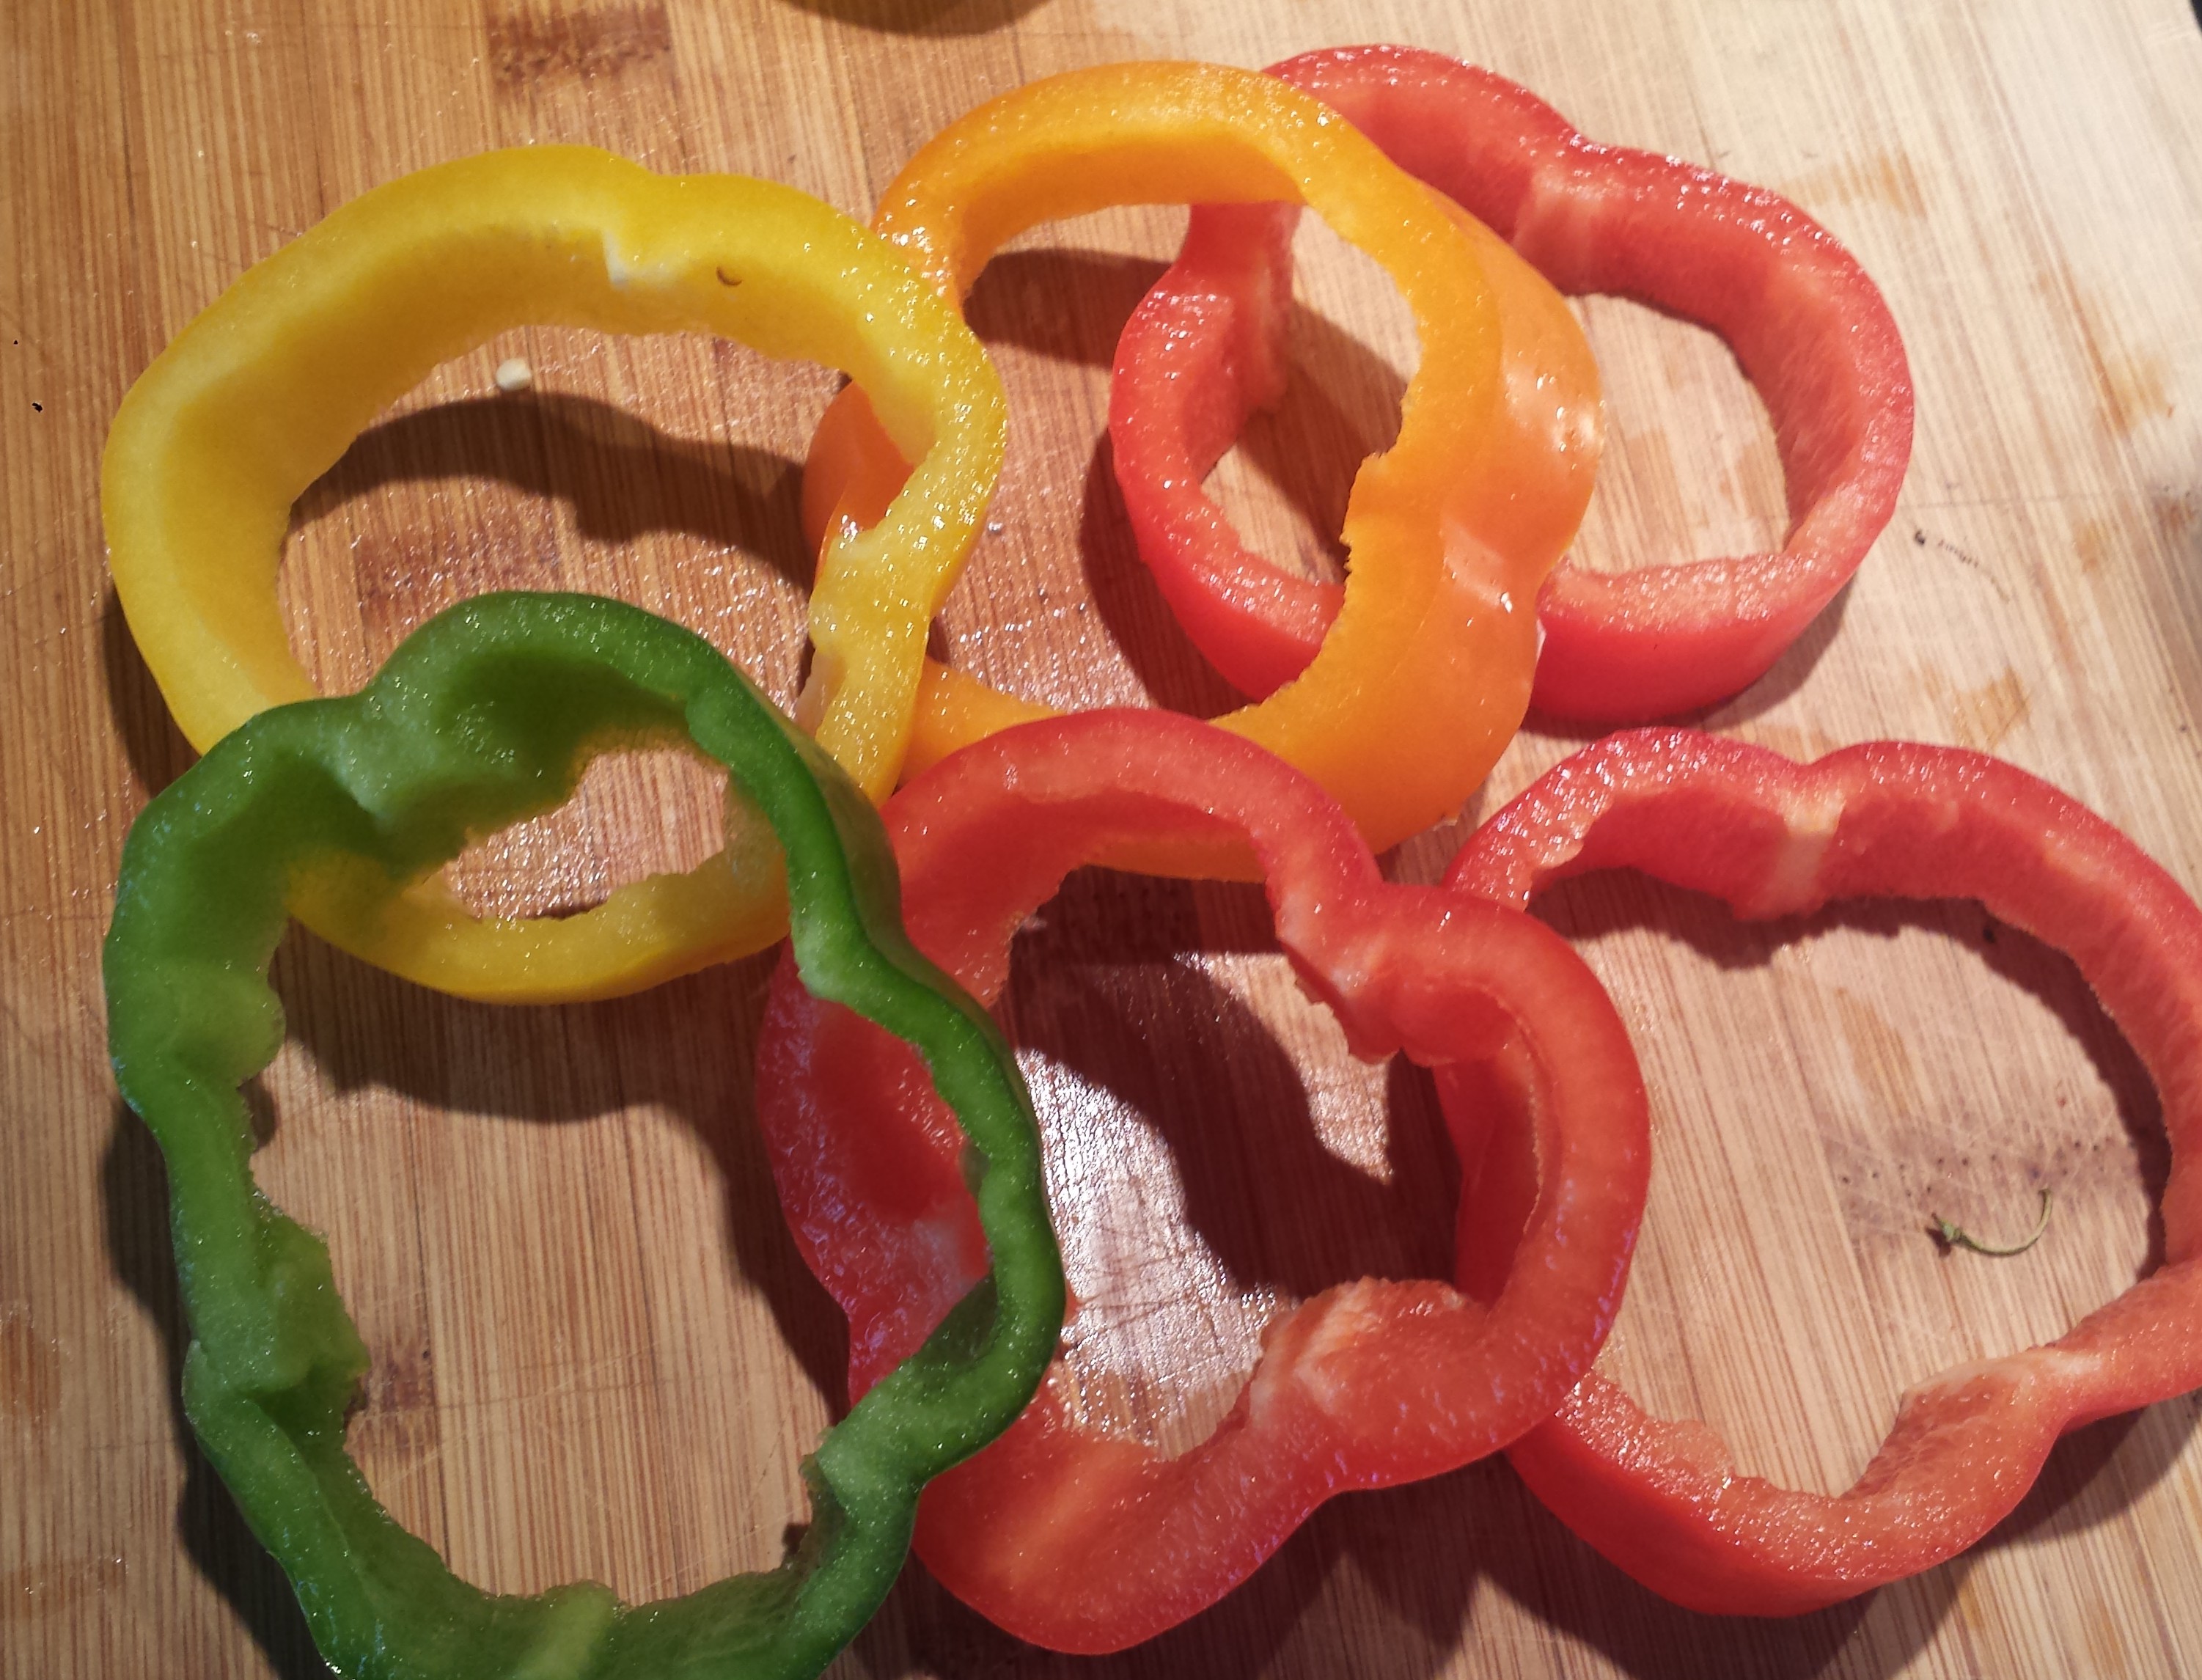
Suggested Toppings:
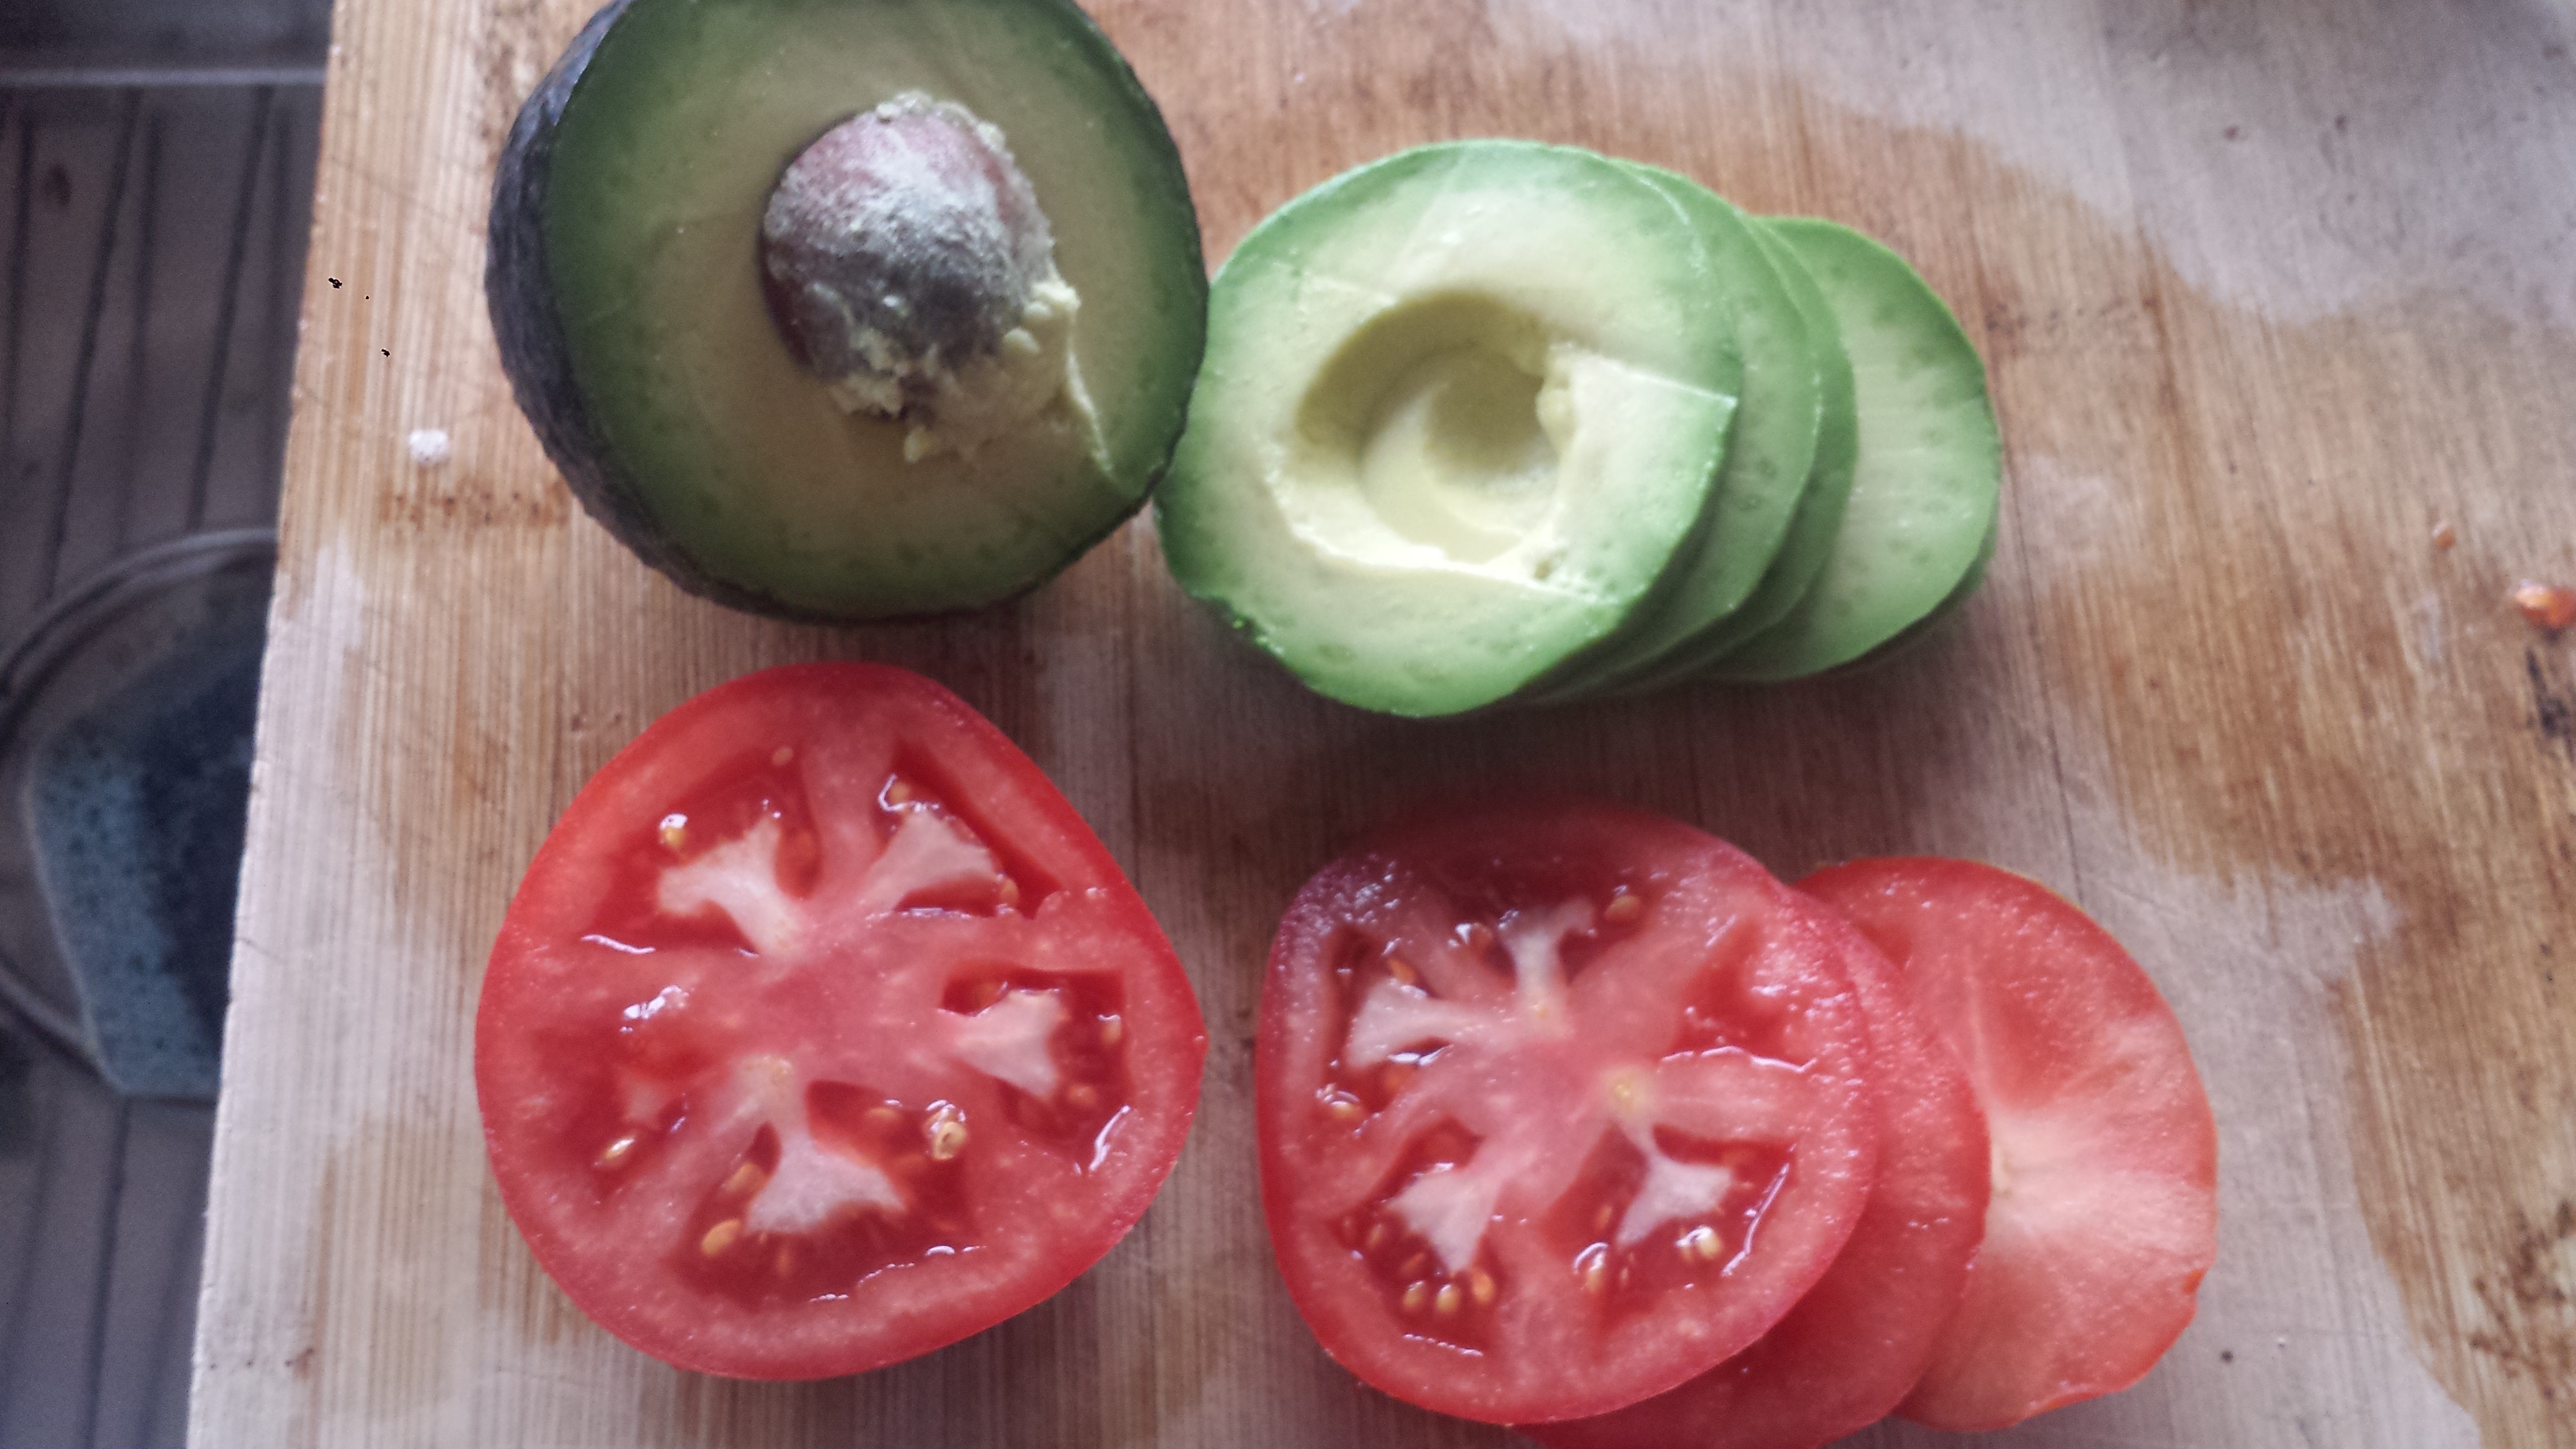
- 1 small tomato, chopped (or several cherry tomatoes cut in quarters)
- 1/2 avocado, chopped
- Sliced black olives
- Sliced or chopped jalapeno peppers
- Shredded Cheddar or Monterey Jack Cheese (vegan options available)
- Sriracha or other hot pepper sauce
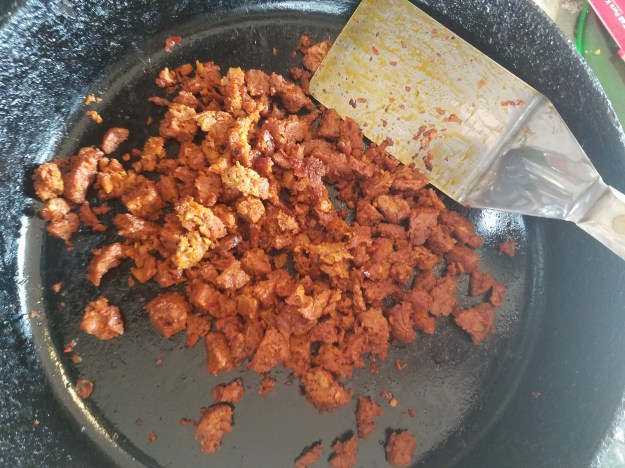
- Remove the plastic casing from the sausages and break into pieces with a spatula or fingers (it’s a bit messy). Saute in olive oil on medium for about 5 minutes. Reduce to low. (The sausage can get too crispy if overcooked)
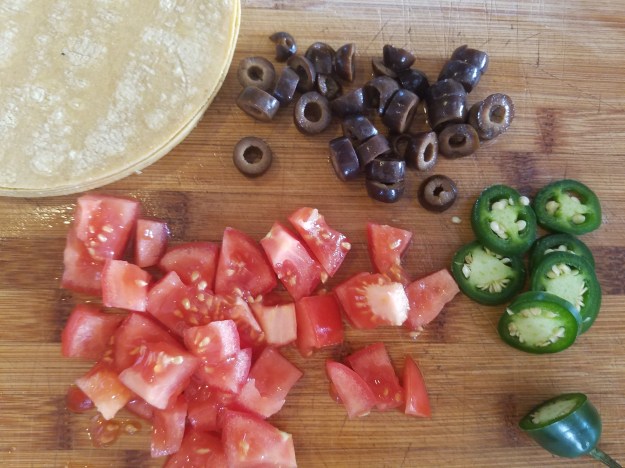
- While sausage is cooking, prepare your toppings. You don’t need very many.
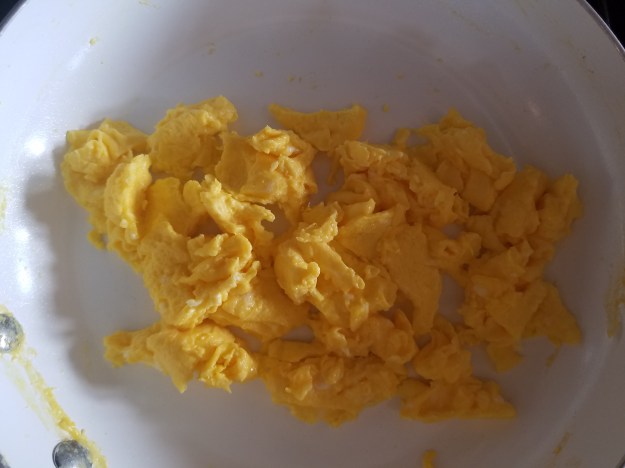
- If using tofu, follow suggested recipe* or your own. If using eggs, add 1 teaspoon cold water and scramble in butter until done and remove from heat.
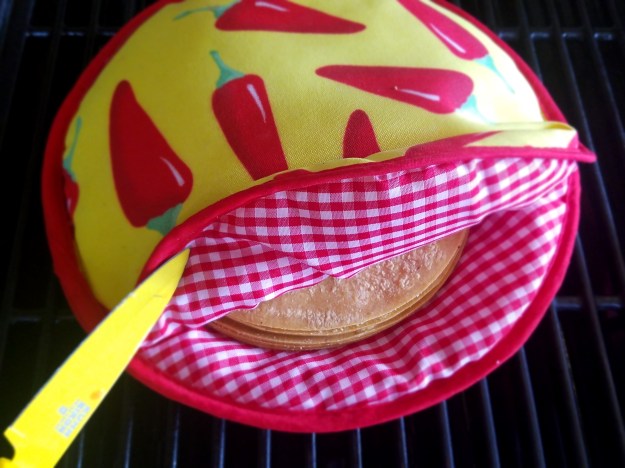
- Heat tortillas. My favorite way is to wrap in papertowels and microwave about 30 seconds. Keep warm in foil or a cloth, or a tortilla warmer if you have one.

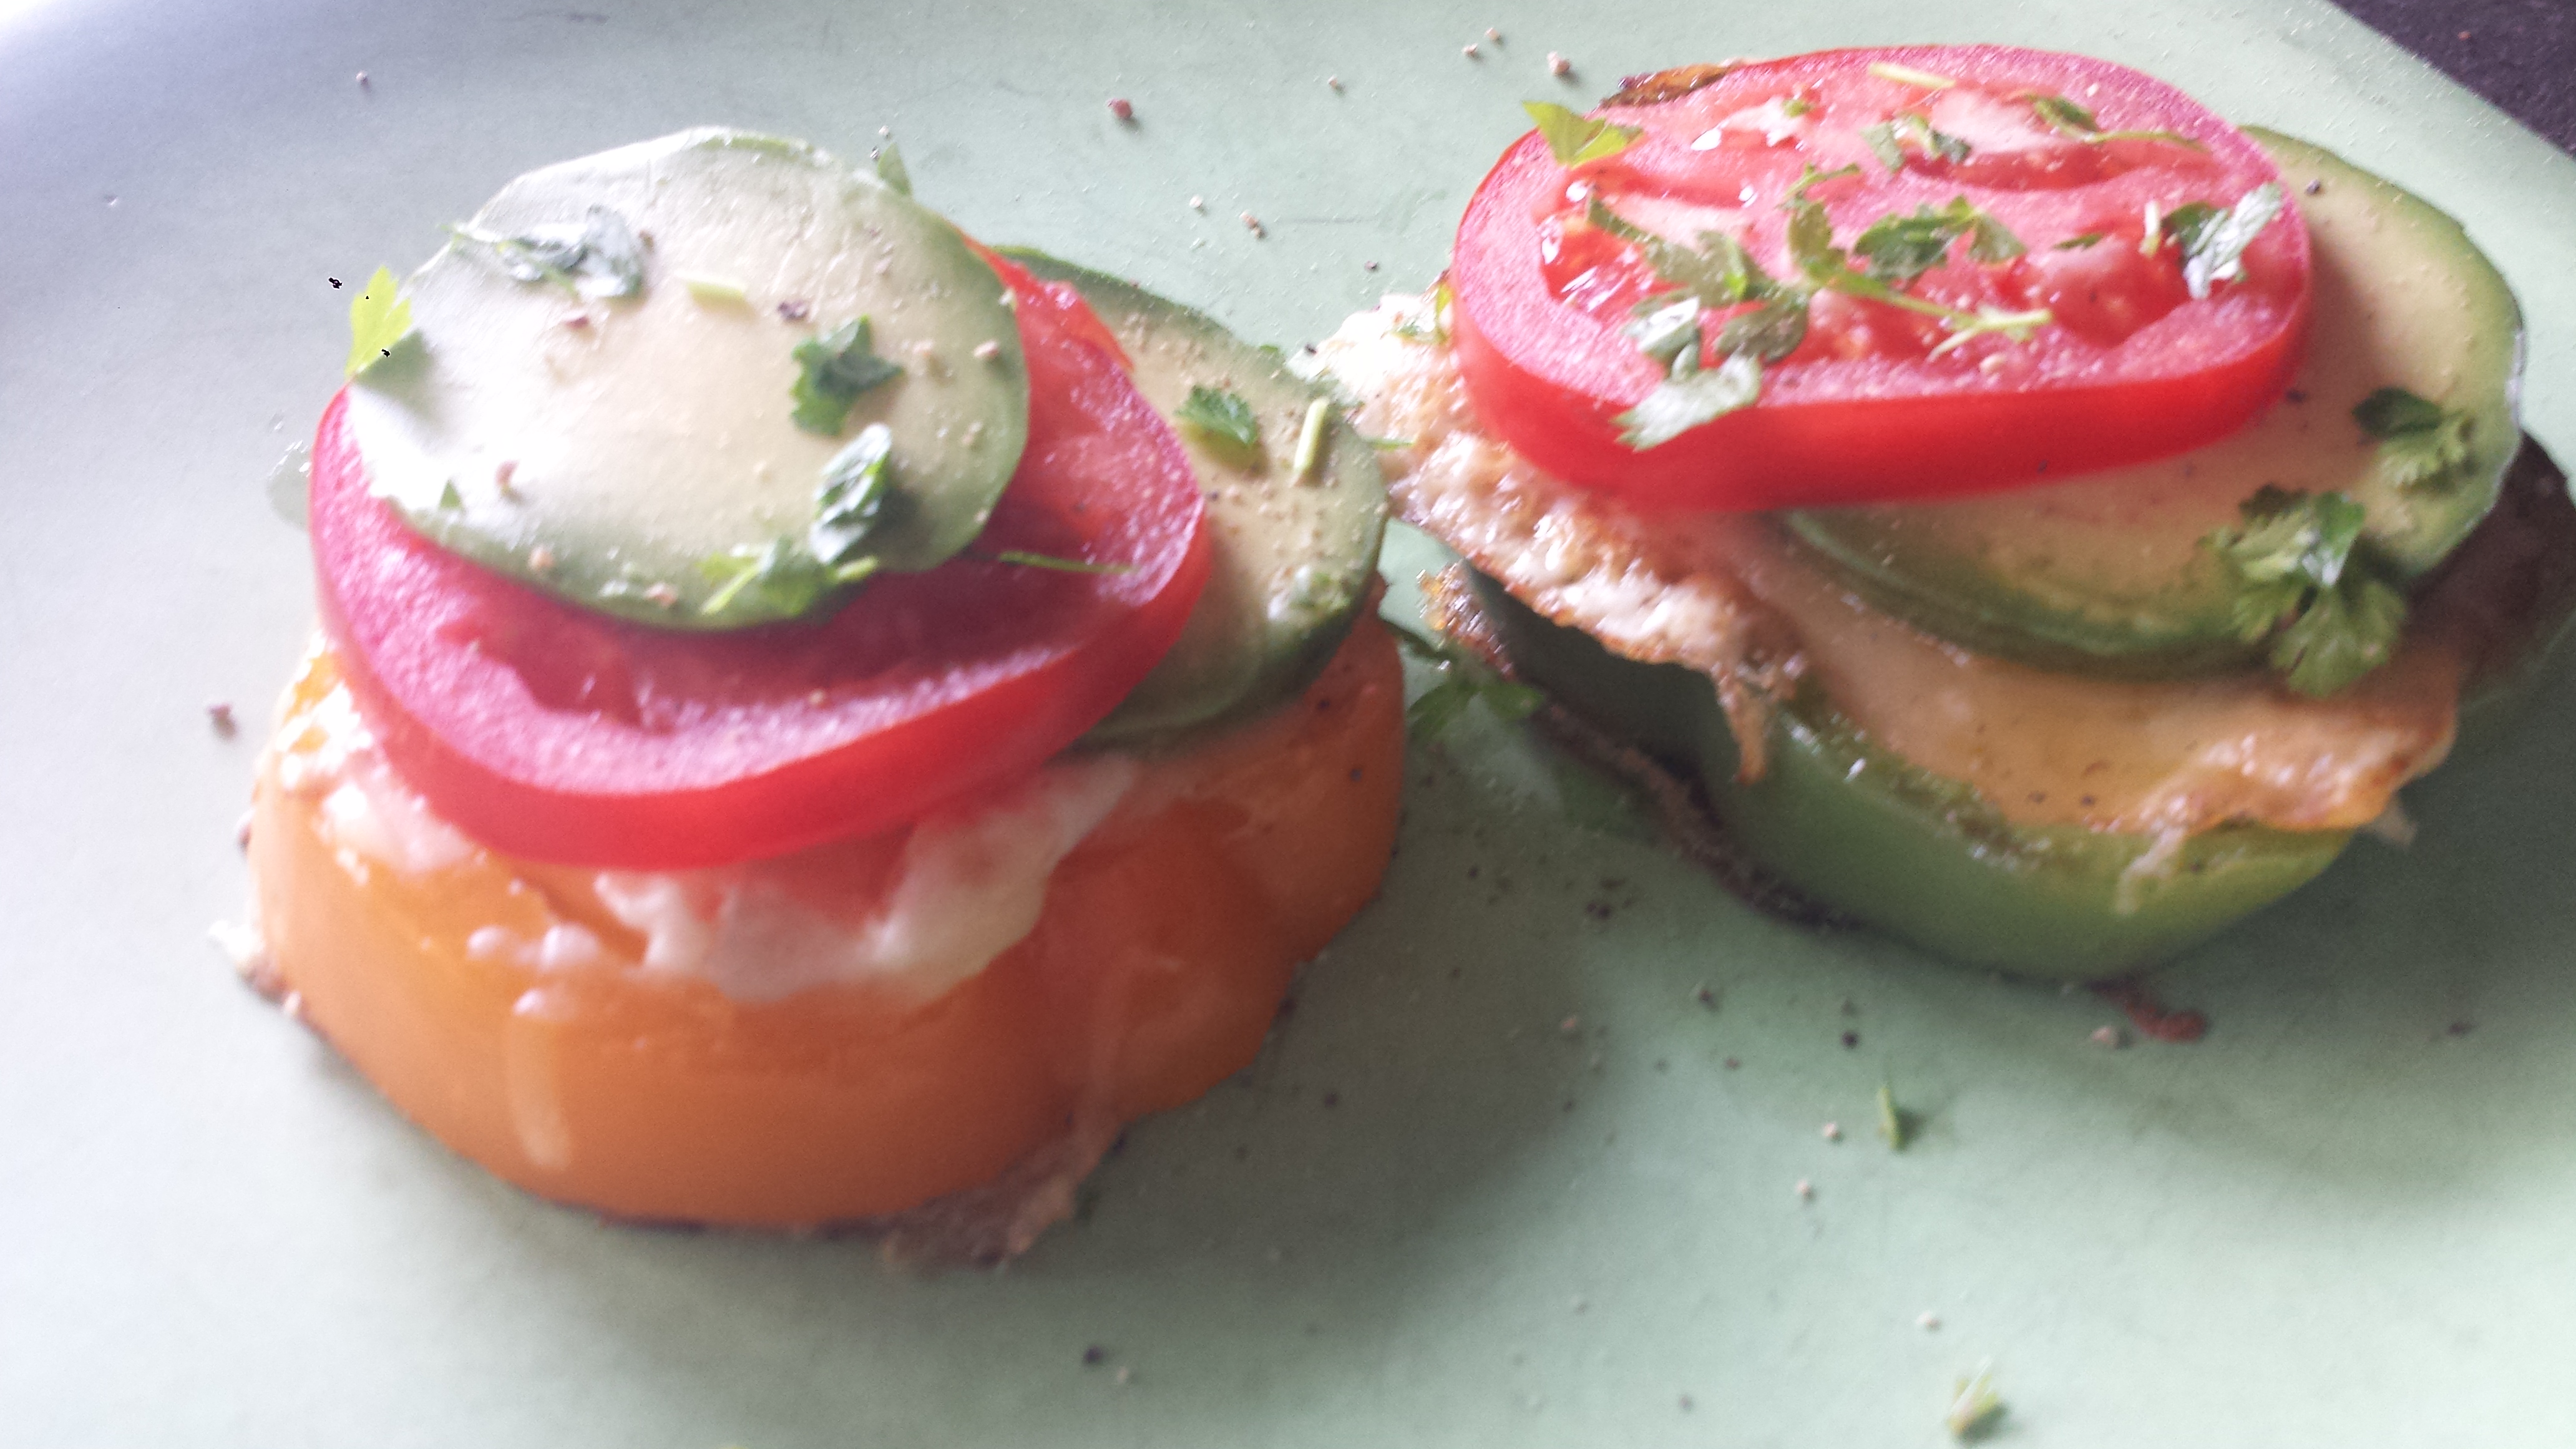
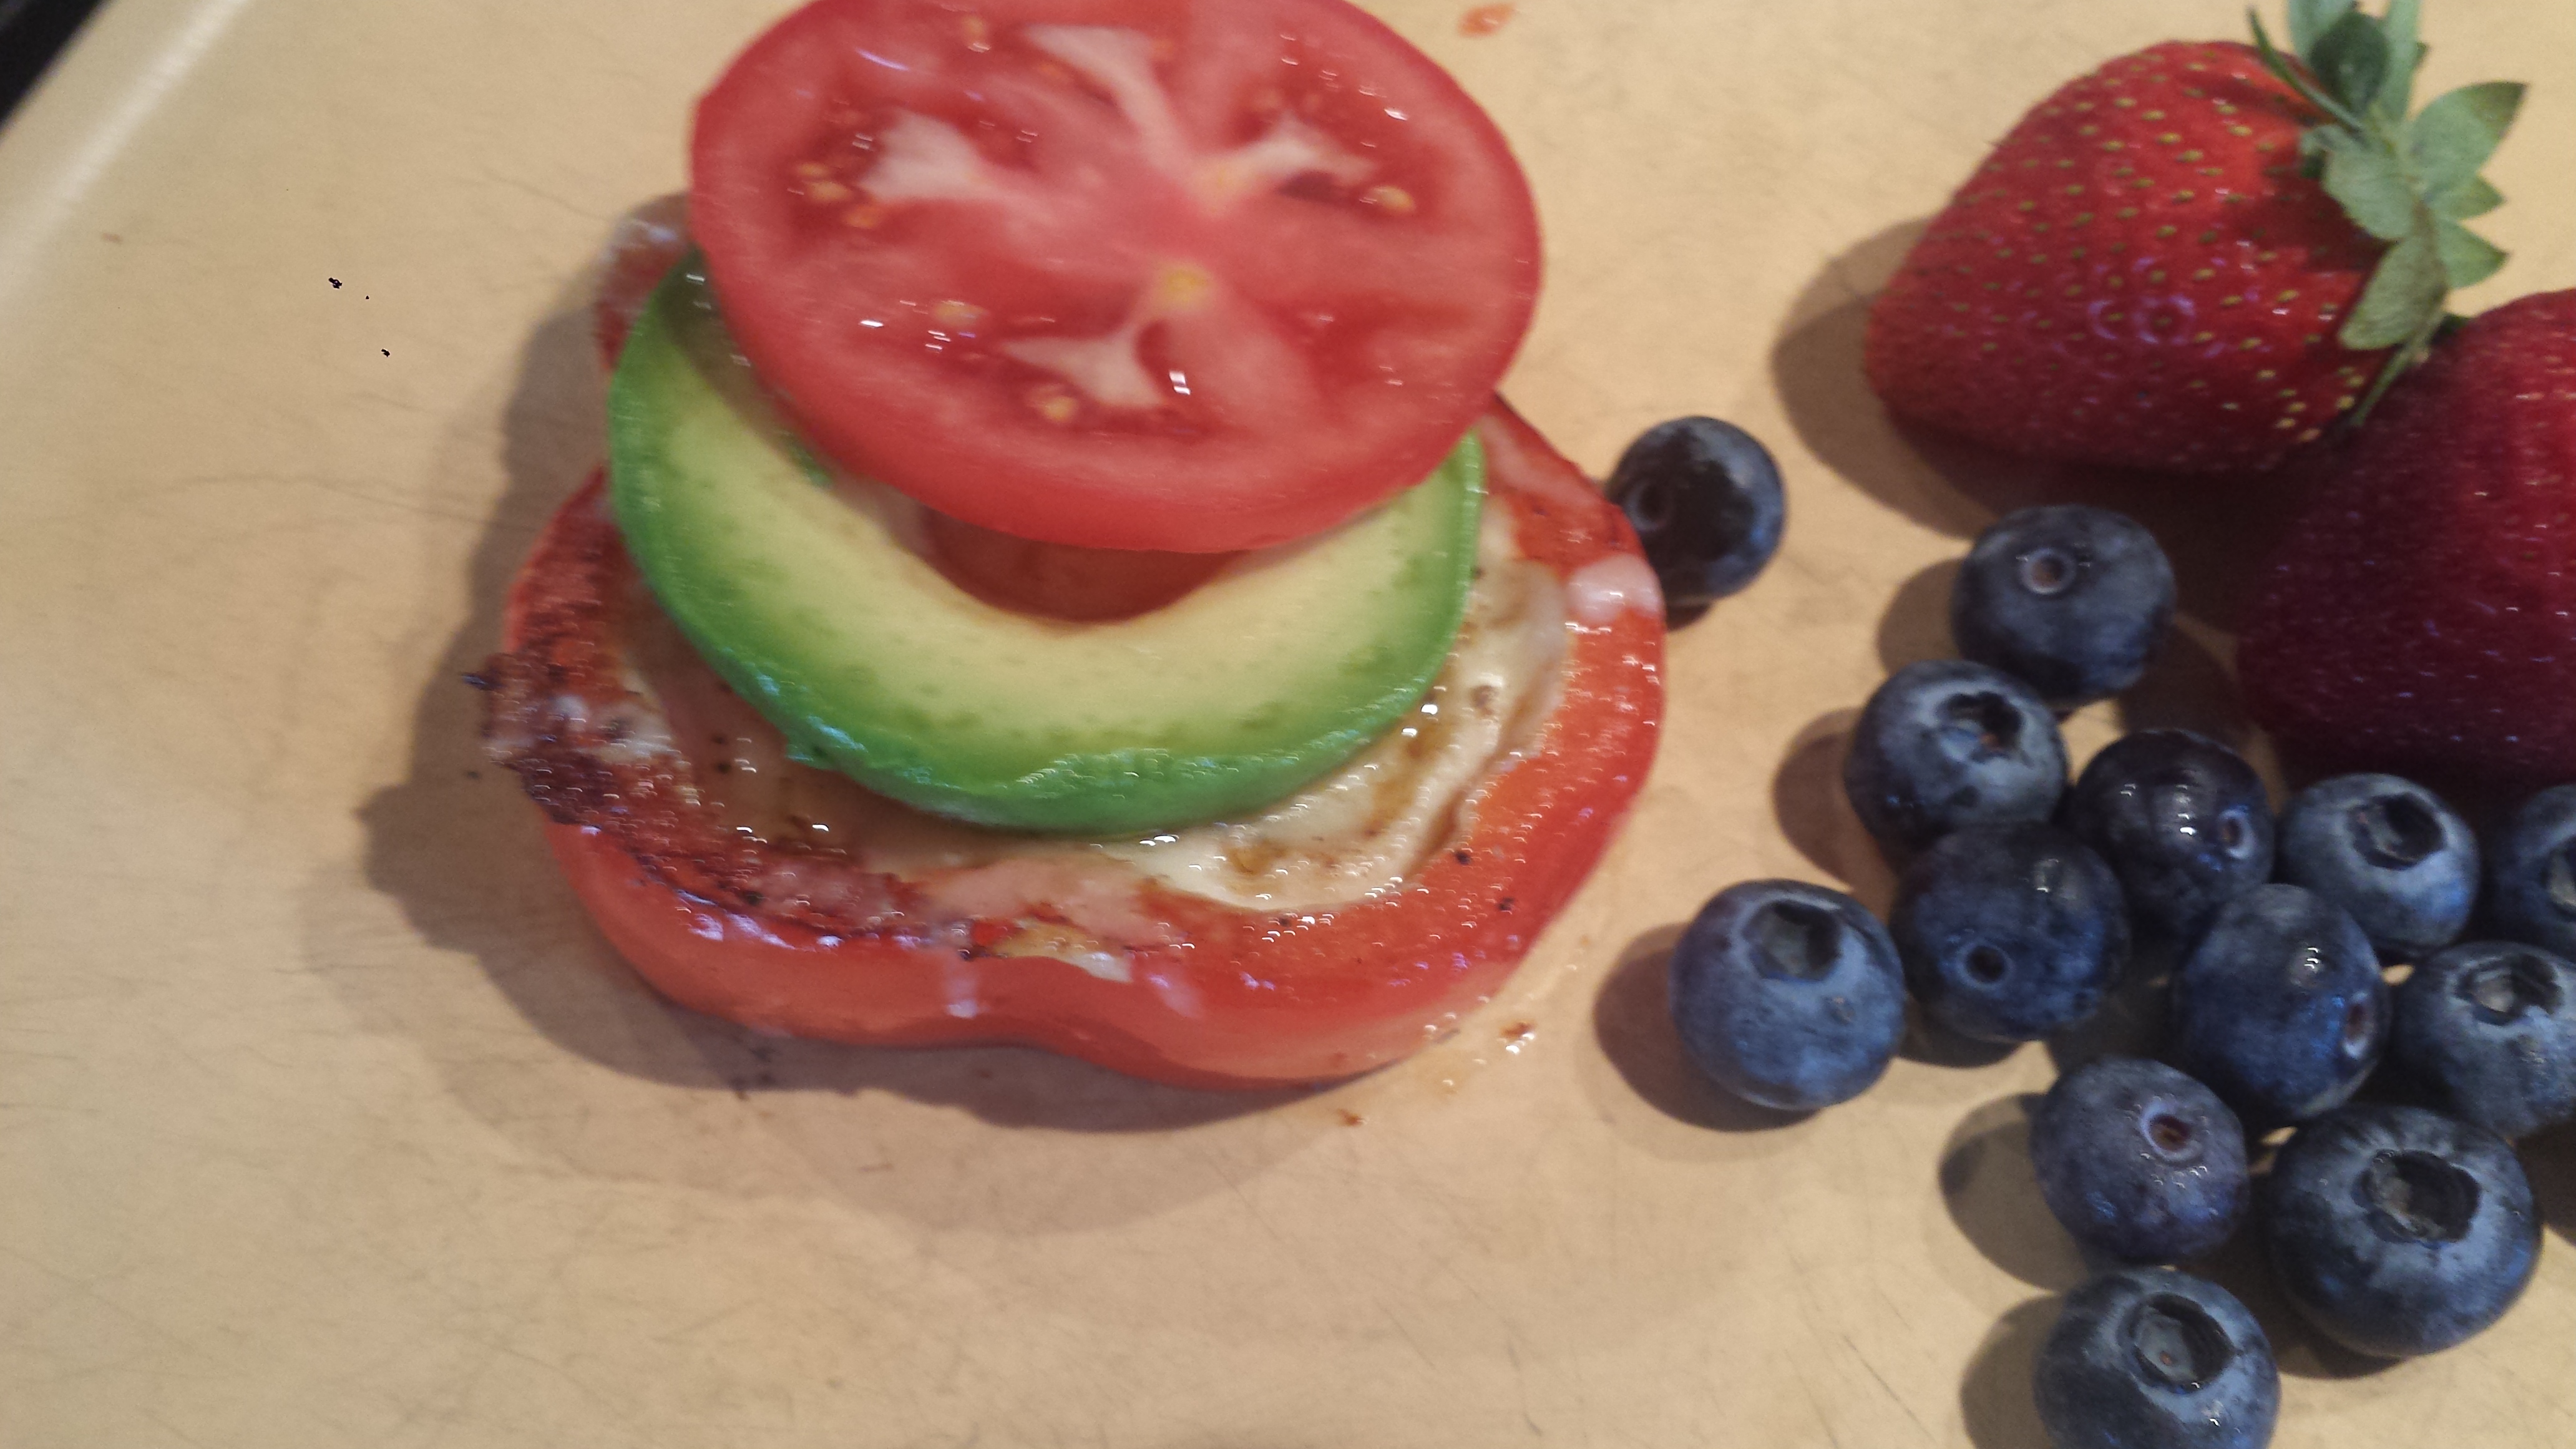
- Fill tortillas with a spoonful of sausage and egg
- Add the toppings of your choice. Top with hot sauce, if desired. Goes well with fruit.
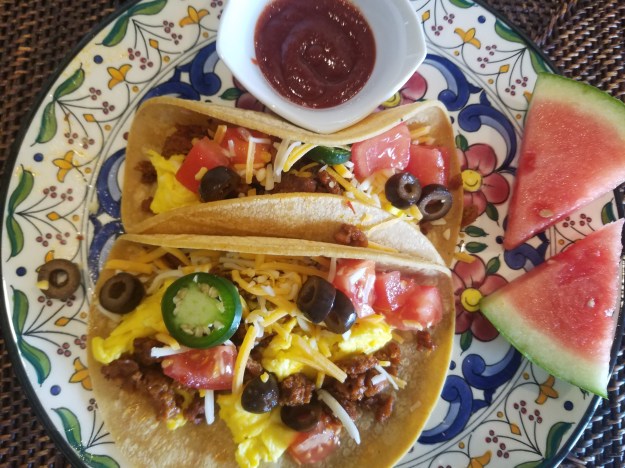
Suggested Toppings:Breakfast Tacos