
It’s plum season! I have a lovely Santa Rosa Plum tree that grows the most delicious plums that have that perfect balance of sweet and tart. I would have a hard time selling the house and moving because of this tree. One Arbor Day, almost 20 years ago, my very excited kids brought several sticks bare root fruit trees home from school. Now, I will have to admit that these ‘trees’ looked a lot like dead twigs to me, but as a good mother does, I along with my boys, ceremoniously planted them and thus began our now flourishing fruit orchard, home to plum, orange, lemon, lime, grapefruit, nectarine, cherry, kumquat, satsuma, avocado, Asian pear and several apple trees. The queen of the orchard though, is the Santa Rosa Plum tree, one of the unlikely Arbor Day trees which grew from a 3 foot bare root stick to a glorious 25 foot tall beauty. Last year I was out of town when the fruit was ripe, but this year I have picked the fruit that is in reach and have been collecting ripe fruit as it falls to the ground. Some of these get bruised or slightly injured when they fall which makes them less appetizing for eating but perfect for making jam. So I save the perfect, most ripe specimens for my fruit basket and preserve the rest. Homemade jam is wonderful to have around year around, I love it spread on toast or drizzled over plain yogurt for breakfast.
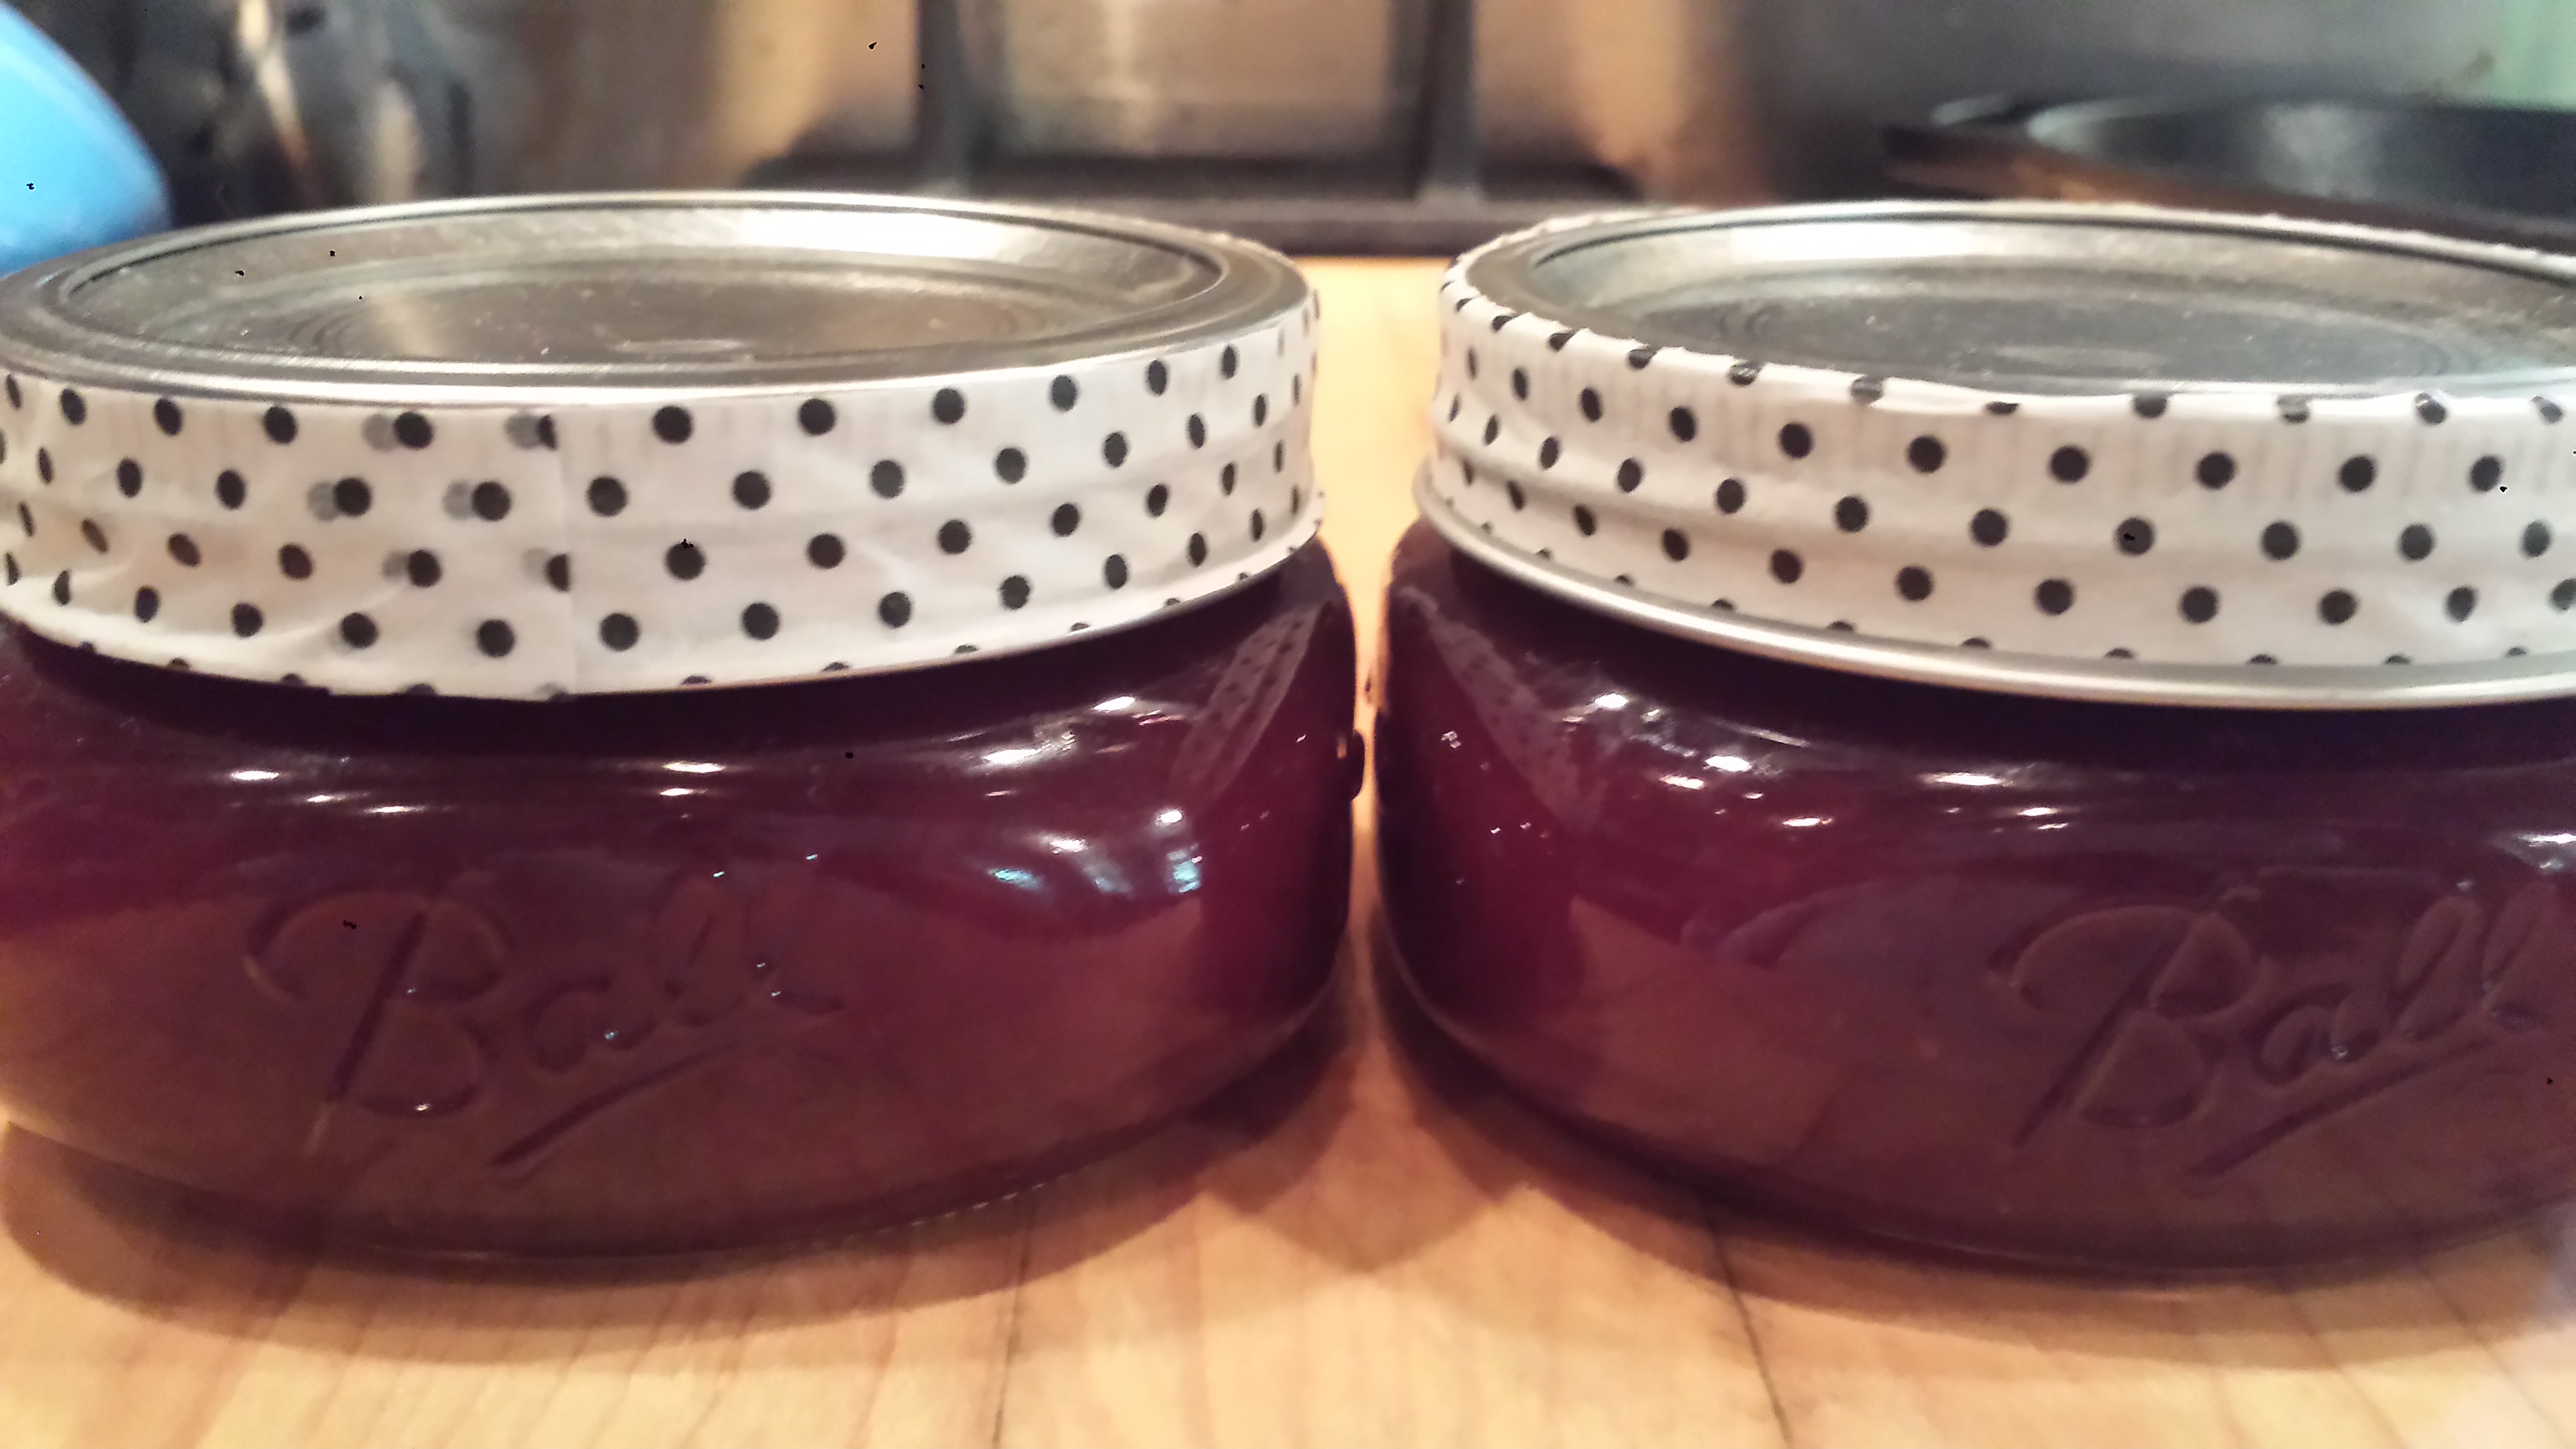
It also makes a great gift. People love handmade farm to table gifts that are made with love. Decorative tape is a really easy way to decorate the lids and adds a bit of personality to the jam. Other easy alternatives are to tie ribbon or for a rustic look try twine or raffia. Fun or pretty labels are an easy way to personalize your jam. Tags can be tied on. Sticker Labels can be purchased and handwritten or run through a printer. www.Onlinelabels.com has labels in pretty much every size and shape you might need and they offer a downloadable template which is very easy to use. The labels I use the most often are label #WL-375WG-100 which is a 3.3333″ round label which is the perfect size for labeling a wide mouth jar.. Label #OL5375WX is a 2″ round label that I use for labeling gift bags or small mouth jars (not a perfect fit but it still looks nice). Canning and preserving is actually a hot new trend (again). If you haven’t started, what are you waiting for…

TIPS: If you have a load of plums but no time to use them, wash them and put them in a ziplock freezer bag and store in the freezer until you’re ready to use (Pit them first if you have time) I recommend labeling the jars with the contents and the date, even if it’s just scribbled on the lid with a sharpie. You can always cover it later with a label. I always regret when I don’t. I always think I will remember but…

SANTA ROSA PLUM JAM
2 lbs fresh plums (about 5 cups coarsely chopped)
3 cups sugar
3/4 cup water

EQUIPMENT
6 half pint canning jars with 2 piece lids
boiling water canning pot with rack
jar lifter (recommended)
jar funnel (recommended)
non-metal spatula(recommended)
labels (optional)

- Place the empty canning jars in the canning pot and fill it with water to cover jars by several inches. Boil to sterilize and then remove the jars to a clean rack and let cool slightly (jars should remain hot so don’t take them out too soon).
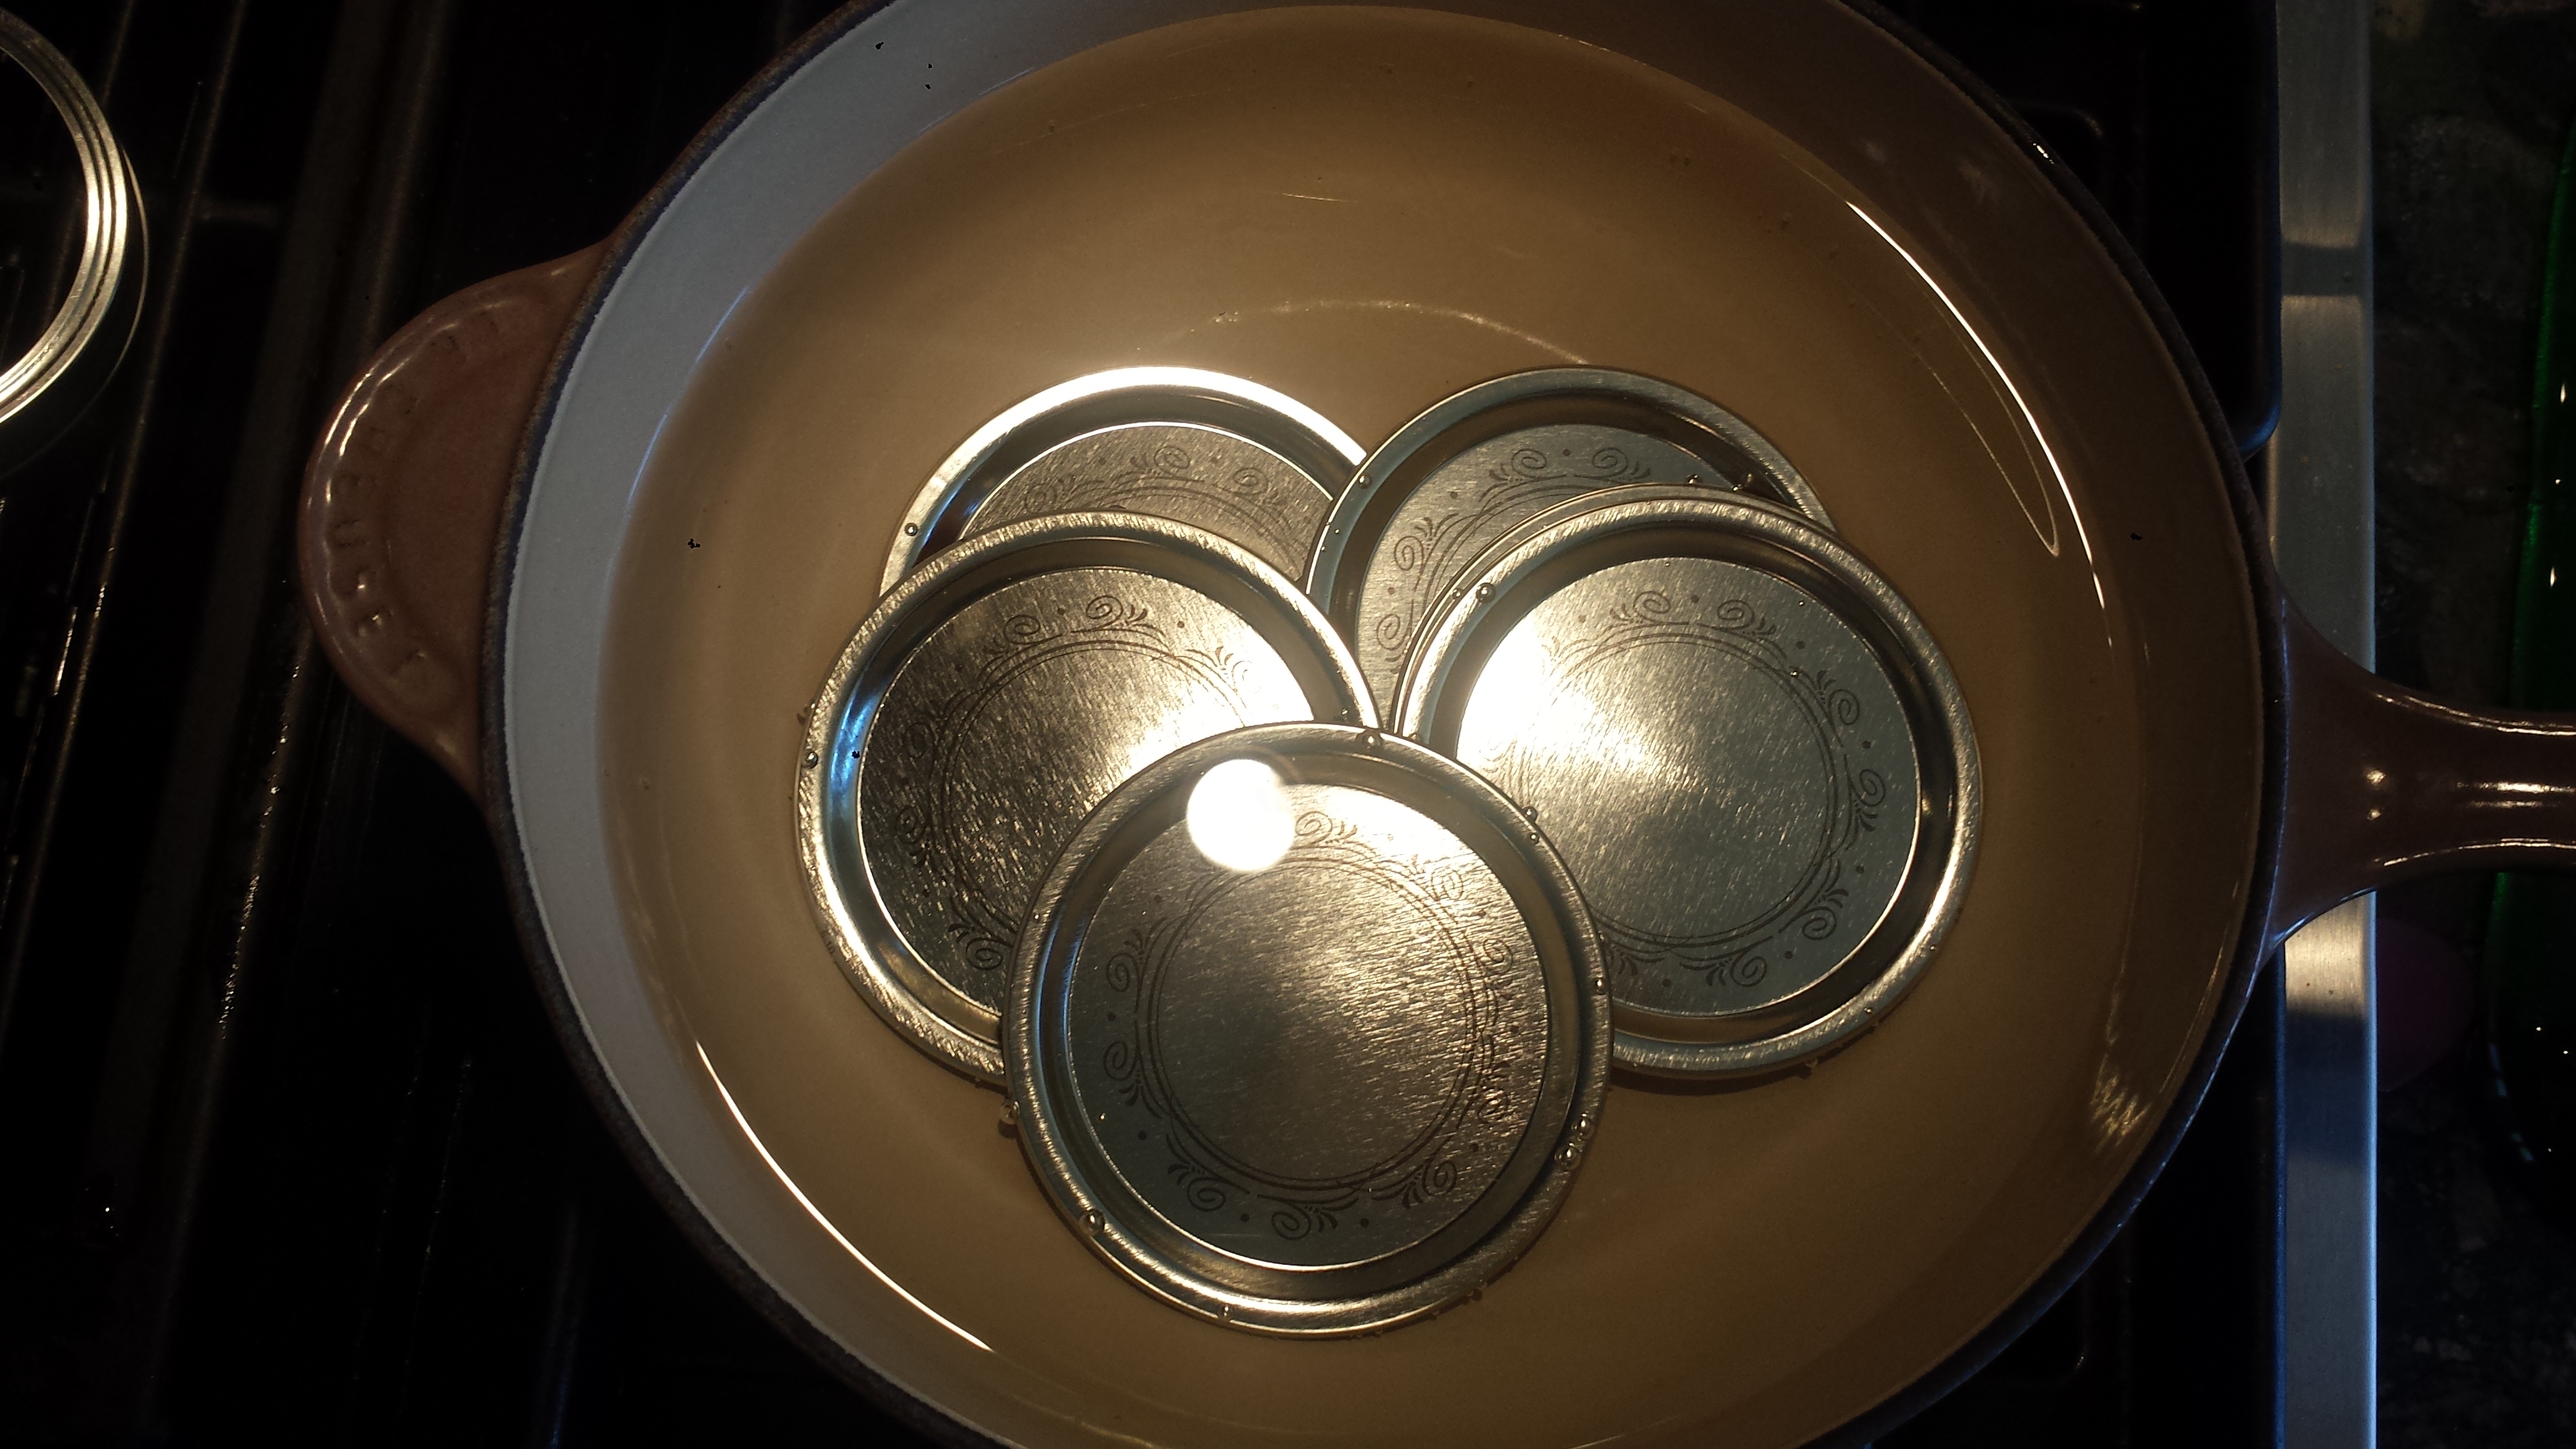
- The lid bases (not the rings) should be heated for 10 minutes to sterilize and help achieve a vacuum seal. This is easiest done in a saucepan kept below a boil.

- Remove pits from plums, cut away any bad parts and chop by hand,

- OR throw them all into a food processor for an even texture. Keep the peels on as it gives the jam a lovely color and flavor.
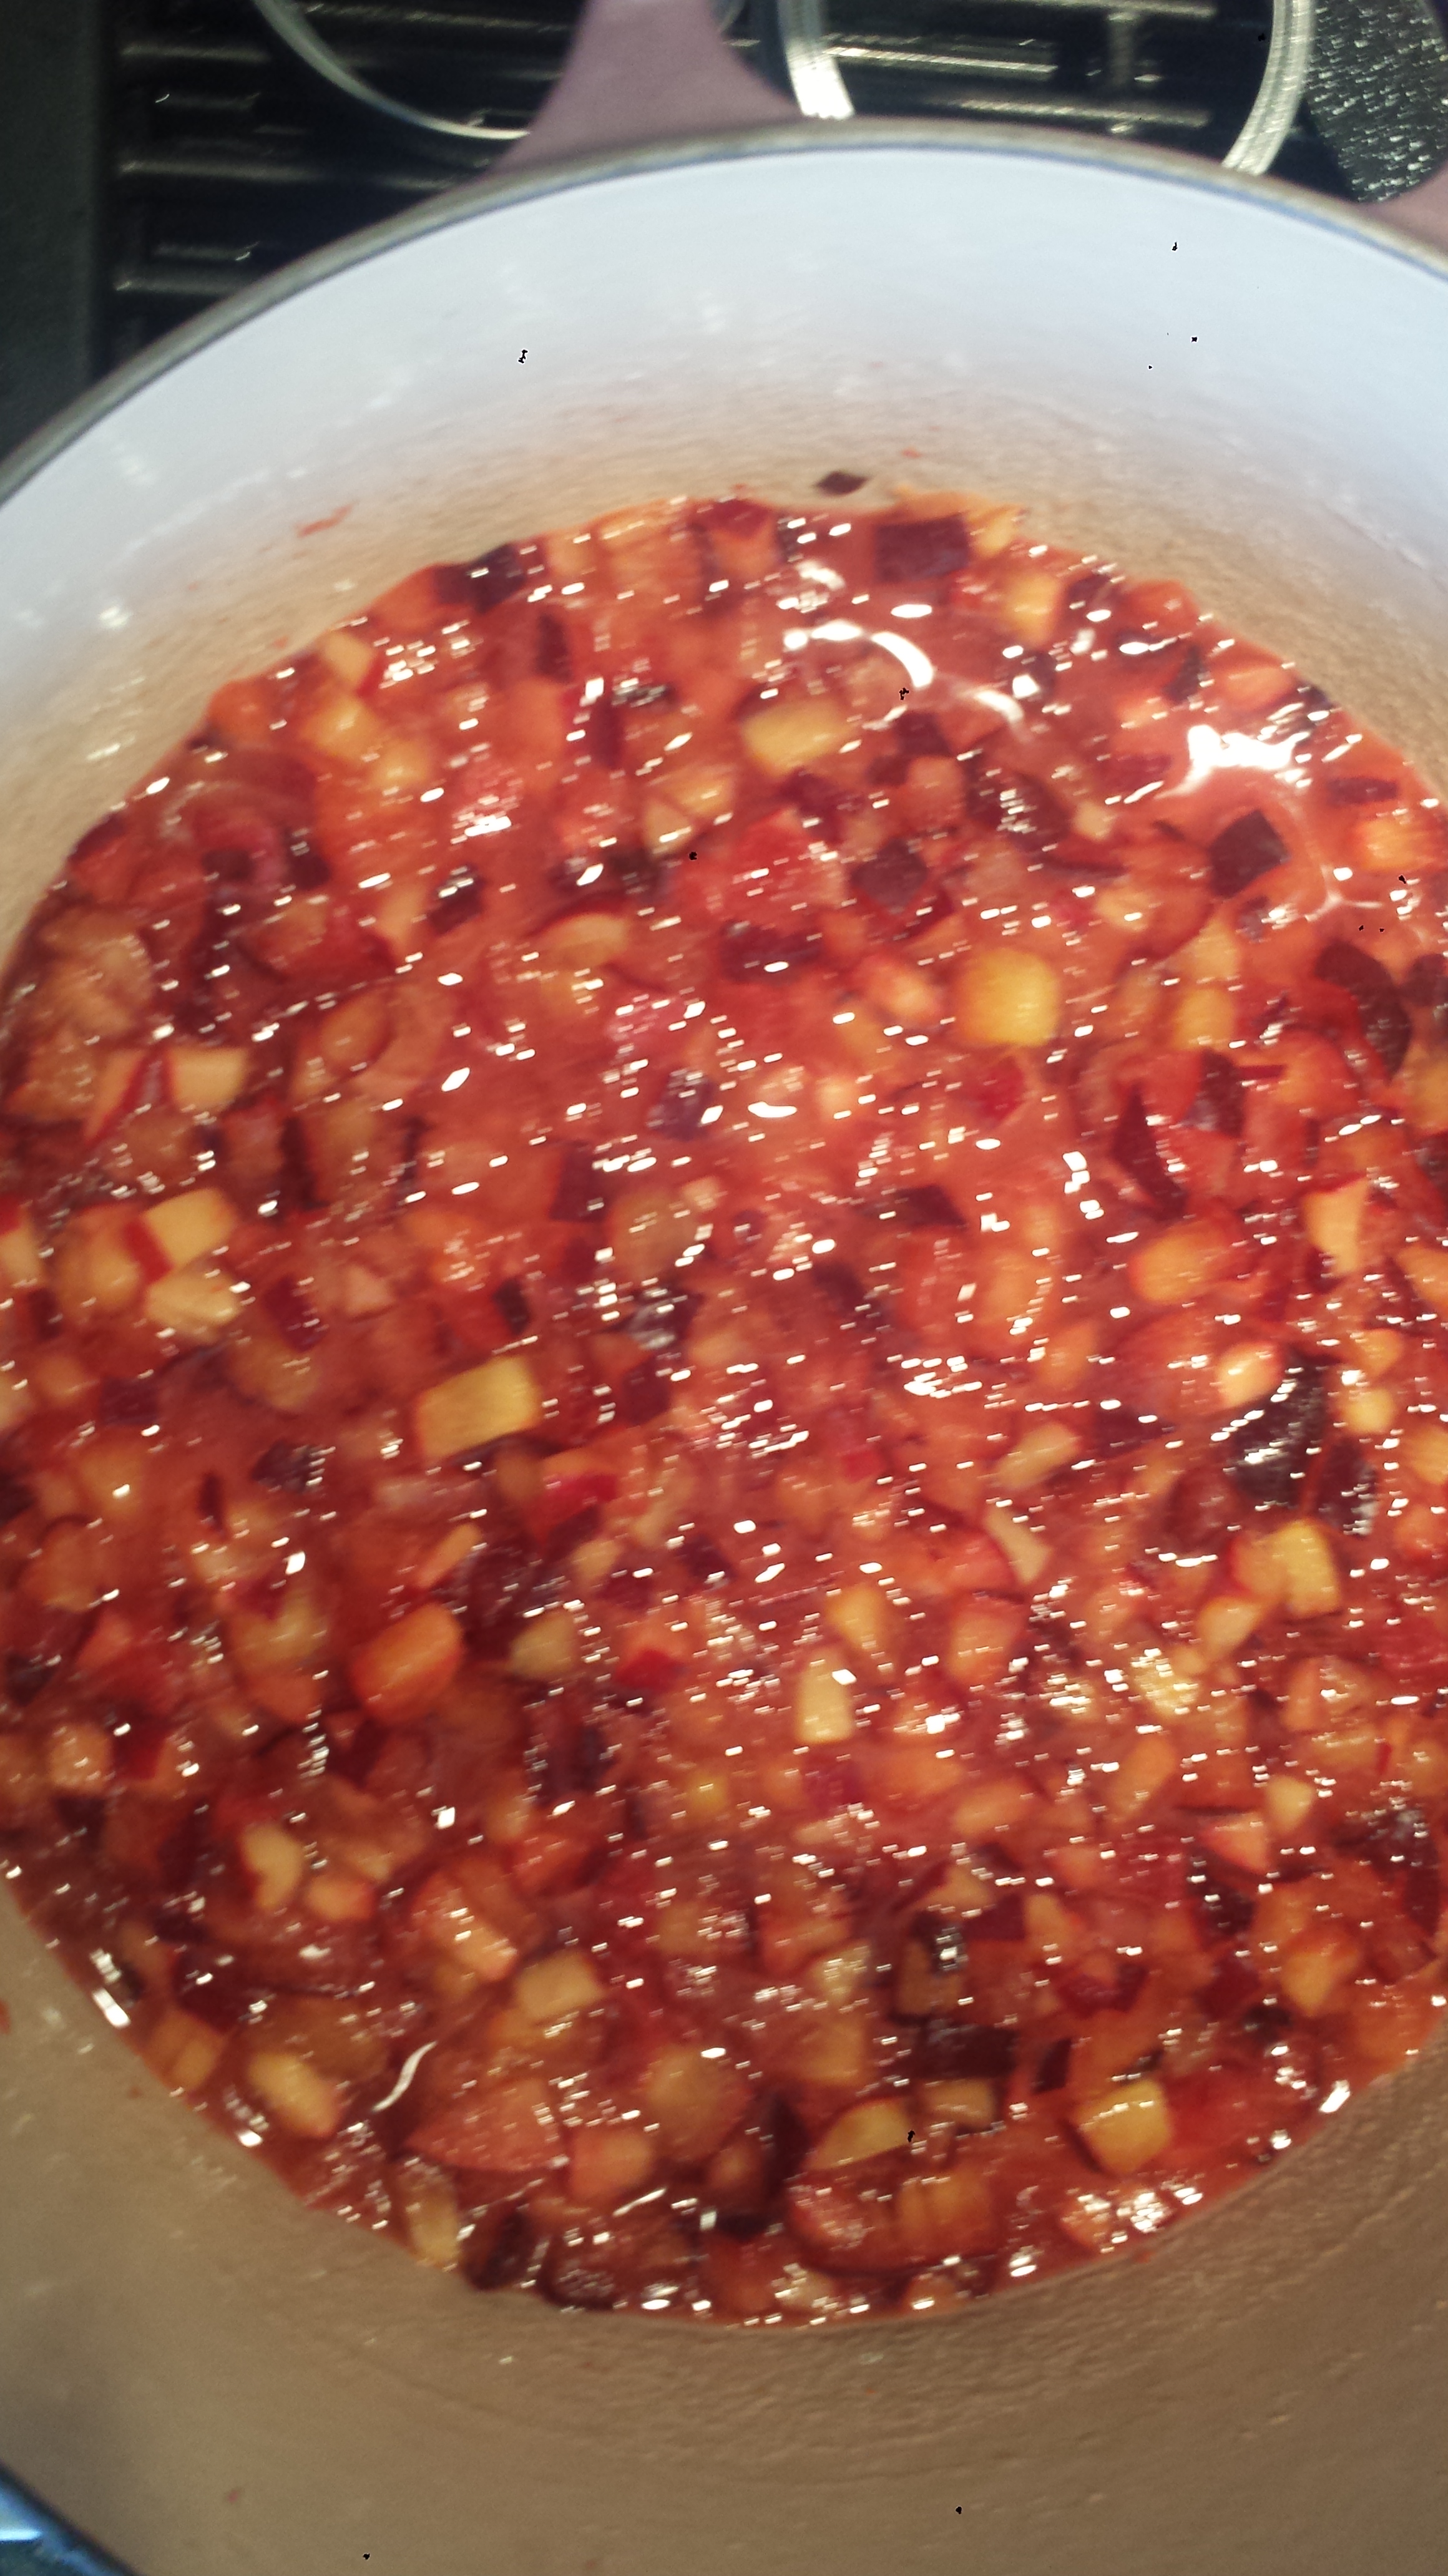
- Combine plums, sugar and water in a large saucepan. Bring slowly to a boil stirring until the sugar dissolves.

- Continue cooking while the mixture thickens, stirring frequently.
- Test for proper gelling by dipping a spoon into the hot mixture and tipping it sideways. If the jam falls off the spoon in a sheet it is done. If it drips off the spoon, cook a little longer.
- Remove from heat and skim foam if necessary

Photo Credit: http://www.gopresto.com/recipes/canning/
- Ladle hot jam into hot jars, leaving a 1/4 inch headspace.

- Remove any bubbles by running a non-metal spatula between the jar and the jam.
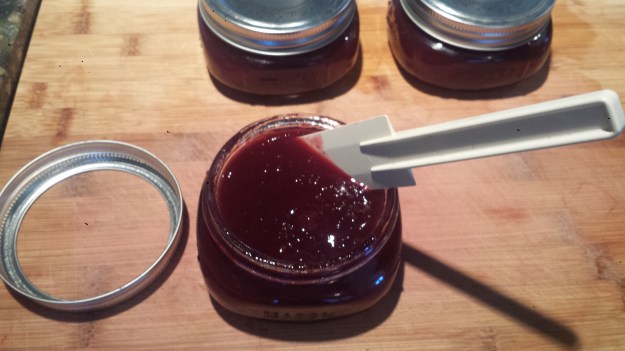
- Wipe the rim of the jars clean with a damp paper towel and place lid base on top then lid ring and tighten snugly (fingertip tip tight not as tight as you can make it).

Photo Credit: http://bigblackdogs.net/bread-and-butter-pickles/
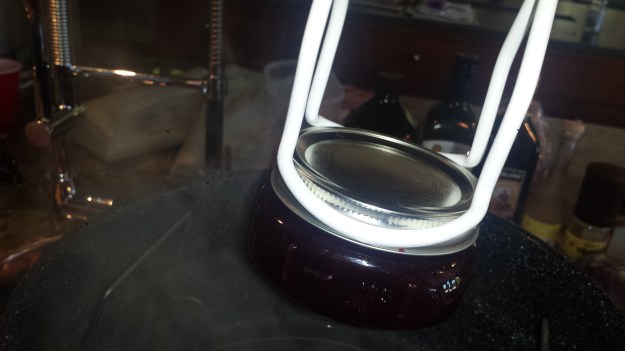
- Hook the rack on the edge of the pot, keeping the jars just out of the water. Place filled jars one at a time on the rack, then lower jars into hot water, cover and boil (process) 15 minutes

- Remove from water using a jar lifter and let cool. You may hear a popping sound as the lids create a vacuum seal.
- To test the seal, after 12 to 24 hours after processing, press the center of the lid to see if it is concave. If you can’t tell for sure, remove outer band and gently try to lift the lid with a finger. If it resists, then you have a good vacuum seal.
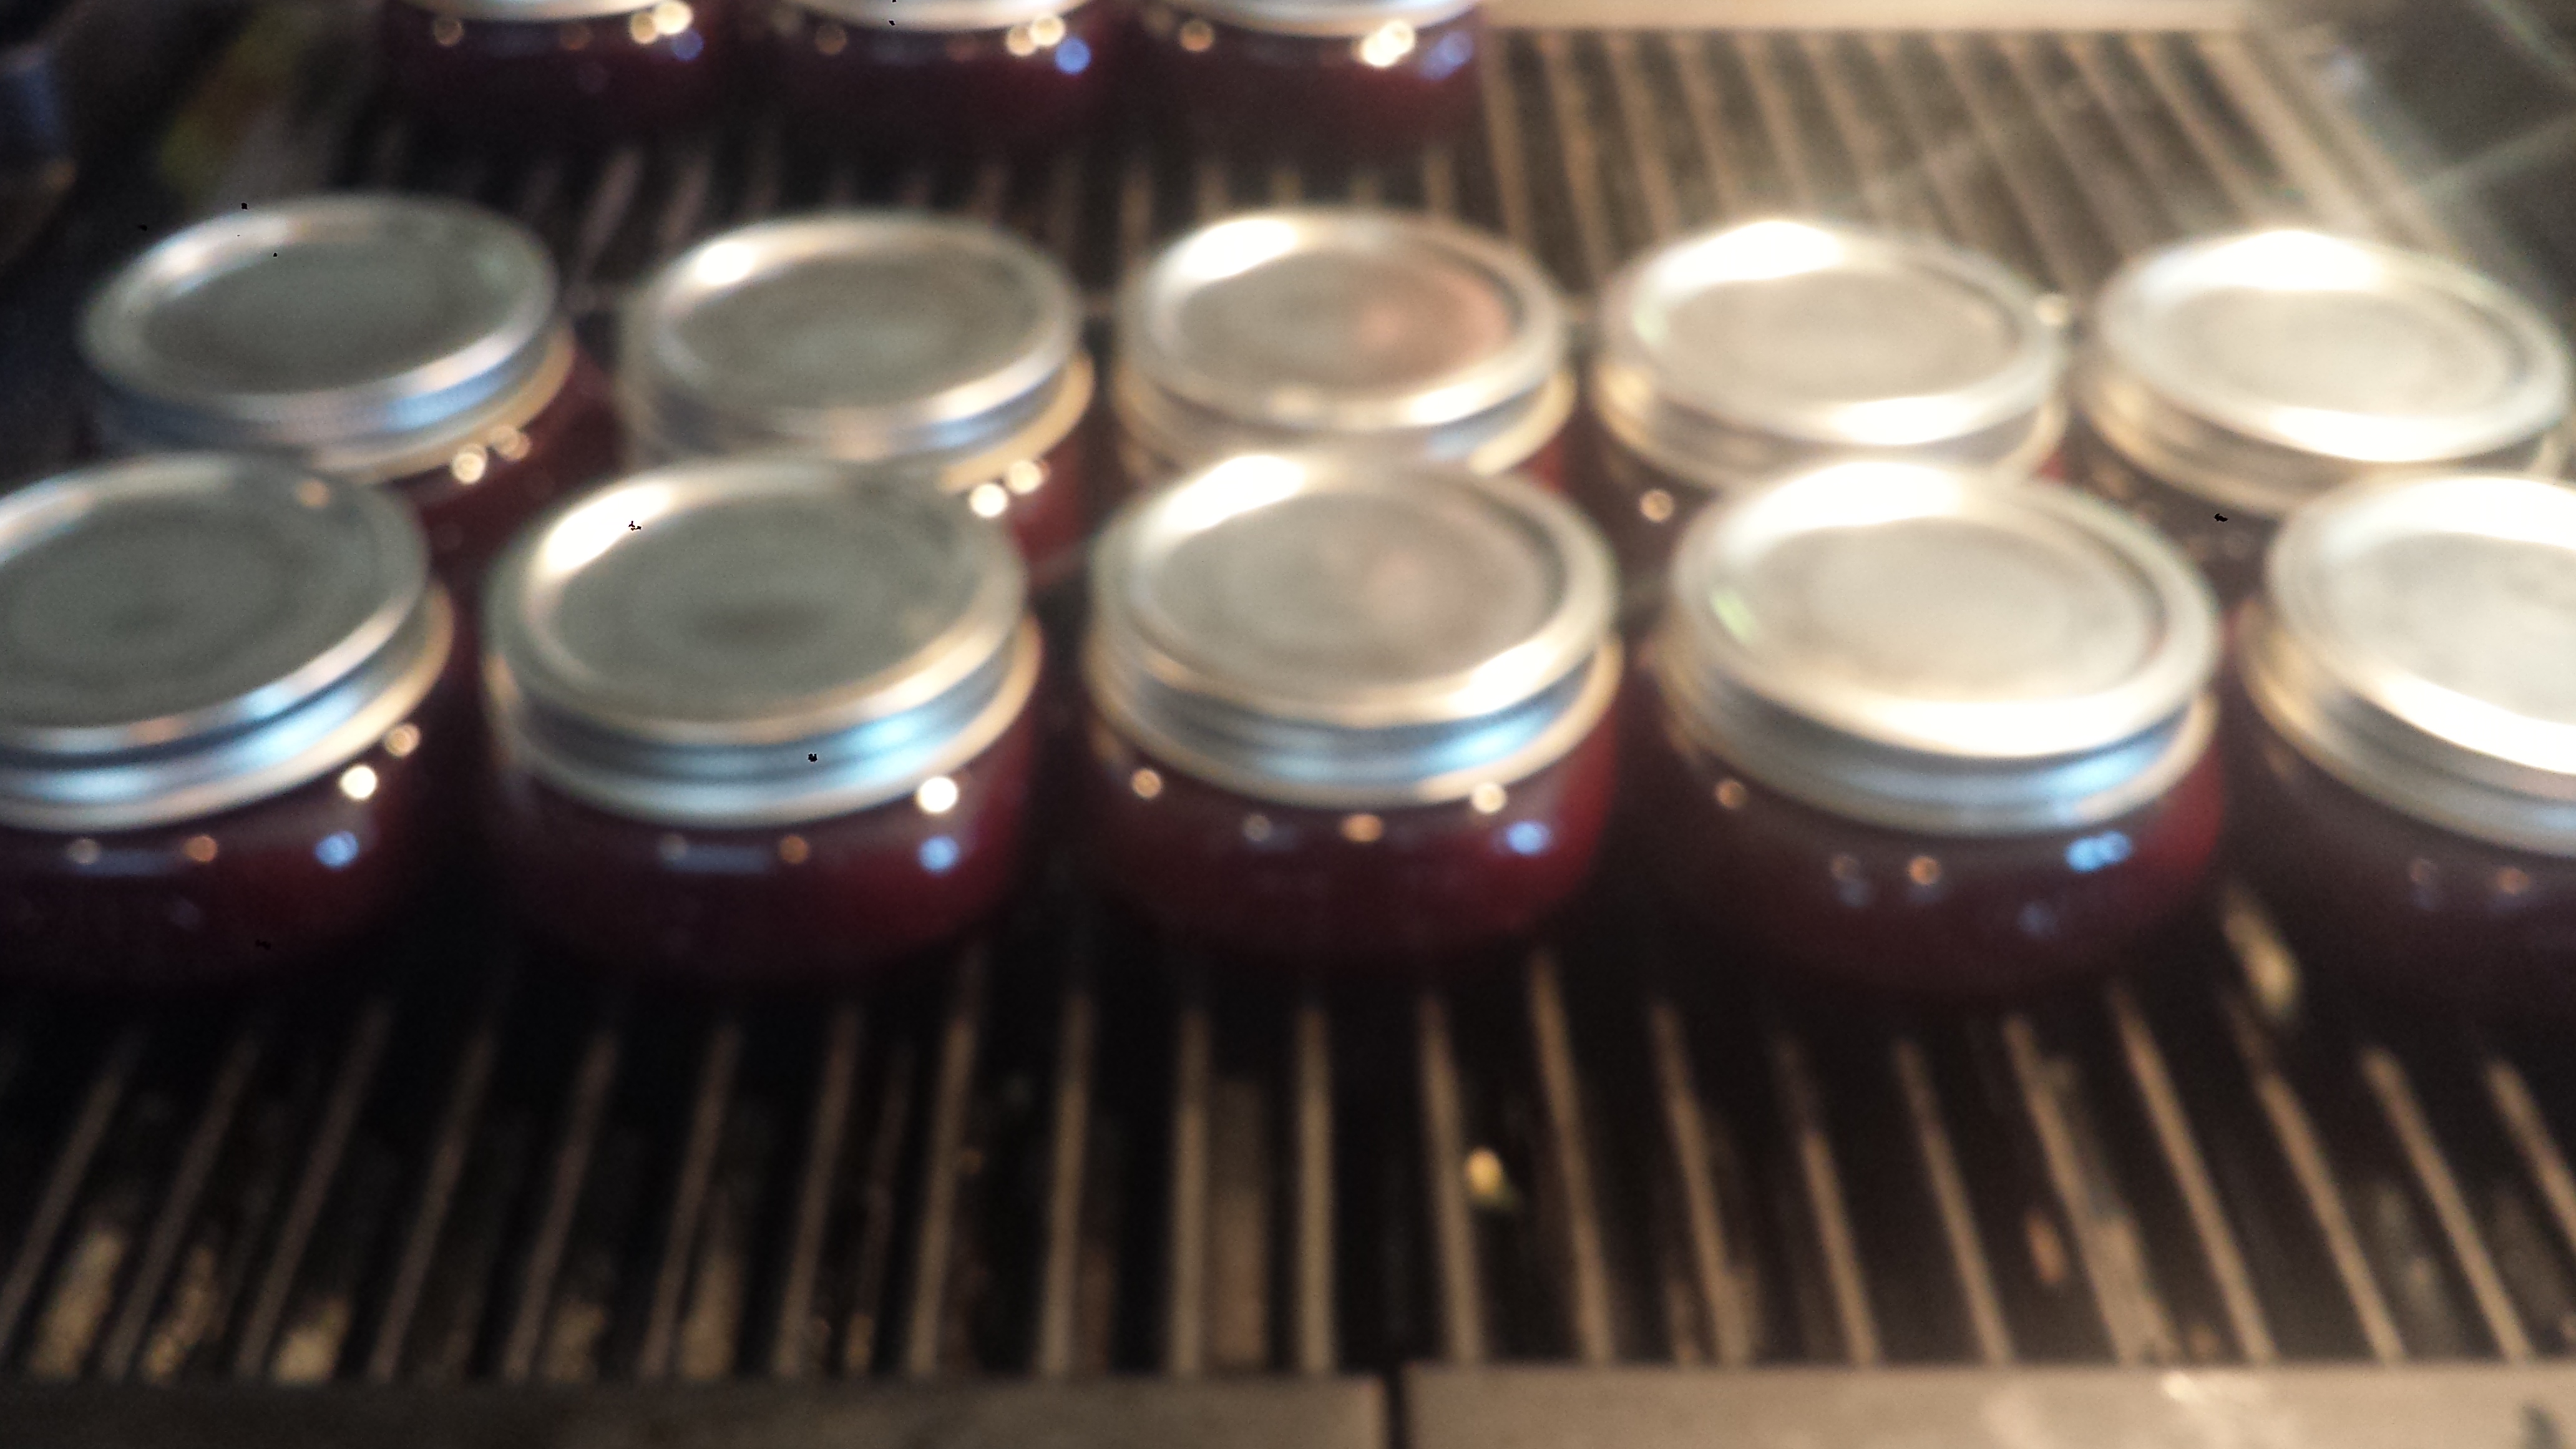
- Jars may be stored at room temperature until opened, then must be stored in the refrigerator.
2 lbs fresh plums (about 5 cups coarsely chopped) EQUIPMENTHomemade Plum Jam
3 cups sugar
3/4 cup water
6 half pint canning jars with 2 piece lids
boiling water canning pot with rack
jar lifter (recommended)
jar funnel (recommended)
labels (optional)
