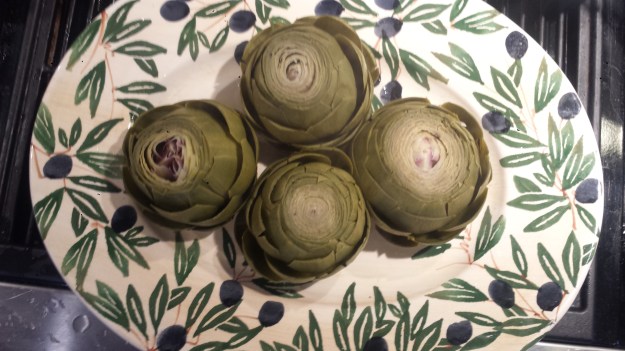
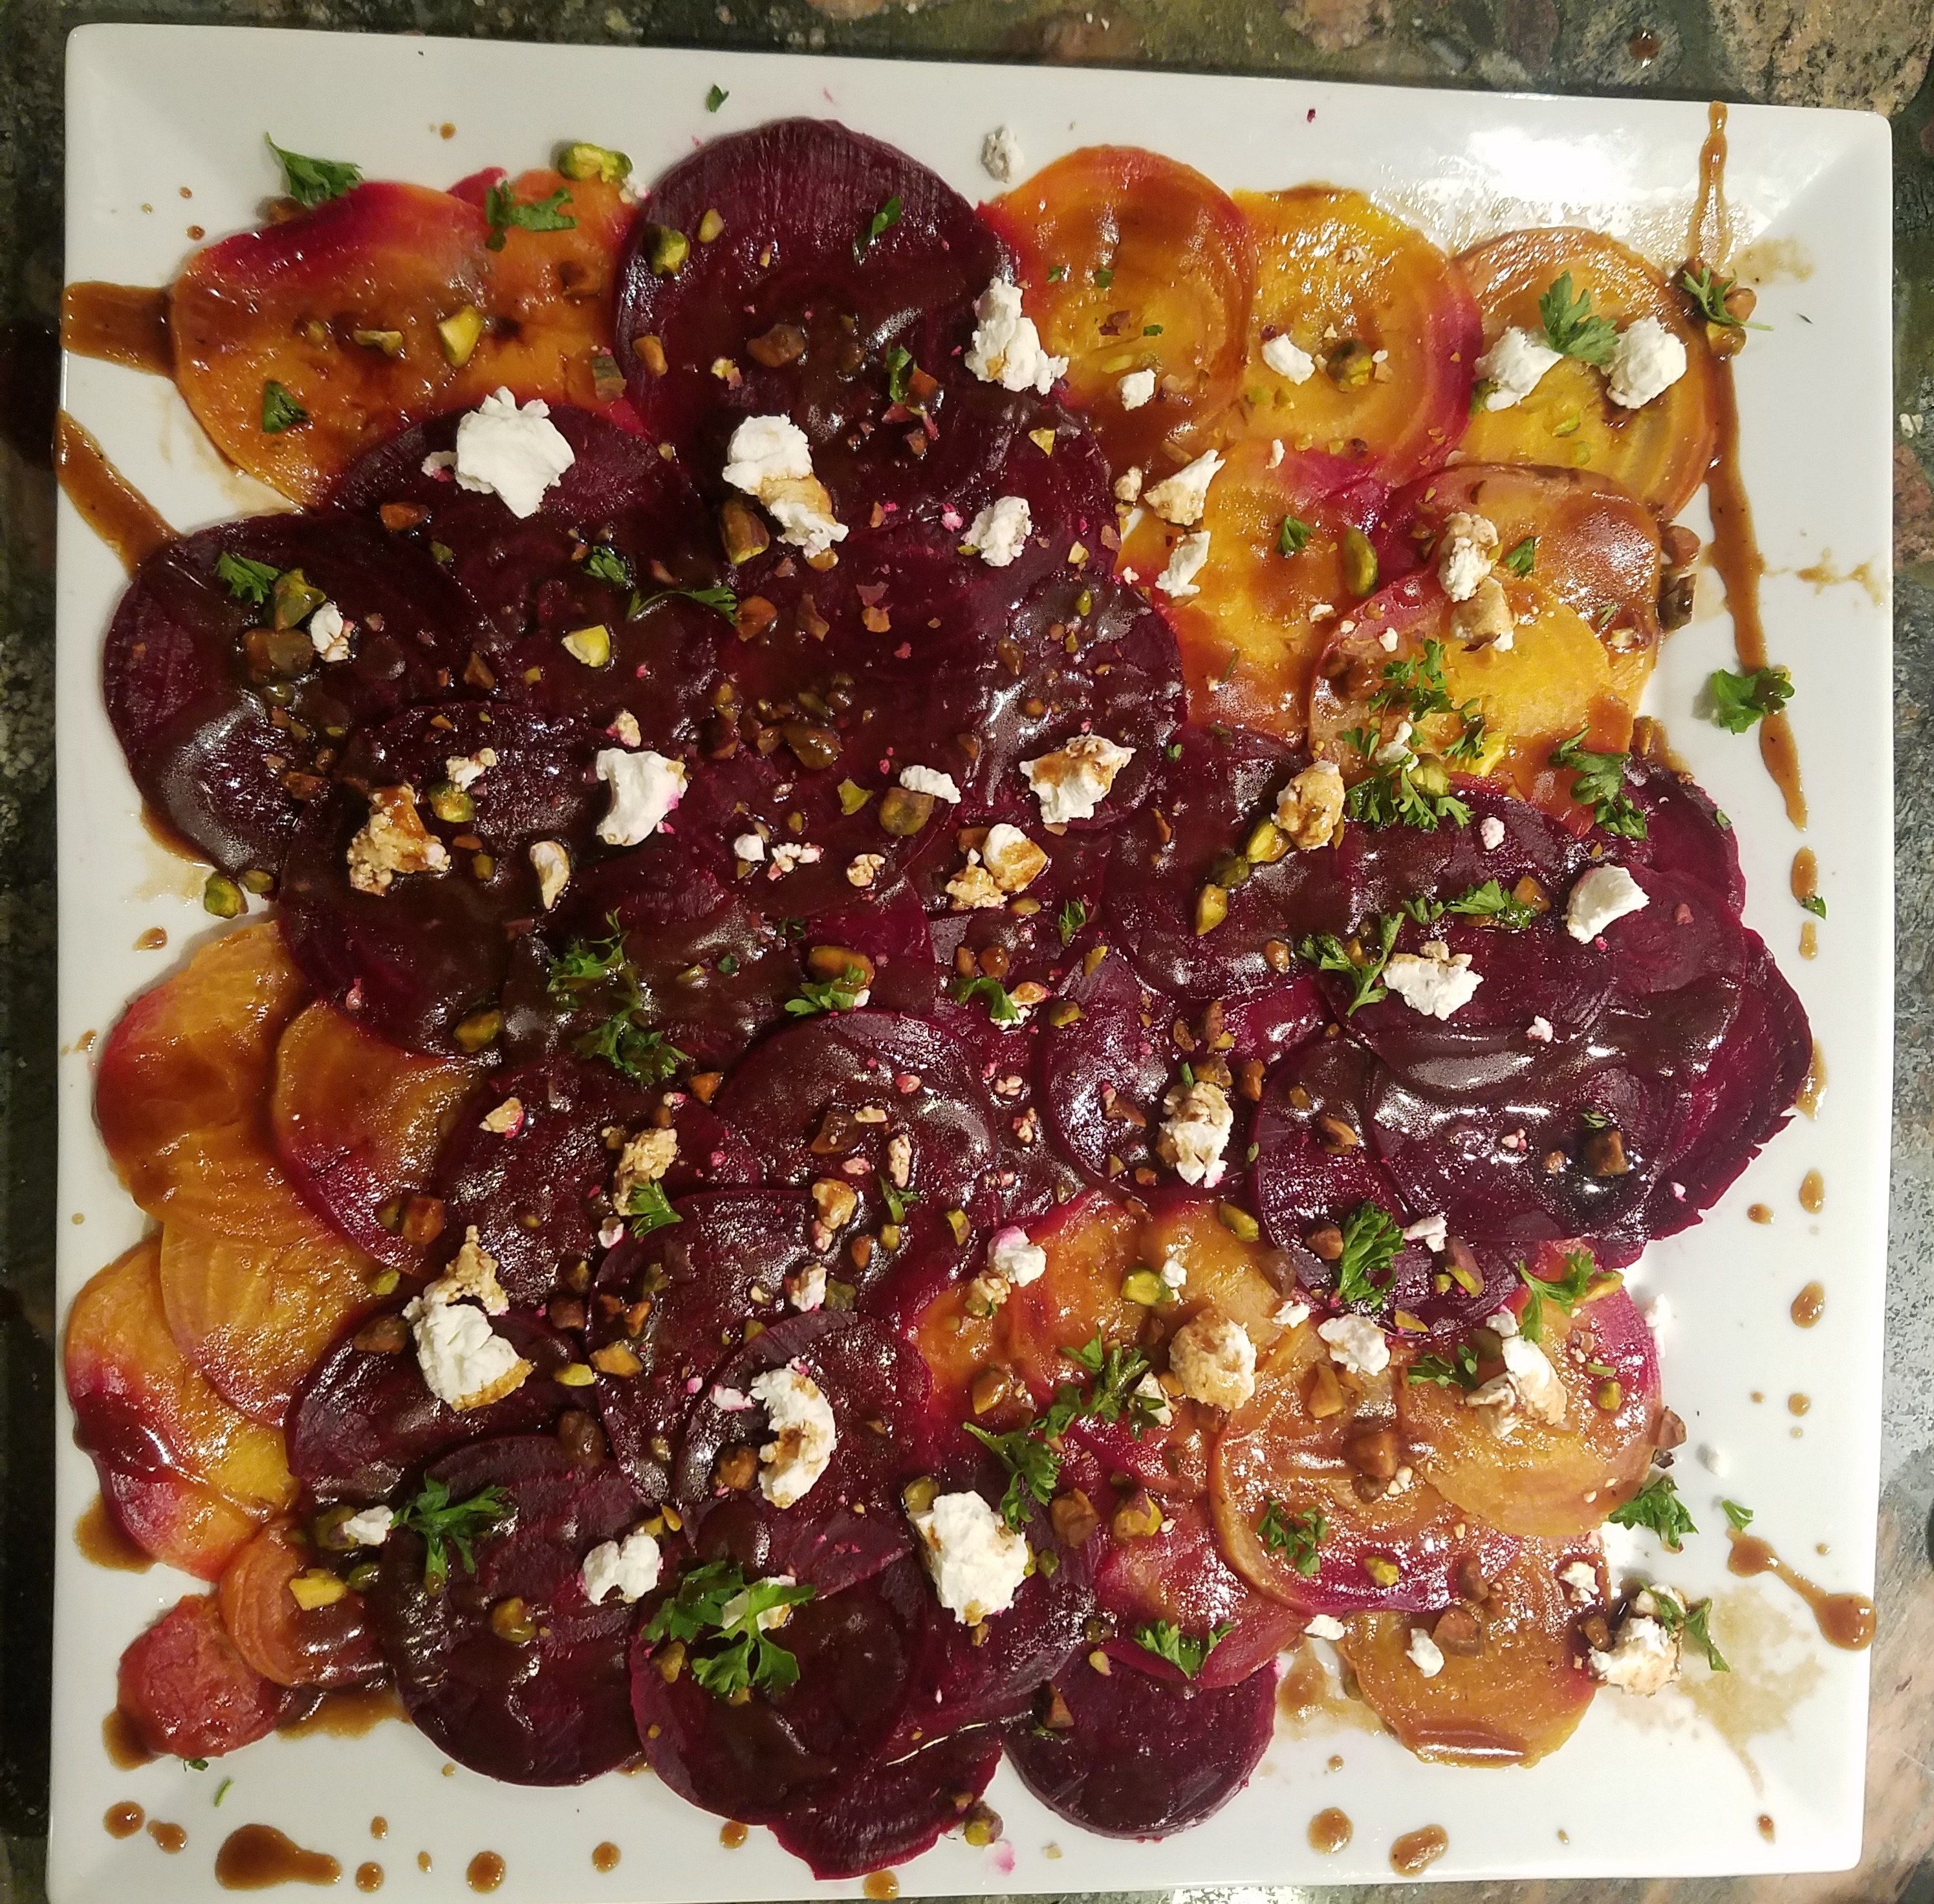
There is nothing more nostalgic for me than steaming artichokes and eating them one leaf at a time, just like when I was a kid, teethmarks and all. It’s definitely the easiest way to cook them and it makes a fun appetizer or side dish, especially when you have delicious sauces to dip them in. I grew up dipping artichokes in mayo or melted butter but why limit yourself? Picture whole steamed artichokes dipped in either Lemon Herb Butter or Garlic Parmesan Aioli (both vegan and delicious).

The artichokes in my garden are ripe, in fact one has flowered which is an incredible work of nature. They are actually just giant thistles. I love them so much, that I always let one go to seed on purpose and sometimes they go to seed by accident when I’m out of town, although for obvious reasons, that didn’t happen last year… I have recently oven roasted, pan roasted and stuffed artichokes with great results. For the more adventurous artichoke lover, check out these recipes:
Meatless Monday-Roasted Artichokes & Fennel with Lemon Parsley Pesto
or
Meatless Monday – Roasted Artichokes Stuffed with Garlic, Parmesan & Quinoa
or
Meatless Monday – Pan Seared Artichokes with Blackened Garlic

Artichokes are great for scooping up yummy sauces but are they actually good for you? The answer is Yes! Did you know that artichokes have more antioxidants than cranberries or blueberries and more fiber than lima beans or prunes? They are also loaded with important vitamins and minerals including vitamin K, magnesium, potassium and manganese. Click through to read more about the amazing artichoke: 12 Unexpected Health Benefits of Artichokes .
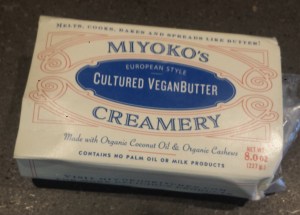
Those trying to limit or eliminate dairy from their diets should try a few fabulous new vegan products. Miyoko’s Creamery has a vegan butter made from cultured cashew milk. It is delicious and tastes just like real butter. It’s actually the only butter I buy now and comes in unsalted too. Miyoko also makes really delicious cheeses and is coming out with new types all the time. I really like the Double Cream Chive soft cheese and her Vegan Mozz works…
My favorite vegan mayonaise is Just Mayo from Hampton Creek which is so good that the mayo industry tried to shut them down. It’s egg free and made from pea protein but best of all it tastes just like the real thing. I love promoting new products that are really good. I also like Vegenaise Mayo from Follow Your Heart which is easier to find.

Another non-dairy staple is VioLife Just Like Parmesan. It comes in a wedge that you can freshly grate into dishes. It’s pretty darn good and I’m picky about cheese. Look for these products in your store. I promise, you won’t be disappointed.

TIPS: I like to cut the sharp tips off the ends of the leaves but you can skip this step if you are in a hurry or don’t want to go to the trouble. You can also just throw them in a pan with plain water and they will turn out just fine. A wide pan where the artichokes can fit in a single layer works better than a tall one.
STEAMED ARTICHOKES
4 artichokes
1 bay leaf
3-4 cloves garlic
3-4 lemon slices or 1 Tbsn lemon juice)
1/2 tsp salt
1/4 tsp pepper

- Bring 2 inches of water to a boil and add bay leaf, garli, lemons, salt and pepper.
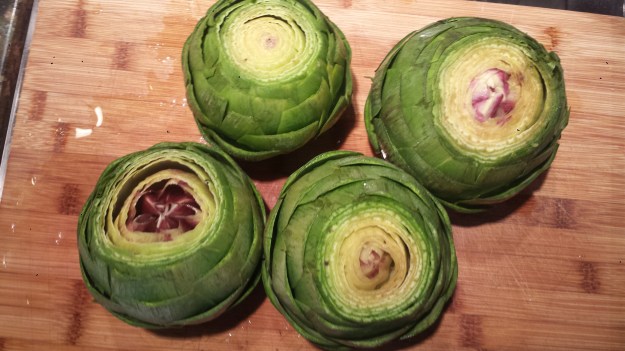
- Cut the stems off each artichoke so they can sit upright. Trim the prickly thorn tips from each petal and cut the top half inch off of each one. Rinse them under cool water.

- Place them upside-down in the water, cover the pot and simmer on low for 25-35 minutes, or until a knife can be easily pierce the bottom. While the artichokes are simmering, prepare your dips.

- Using tongs, remove the artichokes from water and allow to drain. Place on a serving platter.
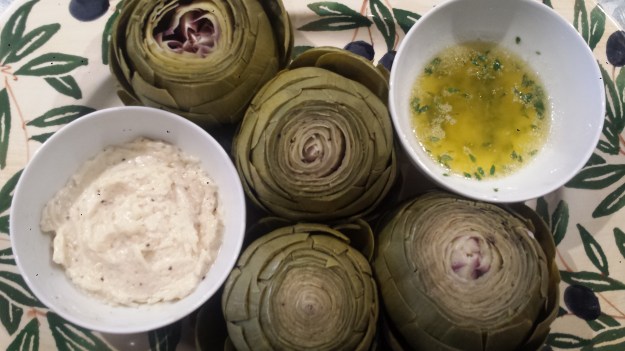
- Serve with dips and lots of napkins.

LEMON HERB BUTTER
1/2 cup vegan butter, melted
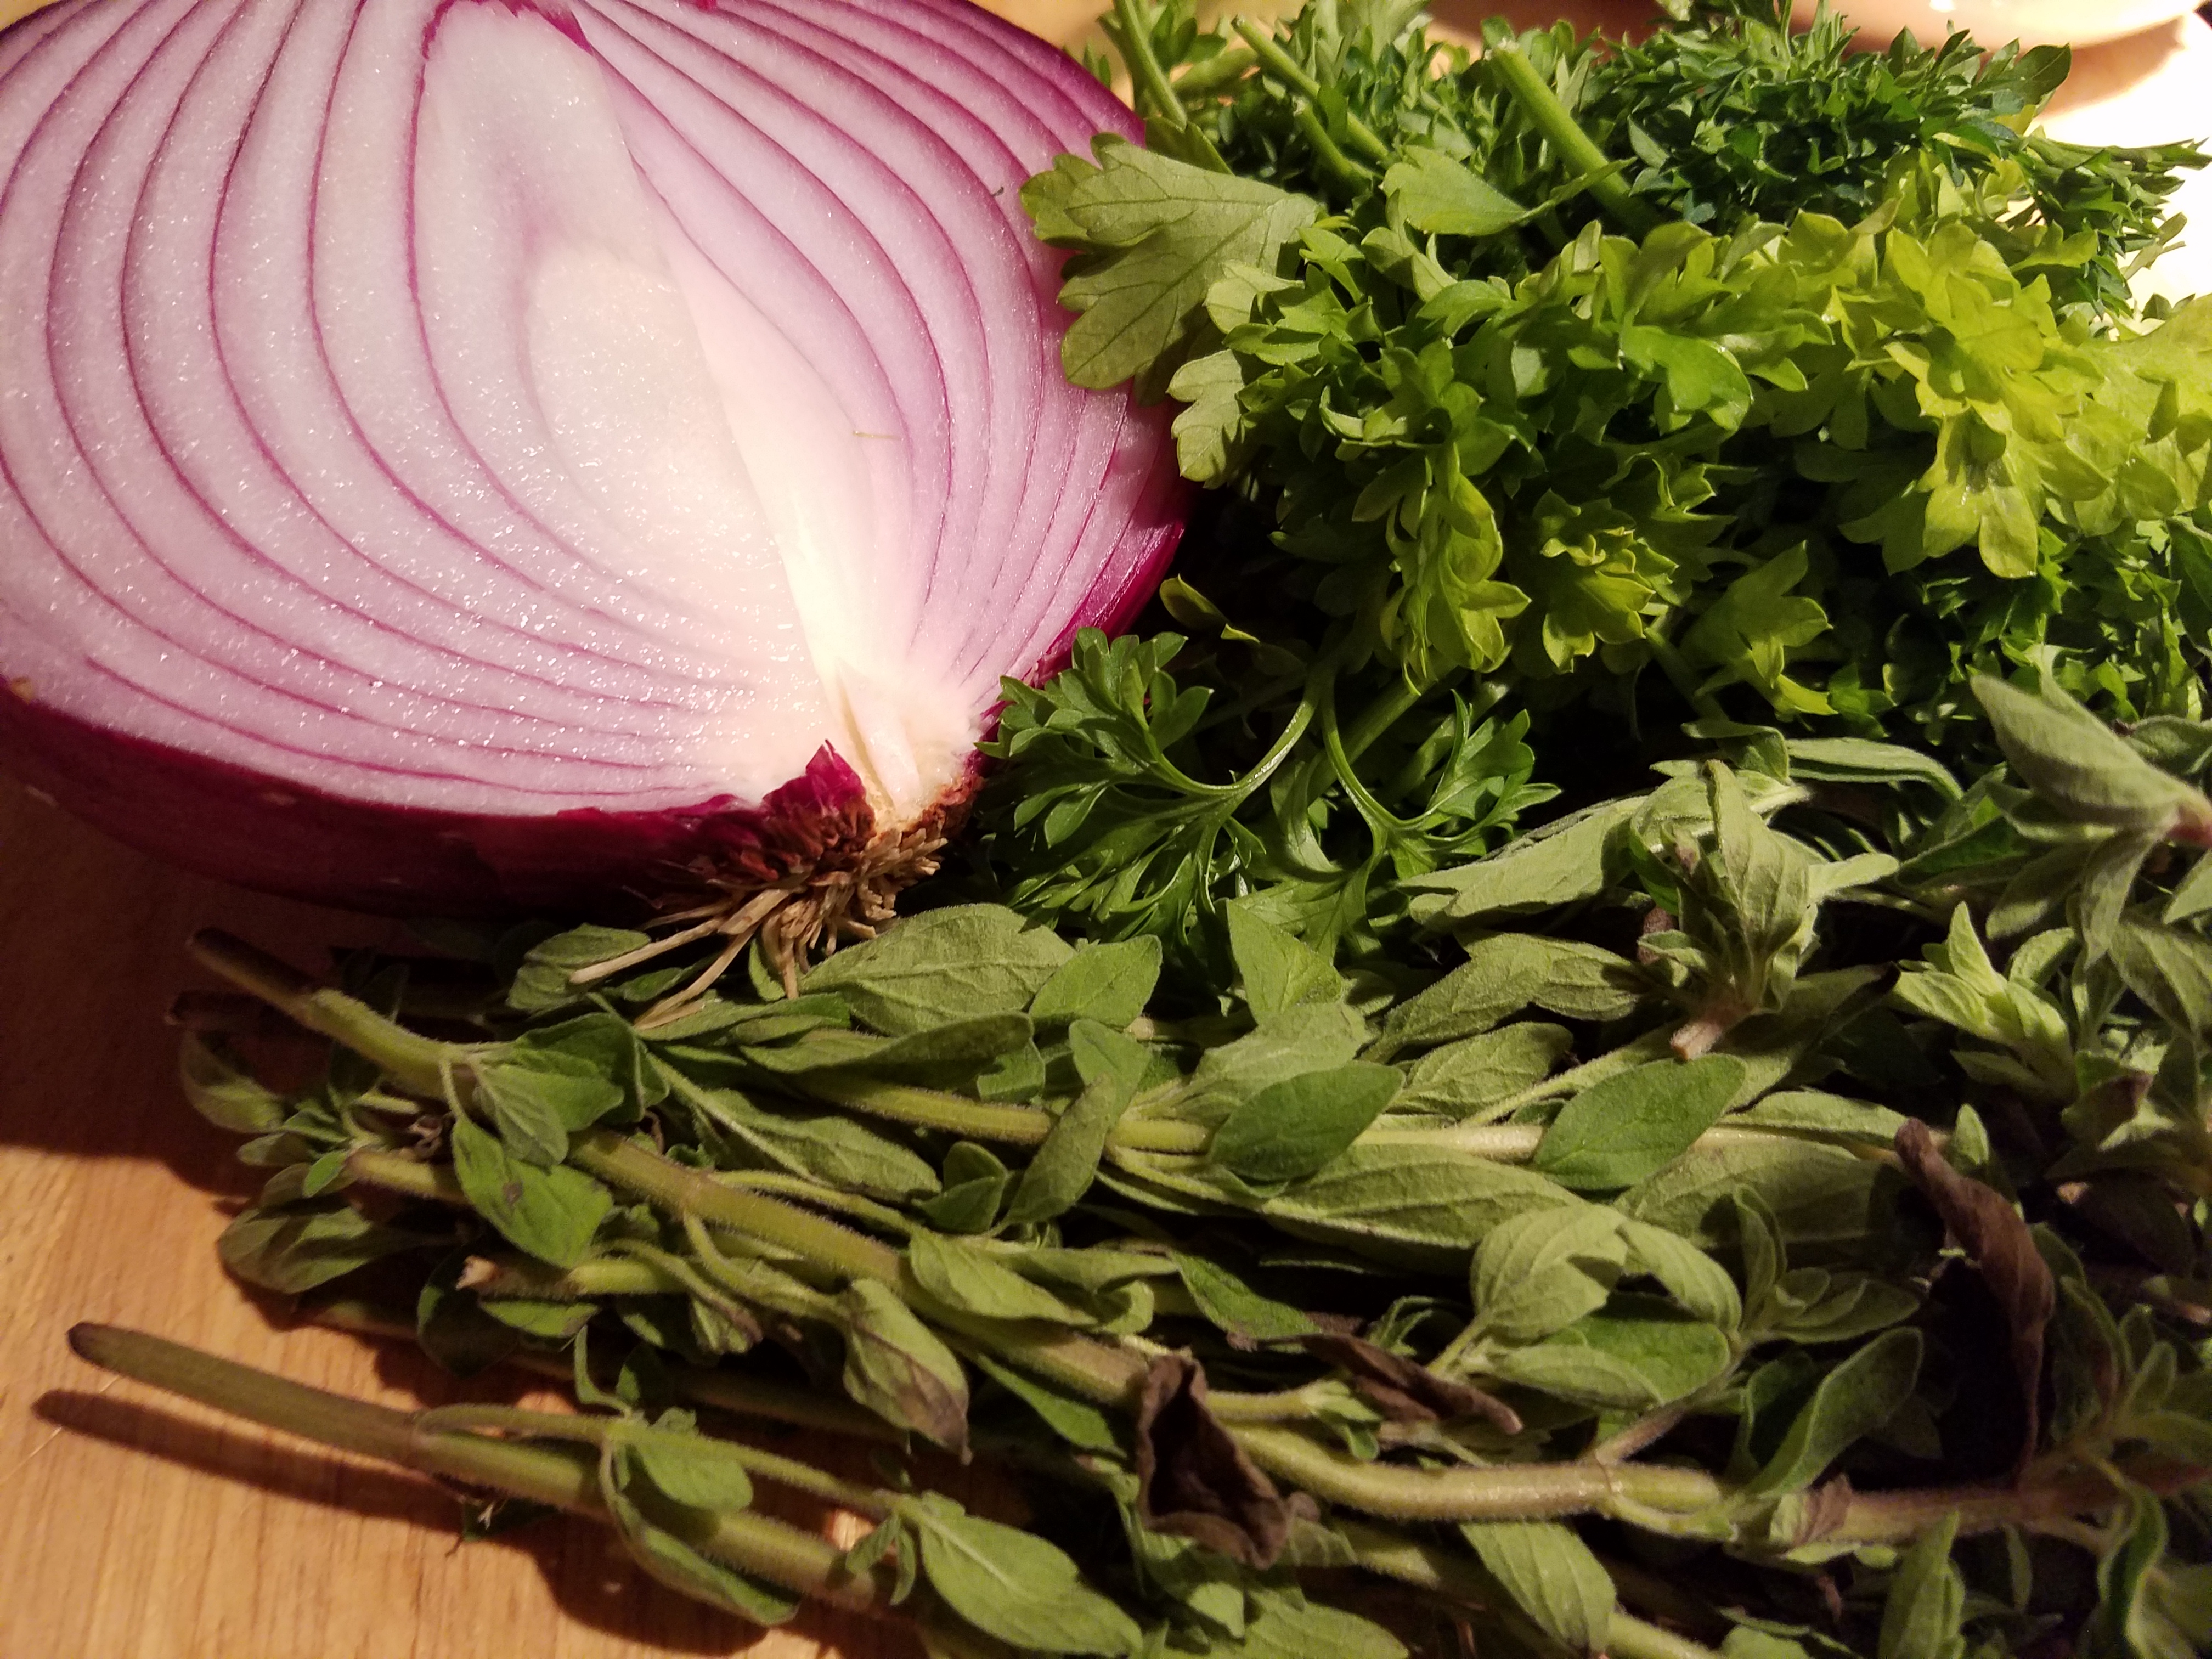
1 Tsp fresh or 1/2 tsp dried thyme, oregano or basil
1 Tbsn lemon juice
- In a small bowl, stir together all ingredients. Taste and season with salt if desired. Serve warm.

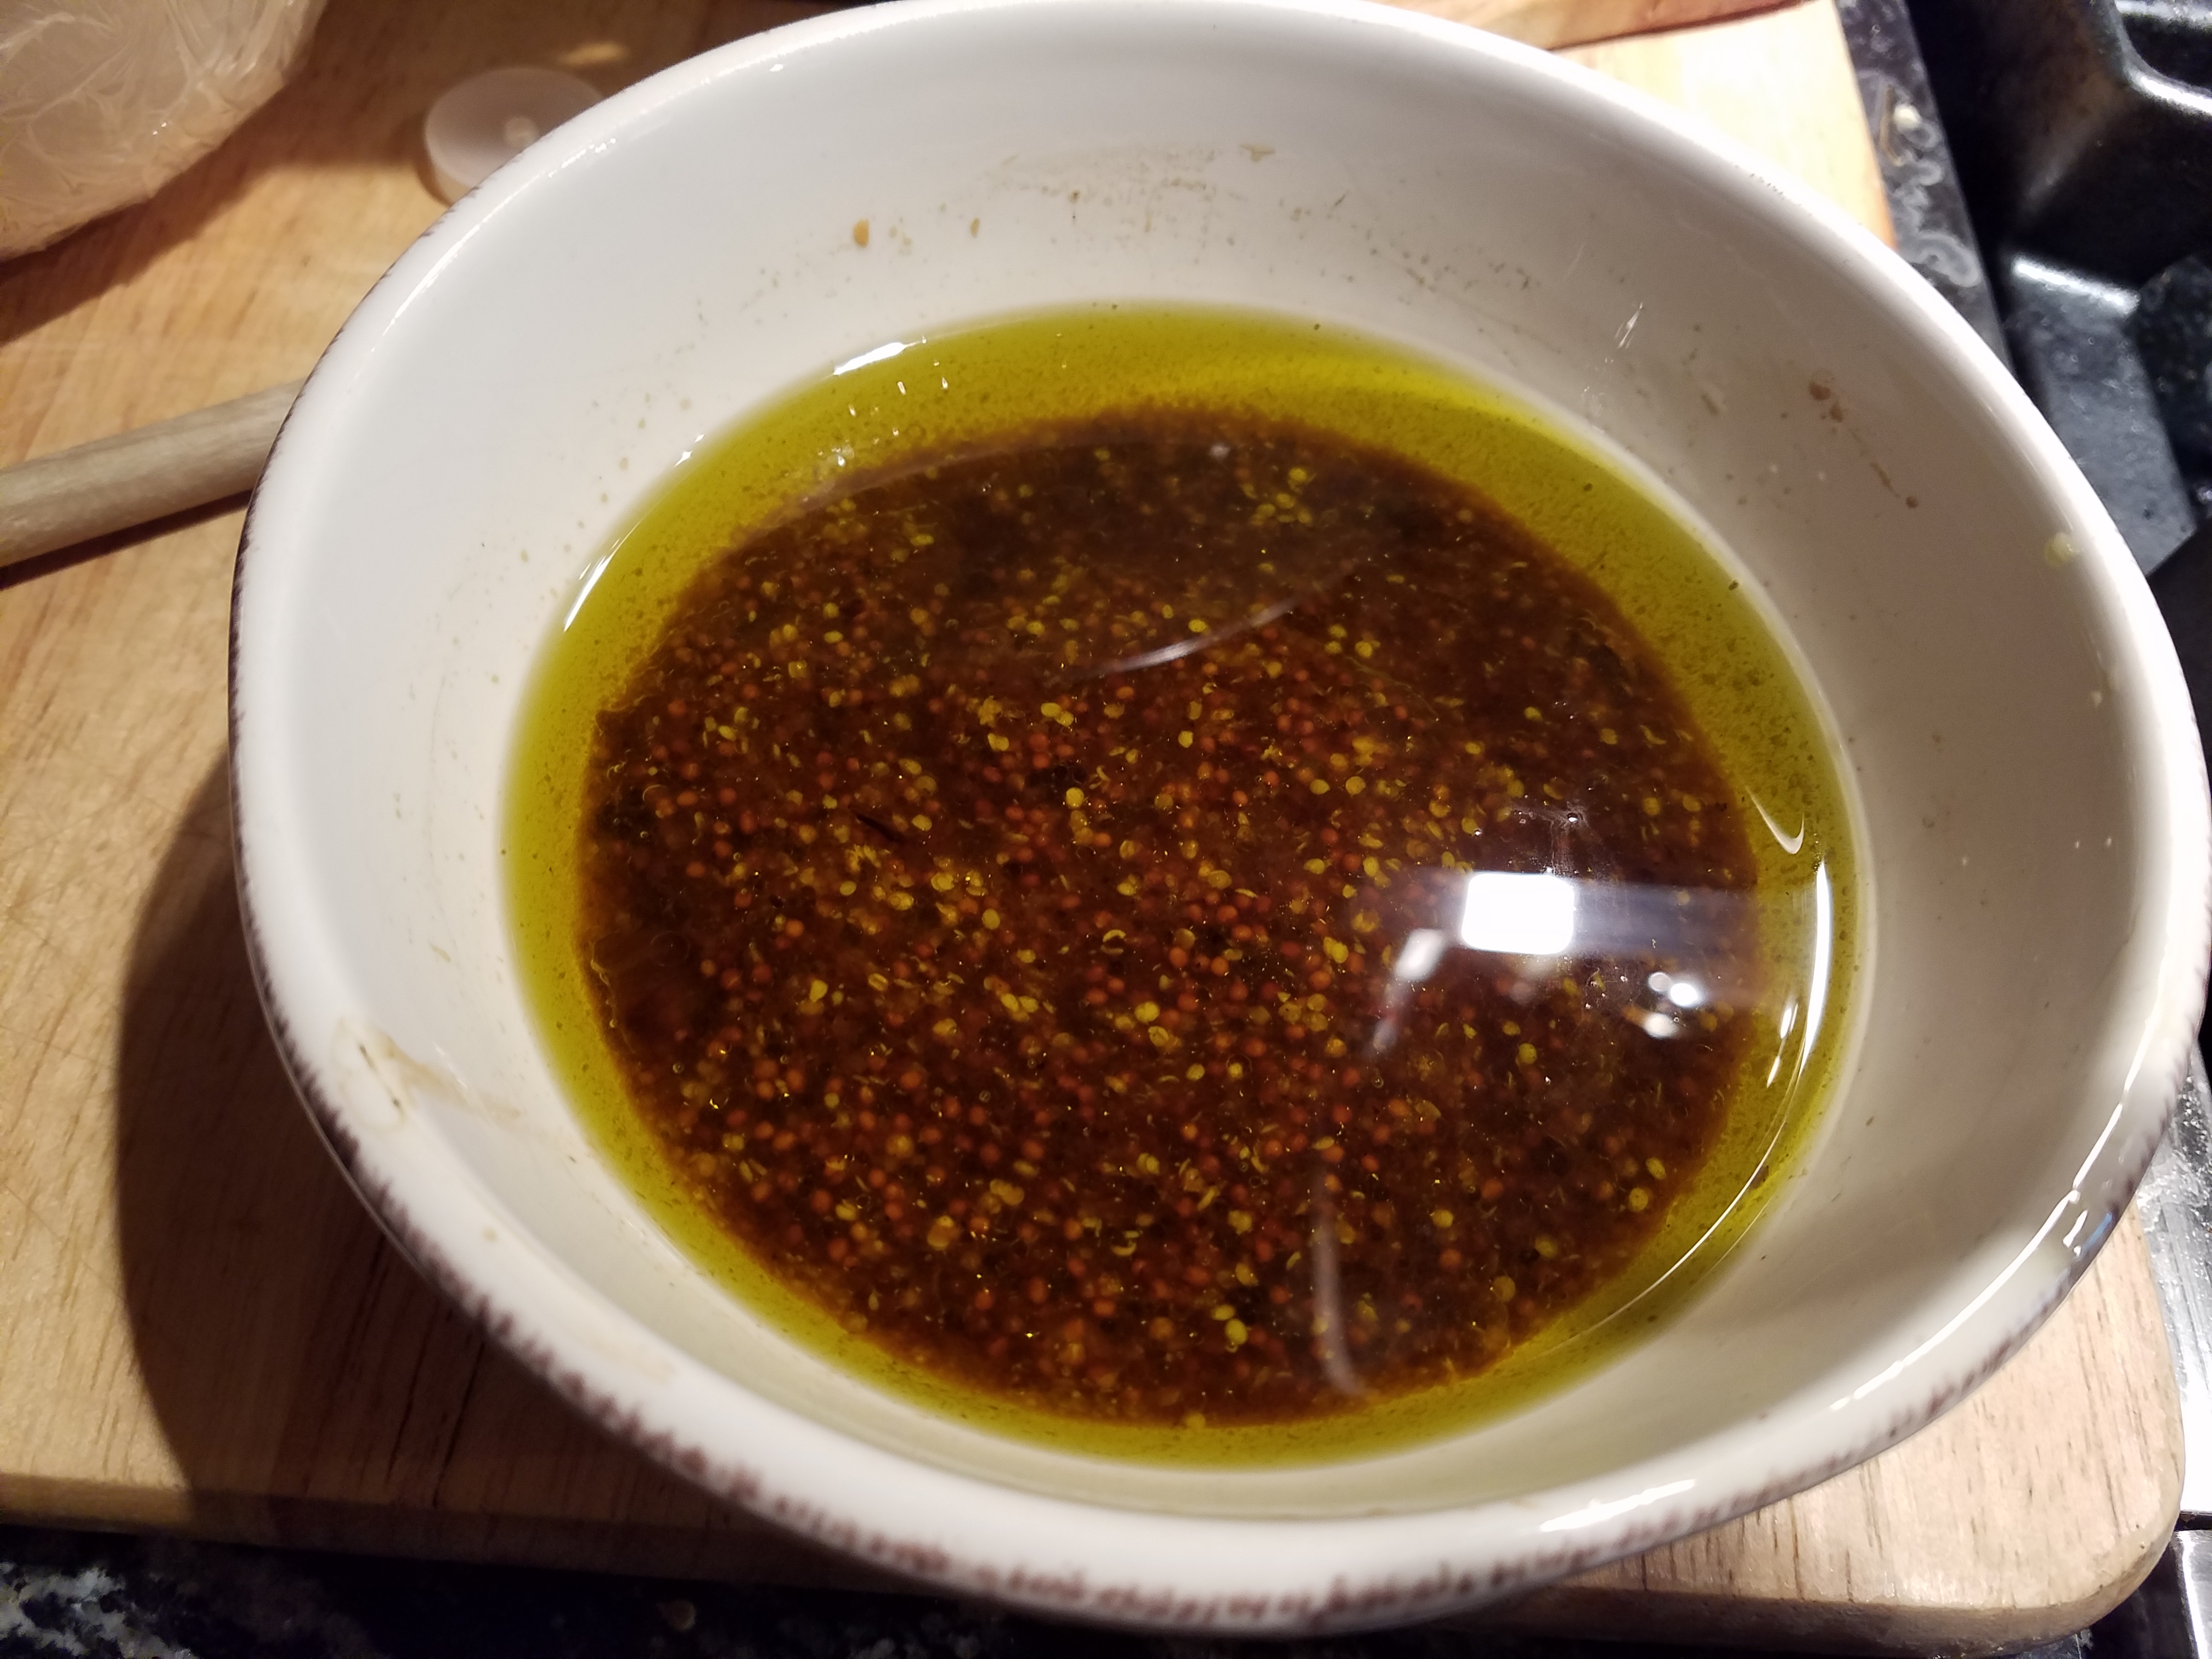
GARLIC PARMESAN AIOLI
1/2 cup vegan mayonaise or plain yogurt for a zip
1-2 cloves garlic, minced (or garlic paste)
1/4 cup vegan parmesan cheese, grated
1/2 tsp salt
1/4 tsp pepper
- In a small bowl, mix all ingredients together. Taste and adjust seasonings, if necessary. Serve cold or at room temperature.
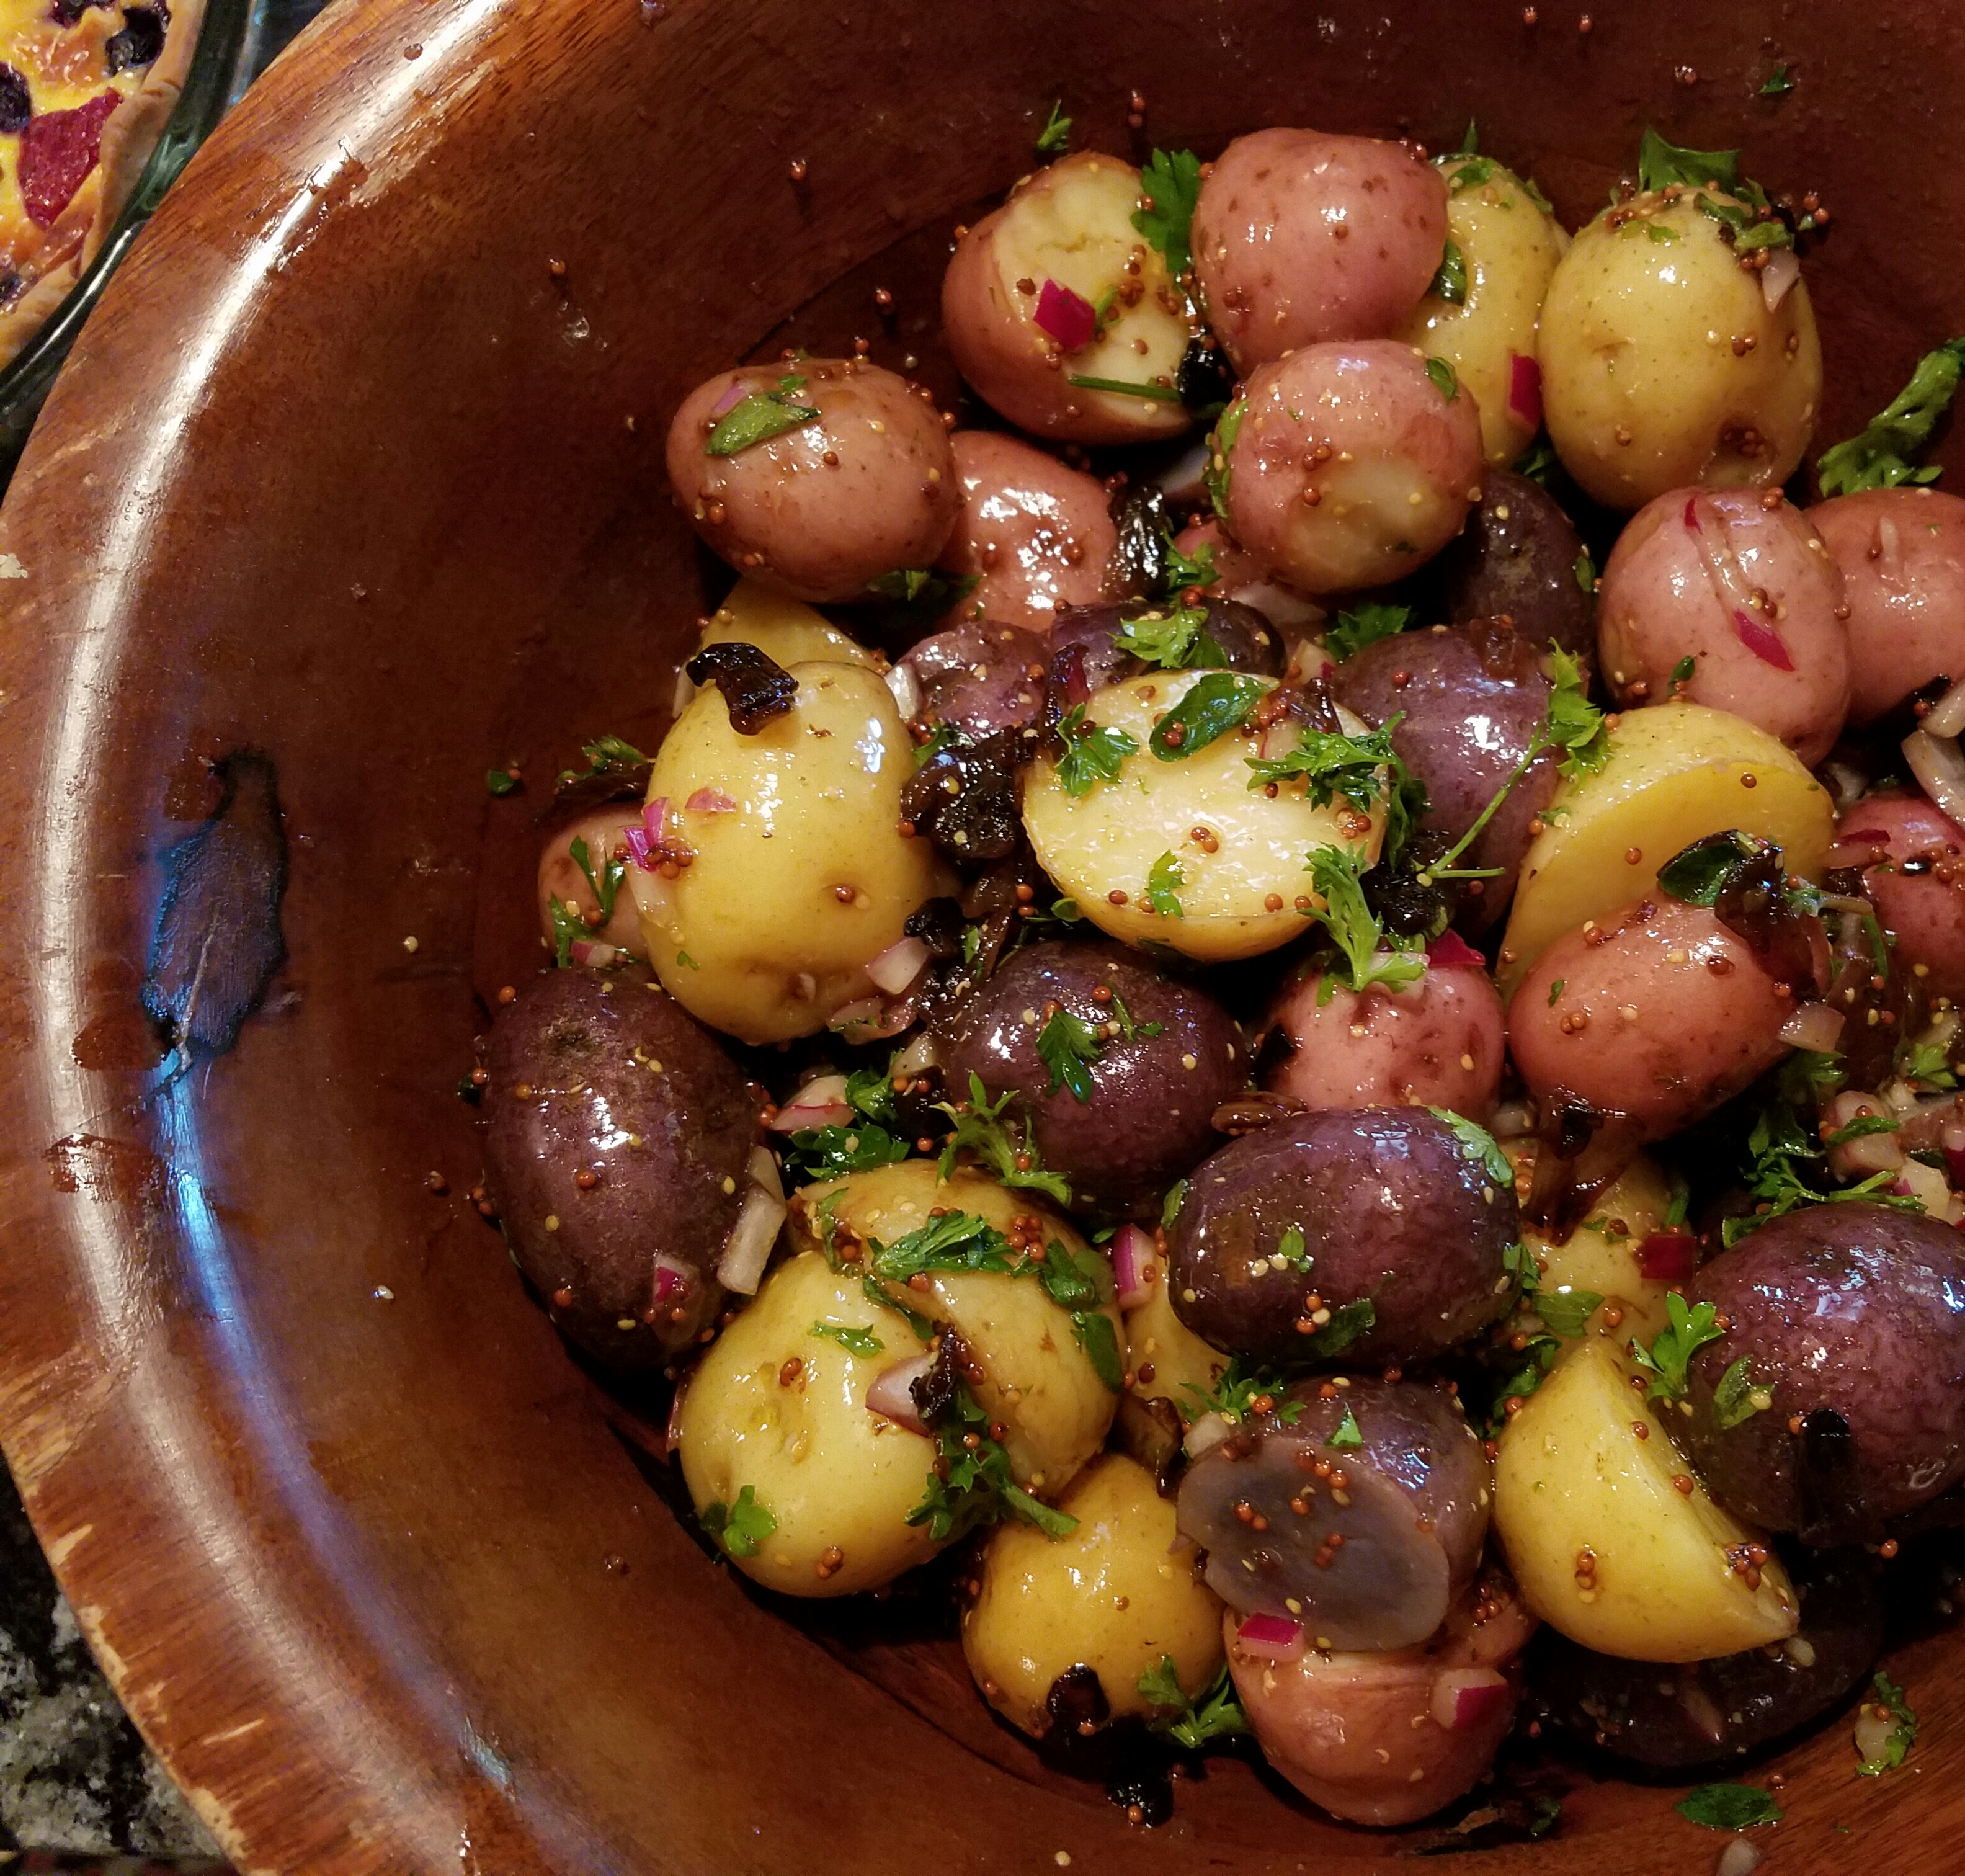
Steamed Artichokes with Two Dipping Sauces

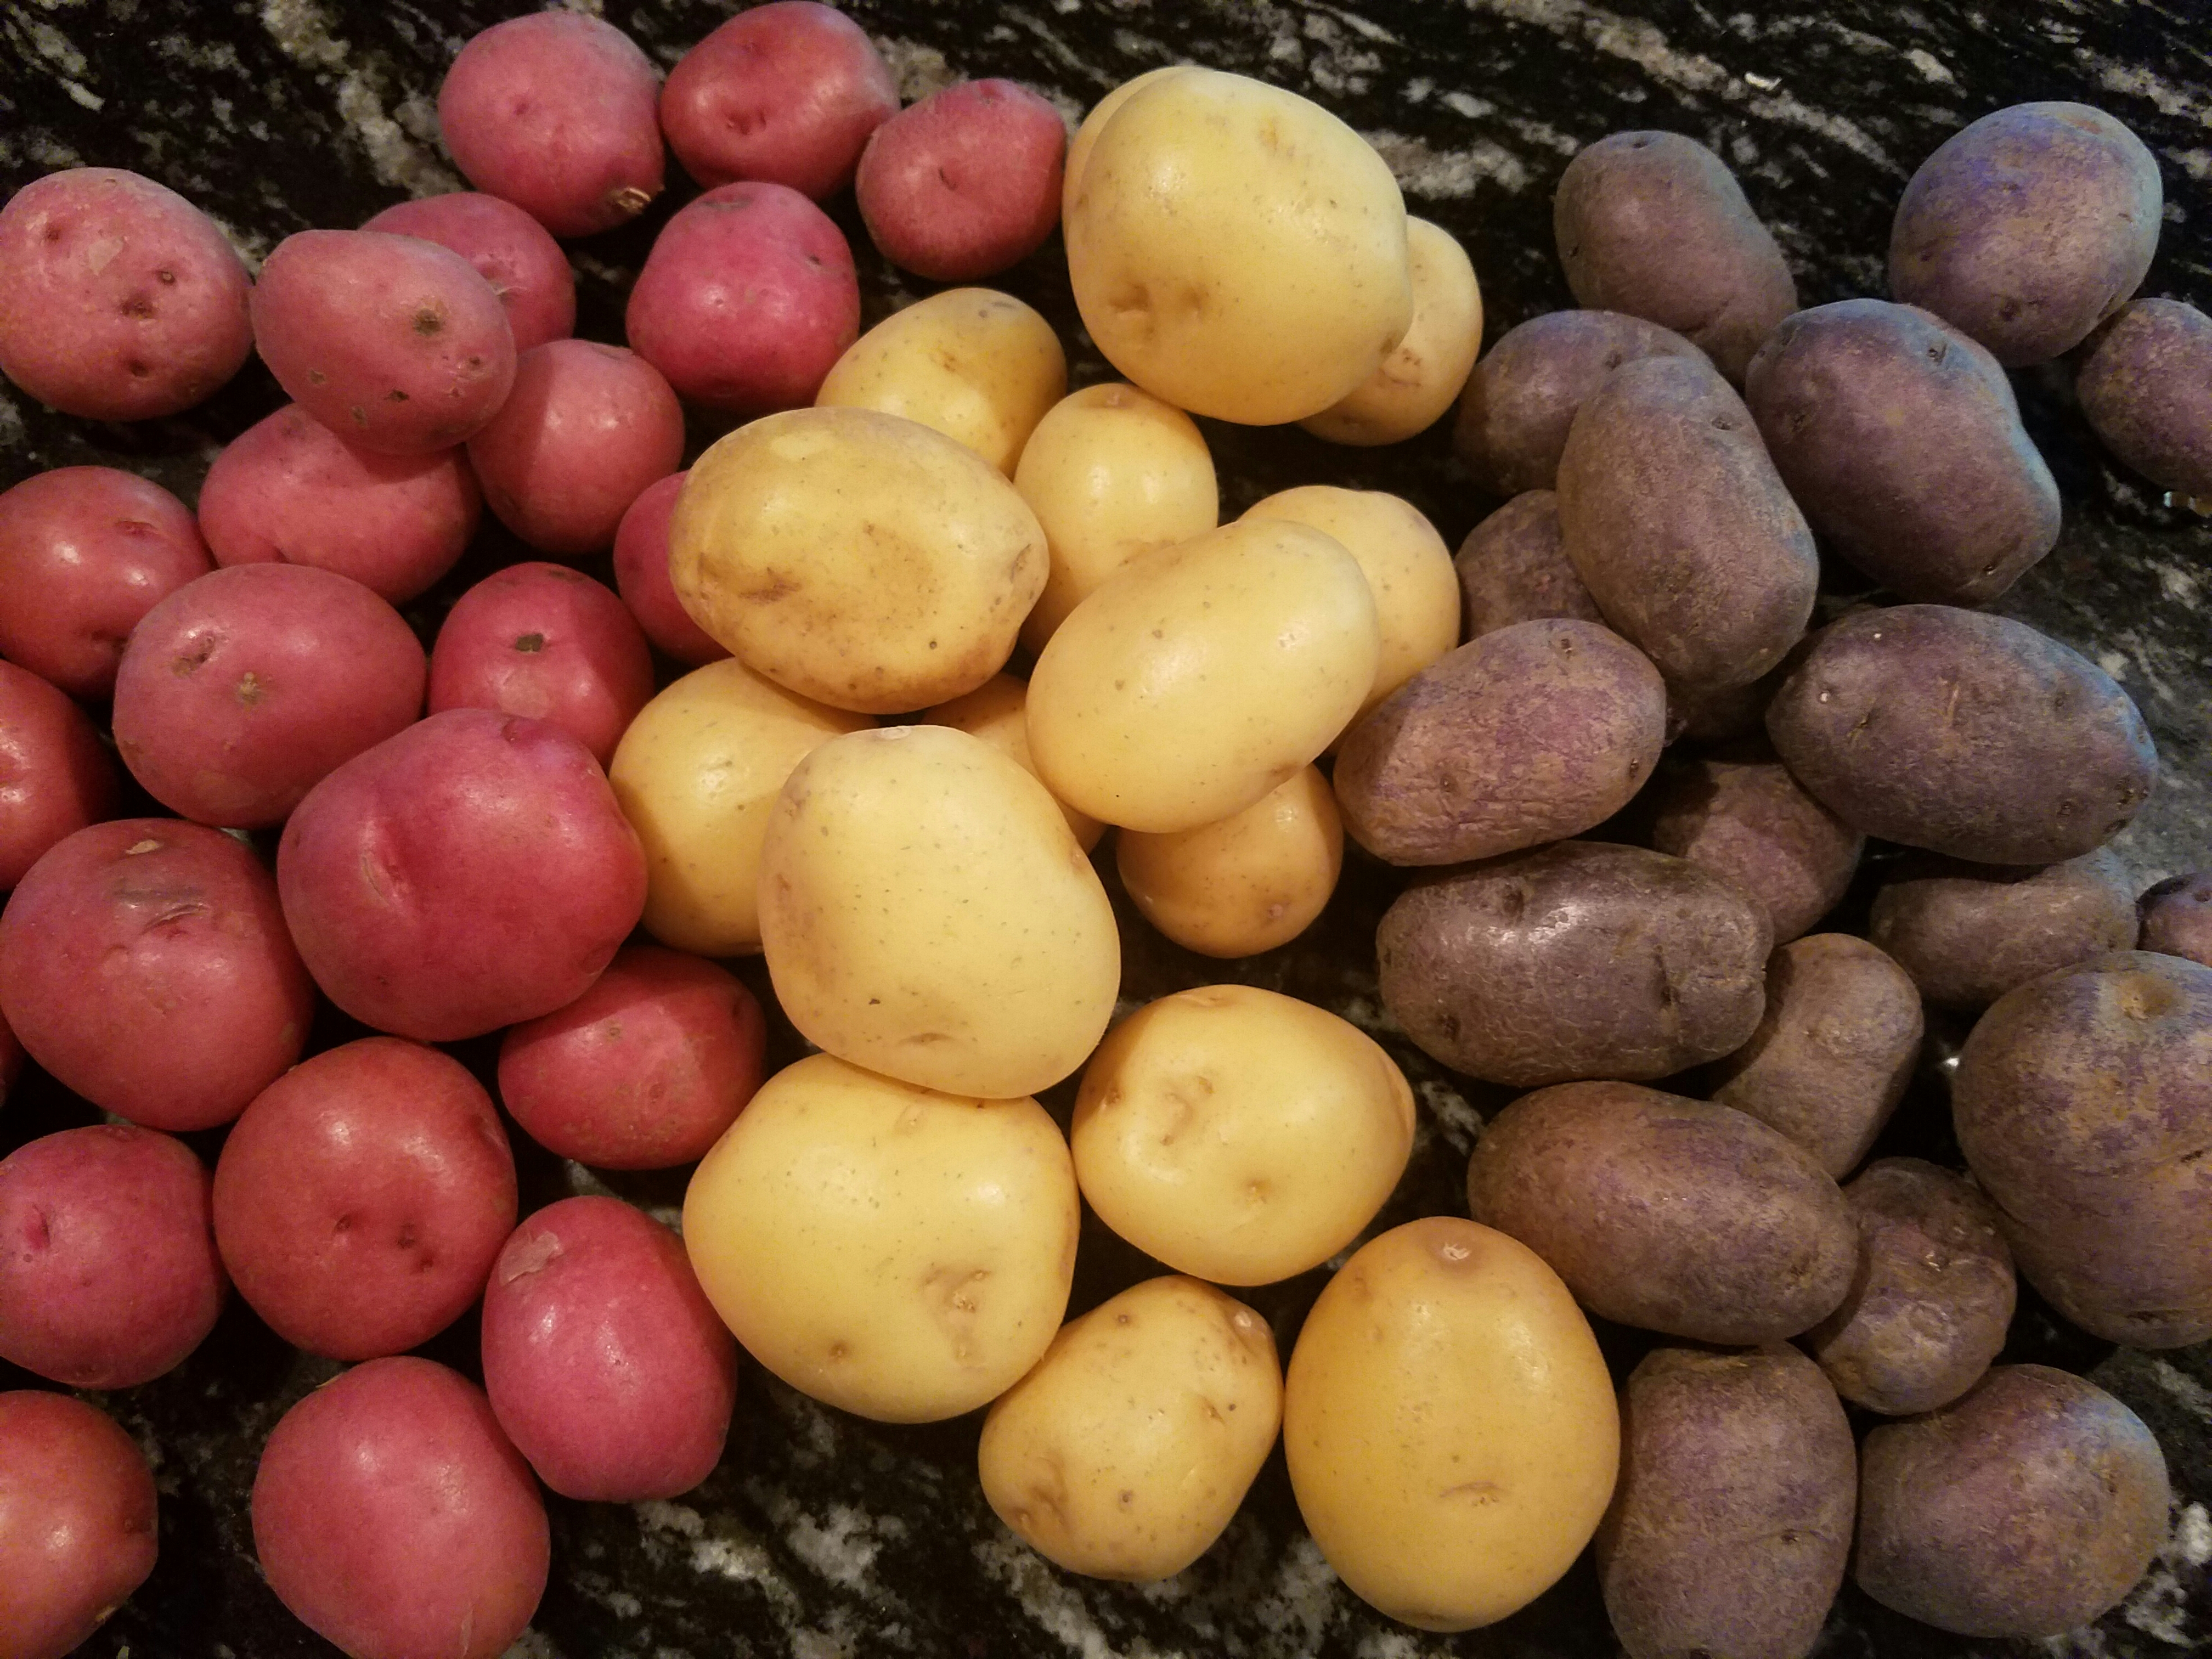
4 artichokes
1 bay leaf
3-4 cloves garlic
3-4 lemon slices or 1 Tbsn lemon juice)
1/2 tsp salt
1/4 tsp pepper
- Bring 2 inches of water to a boil and add bay leaf, garli, lemons, salt and pepper.
- Cut the stems off each artichoke so they can sit upright. Trim the prickly thorn tips from each petal and cut the top half inch off of each one. Rinse them under cool water.
- Place them upside-down in the water, cover the pot and simmer on low for 25-35 minutes, or until a knife can be easily pierce the bottom.
- While the artichokes are simmering, prepare your dips.
- Using tongs, remove the artichokes from water and allow to drain. Place on a serving platter.
- Serve with dips and lots of napkins.
LEMON HERB BUTTER
1/2 cup butter (or vegan butter), melted
1 Tsp fresh or 1/2 tsp dried thyme, oregano or basil
1 Tbsn lemon juice
- In a small bowl, stir together all ingredients. Taste and season with salt if desired. Serve warm.
GARLIC PARMESAN AIOLI
1/2 cup mayonaise or plain yogurt
1-2 cloves garlic, minced (or garlic paste)
1/4 cup parmesan cheese, grated
1/2 tsp salt
1/4 tsp pepper
- In a small bowl, mix all ingredients together. Taste and adjust seasonings, if necessary. Serve cold or at room temperature.


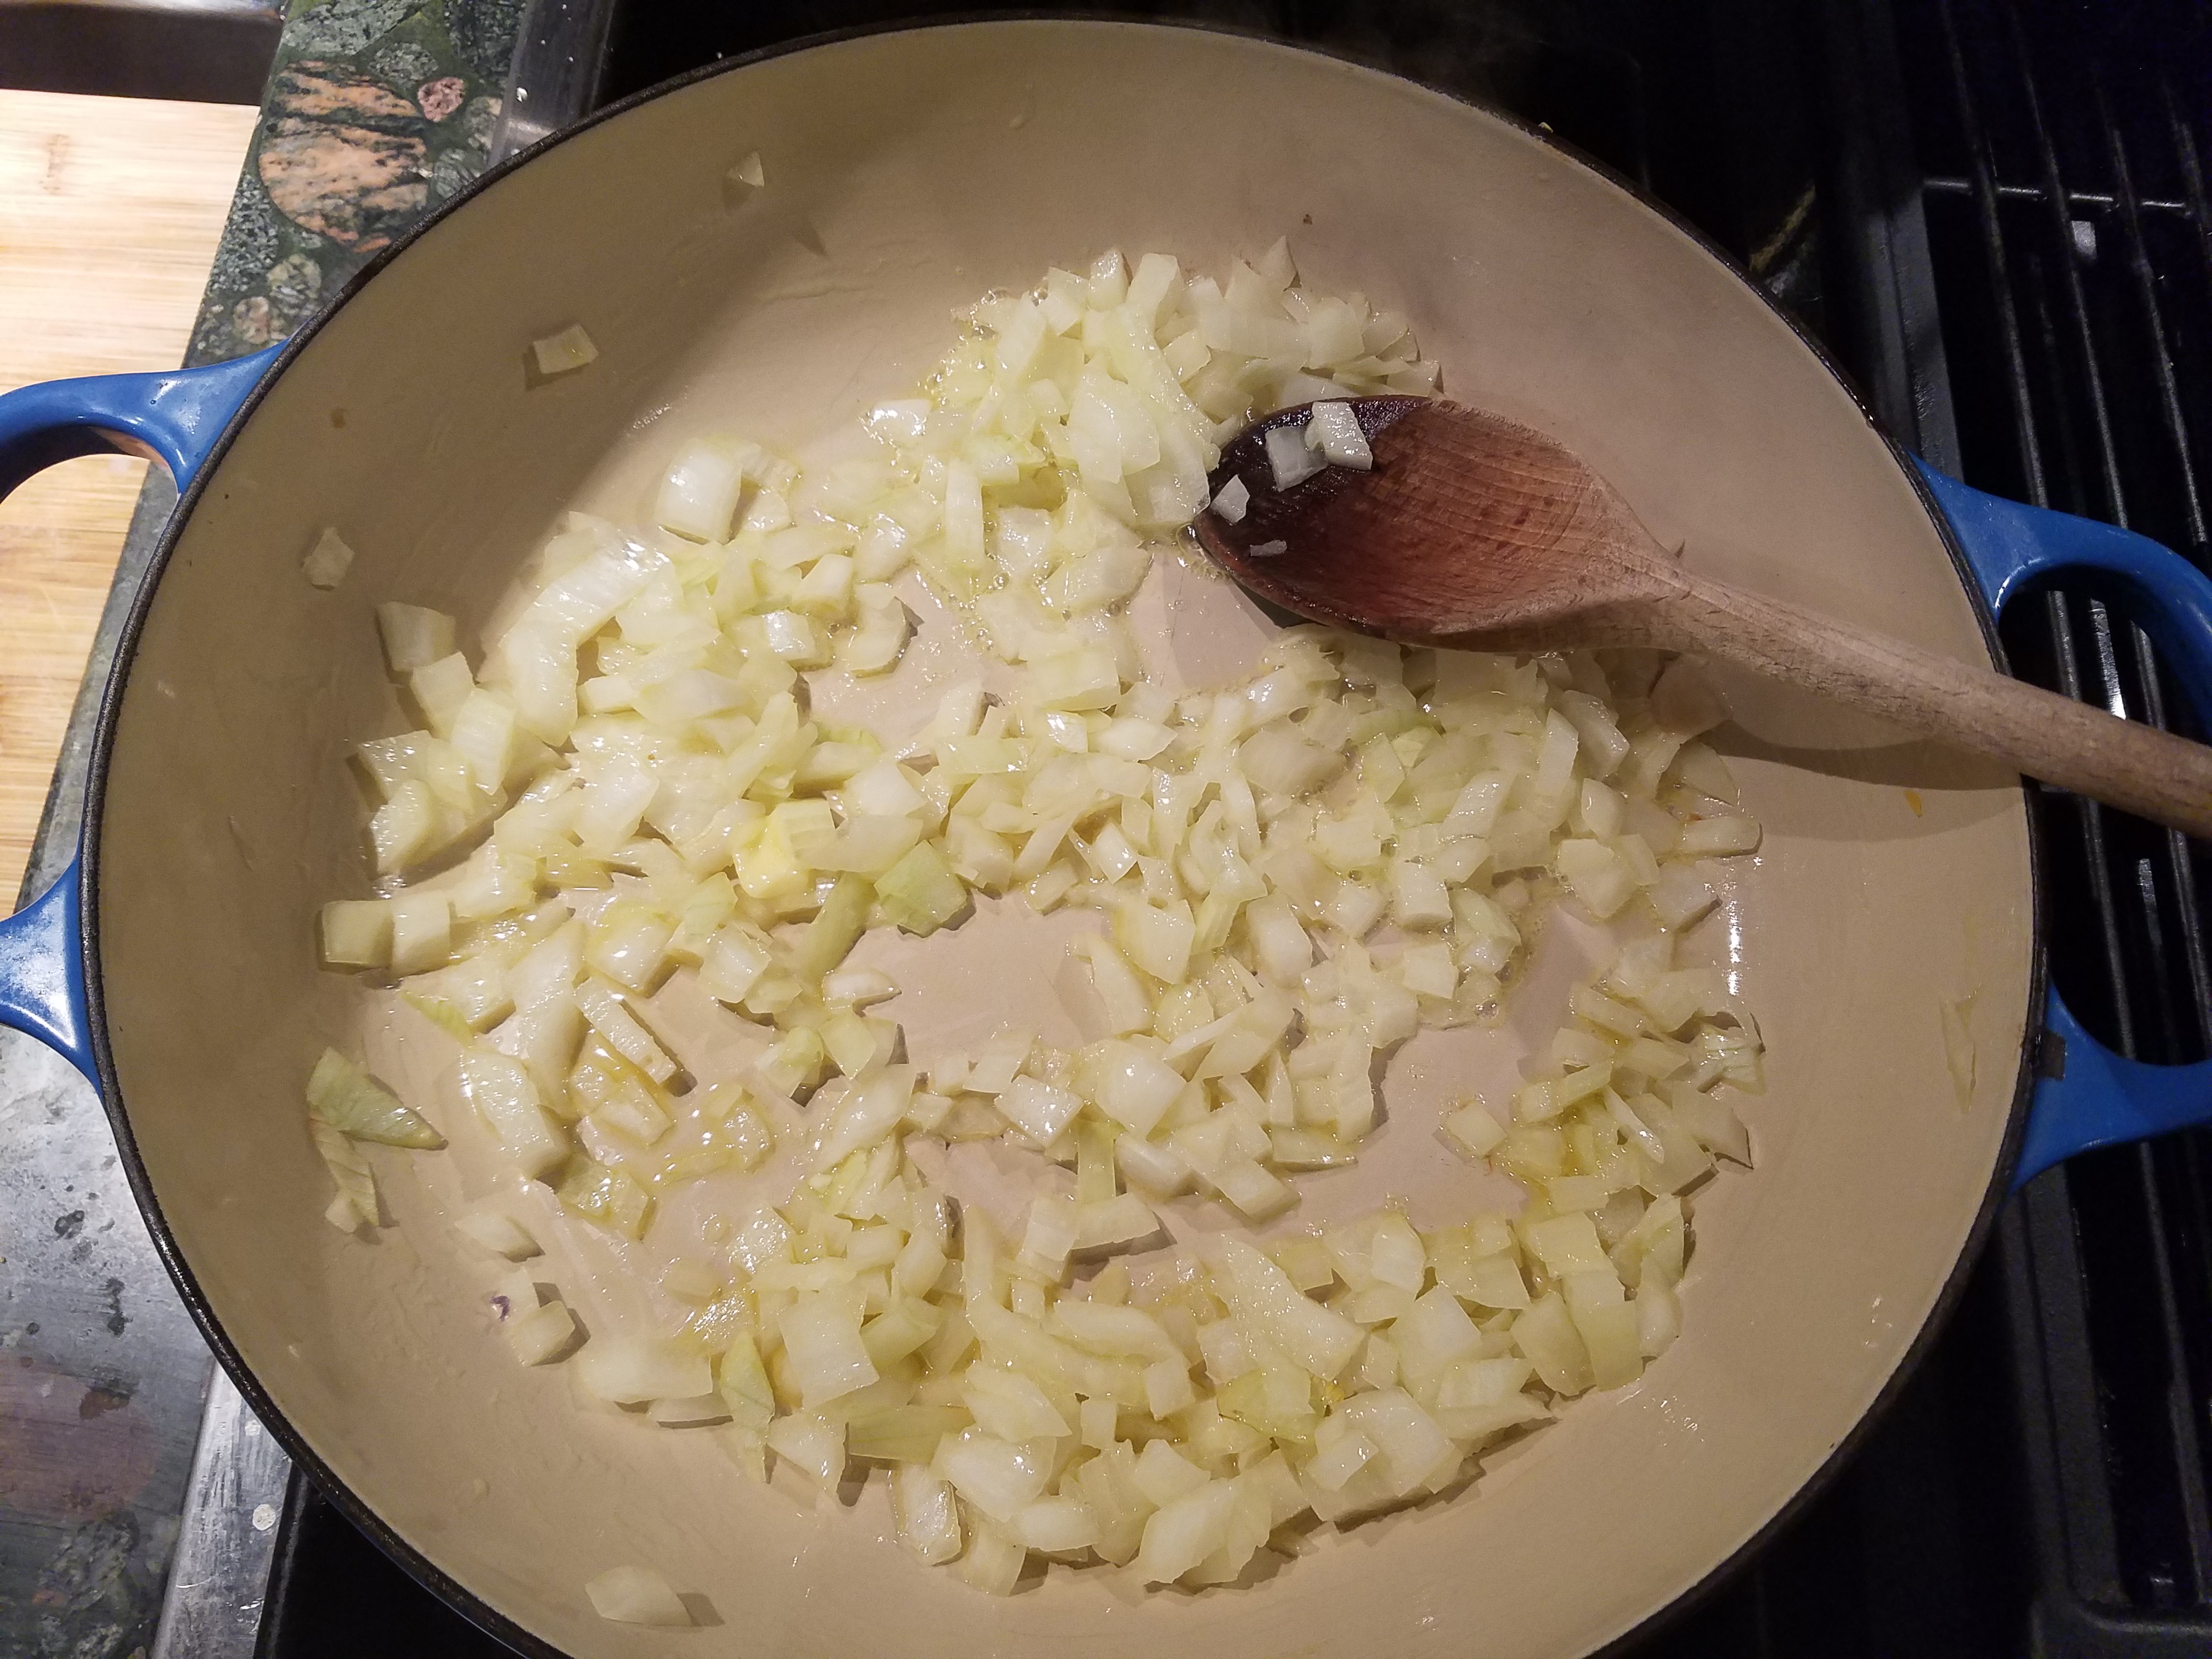
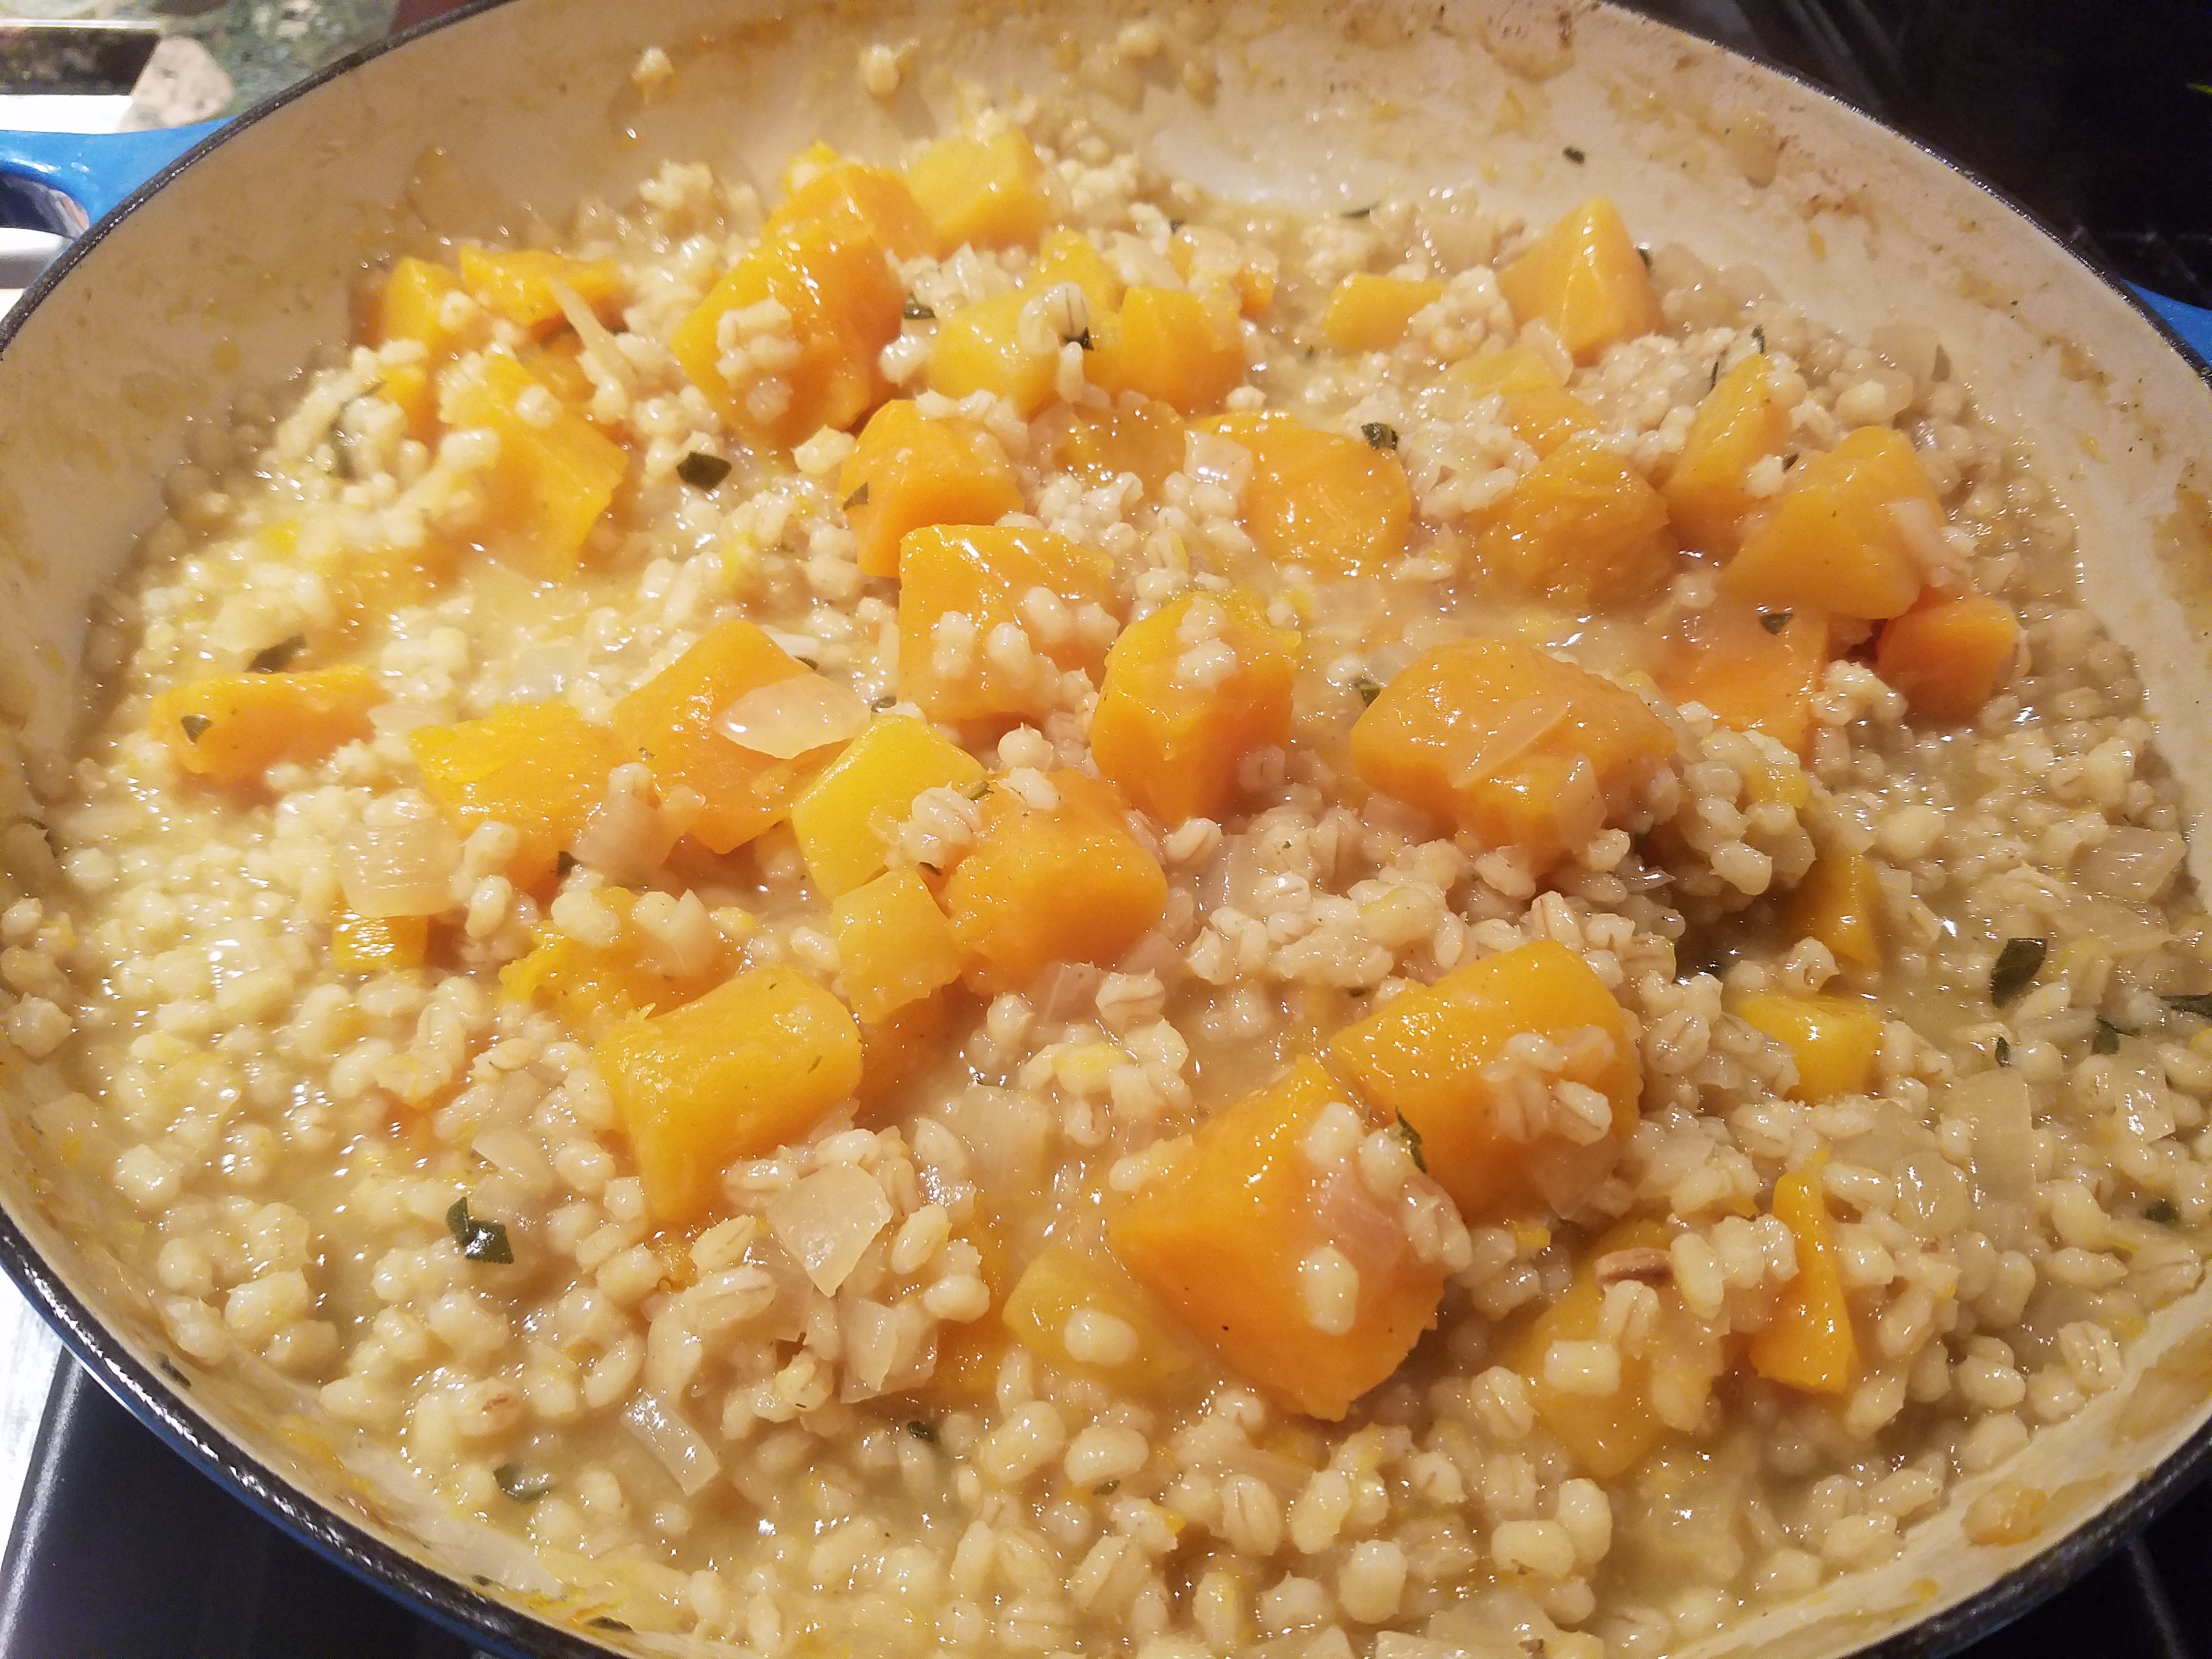
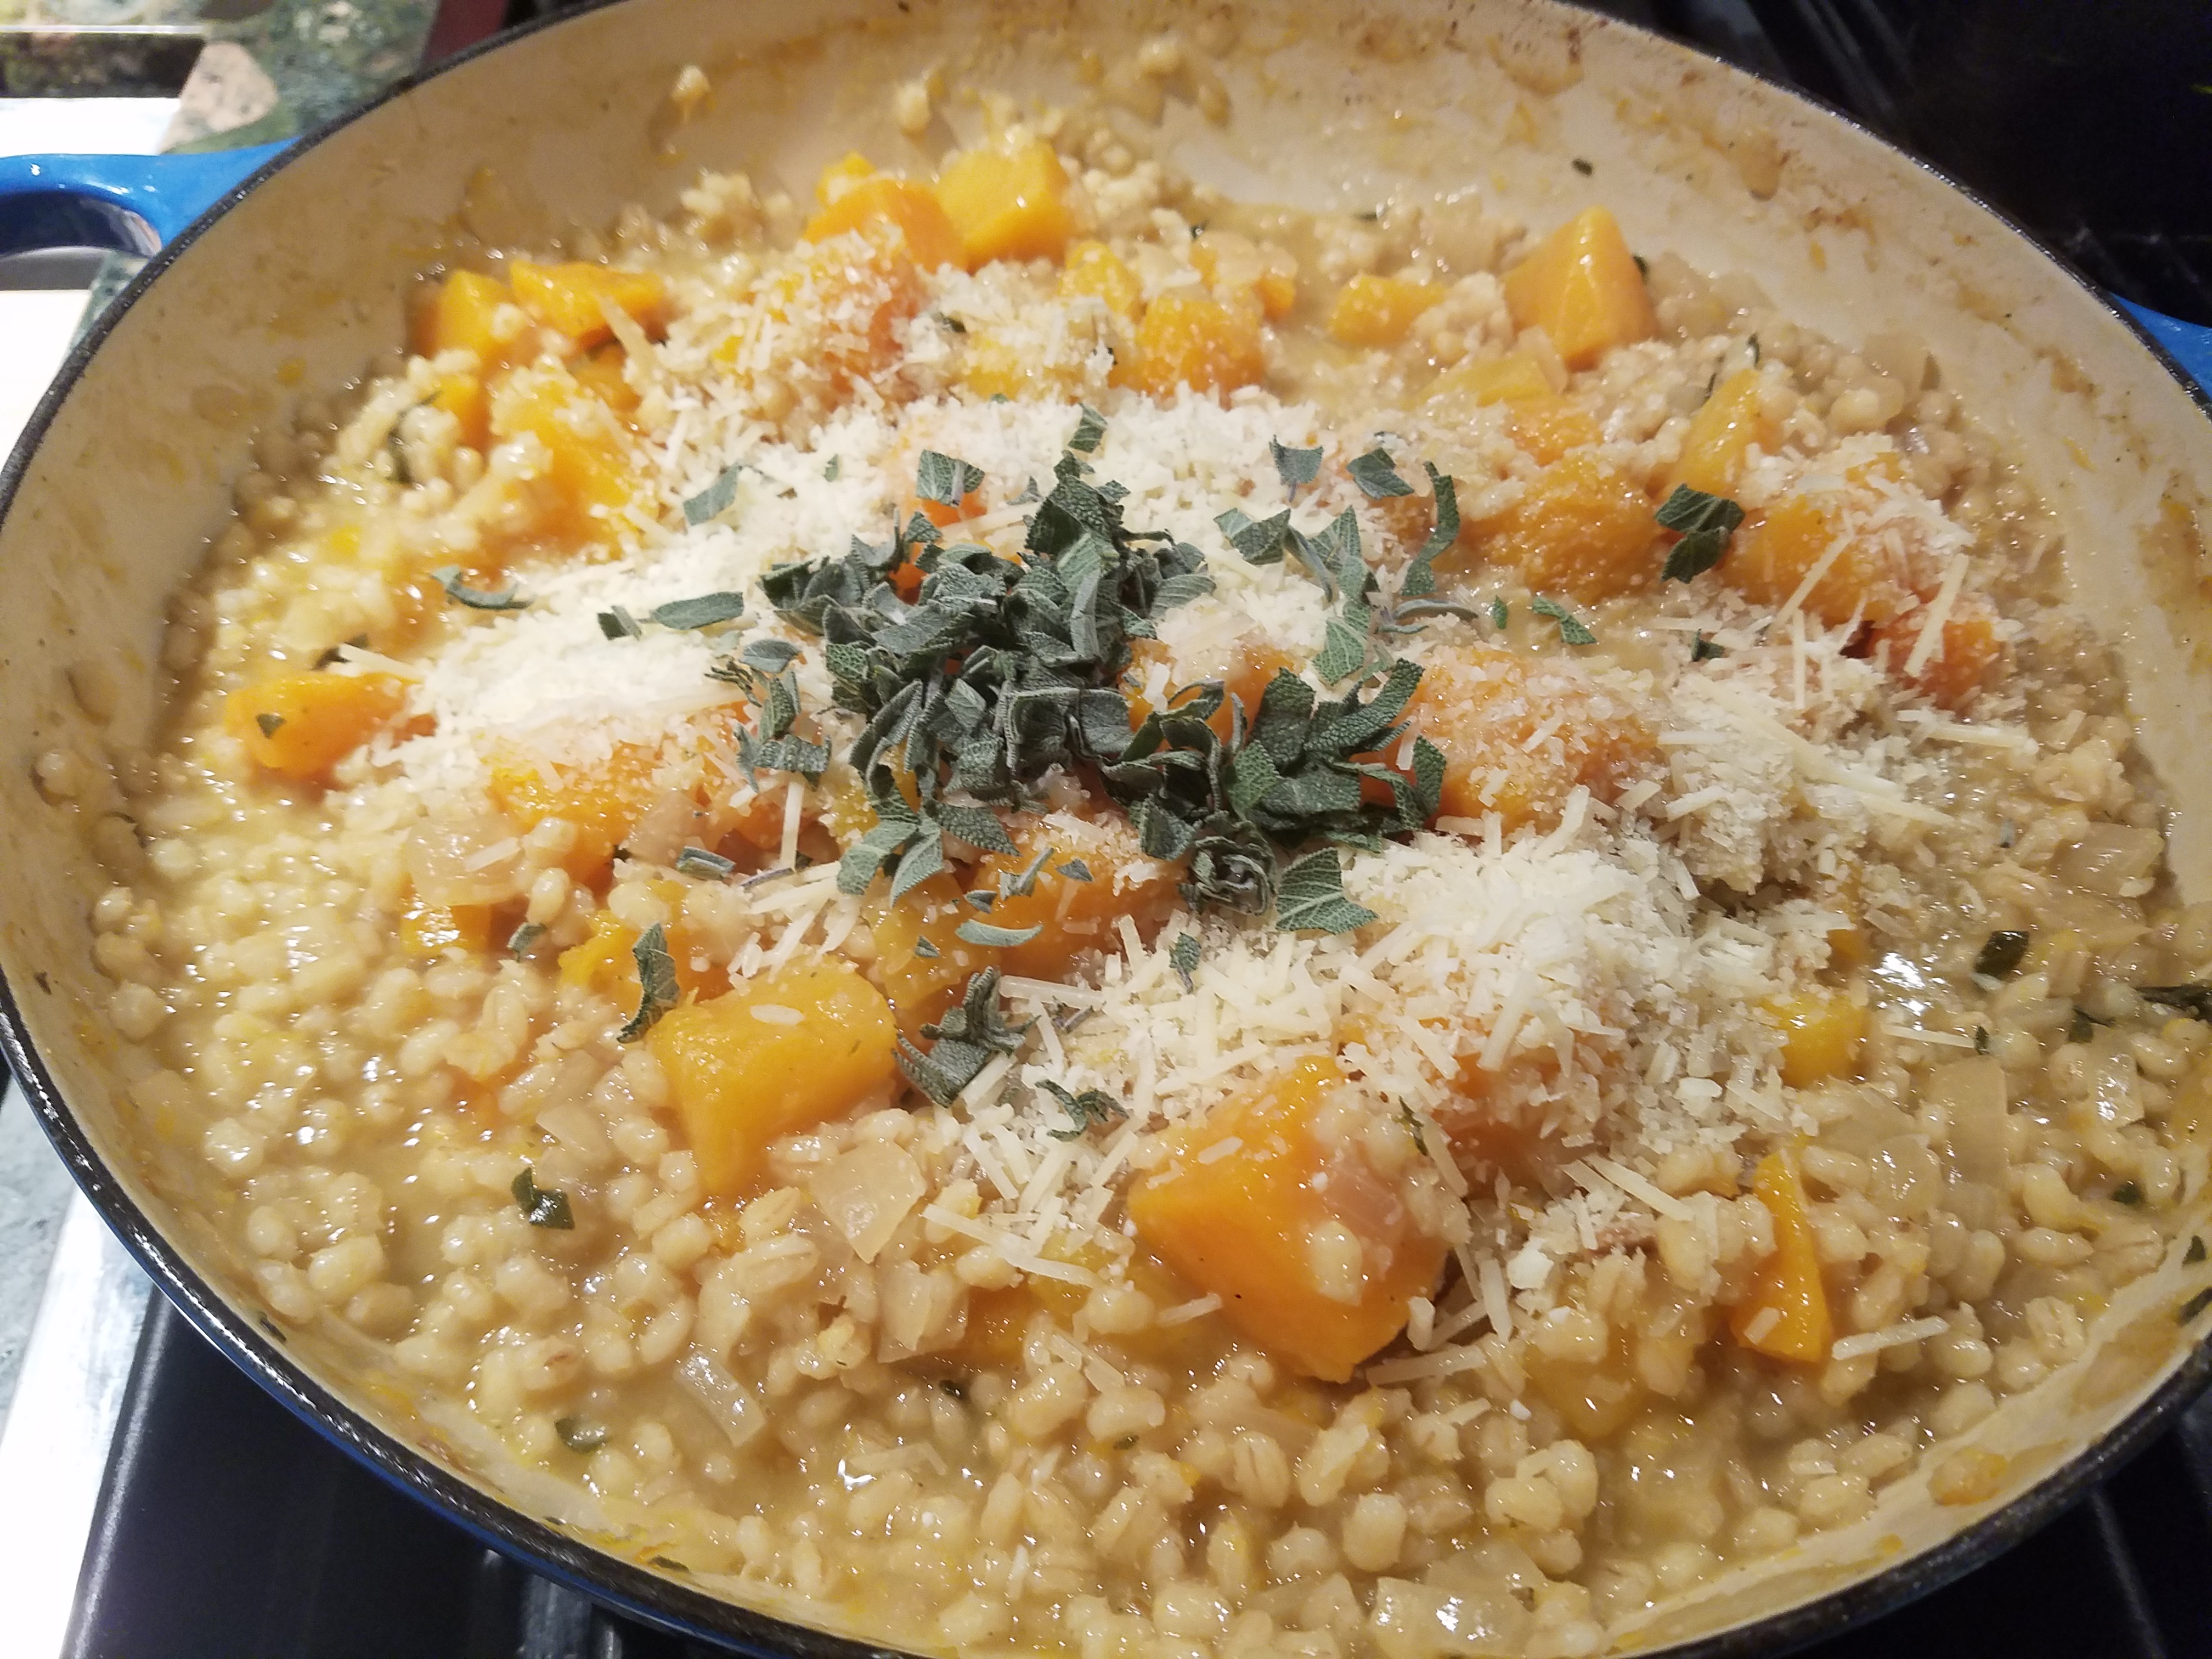
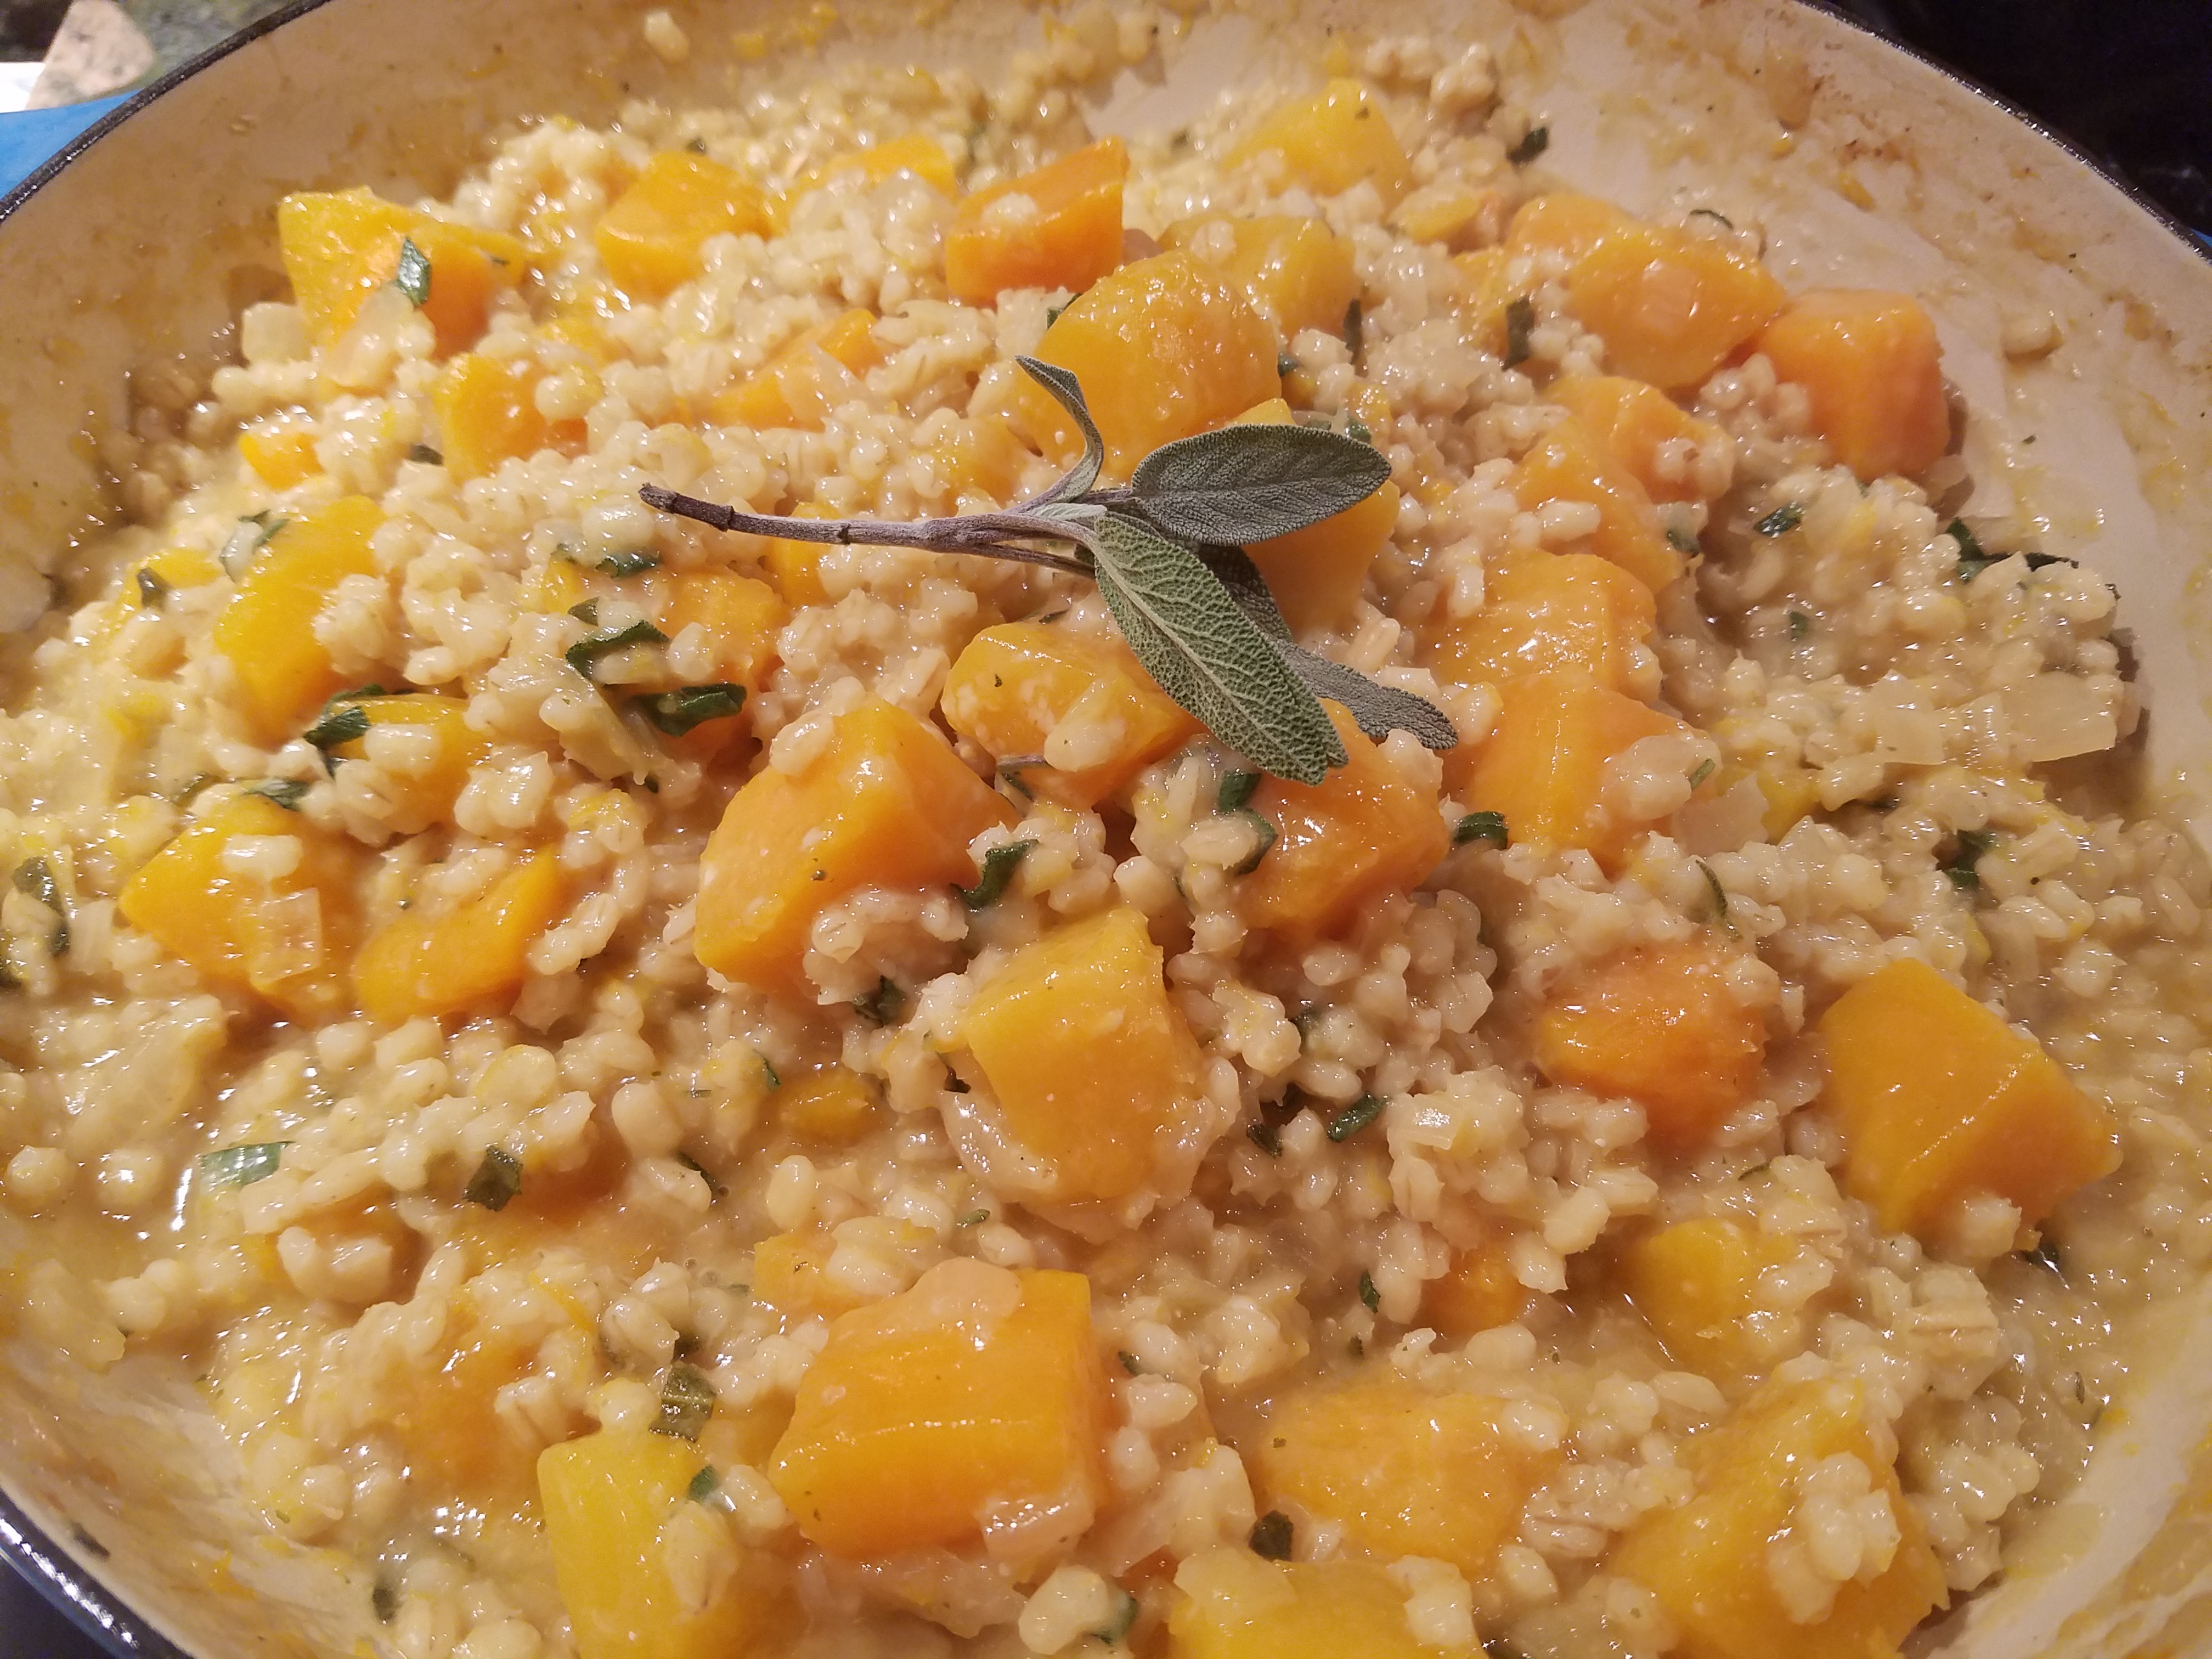
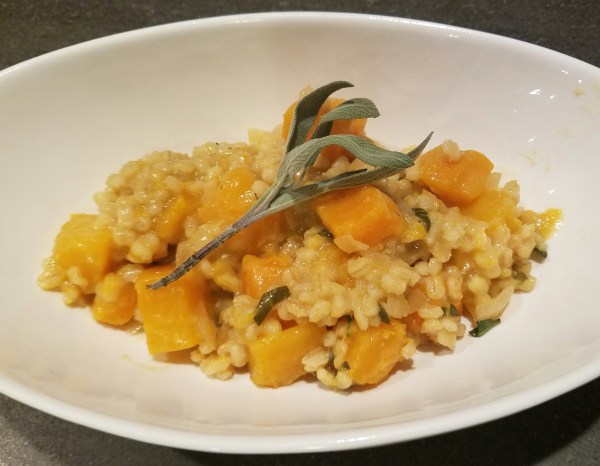
 Risotto is so rich and creamy that it seems fancy and somewhat decadent. Well this version is no different, even though it is made without meat or dairy and I used barley instead of the traditional Arborio rice which adds flavor and interest. If you are intimidated by making risotto at home, don’t be. It’s actually a pretty easy (mostly) one pot dish. Yes, you do have to stir it but not constantly. You don’t have to be a slave to the stove but it is the technique of slowly adding broth and allowing it to absorb into the barley which creates the rich and creamy almost sauce-like texture which is the result of the barley releasing starch into the broth. Starch is that magic ingredient that helps marry the ingredients. (This is same reason I always save a cup of cooking water when making pasta). The barley risotto is a wonderful, slightly chewy consistency and the butternut squash is sweet and perfectly accented by the lovely ‘sauce’ and fresh tangy sage. The end result is worth the extra attention, however, I have a short cut in TIPS below for those who can’t be bothered but still like the idea of butternut squash and barley.


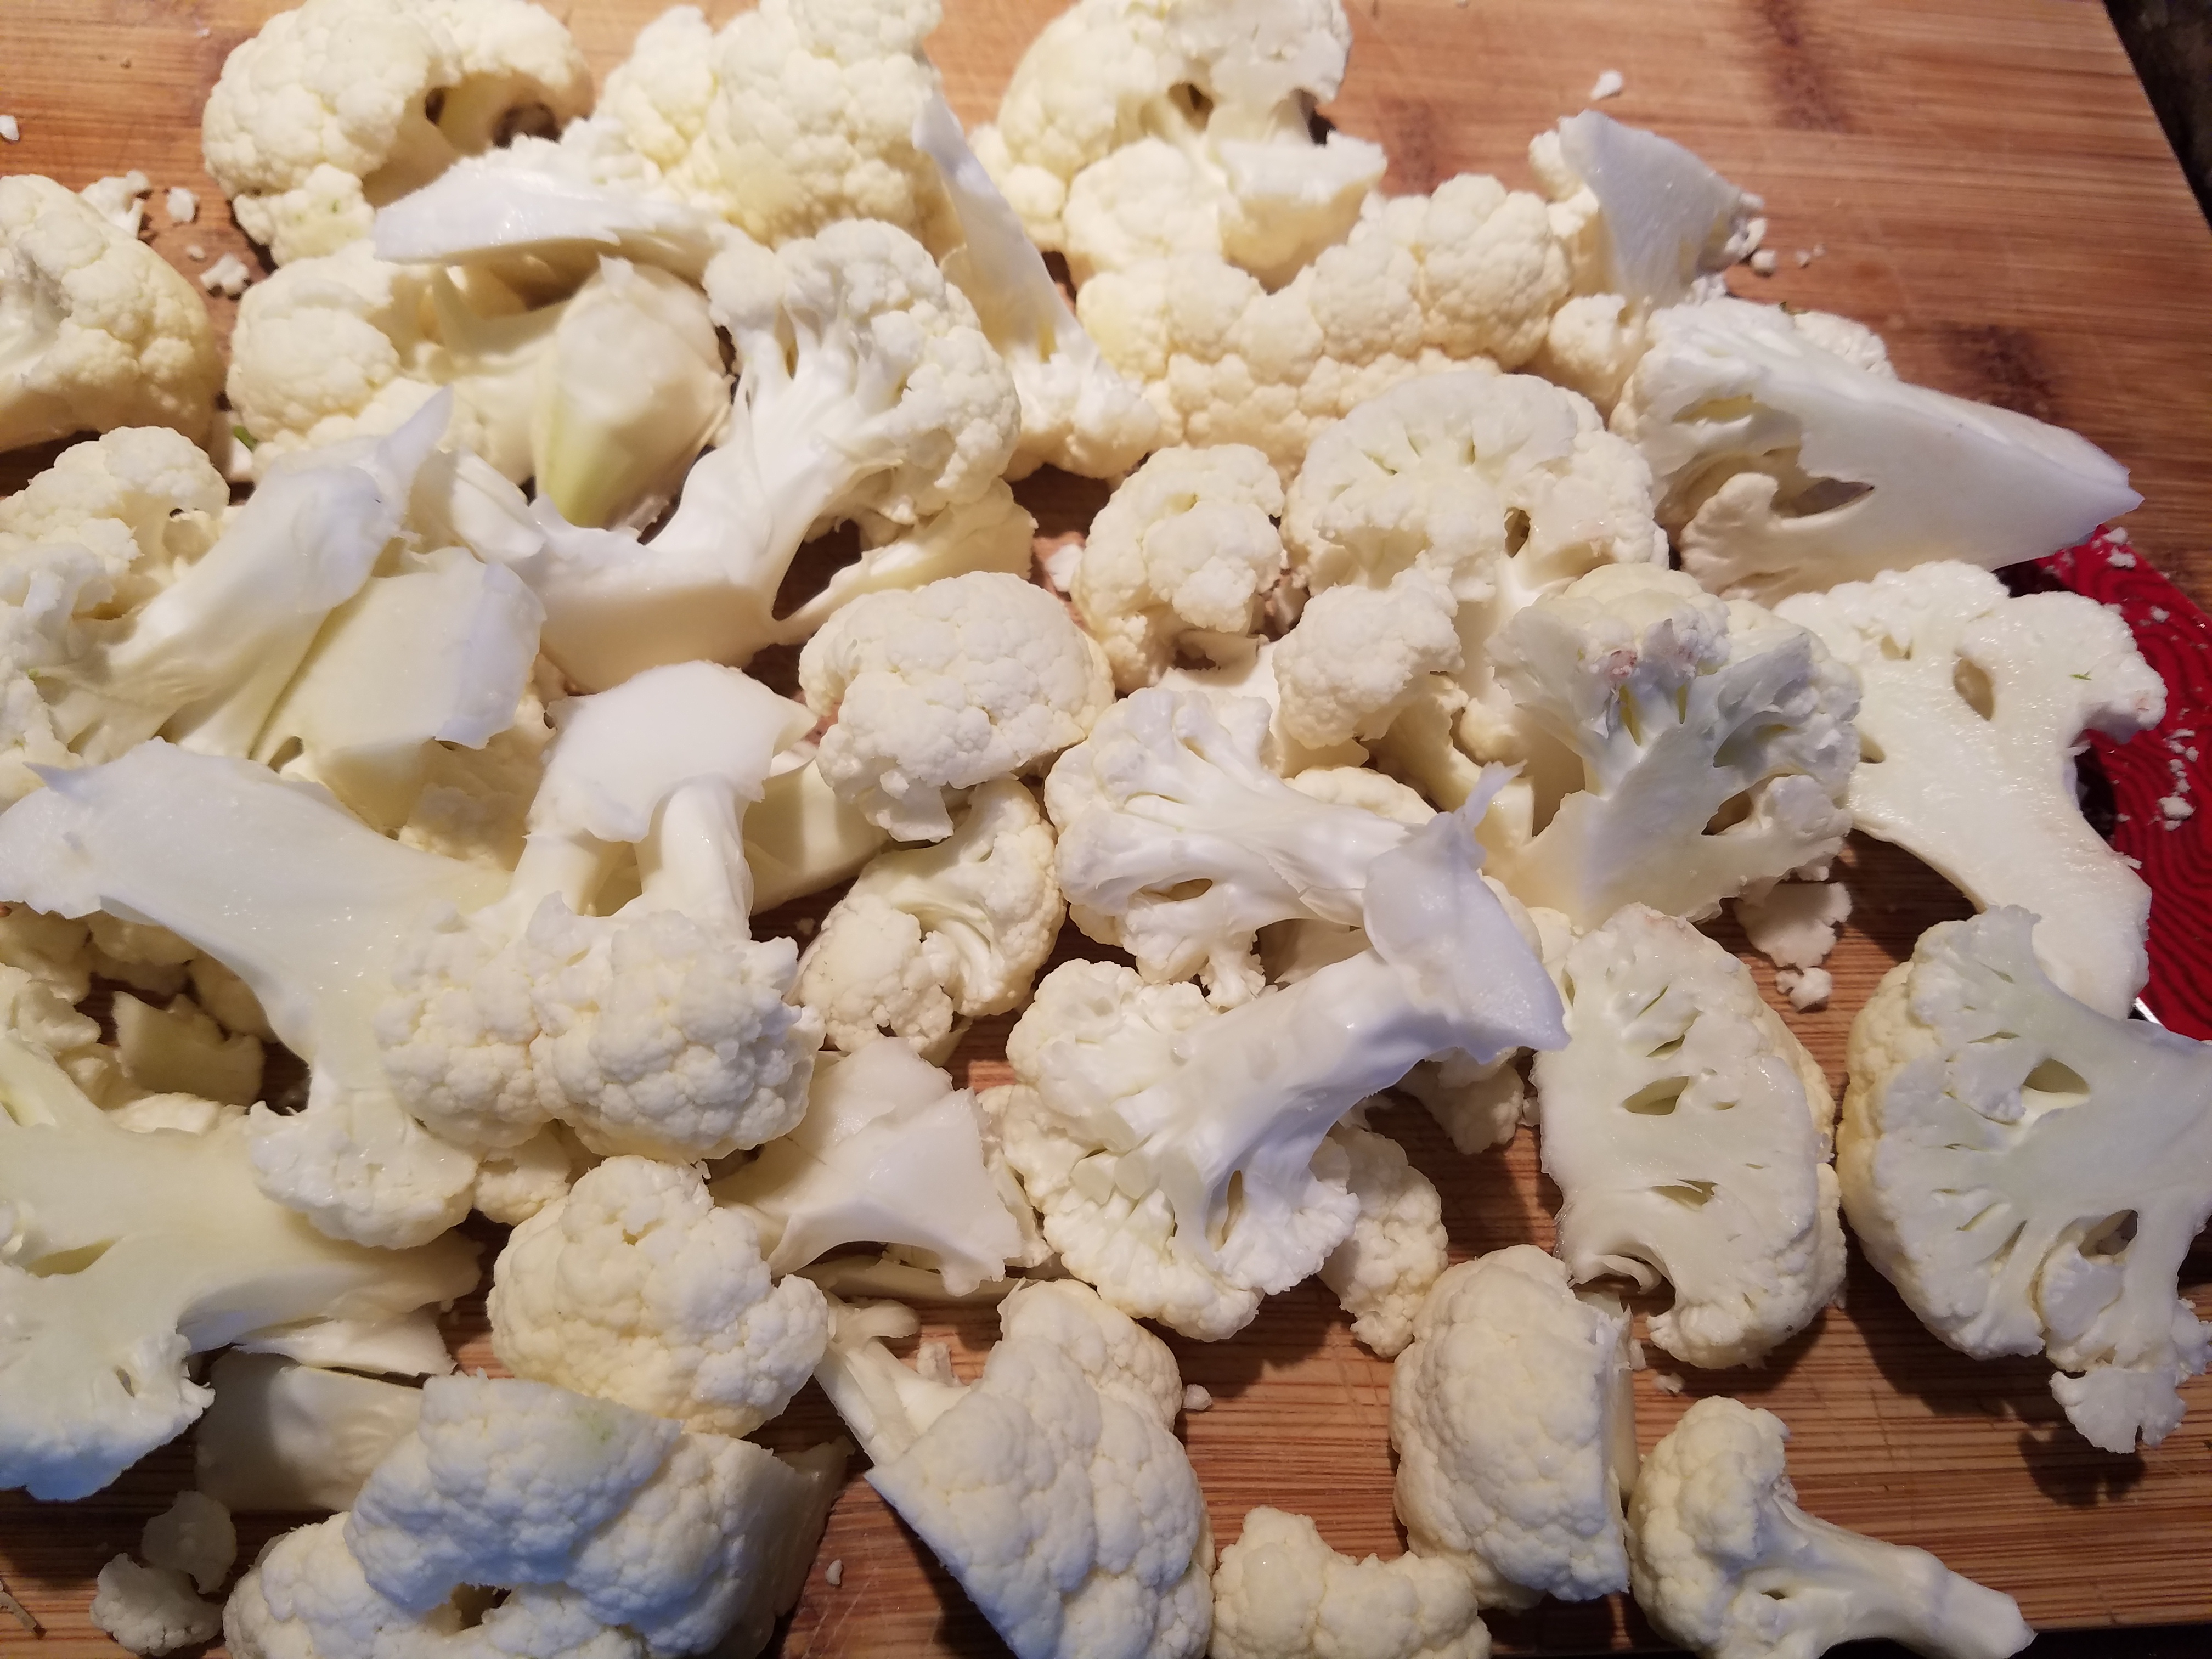


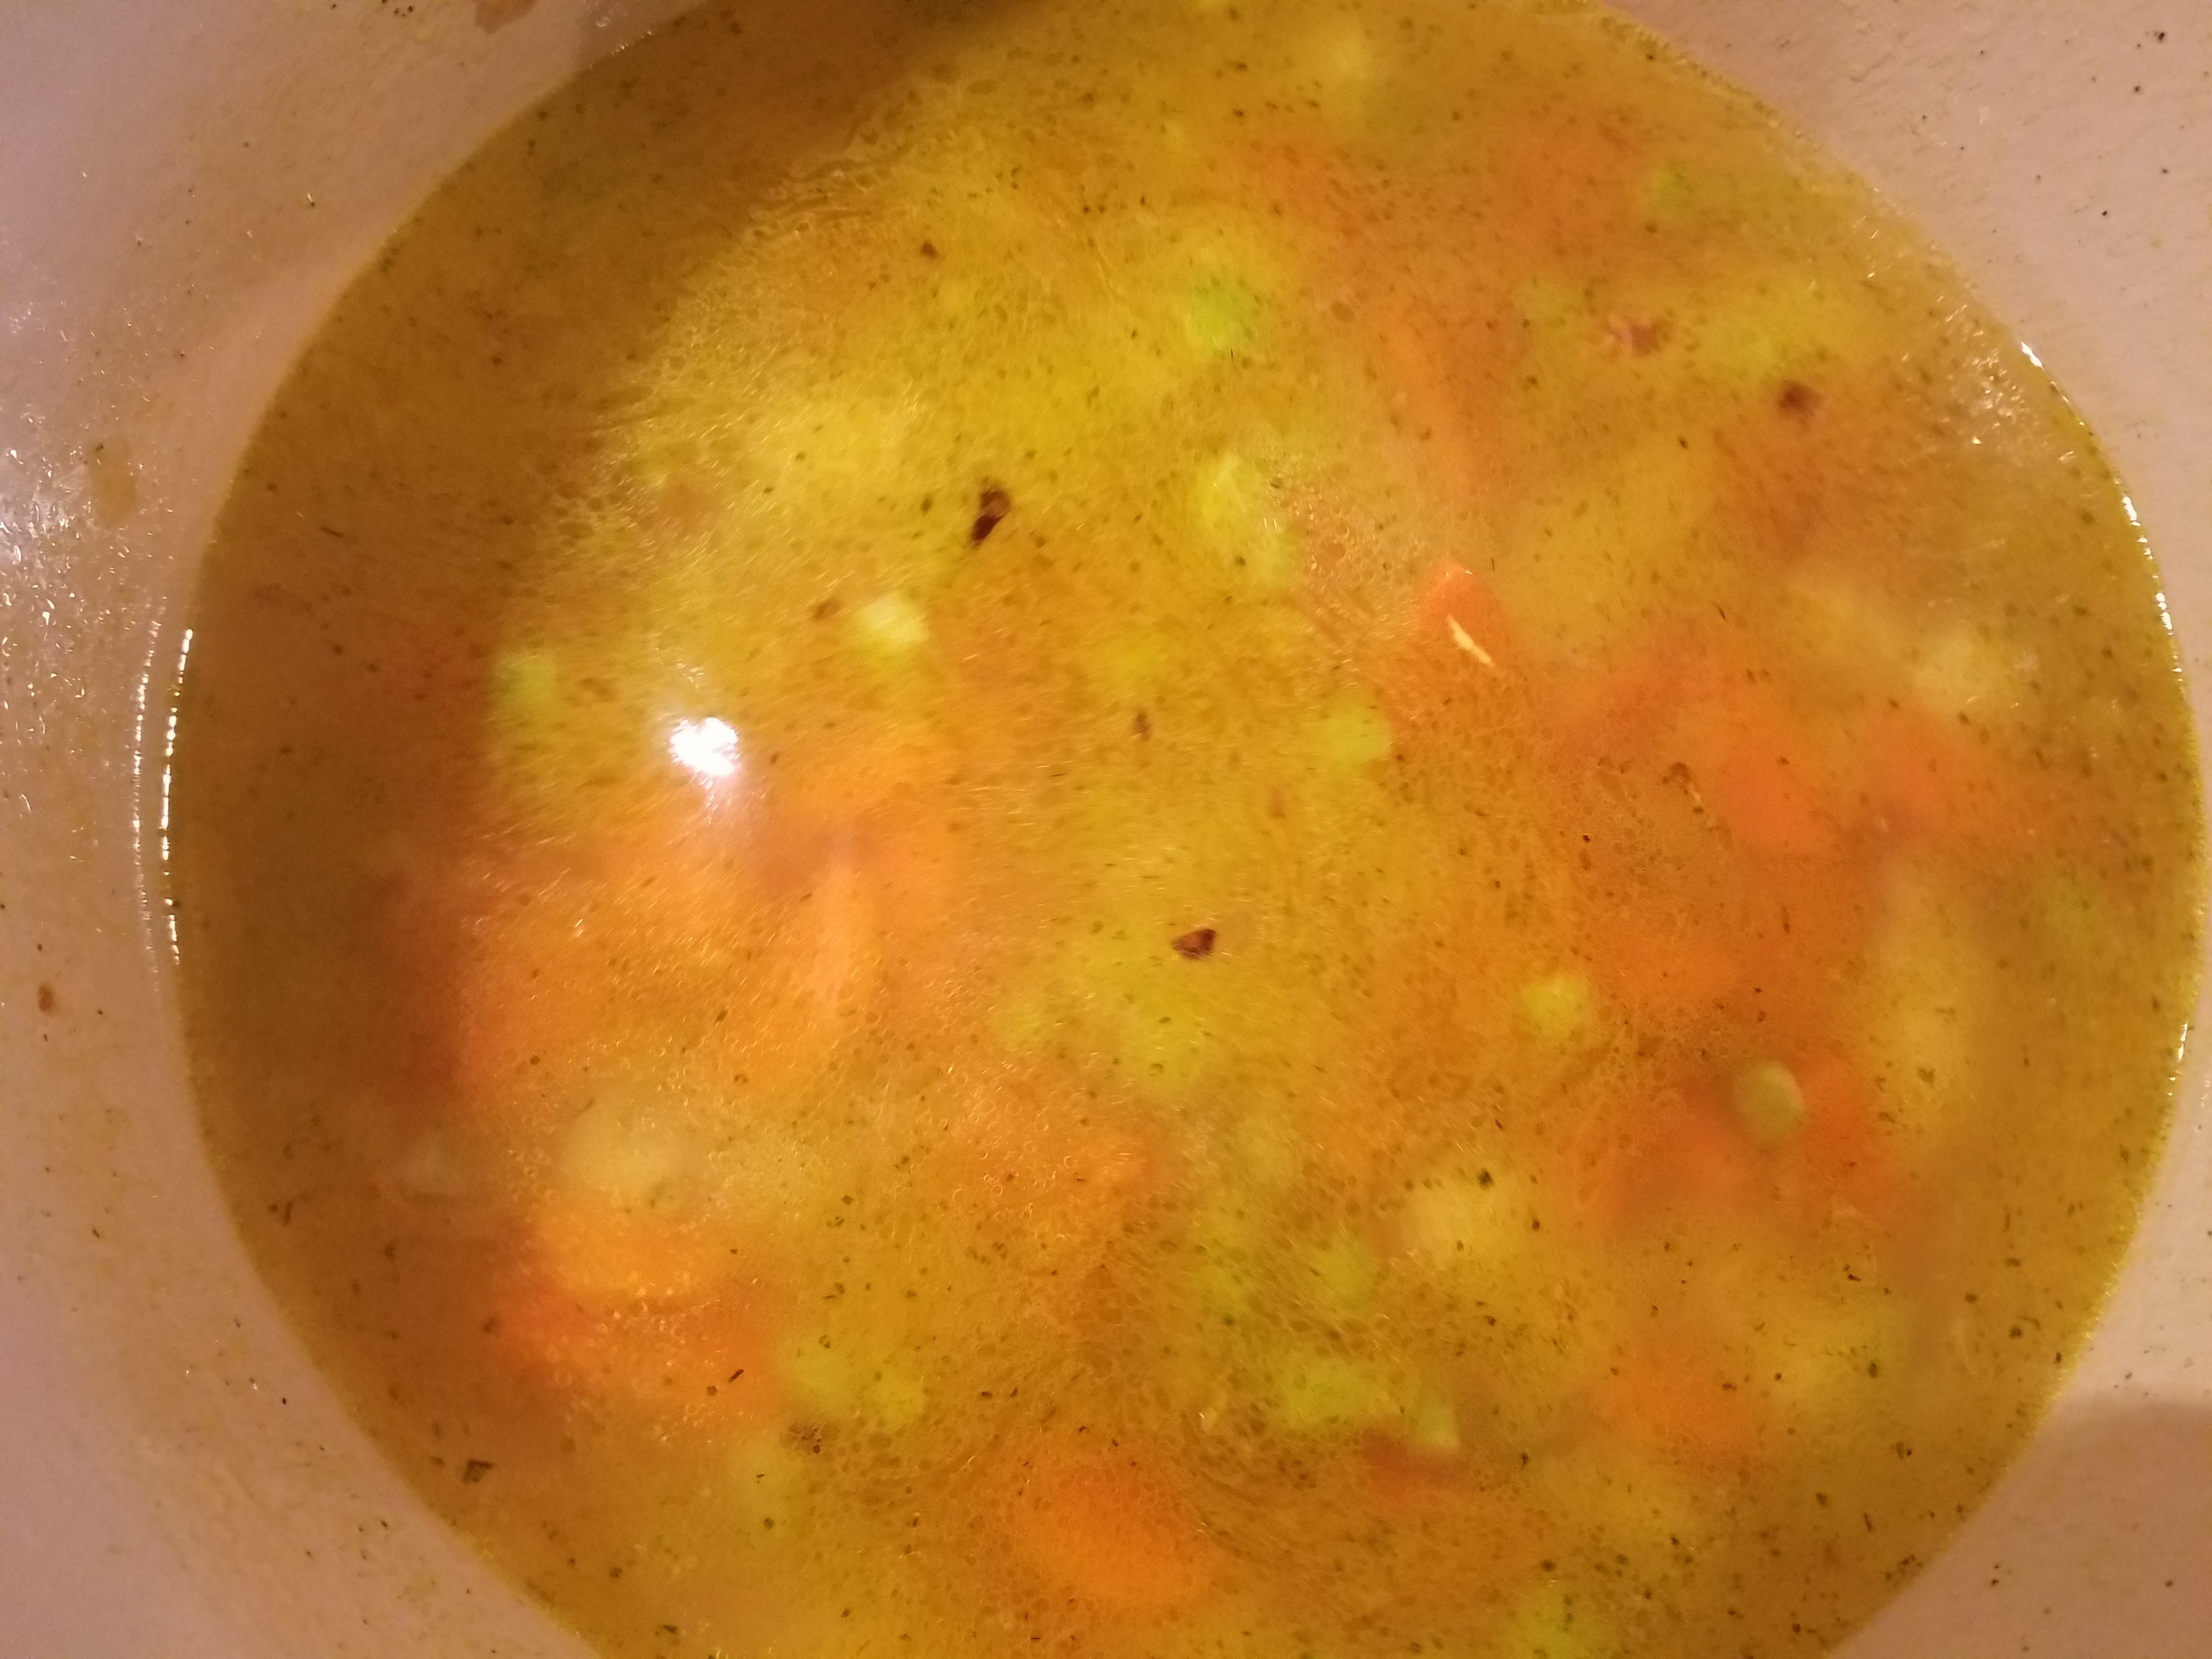
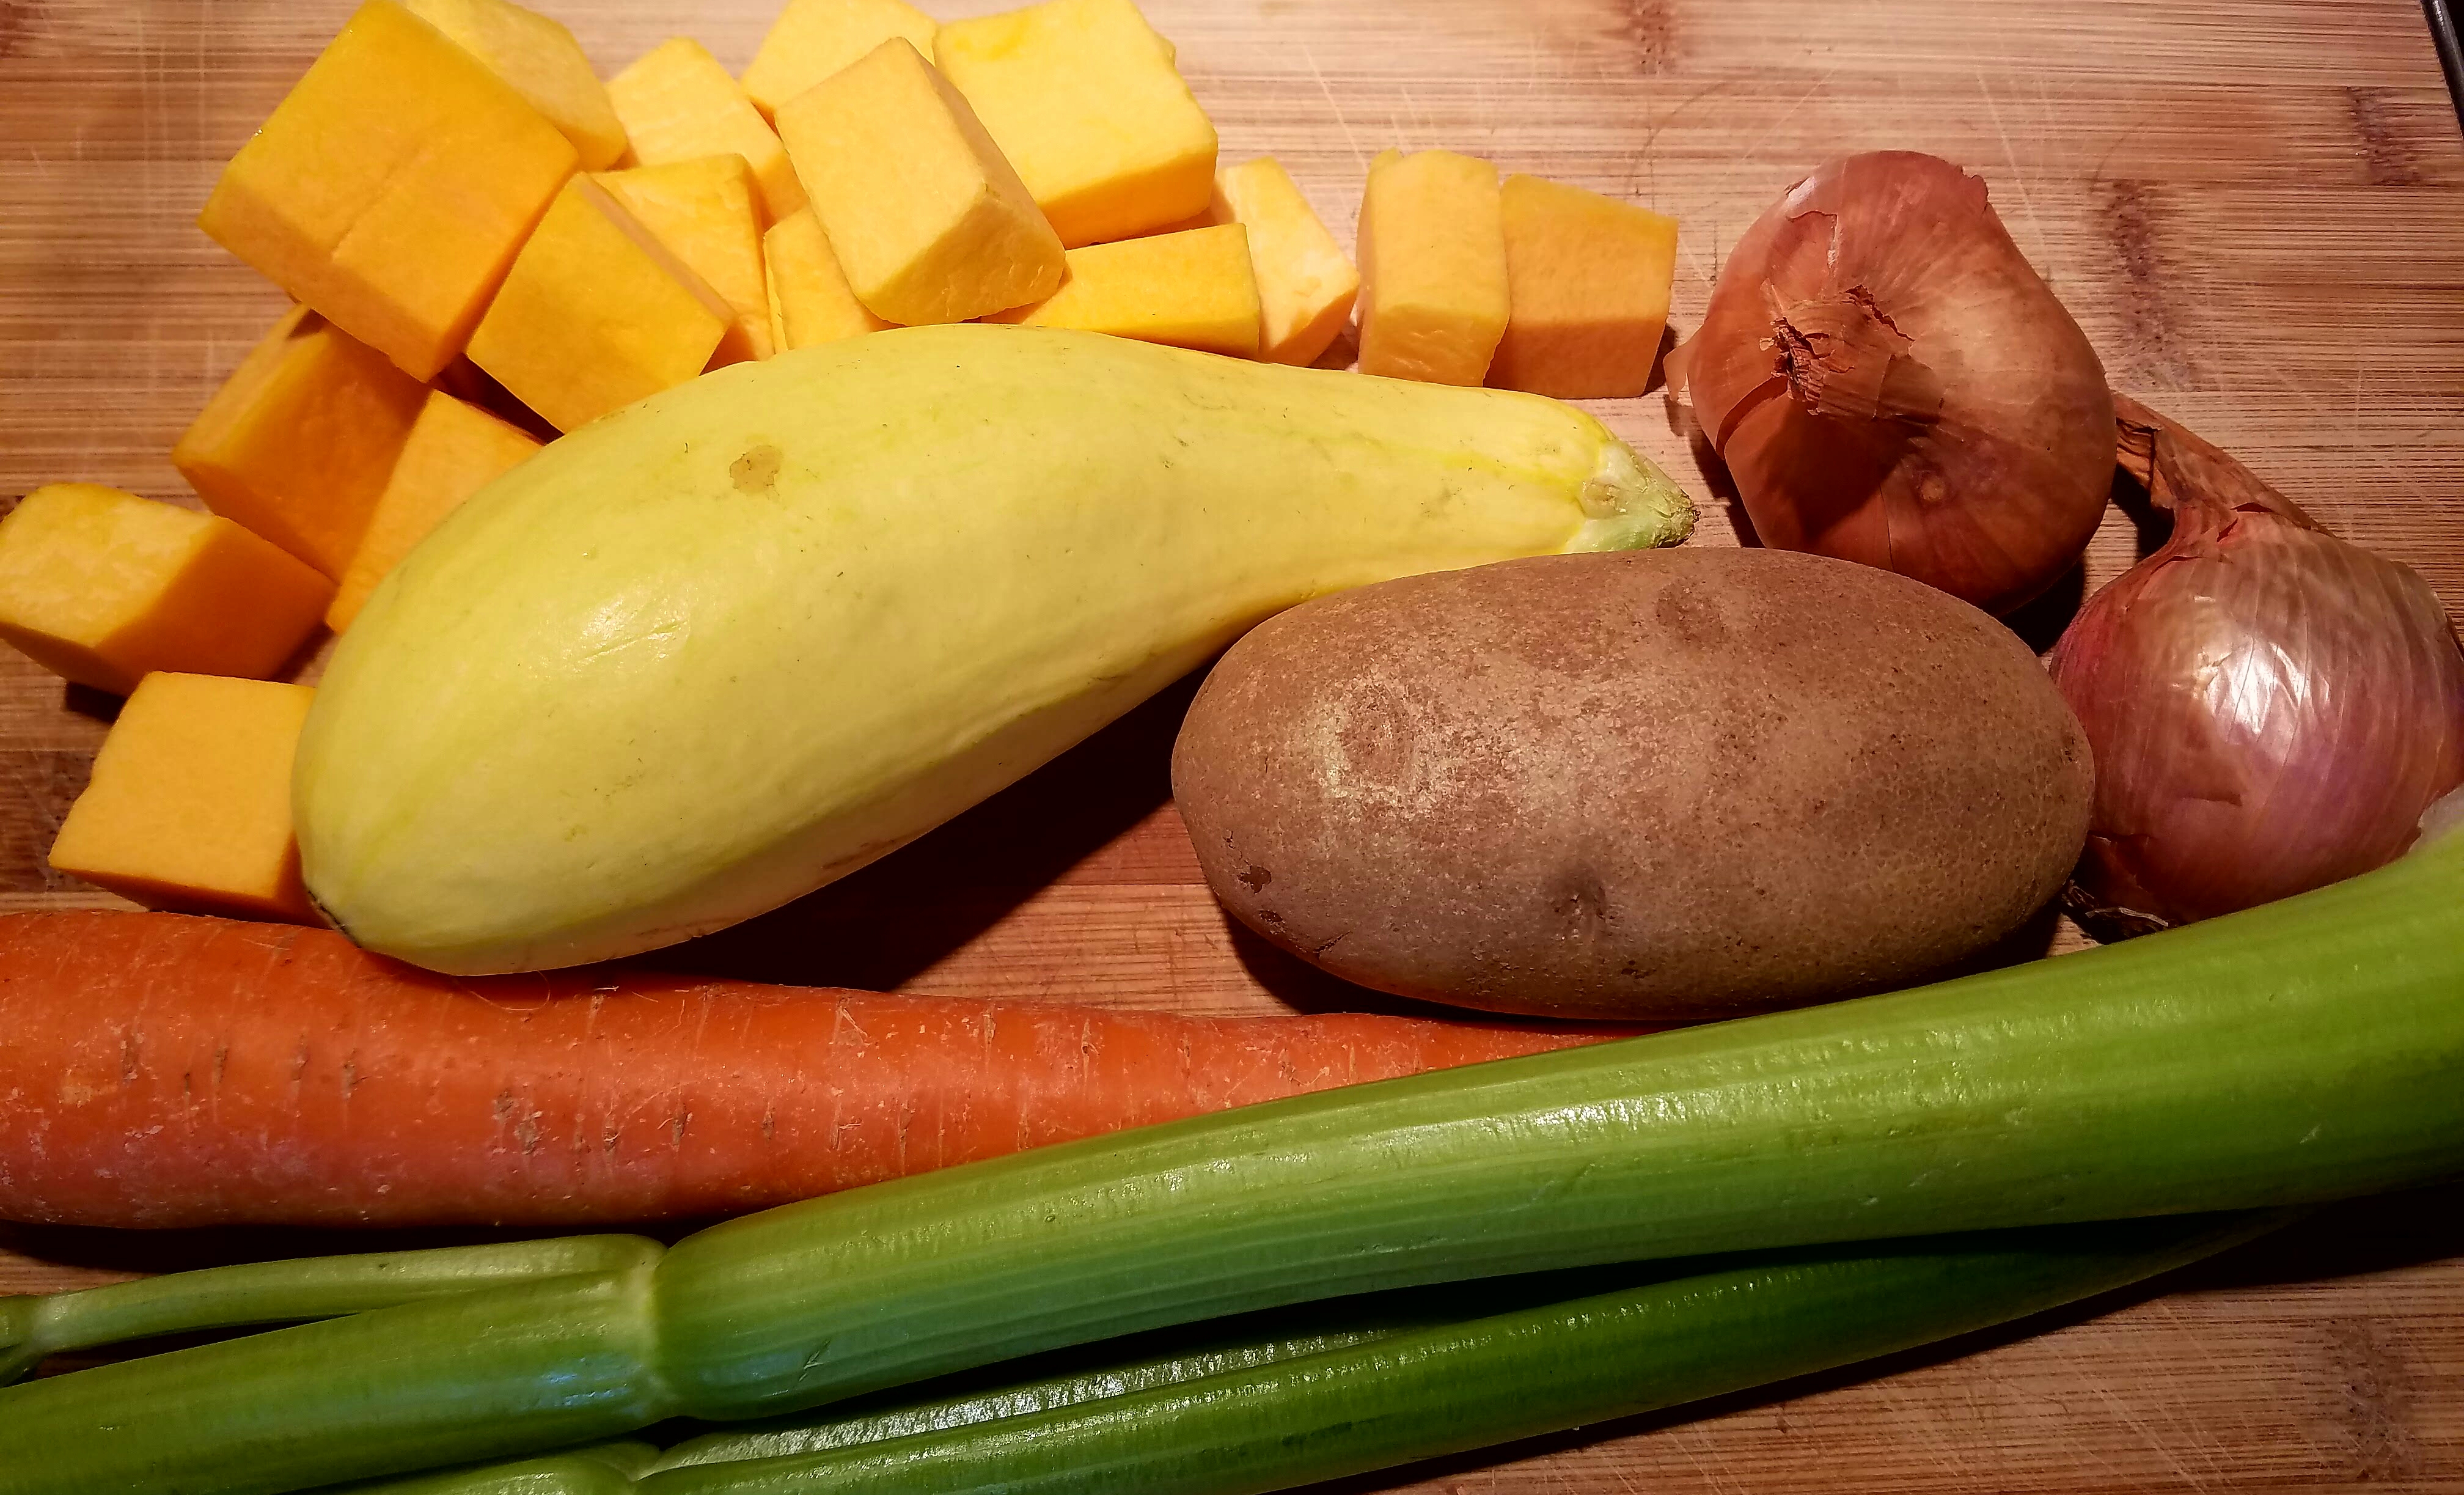 Fall is a fabulous time for food. It’s a collision of the best of summer and the emergence of hard squashes and root vegetables. This broth based soup is relatively low in calories, cholesterol and fat but still densely nutritious. Cannellini beans add protein, calcium and iron. Butternut squash is an excellent provider of Vitamin A and potatoes (wrongfully maligned) is a surprisingly good source of Vitamin C. The more vegetables you include in your soup will result in a better array of vitamins, minerals, protein and fiber. However, the best thing about soup is that it just makes you feel good and warm inside.