Move over eggs and toast, Baked Eggs in Kale Cups is more delicious, nutritious and way cuter! With easy preparation and few ingredients, breakfast is on the table in 30 minutes or less. This is the perfect weekend treat! The kale is crispy on the sides but creamy and garlicky on the bottom, while the egg is perfectly set with hints of parmesan, red pepper flakes and fresh basil. Delish and easy! Just pop them in the oven and enjoy a cup of coffee and the newspaper while they bake. (It will only look like you worked so hard…) These pretty baked eggs are a good source of protein to start your day and the KALE adds vitamin B6, dietary fiber, calcium, potassium, vitamin E, vitamin B2, iron, magnesium, vitamin B1, omega-3 fatty acids phosphorus, more protein, folate, and niacin. Whew! That is why kale is king…. These little beauties are also elegant enough to serve at a brunch or even as a quick and easy dinner. Serve with fresh fruit or a tossed green salad. For a hearty appetite, add roasted or baked potatoes or sweet potatoes.

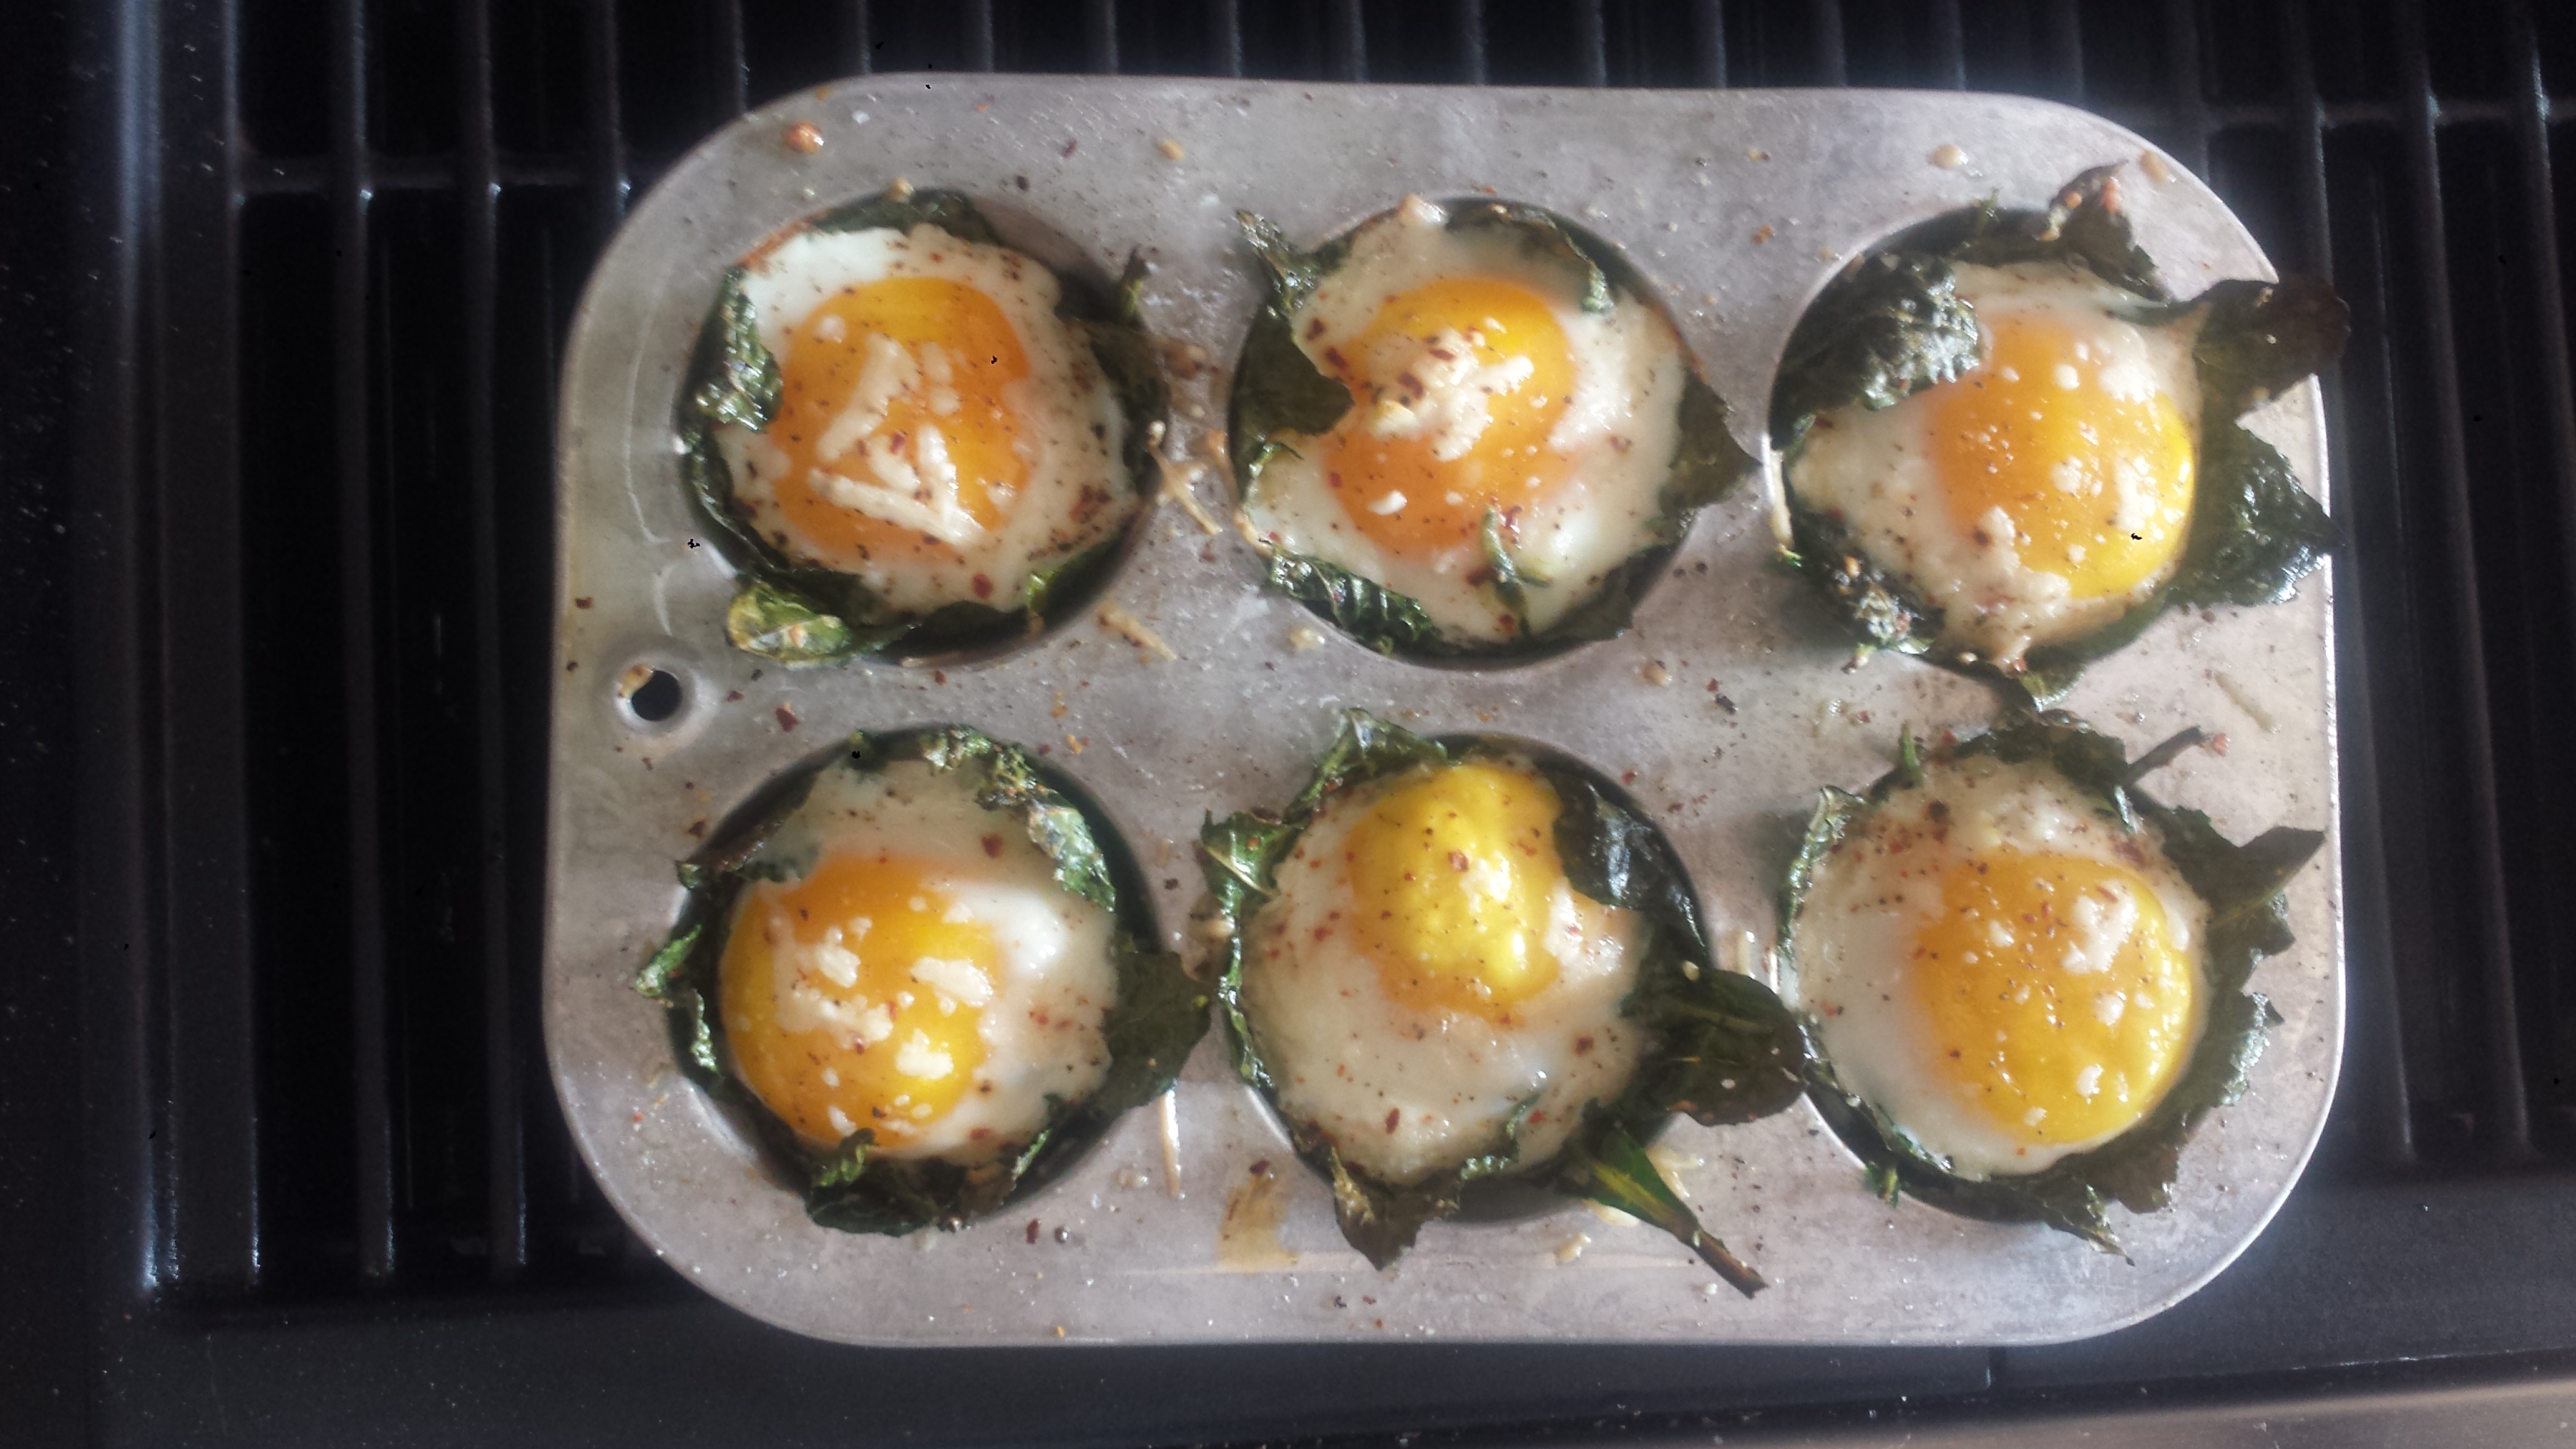
I spotted this recipe in the November, 2015 edition of Vegetarian Times and decided to make it for Sunday brunch using eggs from the backyard chickens next door and fresh kale from my garden. I have a great arrangement with my neighbor, Sandy. I give her all of my cooking and vegetable garden scraps and she gives me beautiful organic eggs from happy chickens. Look at the gorgeous orange of the yolks. Darker yellow/orange yolks usually means the hen had a varied diet and the resulting egg is richer in Vitamins and micronutrients like vitamins A and E plus omega-3. as compared to the anemic pale yellow, less nutritious standard supermarket egg. Did you know that egg yolks are one of the foods that naturally contain Vitamin D? Another egg fact you may not know is that the color of the shell doesn’t indicate how nutritious it is, just the kind of chicken that the egg came from. My Mom raised a variety of chickens who laid eggs that ranged in color from off white to green, blue and brown – all equally nutritious because they were raised the same, happy and on the earth.

However, if you aren’t lucky enough to have chickens like my brother, Tom, and his wife, Kelle, or have a neighbor with chickens, try to buy eggs that are labelled “Pasture Raised”. Other egg labels are often meaningless and lies misleading as producers try to capitalize on people’s desire to make more humane and nutritious choices. Just because something is labelled ‘Organic’ or ‘Free Range’ doesn’t mean the chickens were given nutritious food or had a chance to go outside and peck at the ground. There is little to no oversight so producers just decide for themselves what those terms mean. Outside might mean a tiny concrete enclosure that the chickens may not even know is there or have real access. For a breakdown on what egg labels are supposed to mean and what they really mean, click HERE to read an article by NPR. And, FYI, chickens are NOT vegetarians…
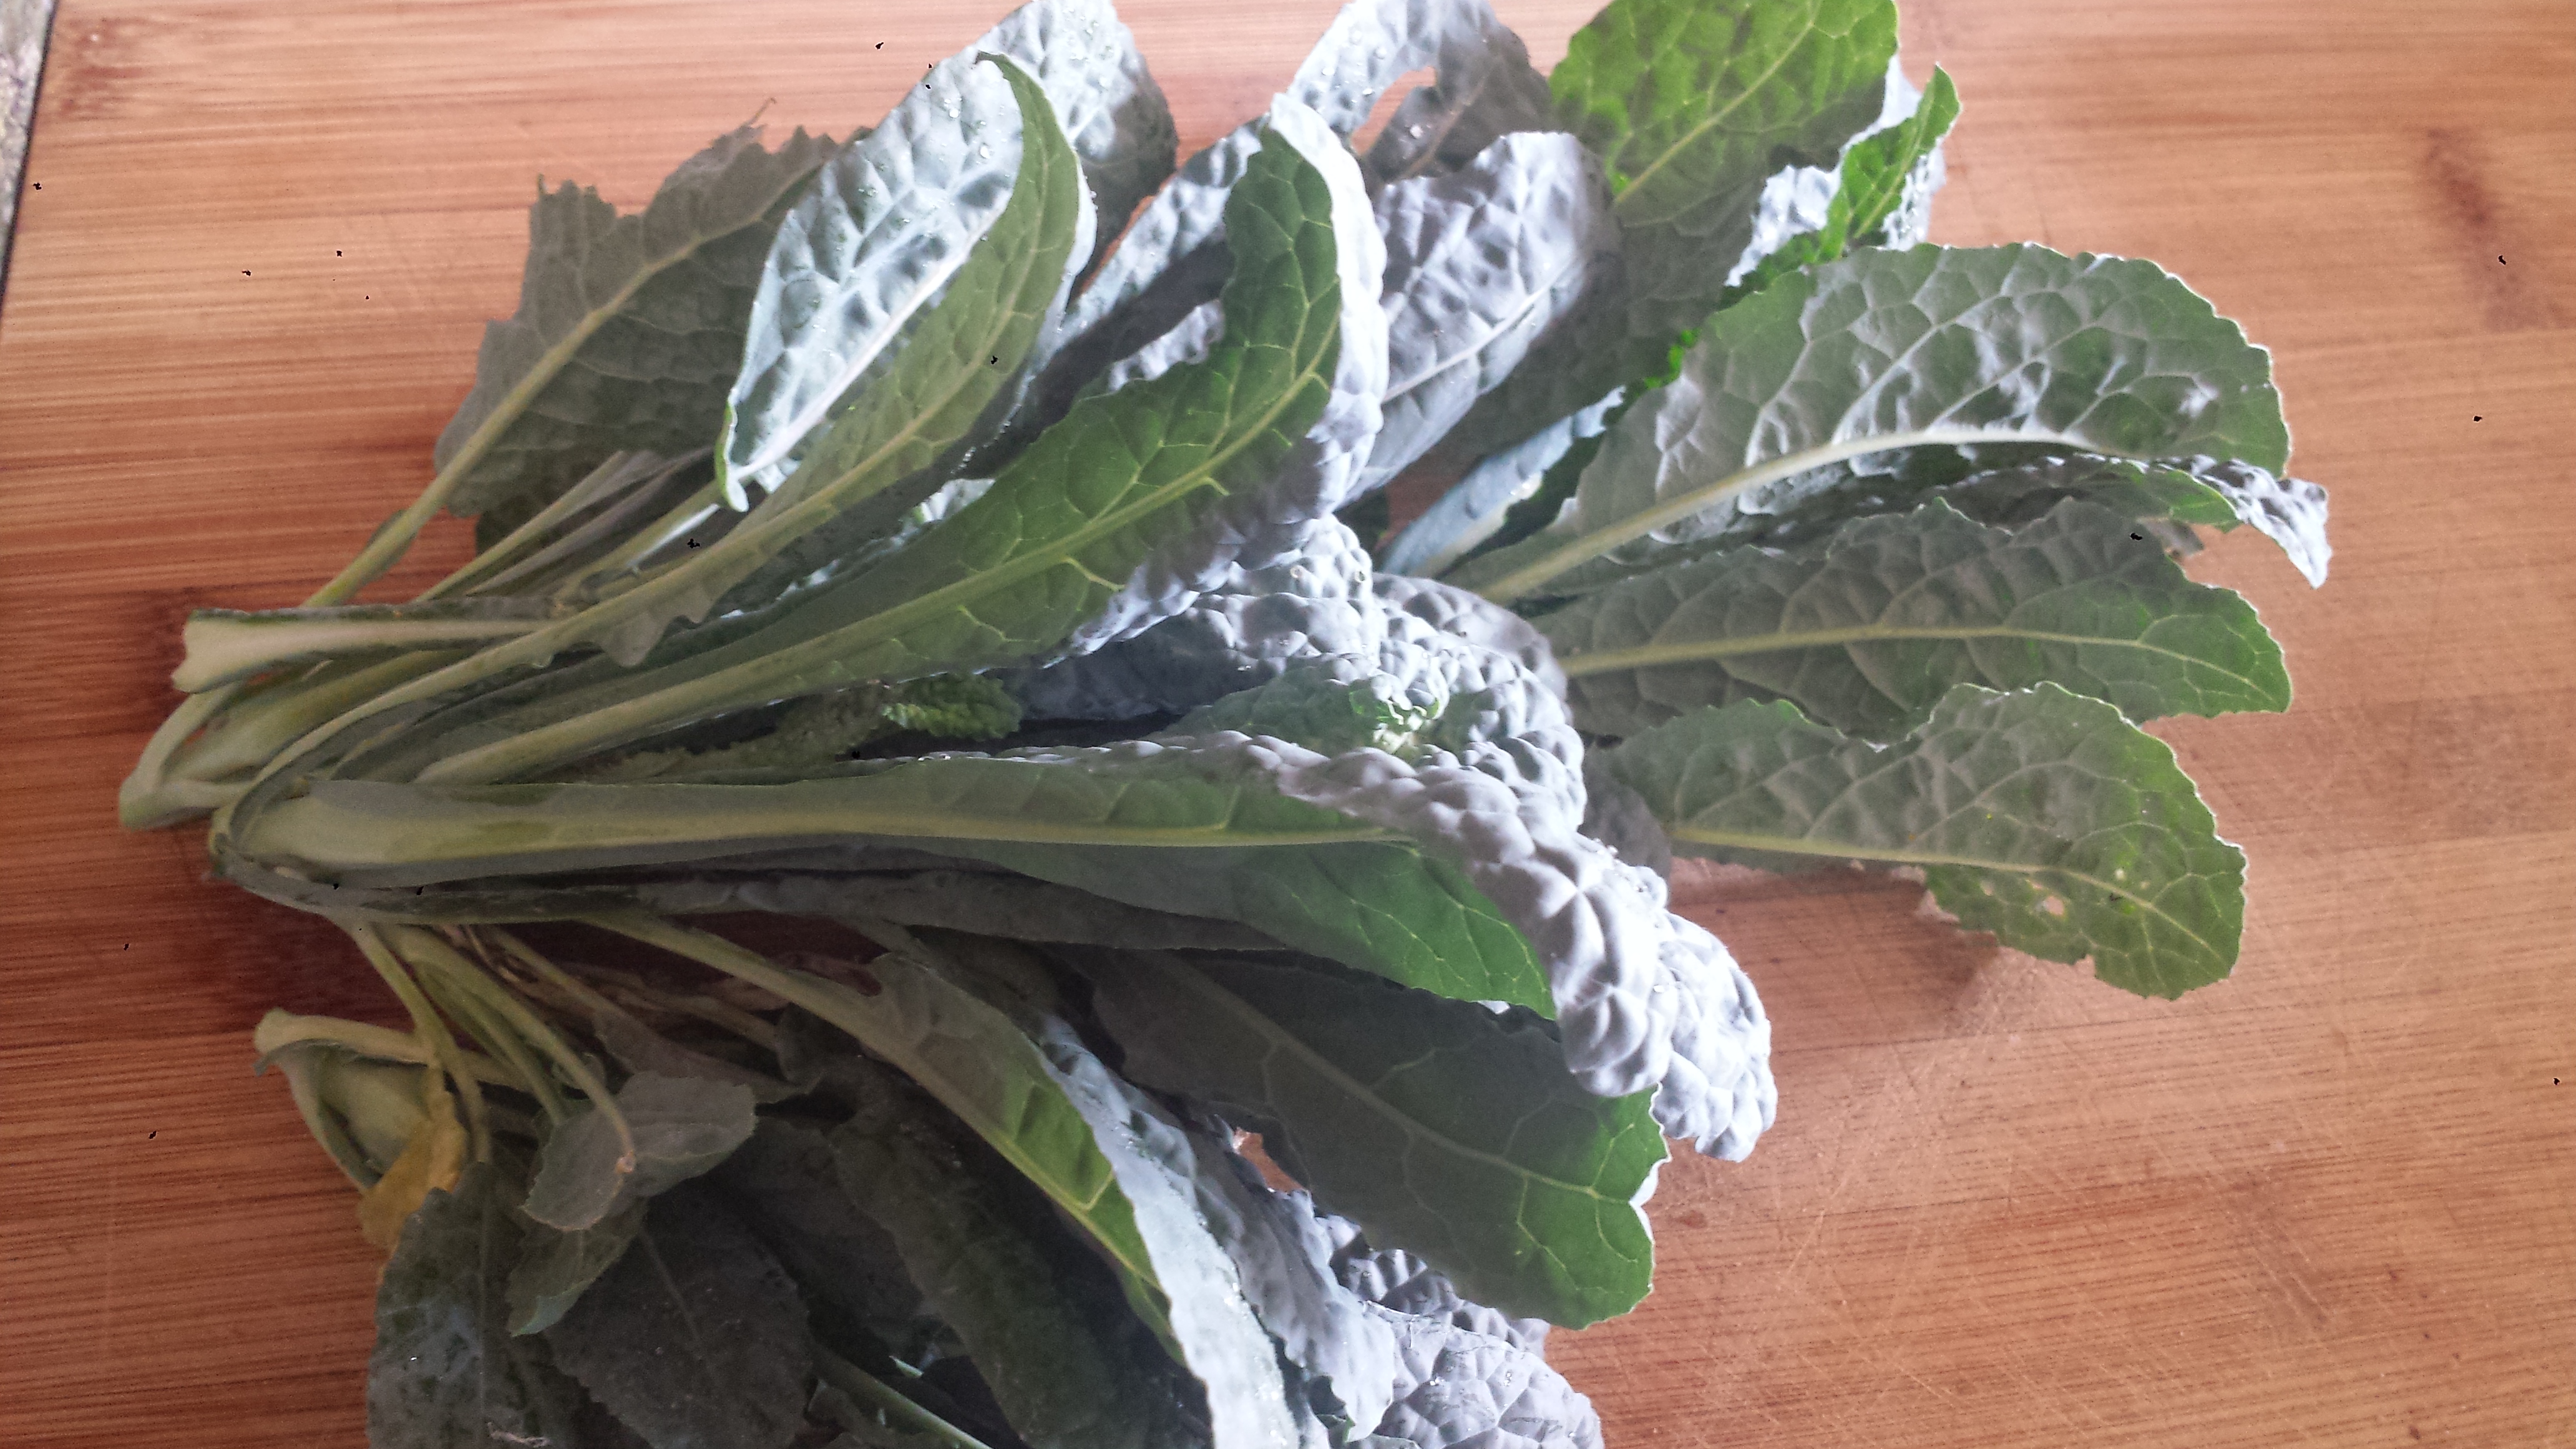
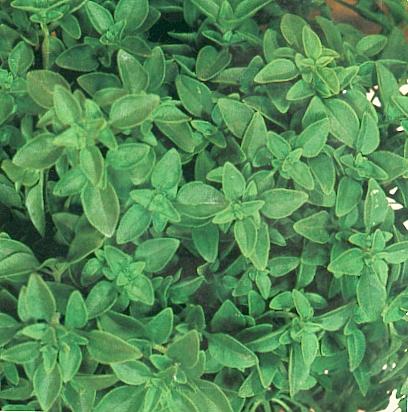
TIPS: I used lacinato kale because that is what I had ready in my garden, but you can use any kind of kale you like. Curly kale would make extra pretty ‘cups’ in this dish. When forming the nests/cups, use more kale than you think and make sure the muffin tin is completely covered to prevent leakage and that the fronds stick up out of the muffin tin, as the kale shrinks quite a bit during baking.

BAKED EGGS IN KALE CUPS
- Preheat oven to 375°F. Coat extra-large six-cup muffin pan with 1 Tbs. oil or cooking spray.
- 2 Tbs. olive oil, divided
- 1 12-oz. bunch kale, stems removed
- 2 Tbs. grated Parmesan cheese
- 1-2 cloves garlic, minced (1 tsp.)
- 6 large eggs
- 1 Tbsn fresh basil, chopped (optional)
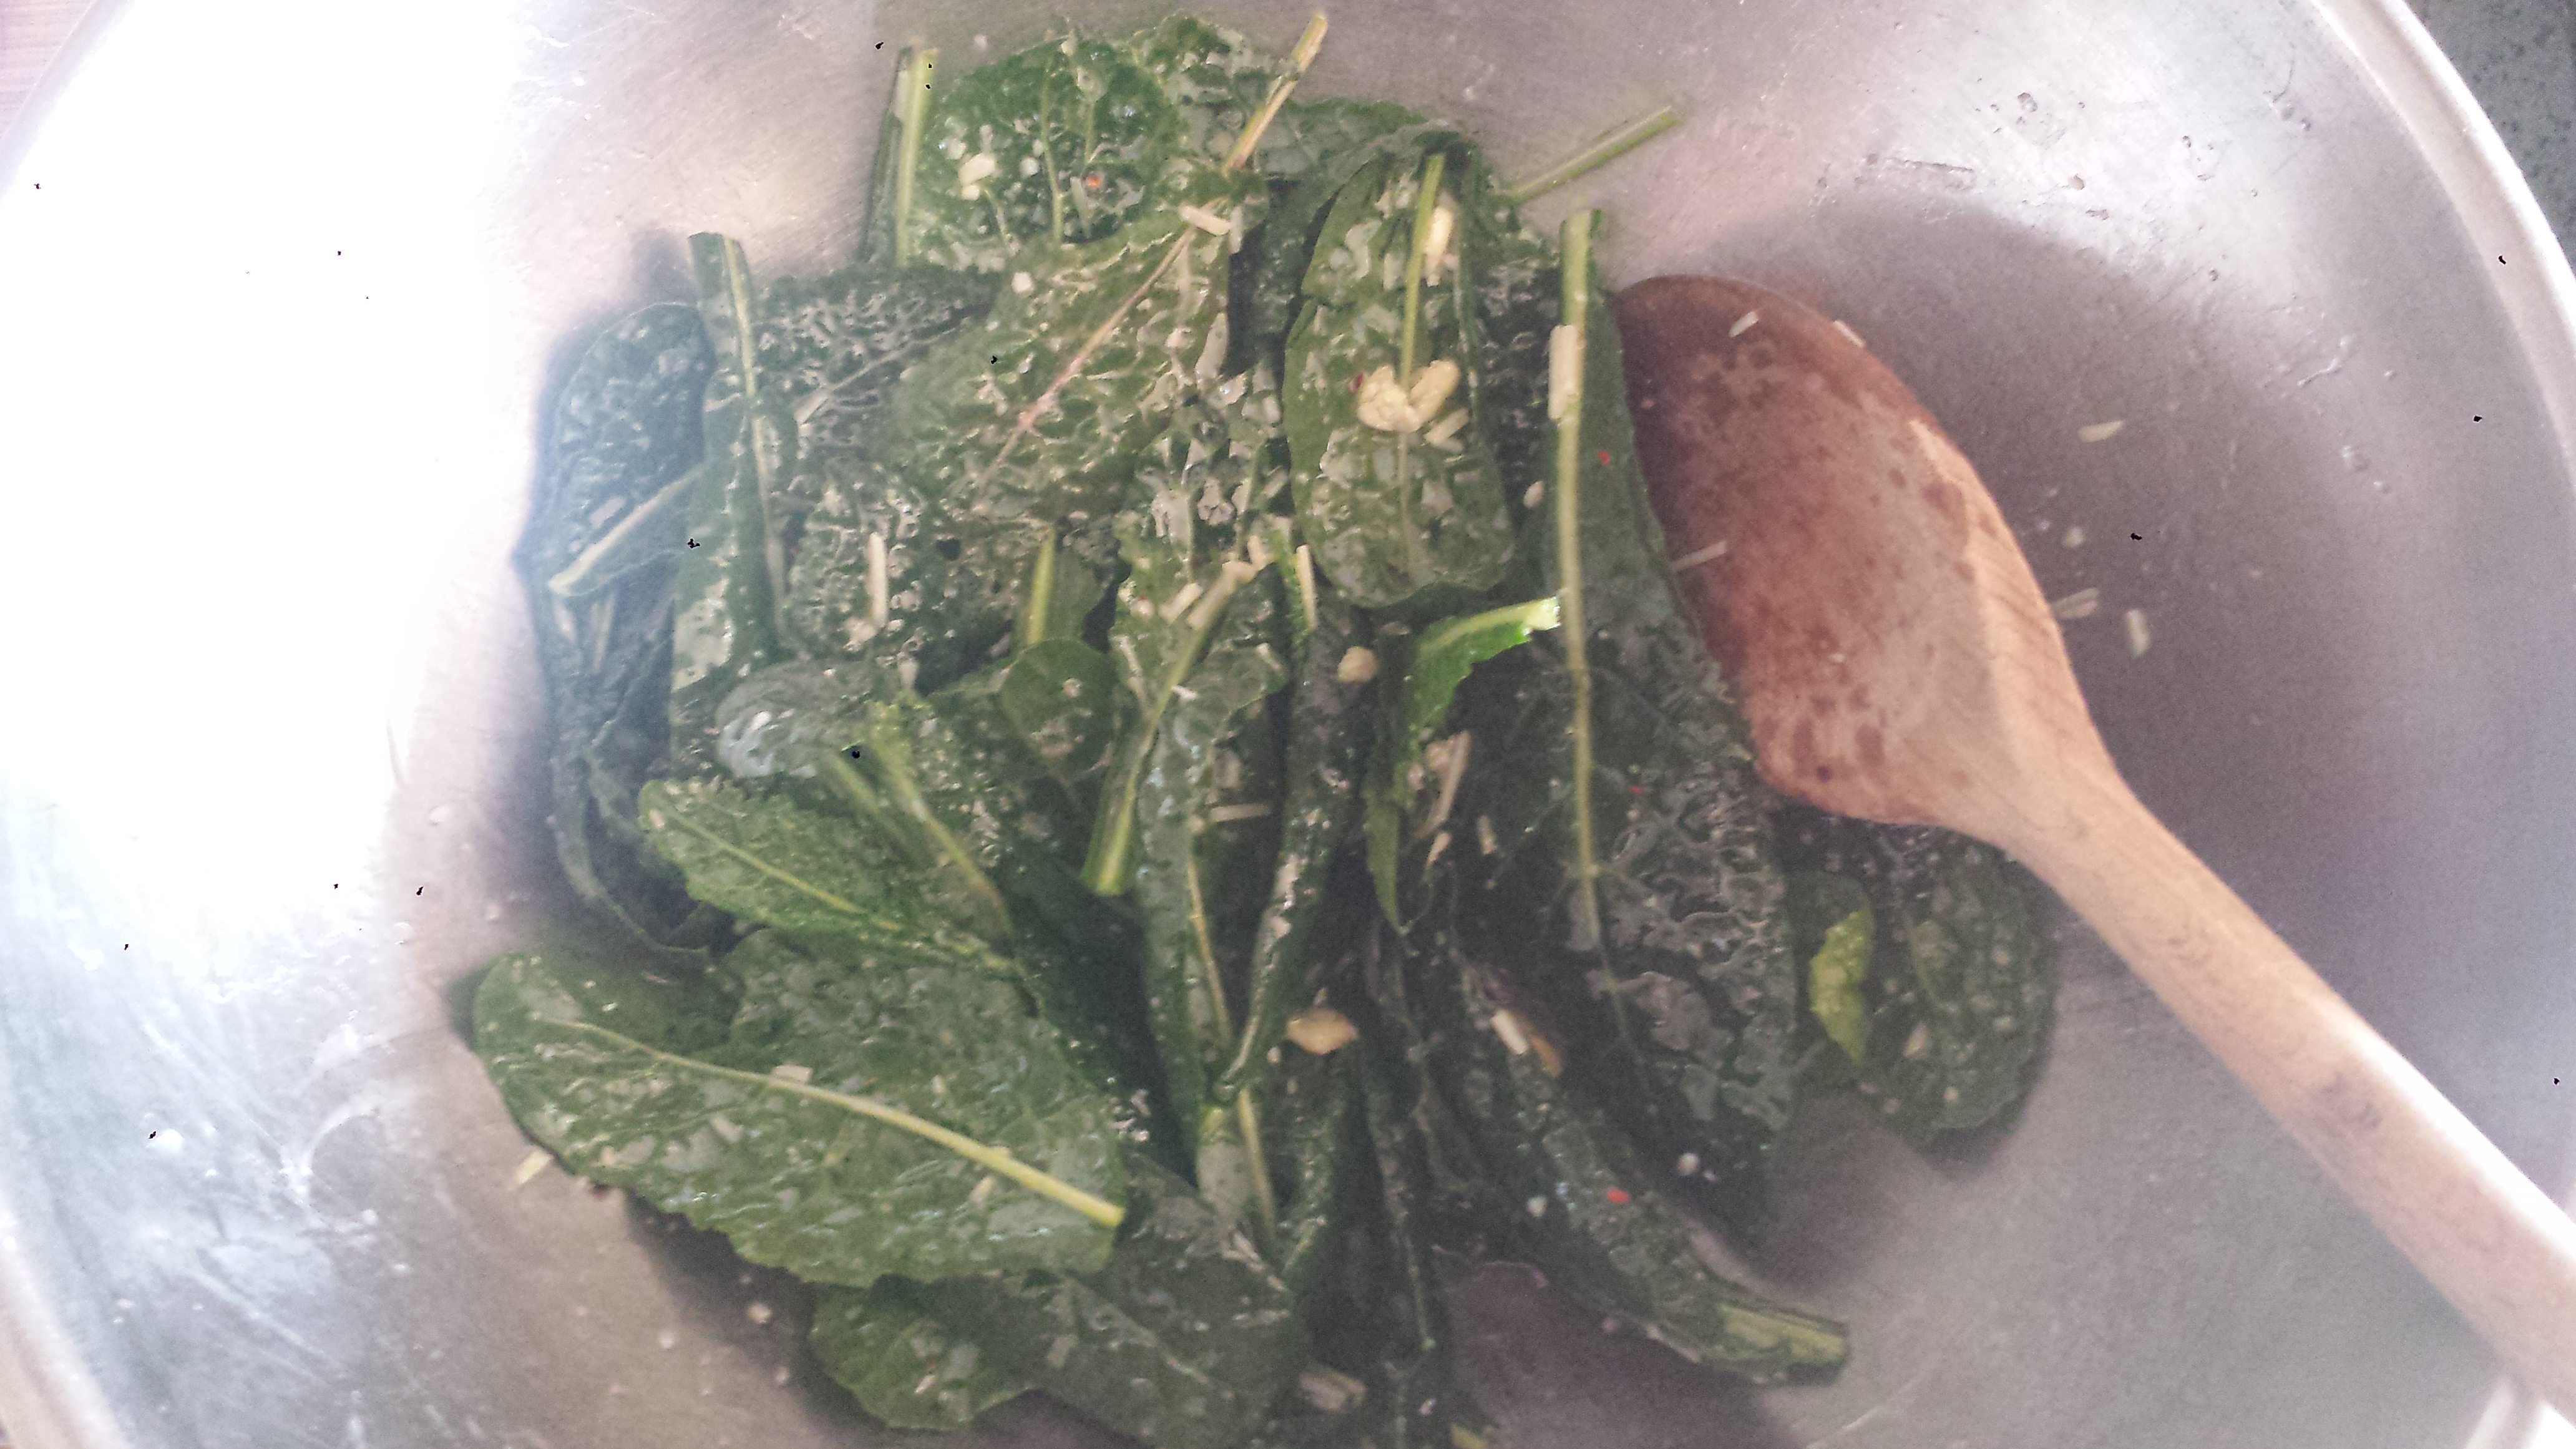
- Place kale leaves in large bowl, add remaining 1 Tbs. oil, cheese, and garlic. Massage kale until tender and glistening.

- Line prepared muffin cups with large kale leaves, covering whole muffin cup, and leaving some of leaf edges sticking up (smaller leaves can be layered in cup).
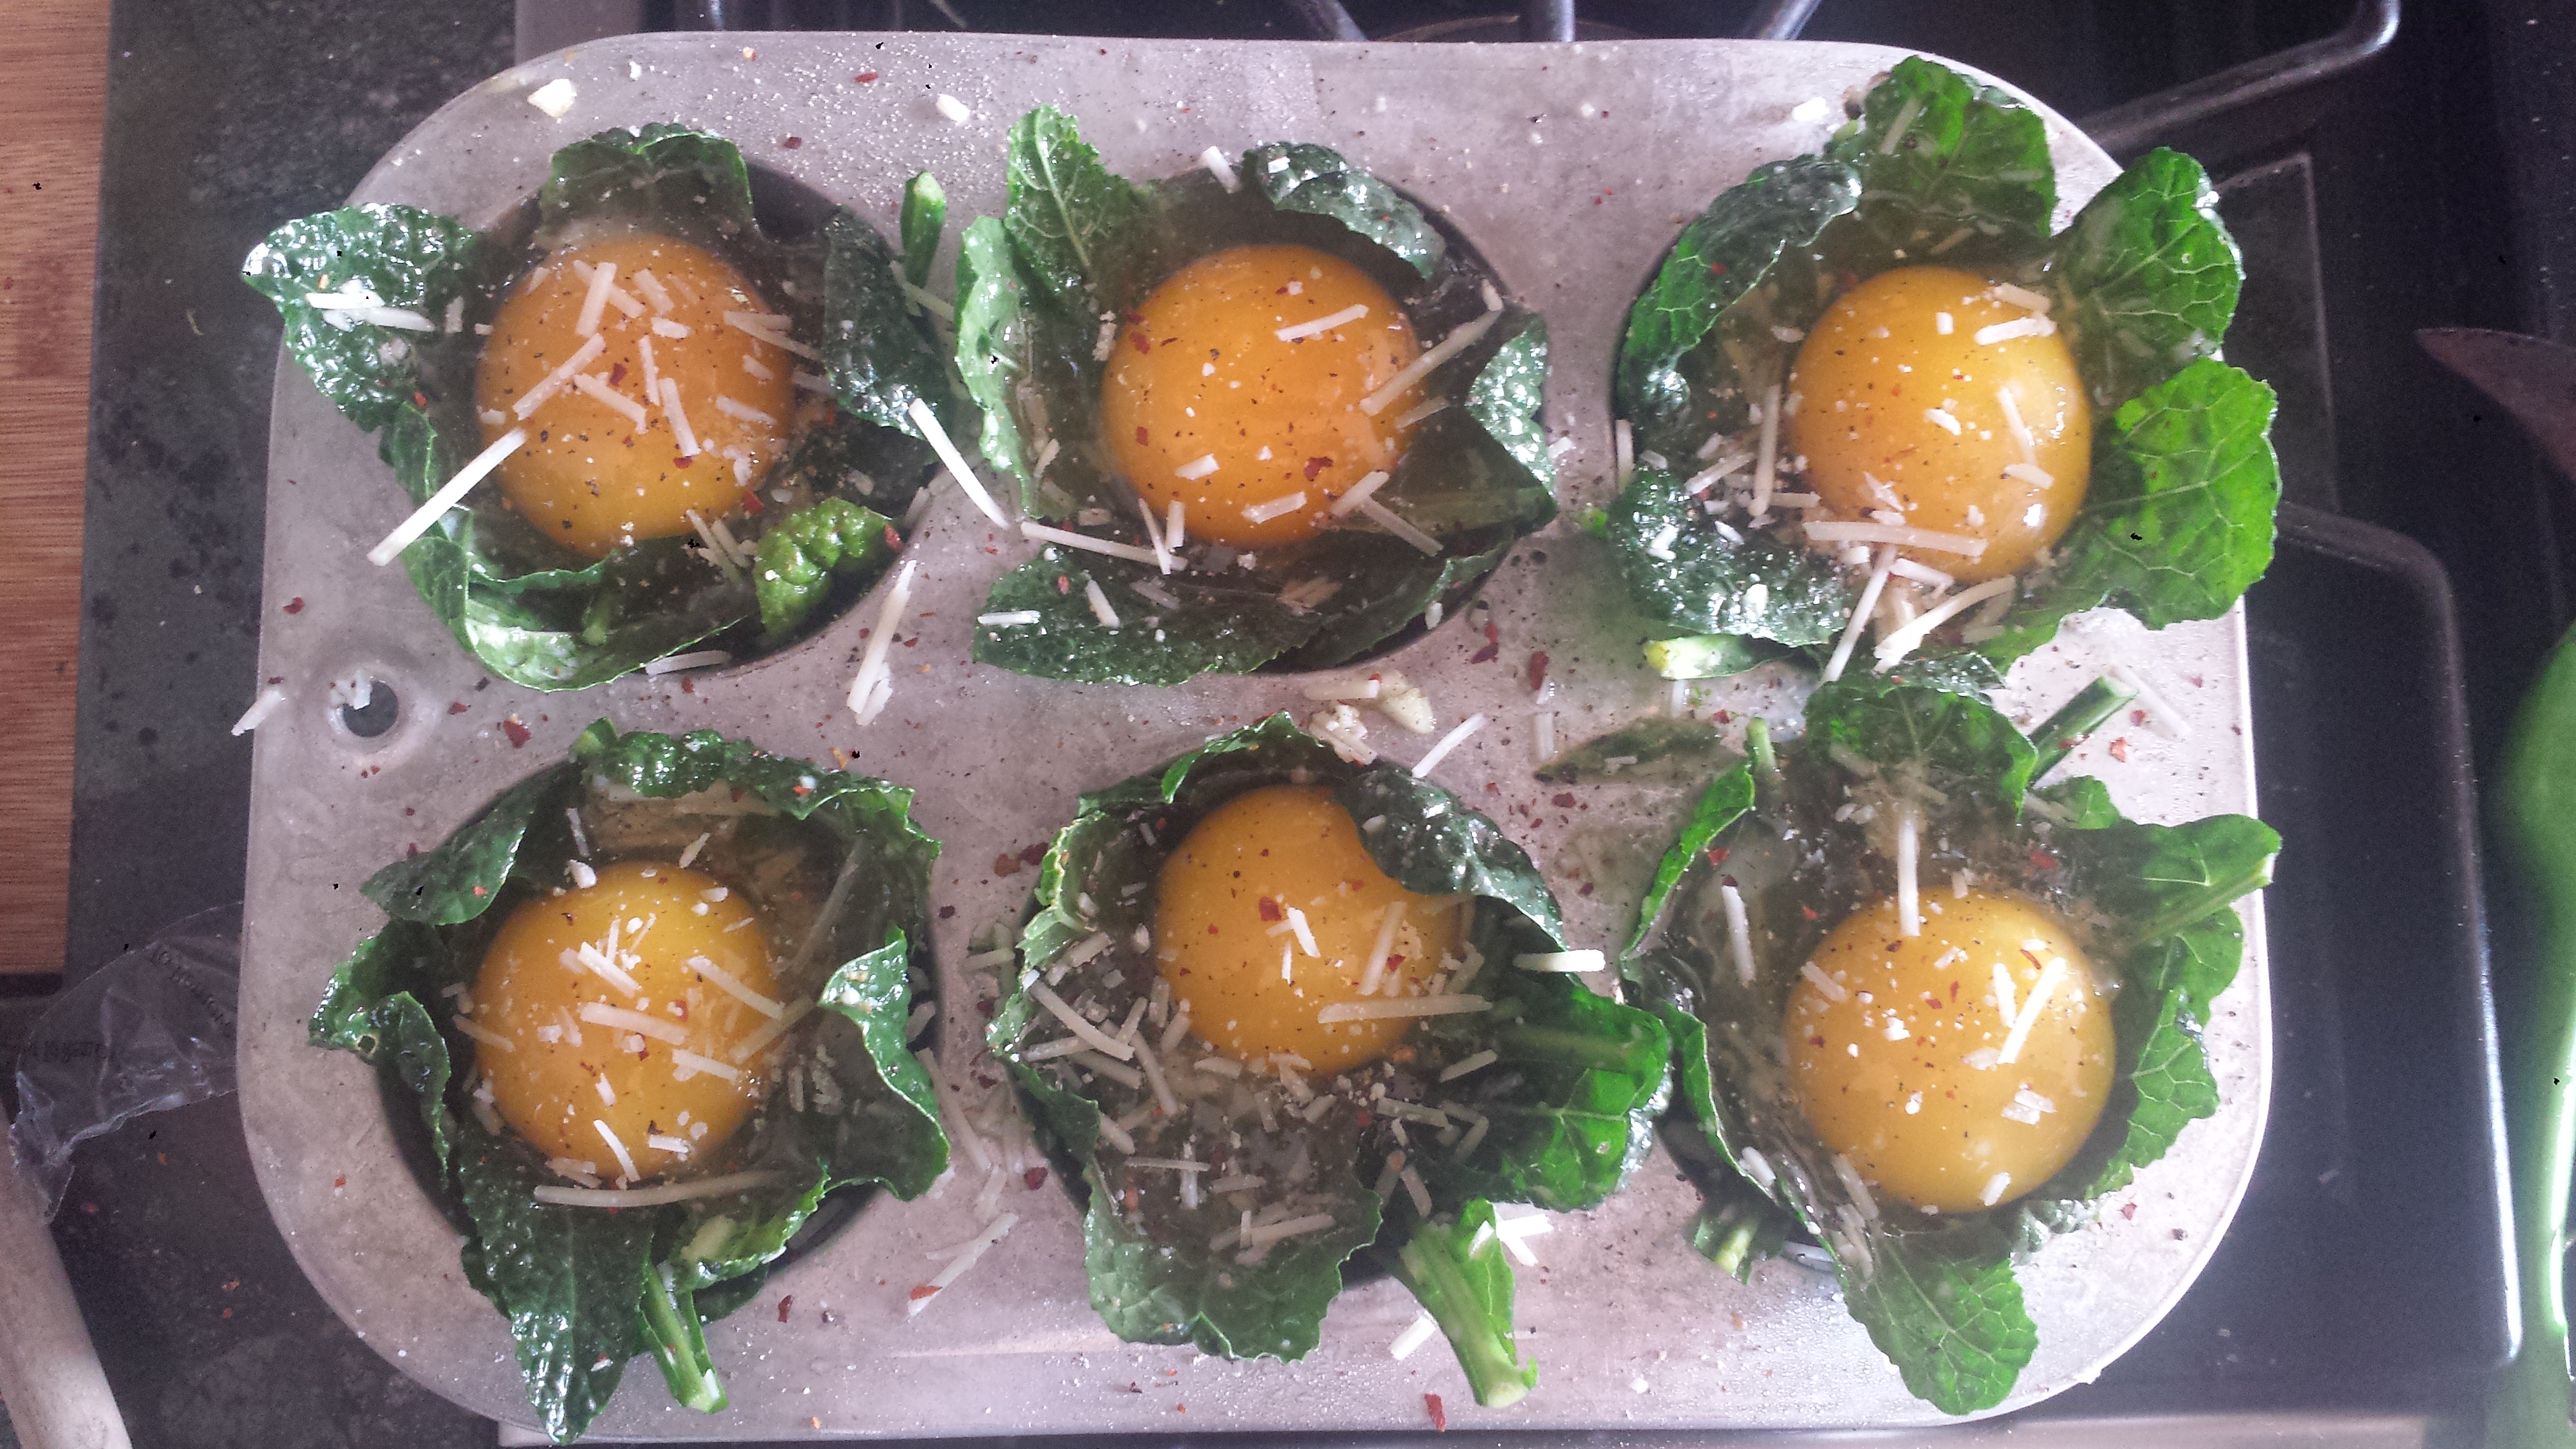
- Crack 1 egg into each kale nest, and season with salt and pepper, more red pepper flakes and a sprinkle of parmesan, if desired.

- Bake 17 to 25 minutes, or until egg yolk is set.
- Cool 5 minutes before removing kale nests from muffin cups.
- Using a large spoon or a knife edge, carefully release the sides from the cupcake tin and place on a platter to serve. Sprinkle with fresh basil, if desired.
Baked EggS in Kale Cups

2 Tbs. olive oil, divided
1 12-oz. bunch curly kale, stems removed
2 Tbs. grated Parmesan cheese
1-2 cloves garlic, minced (1 tsp.)
6 large eggs
1 Tbsn fresh basil, chopped (optional)