Looking for healthy and delicious goodies to serve at the Superbowl Halftime? These yummy Blackened Fish Tacos will not disappoint. They can be served as a make-it-yourself Taco Bar or as pre-made sliders to serve a large crowd and they are really fun, with a colorful topping of Rainbow ‘slaw’ that includes fresh sweet mango, avocado, black beans and jalapeno, and topped with a dollop of Spicy Avocado Sauce. I like to include black beans in the slaw. Their earthy saltiness adds a nice contrast to the crunchy sweet and spice of the rest of the fruits and veggies. Plus the addition of black beans allows vegetarians or non-fish eaters to make delicious and satisfying tacos too. I know nutrition is not the top priority of SuperBowl cuisine, but you can rest assured that these tacos will be popular and pack a huge nutrional punch without all the extra calories.

Well the good news is that Punxatawny Phil didn’t see his shadow yesterday on GroundHog Day, which means Spring will come early this year, although I’m not sure that Phil is a trustworthy predictor of spring. In fact, according to the StormFax Almanac Phil has been right only 39 percent of the time. Since his first prediction in 1887, Phil has seen his shadow 102 times and not seen it on just 18 occasions, including this year. I guess Spring will come when it comes but I can’t wait. I know we need the rain in California but…

Photo Credit: http://media2.s-nbcnews.com/j/MSNBC
I love Mexican food, especially tacos! The spicier the better in my book. Halibut makes a great taco base since it’s mild in flavor and really picks up the wow of the spices. It’s also firm in texture so it doesn’t turn to mush or fall apart in the taco even when you add multiple toppings. I used the smaller, slider sized, corn tortillas which are fun for large gatherings, if you can find them, like the Superbowl. That way I get to eat two for the price of one… yum! I also liked the way this avocado sauce set itself apart from guacamole (which I also love) and doesn’t include any sour cream or other fatty fillers, just lots of lovely flavor. For a spicier sauce, include more jalapeno and some of the seeds. The honey is added to offset the acidity of the apple cider vinegar and lime juice, not to make it sweet. Of course, you could always omit the honey if you like it tangy. For a creamier sauce, substitute yogurt and a little water for the vinegar. It’s hard to go wrong with avocado, so feel free to experiment.

TIPS: To easily cut a mango into chunks, slice the mango lengthwise, on the flat side just to the right of the large pit. Cut the fleshy part of the mango lengthwise and then crosswise (without cutting into the skin) and invert mango to expose mango sections. Then easily cut off mango cubes. The avocado sauce and the rainbow/mango topping can be made ahead of time and refrigerated. I found that both Rainbow Slaw and Avocado Sauce held up really well overnight in the refrigerator.
For more SuperBowl recipes, check out my blog post this Friday. Cheers!
BLACKENED RAINBOW FISH TACOS
2 lbs halibut, skin removed (or other mild fish)
2 Tbsp. olive oil
2 Tbsp. chili powder
1 Tbsn cumin
1 tsp garlic powder
1 tsp Blackened Old Bay (optional)
1 tsp salt
8 corn tortillas (or 16 slider sized)
1 cup queso fresco (optional)
RAINBOW MANGO TOPPING (Makes a generous salad/can easily be halved)
1 avocado, diced
1/2 mango, diced
1/2 red pepper, diced
1/2 red onion, diced
1 cup purple cabbage, shredded or chopped
1 can black beans, drained and rinsed
1 jalapeno, diced
1/2 cup cilantro, chopped
1 lime, juiced (2-3 Tbsn)

SPICY AVOCADO SAUCE
1 ripe avocado
1 jalapeno (with or without seeds)
2 cloves garlic
1/4 cup cilantro
1/4 cup apple cider vinegar
1 lime, juiced (2-3 Tbsn)
1-2 Tbsn honey (or more to taste)
salt and pepper to taste
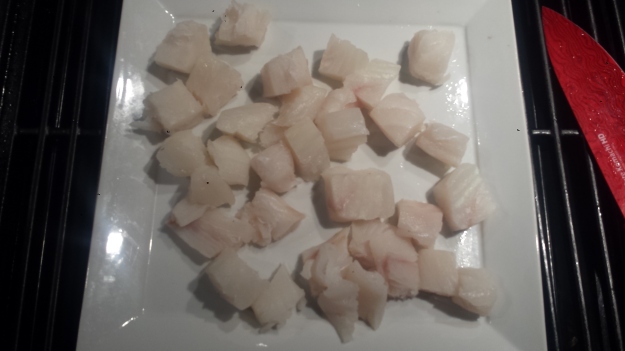
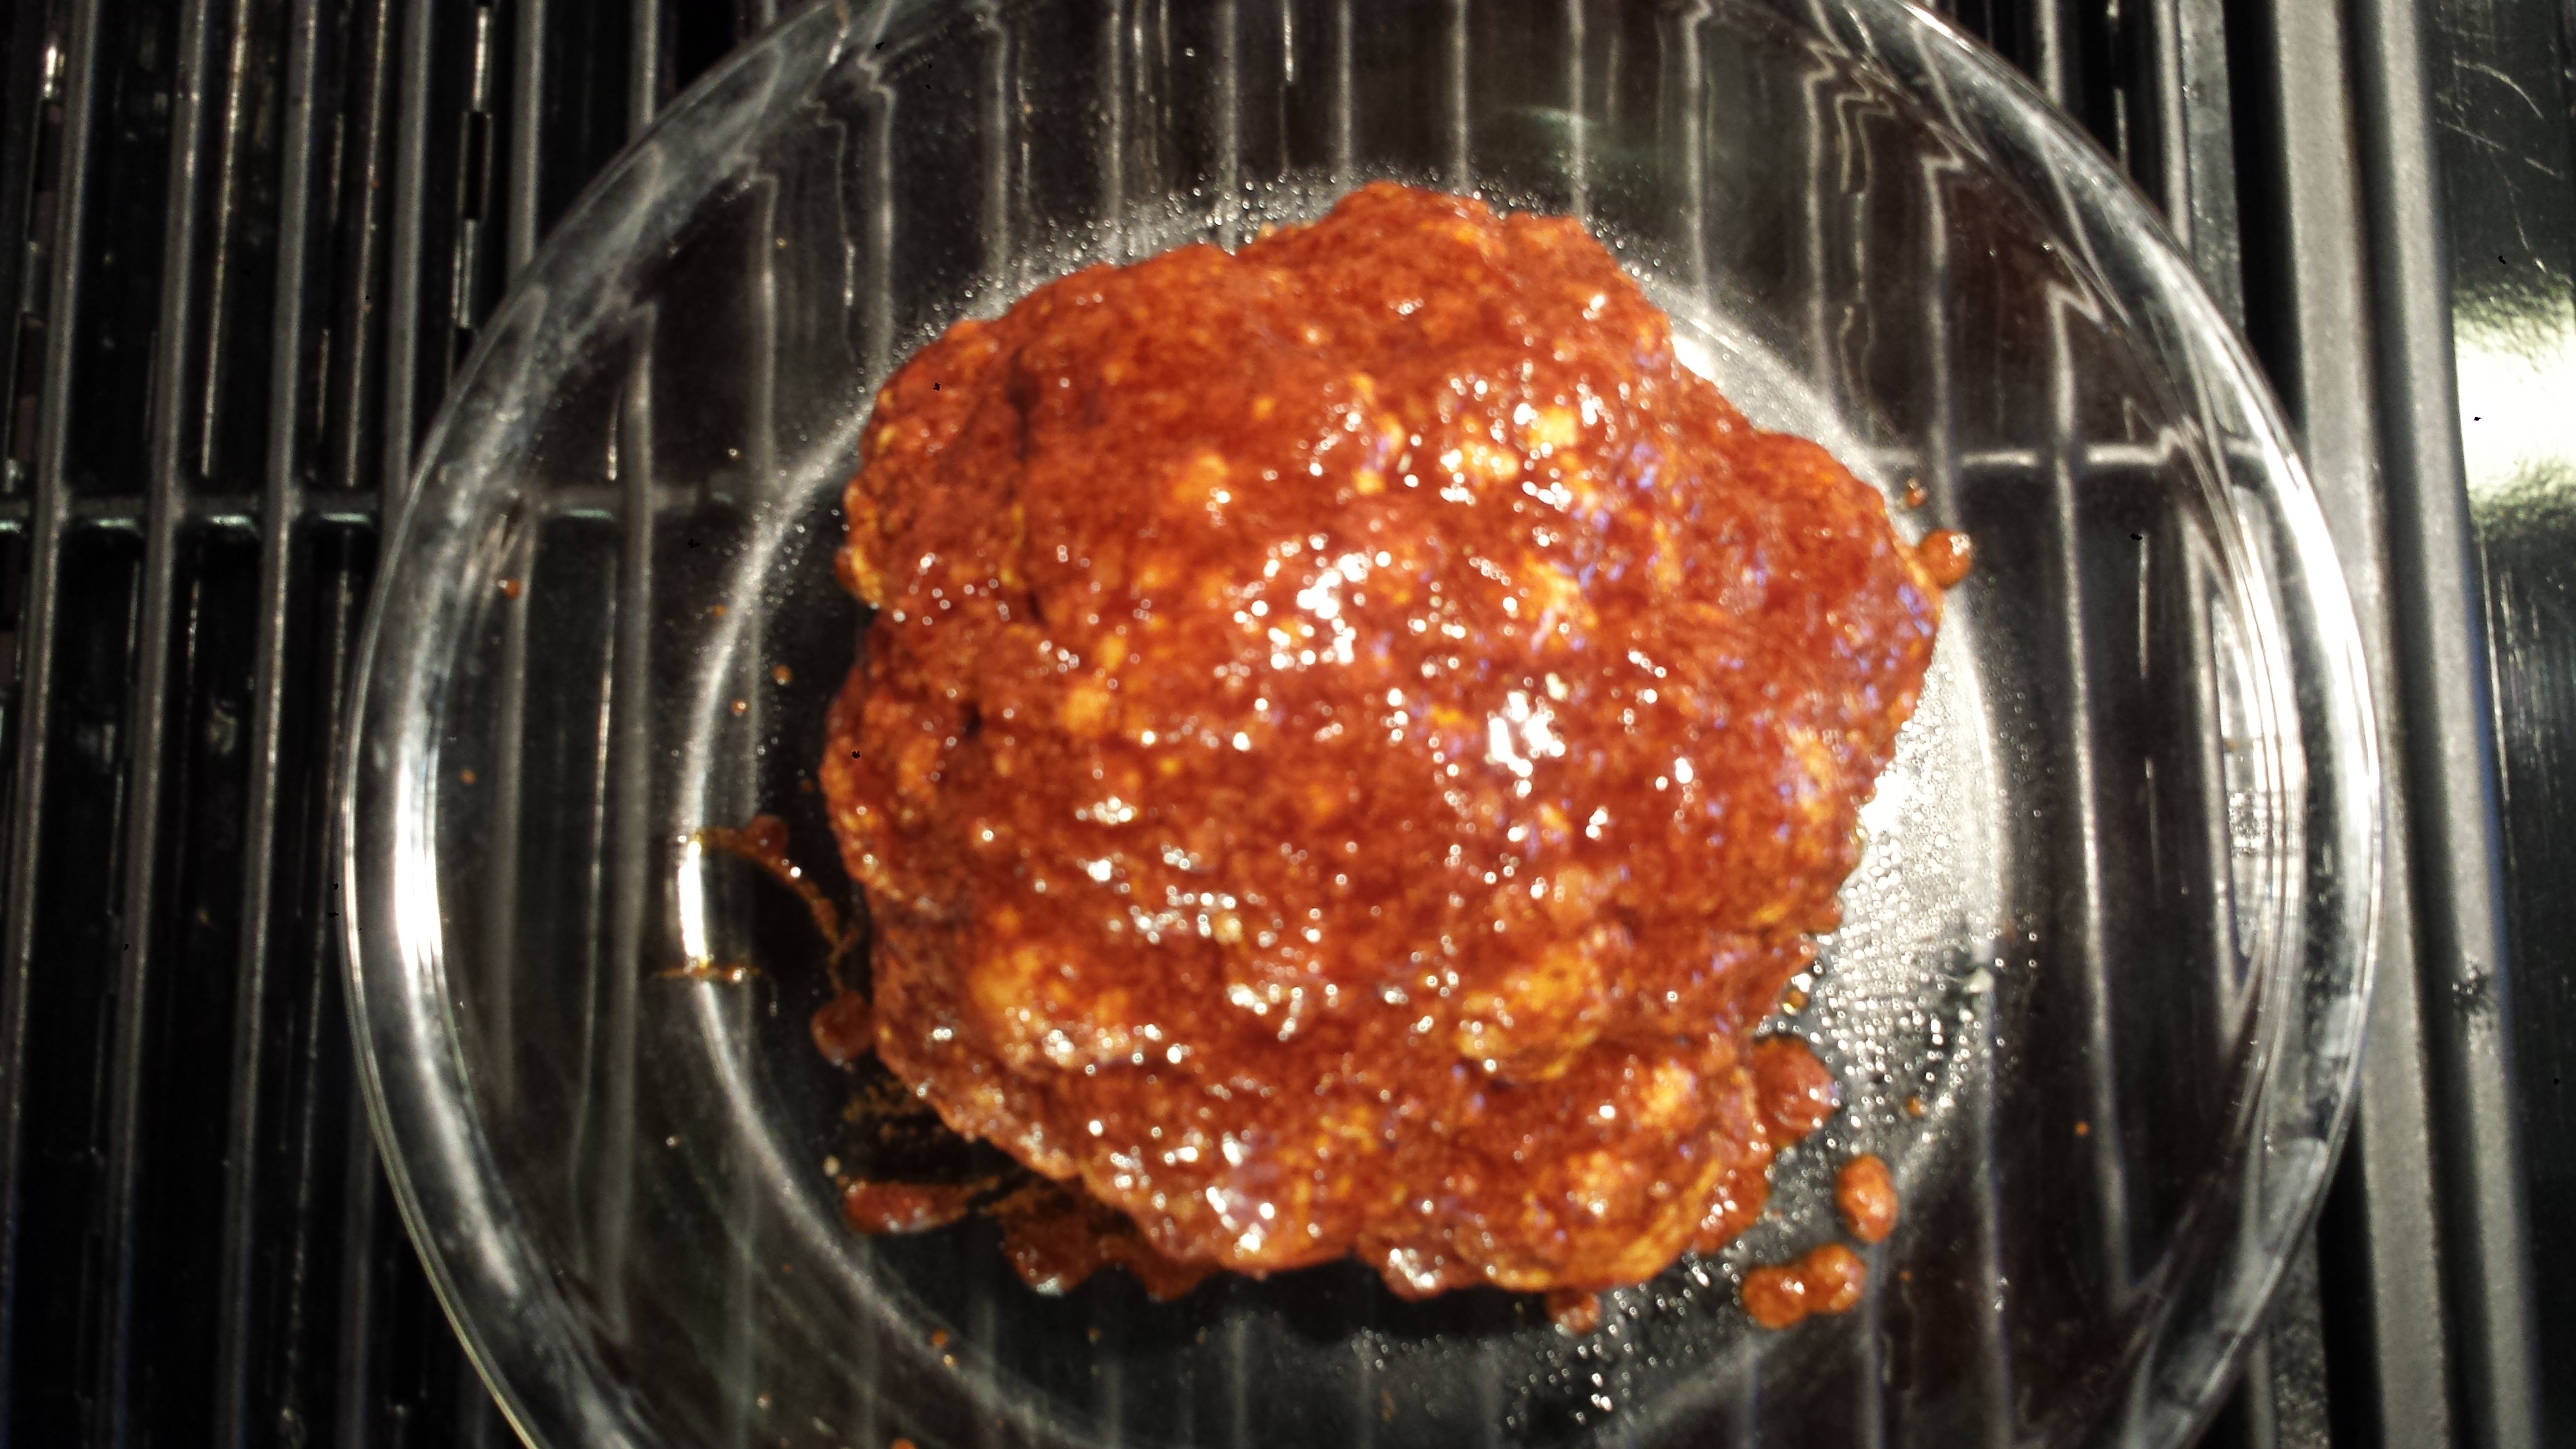
- Wash halibut filets and pat dry. Cut into bite sized pieces and place in a shallow container.

- Combine chili powder, cumin, garlic powder, Old Bay and salt in a small bowl.

- Sprinkle spice mixture over halibut and stir to cover evenly and set aside.

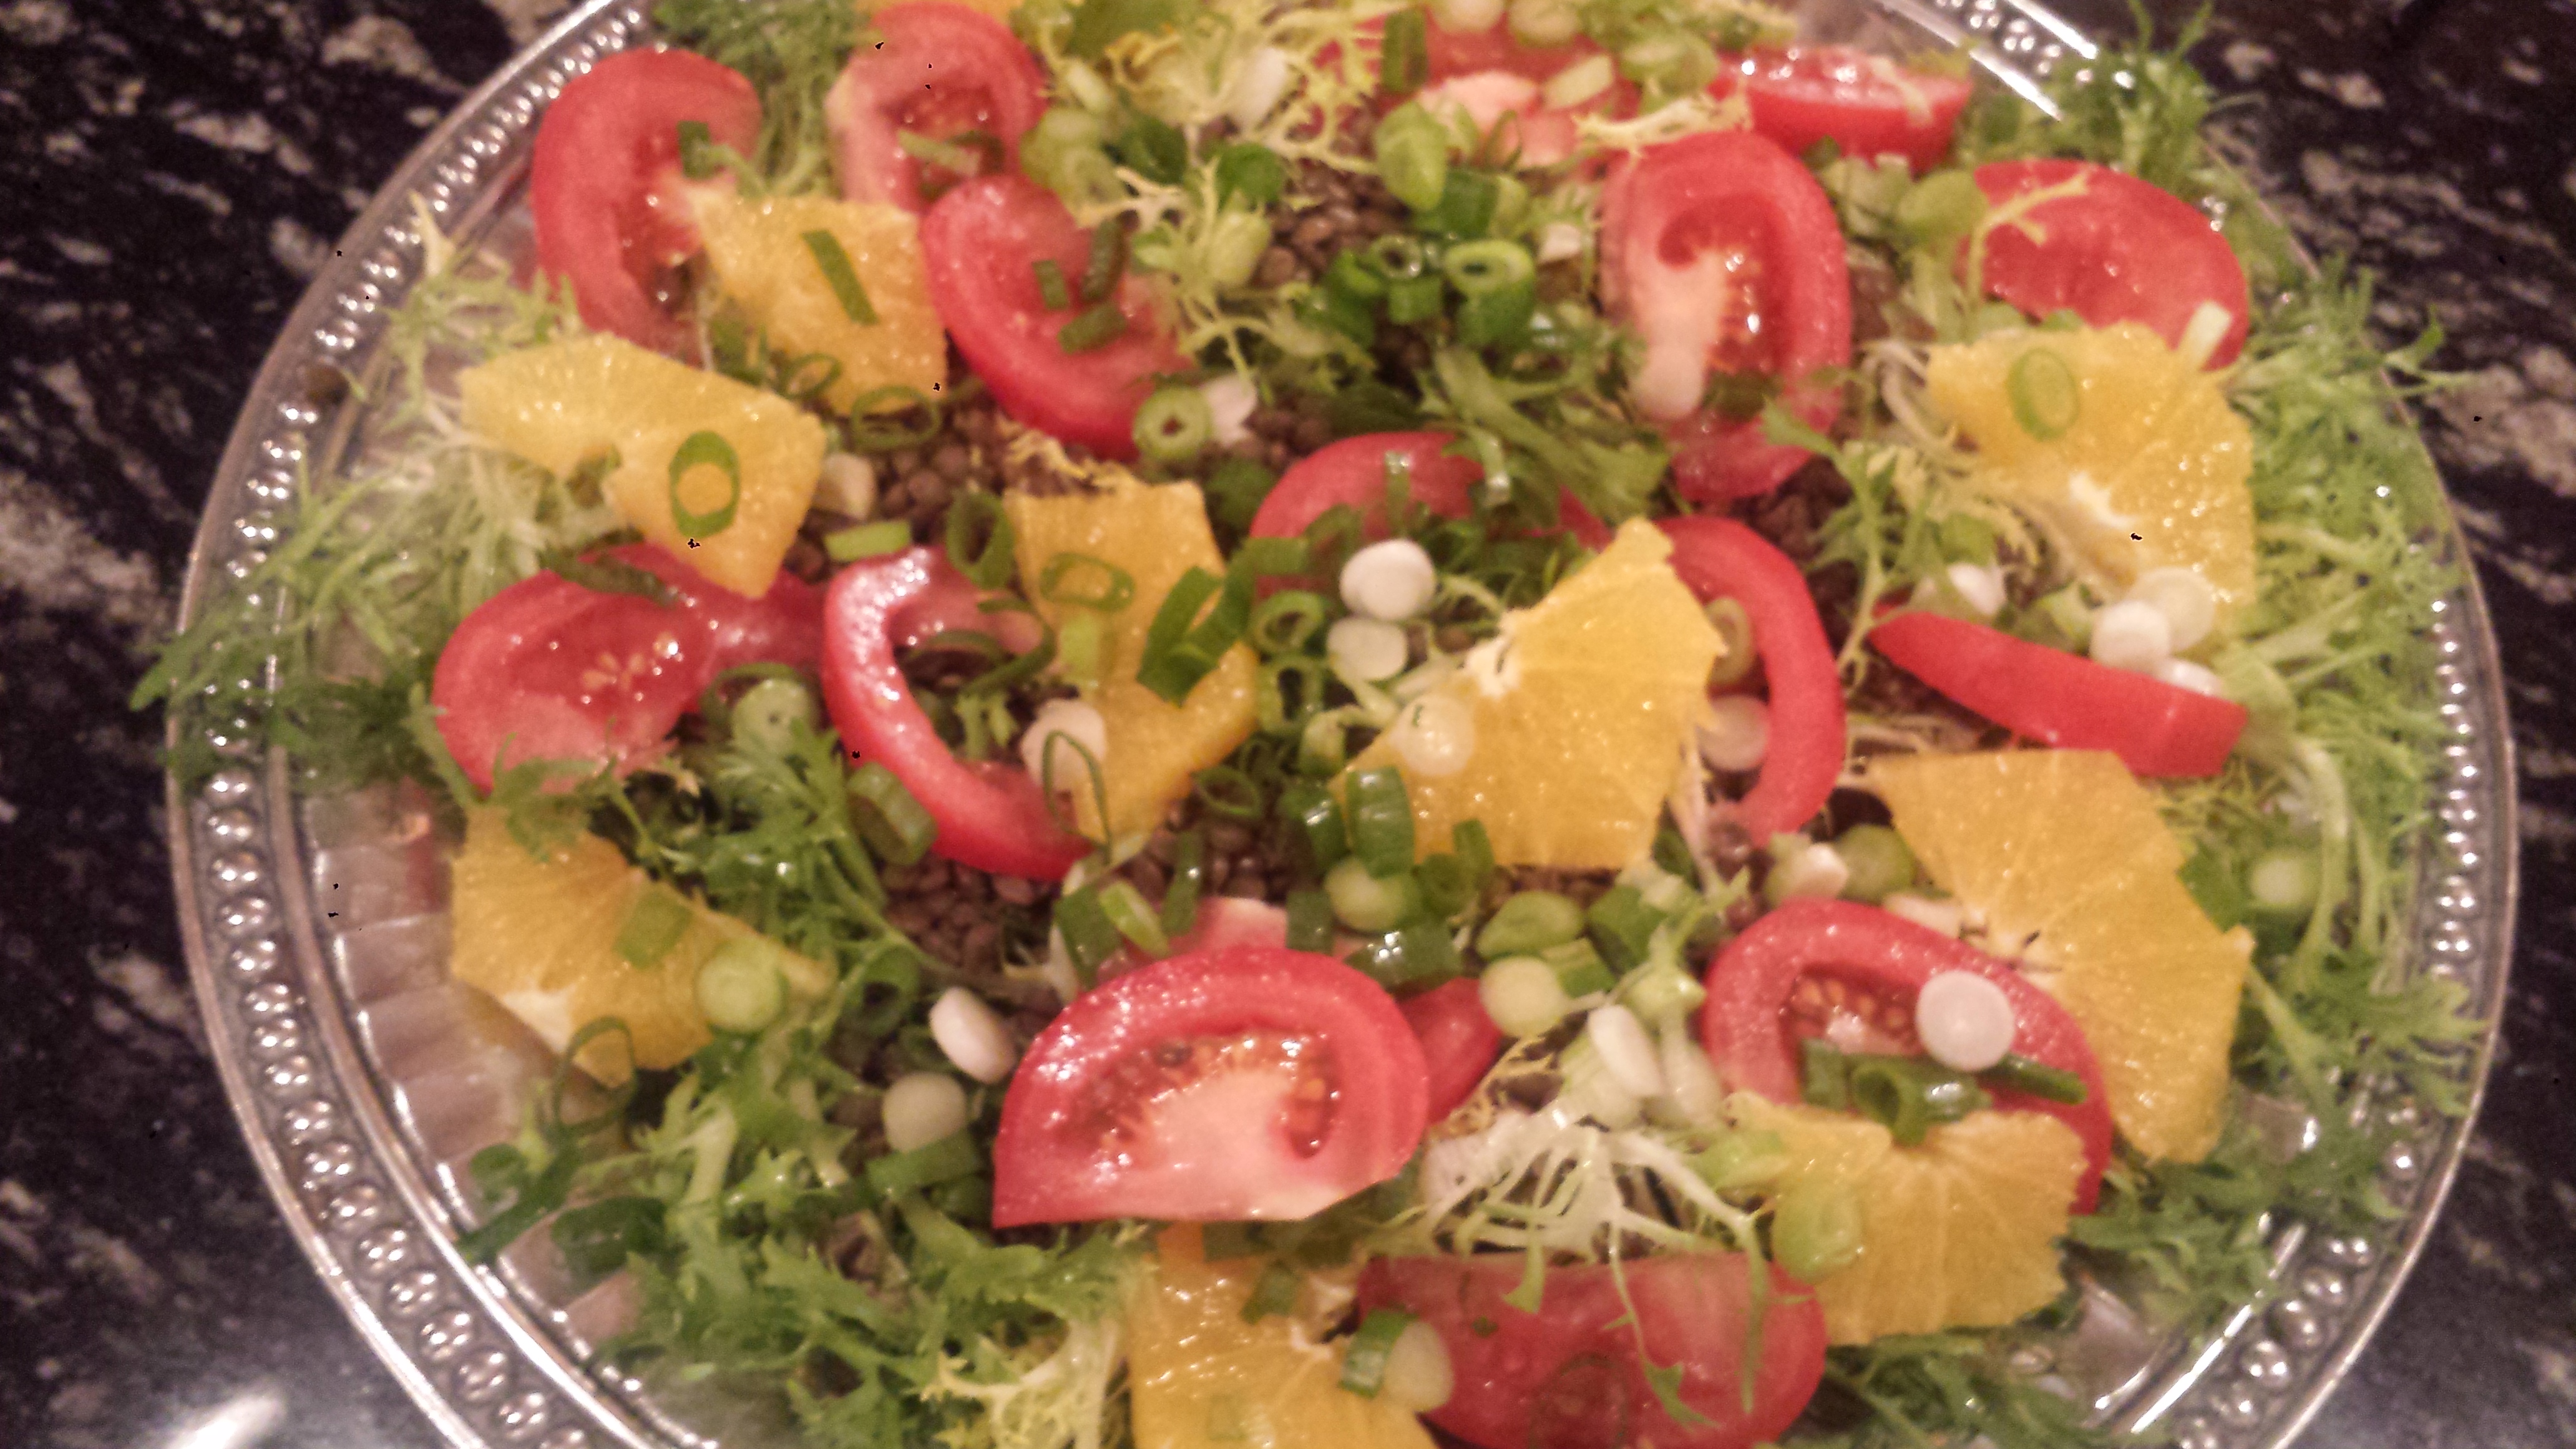
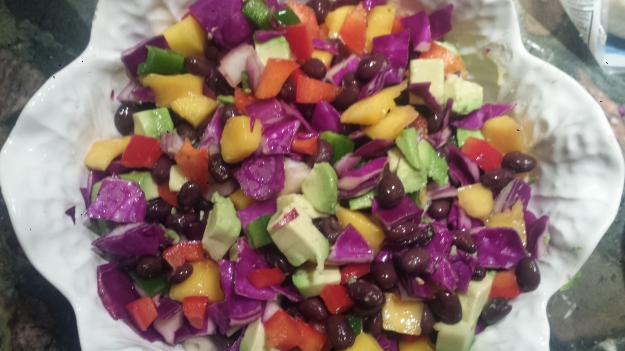
- Place all Rainbow Mango ingredients in a serving bowl and toss to combine.

- Place all Avocado Sauce ingredients in a blender or food processor and process until smooth. Start with just one tablespoon of honey and then adjust according to taste. Pour into a serving bowl (top with avocado pit to keep from turning brown).

- Wrap tortillas in foil and heat in a 250 degree oven. Heat olive oil in a heavy pan, cast iron if possible, until quite hot. Add halibut to hot pan and cook several minutes, stirring to sear all sides. Remove from heat to prevent overcooking.

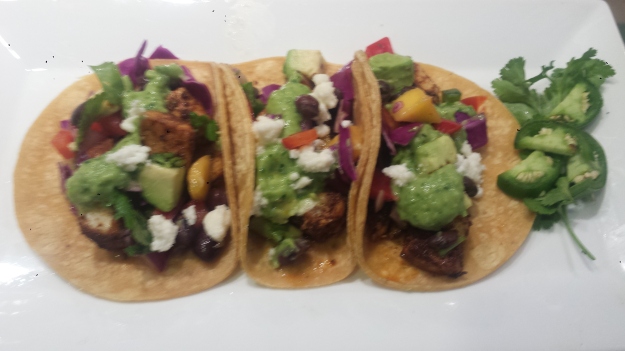
- Assemble tacos, by placin a few pieces of halibut in each tortilla and a spoonful of Rainbow Mango Topping. Top with a drizzle of Spicy Avocado Sauce

BLACKENED RAINBOW FISH TACOS 2 lbs halibut, skin removed (or other mild fish) RAINBOW MANGO TOPPING 1 avocado, diced SPICY AVOCADO SAUCE 1 ripe avocadoBlackened Rainbow Fish Tacos with Spicy Avocado Sauce

2 Tbsp. olive oil
2 Tbsp. chili powder
1 Tbsn cumin
1 tsp garlic powder
1 tsp Blackened Old Bay (optional)
1 tsp salt
8 corn tortillas (or 16 slider sized)
1 cup queso fresco (optional)
1/2 mango, diced
1/2 red pepper, diced
1/2 red onion, diced
1 cup purple cabbage, shredded
1 can black beans, drained and rinsed
1 jalapeno, diced
1/2 cup cilantro, chopped
1 lime, juiced (2-3 Tbsn)
1 jalapeno (with or without seeds)
2 cloves garlic
1/4 cup cilantro
1/4 cup apple cider vinegar
1 lime, juiced (2-3 Tbsn)
2 Tbsn honey (or more to taste)
salt and pepper to taste