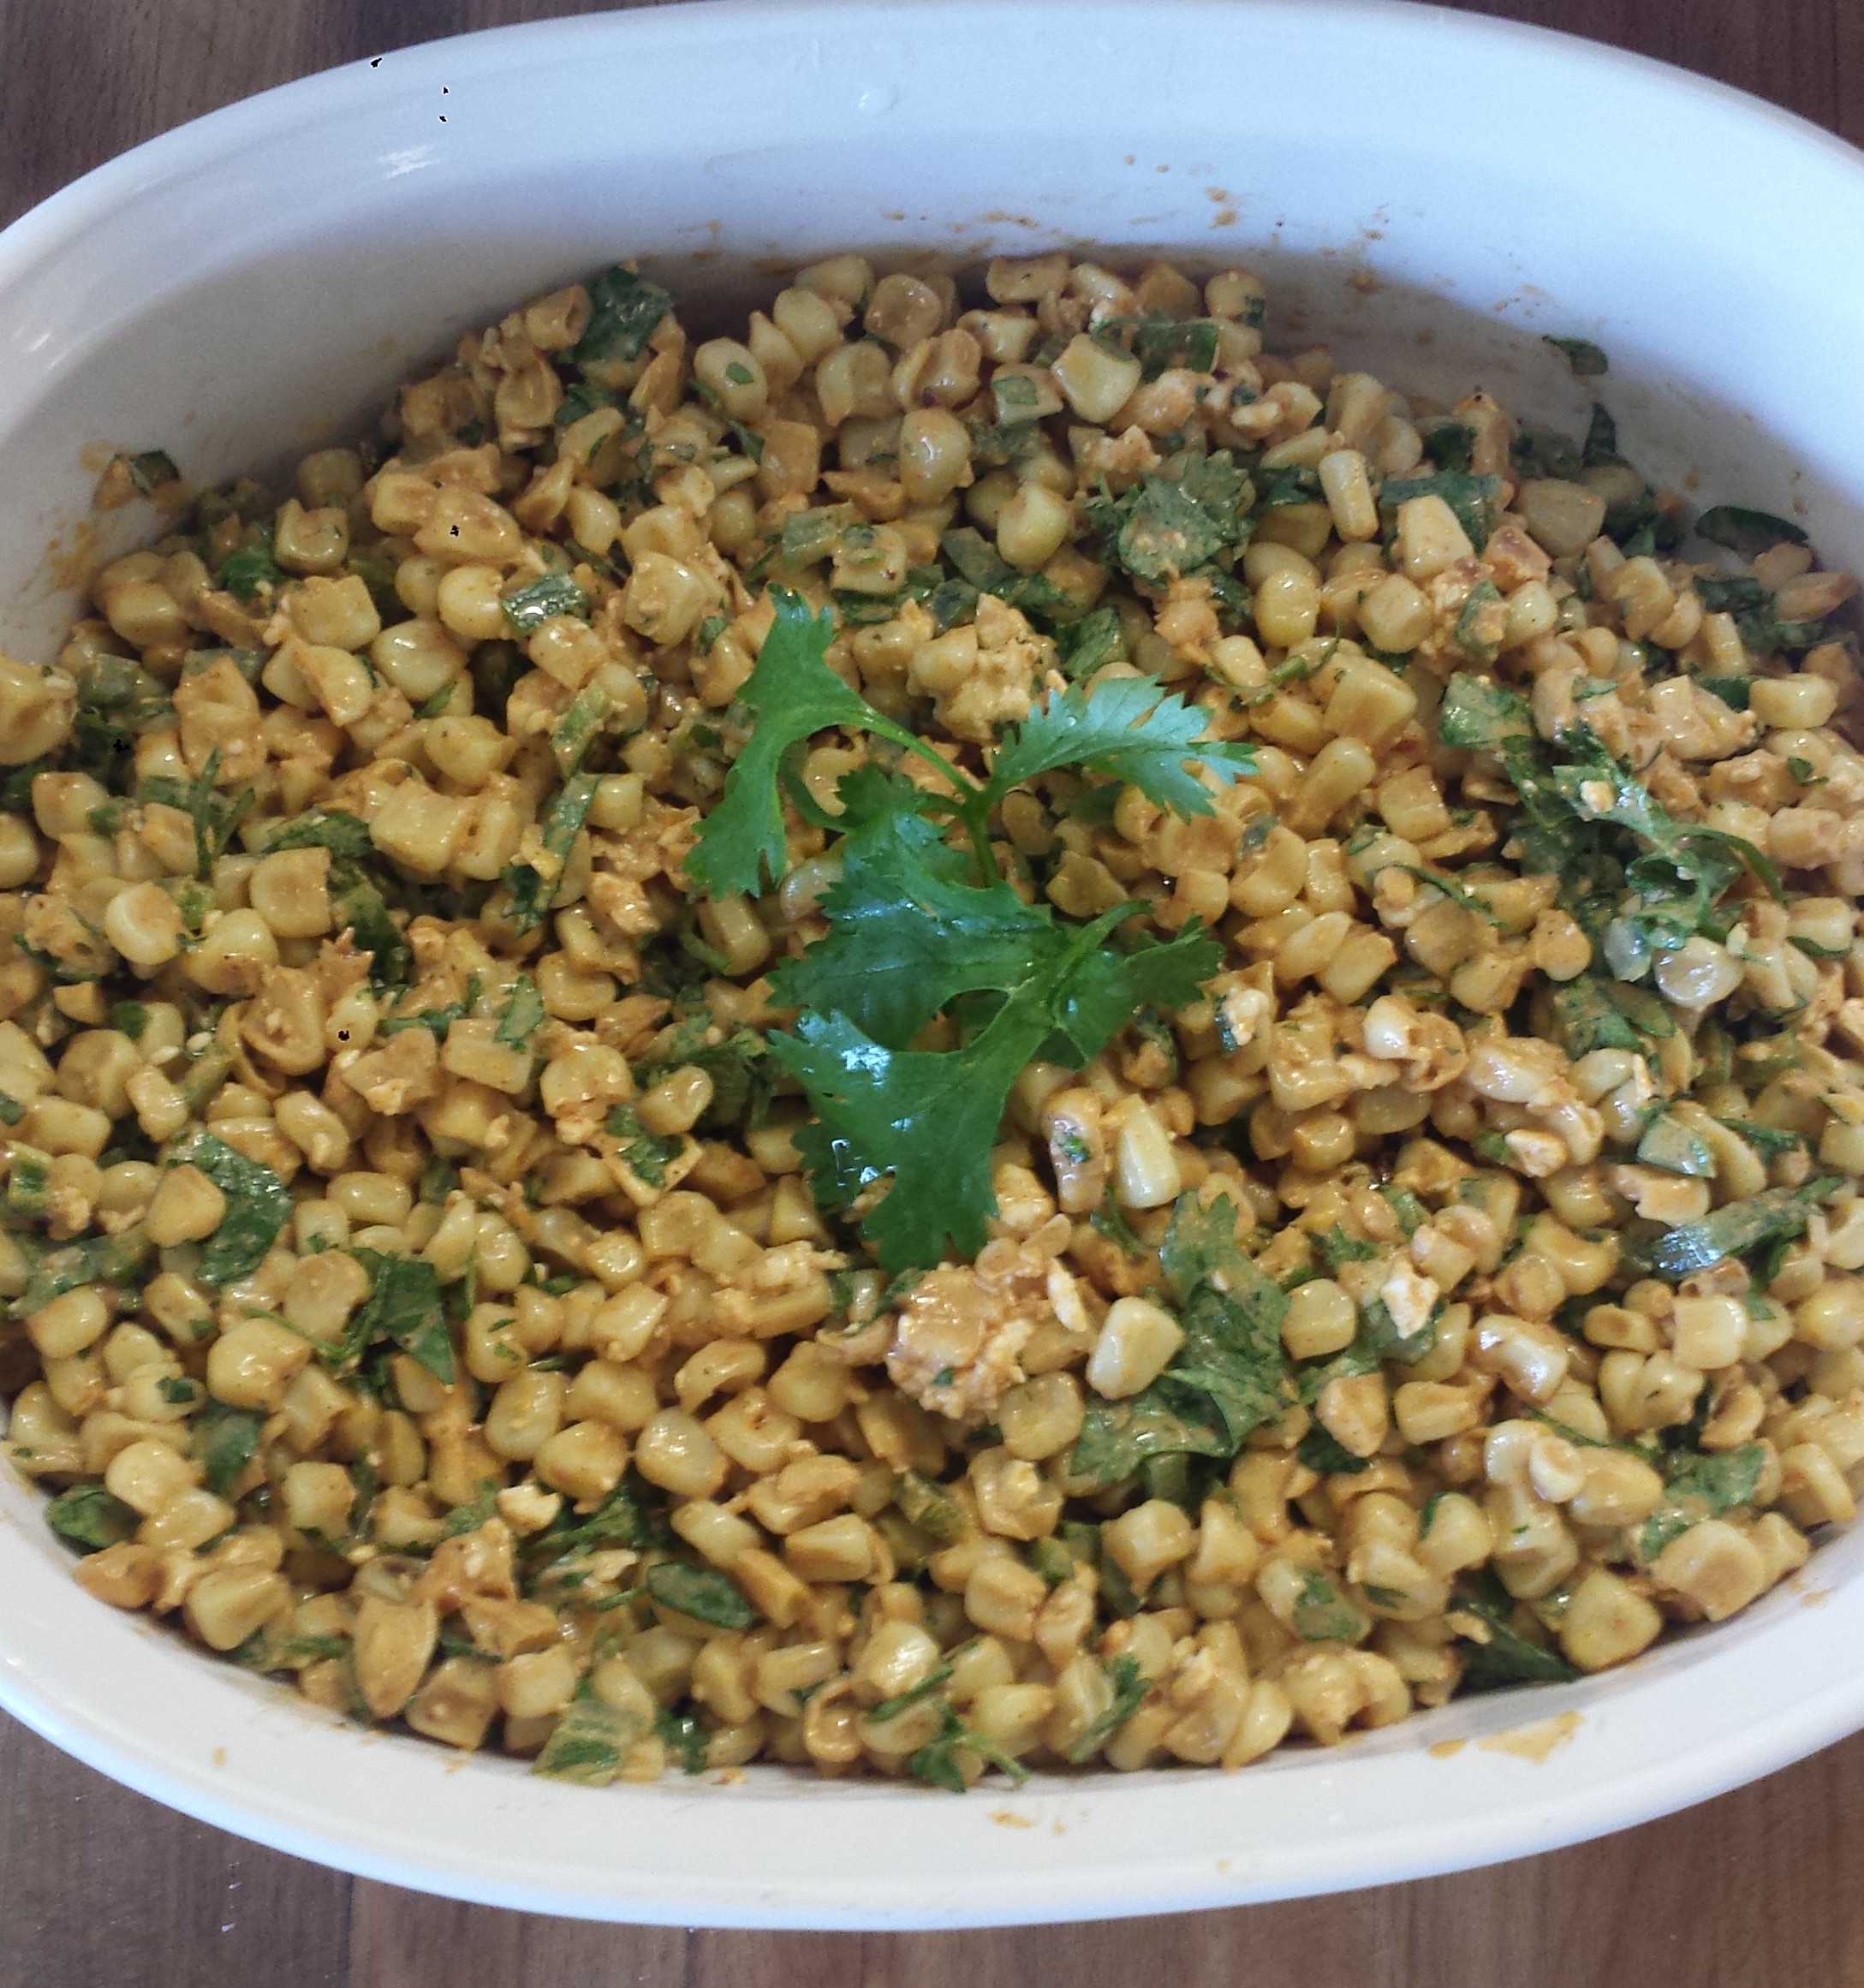
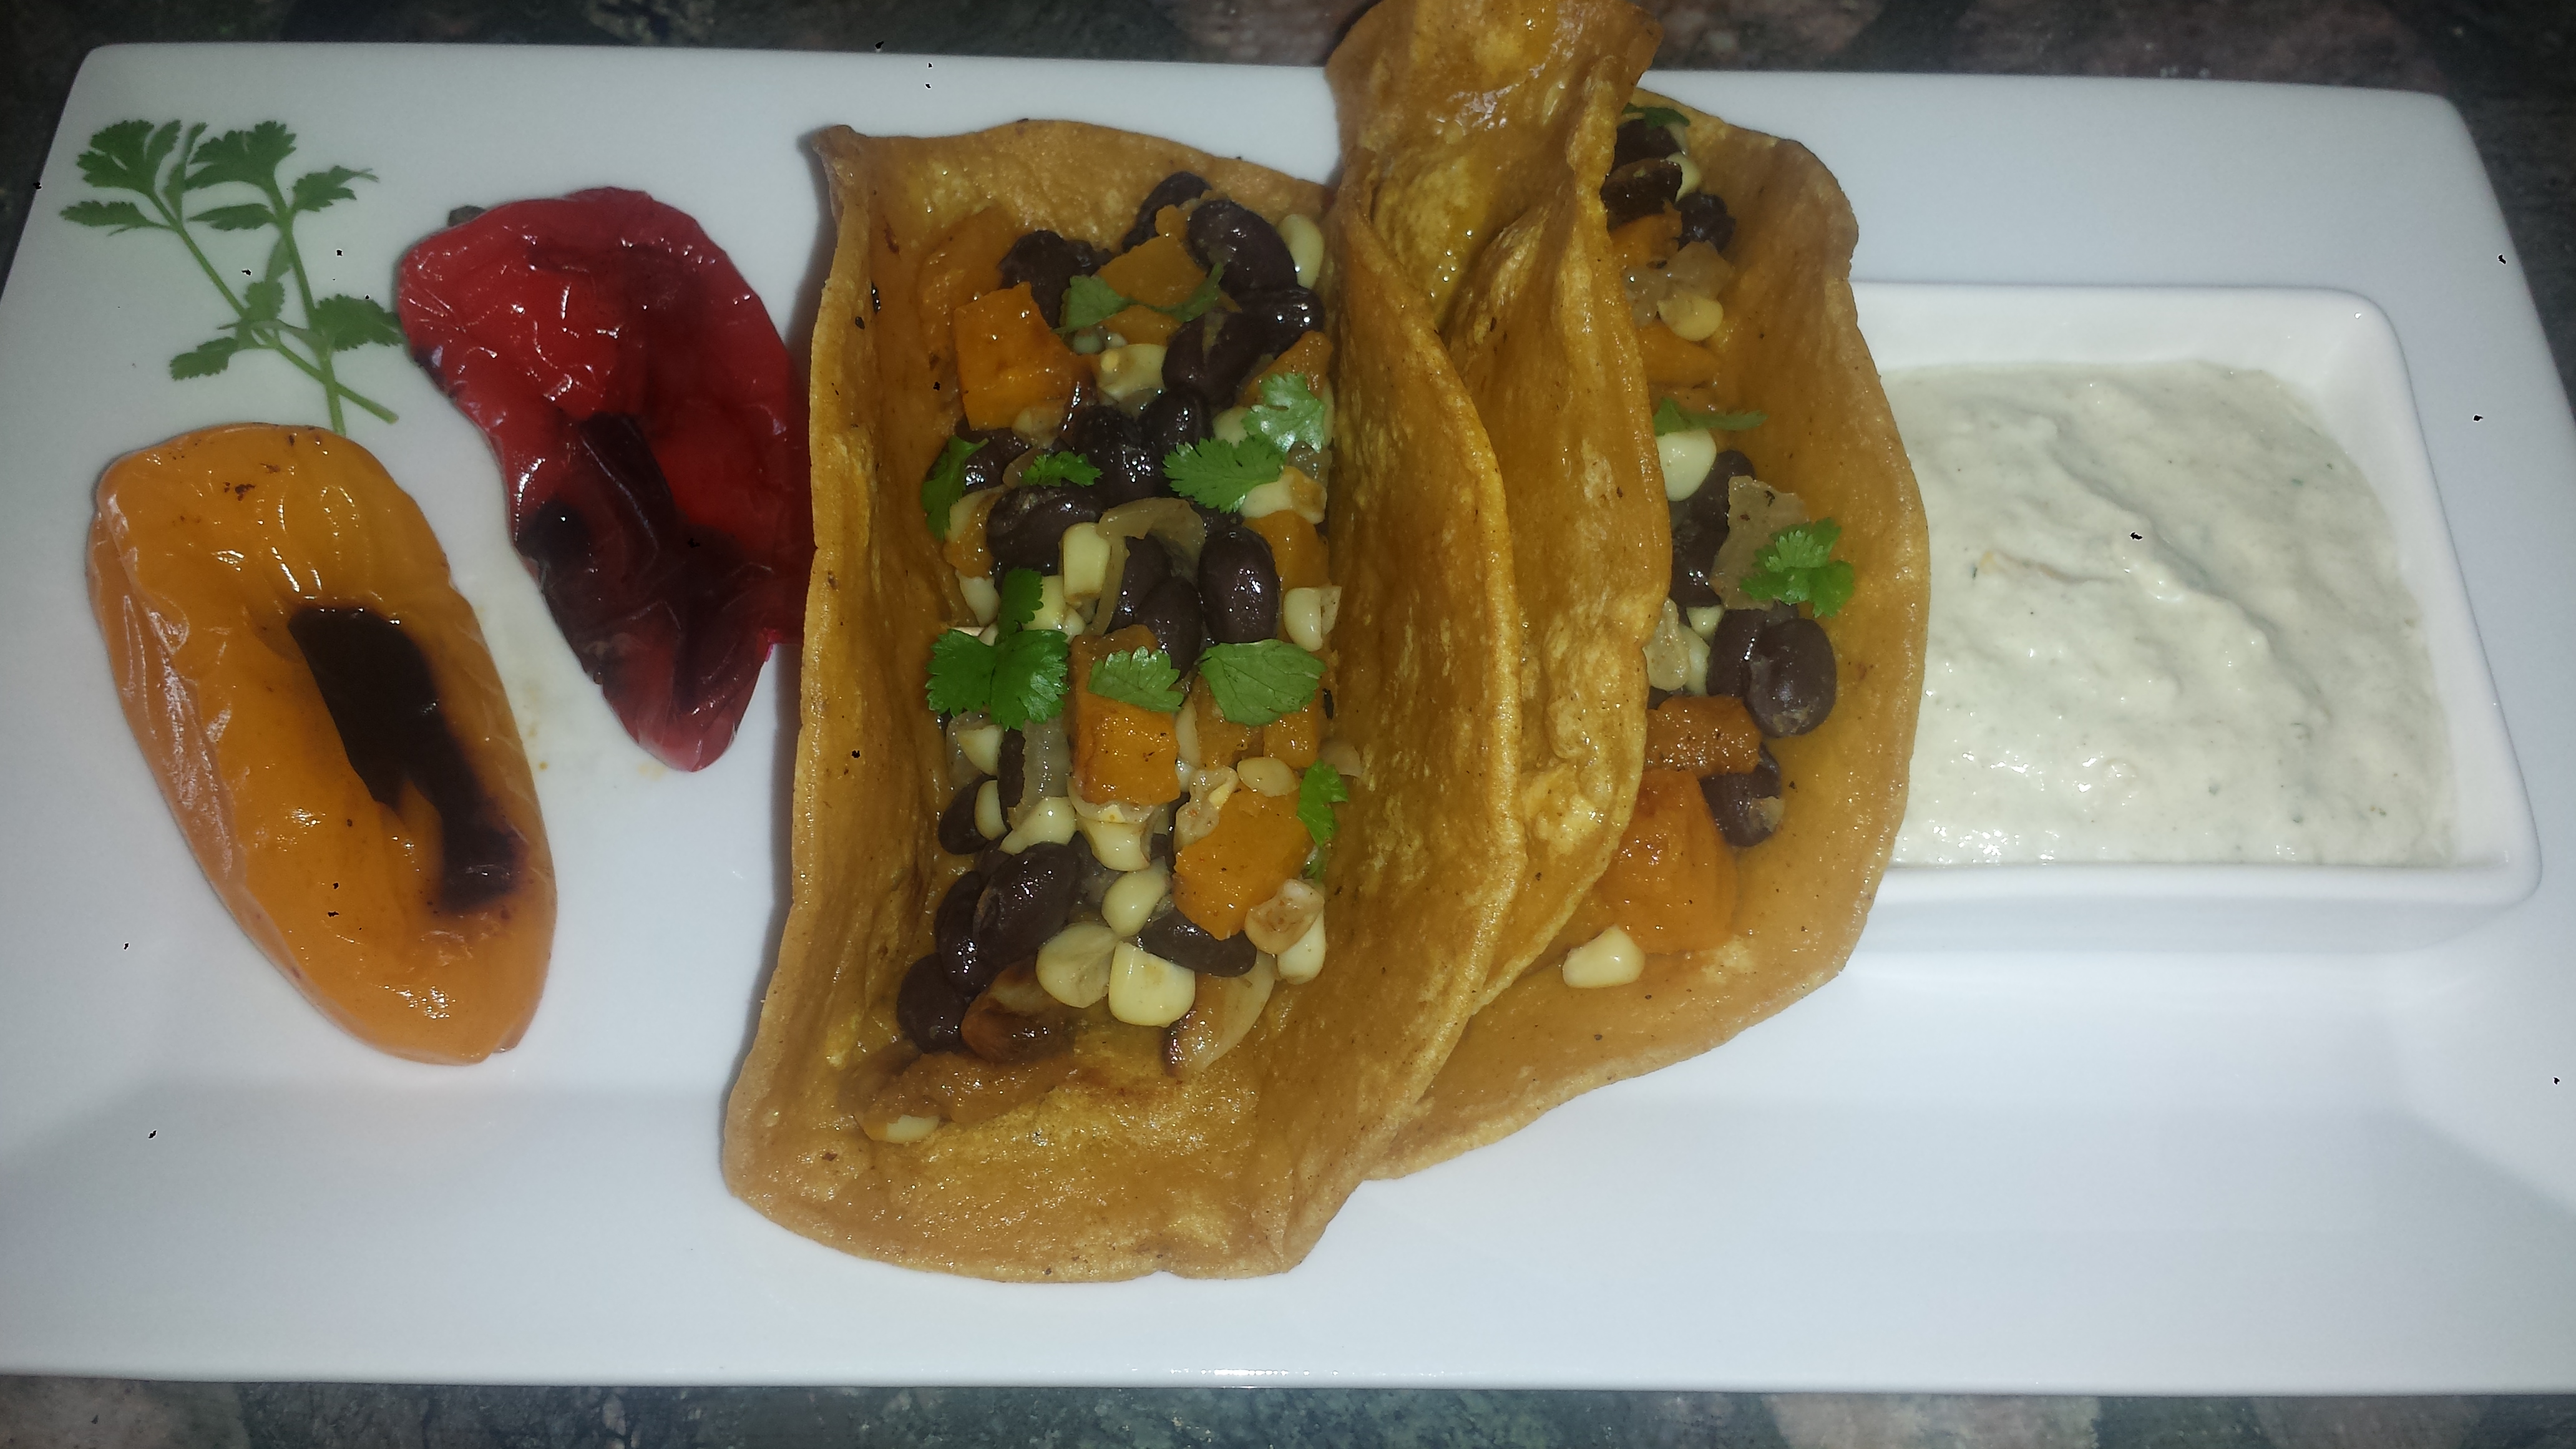
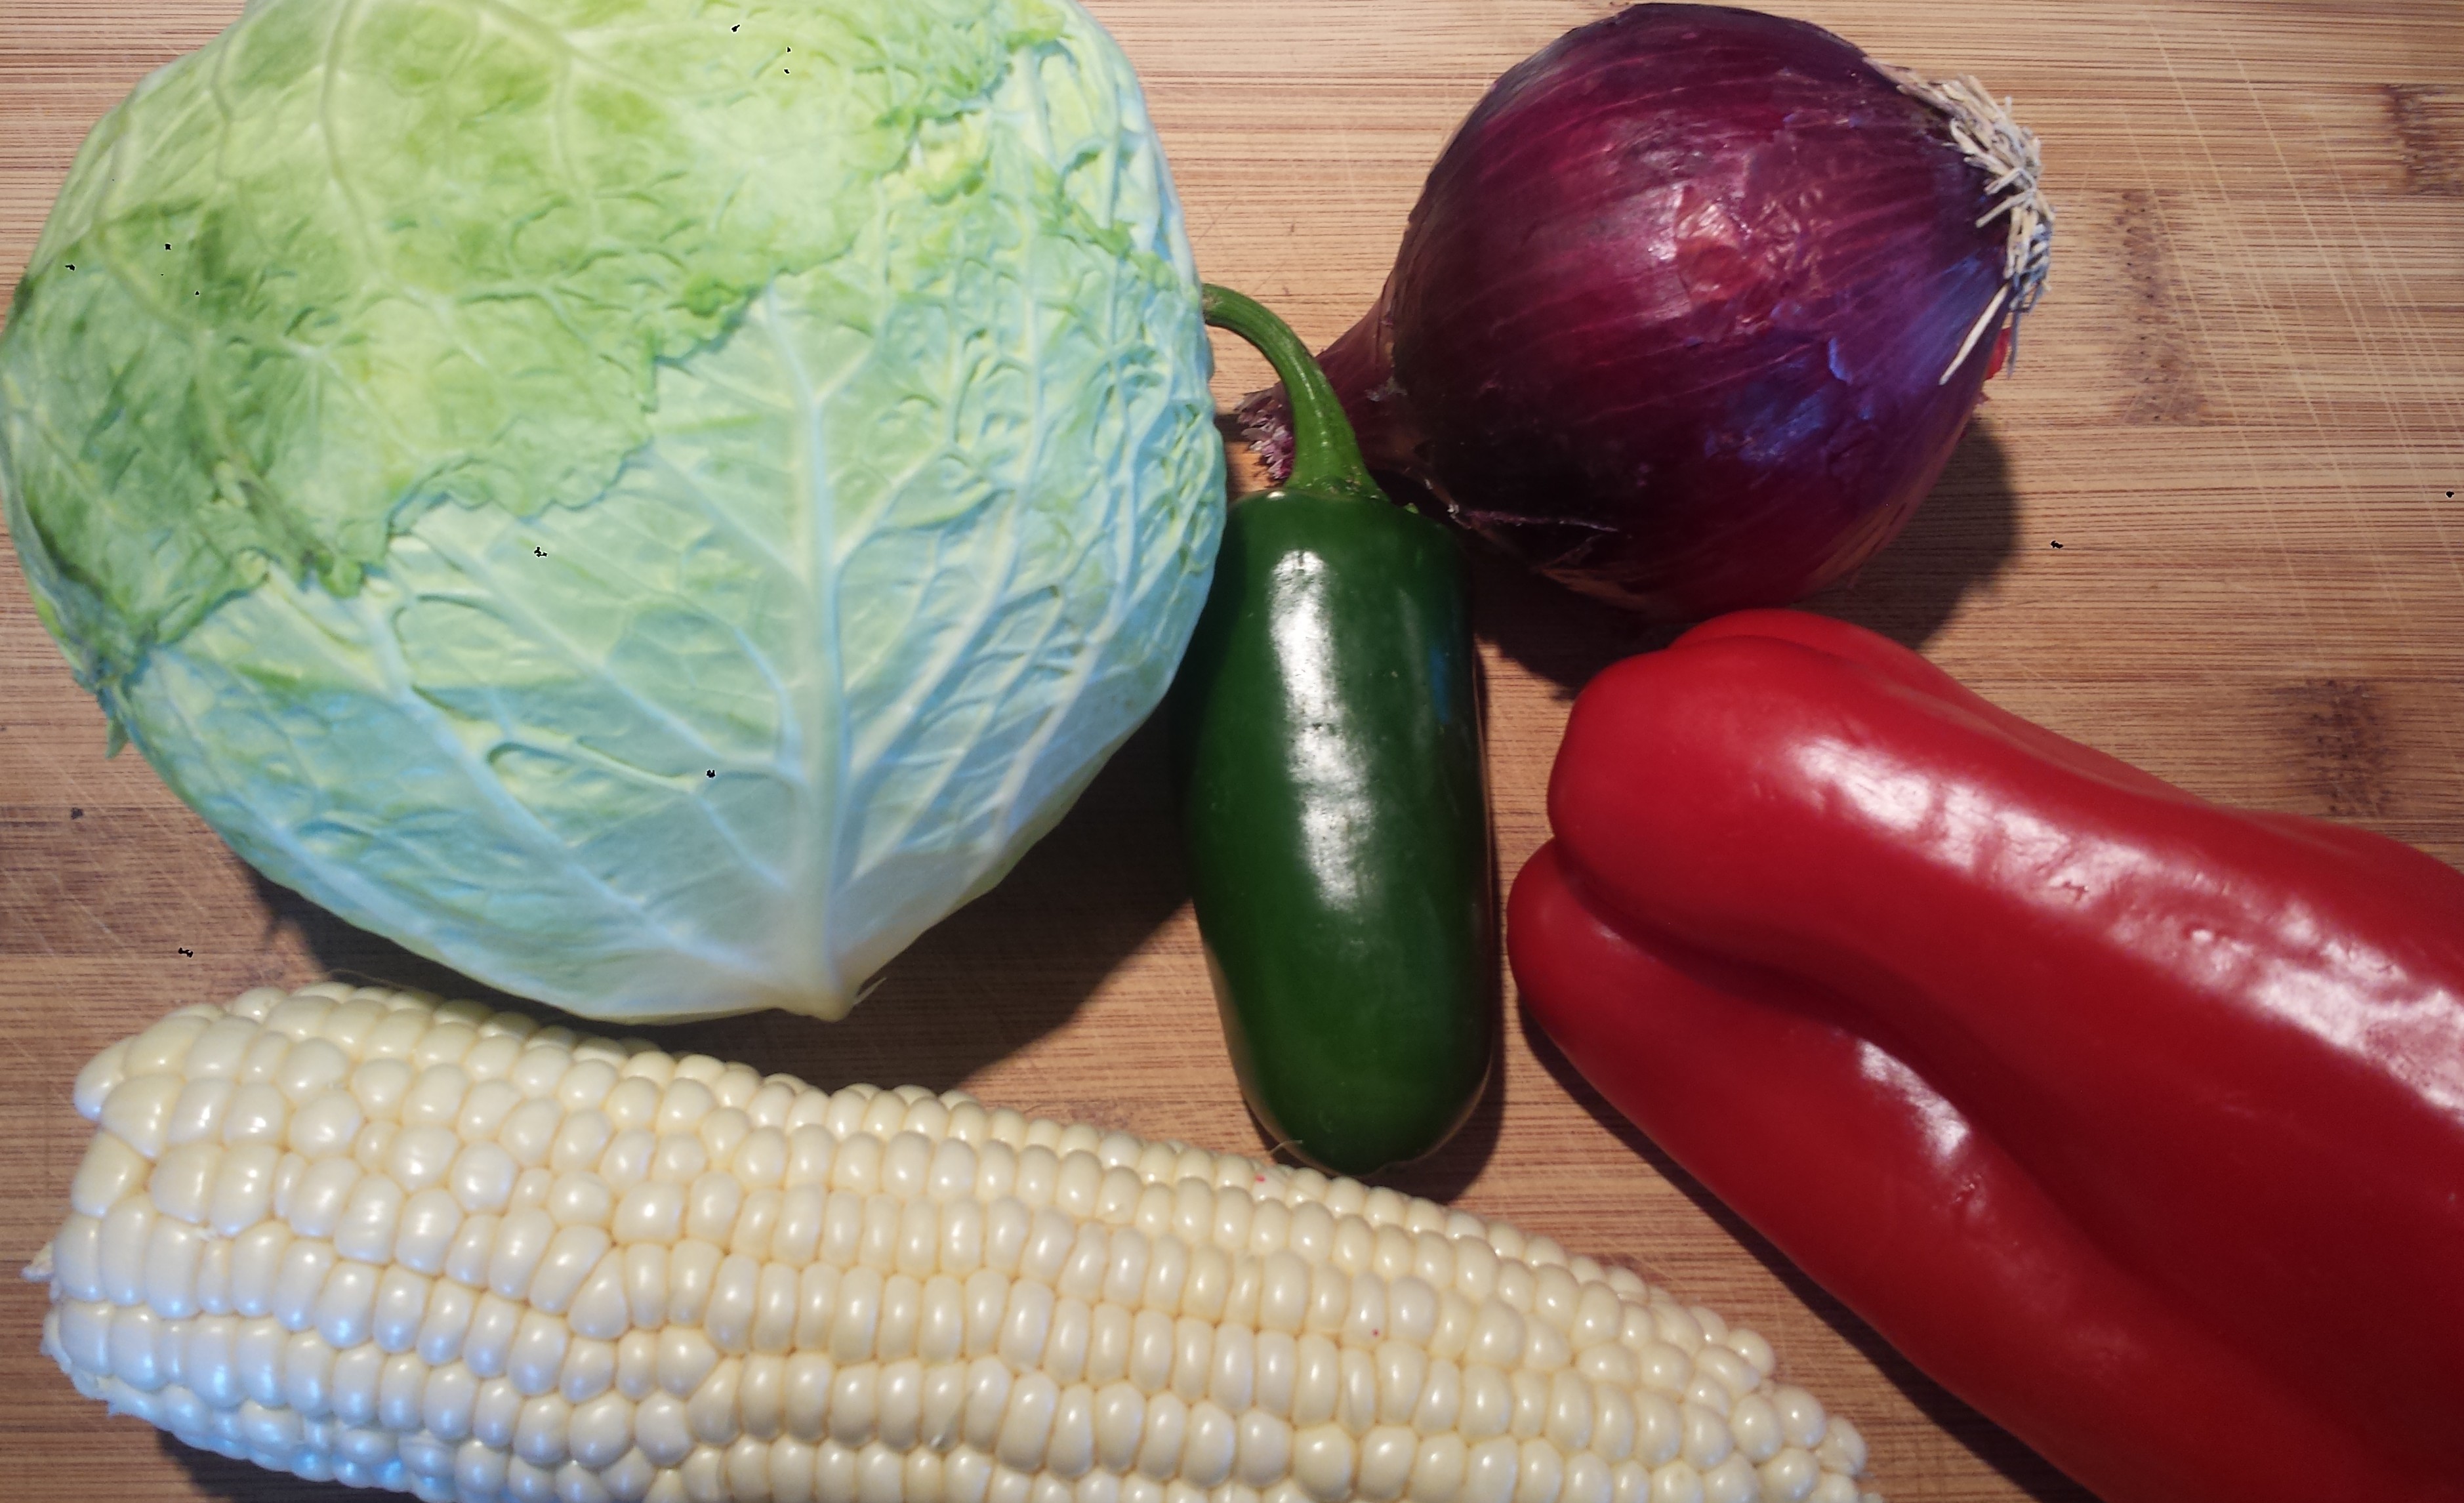
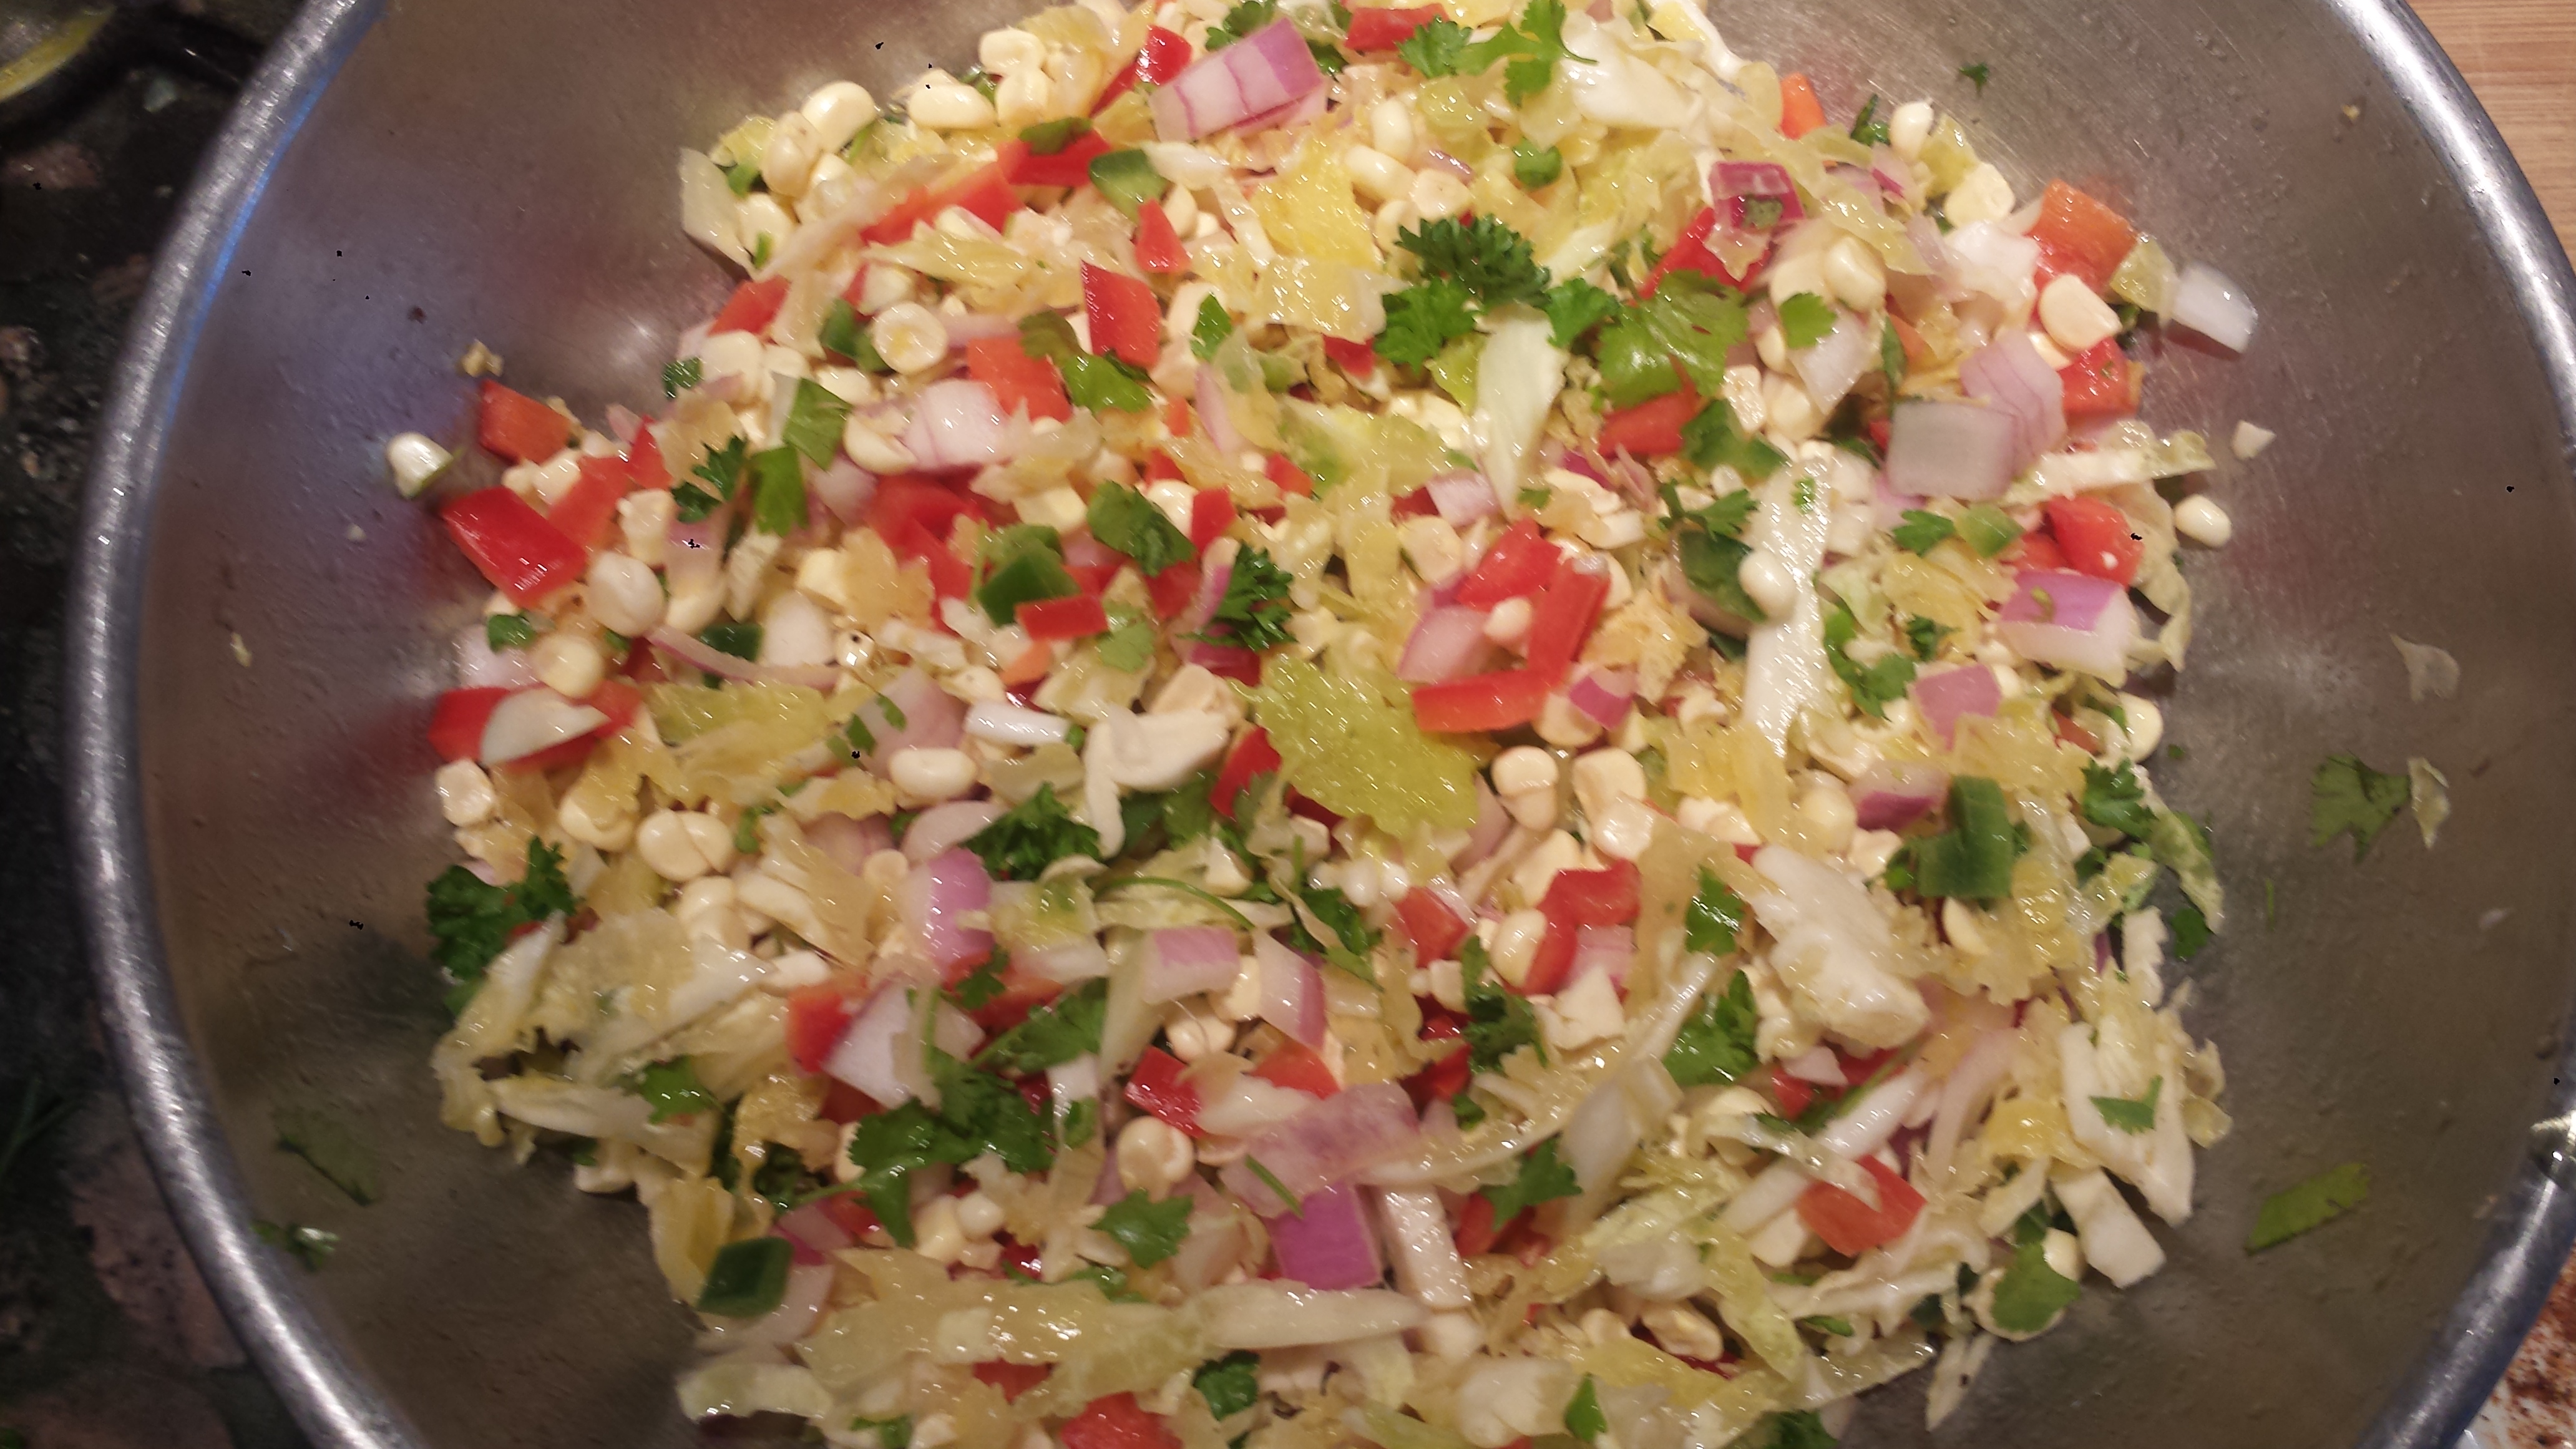
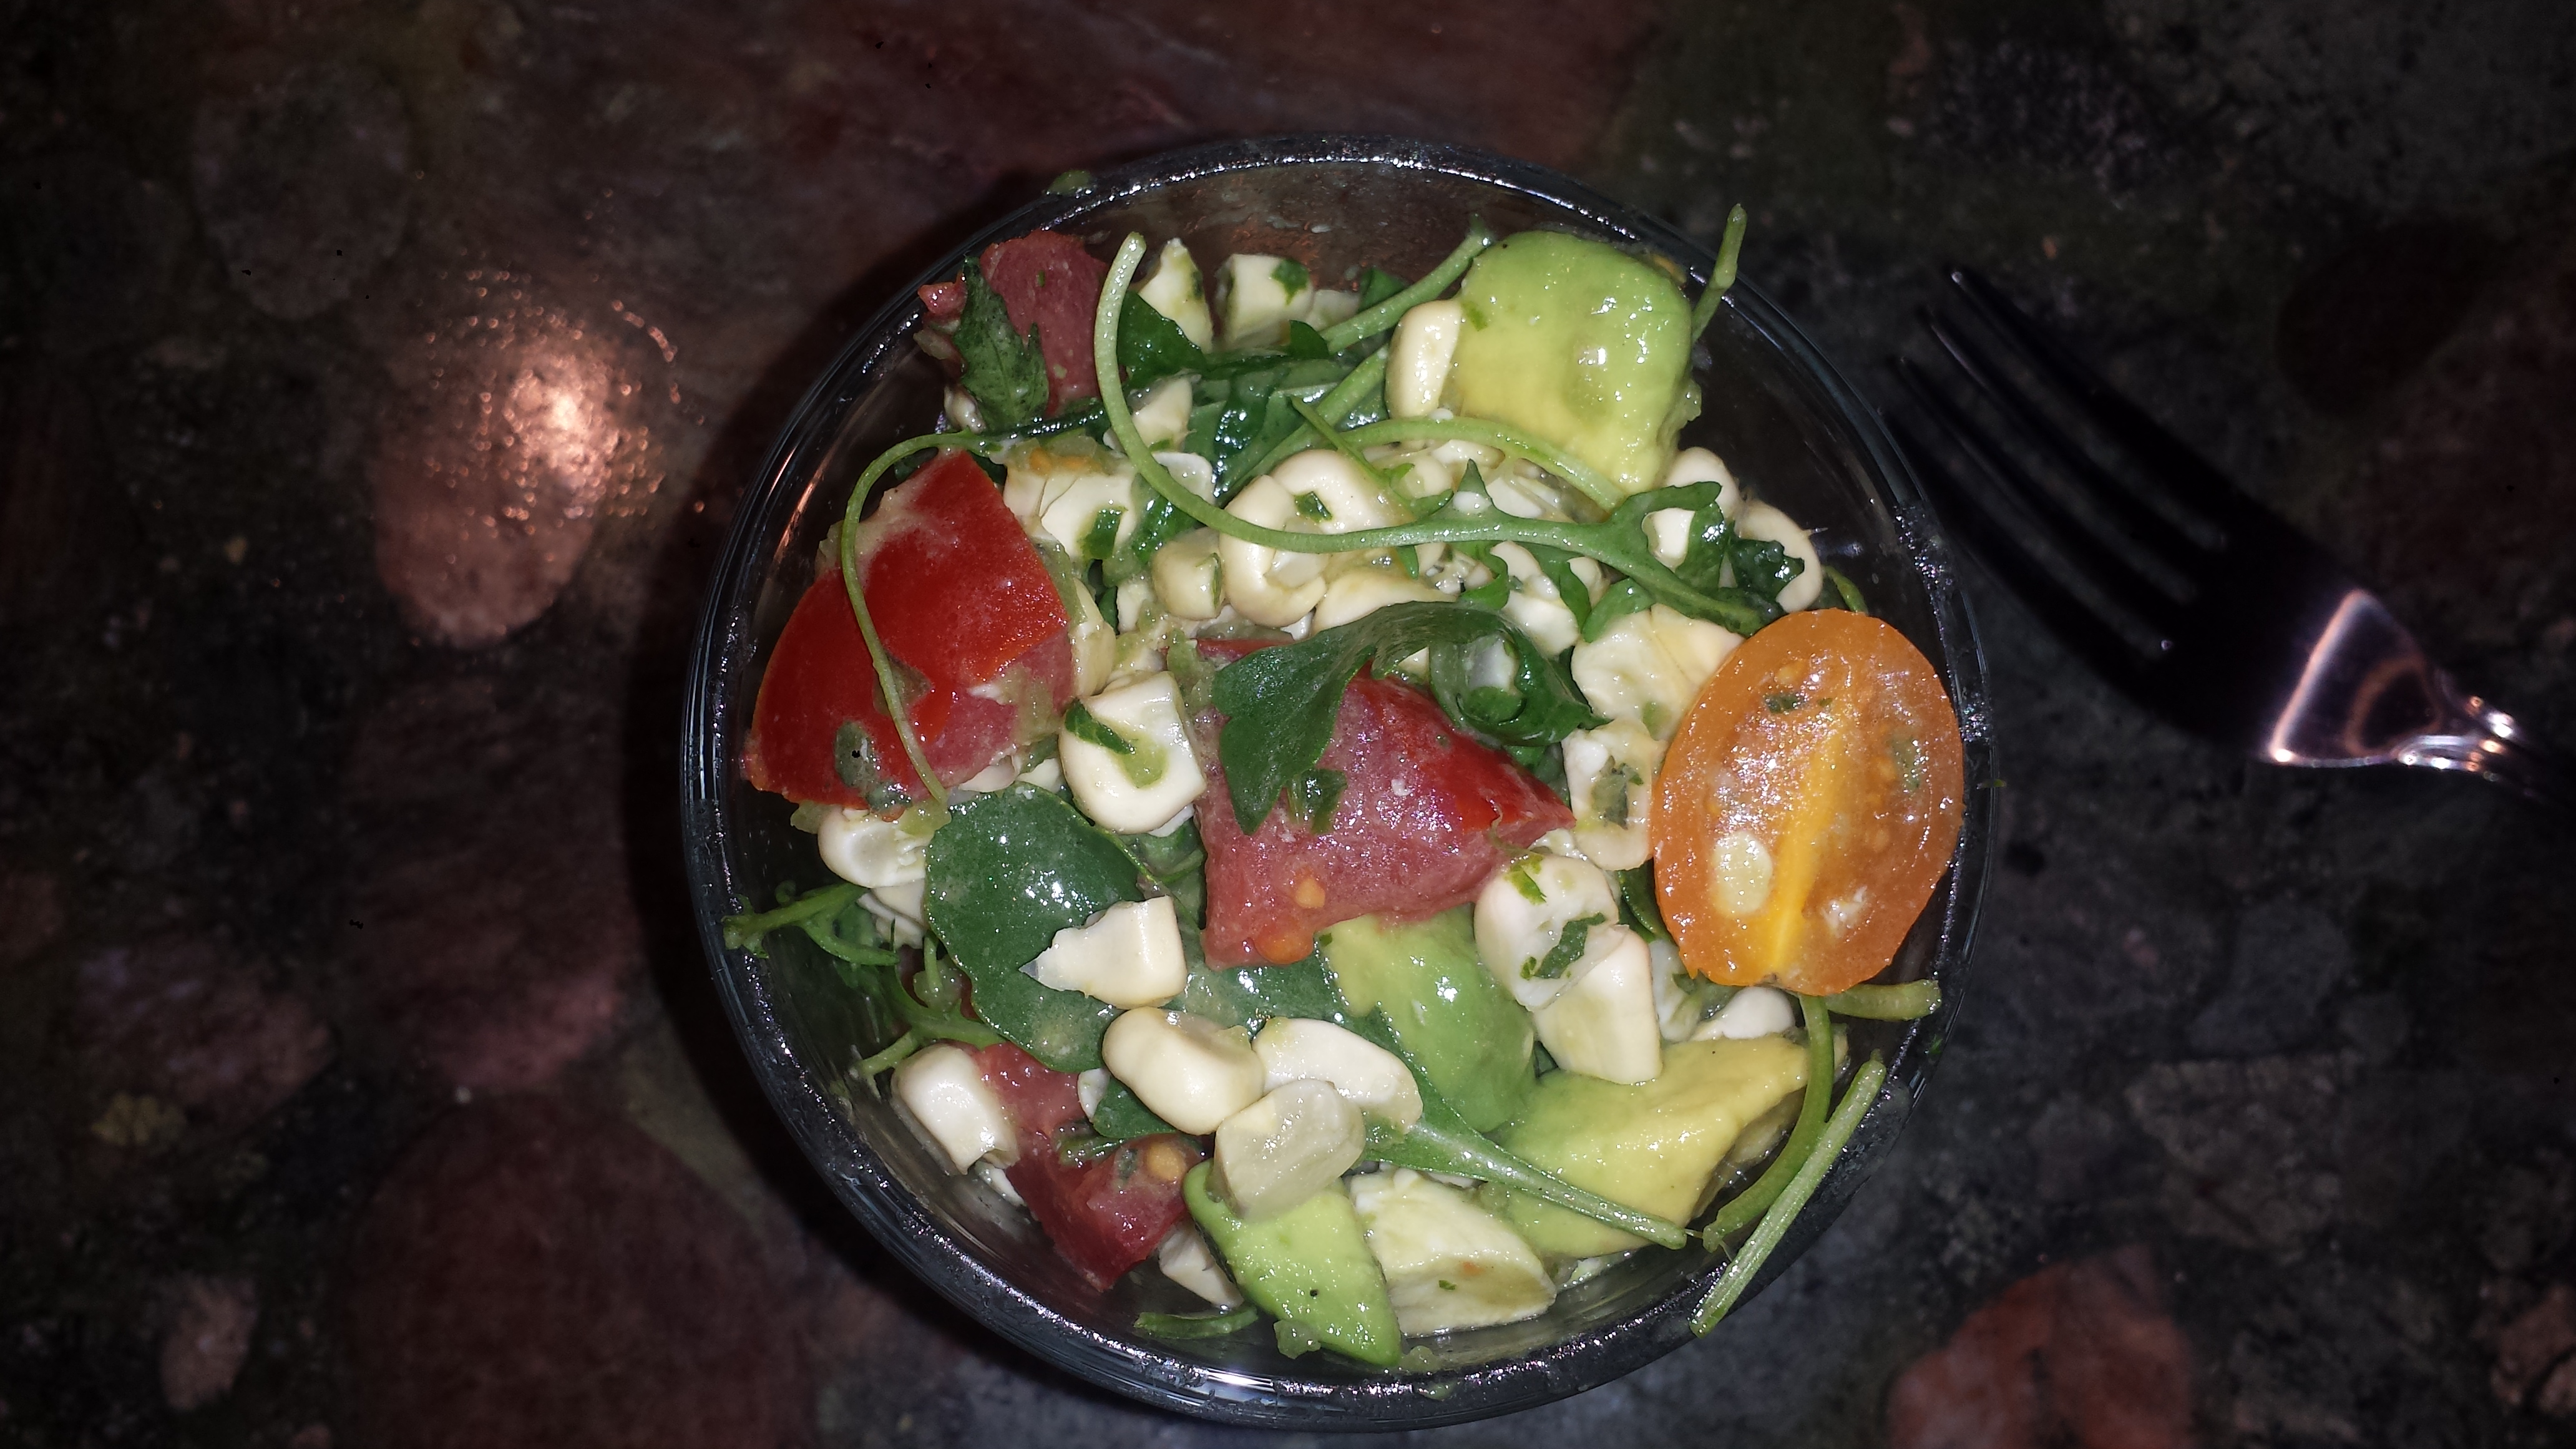
You’ve heard of Mexican Street Corn, fresh corn on the cob slathered in spices, herbs and savory cheese – delicious but messy. Here it is ‘off the cob’ and ready to feed a big crowd – the same yummy ingredients but easy to serve. Served off the cob, the dish is called Esquites while the traditional street food grilled or steamed right on the cob is known as Elote. Traditional ingredients include mayonnaise, cotija cheese, lime juice, and chili powder but other herbs and spices are often included.
I have been visiting family in Seattle for the last week, living like a hobo out of my suitcase and bouncing around the Seattle area from Tacoma to Seattle to Whidbey Island to Bothell. I was lucky enough to see five of my sisters, two of my brothers and both of my parents. Yes, I know. This is starting to require higher math, and three sibs were even missing! As one of eleven children, I am used to large family celebrations where everyone brings something to share. We are the masters of potluck. Needless to say I was not in my kitchen, so obviously did no cooking myself, but I did watch my sister, Margaret, prepare this tasty dish for one of our family potlucks over the weekend. With fresh corn, chili peppers, spicy seasonings and crumbly Mexican cheese, this is a definite crowd-pleaser, great for a family dinner or a potluck party. For our large crowd, Margaret doubled the recipe.
.
Guest Chef, Margaret Vandenberg, has made this recipe from The Kitchn before and admitted that she and her husband, Scott, have polished off leftovers with grilled salmon and tortillas as a great late night snack. Sounds yummy to me! This is the lovely view of Lake Washington from Margaret’s living room. I can sit there for hours watching boats and birds and clouds….and then she serves wonderful food too. No wonder I keep going back….

TIPS: I have not made this salad yet, but witnessed my sister in action. This salad is delicious as is but if you want to make it even more ‘street’ you could try grilling or roasting the corn on the cob, before cutting off the kernels, for additional color and flavor. Spicy food lovers could also add a dash or two of cayenne pepper to add more zest. You could also serve with additional cotija sprinkled on top.

Recipe Adapted From The Kitchn
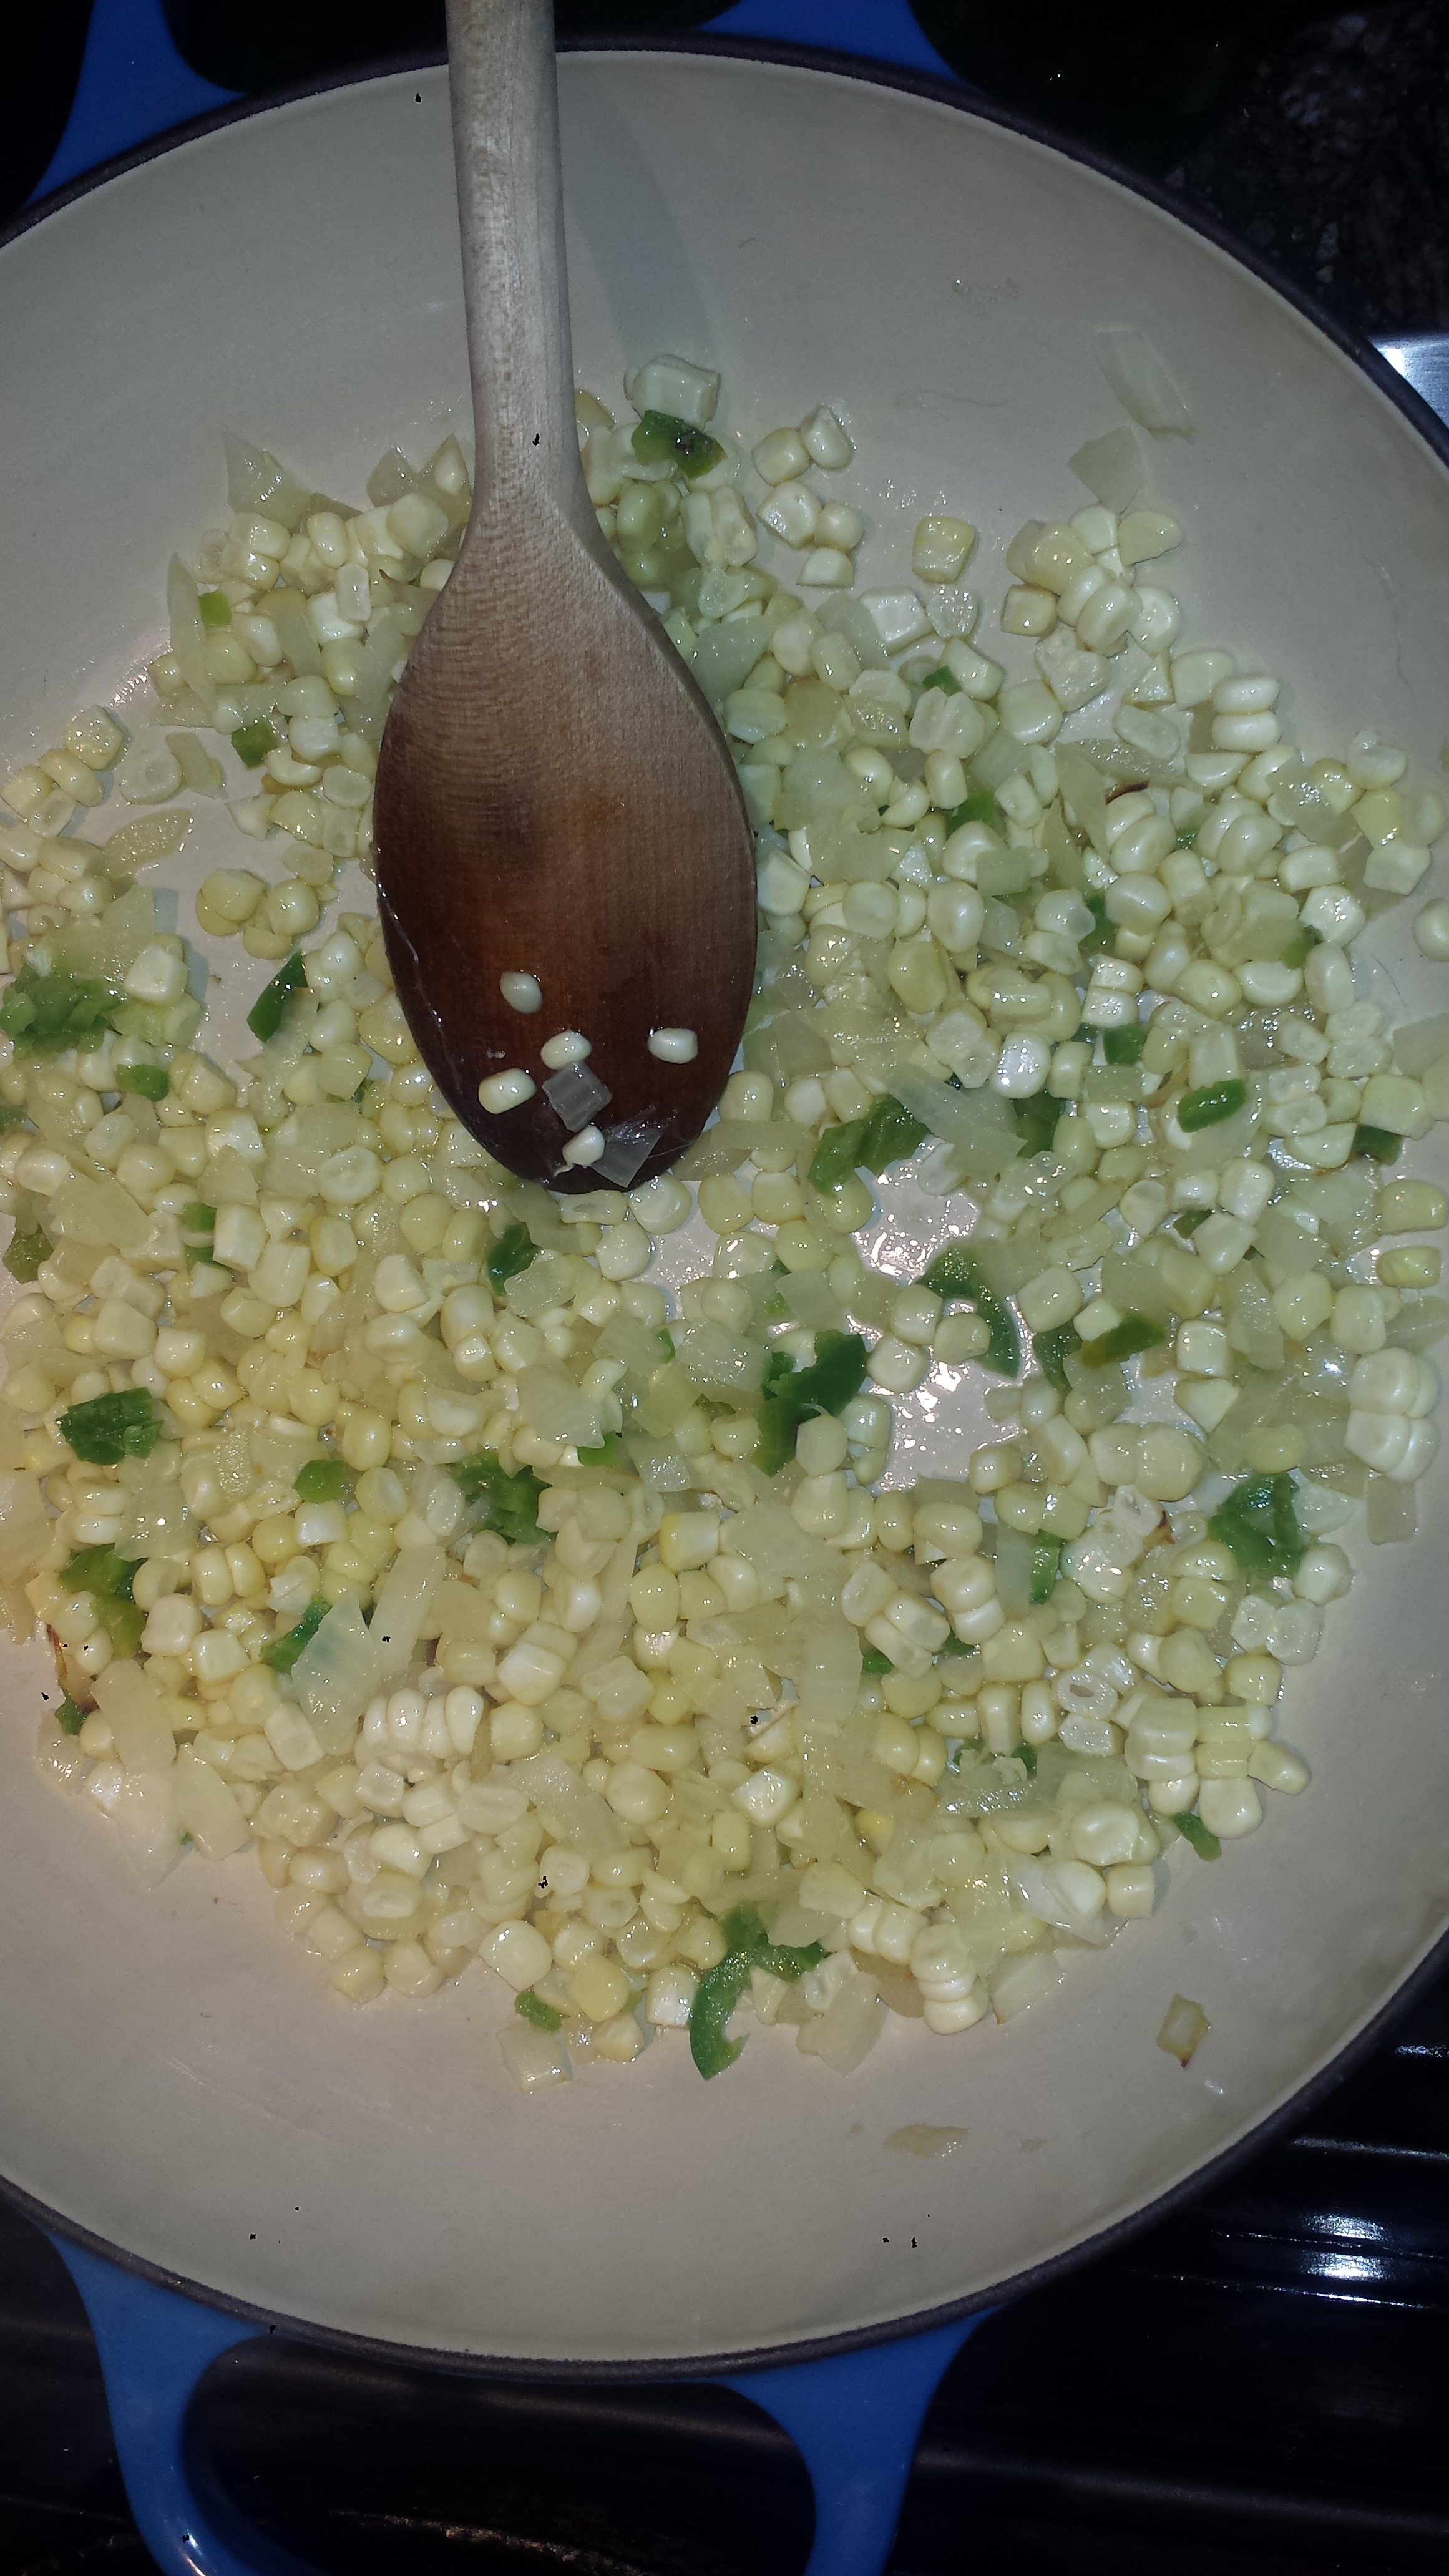
MEXICAN STREET CORN SALAD
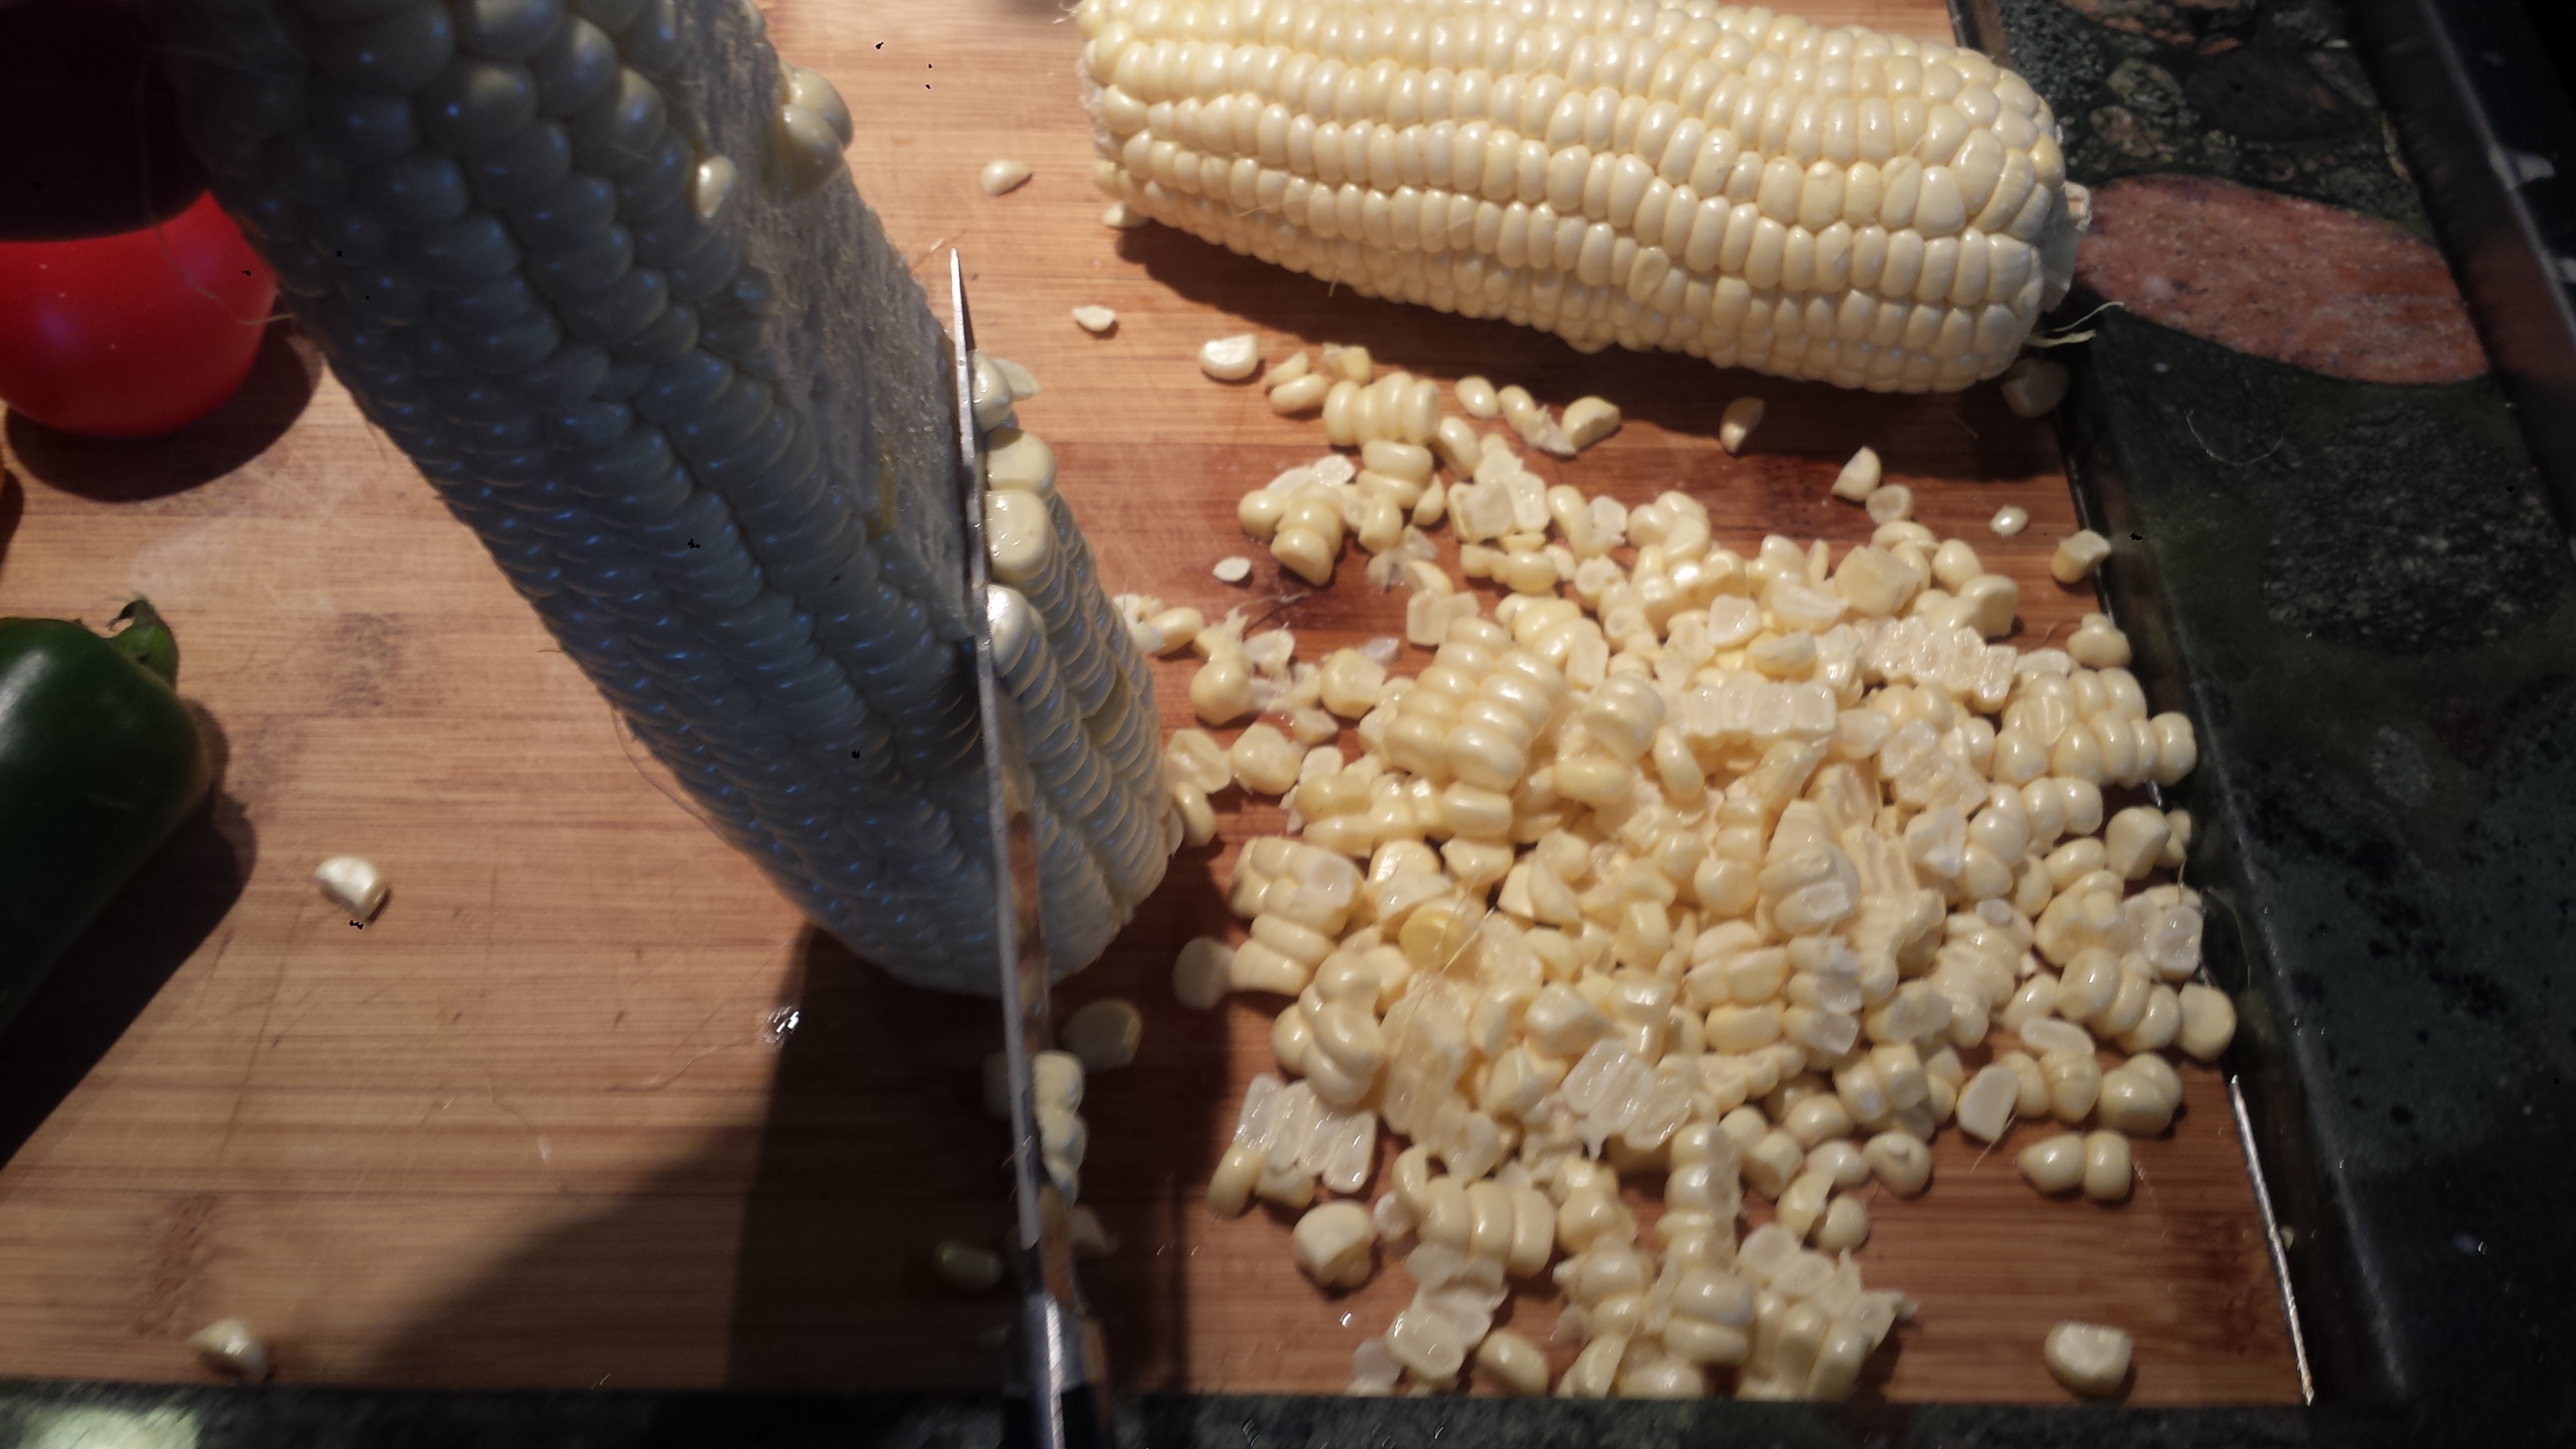
6 ears fresh corn kernels from the cob (or 4 cups frozen yellow corn)
2 Tbsn olive oil
2 cloves garlic, minced
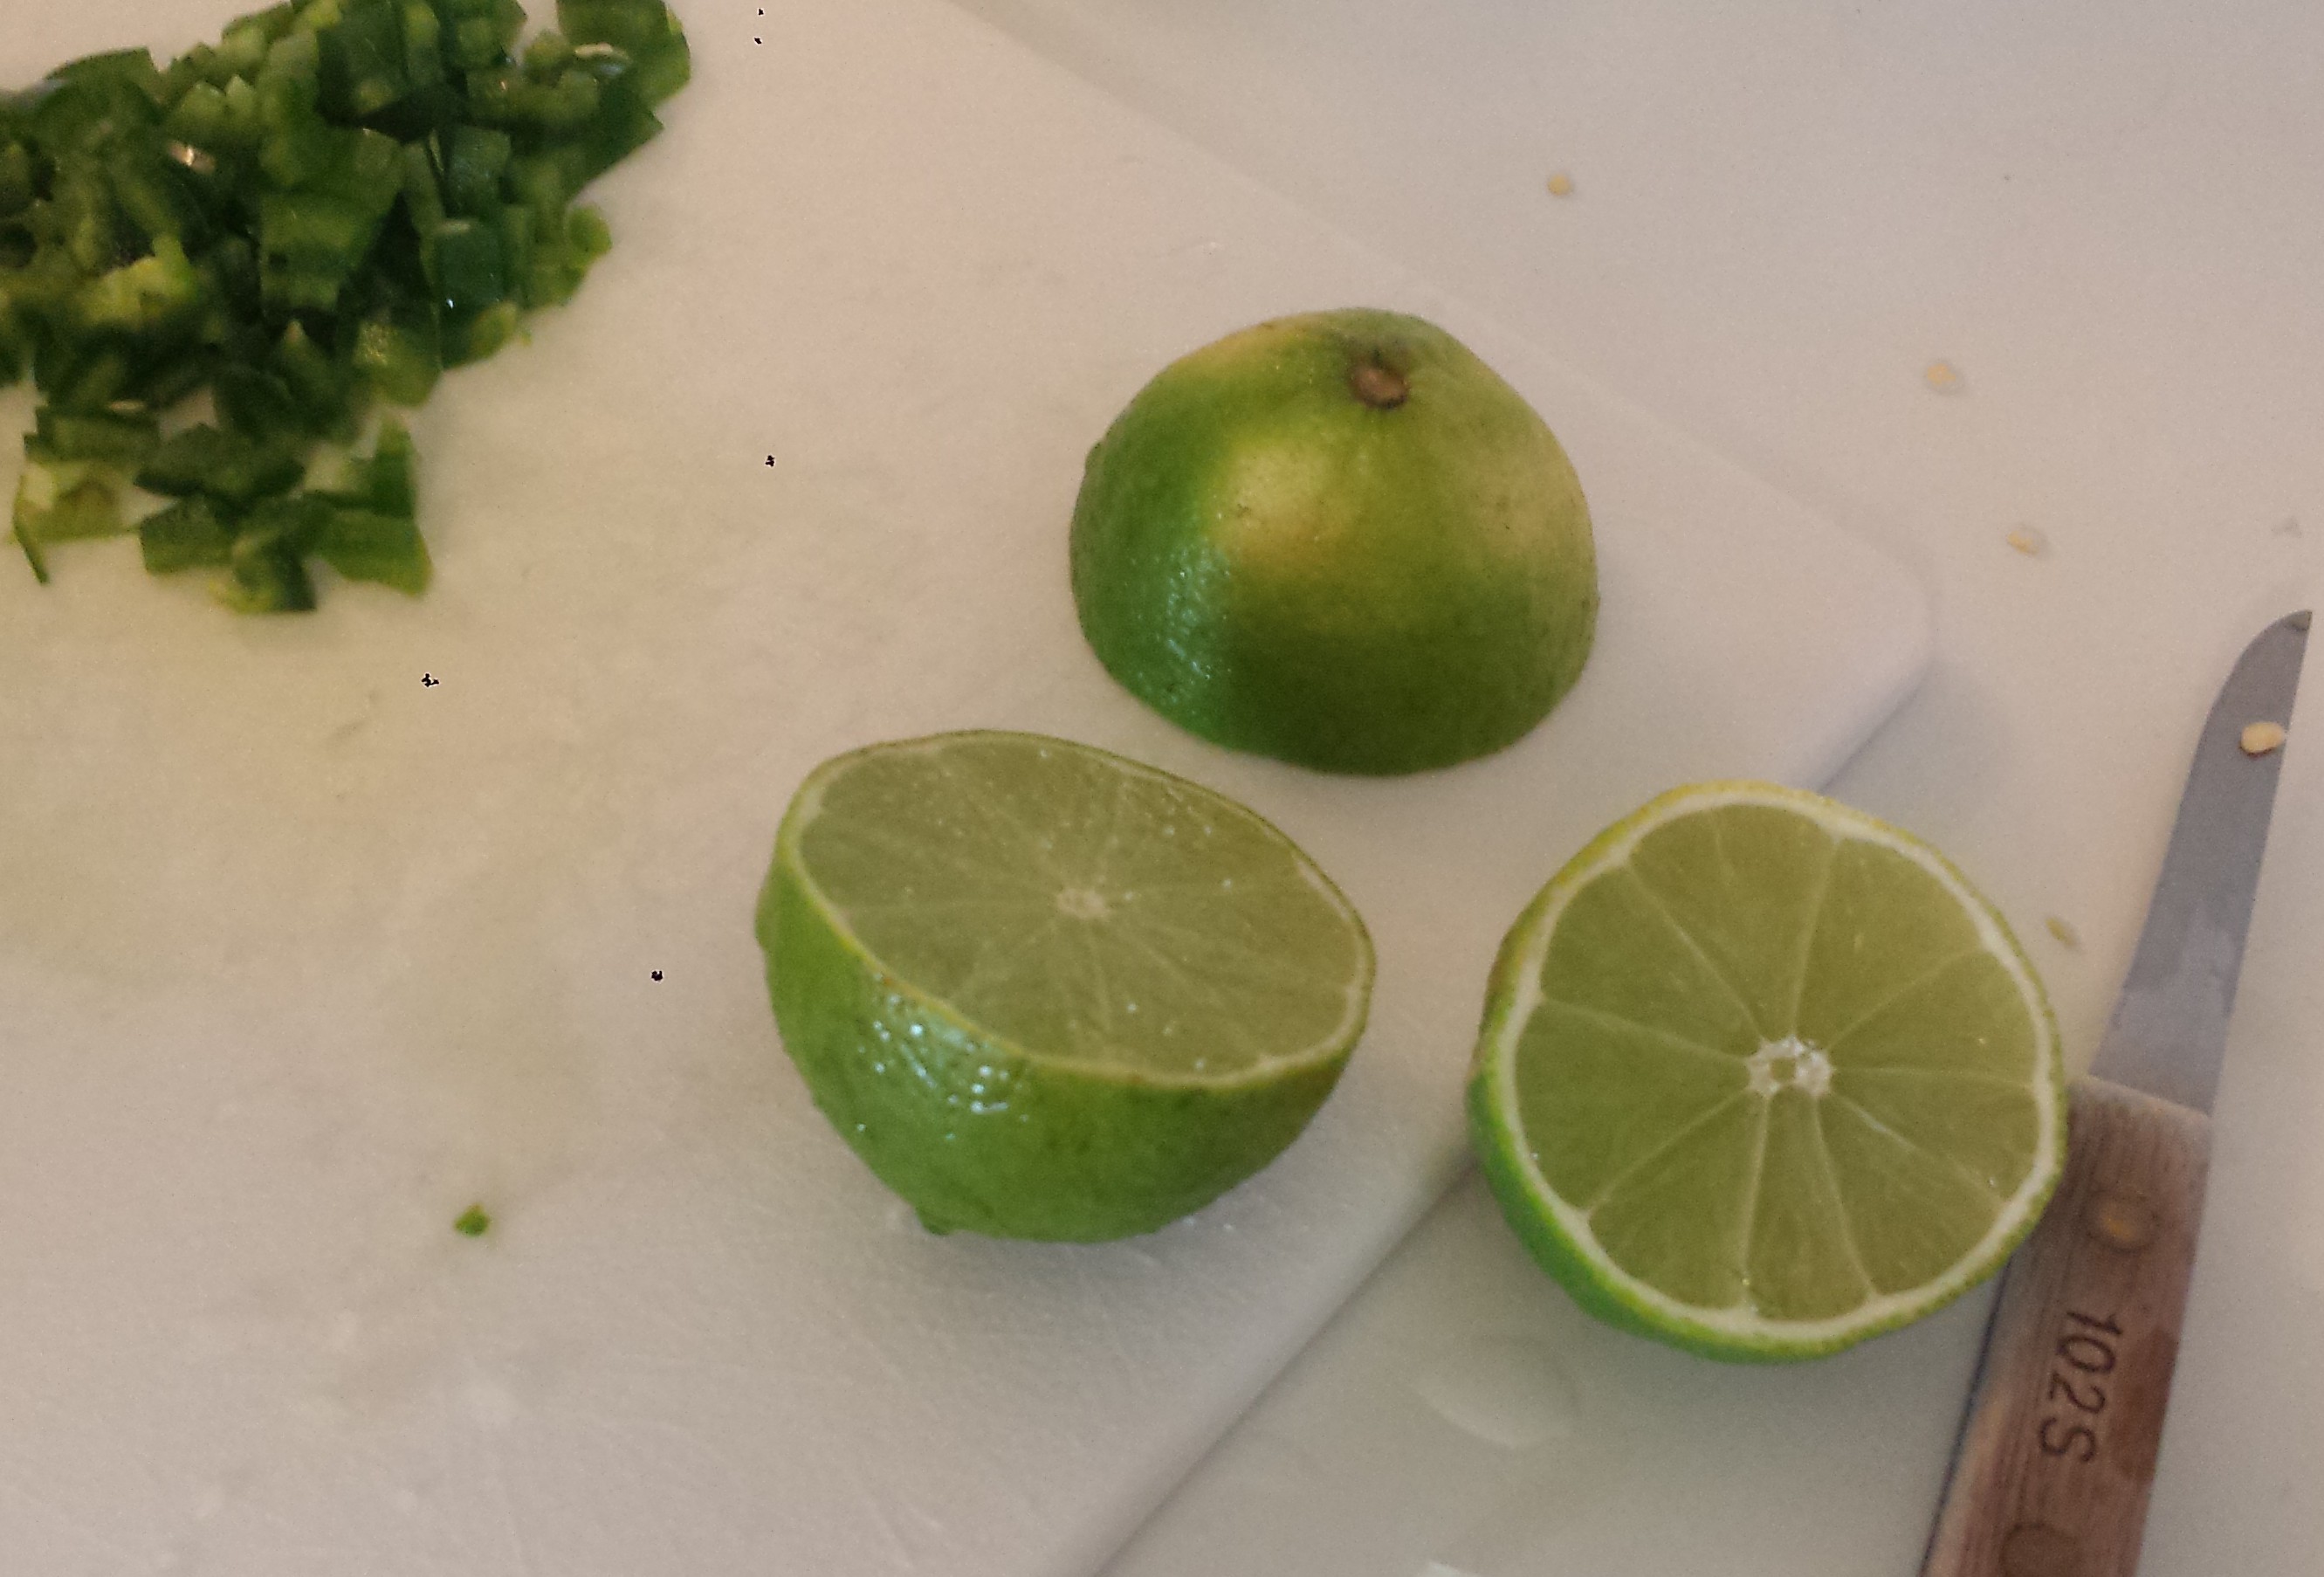
1 hot pepper (jalapeno, red chili, etc)
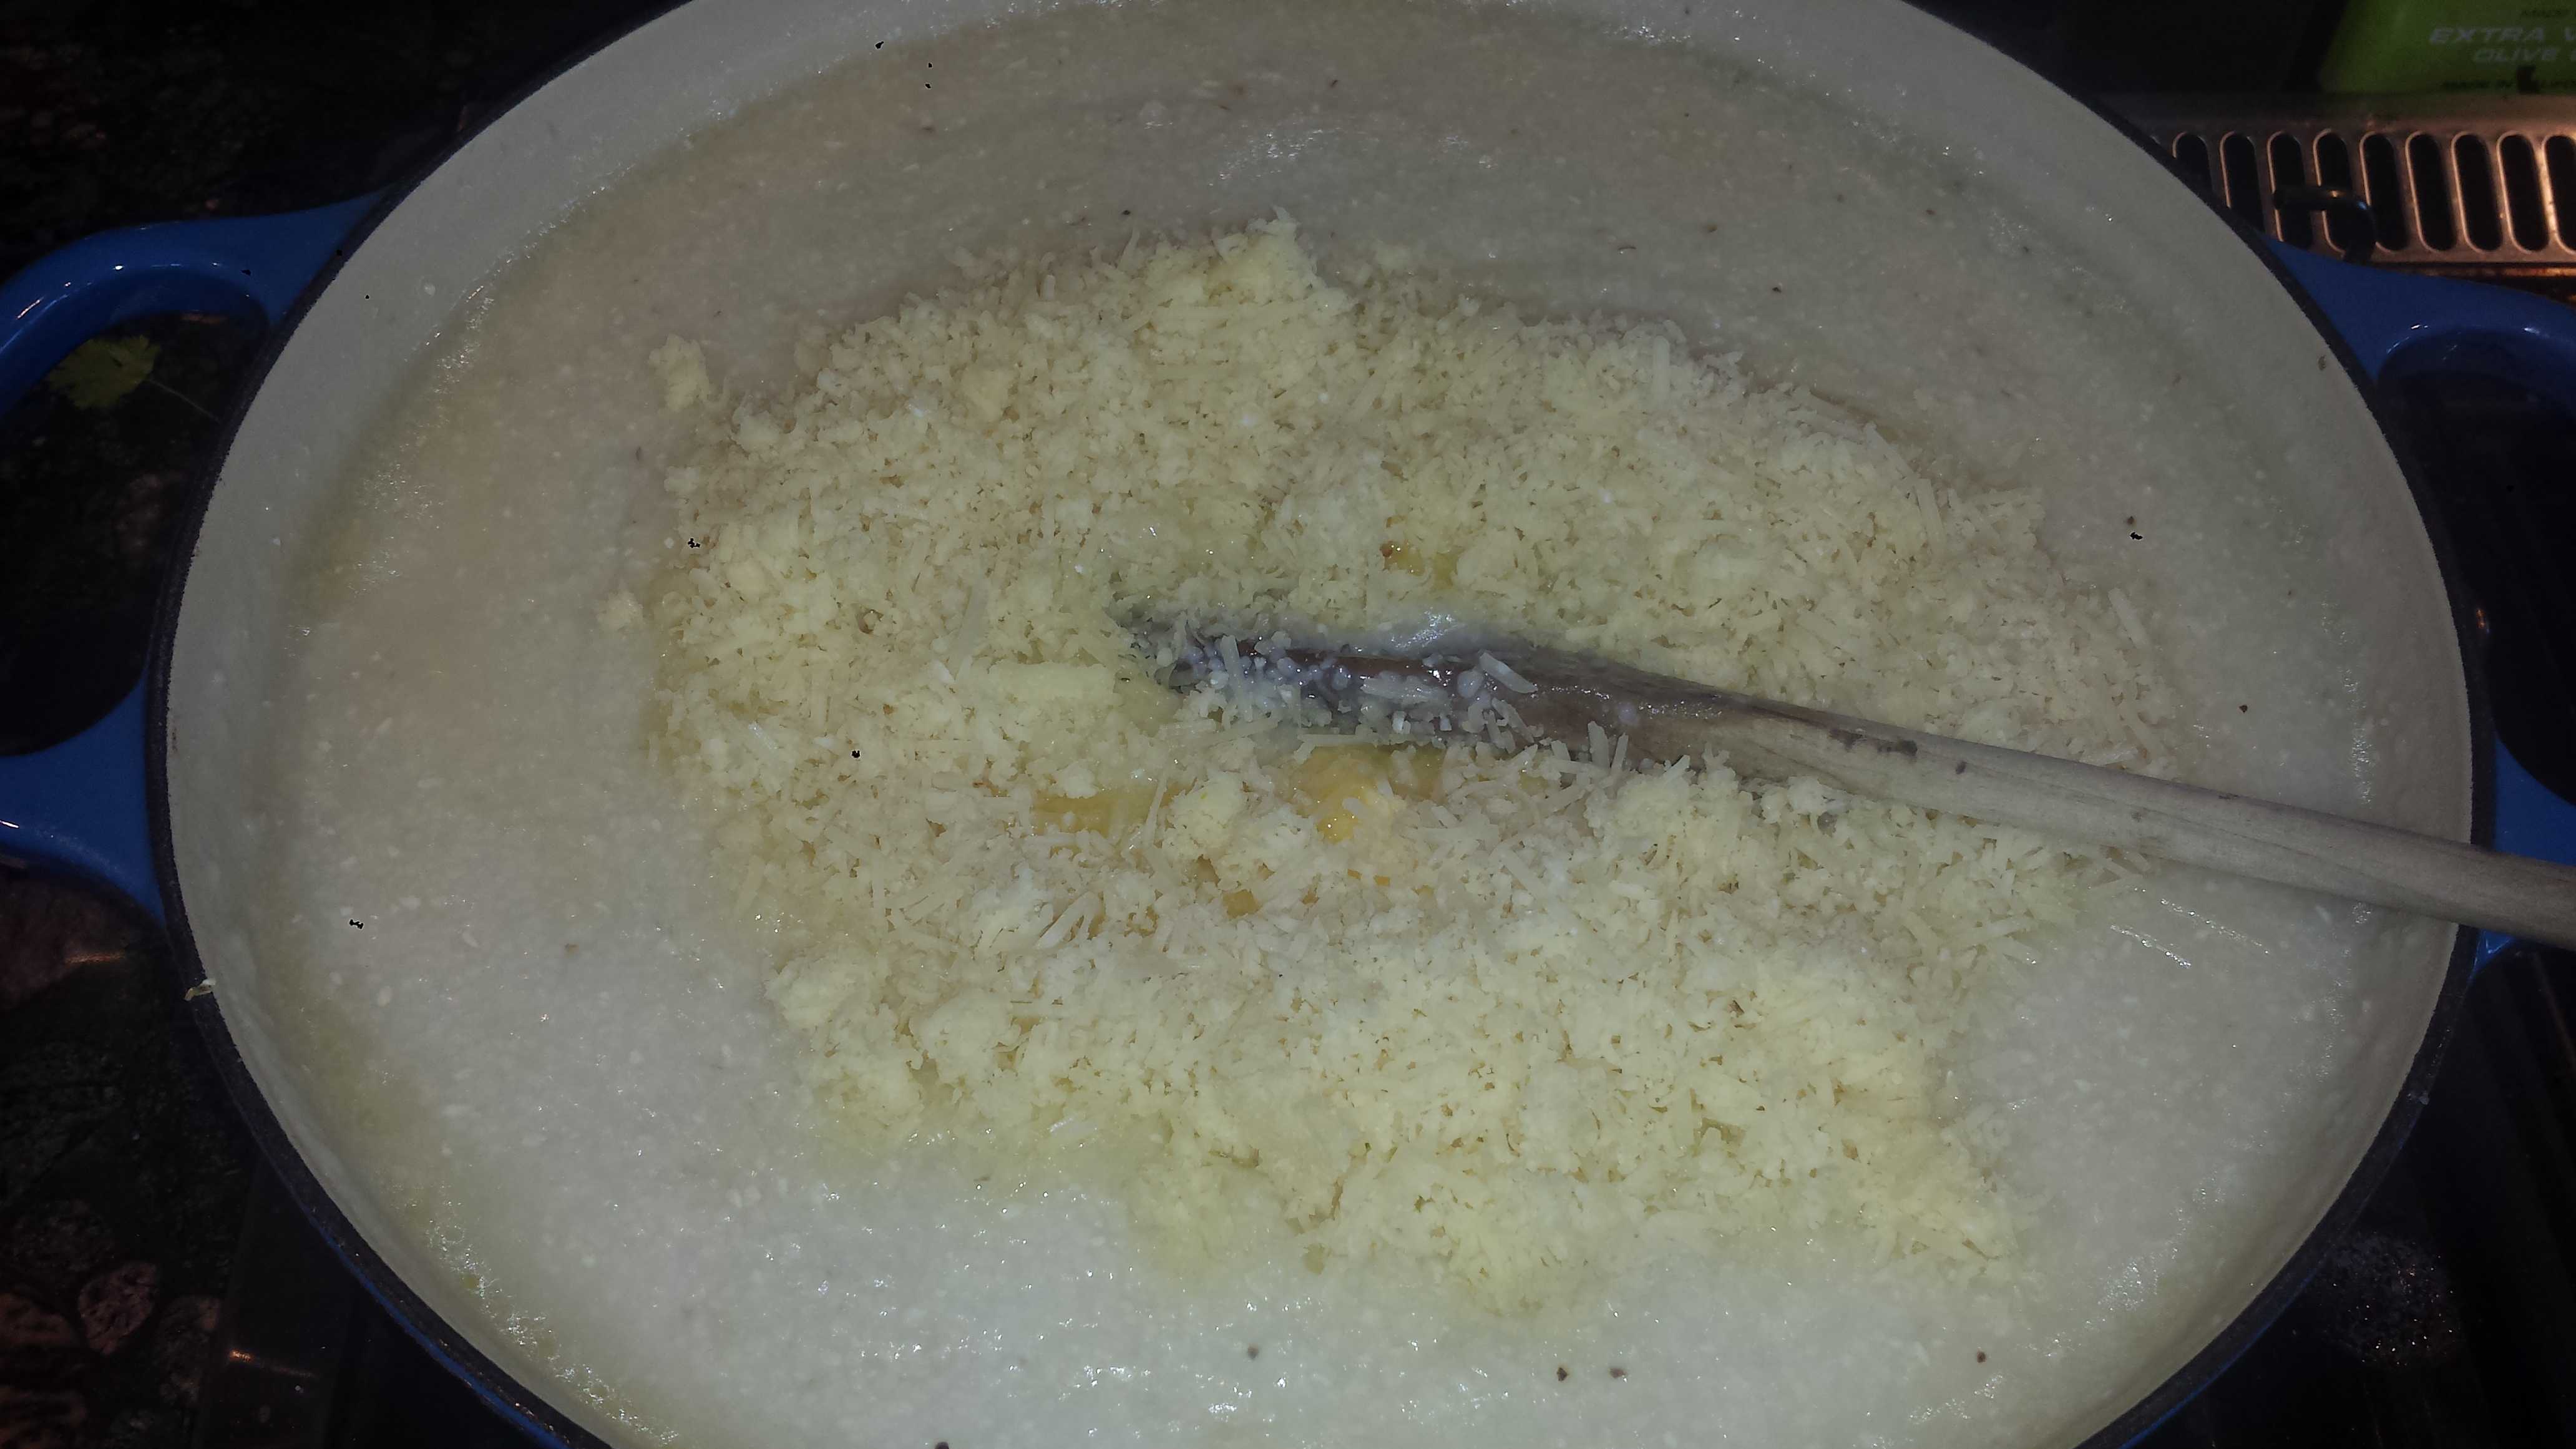
3 Tbsn cotija cheese (goat or feta), crumbled
2 Tbsn mayonaise (vegan mayo or plain yogurt)
2 Tbsn cilanto, chopped
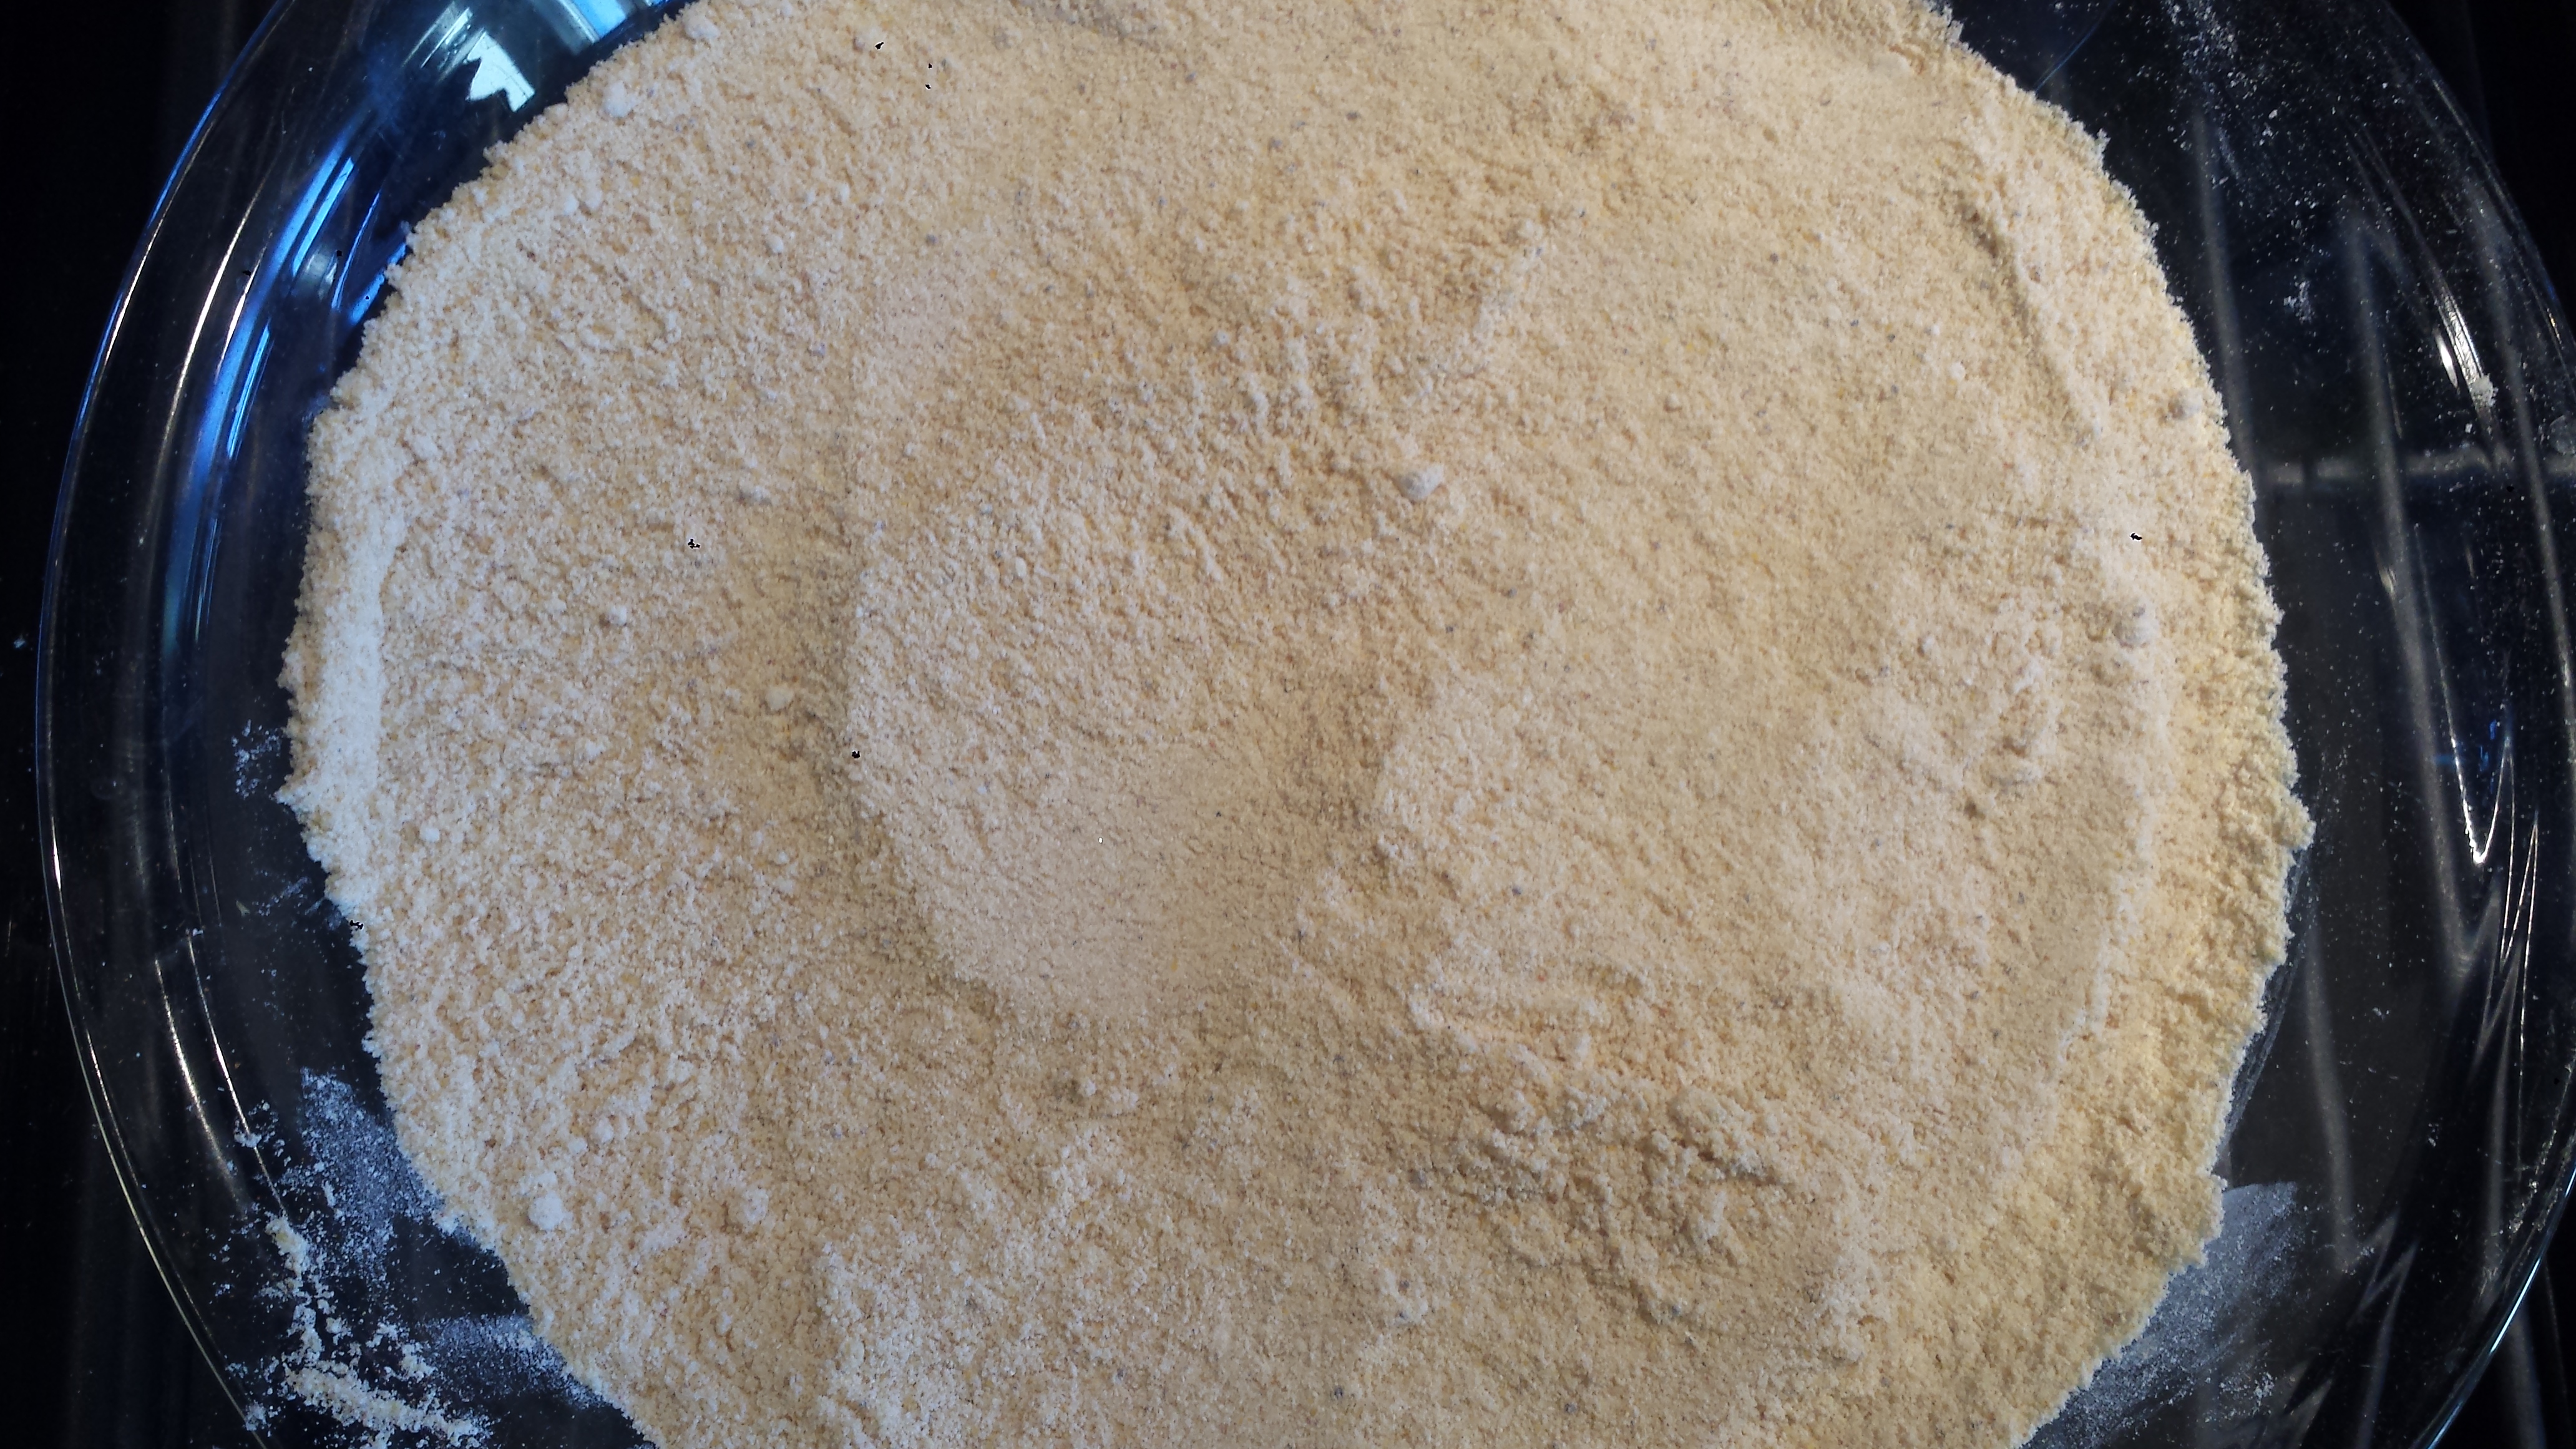
1 1/2 tsp Mexican style chili powder
2 limes, juiced
salt and pepper to taste

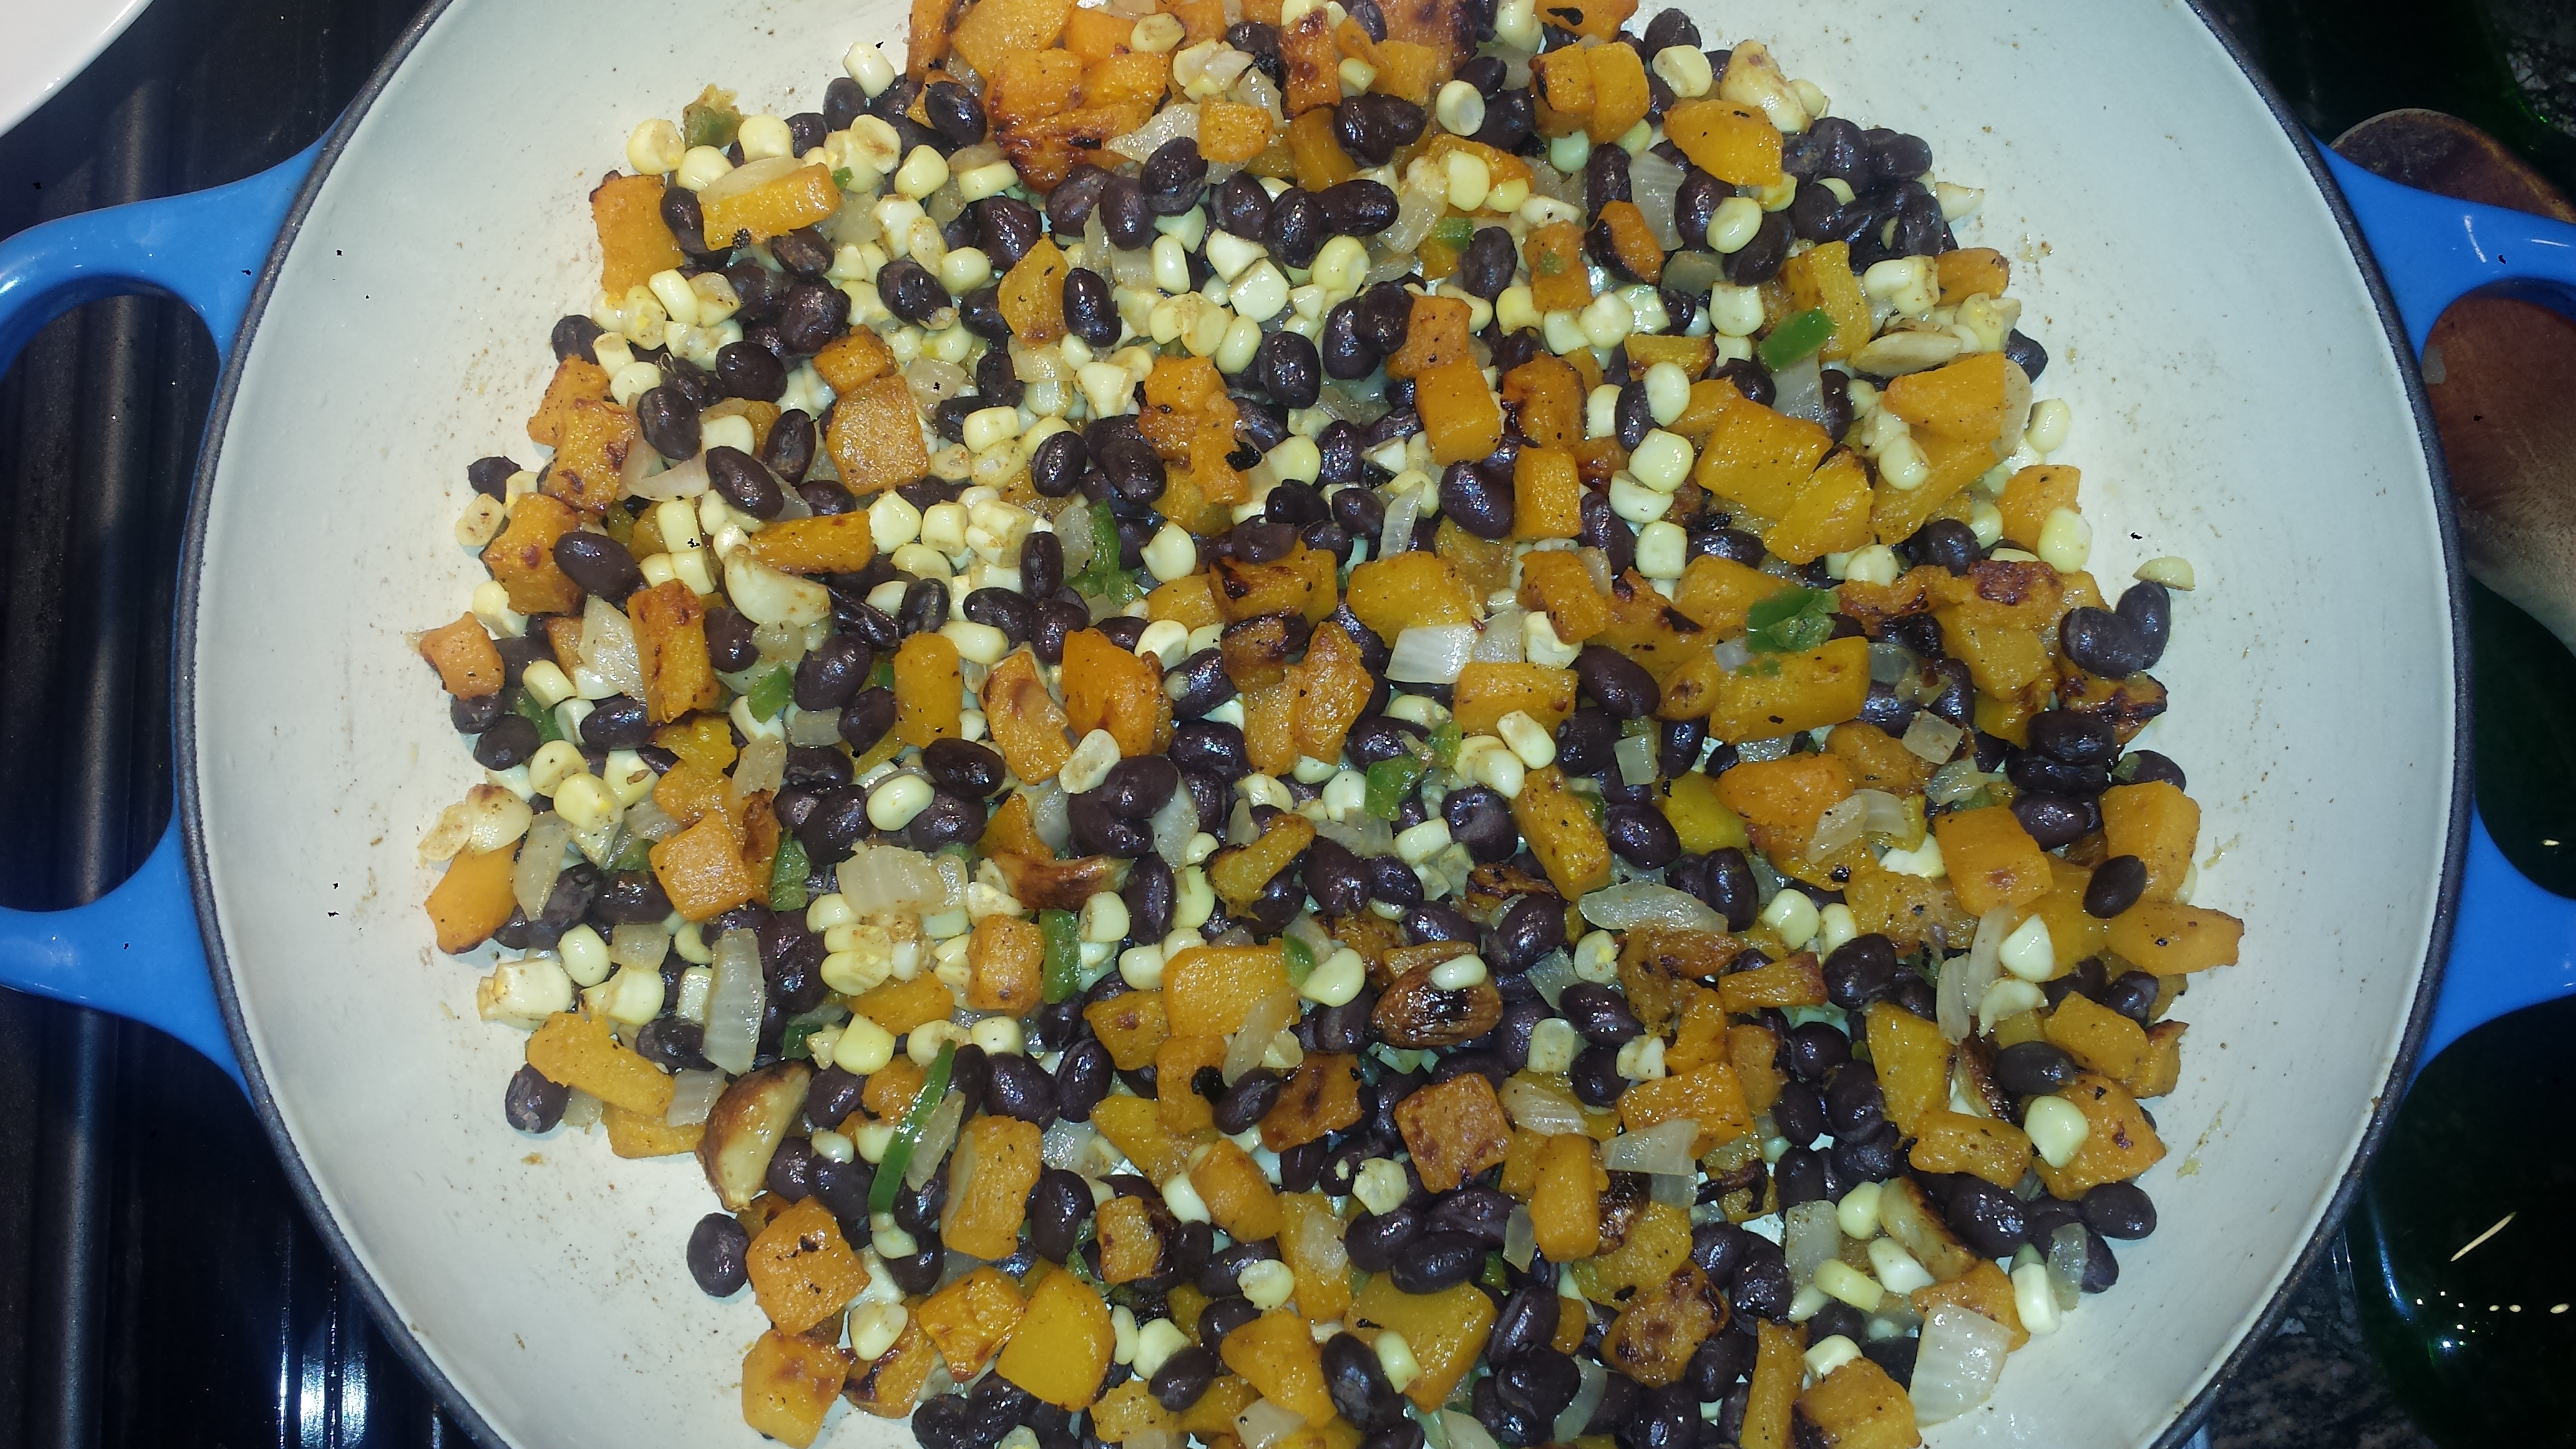
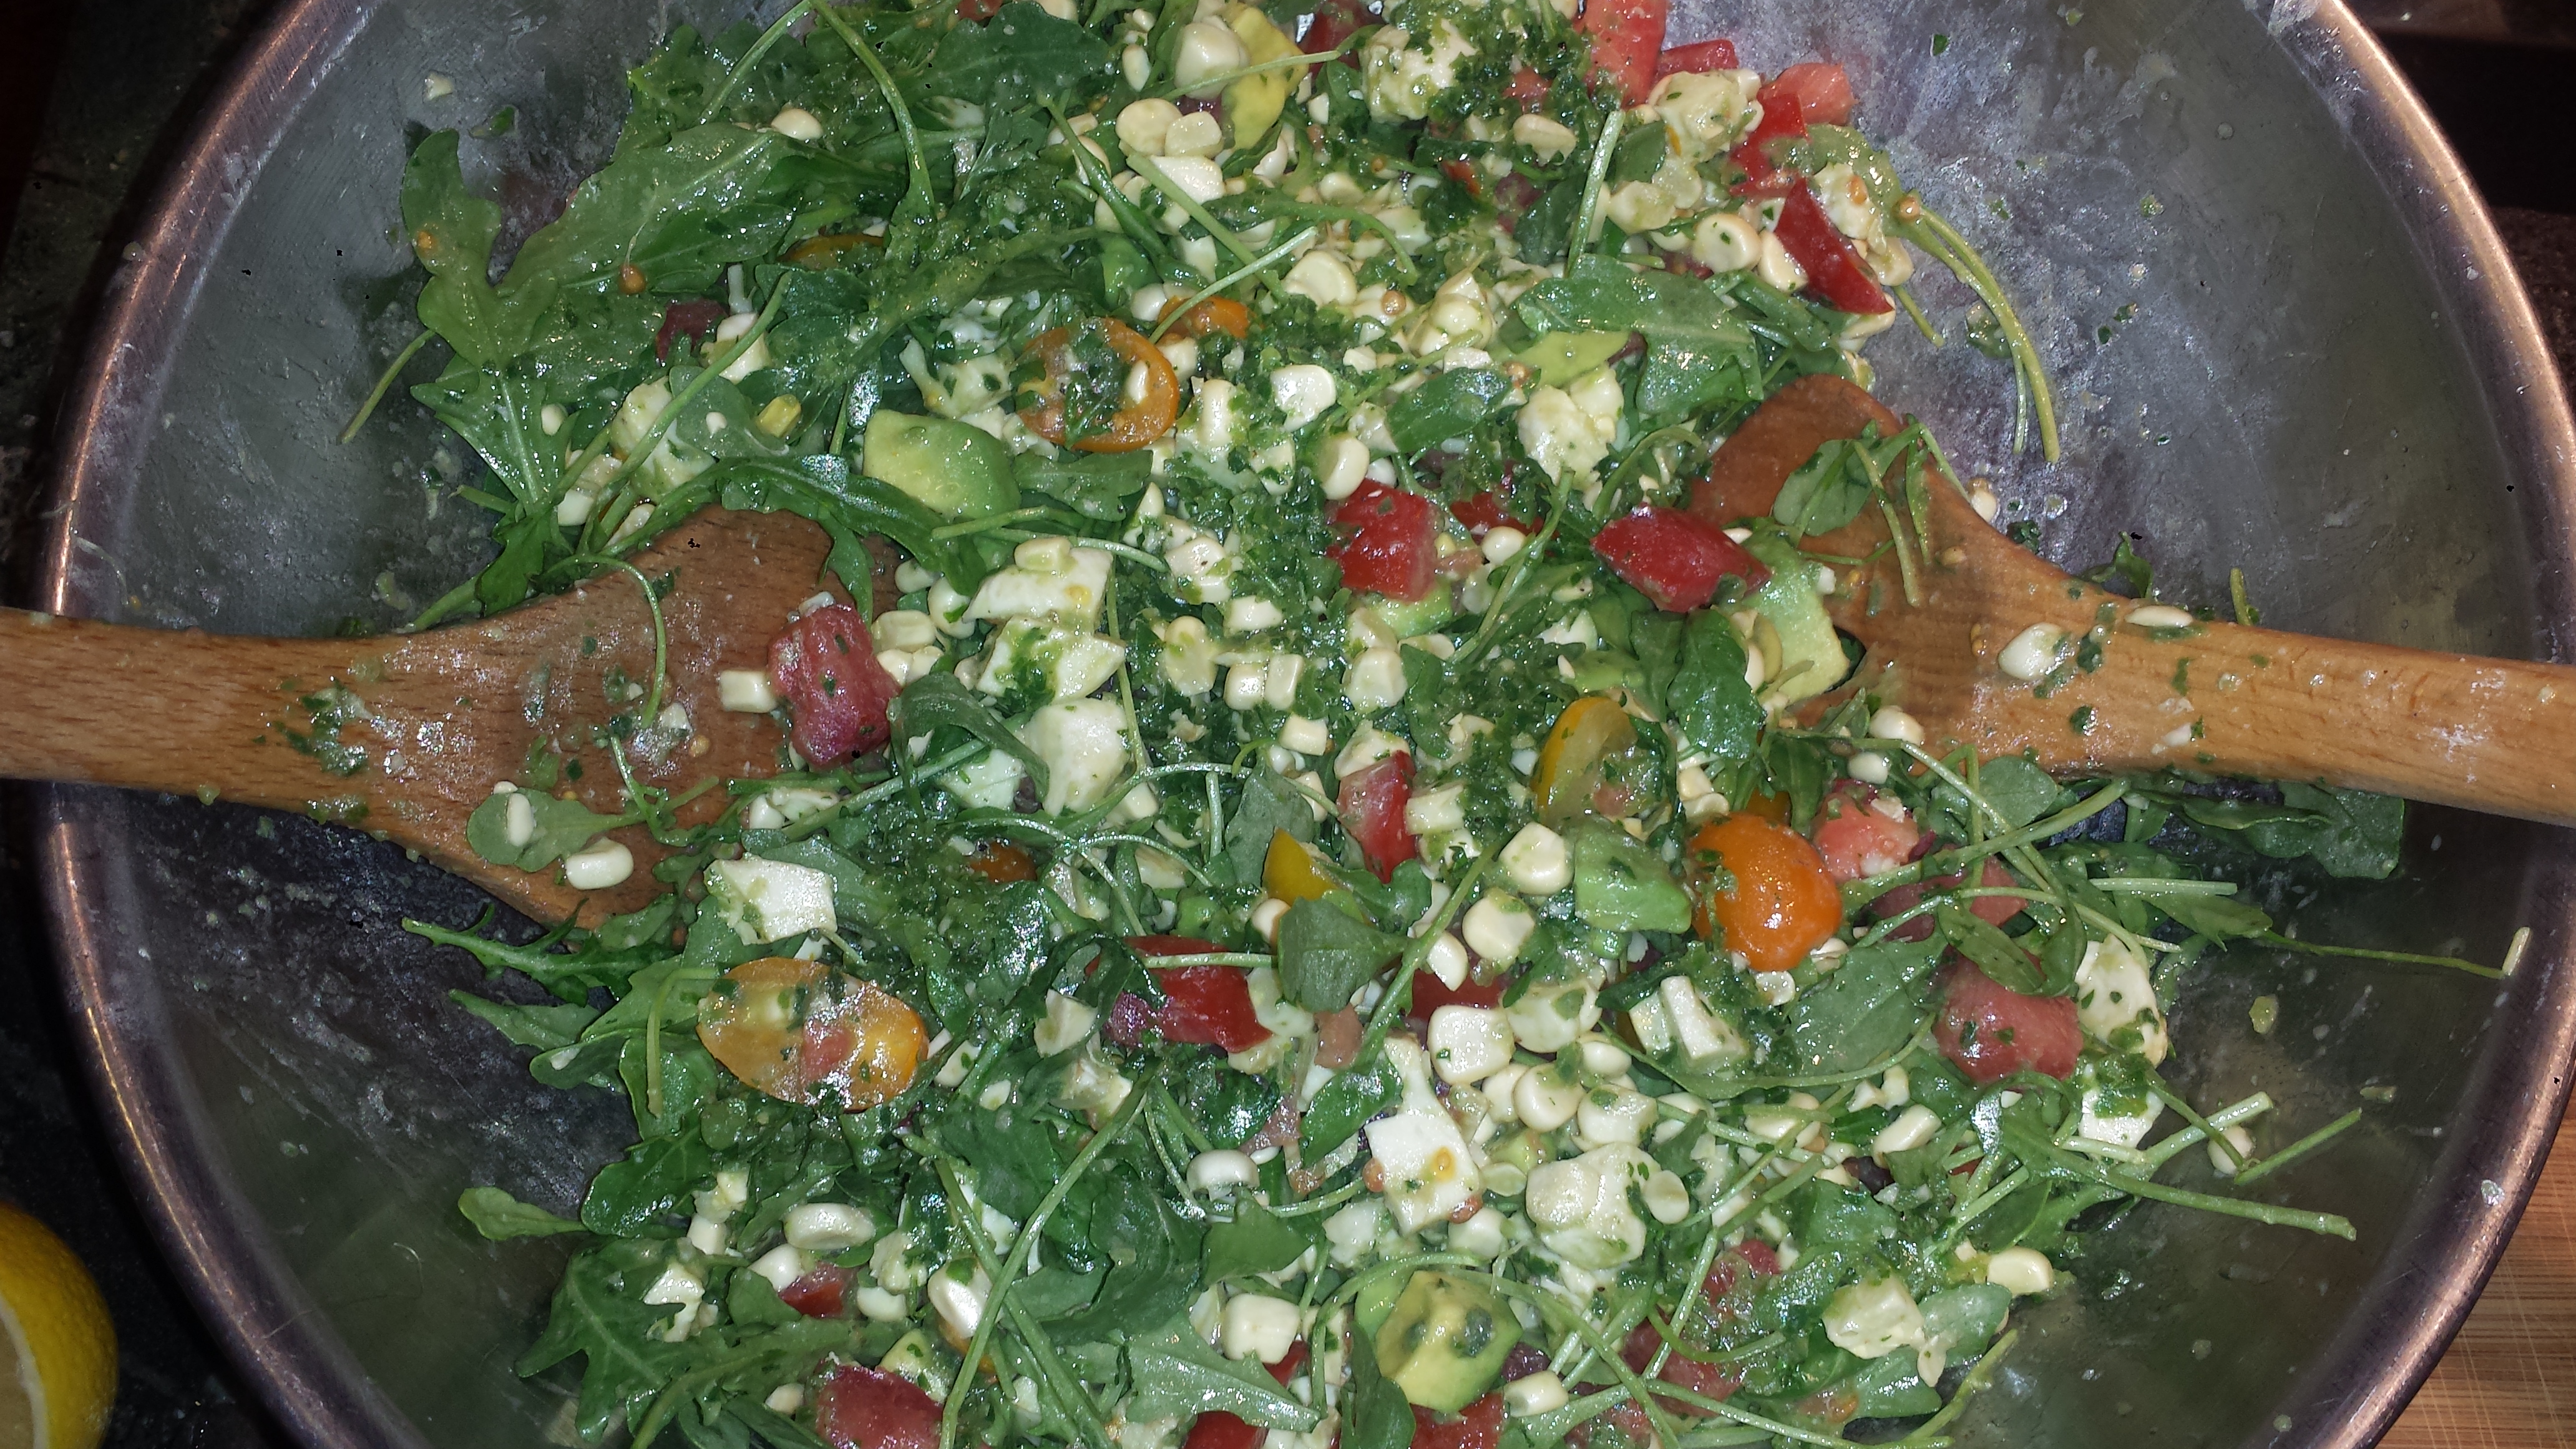
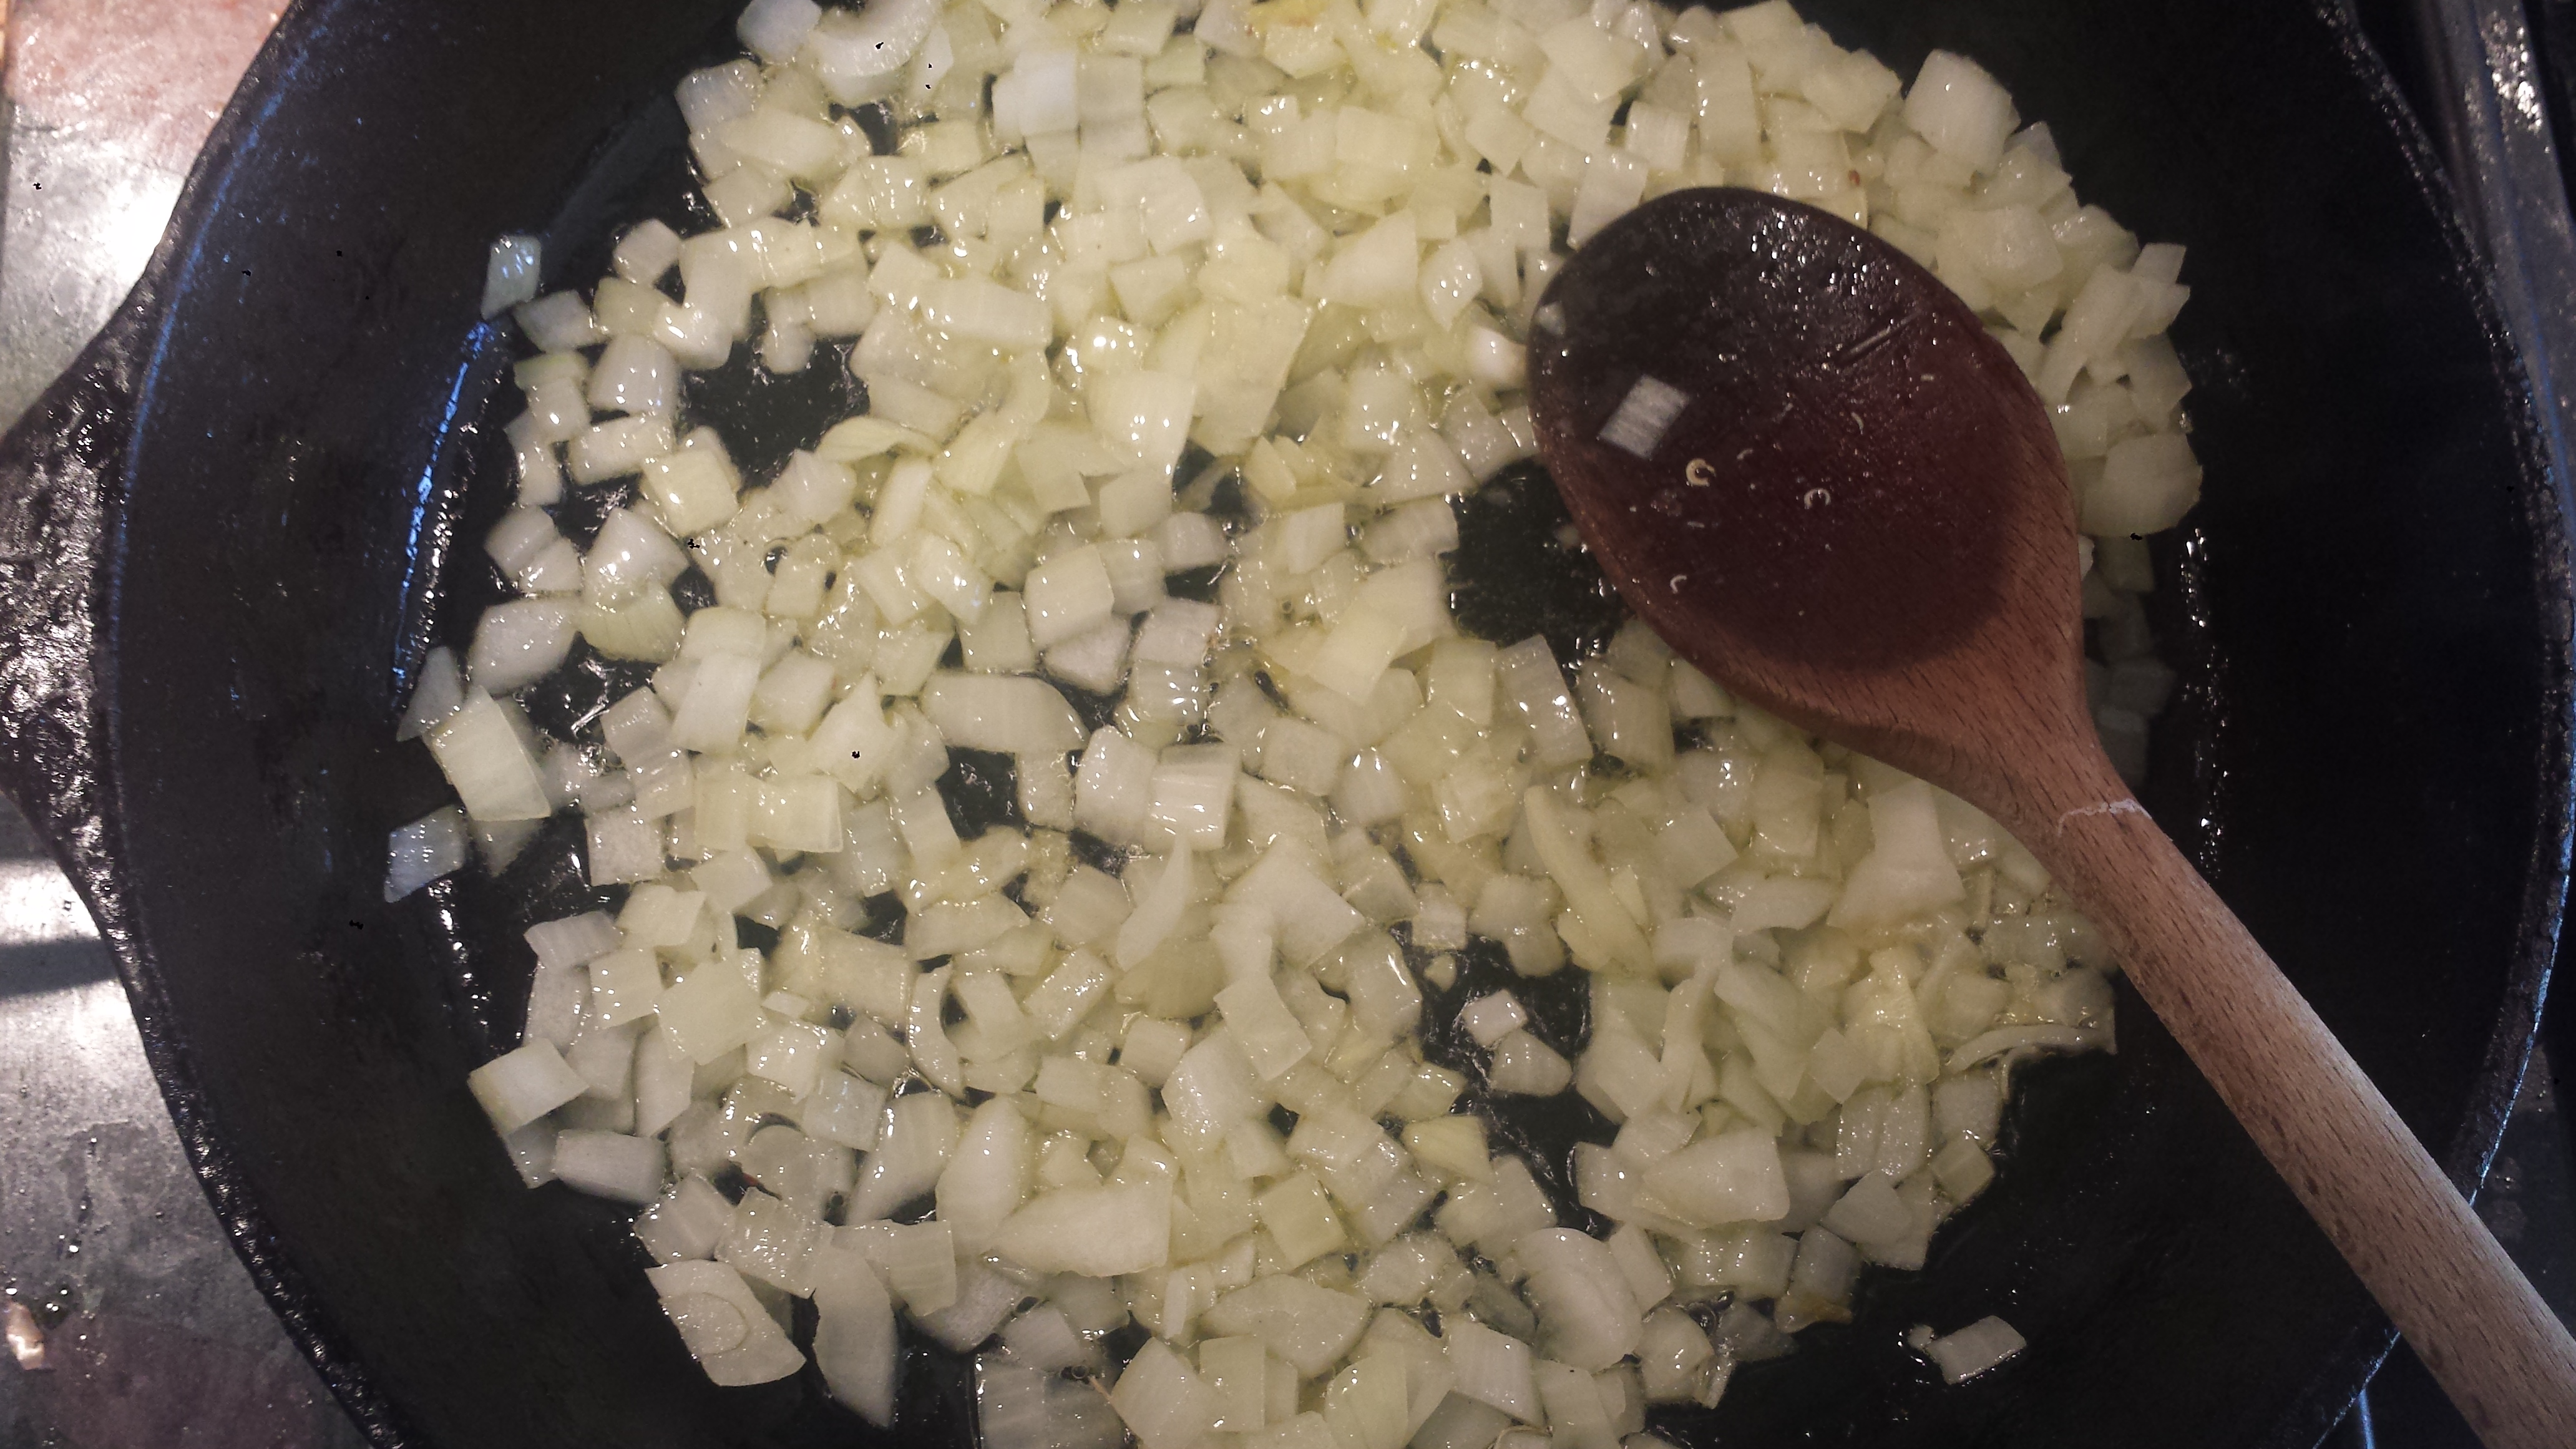
- In a large cast iron pan, saute the corn in the oil on medium-high heat until toasted, 15 to 20 minutes. Add the garlic and cook another 30 seconds or so and remove from heat and let cool and place in a large mixing bowl.

- Cut the peppers into a fine dice and add to the corn mixture.

- Add all the other ingredients to the corn mixture and toss to combine. Taste and adjust seasonings and add ingredients to suit your tastes.

- Serve room temperature.
6 ears fresh corn kernels from the cob (or 4 cups frozen yellow corn)Mexican Street Corn Salad
2 Tbsn olive oil
2 cloves garlic, minced
1 hot pepper (jalapeno, red chili, etc)
3 Tbsn cotija cheese (goat or feta), crumbled
2 Tbsn mayonaise (vegan mayo or plain yogurt)
2 Tbsn cilanto, chopped
1 1/2 tsp Mexican style chili powder
2 limes, juiced
salt and pepper to taste


