
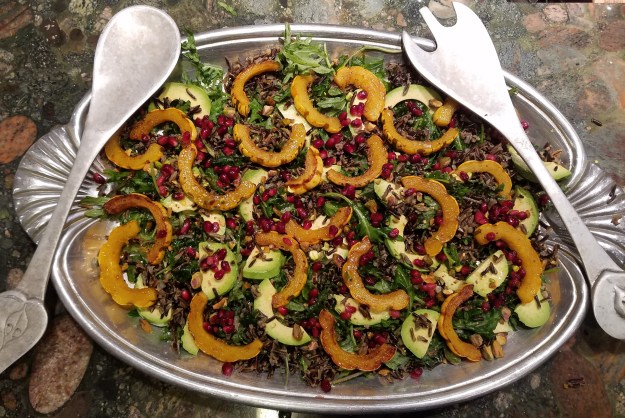
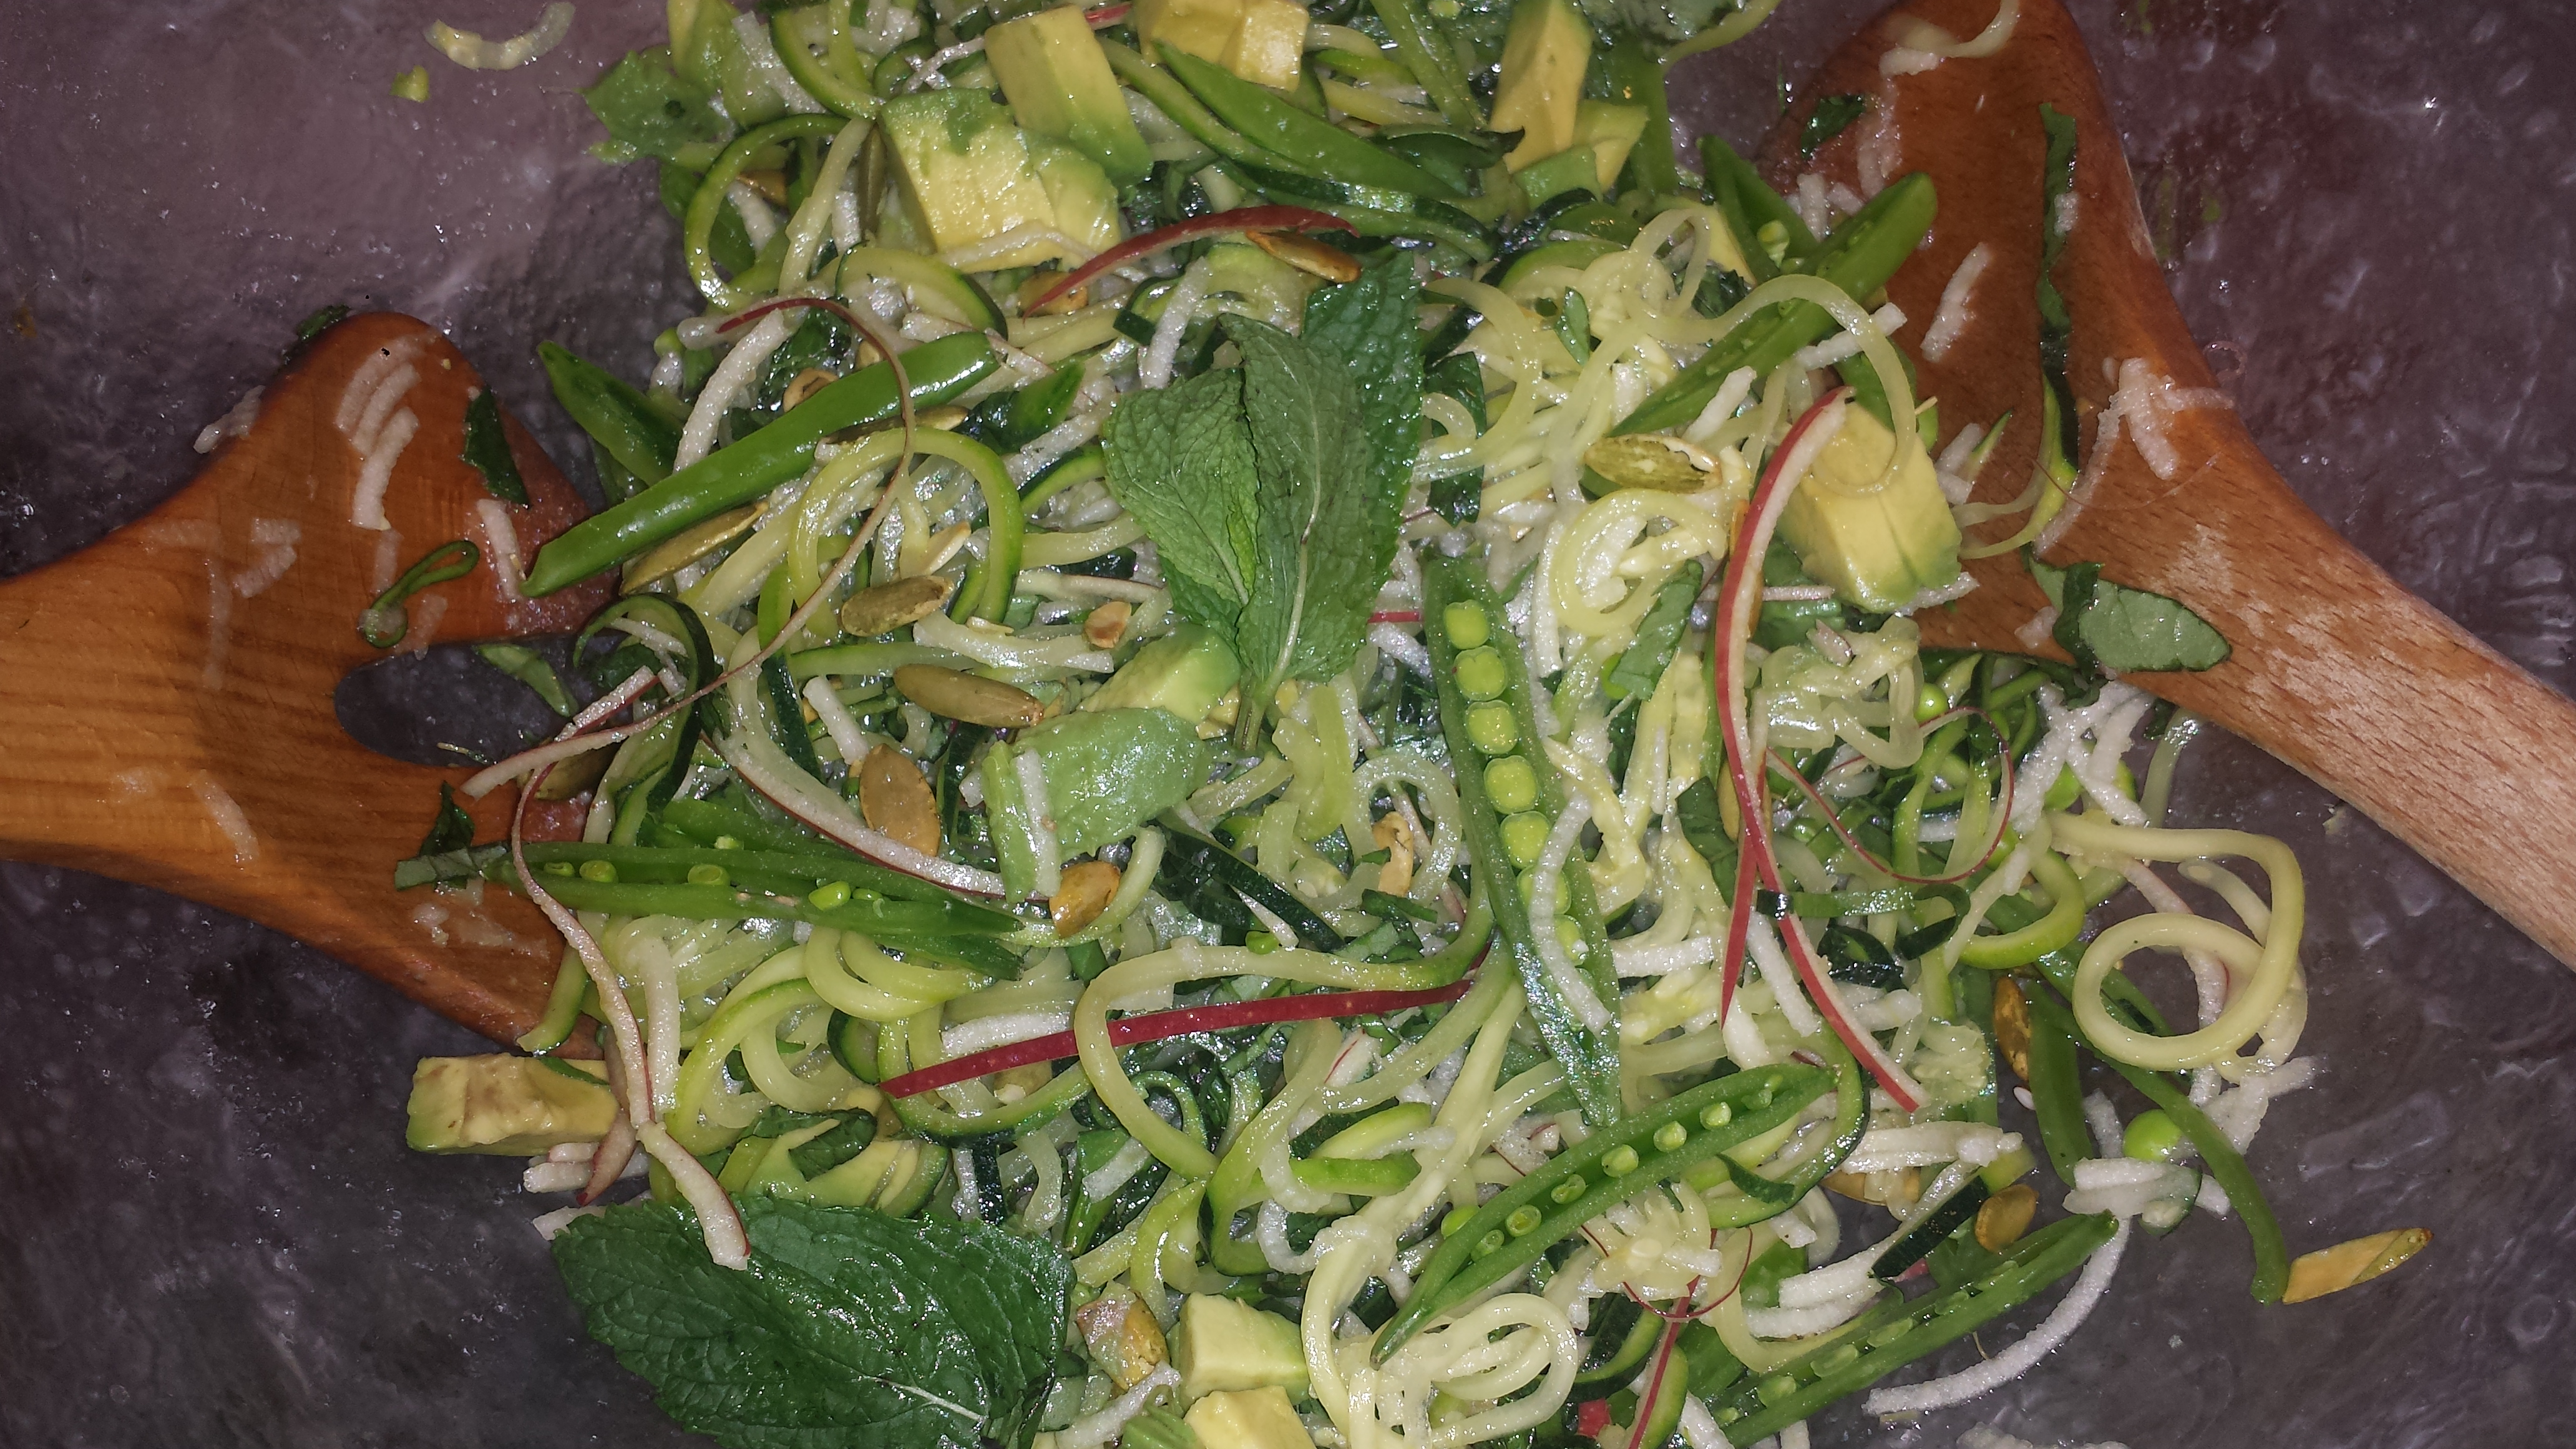
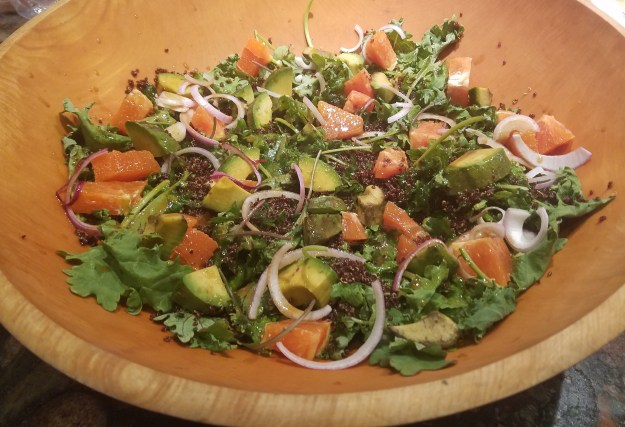
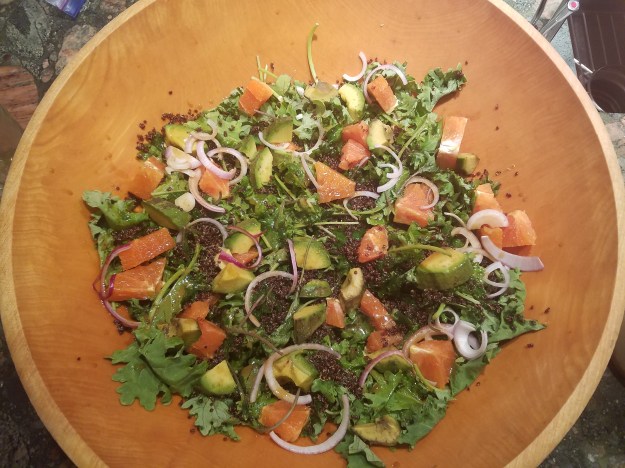
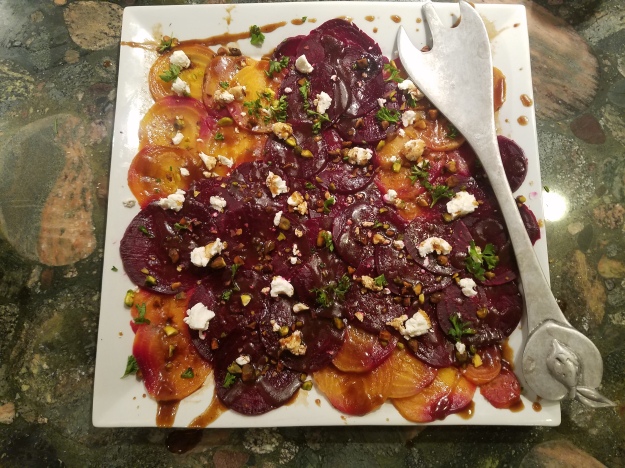
I love this combination of kabocha squash brushed with maple syrup and roasted to sweet tenderness, on a bed of fresh baby kale, hearty wild rice, creamy avocado, pomegranate seeds and salty crushed pistachios, all drizzled with a light orange, ginger vinaigrette. Its a hearty main course salad when paired with crusty sourdough bread or a bowl of soup.
My friend, Kerry and her daughter, Gabby, were visiting from Maine last week. I could tell that Kerry was unimpressed by the pile of greens on the counter while i was making dinner. By the time the whole salad was assembled, she was singing a different tune…

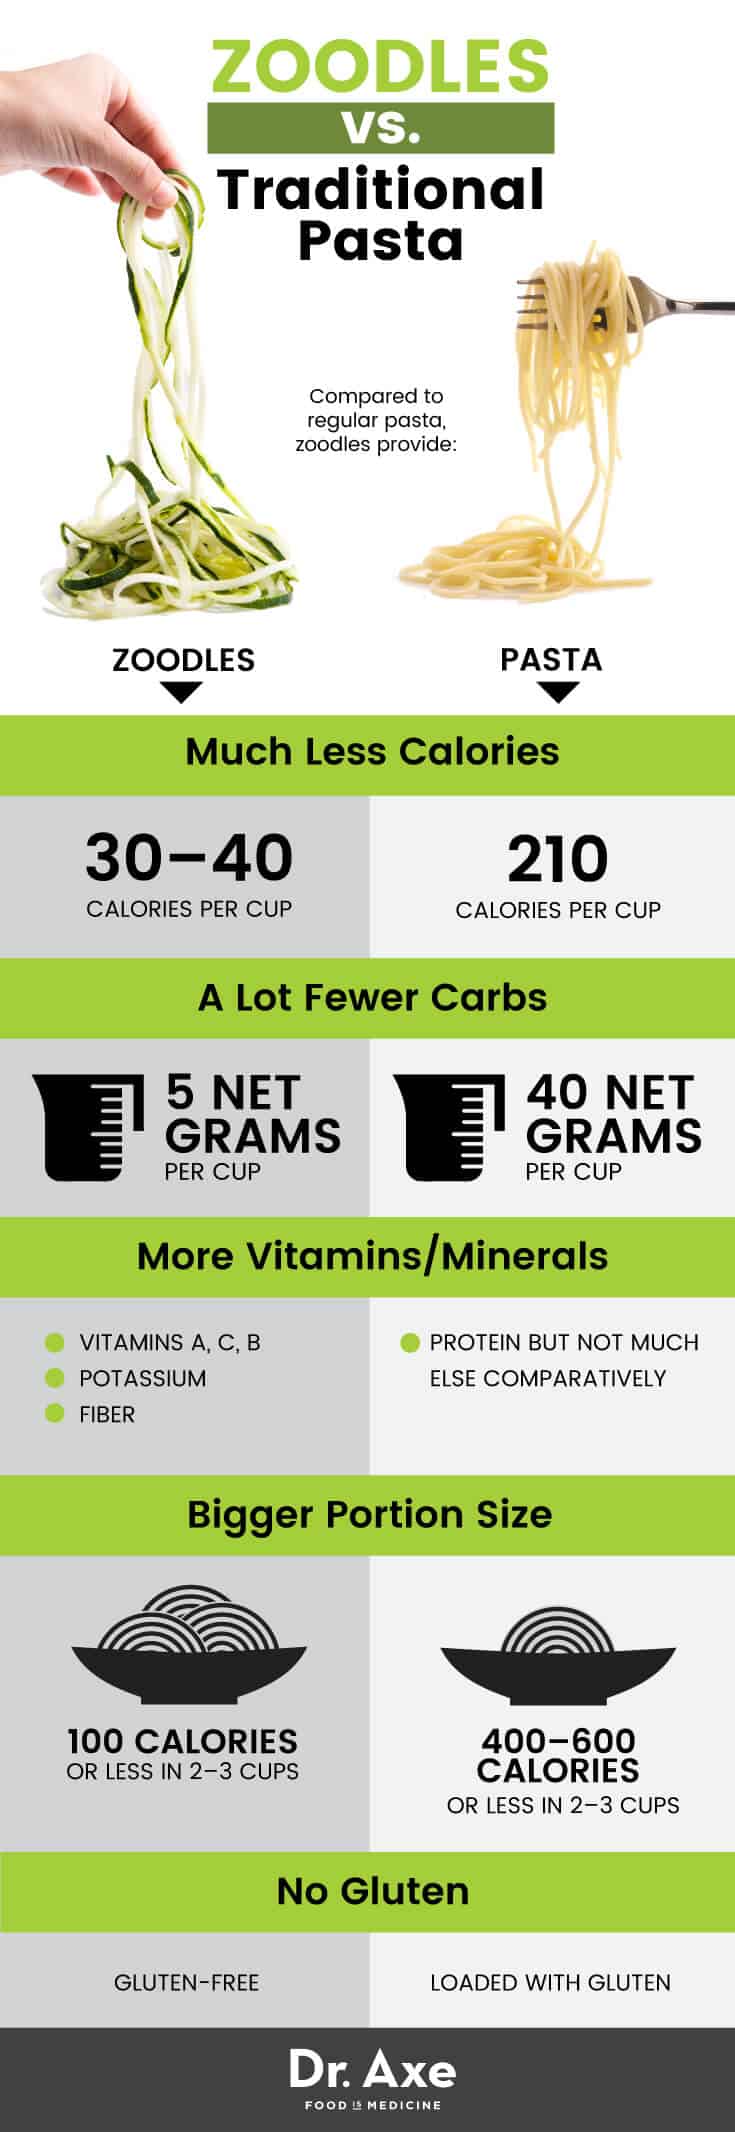
The colors alone tell you that this salad is a nutrional powerhouse. Remember “Eat the Rainbow”? The more colors you combine in your meals, the more vitamins and minerals you are likely to be getting. I haven’t posted a food color chart in a while, so here is good one compliments of eatlocalgrown.com. Its actually pretty interesting knowing that food is a certain color for a reason, or conversely, that the phytonutrients a plant contains determines its color.  I love wild rice in salads. It has a nutty flavor and chewy texture that helps satisfy your mouth and your belly. This salad is not heavy but it makes you feel satisfied and happy. For those that like to compare the nutrition of various ingredients, there is a healthy reason to incorporate wild rice into your diet. According to SF Gate, a one-cup serving of cooked, long-grain white rice contains 210 calories, 4 grams of protein and 45 grams of carbohydrate, including 1 gram of fiber. The same-sized serving of cooked wild rice provides you with 170 calories, 7 grams of protein and 35 grams of carbohydrate, including 3 grams of fiber.
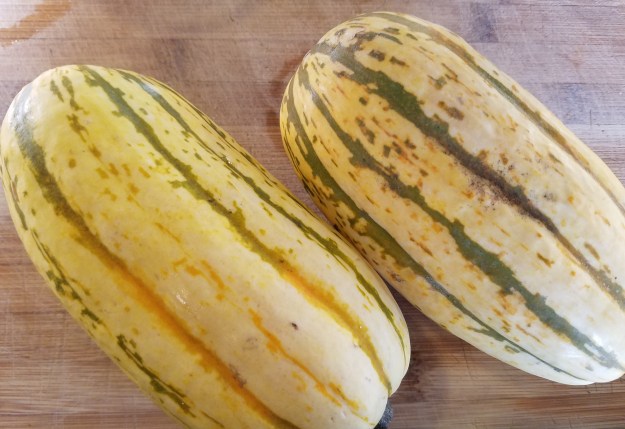 This recipe calls for kabocha squash which is perfect for salad since its flavorful and tender and has a soft edible rind. You can also use acorn squash which also has the pretty scallops but the rind is hard and inedible. Its not really a problem, you can just remove the rind as you eat. Acorn squash should probably be cut in thin quarter rounds since they are generally larger and may need to cook longer depending on thickness.

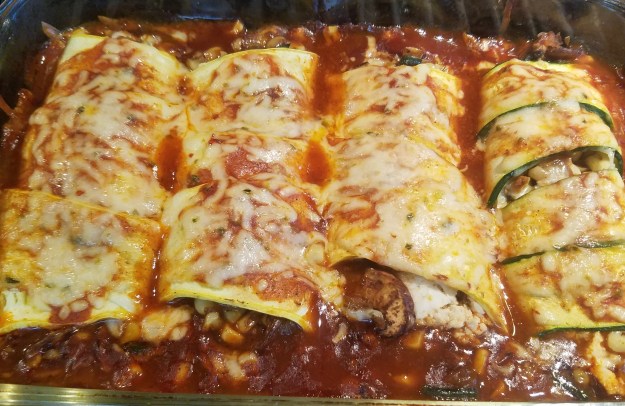
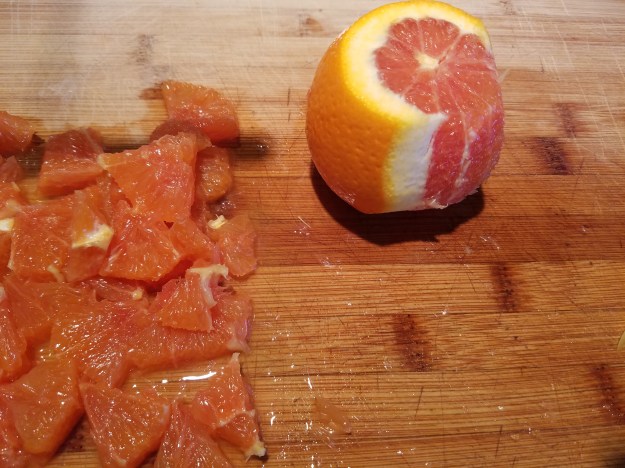
TIPS: I love fresh pomegranate seeds, or arils as they are technically named, but they are not available all year around. Sometimes you can find them in the frozen section but I have started buying them when they are in season, seeding them and storing them in the freezer until I need them. Its best to store in small, usable quantities instead of trying to chip away at a large block. You can also freeze the small plastic containers of pomegranate seeds available in stores during the season if you haven’t opened them. They thaw perfectly! You can always substitute another fresh fruit like blueberries or dried cranberries or raisins.
SQUASH, WILD RICE AND KALE SALAD
- 1 kabocha squash (or acorn squash)
- 1/4 cup olive oil
- 1/4 cup maple syrup
- 1/4 cup wild rice, uncooked (1/2 cup cooked)
- large bunch baby kale or arugula
- 1/3 cup pomegranate arils (or dried cranberries)
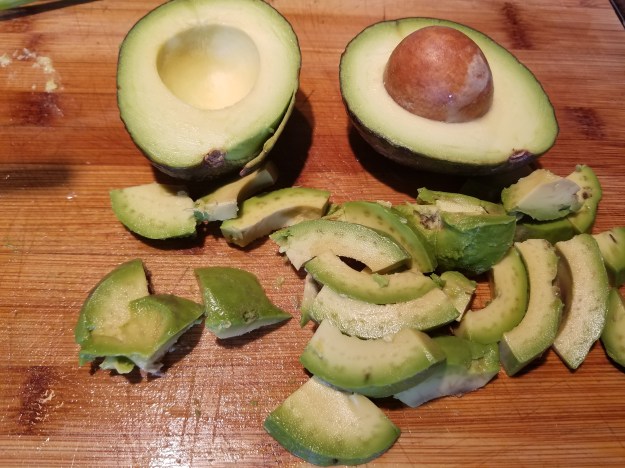
- 1 avocado, sliced
- 1/4 cup roasted pecans (pistachios, hazelnuts or almonds)
- Vinaigrette: 1/4 cup orange juice
1/4 cup apple cider vinegar
1/2 teaspoon freshly grated ginger
1 garlic clove, freshly grated
1/4 teaspoon salt
1/4 teaspoon pepper
1/3 cup olive oil
- Cook the rice according to instructions in vegetable broth, if desired. For salads, al dente is preferred. Remove from heat and let cool.

- Cut the squash open and scoop out the seeds. Place it flat-side-down on a large cutting board and slice into 1/2 inch half rounds
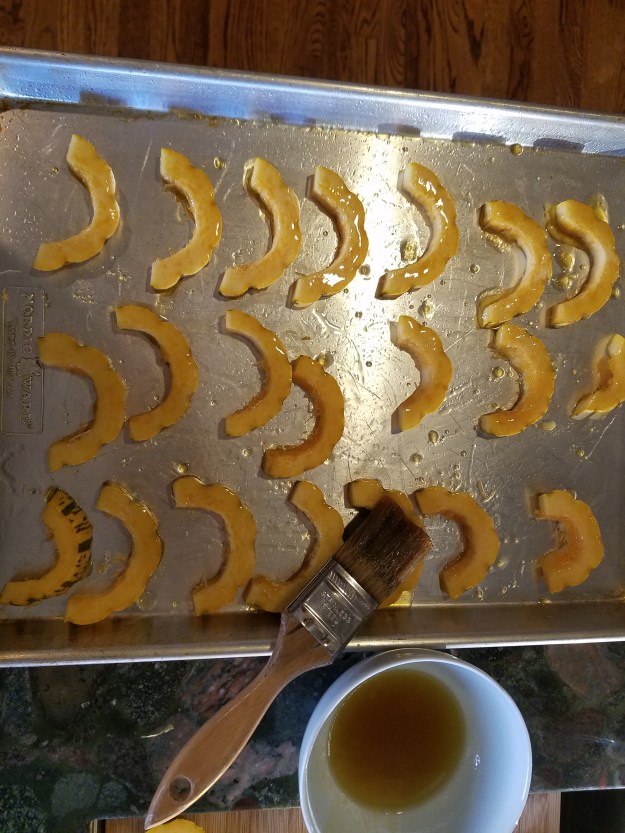
- Arrange the Kabocha slices on an oiled baking sheet (or lined with parchment paper). Whisk together the olive oil and maple syrup and brush squash generously, sprinkle with salt and pepper
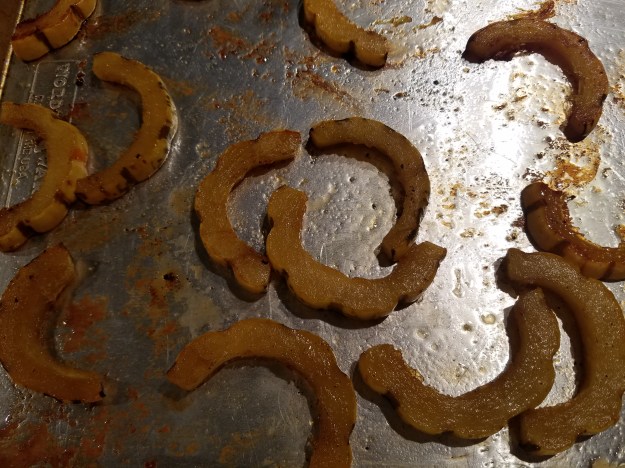
- Roast on 450ºF for 12-15 minutes or until soft and beginning to brown. Turn halfway through and brush maple oil mixture on other side, salt and pepper. Remove from heat and let cool.

- Spread baby kale or arugula in a layer on a large platter.
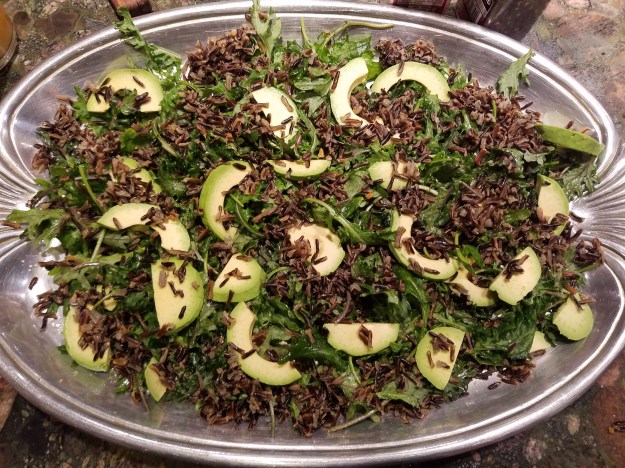
- Dot evenly with wild rice and avocado slices
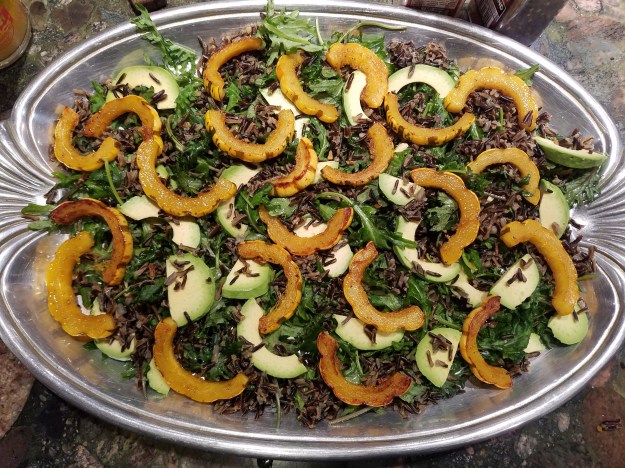
- Top with squash slices
- Sprinkle with pomegranate seeds (arils) and slightly crushed pistachios
- Whisk together vinaigrette and dress salad just before serving. Serve with extra dressing on the side.
Squash, Wild Rice and Kale Salad

- 1 kabocha squash
- 1/4 cup olive oil
- 1/4 cup maple syrup
- 1/4 cup wild rice, uncooked (1/2 cup cooked)
- large bunch baby kale or arugula
- 1/3 cup pomegranate arils (or dried cranberries)
- 1 avocado, sliced
- 1/4 cup roasted pecans (pistachios, hazelnuts or almonds)
- Vinaigrette: 1/4 cup orange juice
1/4 cup apple cider vinegar
1/2 teaspoon freshly grated ginger
1 garlic clove, freshly grated
1/4 teaspoon salt
1/4 teaspoon pepper
1/3 cup olive oil
- Cook the rice according to instructions in vegetable broth, if desired. For salads, al dente is preferred. Remove from heat and let cool.
- Cut the squash open and scoop out the seeds. Place it flat-side-down on a large cutting board and slice into 1/2 inch half rounds
- Arrange the Kabocha slices on an oiled baking sheet (or lined with parchment paper). Whisk together the olive oil and maple syrup and brush squash generously, sprinkle with salt and pepper
- Roast on 450ºF for 12-15 minutes or until soft and beginning to brown. Turn halfway through and brush oil mixture on other side, salt and pepper. Remove from heat and let cool.
- Spread baby kale or arugula in a layer on a large platter.
- Dot evenly with wild rice
- Arrange squash and avocado slices on top
- Sprinkle with pomegranate seeds (arils) and slightly crushed nuts
- Whisk together vinaigrette and dress salad just before serving. Serve with extra dressing on the side.


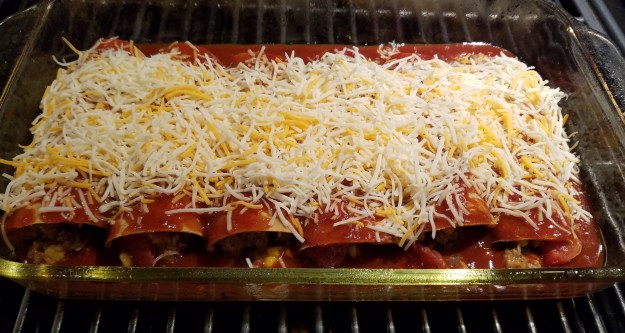


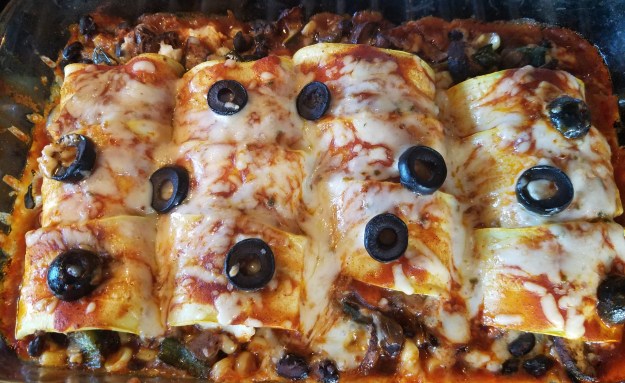


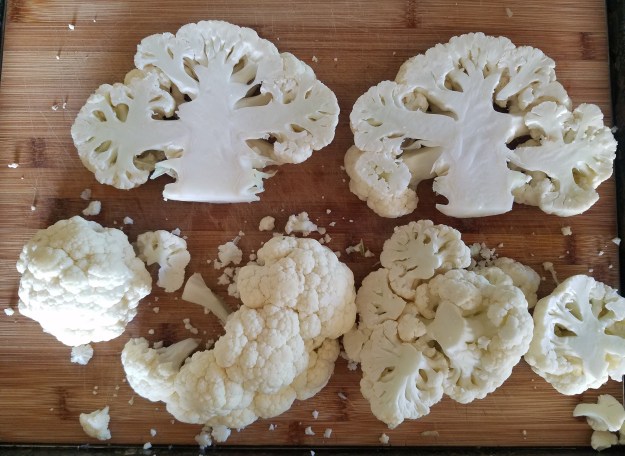
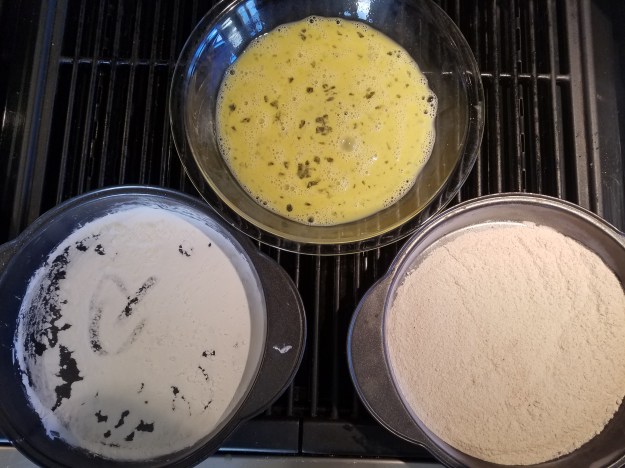
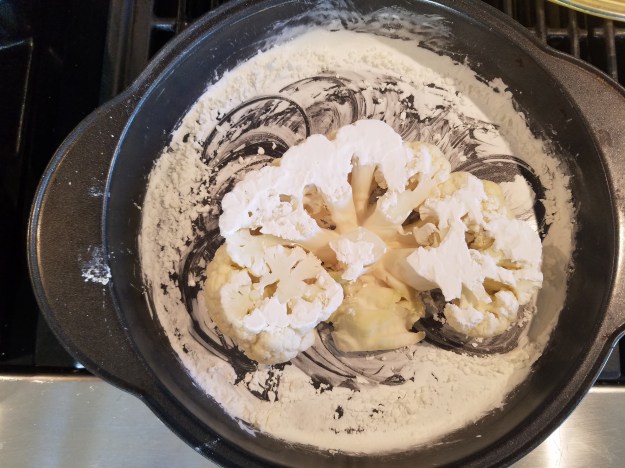
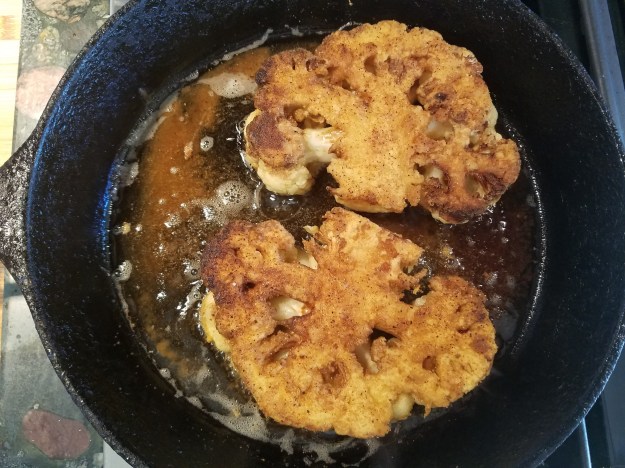
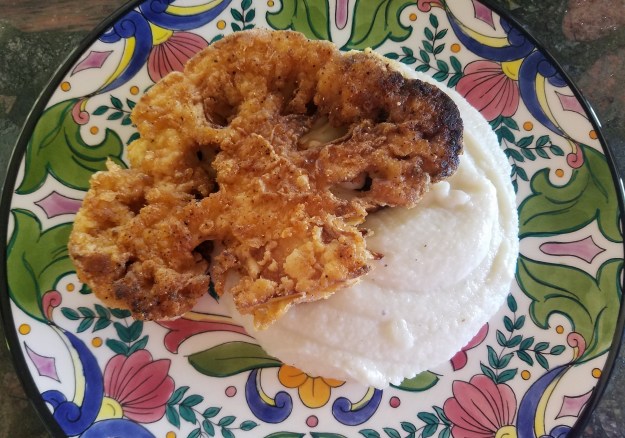
 Here’s a vegetarian or vegan twist on the classic comfort food, Chicken Fried Steak, nestled on a bed of creamy mash. This version has all the yummy flavor with none of the guilt, perfect for your summer barbecue or picnic. Cauliflower, the chameleon of veggies, makes a great couple of center cut ‘steaks’ while the rest is pureed into a silky, creamy cauliflower mash. This recipe makes use of the whole head of cauliflower and requires very few other ingredients, other than spices that you probably already have in your pantry. Now you can make a healthier, lower fat and meat free version of this popular dish. Its an easy and surprisingly satisfying meal that can be ready in about 30 minutes. You just might lick the plate clean…
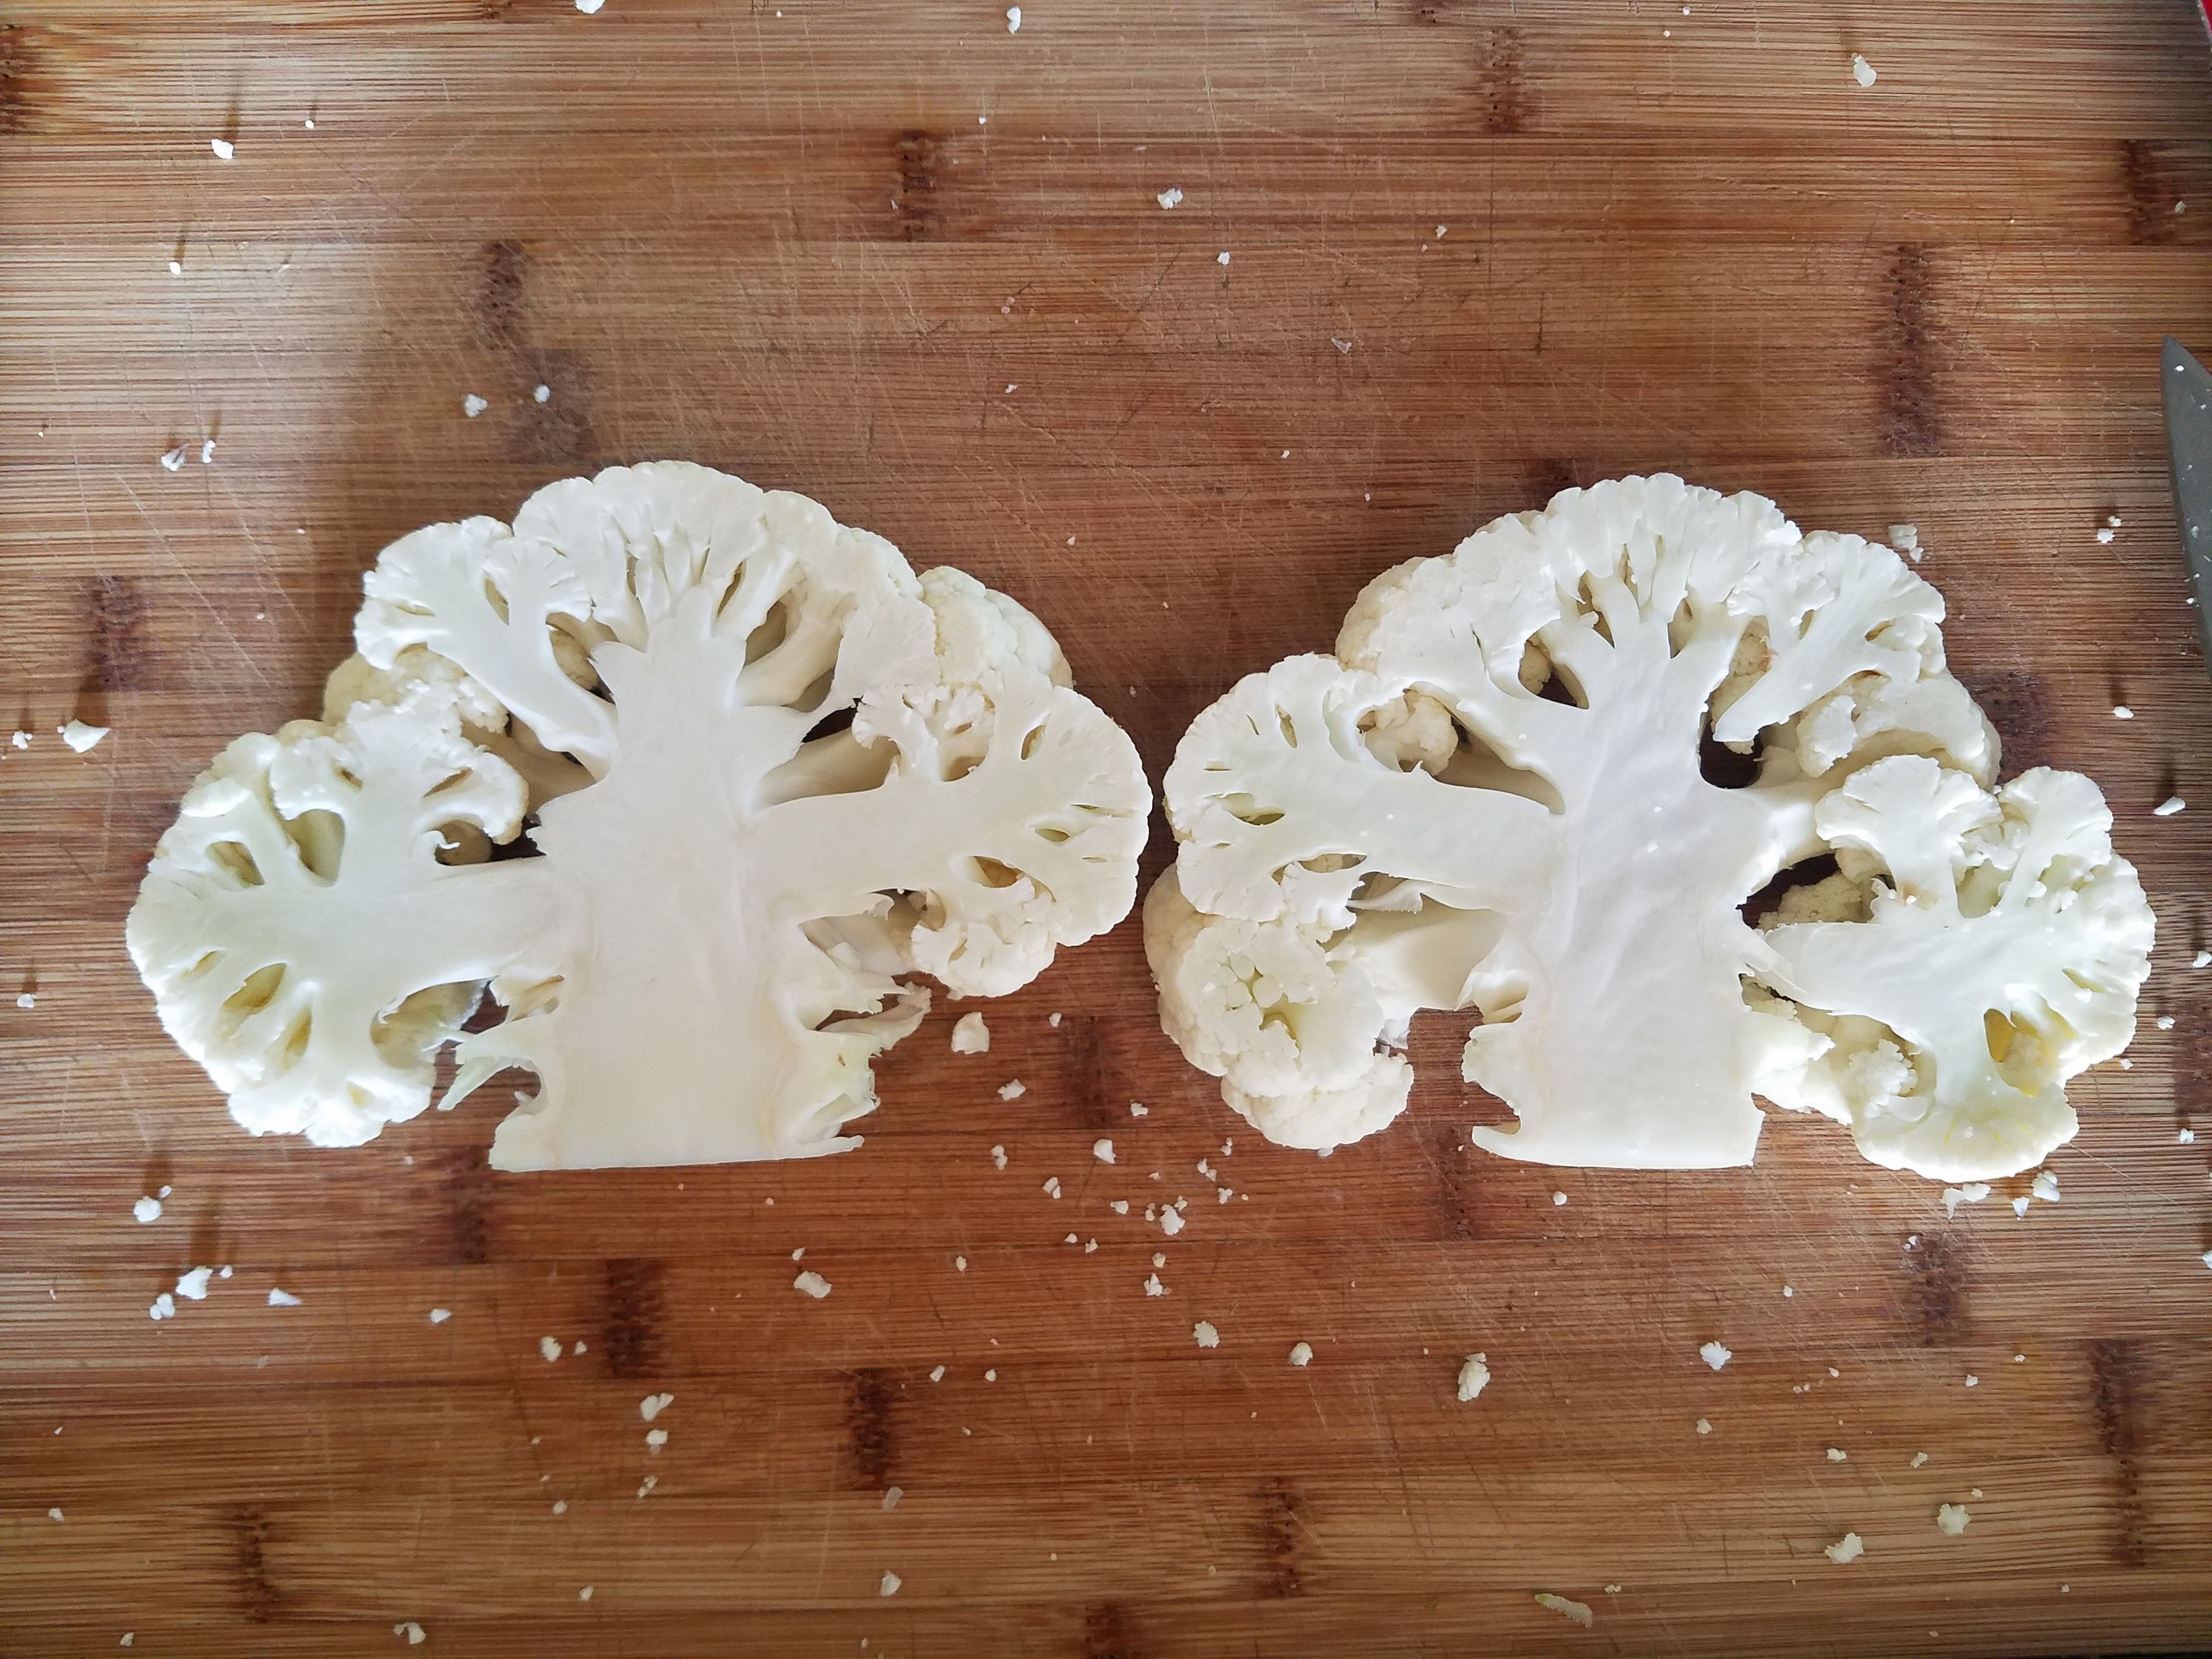


 Risotto is so rich and creamy that it seems fancy and somewhat decadent. Well this version is no different, even though it is made without meat or dairy and I used barley instead of the traditional Arborio rice which adds flavor and interest. If you are intimidated by making risotto at home, don’t be. It’s actually a pretty easy (mostly) one pot dish. Yes, you do have to stir it but not constantly. You don’t have to be a slave to the stove but it is the technique of slowly adding broth and allowing it to absorb into the barley which creates the rich and creamy almost sauce-like texture which is the result of the barley releasing starch into the broth. Starch is that magic ingredient that helps marry the ingredients. (This is same reason I always save a cup of cooking water when making pasta). The barley risotto is a wonderful, slightly chewy consistency and the butternut squash is sweet and perfectly accented by the lovely ‘sauce’ and fresh tangy sage. The end result is worth the extra attention, however, I have a short cut in TIPS below for those who can’t be bothered but still like the idea of butternut squash and barley.


