The Japanese have known the health benefits of miso and scallions and have used miso soup to cure the common cold since ancient times, kind of like a vegetarian version of homemade chicken soup. We have all had miso soup in Japanese restaurants, that savory broth with tiny cubes of tofu and thinly sliced scallions floating on top. Usually, in restaurants we consider it as a small starter before the main courses arrive but in Japan miso soup is a staple and eaten for breakfast and throughout the day loaded with eggs, fish and other garnishes. So I figure that they must be onto a good thing and decided to create a miso soup that is simple to make but worthy of being a main course for lunch or dinner, and I came up with this Ginger Miso Tofu Noodle Bowl. For more on using miso soup to cure the common cold check out this article:

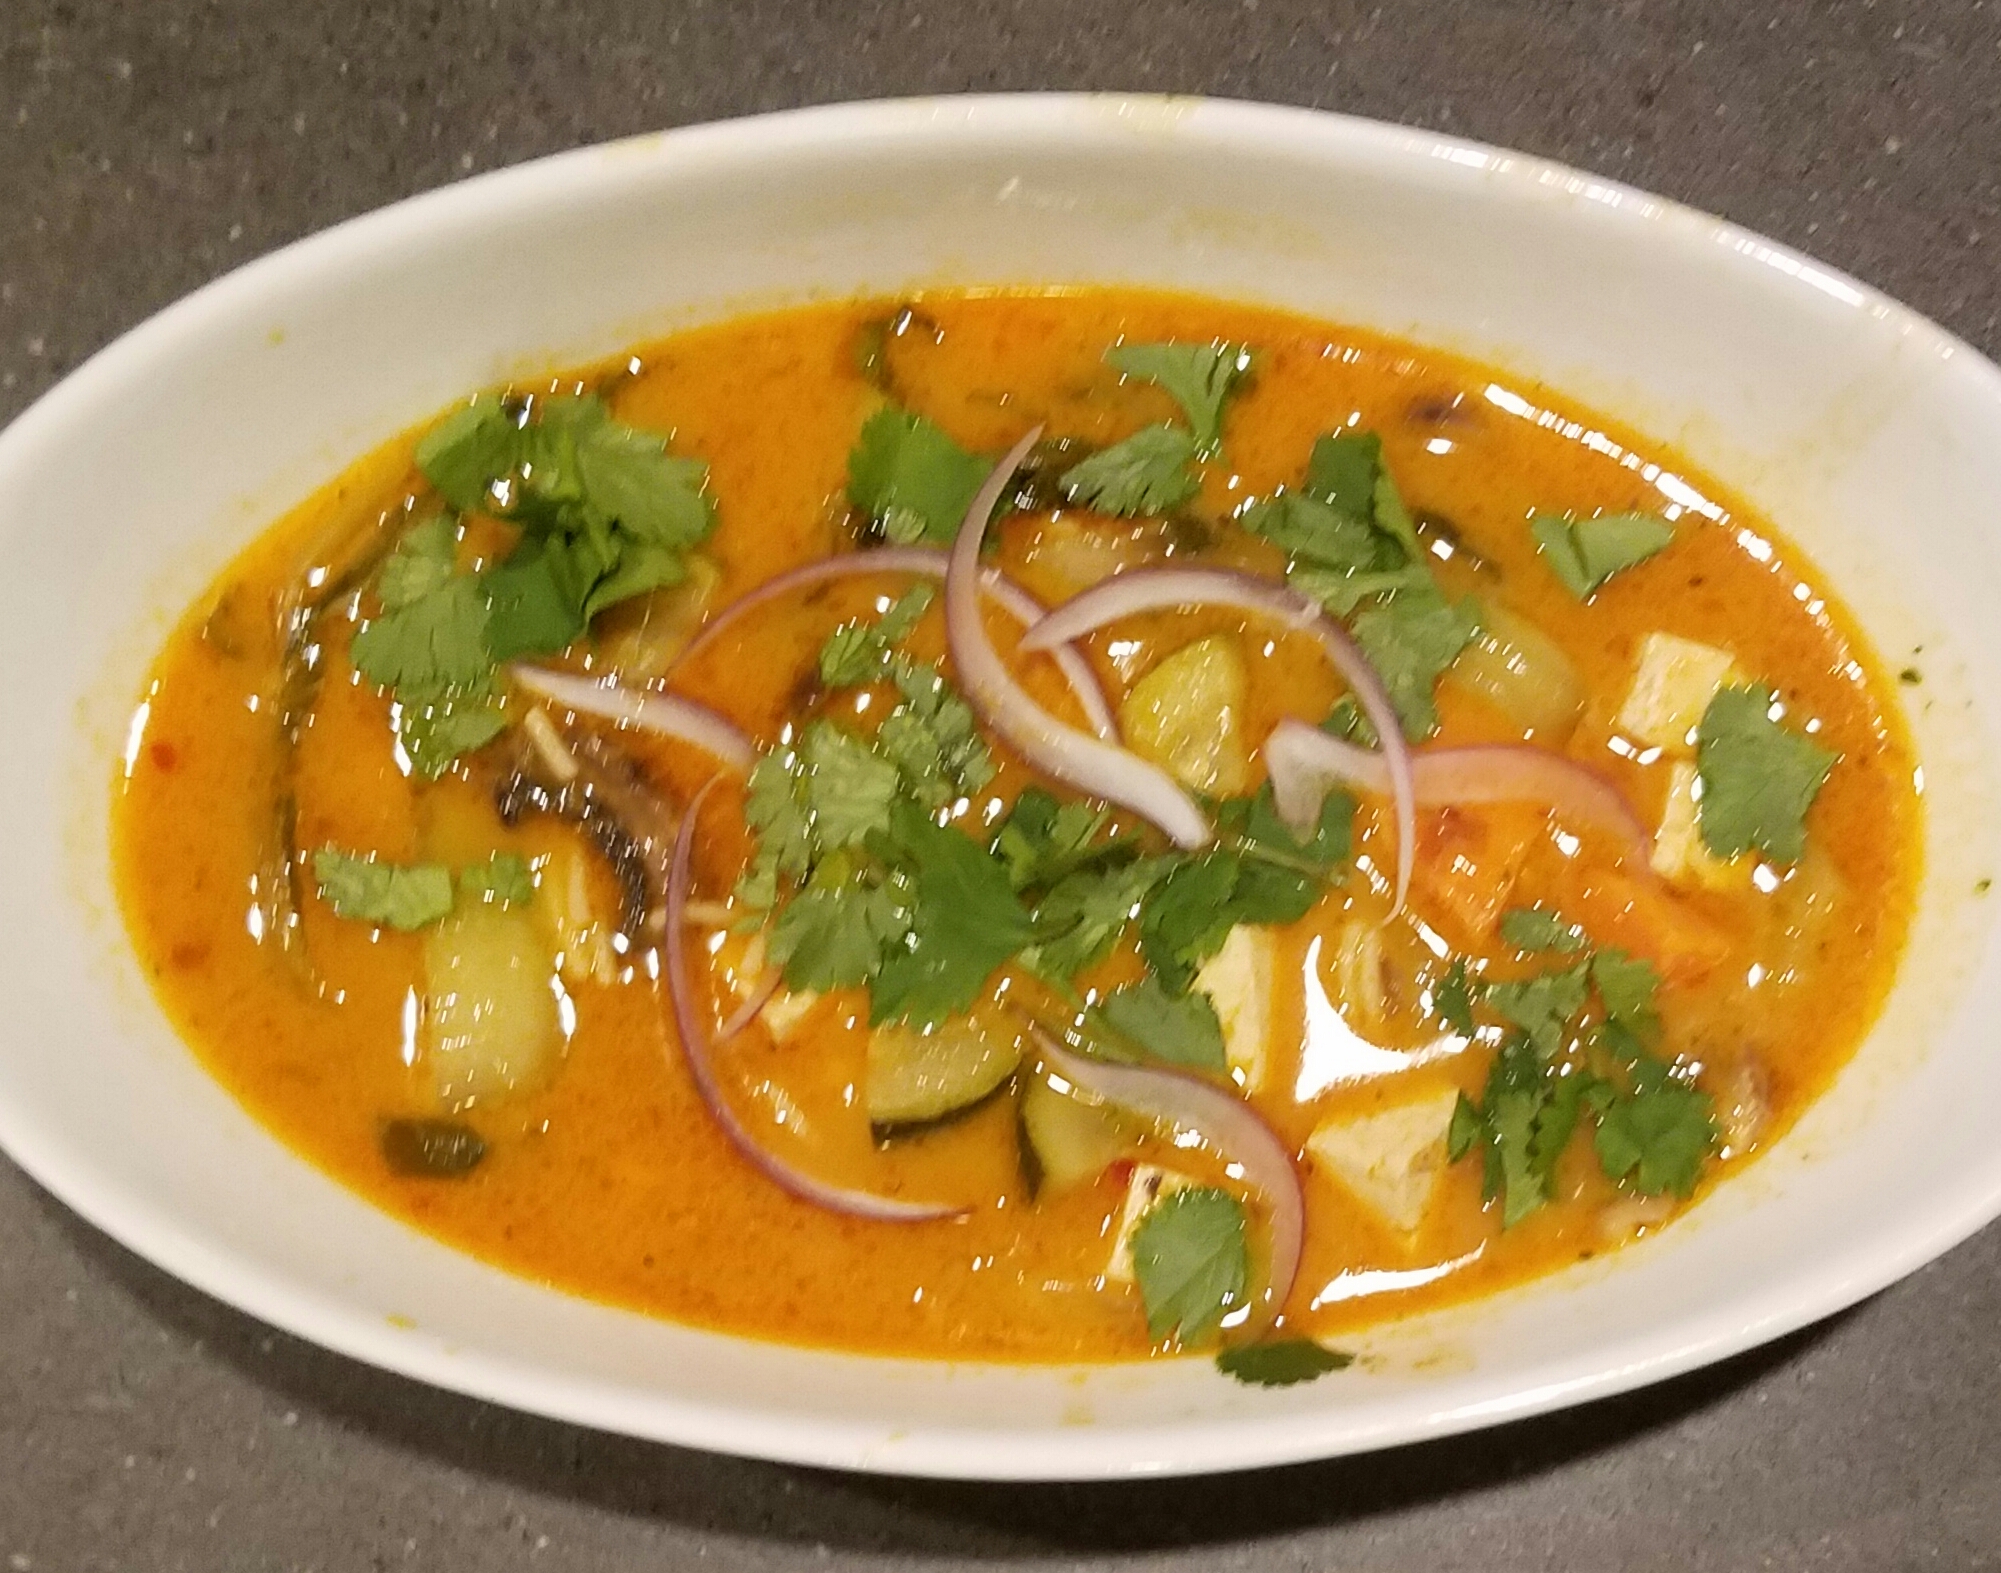
It is delicious and satisfying and can be made spicy or mild depending on tastes. I simmered bok choy, carrots, snow peas and cubes of tofu in miso broth and then served them over rice noodles. I offered a selection of garnishes which, in my opinion, really makes the dish. Not surprisingly, everyone’s noodle bowl looked different. This is a good time to try the hot new Korean hot sauce, Go-Ku Jang.
What is miso anyway? Miso is a Japanese word that means “fermented beans”, which are almost always soybeans, although other grains can be added to achieve certain flavors, resulting in many different varieties of miso available. I used a white miso, which is lighter in color and milder in flavor, however any kind of miso will work just as well. Miso is a good source of fiber and protein and a great way to increase your nutrient intake while you think you are just adding flavor. In fact, adding two tablespoons of miso to a soup or stir-fry, is the equivalent of approximately one-quarter cup of a legume(like lentils). Miso is also a very good source of copper, manganese and a good source of vitamin K, zinc, phosphorus, and omega-3 fatty acids. It also has naturally occurring pro-biotics, those beneficial bacteria that are so good for our bellies.

TIPS: Making miso broth is easy but you can also find miso broths already prepared or in dried form that are pretty tasty too. When purchasing both tofu and miso, make sure they are labelled organic since a wide majority (90% in the U.S.) of soy based products are made from genetically modified soybeans, those dasterdly GMO’s which are to be avoided at all costs. Miso is generally simmered on medium or medium low to prevent the loss of nutrients, so don’t let your soup boil! One last tip, noodles tend to get soft and mushy if left sitting in broth, so add them to the broth just before serving.

GINGER MISO TOFU NOODLE BOWL
8 oz medium width rice noodles (or soba)
3-4 Tbsn shiro miso (white fermented-soybean paste)
6 cups vegetable broth (or water)
1 tsp fresh ginger, minced (or ginger paste) or more to taste
1 lb extra firm organic tofu
2 carrots, roughly chopped or sliced
1 cup snowpeas
2 bok choy, sliced in half lengthwise
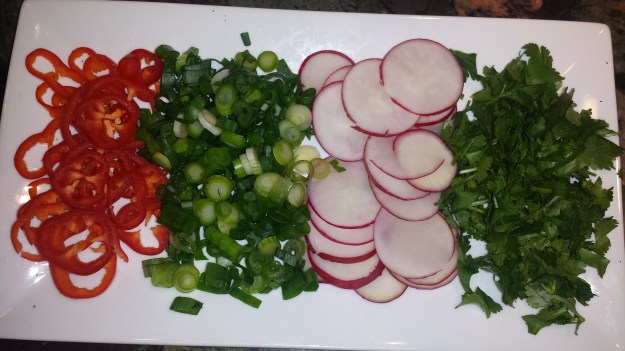
TOPPINGS (all optional)
3-4 scallions, sliced into rings
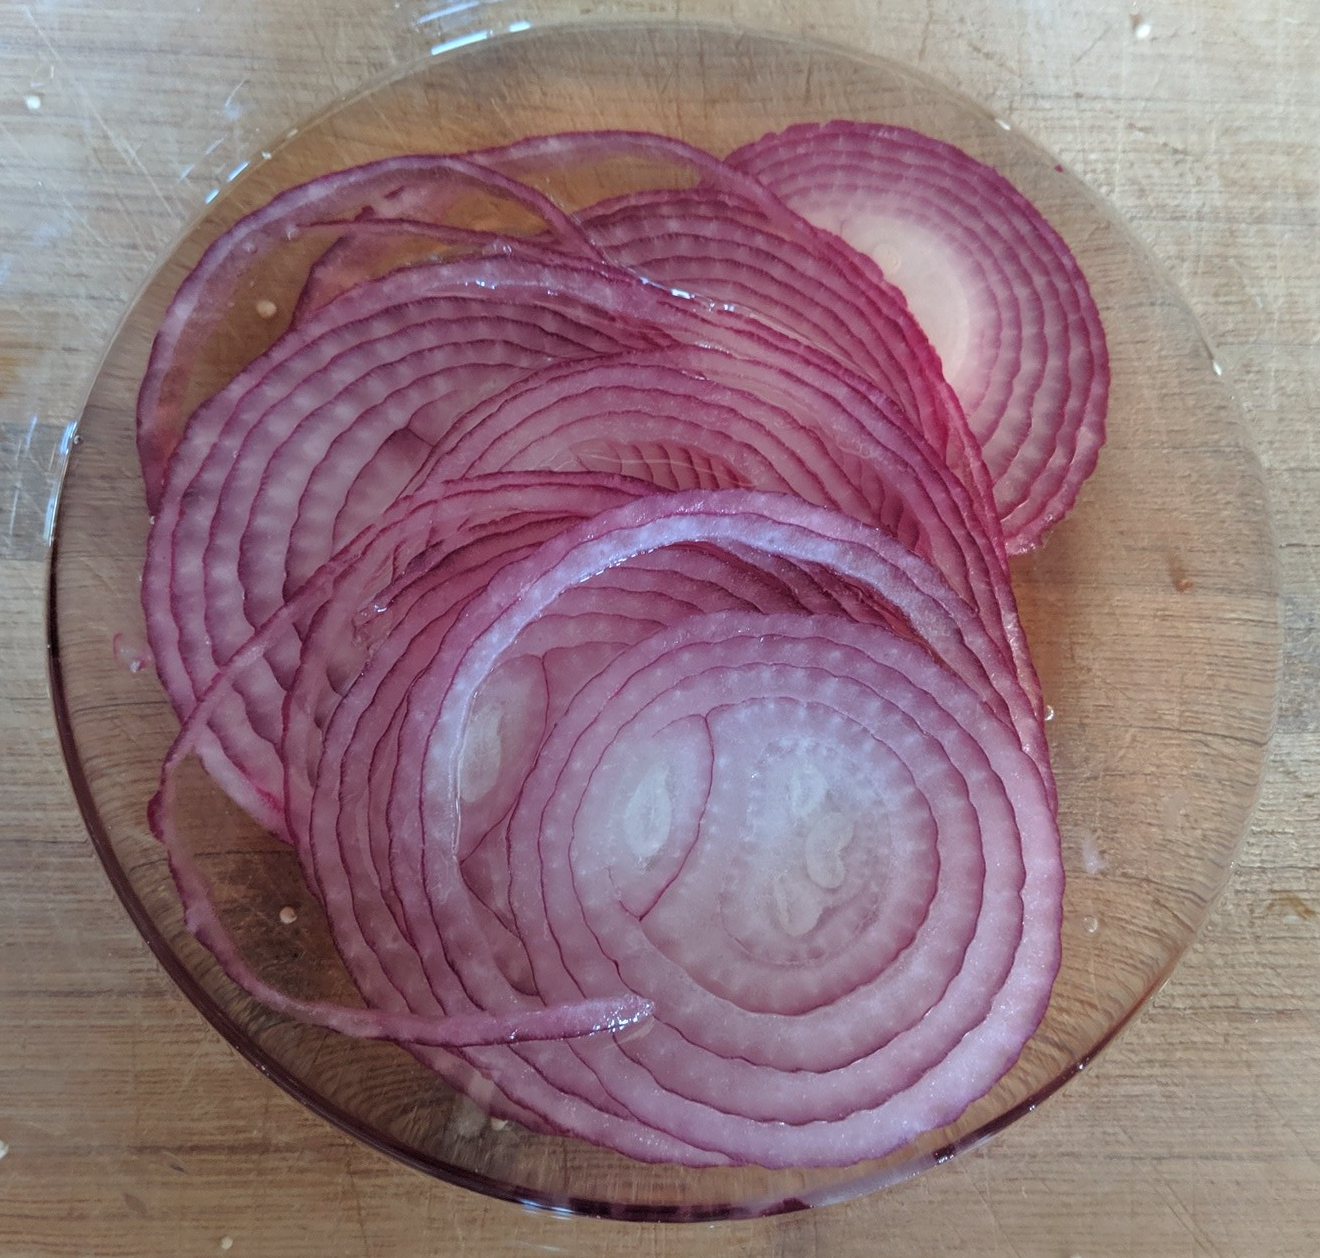
3-4 radishes, thinly sliced
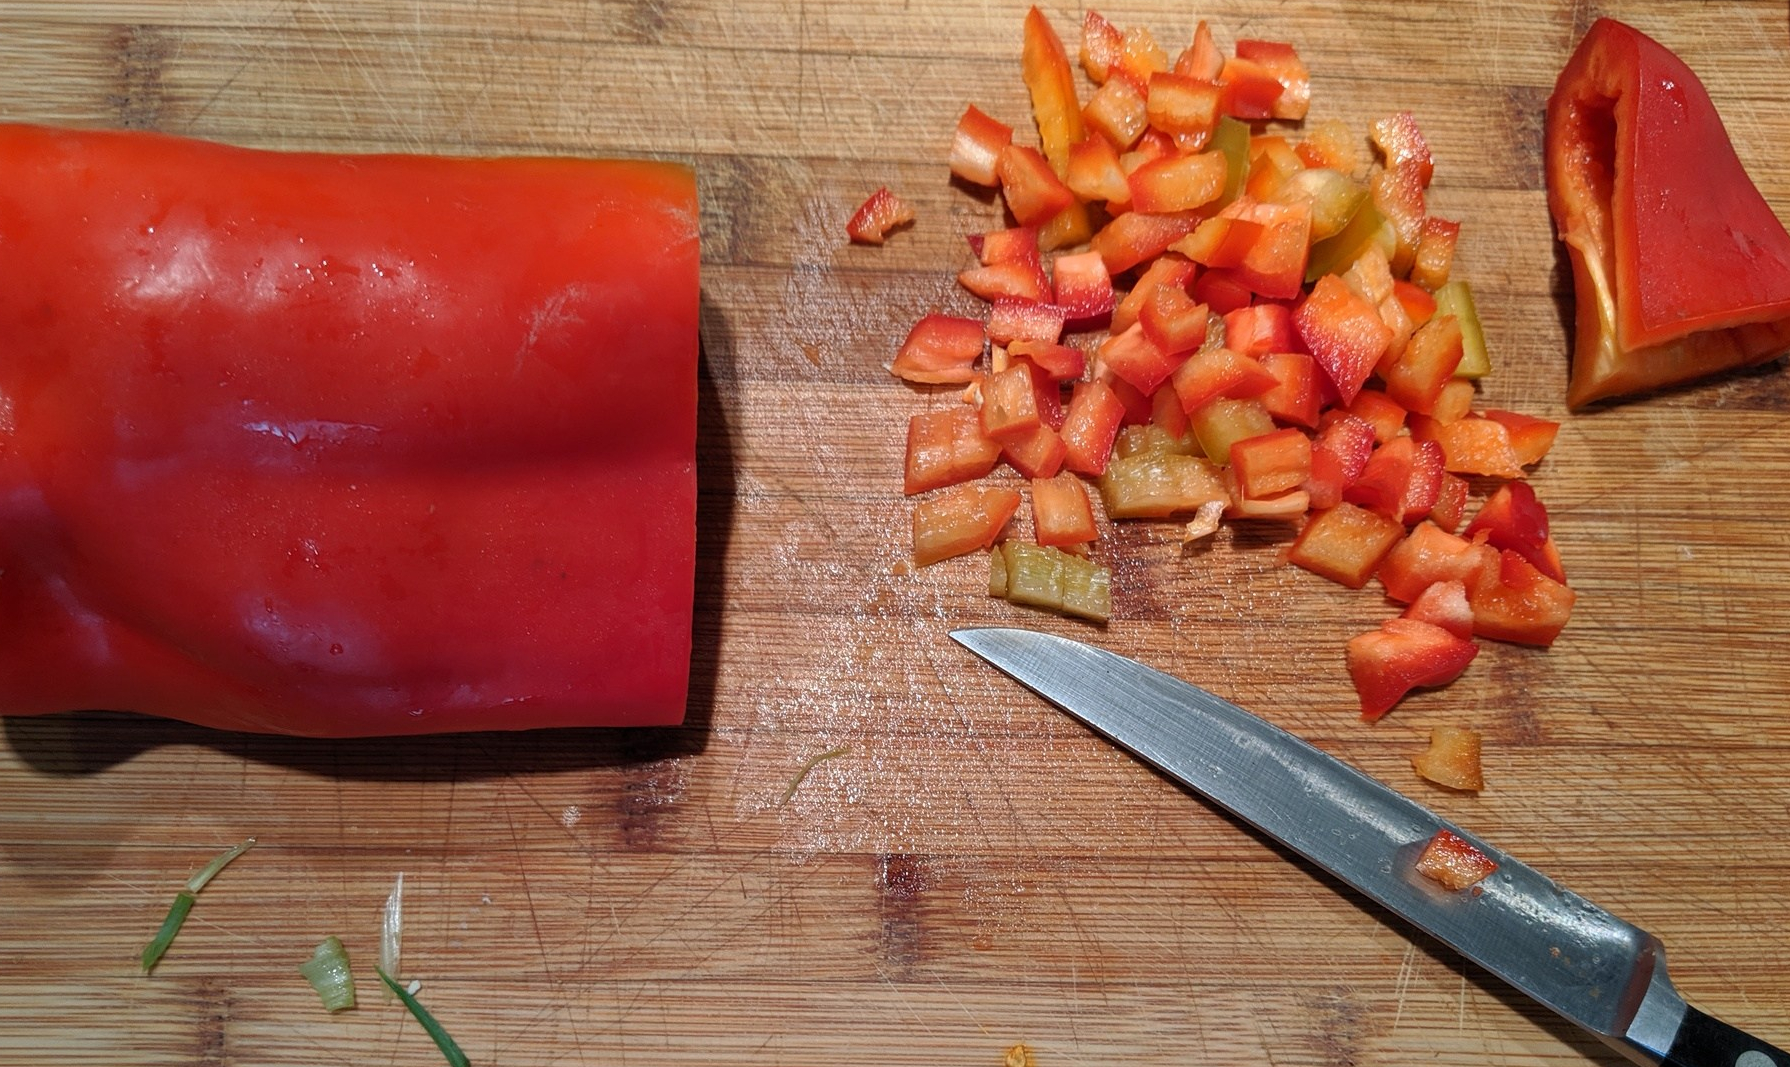
1-2 red chili peppers(or sweet mini red peppers), thinly sliced into rings
2 Tbsn cilantro, roughly chopped
- Place miso in a small bowl with hot water and stir until dissolved.

- Prepare noodles as directed, rinse with cold water and divide among four bowls

- Prepare all soup ingredients. Cut tofu into cubes and let drain on paper towels. Slice bok choy in half or in quarters lengthwise. Cut carrots into bite sized pieces and string snowpeas.
- Prepare all toppings. Include Sriracha or Go-Chu Jang.
- Pour miso and remaining vegetable broth into a stockpot or wide saucepan. On medium heat, simmer carrots for about a minute, then add bok choy, snowpeas and tofu and simmer about five minutes. Don’t let it boil or some of the nutrients in the miso will be lost.

- Spoon vegetables between the four bowls and pour in the broth.
- Top with radishes, scallions, chili peppers and cilantro, as desired. Sriracha is also a great spicy addition.
Ginger Miso Tofu Noodle Bowl

8 oz medium width rice noodles (or soba)
3-4 Tbsn shiro miso (white fermented-soybean paste)
6 cups vegetable broth (or water)
1 tsp fresh ginger, minced (or ginger paste) or more to taste
1 lb extra firm organic tofu
2 carrots, roughly chopped
1 cup snowpeas
2 bok choy, sliced in half lengthwise
TOPPINGS (all optional)
3-4 scallions, sliced into rings
3-4 radishes, thinly sliced
1-2 red chili peppers(or sweet mini red peppers), thinly sliced into rings
2 Tbsn cilantro, roughly chopped
- Place miso in a small bowl with hot water and stir until dissolved.
- Cut tofu into cubes and let drain on paper towels.
- Prepare noodles as directed, rinse with cold water and divide among four bowls
- Prepare all soup ingredients and toppings.
- Pour miso and remaining vegetable broth into a stockpot or wide saucepan.
- On medium heat, simmer carrots for about a minute, then add bok choy, snowpeas and tofu and simmer about five minutes
- Spoon vegetables between the four bowls and pour in the broth.
- Top with radishes, scallions, chili peppers and cilantro, as desired. Sriracha is also a great spicy addition.


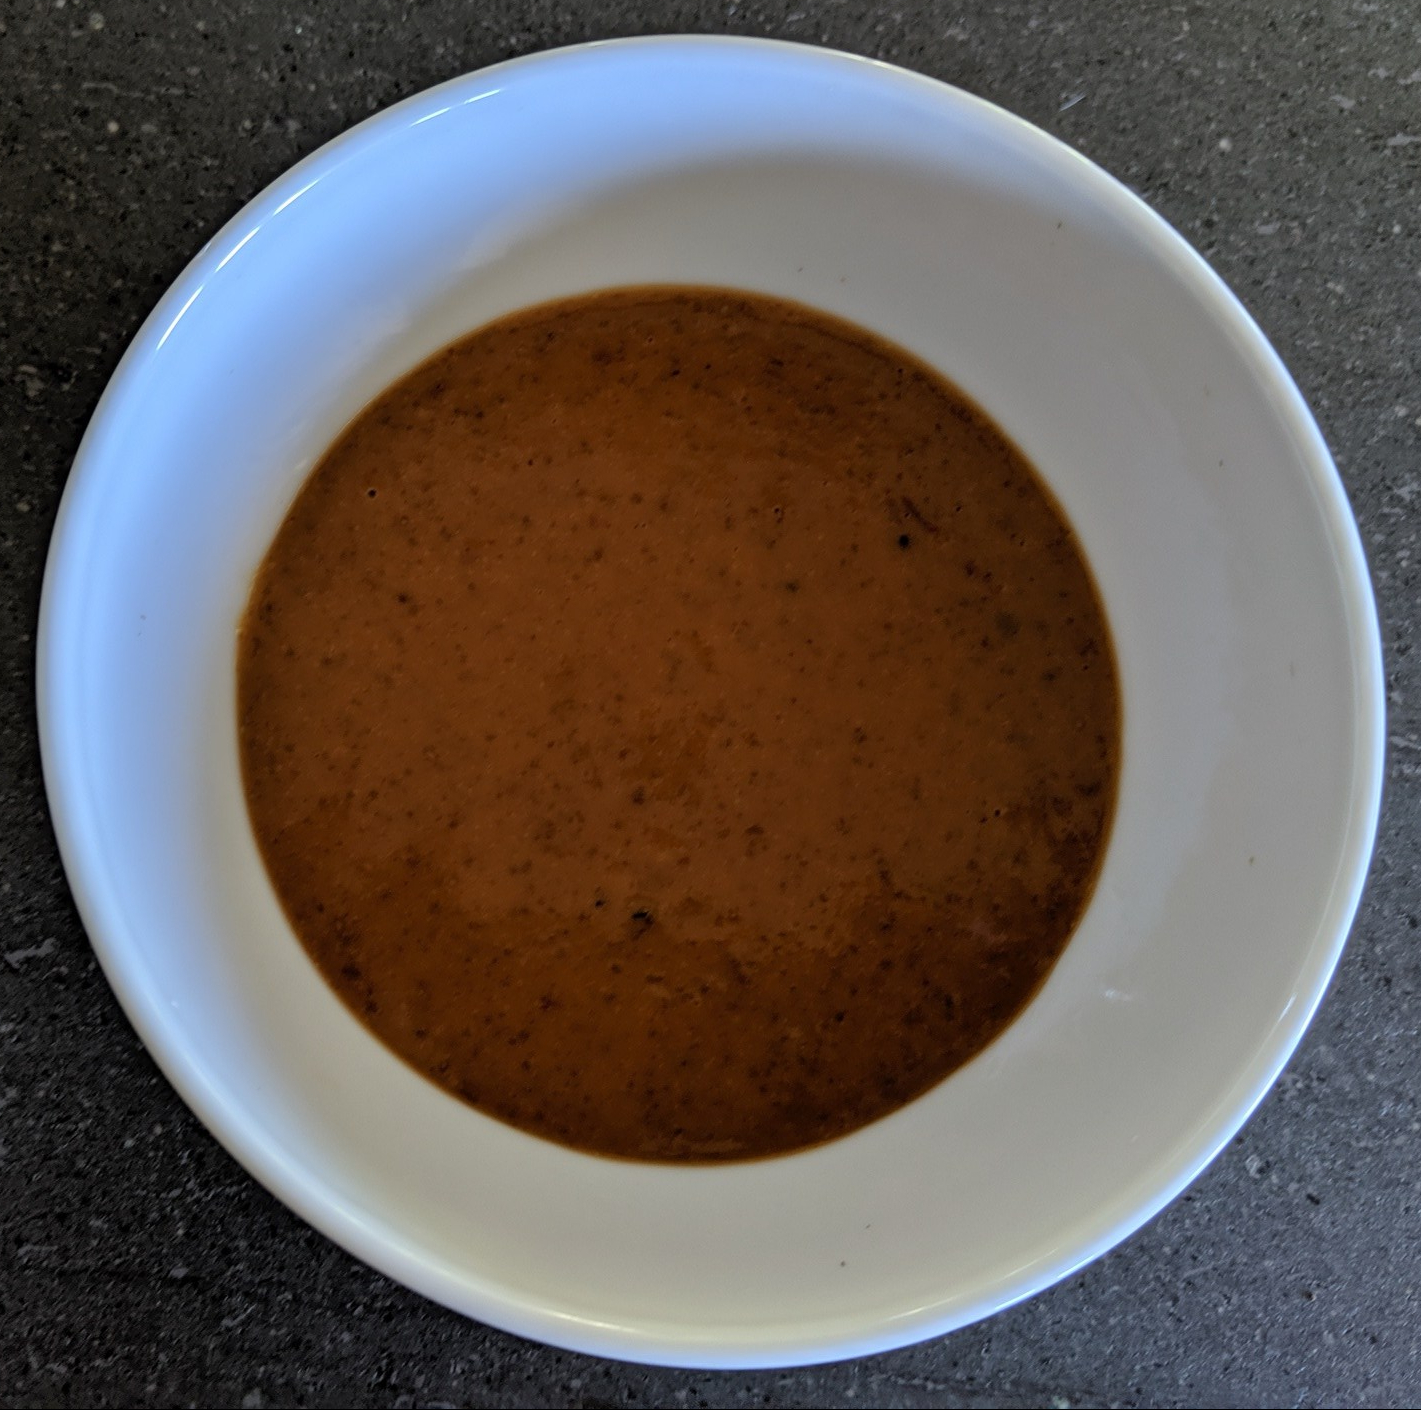
 I originally blogged this recipe in 2016 and decided to circle back and test my own recipe. I was also craving lettuce wraps. Well the wraps were just as good as I remembered but I made a few changes. (I rarely make the same exact thing twice) and I thought the blog post itself could use an update. So here goes… I added chopped criminy mushrooms to the tofu mixture which increased the depth of flavors. I also chopped toppings smaller and fairly uniform in size which made it easier to eat. AND I simplified the spicy peanut sauce, no pans, just a bowl and a spoon. Sometimes less is more. I like it even better and it’s easier…