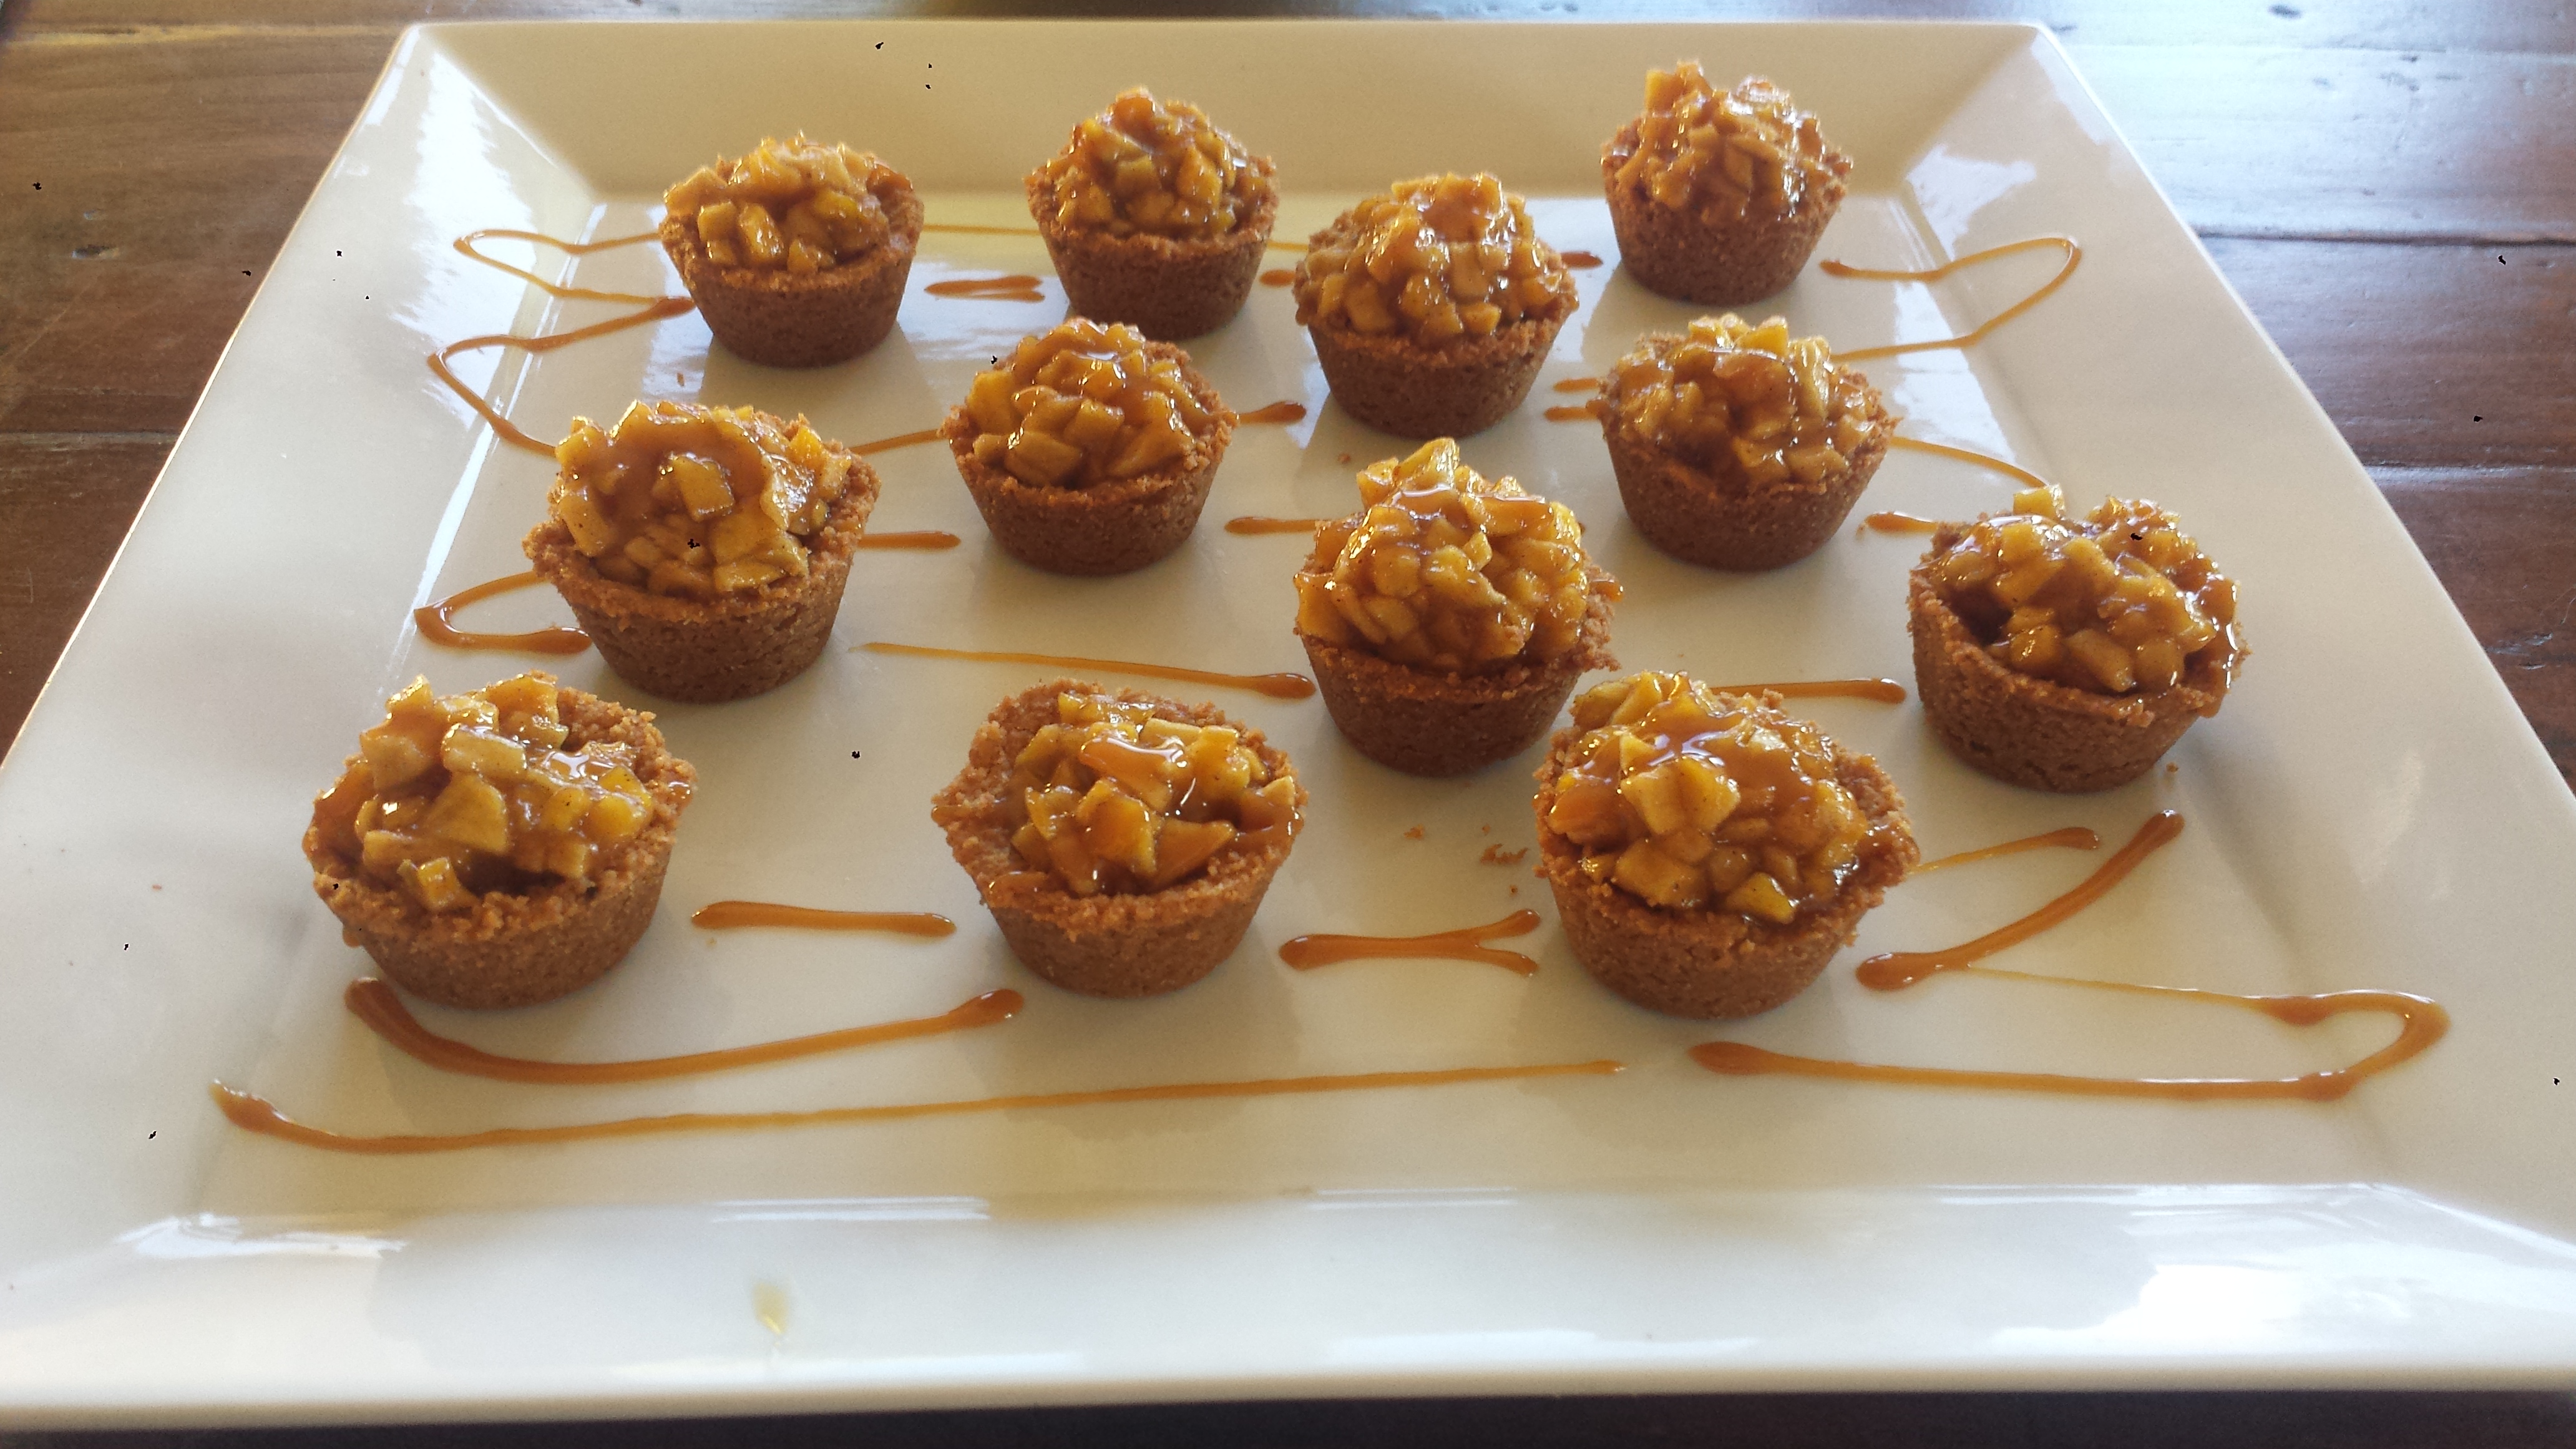
It’s Apple Harvest time! And you know what that means… Dessert. How about a twist on the traditional apple pie? I don’t mean to knock America’s favorite dessert, because I will make a couple of those too this season, but I have been on a kick for mini or two-bite appetizers and desserts lately. This one is definitely a winner! Finely diced sweet apples with cinnamon, nutmeg, sugar and lemon juice sauteed to tender deliciousness, then spooned into graham cracker cups and topped with a drizzle of salted caramel. All I can say is, yum!

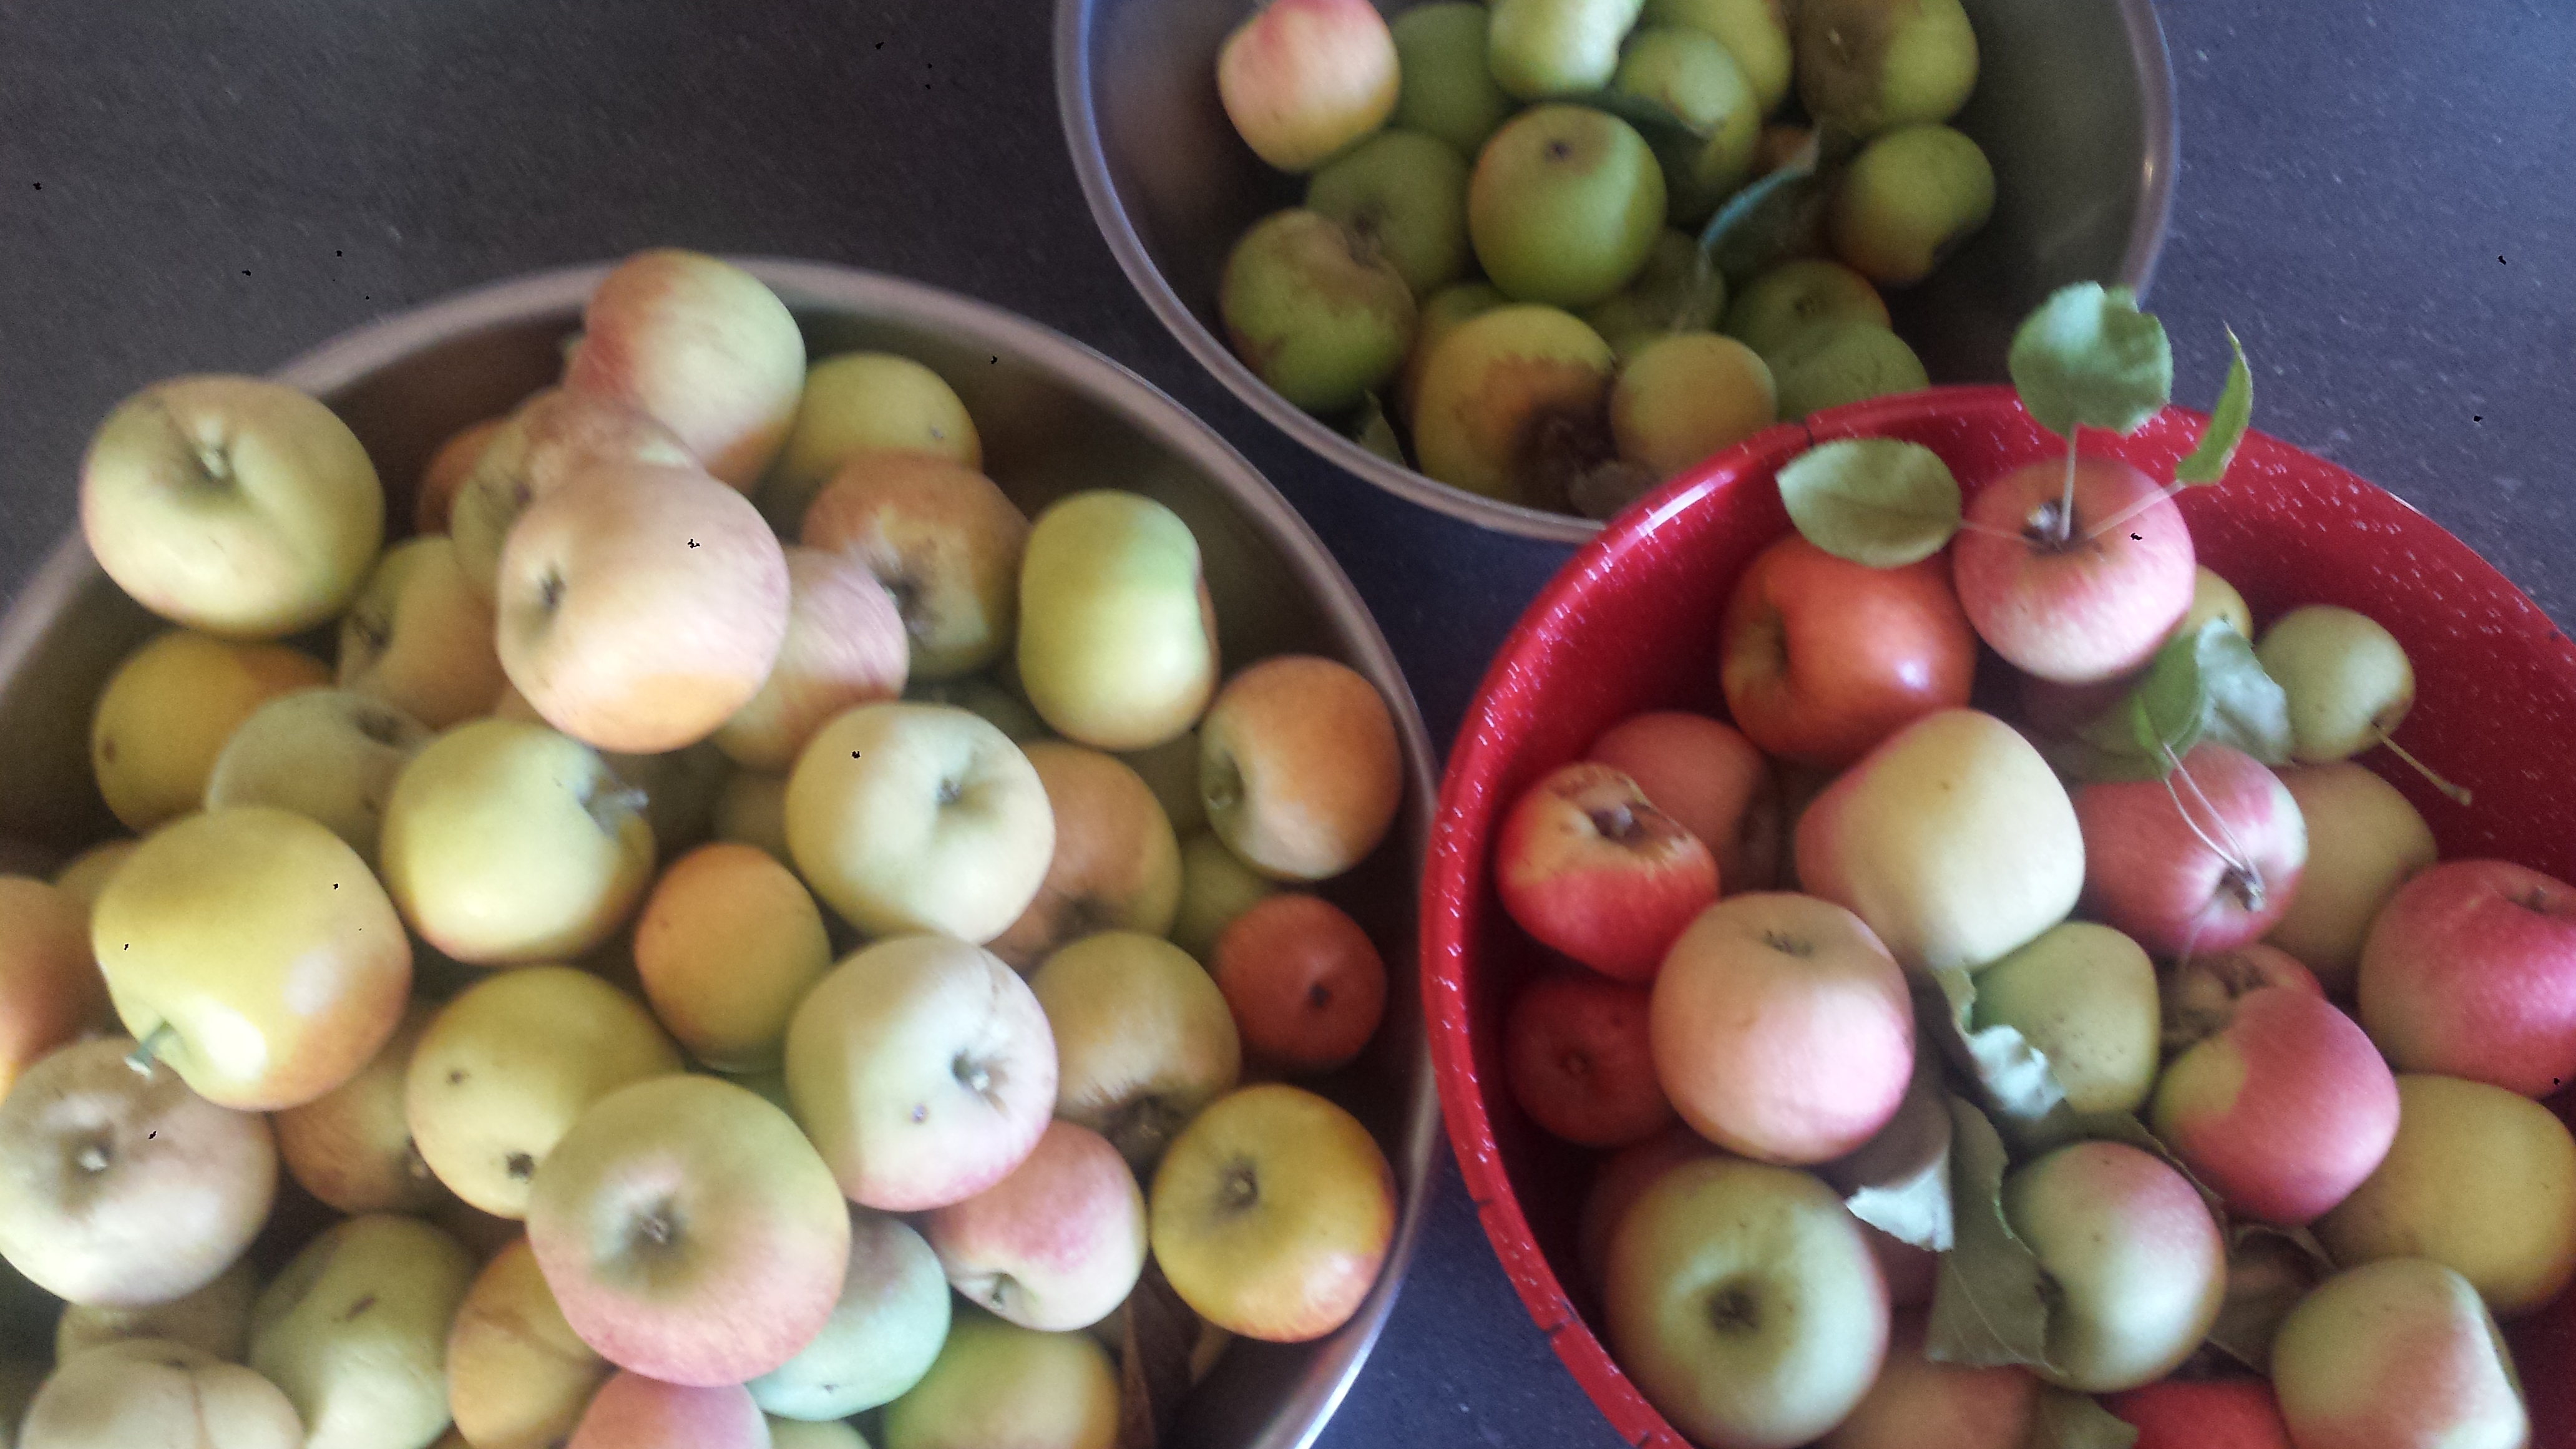
I just picked my apple crop the other day. I have three apple trees in my orchard; Fuji, Pink Lady and Pippin. Each type of apple has it’s own flavor and texture. The Fuji apples are really sweet and firm and more yellow in color. The Pink Ladies are sweet but more delicate and the Pippin is also firm but bright white with a bit of tartness. When blended together, they are a total delight. I always make applesauce with whatever apples are left (probably in another week or so and just in time for Hanukkah and Potato Latkes-more on those later) but first I wanted to make some mini apple pies and ran across a recipe for some mini caramel apple crisps from Princess Pinky Girl which looked pretty delicious and cute too. I changed it a bit based on my own apple pie and crust recipes and to make it a little easier to prepare, aka easier clean up but she was definitely my inspiration. I also decided to make my own caramel sauce.
Alas, now I see why caramel sauce is so expensive! The sugar goes from undercooked to burnt in a nanosecond so make sure all ingredients are measured and room temperature. The first time, I didn’t caramelize the sugar enough because I was afraid it was going to burn, so the taste was right but the sugar was still a bit crunchy. I was able to fix it by reheating the jarred syrup in the microwave on 80% power and all the sugar crystals went away leaving a nice creamy syrup. Most caramel sauce is made with heavy cream, which I don’t buy, so I decided to try substituting plain yogurt and was quite happy with the results. To make a vegan sauce, use vegan butter and yogurt. Otherwise use any kind you like but I would recommend full fat yogurt, which is better for you anyway. Good fat helps your body absorb the nutrients in the food and apples have plenty of those. This caramel sauce gets thick as it cools, so warm it up in the microwave to use again. If you don’t want to go to the trouble to make homemade caramel sauce, just pick up a jar at the supermarket. There are some really delicious ones available so your minis will turn out just as good as if you made it yourself.
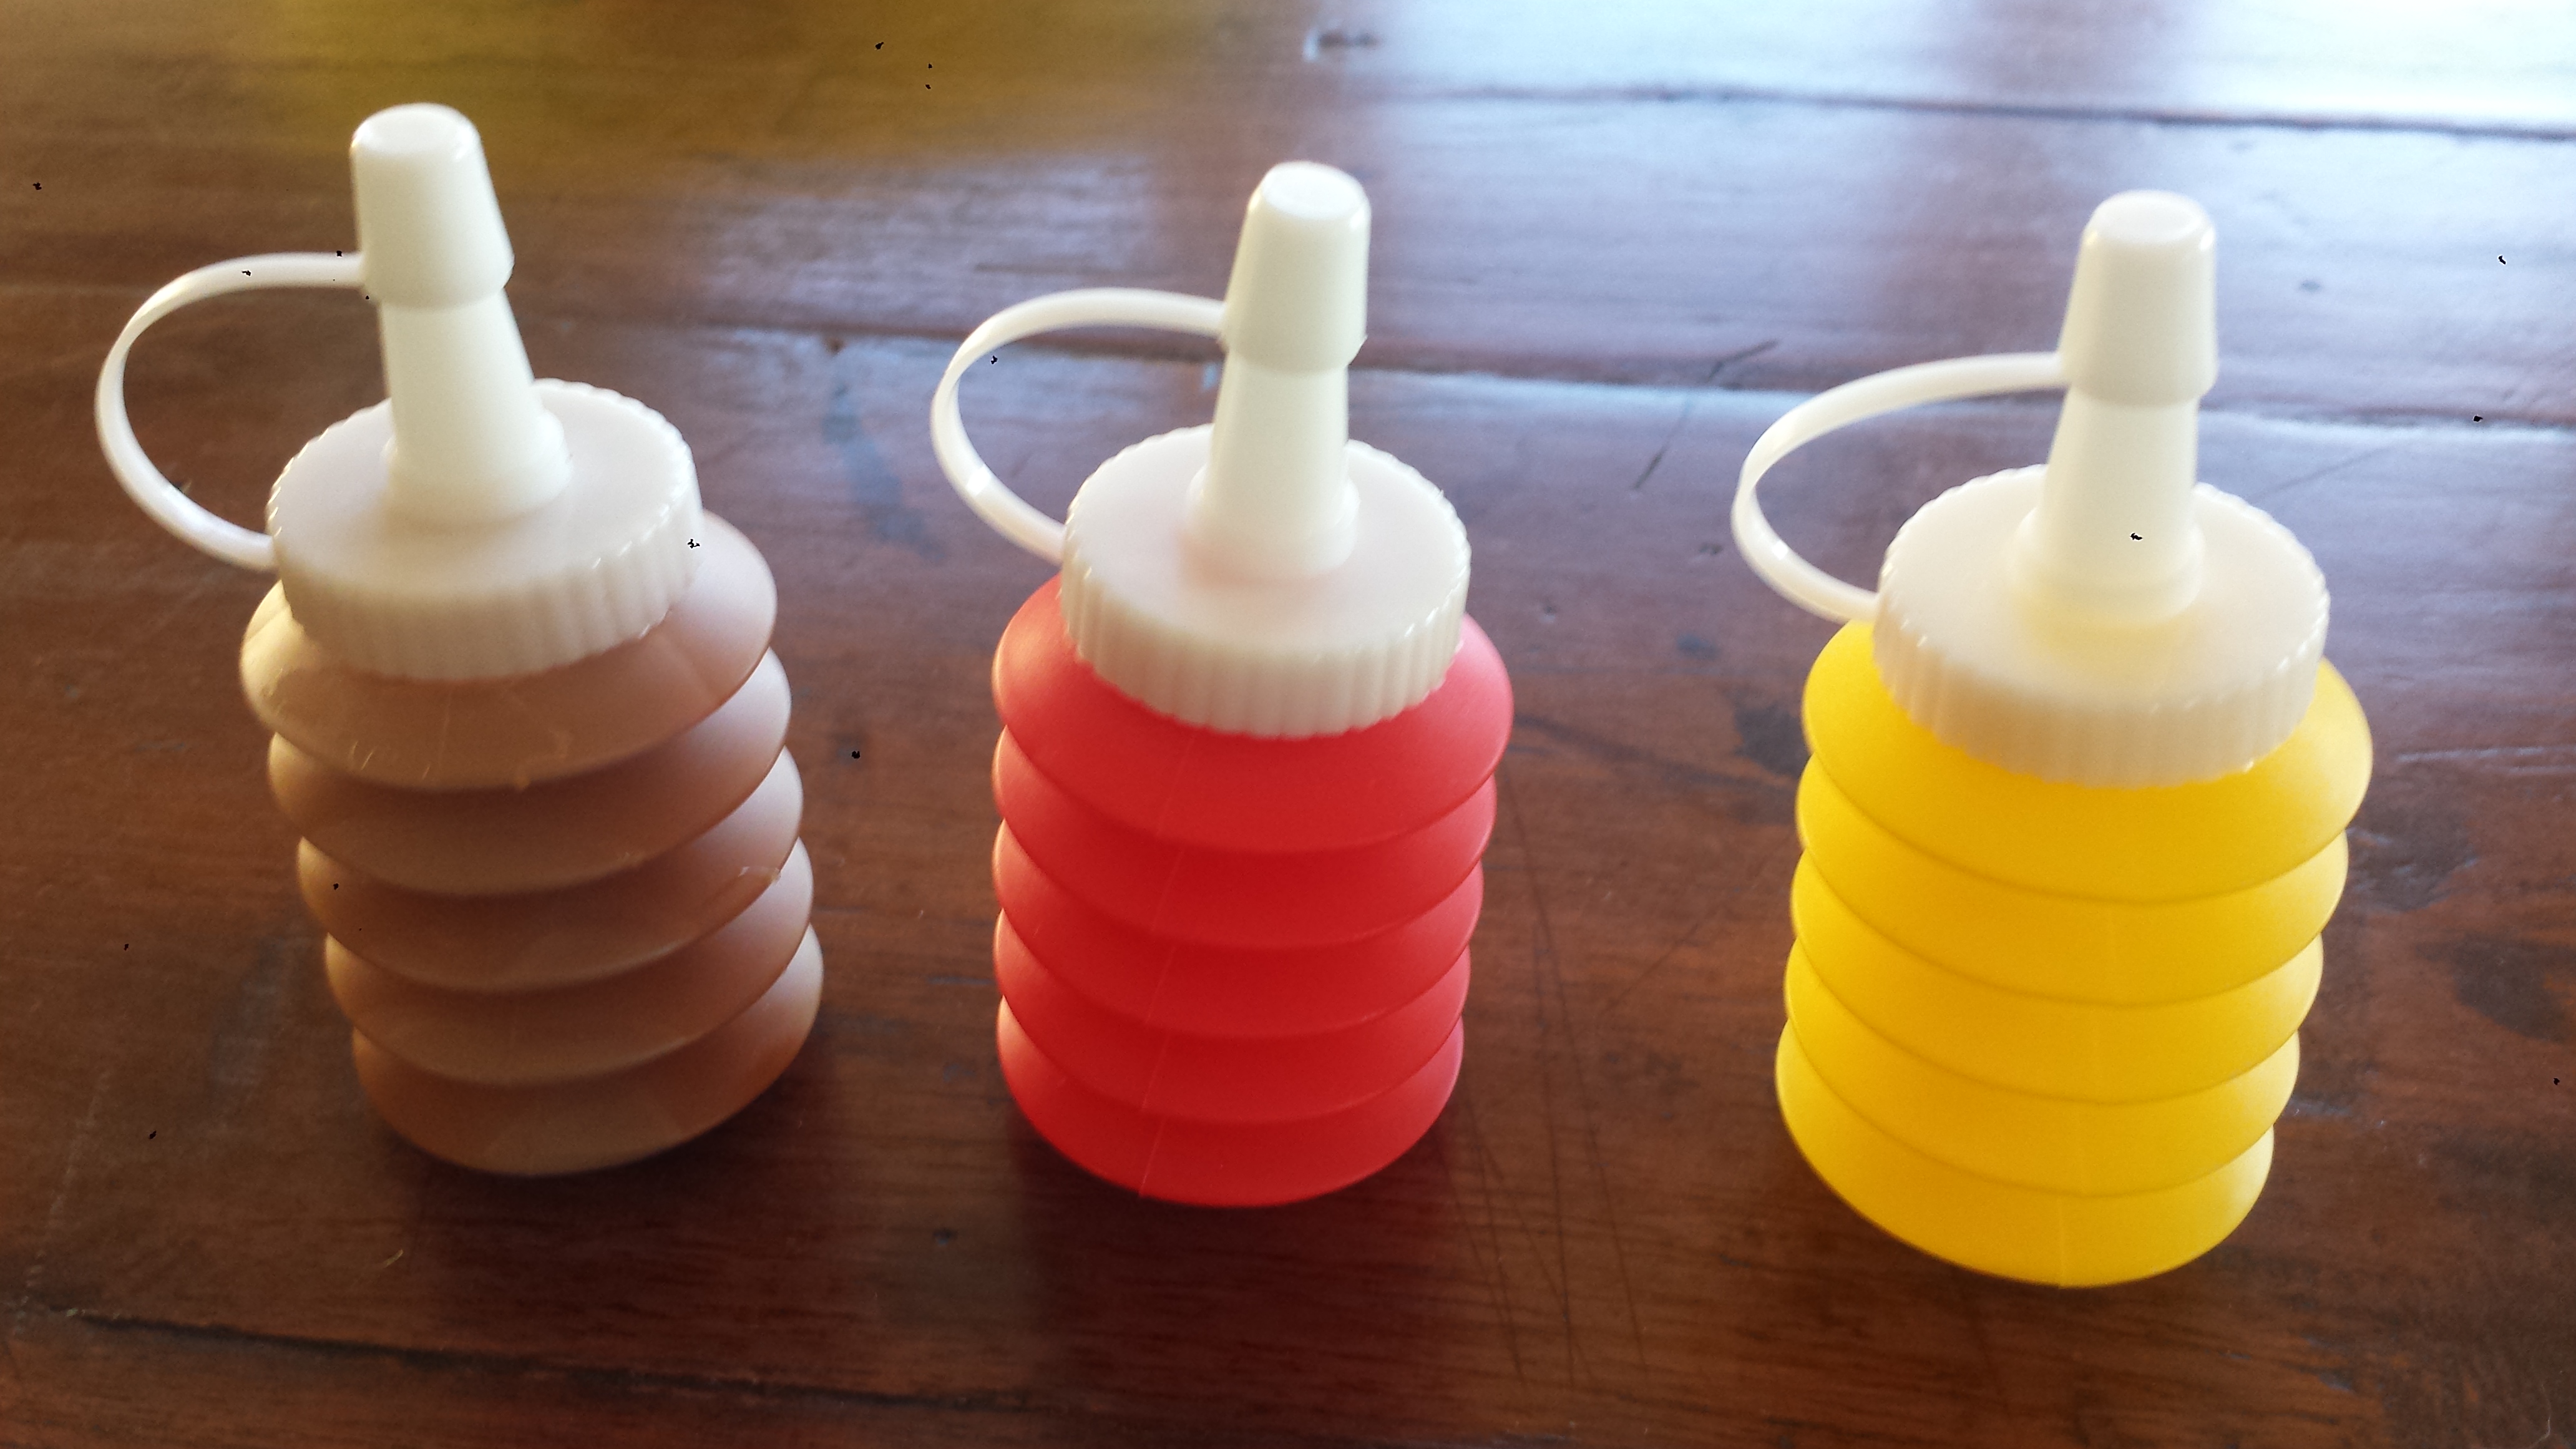
TIPS: Caramel Sauce can be made ahead of time and stored in the refrigerator for a couple of weeks. For easy drizzling, try these little plastic squeeze bottles I found at World Market for $1.99 for the three bottles. They are the perfect size for drizzling sauce, dressing or toppings on pretty much anything. I have filled the white one on the far left with caramel sauce which made drizzling a breeze instead of a goopy mess.
SALTED CARAMEL APPLE BITES

CRUST
3 tablespoons sugar
2 cups graham cracker crumbs (about 14 graham crackers)
1/2 cup (1 stick) unsalted butter, melted
FILLING
4 cups peeled, cored and chopped apples
1/3 cup sugar
1/4 cup brown sugar
1 Tbsn lemon juice
2 1/4 Tbsn flour
1/2 tsp cinnamon
1/4 tsp nutmeg
1/4 cup water
SALTED CARAMEL SAUCE (OR STORE BOUGHT)
1 cup granulated sugar
6 Tbsn salted butter, at room temperature, cut into pieces
1/2 cup plain yogurt, at room temperature
1/2 tsp vanilla

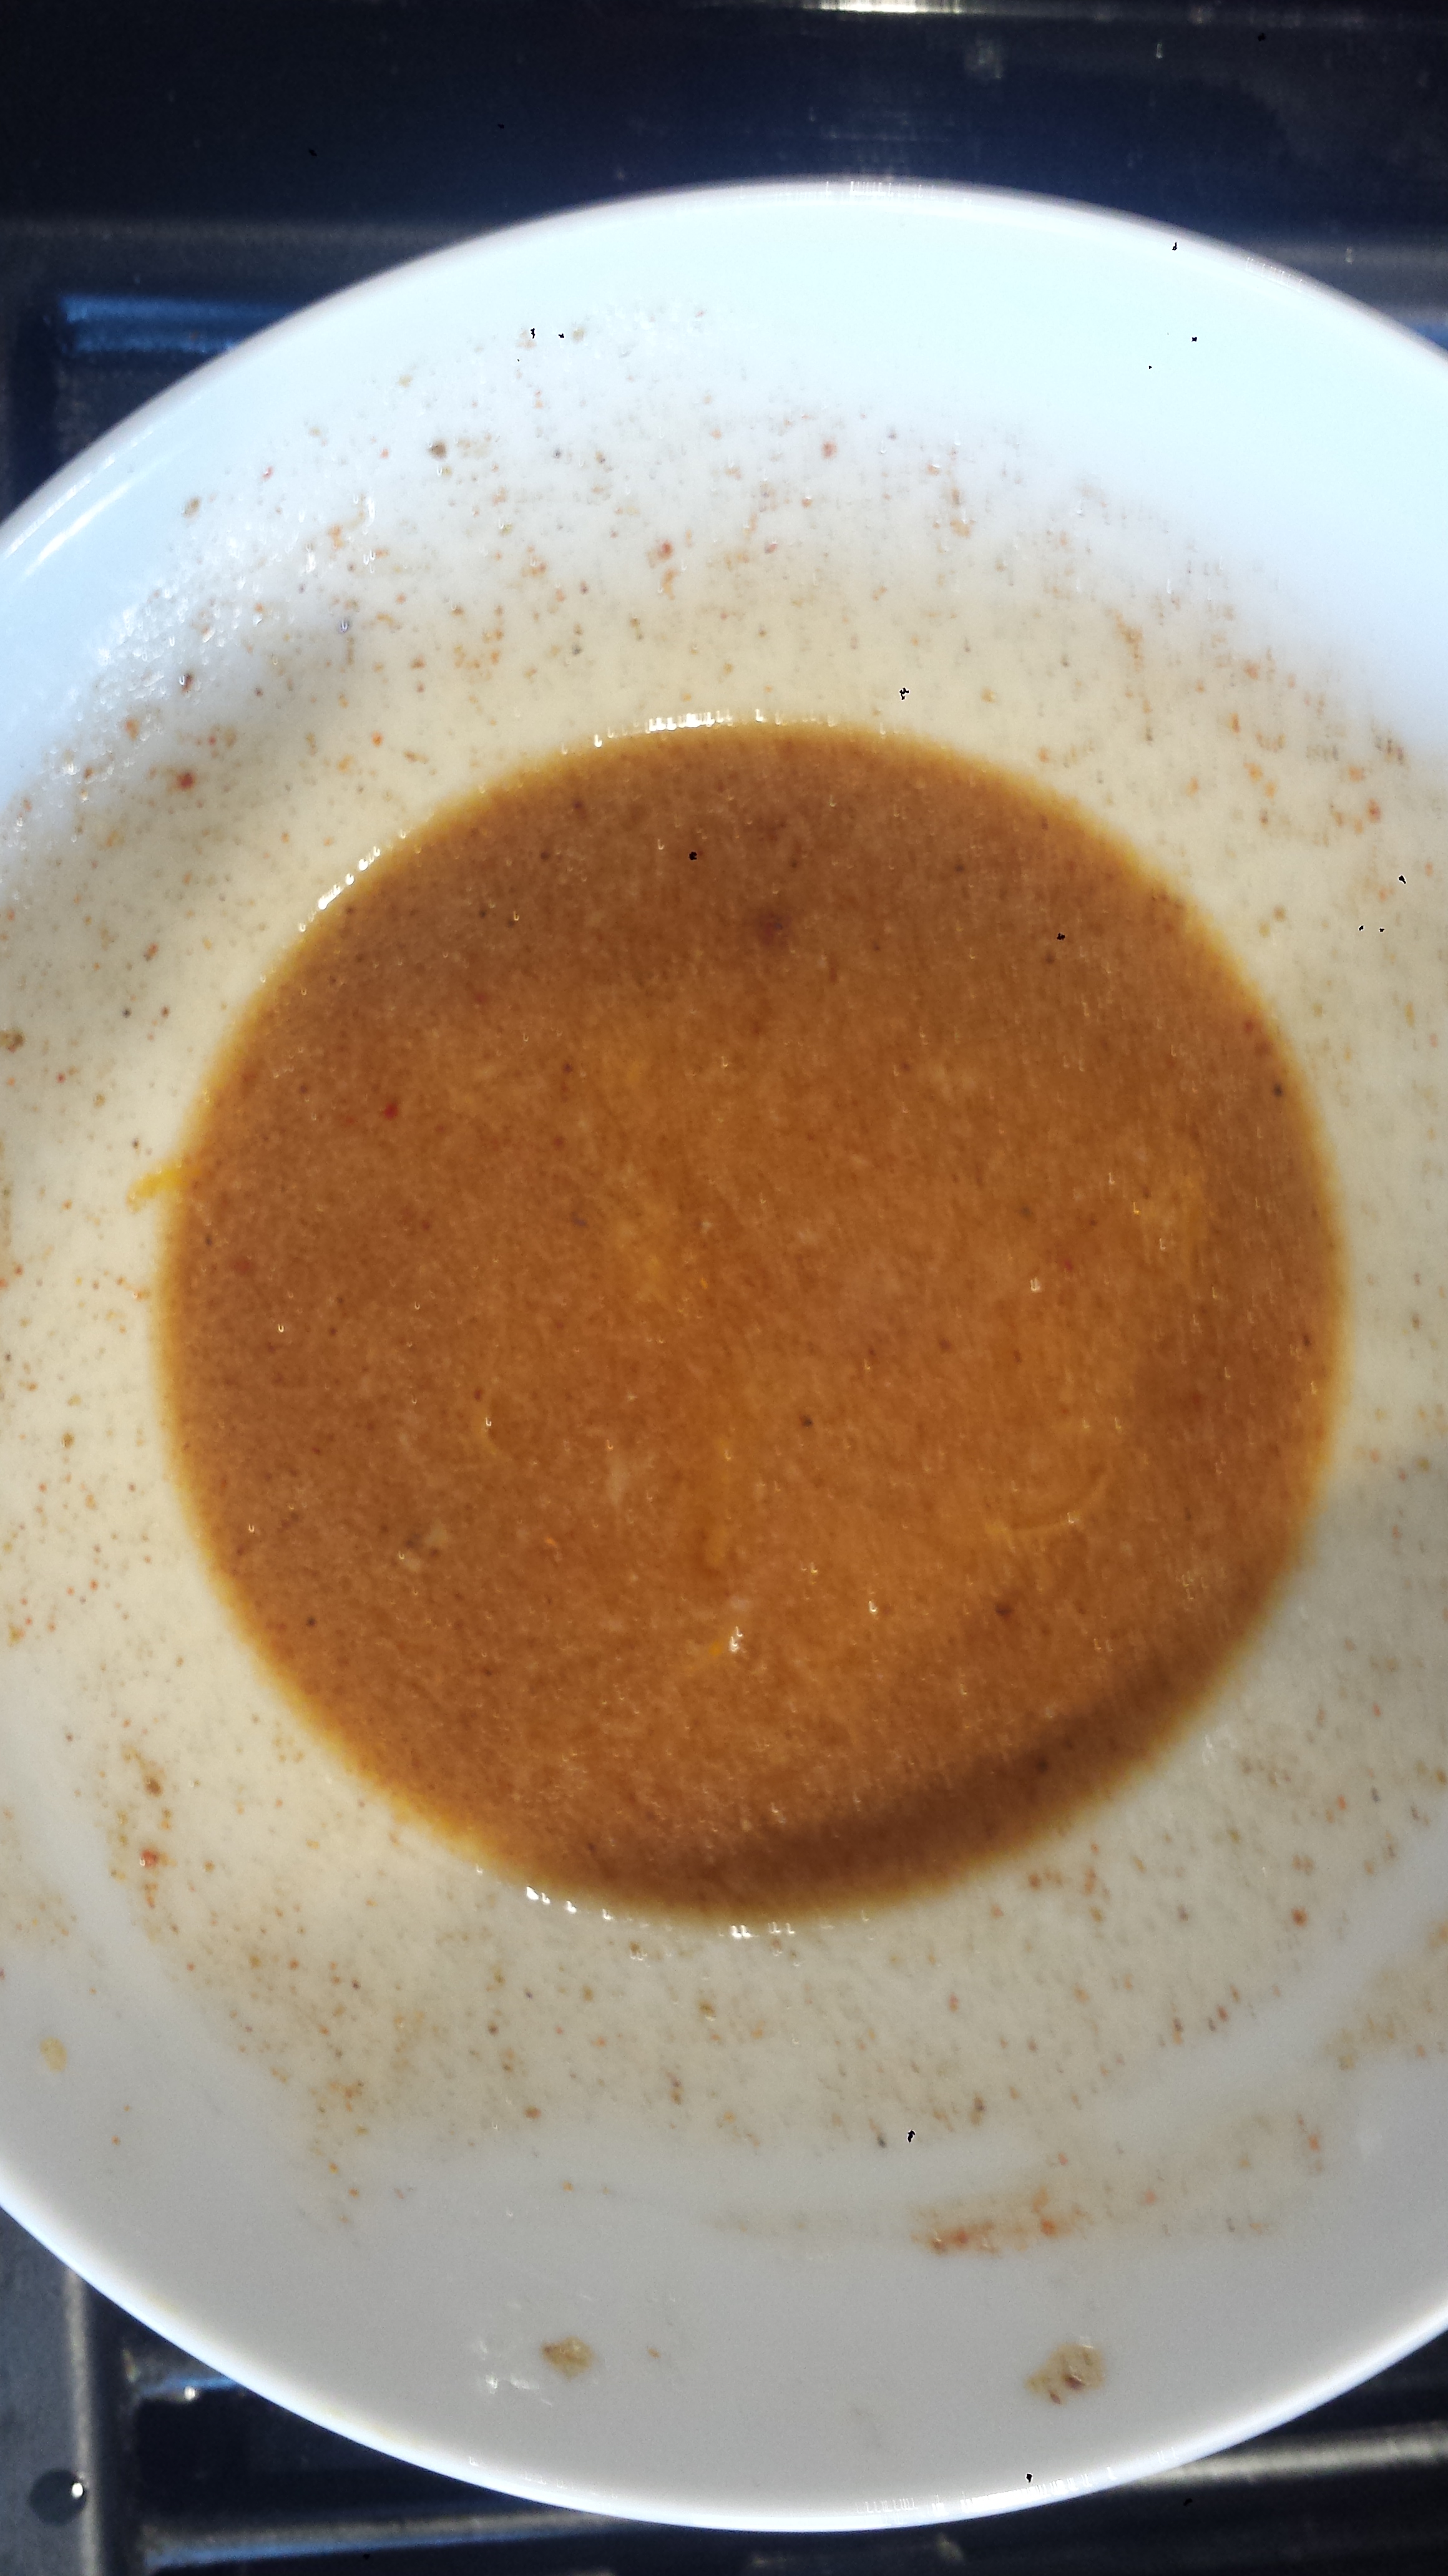
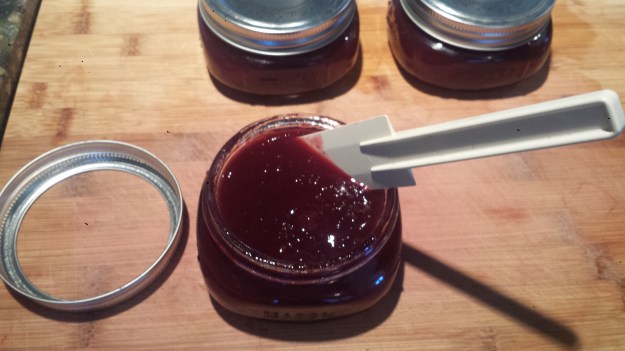
- If making caramel sauce, in a medium saucepan set over medium heat, melt butter. Mix in sugar and cook until the mixture turns a coppery color,or reaches 350 degrees if you are using a candy thermometer. Remove from heat and taste to make sure sugar is all caramelized.

- Mix in yogurt and stir using whisk for 2 more minutes. Stir in vanilla until well incorporated.

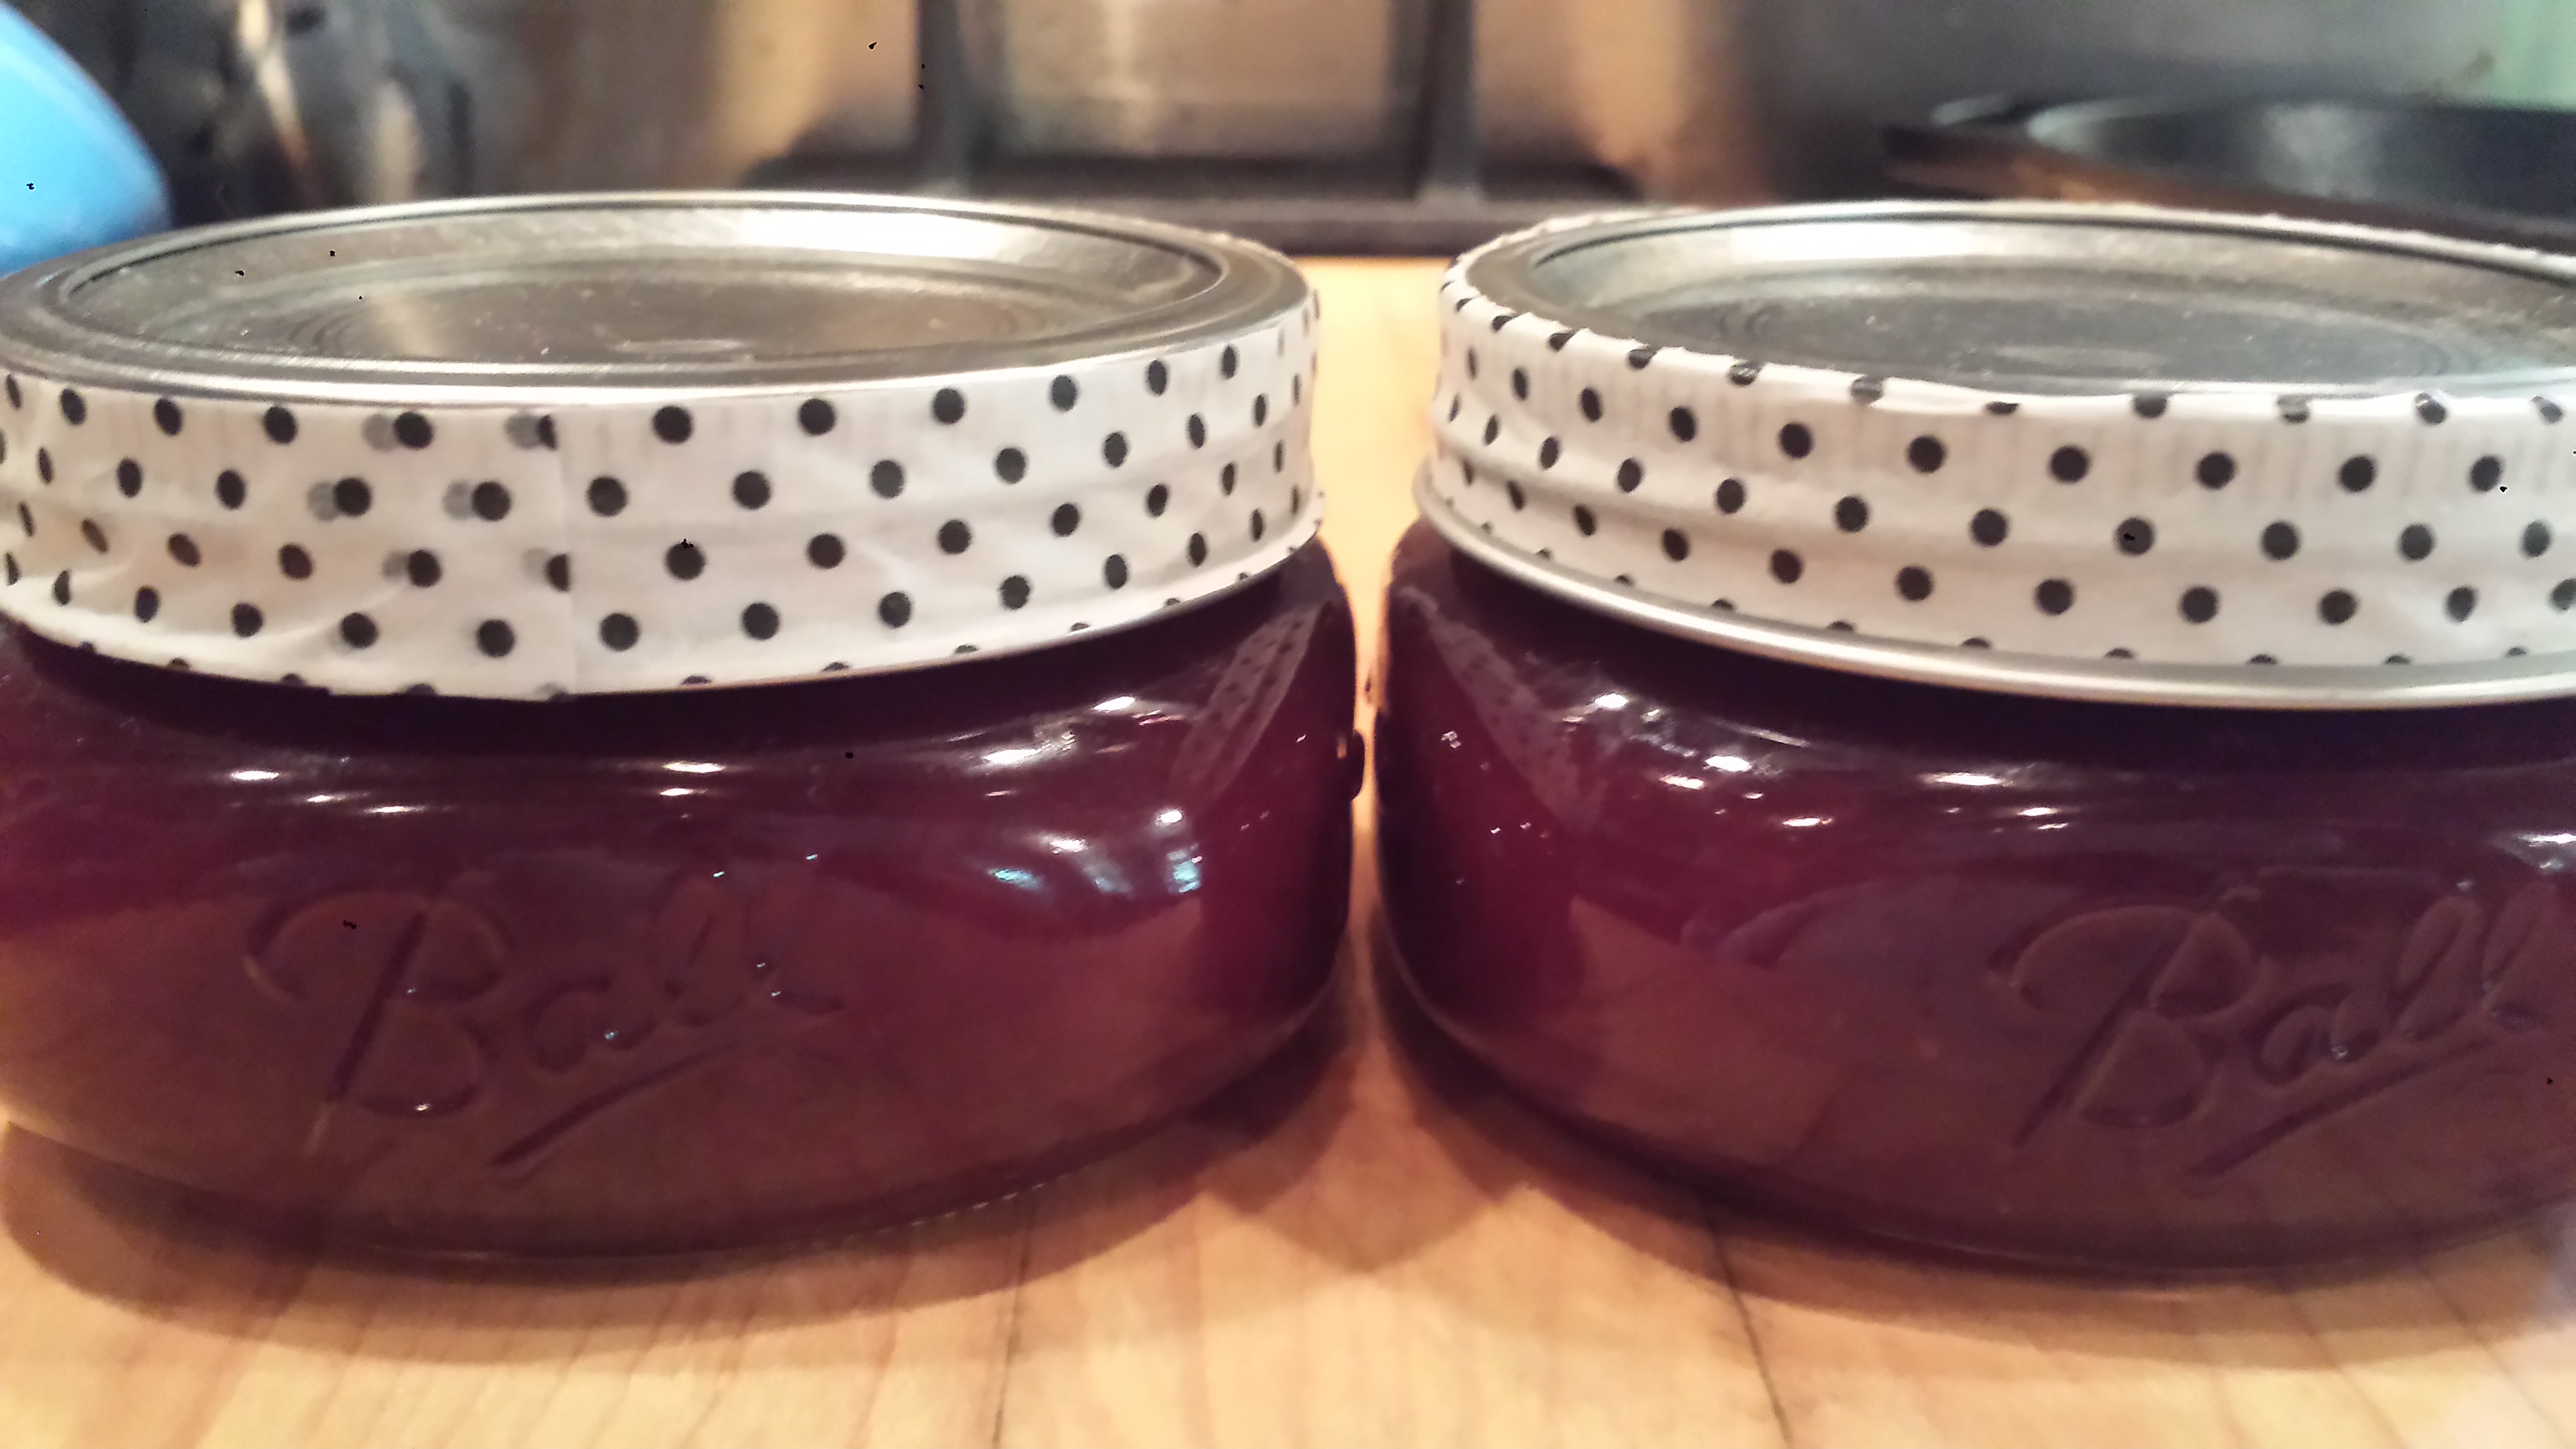
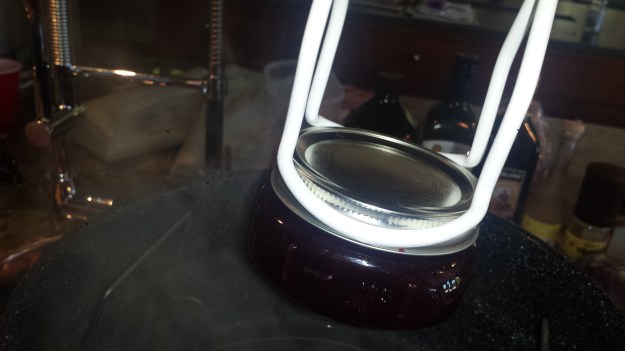
- Pour hot caramel sauce in a jar and allow to cool completely. Store in the refrigerator for up to two weeks. You may need to reheat it to use again as it thickens when cooled.
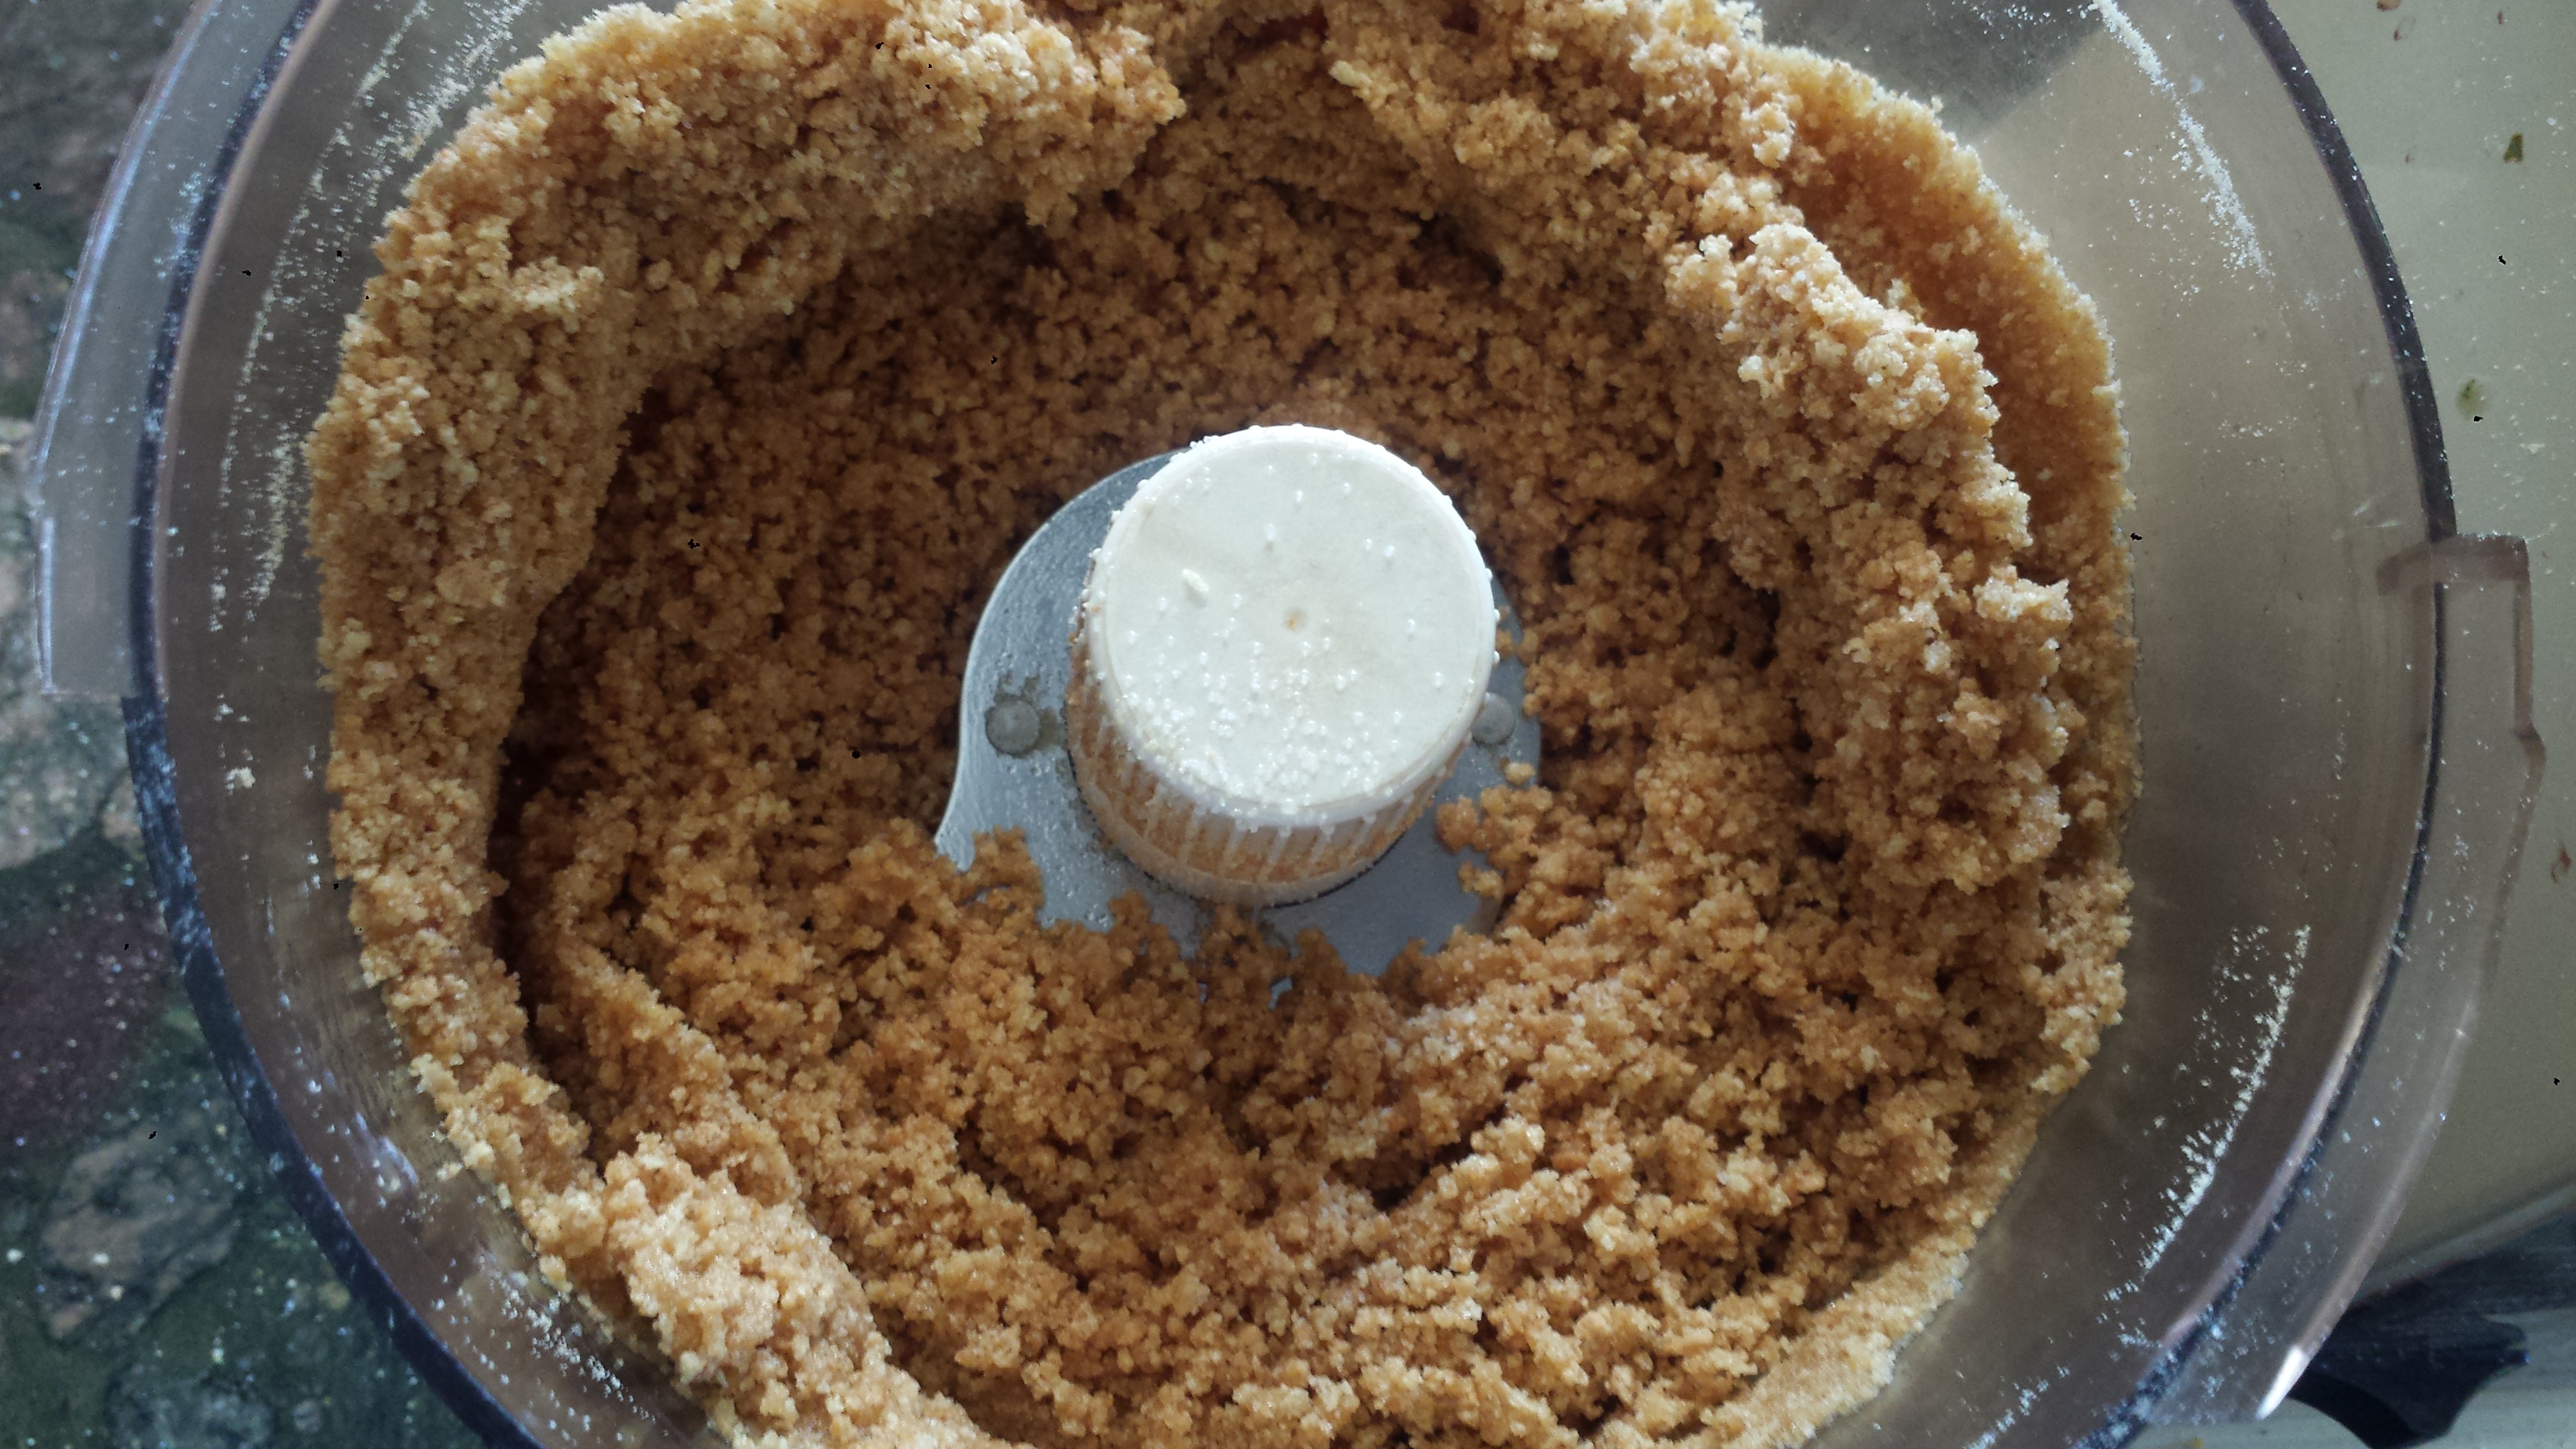
- If you are using graham cracker crumbs, combine them with the sugar and stir in melted butter. If you are using graham crackers, break them into smaller pieces and process in a food processor or blender into crumbs. Add sugar and melted butter and process on low until combined. The mixture should easily form a ball when pressed together but should not be wet. Add another couple of Tablespoons of melted butter if its too crumbly.

- Divide the graham cracker mixture among the greased muffin tins, either 24 mini or 12 regular. Using the back of a spoon or your clean thumb, press mixture into bottom and sides, forming a small cup.

- Bake minis for 5 minutes and regular for 10 at 350 degrees, and let cool. They will raise up while hot but flatten back out when cool.
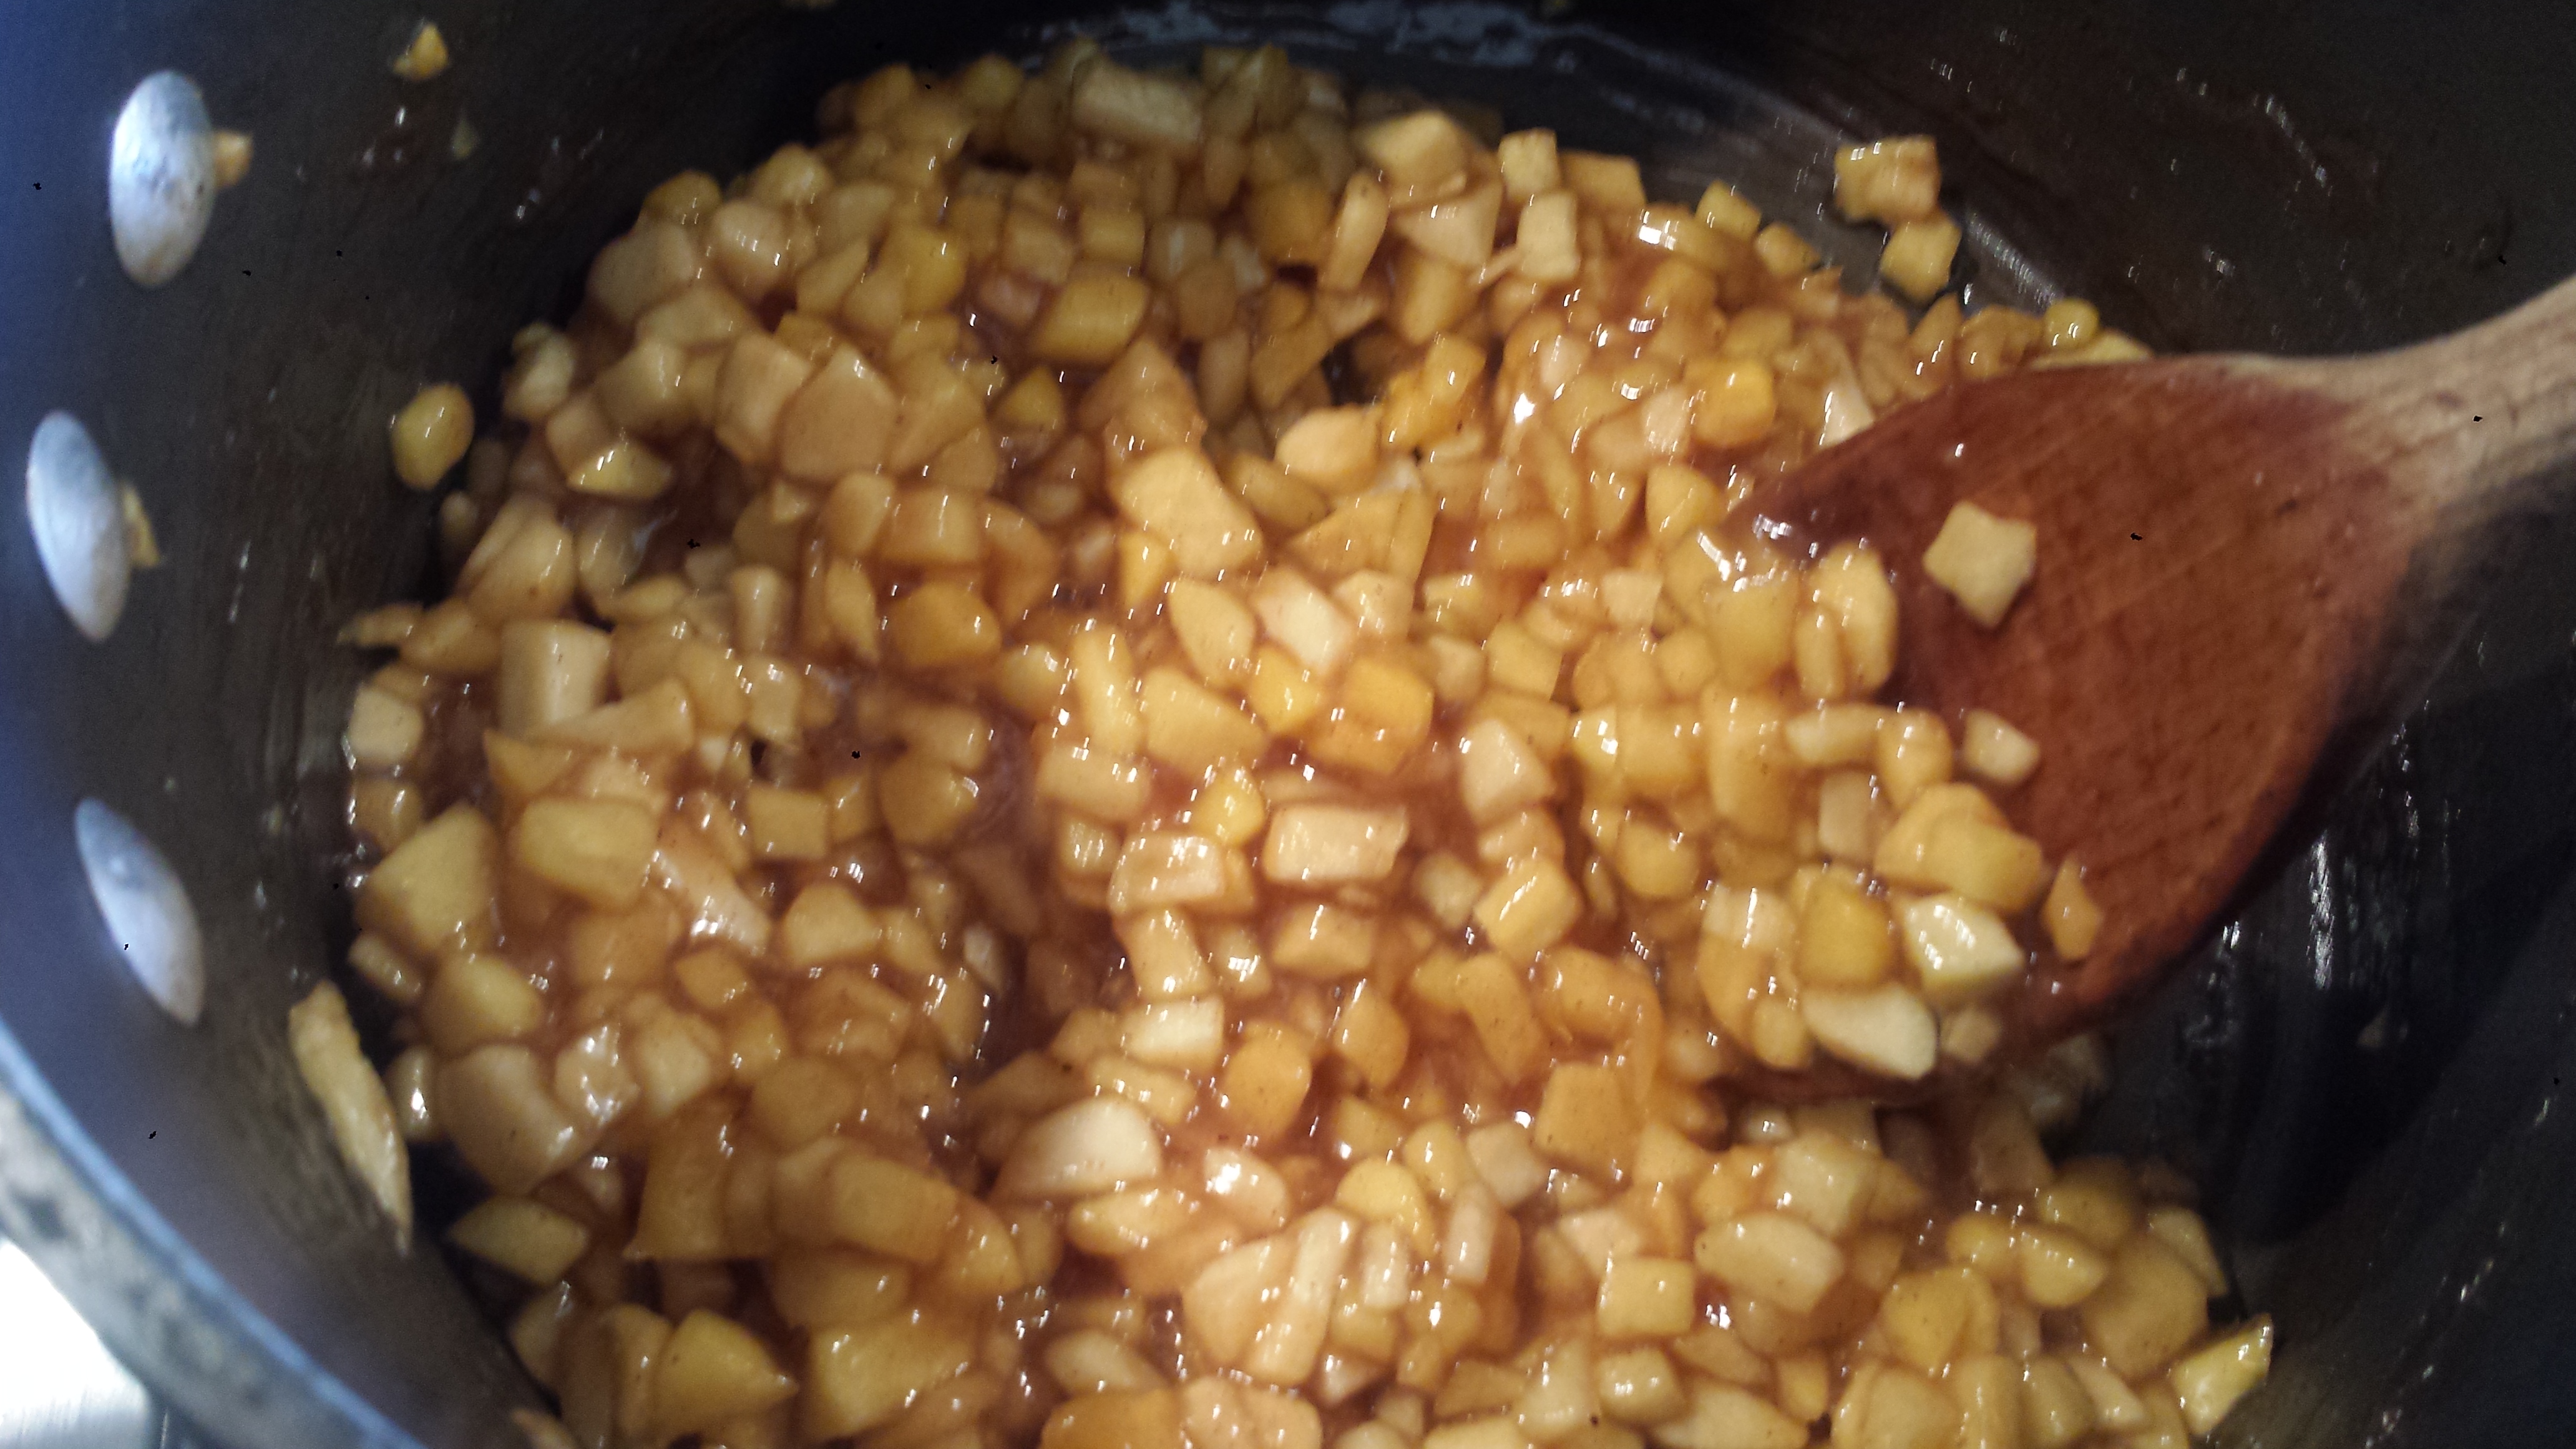
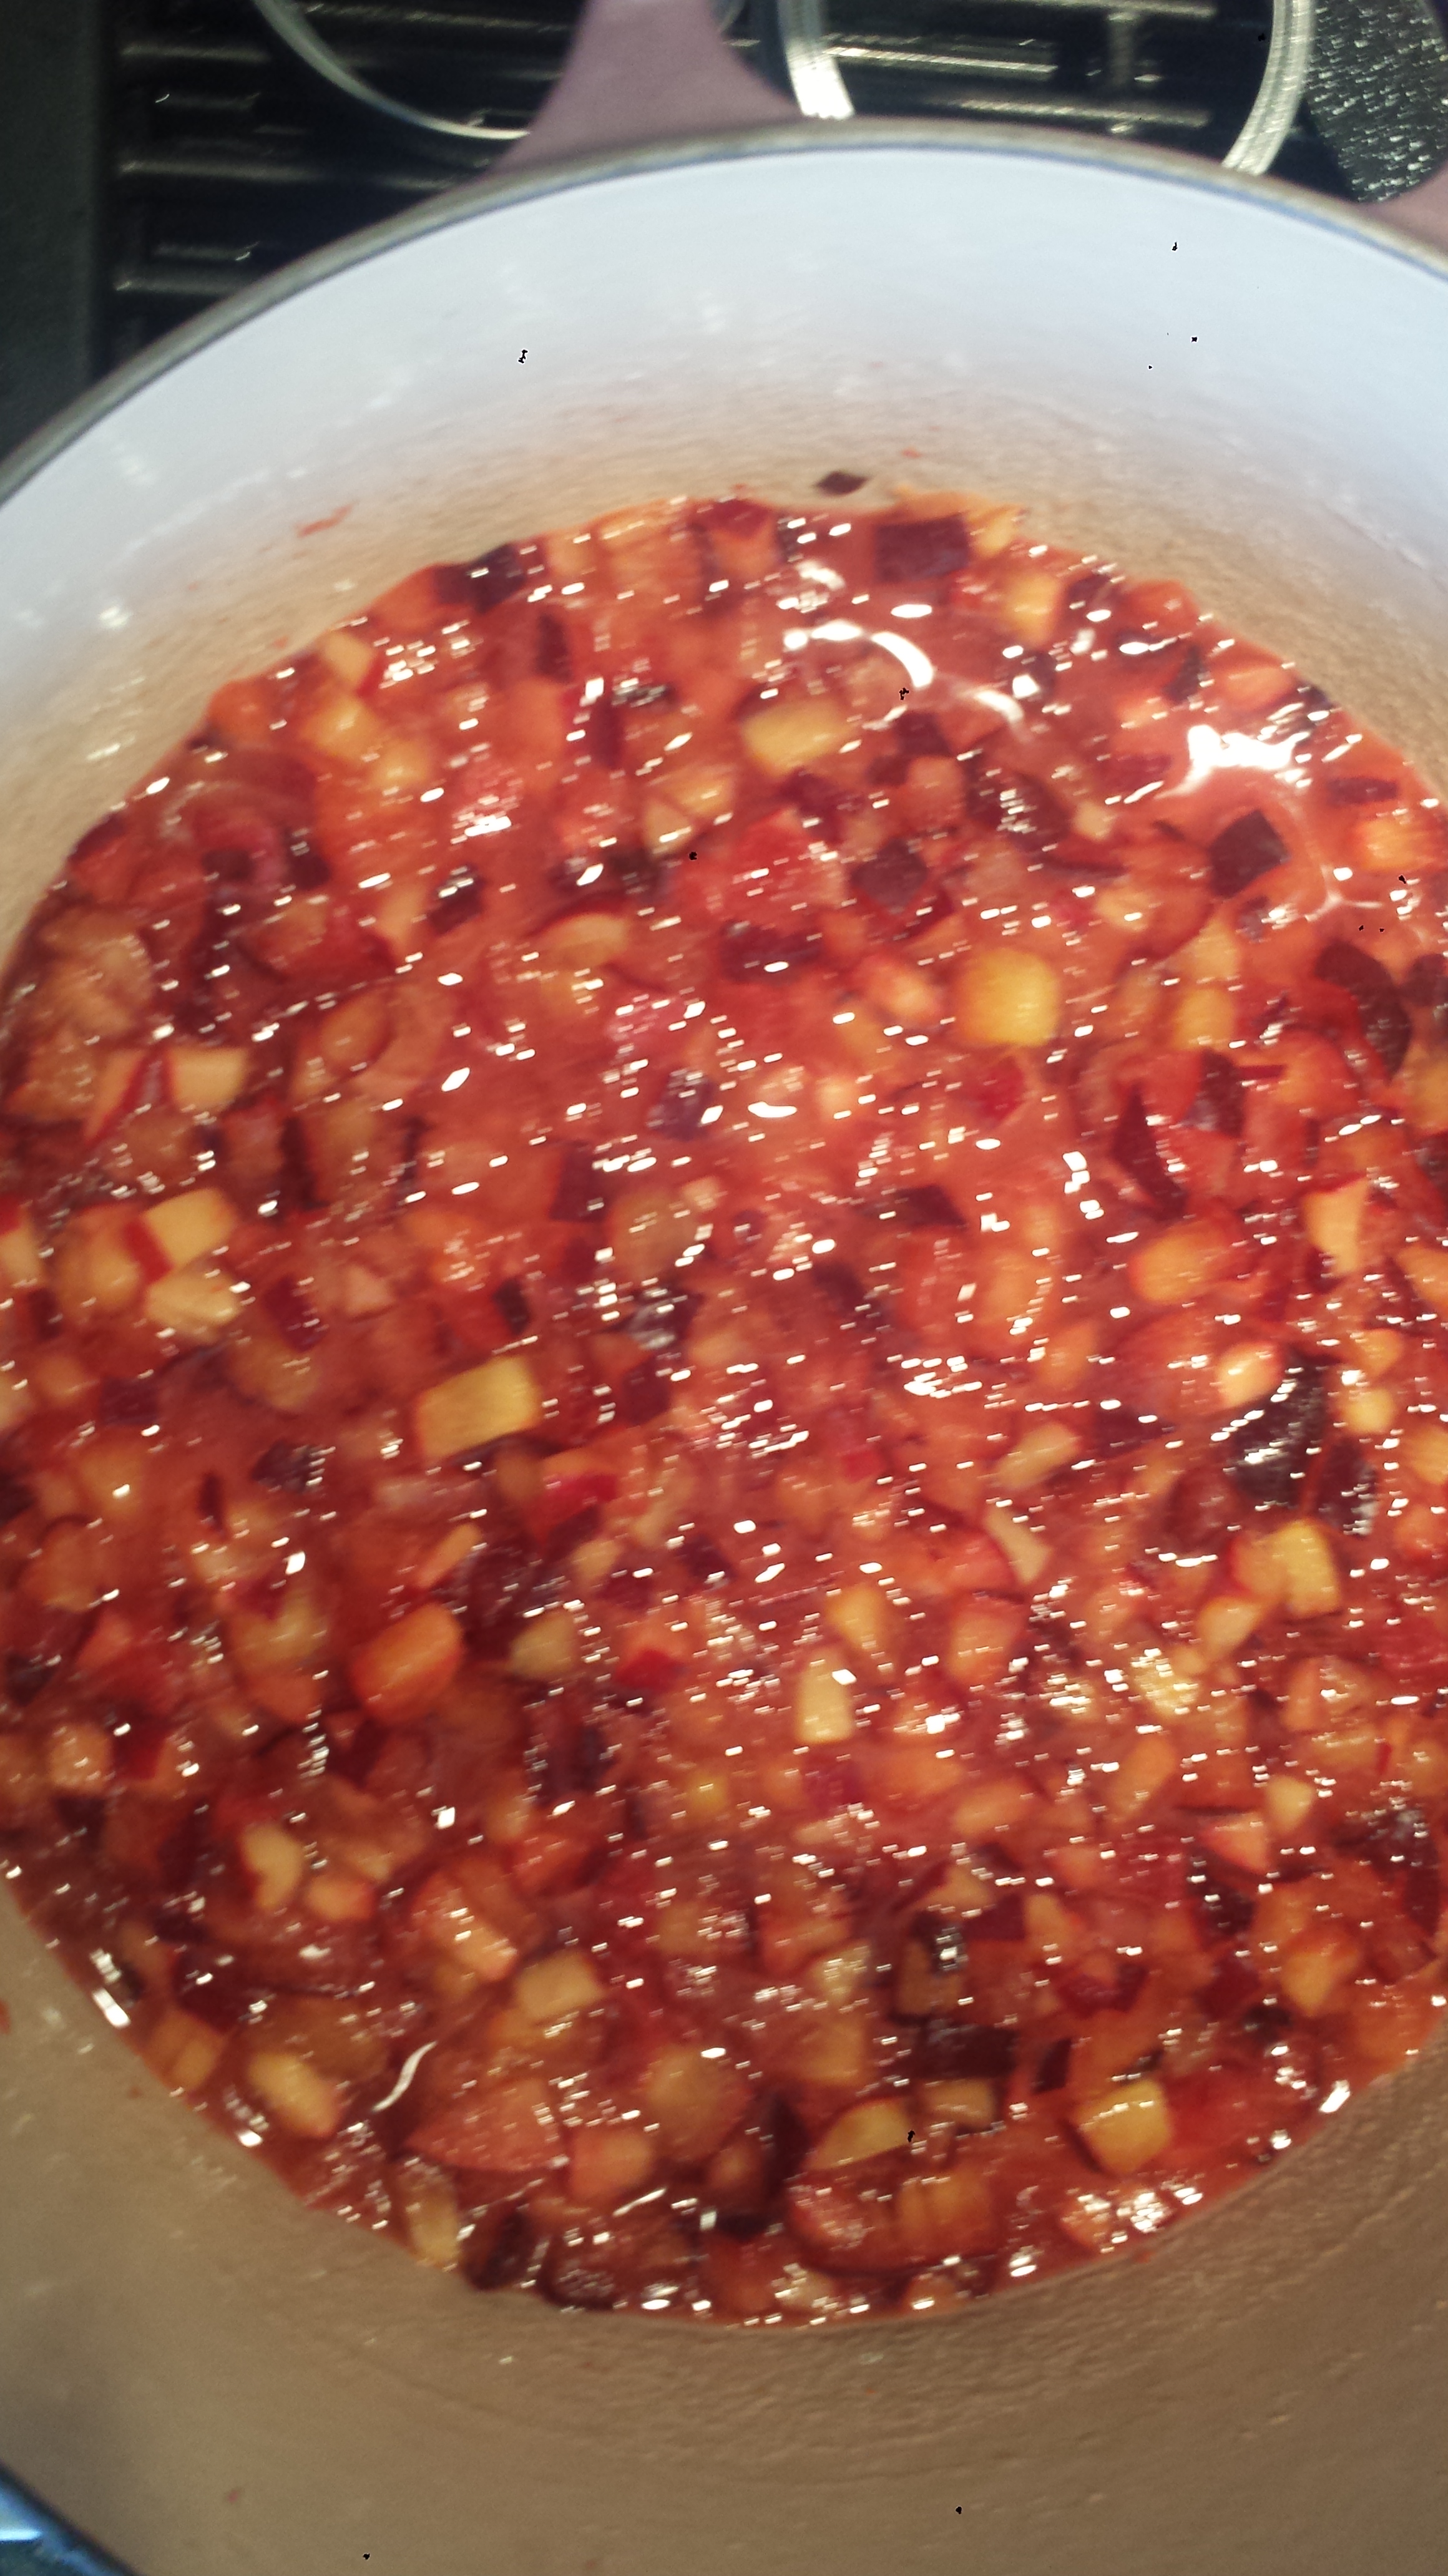
- Combine all filling ingredients in a medium sized saucepan and cook on medium low heat, partially covered, until softened, about 10-15 minutes. If it starts to stick add a bit more water.

- Spoon filling into graham cracker cups and bake for another 5-10 minutes.

- Remove from oven and let cool completely. Use a knife edge to loosen from the muffin tin ad place on a serving platter.

- Drizzle with caramel sauce. Thank yourself for making these heavenly bites…
3 tablespoons sugar FILLING 4 cups peeled, cored and chopped apples CARAMEL SAUCE 1 cup granulated sugar Caramel Apple Mini Bites
2 cups graham cracker crumbs (about 14 graham crackers)
1/2 cup (1 stick) unsalted butter, melted
1/3 cup sugar
1/4 cup brown sugar
1 Tbsn lemon juice
2 1/4 Tbsn flour
1/2 tsp cinnamon
1/4 tsp nutmeg
1/4 cup water
6 Tbsn salted butter, at room temperature, cut into pieces
1/2 cup plain yogurt, at room temperature
1/2 tsp vanilla