
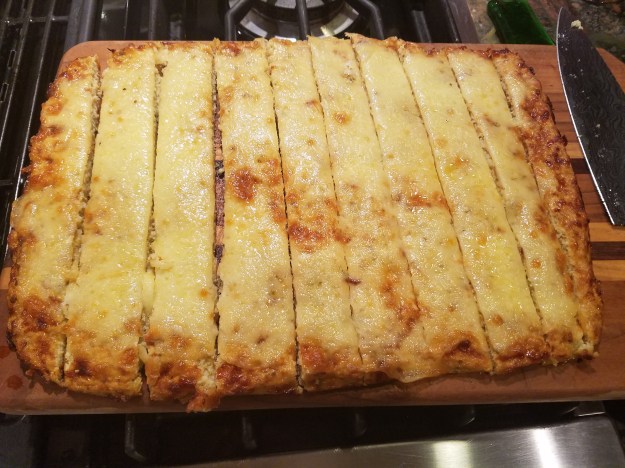
These cheesy grainfree breadsticks are a guaranteed winner! They are yummy enough to satisfy that carb craving that we all know so well, without adding empty calories and they are wheat and gluten free. This is one of the blog posts that went missing during my technically challenged summer, however, I certainly didn’t mind ‘having’ to make it again. The first time I spread the cauliflower ‘dough’ into rectangles (like a sheet pizza) and cut it into strips to serve.

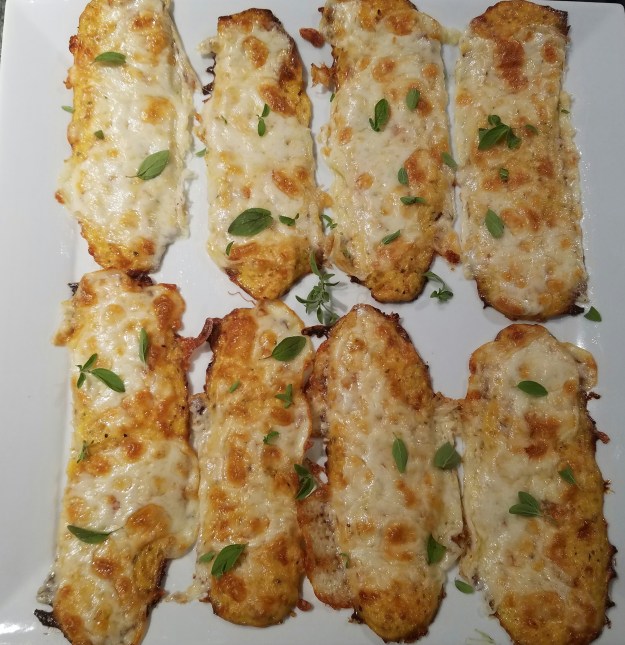
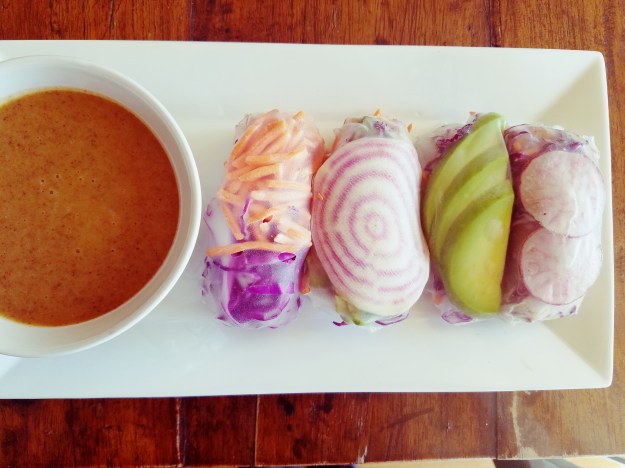
This time I decided to try making into individual strips or bars which can be picked up by hand to eat. I am a crispy crust lover so I figured this would maximize the crispy edges and I was not disappointed. I sprinkled the cooked breadsticks with fresh basil but you could also provide warm tomato sauce or pesto for dipping.

Cauliflower is a great carb substitute and provides vitamins, and minerals plus fiber and very few calories (only 27 per cup), very low fat and no cholesterol. It is a surprisingly excellent source of Vitamin C which we need more of, especially this time of year as flu season approaches.
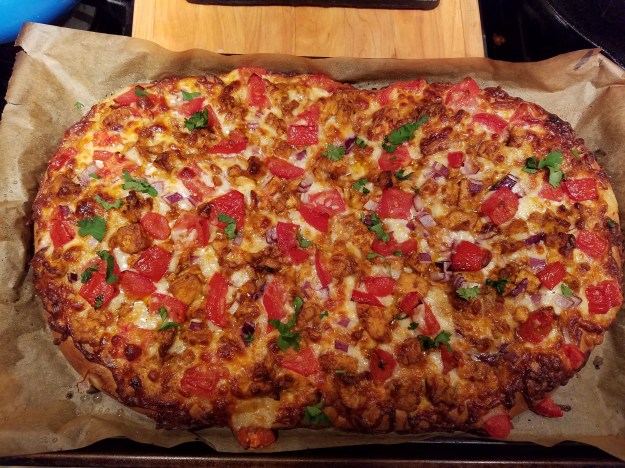
This recipe can also be used as a pizza, either rectangular or round. Just add tomato or pesto sauce. I would go light on toppings as it may not hold up. Here is a photo of my first Cheesy Cauliflower Breadsticks based on the recipe from Jo Cooks.com
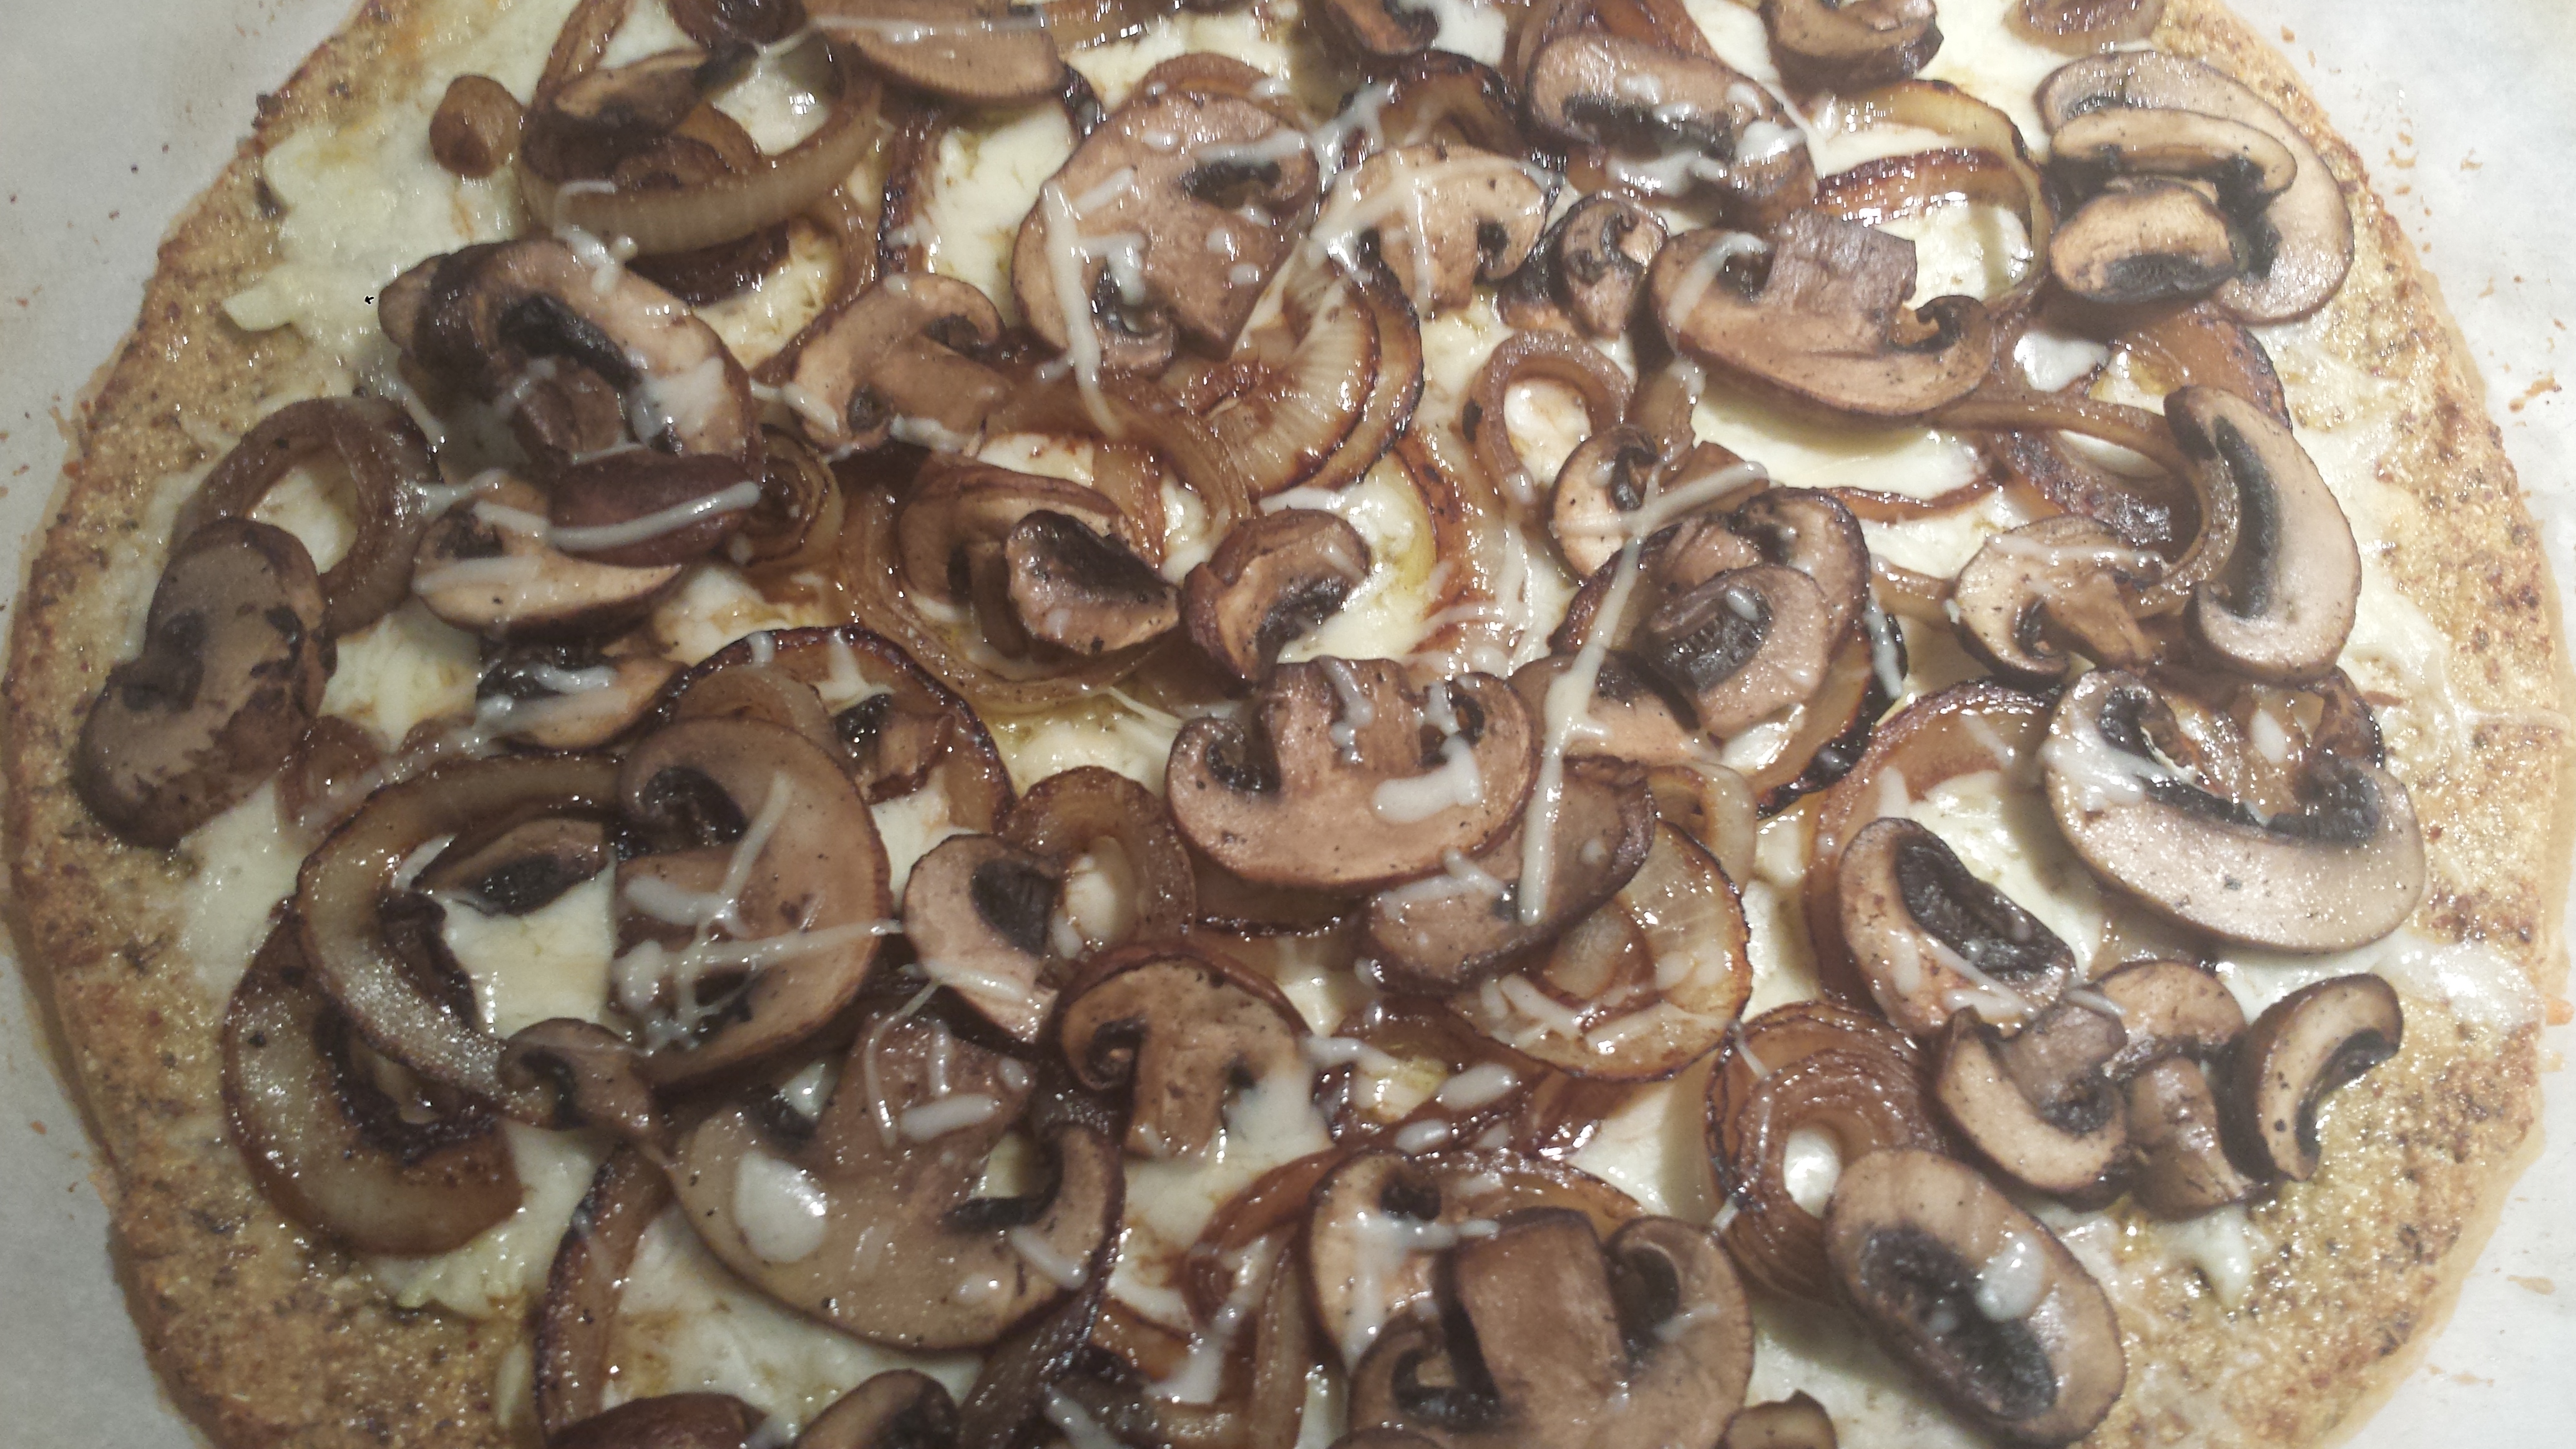
I have blogged about Cauliflower Pizza before. My older recipe calls for the addition of almond flour which makes it more of a traditional crust and great for lots of toppings. Check out my original recipe for Cauliflower Crust Pizza which also featured caramelized onions and mushrooms.
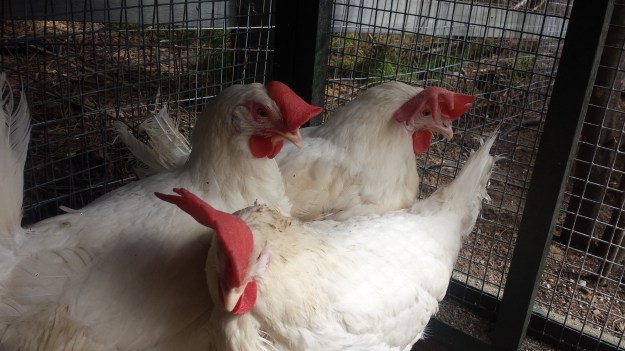
I have the luxury of fresh eggs from my own backyard hens. I have 9 hens, most of whom have been rescued from Factory Farms where they lived in warehouses and never got a chance to go outside or eat fresh food. (Yes, even my organic cage free hens.) You can follow my ‘girls’ on their Facebook Page Mrs Vs Rescue Chickens. However, if you don’t have access to backyard chickens, please buy Pasture Raised eggs from the store. That is the ONLY label that means that the hens got a chance to go outside.

TIPS: I used a food processor to ‘rice’ my cauliflower which is very easy, however, I am starting to see Cauliflower Rice in stores (even Costco) if you are looking for a shortcut. Then I steamed the cauliflower rice in the microwave which is the easiest way to ensure you don’t have excess moisture. If you prefer not to use a microwave, you can steam the cauliflower on the stovetop with a bit of water before ricing. Just make sure any excess water is removed by squeezing with papertowels.

CHEESY CAULIFLOWER BREADSTICKS
- 1 large head of cauliflower (about 4 cups riced)
- 4 eggs
- 4 cloves garlic, minced
- 3 tsp dried oregano
- 1/4 tsp crushed red pepper (optional)
- 3/4 tsp salt
- 1/4 tsp pepper
- 2 cups shredded mozzarella cheese (or a blend of cheeses)
- 1-2 cups mozzarella cheese (optional topping)
- 1 Tbsn fresh basil, chopped (optional topping)
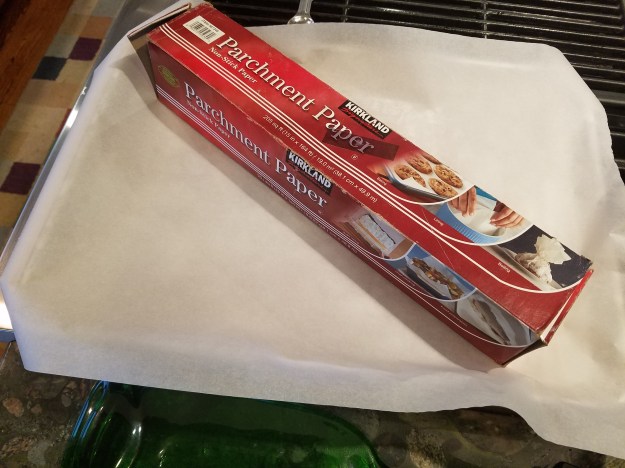
- Preheat oven to 425 F degrees. Prepare 2 pizza dishes or a large baking sheet with parchment paper.
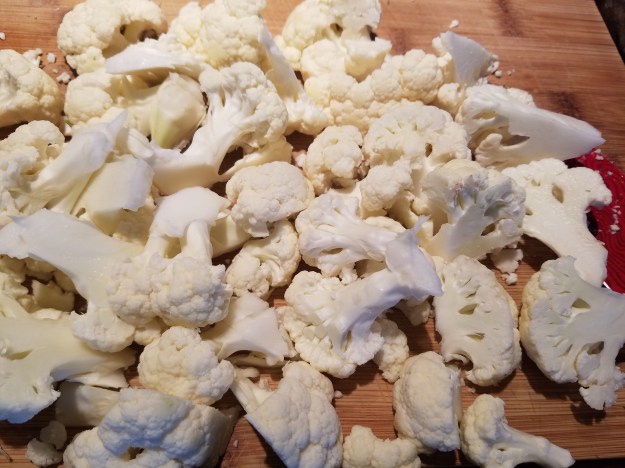
- Remove outer leaves and roughly chop cauliflower into florets.

- Add the florets to a food processor or blender and pulse until cauliflower resembles rice.
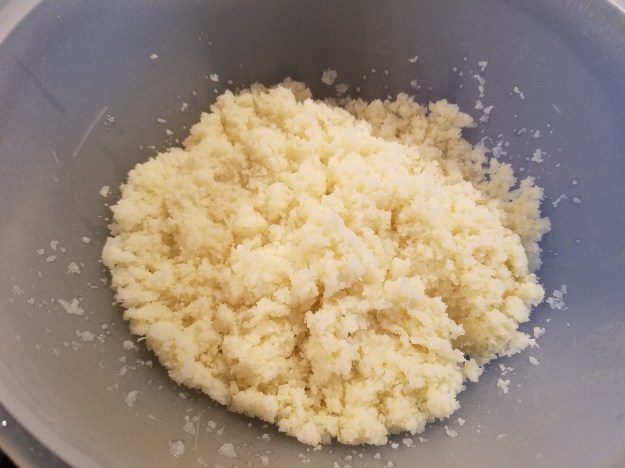
- Place the cauliflower in a microwavable bowl and cover. Microwave for 10 minutes. Let cool.

- Stir in the oregano, garlic, red pepper and salt and pepper. Taste (before adding the eggs) and adjust spices if necessary.
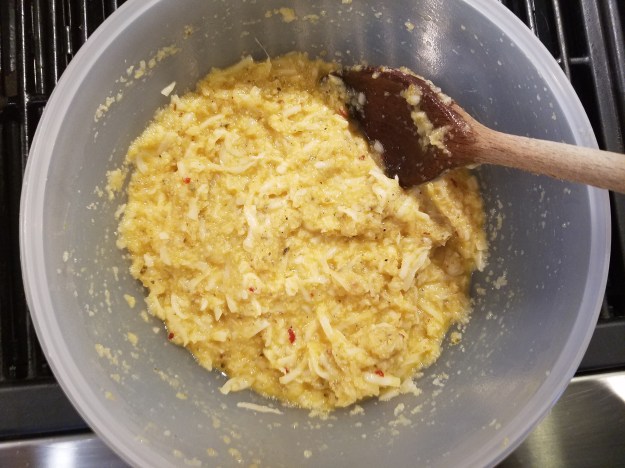
- Mix in eggs and 2 cups mozzarella.

- Divide the mixture in half and place each half onto the prepared baking sheets and shape into individual strips (about 5 or 6 to a pan) or into a rectangular shape that you will cut into breadsticks later.

- Bake the crust (without toppings) for about 25 minutes or until nice and golden. You may have to push the sides back in with a spatula if you see spreading.

- Sprinkle with remaining mozzarella cheese and put back in the oven for another 5 minutes or until cheese has melted.

- Serve with fresh basil.
Cheesy Cauliflower Breadsticks

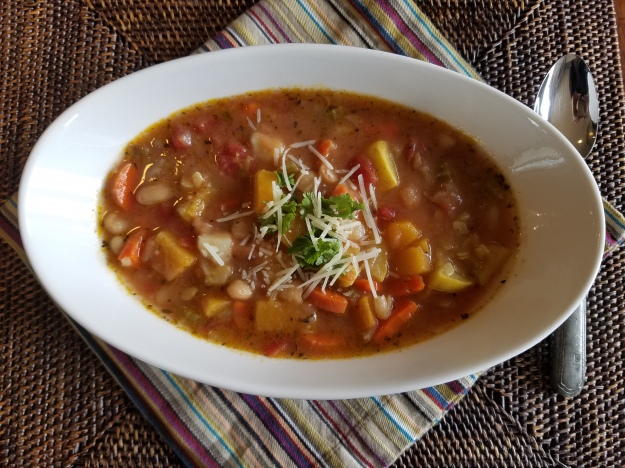
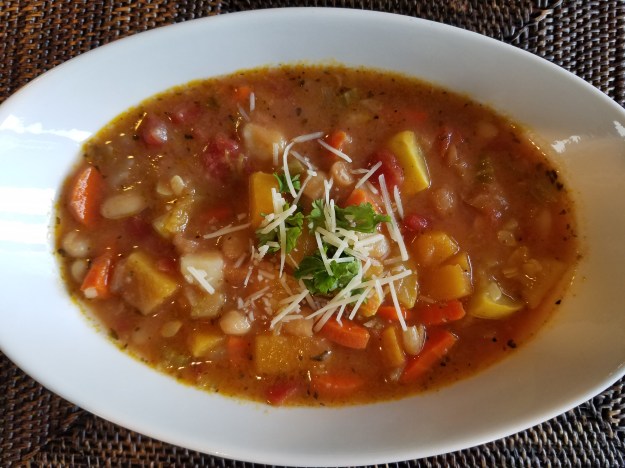
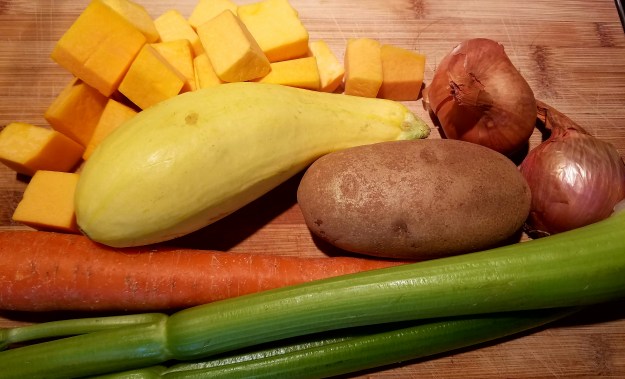 Fall is a fabulous time for food. It’s a collision of the best of summer and the emergence of hard squashes and root vegetables. This broth based soup is relatively low in calories, cholesterol and fat but still densely nutritious. Cannellini beans add protein, calcium and iron. Butternut squash is an excellent provider of Vitamin A and potatoes (wrongfully maligned) is a surprisingly good source of Vitamin C. The more vegetables you include in your soup will result in a better array of vitamins, minerals, protein and fiber. However, the best thing about soup is that it just makes you feel good and warm inside.


