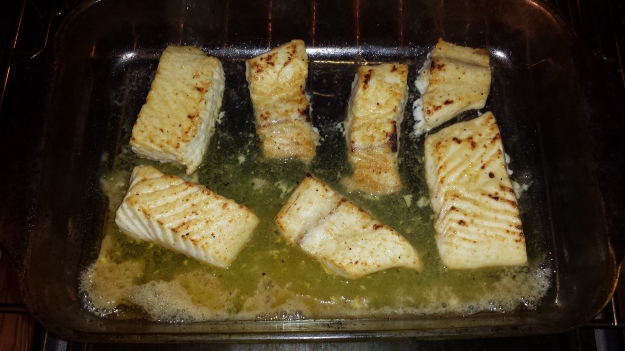
If you’re short on time but need a protein packed, nutritious main course, here is a delicious one that you can have on the table in less than 30 minutes. Salmon is a favorite, even of people who aren’t seafood lovers because of it’s mild, non-fishy taste and moist, flakey texture. It’s considered one of the world’s healthiest foods-rich in protein, heart-helping omega-3 fatty acids, and vitamin D. A 4 ounce serving of salmon, baked or broiled, has only 157 calories and a whopping 22 grams of protein. For this preparation, I let the salmon sit in a simple marinade of olive oil, soy sauce, lemon juice, honey and sesame oil while I got everything else ready. Just before cooking, I sprinkled the fish with white and black sesame seeds and thinly sliced scallions to add color, flavor and texture. I like to cook salmon at a fairly high heat, first on bake to make sure the bottom and center of the fish is cooked through, and then on broil until the top is caramelized a golden brown and the sections flake easily.
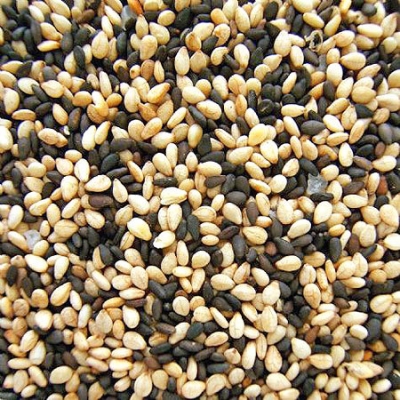
Photo Credit: pcplanetindia.com
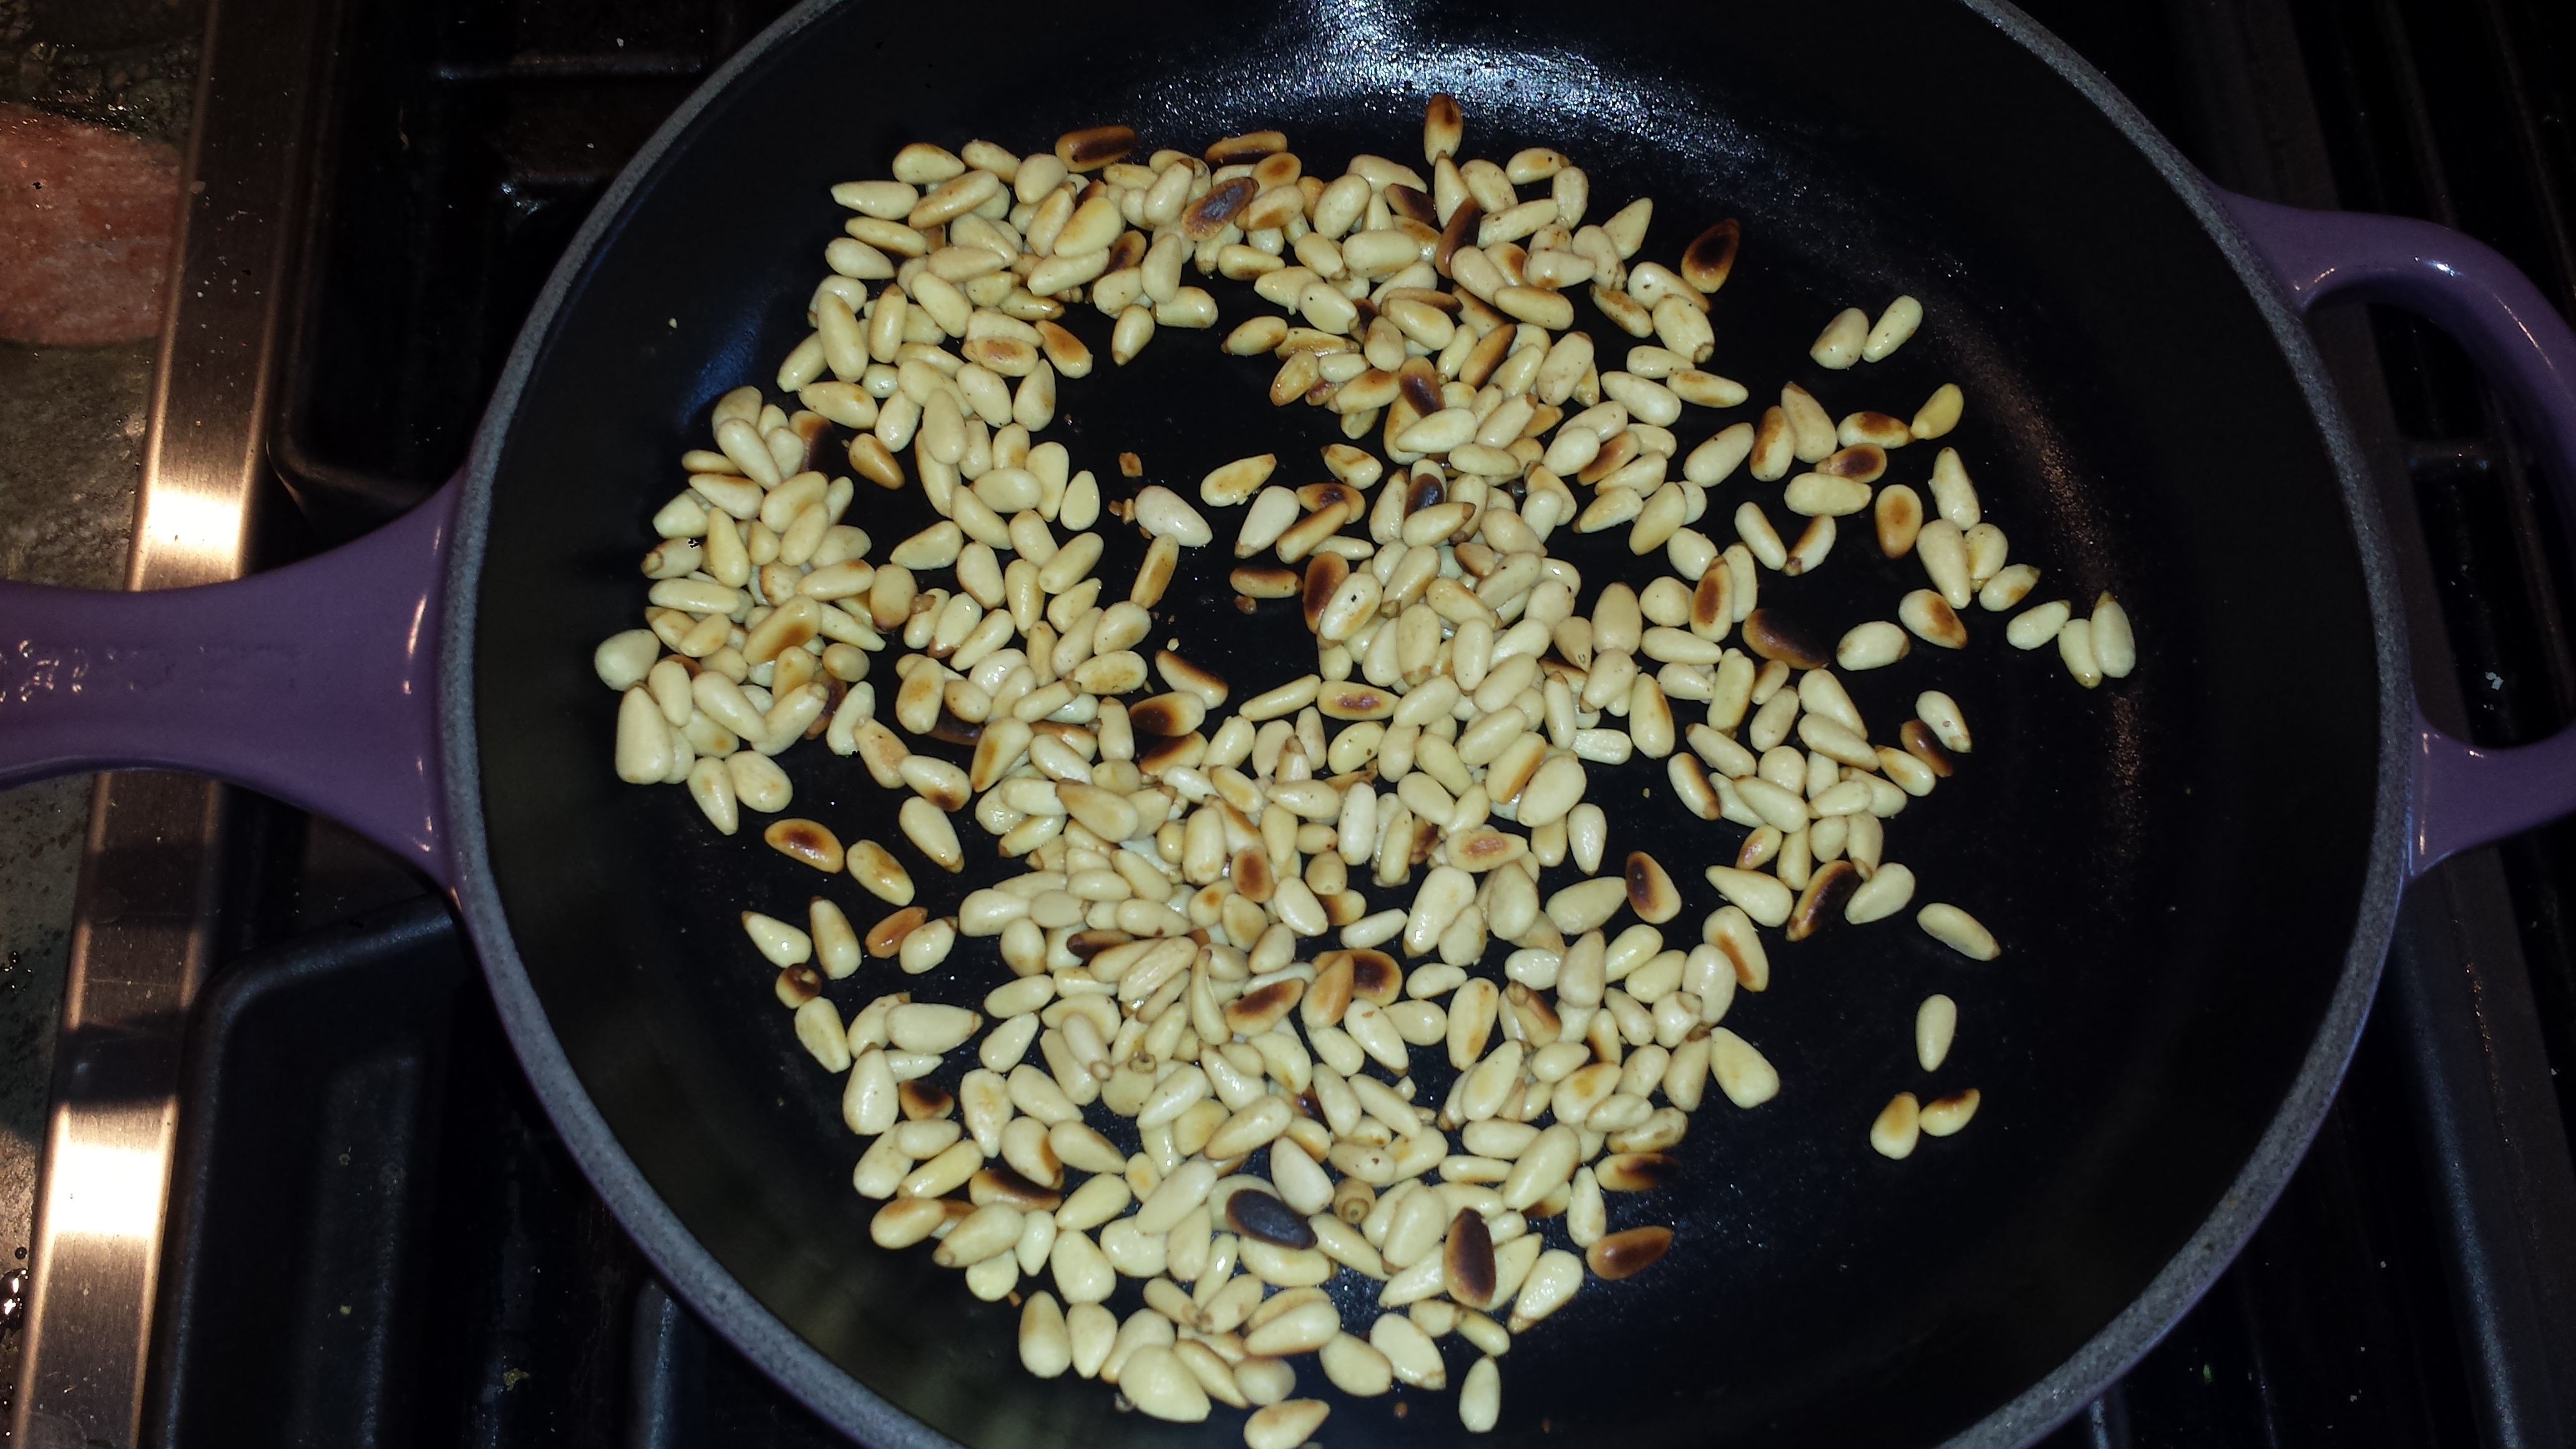
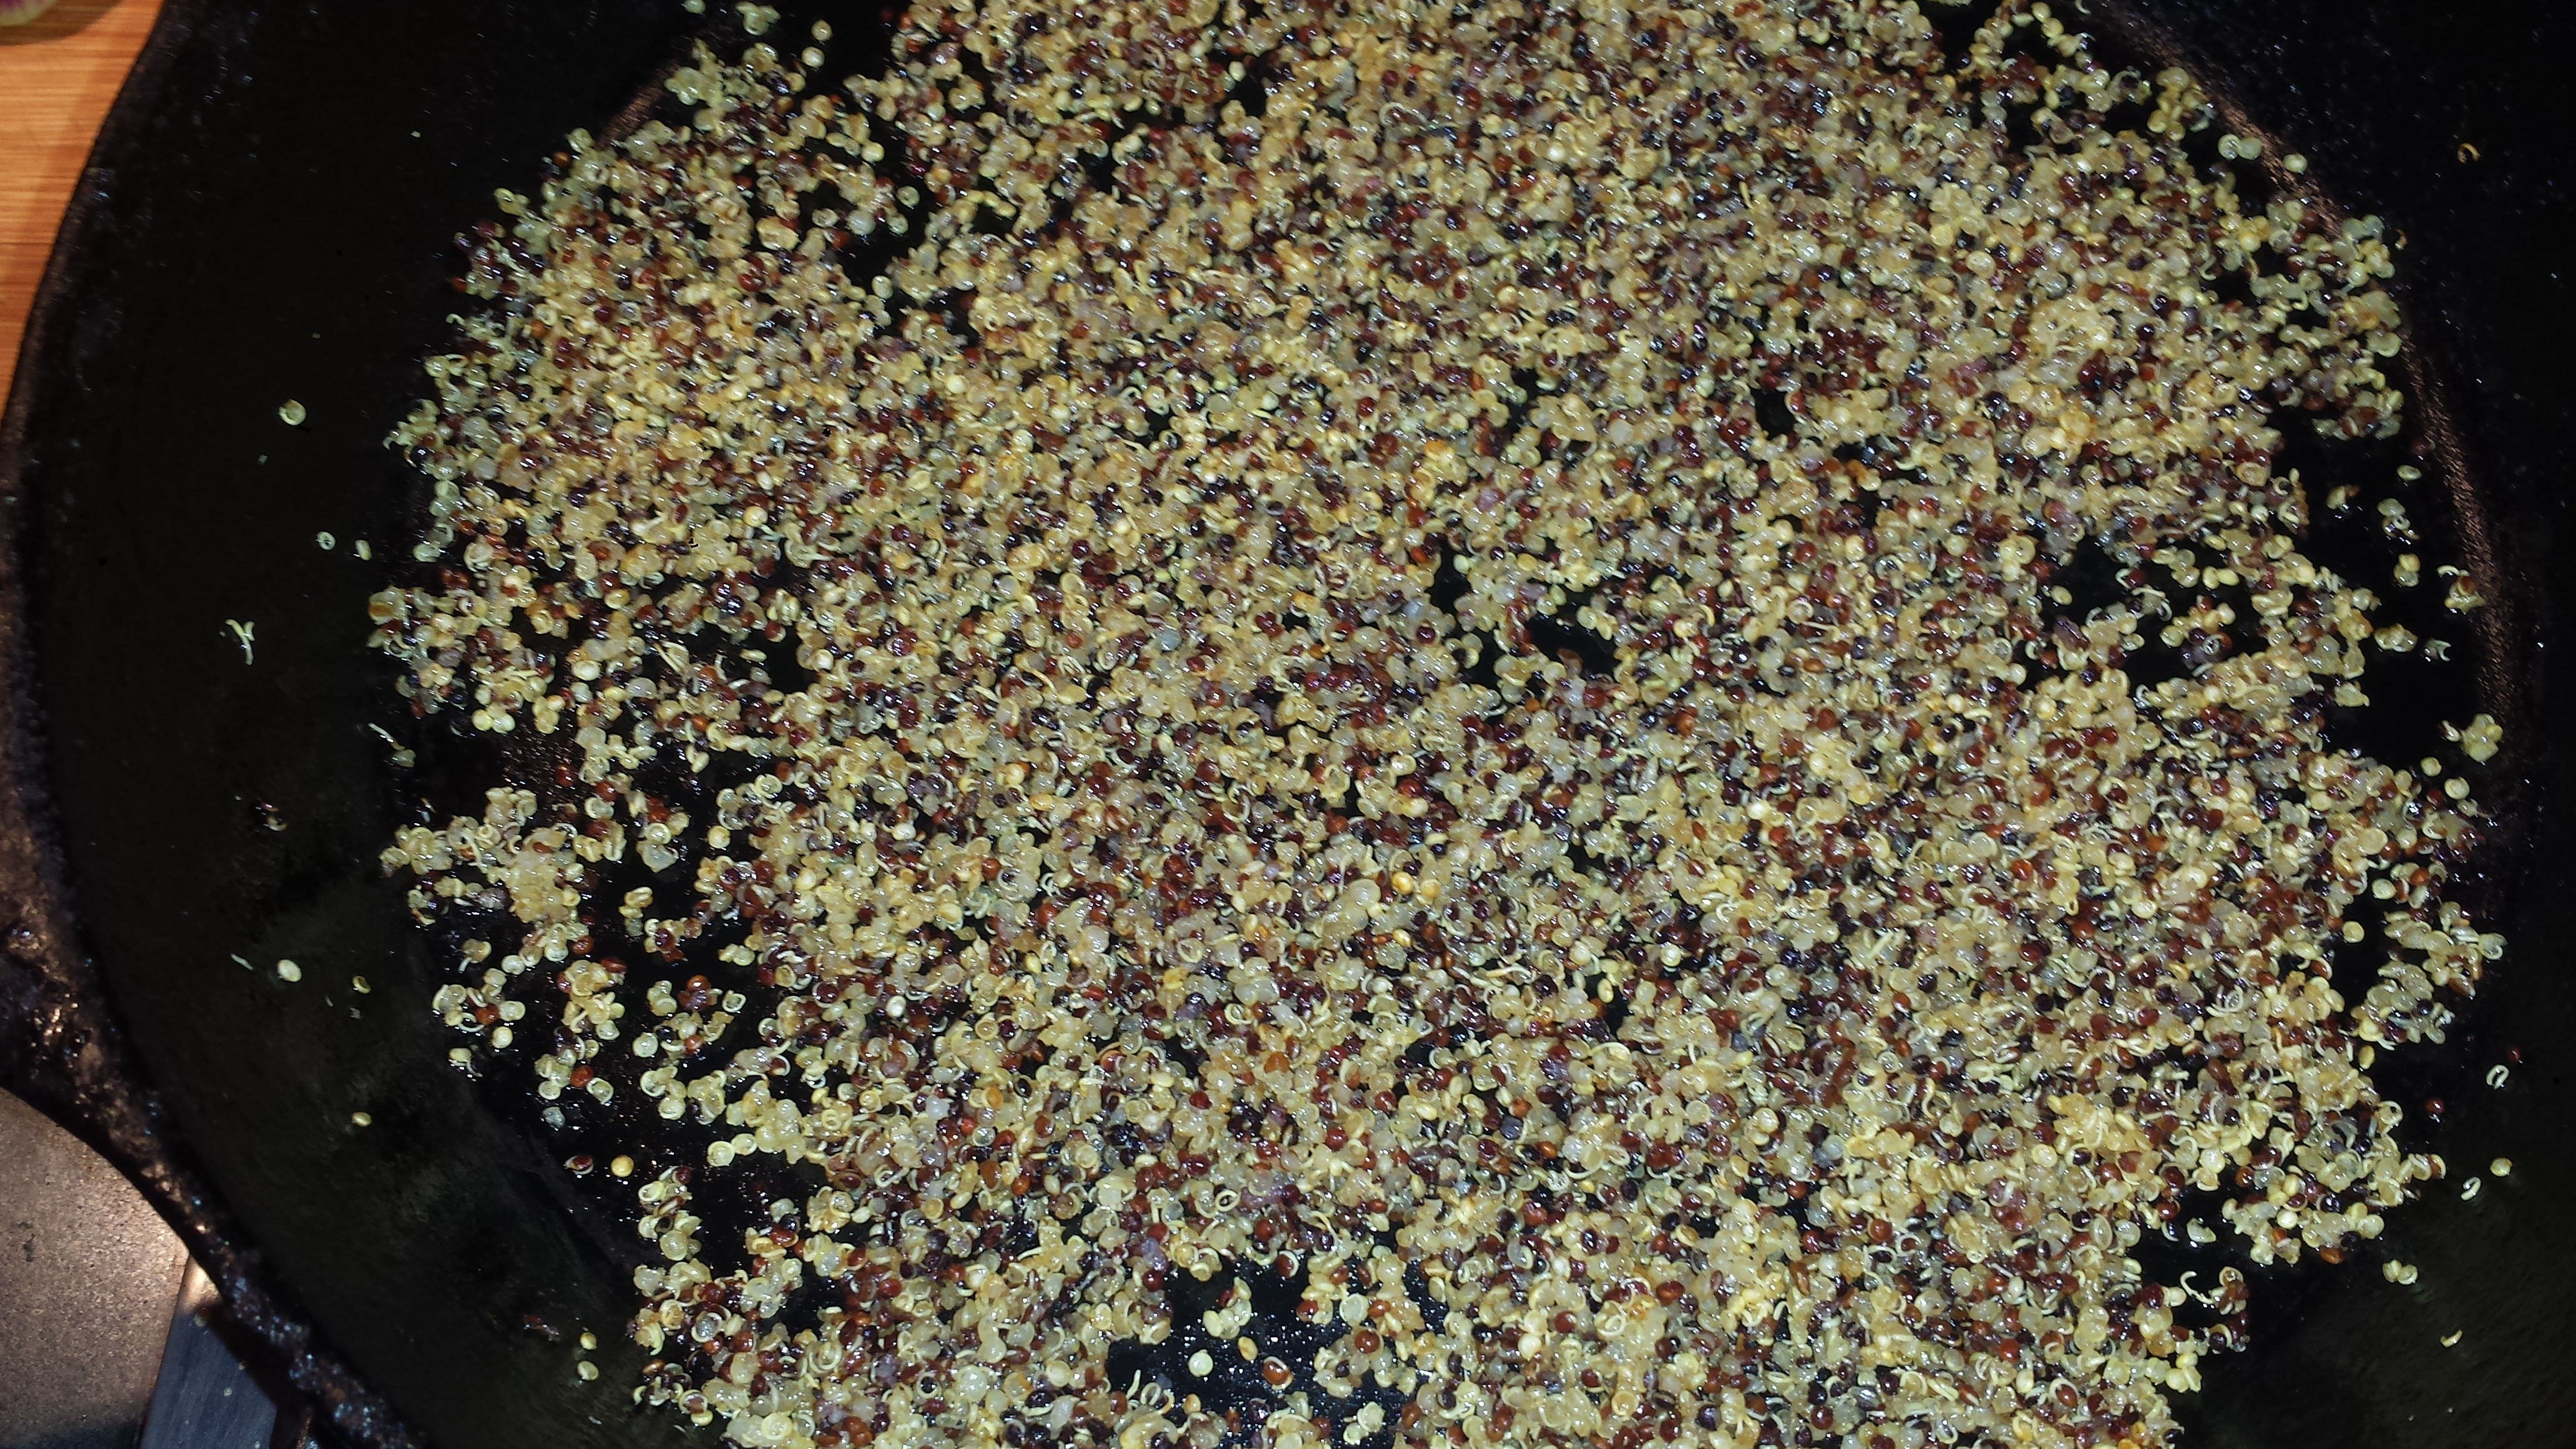
I love the addition of black and white sesame seeds with this marinade, but if you think they are just a decoration you would be mistaken. They add a nutty flavor and a slightly crunchy texture when cooked, but for their small size, they also provide quite a bit of nutrition. Sesame seeds are an excellent source of copper, a very good source of manganese, and a good source of calcium, magnesium, iron, phosphorus, vitamin B1, zinc, molybdenum, selenium, and dietary fiber. Black sesame seeds are unhulled while white seeds are hulled. Since most of the calcium is in the hulls, black sesame seeds have more calcium. Otherwise, they are nutritionally similar. “Open sesame”—the famous phrase from the Arabian Nights—reflects the distinguishing feature of the sesame seed pod, which bursts open when it reaches maturity. The scientific name for sesame seeds is Sesamun indicum (which actually sounds more like Harry Potter to me than Aladdin). If you are like me, you actually visualized both movies upon reading ‘Open Sesame’ and ‘Sesamun indicum’, or perhaps that’s just the mom in me showing..

Photo Credit: http://tree-species.blogspot.com/2008_05_01_archive.html
As always, when buying seafood, check with Seafood Watch to see if it’s a healthy choice. For example, this is what they currently have to say about salmon: Salmon is one of the most commonly eaten fish in North America. Wild-caught salmon is generally a “Best Choice” or “Good Alternative,” but if you’re considering farmed salmon, try to find out where it comes from. While there are several more sustainable sources, most farmed salmon is on the “Avoid” list due to concerns such as the use of antibiotics important to human health and the potential for parasite and disease transfer to wild salmon populations. The Marine Stewardship Council certifies some salmon fisheries as sustainable.
![]()
TIPS: I had a very large side of salmon (about 3 lbs) so I doubled the recipe for the marinade. I like to pre-slice the fish before cooking because you end up with ready to serve portions that are neat and tidy. They also cook faster and more evenly than a whole side. It really depends on what presentation you are looking for. If you can’t find black sesame seeds, just use twice as many white. Soy sauce has wheat/gluten, so those trying to avoid it should substitute a wheat free brand or try Bragg’s Liquid Aminos or fish sauce.

SESAME CRUSTED SALMON
1 1/2 lbs salmon filet (boneless and skinless)
3 Tbsn olive oil
2 Tbsn soy sauce (or wheat free or reduced options like Bragg’s Amino Acids, Tamari or fish sauce)
2 Tbsn lemon juice
1 Tbsn sesame oil
1 Tbsn honey (or more to taste)
1 Tbsn white sesame seeds
1 Tbsn black sesame seeds
2 scallions
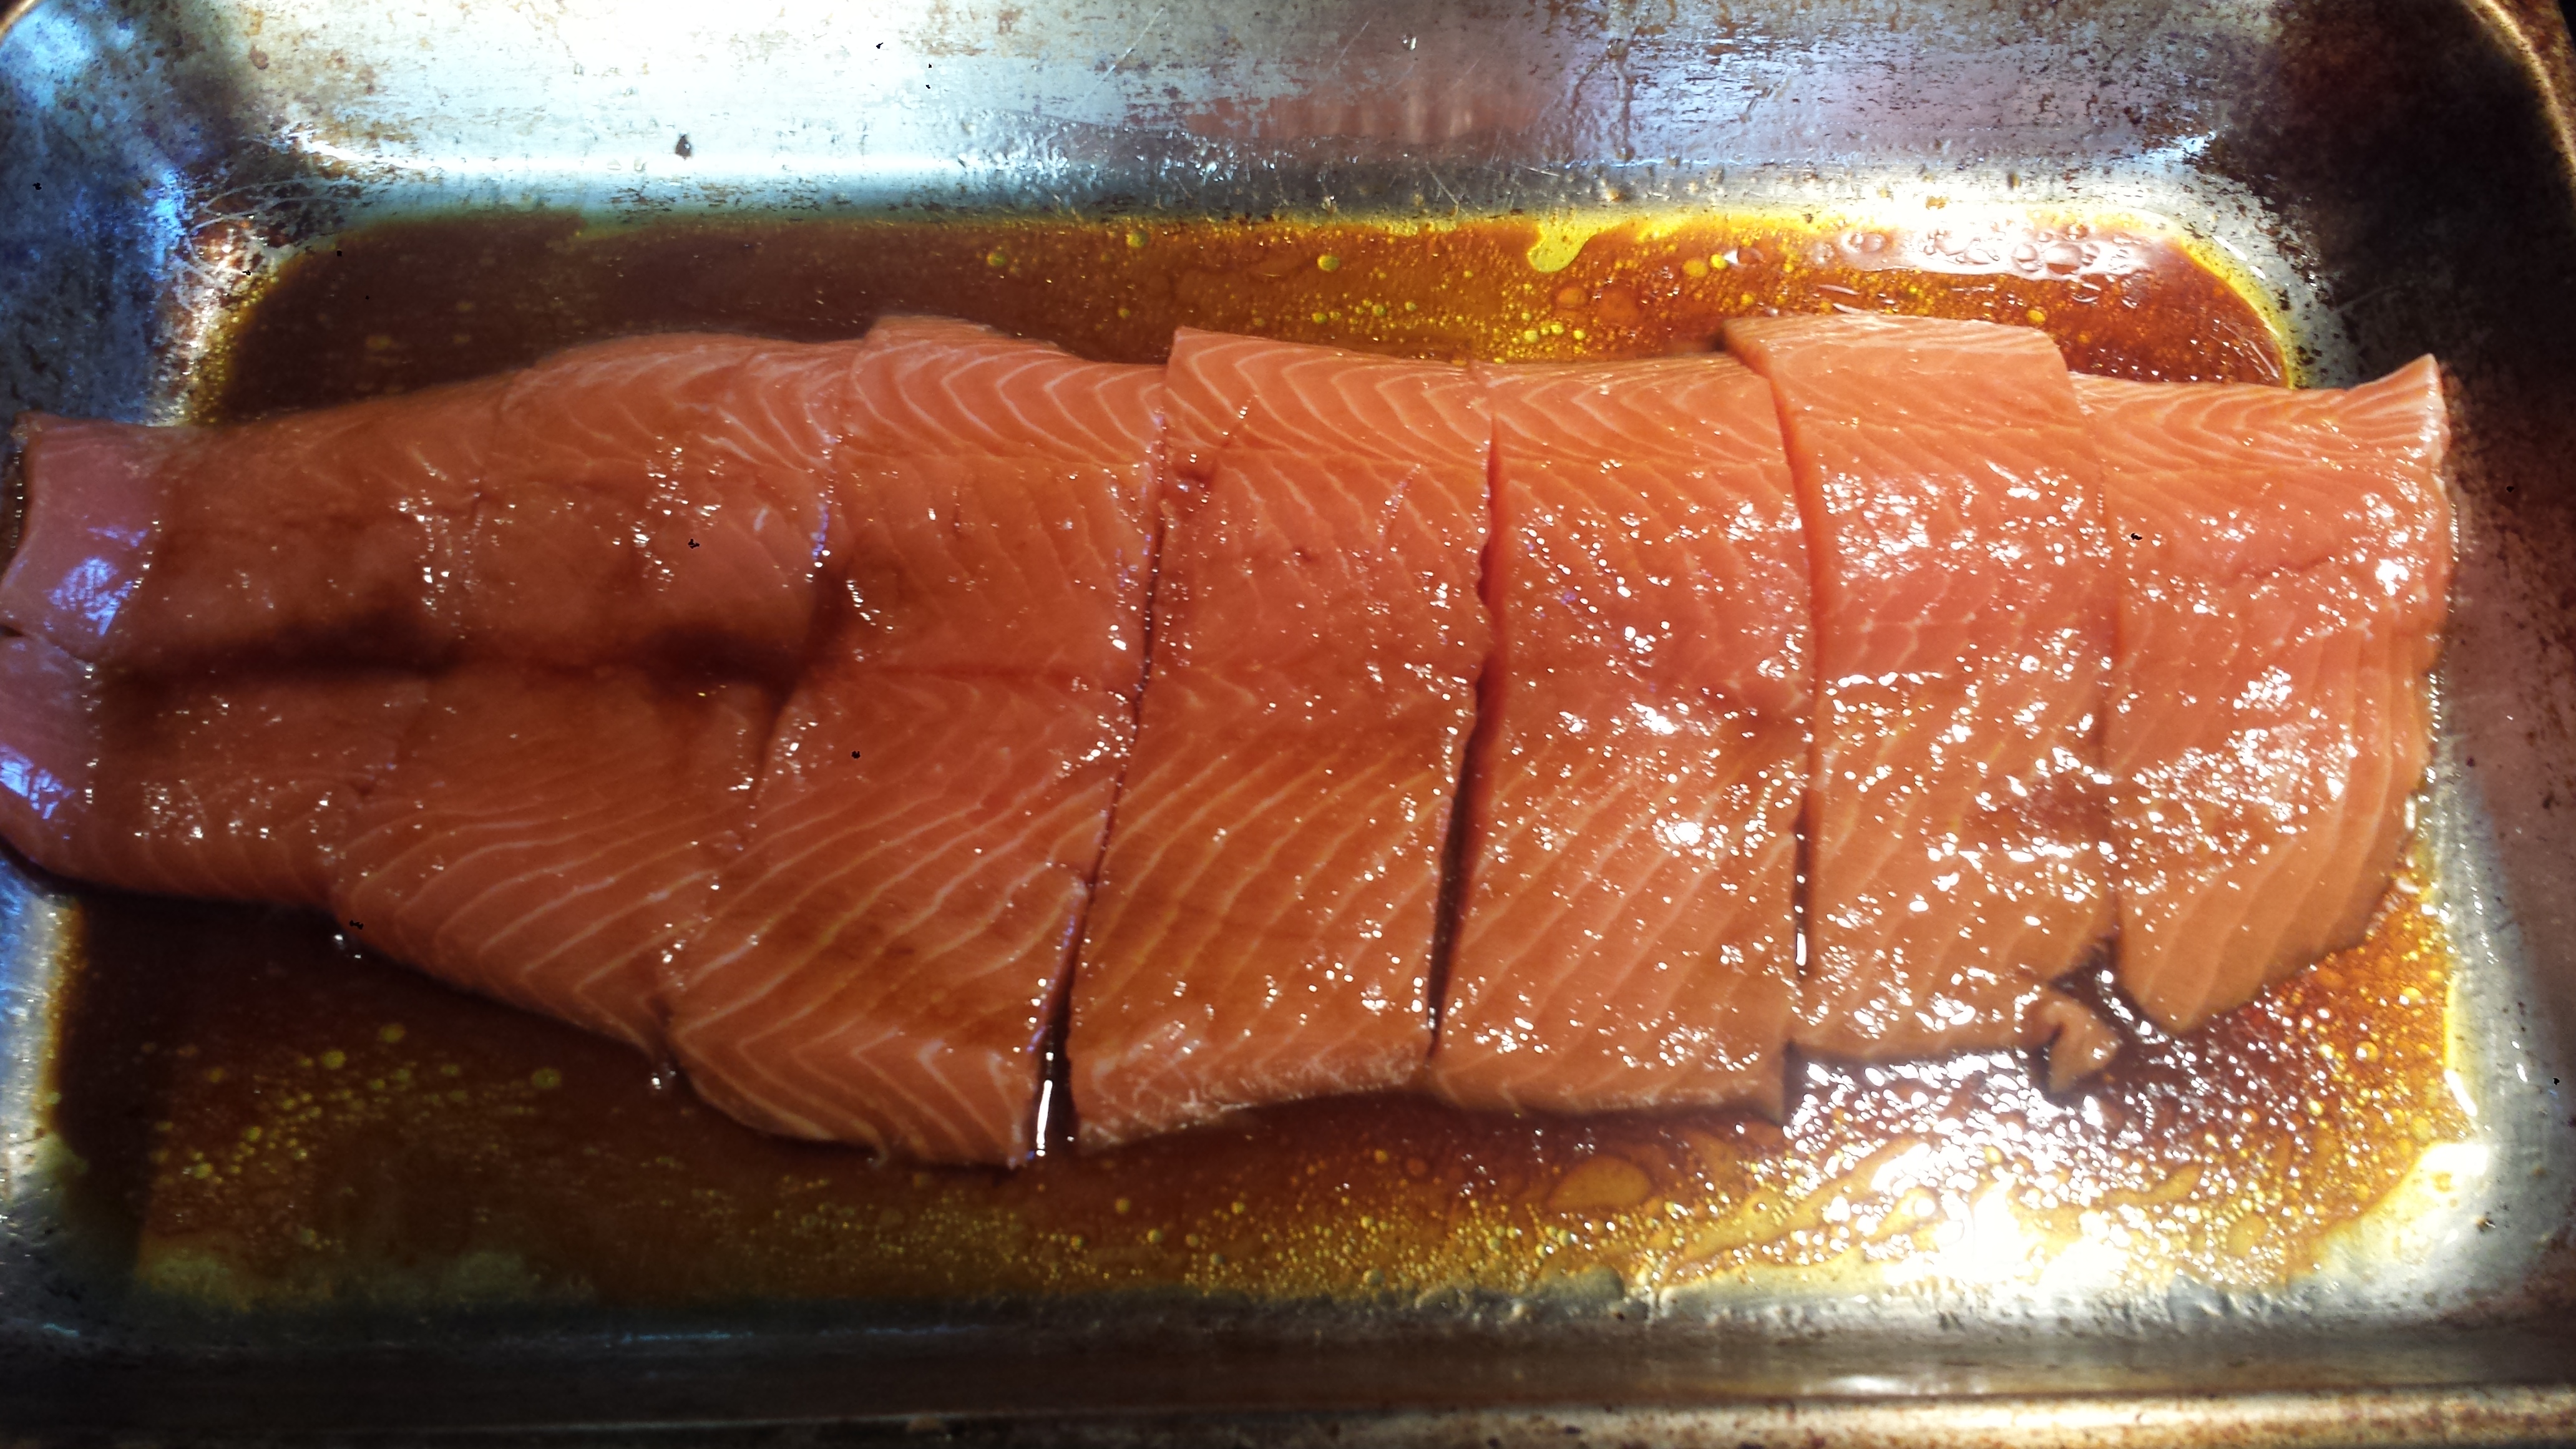
- Rinse and dry salmon filet and place in a large baking dish. Slice into serving sized portions if not already done. Combine olive oil, soy sauce, lemon juice sesame oil and honey in a small bowl. Pour over salmon and lift pieces of fish to make sure marinade goes under and between. Set aside until ready to cook. I like to spoon marinade over a few times.
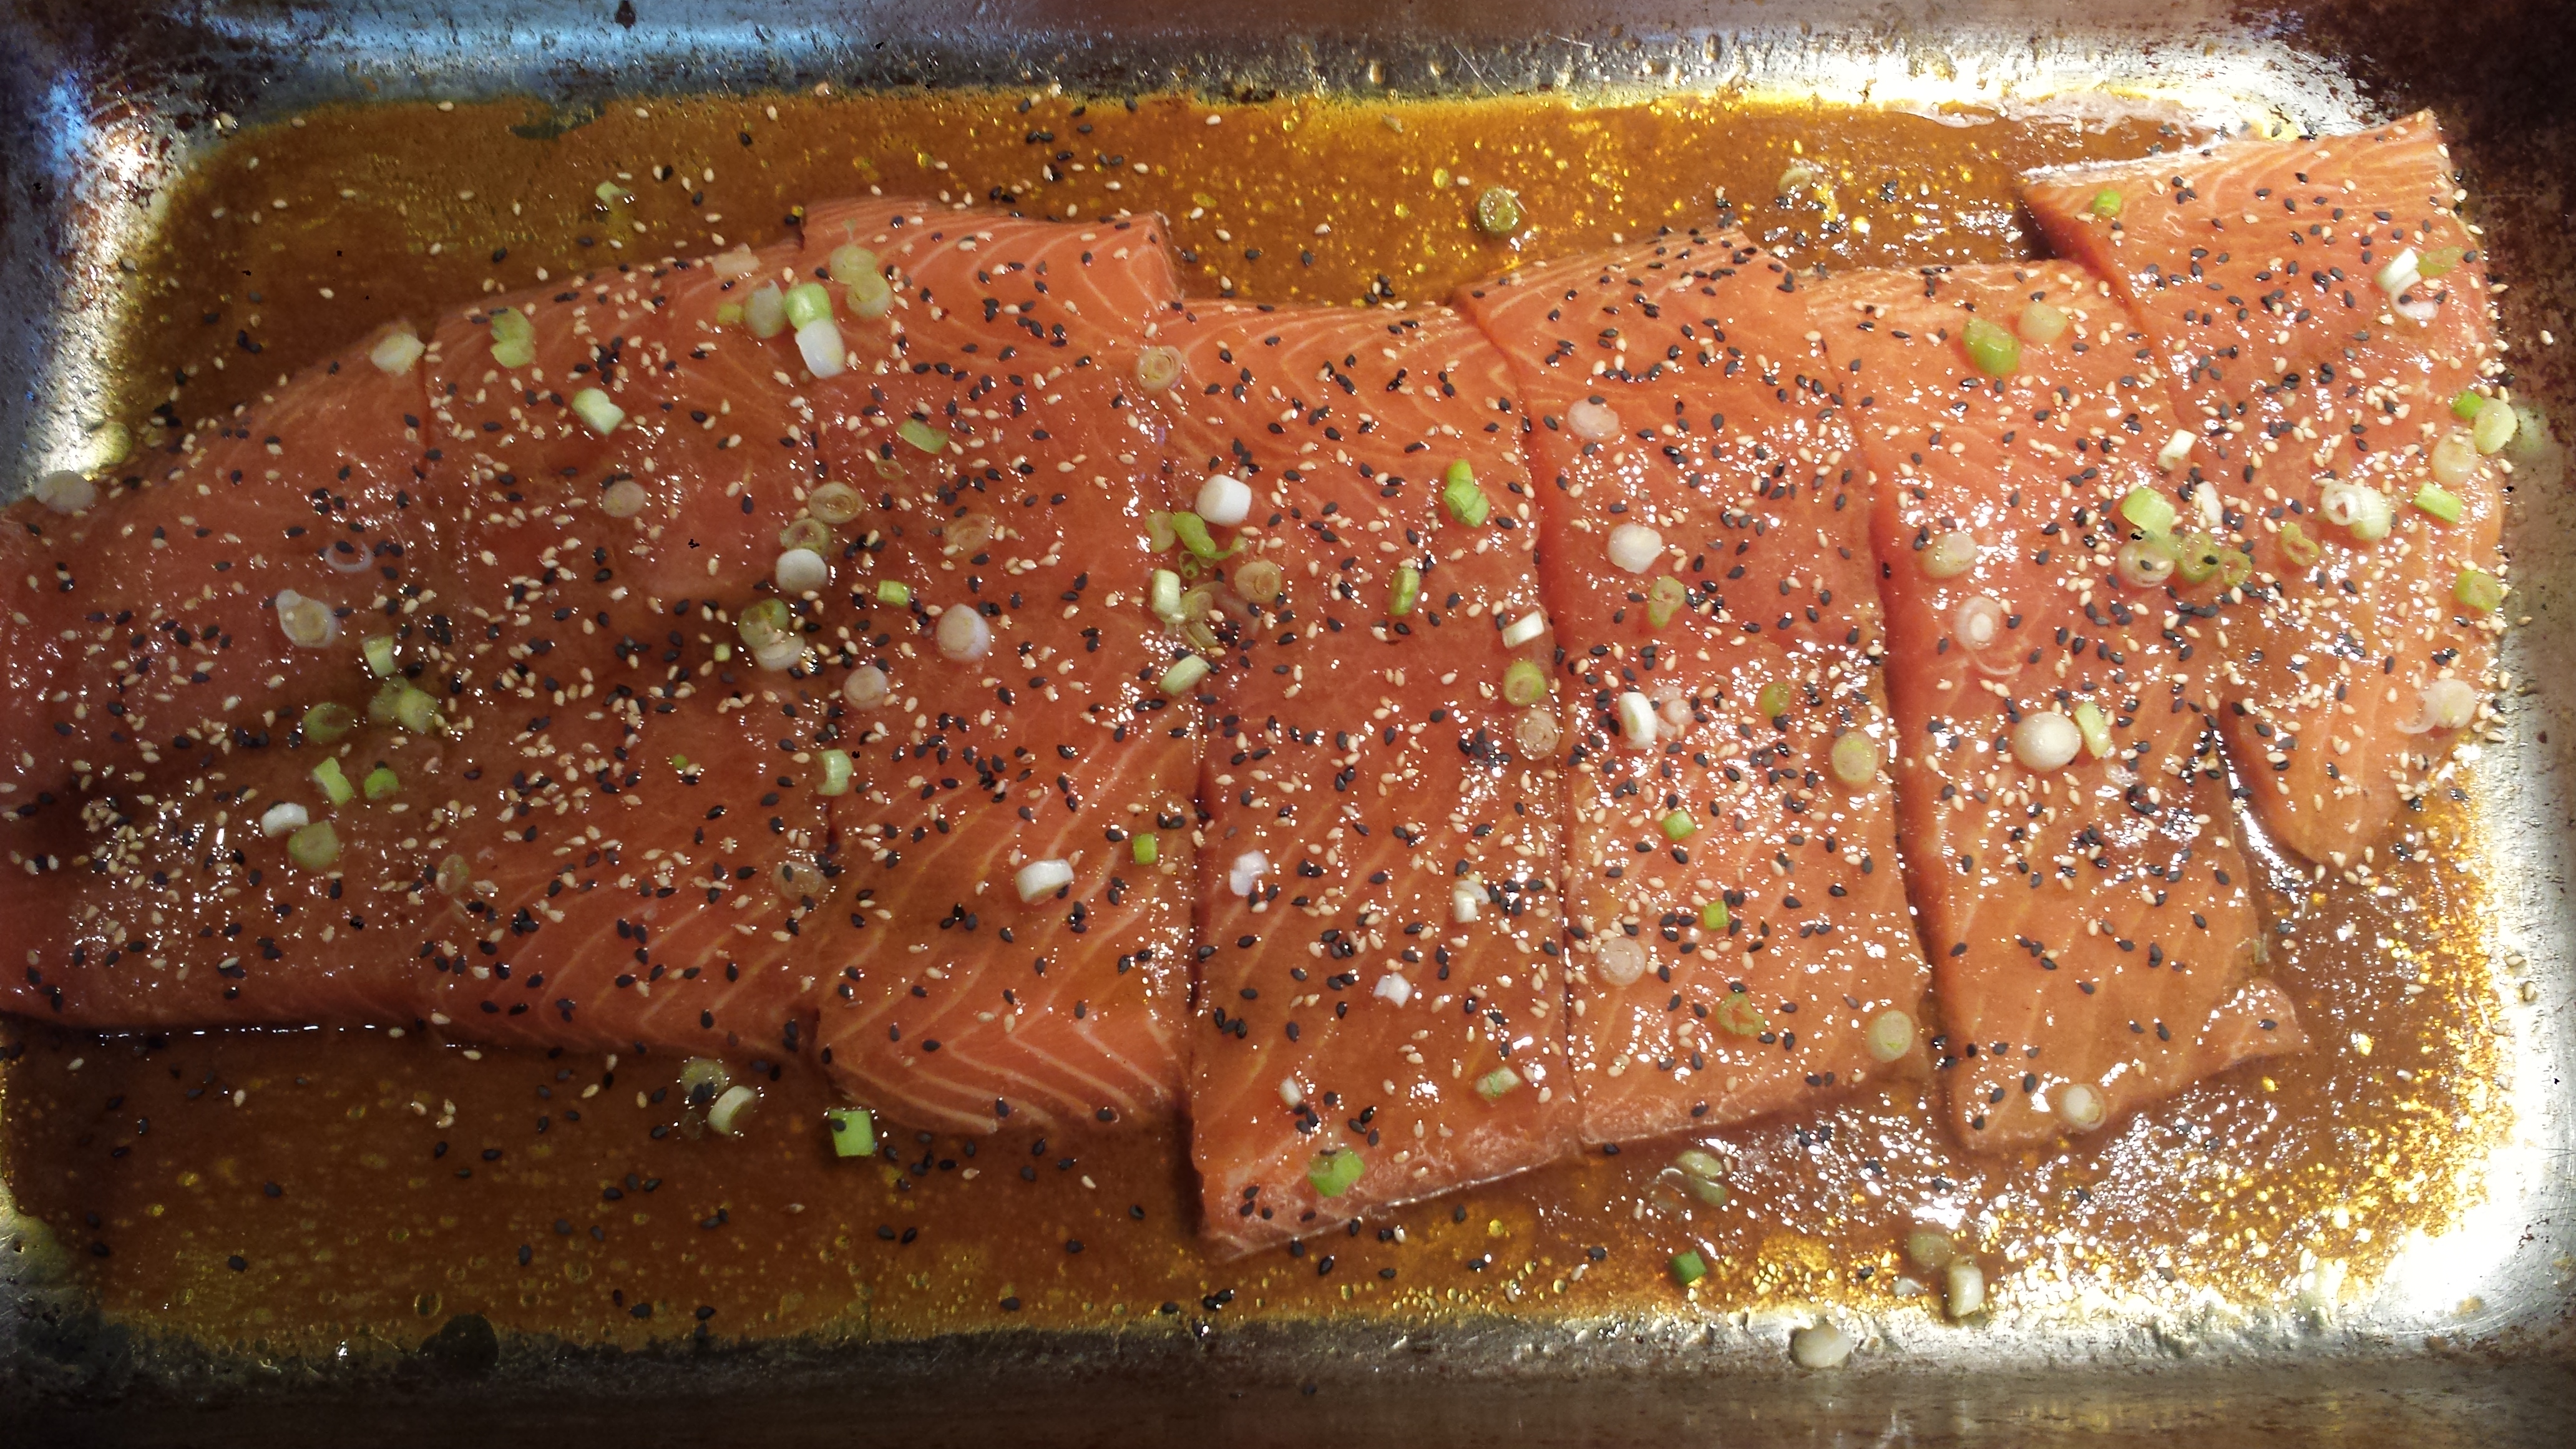
- Just before cooking, spoon marinade one last time over fish and sprinkle with sesame seeds and scallions.

- Bake at 450 for 5-6 minutes and then broil for another 4-5 minutes (rule of thumb is 4-6 minutes per half inch thickness). If you are cooking a whole side of salmon without pre-cutting slices, the cooking time will be longer. Fish should be lightly browned and easy to flake into sections.
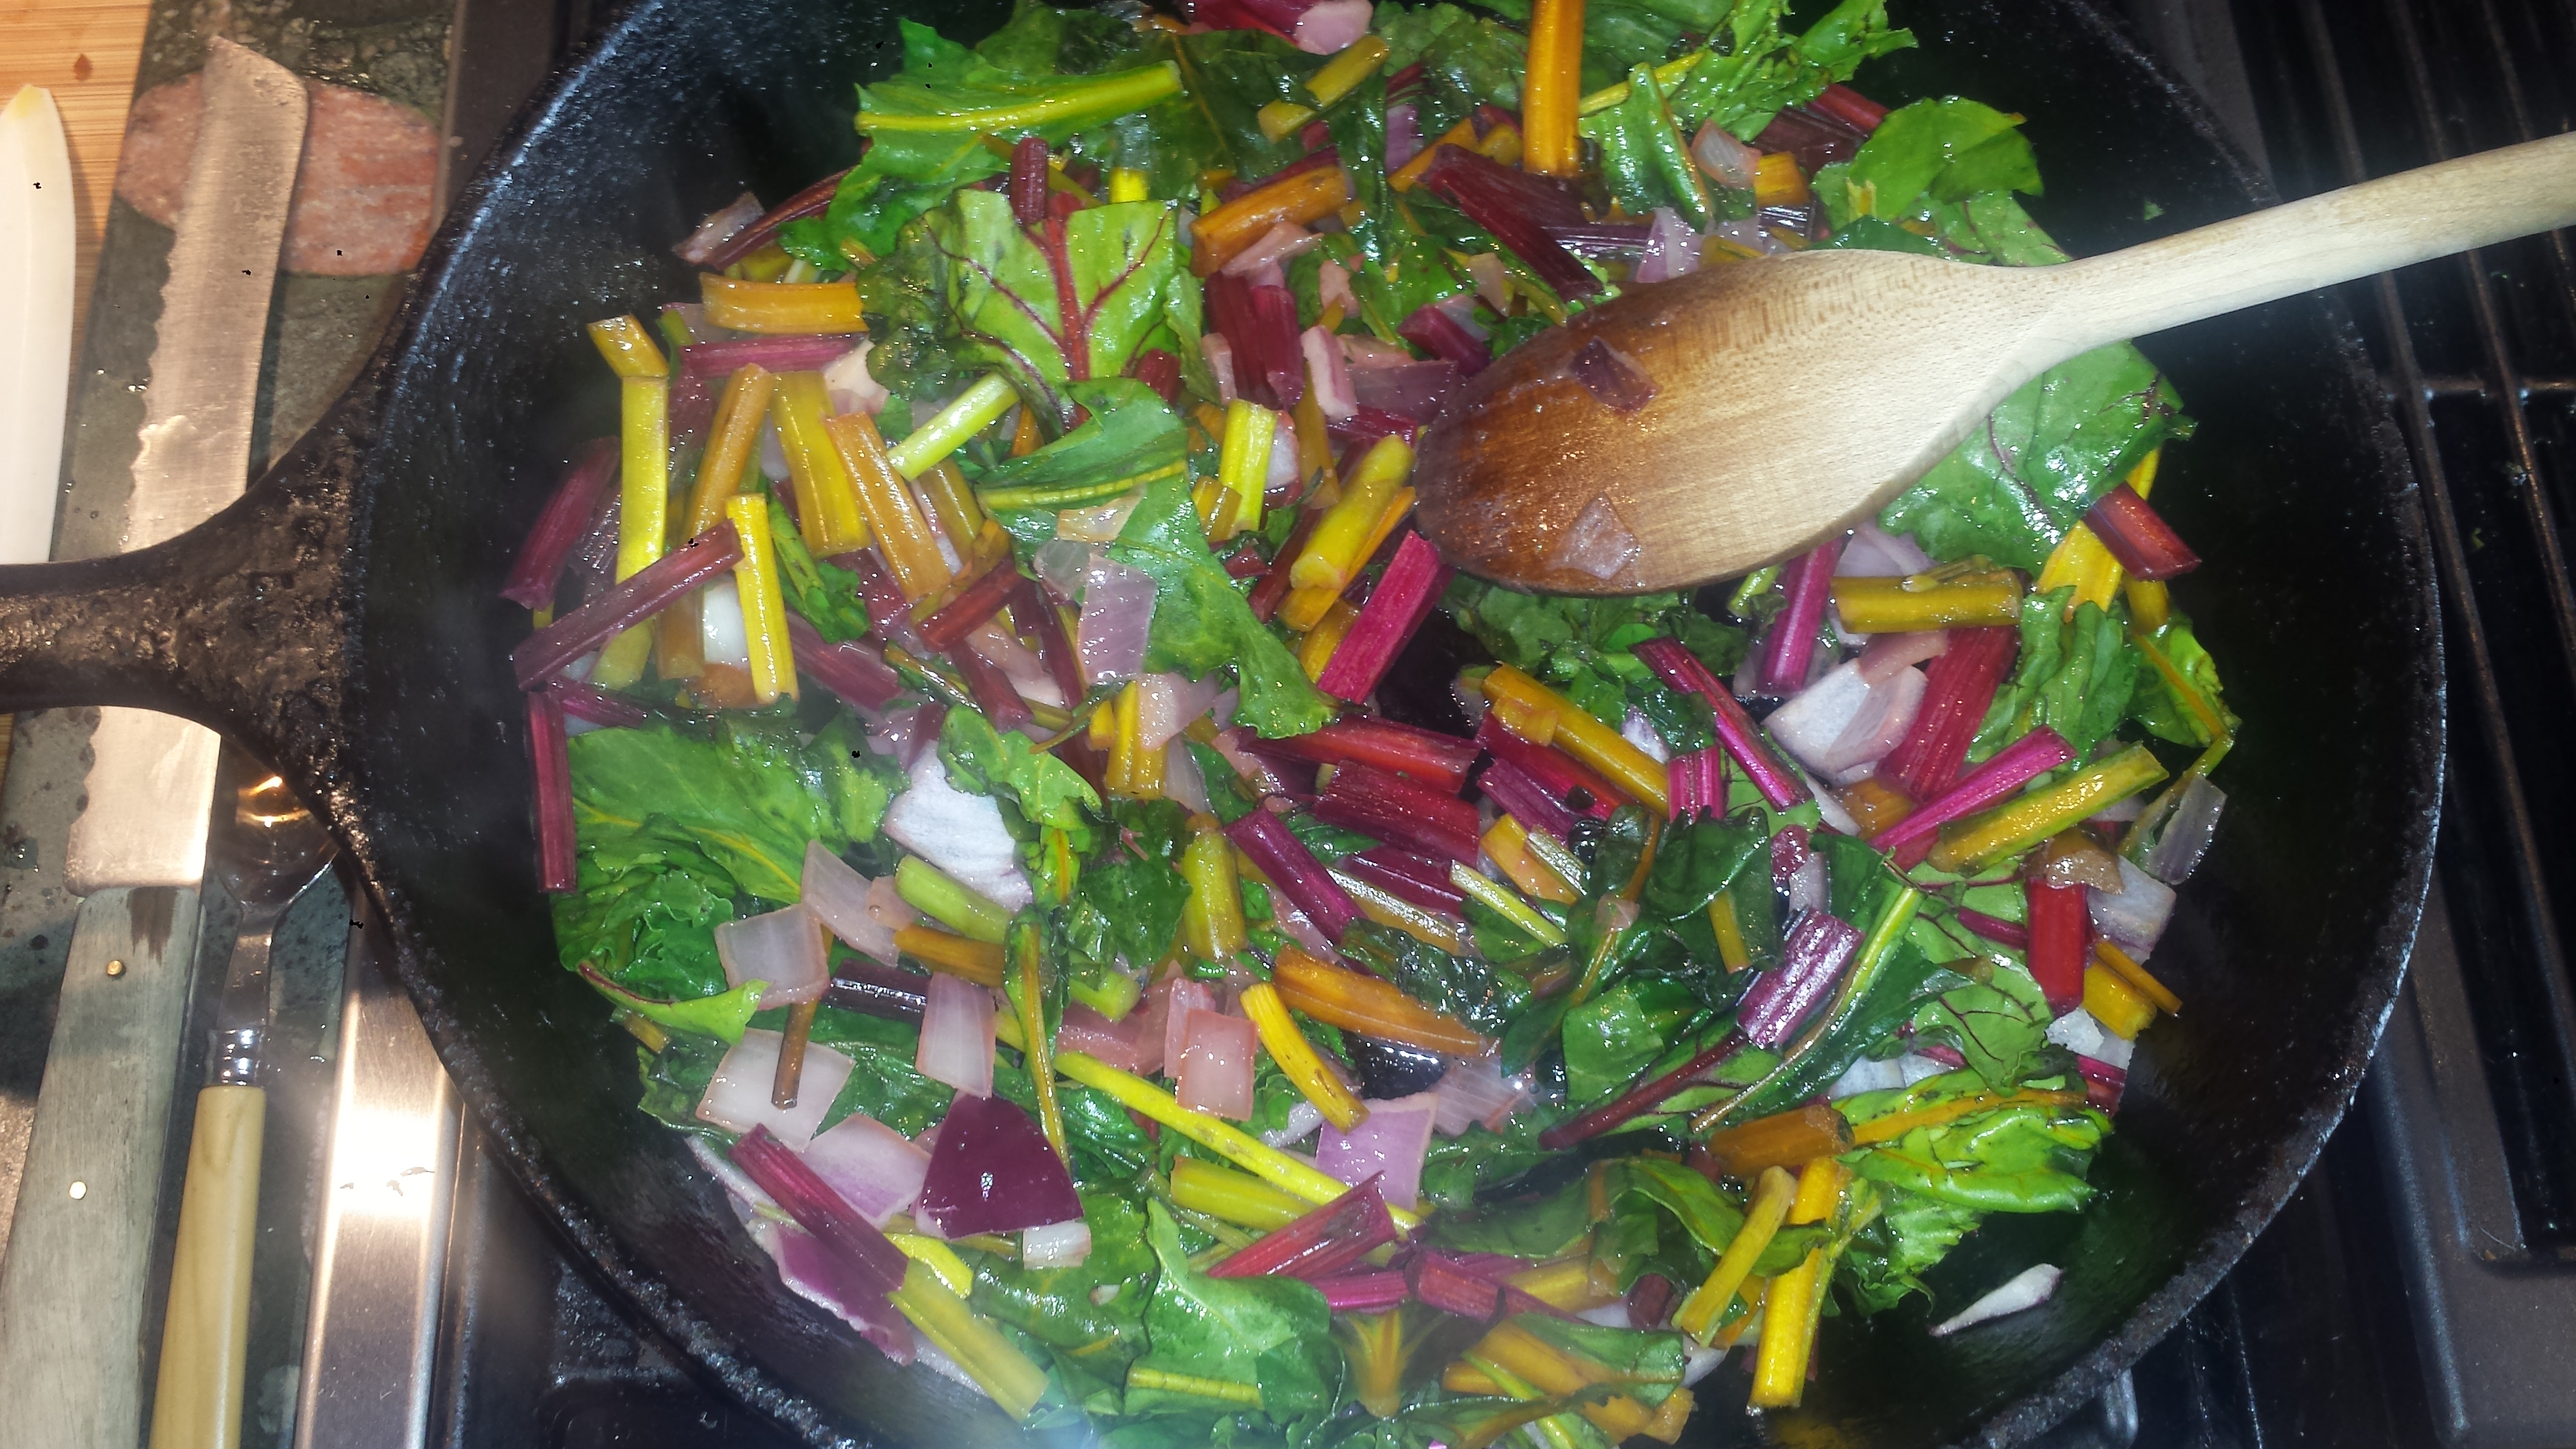
- Serve with sauteed veggies and brown rice (optional)
1 1/2 lbs salmon filet (boneless and skinless)Sesame Crusted Salmon
3 Tbsn olive oil
2 Tbsn soy sauce(or wheat free or reduced options like Bragg’s Amino Acids, Tamari or fish sauce)
2 Tbsn lemon juice
1 Tbsn sesame oil
1 Tbsn honey (or more to taste)
1 Tbsn white sesame seeds
1 Tbsn black sesame seeds
2 scallions