Elegant and delicious, perfect for Mother’s Day, this beautiful torta is made with creamy ricotta, feta, spinach and fresh herbs in a pretty crust that looks like a flowery pie crust but tastes like french fries. Not kidding! I warned that this week was all about Mother’s Day! Not that this dish can only be made for a special occasion, it’s just that I think all mothers deserve something beautiful and pretty on their special day. Moms are certainly worth a little extra effort to thank them for all their years of servitude wonderful mothering, which we all know is a 24/7 #lifelong #novacation job.
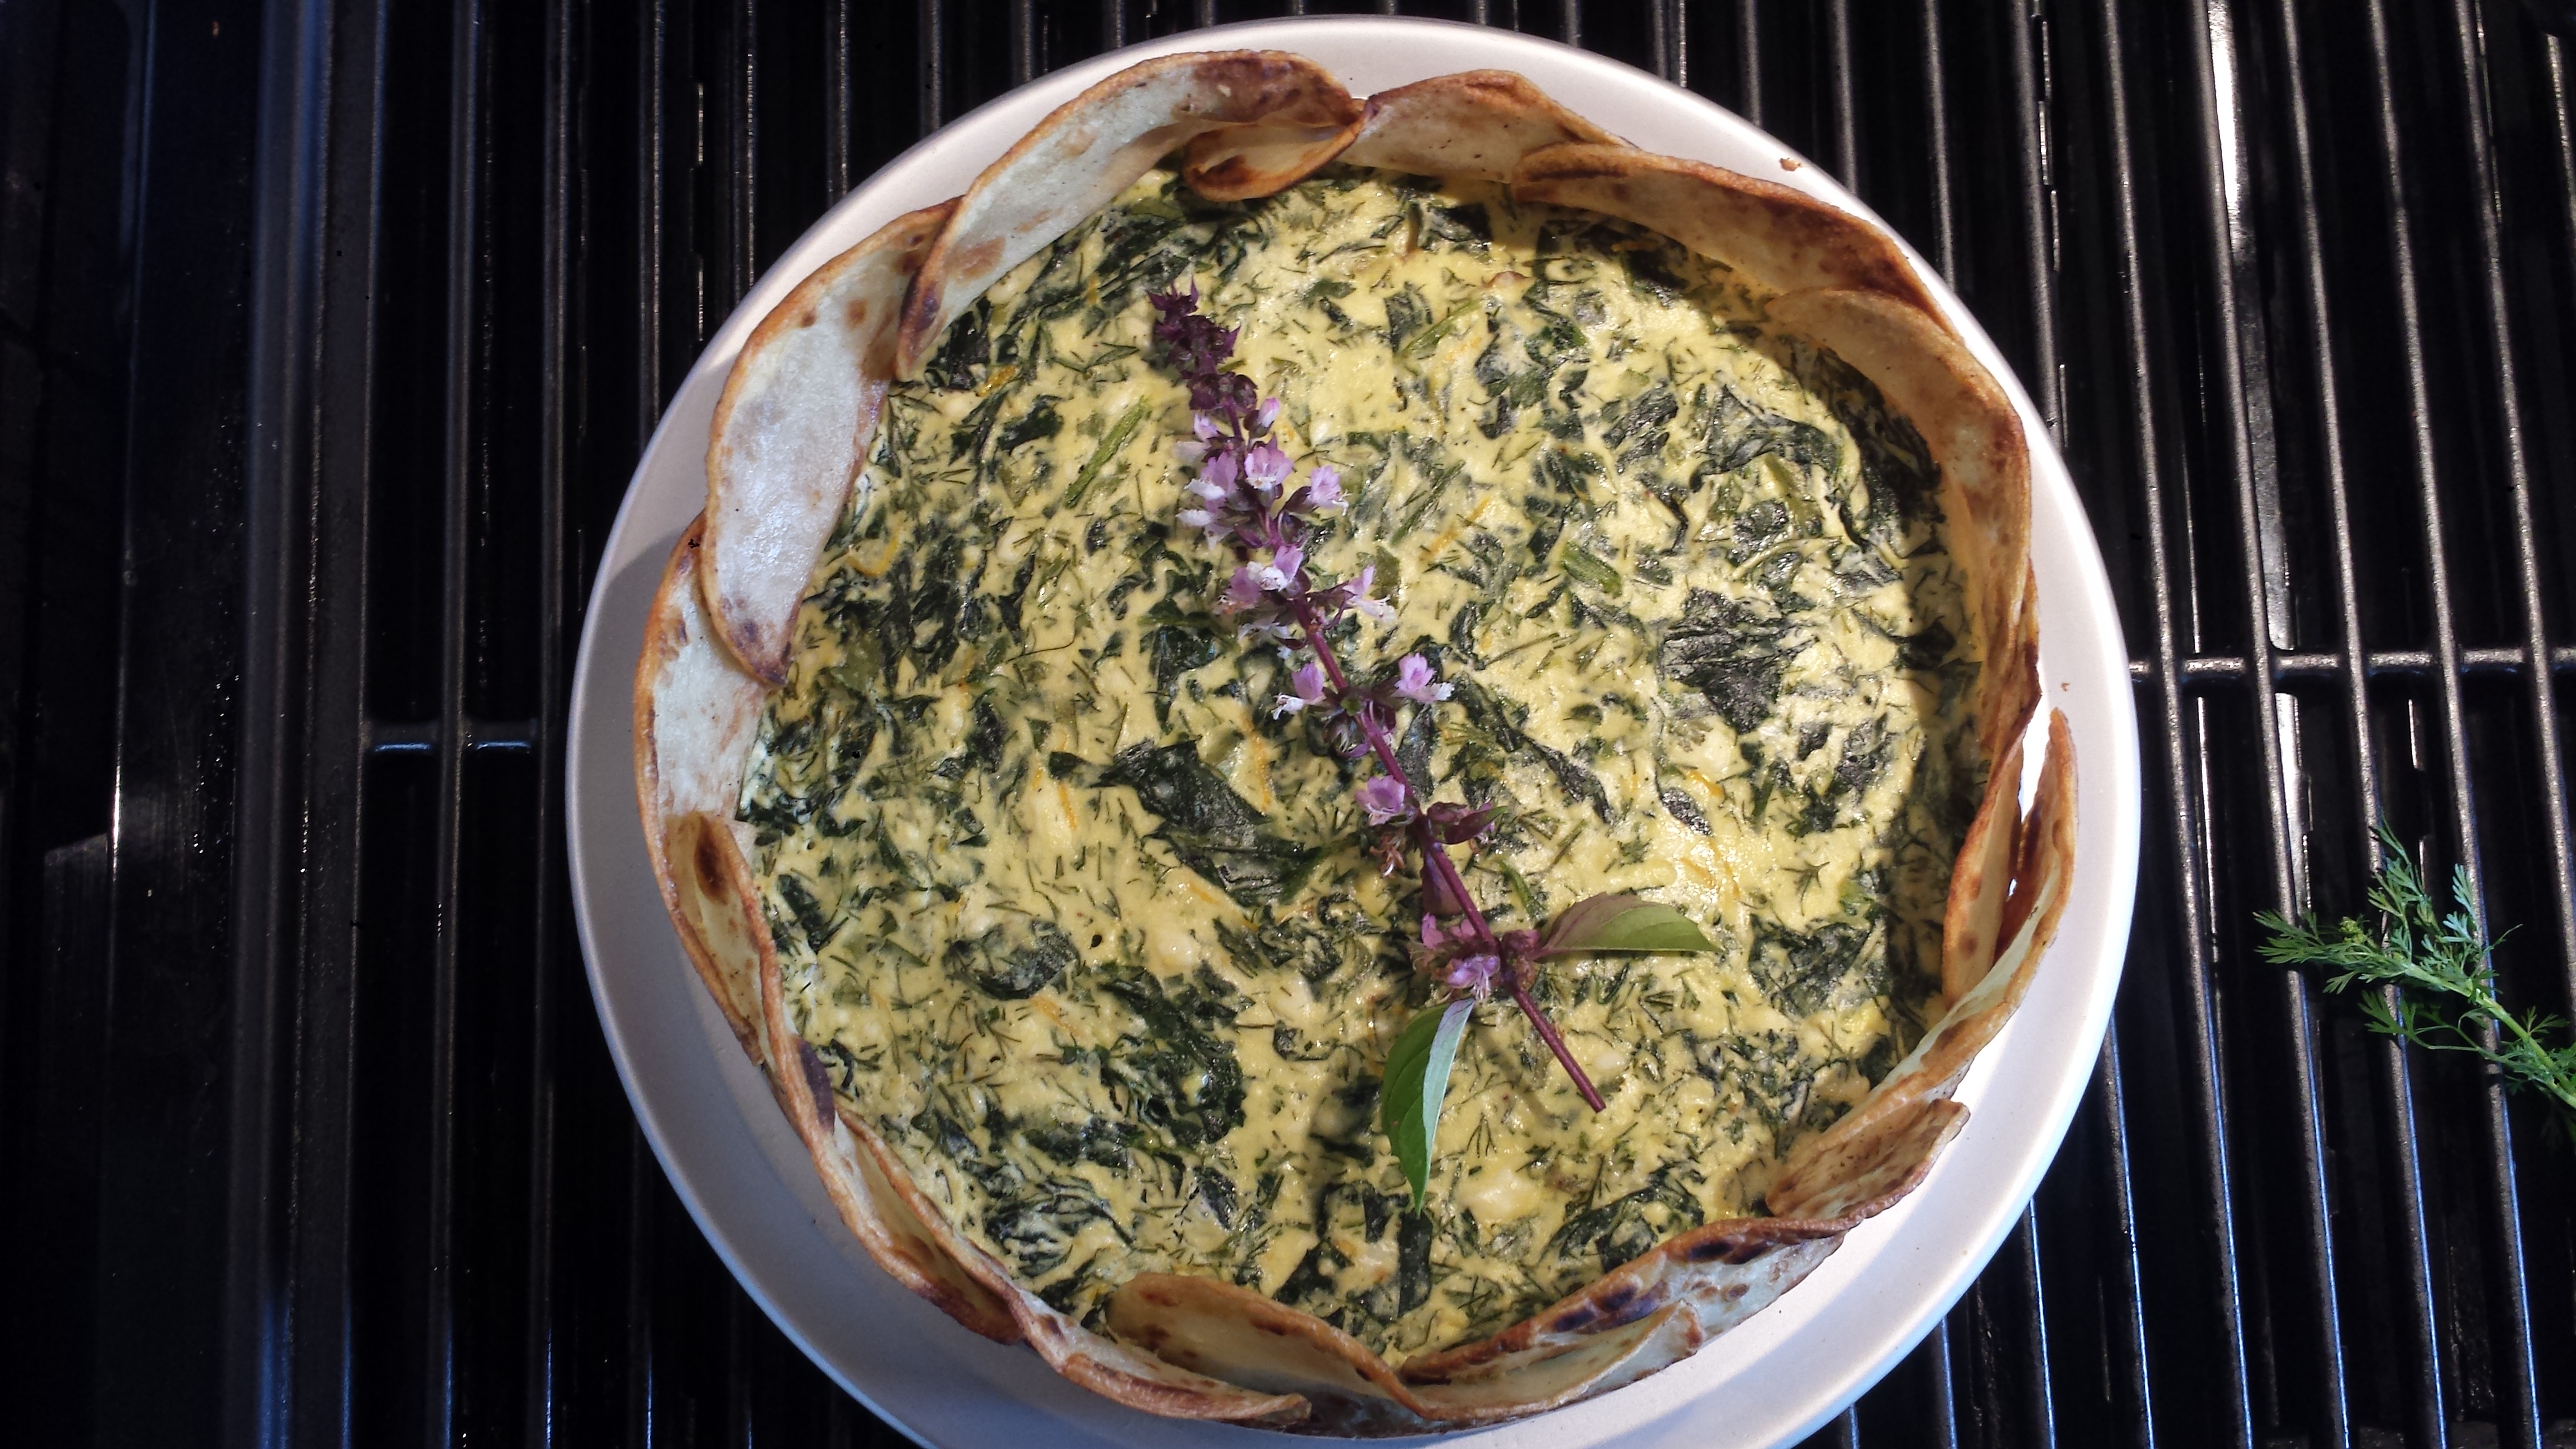
I adapted this lovely recipe from Grown To Cook but it is originally from Deborah Madison: Vegetarian Cooking for Everyone, Revised,.so thumbs up to both of them. The ingredients are simple, typical breakfast ingredients you would use to make an omlette and hash browns. With a bit of effort, you can turn them into a showpiece, great for a brunch or garden party. It’s not hard to make but cooking the potatoes first takes a bit of time since they won’t all fit in the pan at the same time. Otherwise it’s pretty easy to assemble. Potatoes are the ultimate gluten free crust substitute. Nutritionally speaking, potatoes win hands down over traditional crusts made with white flour and lard/butter. Potatoes are complex carbohydrates and a great source of vitamin C, potassium (one potato has more than a banana), vitamin B6 and a host of trace minerals and have NO fat, sodium or cholesterol (except for what you add). Use a good olive or avocado oil and even fried, they are still healthy.
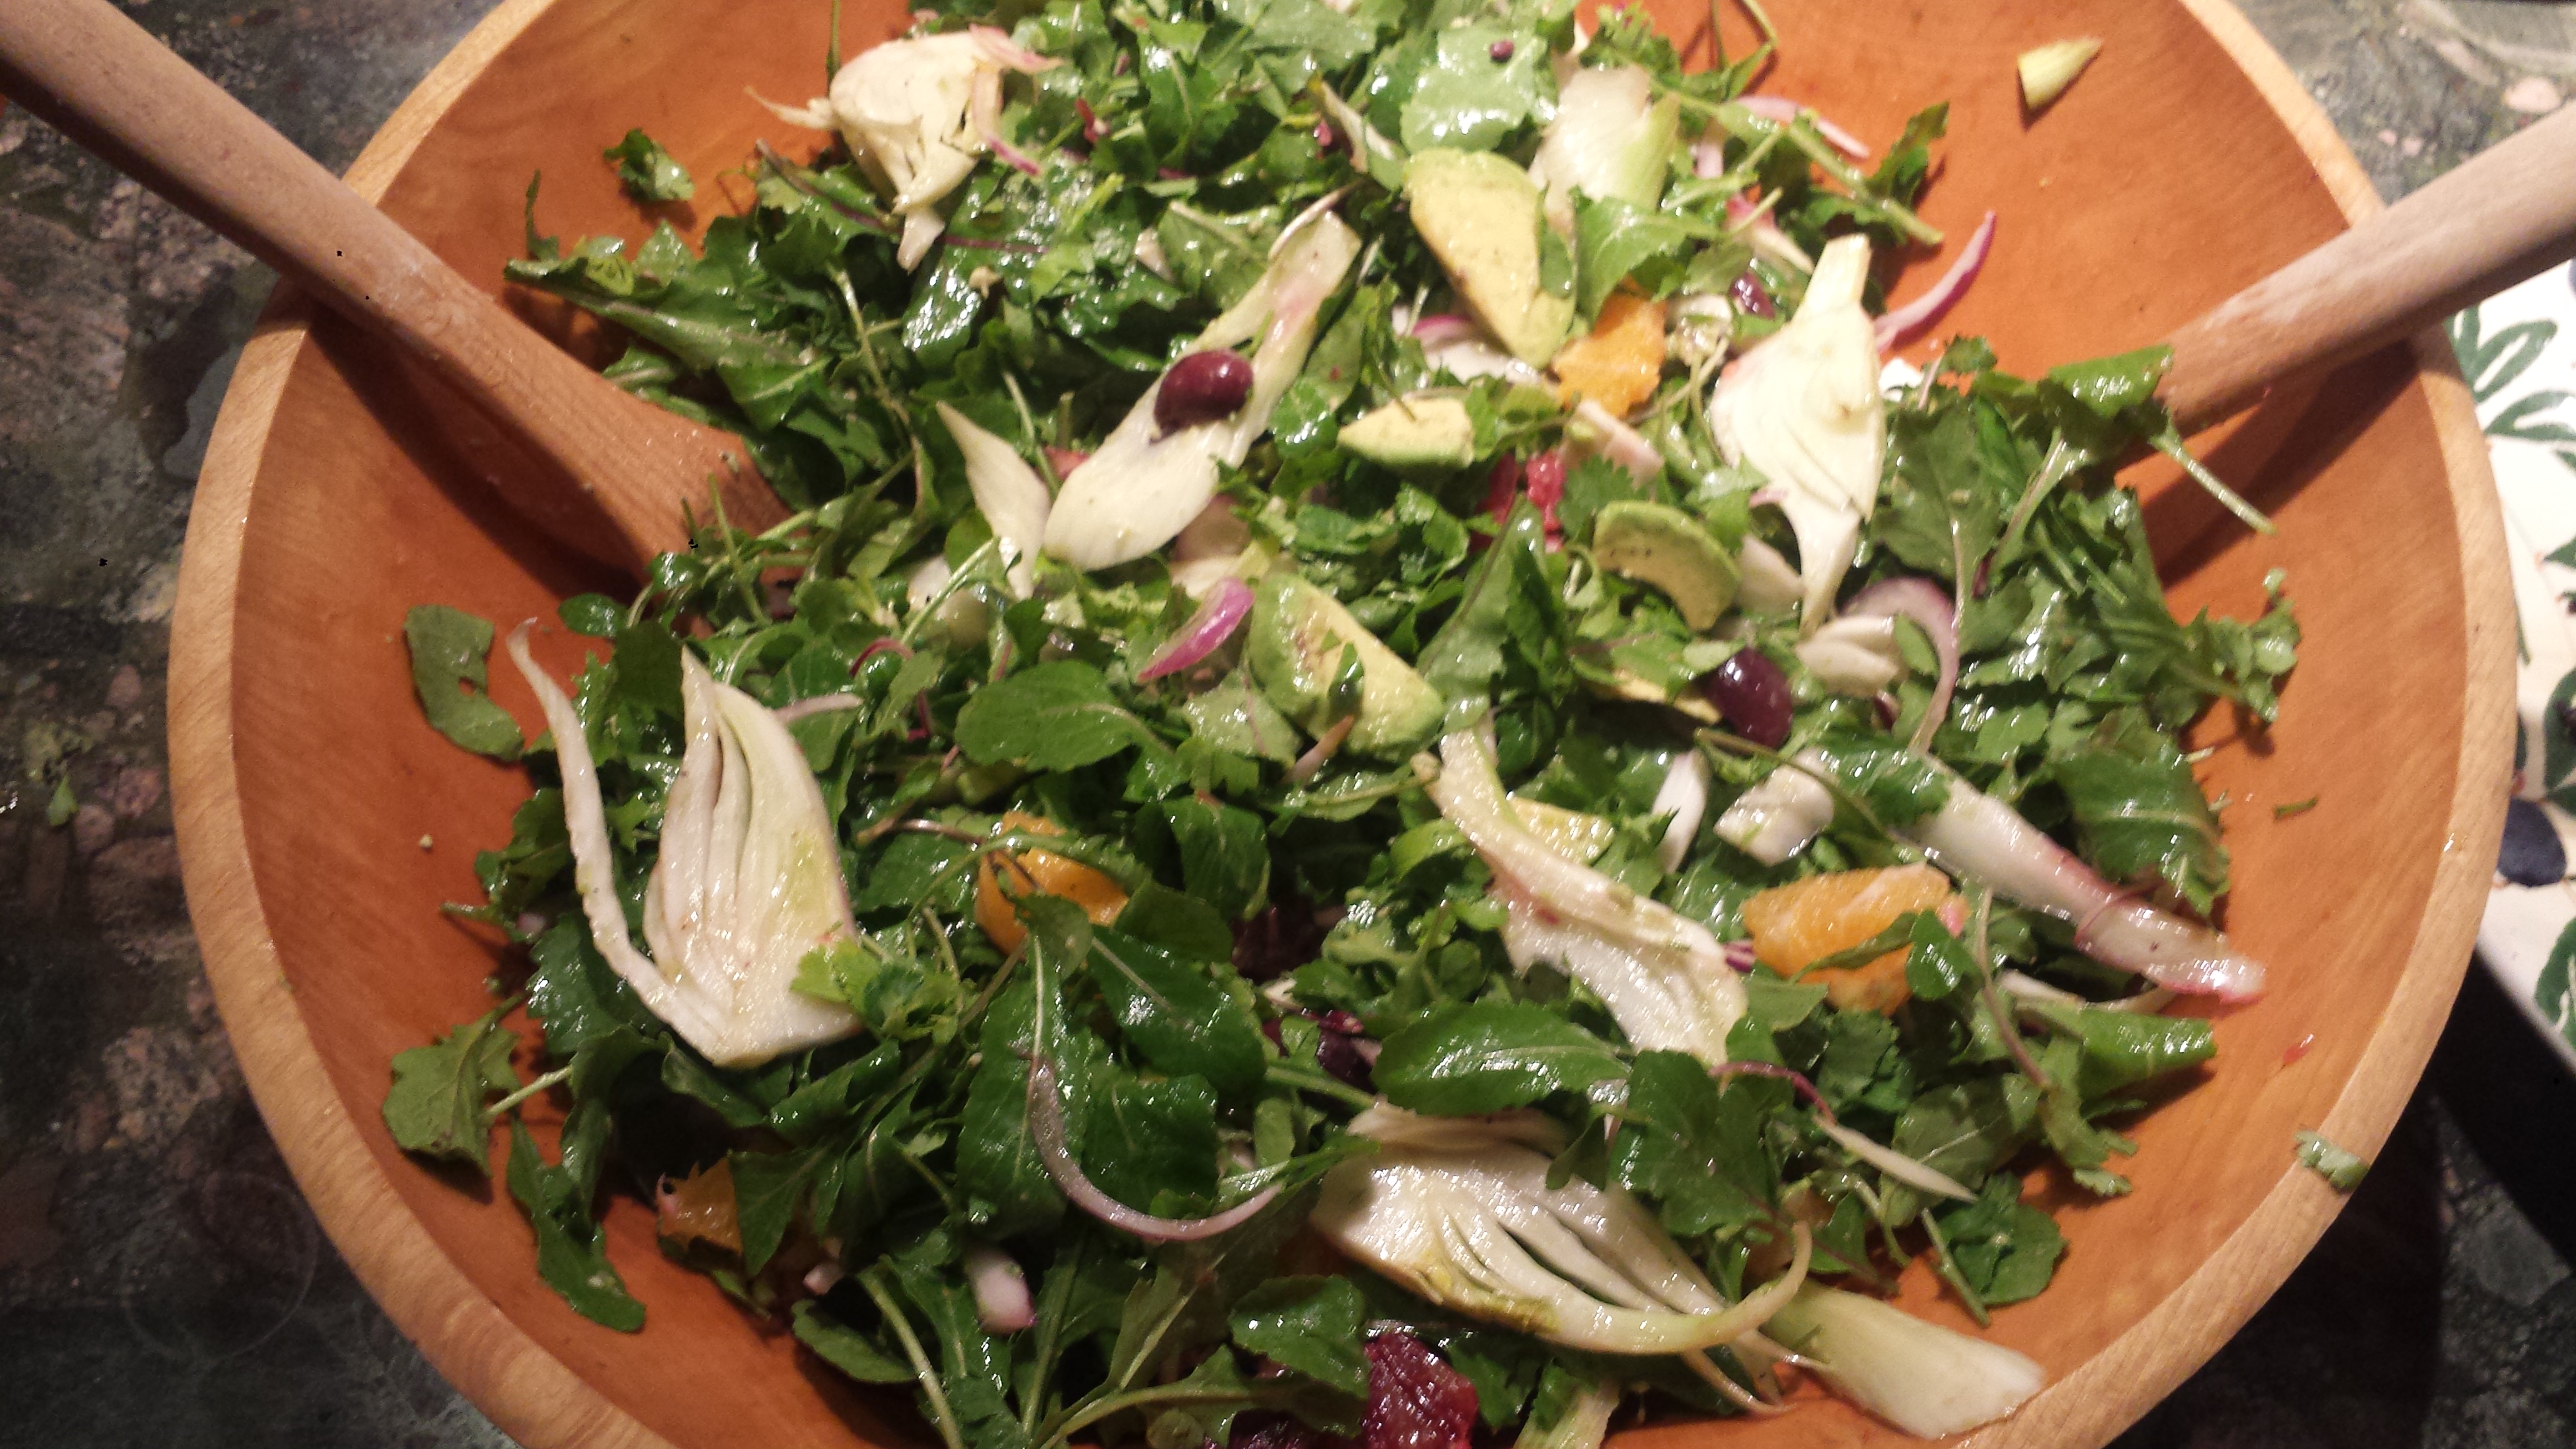
Spoiler Alert! Stay tuned. On Friday I will be posting a compilation of 10 ideas to make for your Mother’s Day brunch, lunch or dinner.

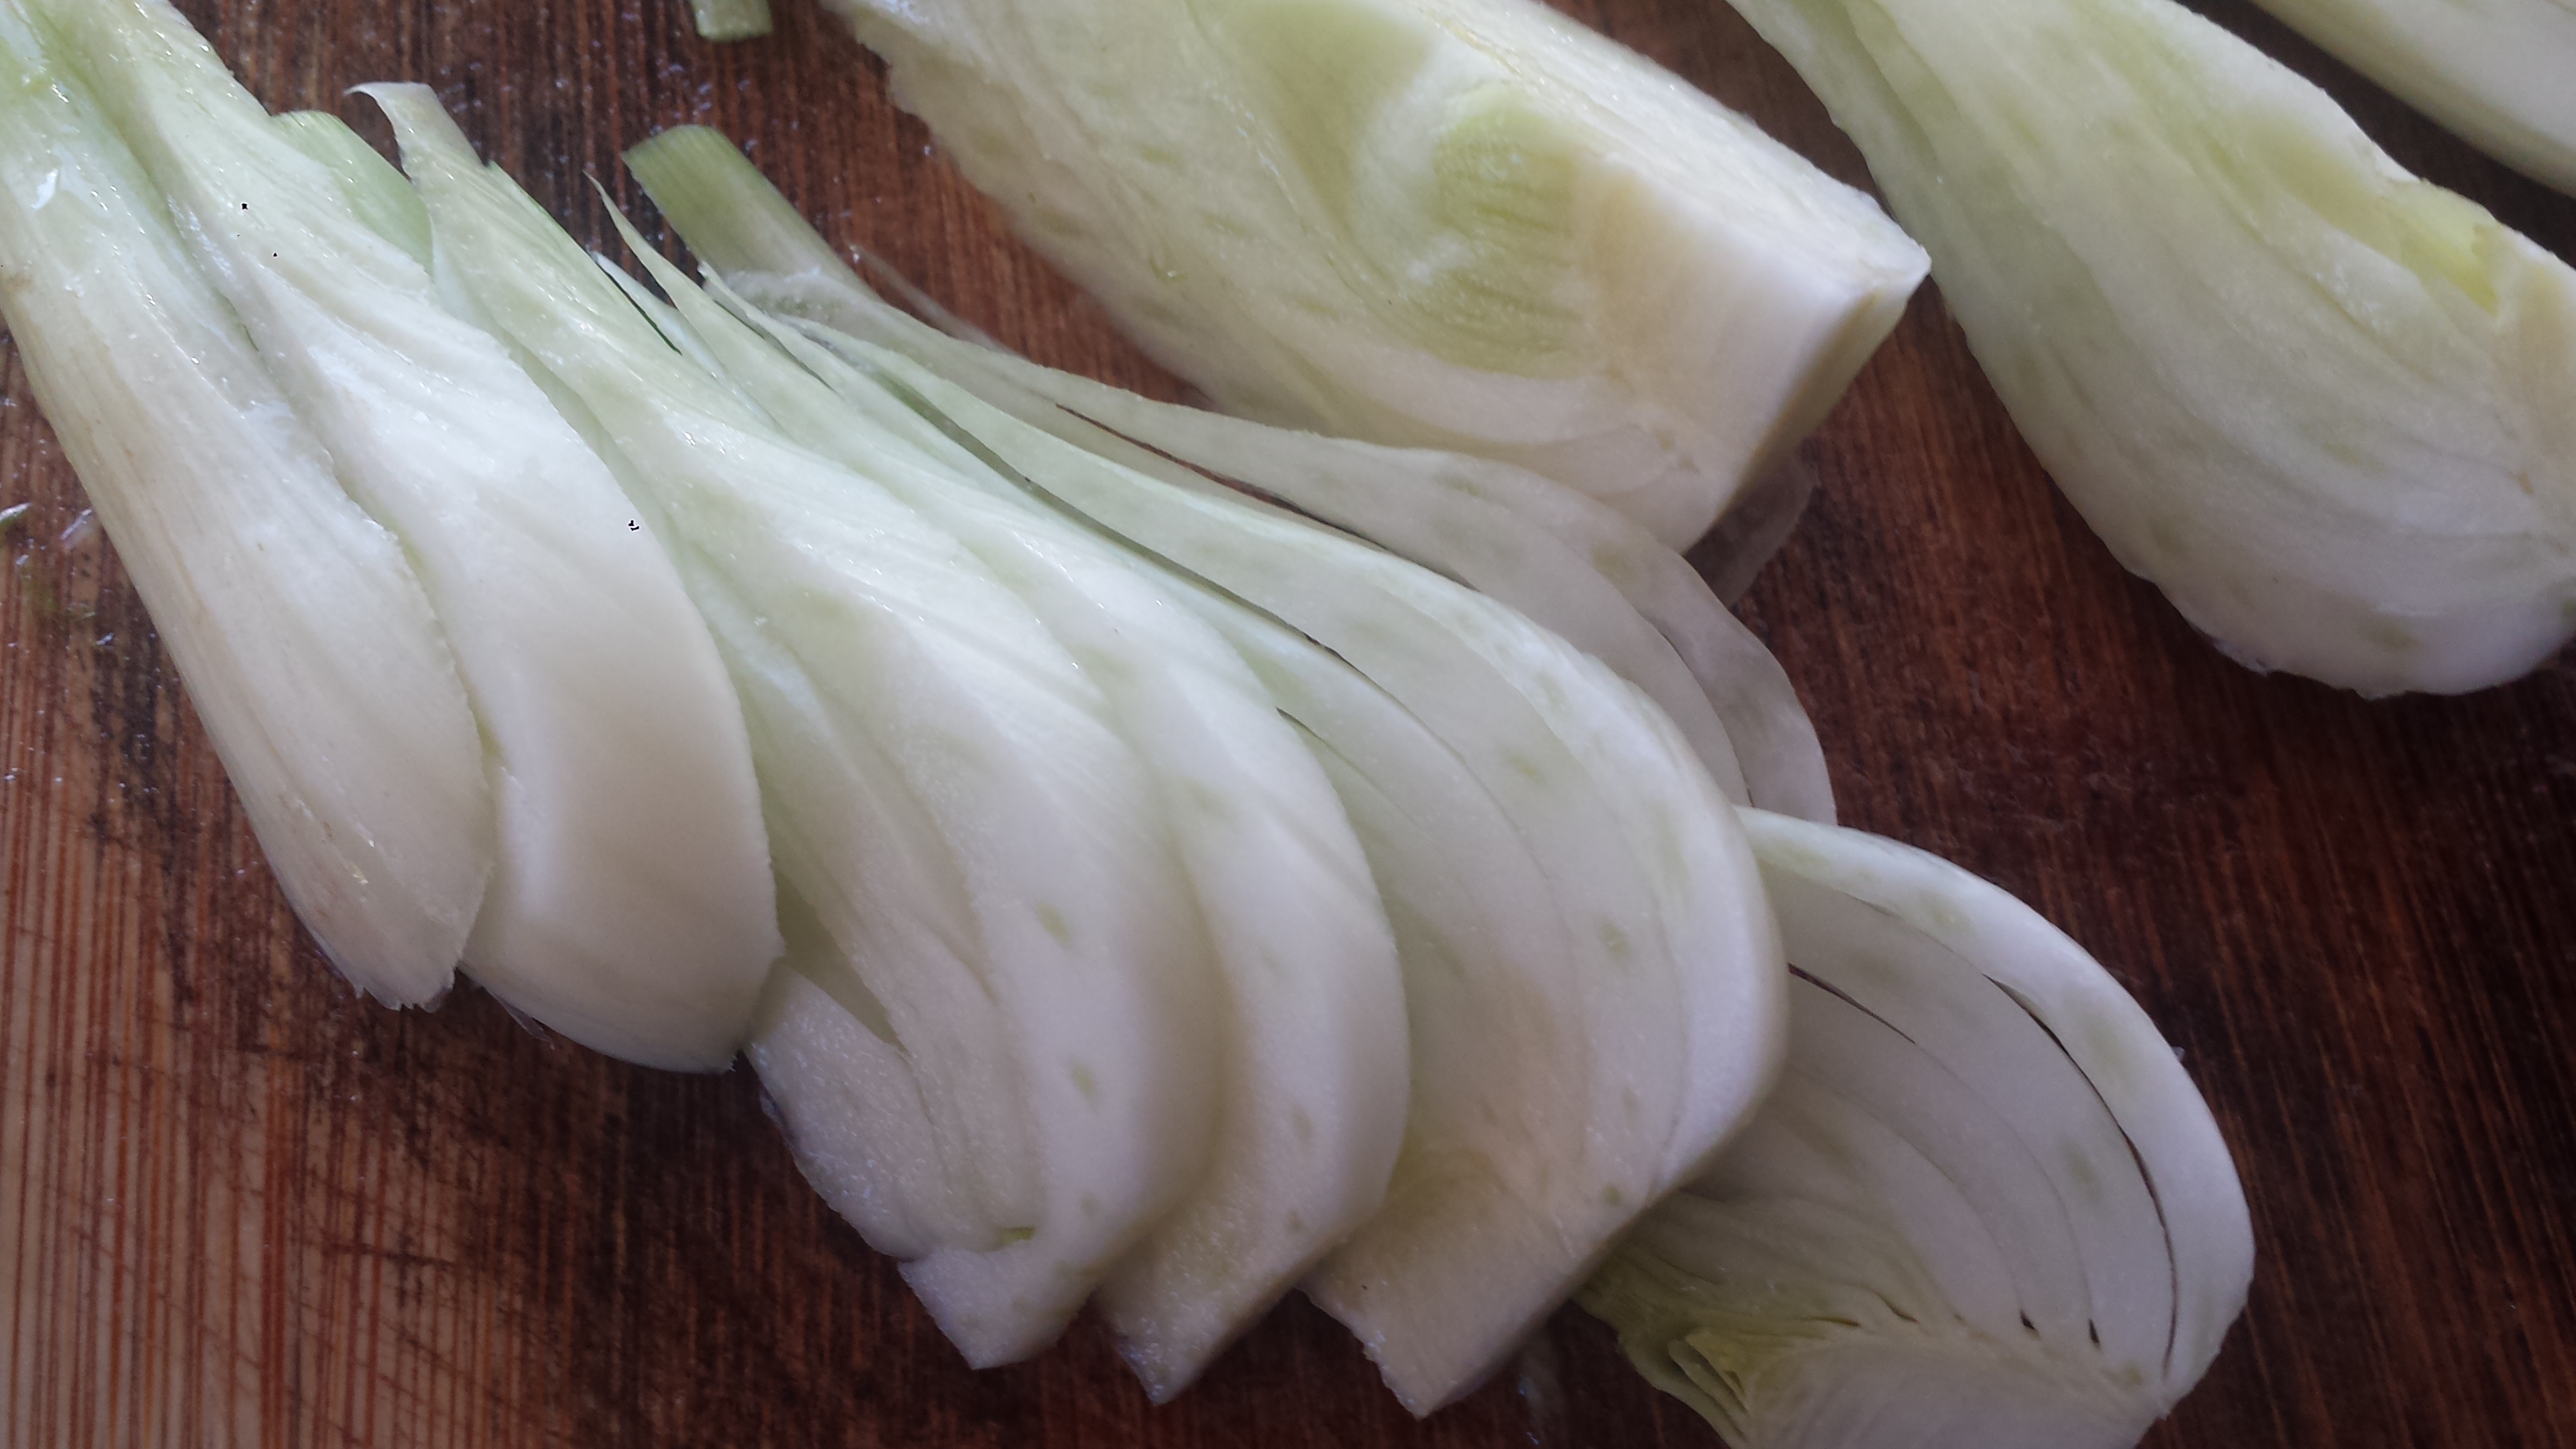
TIPS: I used my fancy new mandolin to slice the potatoes and loved the perfection of each thin slice. I gave away my ‘professional’ mandolin, the one that real chefs use with lots of parts and adjustments, after my friend sliced off the end of her finger. I just didn’t trust it any more. This one, however, I would feel comfortable letting inexperienced or young cooks use (with supervision, of course). I also used a springform pan which makes the torta removal very easy, as you just release the spring and the sides magically come off. Springform pans come in many sizes. This recipe is for a 9 1/2 inch round springform pan which is on the smaller side. If you have a larger pan, you may want to double the filling recipe or make 1 1/2 times the amount listed or your filling will be quite thin. For the size of my pan (10 1/2), I should have made 1 1/2 times the filling. Next time…

POTATO CRUSTED SPINACH HERB TORTA
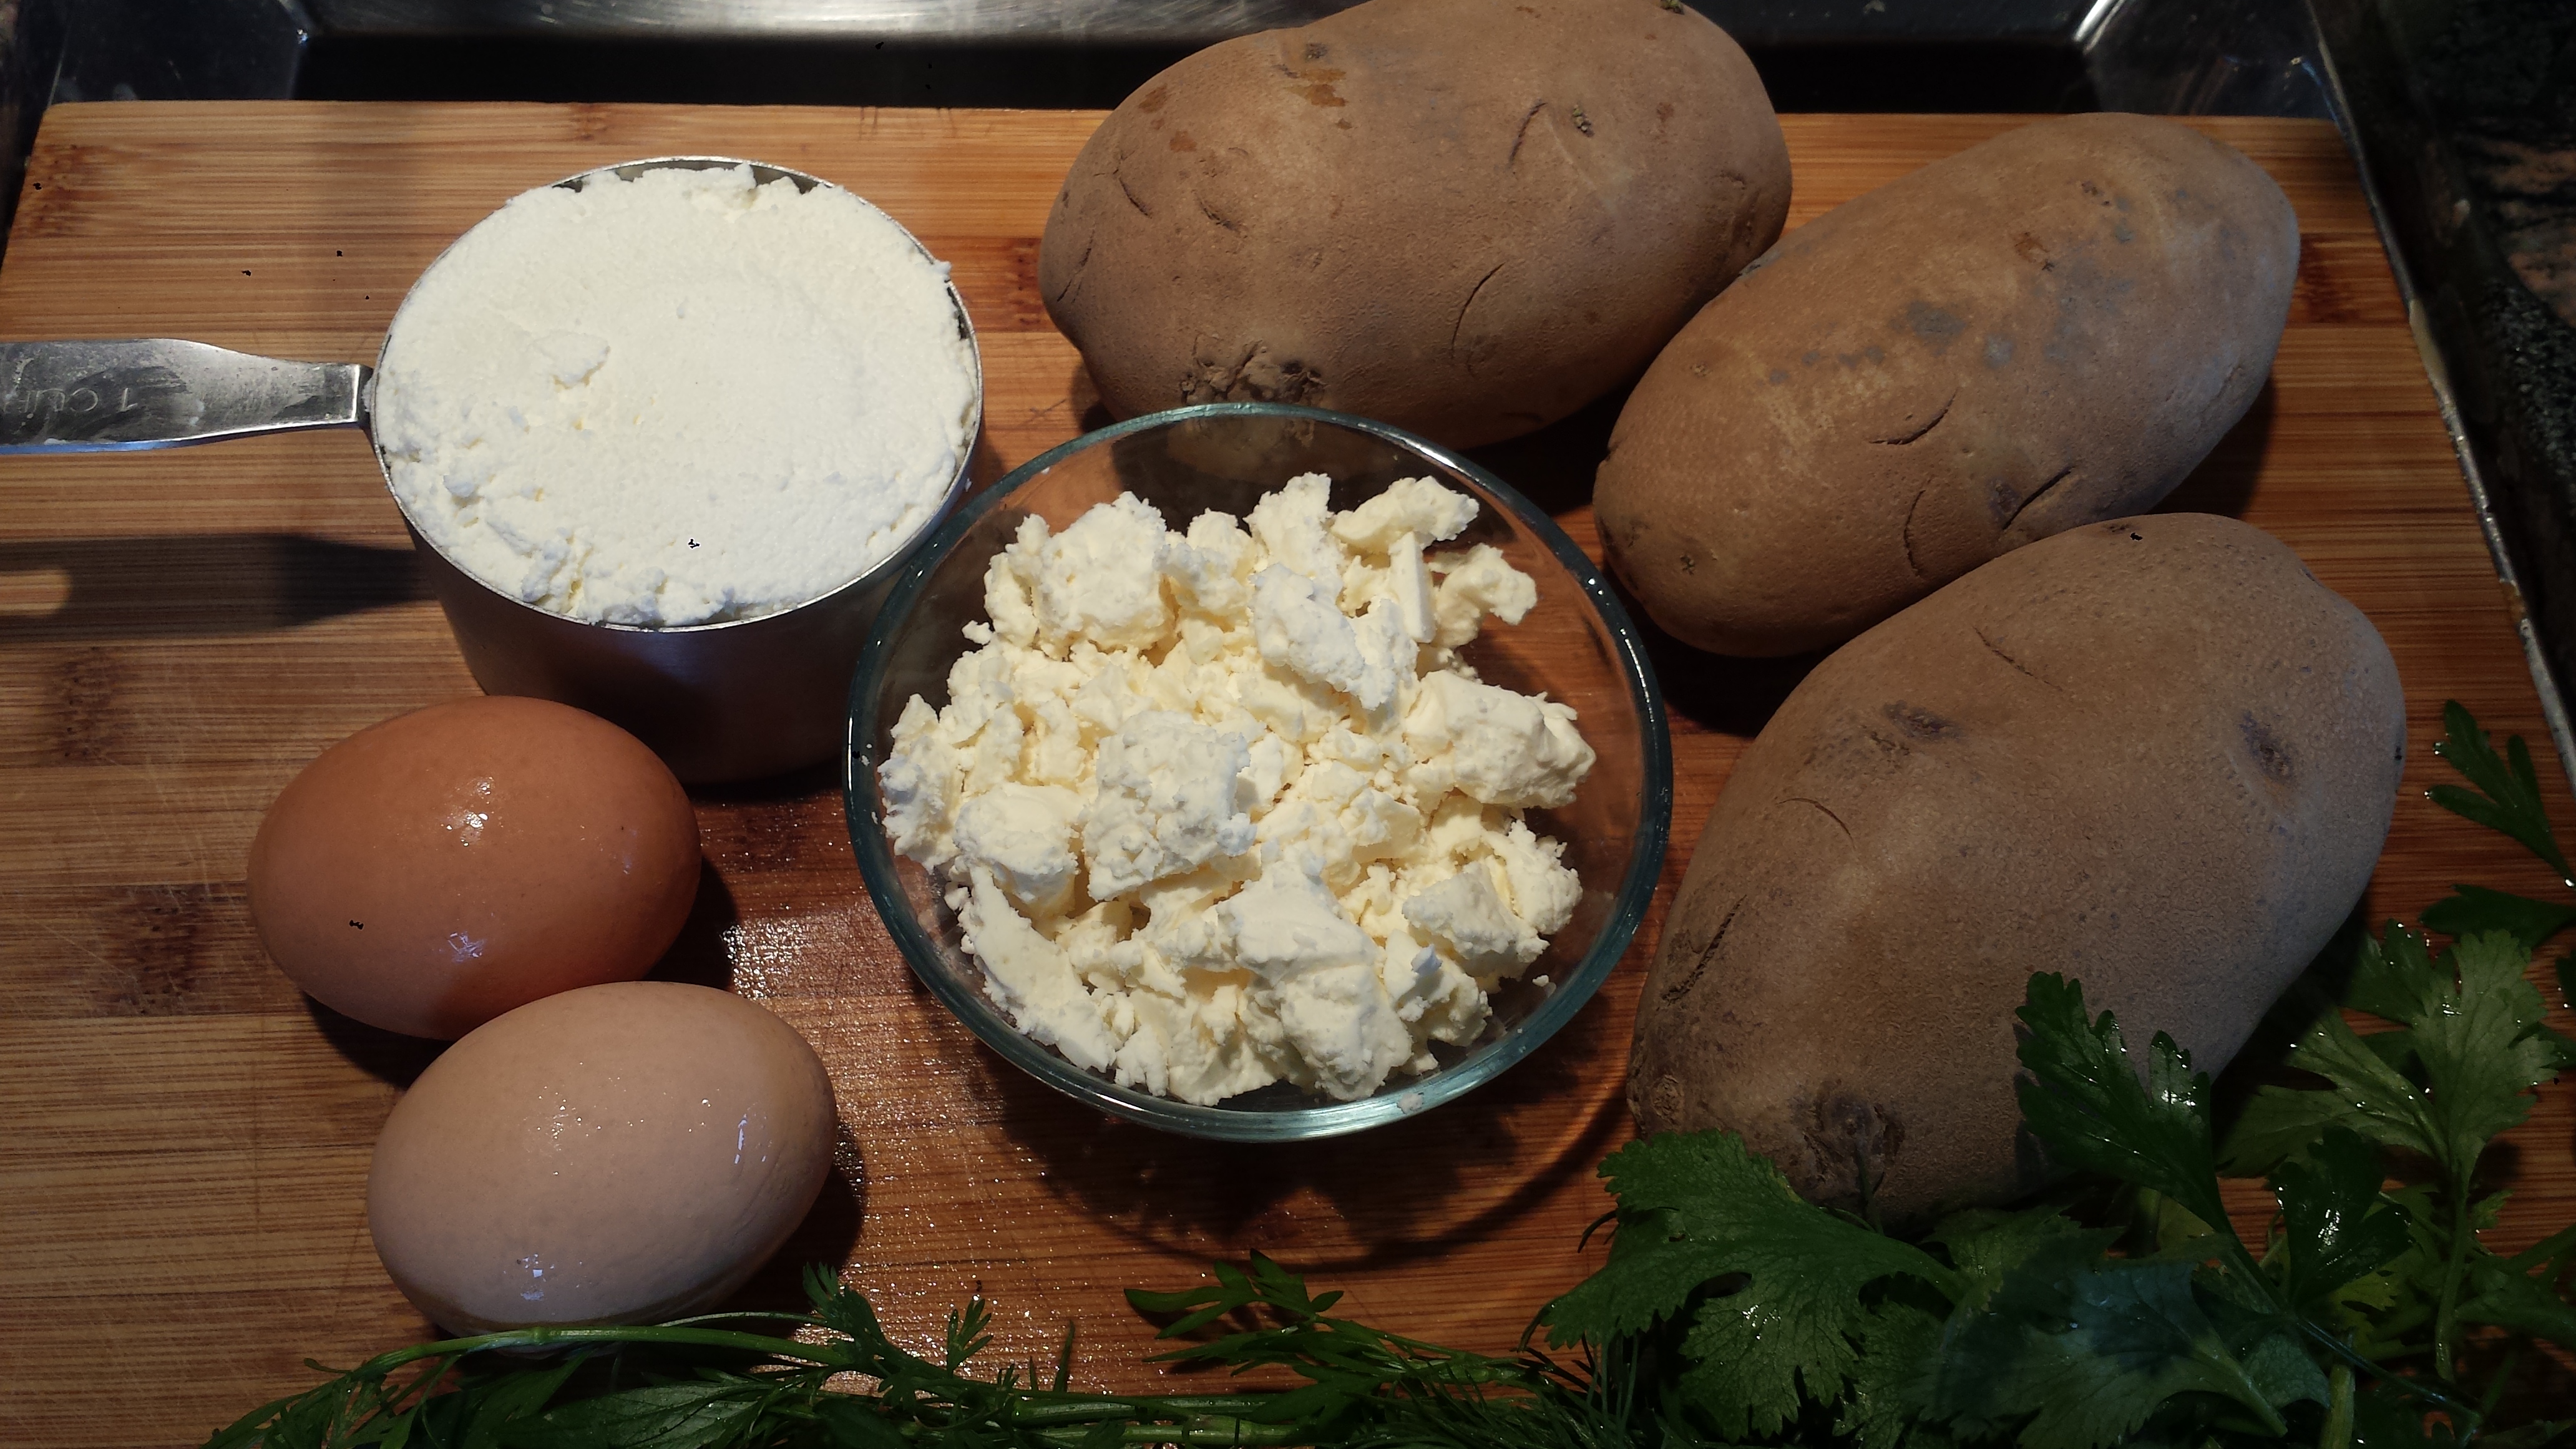
3 large russet potatoes
1/4 cup olive oil
4 cups spinach leaves, stems removed
2 eggs
1 cup ricotta
1 1/2 cups chopped spring herbs: parsley, chives, dill
2/3 cup feta, crumbled
grated zest of 1 lemon
salt, pepper
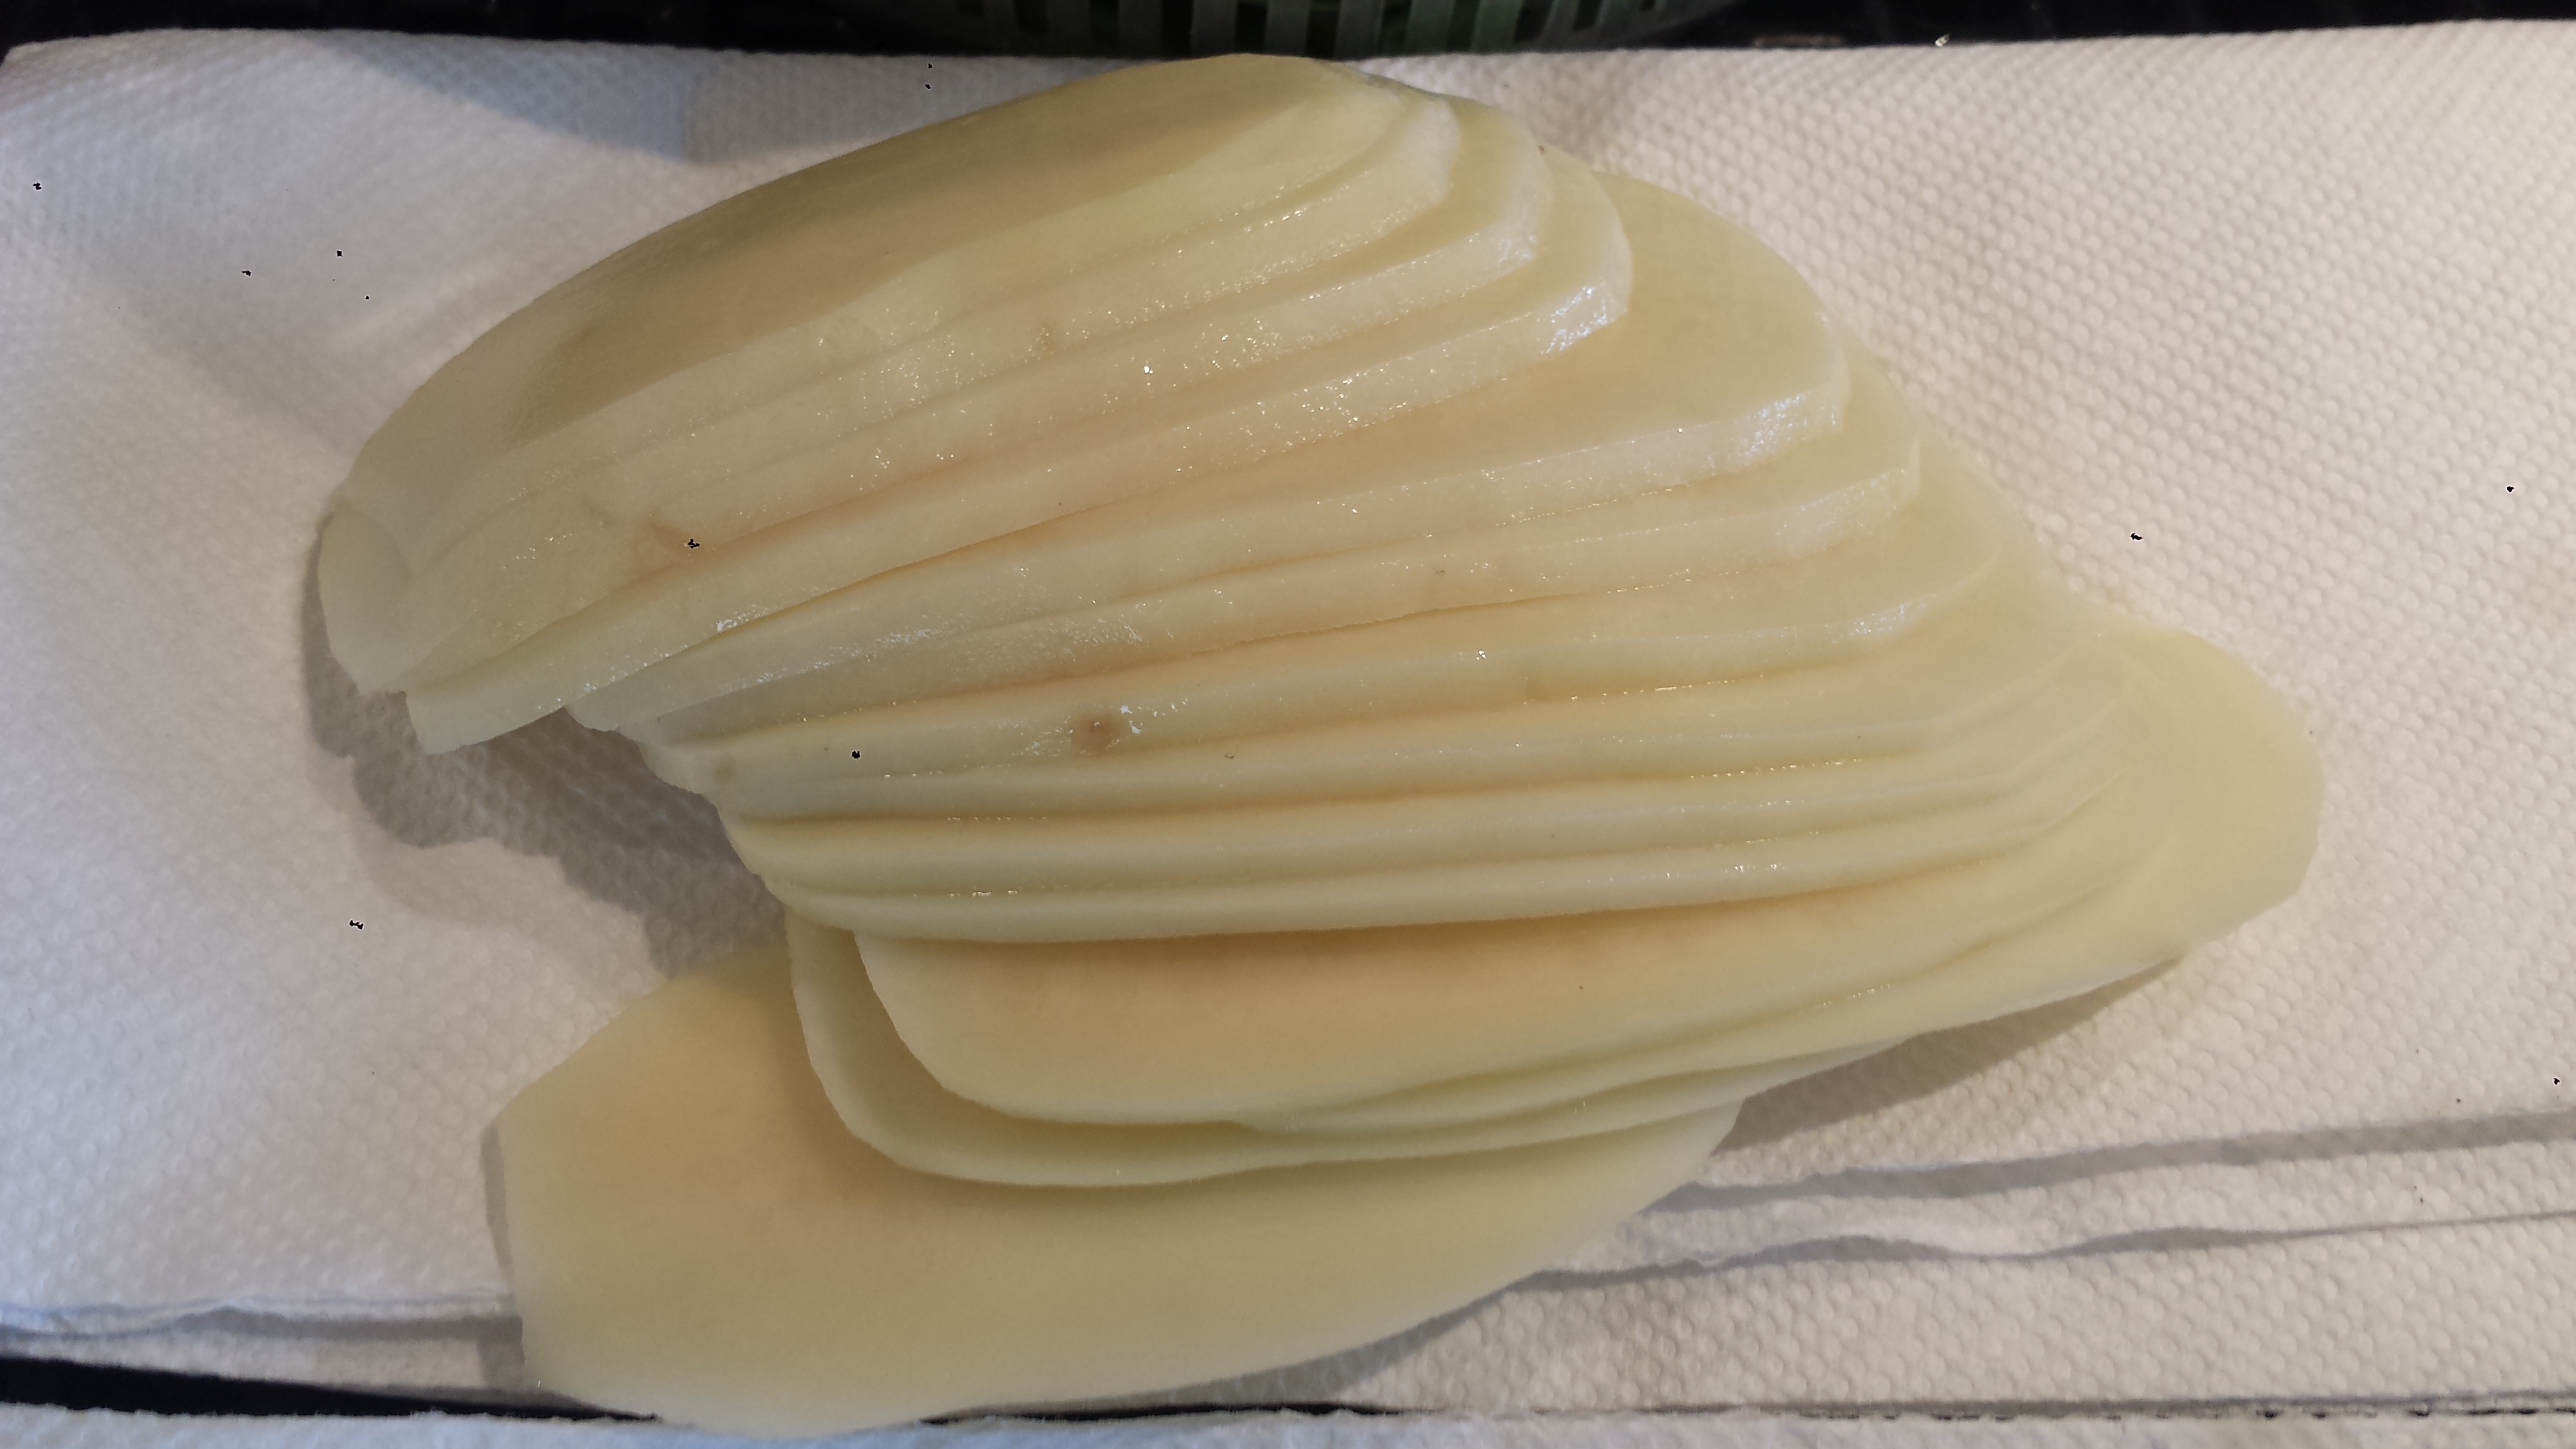
- Peel the potatoes. Slice two of them crosswise into rounds about 3-4 mm (1/8 inch) thick using a mandoline or sharp knife. Cover with a damp papertowel to keep them from turning brown. Slice the third potato lengthwise, also 3-4 mm thick.

- Brush some olive oil in a wide skillet and set over high heat. When it’s hot, reduce the heat to medium and place a layer of potato slices in the skillet. Fry on both sides until golden and tender when pierced with a knife. Remove to a paper towel and repeat with the rest of the potato slices. Sprinkle the long potato slices generously with salt while still warm.

- Add the spinach to the same pan with the water clinging to its leaves (or add a little water if dry). Cook until wilted and tender, about 4 minutes. Transfer the spinach to a sieve and press out any excess water.
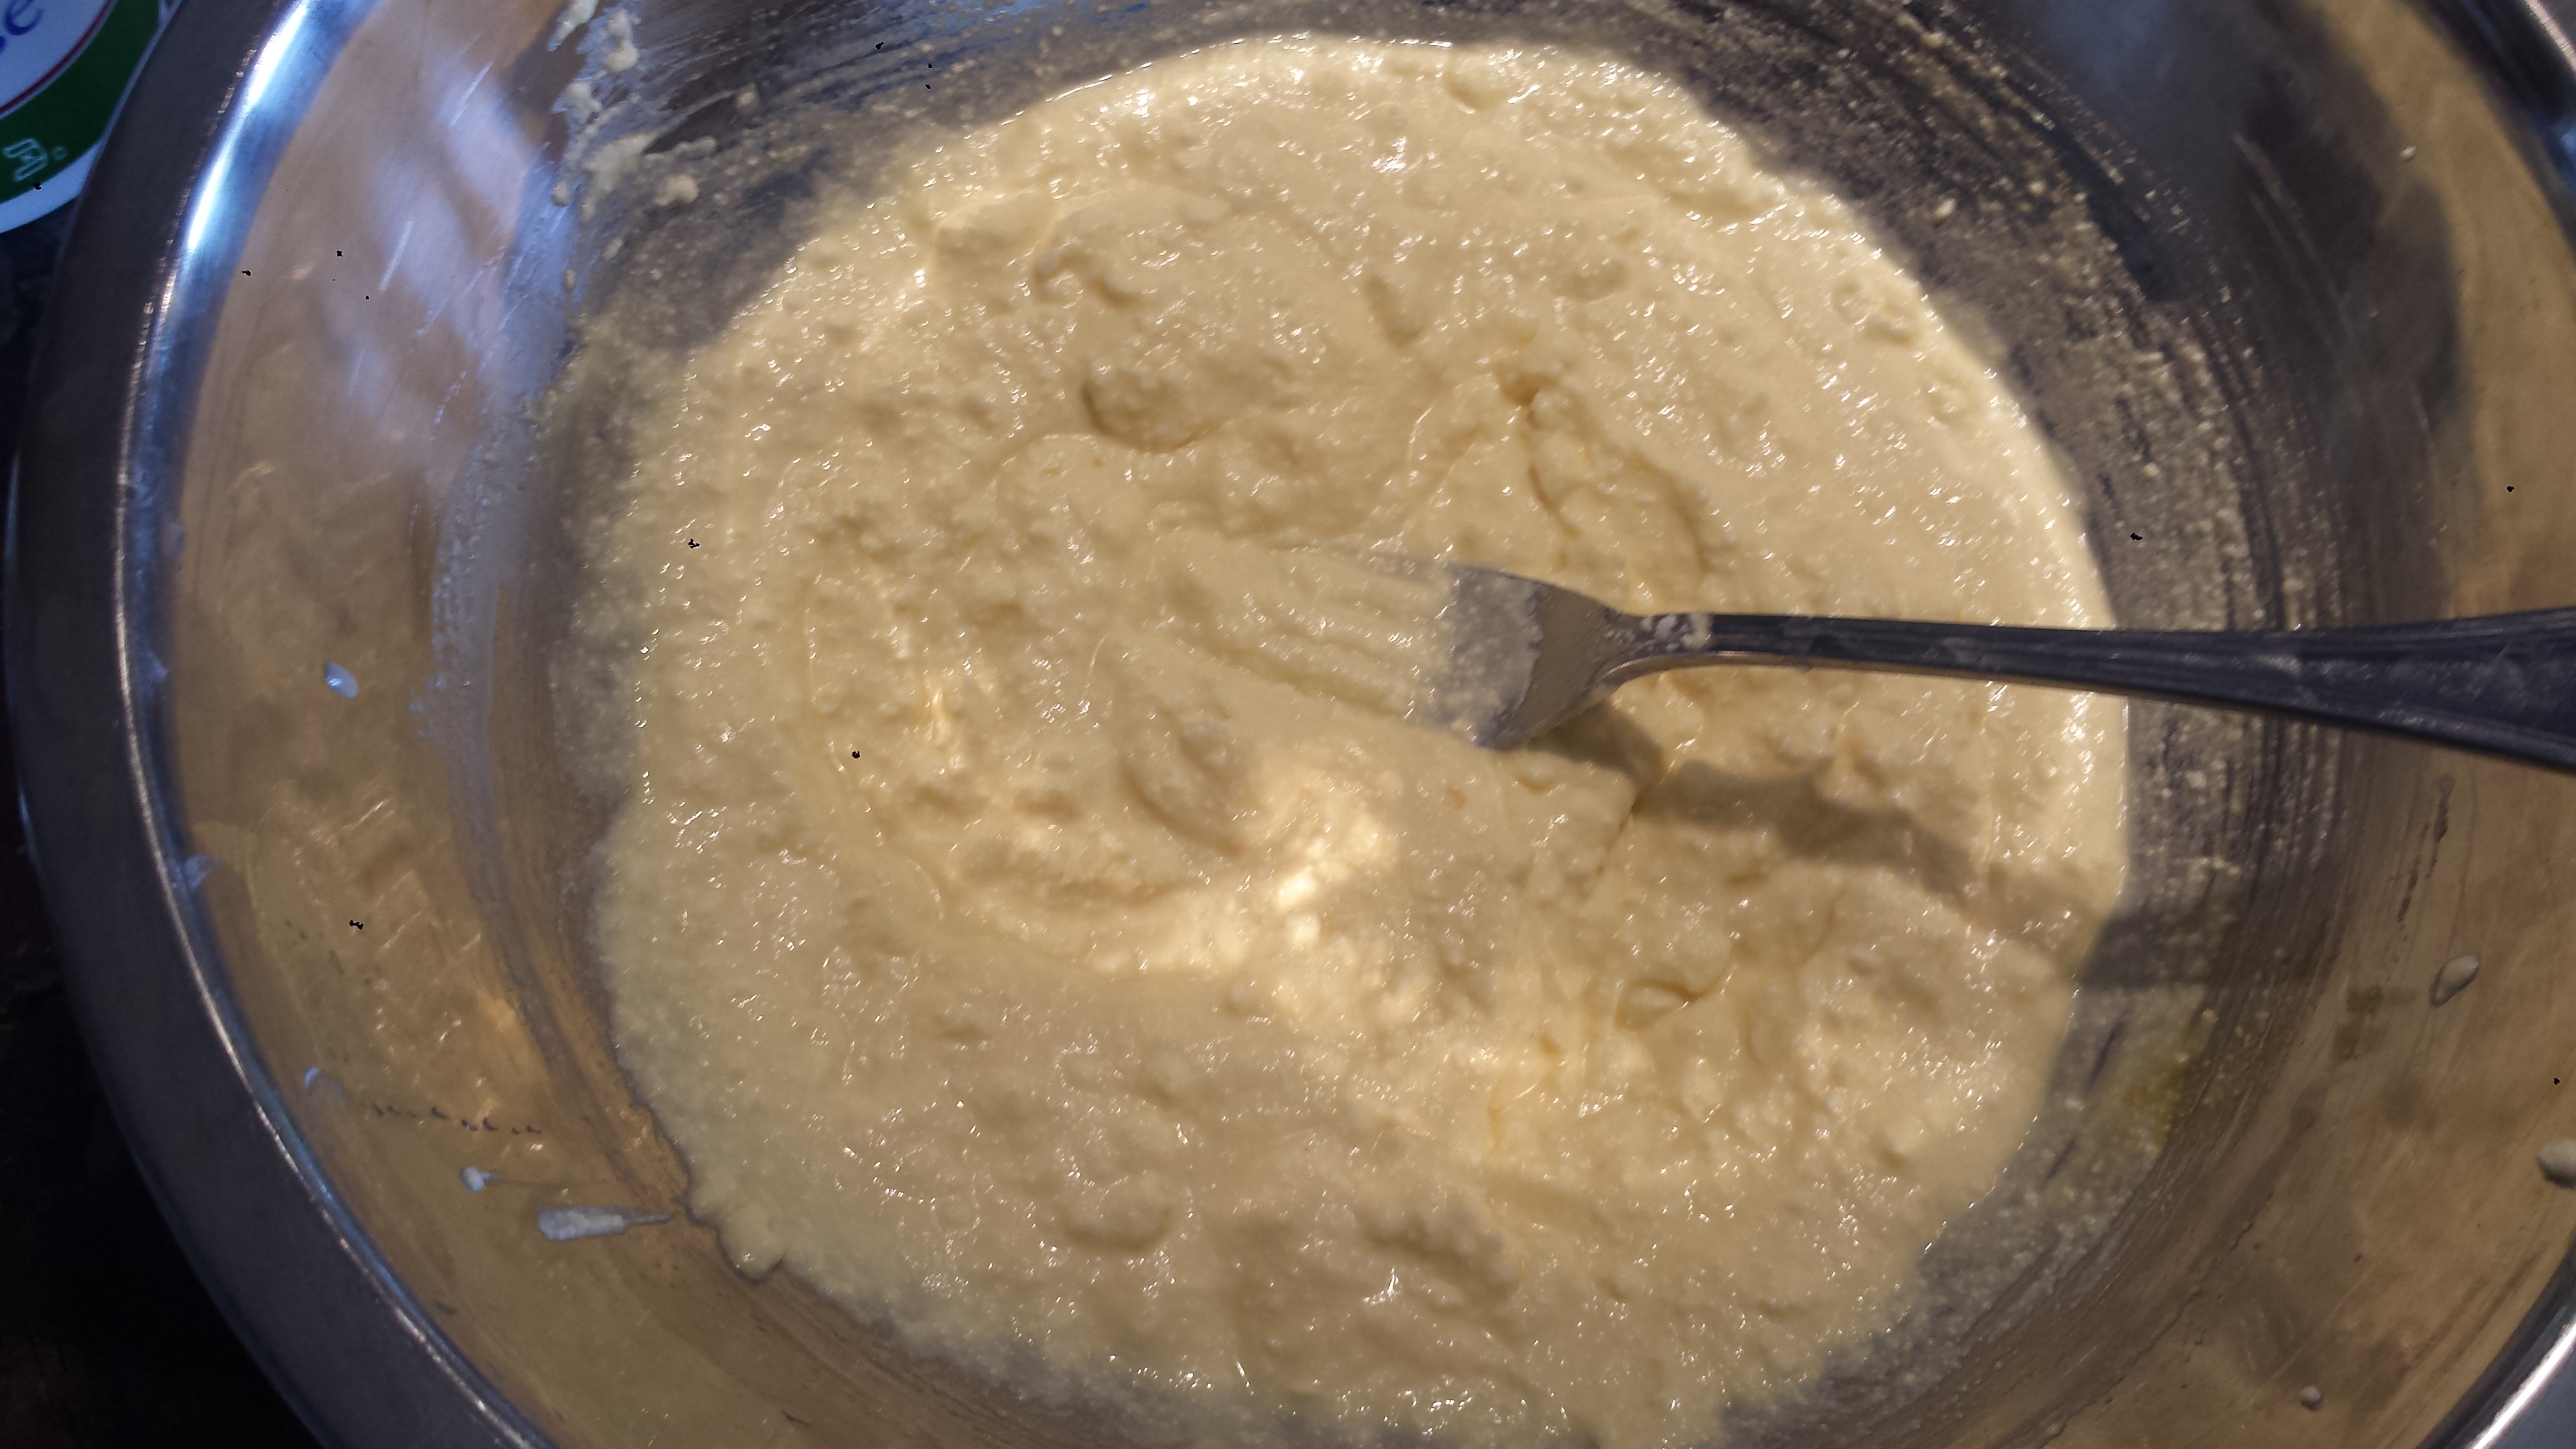
- In a medium bowl, whisk together eggs and ricotta. Add herbs, feta and lemon zest.

- Chop the spinach and add it to the mixture. The finer you chop it, the easier it blends. Season with salt and pepper.
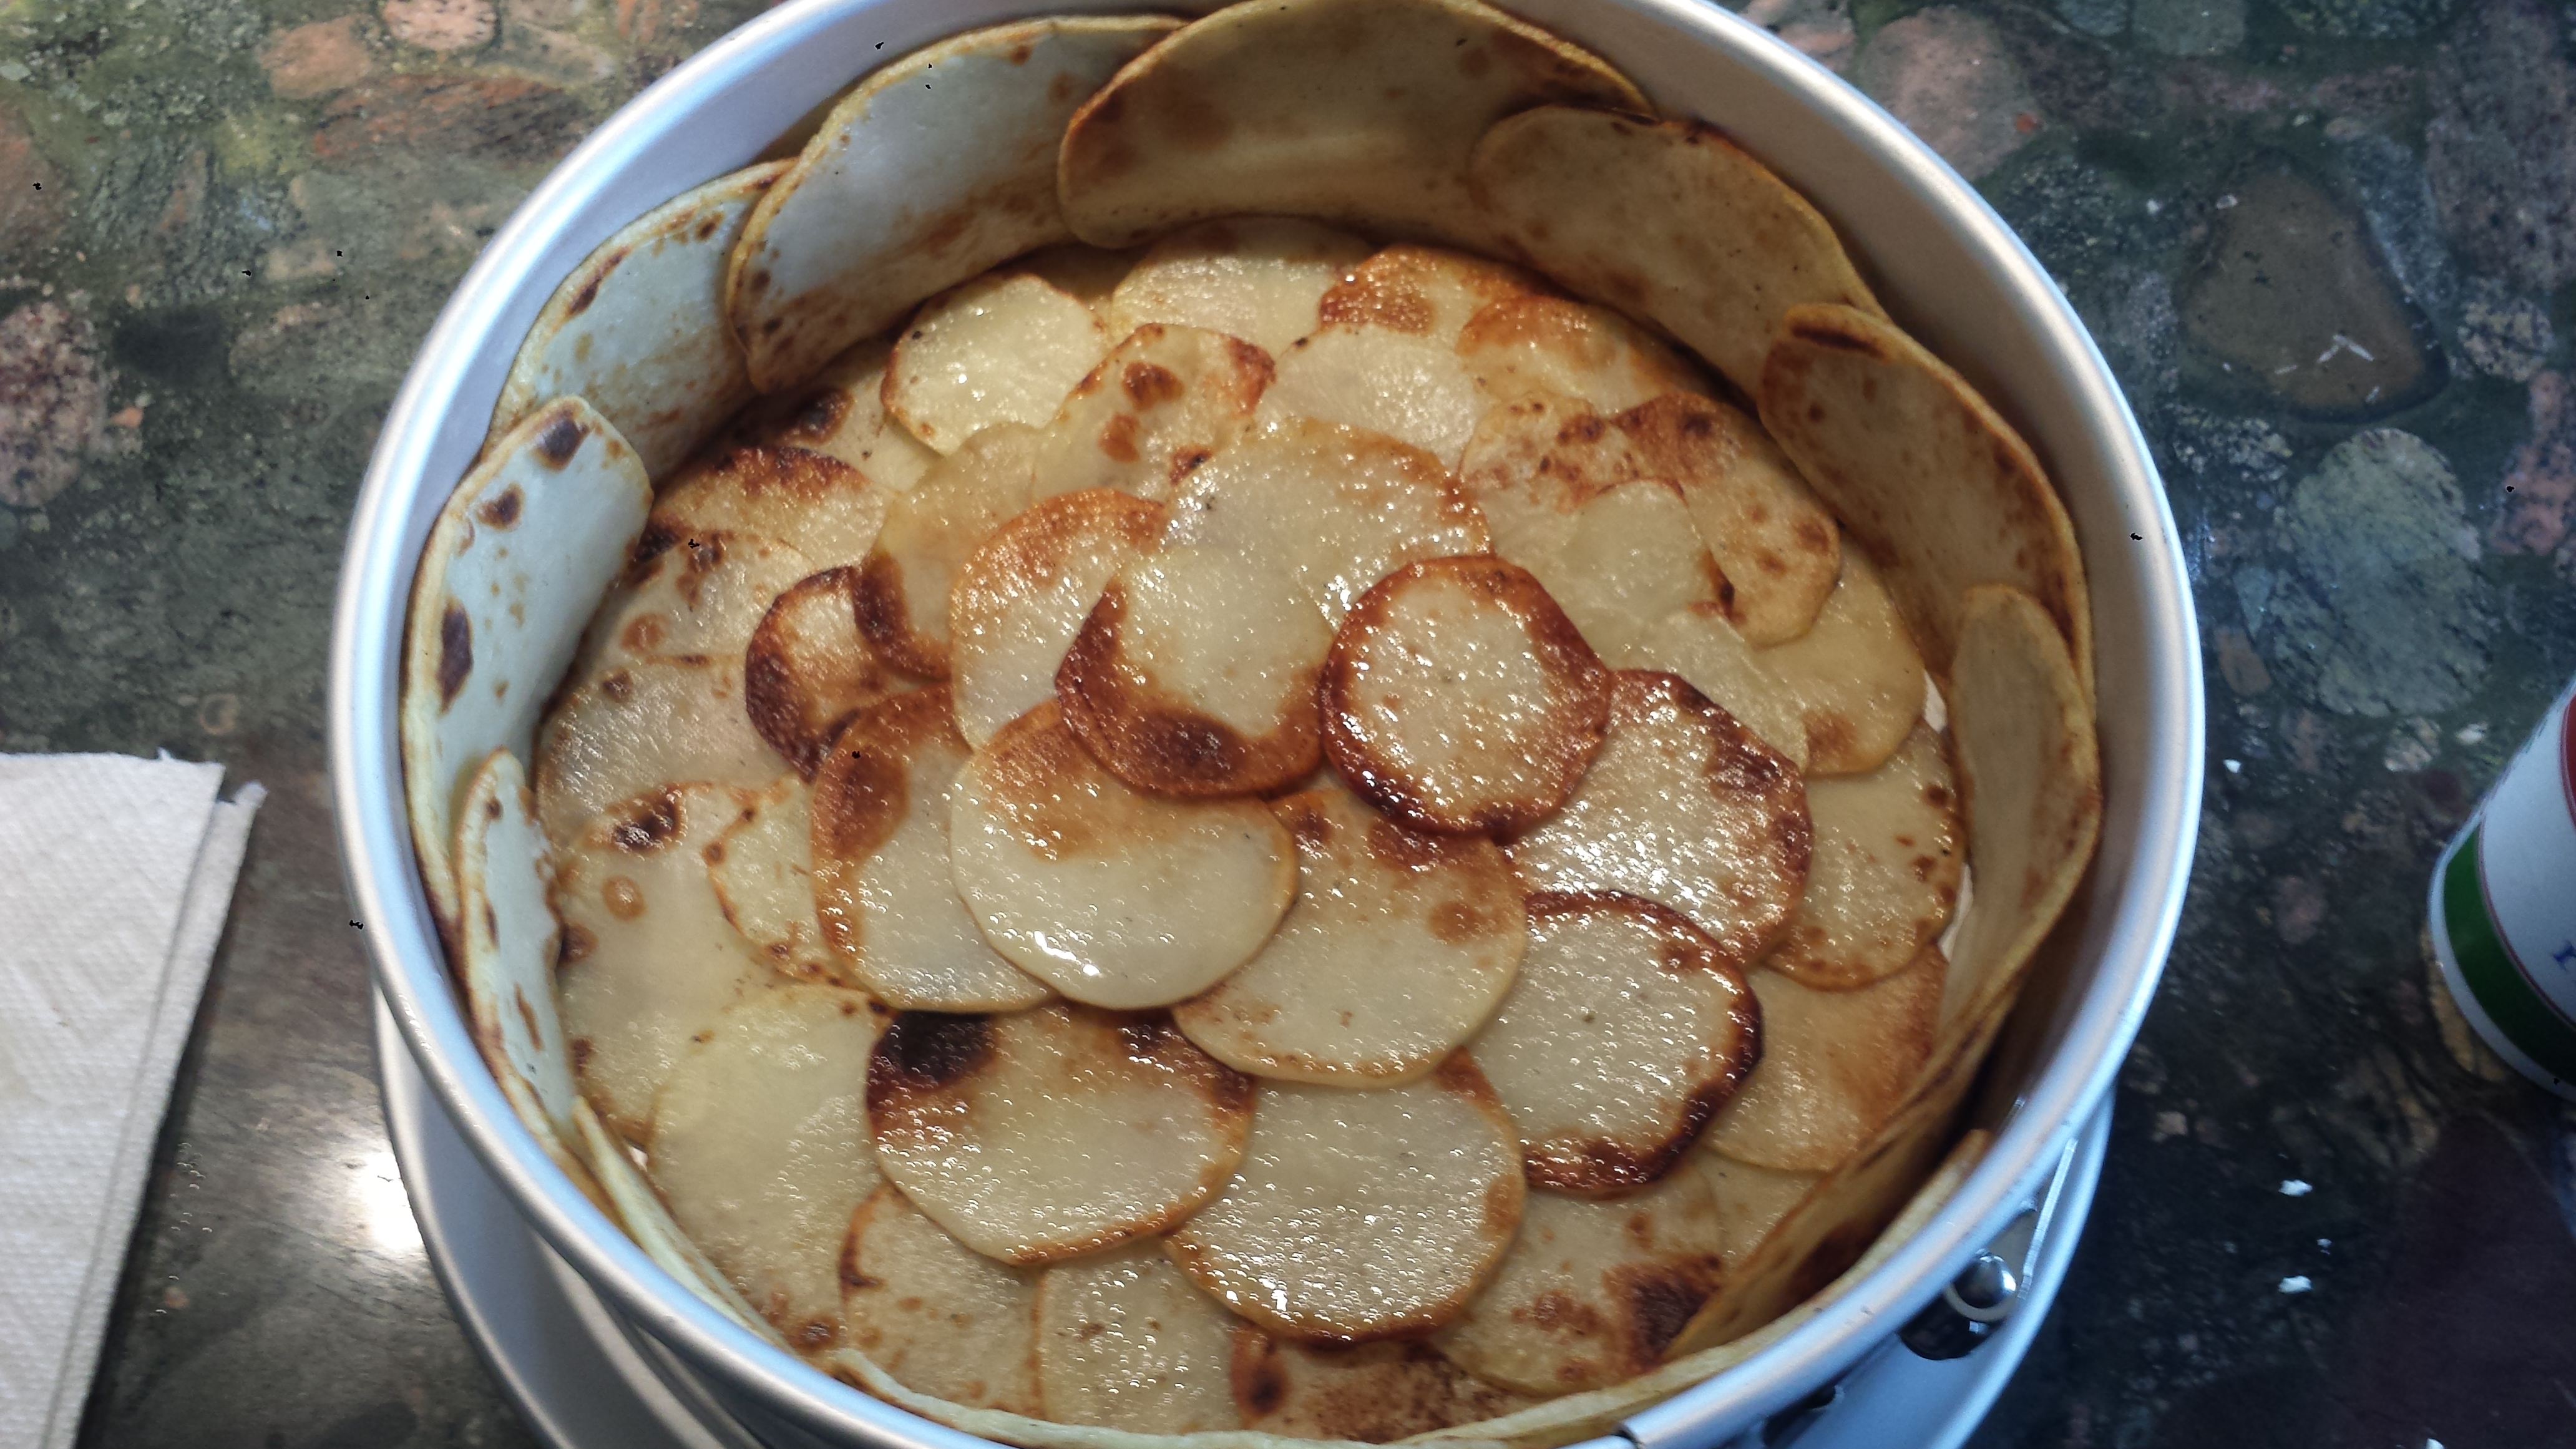
- Preheat oven to 375 degrees. Lightly butter a 24 cm (9 ½ inch) spring form pan. Arrange the long slices (salted side out) overlapping each other, around the sides, pressing to keep them in place. Line the bottom of the pan with the round potato slices, overlapping where necessary to cover the bottom completely.
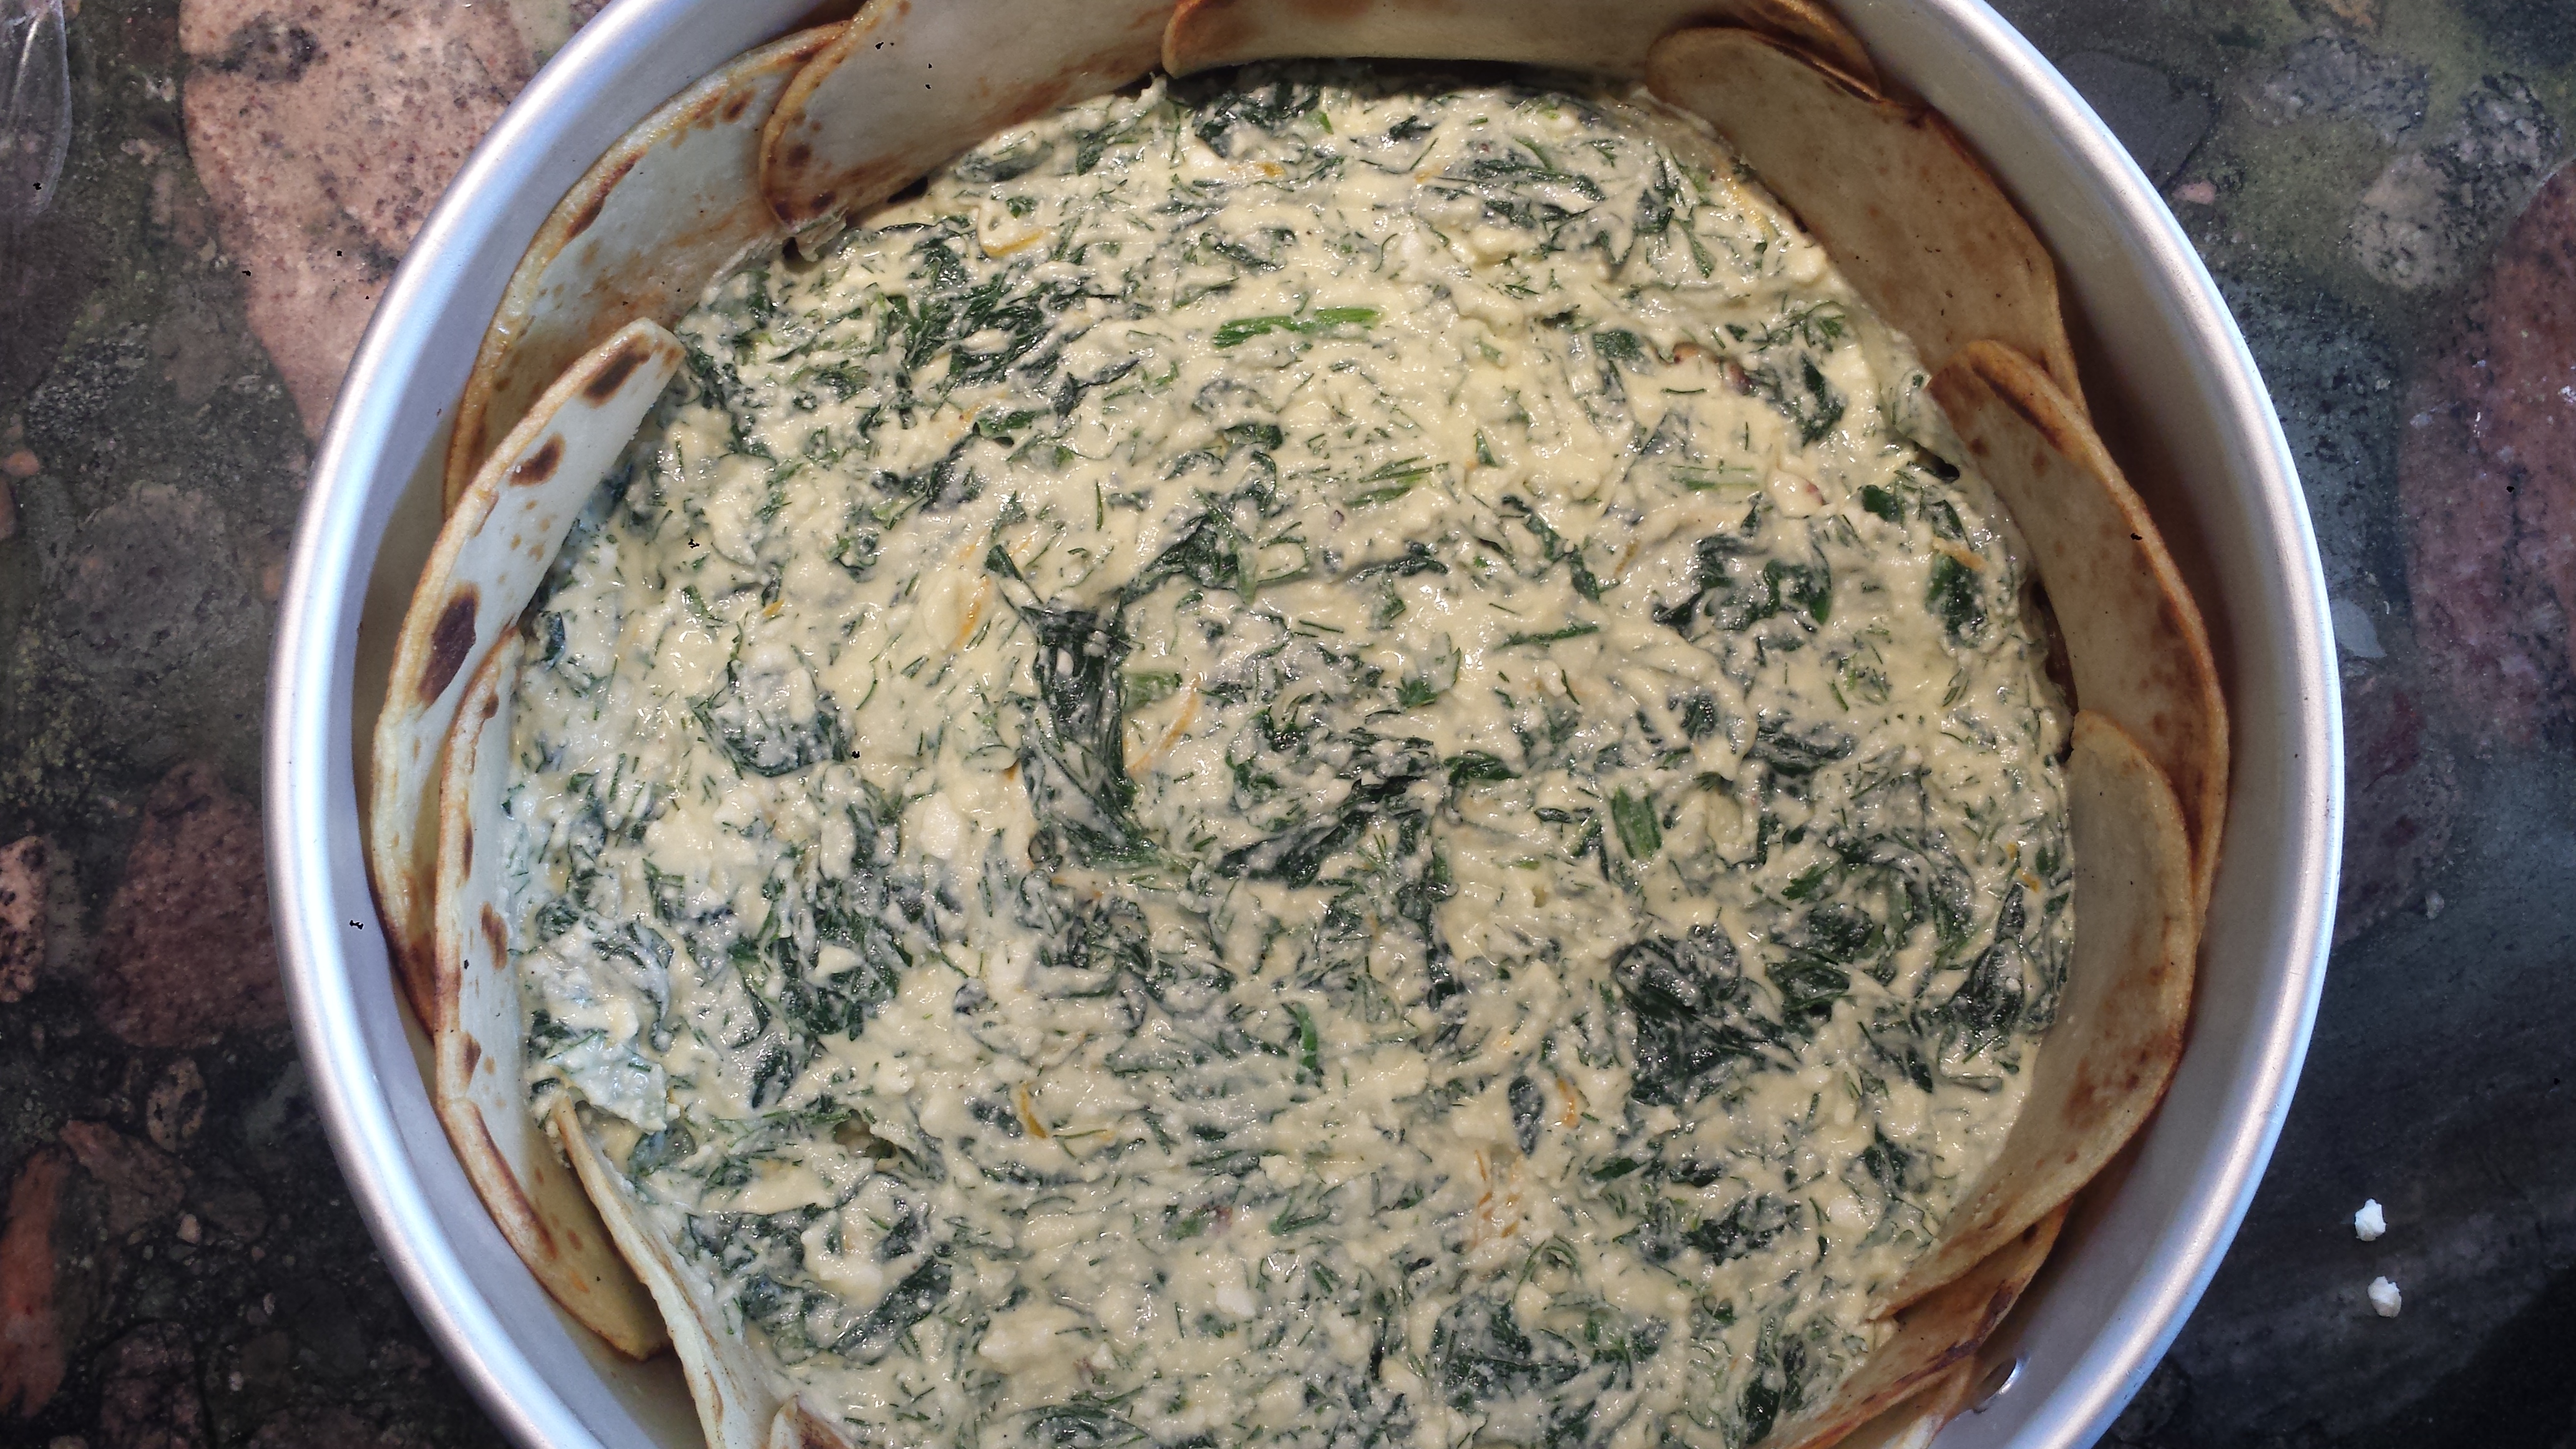
- Pour in the ricotta mixture and spread it evenly in the pan. If your sides have fallen in, try using a bit of ricotta mixture to ‘glue’ them together.

- Bake until firm and golden in places, 30-40 minutes. Check the first 10 minutes to make sure the sides are still in place.

- Let cool slightly. Gently ease a knife between he edge of the pan and the potatoes. Release the spring and carefully remove the sides of the pan. If it seems floppy, let it sit a bit longer before removing the springform.
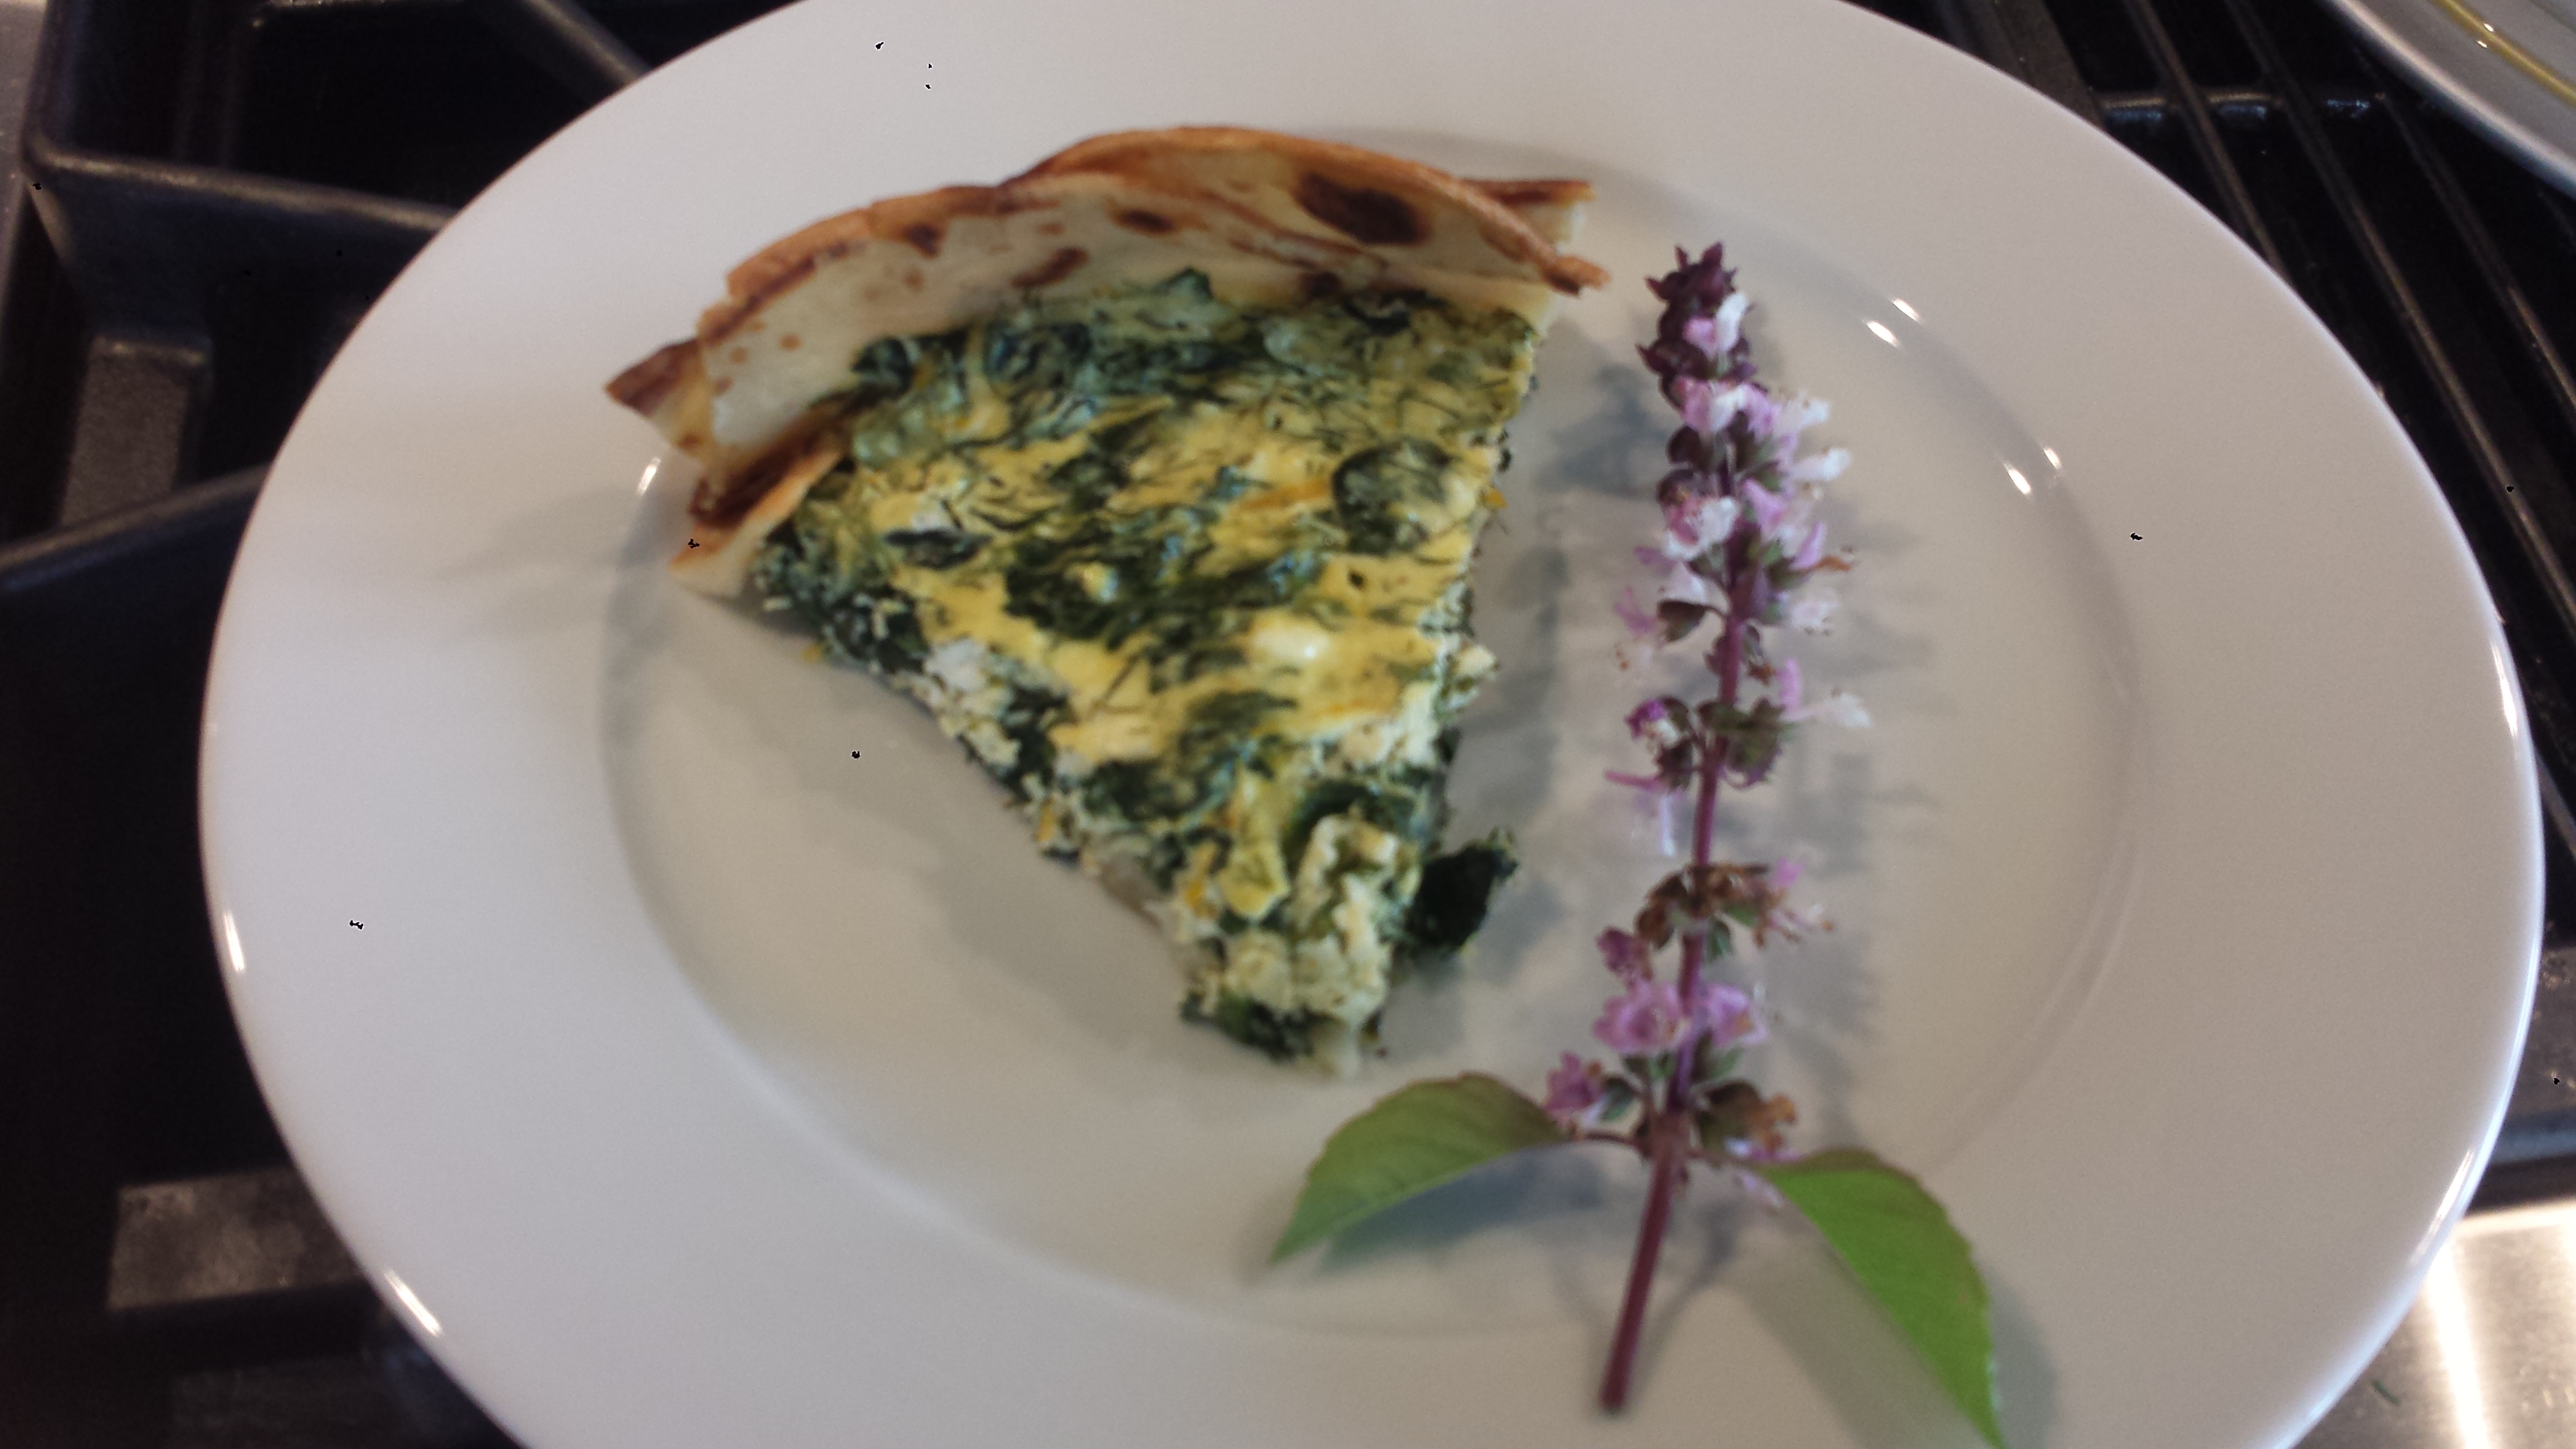
- Serve warm or at room temperature.
3 large russet potatoesPotato Crusted Spinach and Herb Torta

1/4 cup olive oil
4 cups spinach leaves, stems removed
2 eggs
1 cup ricotta
1 1/2 cups chopped spring herbs: parsley, chives, dill
2/3 cup feta, crumbled
grated zest of 1 lemon
salt, pepper