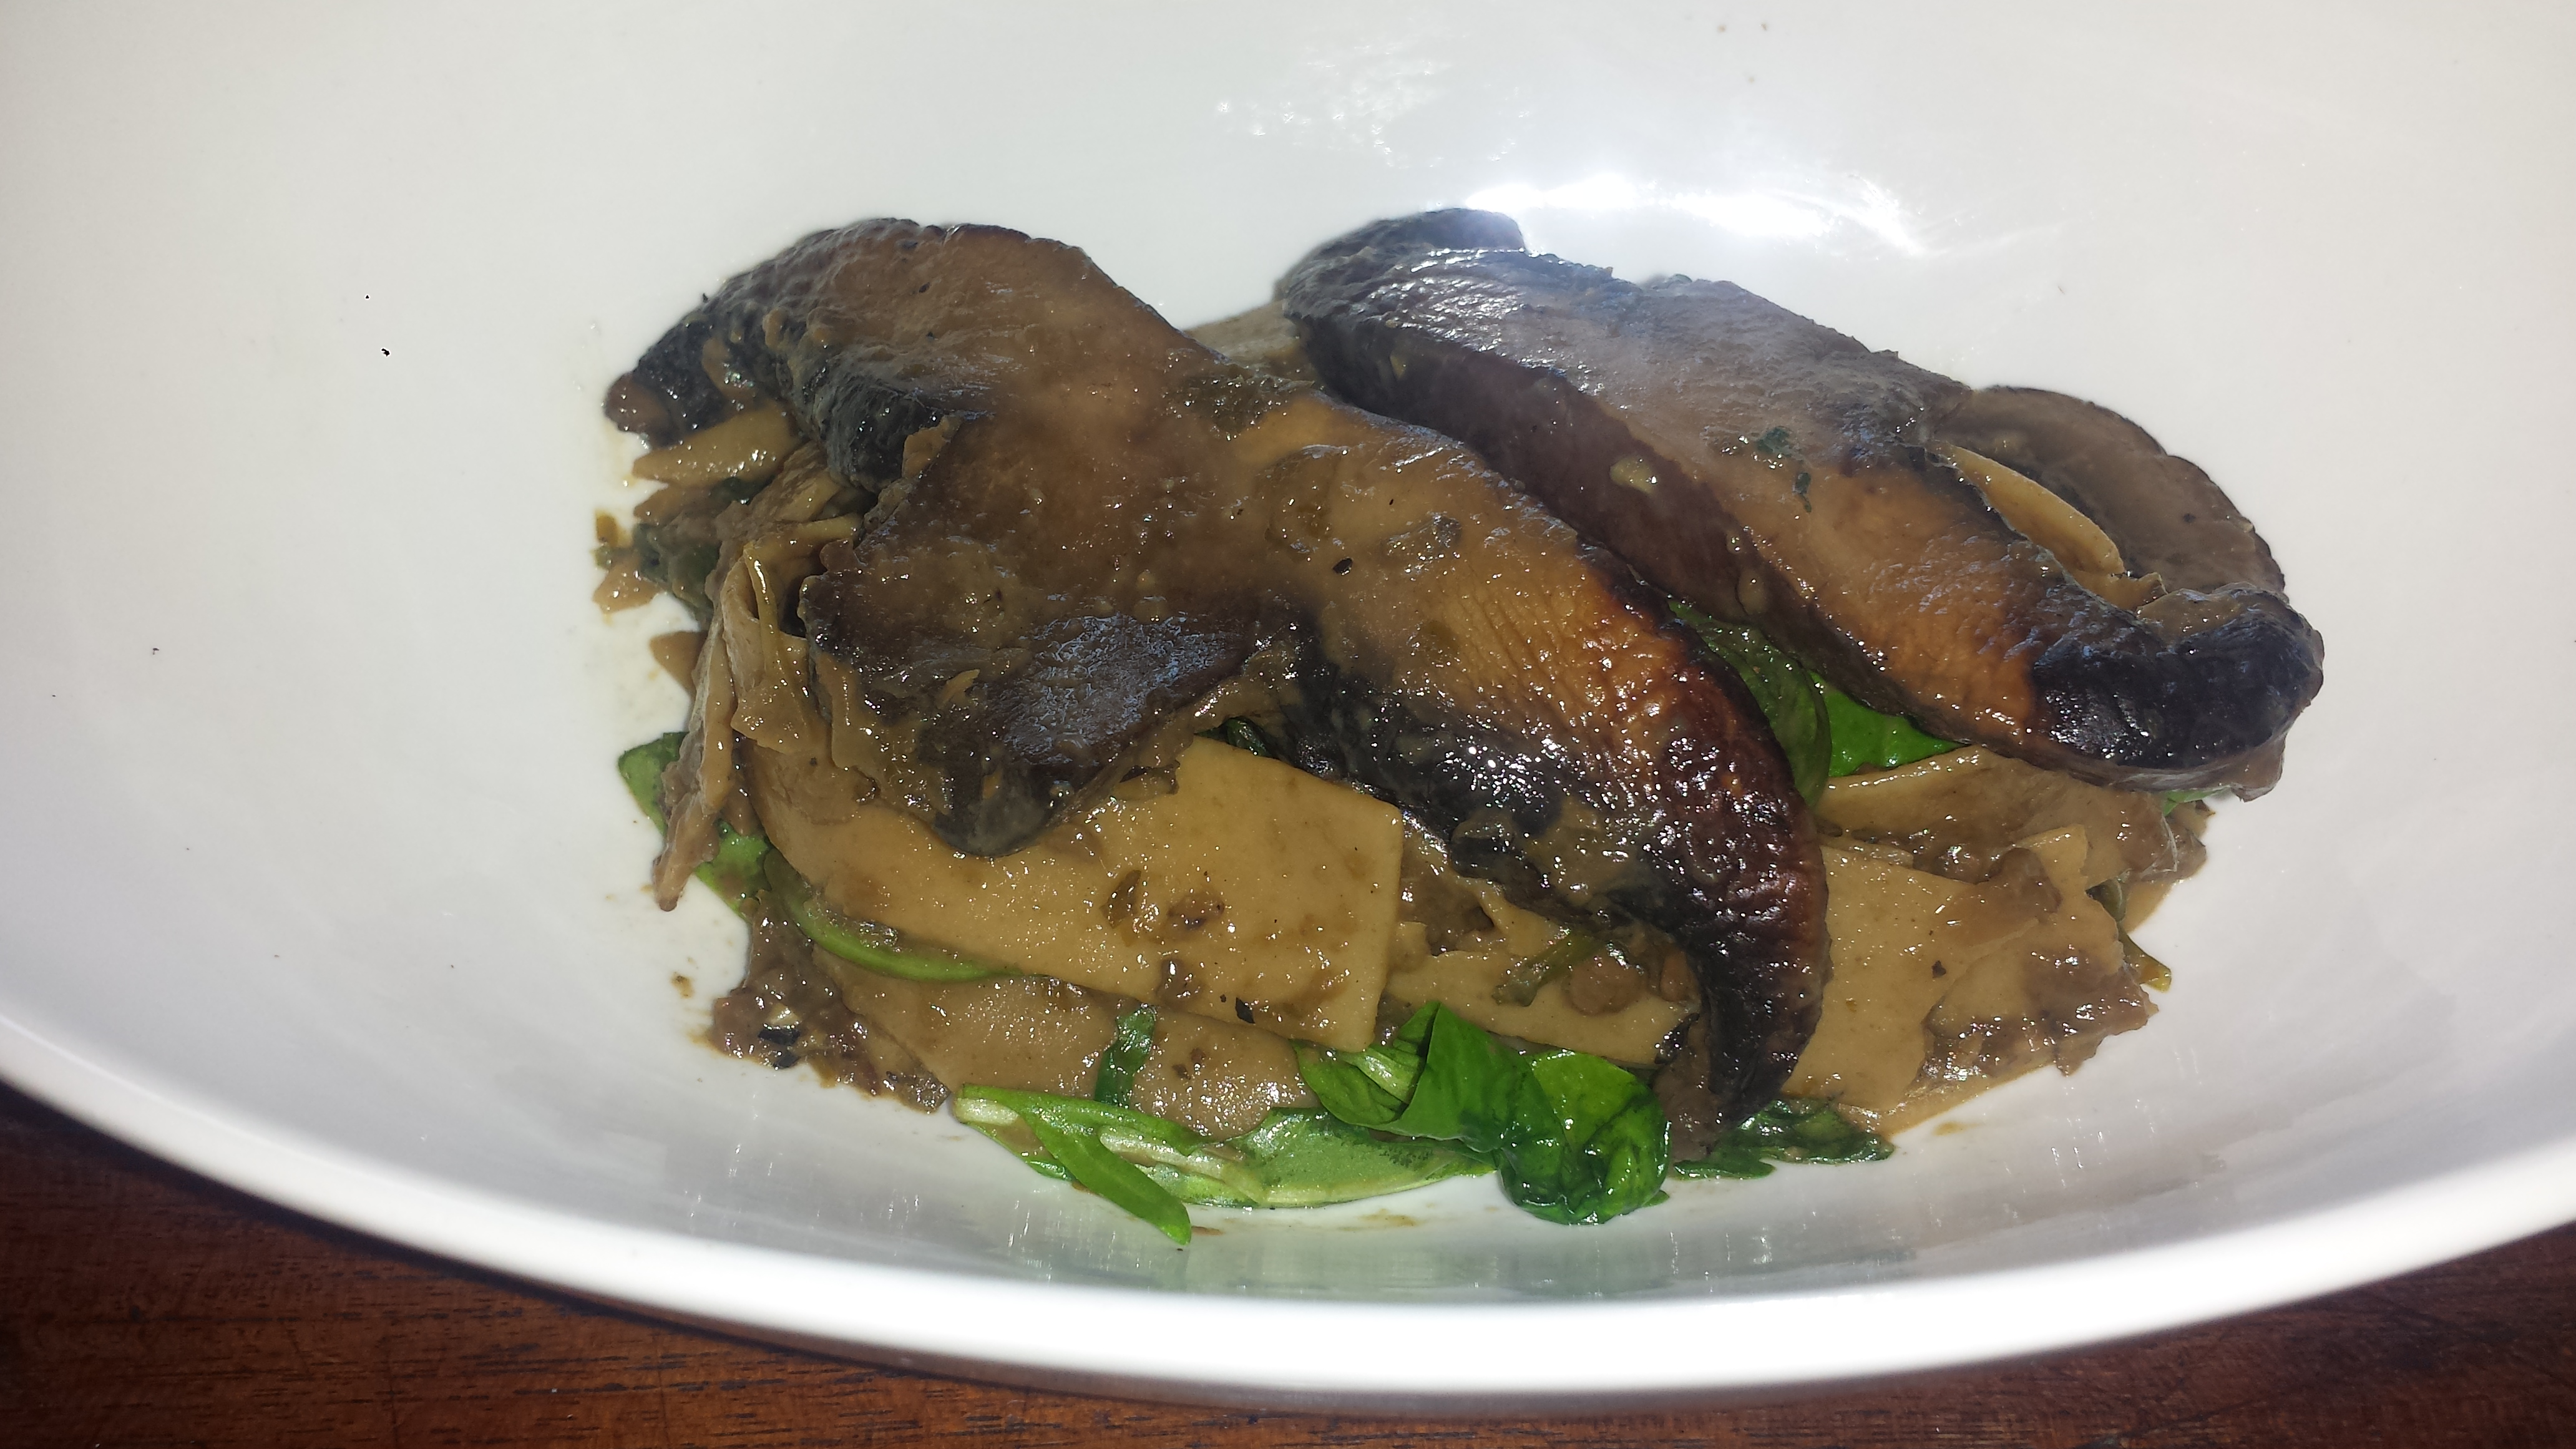
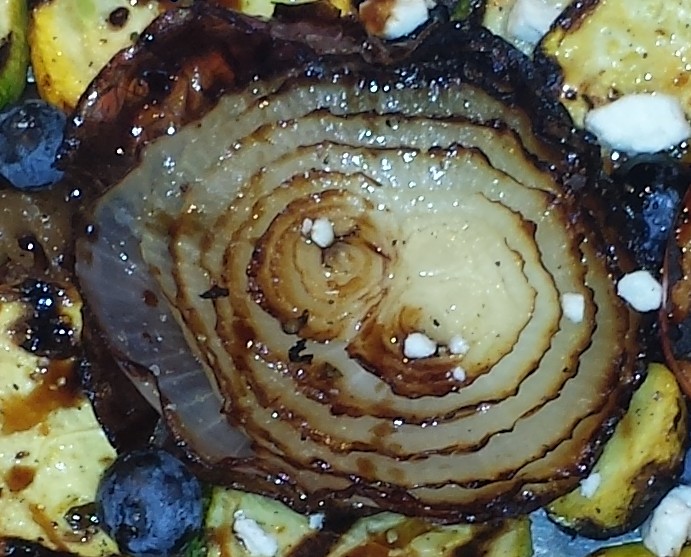
Blackened lettuce? I know that is not the traditional way to prepare greens usually reserved for salads but it’s all the rage right now, and with the summer salad season coming up, it’s an interesting alternative to your tossed green salads. Along with some lovely heads of endive, I found a recipe for Caramelized Endive with Brown Butter Sage Sauce in my CSA box, compliments of Farm Fresh To You. Thank you FFTY. It was delicious! My family was surprised at how good it was. I have to admit they were a bit skeptical at first, but they were quickly won over by the lovely, caramelly flavor of the blackened endive paired with the brown butter and crispy sage leaves. I’ll admit that this isn’t the prettiest of preparations, but if you are brave enough to try it, you won’t be disappointed. This technique is also very easy and requires only four ingredients, plus salt and pepper and about 15 minutes. You’ve got to love that! If you live in Northern California and are interested in getting organic produce delivered to your door, Farm Fresh To You will offer $10 off the first box. Just use promo code 6164. I love it! It’s like sending myself a gift every week.

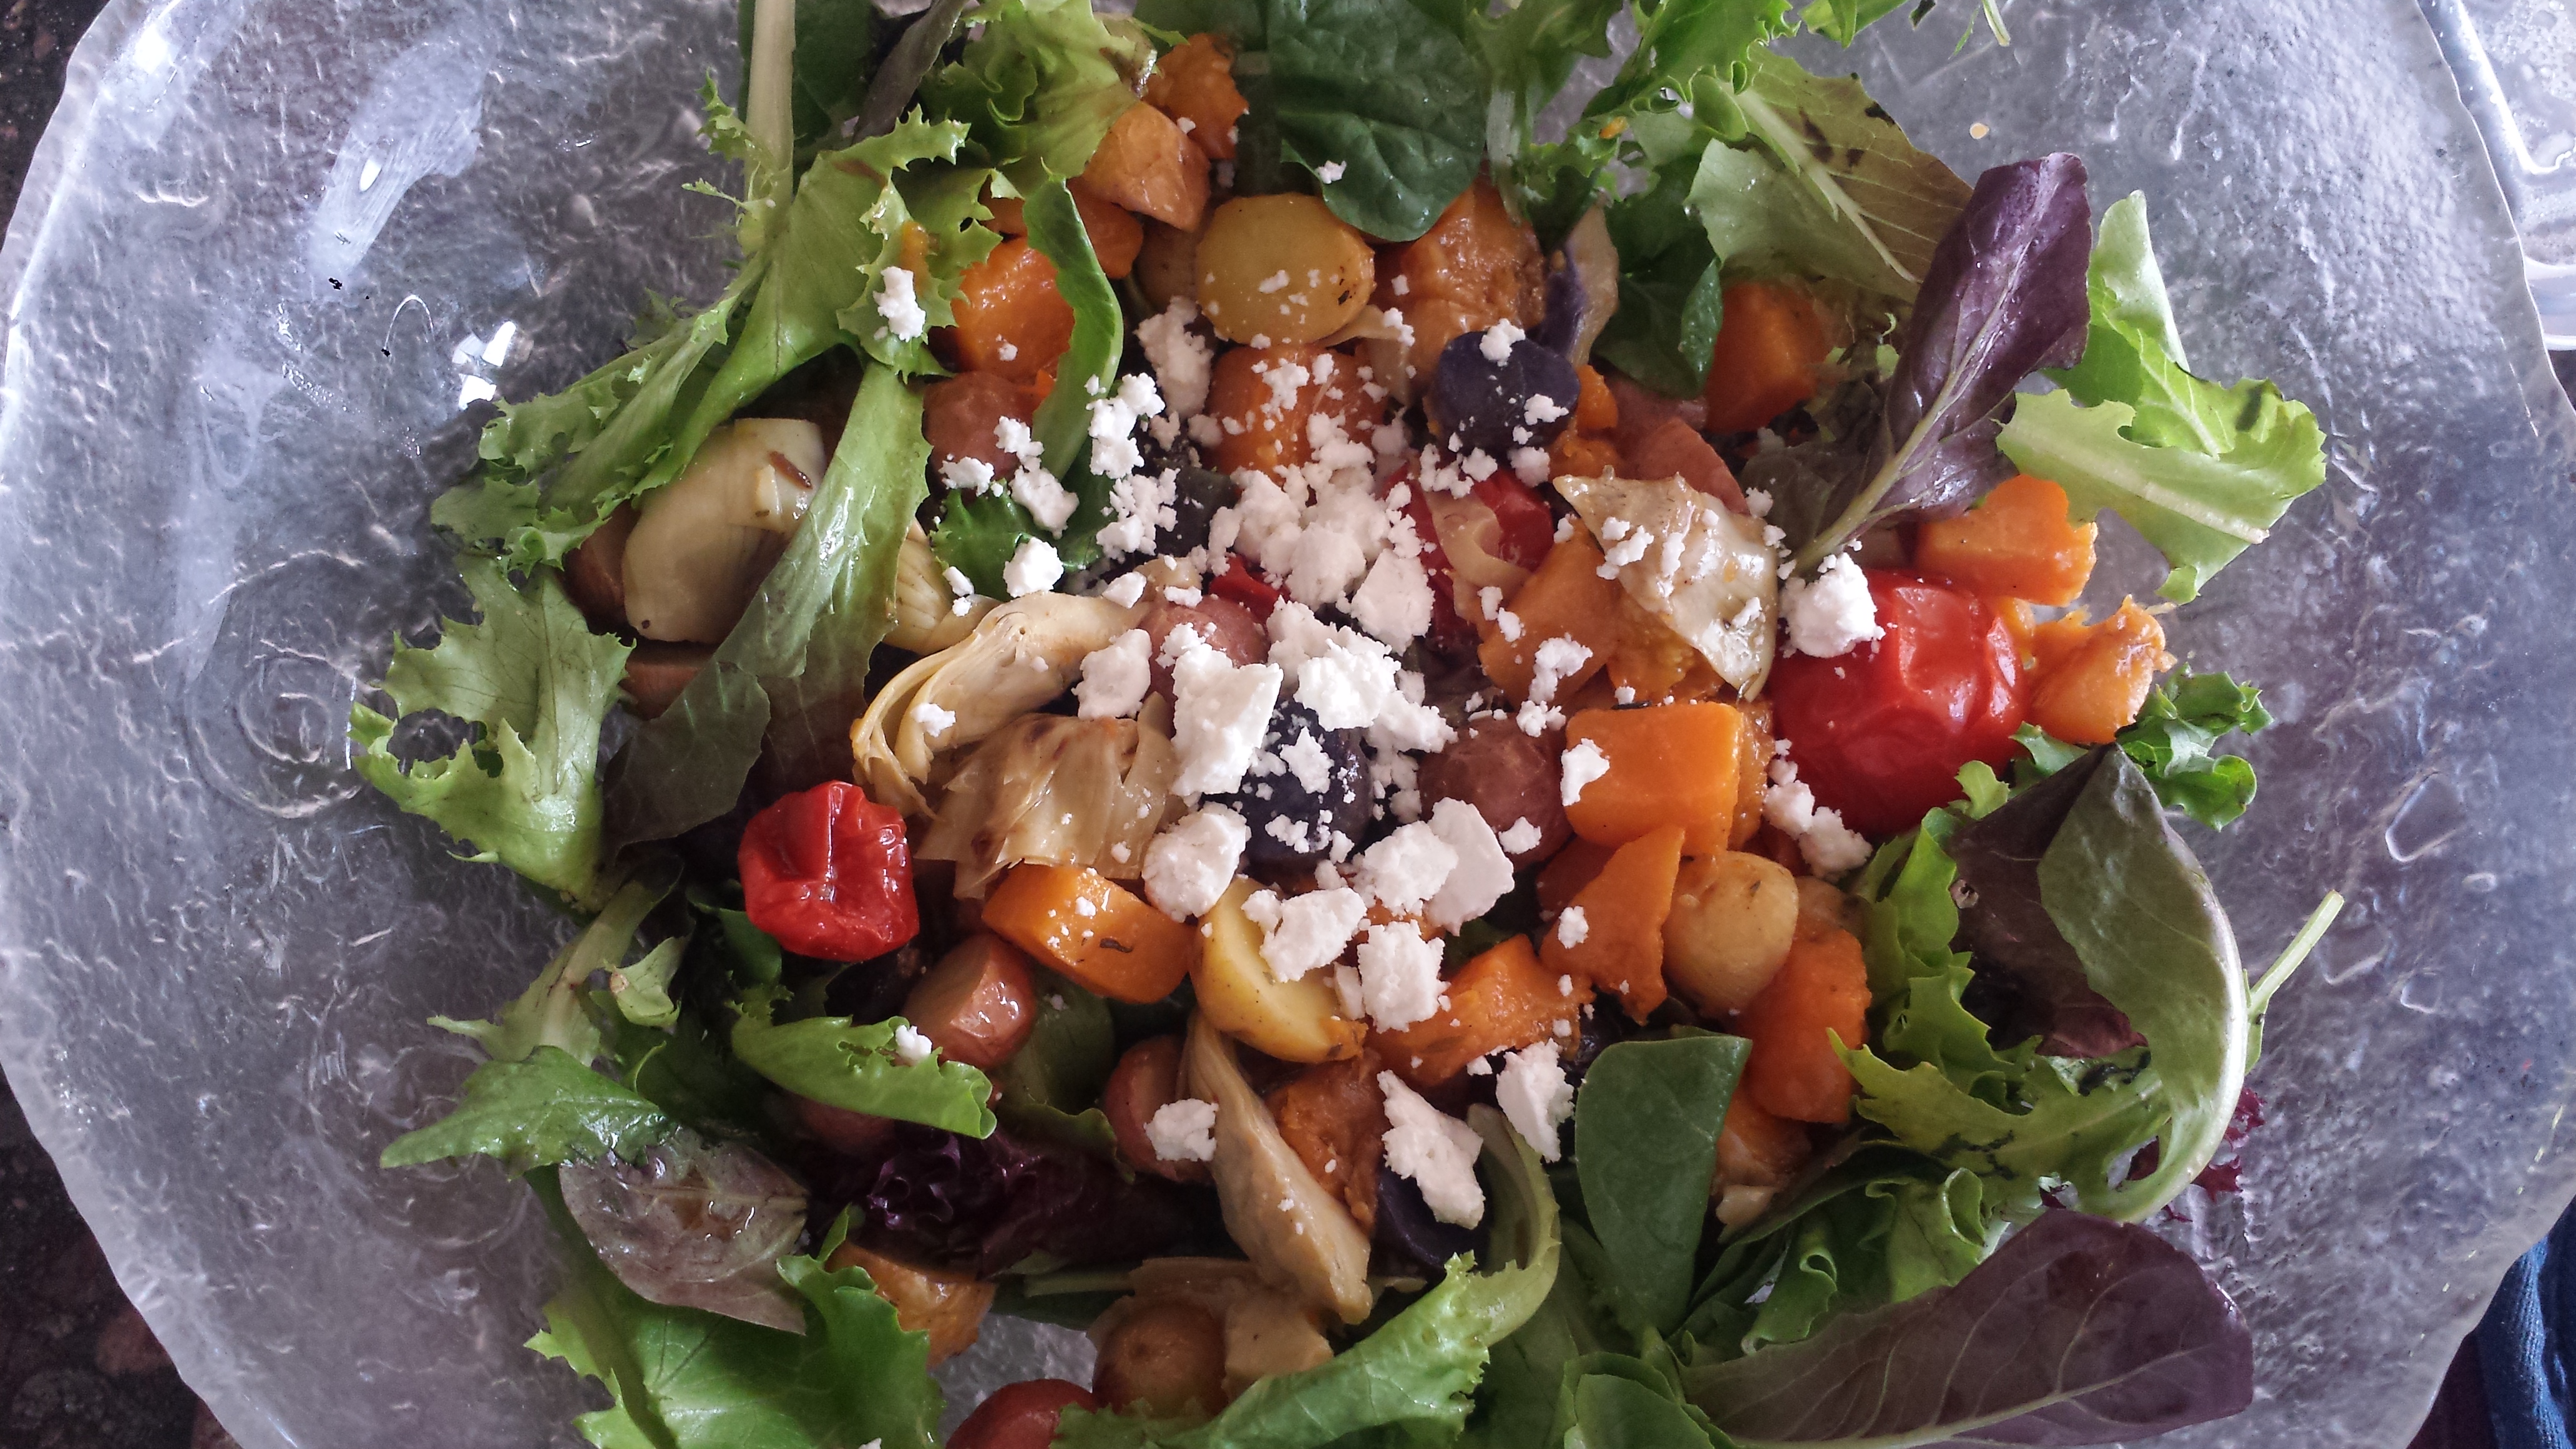
If you are looking for more of a salad recipe using endive, check out these Three Bite Salads which I made a couple of weeks ago with my first delivery of endive. They are a tasty way to serve endive as either an appetizer or side dish. Although, if you eat enough of them (like I did) it could be dinner.

And just because I was completely stunned by my new-found knowledge that endive is grown indoors in dark warehouses, I am also sharing their photo again along with the link on how endive is grown in case you missed it the first time. I was fascinated by the process. You almost have to look twice to realize what you are seeing. At first glance I thought they were roosting chickens.
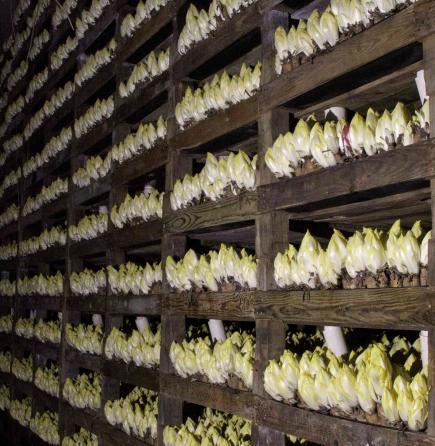
Photo Credit – http://endive.com/how-endive-is-grown
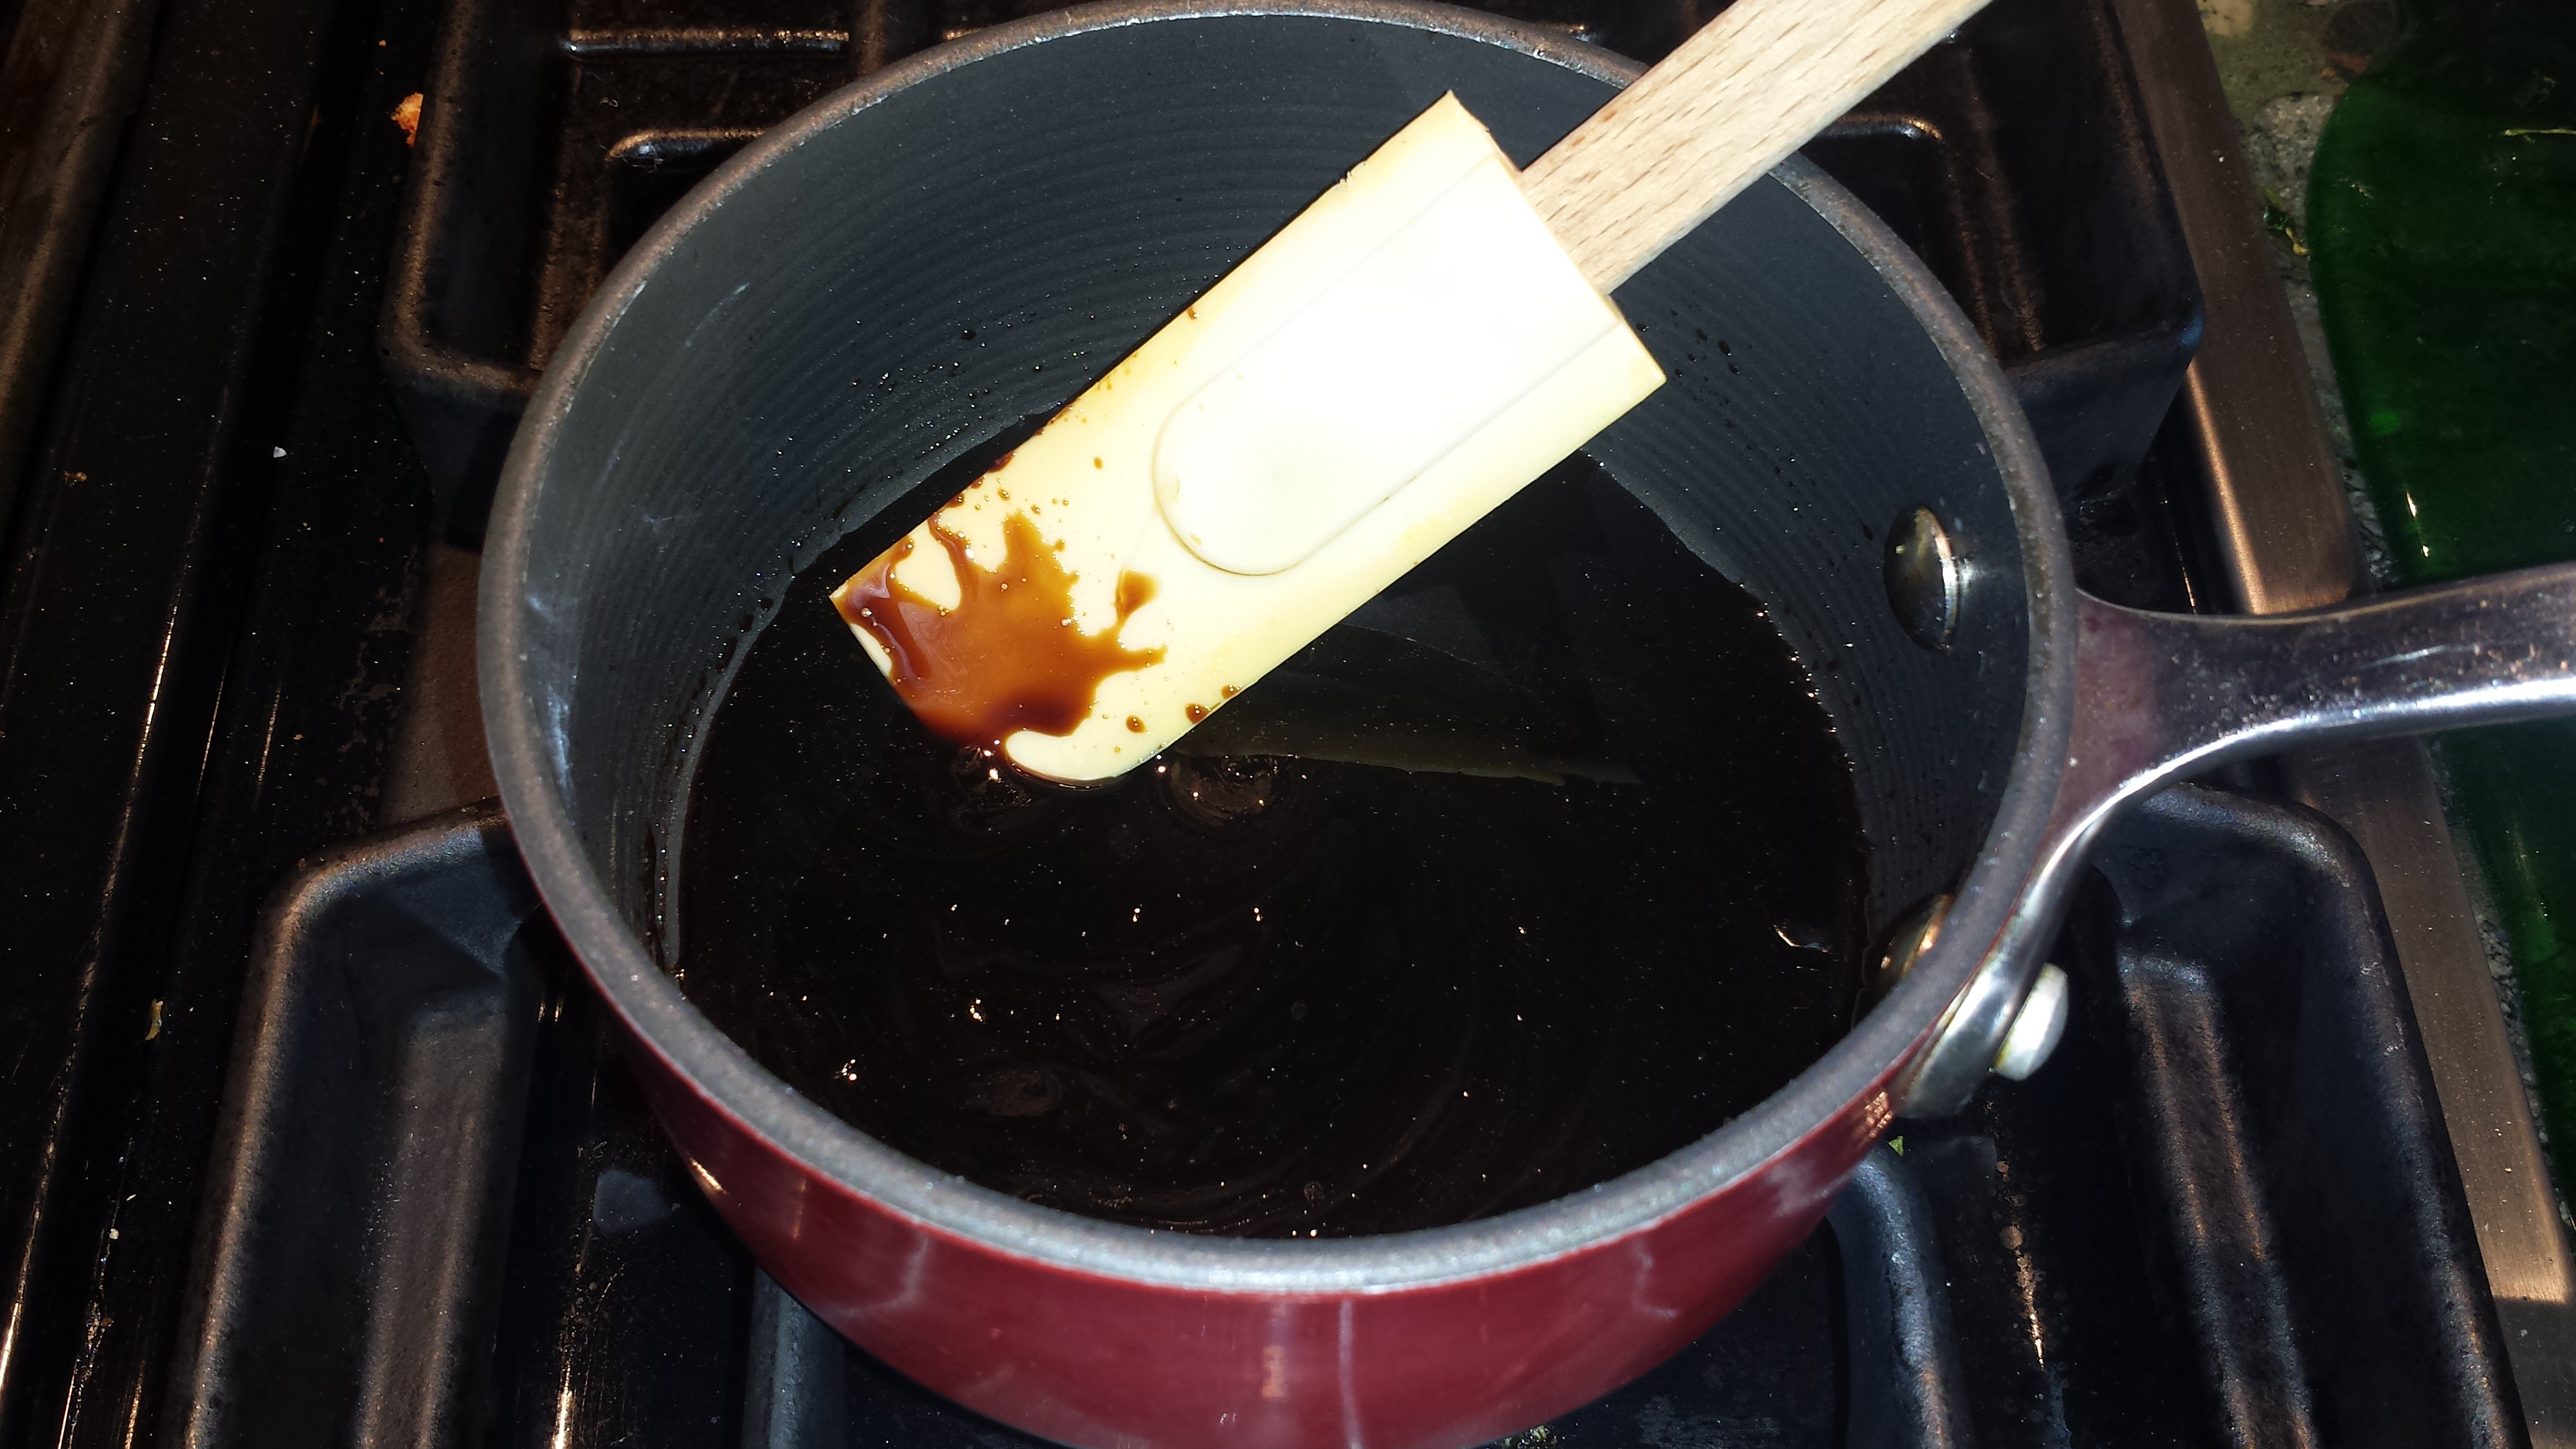
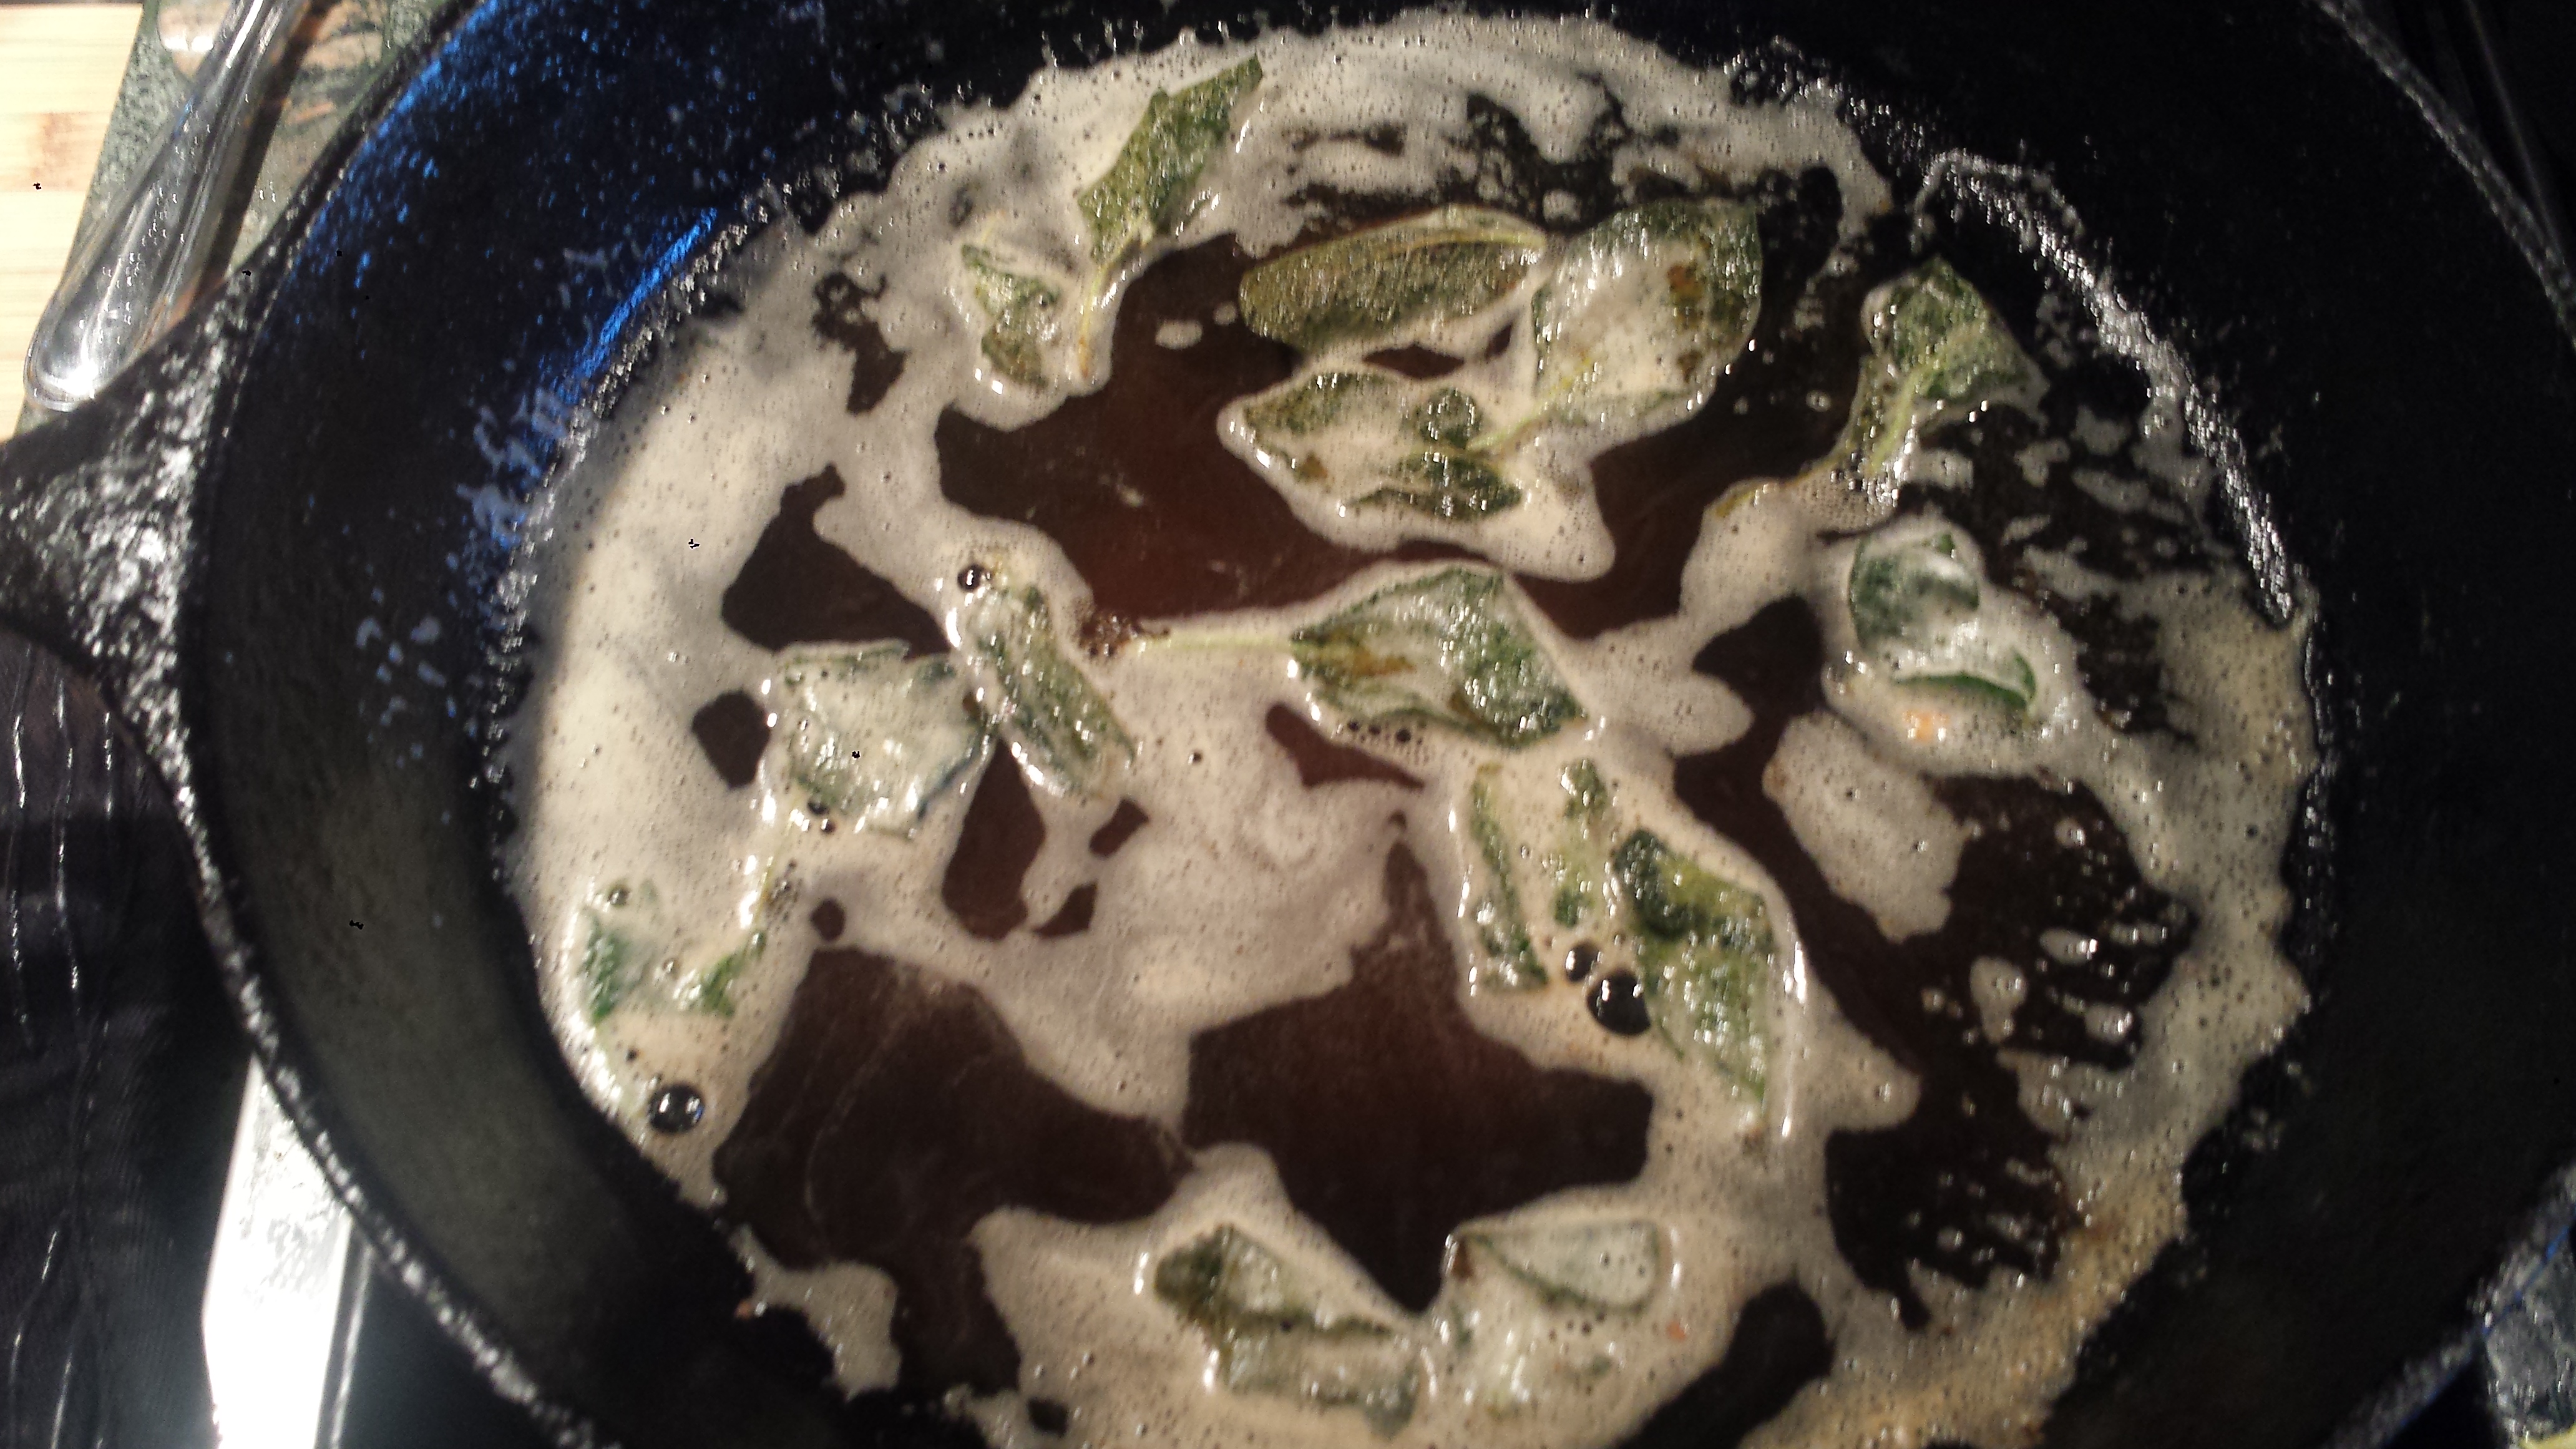
TIPS: The brown butter and crispy sage leaves really make the caramelized endive special. The butter browns quickly so don’t walk away from the pan or get involved in something else or it might burn. I would recommend one whole endive per person (so each gets two halves) and at least one sage leaf per half so no one gets cheated. You may want to add a few extra so you can taste one or two to make sure they are crispy.

CARAMELIZED ENDIVE WITH BROWN BUTTER SAGE SAUCE
4 heads endive
2 Tbs olive oil
3 Tbsn salted butter
8-10 fresh sage leaves
1/4 cup grated parmesan (optional)
salt and pepper

- Cut the endive in half lengthwise.

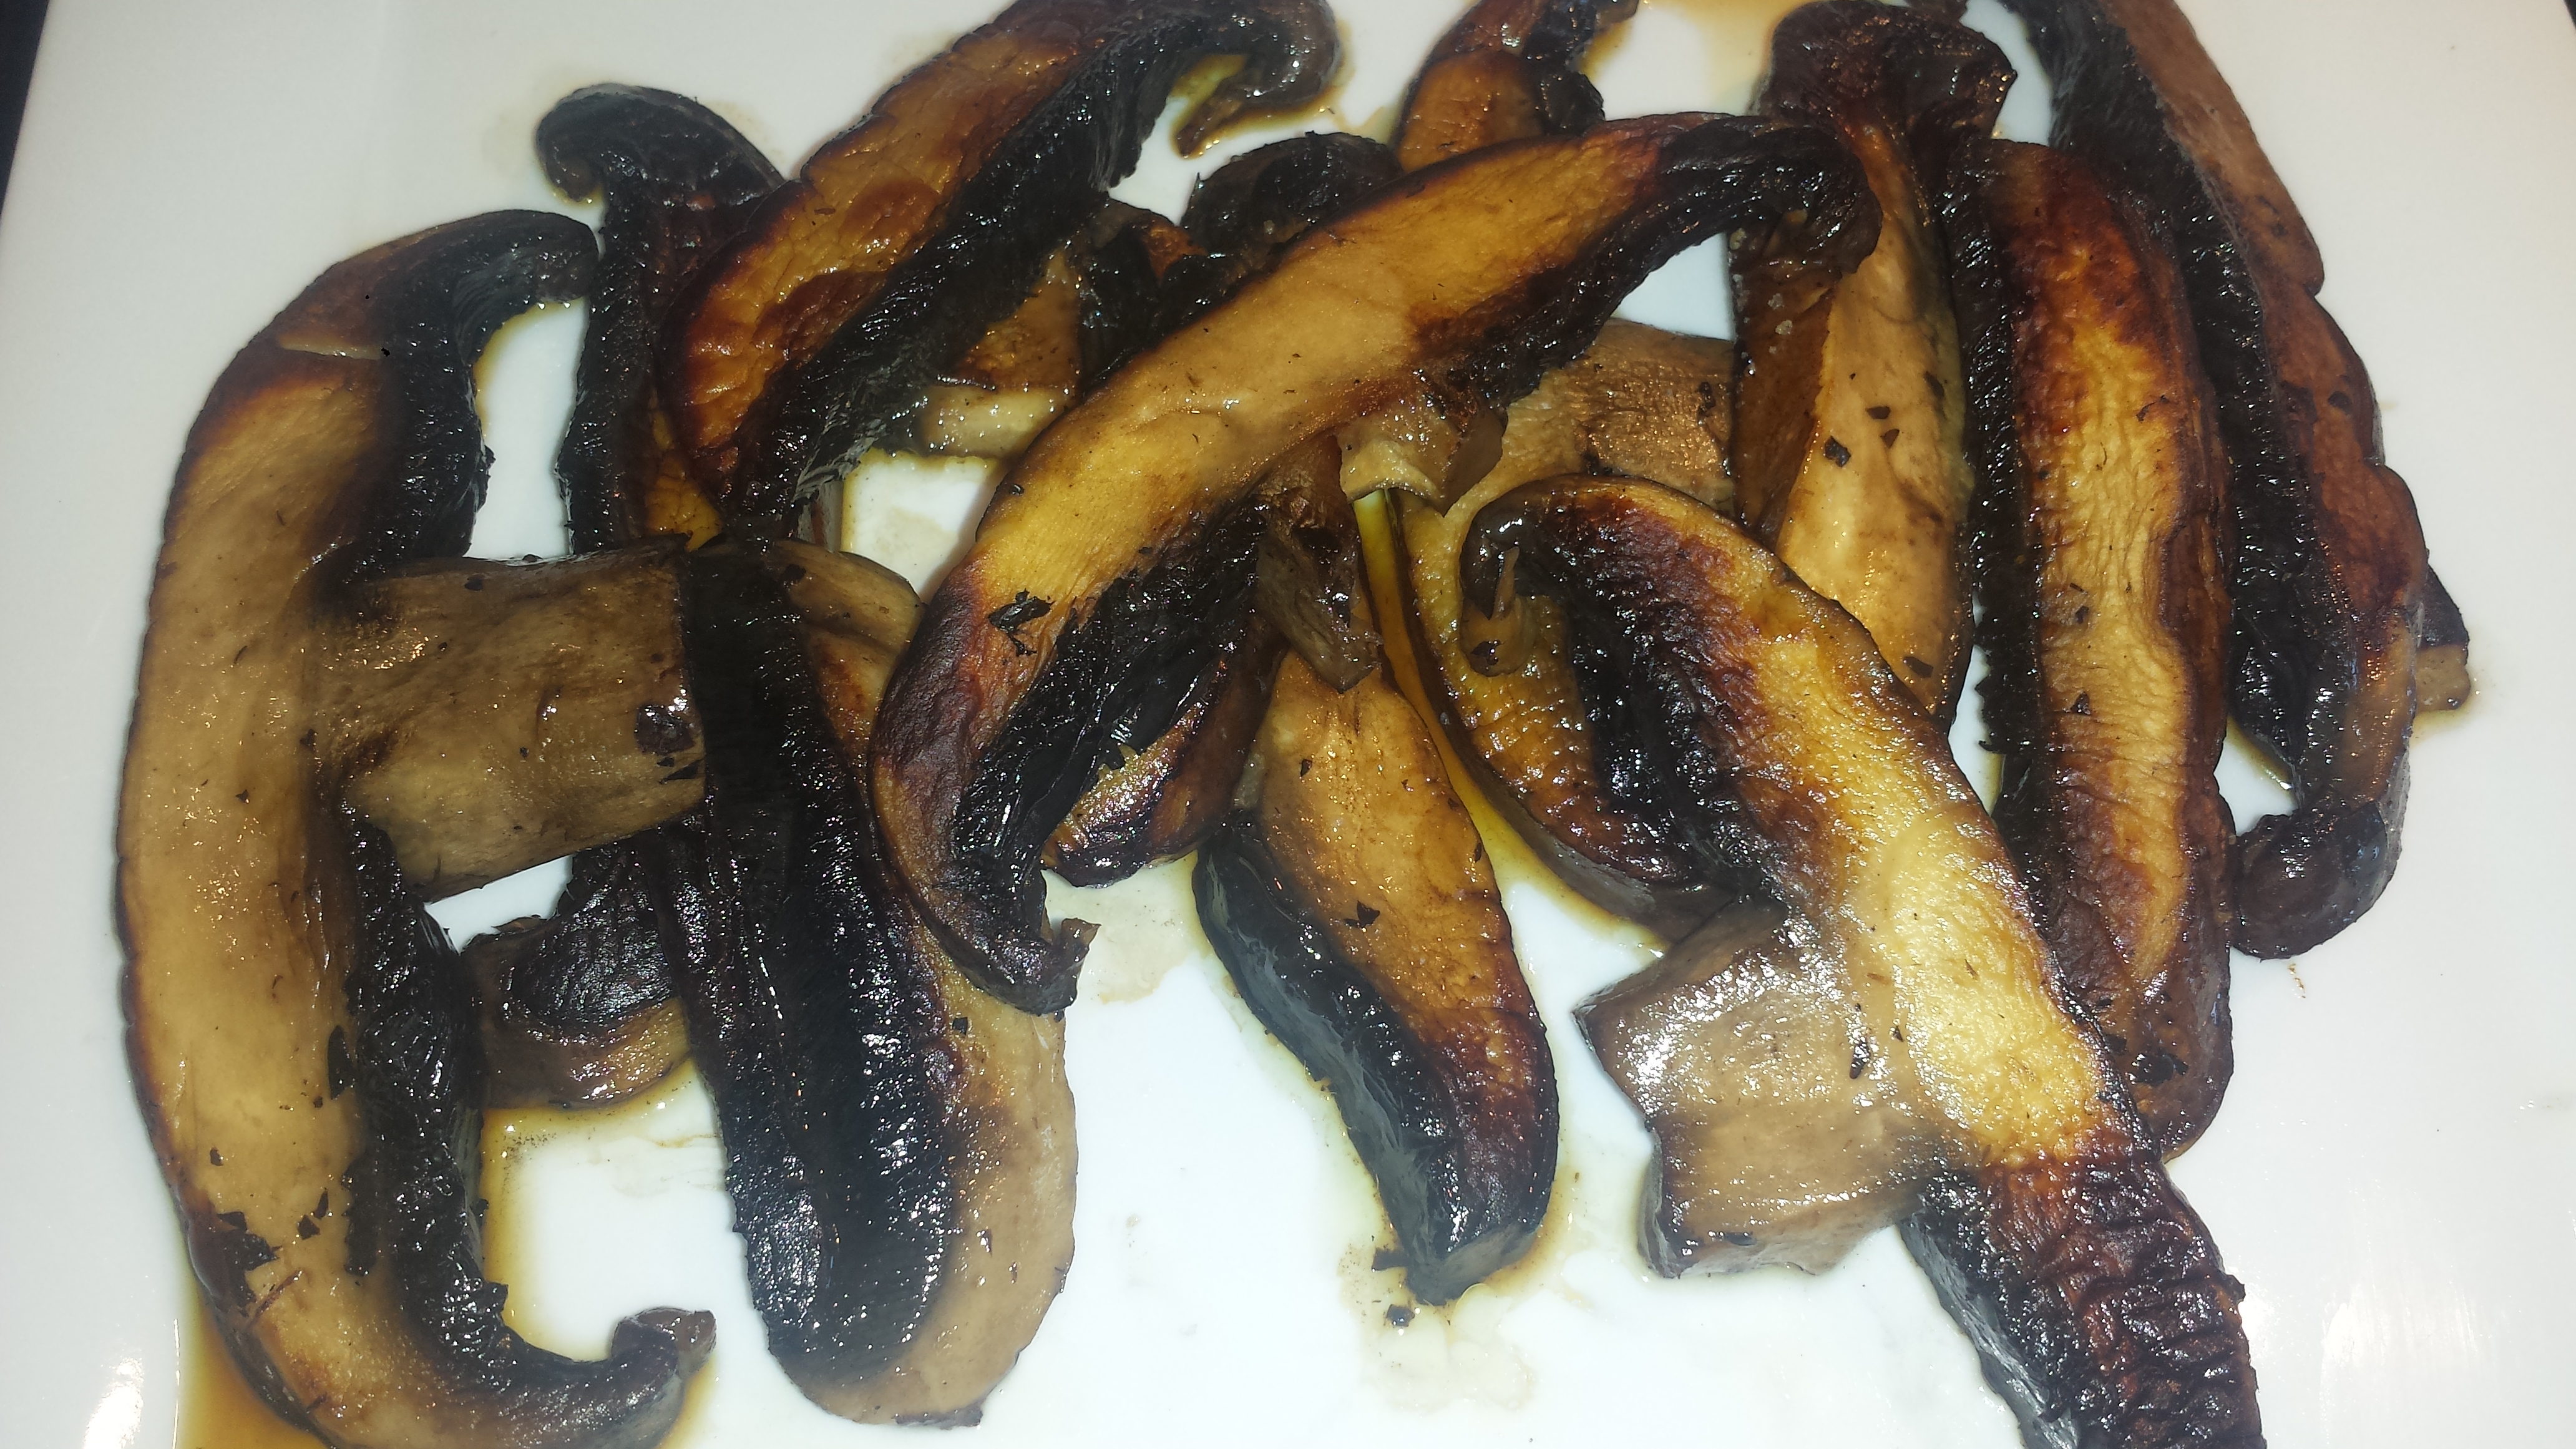
- Heat oil in a medium skillet over medium high heat until shimmering. Place endive in the skillet cut side down and cook until nicely browned, about 5 minutes.

- Carefully turn endive and cook another 2 or 3 minutes, until tender.
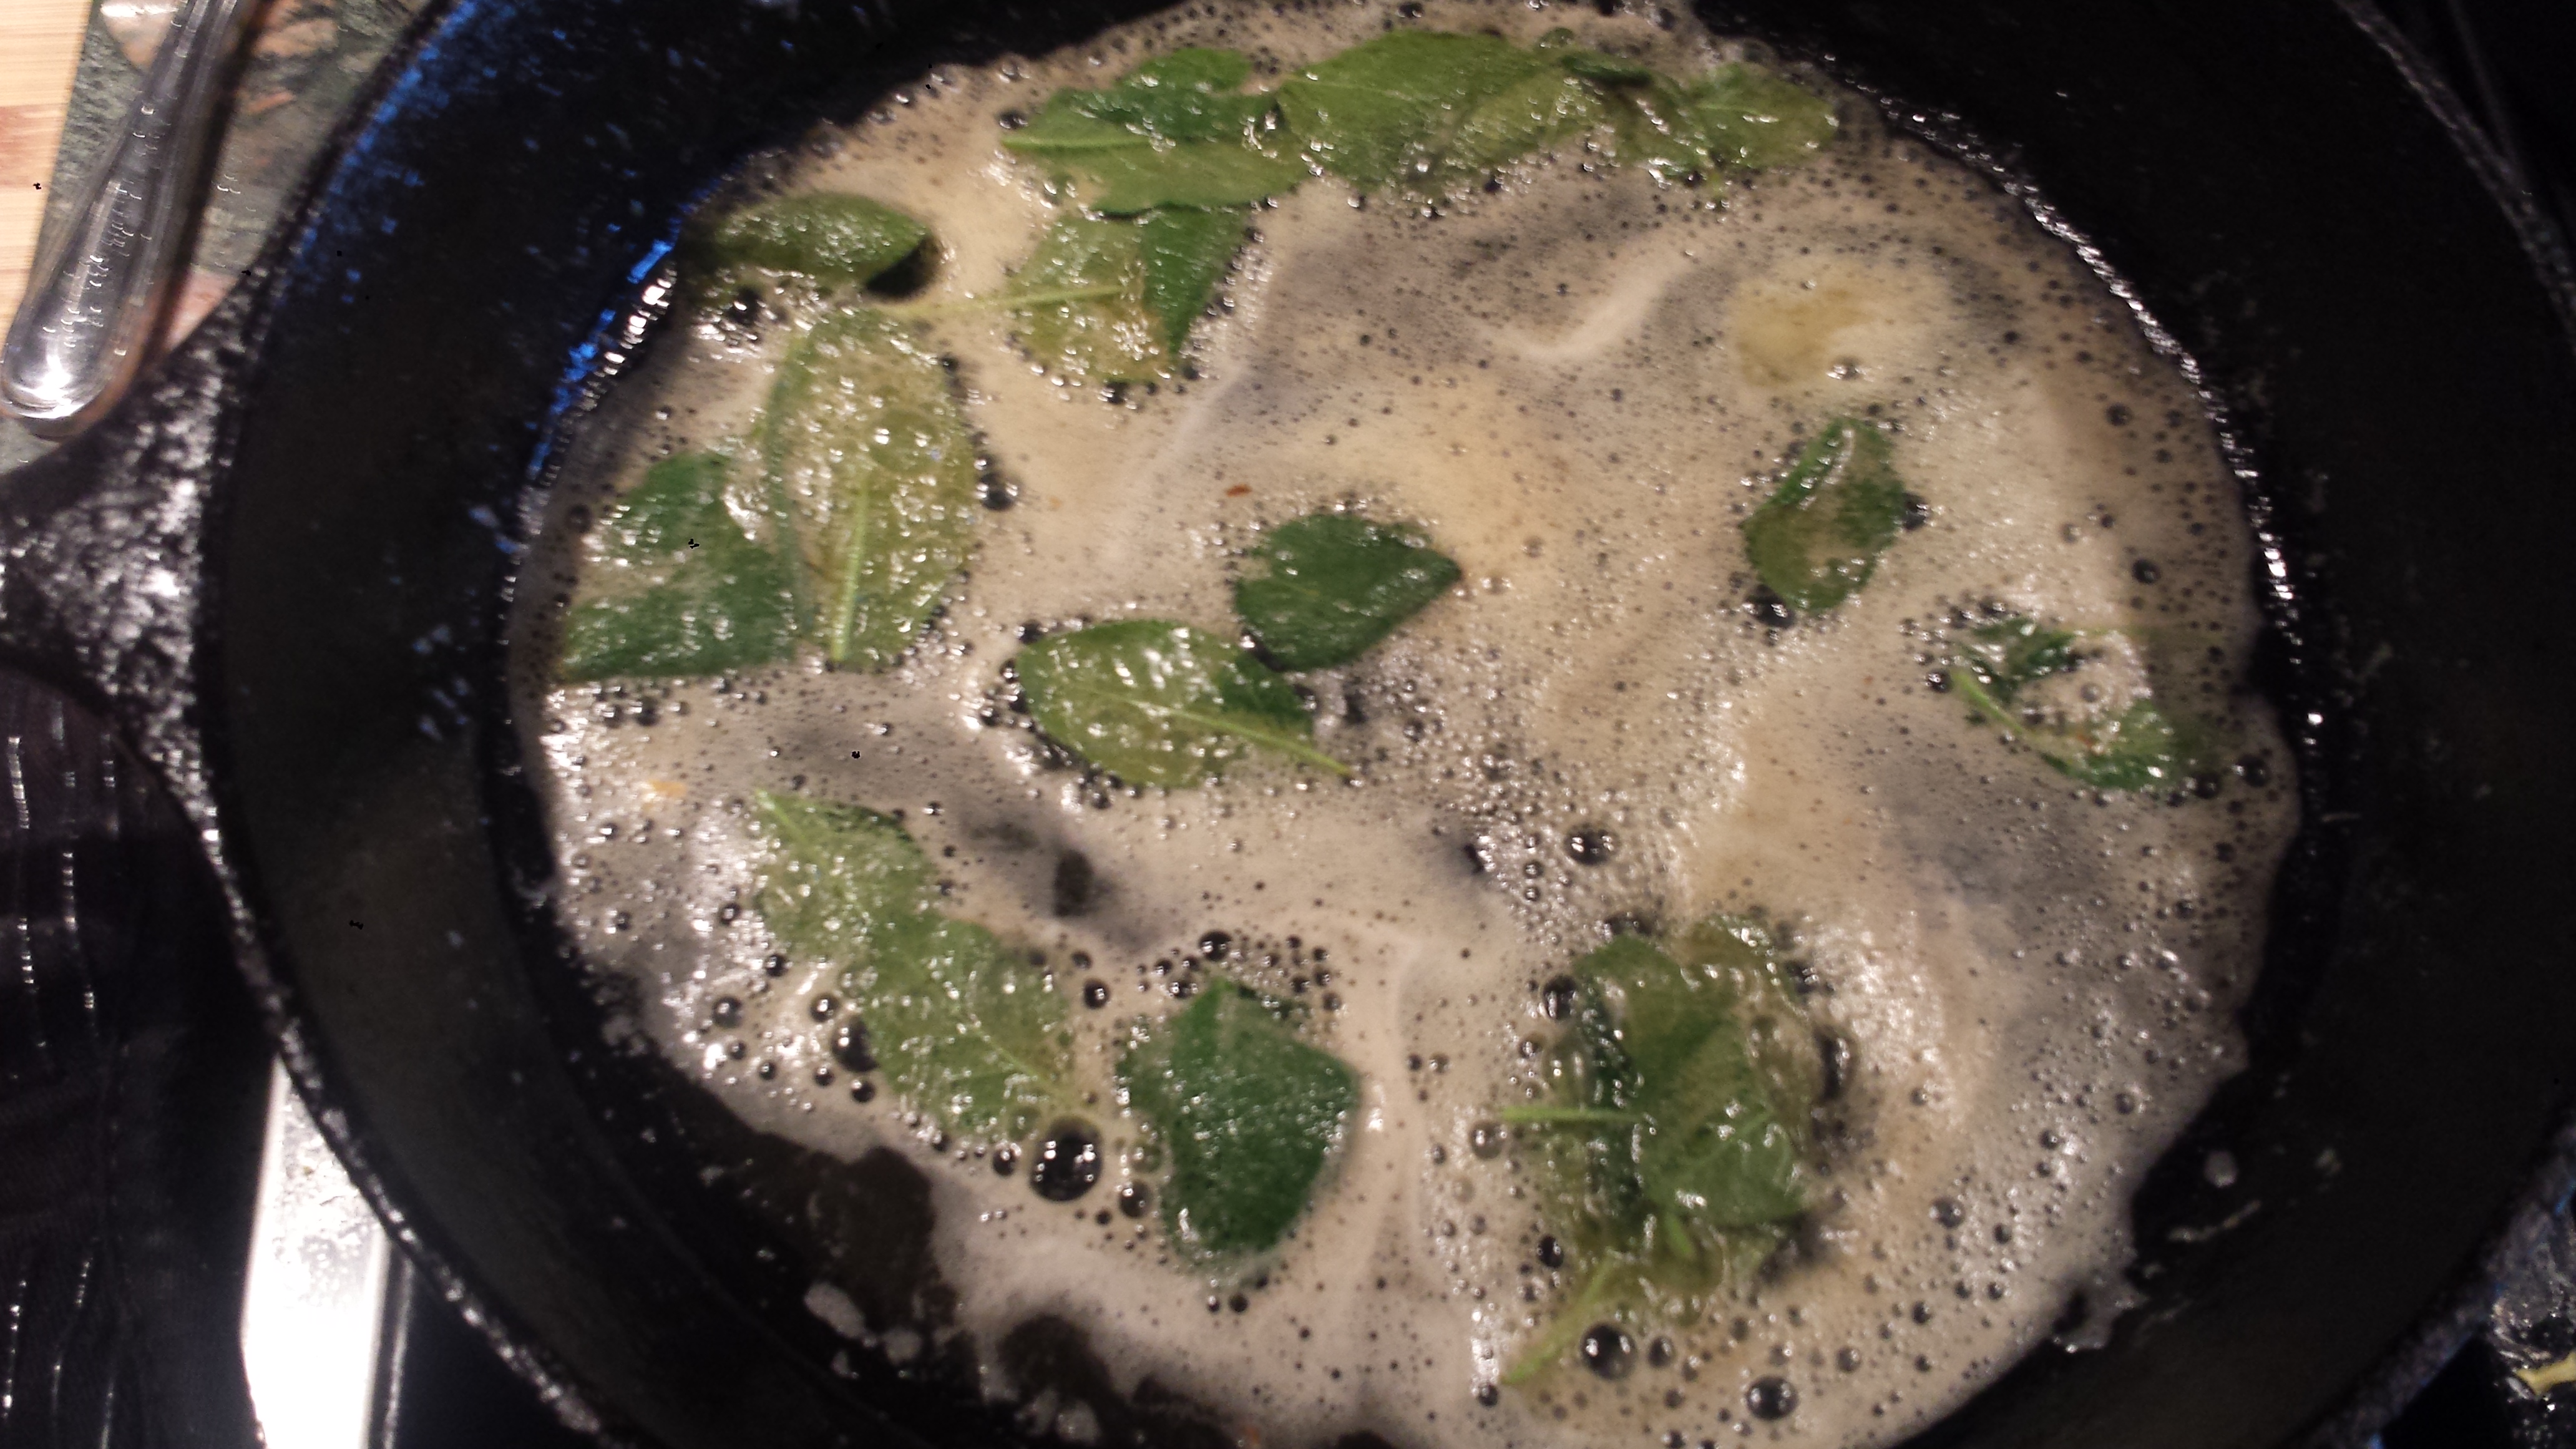
- Remove from skillet to a platter and tent with foil. Melt butter in the skillet over medium heat. Add sage and cook until butter is browned and fragrant and sage is crispy, 3 or 4 minutes.
- Drizzle over endive and sprinkle with grated parmesan. Season with salt and pepper to taste.

4 heads endiveCaramelized Endive with Brown Butter Sage Sauce
2 Tbs olive oil
3 Tbsn salted butter
8-10 fresh sage leaves
1/4 cup grated parmesan (optional)
salt and pepper