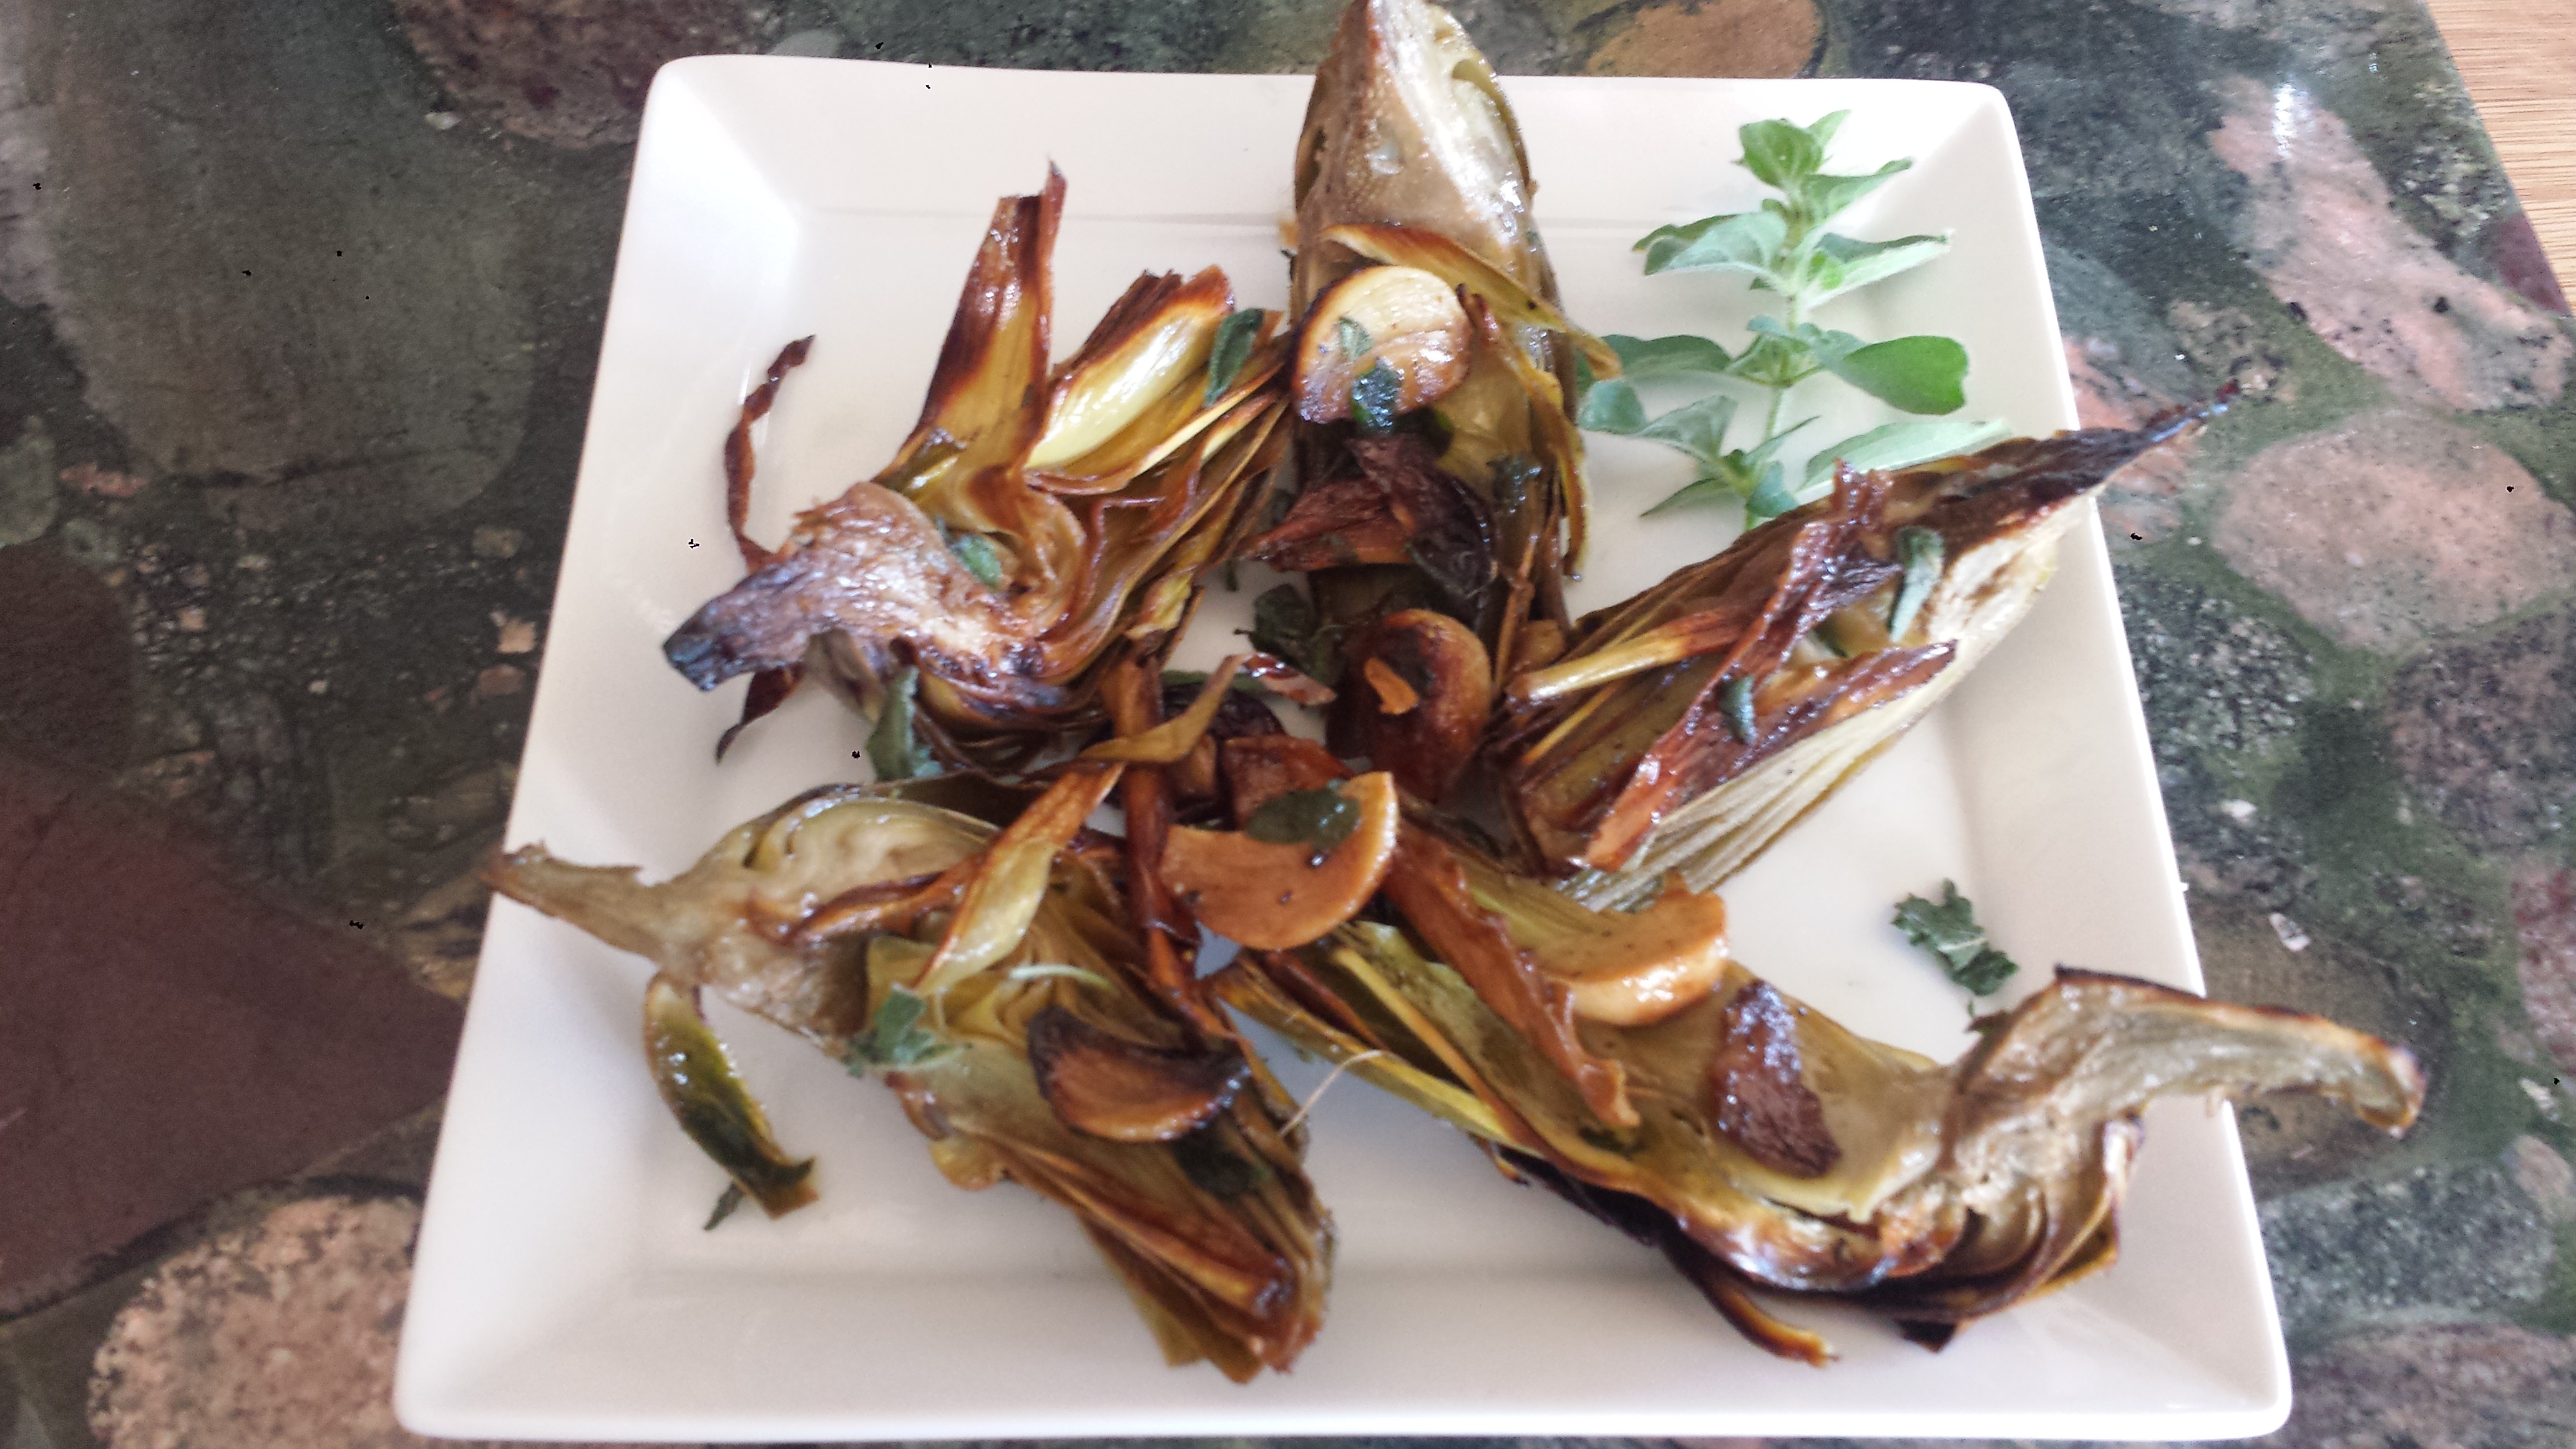
Mmmm… finger lickin’ good! I have made artichokes many times but never pan seared and I probably won’t go back. These are seriously good! My Mom used to serve platters of steamed artichokes that we dipped in mayo. I remember leaving piles and piles of spent artichoke leaves lined with teeth marks on my plate I still love them cooked that way, simple and homey, but as a food blogger I like to try new things and this one is a keeper! Searing the artichoke wedges instead of steaming them, intensifies their flavor. And if you haven’t tried burnt blackened garlic cloves, you’re missing out. When they are cooked at a higher heat or for a longer period of time, they lose their pungent, sharp quality and become sweet and caramelly so you can safely (and eagerly) eat them whole without getting garlicky dragon breath. After searing the artichokes, I added lemon zest, salt and pepper and let them steam in sherry and water while they reduce into a sauce. Delish and less than 20 minutes! Recipe adapted from a Cook Fresh, Spring 2015 recipe for Pan Seared Artichokes with Sherry Vinegar and Thyme.

The globe artichoke is a variety of a species of thistle which has been cultivated as a food. The part that we eat is actually a flower bud that hasn’t bloomed yet. Once the flowers bloom, they are quite striking with their vivid purple blossoms but they are no longer good to eat.

Photo Credit: http://kitchenproject.com/history/Artichoke/index.htm
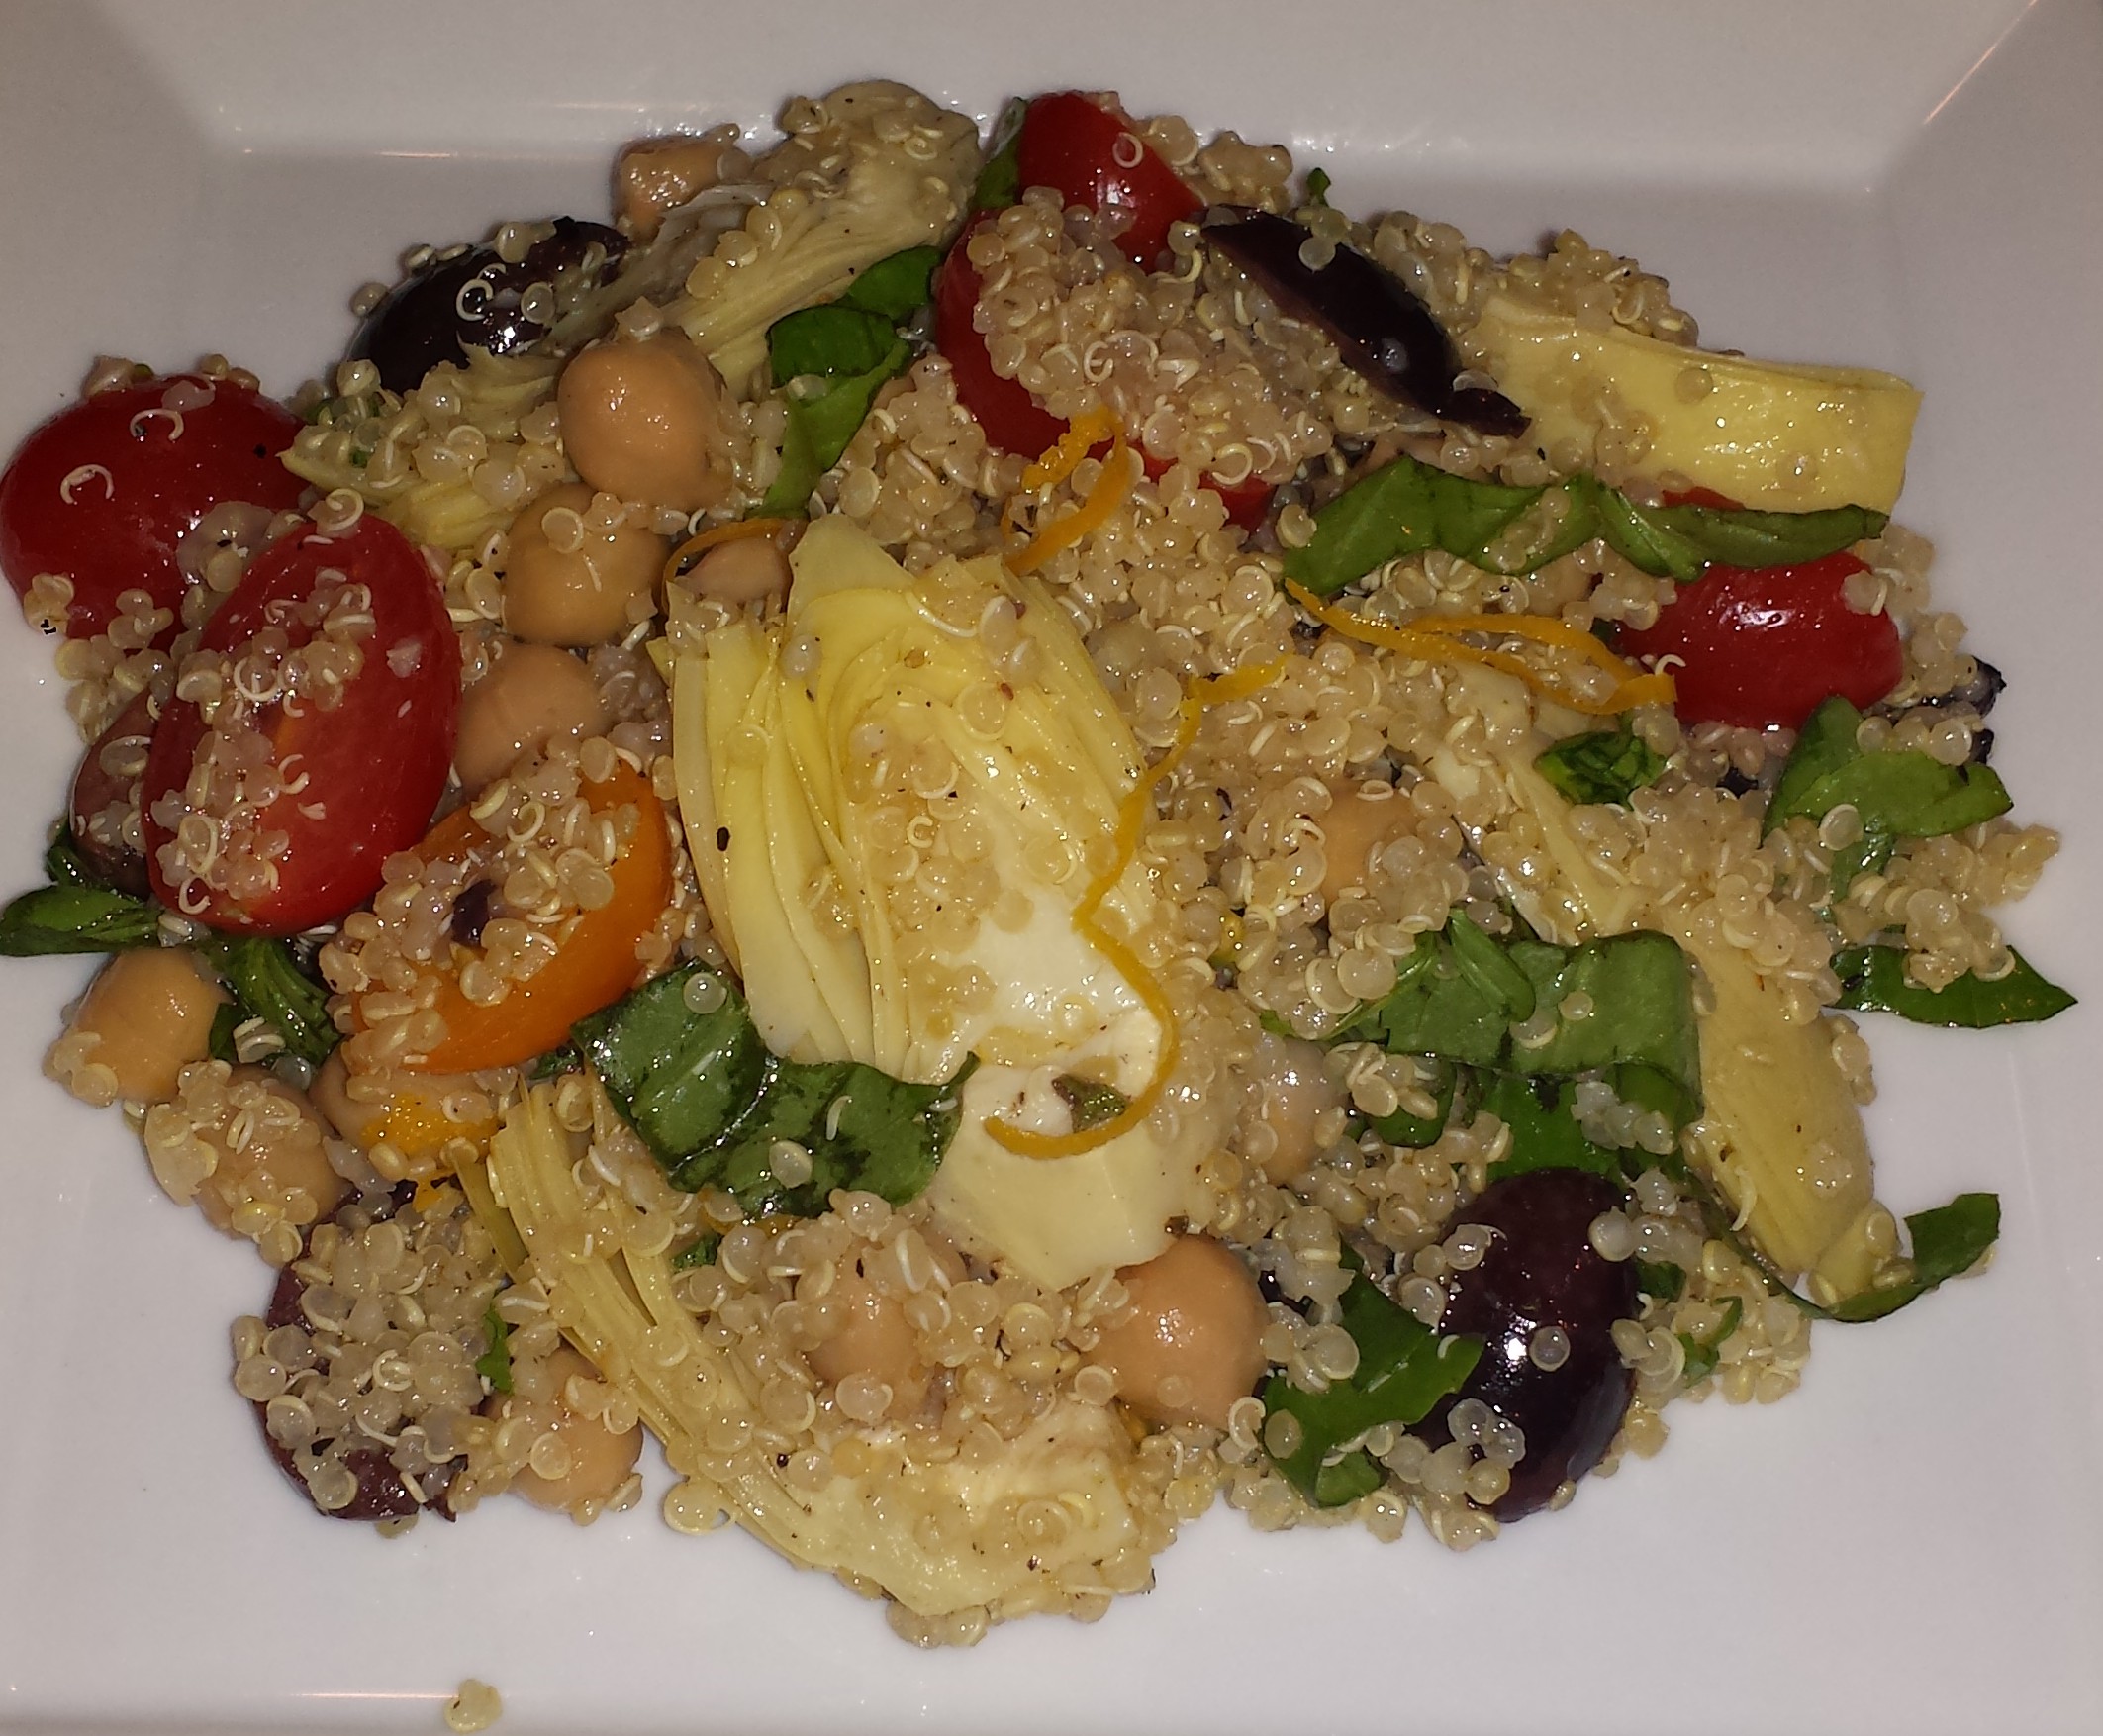
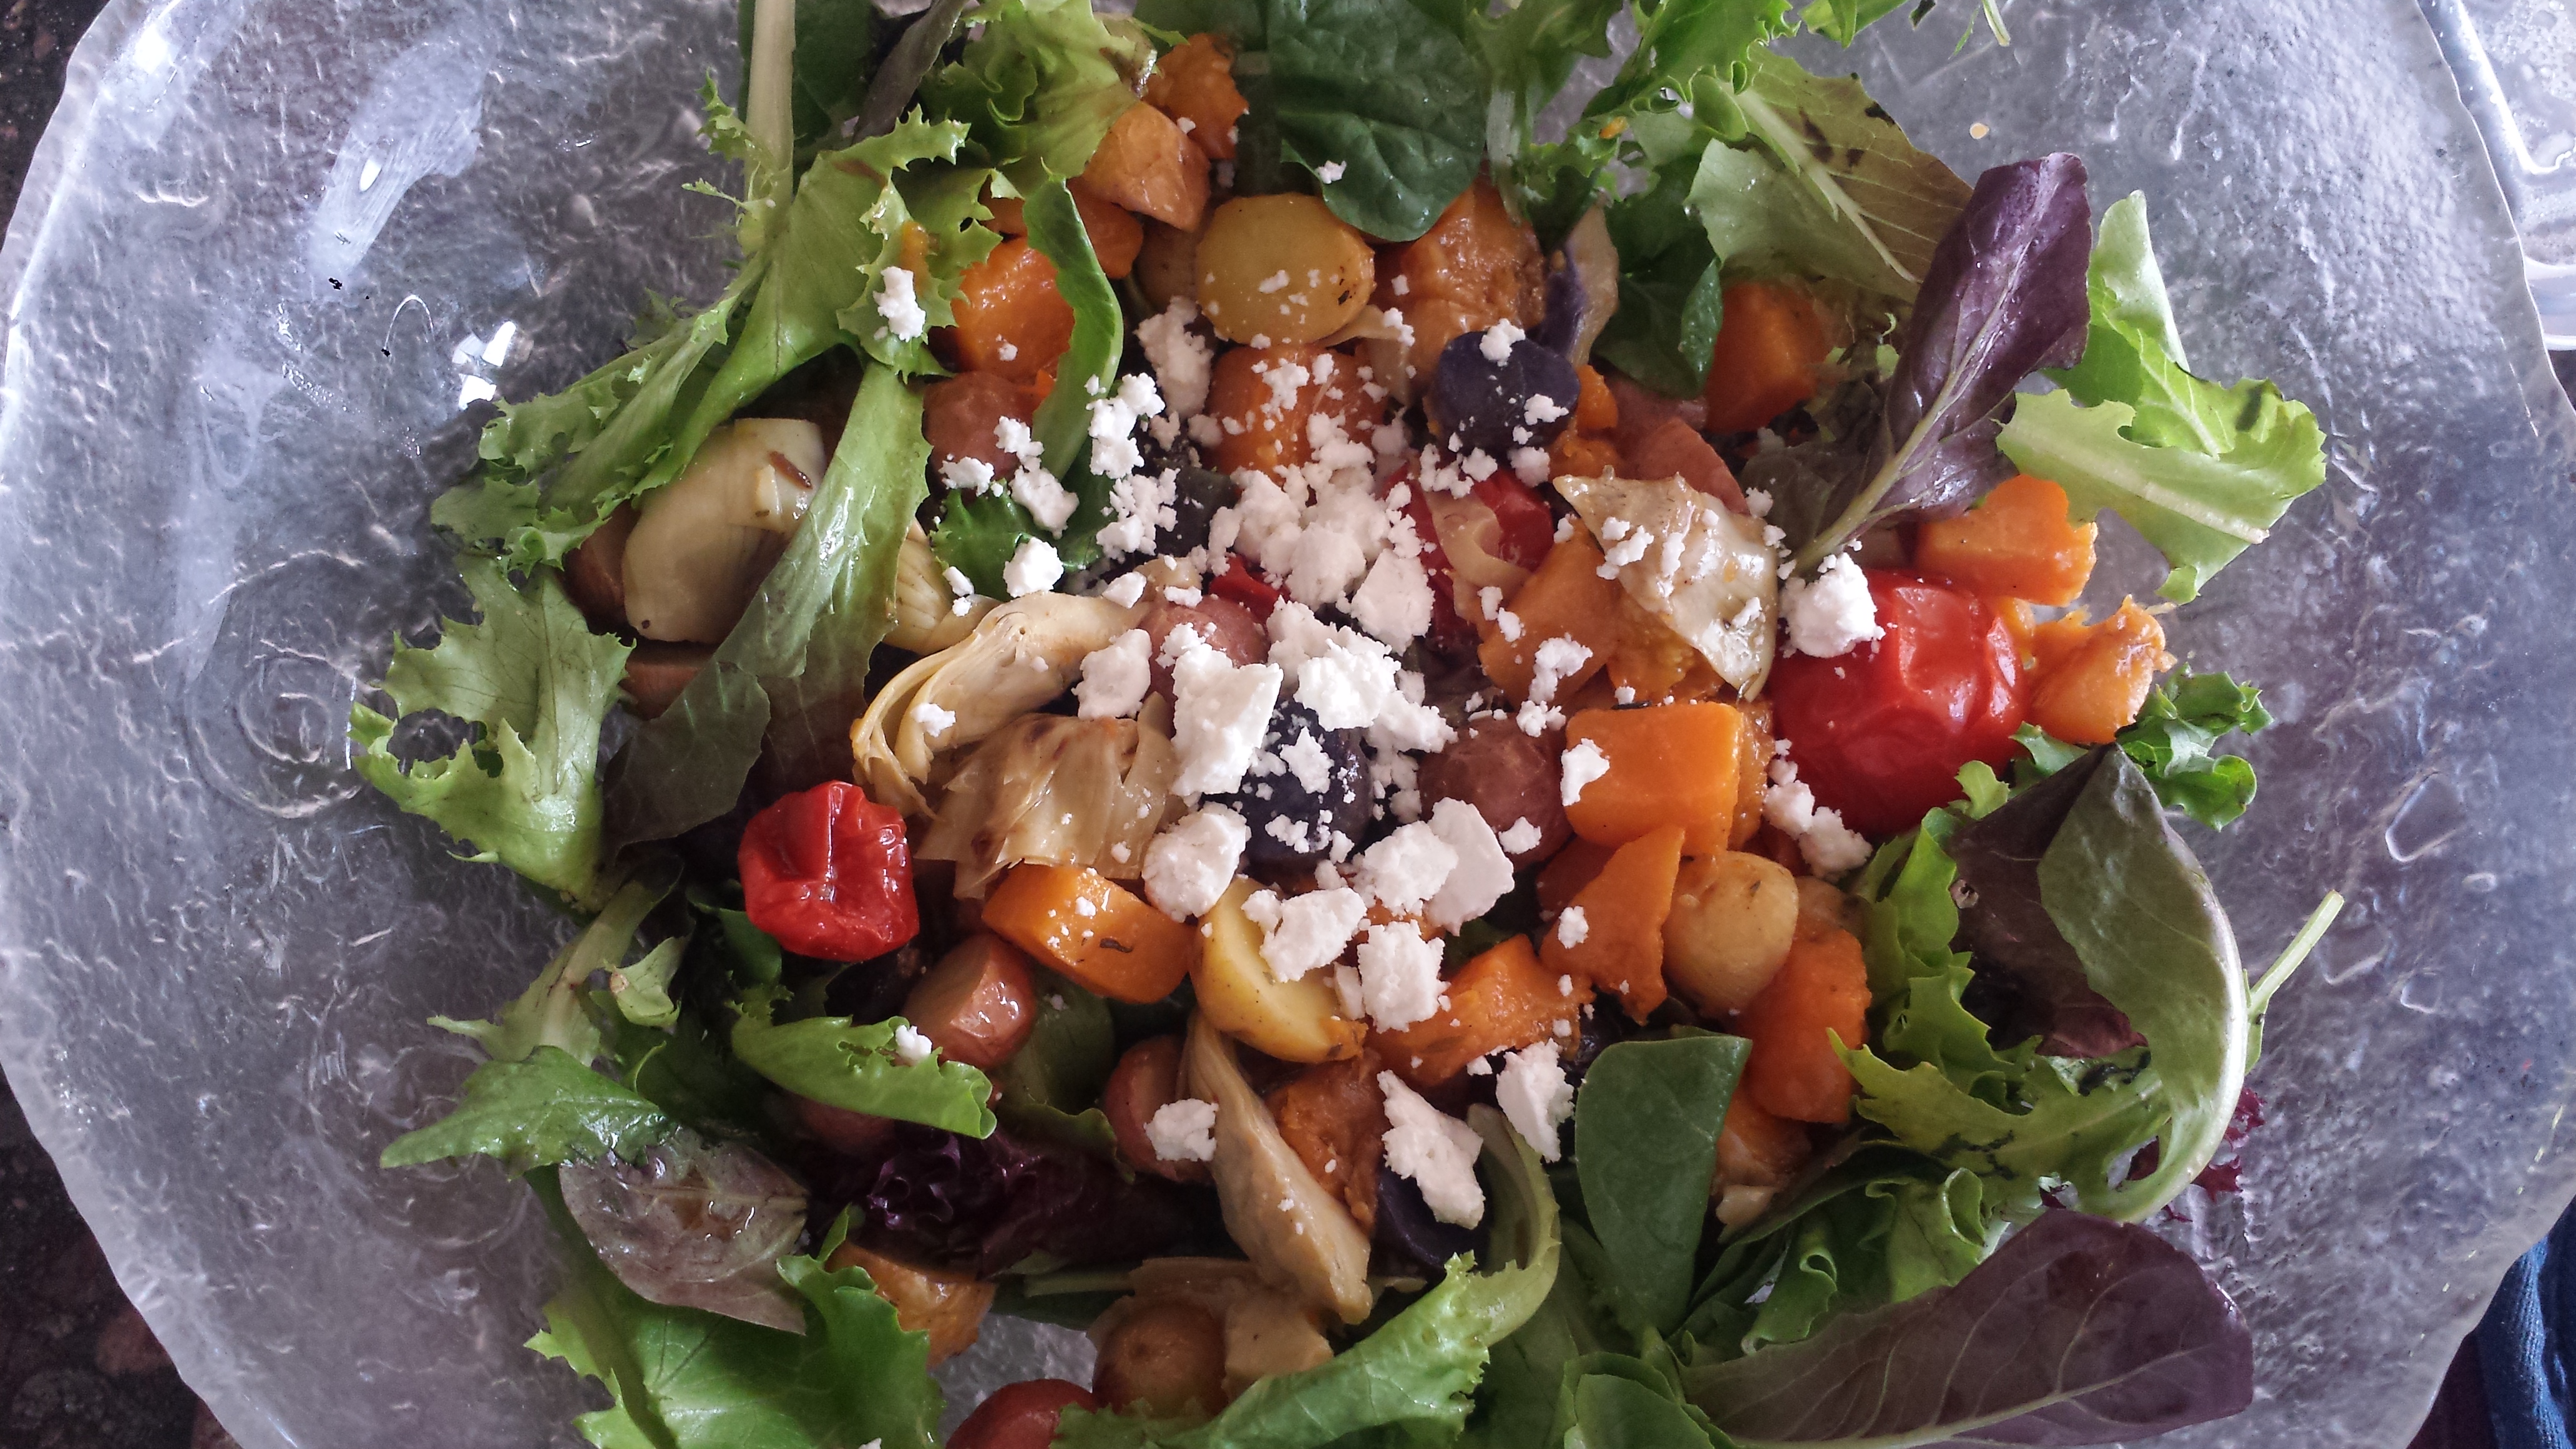
Arthichokes are low in calories and fat, and a rich source of dietary fiber and anti-oxidants. B vitamins, and a great source of Vitamin K (good for bone health) and a whole host of minerals including Potassium, Copper and Iron (all necessary for heart and blood health). If you want to make this a meal, serve the artichokes over a simple pasta tossed with butter or olive oil or on top of a leafy green salad with tomatoes and olives.
TIPS: I thought these pan seared artichokes were good just on their own and I loved the blackened garlic too, however, if you can’t imagine eating artichokes without a creamy dip, try making an Aioli with some of the blackened garlic, mayo or yogurt, lemon and salt and pepper. A sprinkle of parmesan could be good too!

PAN SEARED ARTICHOKES WITH BLACKENED GARLIC
2 large artichokes
1/3 cup olive oil
1/4 cup sherry
6-8 large cloves garlic, peeled and cut in half
1 tsp lemon zest
1 Tbsn lemon juice – to prevent browning (optional)
1/2 tsp salt
1/4 tsp black pepper
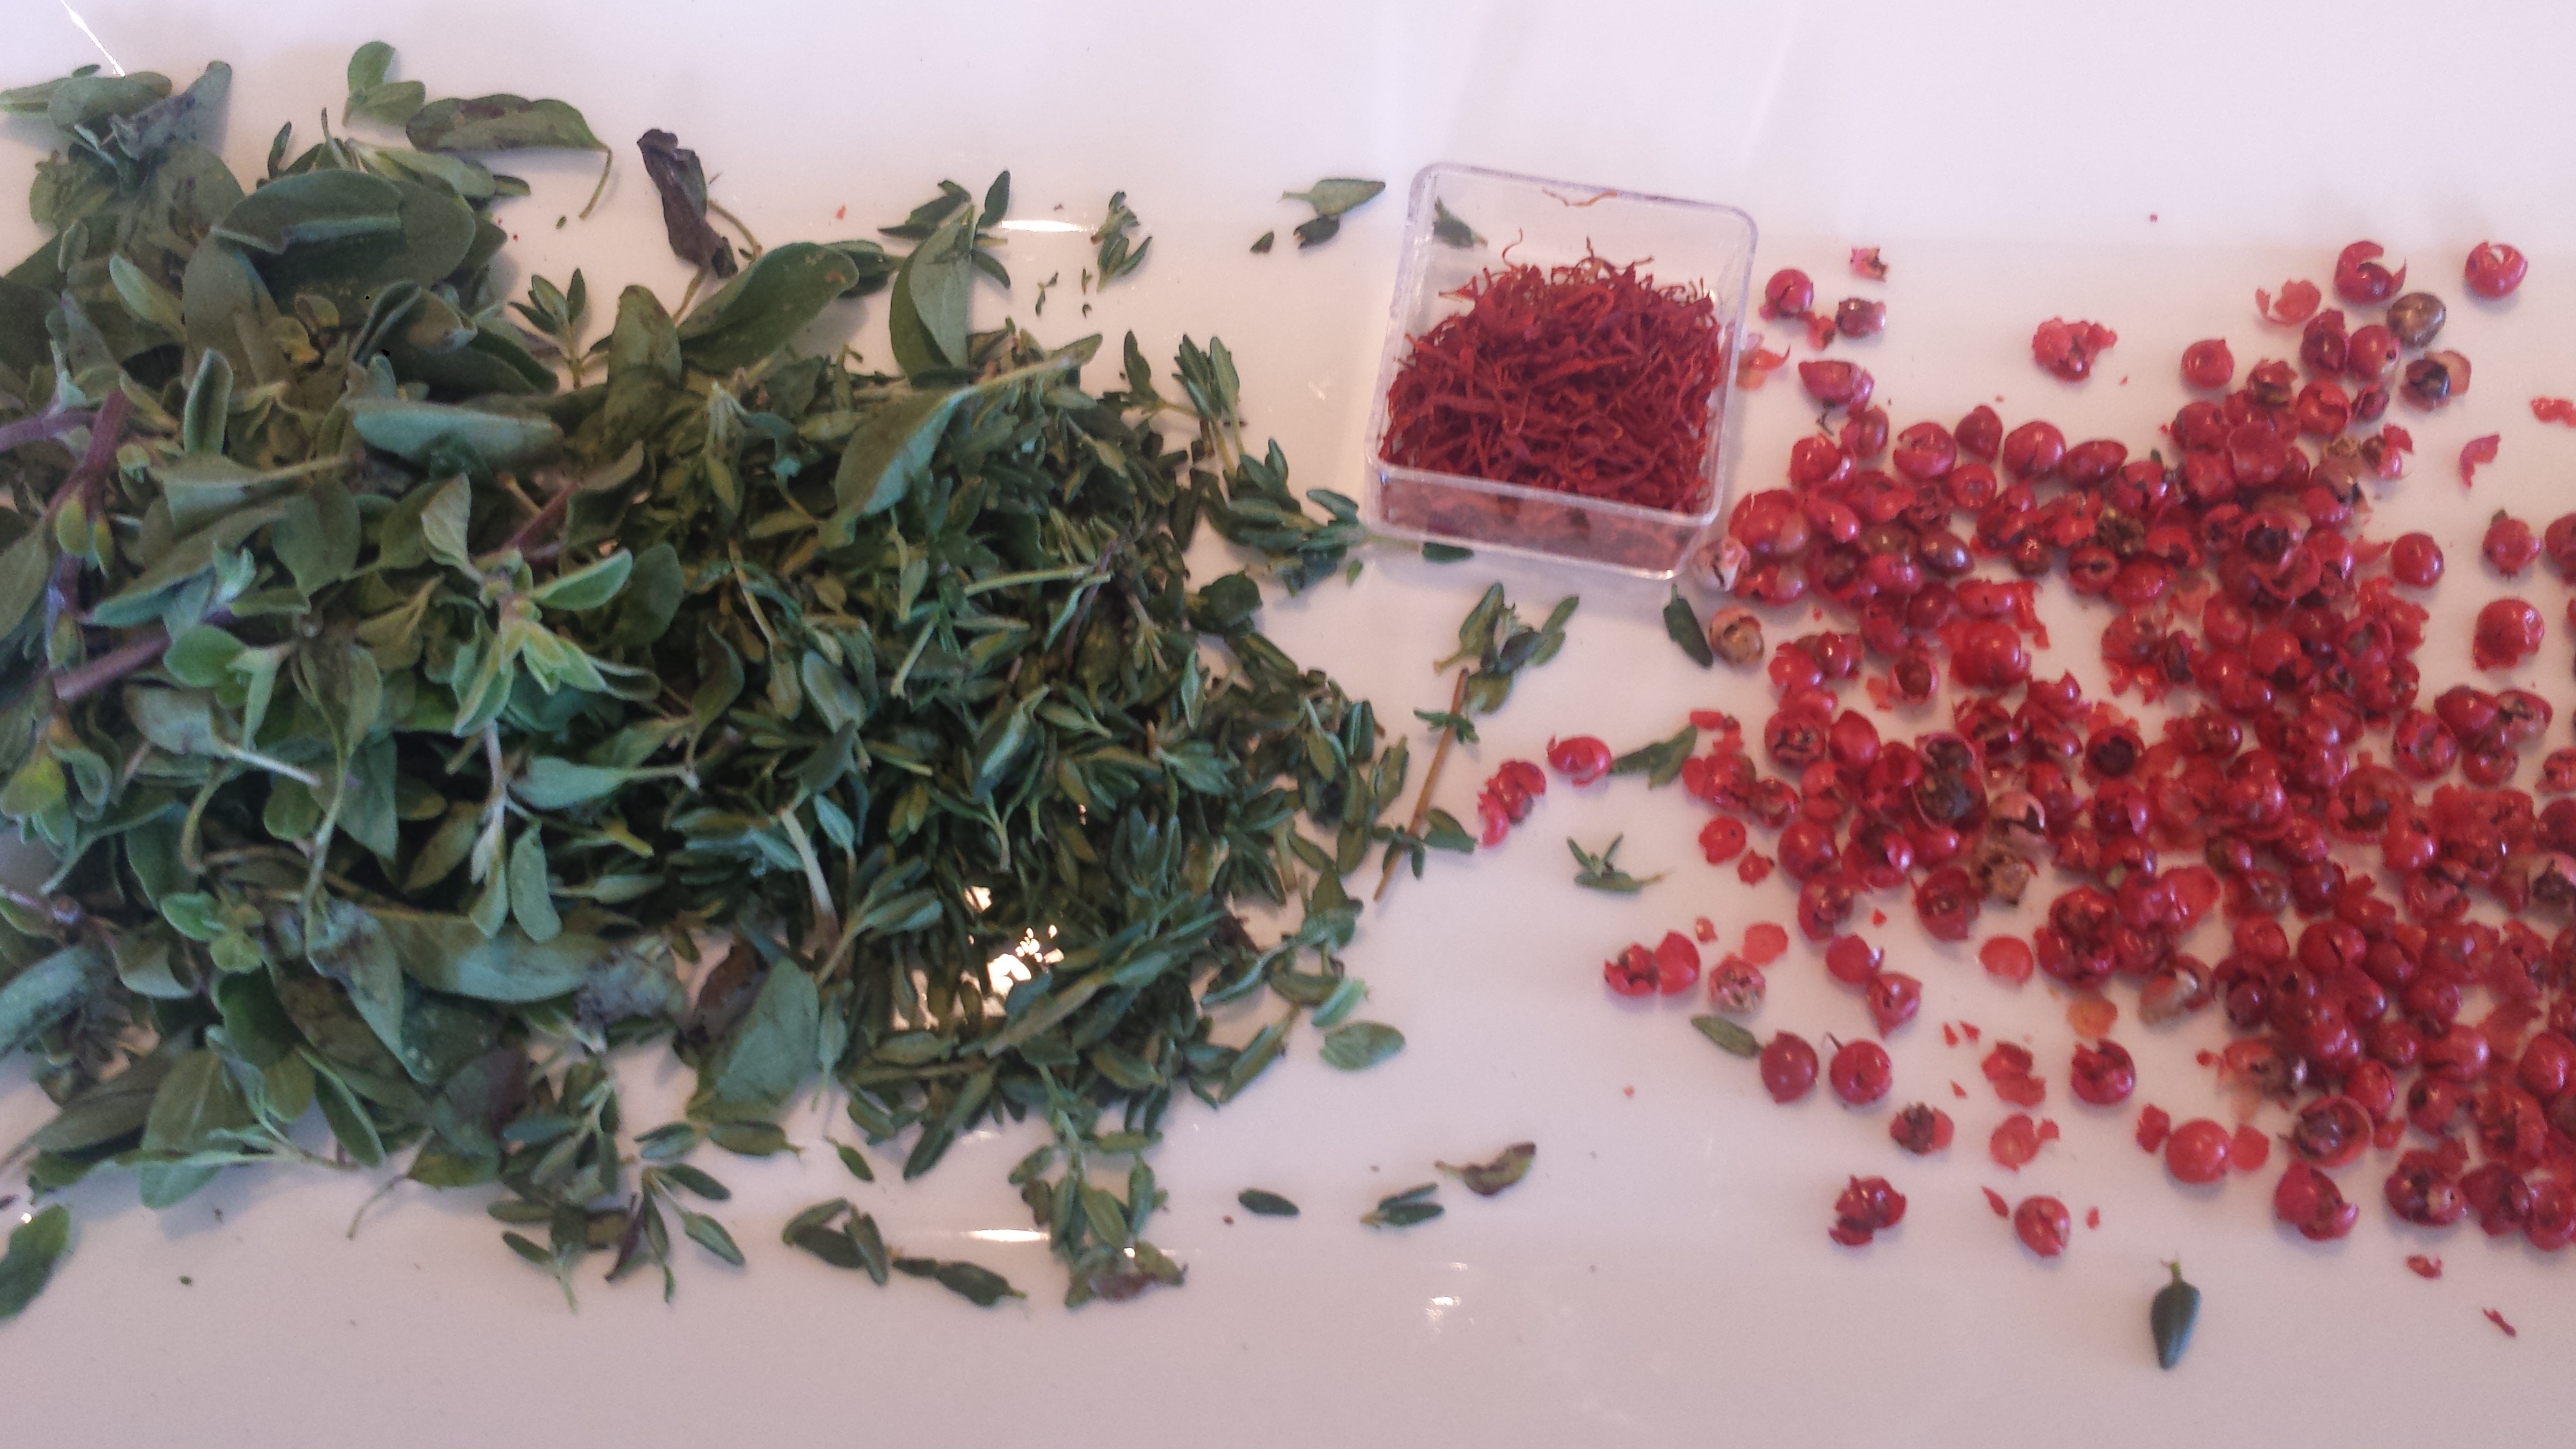
1 Tbsn fresh oregano or thyme, chopped
AIOLI DIPPING SAUCE (Optional)
1 cup mayo (or half plain yogurt/ half mayo)
8 blackened garlic halves
1 Tbsn grated lemon zest
2 Tbsn fresh lemon juice
1/4 teaspoon black pepper
1/2 tsp salt

- Trim artichoke stems to about 1/2 inch and remove the top inch by cutting straight across. Remove tough lower leaves. Using kitchen shears (or a knife) cut sharp points off each artichoke leaf (optional)
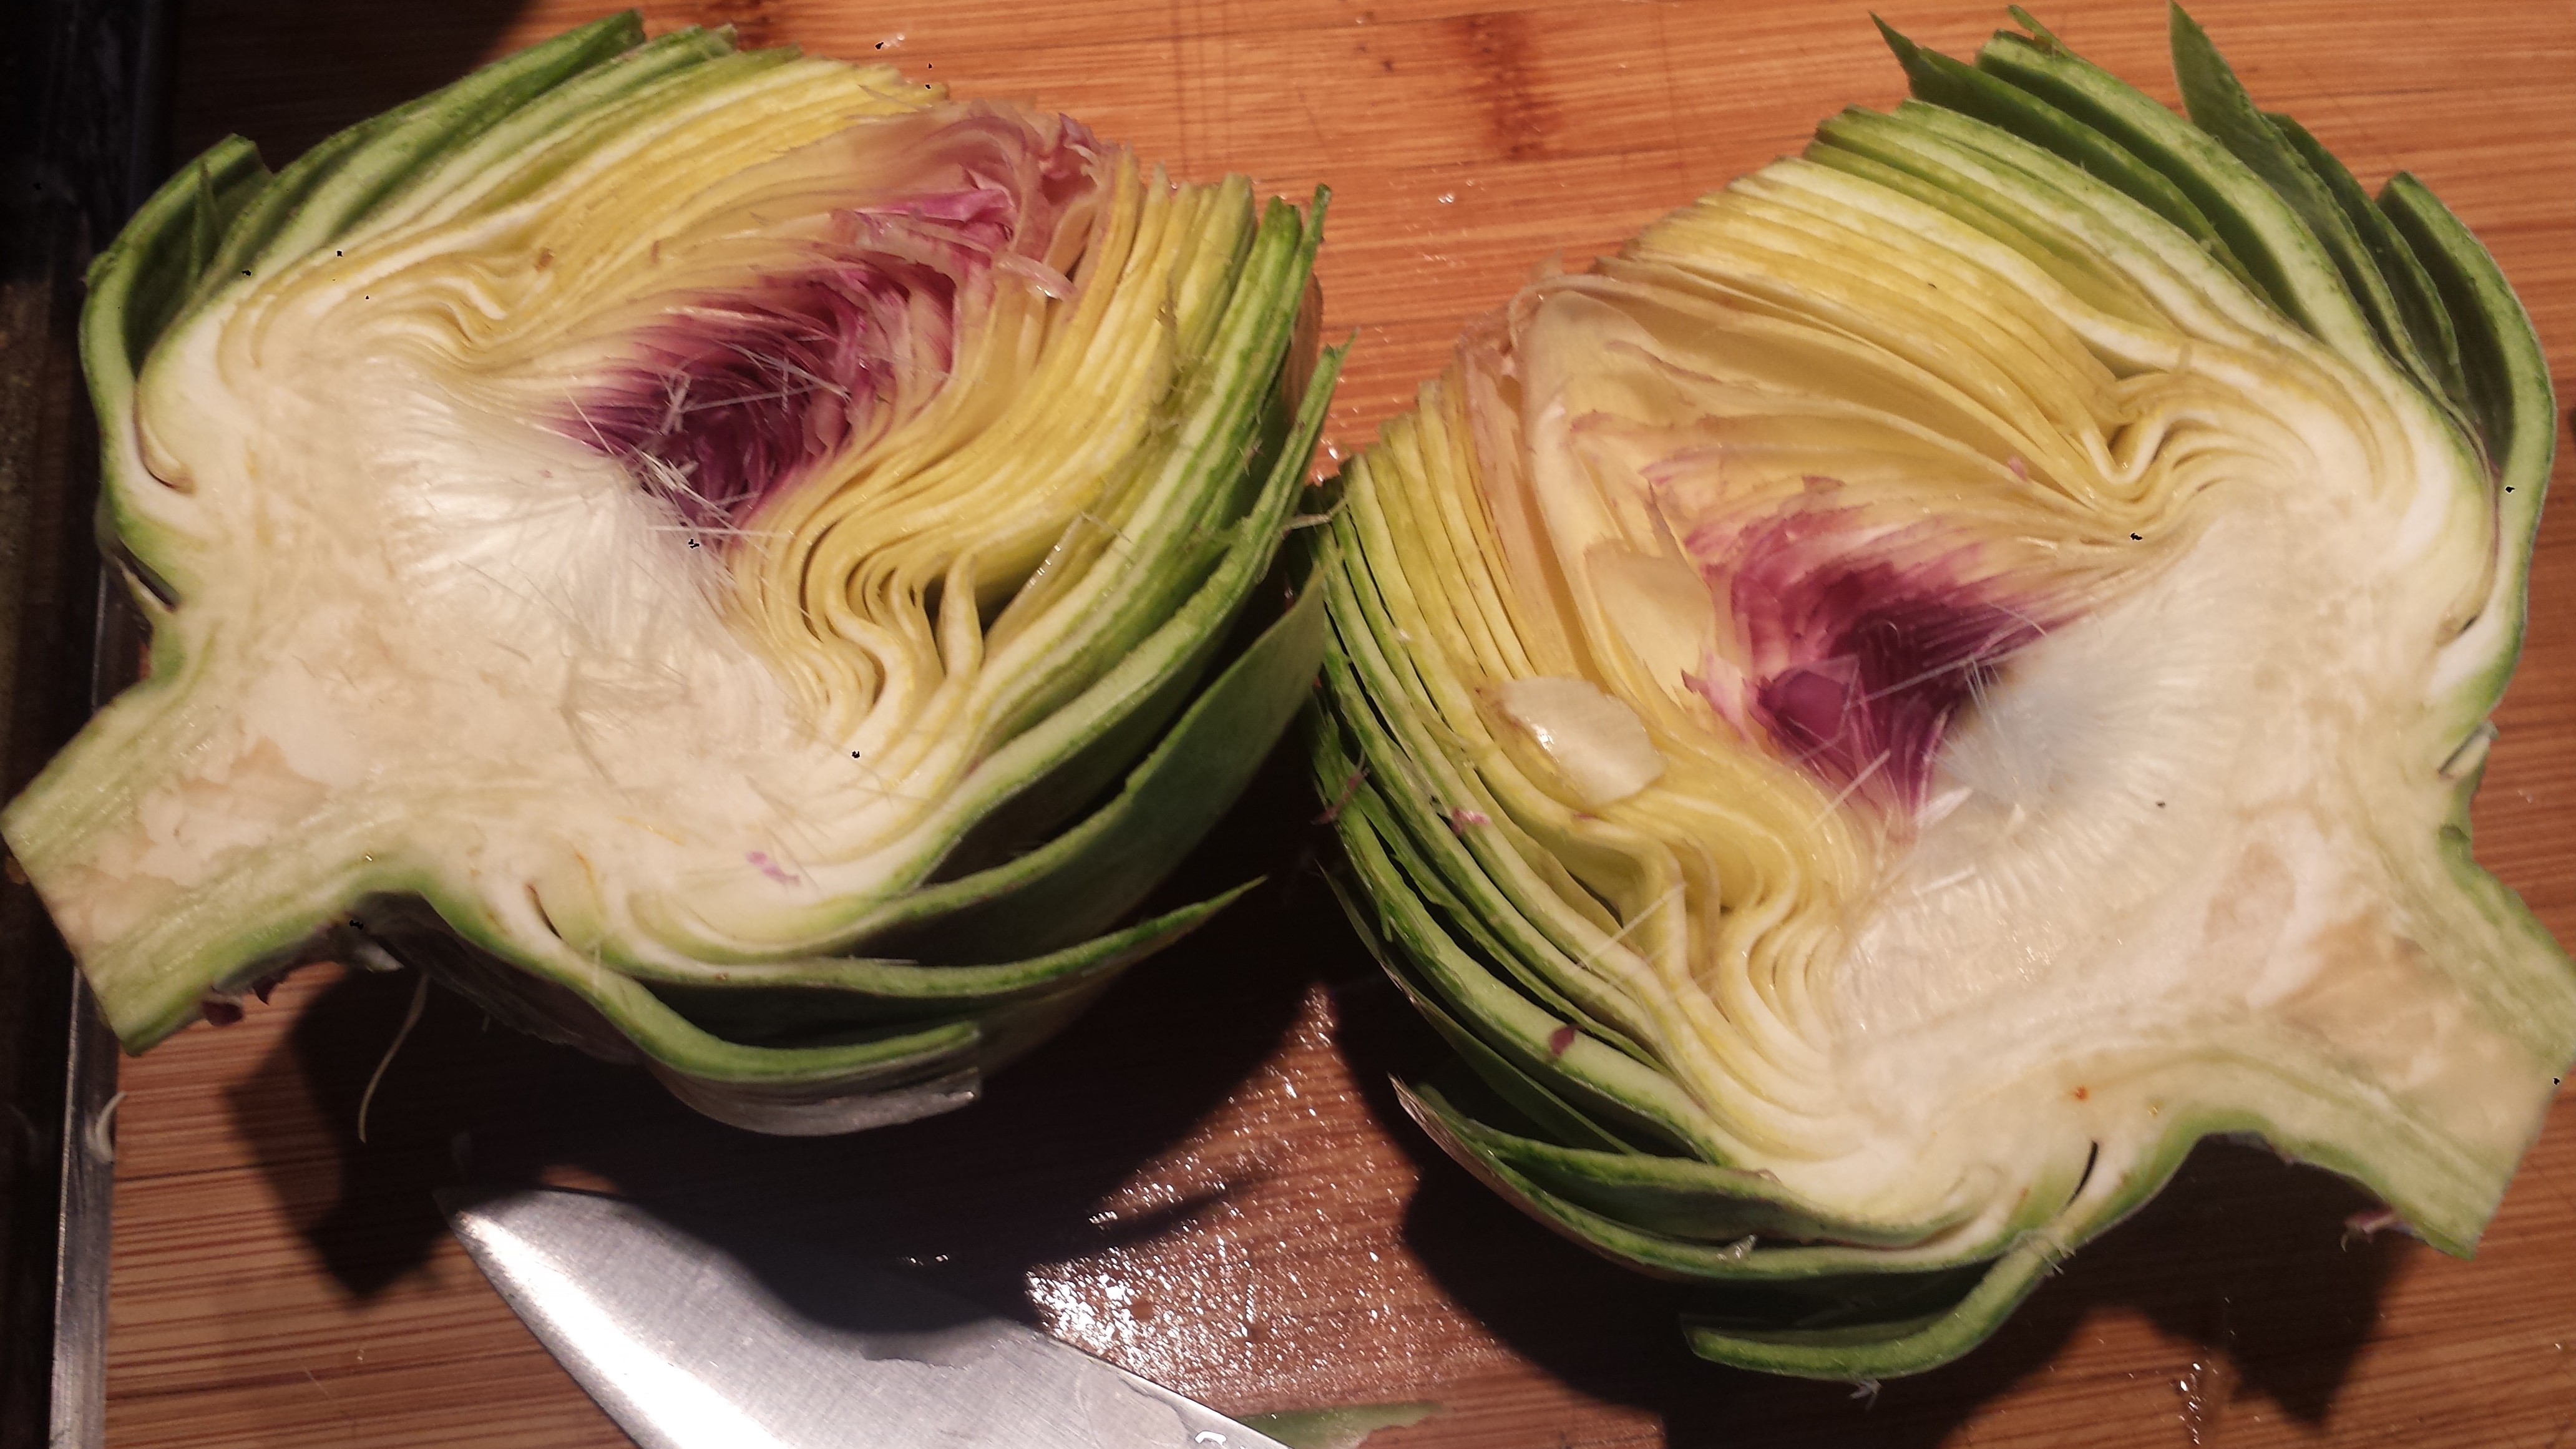
- Cut artichoke in half vertically.

- Cut each half in half and remove choke (the hairy center and purple inner leaves)
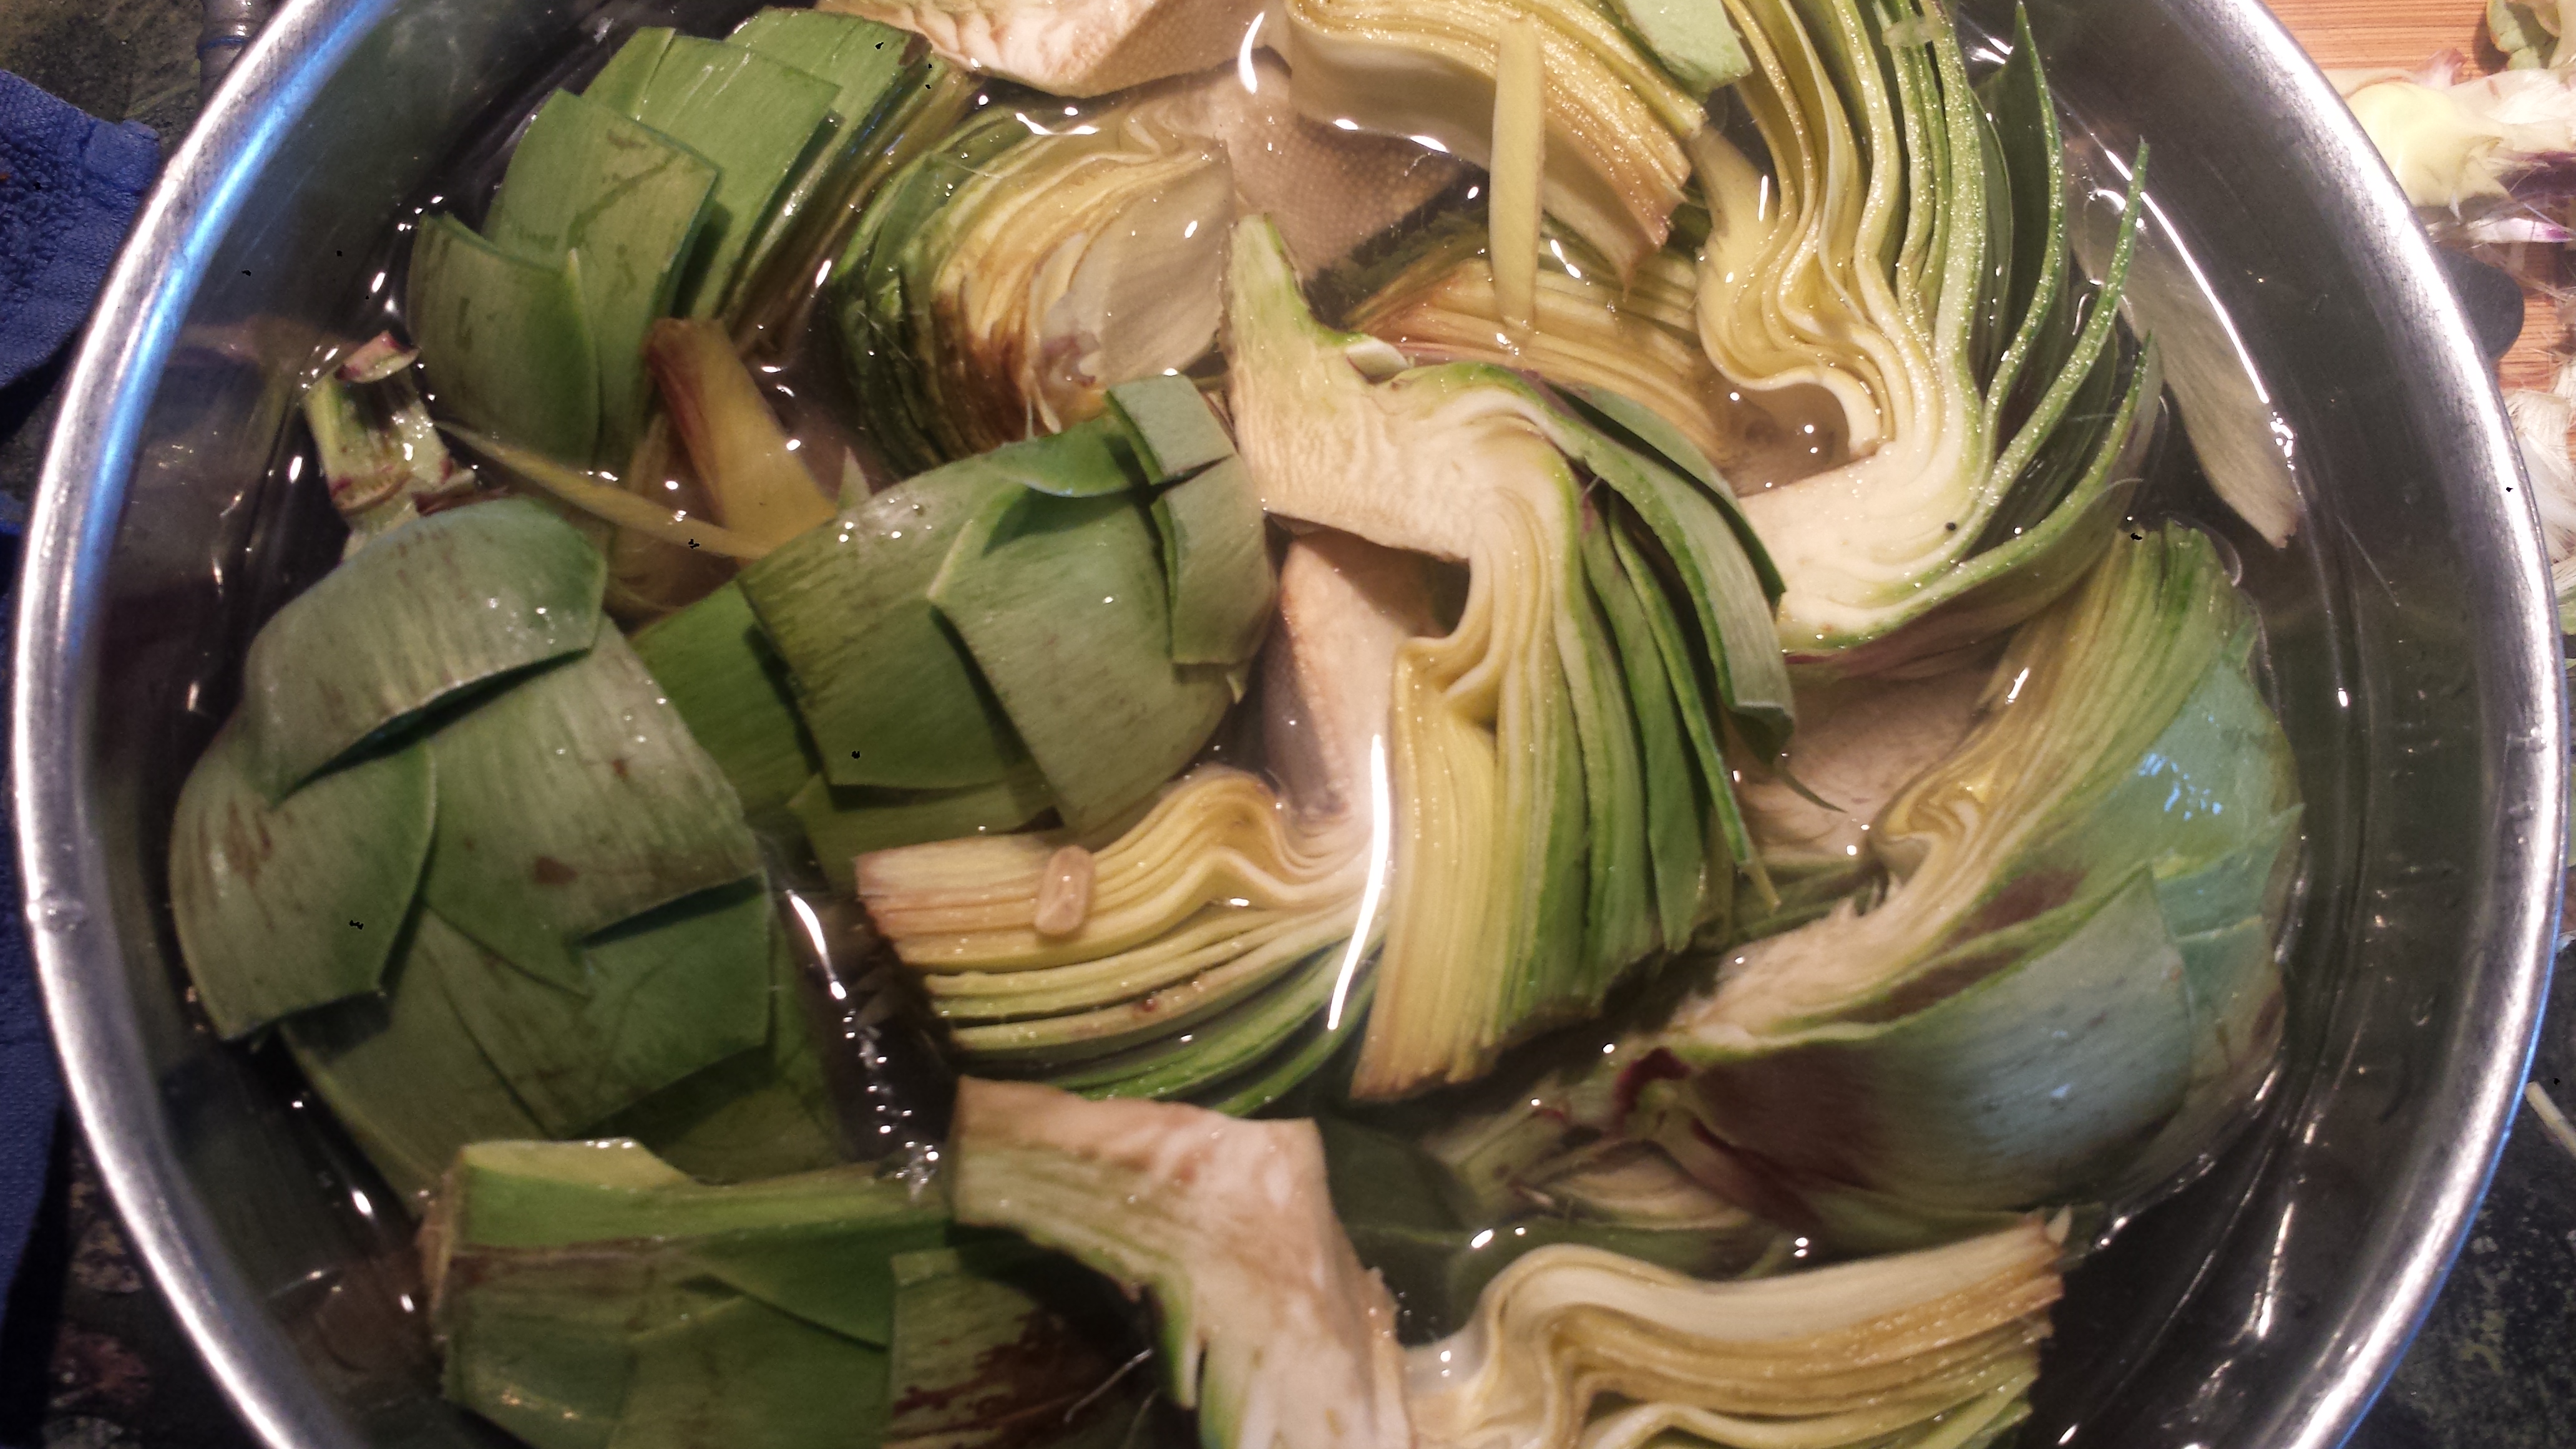
- Cut in half again. You should have 8 wedges for each artichoke. You can place the wedges in water with lemon juice to keep them from browning until you are ready (optional)

- Drain artichokes and toss with a drizzle of olive oil (about 1 Tablespoon).
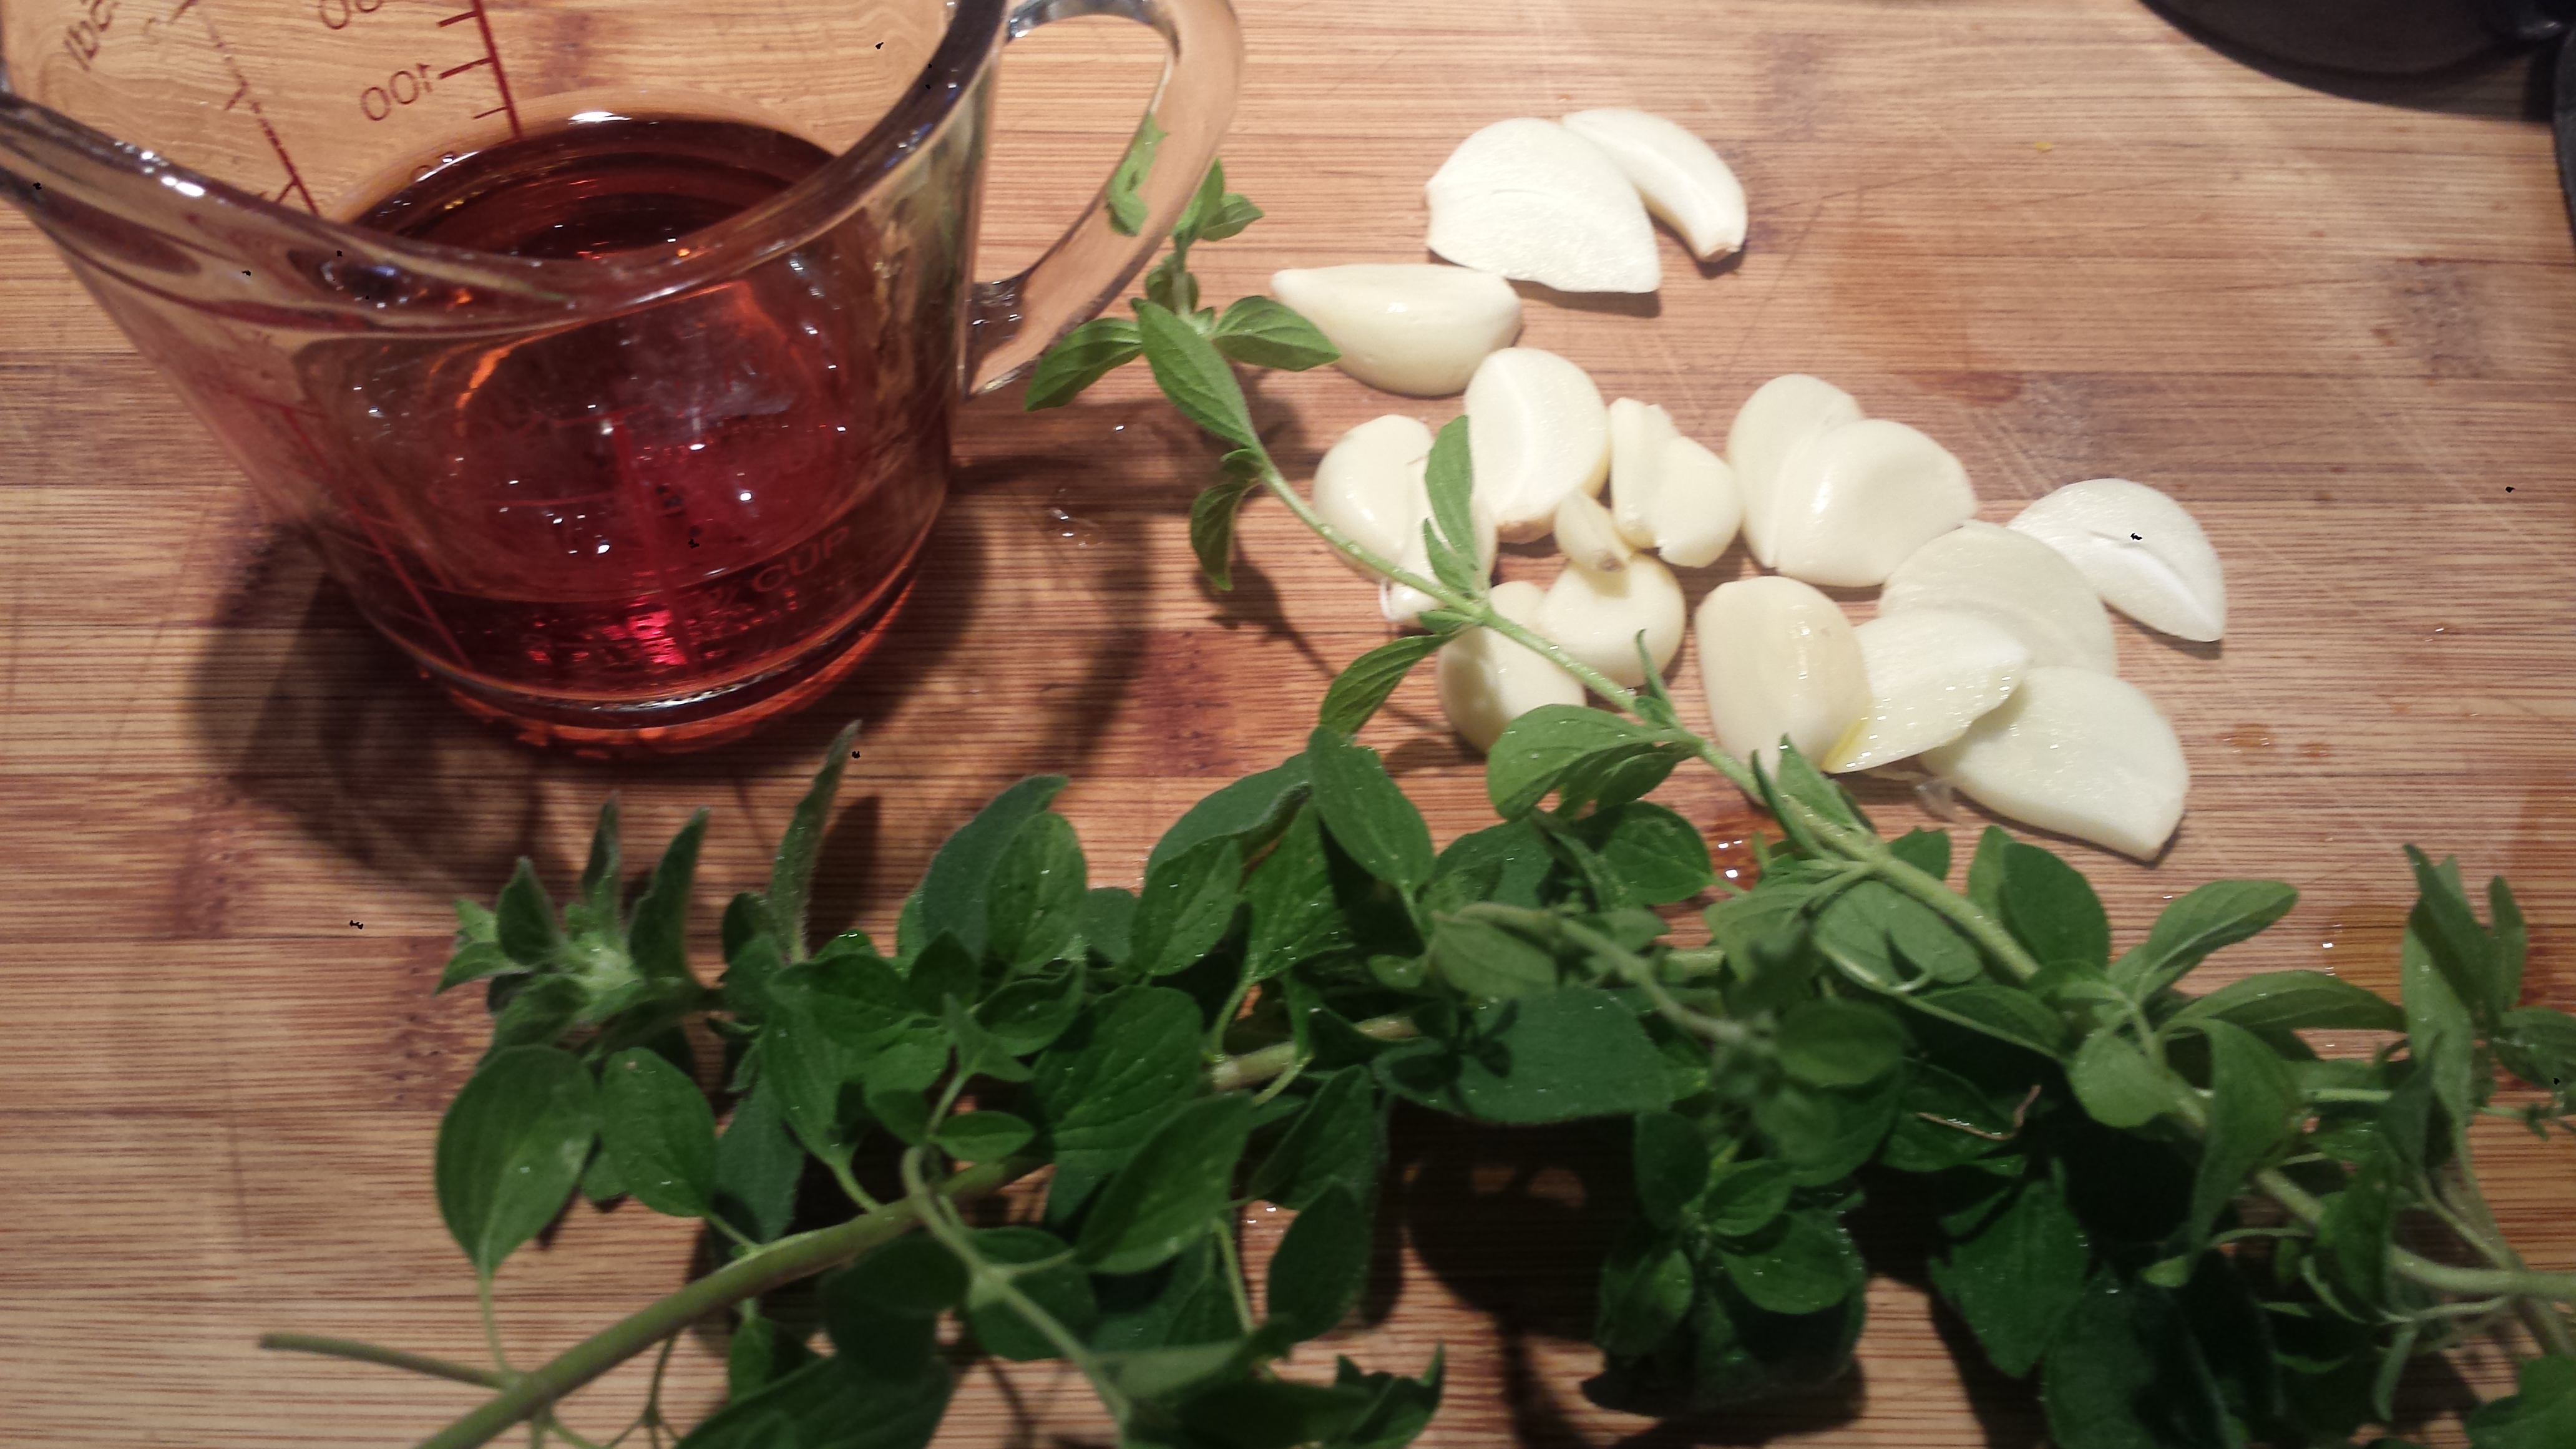
- Combine sherry with 1/3 cup water and set aside. Peel and slice garlic in half. Roughly chop fresh herbs.

- Heat remaining oil in a heavy skillet on medium high and place artichoke wedges in a single layer one cut side down and sprinkle with garlic. Cook until browned, 3 to five minutes.
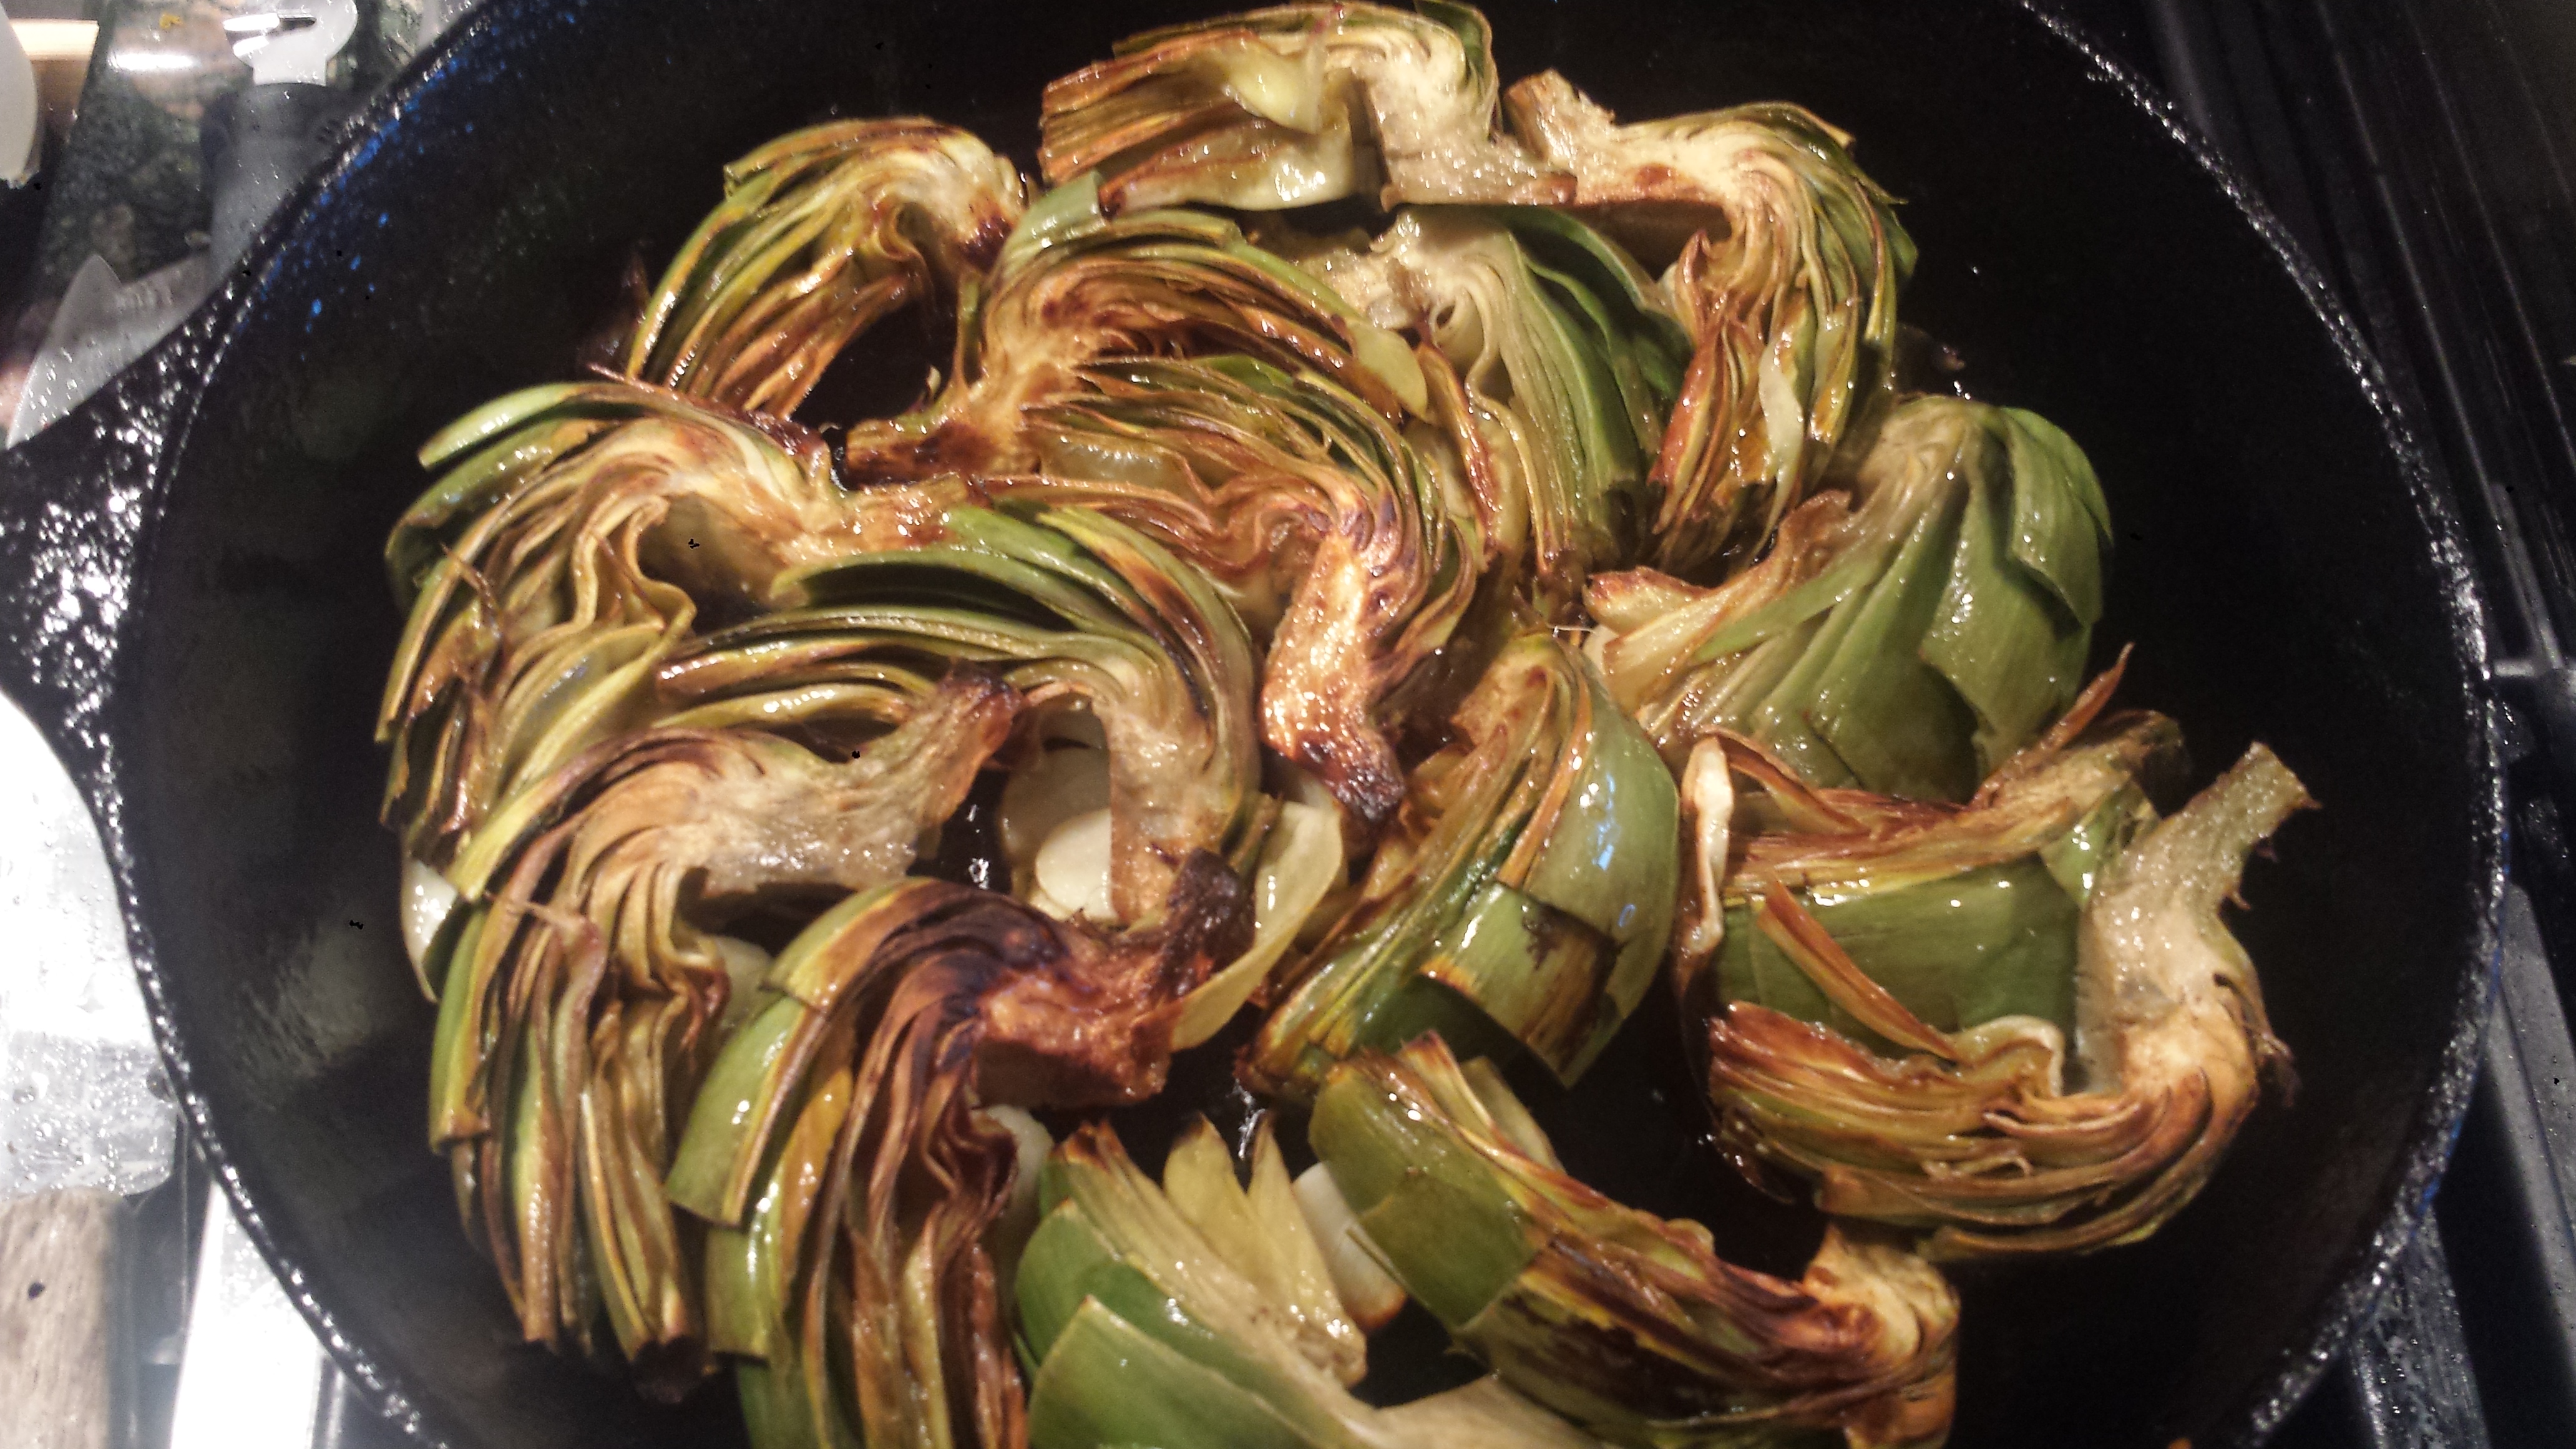
- Turn each wedge to brown the other cute side, another 3 minutes or so.
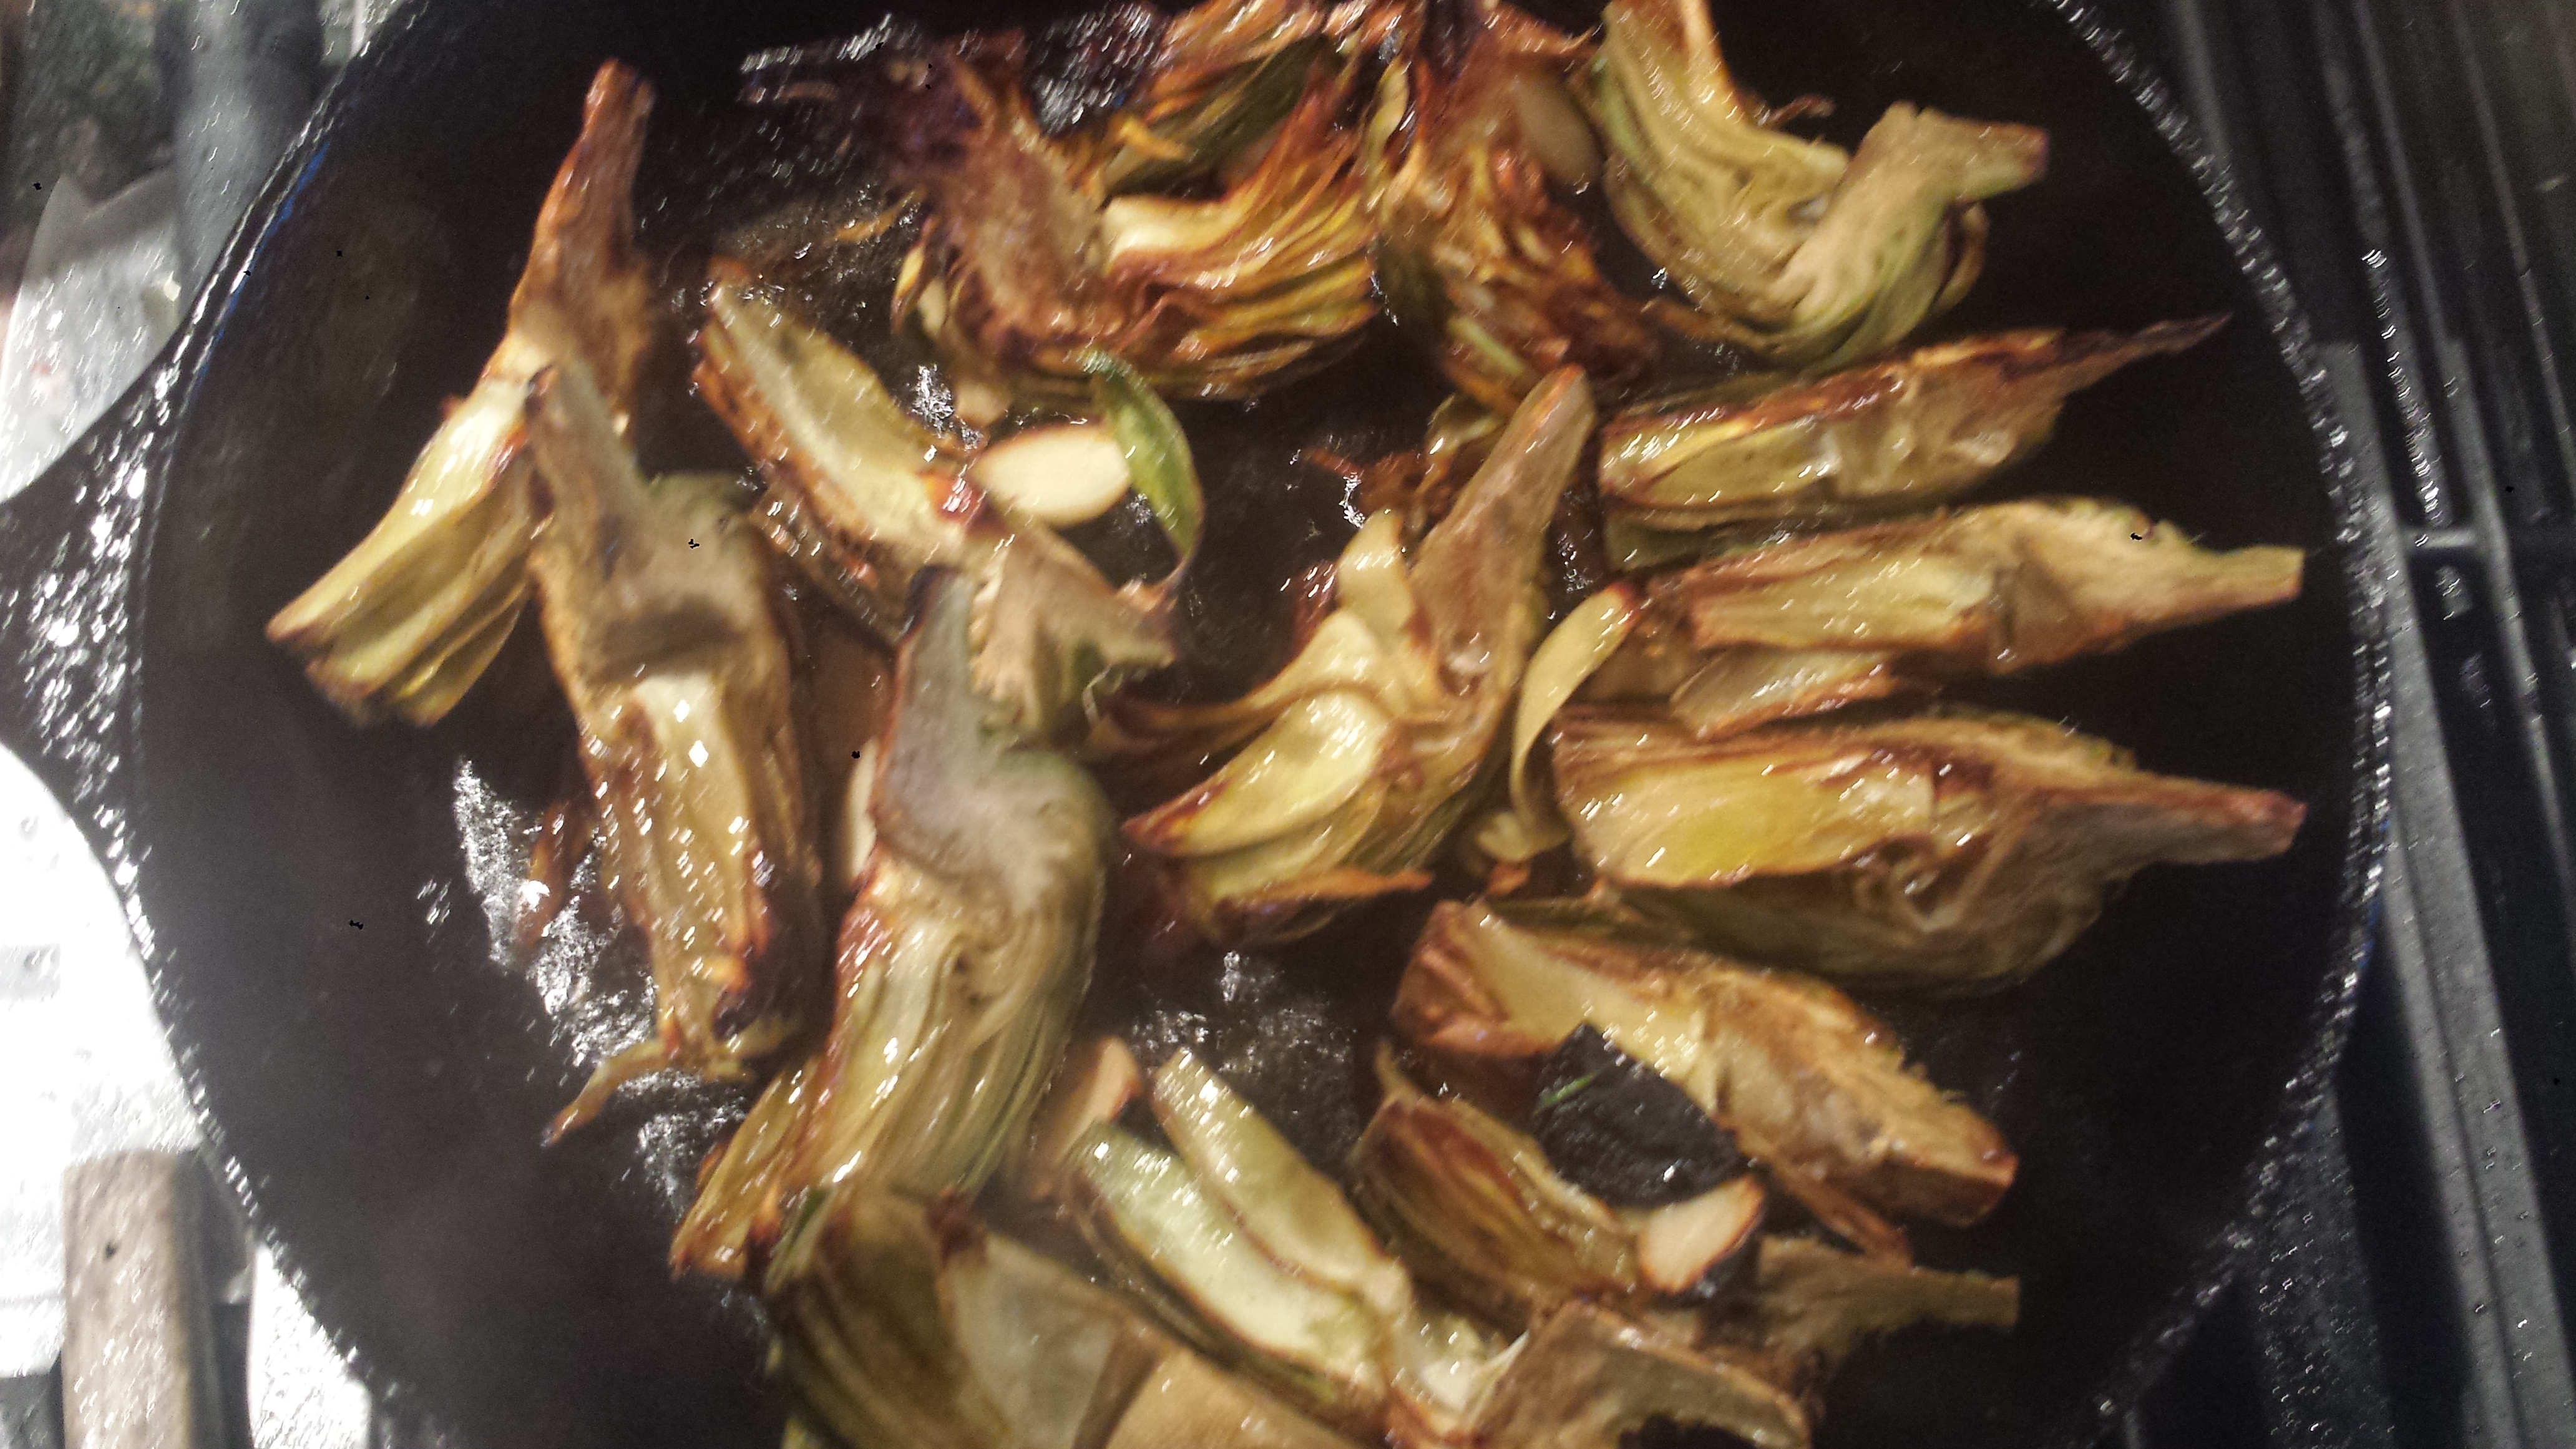
- Turn wedges onto their curved side. Season with salt and pepper and lemon zest. Reduce heat to low, add the sherry mixture, cover and simmer until the liquid has reduced and the artichockes are tender, about 5 minutes. If they don’t seem quite done, leave covered until ready to serve.

- Sprinkle with fresh herbs. Serve hot or at room temperature with lots of napkins. If using Aioli, combine all ingredients until smooth and serve on the side.
2 large artichokes AIOLI DIPPING SAUCE (Optional) 1 cup mayo (or half plain yogurt/ half mayo)Pan Seared Artichoke with Blackened Garlic

1/3 cup olive oil
1/4 cup sherry
6-8 large cloves garlic, peeled and cut in half
1 tsp lemon zest
1 Tbsn lemon juice – to prevent browning (optional)
1/2 tsp salt
1/4 tsp black pepper
1 Tbsn fresh oregano or thyme, chopped
8 blackened garlic halves (mashed or pureed)
1 Tbsn grated lemon zest
2 Tbsn fresh lemon juice
1/4 teaspoon black pepper
1/2 tsp salt