New year equals new ideas. The holidays might be over but that doesn’t mean the presents have to stop! I finally decided to order a CSA (Community Supported Agriculture) box loaded with produce fresh from a local farm delivered right to my door – And my first one came today! Even though I was the one to order it, I still felt ridiculously excited to see two boxes with their mystery contents at my doorstep this morning when I got up. It felt like Christmas and Hanukkah all over again. Some of us will go to great lengths to extend the holiday season… For those that don’t know, CSA is an alternative ‘farm to table’ method for distribution of produce. Consumers sign up with a local company who arranges personalized home delivery of organically and locally grown fruits and vegetables. I signed with Farm Fresh to You, who supplies produce from Capay Organic Farm located about 90 miles Northeast of San Francisco. I chose the Traditional CSA Box but they offer many types and sizes of boxes, like Fruit or Vegetable Only, even a ‘No Cooking Box’. I decided to try this for a few reasons. First, I love fresh produce and in the winter, my garden is a bit sparse (because I’m a fair weather gardener). I also like supporting local farmers and eating with the season. Lastly, instead of going to the market and hand selecting items for dinner, I thought to stretch my creativity by having to figure out what delicious meals to make with the contents of my mystery boxes.
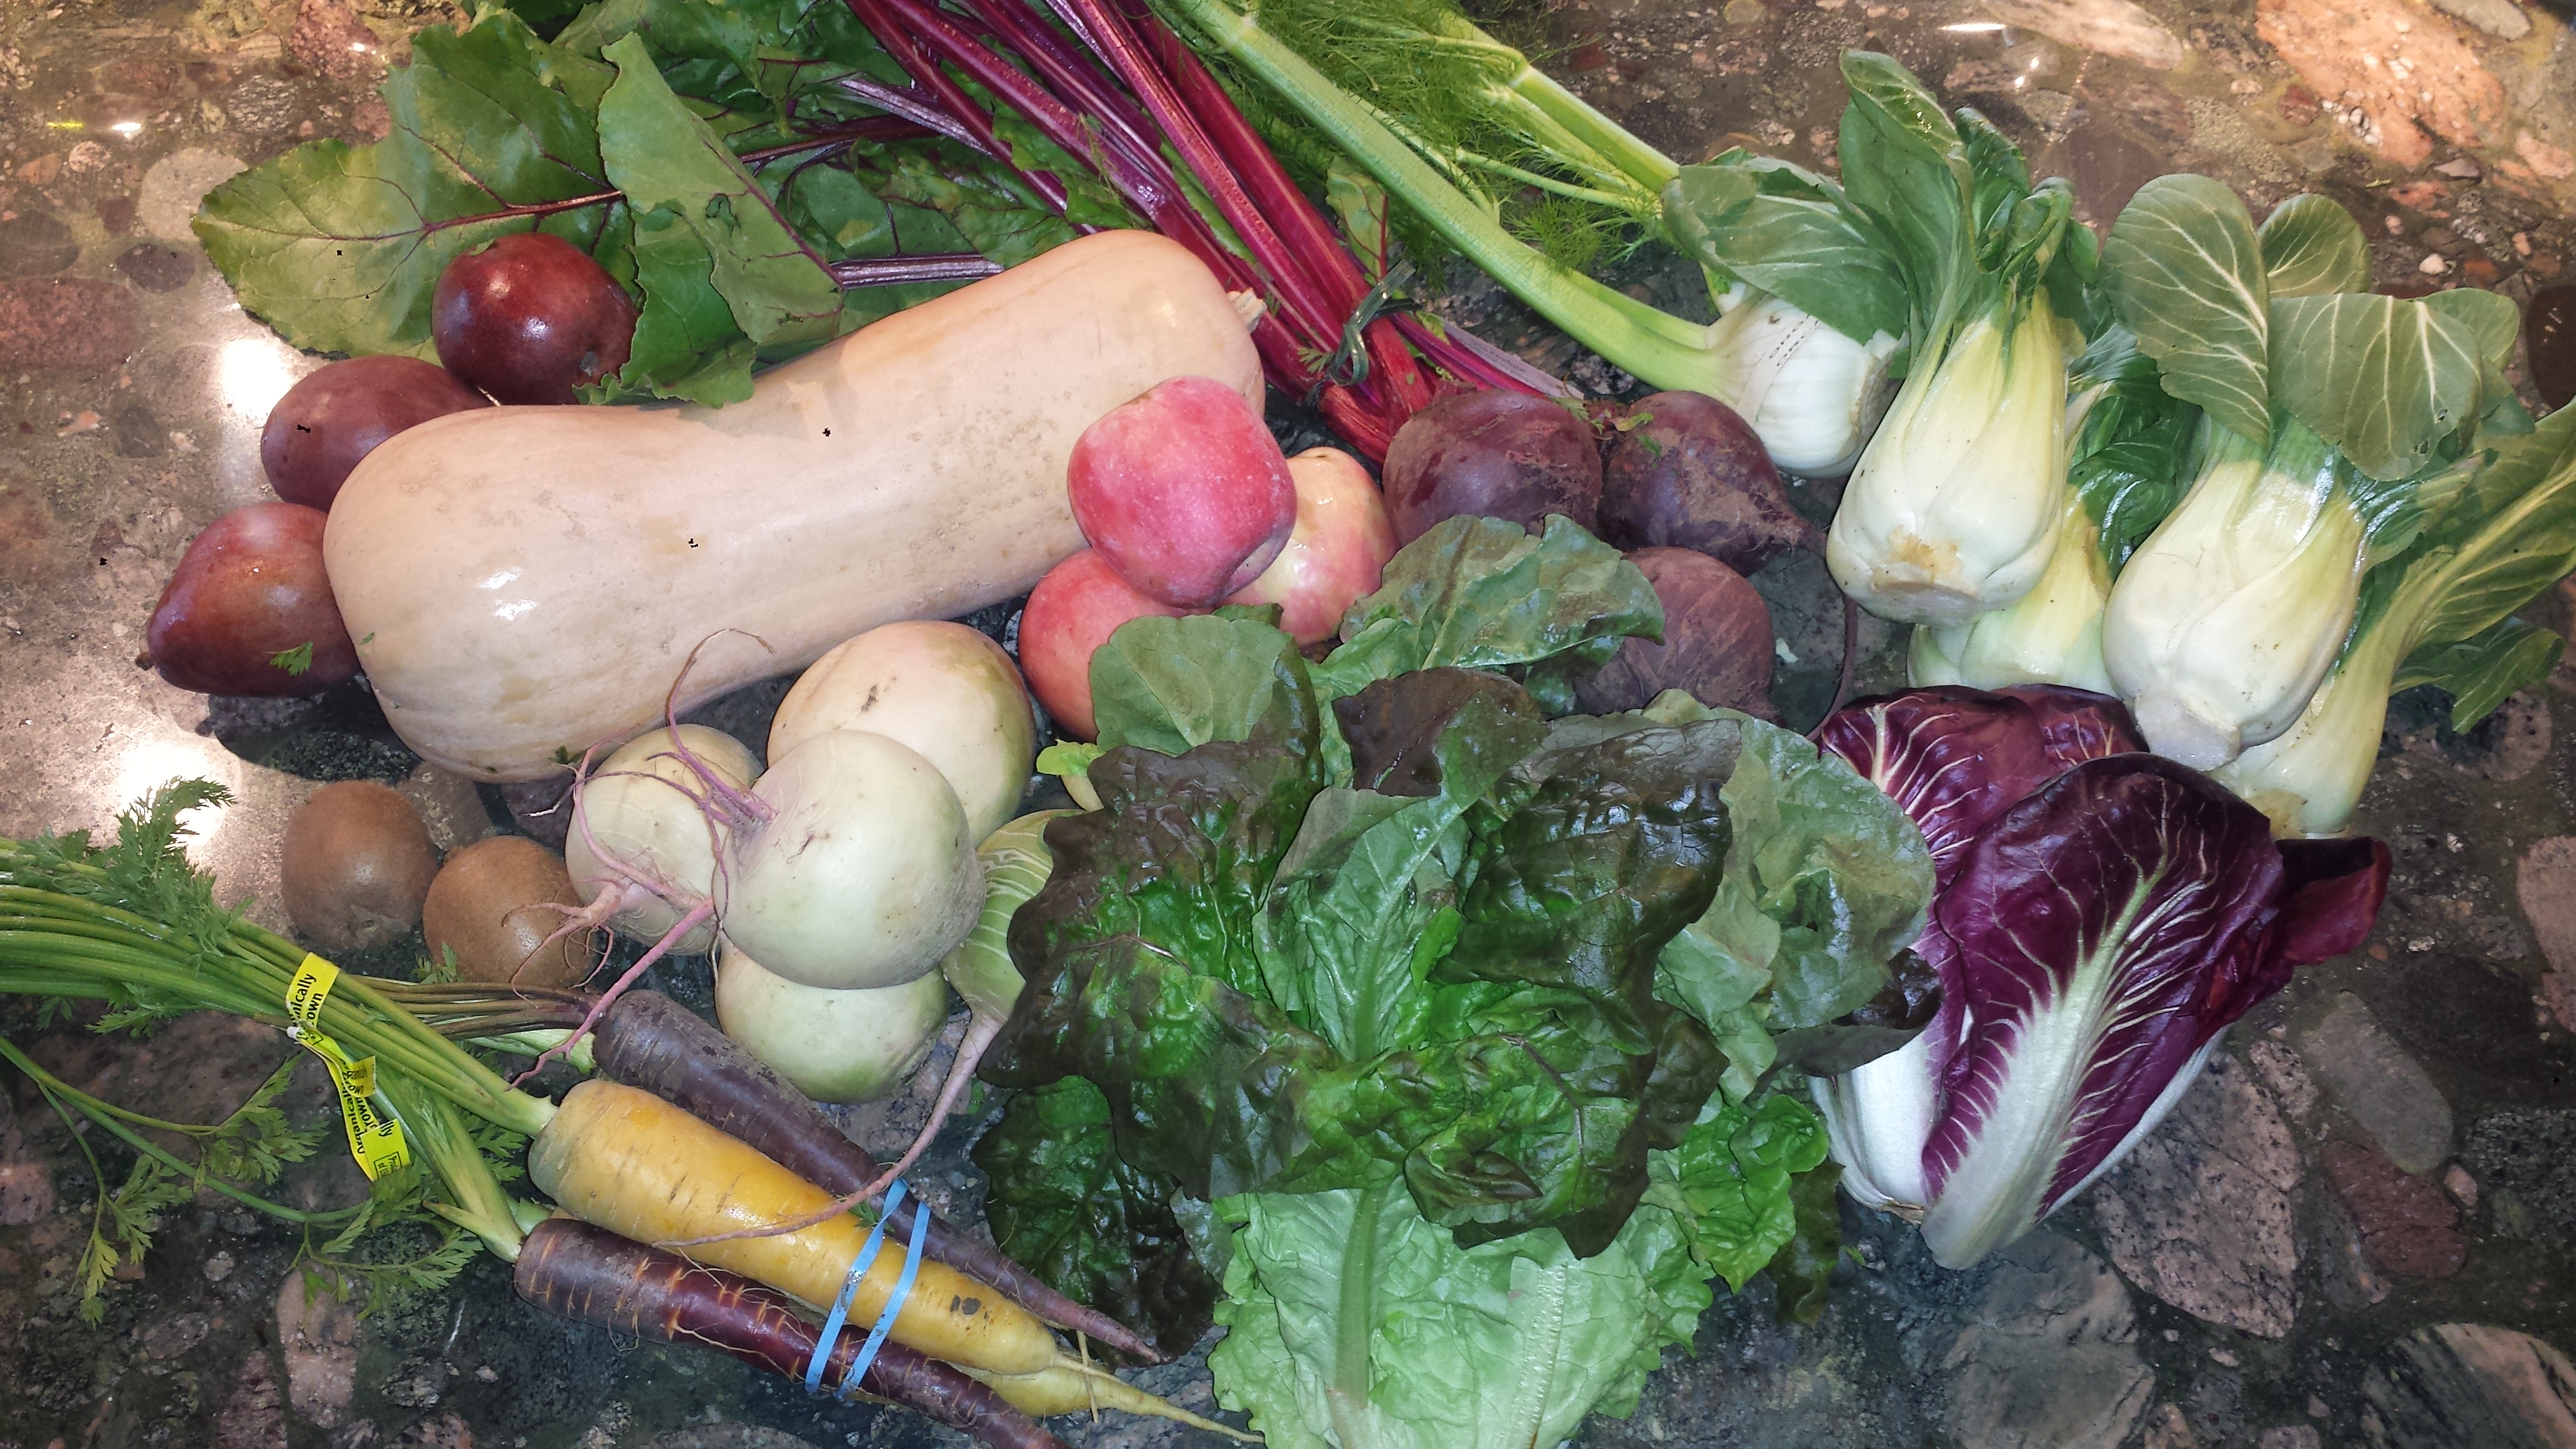
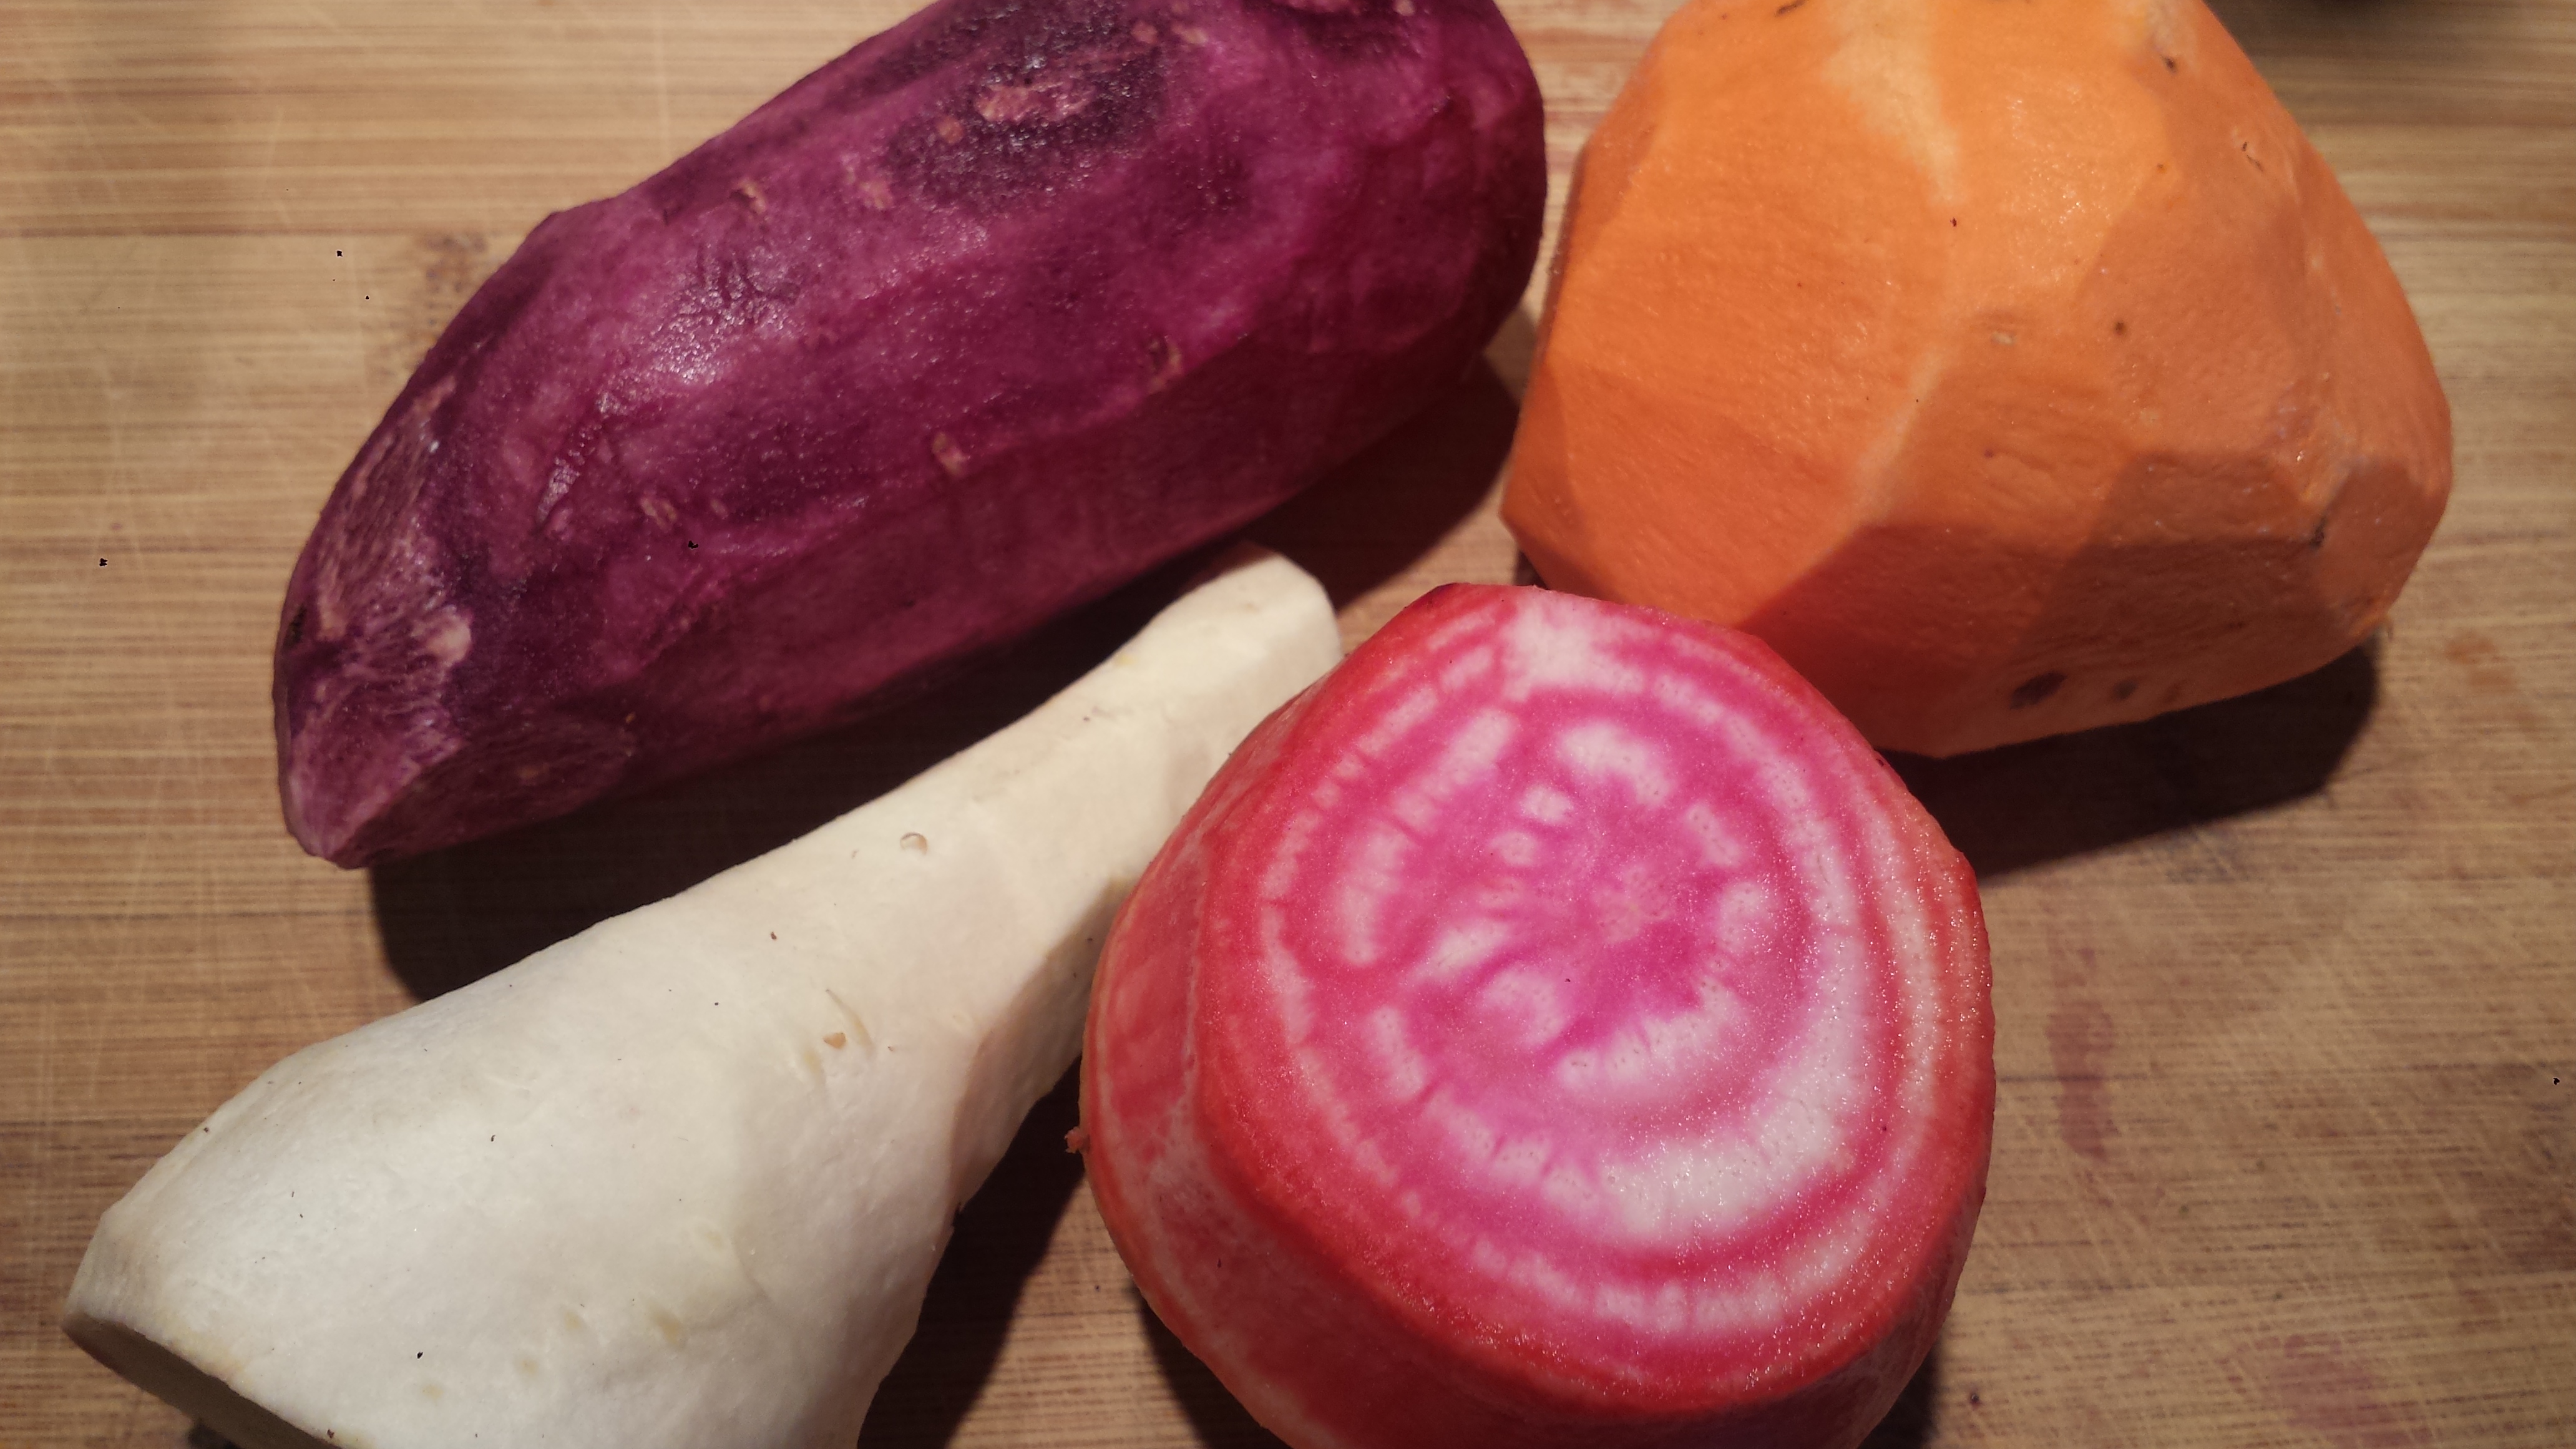
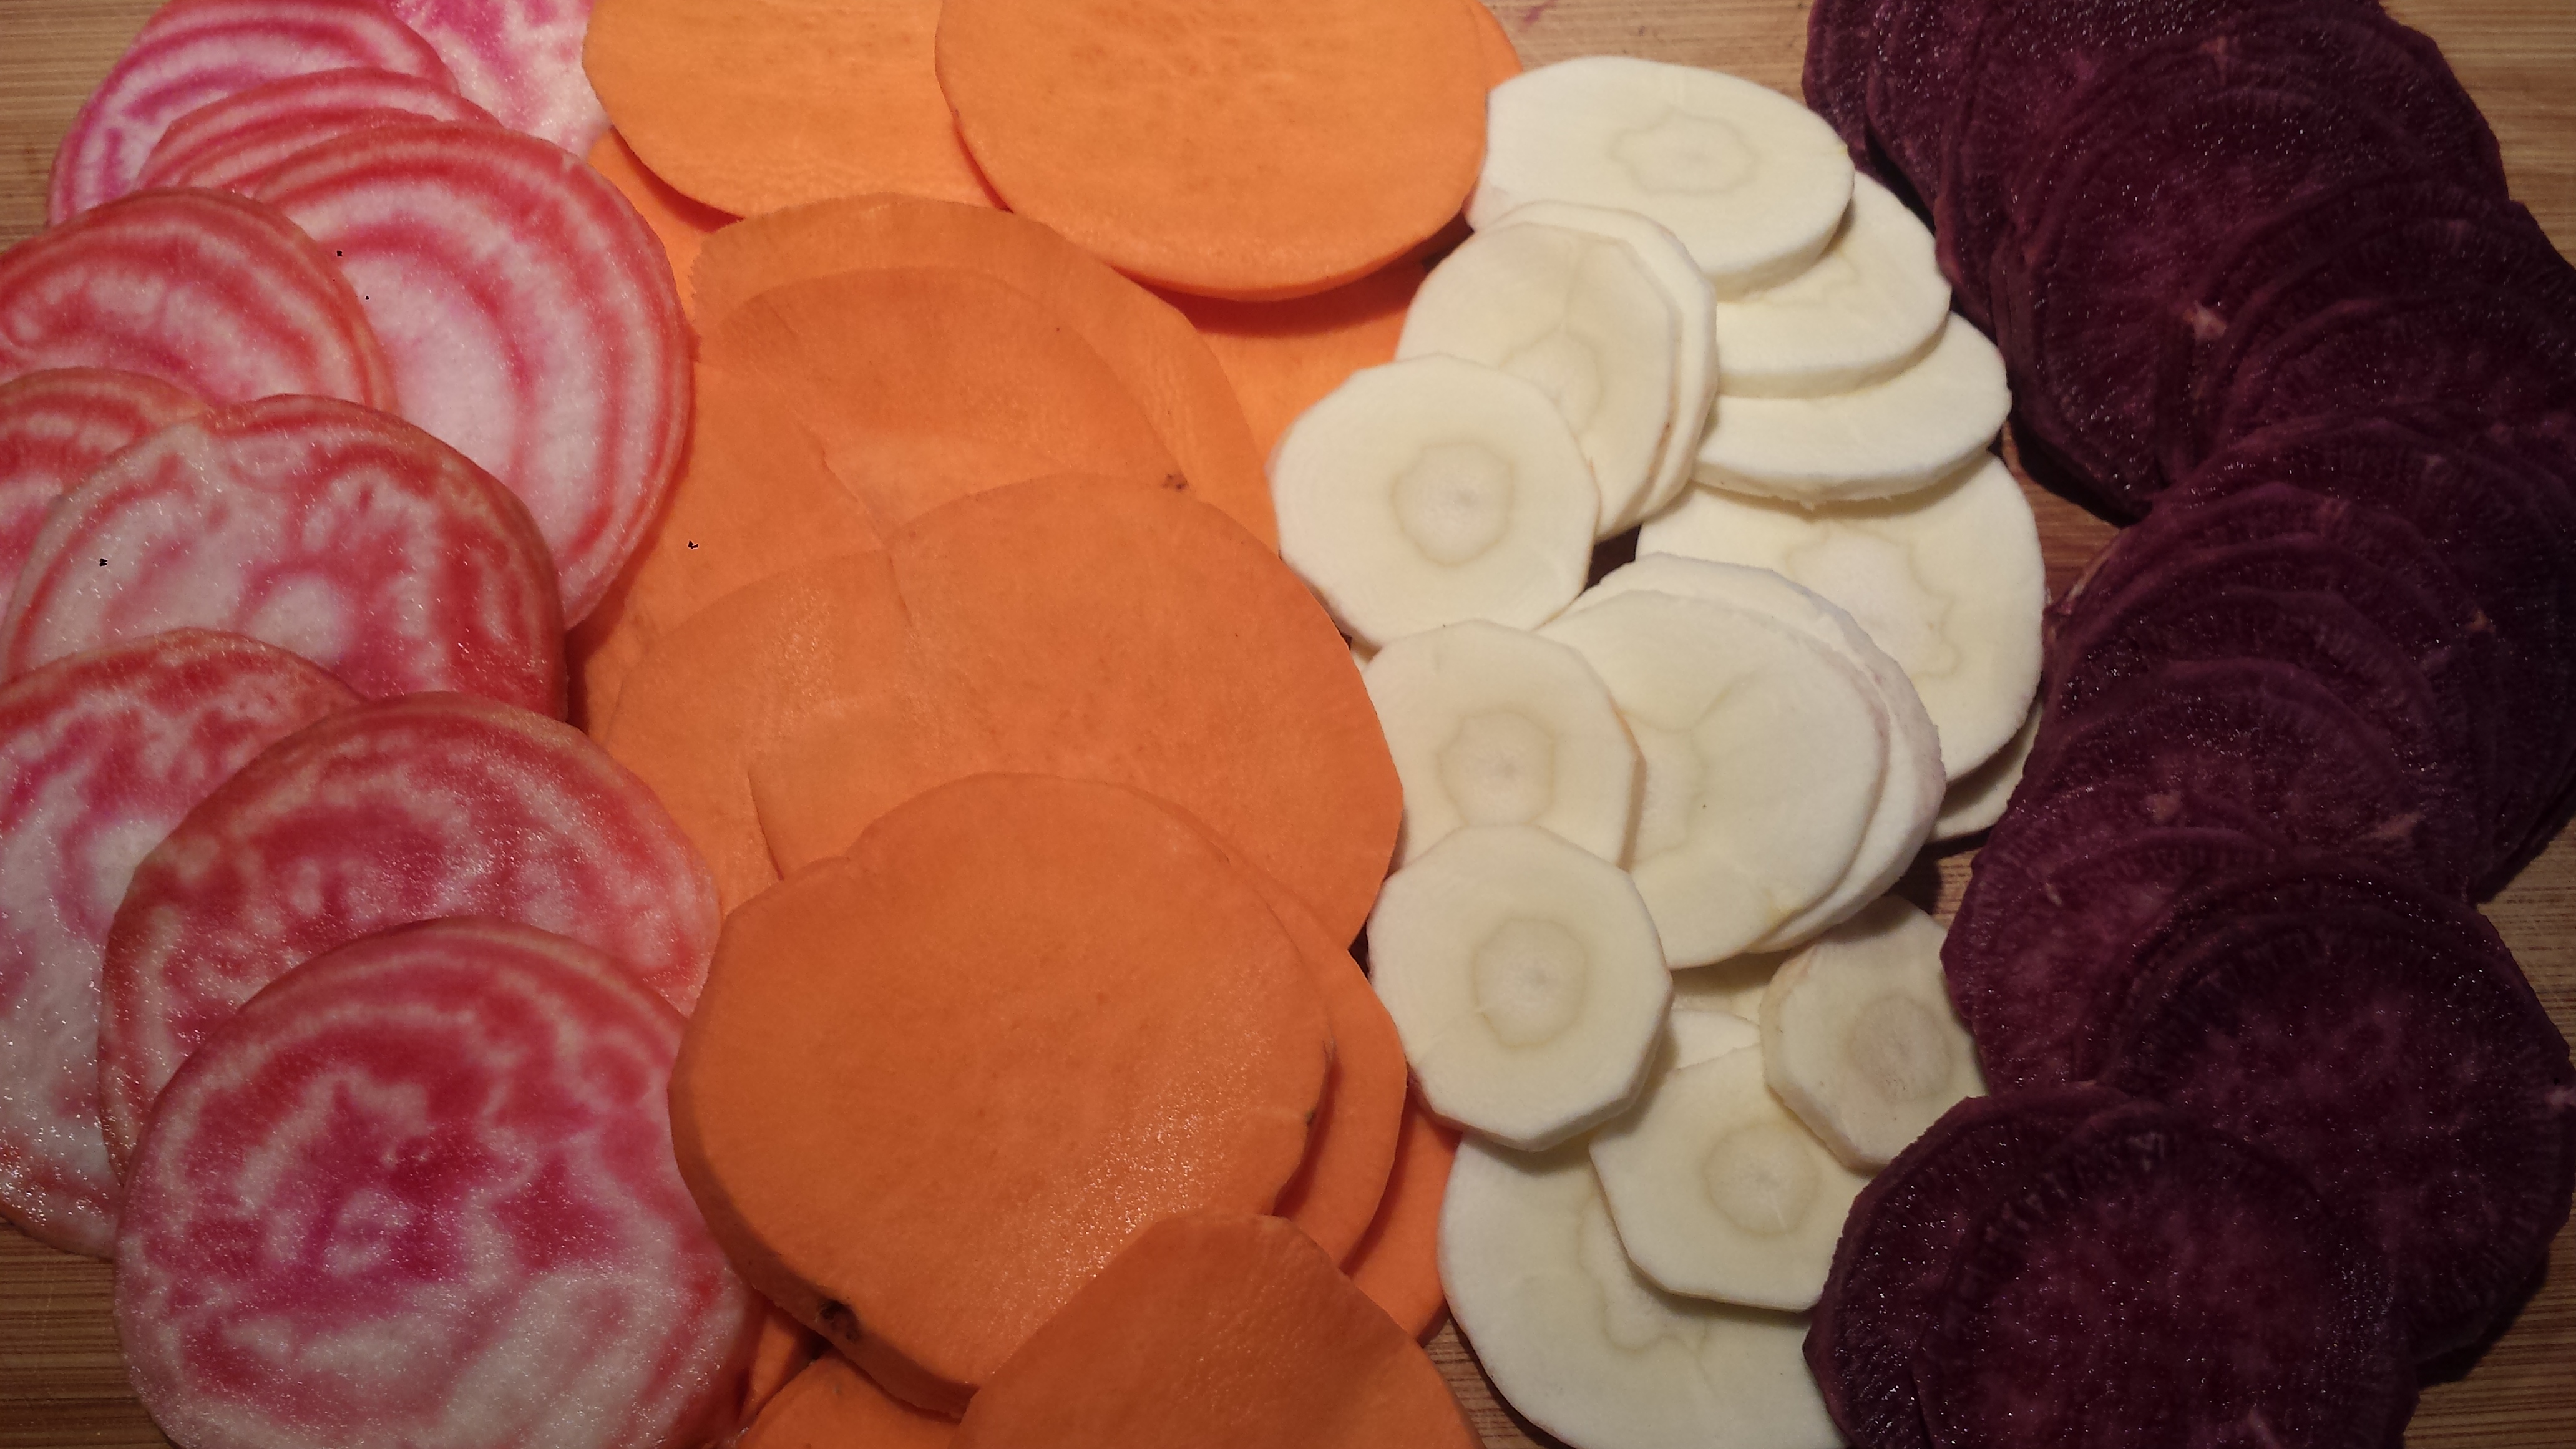
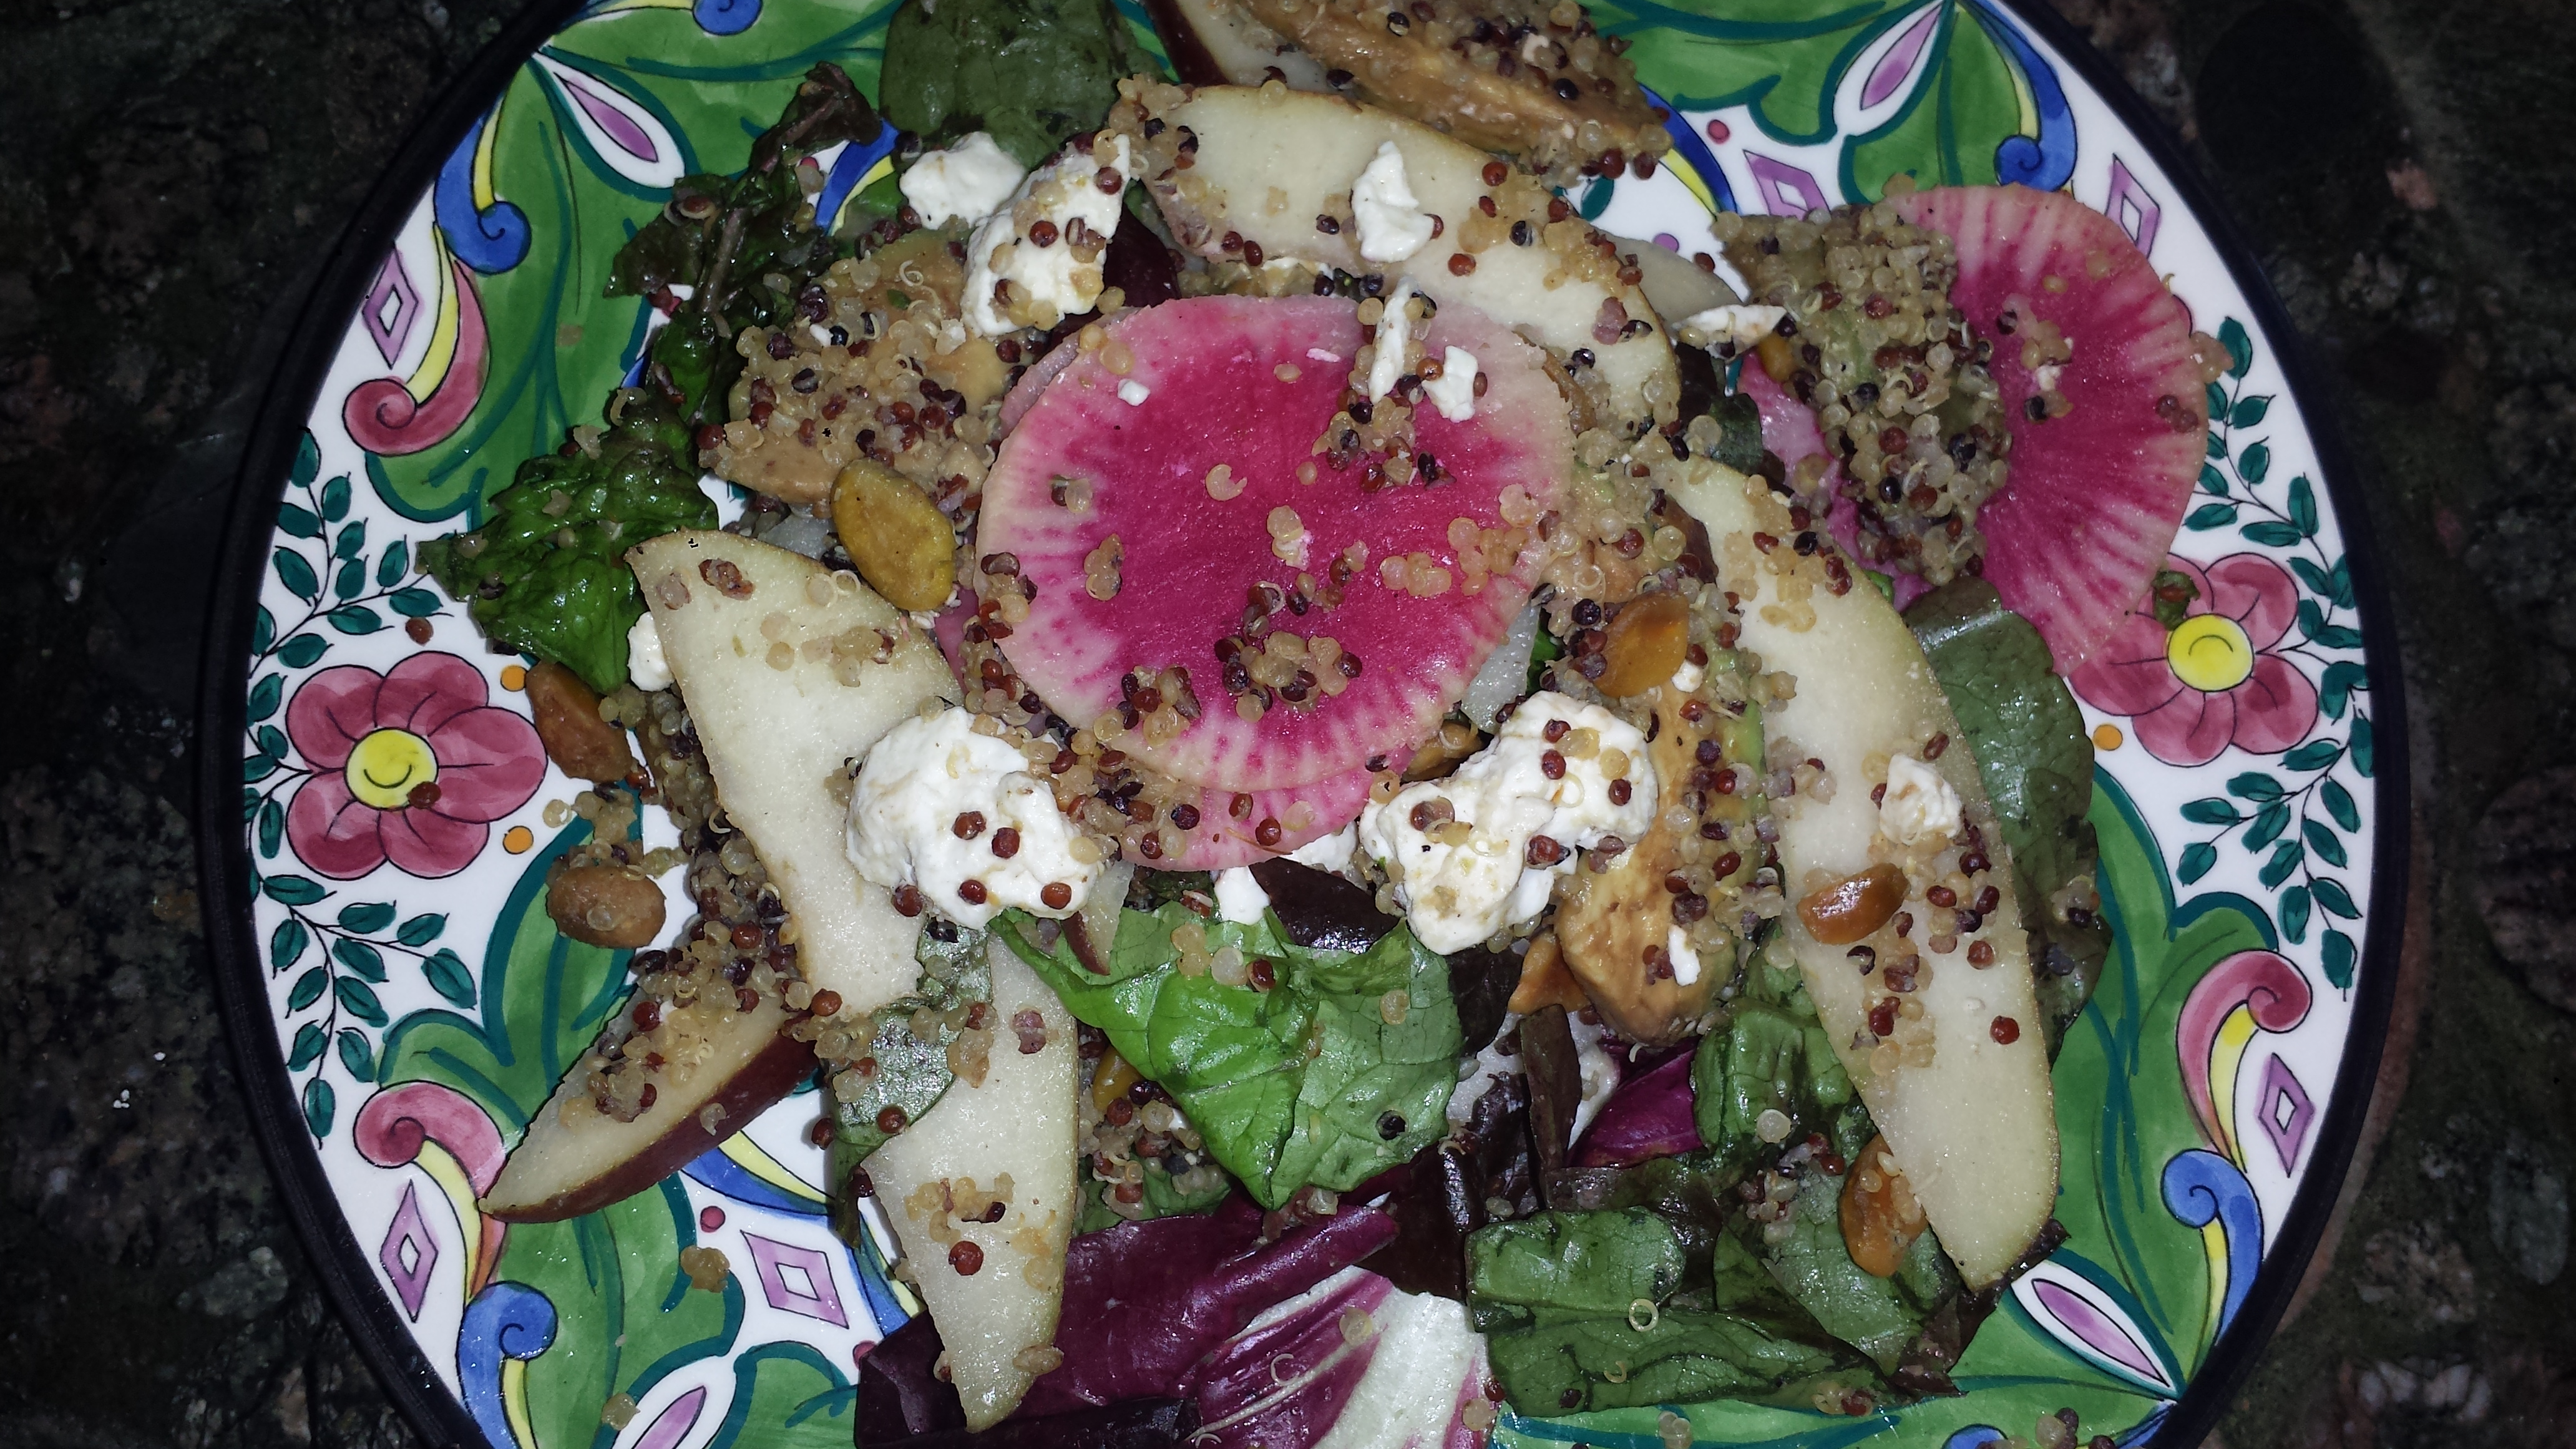
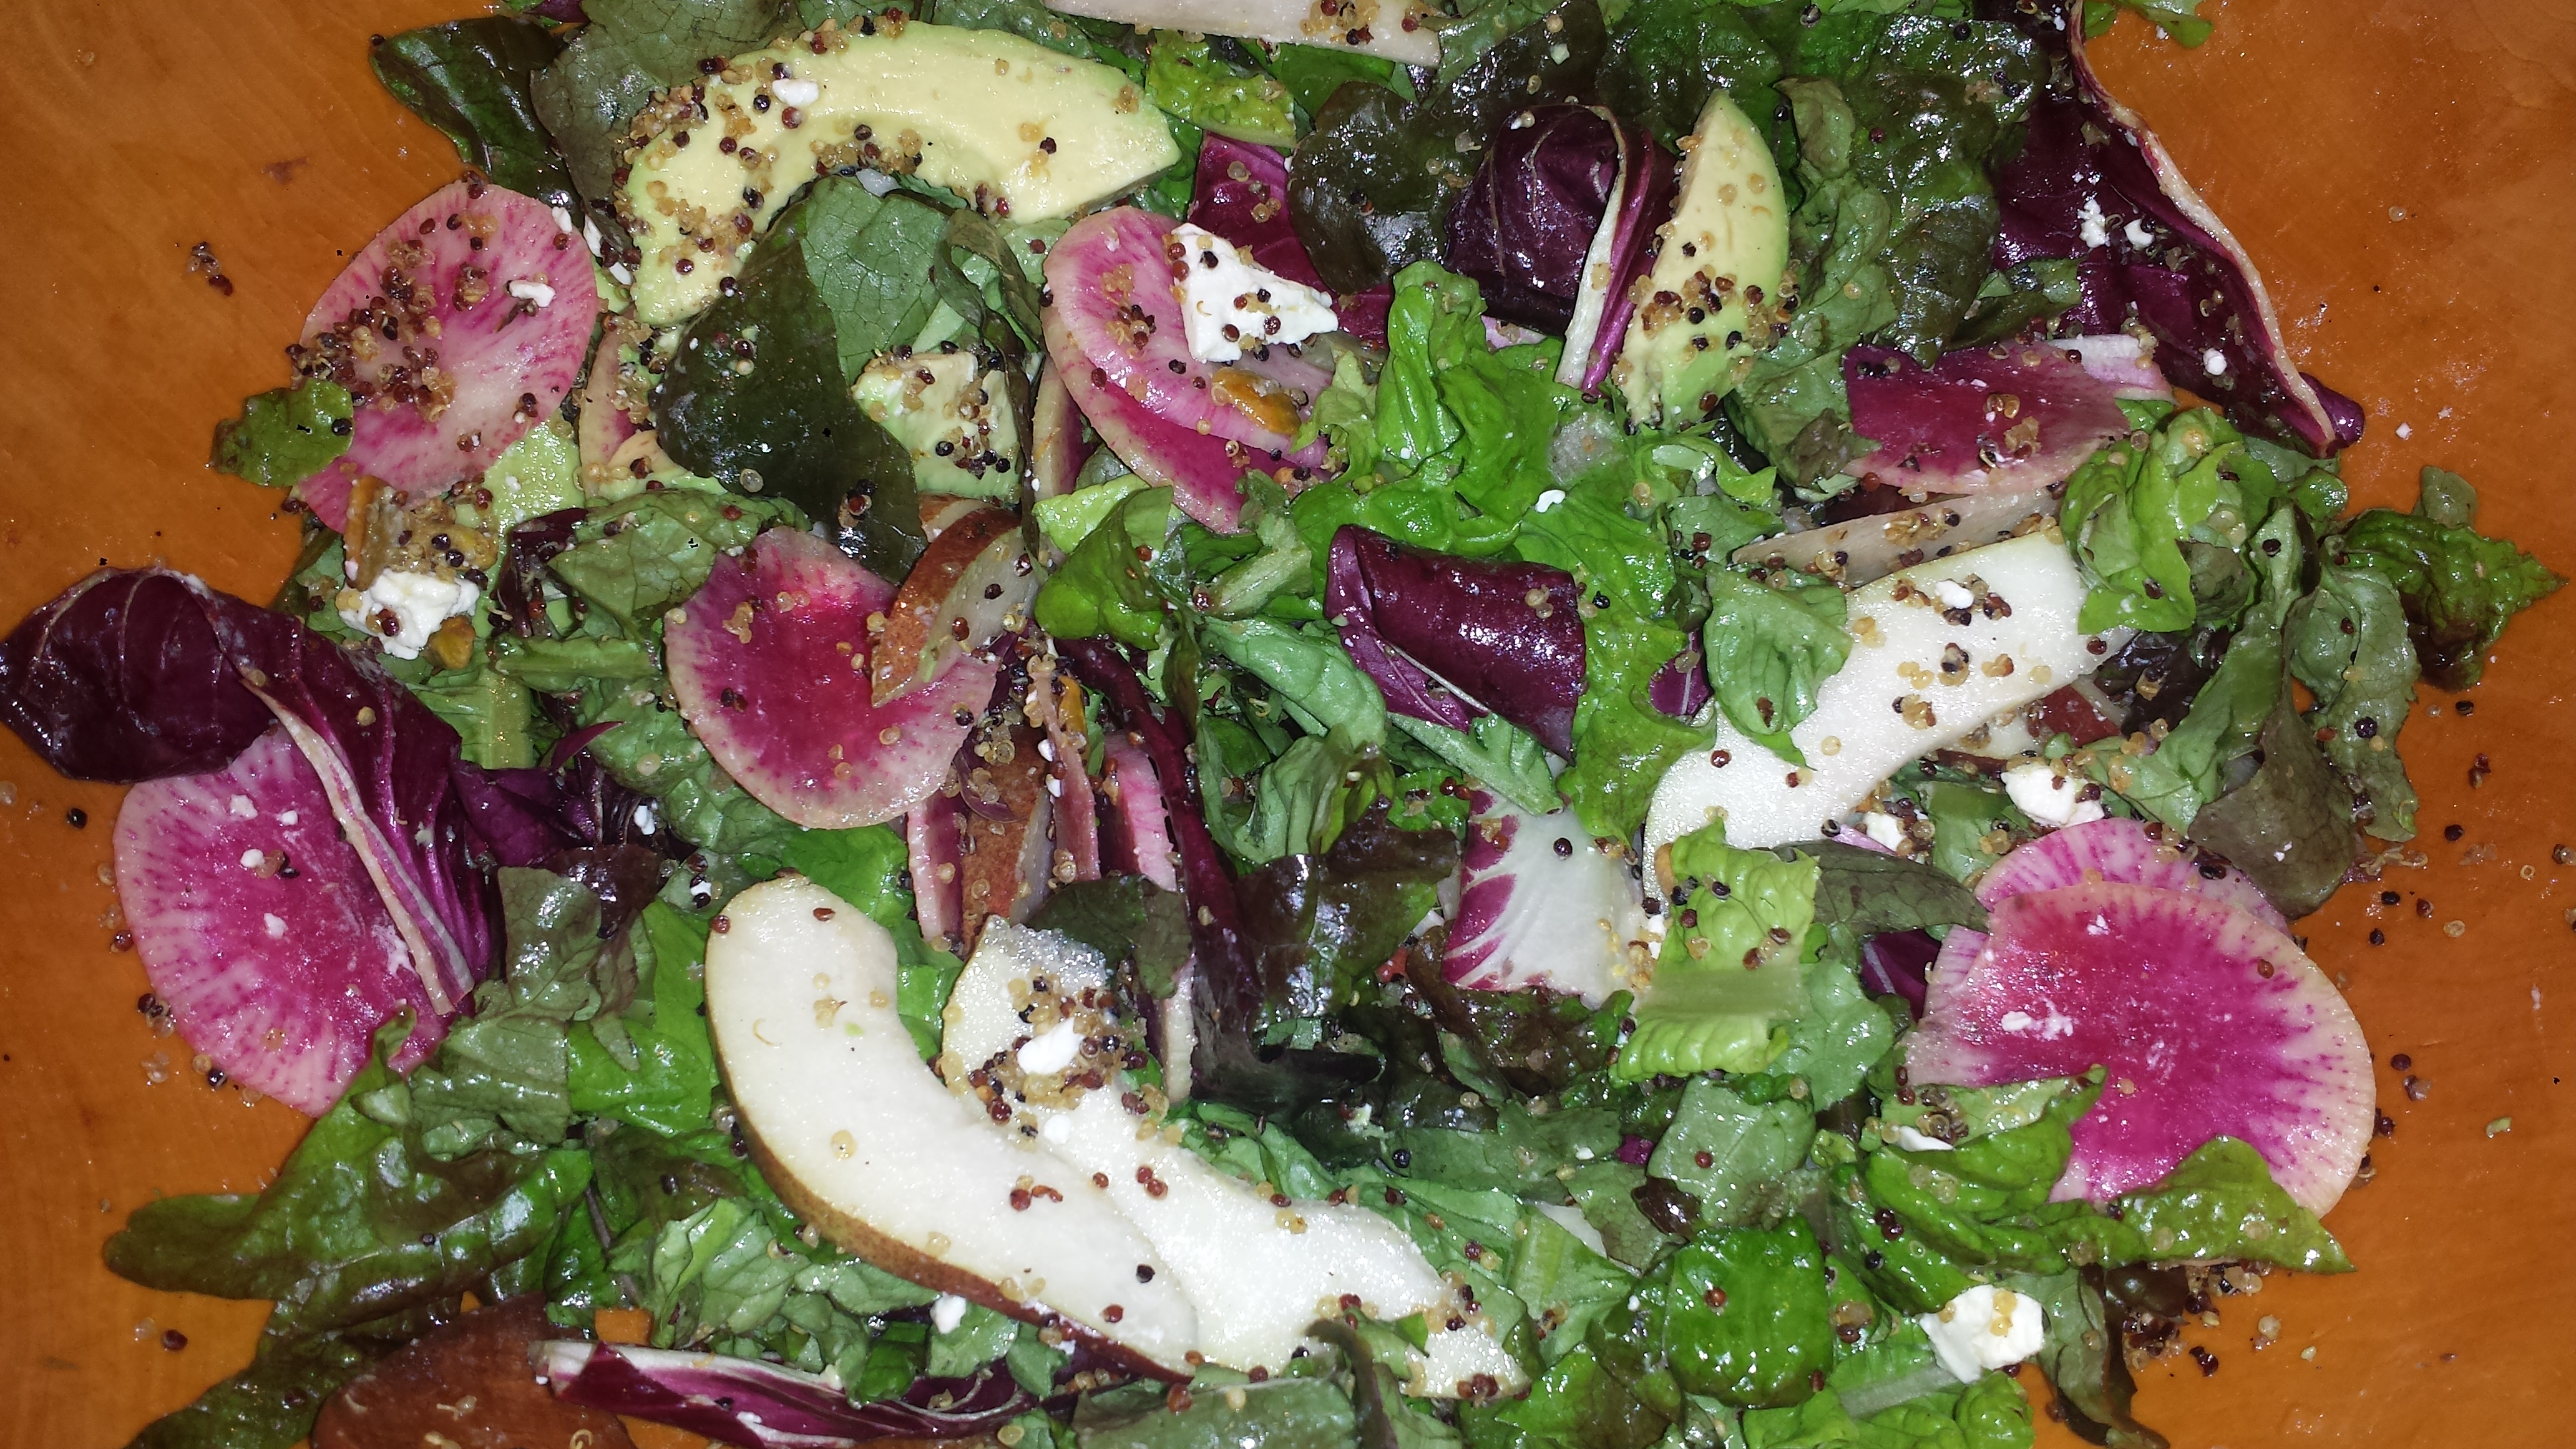
What was in my box? Butternut squash, beets, rainbow carrots, Treviso radicchio, kiwis, baby bok choy, watermelon radish, fennel, red d’anjou pears, pink lady apples and assorted lettuce. Whew! After mulling the many possible ways dinner could go, I opted to use the most perishable items first, like lettuce. So salad it is… Winter Greens with thinly sliced pears, watermelon radish and avocado, coated with yummy crispy quinoa and crumbly feta with a few pistachios thrown into the mix. I added quinoa, not only to give my salad a nutrient boost with it’s high protein content and minerals like calcium, phosphorus, and iron, but also to enhance the taste and feel of the salad. When tossed with a simple vinaigrette, the crispy quinoa bits collect on the veggies making each bite a tasty treasure.

I first had crispy quinoa in a salad at Tamalpie Pizza in Mill Valley, CA. I was instantly enamored and only slightly dismayed to hear that the quinoa was deep fried. It was such a great concept, that quinoa can be transformed almost into something else. I don’t remember what else was in that salad except for leafy greens (and it is not currently listed on their menu, darn) so I made up my own salad with some help from my CSA box.
TIPS: Always rinse quinoa before cooking (unless the packaging says that it has been pre-rinsed) to remove any remaining saponins, a naturally occurring but bitter substance that the plant produces to protect itself from predators (smart, huh?) Use a fine mesh colander so you don’t lose any of the tiny grains.
WINTER GREEN SALAD WITH CRISPY QUINOA
1/2 cup dry quinoa (any kind) or 3/4 cup cooked
1 Tbsn high heat oil like coconut or avocado (not olive oil)
1 head or 4 cups assorted lettuces
5-6 radicchio leaves
1-2 watermelon radish
1 d’anjou pear
1/4 cup pistachios (or roasted hazelnuts)
1/4 cup crumbled feta (optional)
Vinaigrette: (1/4 cup lemon juice, 1/4 cup apple cider vinegar, 1/3 cup olive oil, 1 clove minced garlic, salt and pepper to taste. You can also add 1/2 tsp of either cumin or Italian seasoning or any fresh herbs)
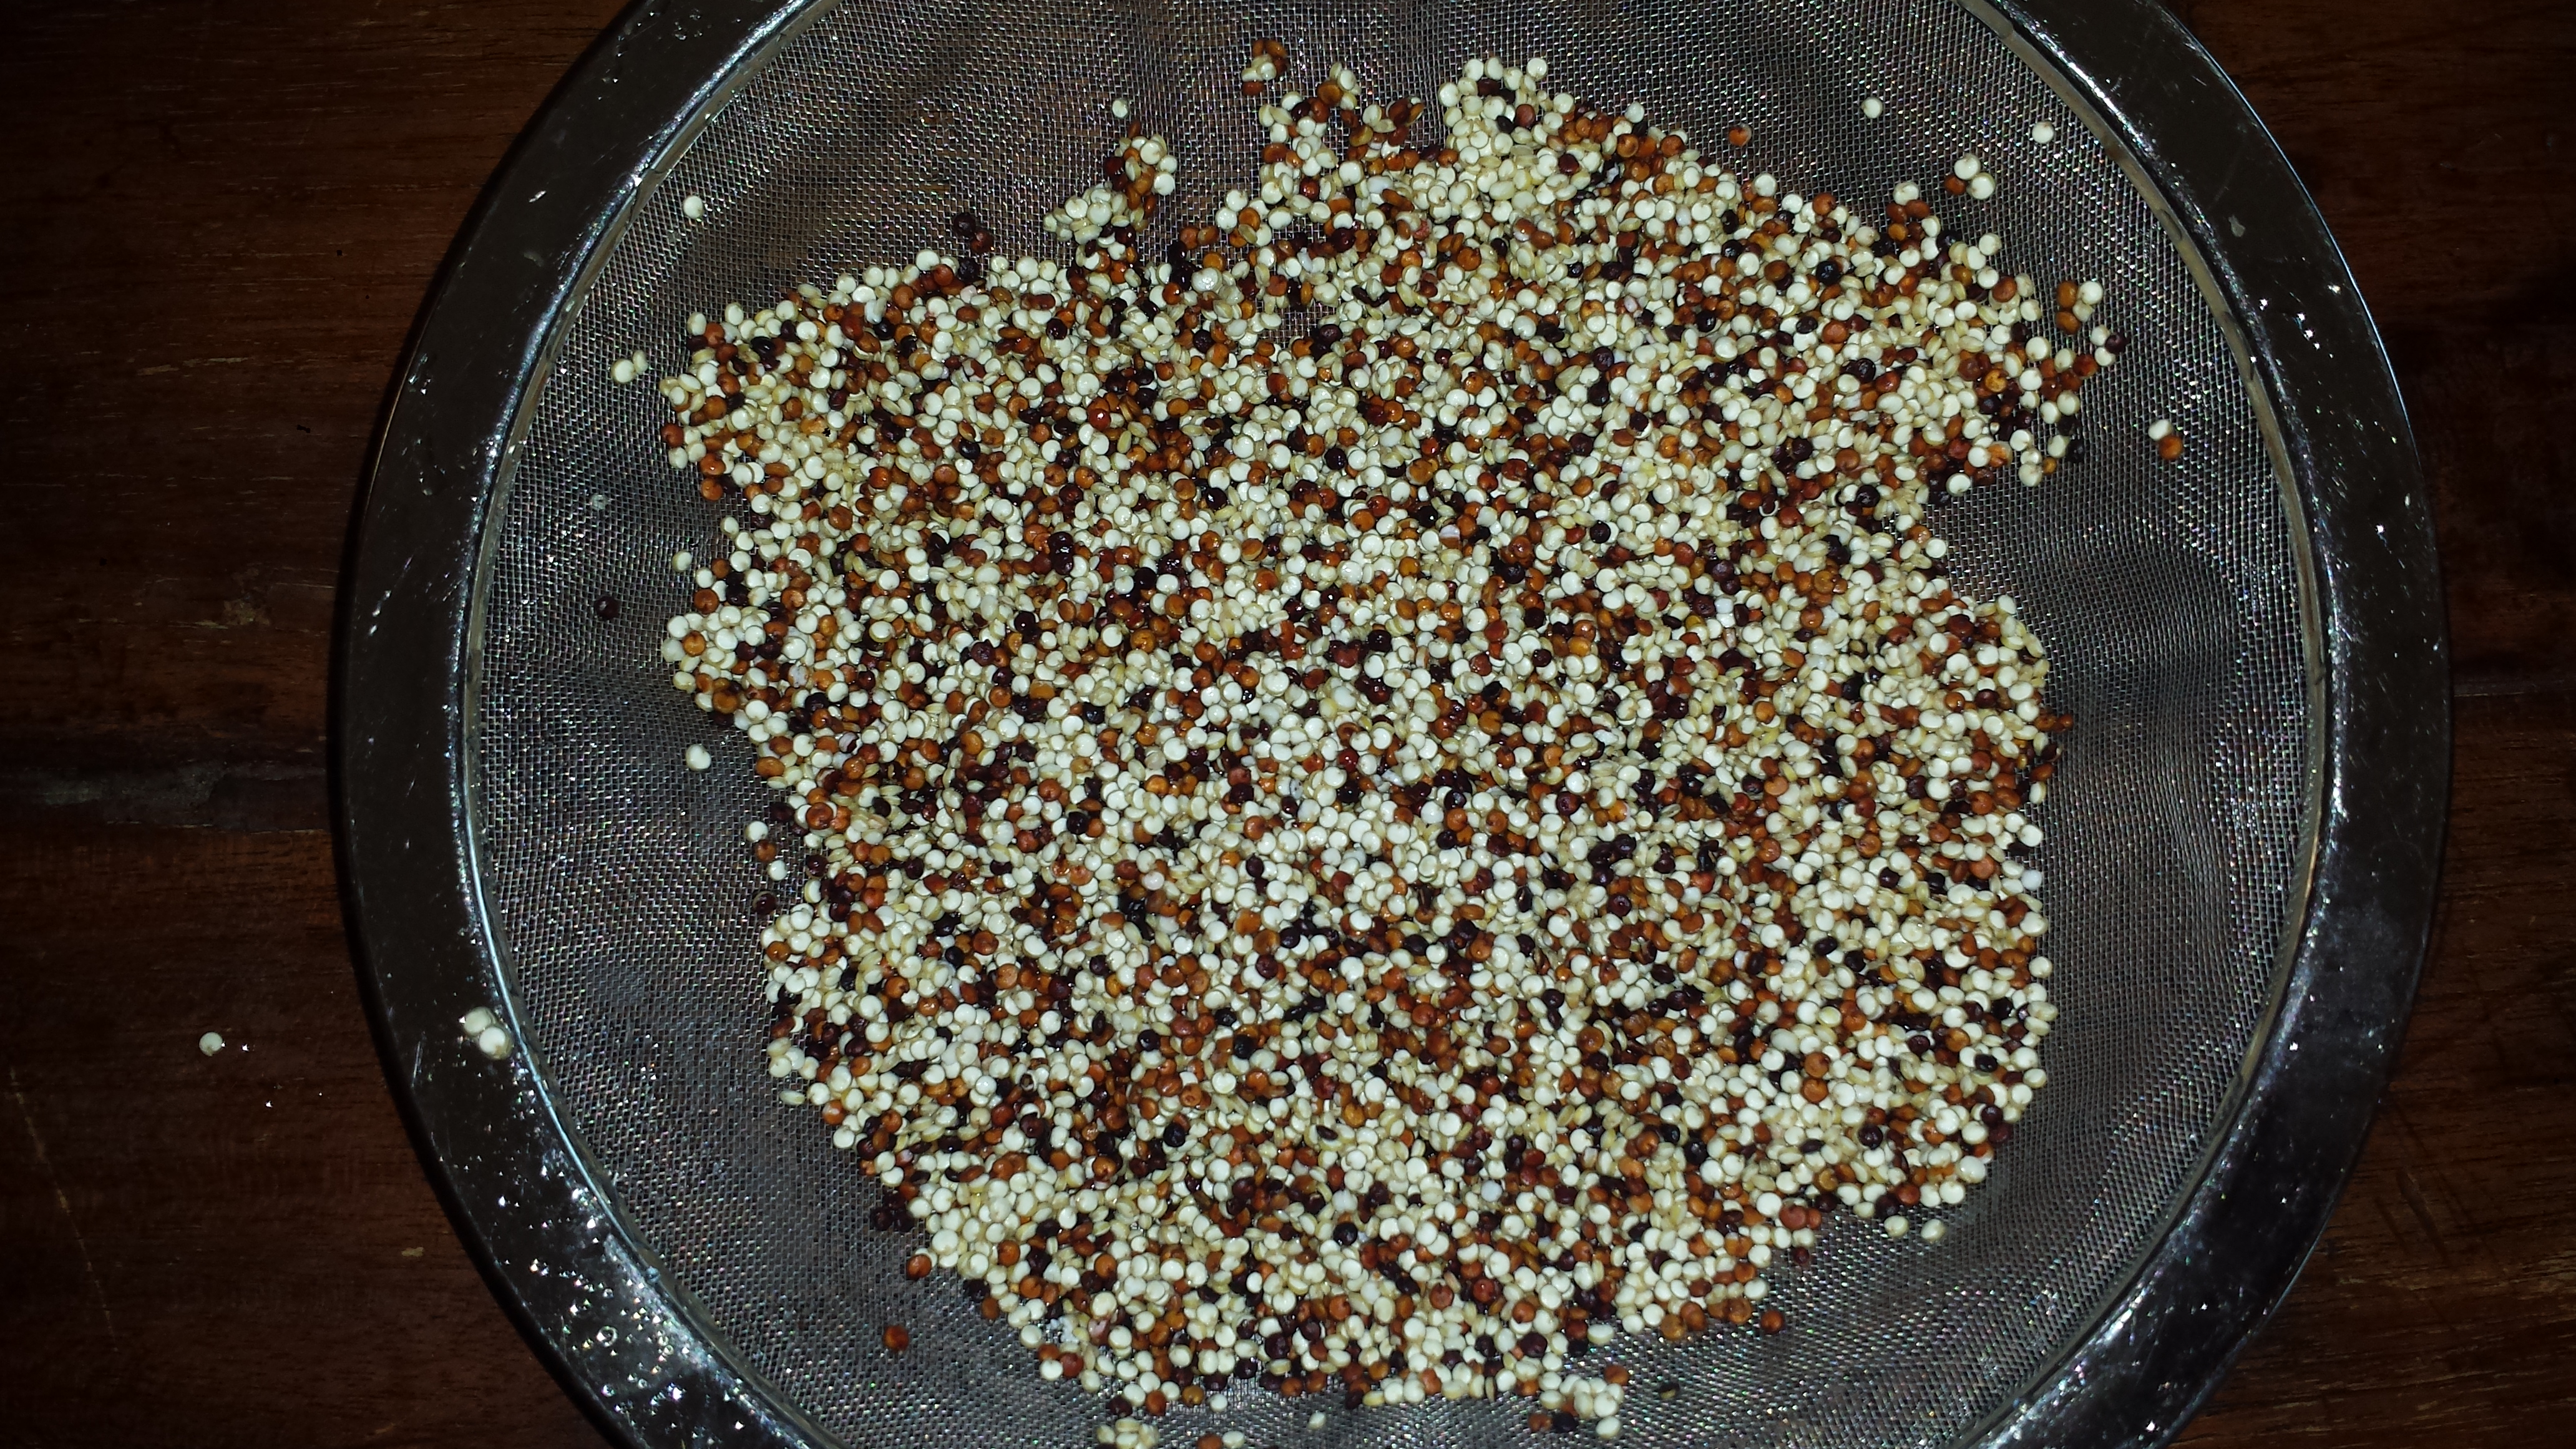
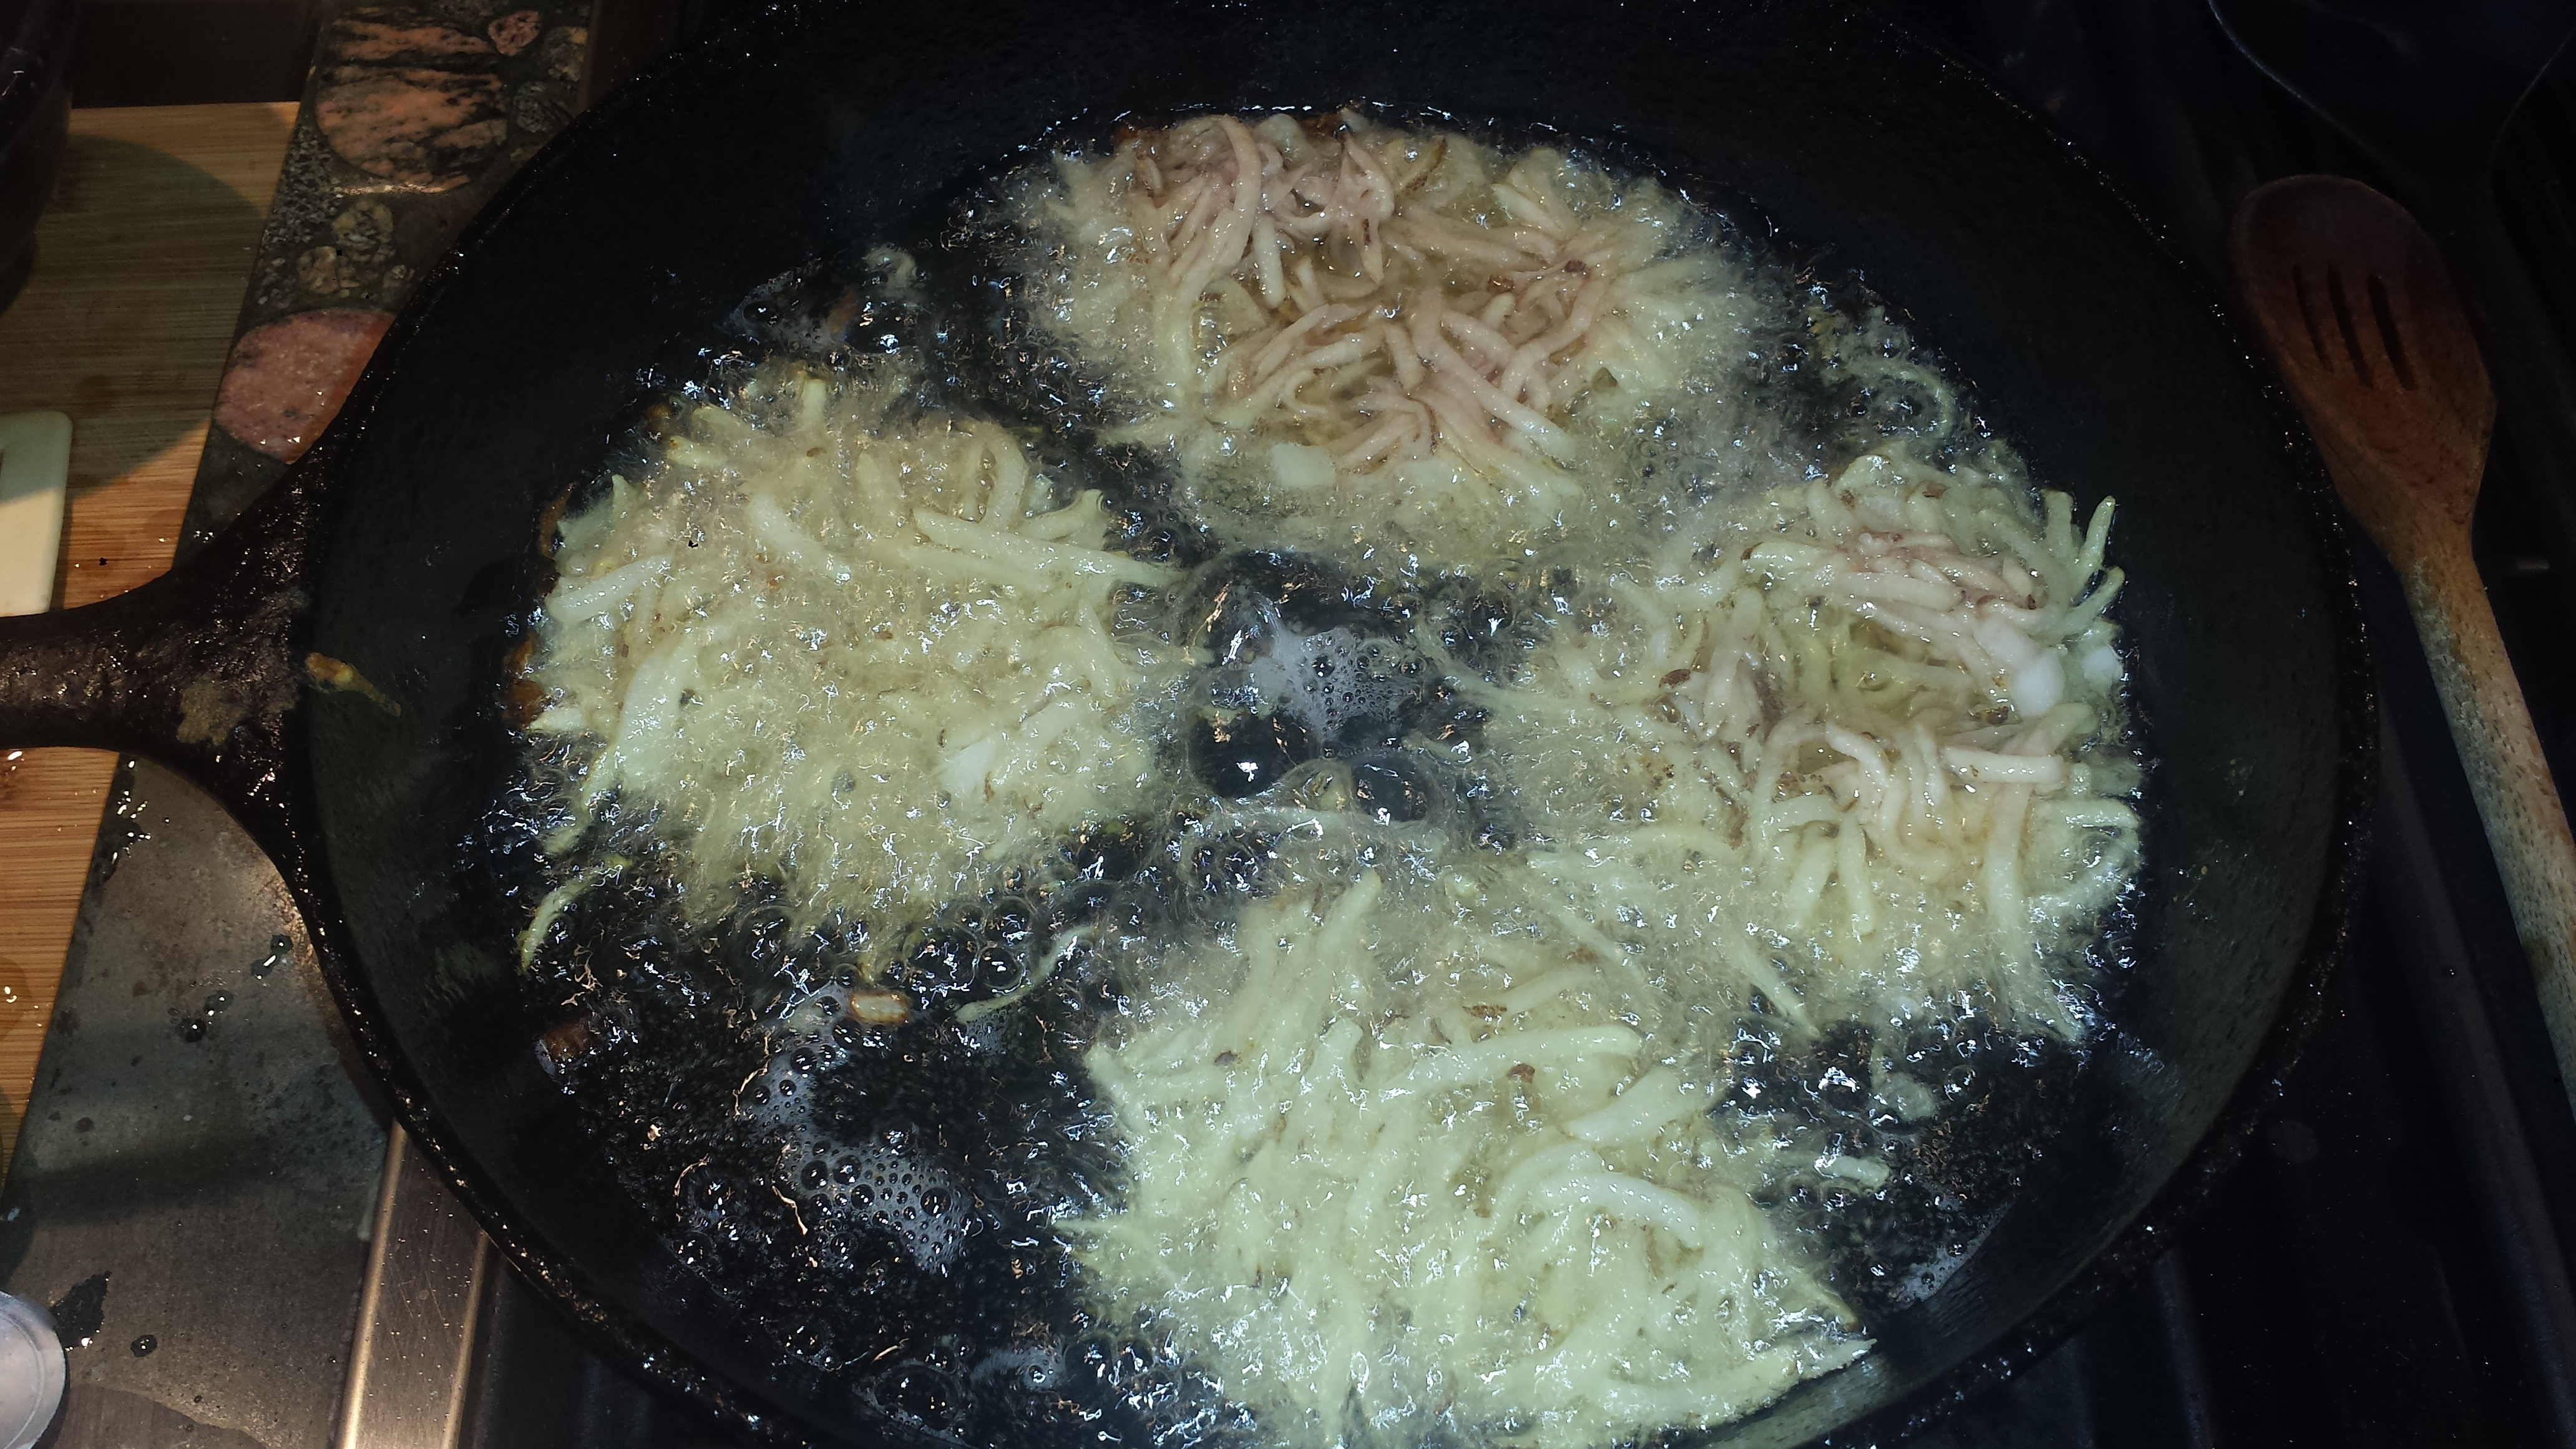
- Rinse quinoa and simmer in salted water for about 15 minutes or until tender. All water should be absorbed. Let cool.
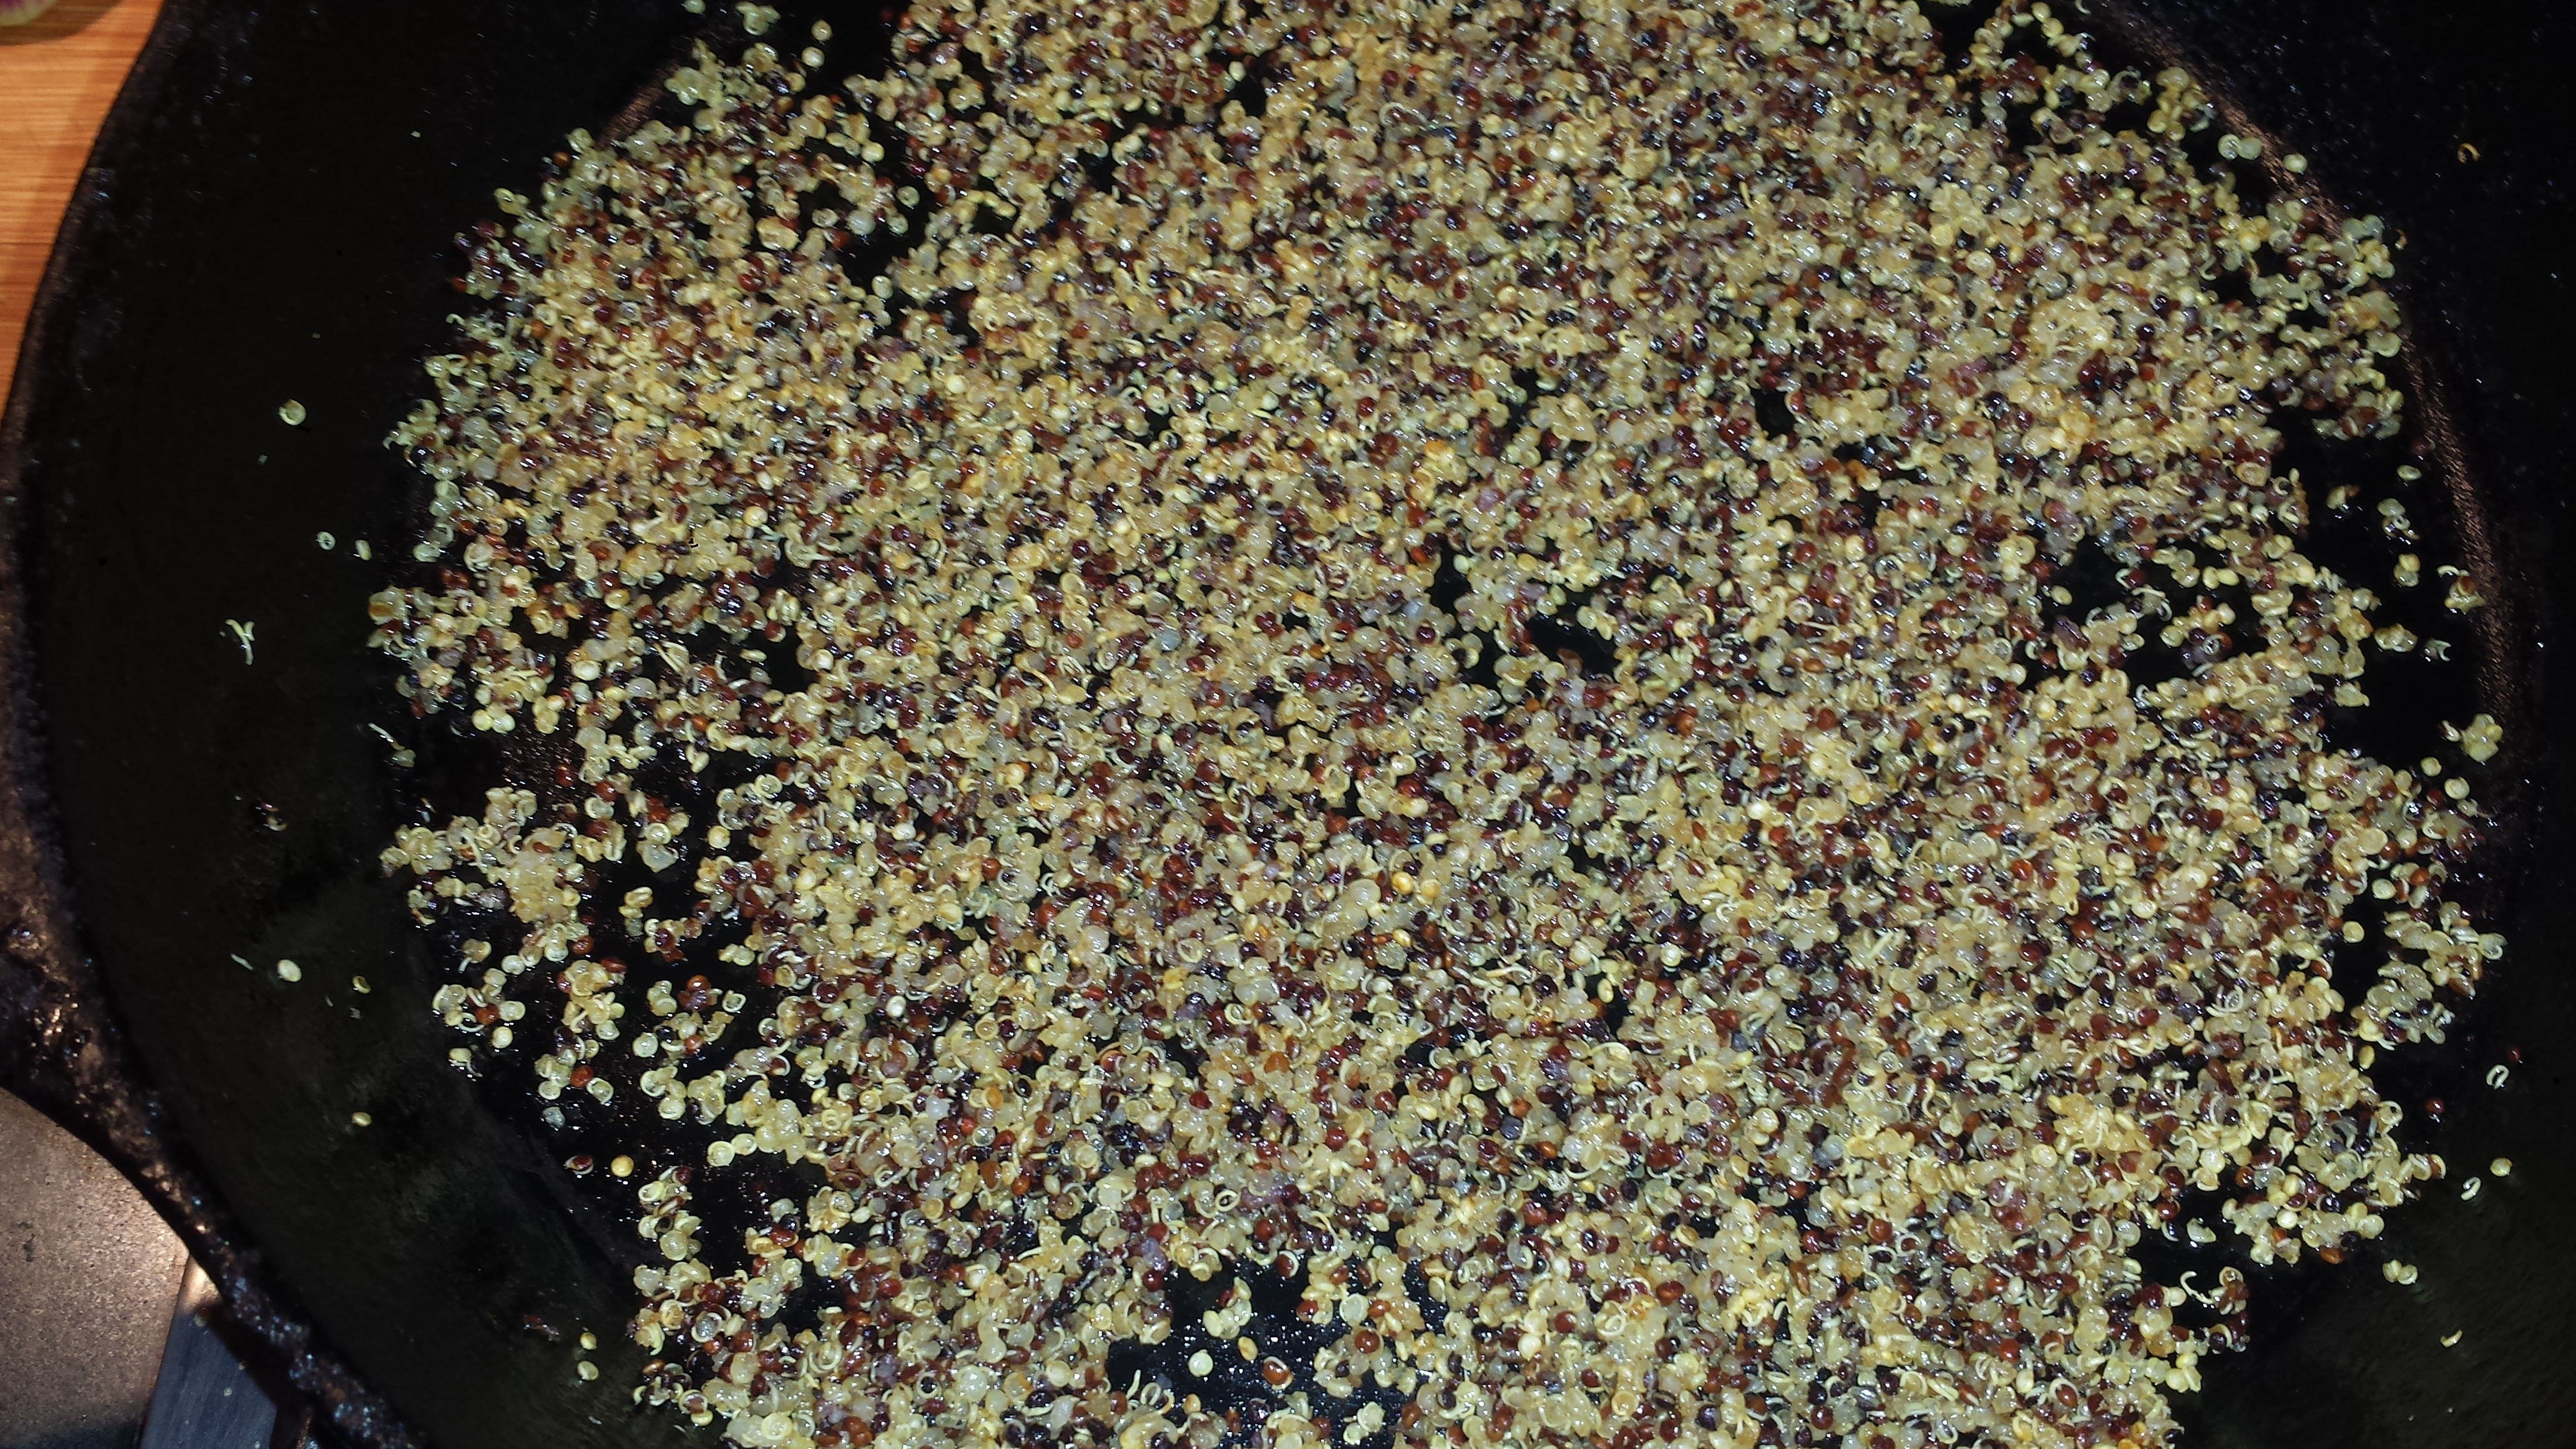
- Heat 1 Tbsn oil in a skillet until almost smoking and add in the cooked quinoa. Cook, stirring occasionally, until the quinoa pops and sizzles and turns crispy, about 5 minutes. Let cool.

- Cut or tear the larger lettuce leaves into pieces. Slice the radicchio

- Thinly slice the radish, pear and avocado.

- Sprinkle the cooled quinoa on top of the salad greens
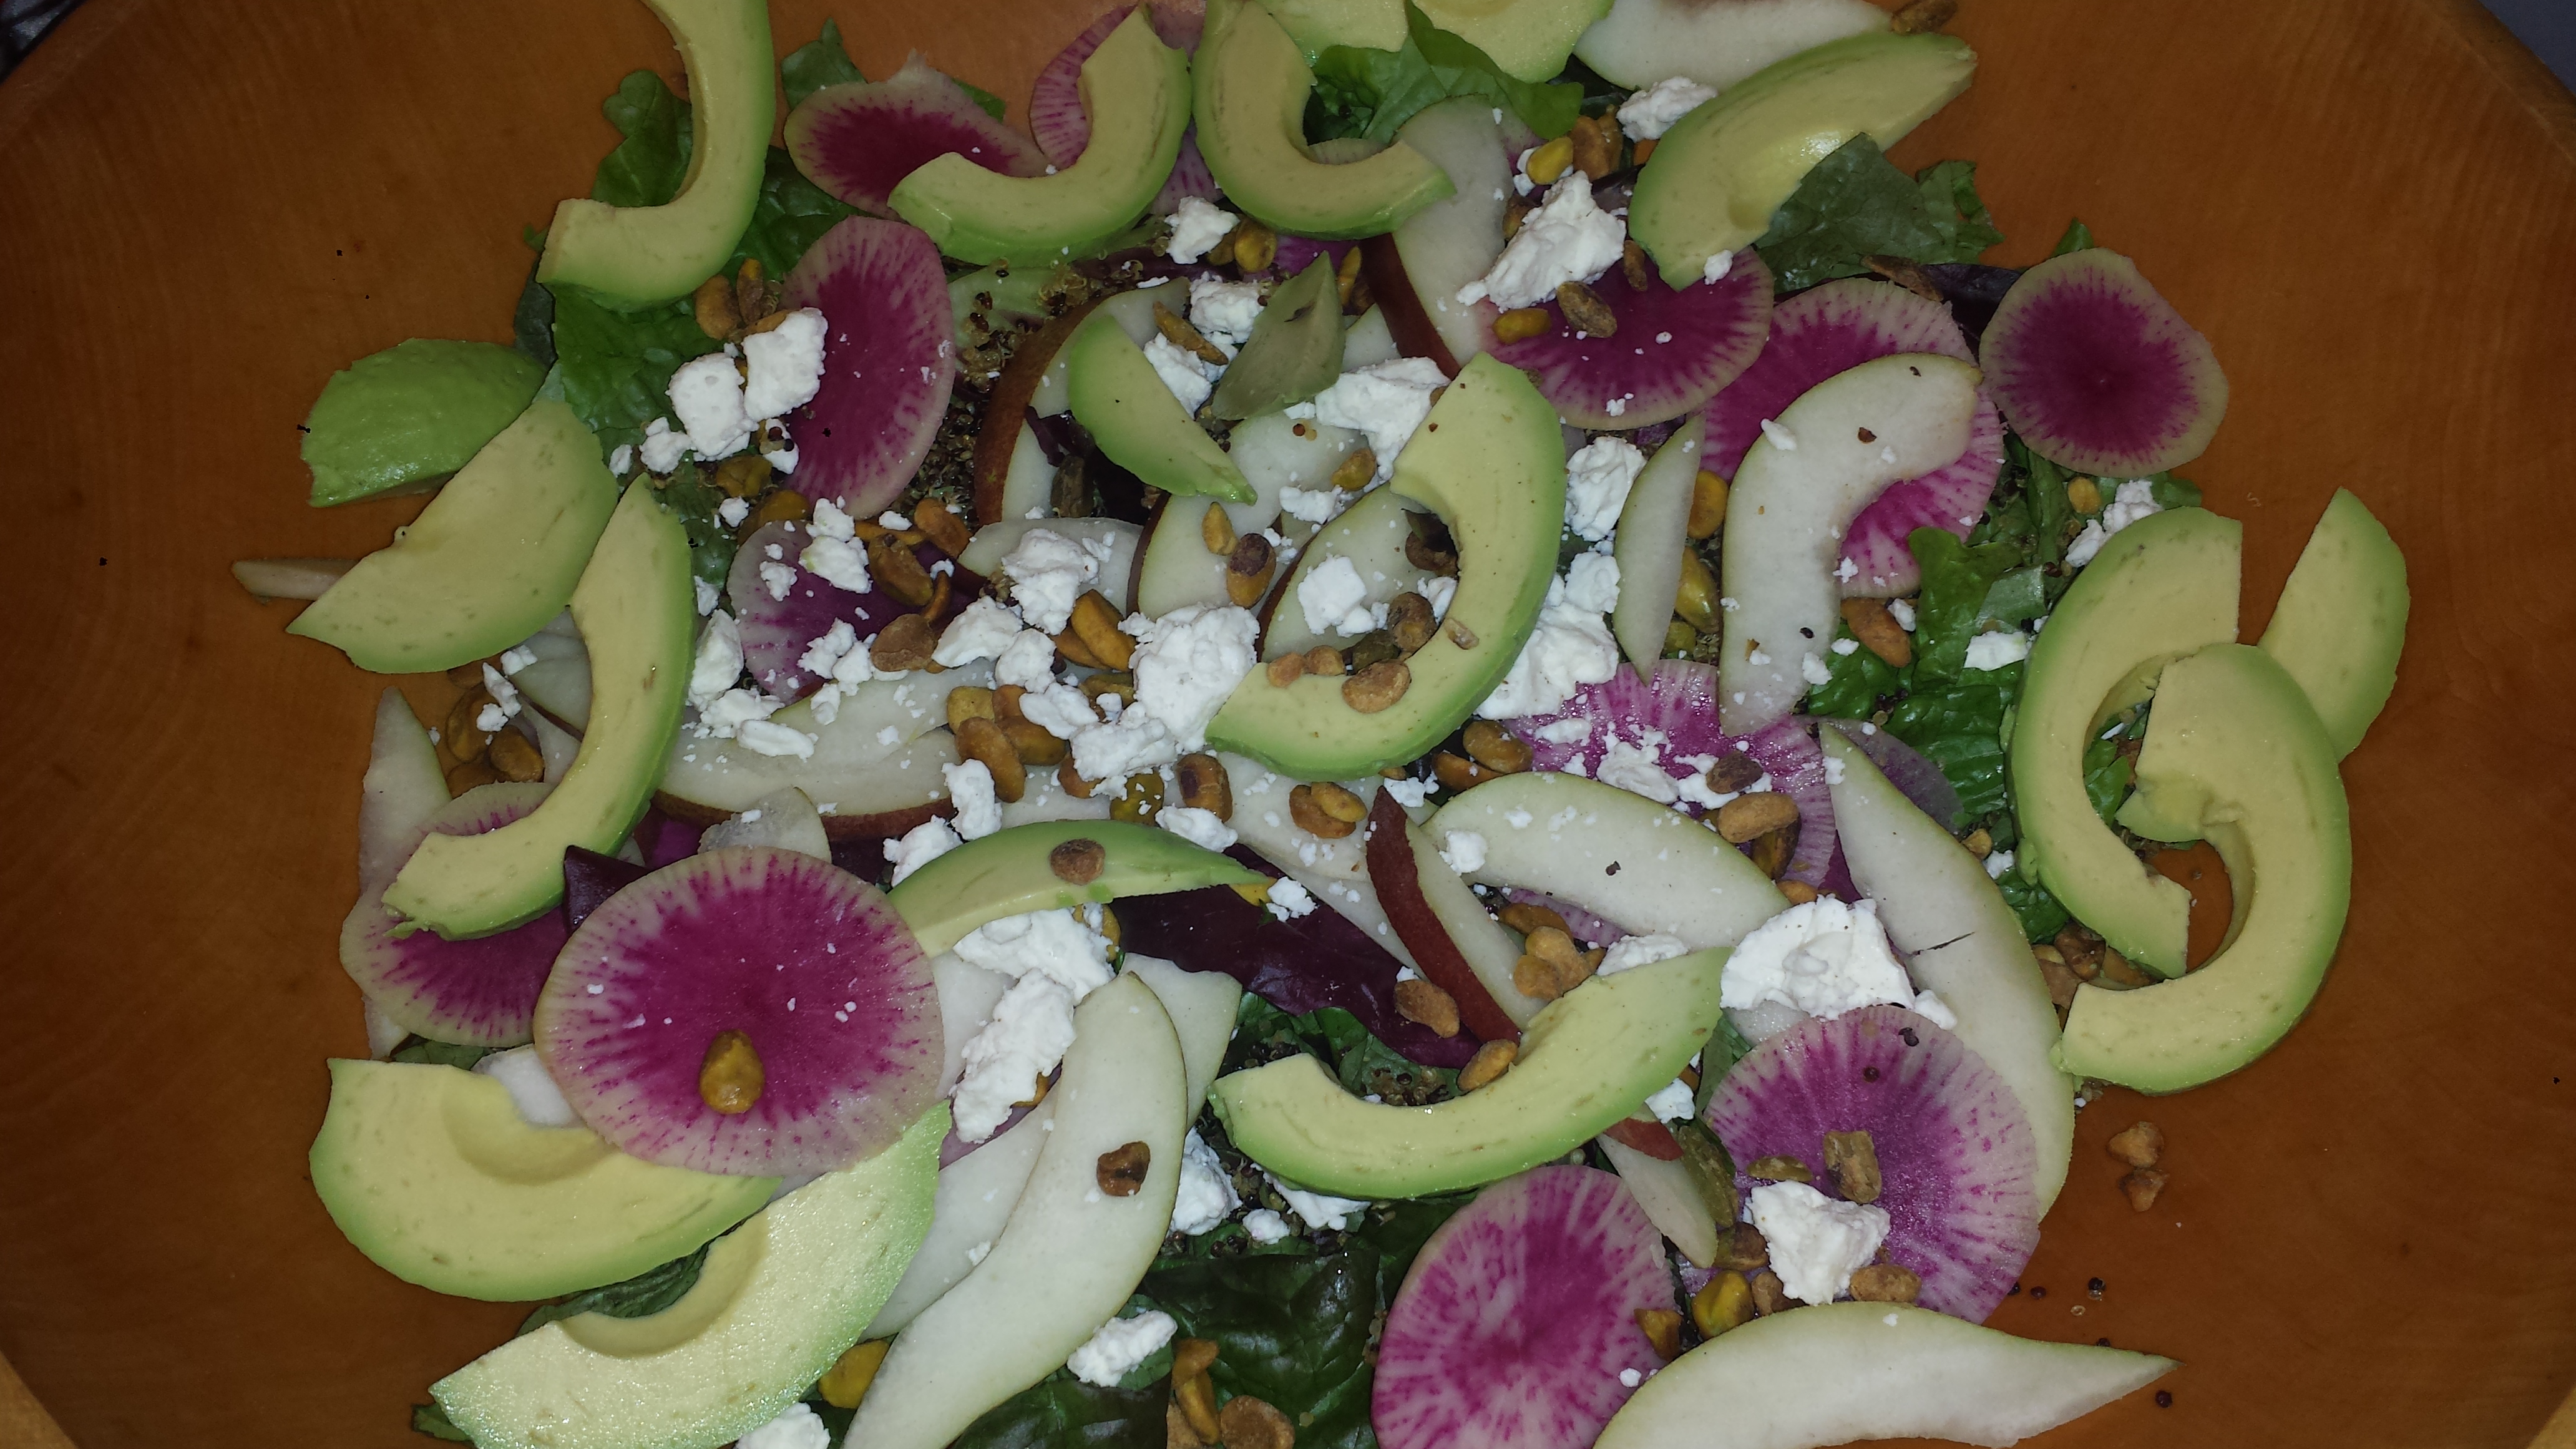
- Top with the sliced pear, radish, avocado, pistachios and feta.
- Dress sparingly with the vinaigrette and toss gently. Serve with more vinaigrette and feta on the side
1/2 cup dry quinoa (any kind) or 3/4 cup cooked Vinaigrette: (1/4 cup lemon juice, 1/4 cup apple cider vinegar, 1/3 cup olive oil, 1 clove minced garlic, salt and pepper to taste. You can also add 1/2 tsp of either cumin or Italian seasoning or any fresh herbs)Winter Green Salad with Crispy Quinoa

1-2 Tbsn high heat oil like coconut or avocado (not olive oil)
1 head or 4 cups assorted lettuces
5-6 radicchio leaves
1-2 watermelon radish
1 d’anjou pear
1/4 cup pistachios (or roasted hazelnuts)
1/4 cup crumbled feta (optional)