Is the dinner party dead? One of my goals for this new year is to host a dinner party every month. My husband and I are finding that as ’empty nesters’ we are no longer attending school events where we get to hang out with our friends without any planning on our part,and we just aren’t seeing people that we really like as often. Let’s just say that it takes more of an effort when you have to physically reach out and organize something. In some ways, our schedules are less busy with soccer and lacrosse games, carpools and school events in the distant past. In other ways we are busier than ever. Chairing a school committee segues into a new hobby, like volunteering at WildCare, competing in triathalons or starting a blog about something you enjoy (sound familiar?). There is more time for hikes and hot yoga classes if you are so inclined. Unless you have a Boomerang kid (of which we have had our share) it’s easier to take off and travel. Many of my friends never seem to be around any more. So this is where the dinner parties come in. I’m going with the “You build it they will come” theory. We had a dinner party last weekend, a group of 10 fun people for no specific reason, and hopefully, just the first of many in 2015. January, done and great fun!
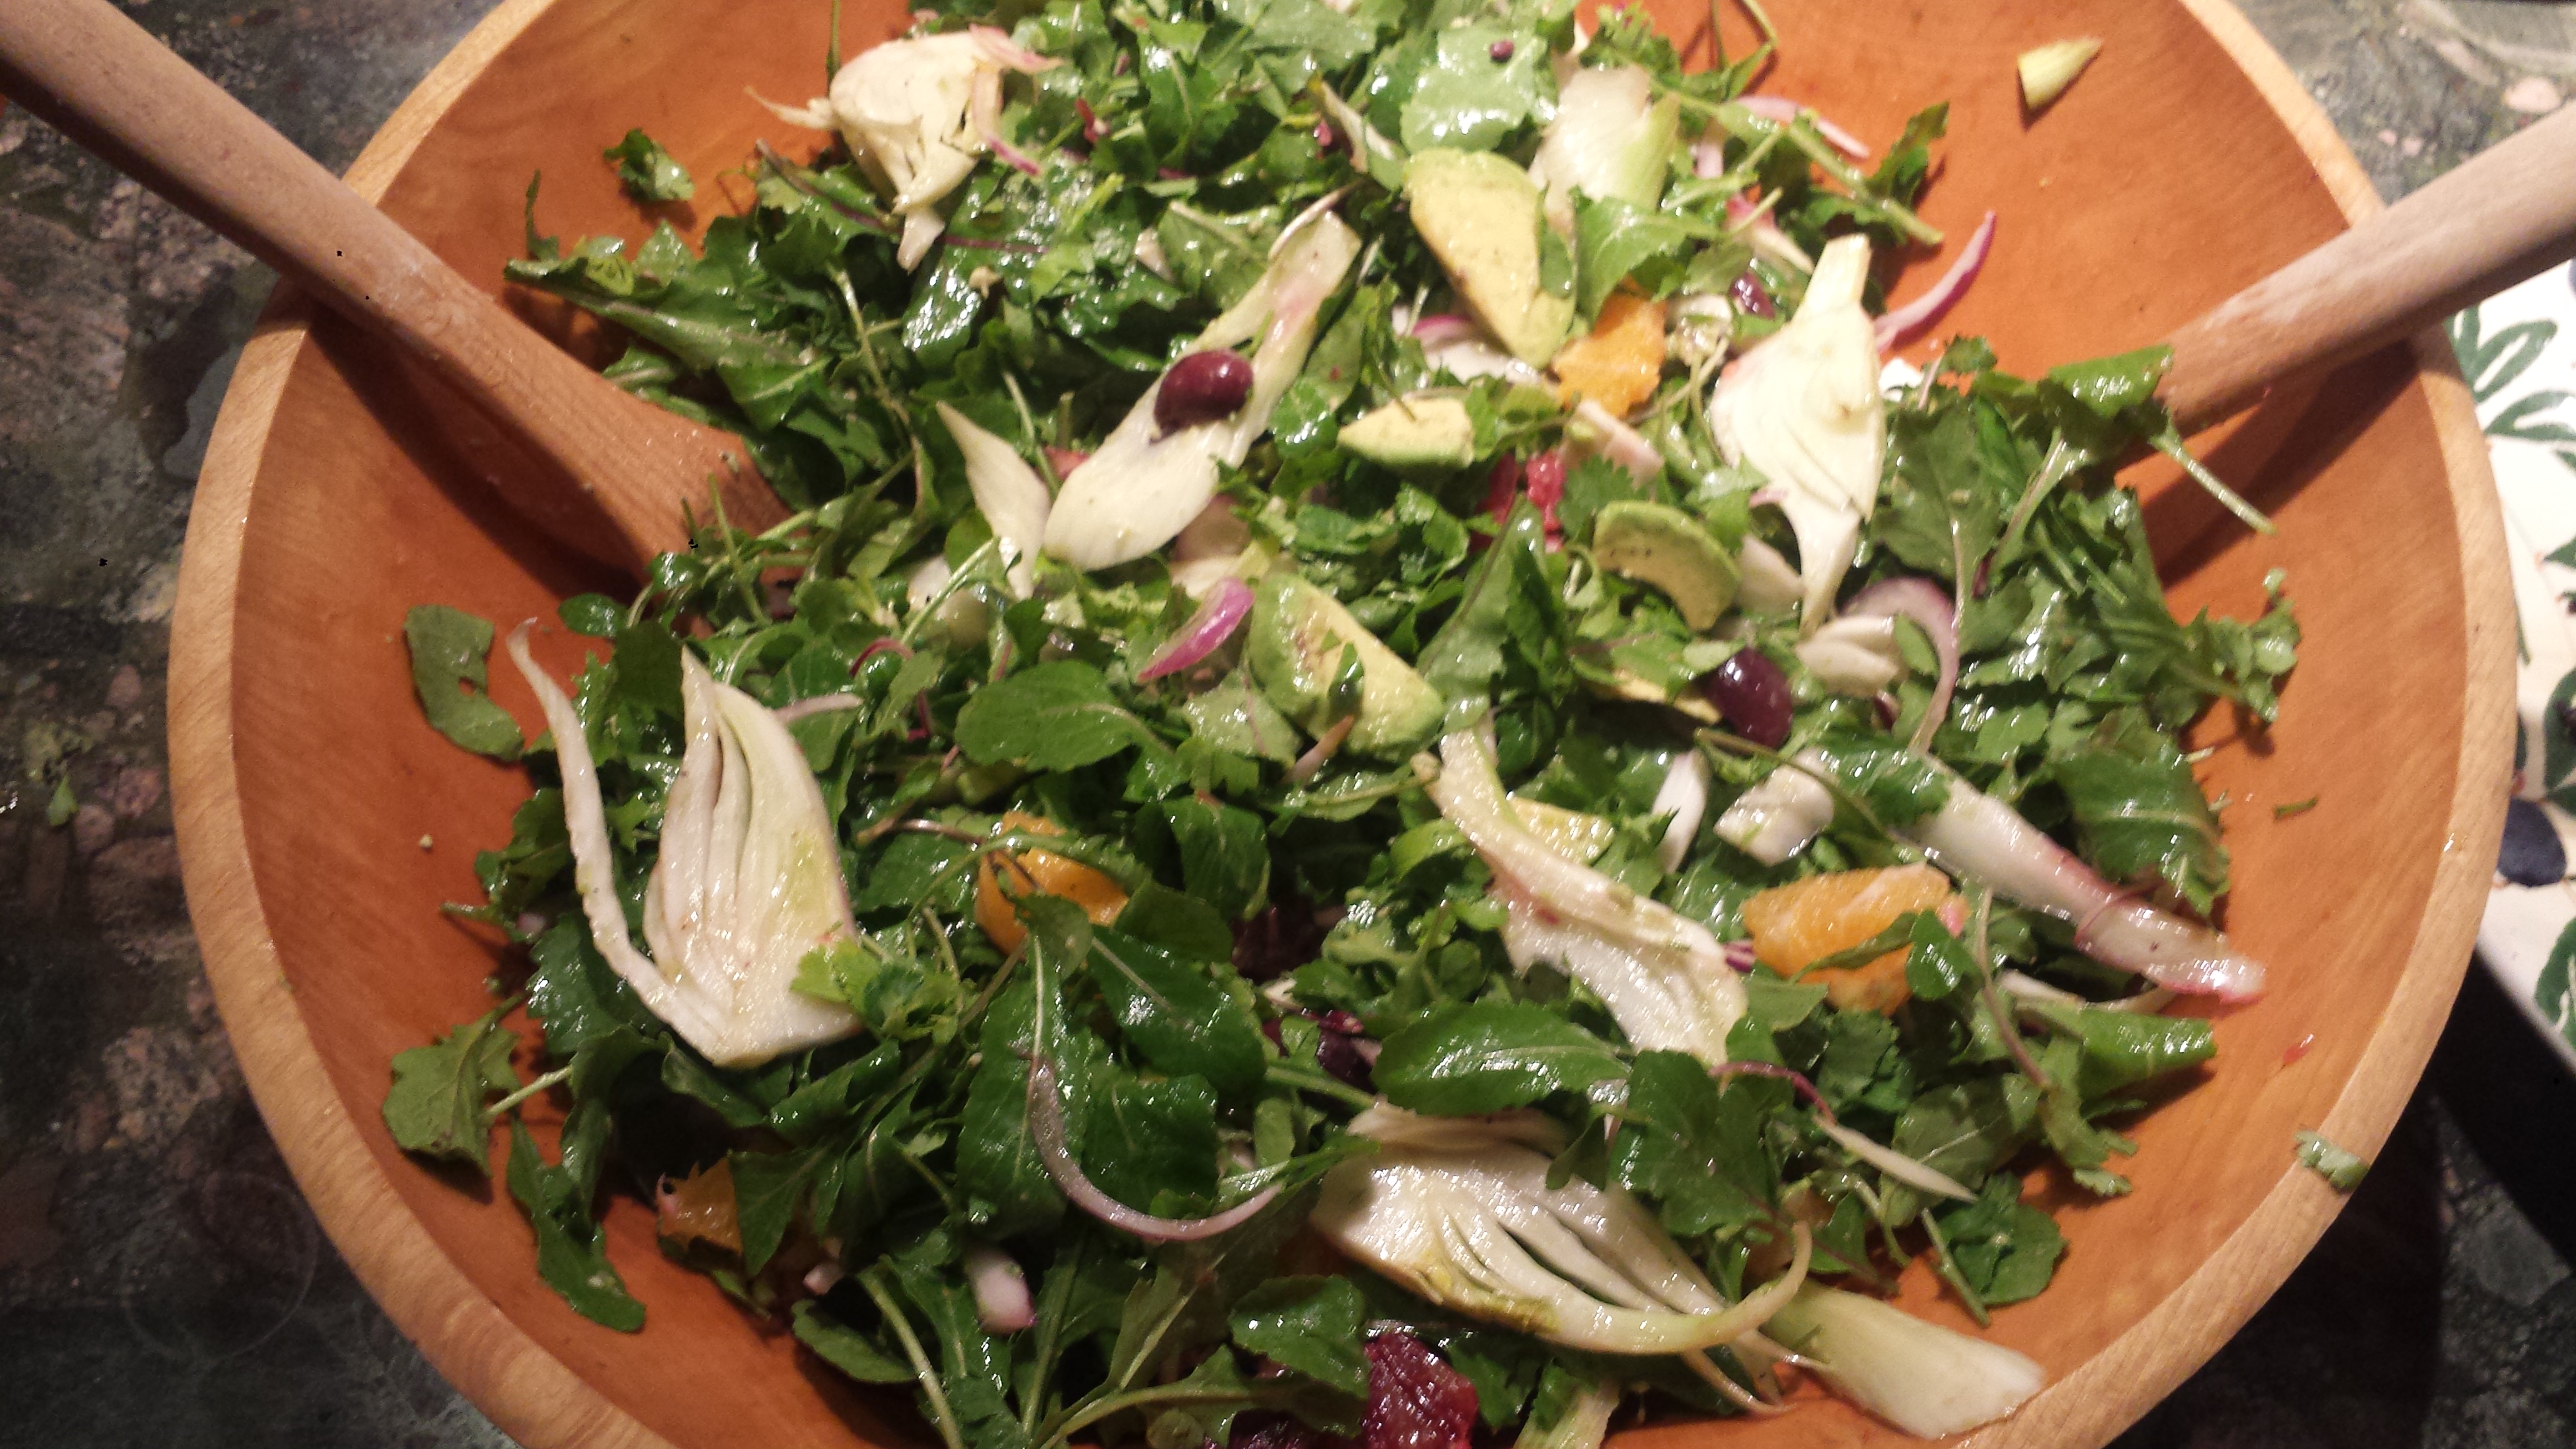
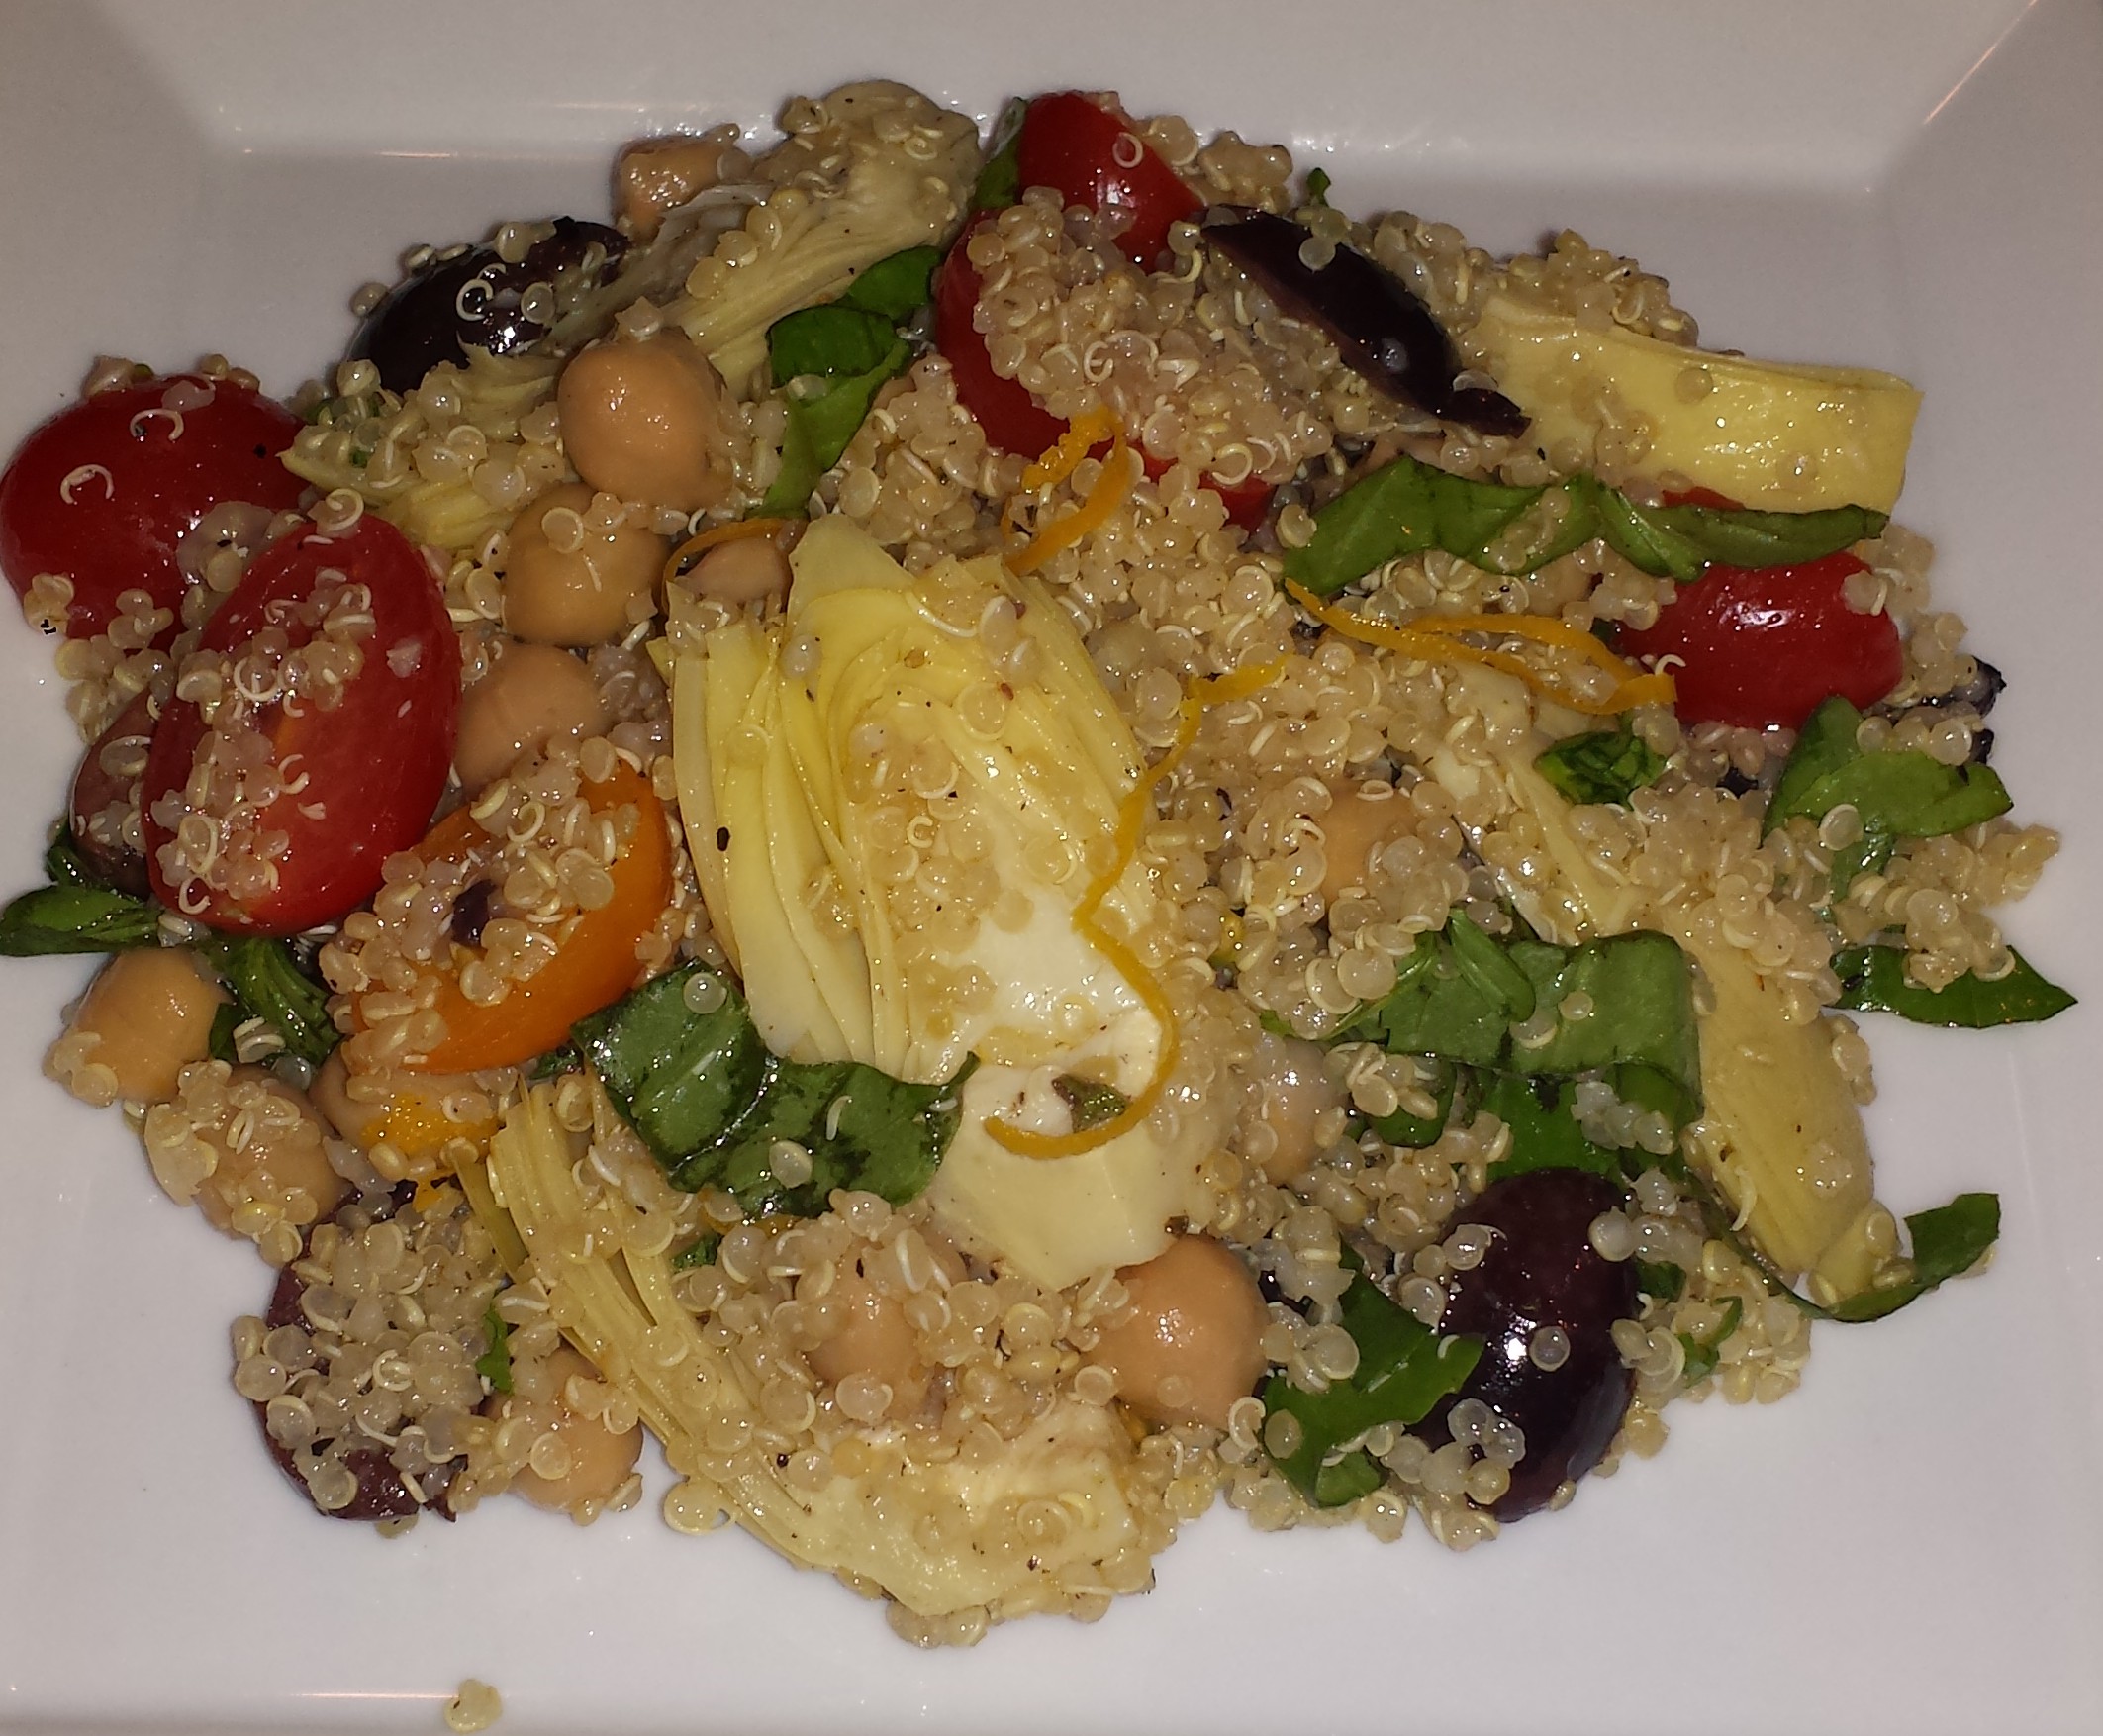
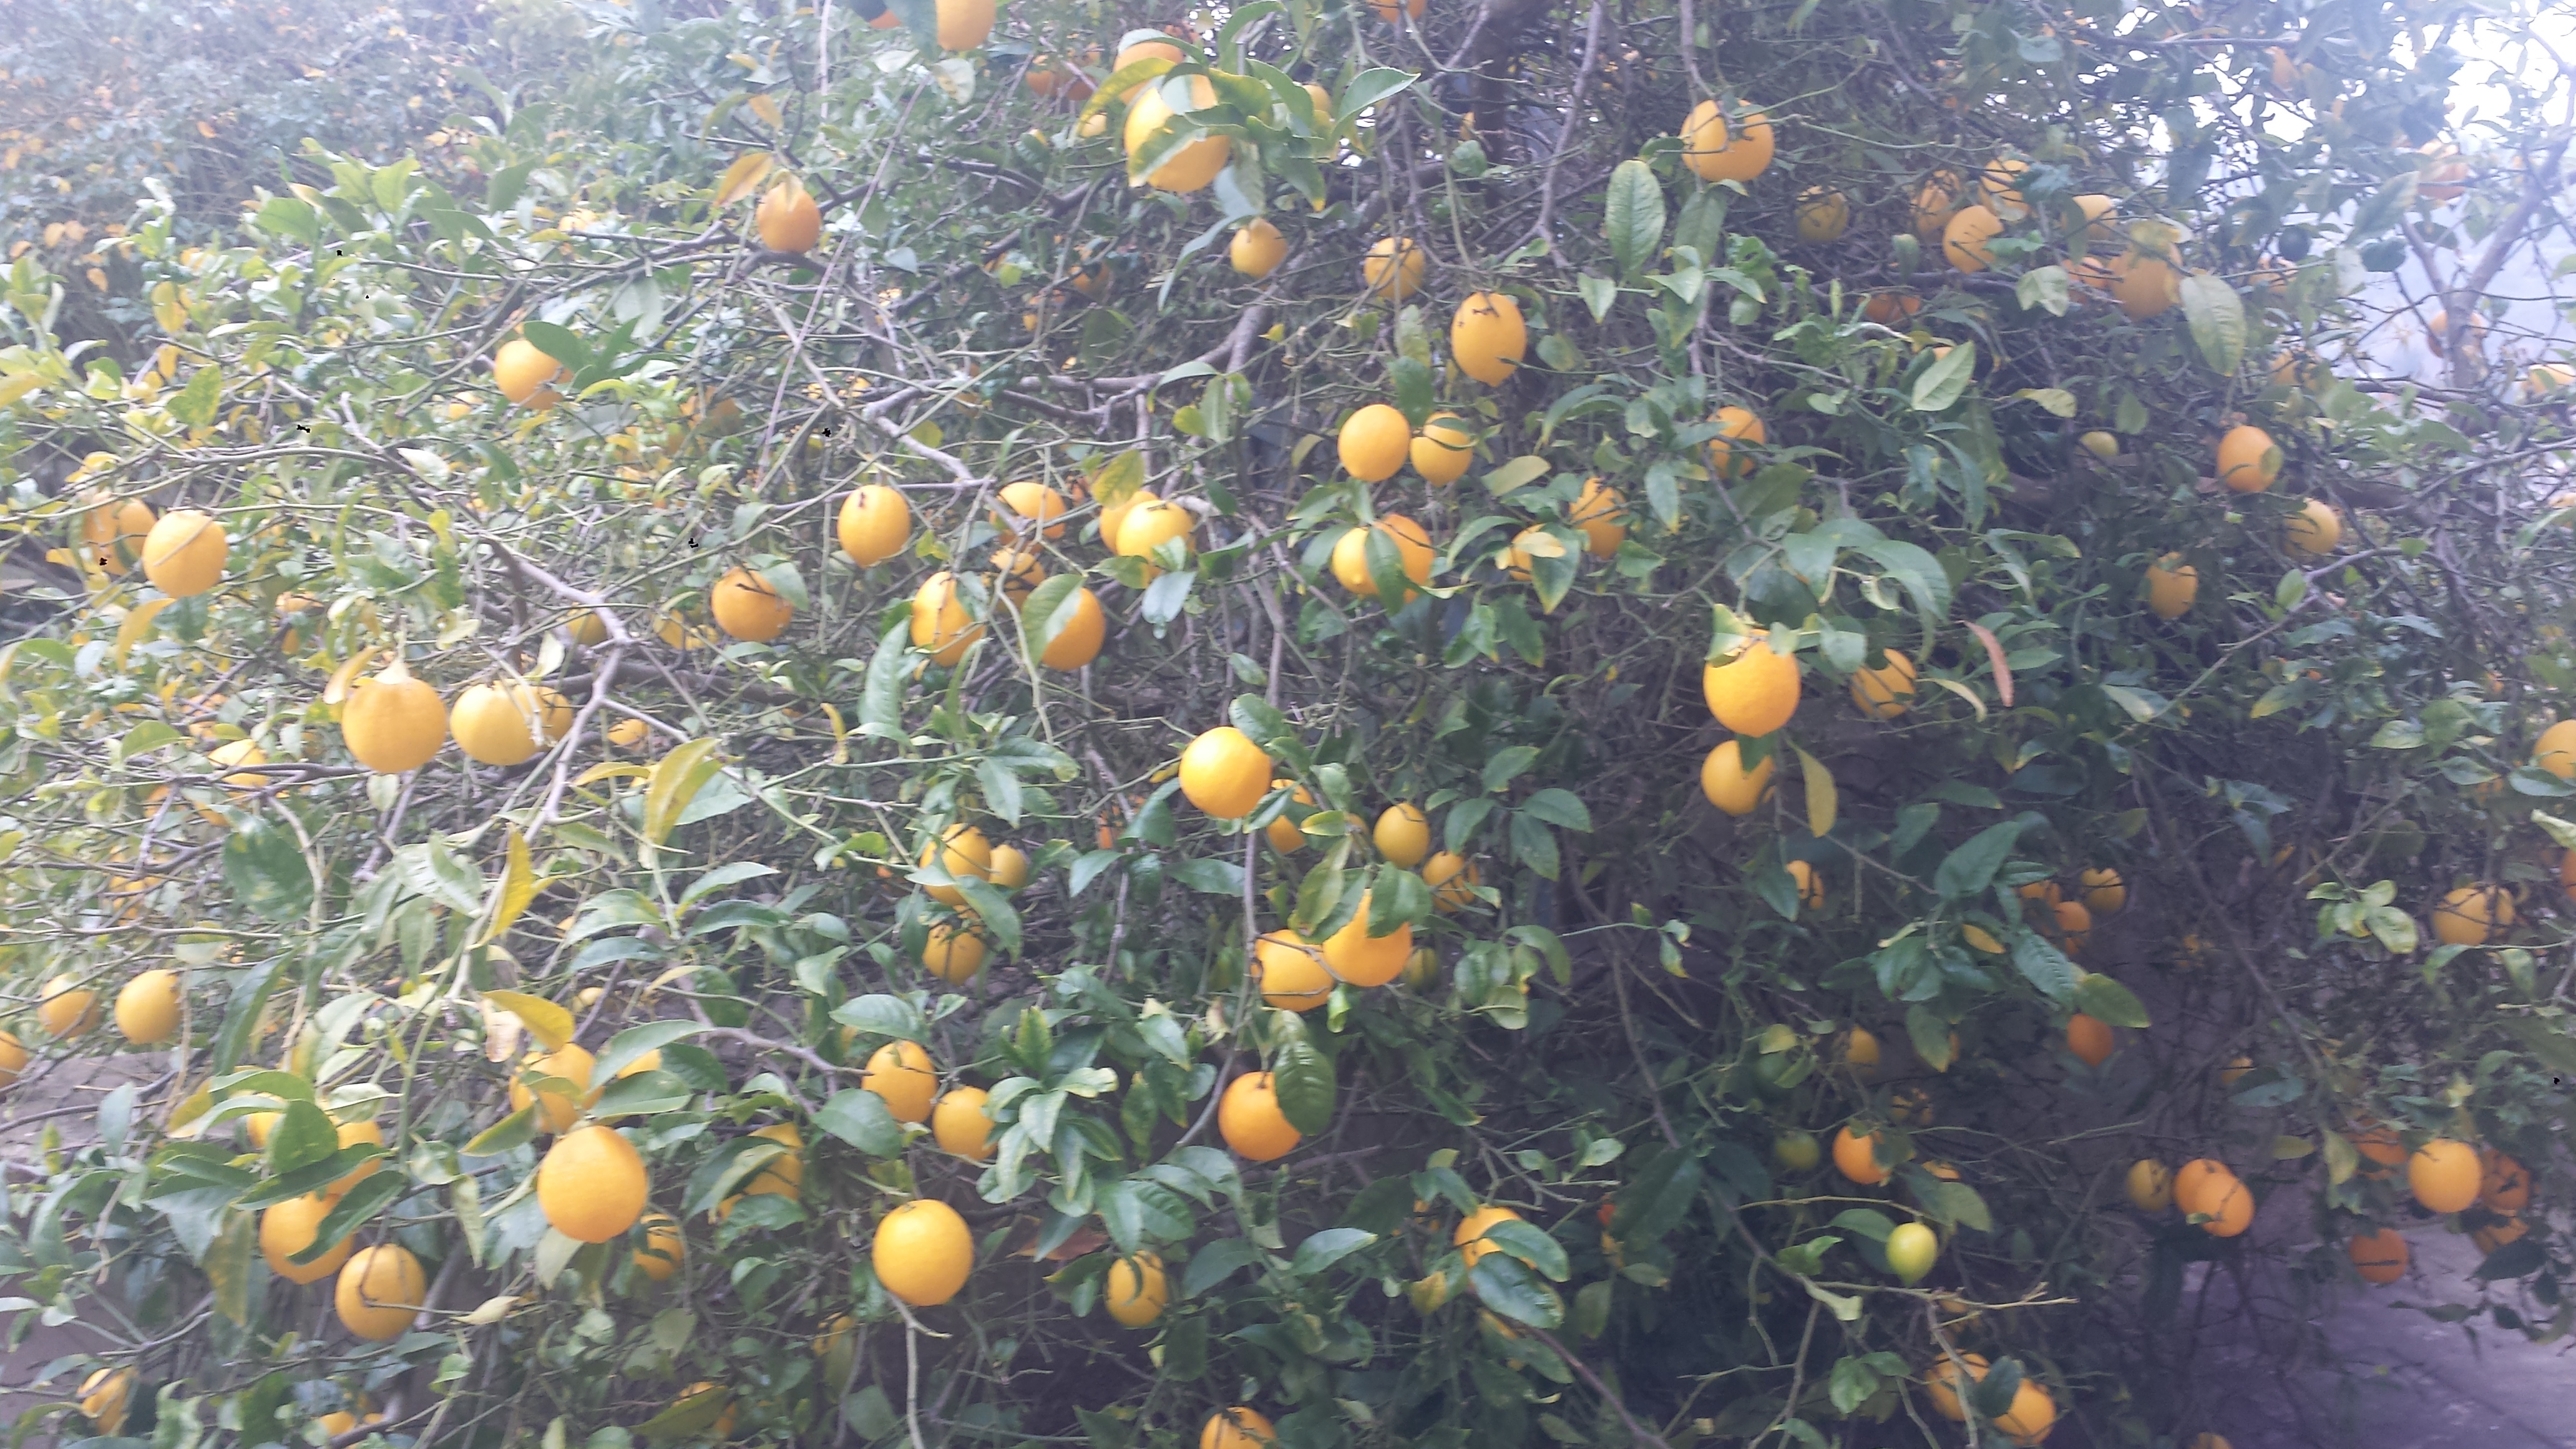
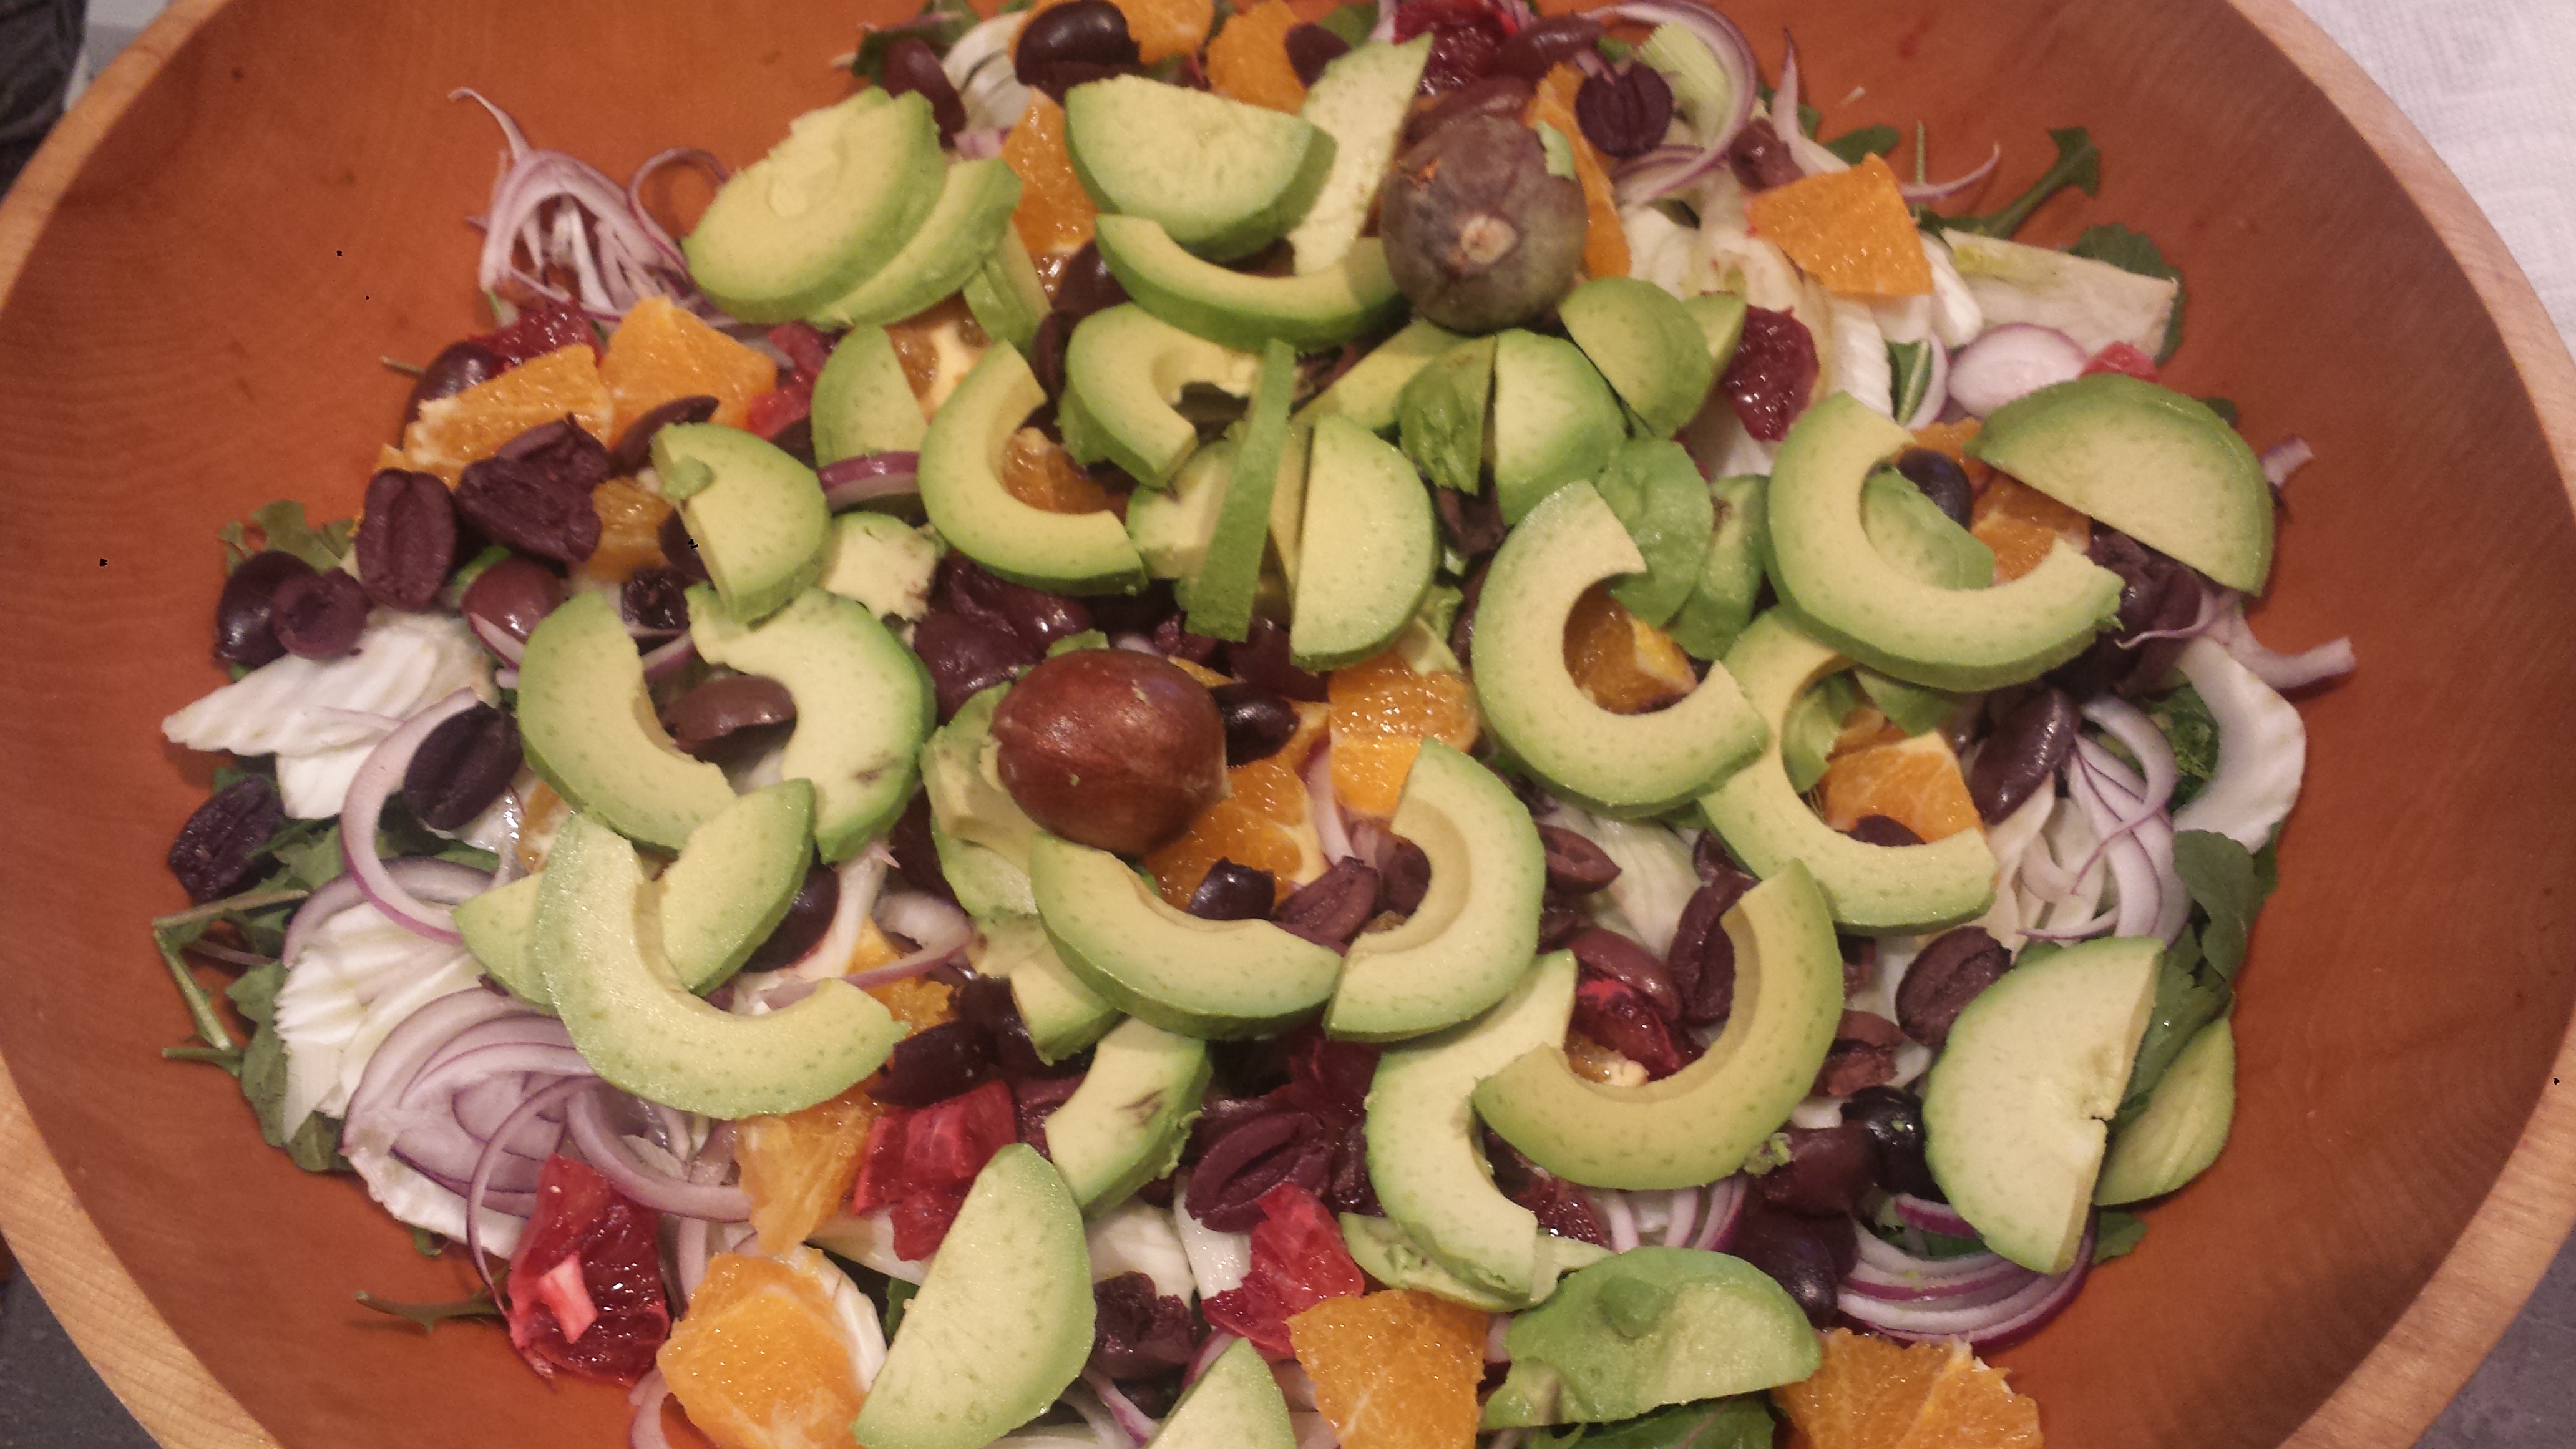
Arugula + fennel bulbs + blood orange + red onion+fresh cilantro from my CSA box + oranges from my tree + an avocado and olives from the market = a gorgeous salad for dinner. Along with the Fennel Citrus Salad, I served Maple Bourbon Glazed Salmon, a deliciously easy main course that can serve many people, along with one of my favorite GMD dishes, Black and Wild Rice with Roasted Squash and Pomegranate followed by Bittersweet Chocolate Mousse for dessert. You can click on the links to go directly to those recipes. My guests asked what the trick is to having a successful dinner party without being really stressed out. One friend claims she runs around like a crazy person when she has just a couple of people over. I think she is not alone which is probably why people don’t have very many dinner parties. I think the key is to keep it simple. I like to have only one item that needs my immediate attention during a dinner party. The Fennel Citrus salad and dressing can be made ahead and tossed right before serving. The Black and Wild Rice dish is best served at room temperature so perfect for making ahead.

The Bittersweet Chocolate Mousse is a very easy, no-cook recipe I’ve been making since the 80’s and prepared the day before and put right into small jelly jars so they’re ready to serve. Only the salmon required my attention. It was pre-cut and resting in the glaze needing less than 10 minutes in the oven for a perfect golden finish. Set up a lovely buffet and you’re all set. I used the lovely china from Nana Rosella, my husband’s grandmother, because I like an excuse to use them and I don’t have ten of my regular plates that aren’t chipped, however you could use paper plates and the salad would still be beautiful and delicious, just don’t use plastic forks unless you’re at a picnic. I don’t know anyone that can eat with those dreaded implements. Dinner parties are fun but only if you’re relaxed and enjoying your guests. It’s not really about the food. It’s about the friends…
FENNEL CITRUS SALAD
2 cups fresh arugula
2-3 small fennel bulbs
2 large naval oranges (grapefruit or blood orange)
1/2 red onion
1/2 cup kalamata olives, pitted and halved
1 firm avocado
1 Tbsn fresh herbs (cilantro, mint or parsley)
Dressing: 1/4 cup olive oil, 2 Tbsn lemon juice,1 Tbsn apple cider or red wine vinegar, salt and pepper to taste.

- Wash and dry arugula and place in the bottom of a salad bowl
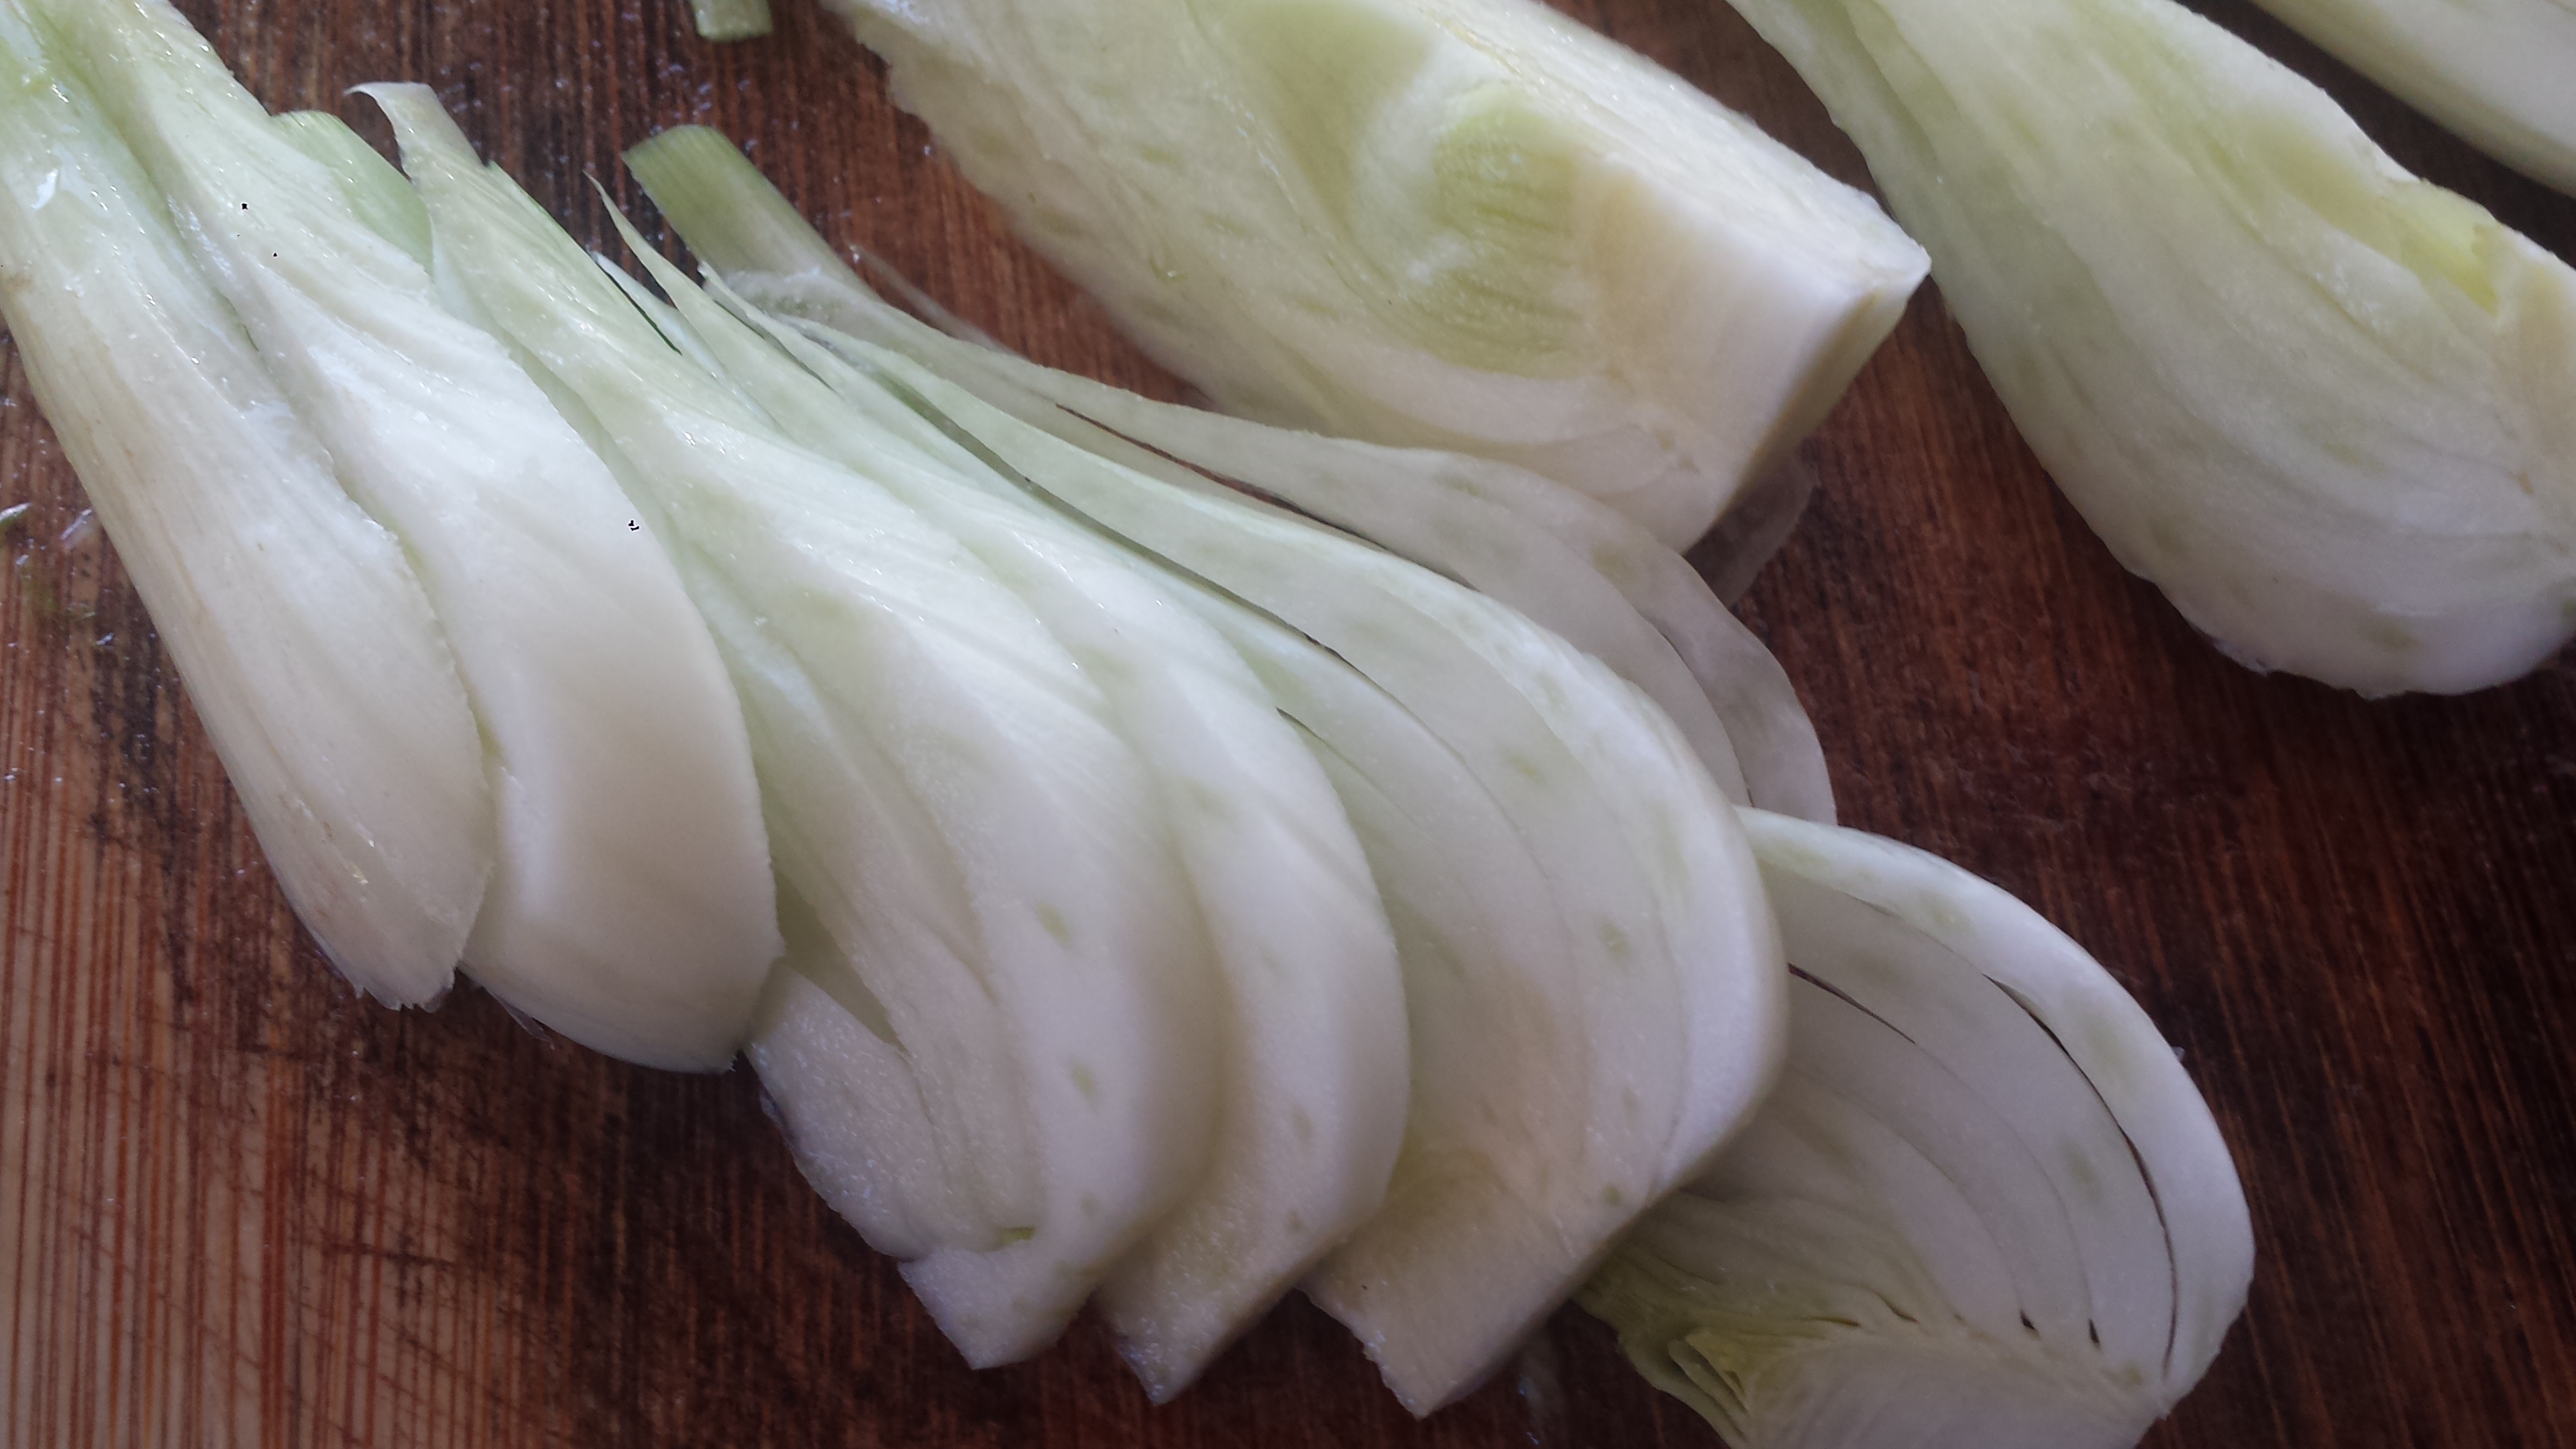
- Trim fennel bulbs taking care not to cut too much off the bottom end. Cut each bulb in half lengthwise, then into quarters lengthwise. Slice quarters as thinly as possible. Place in the bowl with the arugula
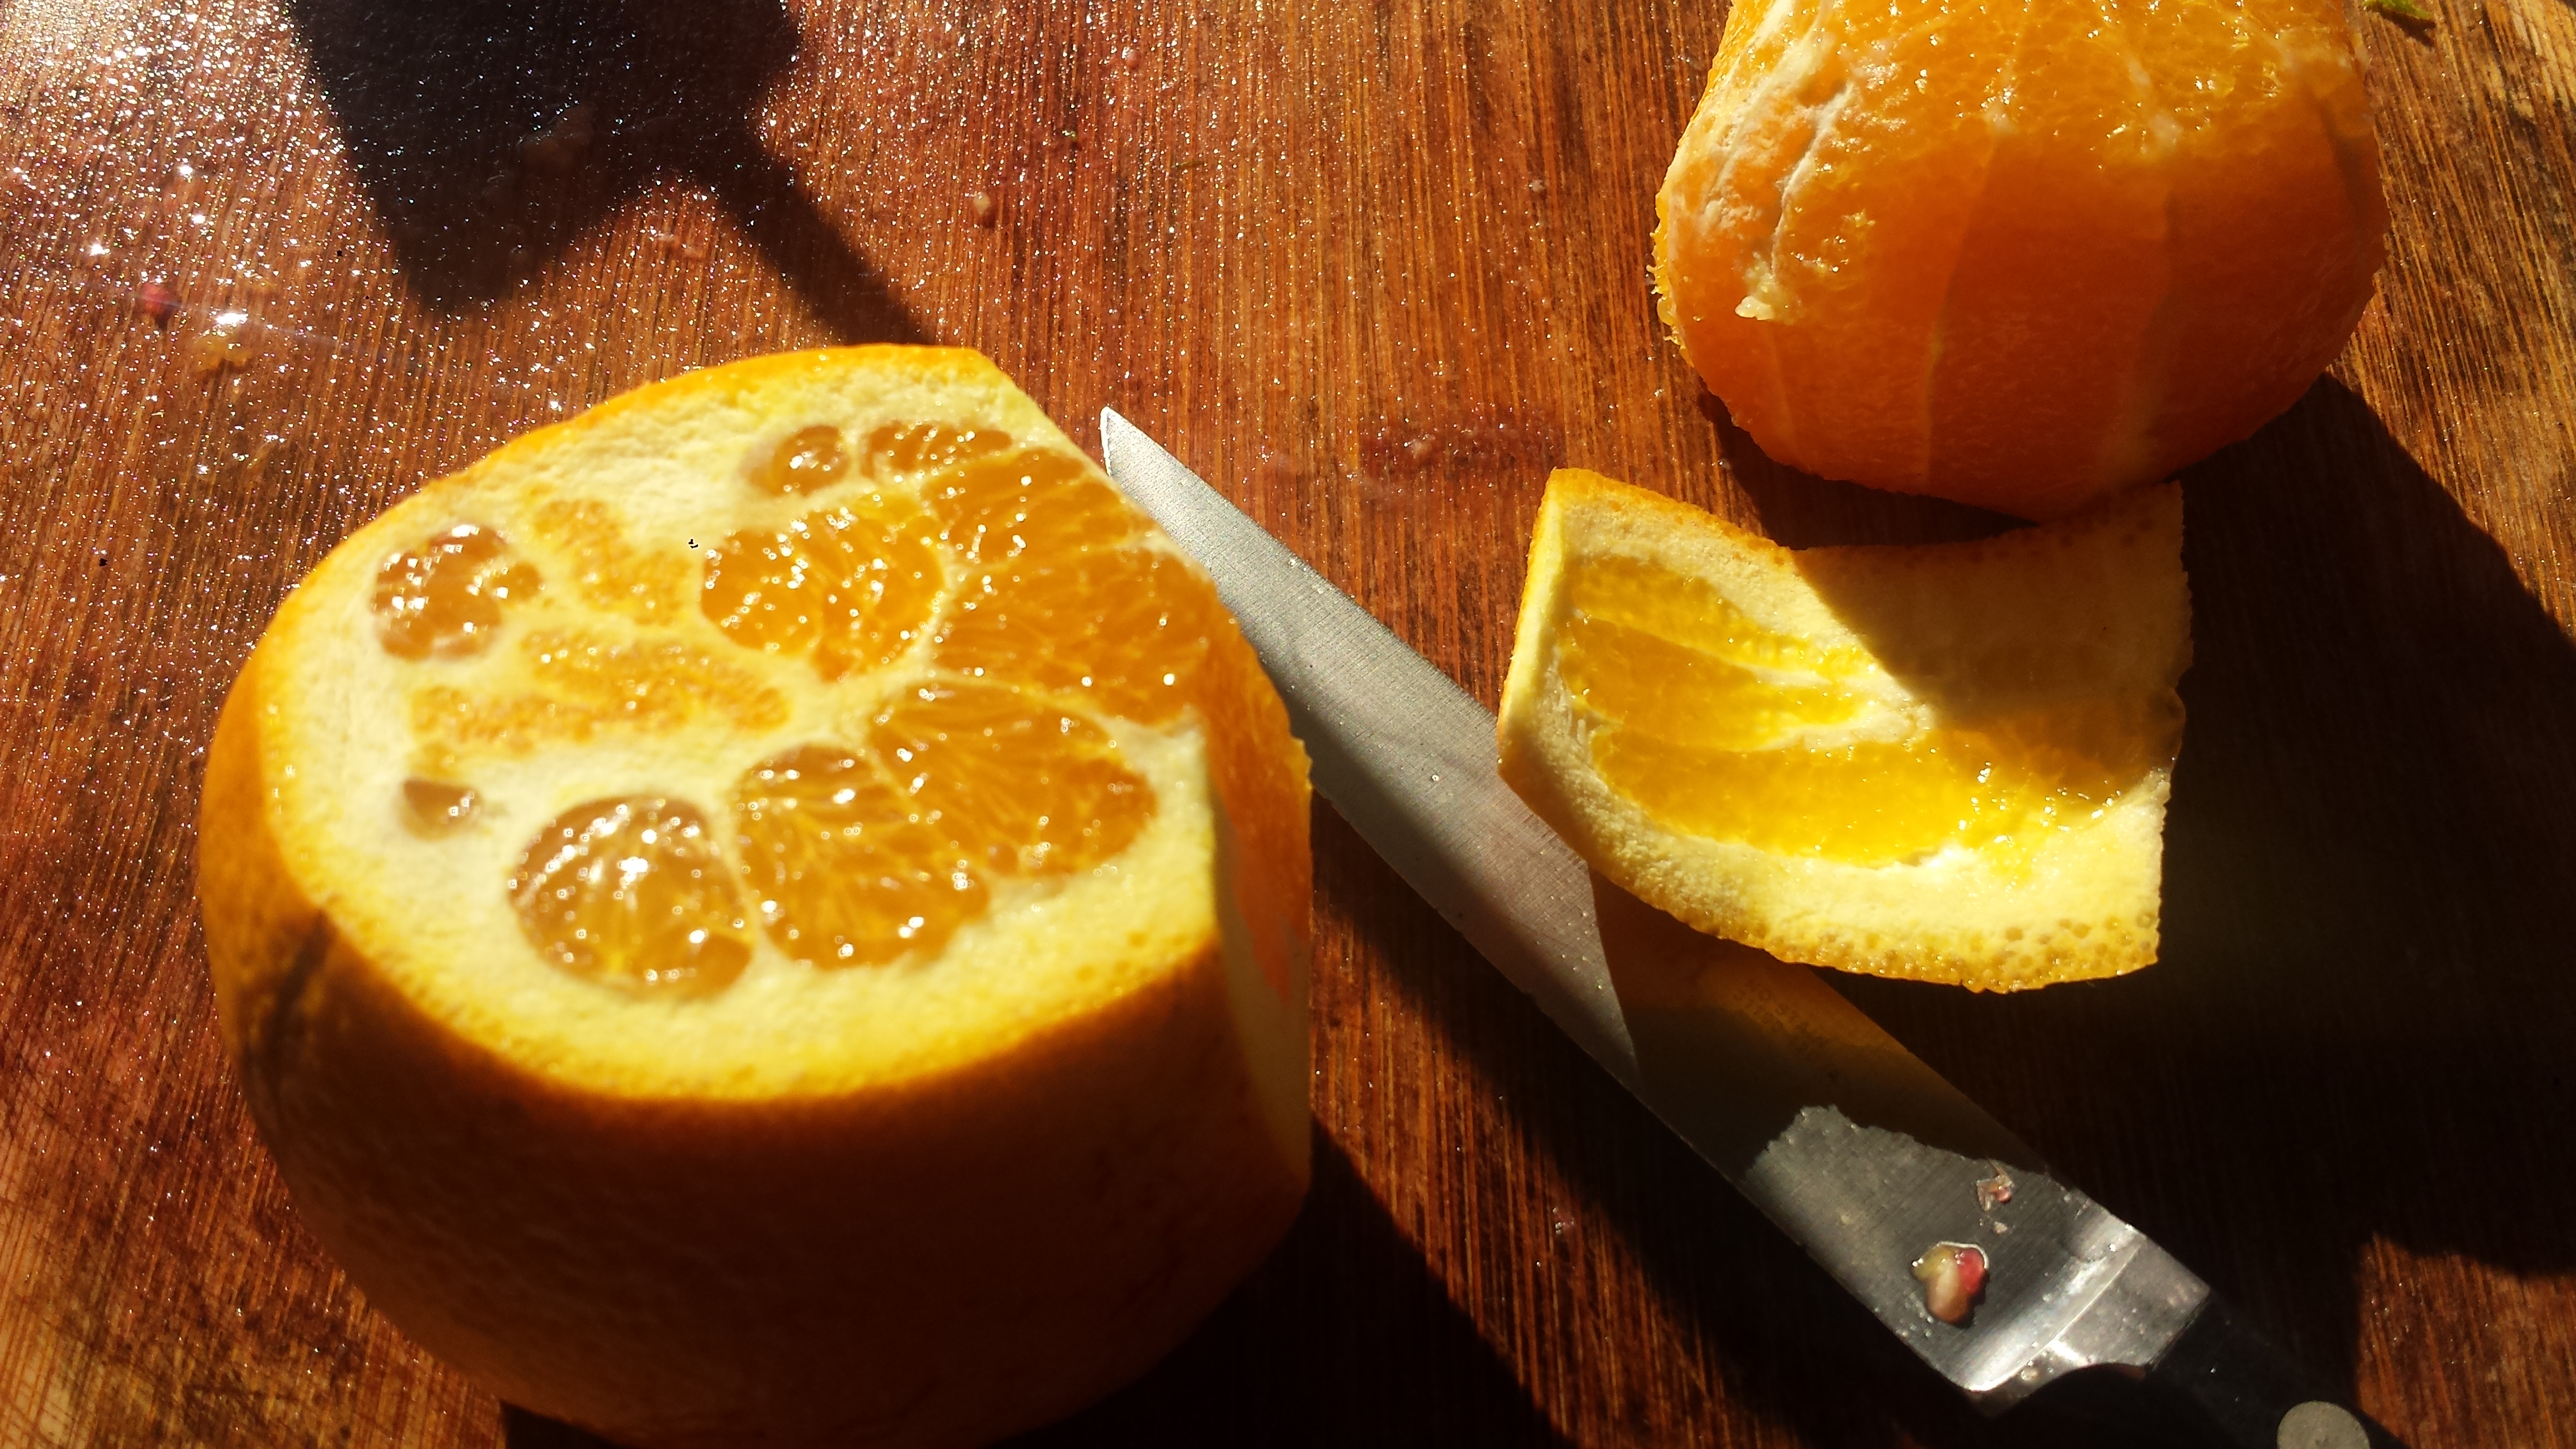
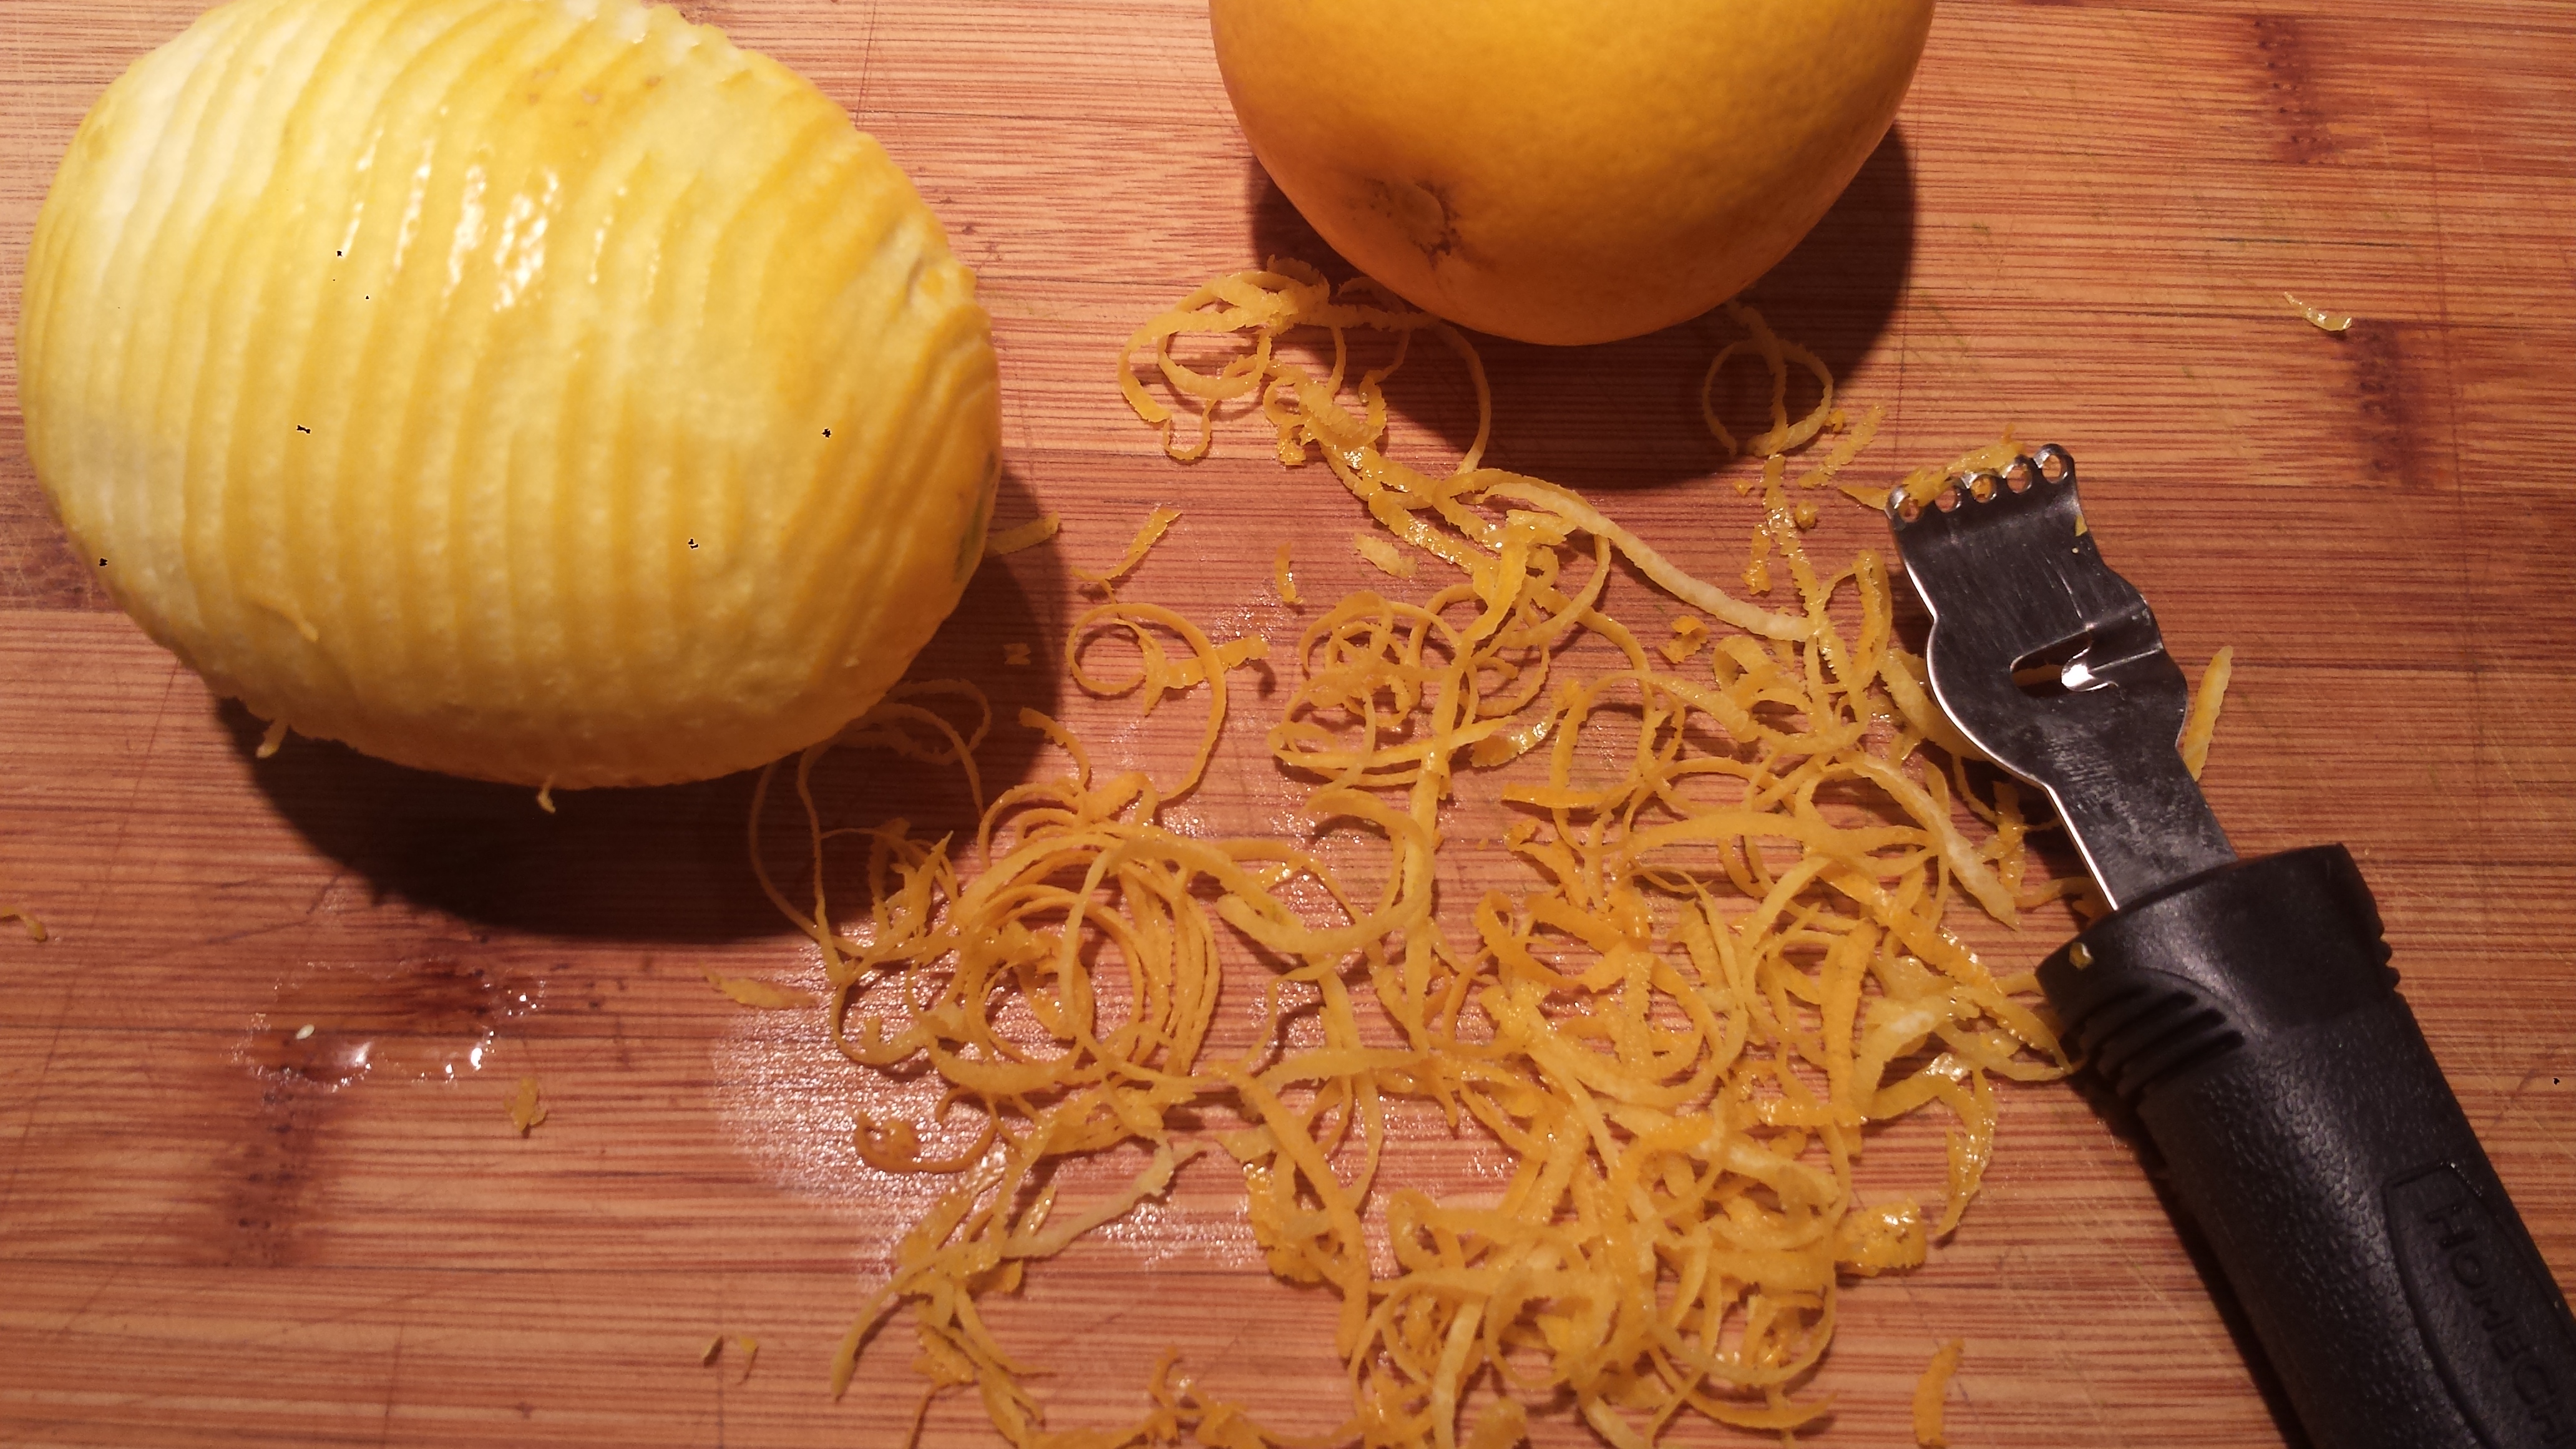
- Slice both ends off the oranges and place one cut end on a cutting board. Using a downward motion, slice the peel and pitch away from the fruit. Go back and get any remaining pith then slice horizontally into wheels. Use wheels whole or quartered. OR if you like perfect slices, check out this handy short video: How To Peel An Orange in 5 Seconds
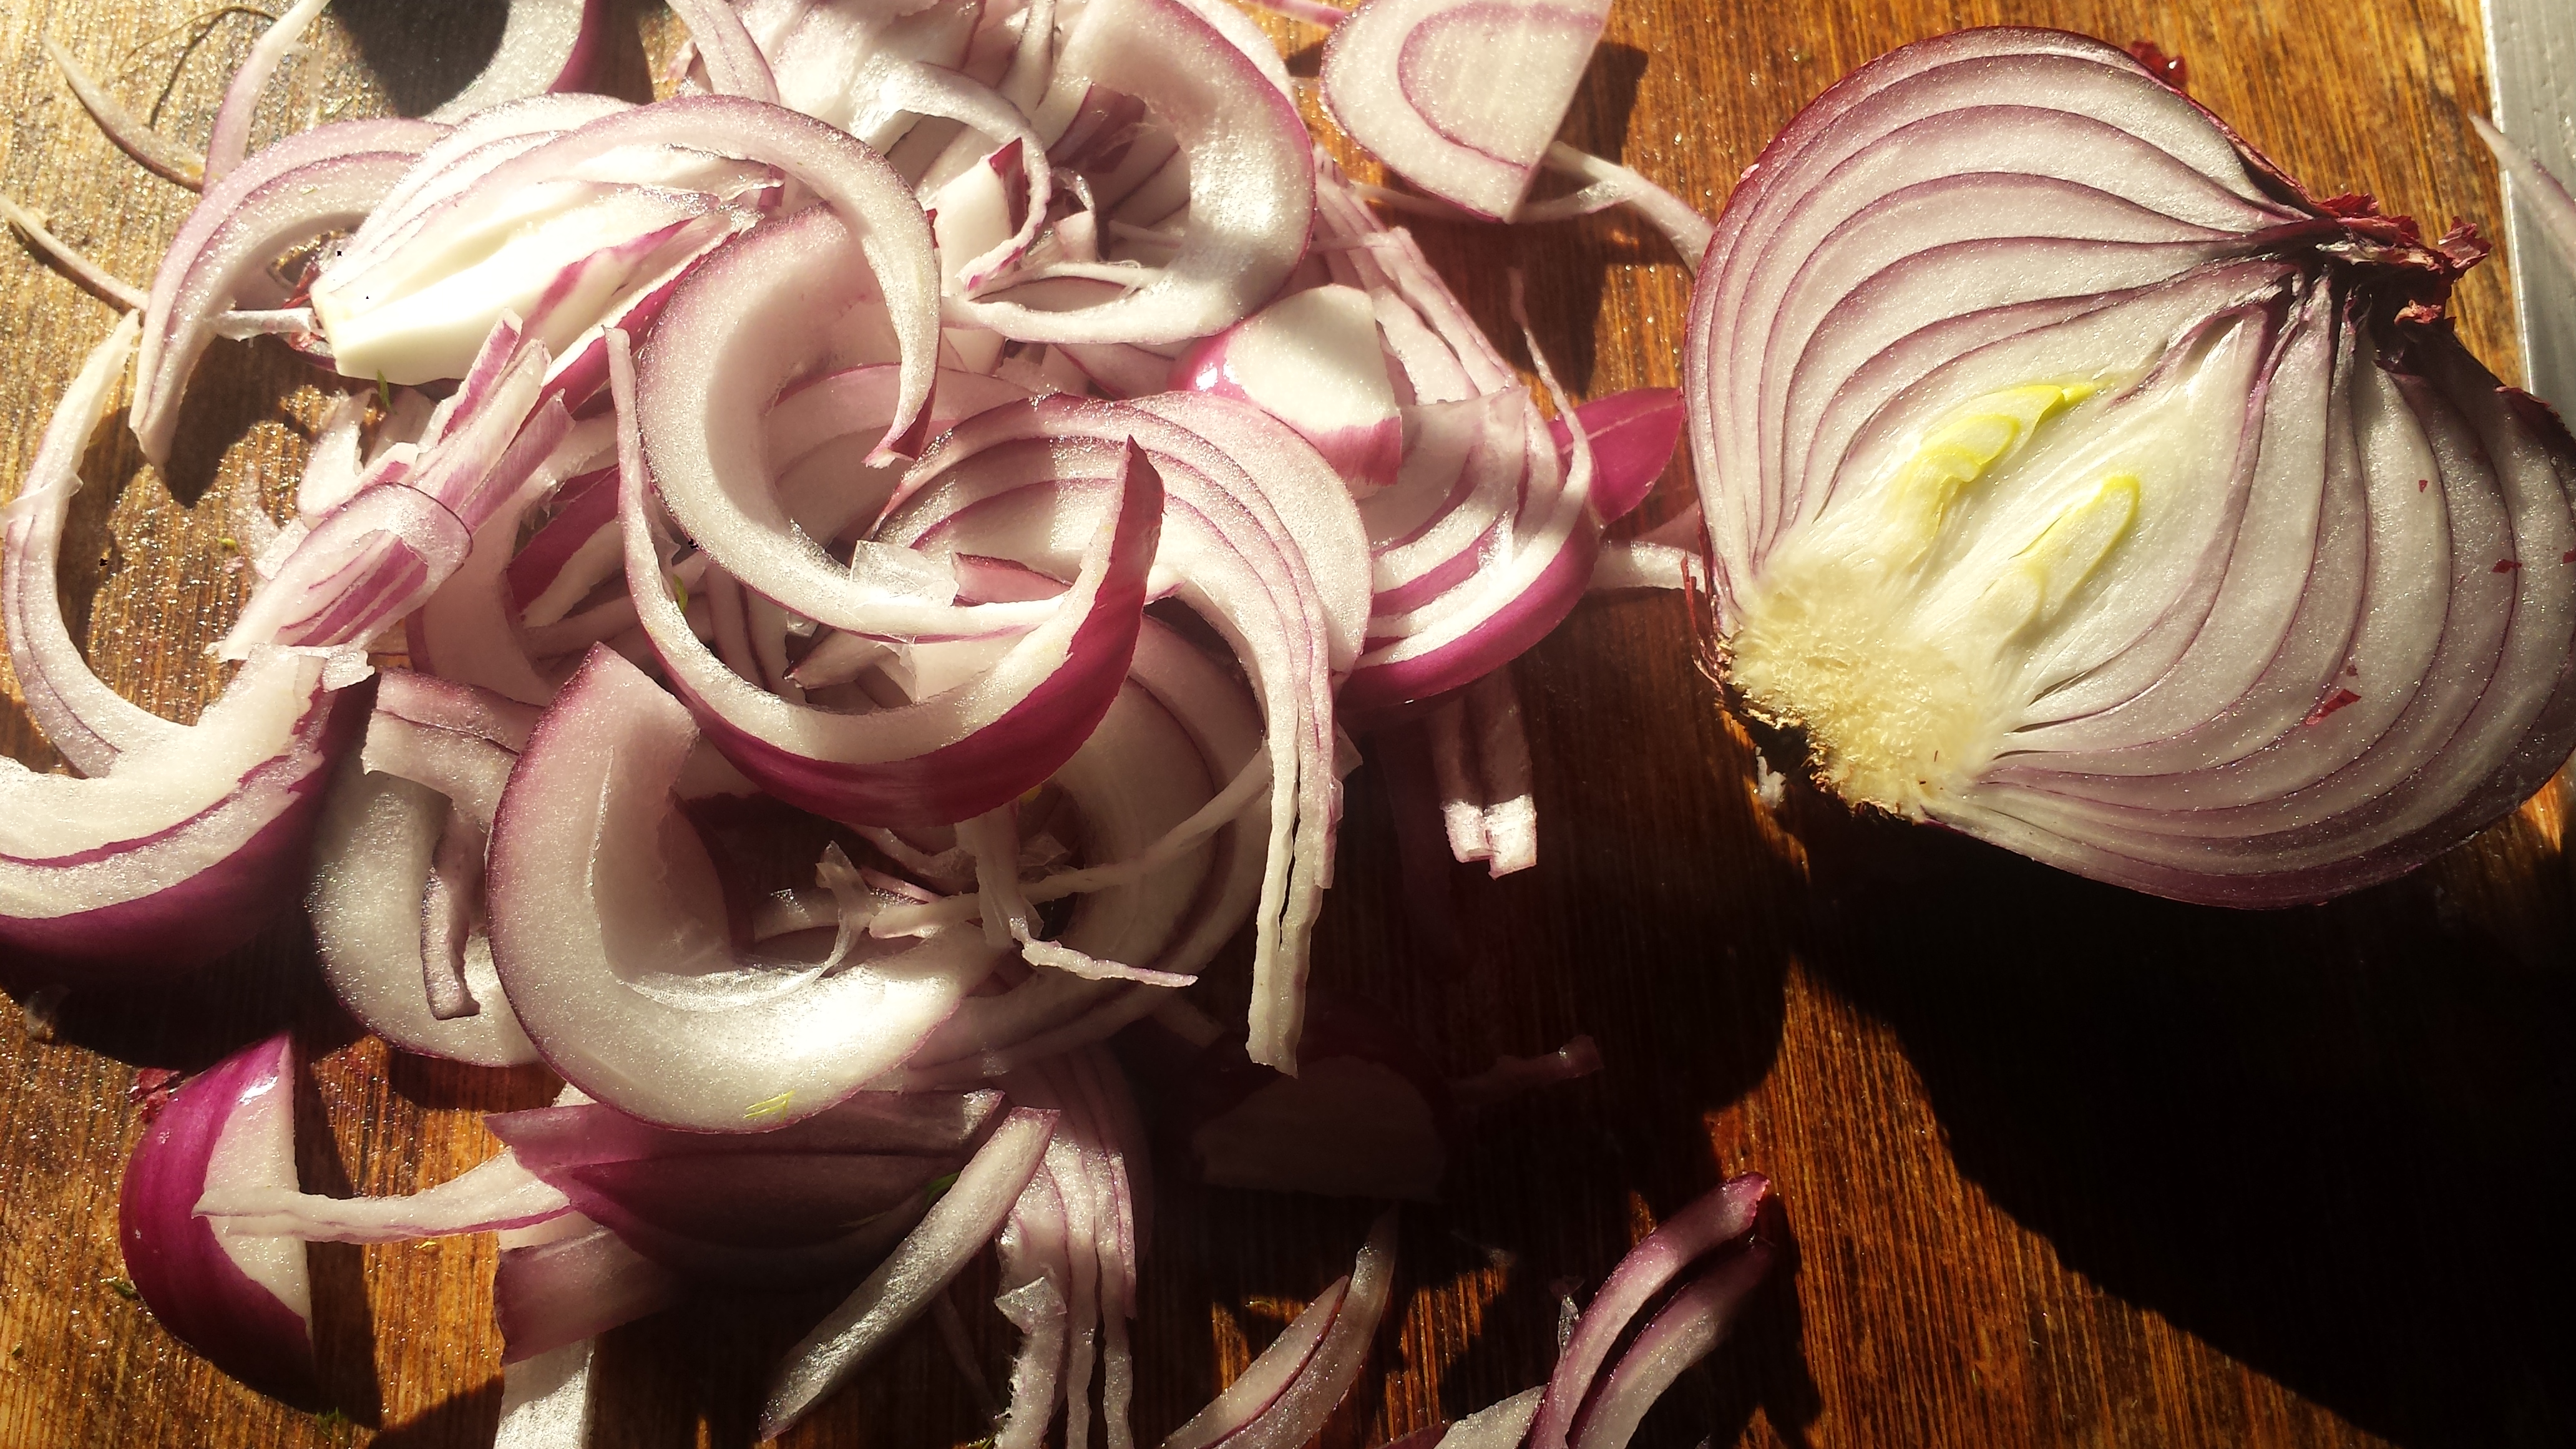
- Slice the onion in half lengthwise and then into quarters. Slice each quarter as finely as possible.
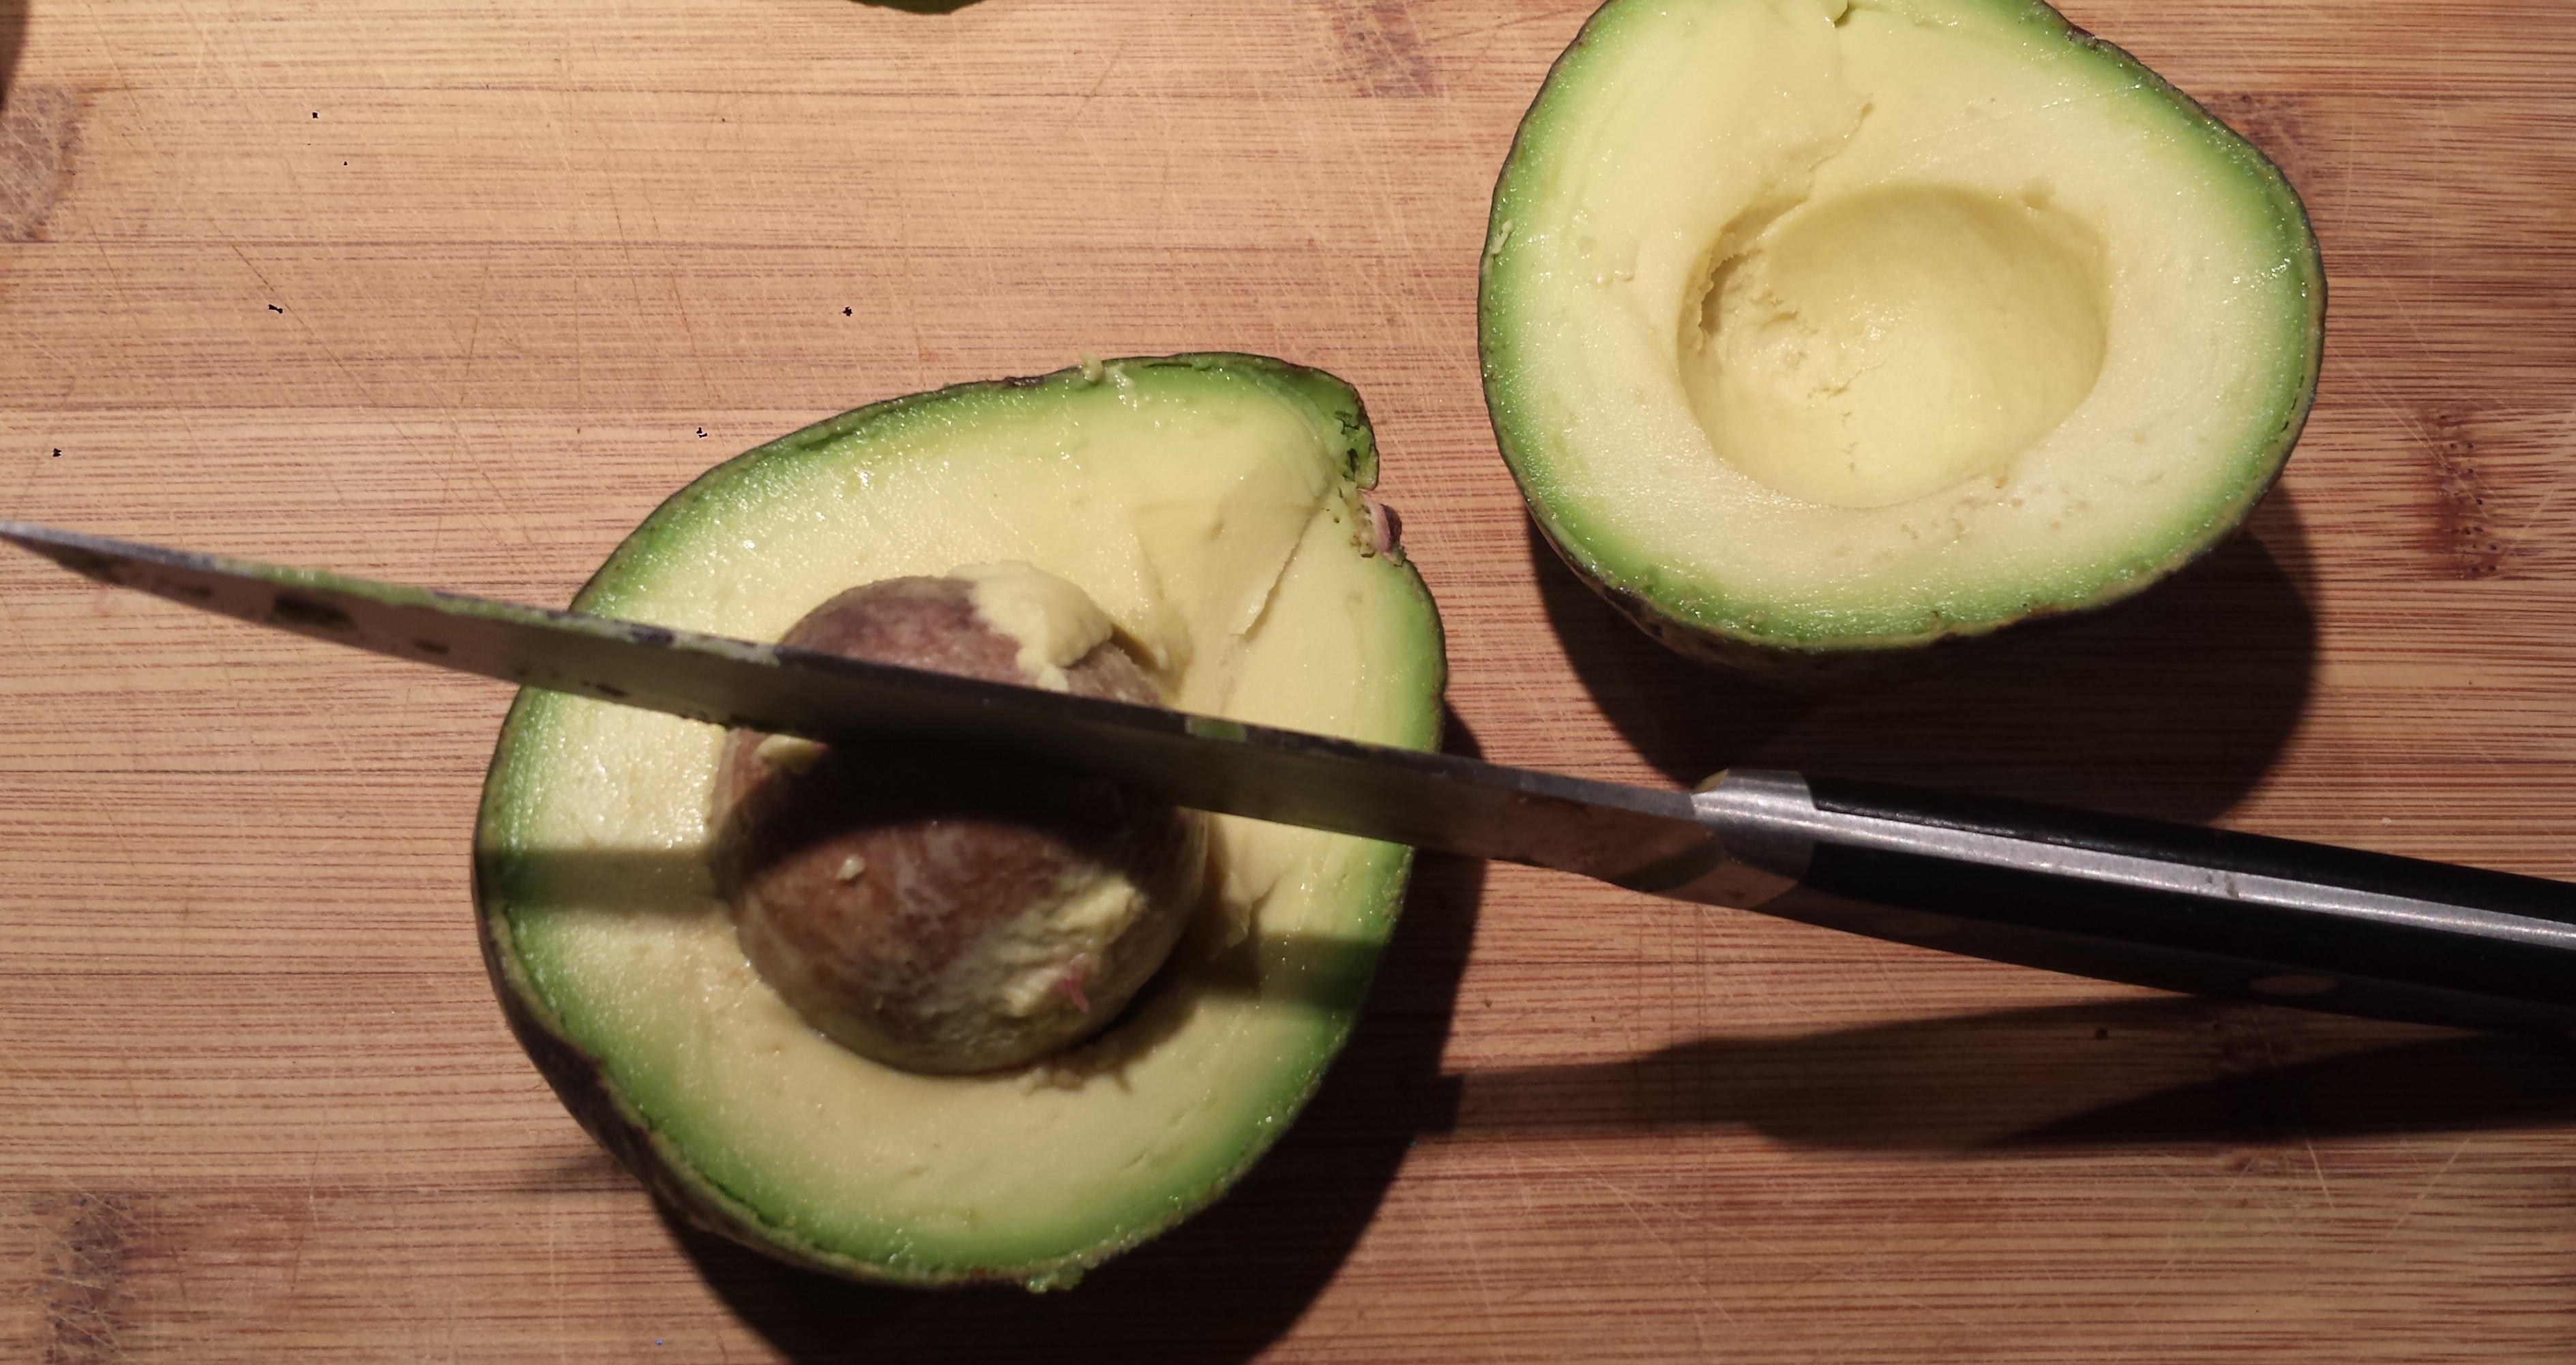
- Slice avocado in half and then slice horizontally. Add all vegetables into bowl with arugula. If you aren’t serving right away include the avocado pits (to keep the avocado from turning brown) but take them out before tossing.

- Whisk together the dressing and set aside until you’re ready to serve. Drizzle the dressing over the salad and toss. Sprinkle with fresh herbs.
2 cups fresh arugula Dressing: 1/4 cup olive oil, 2 Tbsn lemon juice,1 Tbsn apple cider or red wine vinegar, salt and pepper to taste.Fennel Citrus Salad with Avocado and Olives
2-3 small fennel bulbs
2 large naval oranges (grapefruit or blood orange)
1/2 red onion
1/2 cup kalamata olives, pitted and halved
1 firm avocado
1 Tbsn fresh herbs (cilantro, mint or parsley)