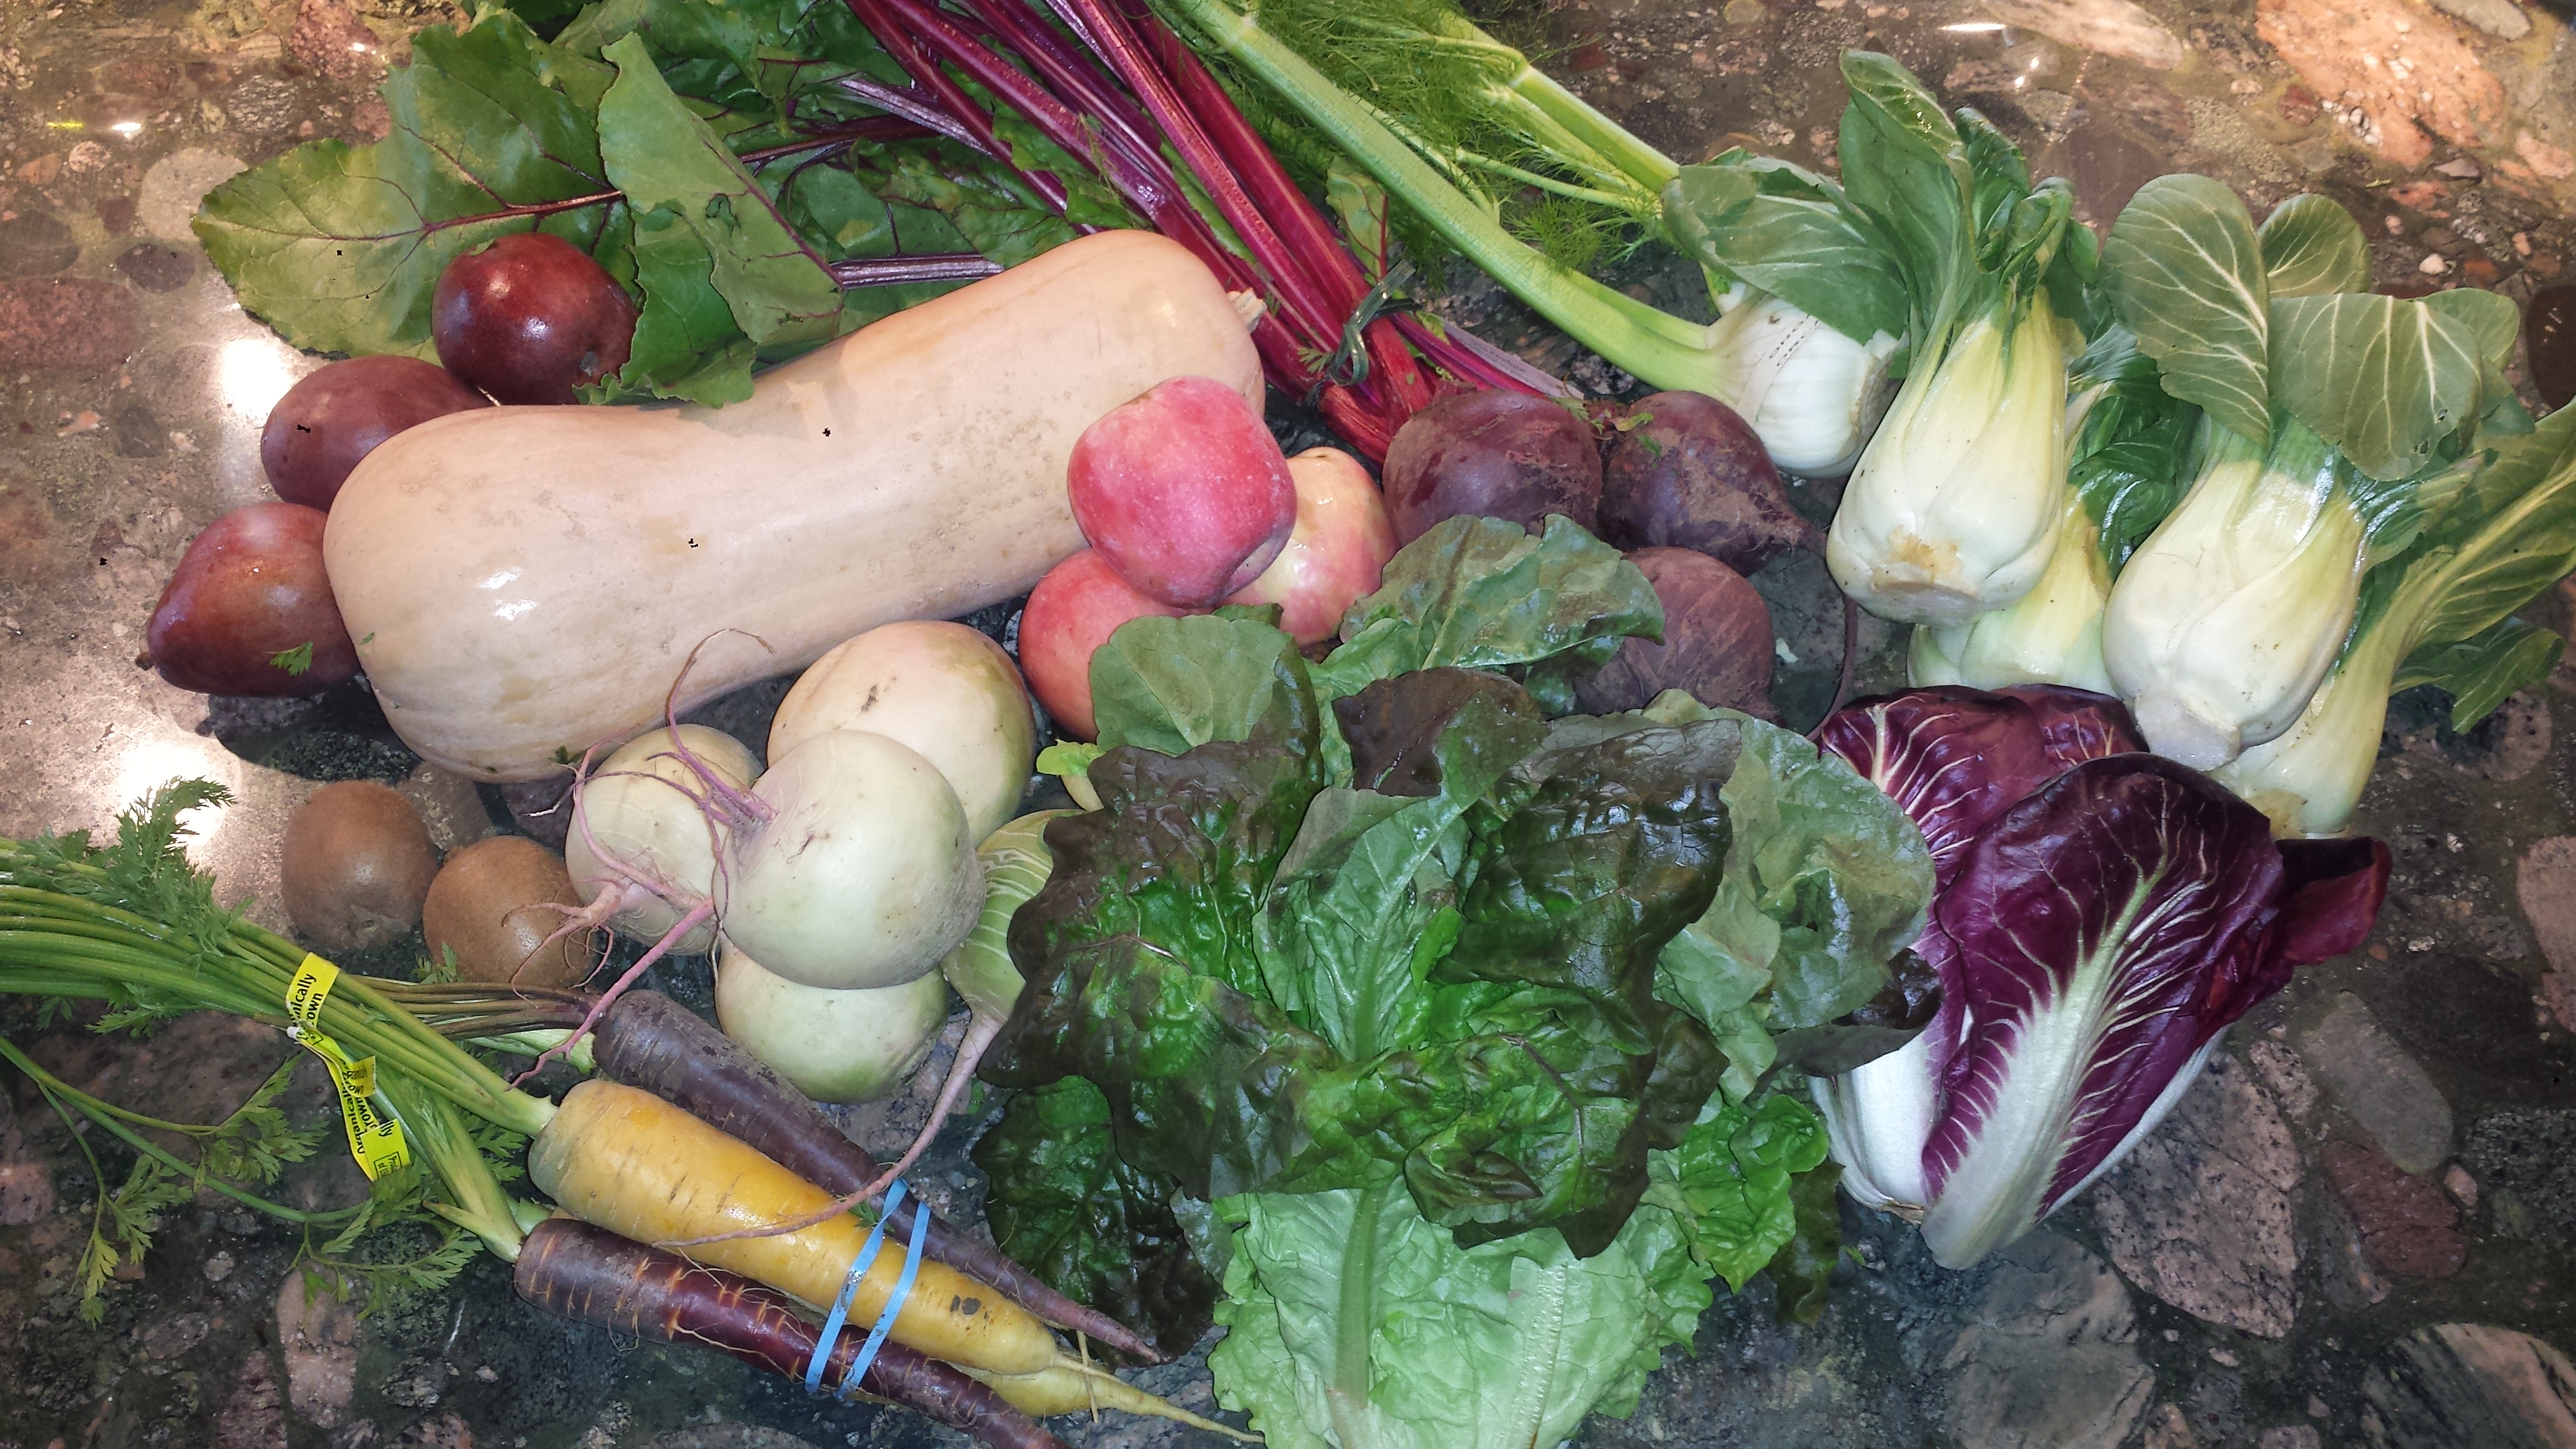
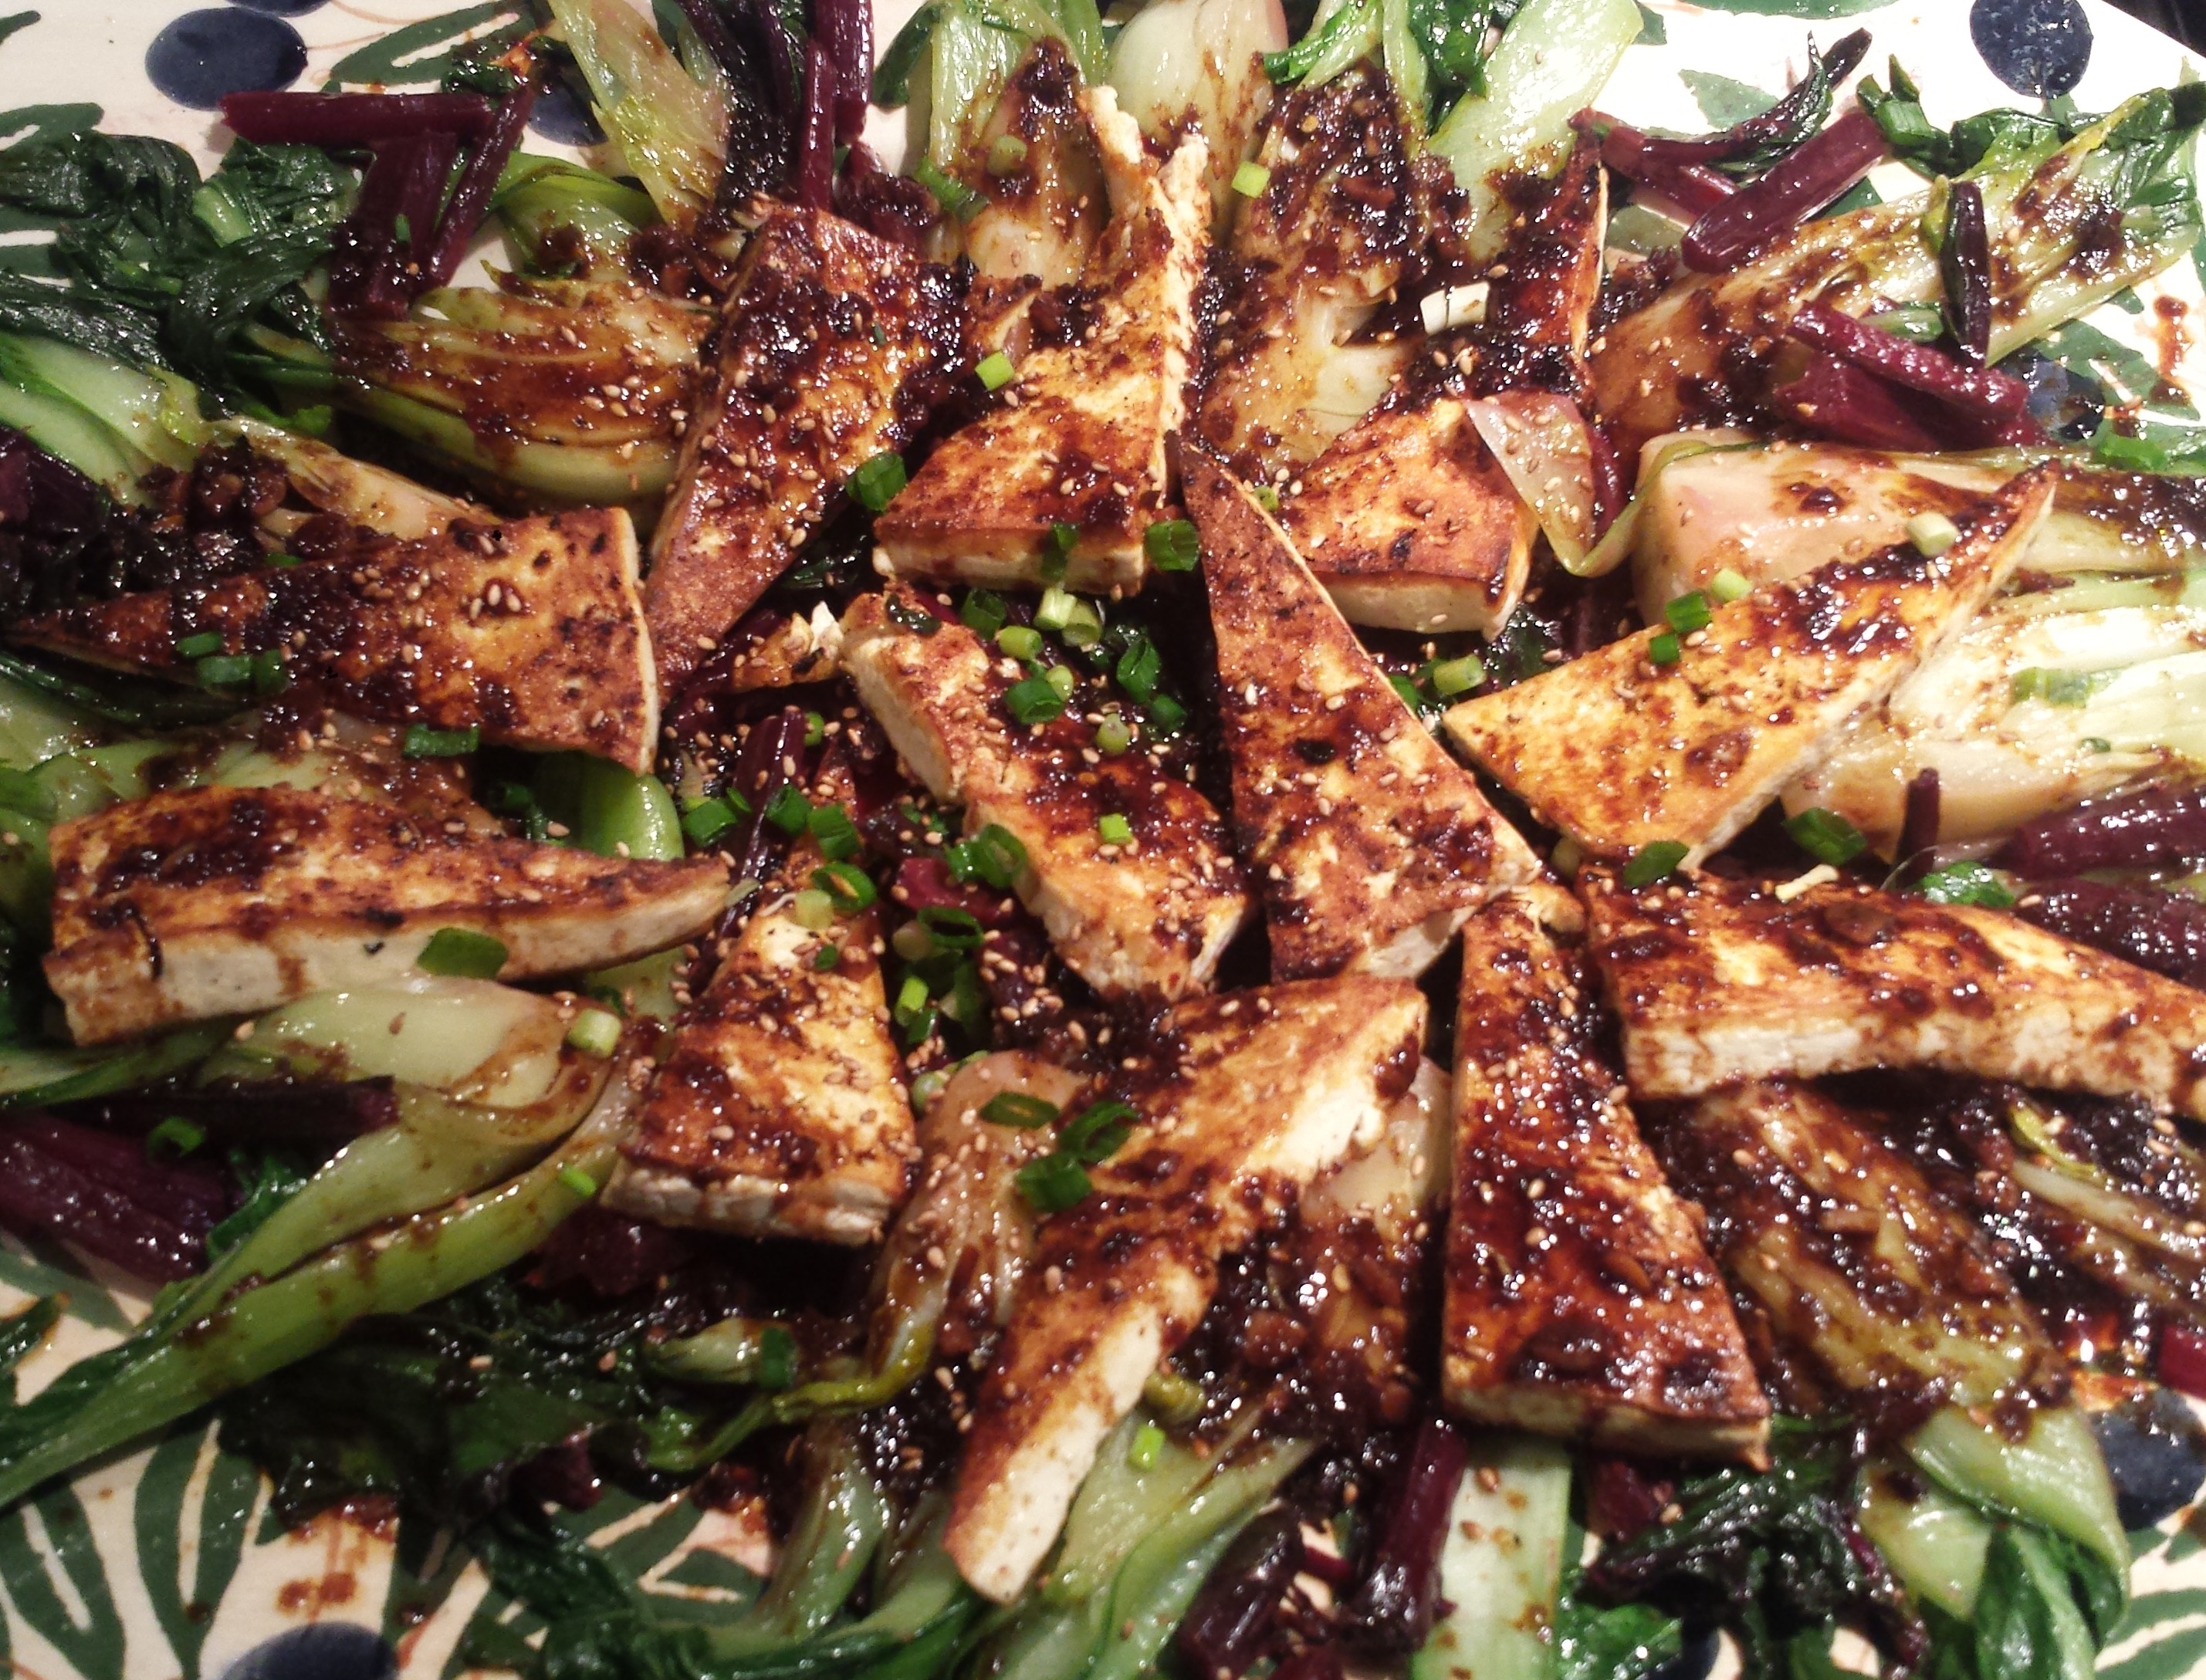
Calling all tofu lovers! This one is for you… Even if you’re not a big fan of tofu, this might change your mind. The tofu is crispy on the outside, creamy on the inside, nestling in a bed of gingery greens and topped with a spicy Asian chili sauce. Yum! I’m still making my way through my CSA box which is proving to be a fun ‘job’. I wanted to use the beautiful bok choy as well as the gorgeous beet greens that I clipped off of the beets I roasted for yesterday’s salad. When you buy beets with the greens, it’s kind of like getting two for one (or eating your cake and having it too!). Beet greens are delicious and full of precious vitamins so don’t throw them away! Use the beets for one dish and the beet greens in another. If you are interested in roasting beets check out this recipe for Roasted Beet Salad with Ripe Peaches and Goat Cheese which gives easy directions for roasting beets. The salad can be seasonally adjusted or to suite your tastes.

I remembered making a really delicious Crispy Glazed Tofu and Bok Choy that I was tempted to make again because everyone liked it so much, but in the theme of New Year/New Ideas decided to give it a bit of a makeover using what I have on hand. My favorite way to cook = a little bit from memory + fresh veggies available + pantry magic + weather outside. I actually think looking out my window determines a lot about what I decide to make for dinner. These days I’m craving warm, spicy and comfort foods because it’s so chilly outside. Soon enough, I will be yearning for cooling salads and refreshing drinks on the patio.
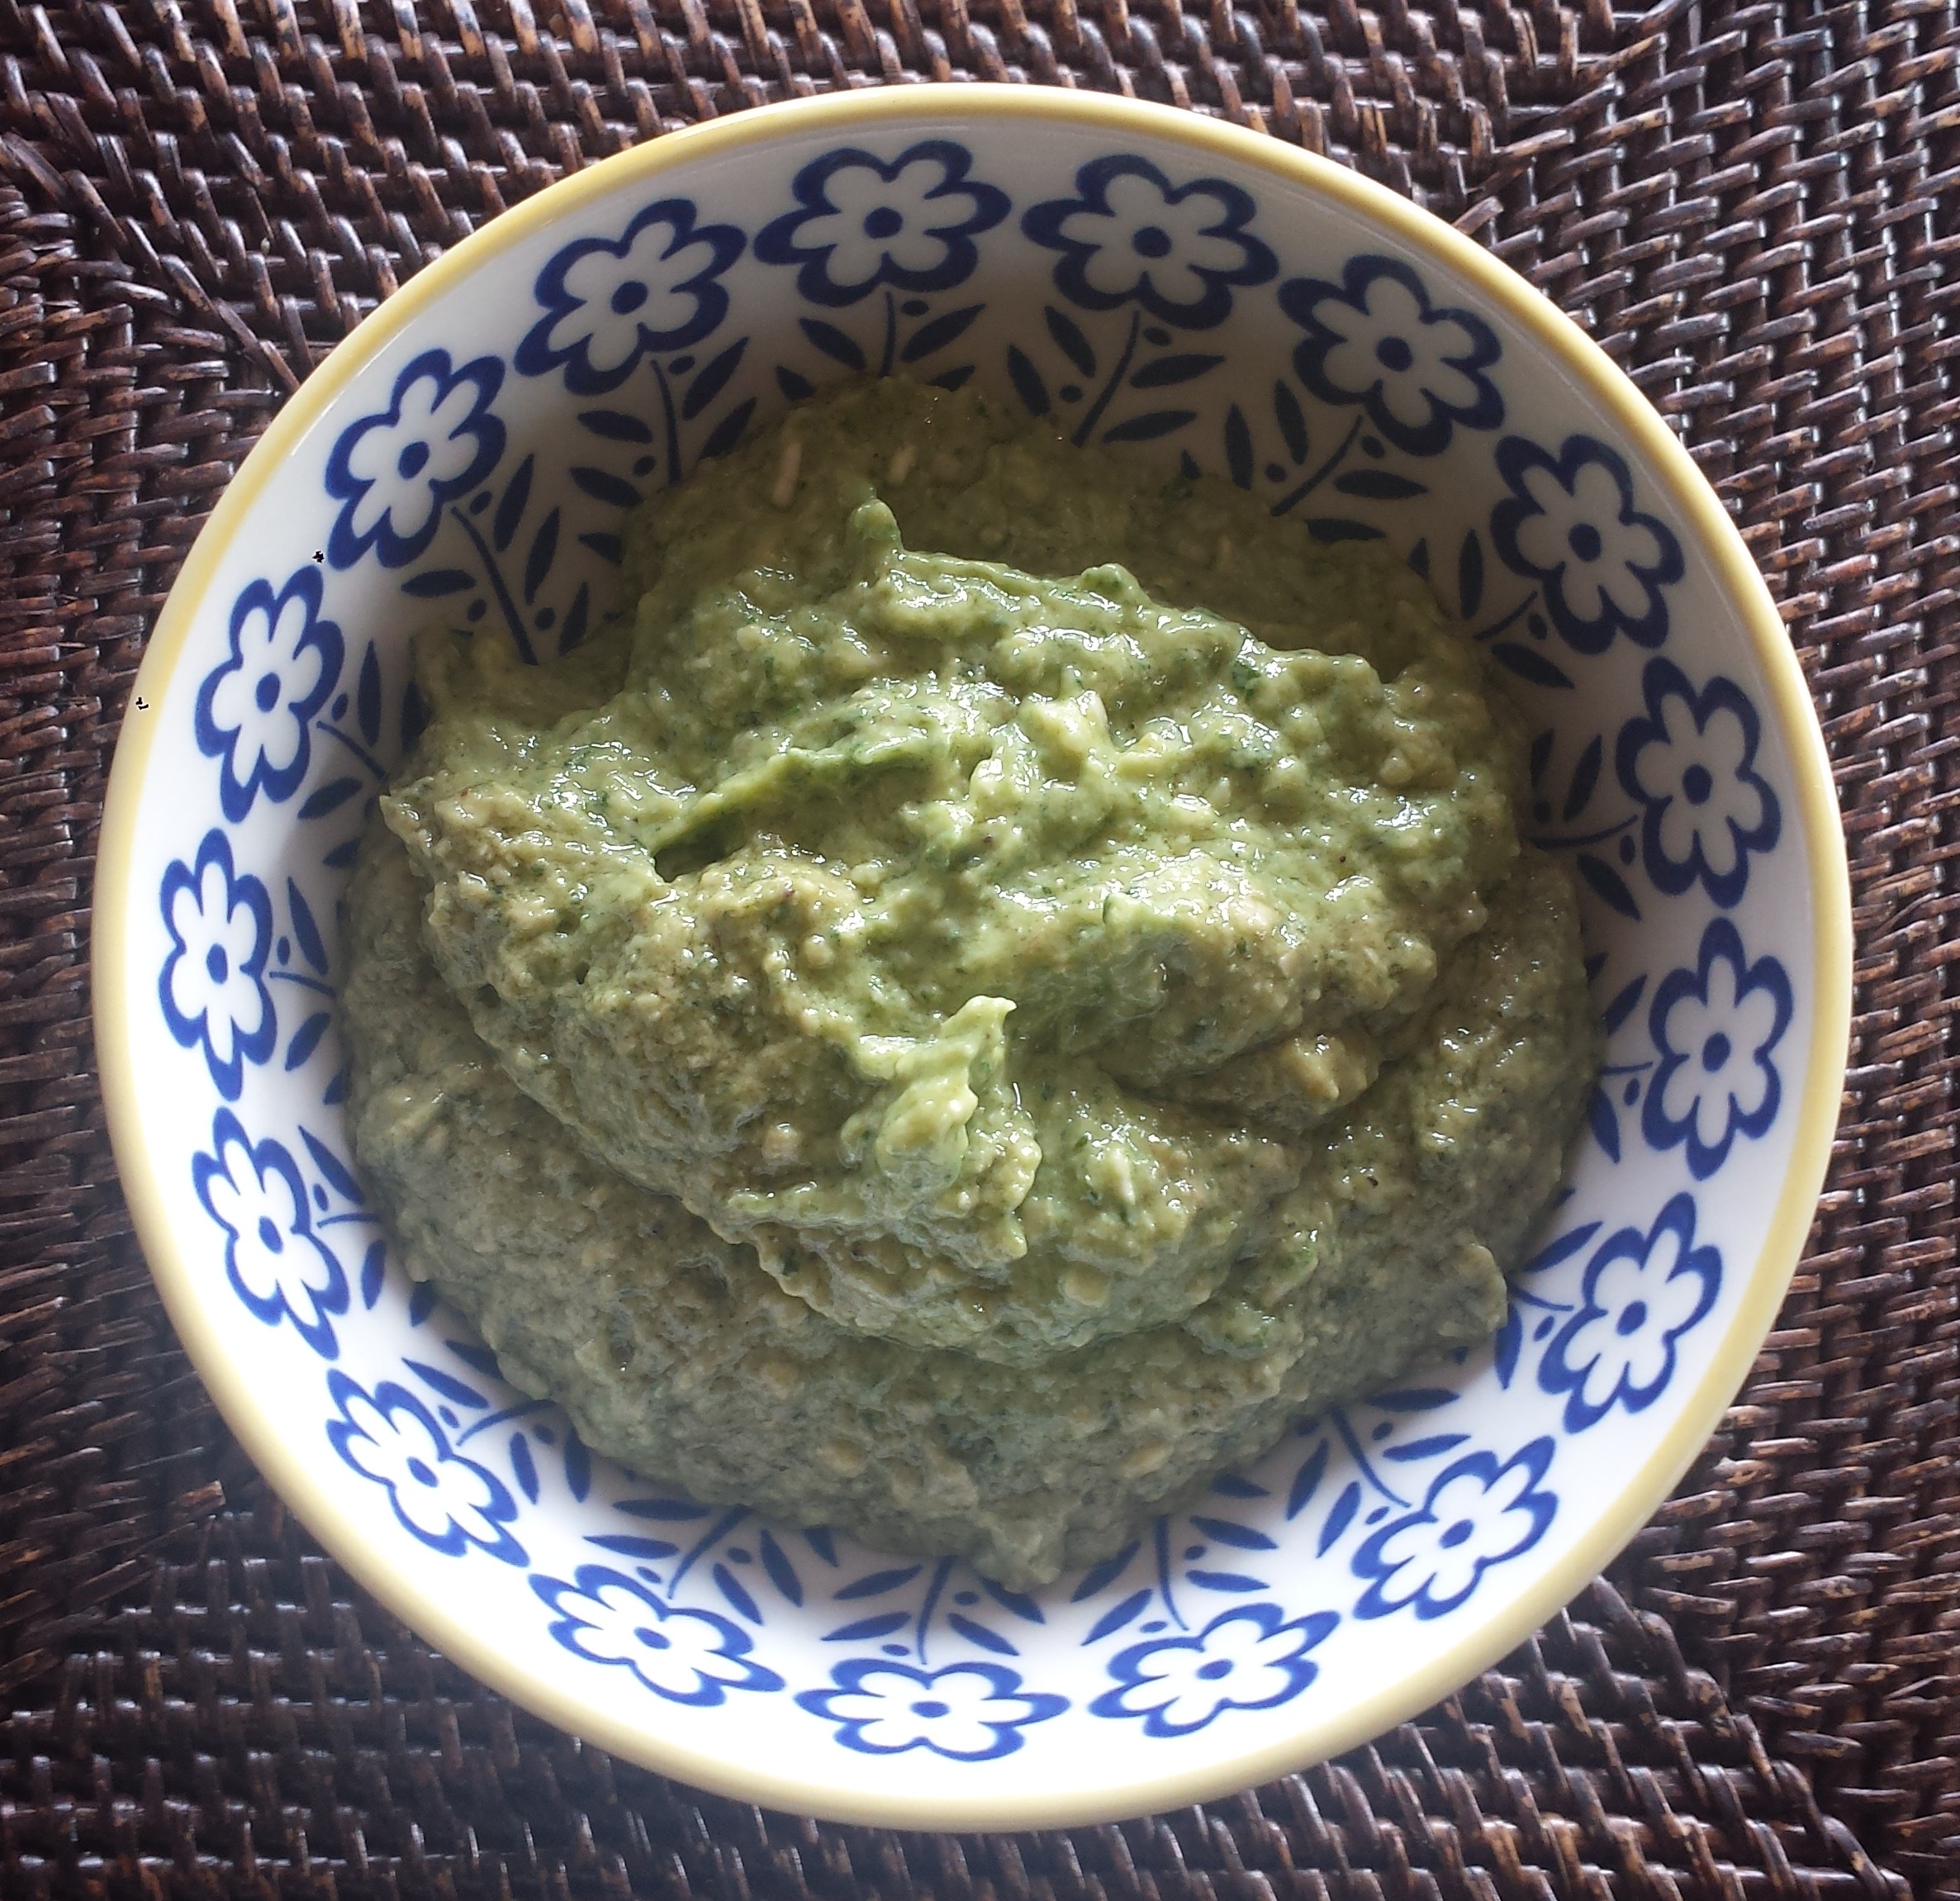
TIPS: If you don’t have beet greens handy, or you don’t like beets, substitute any somewhat bitter green like mustard, kale, chard or collards. The length of cooking time will be determined by the coarseness of the greens. Broccolini is a great substitute for bok choy, just check for doneness by slicing a bit of stem off one end to taste before removing from the pan. I like to make my own sauces but it’s not really necessary, as there are really good ones available. The one below uses an Asian Chili Paste, garlic and ginger which I was really happy with but you can play around with what is available in your pantry.
SPICY TOFU WITH SAUTEED GREENS
1 pound firm tofu
3-4 baby bok choy or small bunch baby broccolini
1 bunch bitter greens (like beet greens, chard, kale, collard or mustard)
2-3 Tbsn high heat oil (like avocado or coconut)
3 garlic cloves, minced
2 tsp minced fresh ginger
1/4 cup water
3 scallions, finely chopped
1 Tbsn sesame seeds
SPICY CHILI SAUCE
1 Tbsn Asian chili paste
1 Tbsn fresh ginger, minced (or fresh ginger paste)
2 cloves garlic, minced
1/4 cup soy sauce
1/4 tsp red pepper flakes (optional)

- Drain the tofu and slice into 6 rectangles. Then cut each rectangle at a diagonal into 2 triangles. Place in a single layer on a layer of paper towels. Cover with more papertowels and place a heavy pan on top to press out the water. Let stand for at least 10 minutes.
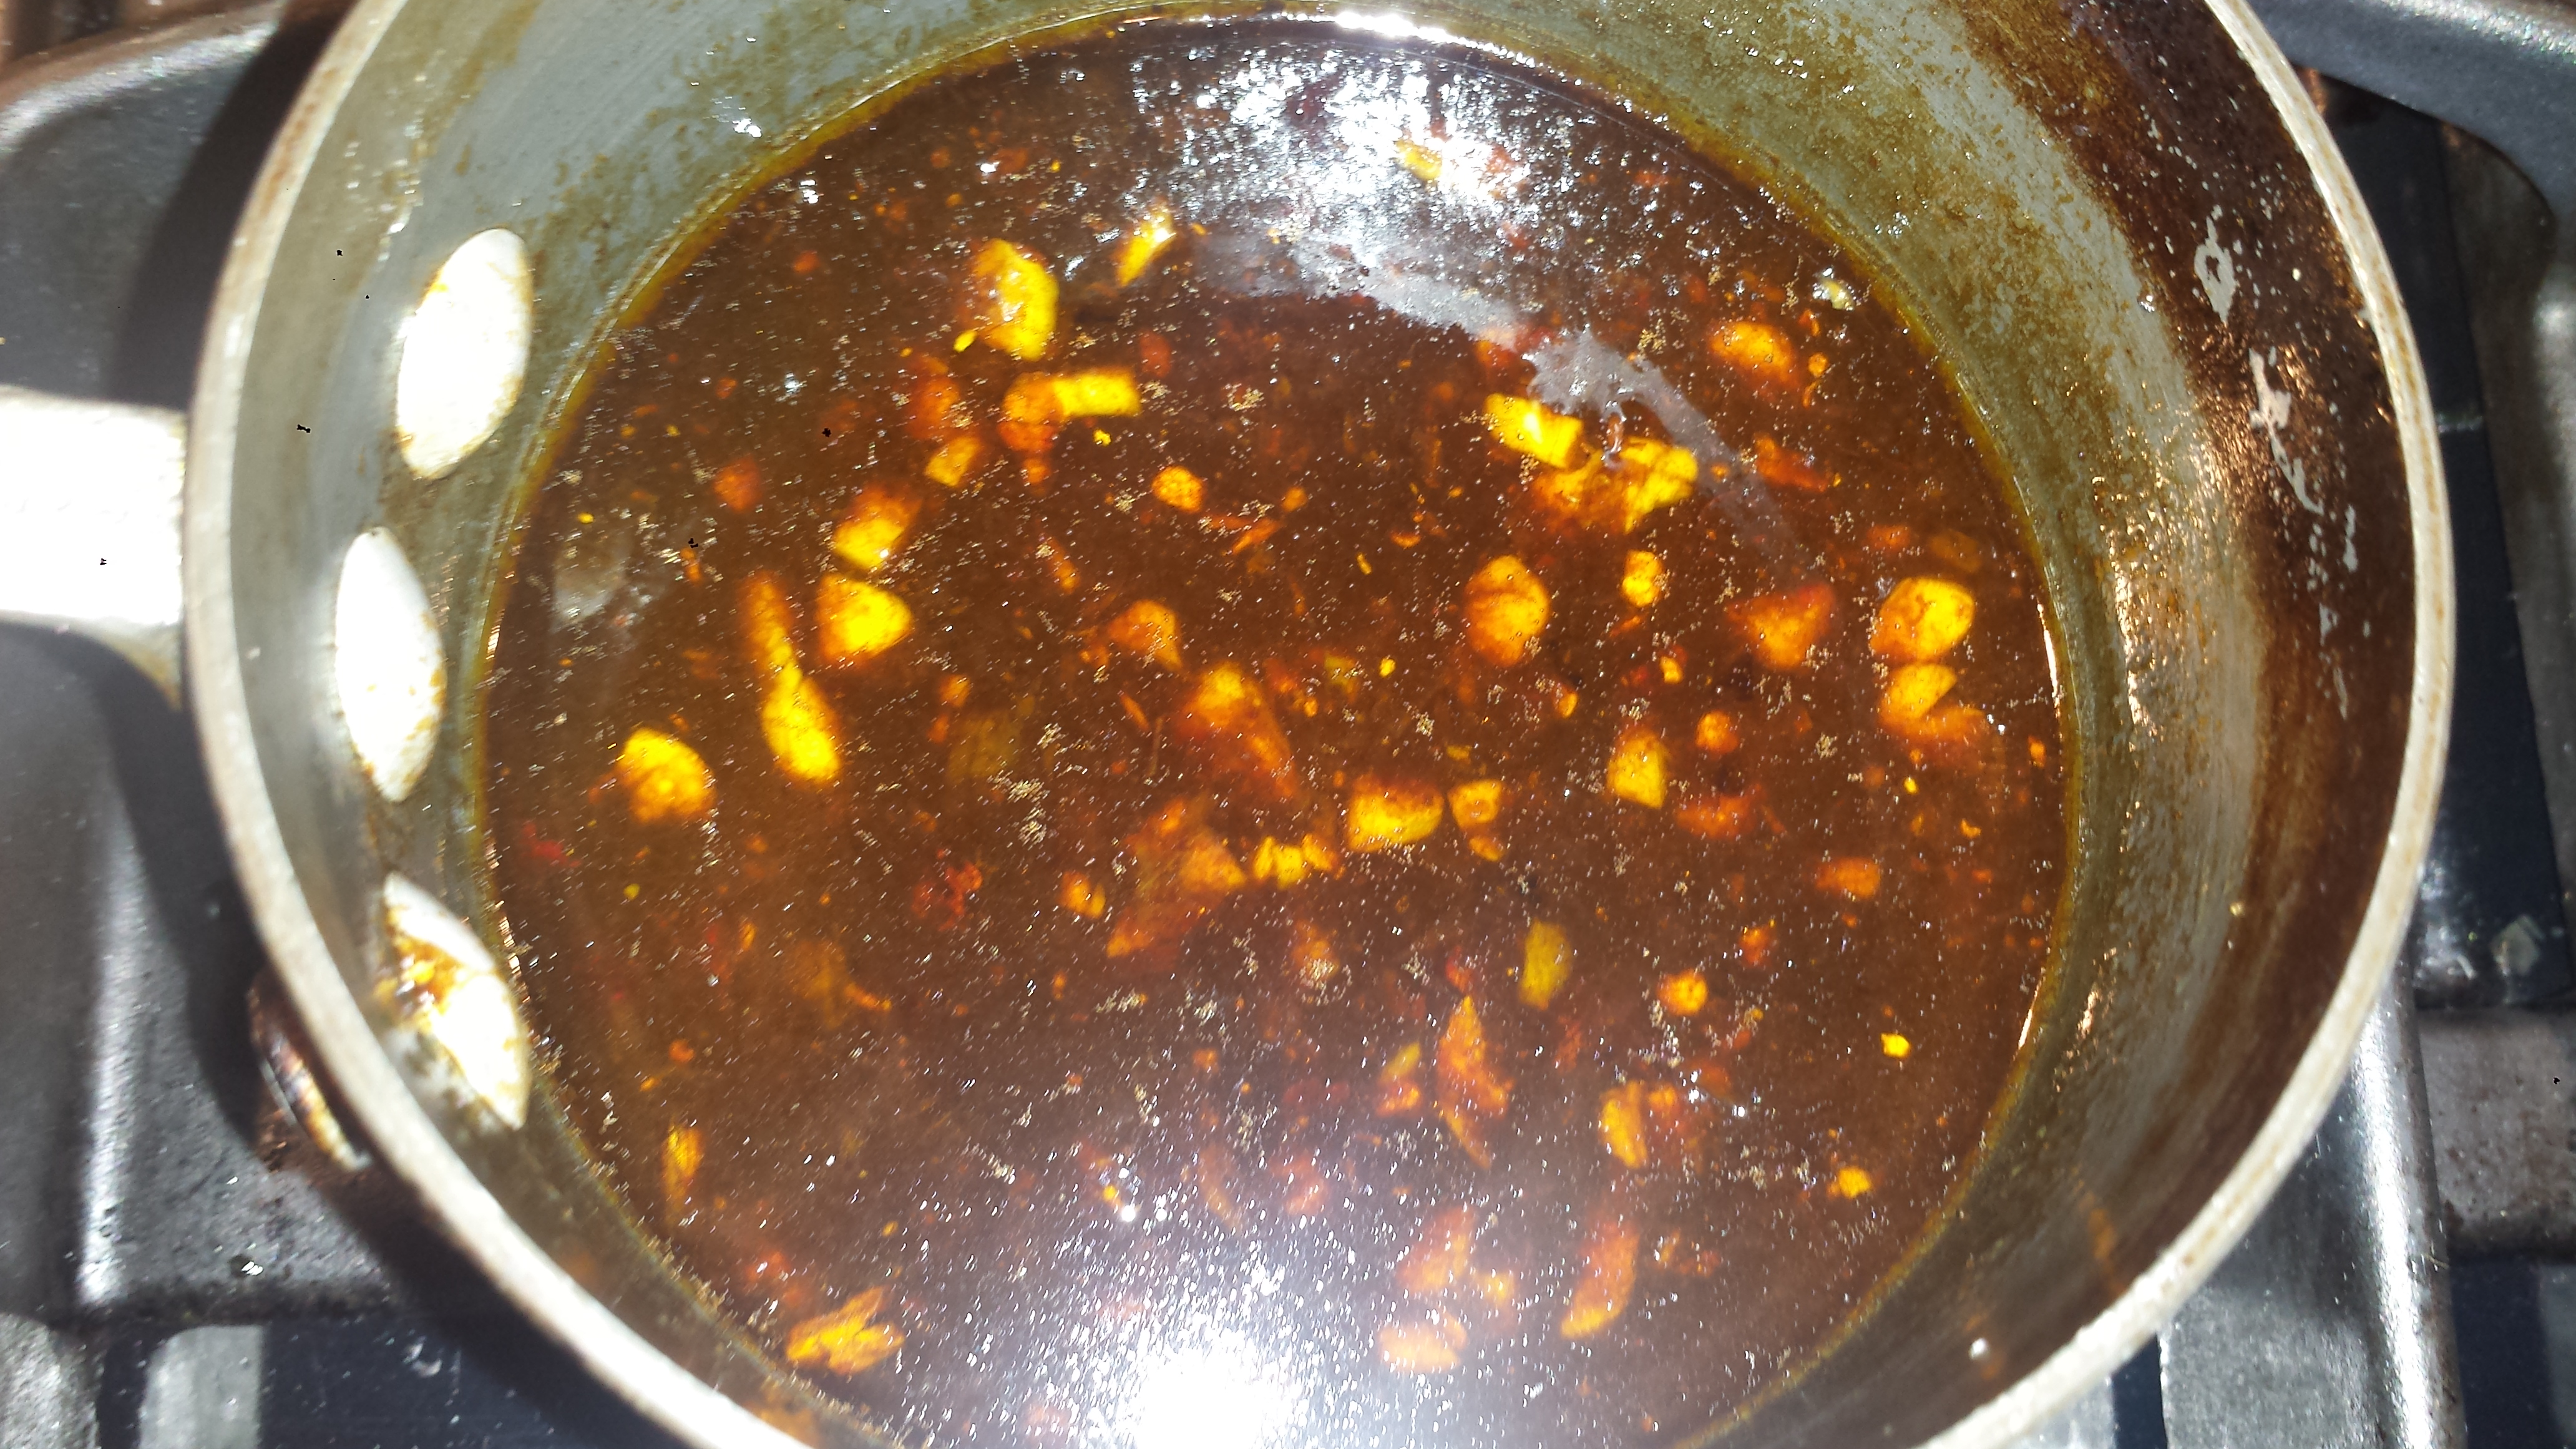
- Combine sauce ingredients in a small saucepan (except red pepper flakes) and bring to a boil. Reduce heat and let simmer for 3 or 4 minutes or until slightly thickened. Taste for spiciness and add red pepper flakes and a pinch of salt, if desired. Turn off heat and set aside.

- Dry toast the sesame seeds (if desired) in a small pan over medium heat for several minutes until golden. Set aside.

- Slice bok choy lengthwise into quarters and rinse. If using broccolini, just trim the ends and leave whole.

- Cut greens into 2 inch strips, keeping any rough stems separate.
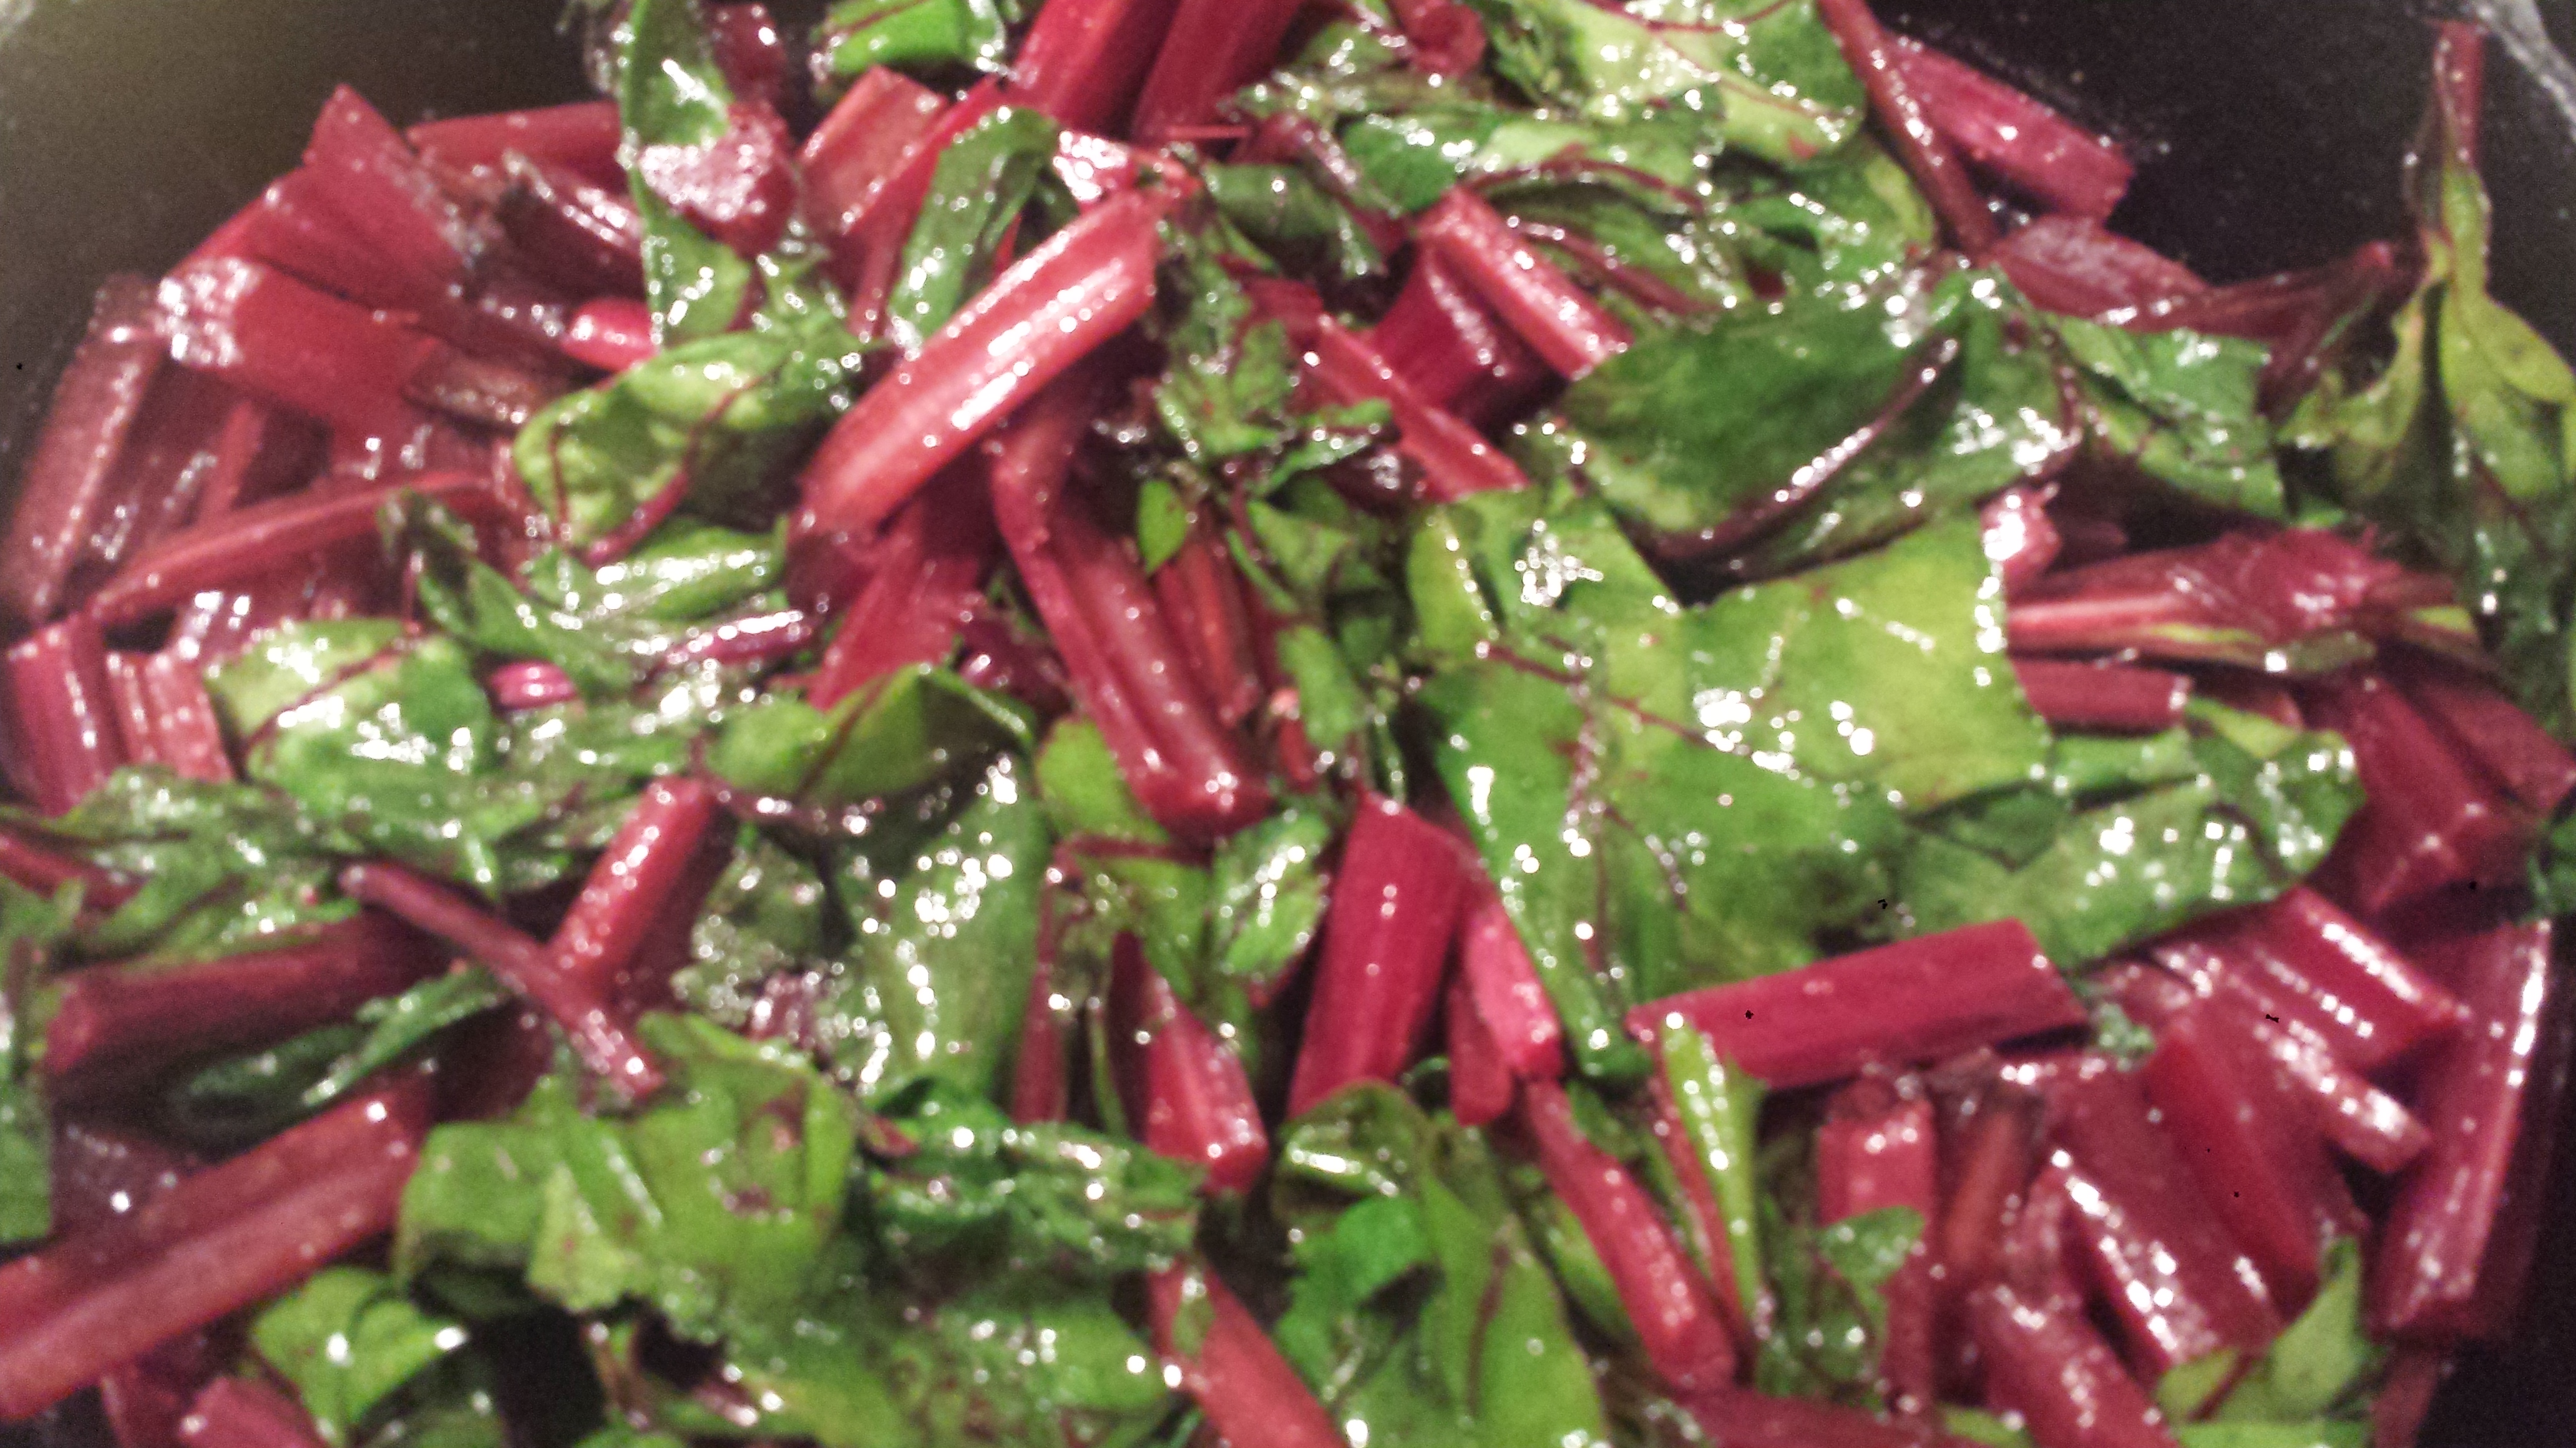
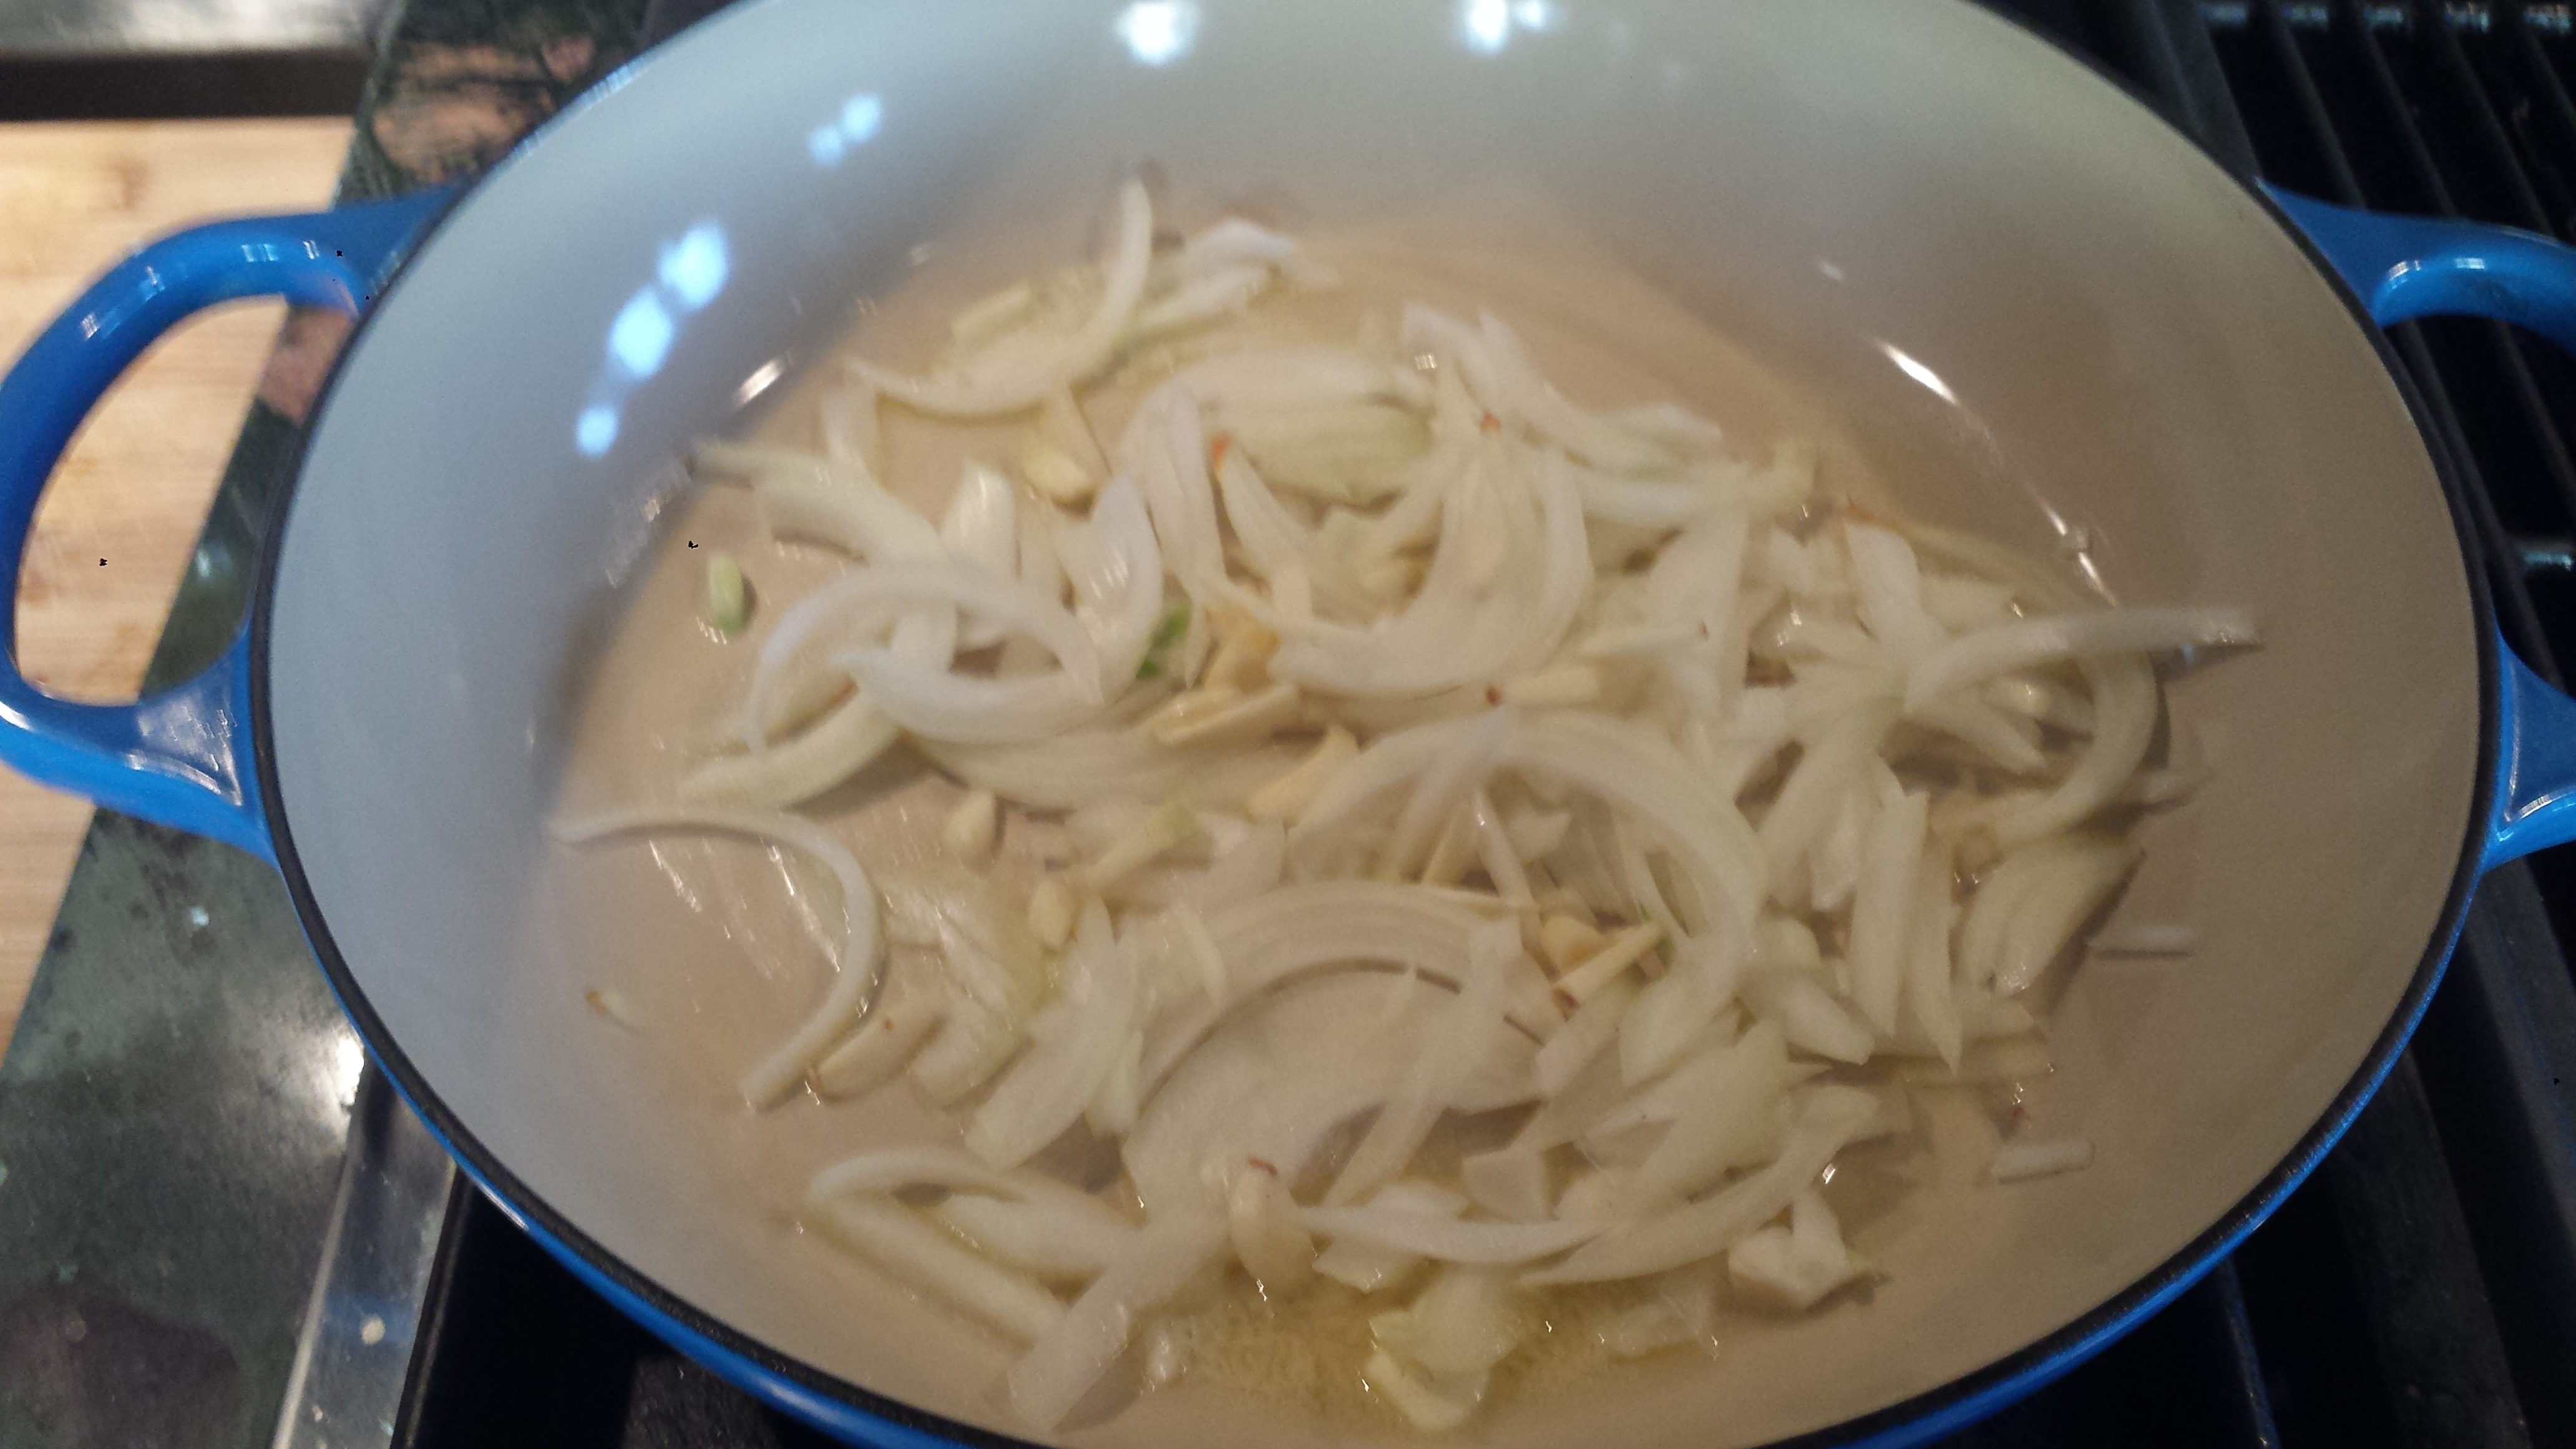
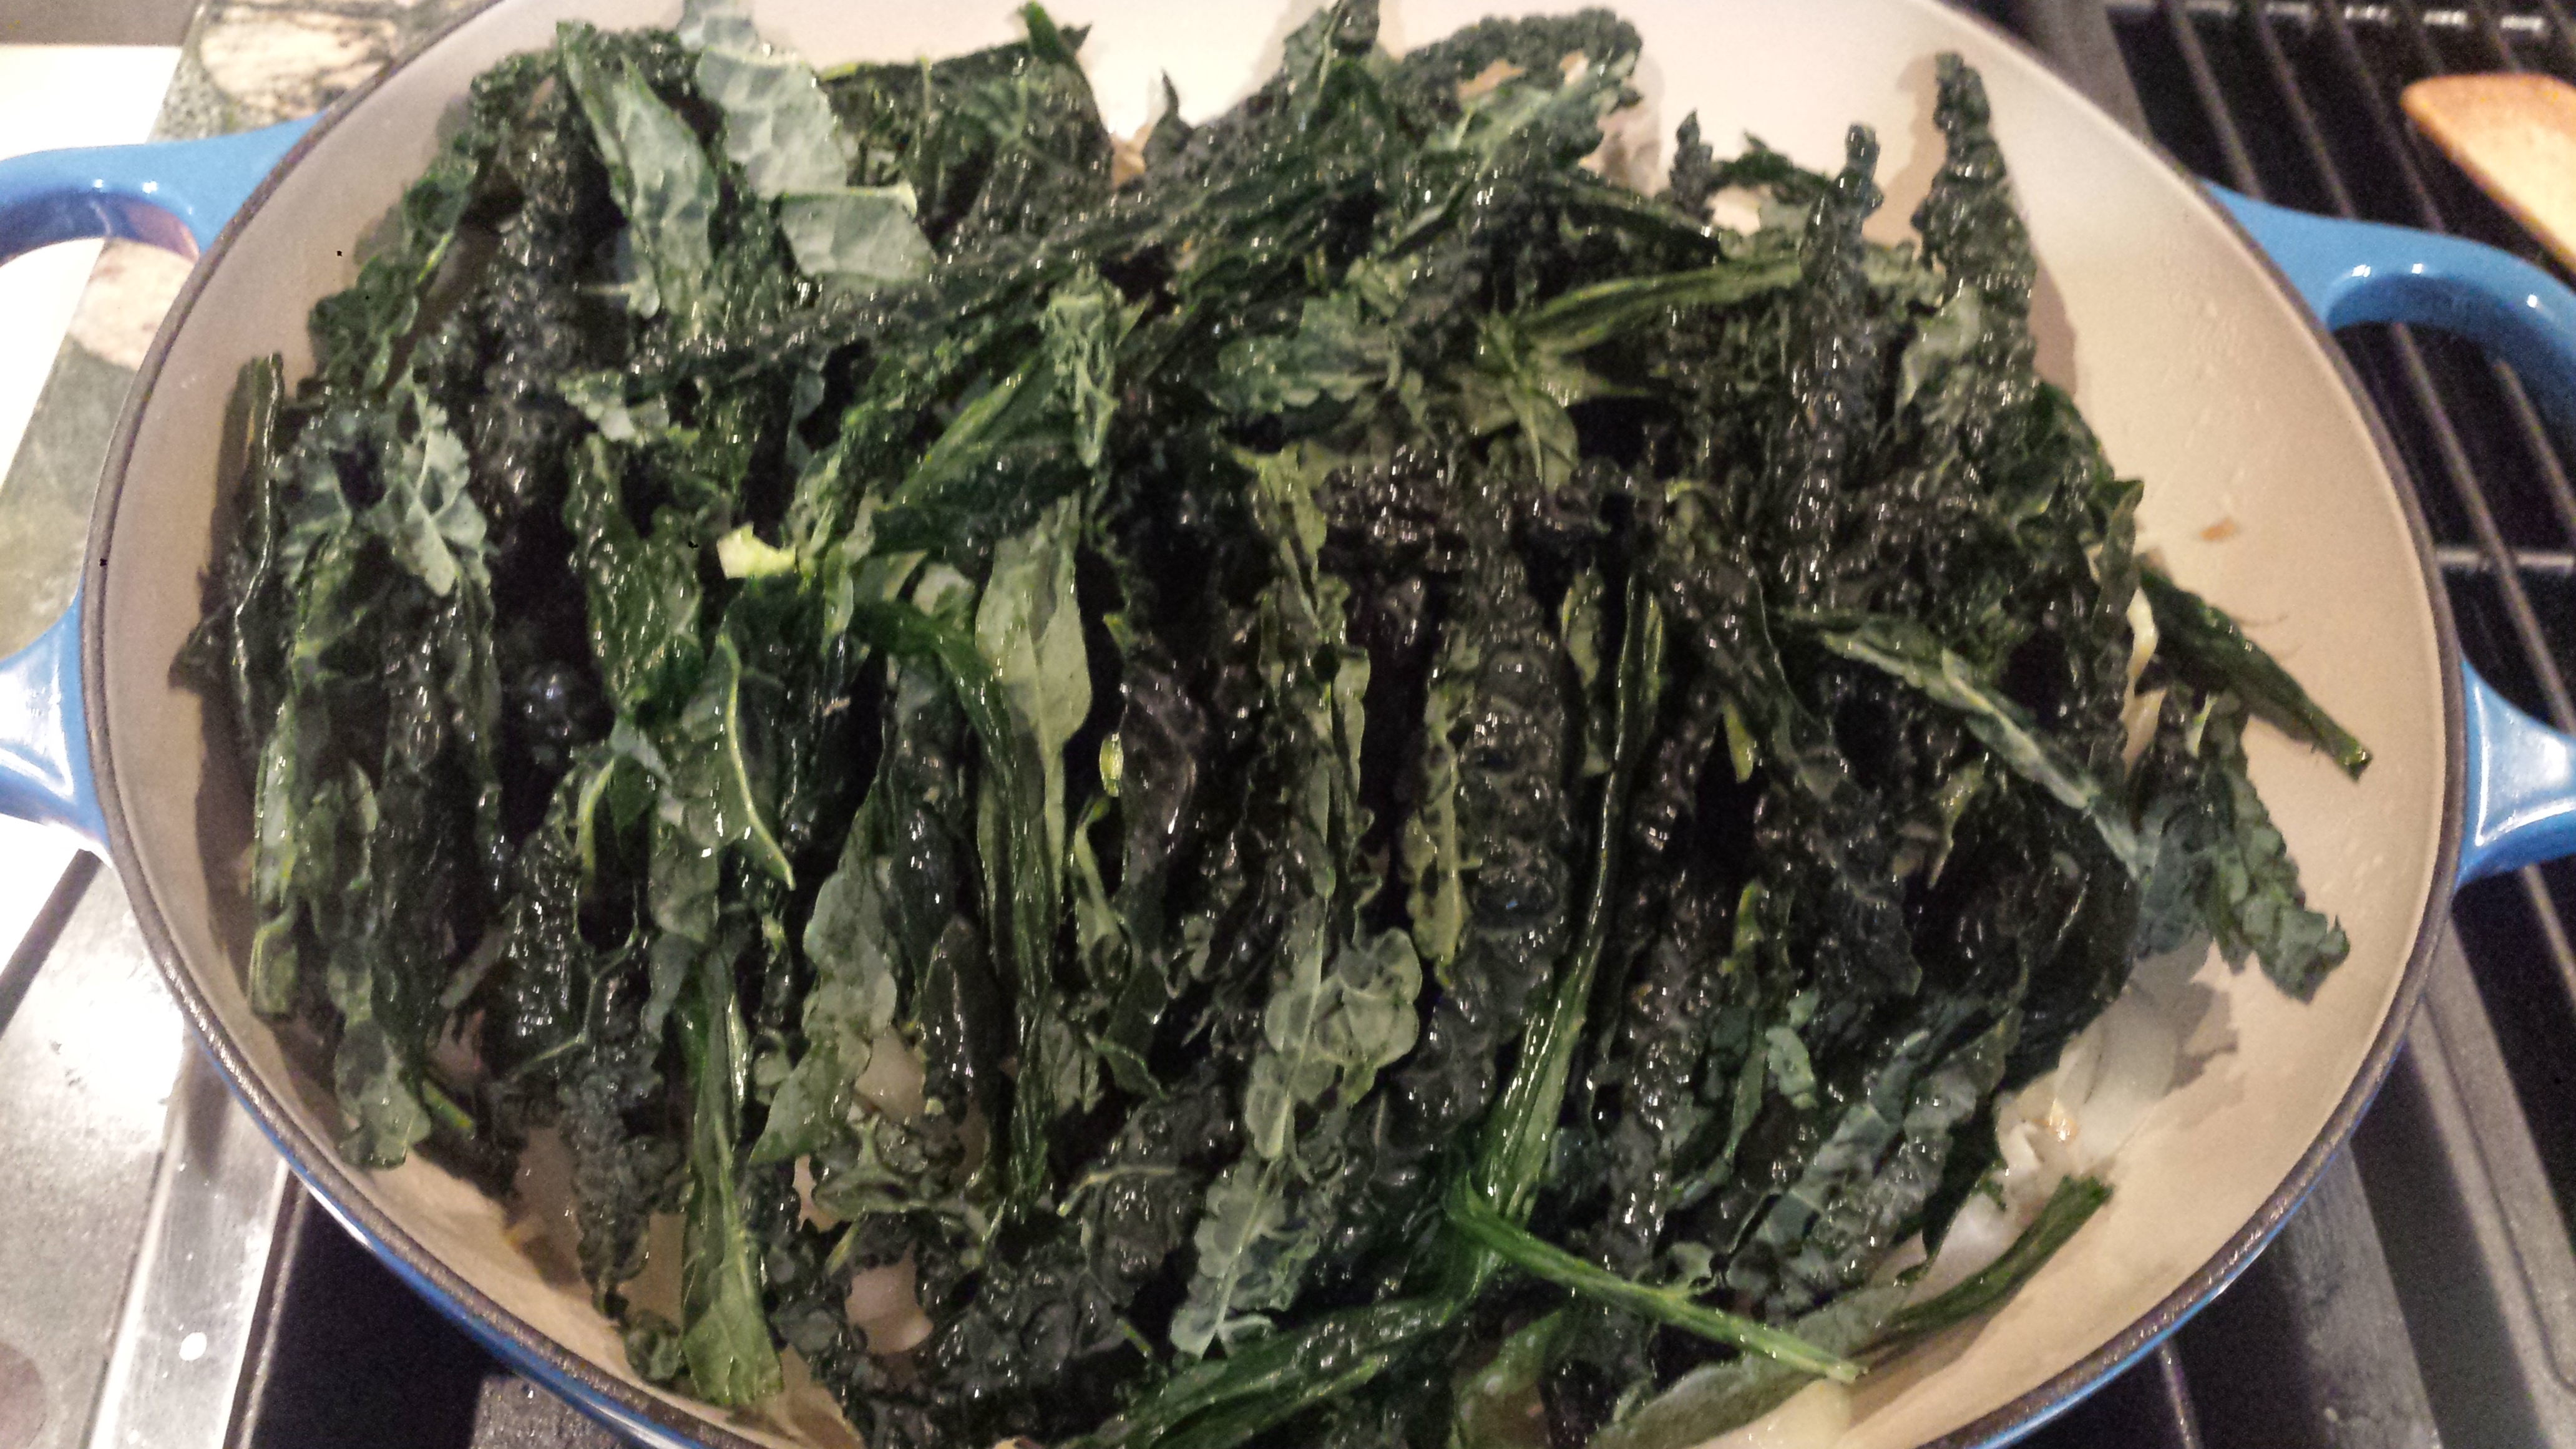
- Heat 1 tablespoon of the oil and one third of the garlic and ginger over medium heat in a large, heavy nonstick skillet or wok, and saute the greens stems for several minutes before adding the leaves. Saute until softened but still al dente. Transfer to a serving platter.

- Add a bit more oil, if needed, plus a third of the garlic and ginger and the water and saute the bok choy until softened and all the water has evaporated. Transfer to serving platter.

- Add remaining oil to the pan and increase the heat to medium high and fry the tofu until lightly colored. Flip to brown the other side. Transfer to platter with the greens.
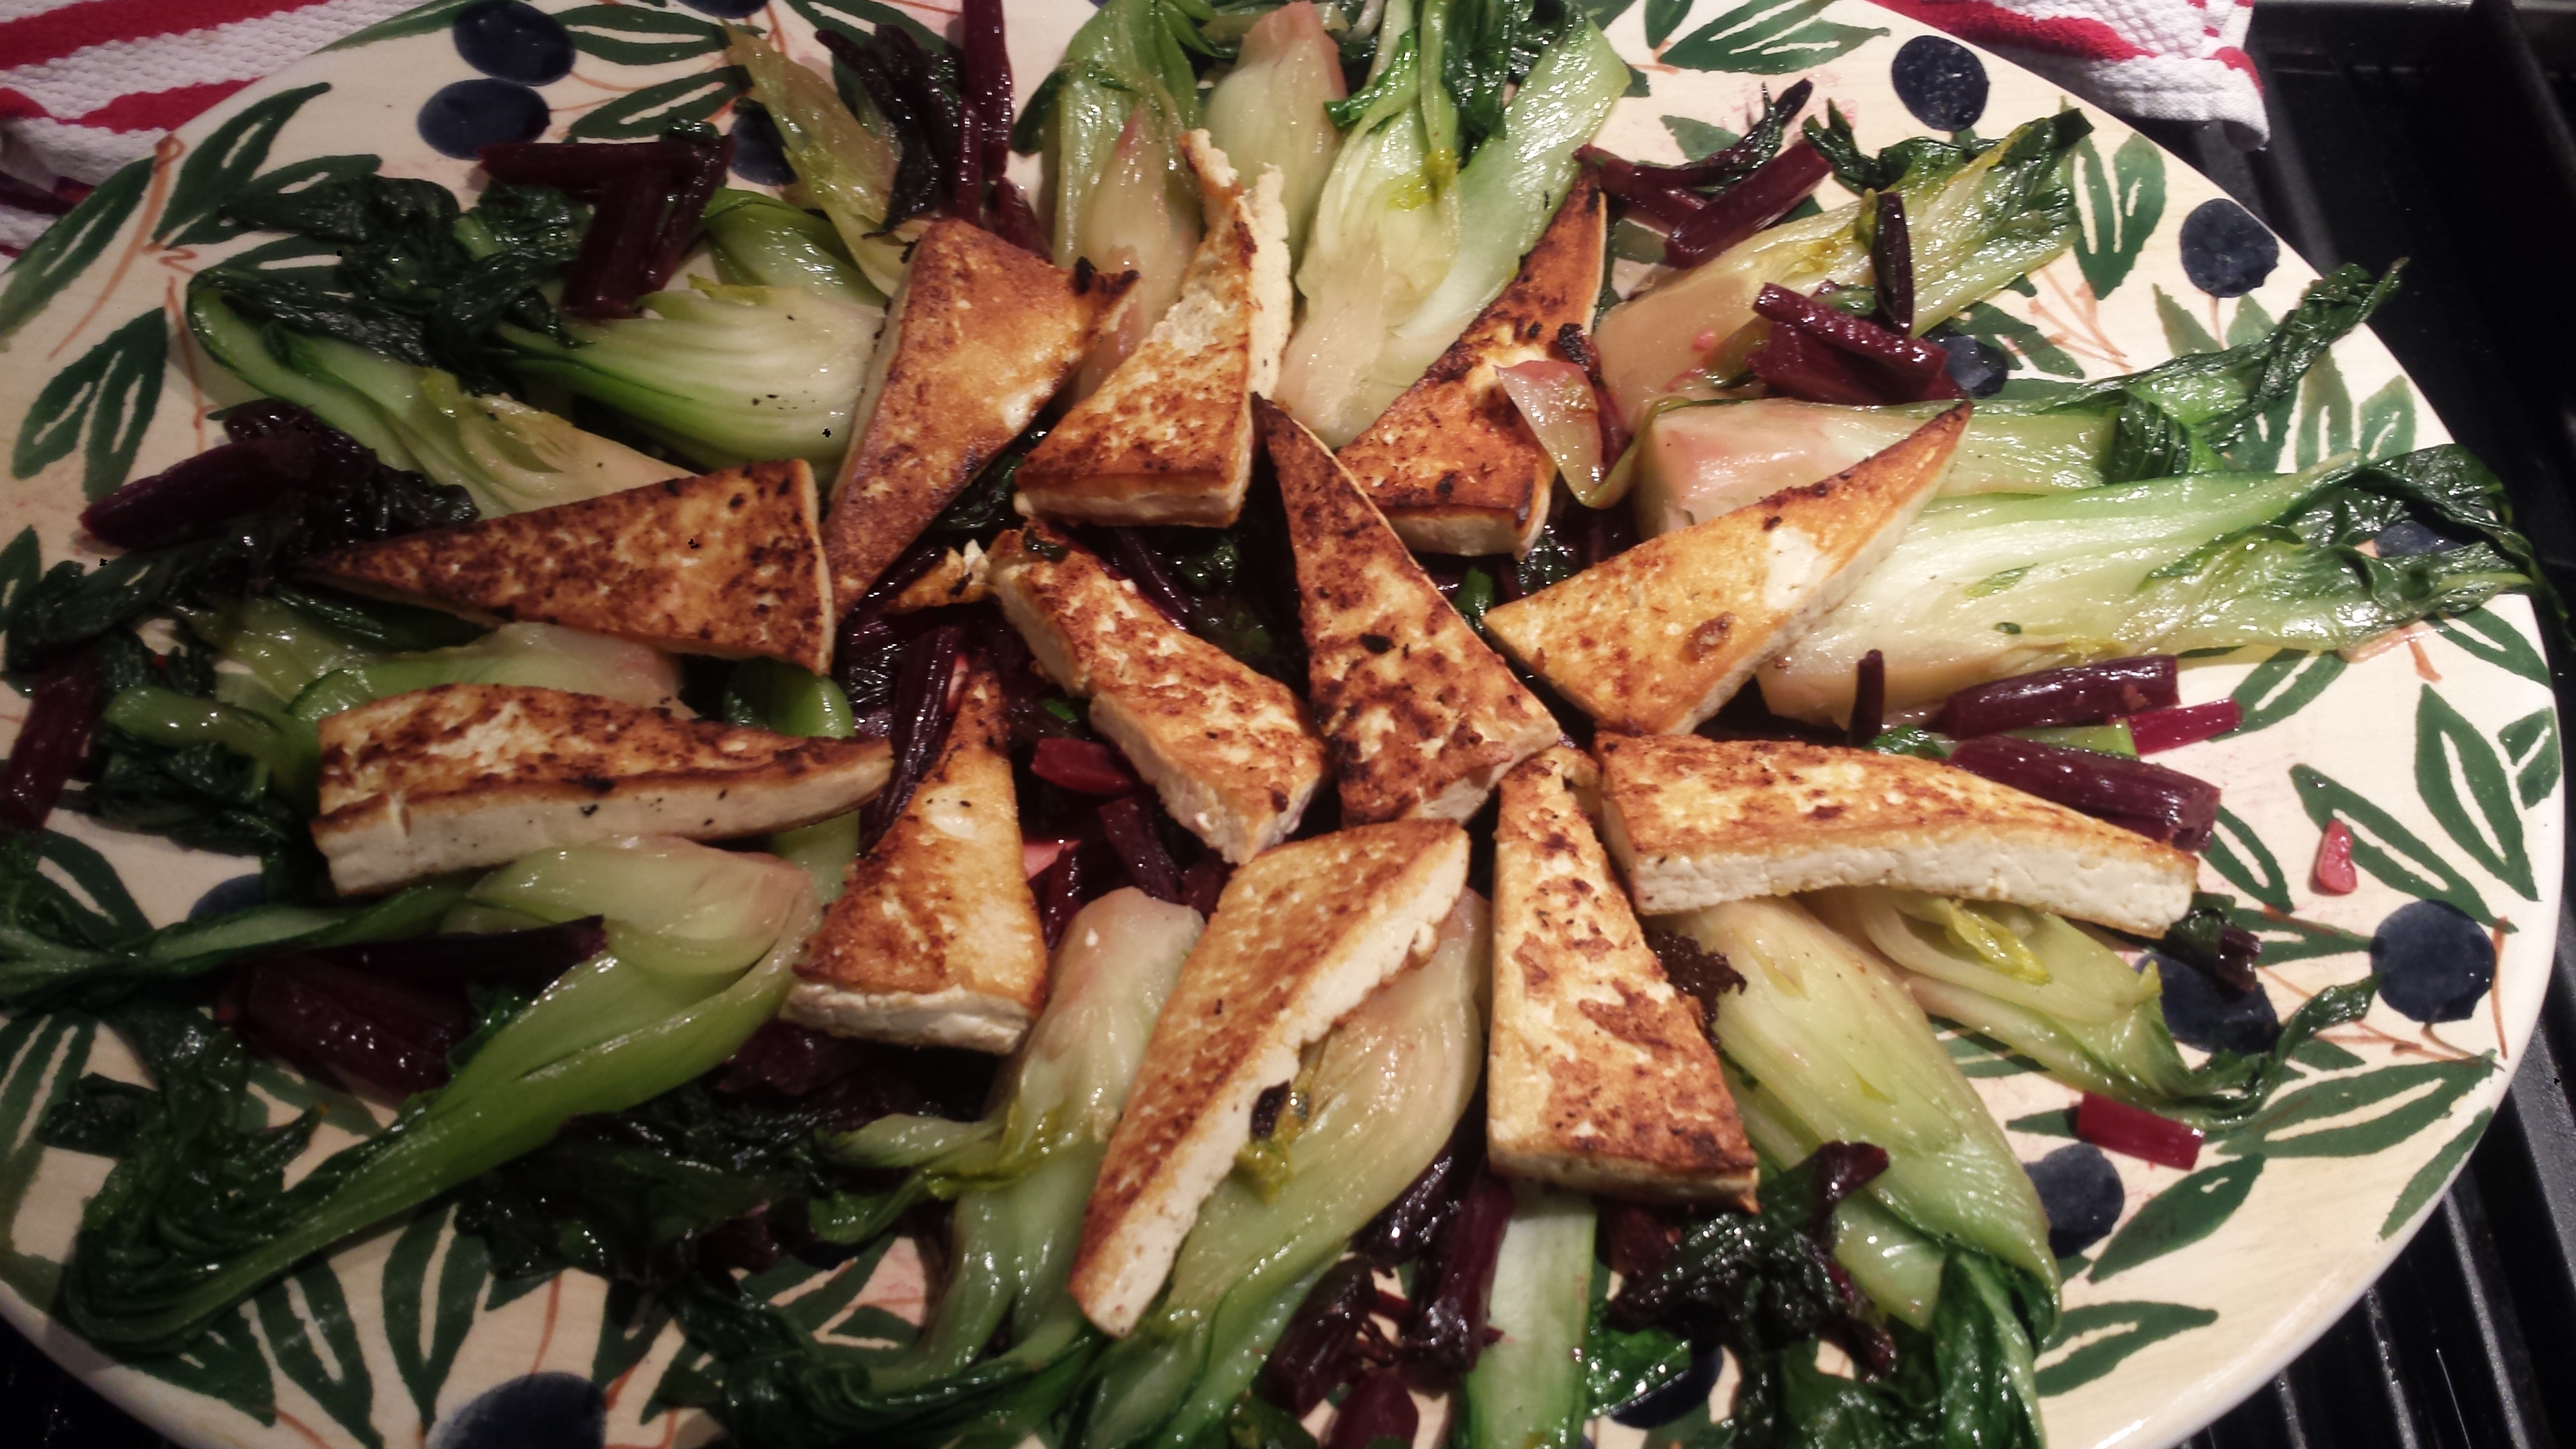
- Reheat the sauce and drizzle over the tofu and greens. Sprinkle with scallions and sesame seeds.

1 pound firm tofu SPICY CHILI SAUCESpicy Tofu with Sauteed Greens
3-4 baby bok choy or small bunch baby broccolini
1 bunch bitter greens (like beet greens, chard, kale or mustard)
2-3 Tbsn high heat oil (like avocado or coconut)
3 garlic cloves, minced
2 tsp minced fresh ginger
1/4 cup water
3 scallions, finely chopped
1 Tbsn sesame seeds
1 Tbsn Asian chili paste
1 Tbsn fresh ginger, minced (or fresh ginger paste)
2 cloves garlic, minced
2 Tbsn soy sauce
1/4 tsp red pepper flakes (optional)