
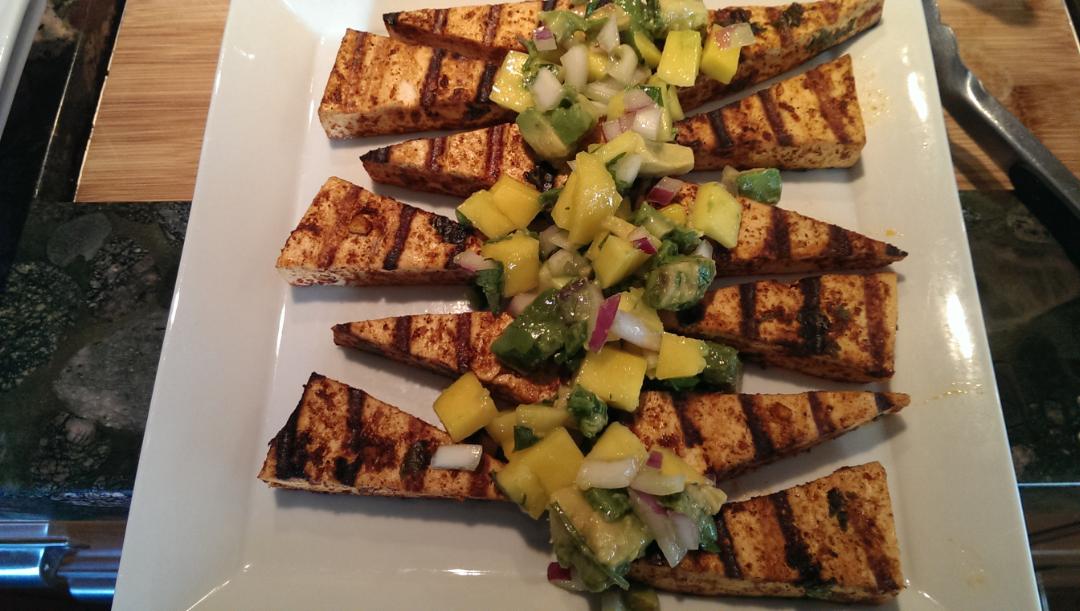
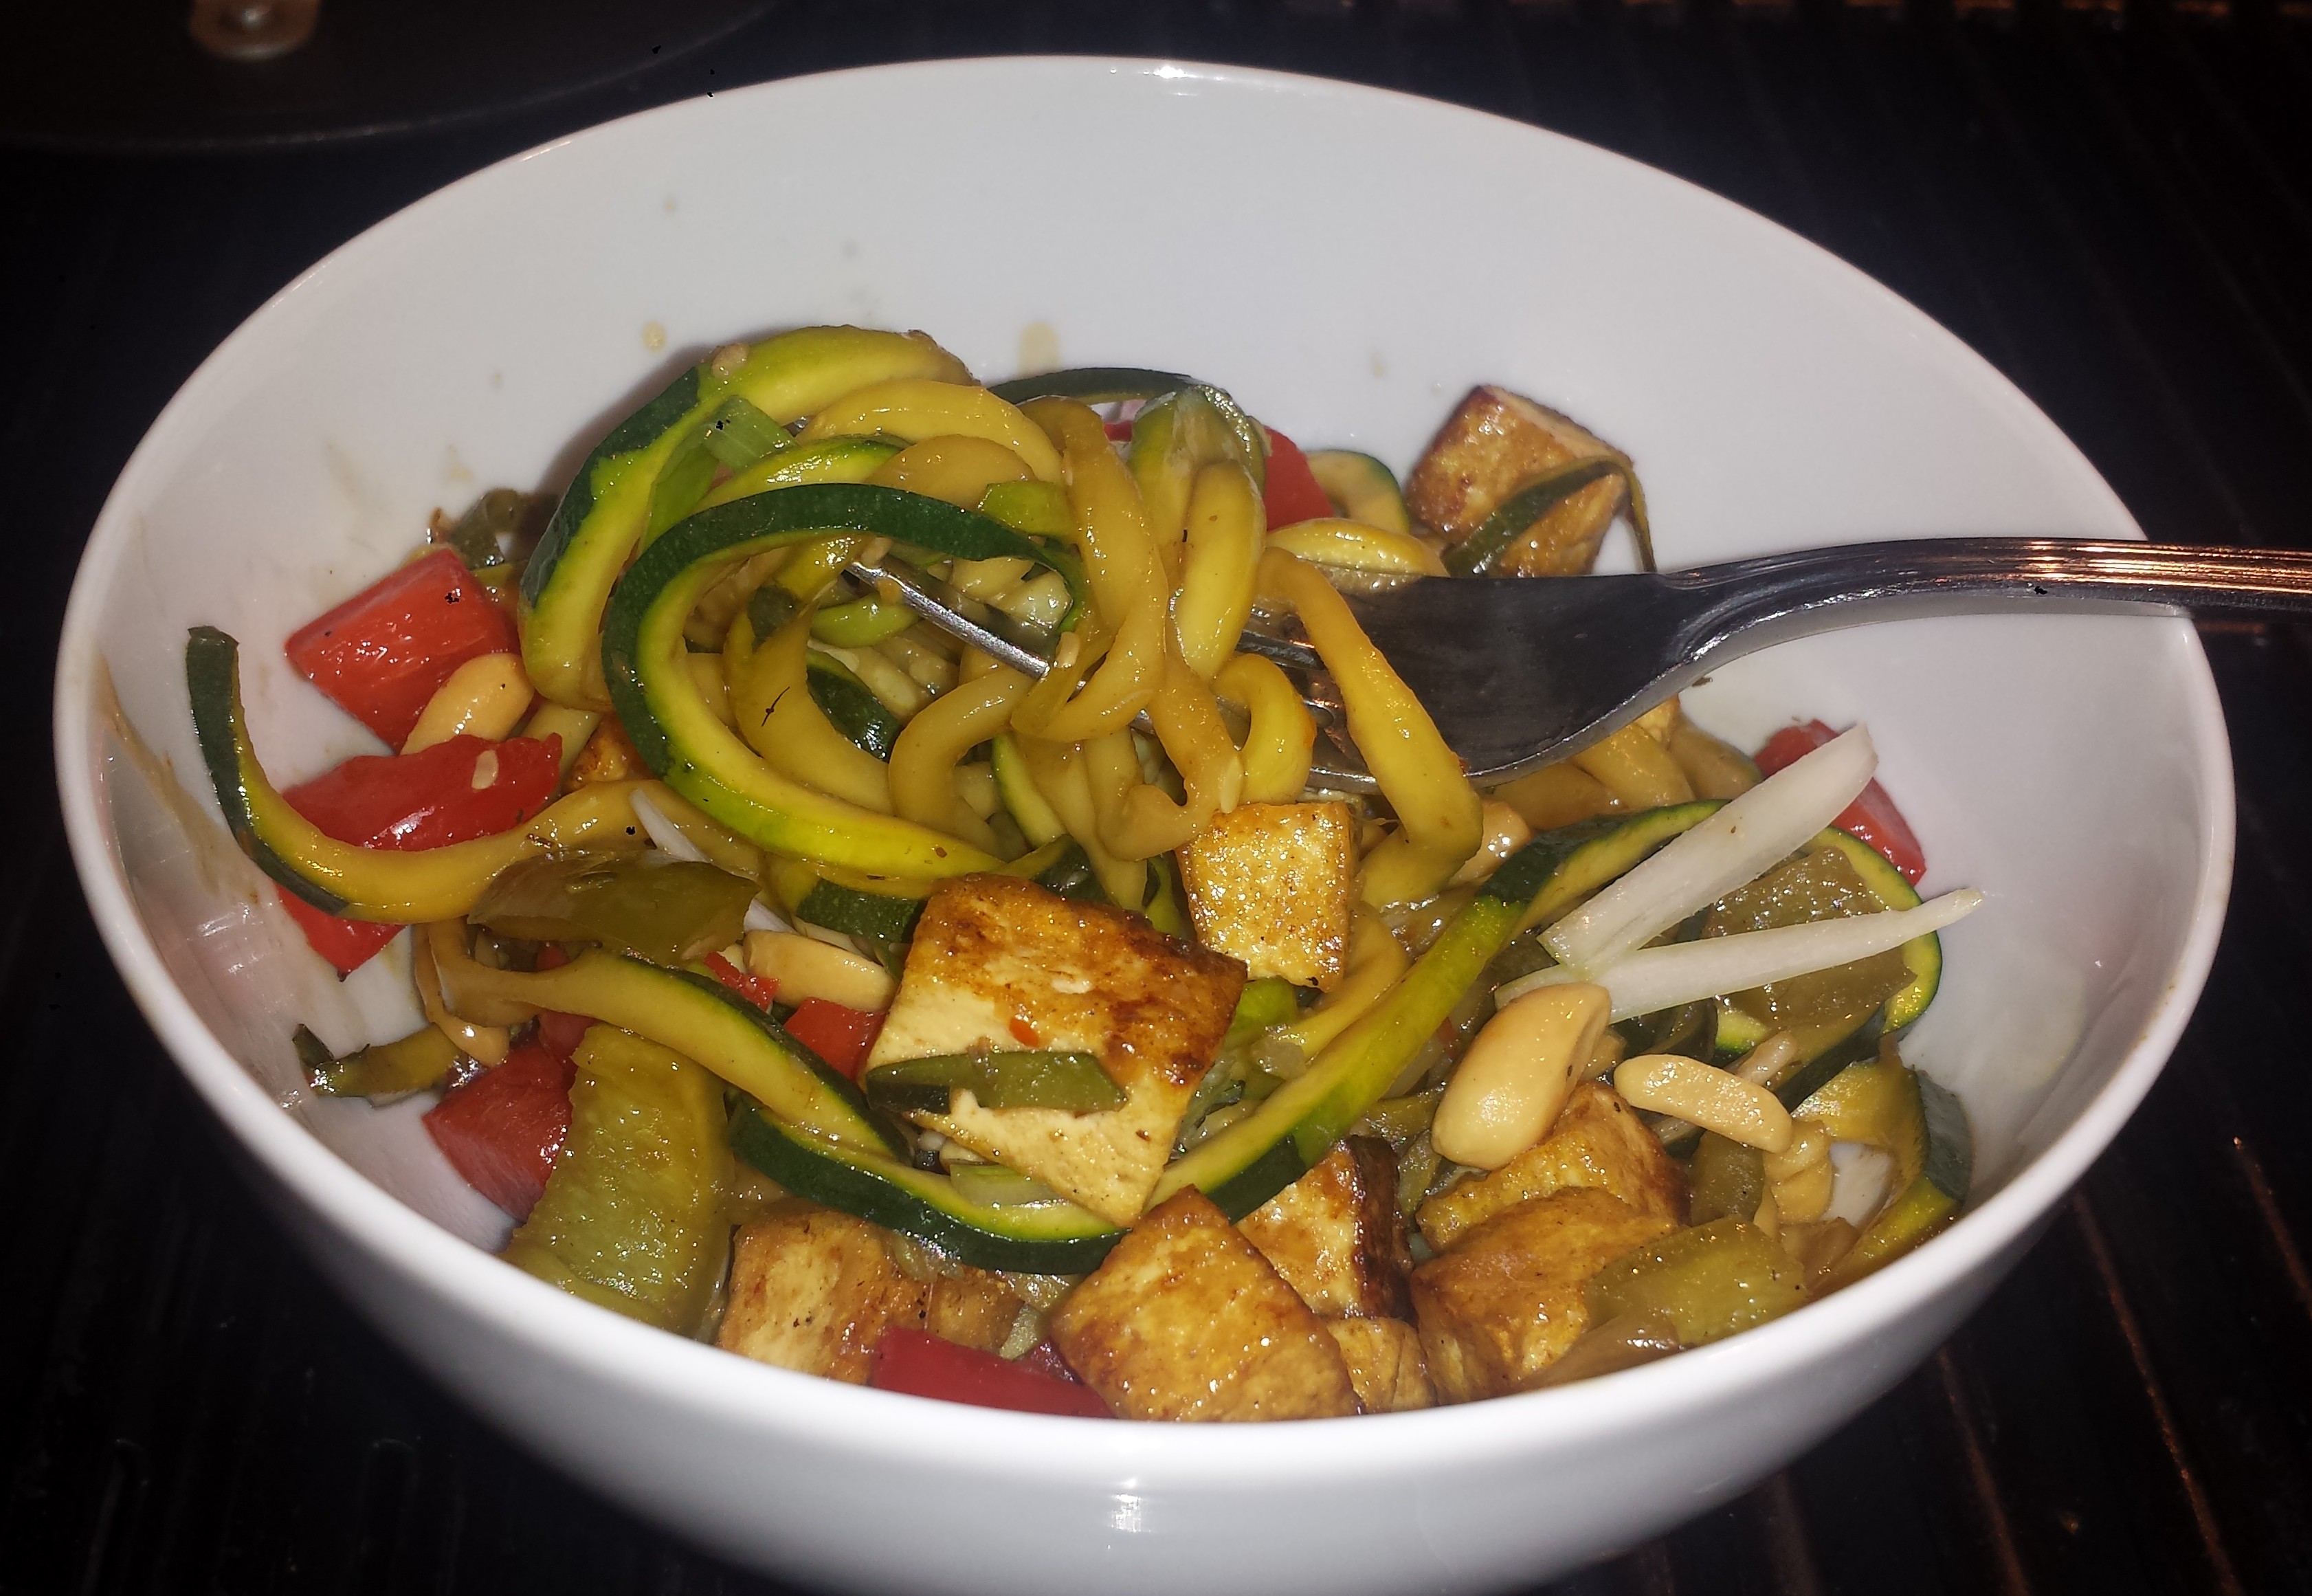
Love noodles but not the Carbs? Enter Zoodles, ‘noodles’ made from zucchini spirals that are surprisingly noodle-like. They nestle right into this tasty Kung Pao Sauce just like regular pasta – but without the extra calories. This Kung Pao was a crowd favorite; crispy tofu, bell pepper, ‘noodles’, all in a spicy, delicious sauce, topped with peanuts and green onions. Even my non-tofu lovers gobbled it up and asked for more! Cutting the tofu into a small dice and cooking it separately from the sauce is key. With Kung Pao though, it’s really all about the sauce. This one is spicy, but not not mouth burning, and easy to adjust to suit your personal tastes. Alas, if you are one of those people that can’t be bothered with recipes that have lots of ingredients, there is any easy solution. Just pick one up one of the many wonderful sauces sitting on the shelf in your local market and you’re good to go!

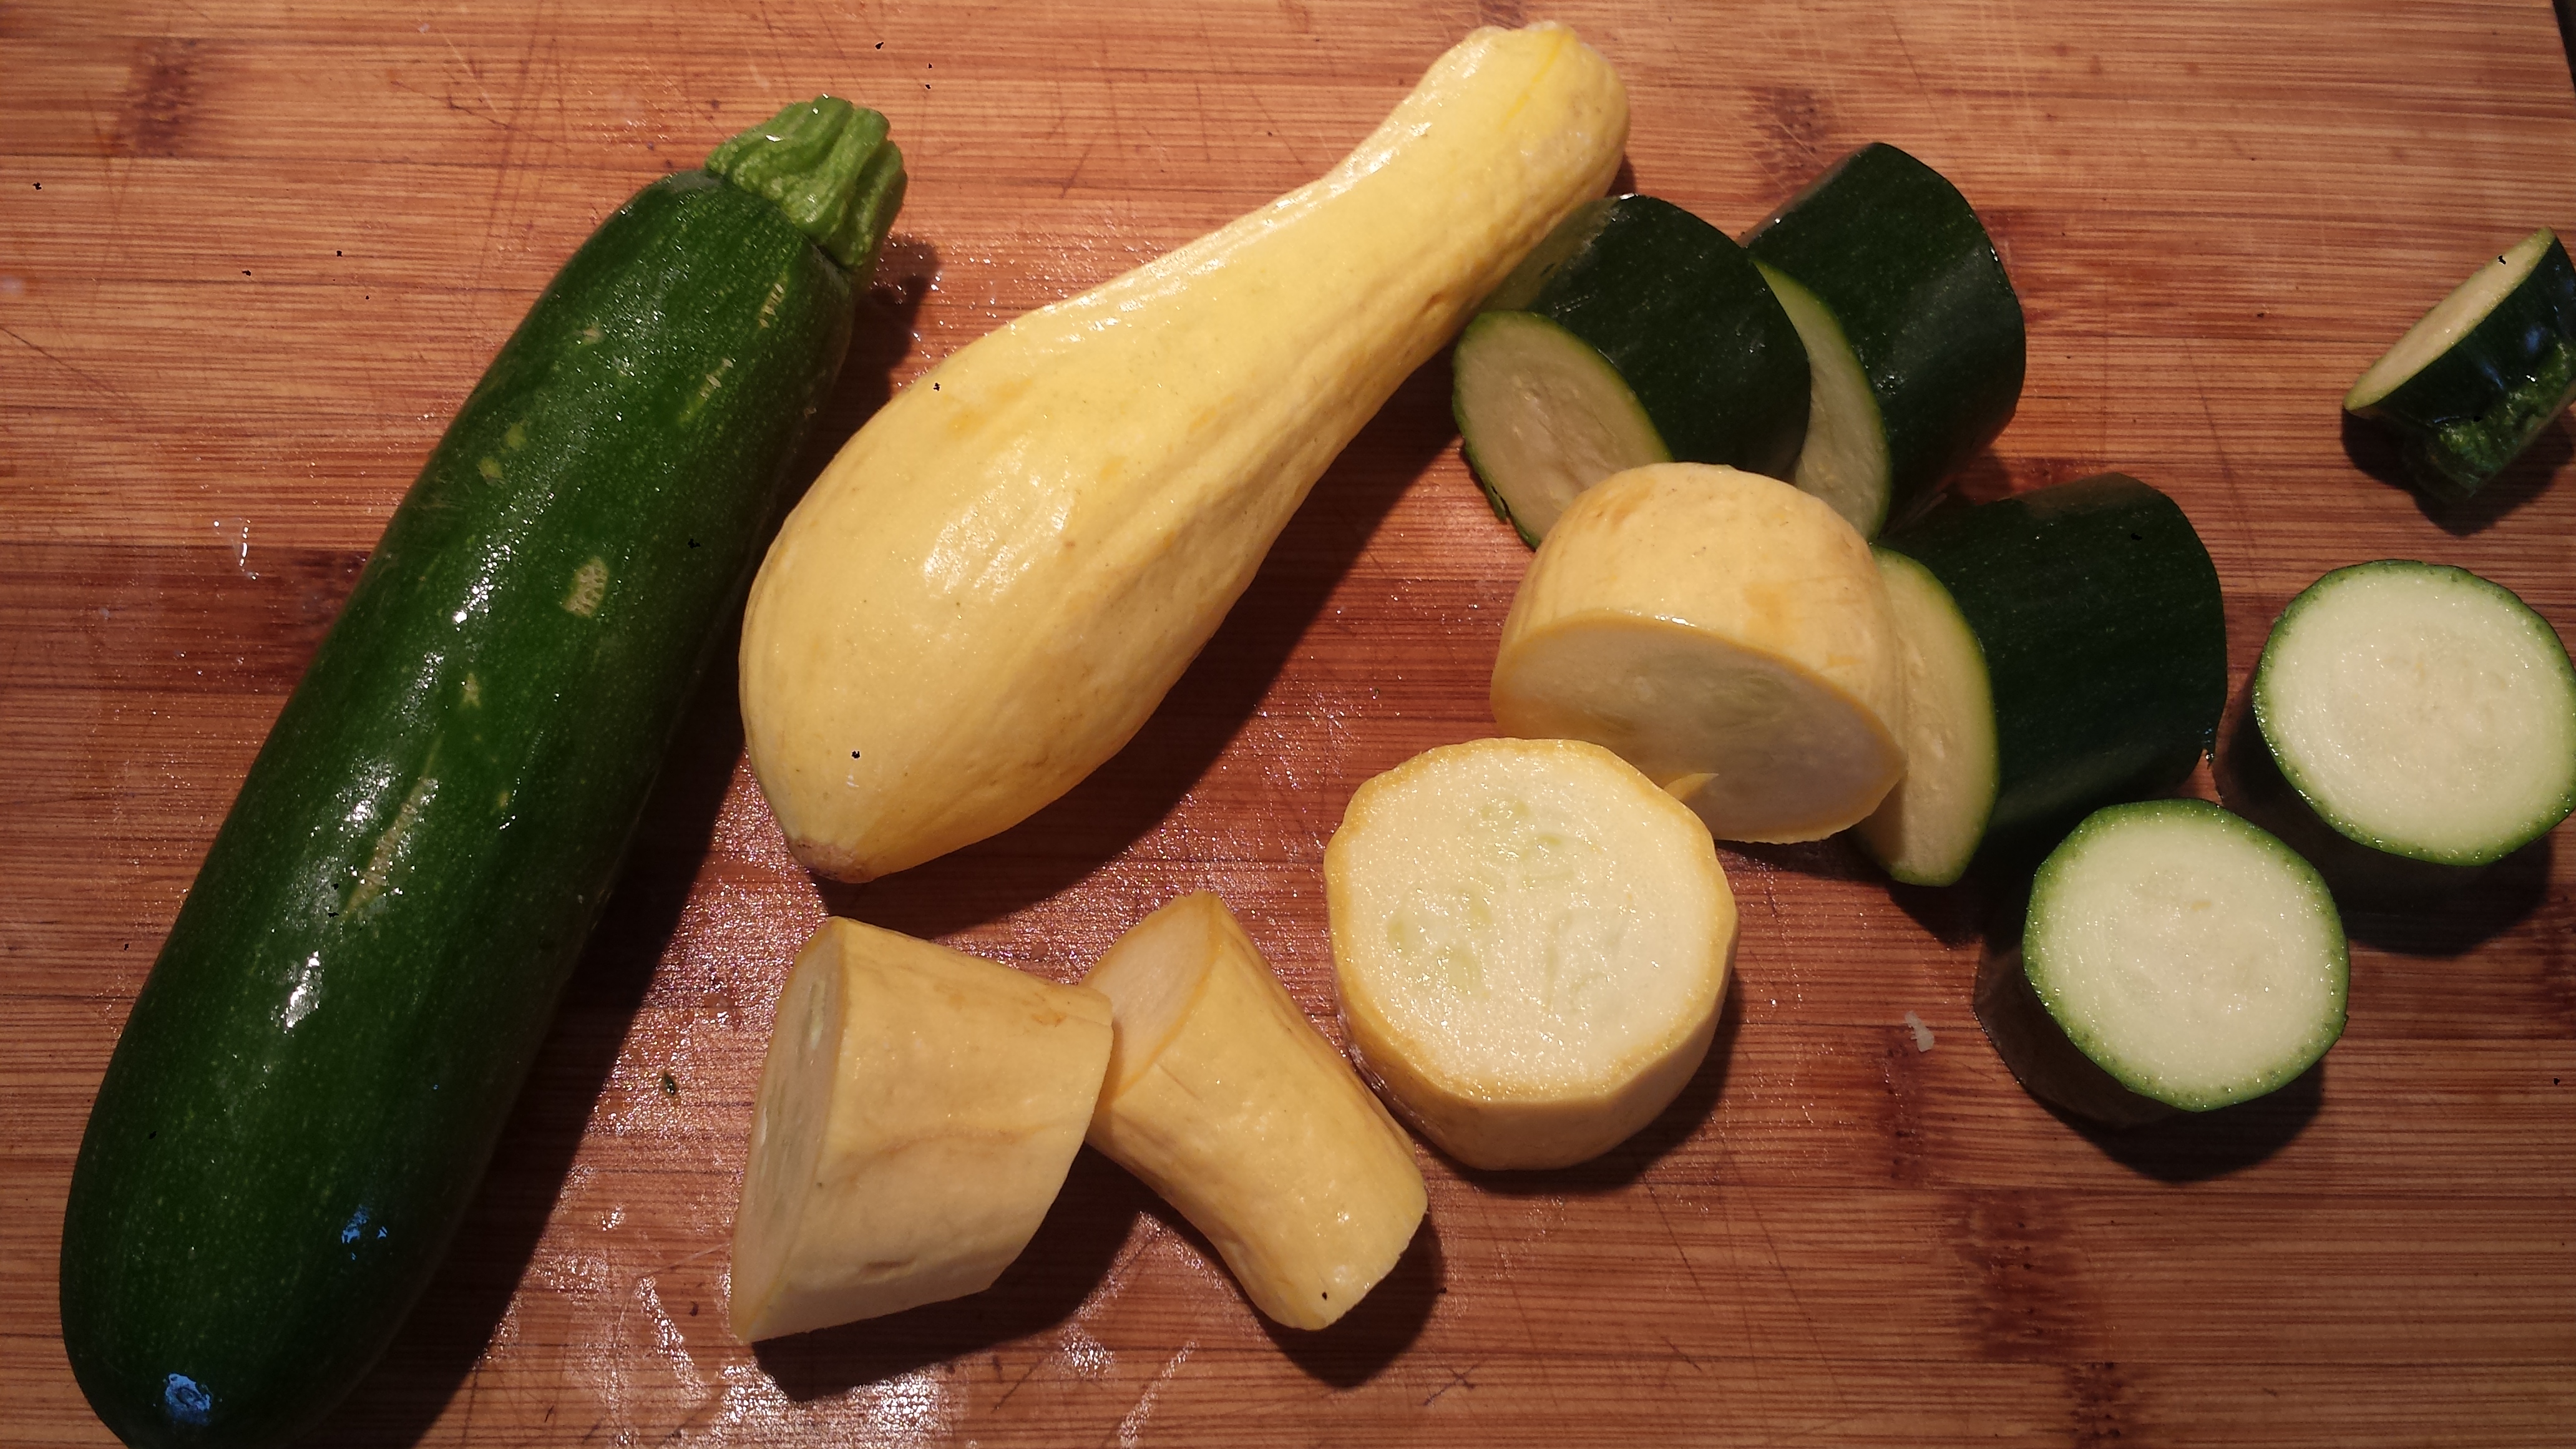
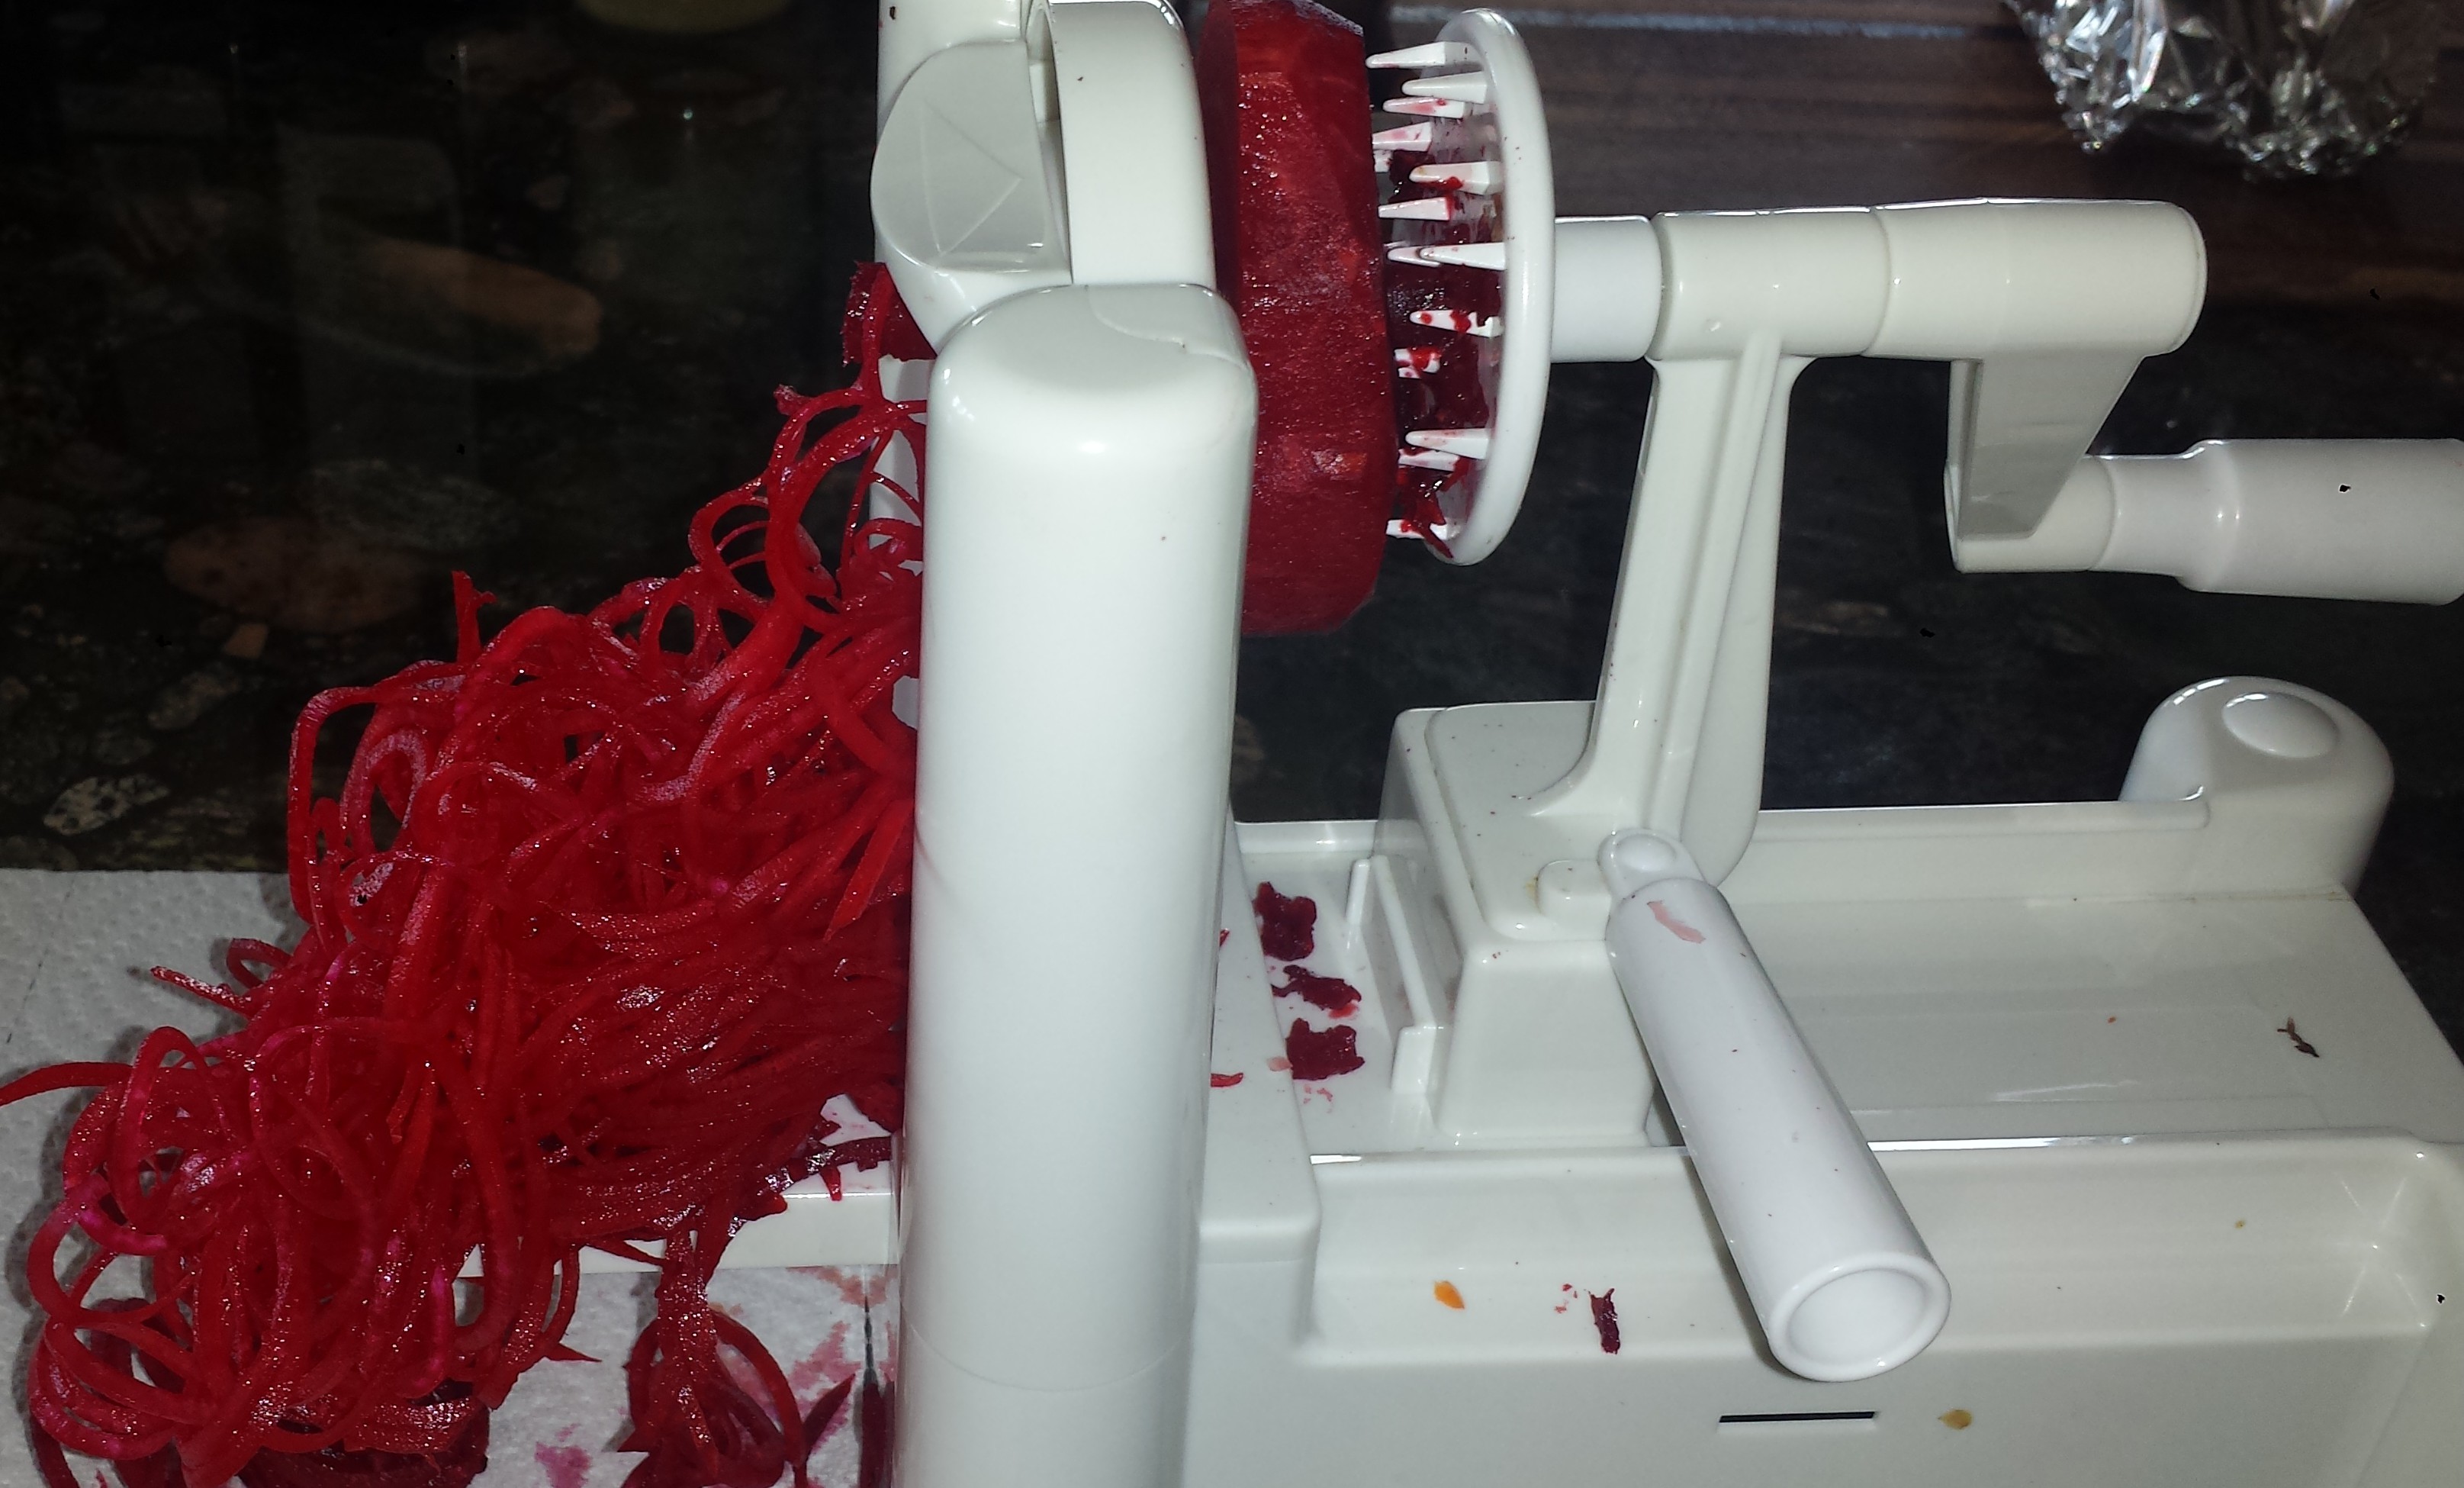
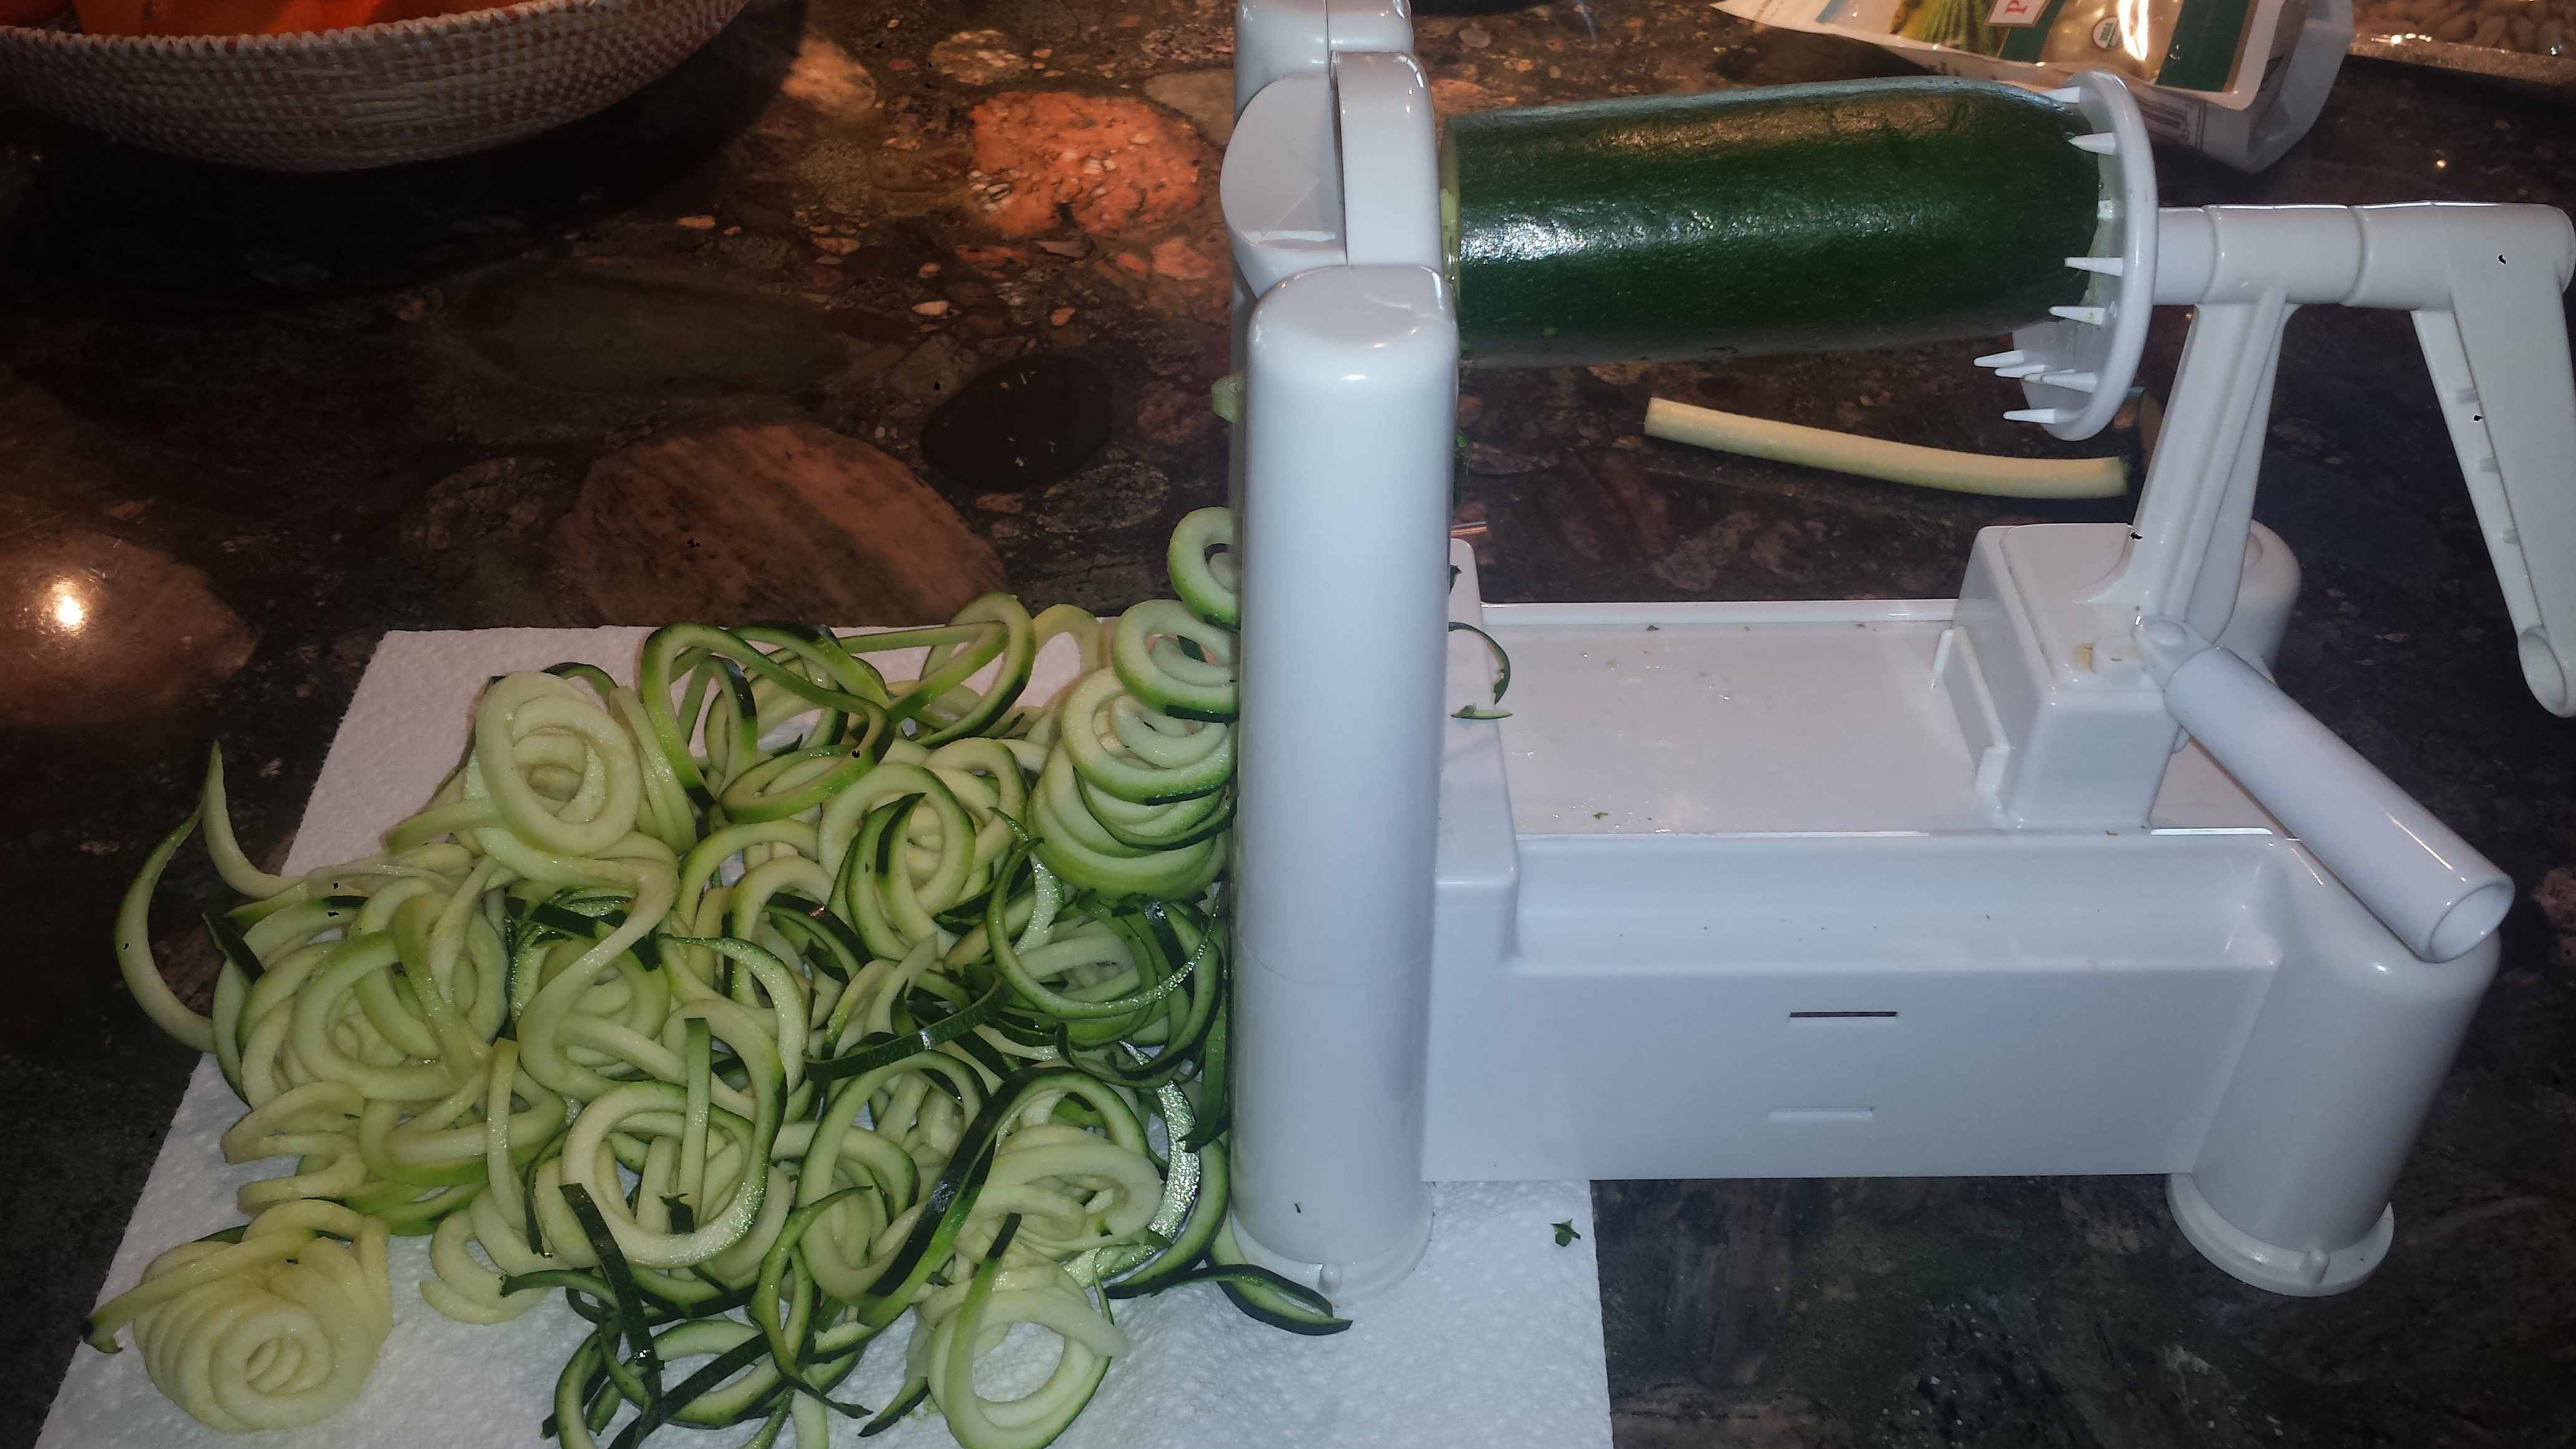
I’m not really a gadget person, however this one is a game changer. In seconds, zucchini (or any vegetable) becomes spaghetti, angel hair or ribbons. There are countless uses for these shapes; pastas, salads and casseroles to name a few. Other than my food processor and my lemon zester, this is a favorite. Just in case you don’t know what a spiral slicer can do, just check out the photo below showing zucchini being sliced using three different blades. For this recipe I used the center blade to make a thicker noodle.
Making zoodles is easy if you have a spiralizer, and FUN! If you have a picky eater who won’t eat anything green, you can peel the zucchini first to remove the offending green, then spiralize into beautiful ‘noodles’ that may fool even the pickiest of eaters. I wish I had known about zoodles back in the day when my little boys only ate pasta with butter! I prefer keeping the peel on since so many of the nutrients are in or right under the skin, but any nutrients is better than none…

TIPS: This is a mildly spicy Kung Pao Sauce. To adjust spiciness, add more or less of the red pepper flakes and red chili paste. Taste sauce to make sure you like the amount of spice before adding to the pan. It will continue to develop flavor as it cooks and combines with the sesame oil, garlic and ginger. For large appetites, you might want to double the tofu (Yes, they will like it.) or serve with brown rice. If you do make rice, toss a one inch chunk of peeled ginger into the pot to give the rice a nice gingery flavor. Remove the ginger before serving.
Recipe Adapted from Skinny Taste Kung Pao Chicken Zoodles For Two

KUNG PAO TOFU WITH ZOODLES
1 block extra firm tofu
2 Tbsn olive, avocado or coconut oil
2 -3 cloves garlic, minced
1 tsp fresh ginger, grated (or ginger paste)
salt and pepper
2-3 medium zucchini
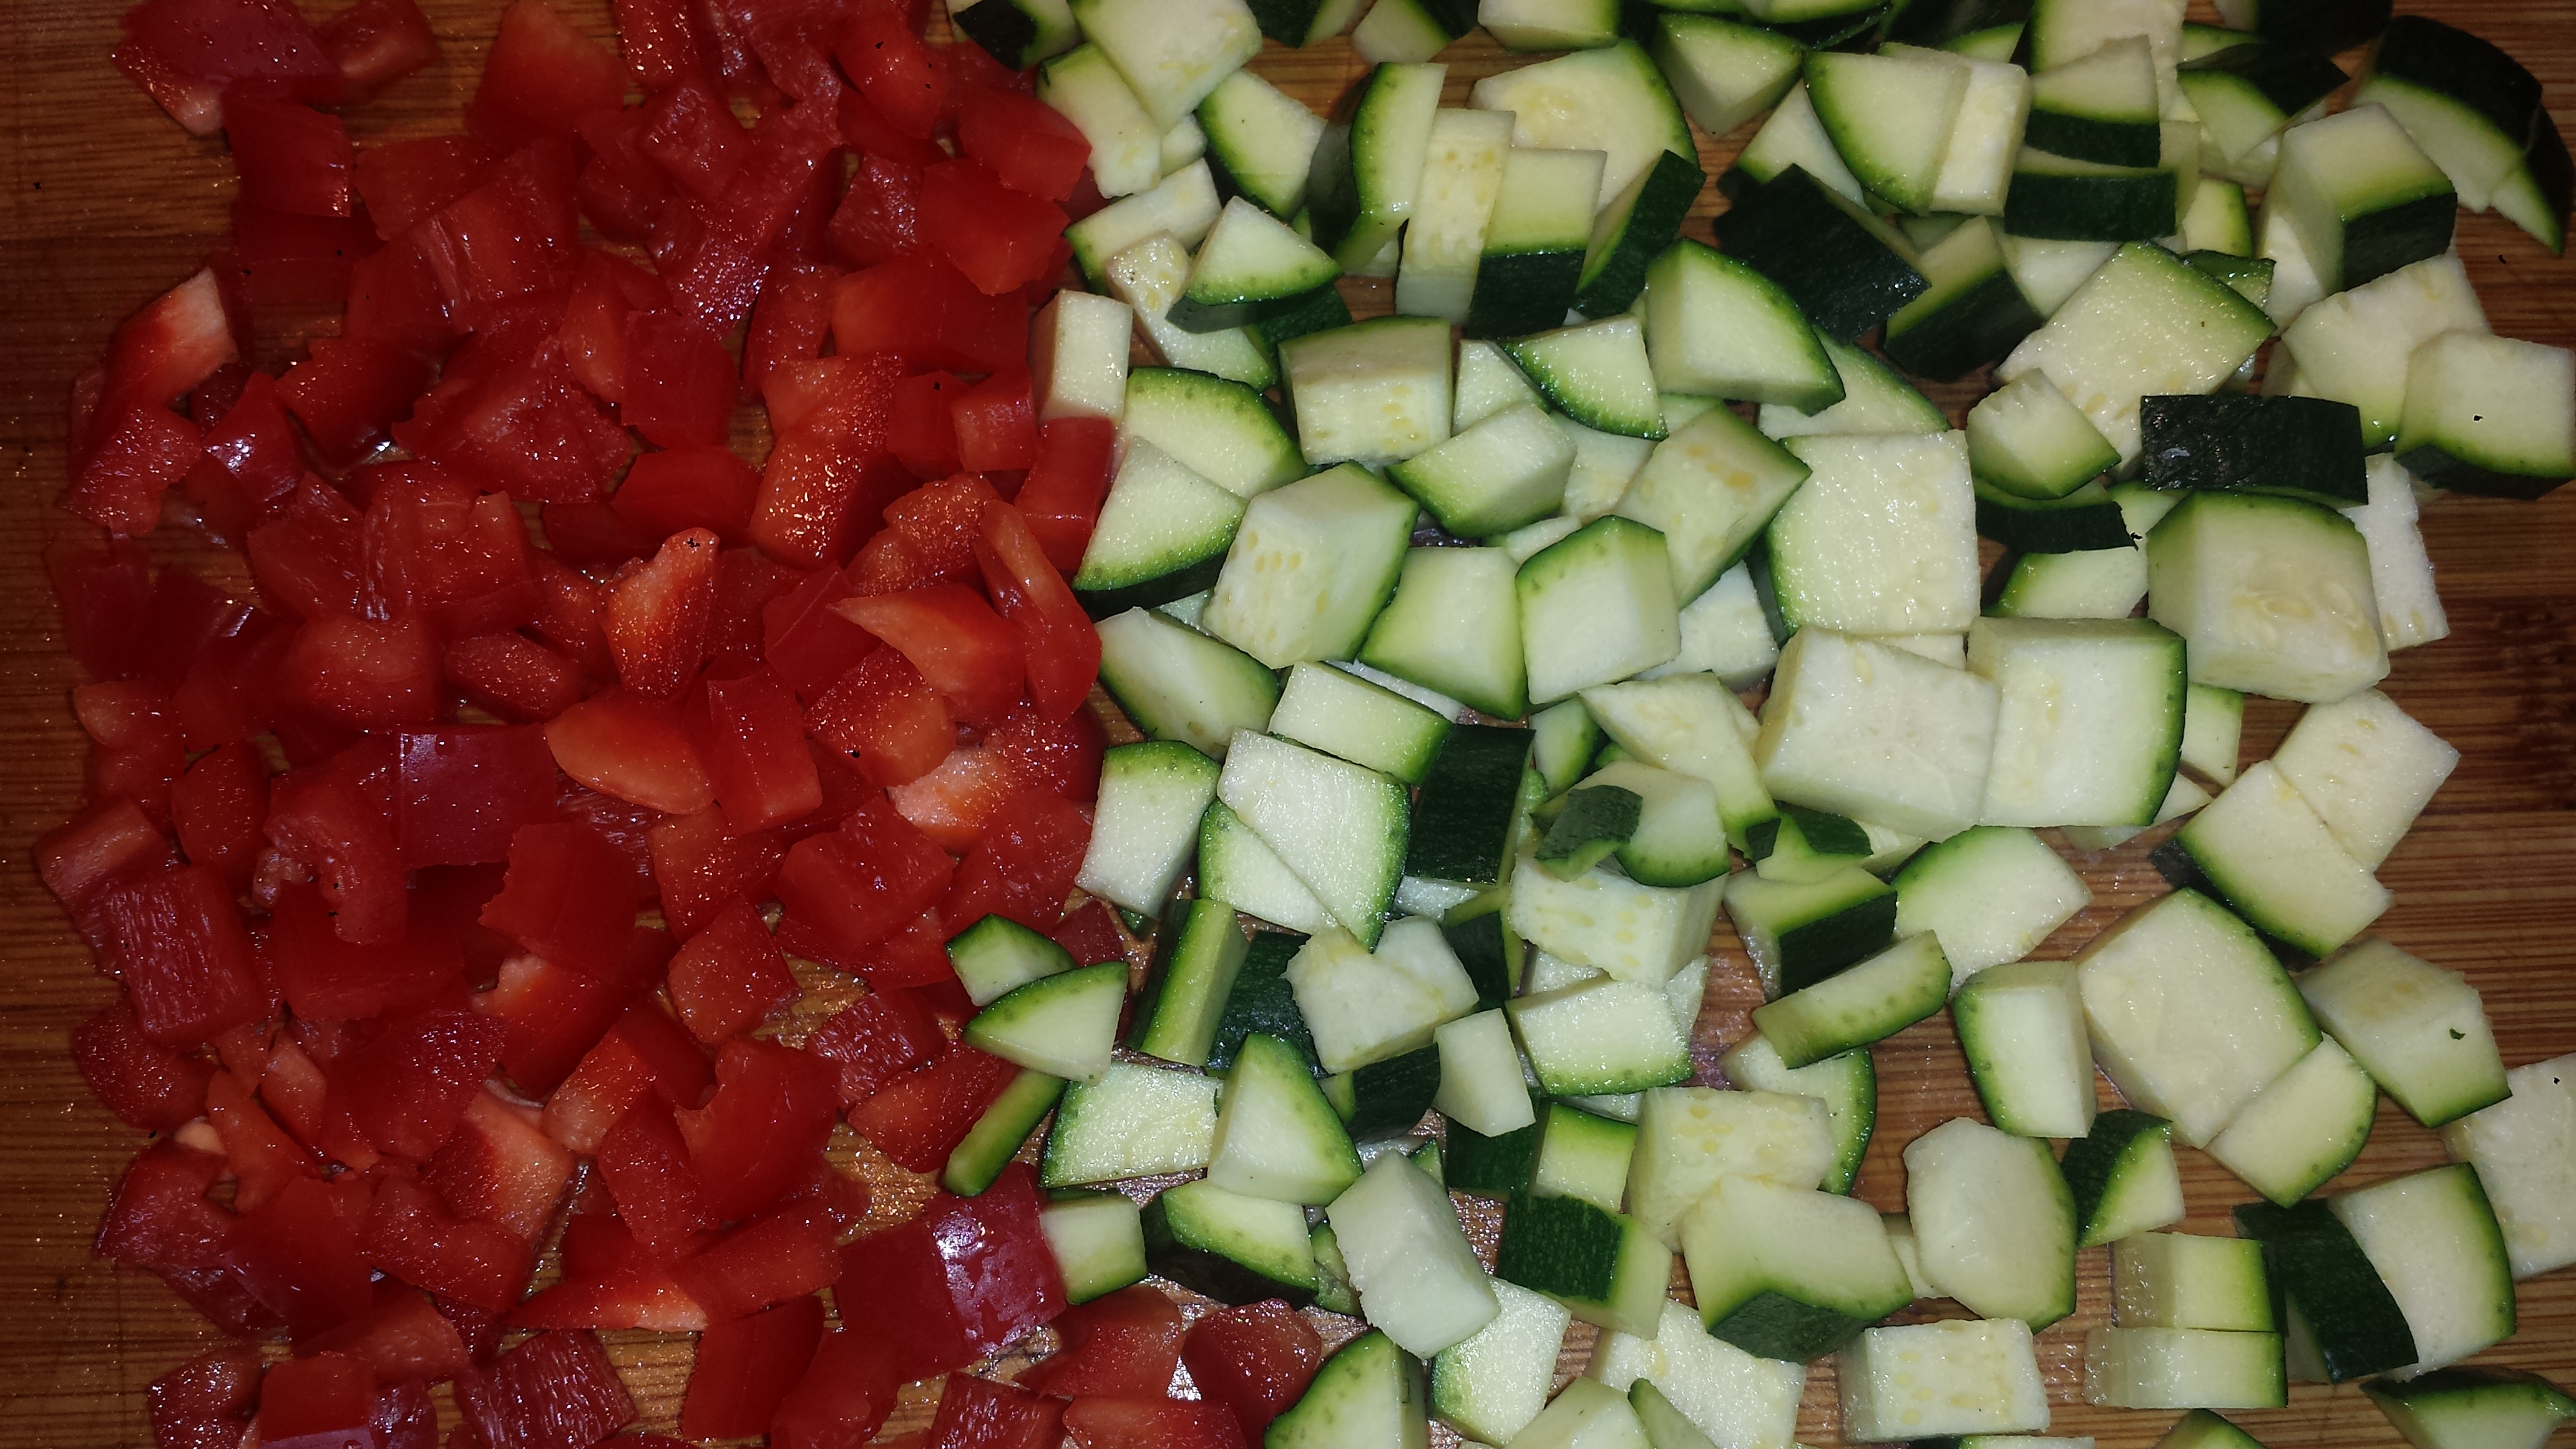
1 red bell pepper
1 green bell pepper
2-3 scallions
1/2 cup dry roasted peanuts (or more)
KUNG PAO SAUCE
2 Tbsn soy sauce (or wheat free Tamari)
1 Tbsn balsamic vinegar
2 Tbsn hoisin sauce
1 Tbsn red chili paste
1 tsp red pepper flakes (or more)
1 Tbsn sugar
1 Tbsn cornstarch
2 Tbsn water

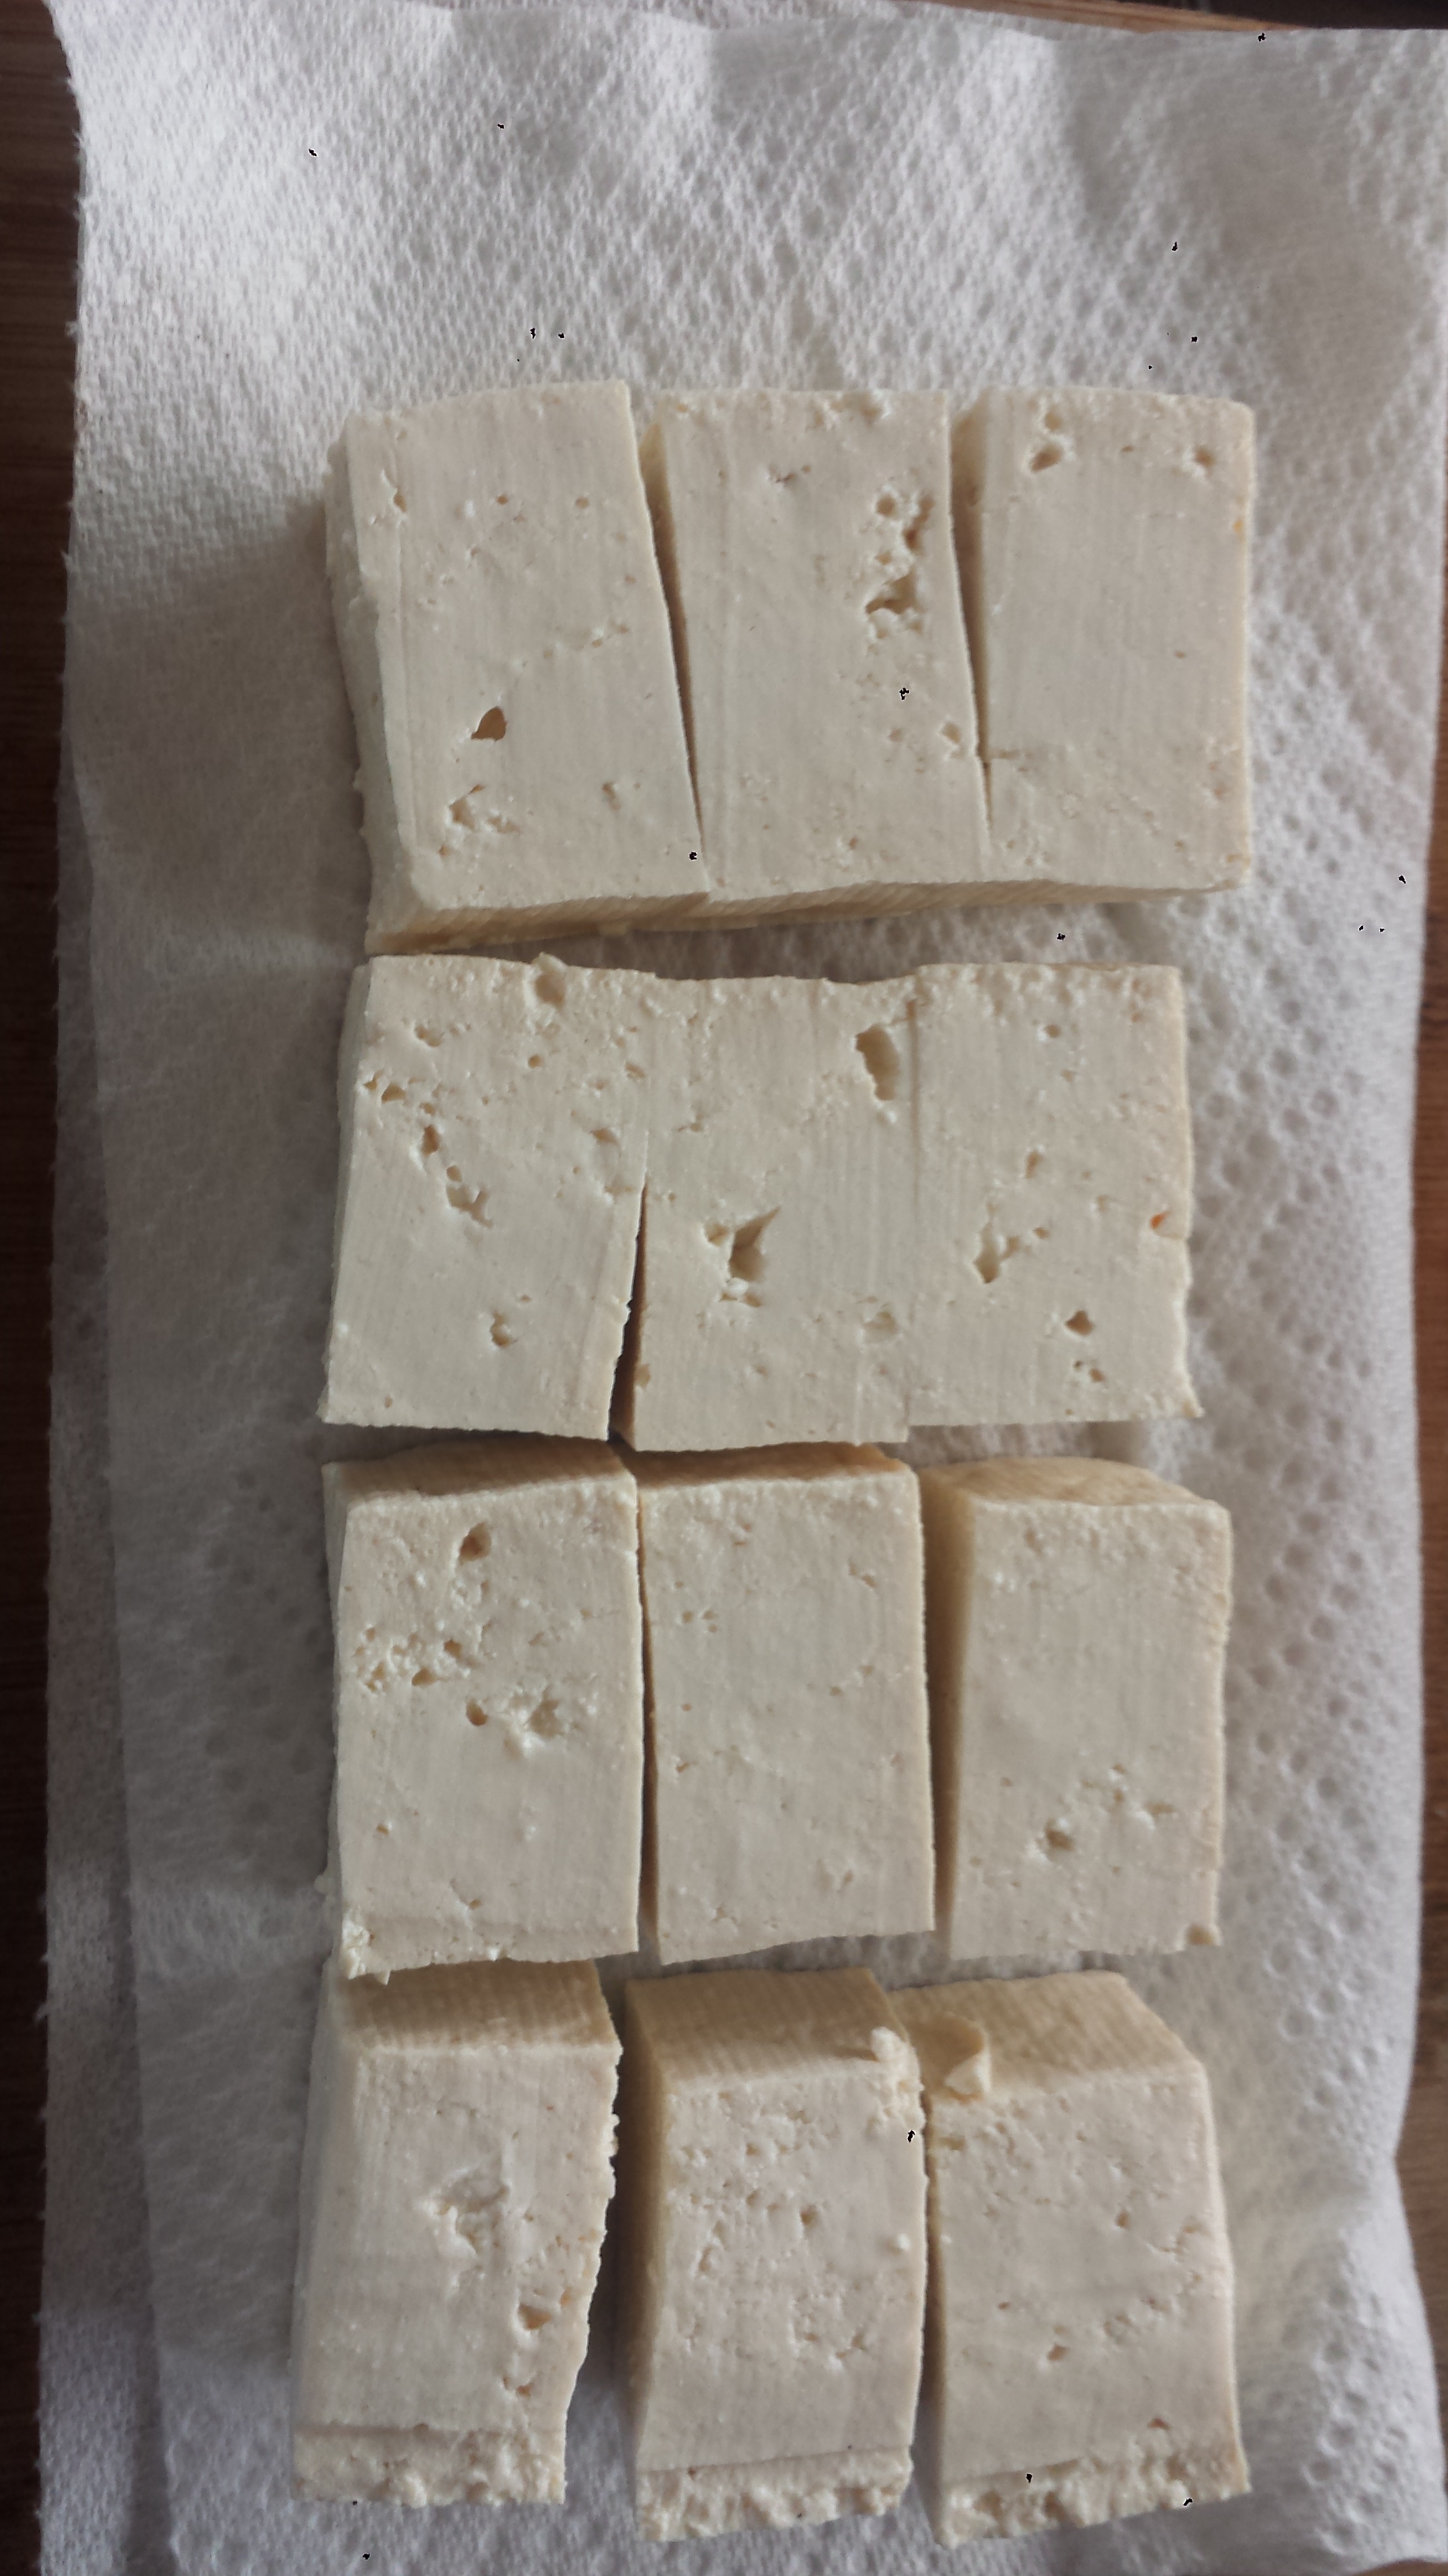
- Drain block of tofu and cut into 1/2 inch cubes. Place in a single layer on a double thickness of papertowels. Cover with more paper towels and place a heavy object on top (like a cast iron pan) to help press out water. Let sit at least 10 minutes.

- Using a spiralizer fitted with a shredder blade (this makes a thicker noodle), or a mandolin fitted with a julienne blade, cut the zucchini into long spaghetti-like strips. If using a spiralizer, cut the strands into pieces that are about 8 inches long.

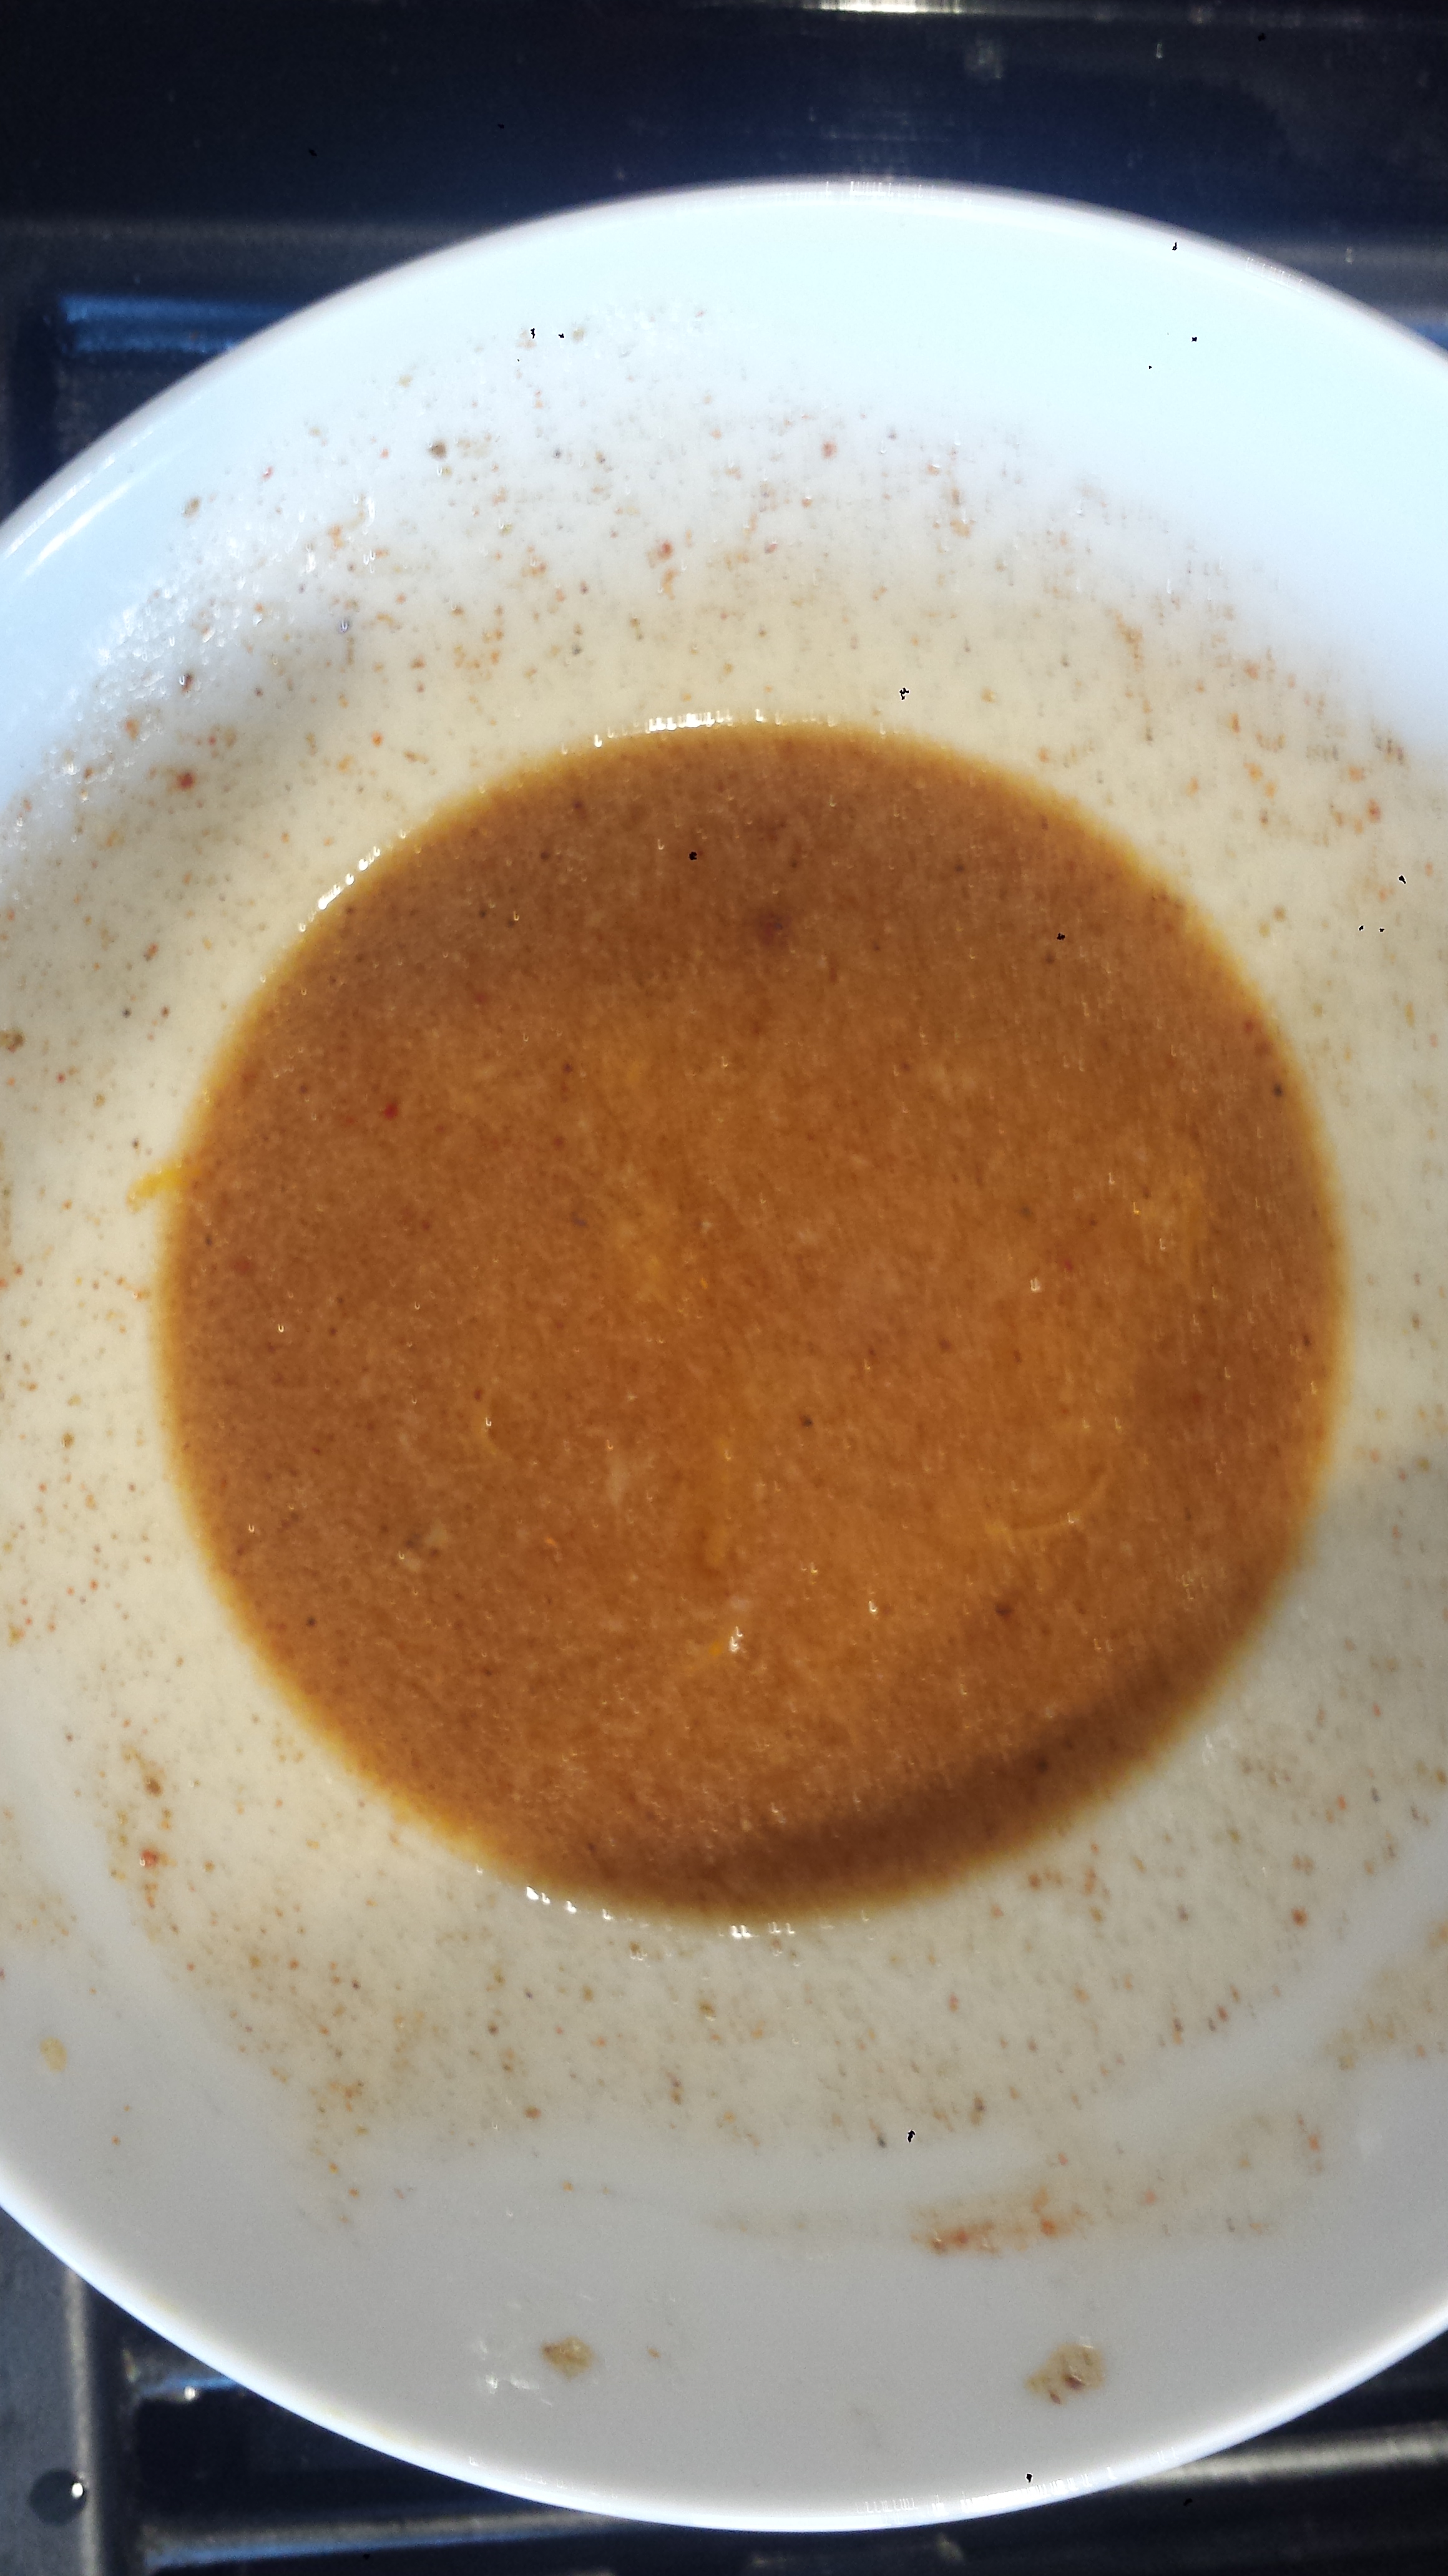
- In a small bowl or measuring cup, whisk together soy sauce, balsamic, hoisin, water, red chili paste, sugar and cornstarch; set aside.

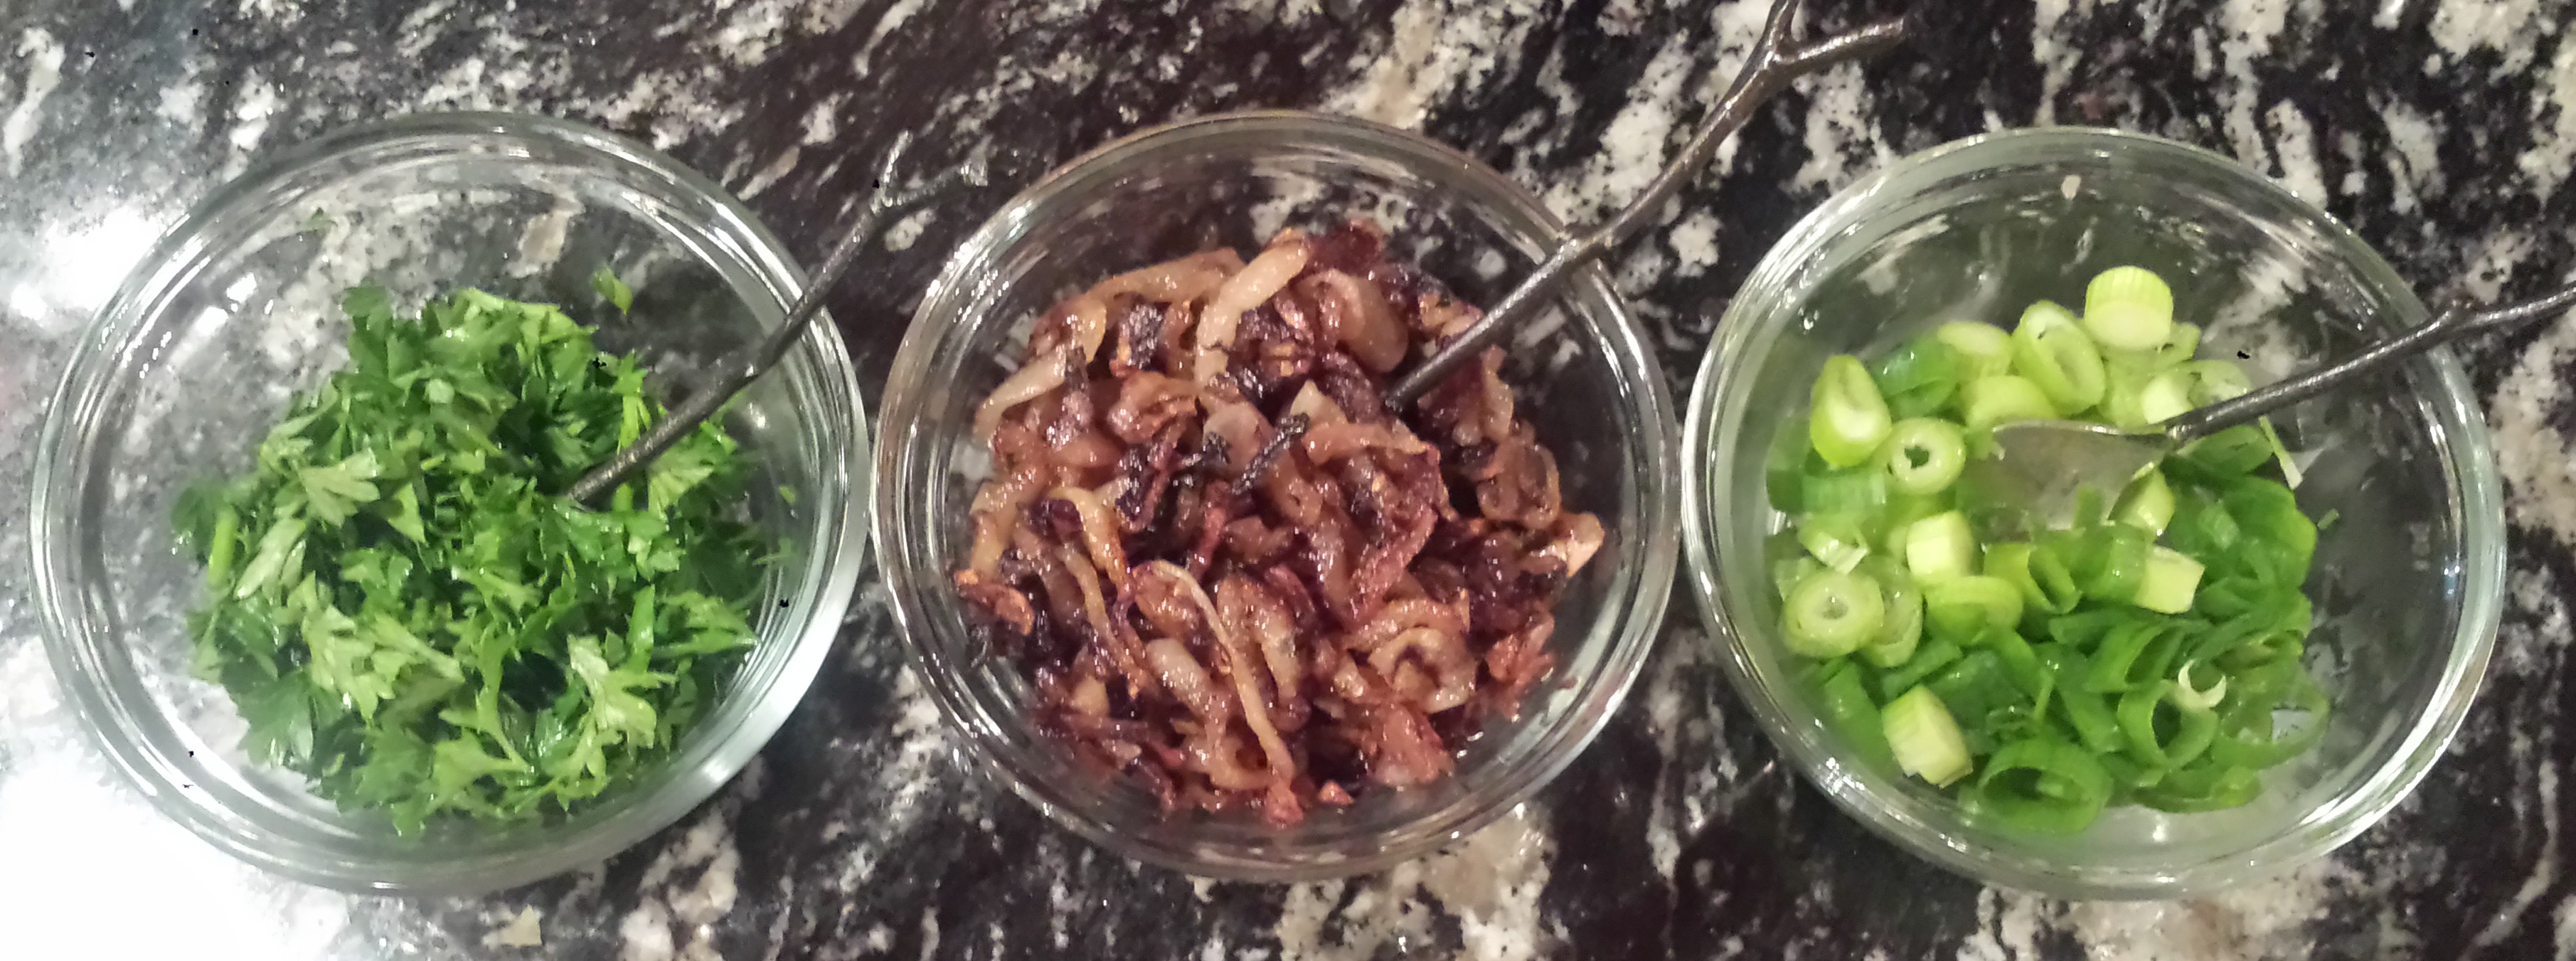
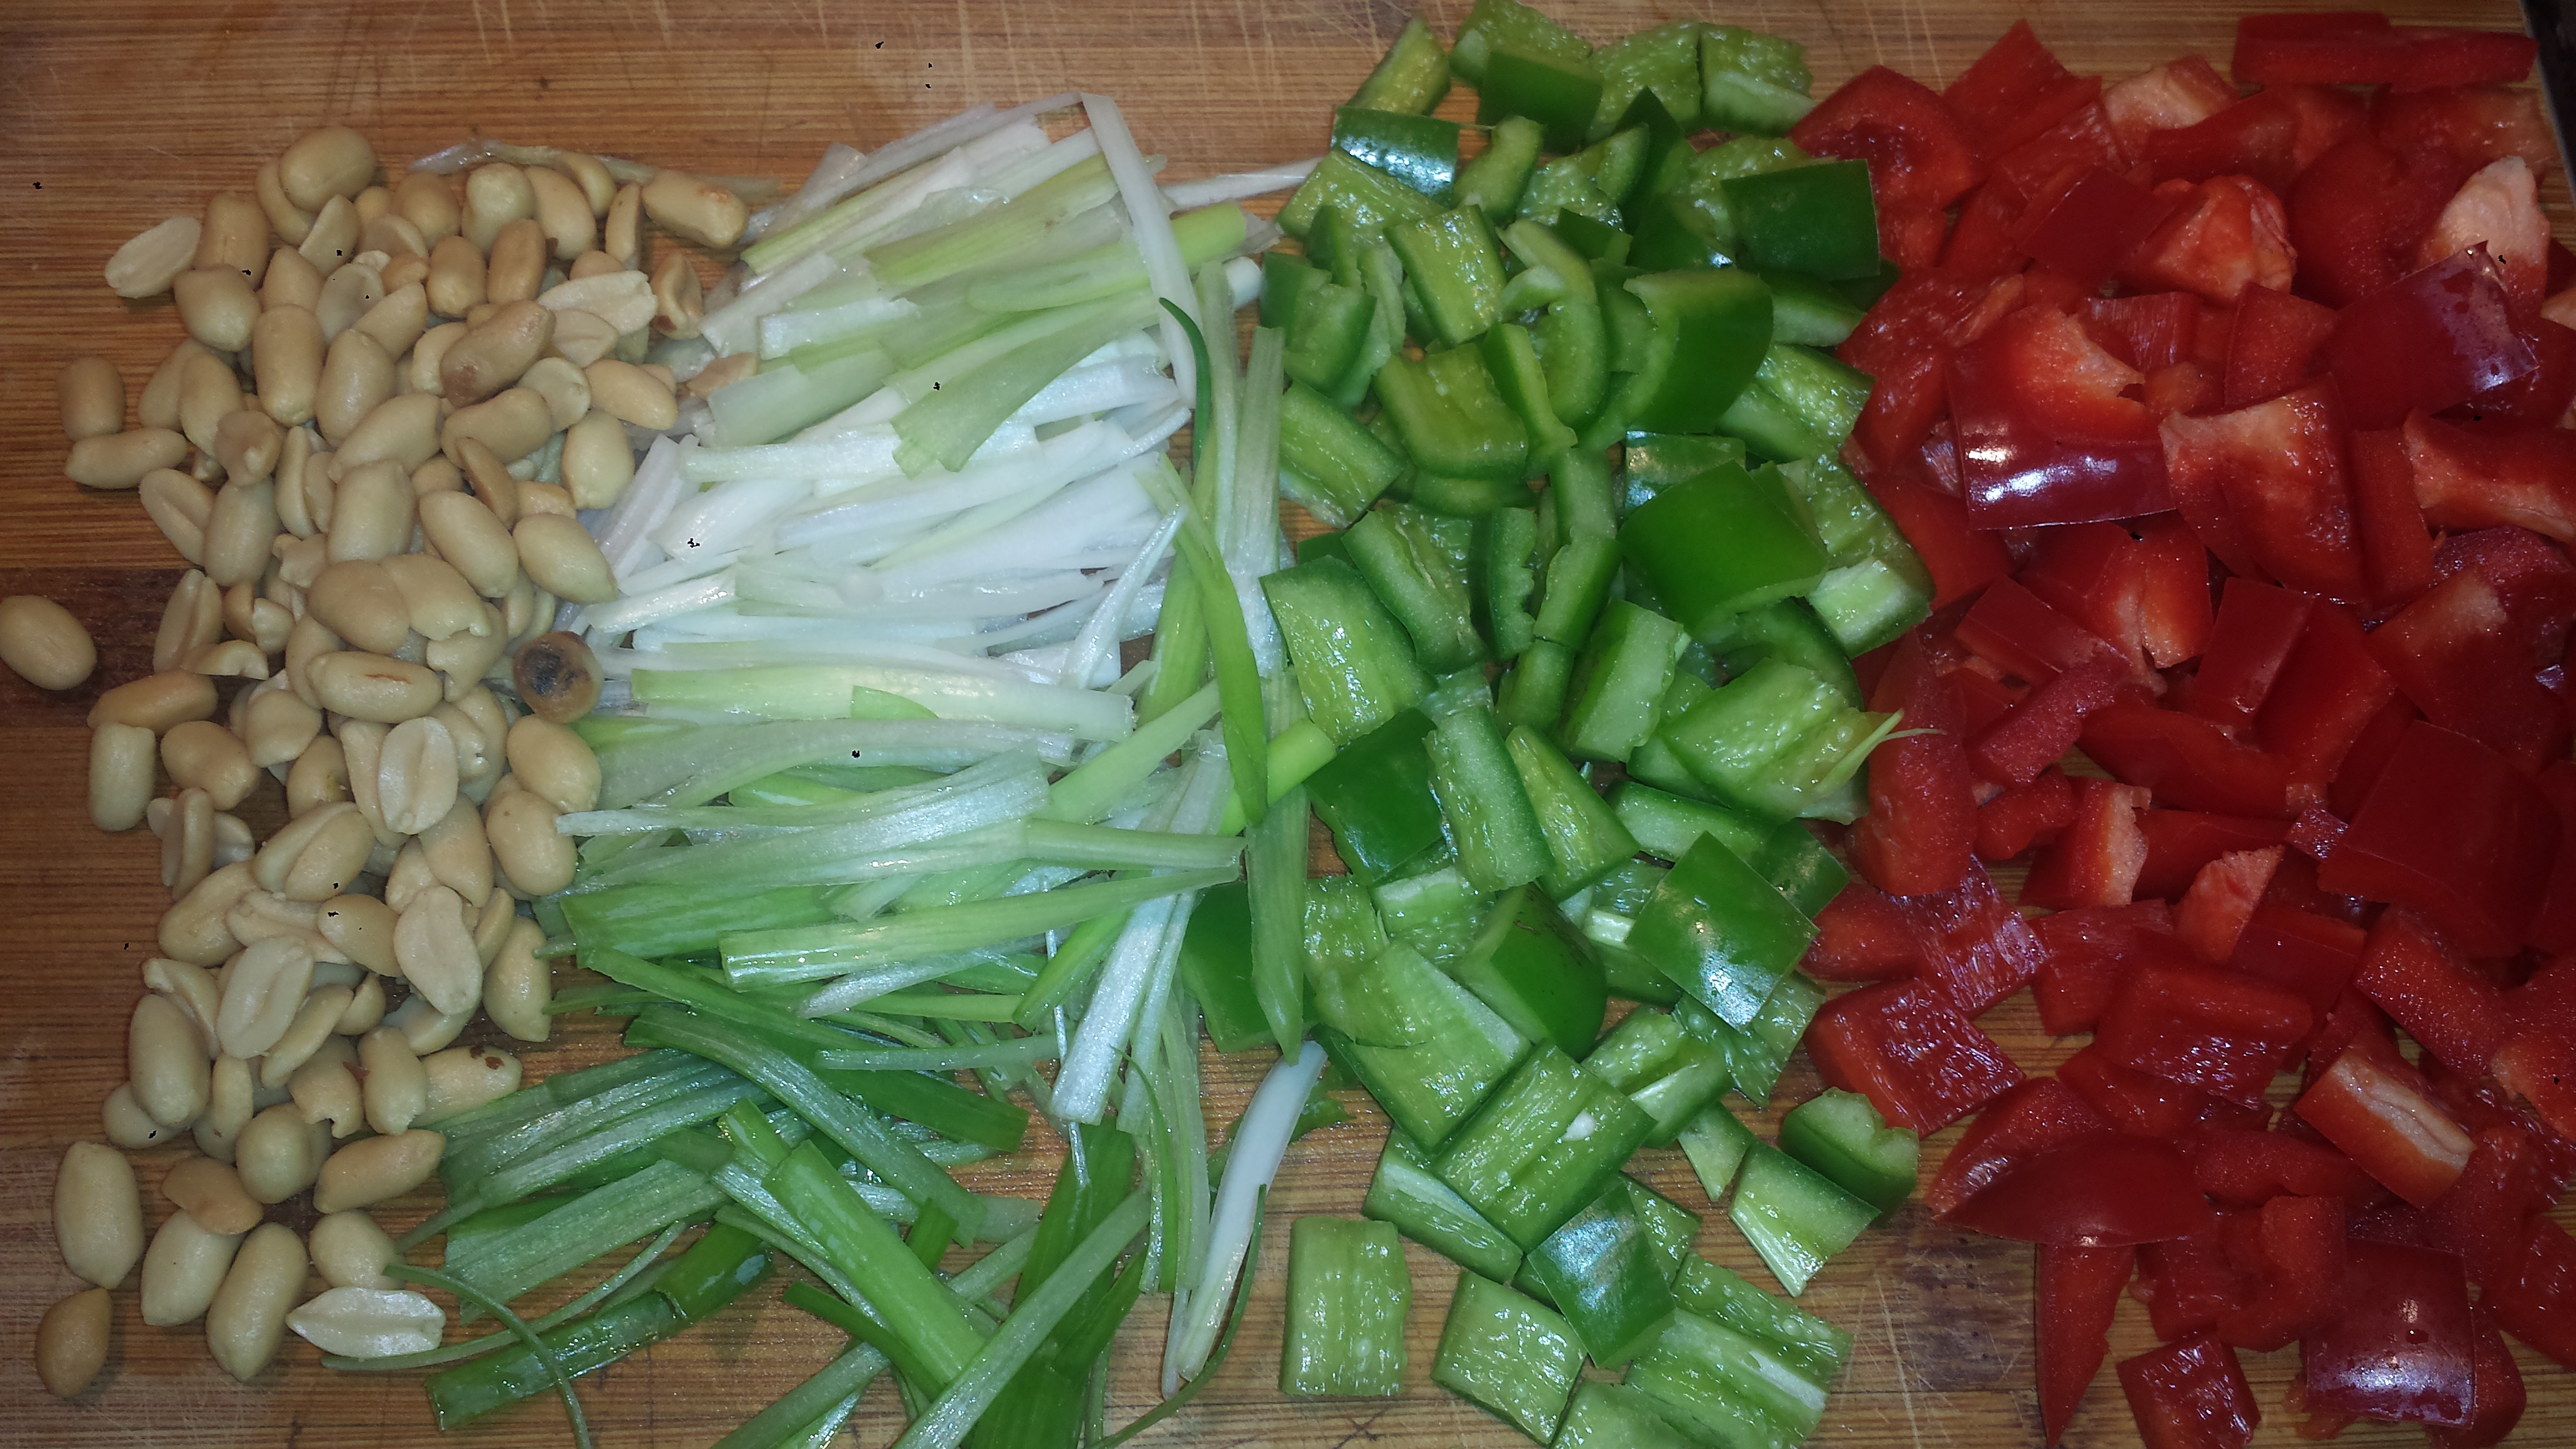
- Cut scallions into one inch pieces, then thinly julienne OR thinly slice into circles.

- Cut bell peppers into 1/2 inch dice. Measure out peanuts and roughly chop them or leave them whole.

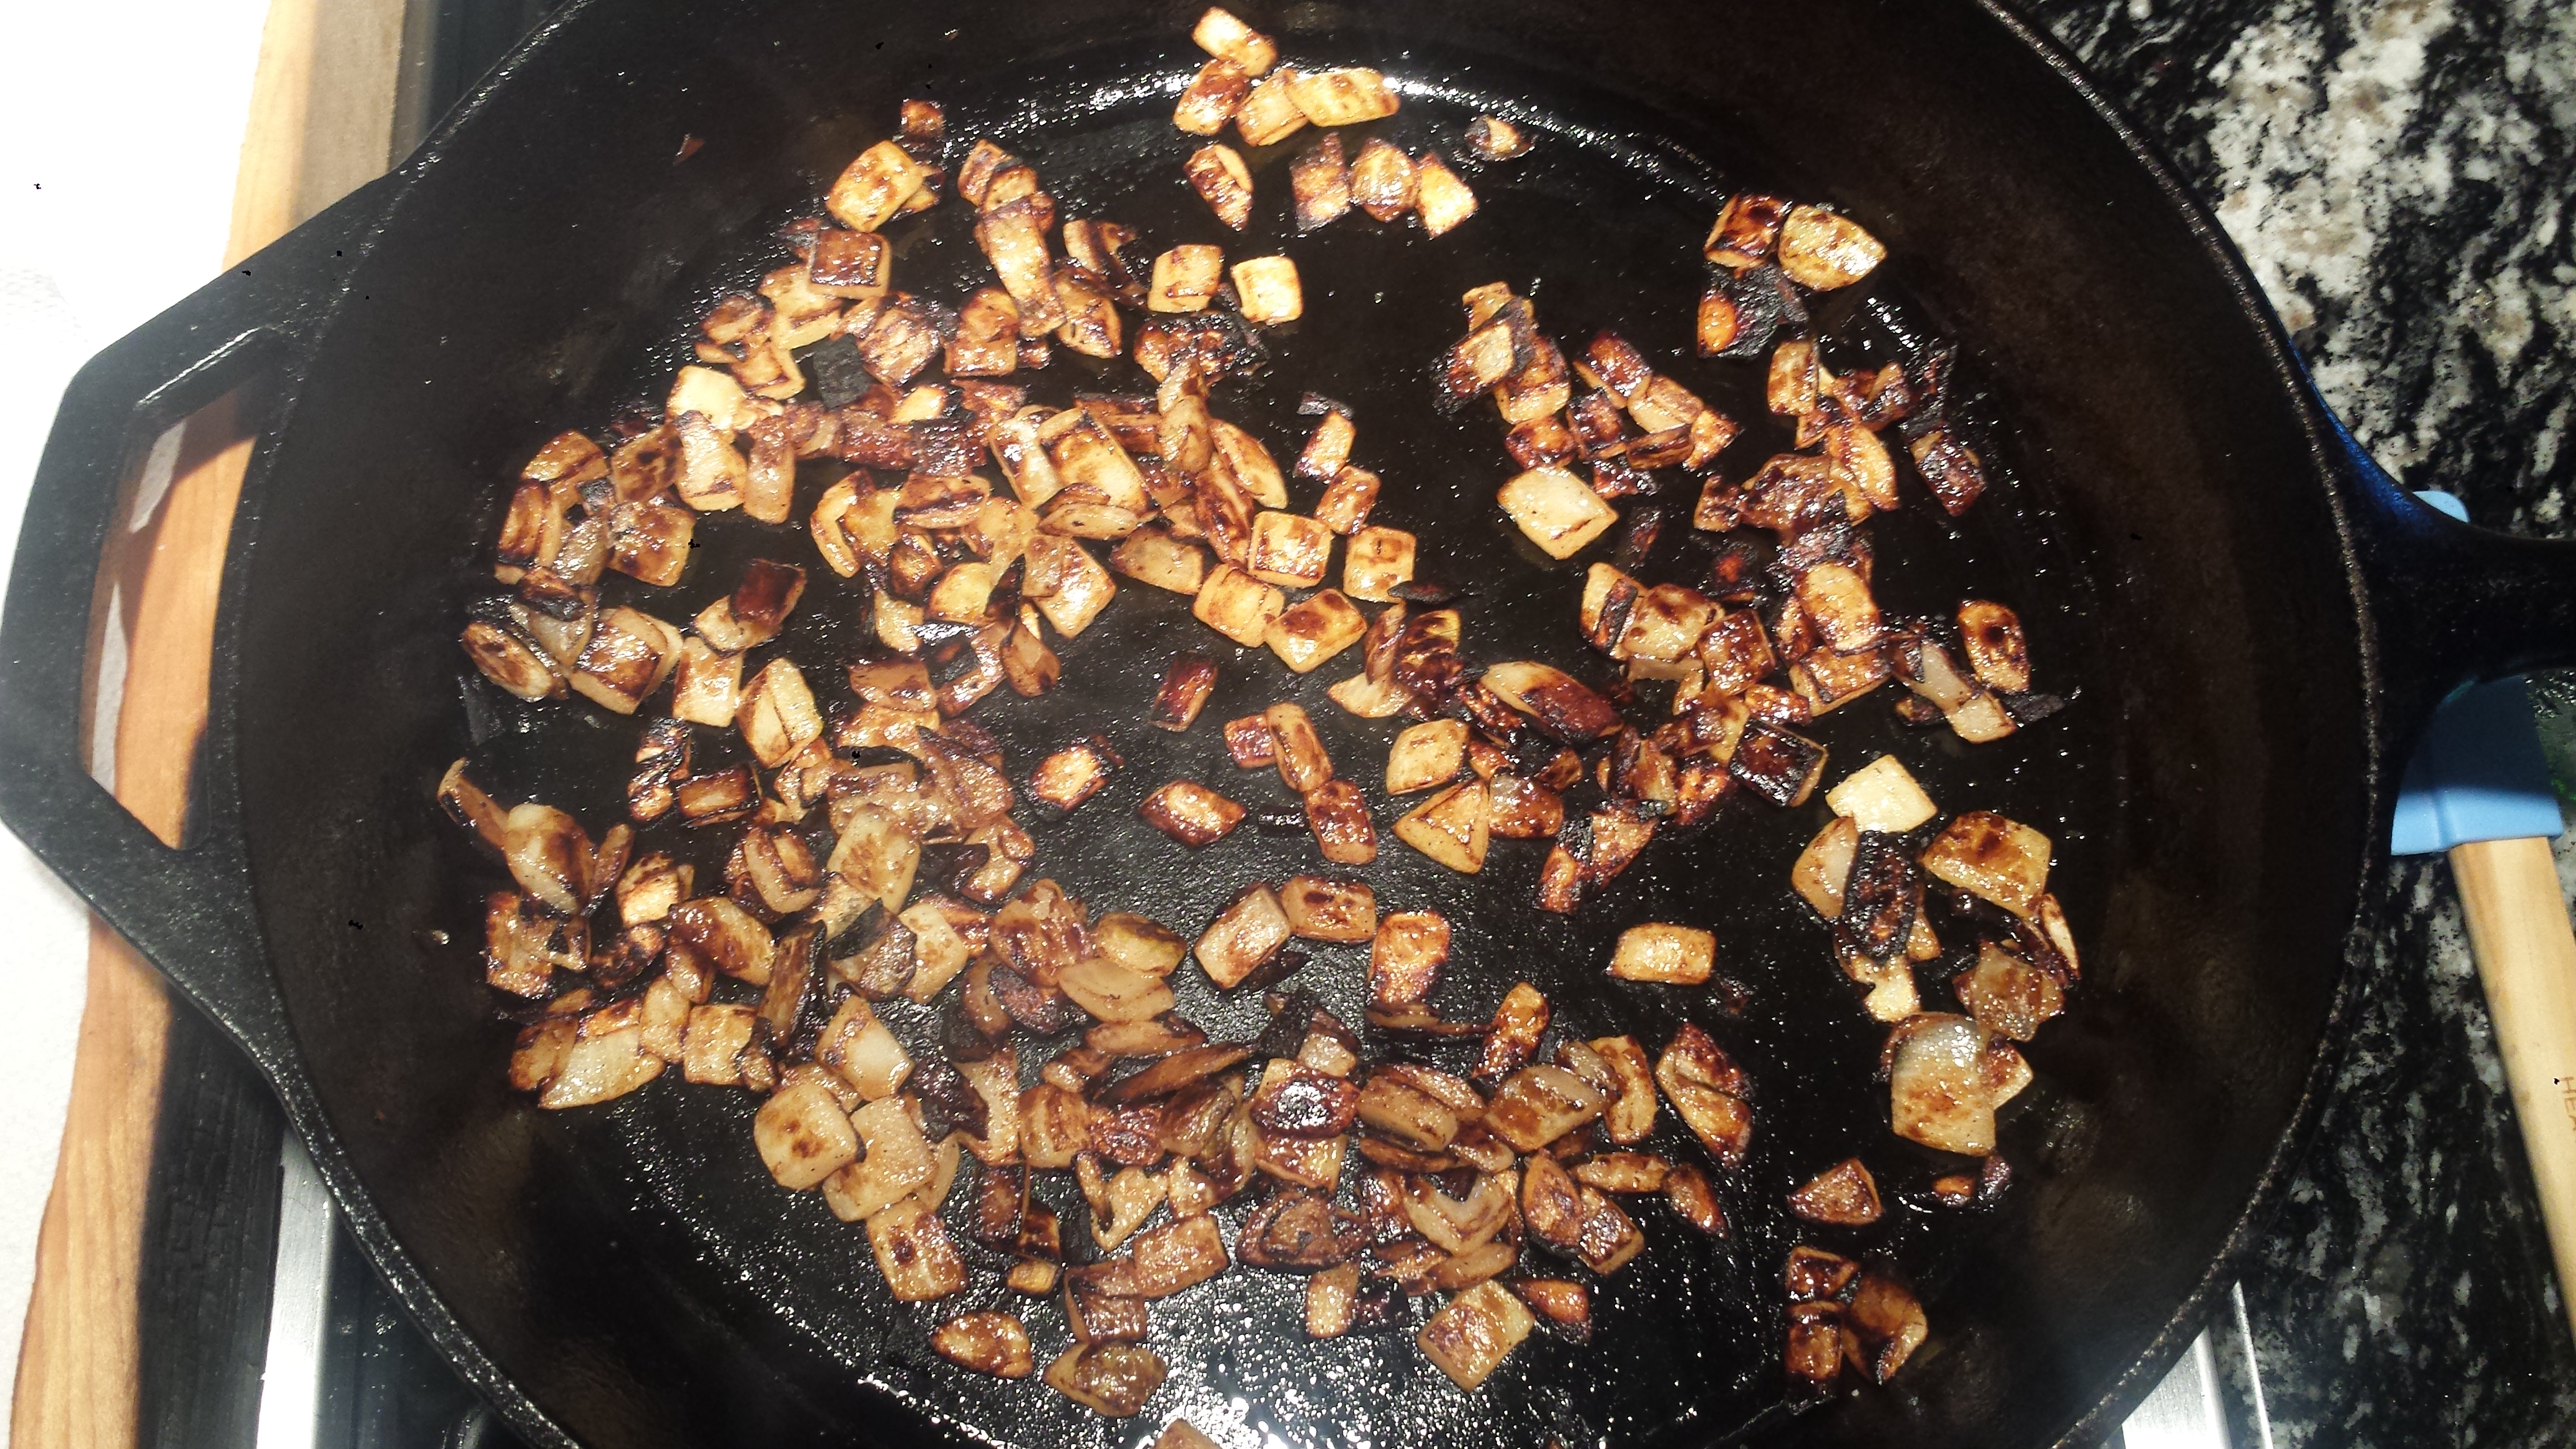
- Heat oil in a large, deep nonstick pan or wok over medium-high heat. Add the cubed tofu, sprinkle with salt and pepper, and cook, stirring several times to brown all six sides, about 5 minutes.

- Remove tofu to a plate and set aside.

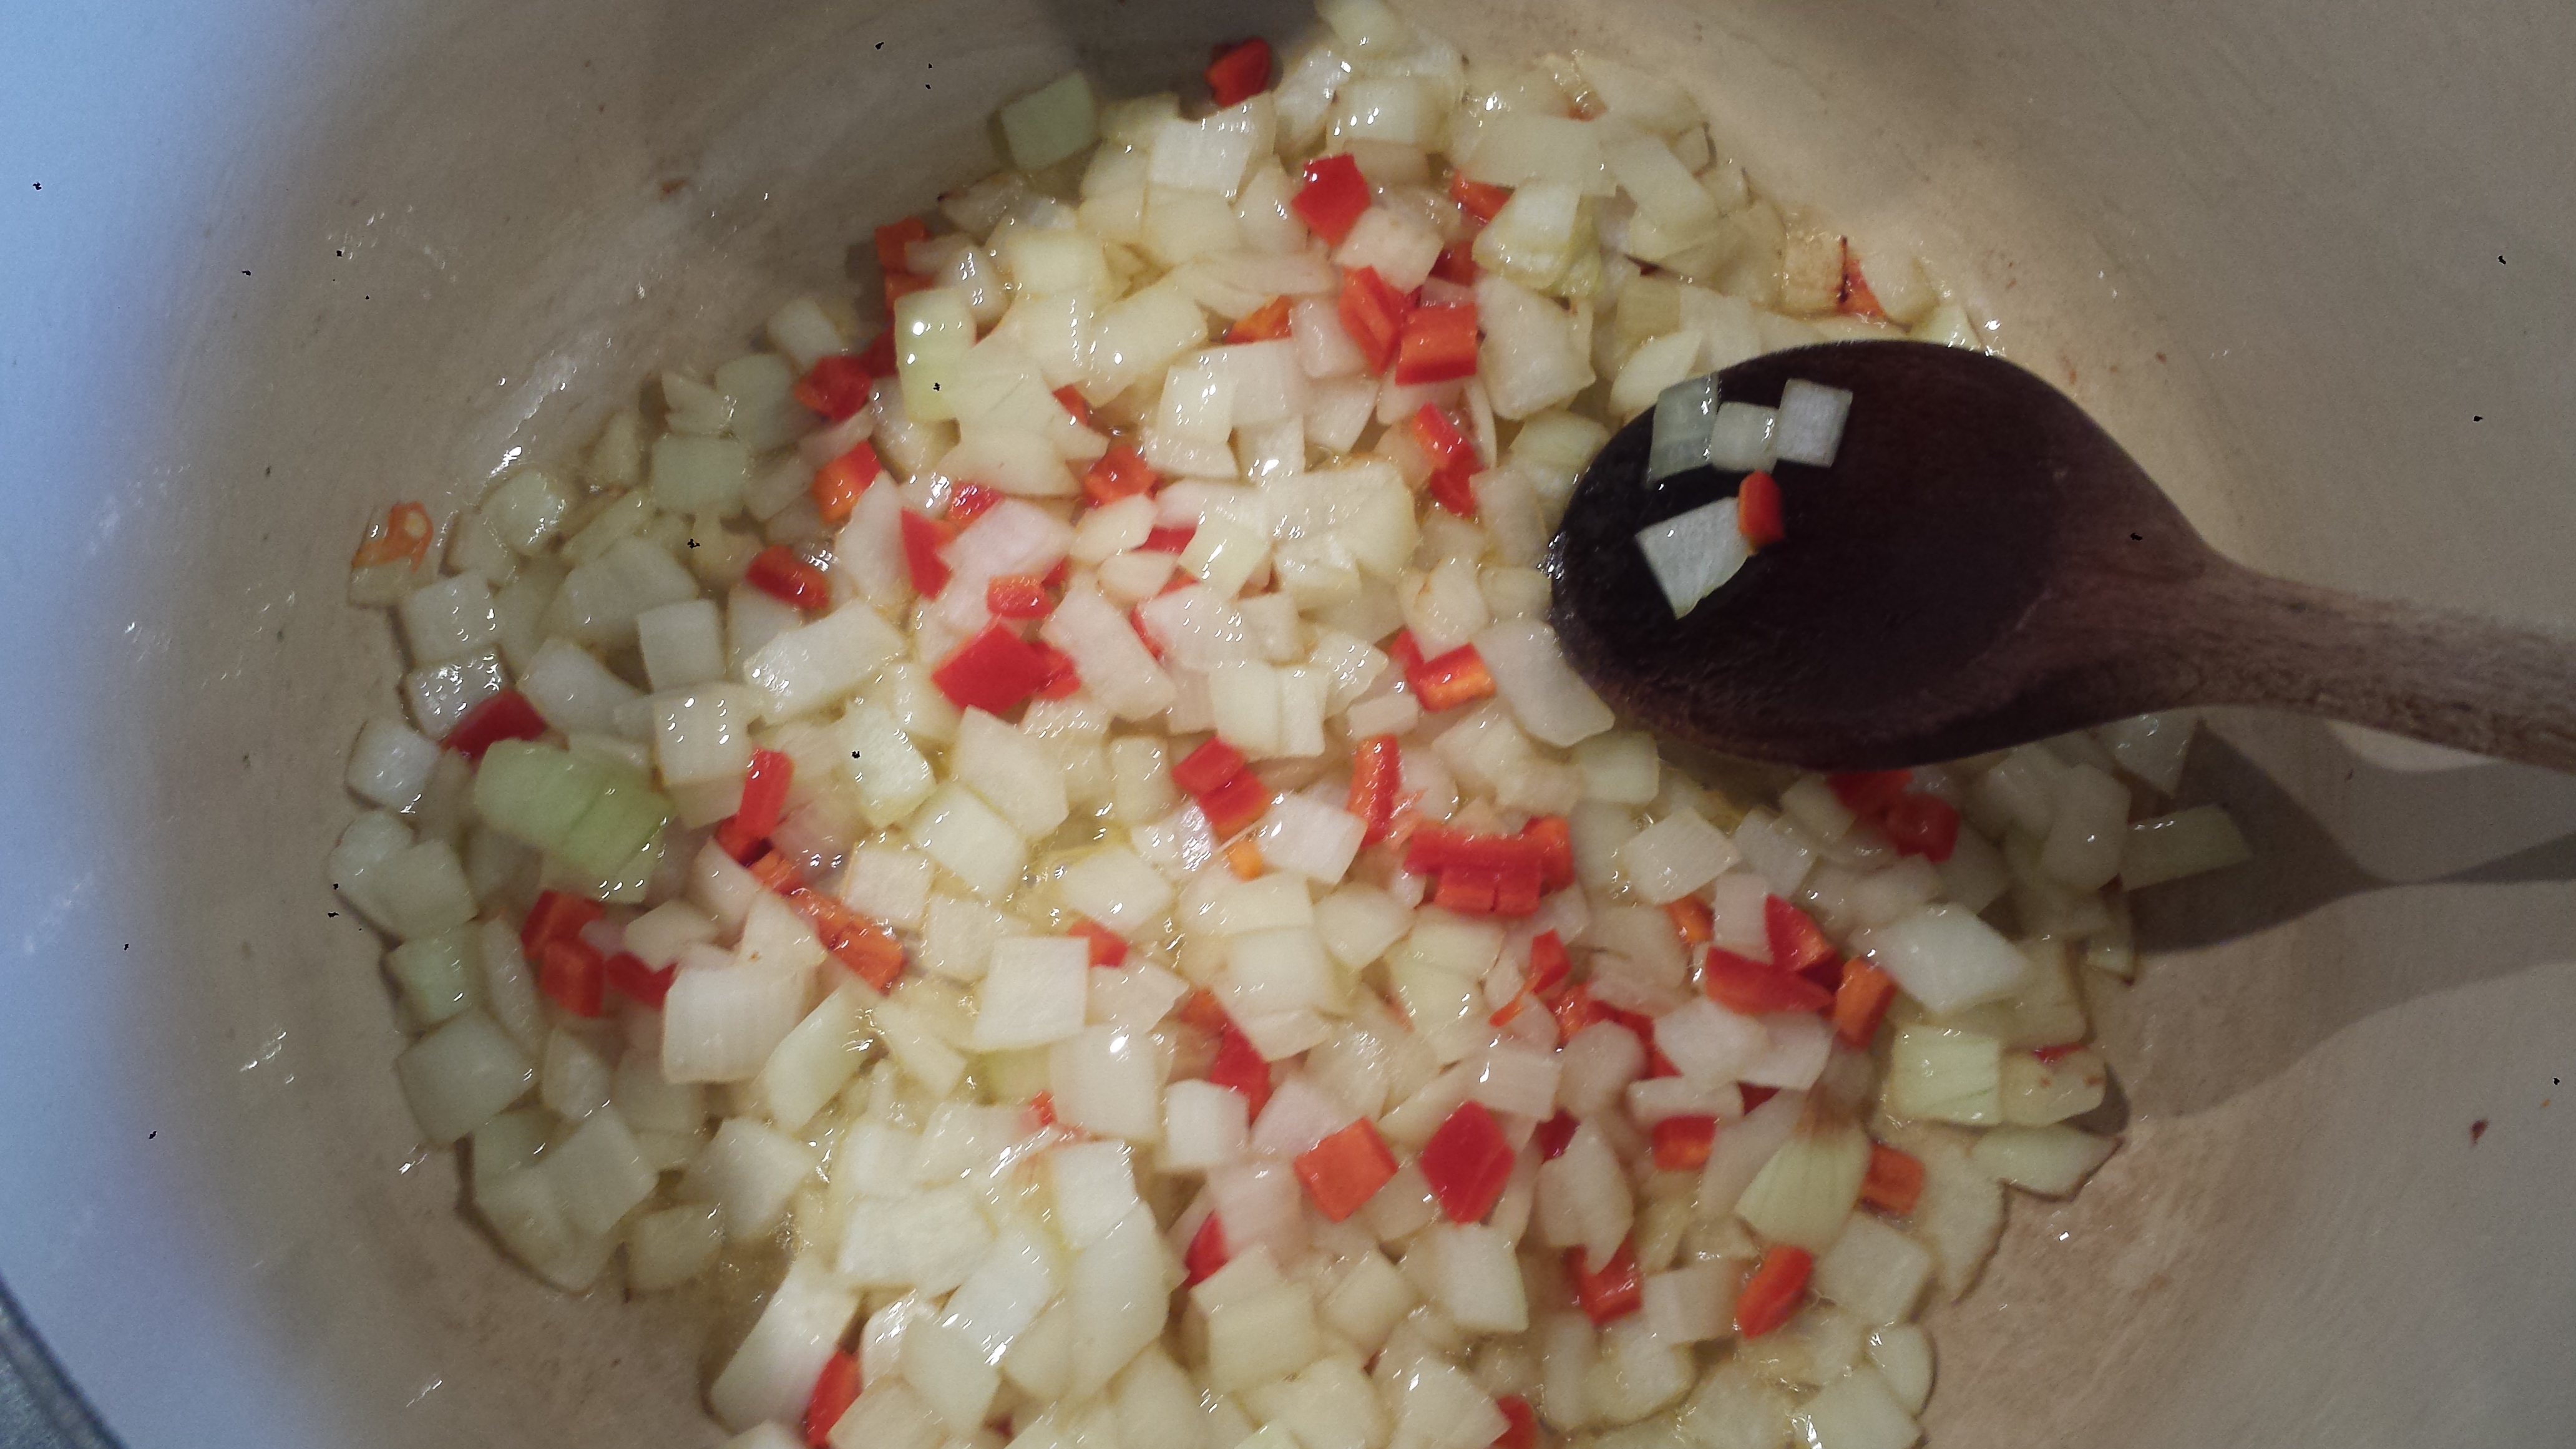
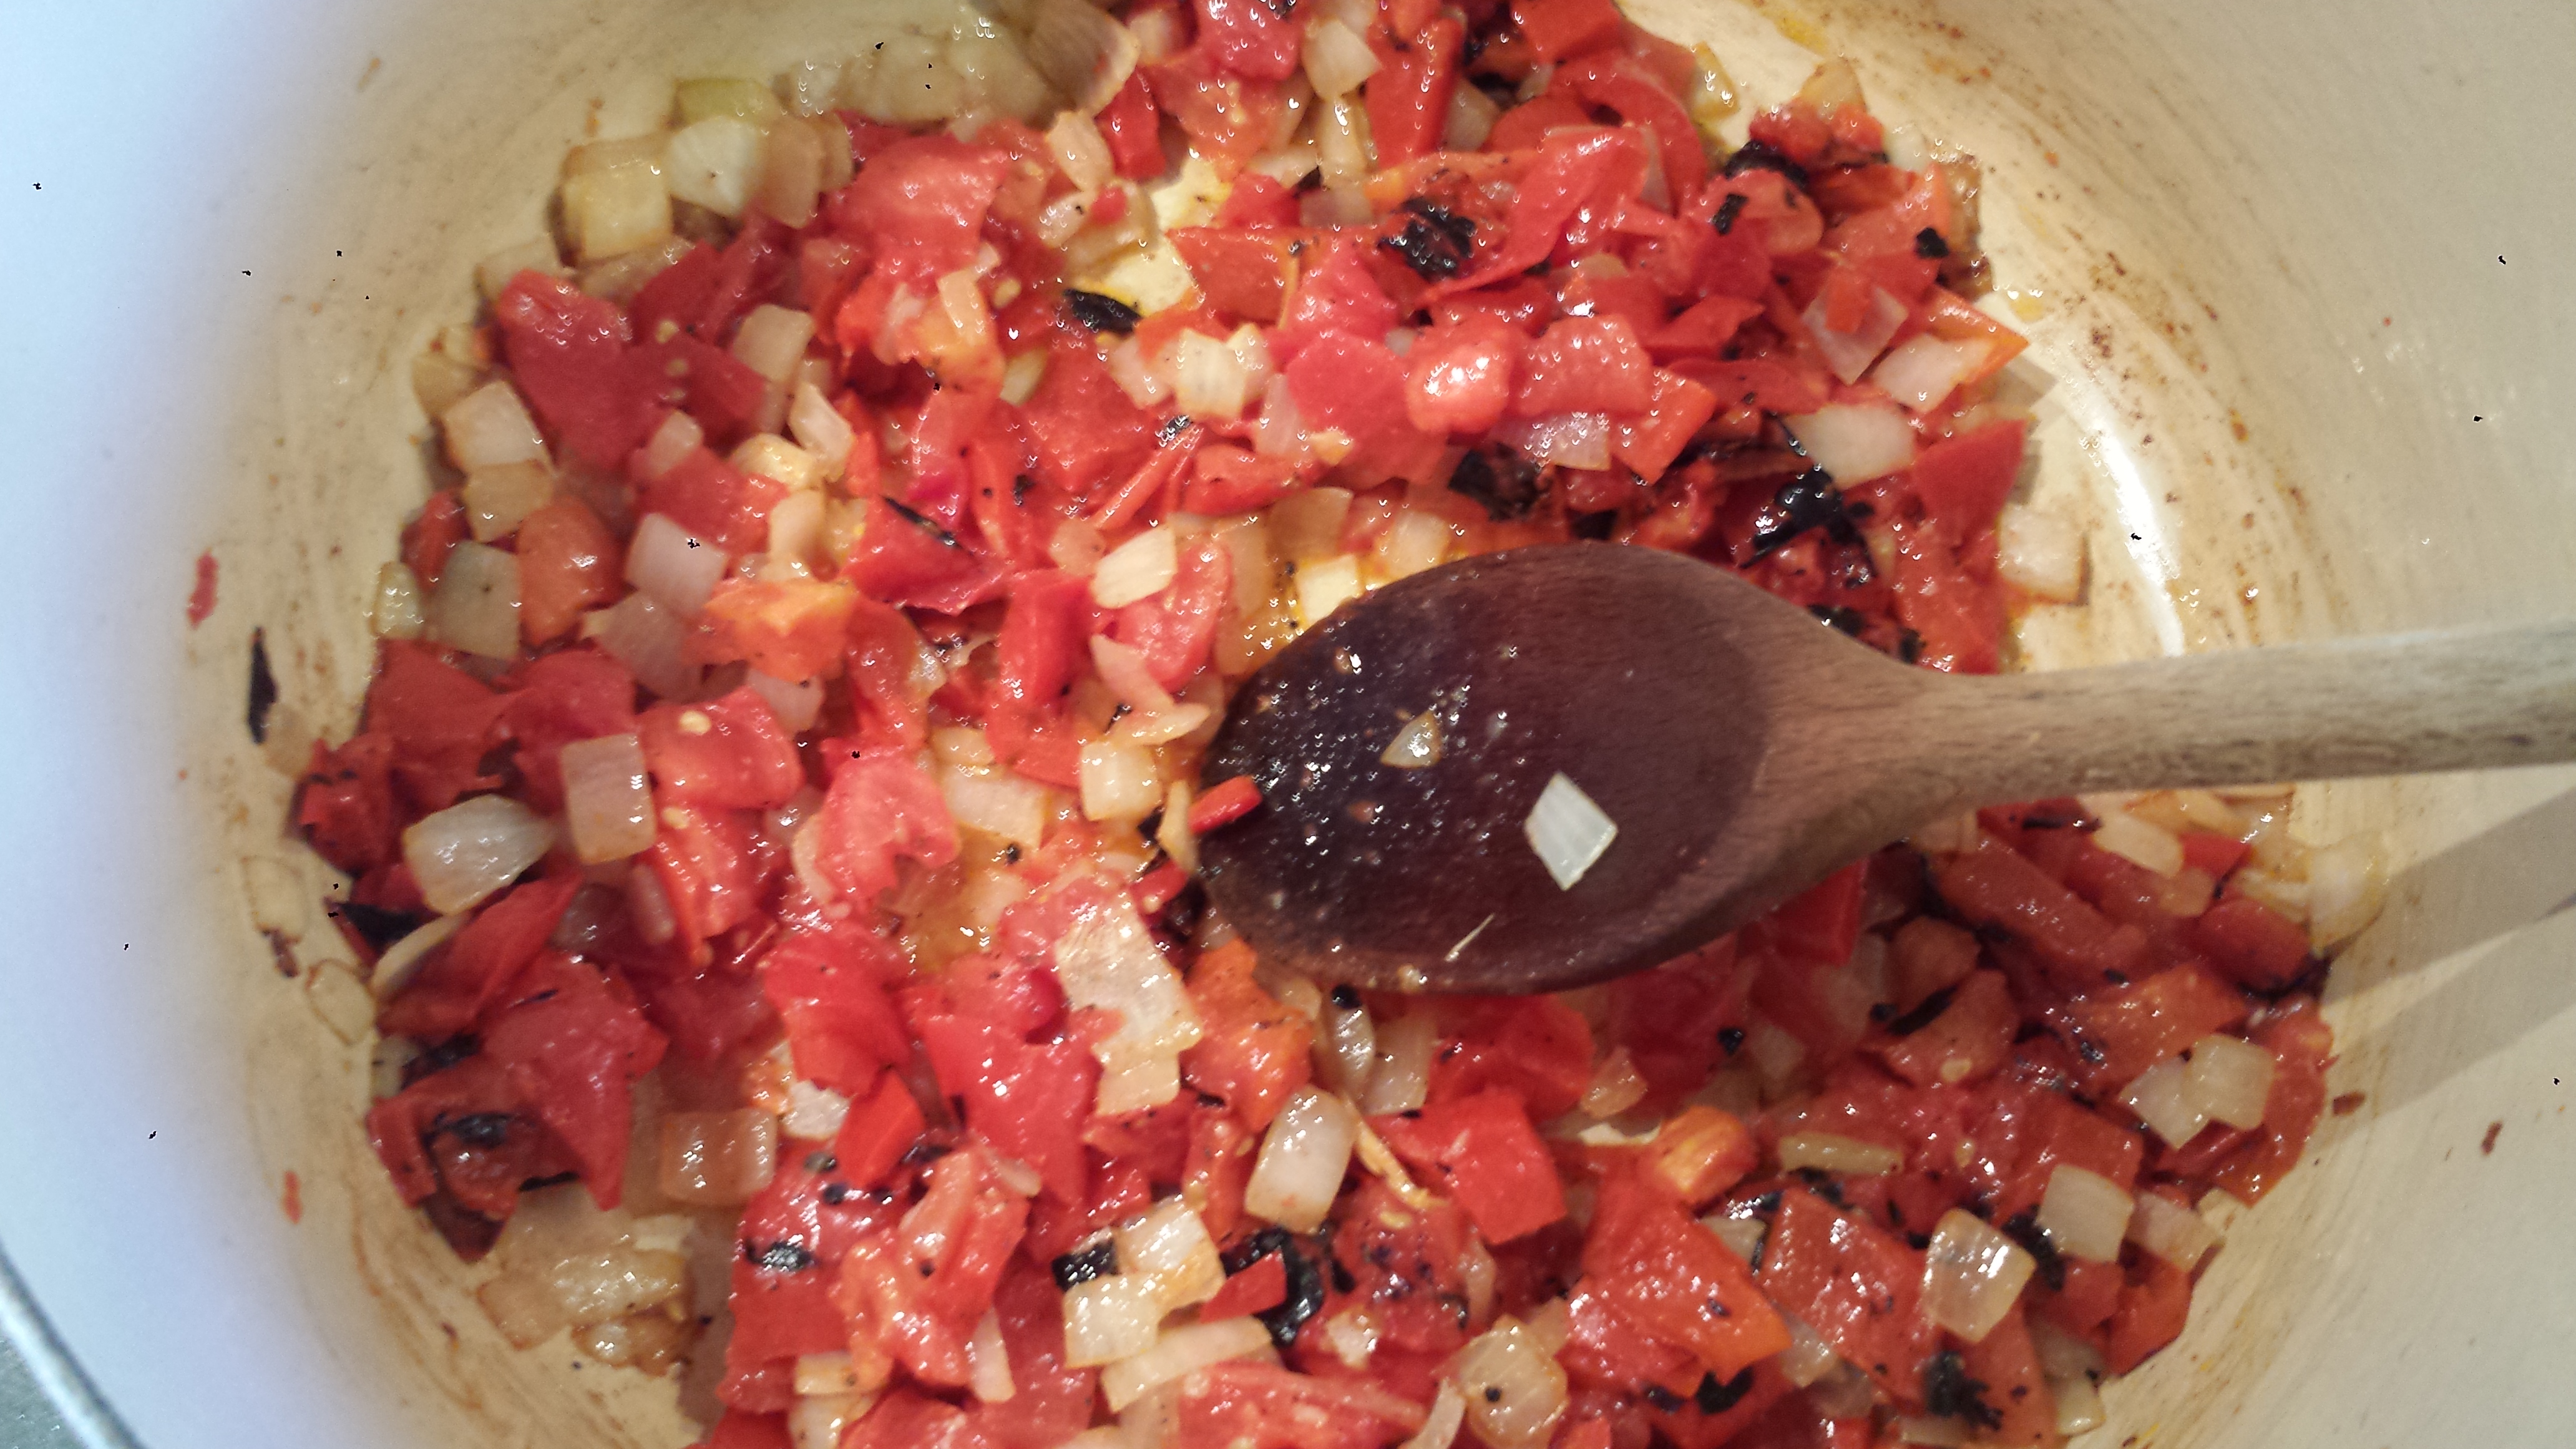
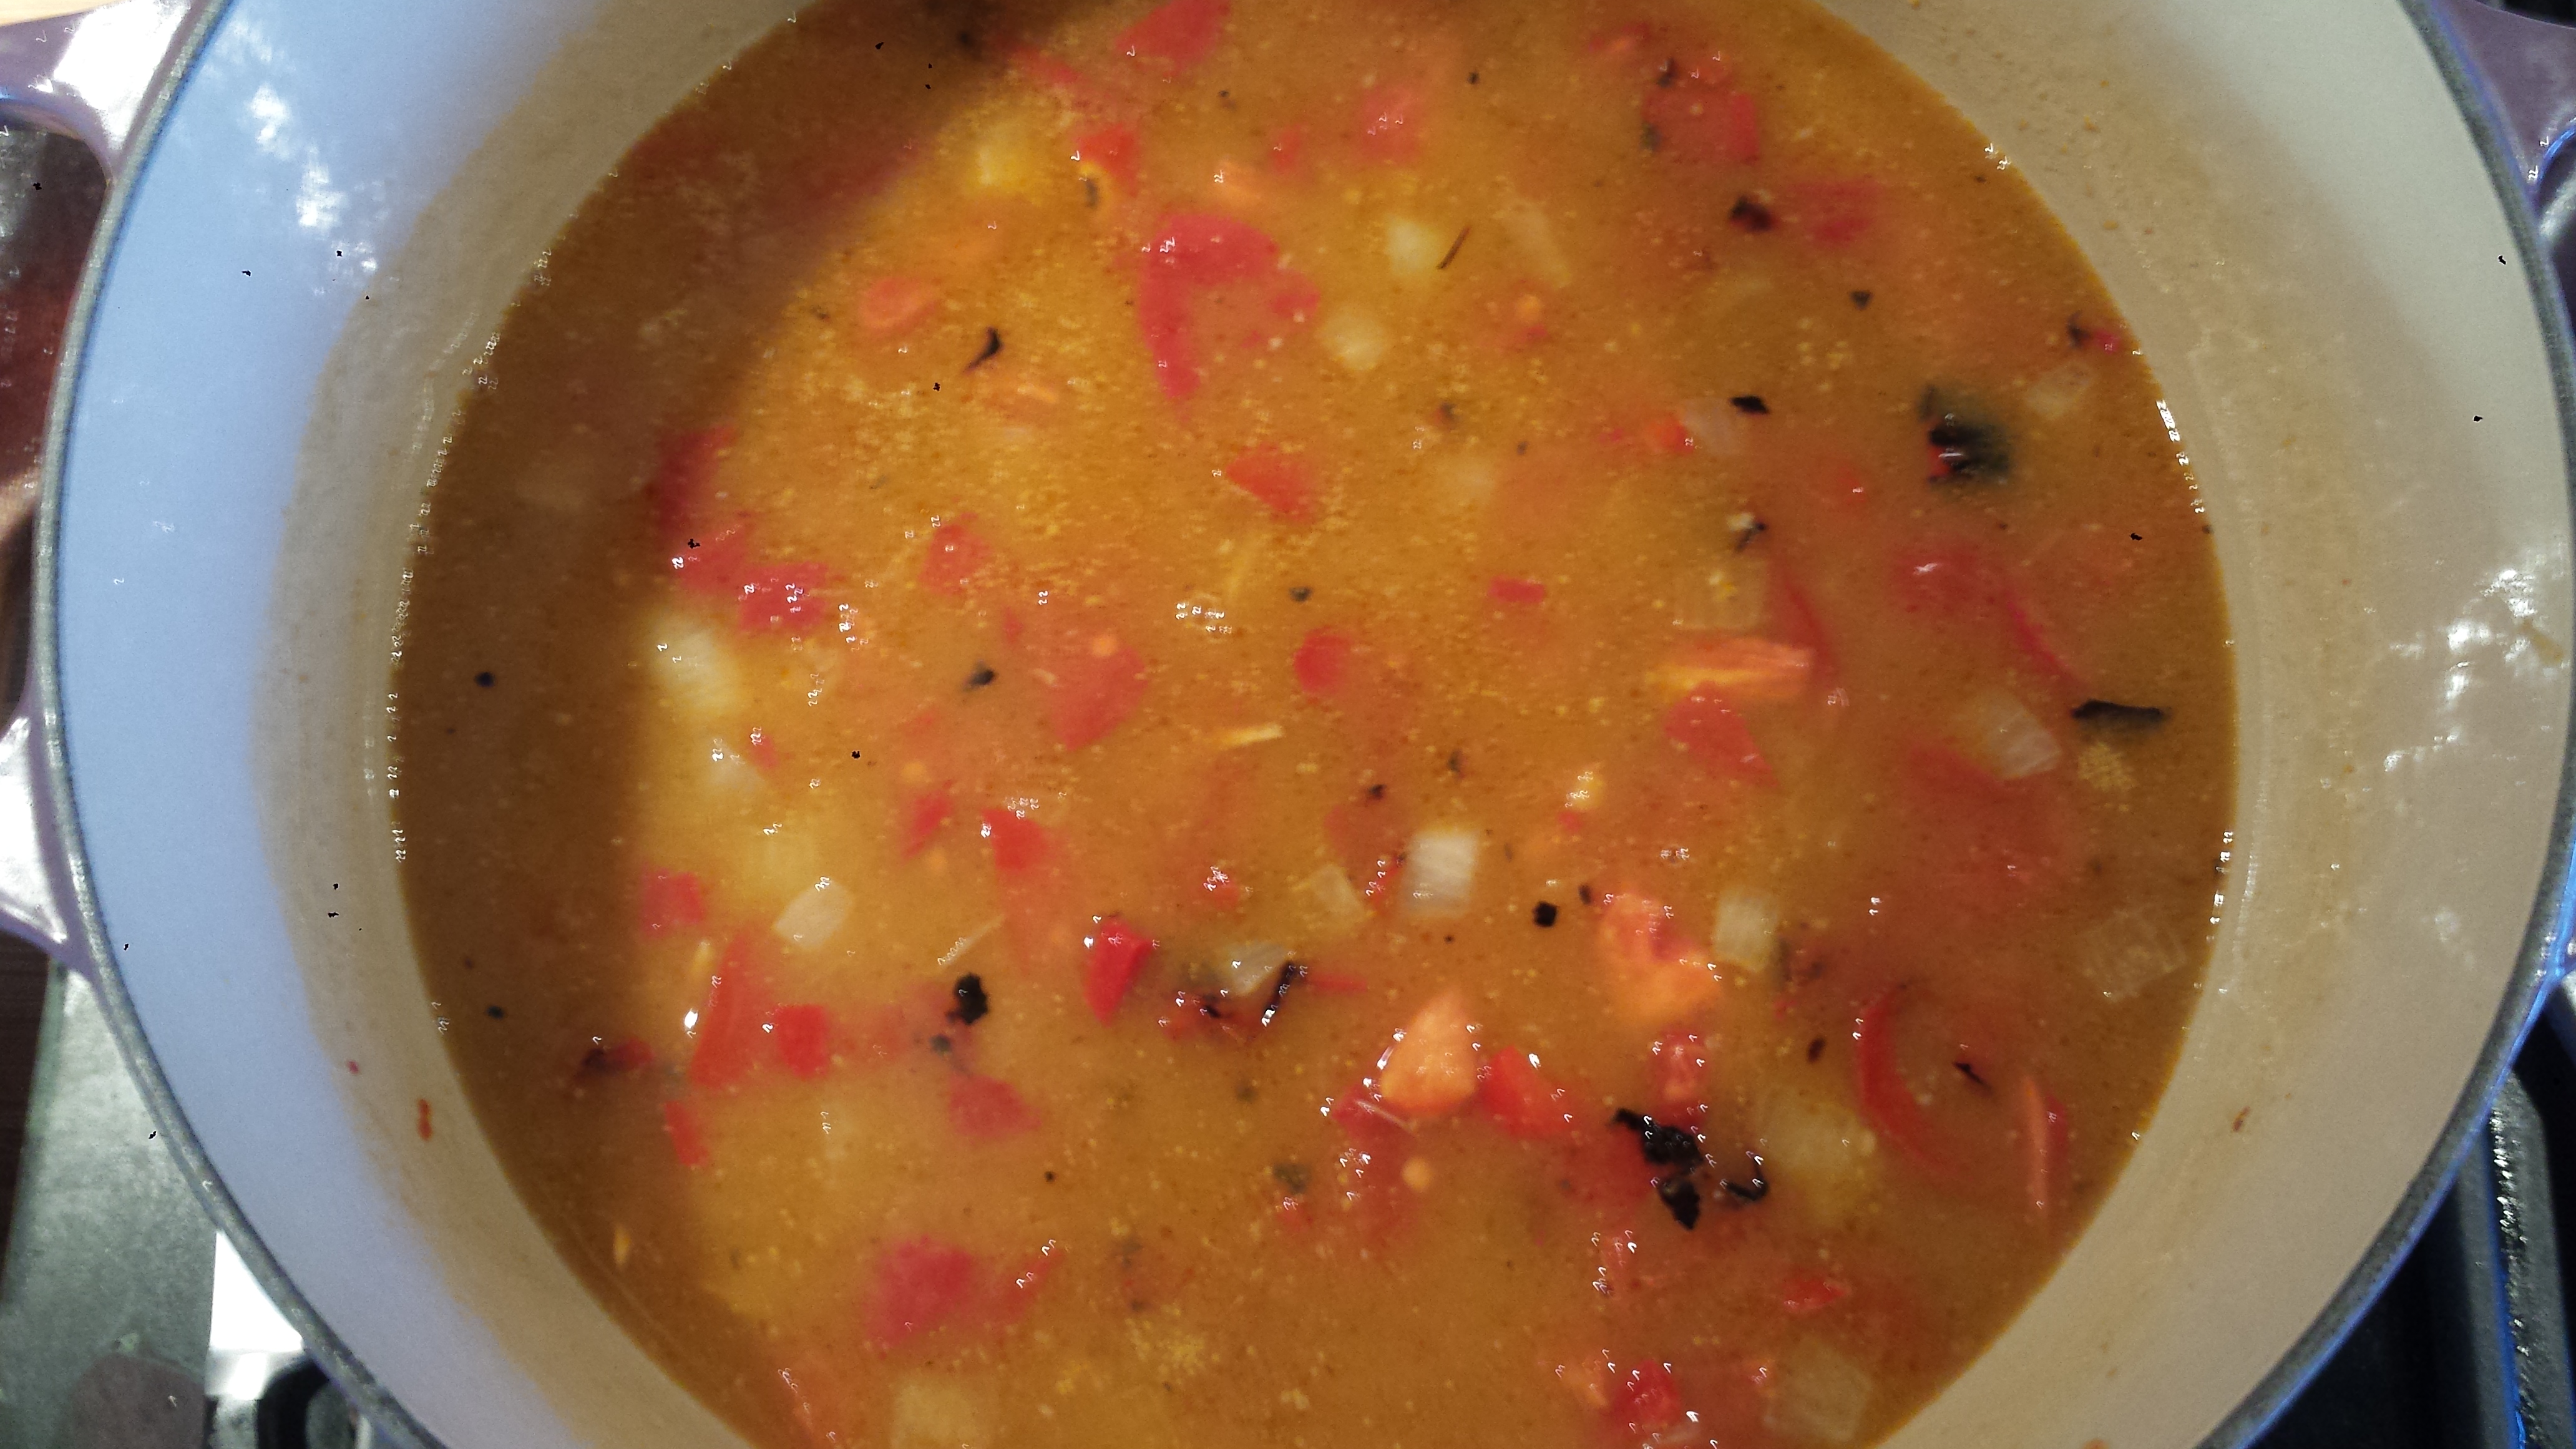
- Reduce heat to medium, add sesame oil, garlic and ginger to the skillet and cook until fragrant, about 30 seconds. Add the bell pepper, stir in soy sauce mixture and bring to a boil; reduce heat and simmer until thickened and bubbling, about 2 minutes.

- Stir in zucchini noodles and cook, mixing for two or three minutes until just tender and mixed with the sauce. If it seems dry, don’t worry the zucchini will release moisture which helps create a sauce.

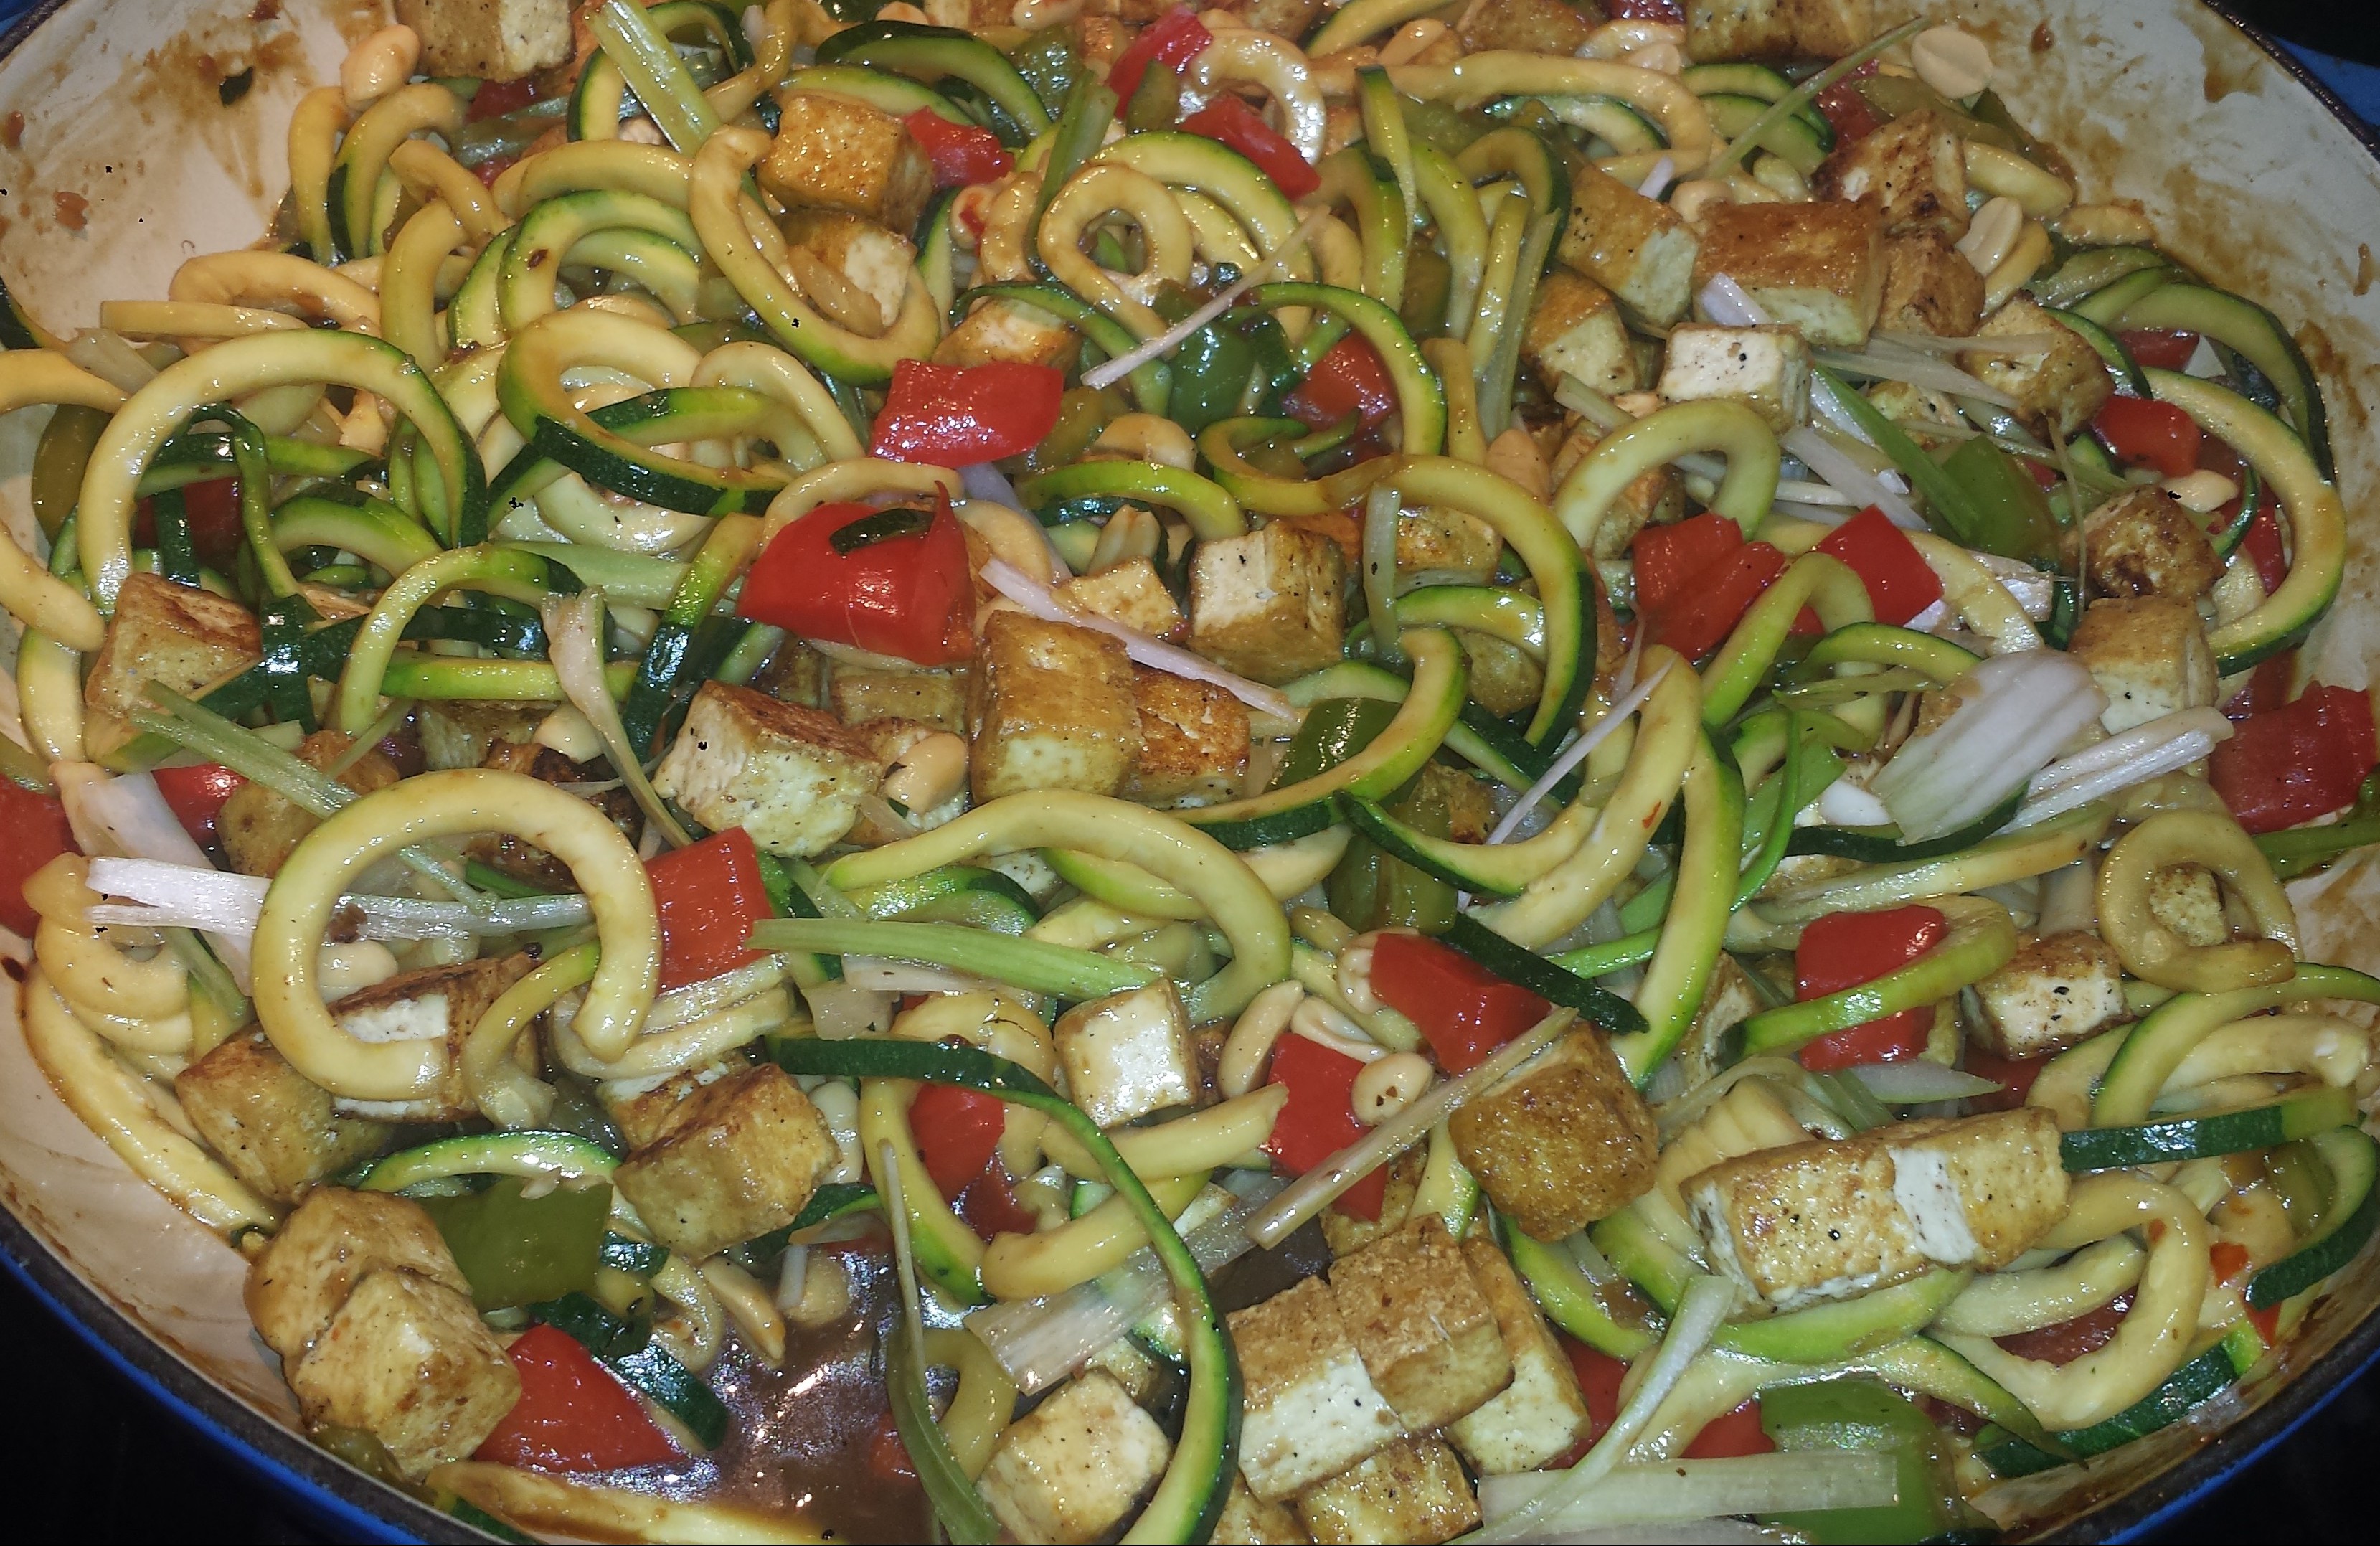
- Once zucchini is cooked to your liking, add the tofu, half of the peanuts and scallions and stir to combine.
- Serve with more peanuts and scallions on top.
Kung Pao Tofu with Zoodles

1 block extra firm tofu
2 Tbsn olive, avocado or coconut oil
2 -3 cloves garlic, minced
1 tsp fresh ginger, grated (or ginger paste)
salt and pepper
2-3 medium zucchini
1 red bell pepper
1 green bell pepper
2-3 scallions
1/2 cup dry roasted peanuts (or more)
KUNG PAO SAUCE
2 Tbsn soy sauce (or wheat free Tamari)
1 Tbsn balsamic vinegar
2 Tbsn hoisin sauce
1 Tbsn red chili paste
1 tsp red pepper flakes (or more)
1 Tbsn sugar
1 Tbsn cornstarch
2 Tbsn water
- Drain block of tofu and cut into 1/2 inch cubes. Place in a single layer on a double thickness of papertowels. Cover with more paper towels and place a heavy object on top (like a cast iron pan) to help press out water. Let sit at least 10 minutes.
- Using a spiralizer fitted with a shredder blade (this makes a thicker noodle), or a mandolin fitted with a julienne blade, cut the zucchini into long spaghetti-like strips. If using a spiralizer, cut the strands into pieces that are about 8 inches long.
- In a small bowl or measuring cup, whisk together soy sauce, balsamic, hoisin, water, red chili paste, sugar and cornstarch; set aside.
- Cut scallions into one inch pieces, then thinly julienne OR thinly slice into circles. Cut bell peppers into 1/2 inch dice.
- Heat oil in a large, deep nonstick pan or wok over medium-high heat. Add the cubed tofu, sprinkle with salt and pepper, and cook, stirring several times to brown all six sides, about 5 minutes.
- Remove tofu to a plate and set aside.
- Reduce heat to medium, add sesame oil, garlic and ginger to the skillet and cook until fragrant, about 30 seconds. Add the bell pepper, stir in soy sauce mixture and bring to a boil; reduce heat and simmer until thickened and bubbling, about 2 minutes.
- Stir in zucchini noodles and cook, mixing for two or three minutes until just tender and mixed with the sauce. If it seems dry, don’t worry the zucchini will release moisture which helps create a sauce.
- Once zucchini is cooked to your liking, add the tofu, half of the peanuts and scallions and stir to combine.
- Serve with more peanuts and scallions on top.


