
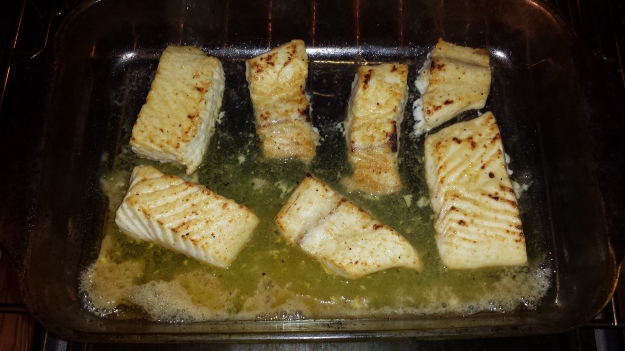
Do you ever just crave some crispy fried deliciousness? Good news! Now that fat is no longer the enemy, It’s okay to eat fried foods as long as you use a good oil and serve with a healthy side dish. My regular readers all know that I have been on a Southern kick for the past couple of weeks following my trip to Charleston. I was greatly inspired by the old, tried and true classics that have lived on in the South for generations (for good reason). Well, no list of Southern favorites would be complete without Fried Catfish. This Fried Catfish is the last recipe that was a direct derivative from my SC trip. I’m all fried out for the time being, except maybe for trying Fried Pickles (Yes, that’s a thing!) I’ll let you know…
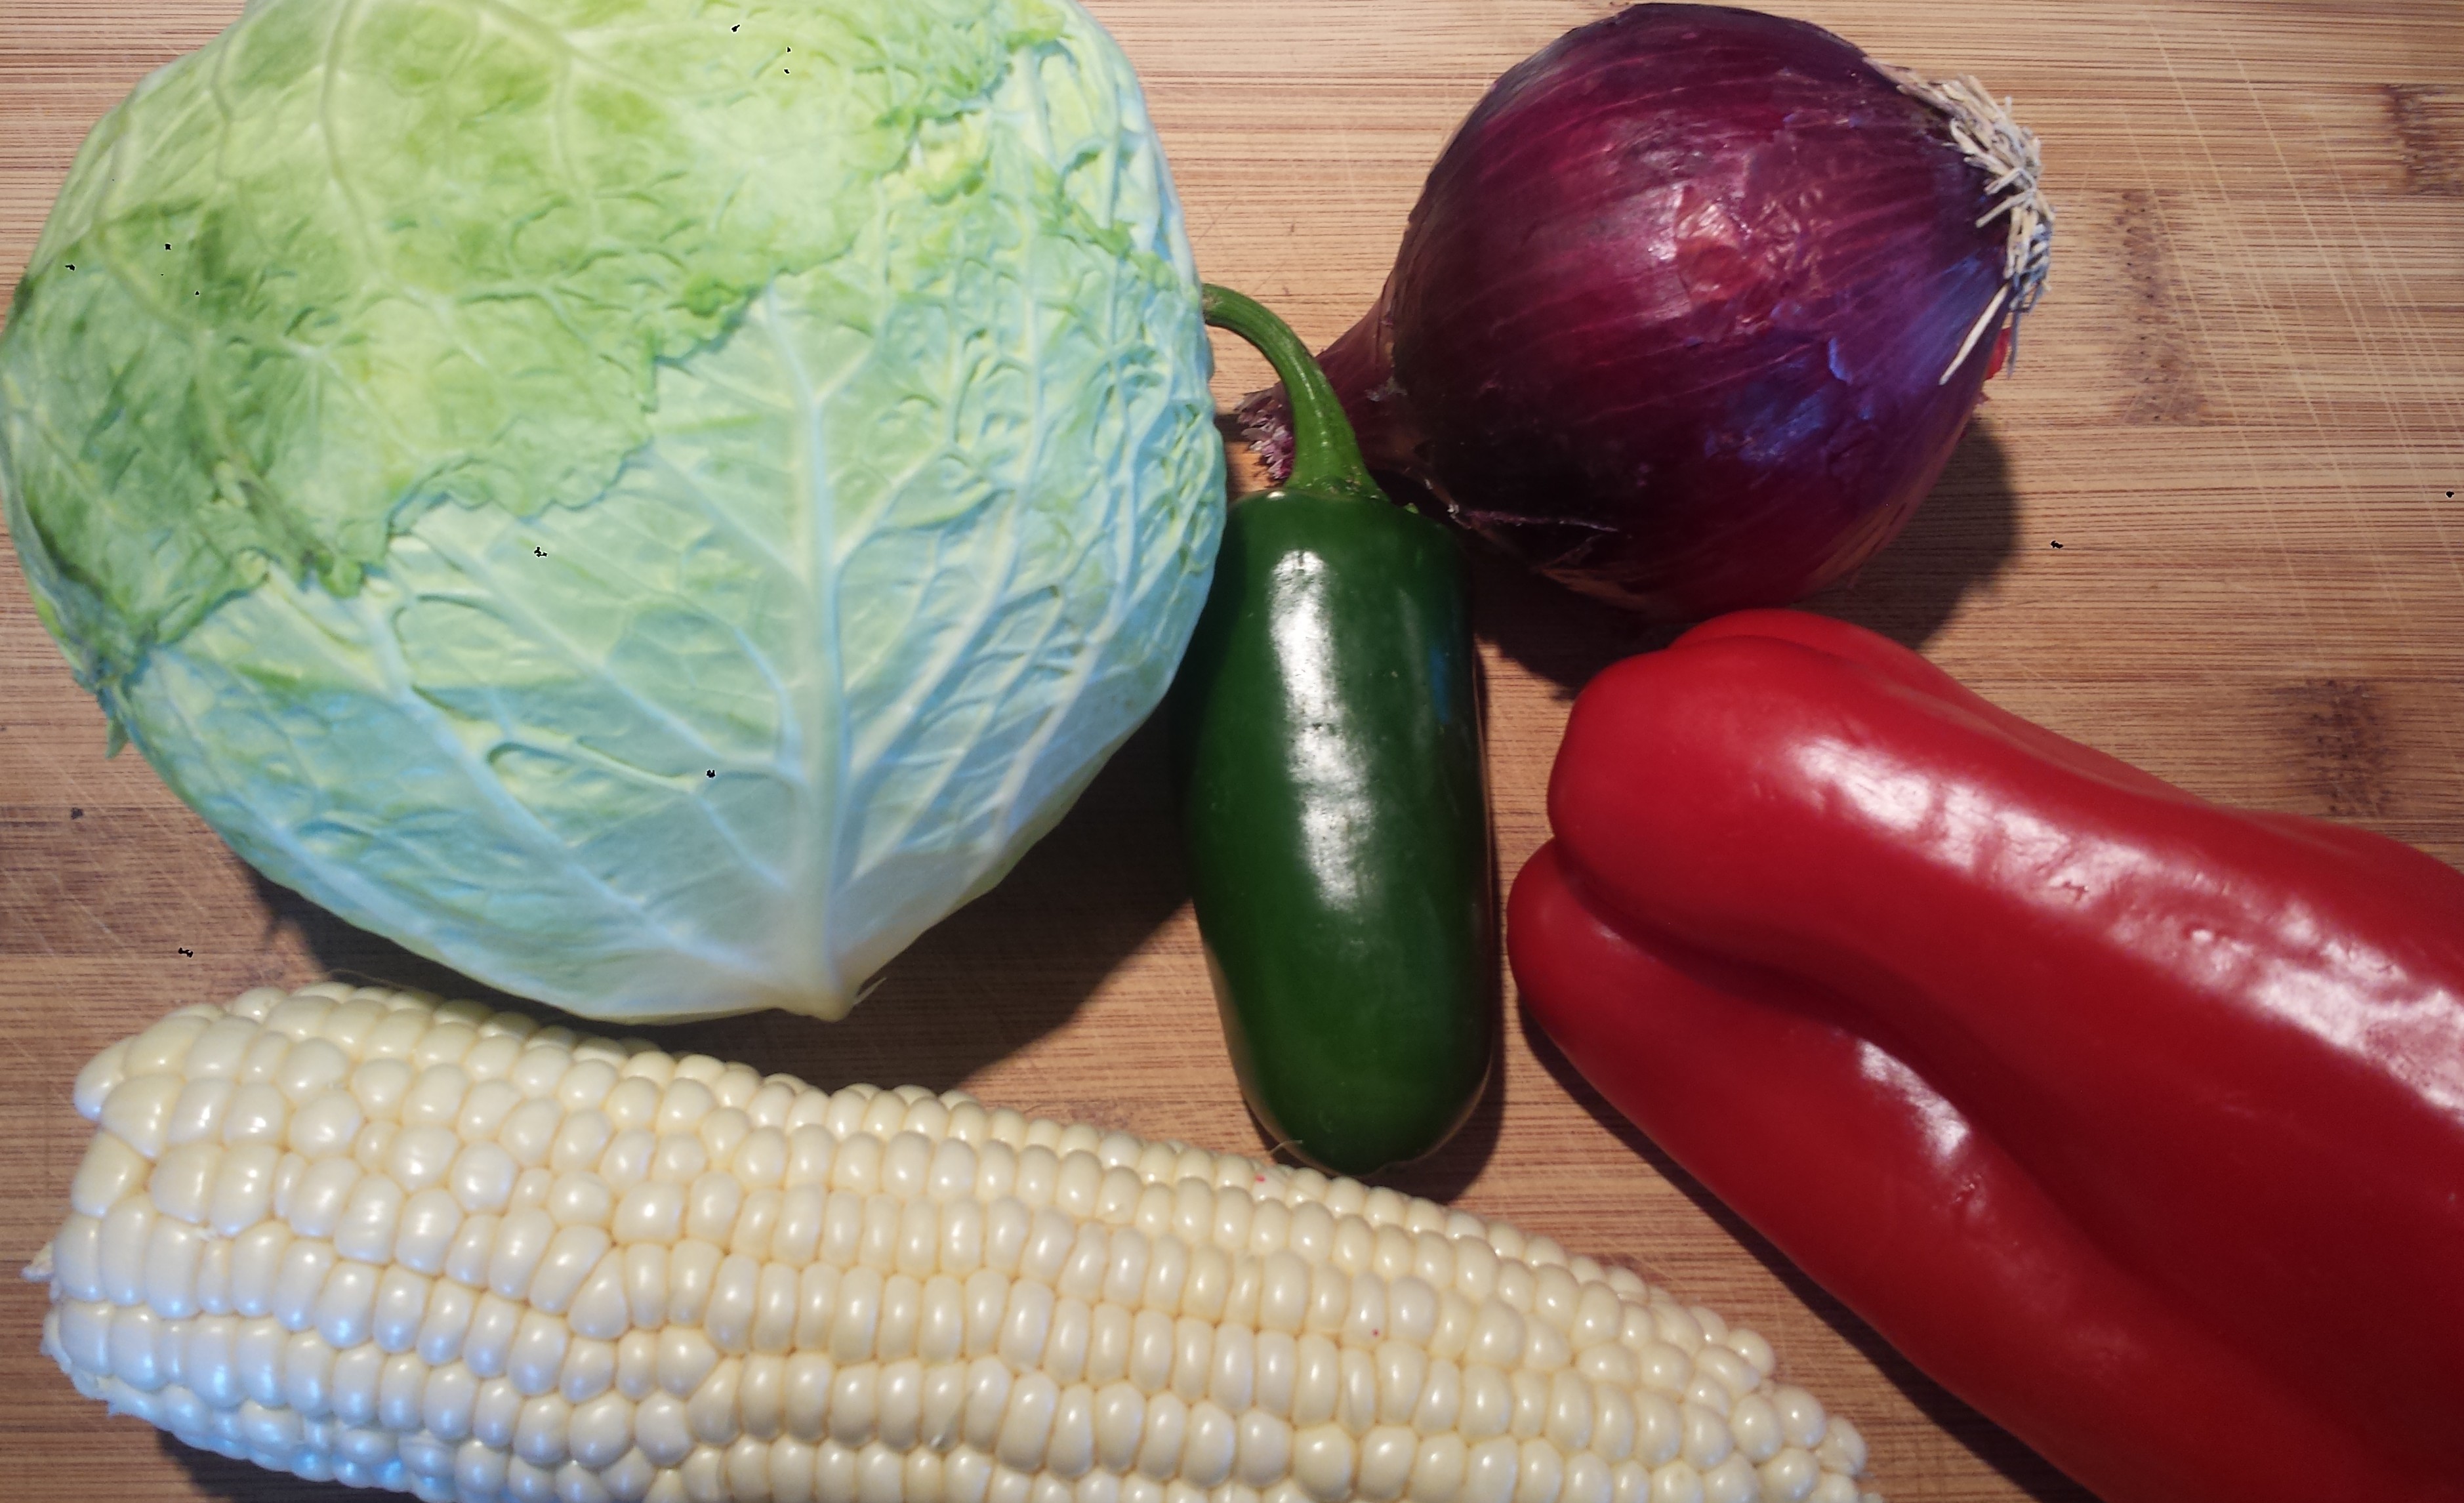
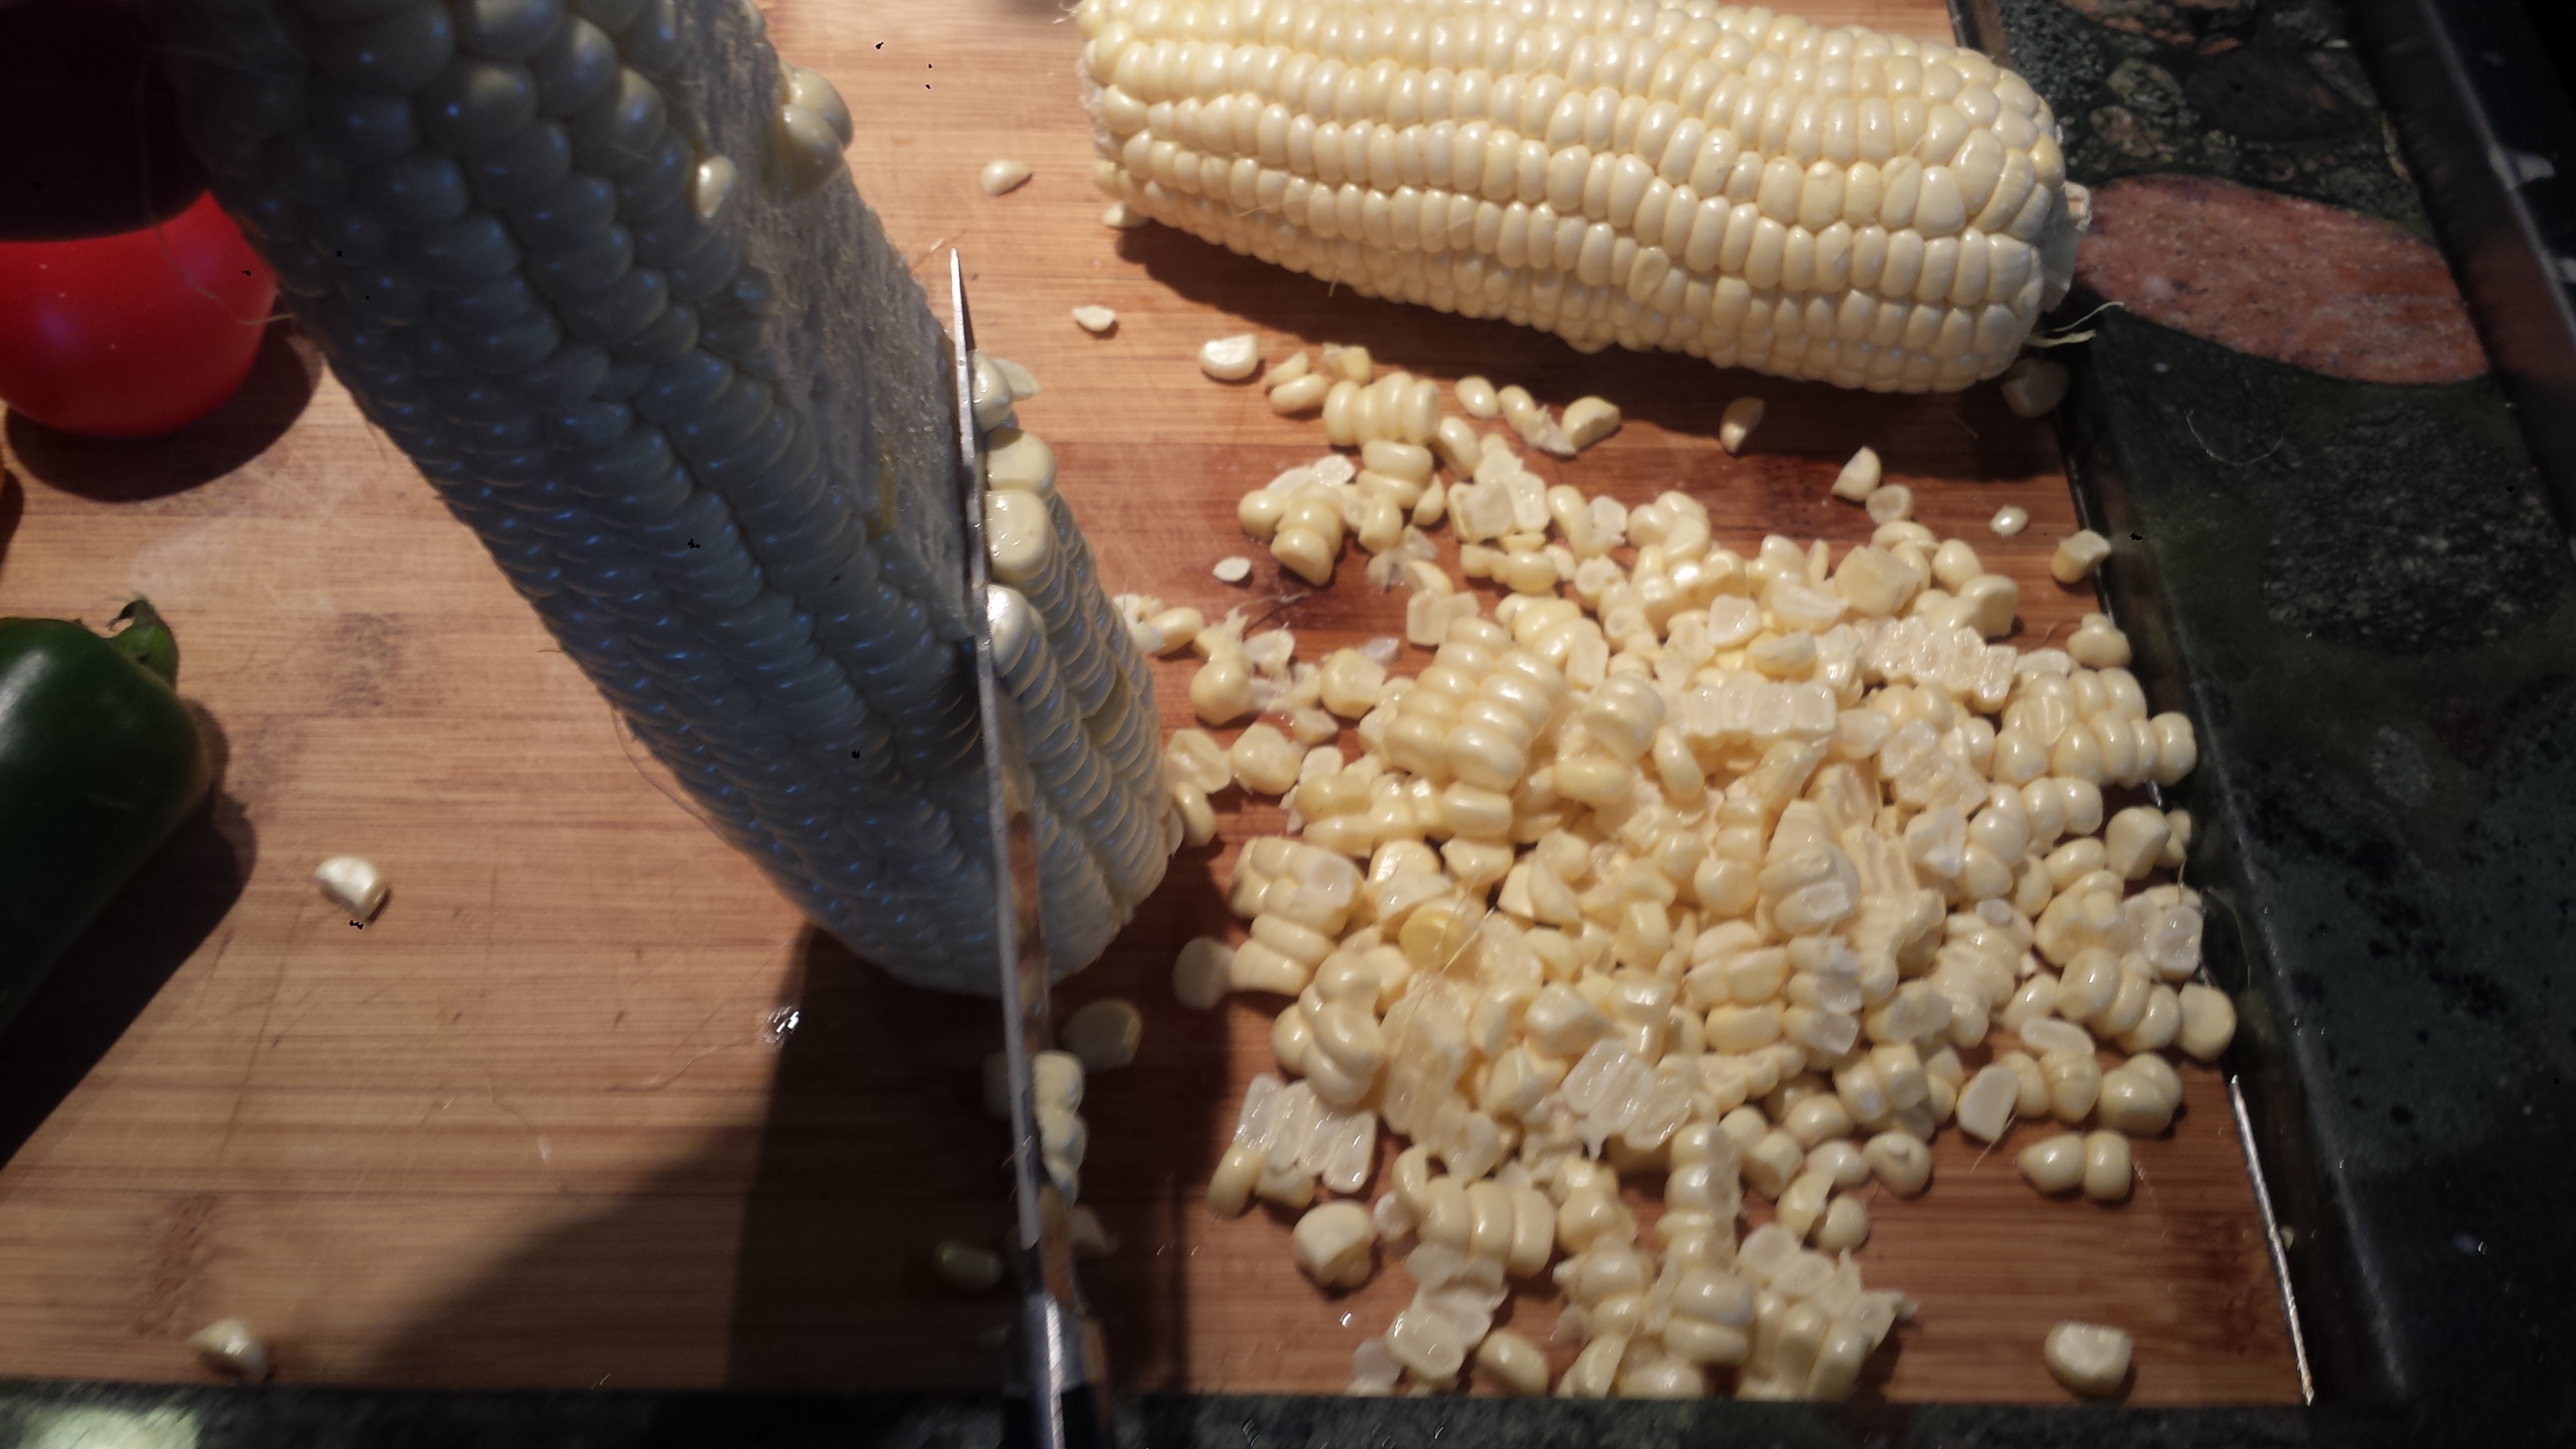
In the South, Fried Catfish is usually served with hushpuppies, a yummy fried cornbread-type appetizer. I personally can only do one fried food at a time and decided to balance the fried fish with a light and flavorful slaw made with napa cabbage, fresh sweet corn, red onion, bell pepper and jalapenos drizzled in an oil and vinegar dressing. My corn was sweet enough to eat raw, just cut off the cob. Older corn may need to be steamed or boiled for a few minutes to soften. I love the combination of steamy hot crispy fried fish with the cool and spicy slaw. Add a good tartar sauce or aoli and you’re done!

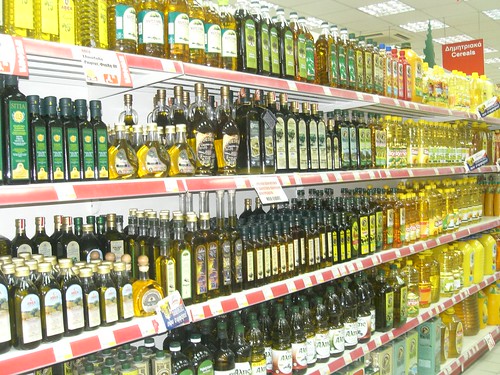
So what is a good oil too cook with anyway? Recommendations keep changing, who can keep up? Butter is now a ‘good’ fat for cooking but not for high heat cooking as it contains small amounts of sugars and proteins which makes it burn when overheated. When it comes to high heat cooking, coconut oil is a great choice. Over 90% of the fatty acids in it are saturated, which makes it very resistant to heat. Avocado and olive oil are good choices too. Oils that are high in polyunsaturated fats should be avoided for cooking, as are fats (even good fats) that go through extreme processing measures. We have an amazing number of choices at the market, no wonder we are confused. Click HERE for a breakdown on fats and oils, including a list of oils to avoid.

TIPS: Prepare the slaw first, if serving, as the taste only improves if it is allowed to sit while you prepare the fish. This recipe calls for catfish, which is so prevalent in the South, but any mild white fish will work as well, like cod or haddock. Just make sure it’s from a Sustainable Seafood Source Use a good quality oil like avocado, coconut or olive oil and you will have a good result. Drain cooked fish on a rack lined with paper towels or newspaper to keep the fish crispy and for easy clean up.
I wanted a true Southern fried fish so went to the Food Network and adapted the recipe for Southern Fried Catfish by Alton Brown to make it wheat/gluten free. For more Southern inspired recipes check out Fried Green Tomatoes with Buttermilk Lime Sauce, Grilled Shrimp and Cheesy Grits or Charred Okra with Tomatoes.

FRIED CATFISH
2 cups high heat oil (avocado, coconut or olive oil)
1/2 cup stone-ground fine cornmeal
1/2 cup coconut flour (or all purpose)
1 tsp Old Bay seasoning
1/2 tsp salt
1/4 tsp paprika
1/4 tsp cayenne pepper
1/4 tsp ground black pepper
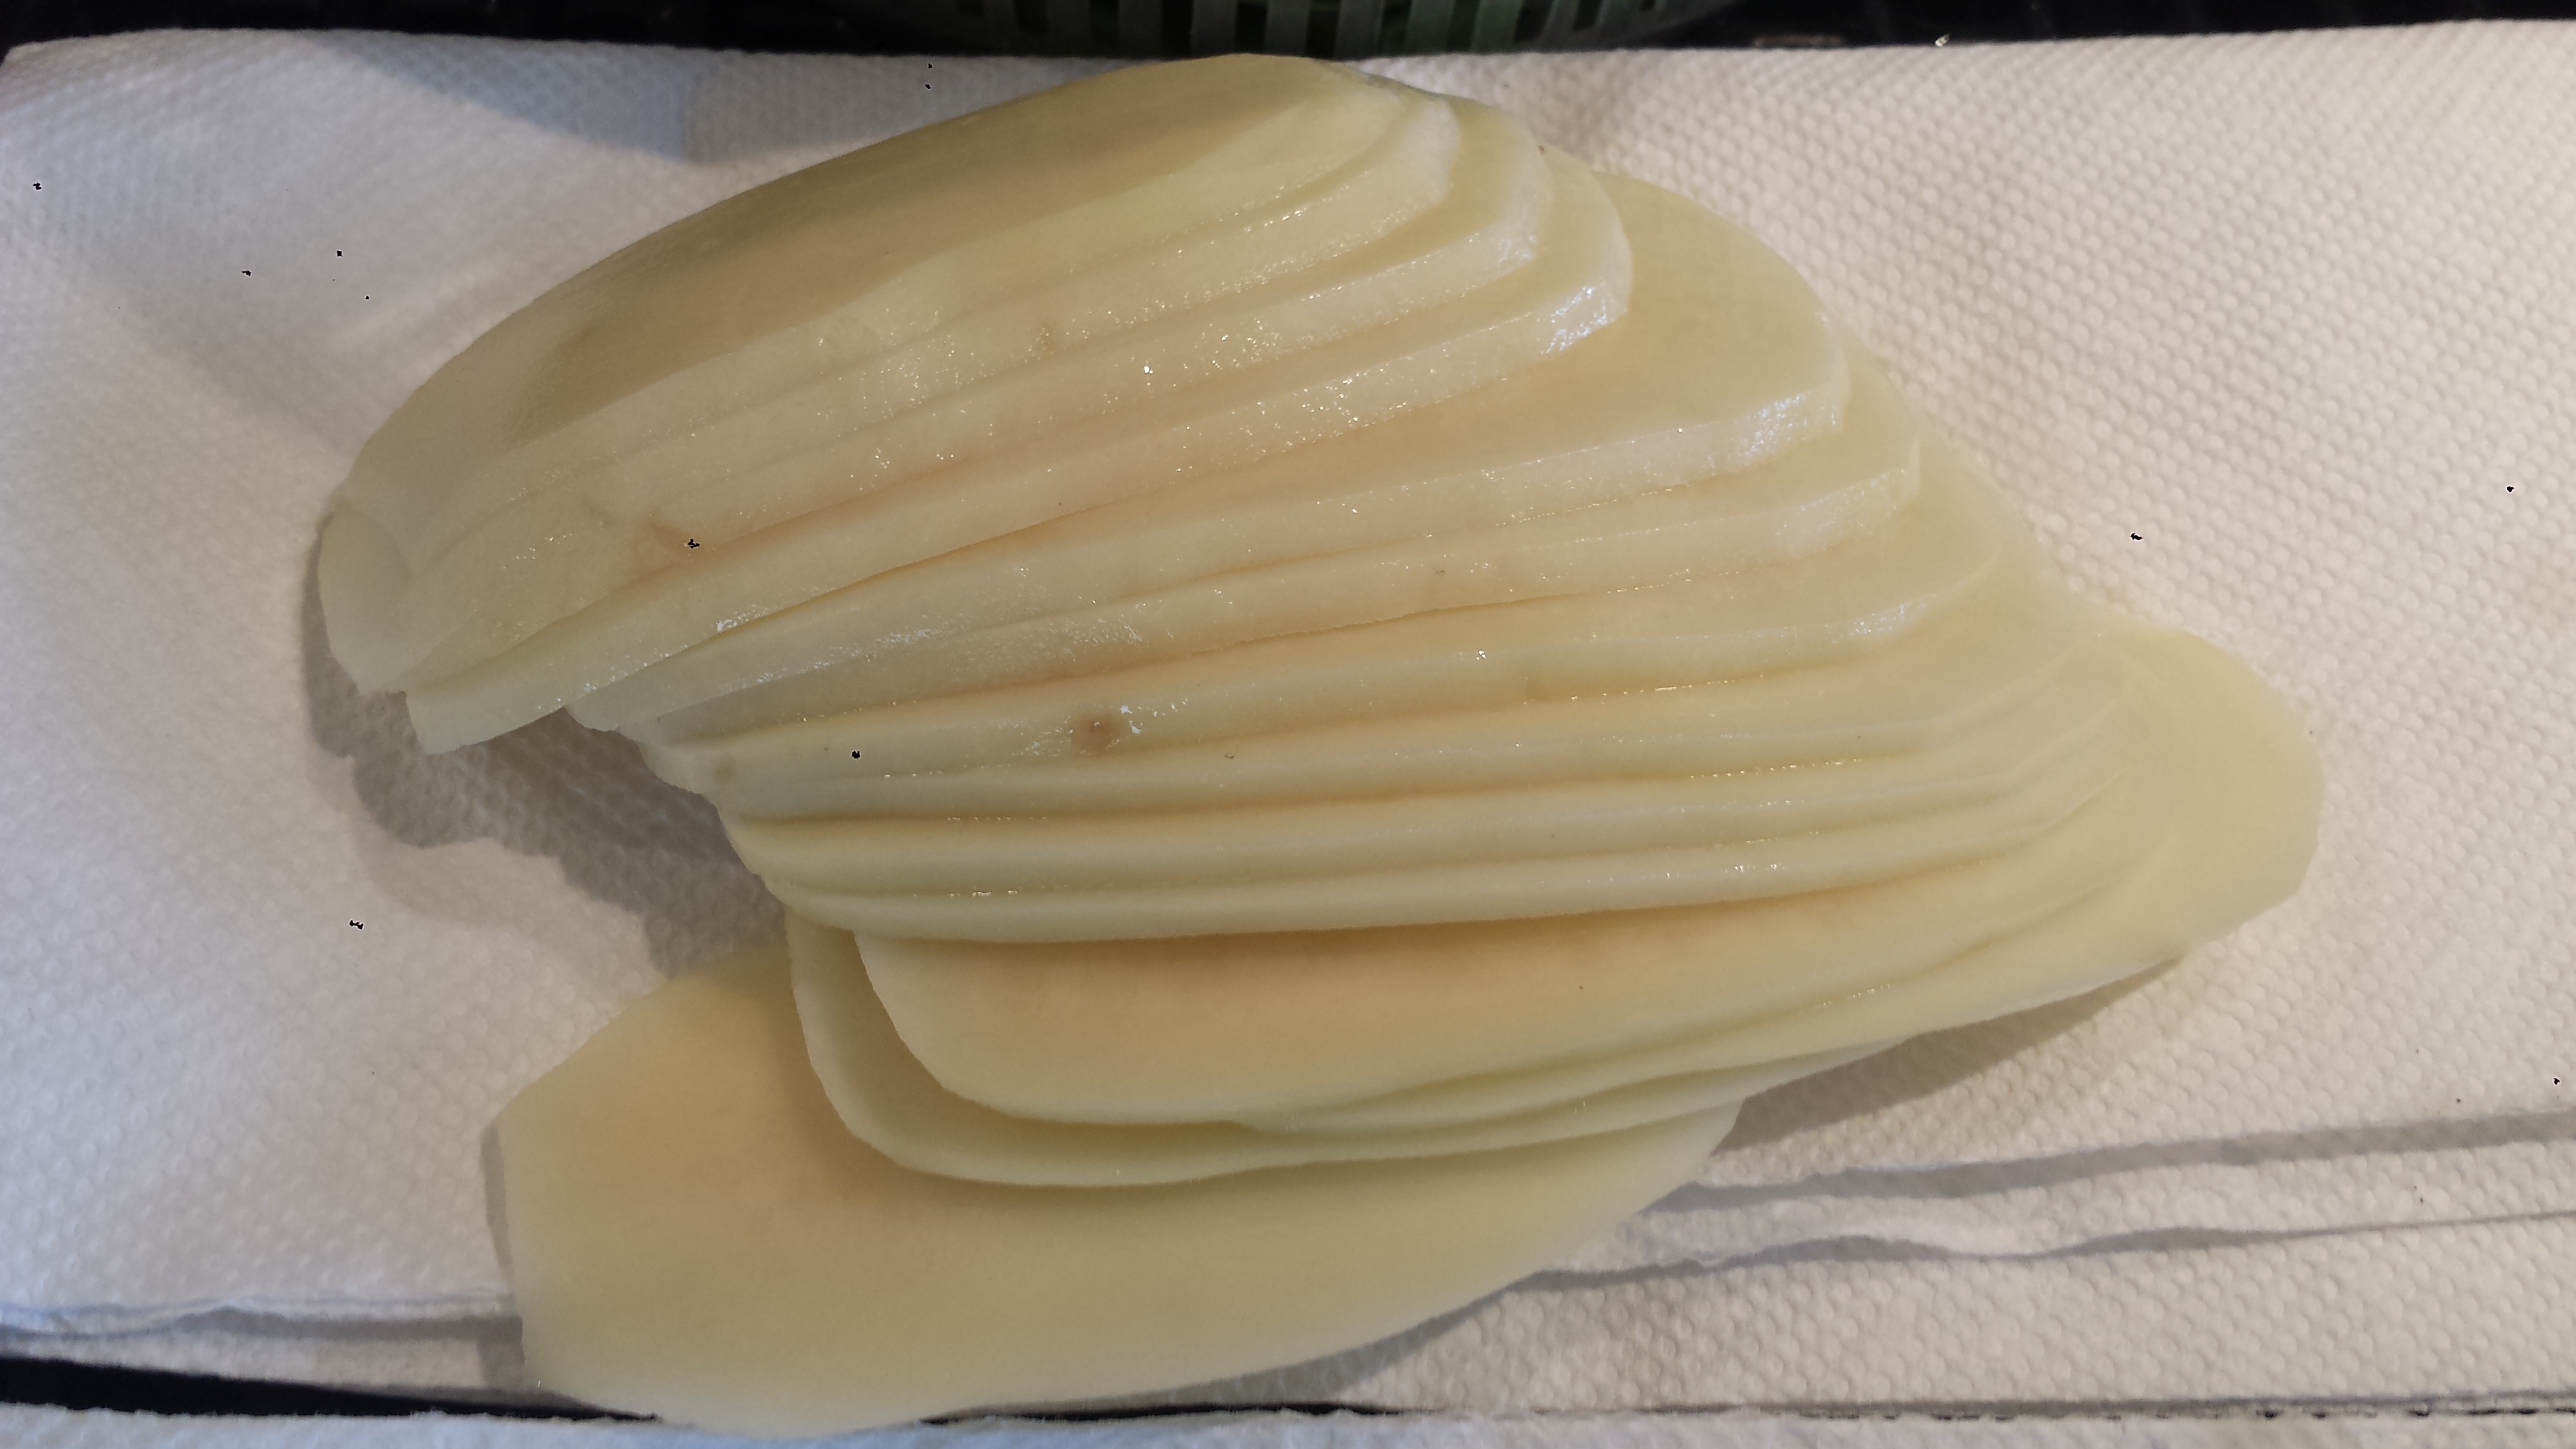
6 (7 to 9-ounce) Wild Caught or US farm-raised catfish fillets, rinsed and thoroughly patted dry
2 eggs (or 1/2 cup buttermilk)
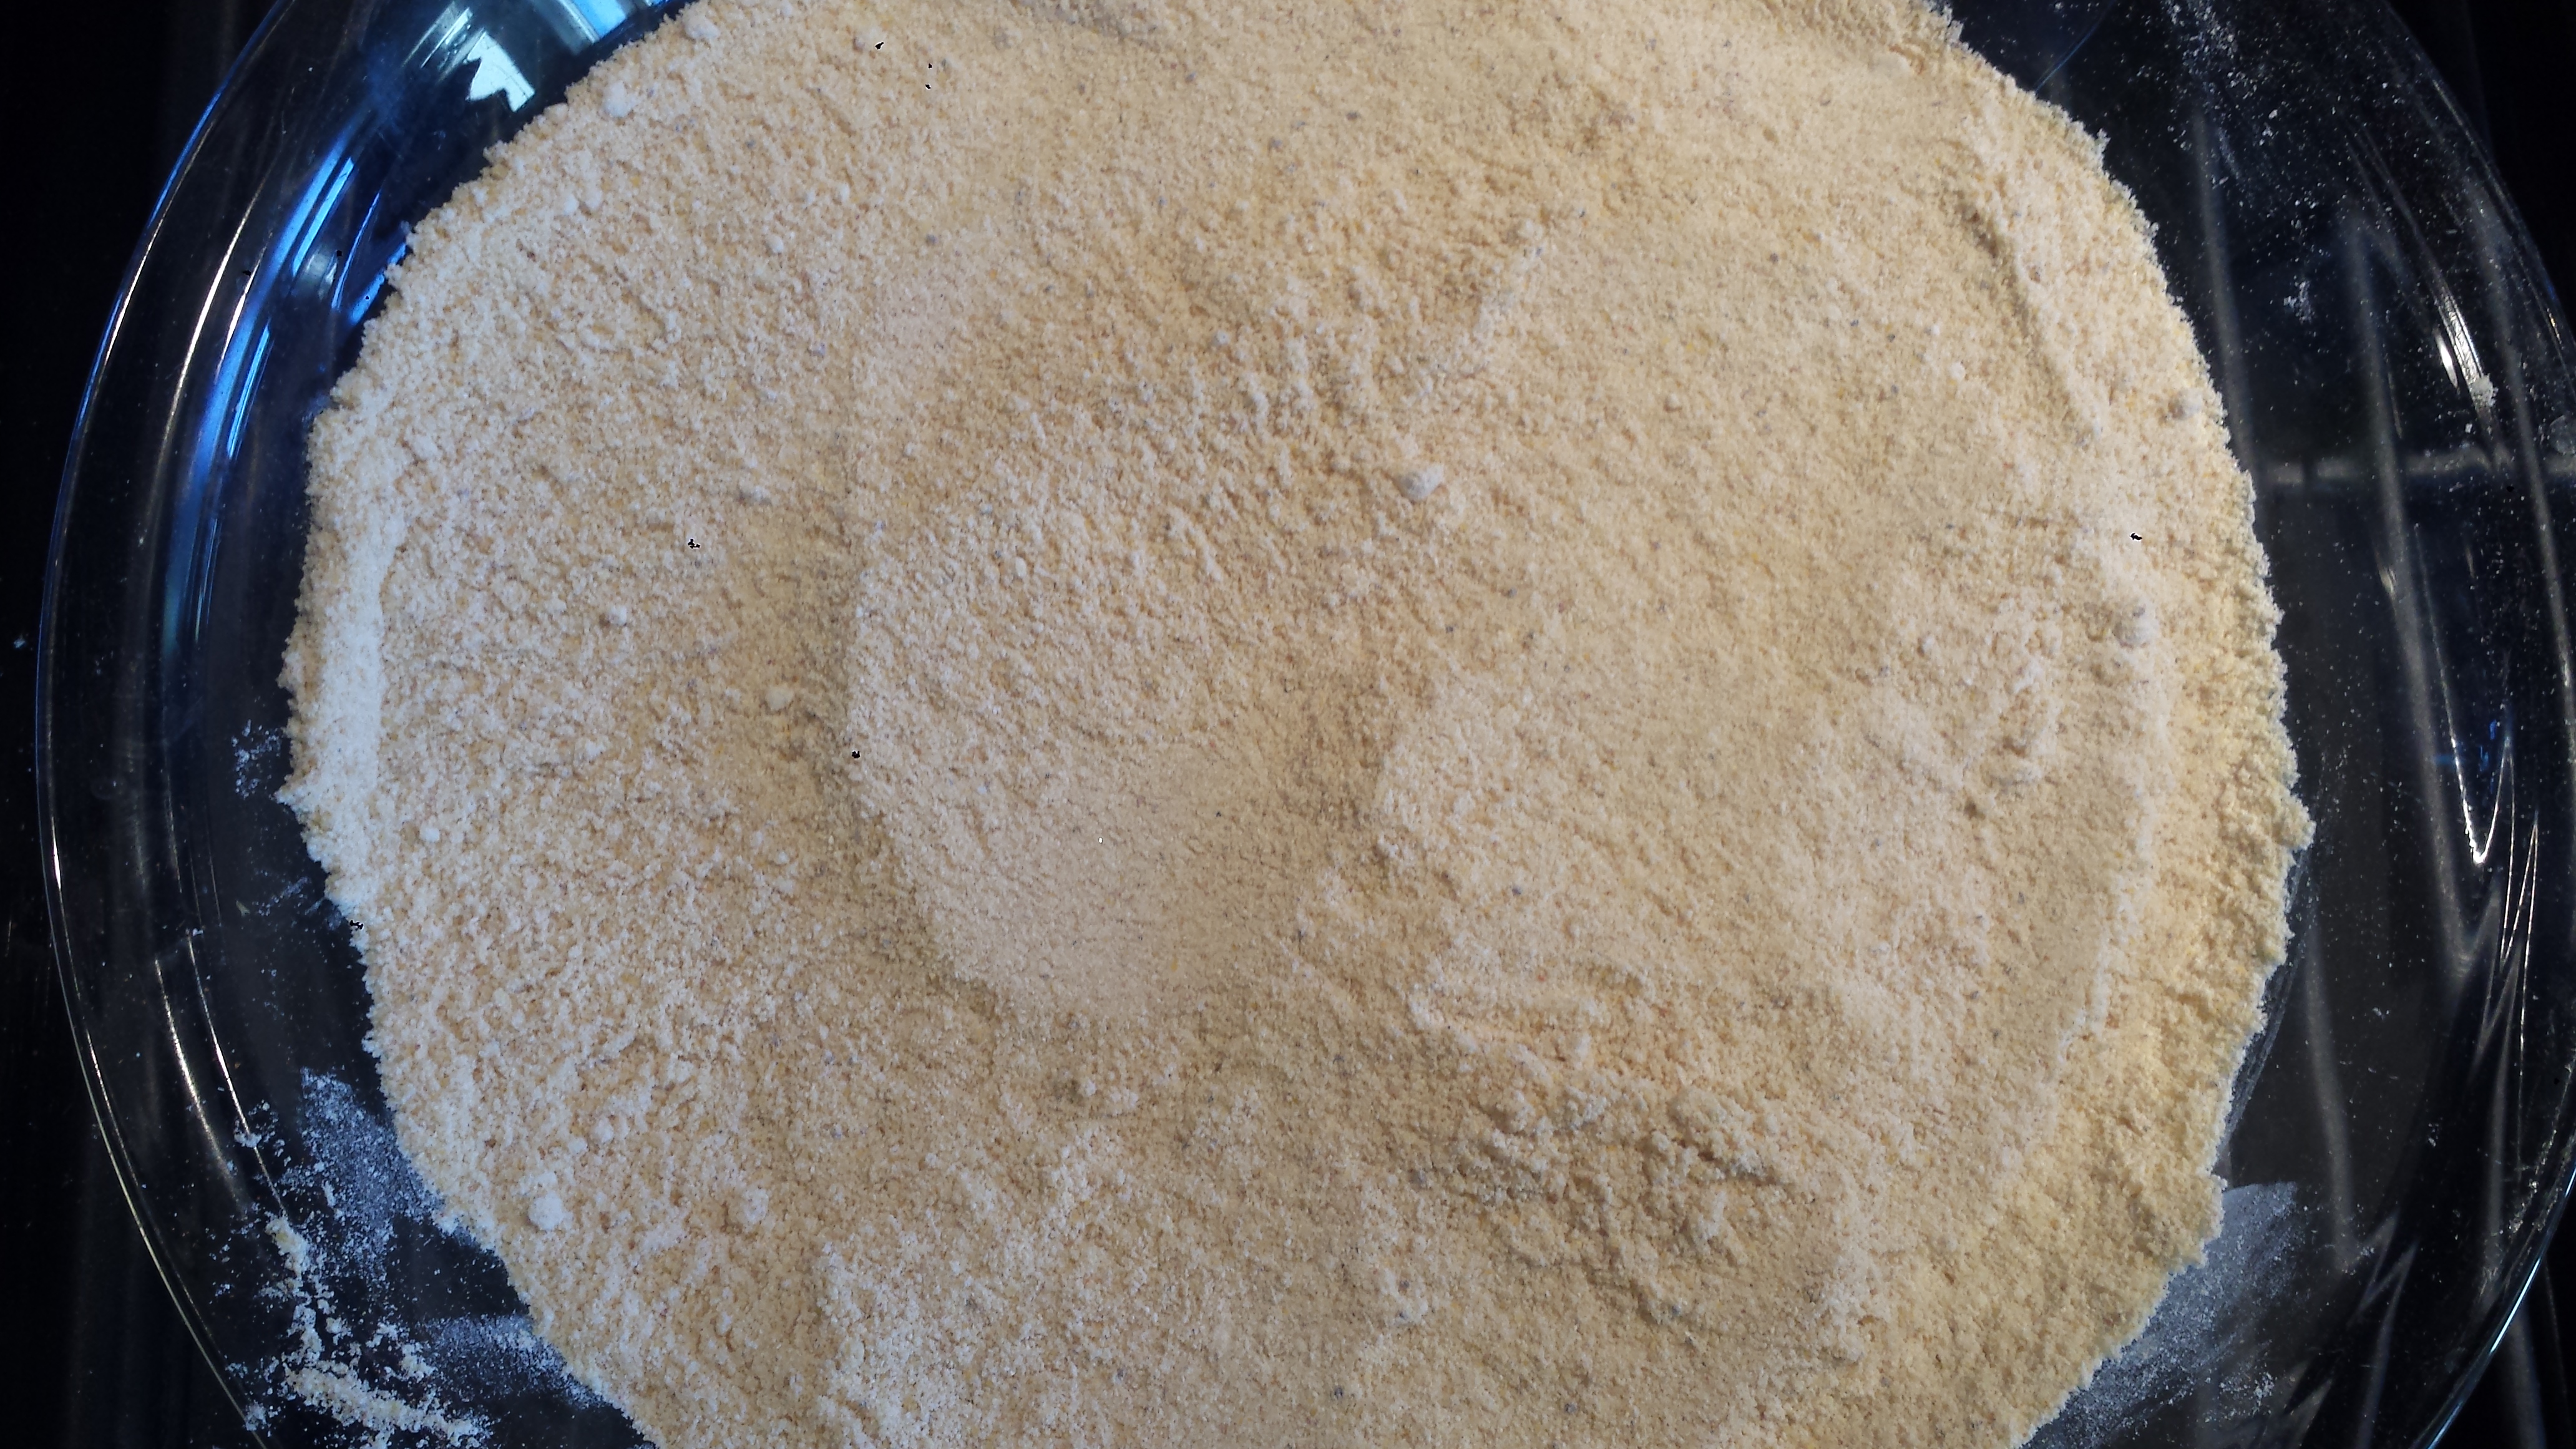
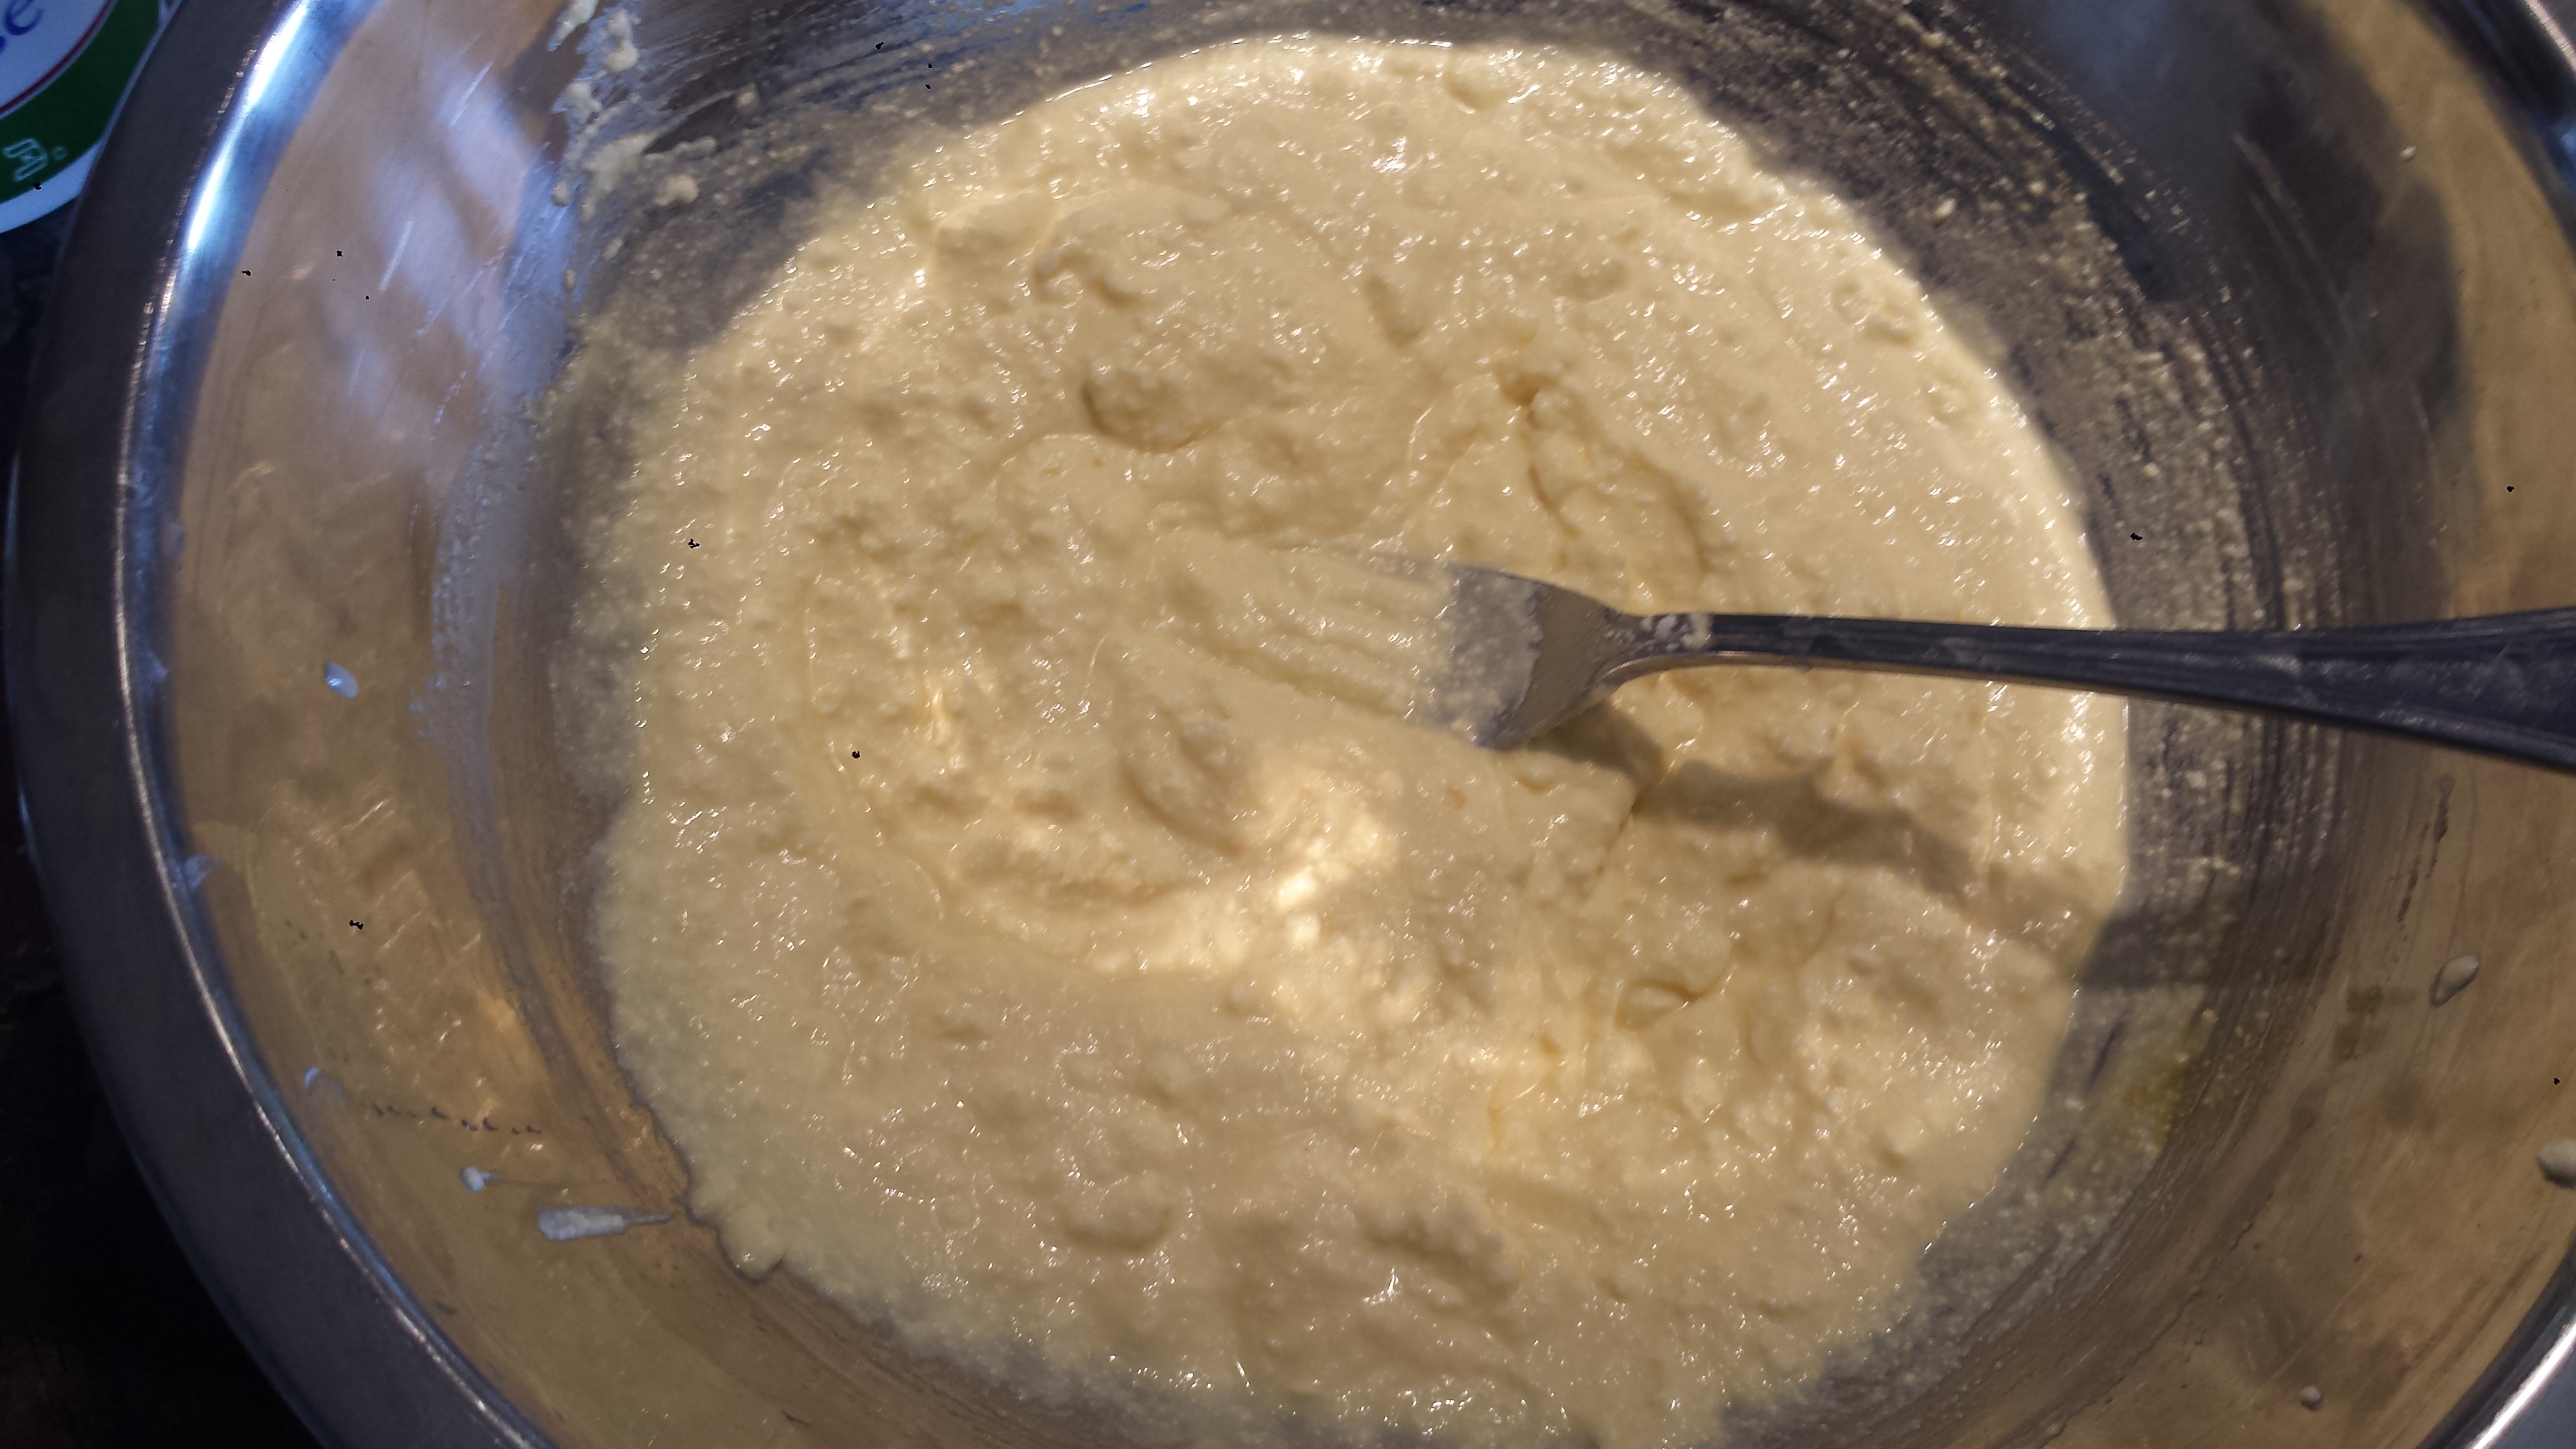
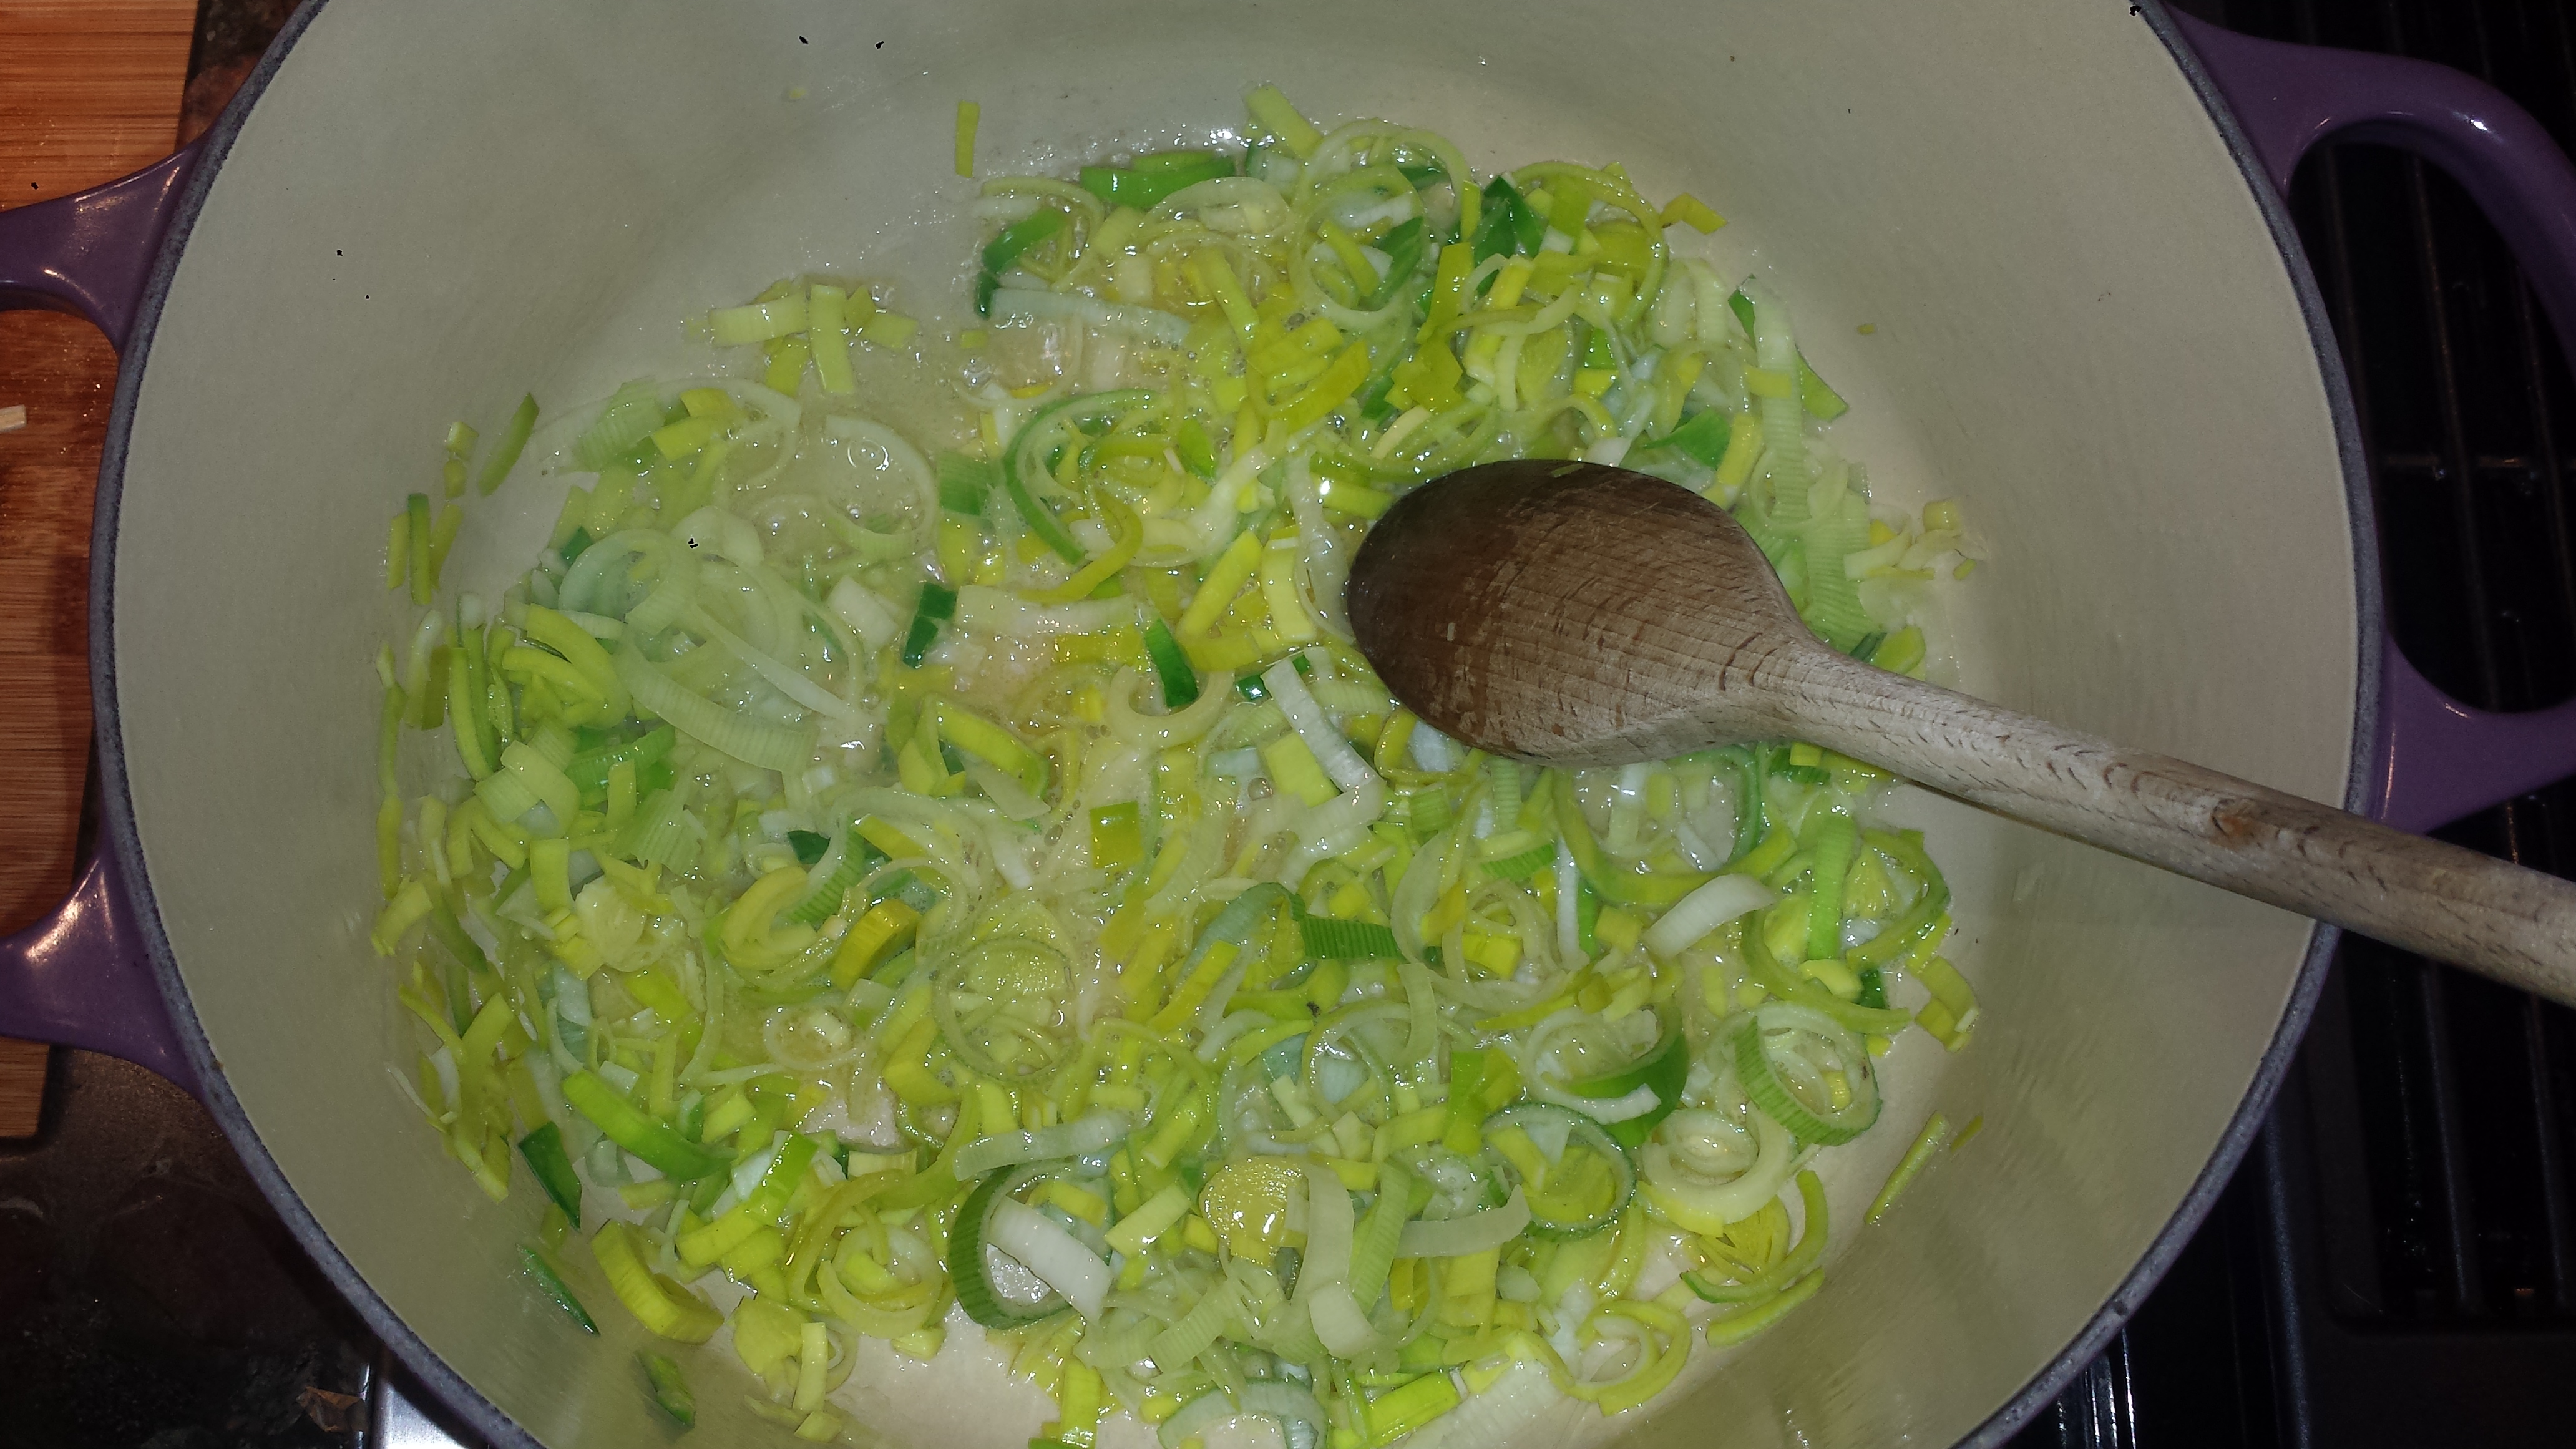
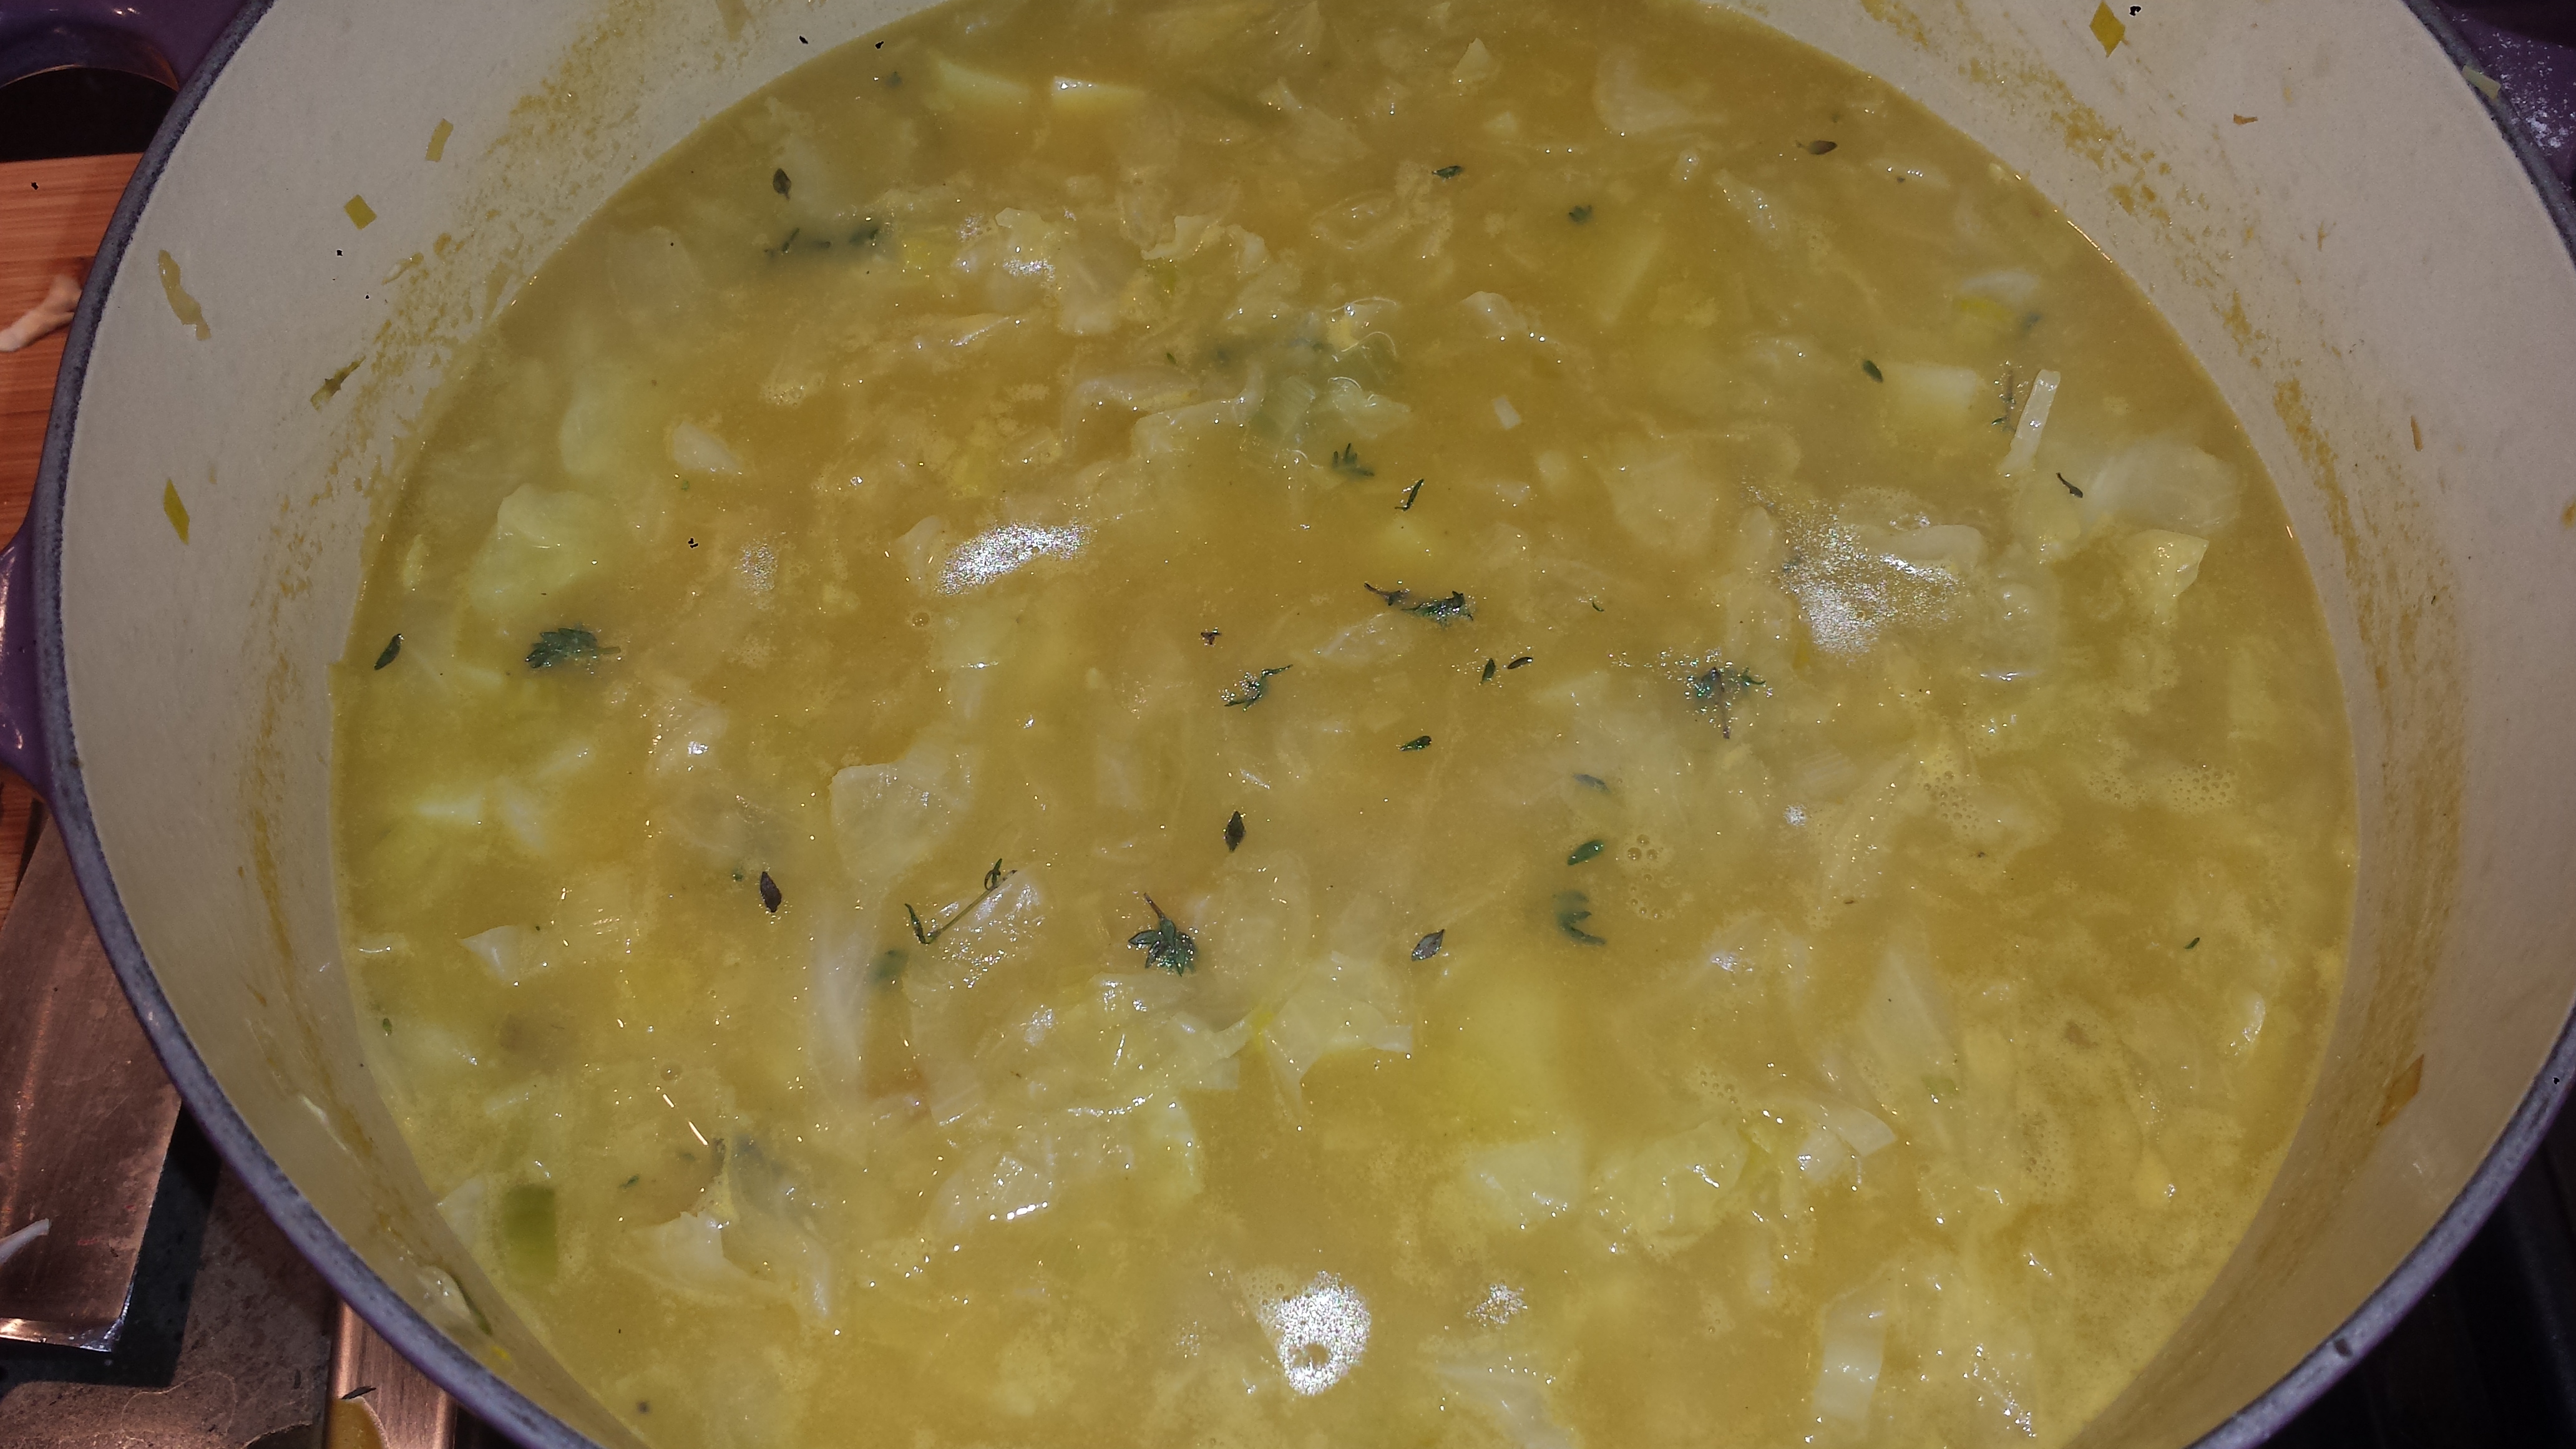
- Heat the oil in a heavy large saucepan or dutch oven over high heat until it almost reaches the smoking point. If you are using a fryer the temperature should be 350 degrees F on a deep-fry thermometer. Adjust the heat to maintain the temperature. While the oil is heating, whisk the cornmeal and flour together in a shallow dish.

- Combine the seafood seasoning, kosher salt, paprika, and pepper in a small bowl.
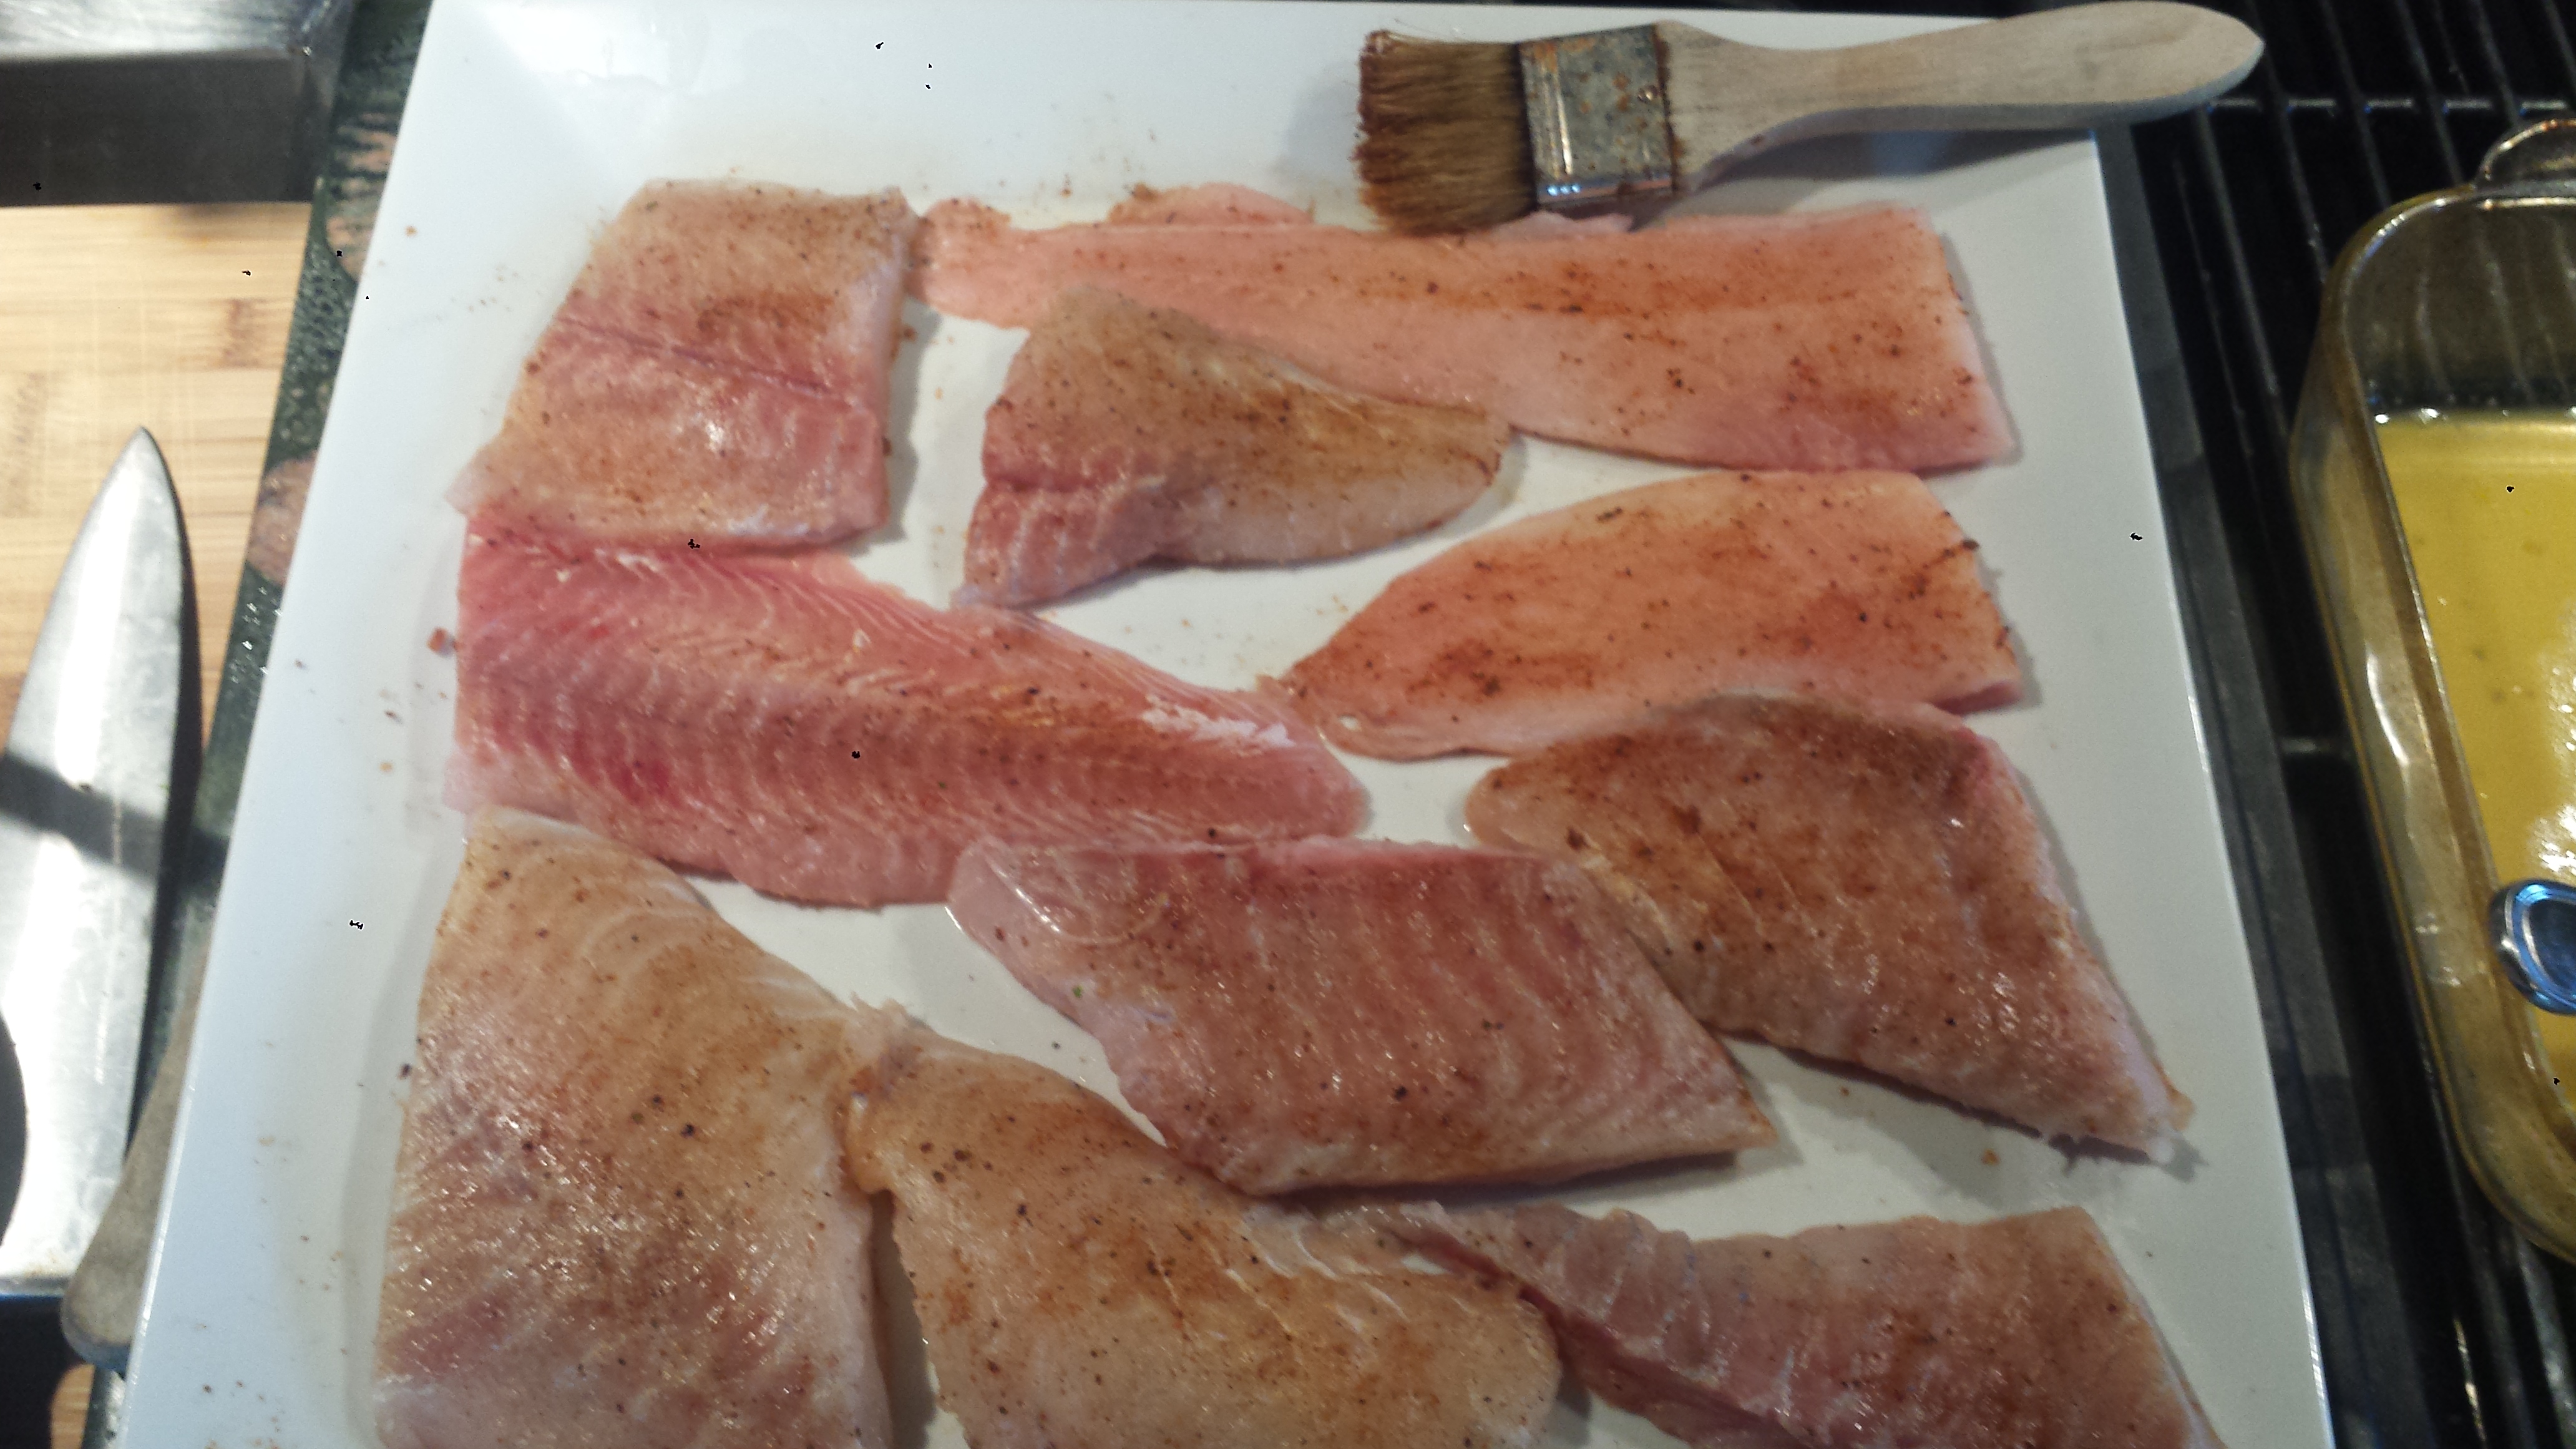
- Season the catfish fillets evenly on both sides with the spice mixture.

- Pour the buttermilk into another shallow dish. Dip each fillet into the egg/buttermilk, flip once to coat both sides, hold over the pan and allow the excess to drip off. Coat both sides of the fillets in the cornmeal mixture. Set the coated fillets on a cooling rack and let rest for 5 minutes.
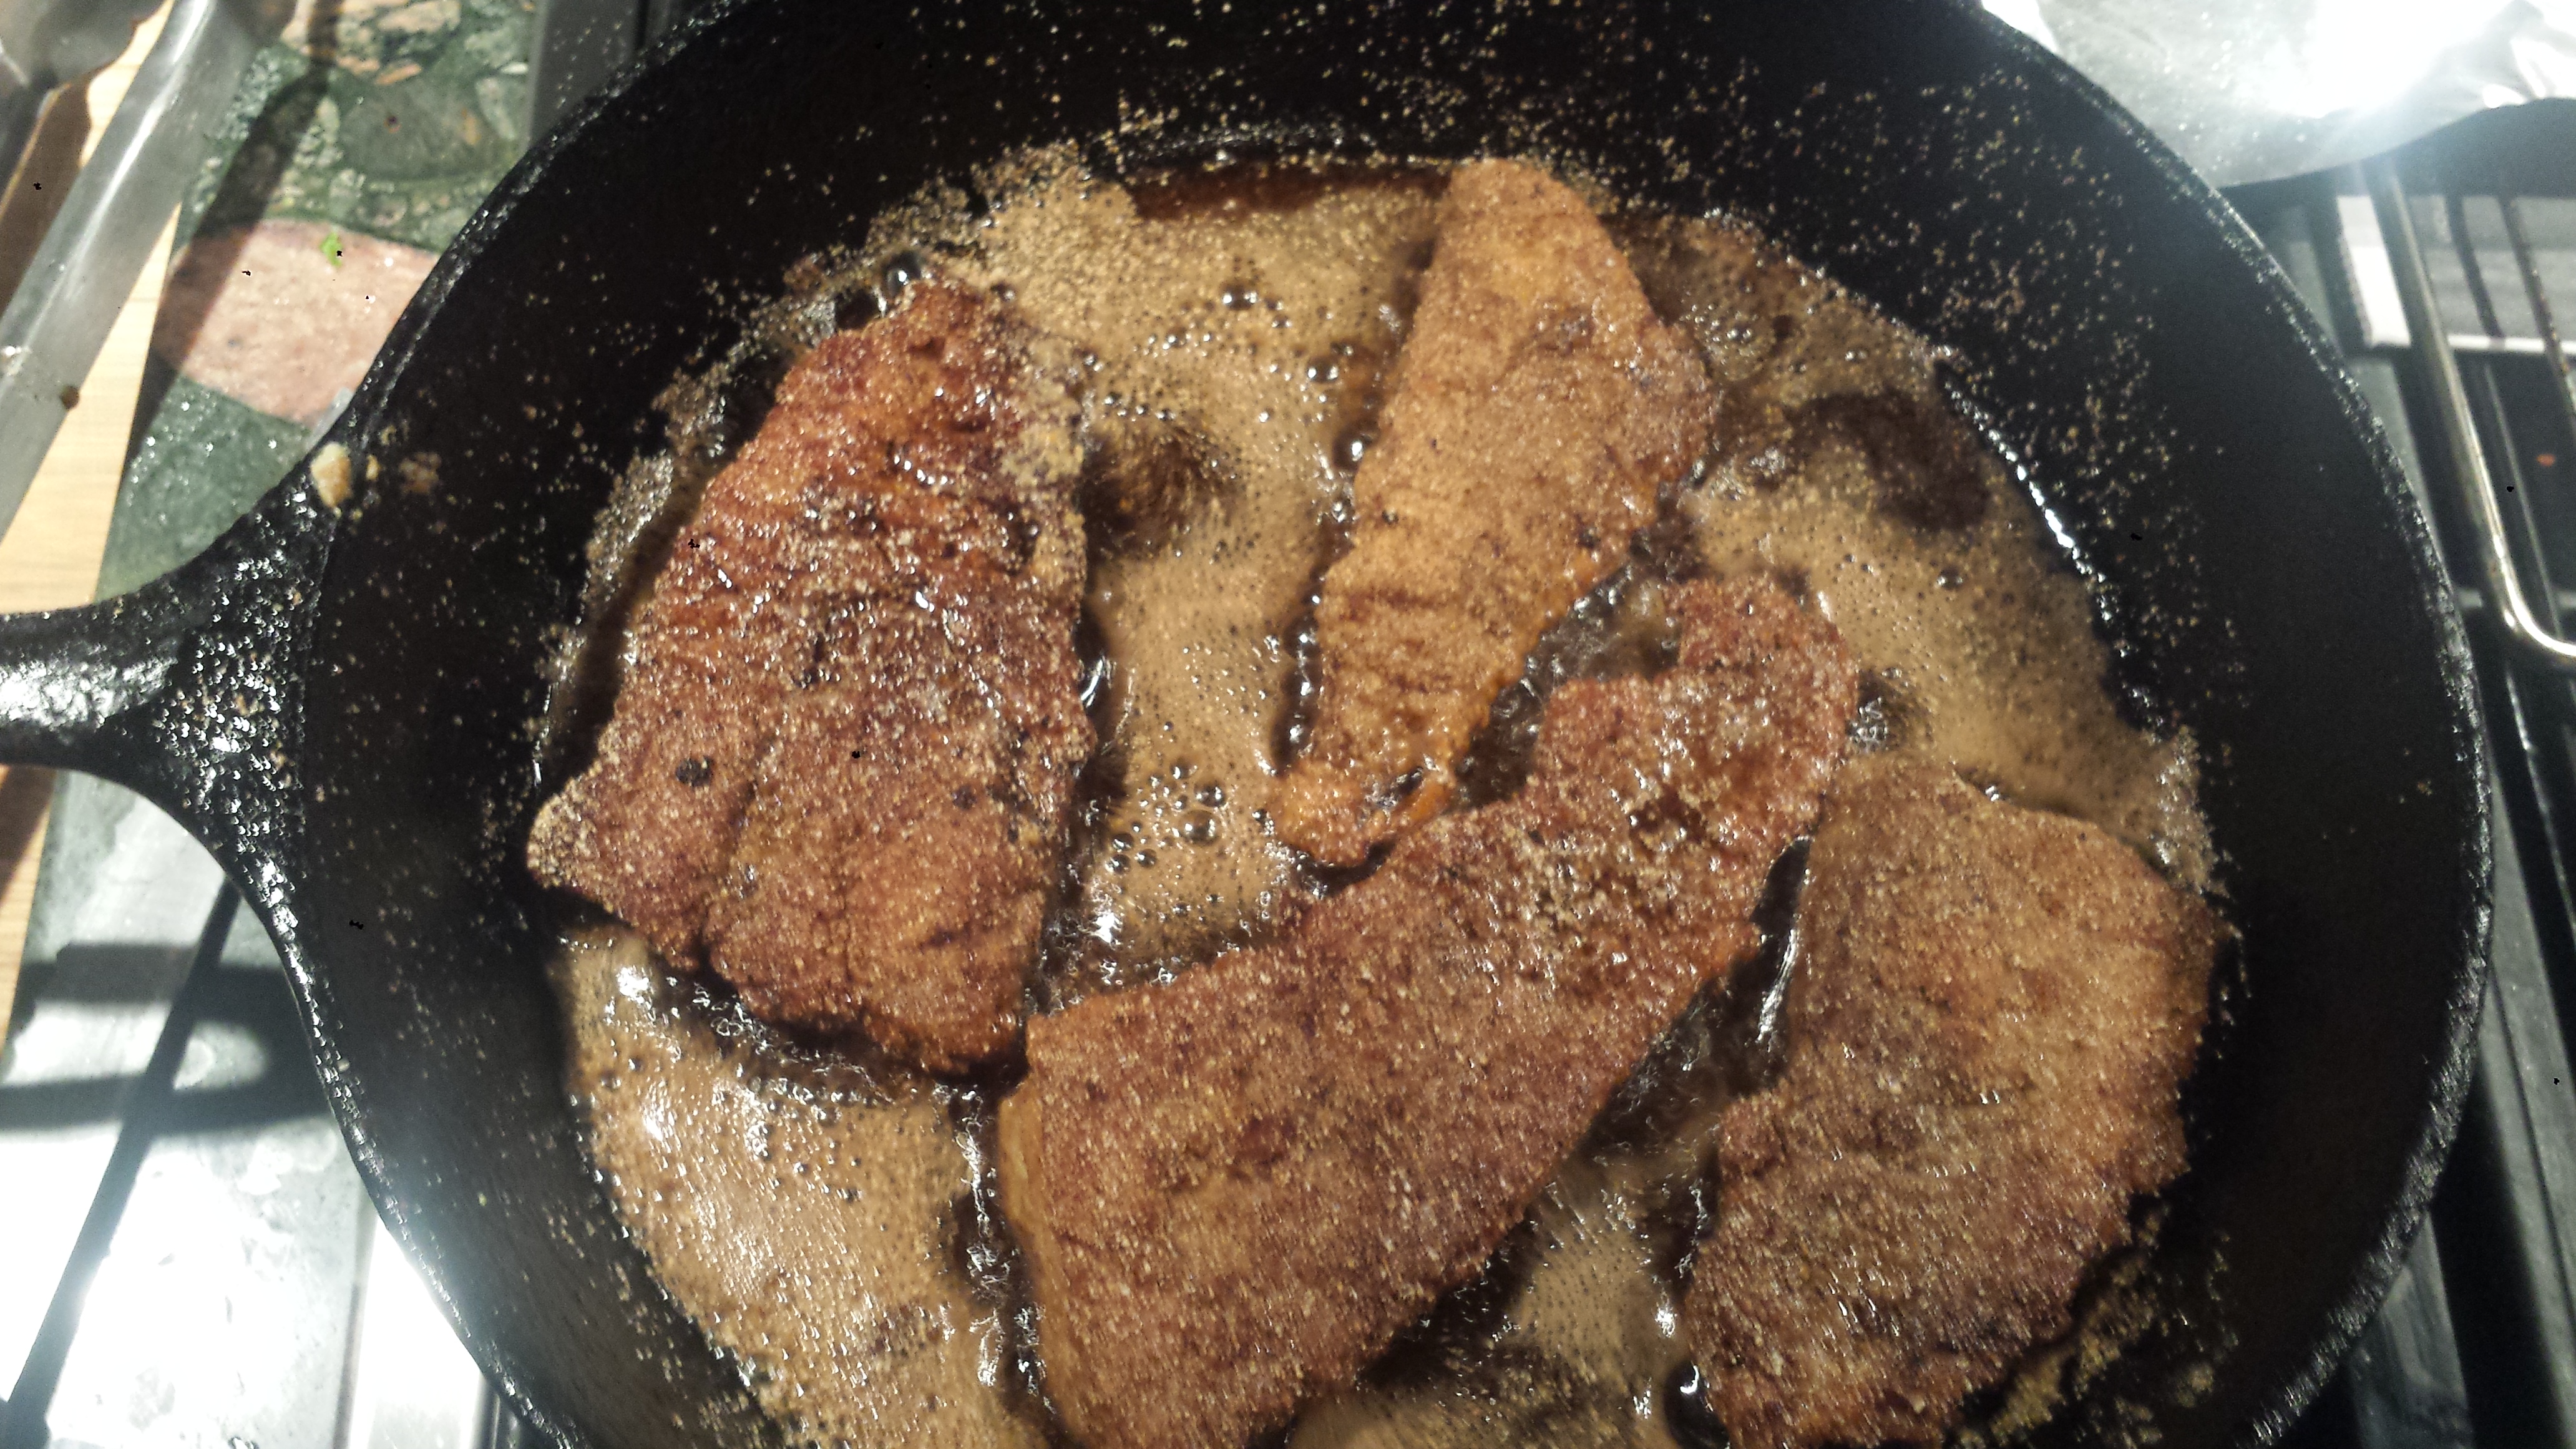
- Gently add the fillets, 2-4 at a time, to the hot oil and fry until golden brown, about 5 to 6 minutes. Remove the fried fillets to a cooling rack set over a newspapers or paper towels.. Repeat method with remaining fillets.

- Arrange the catfish on a serving platter and serve immediately with slaw and tartar sauce.

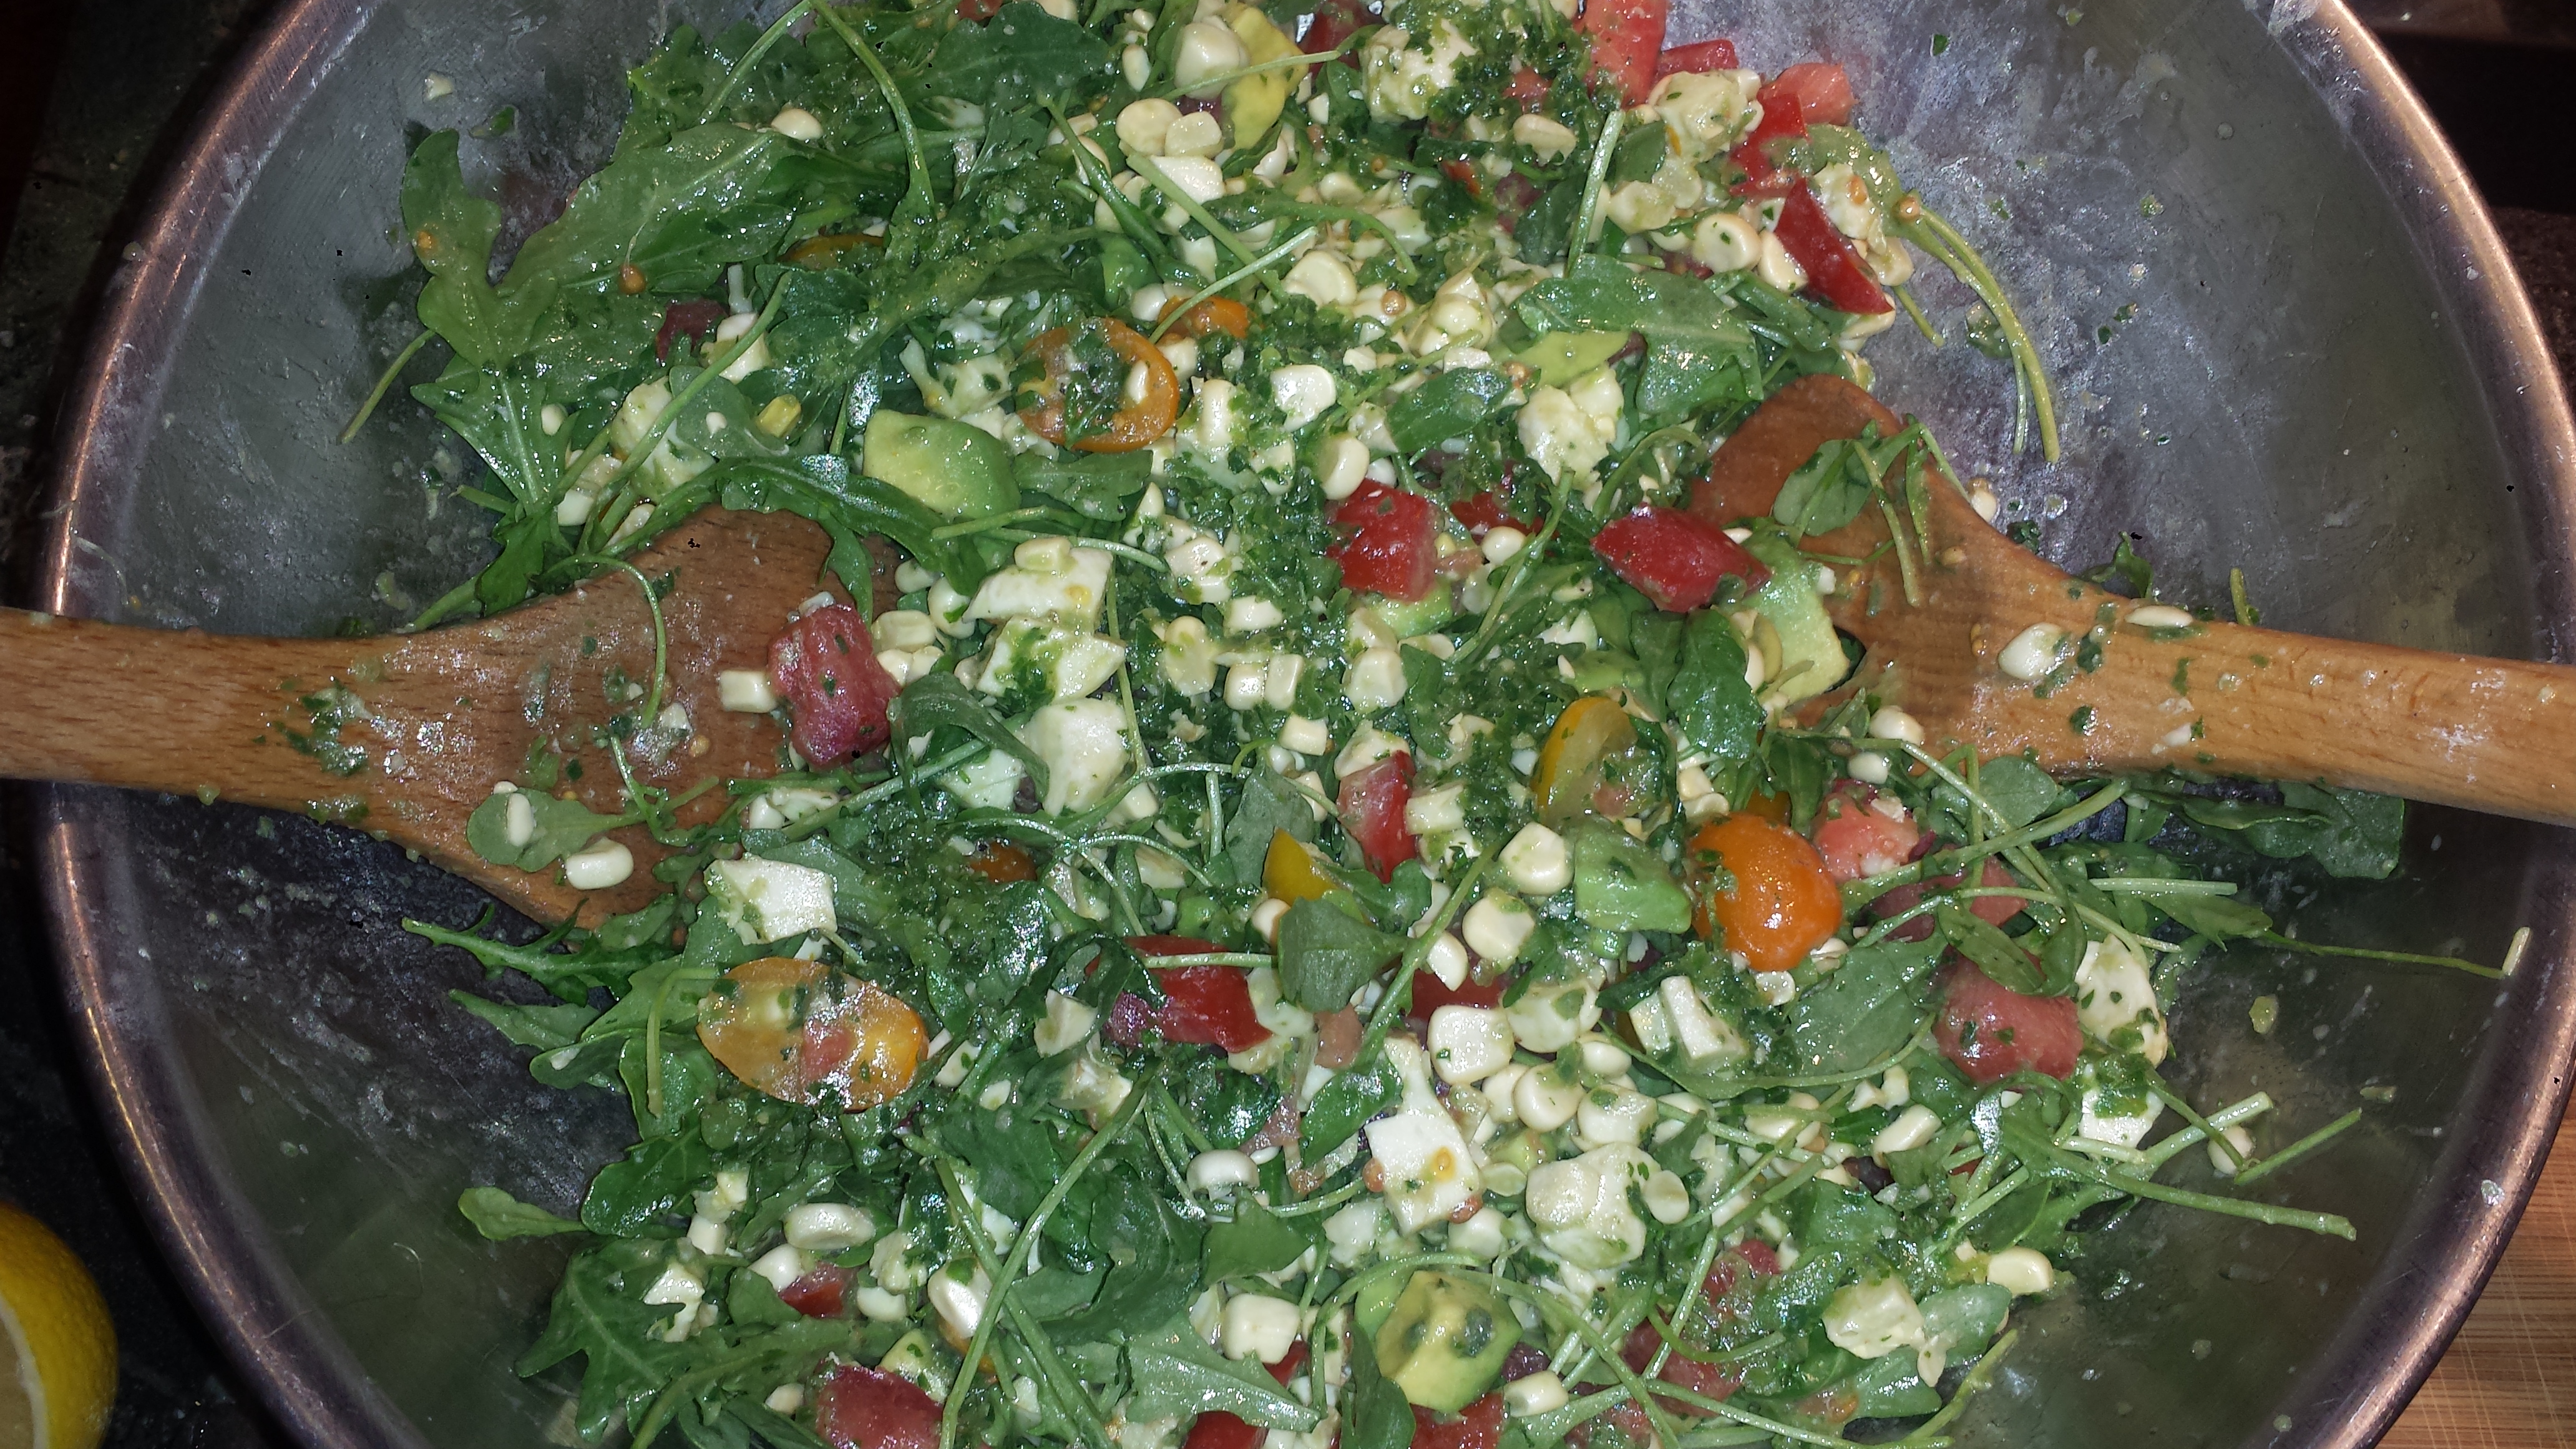
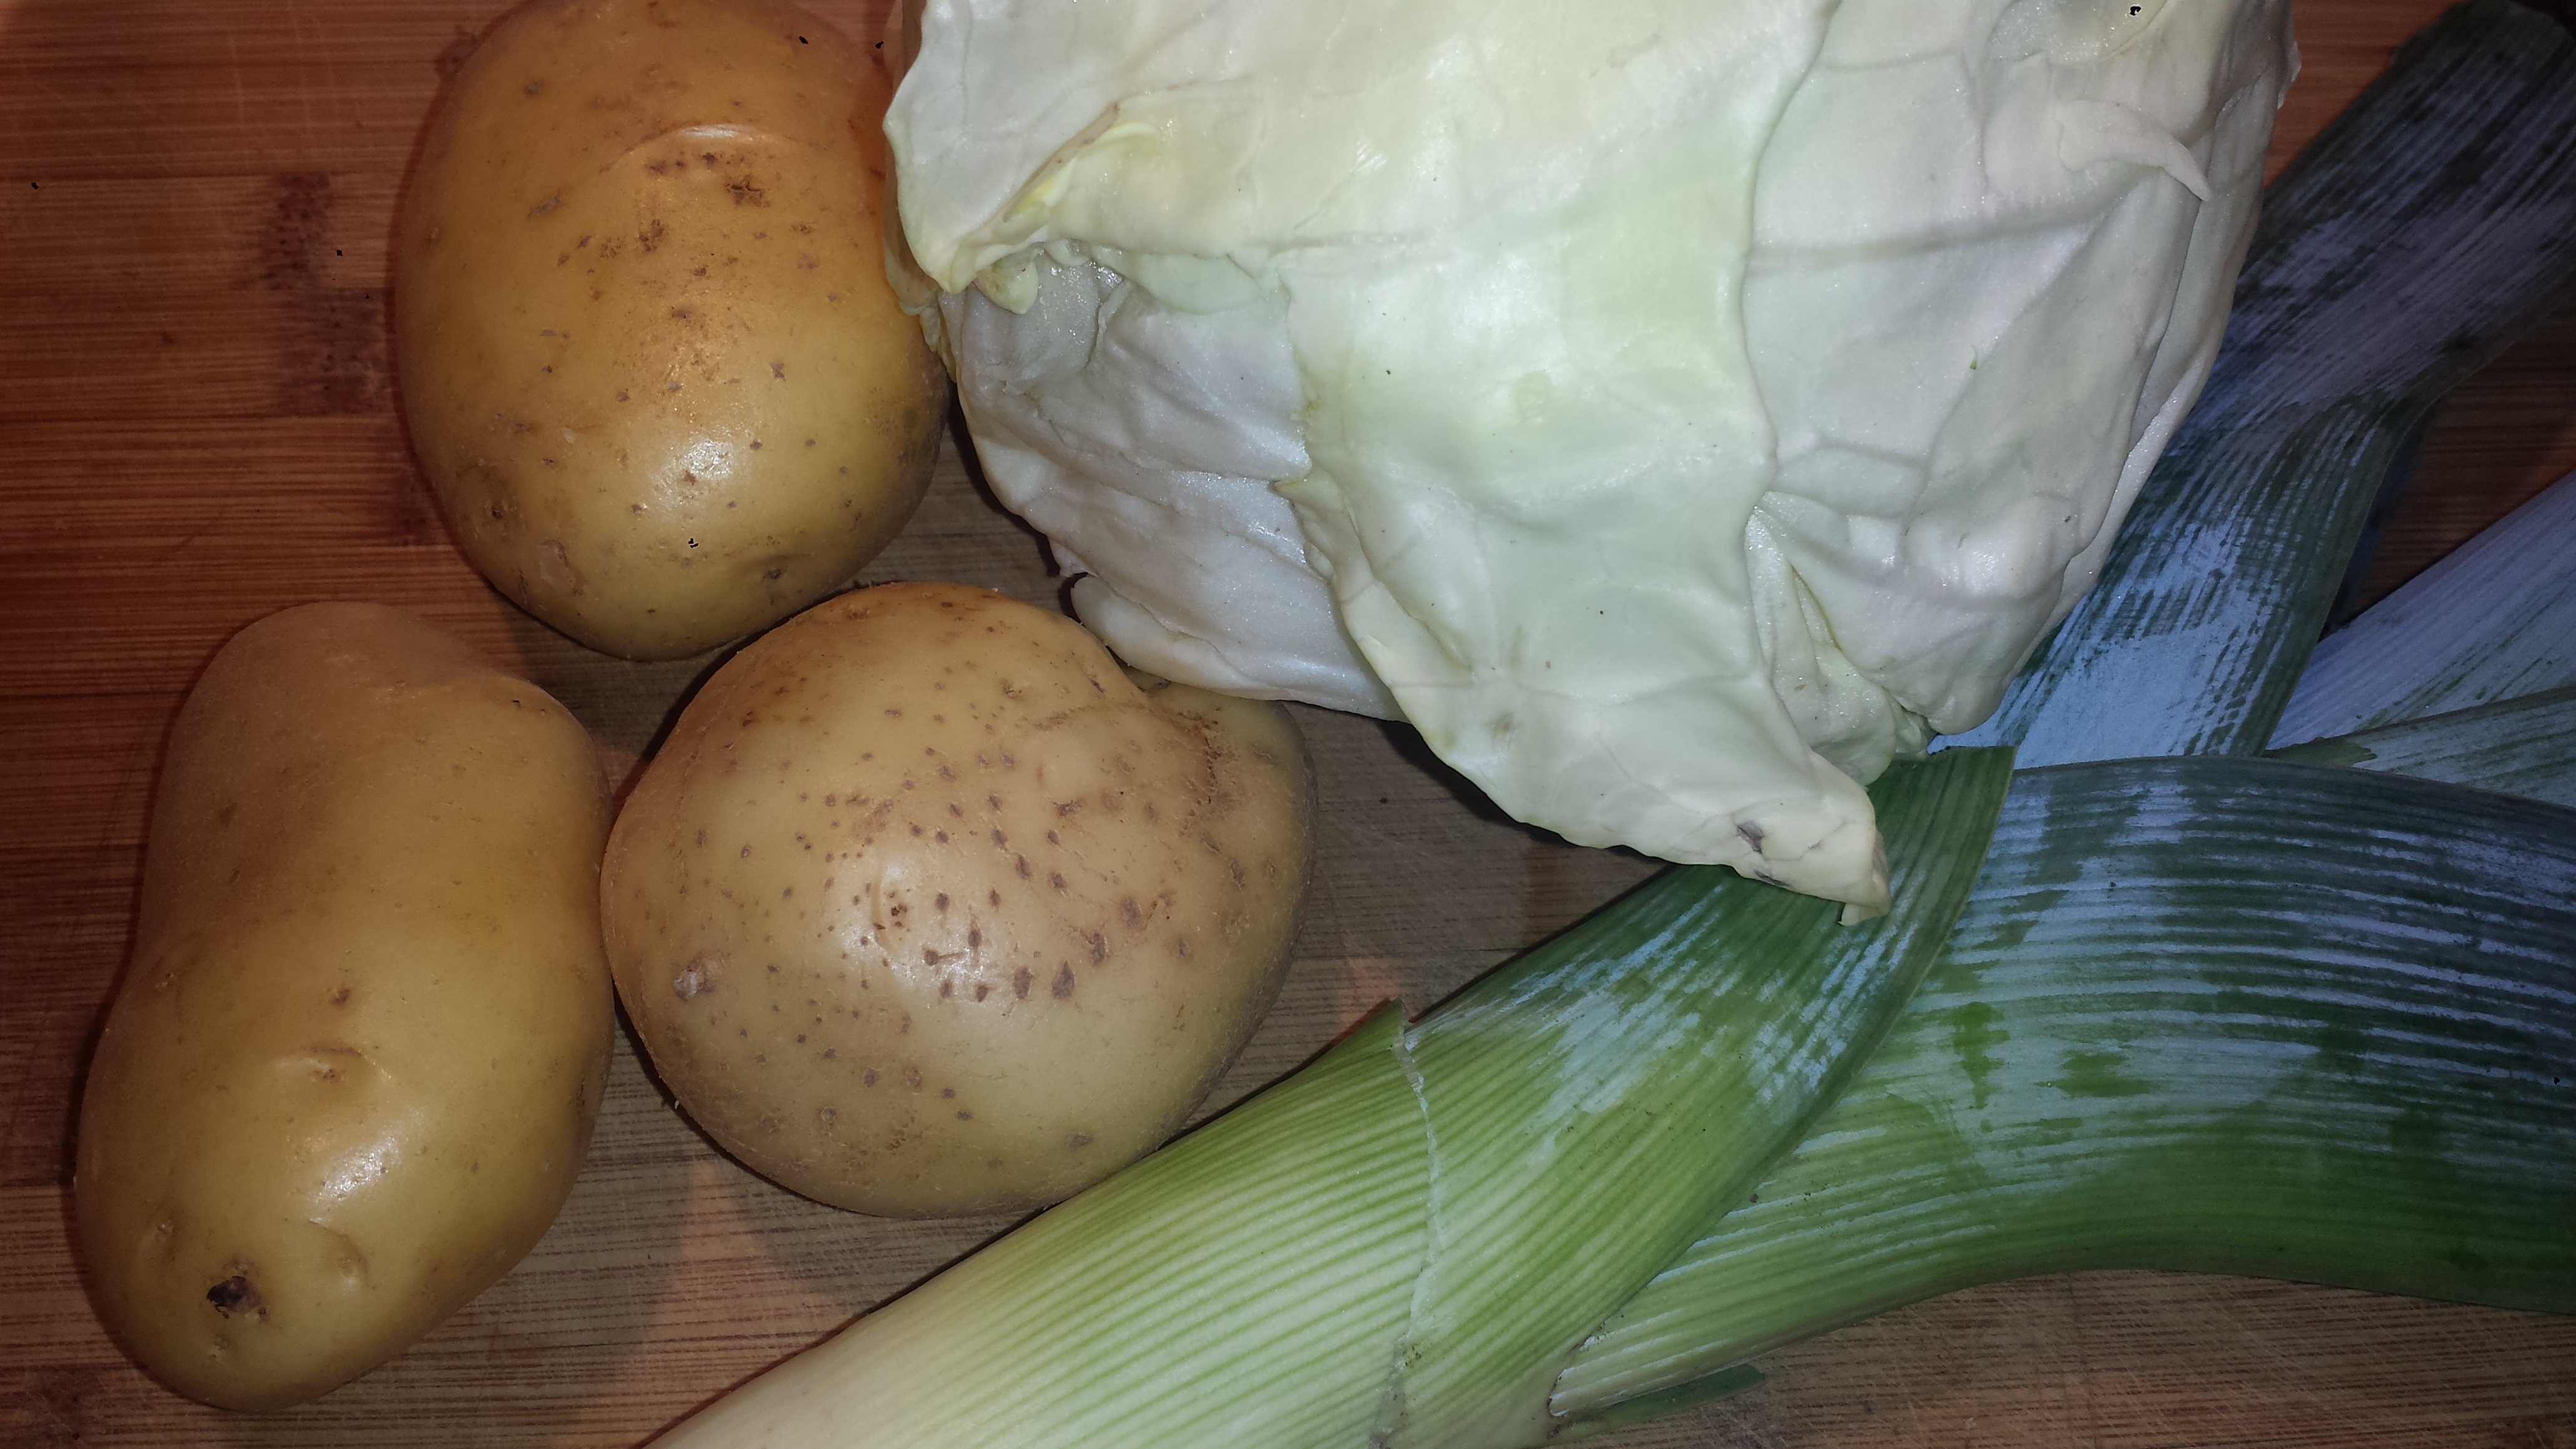
NAPA CORN SLAW
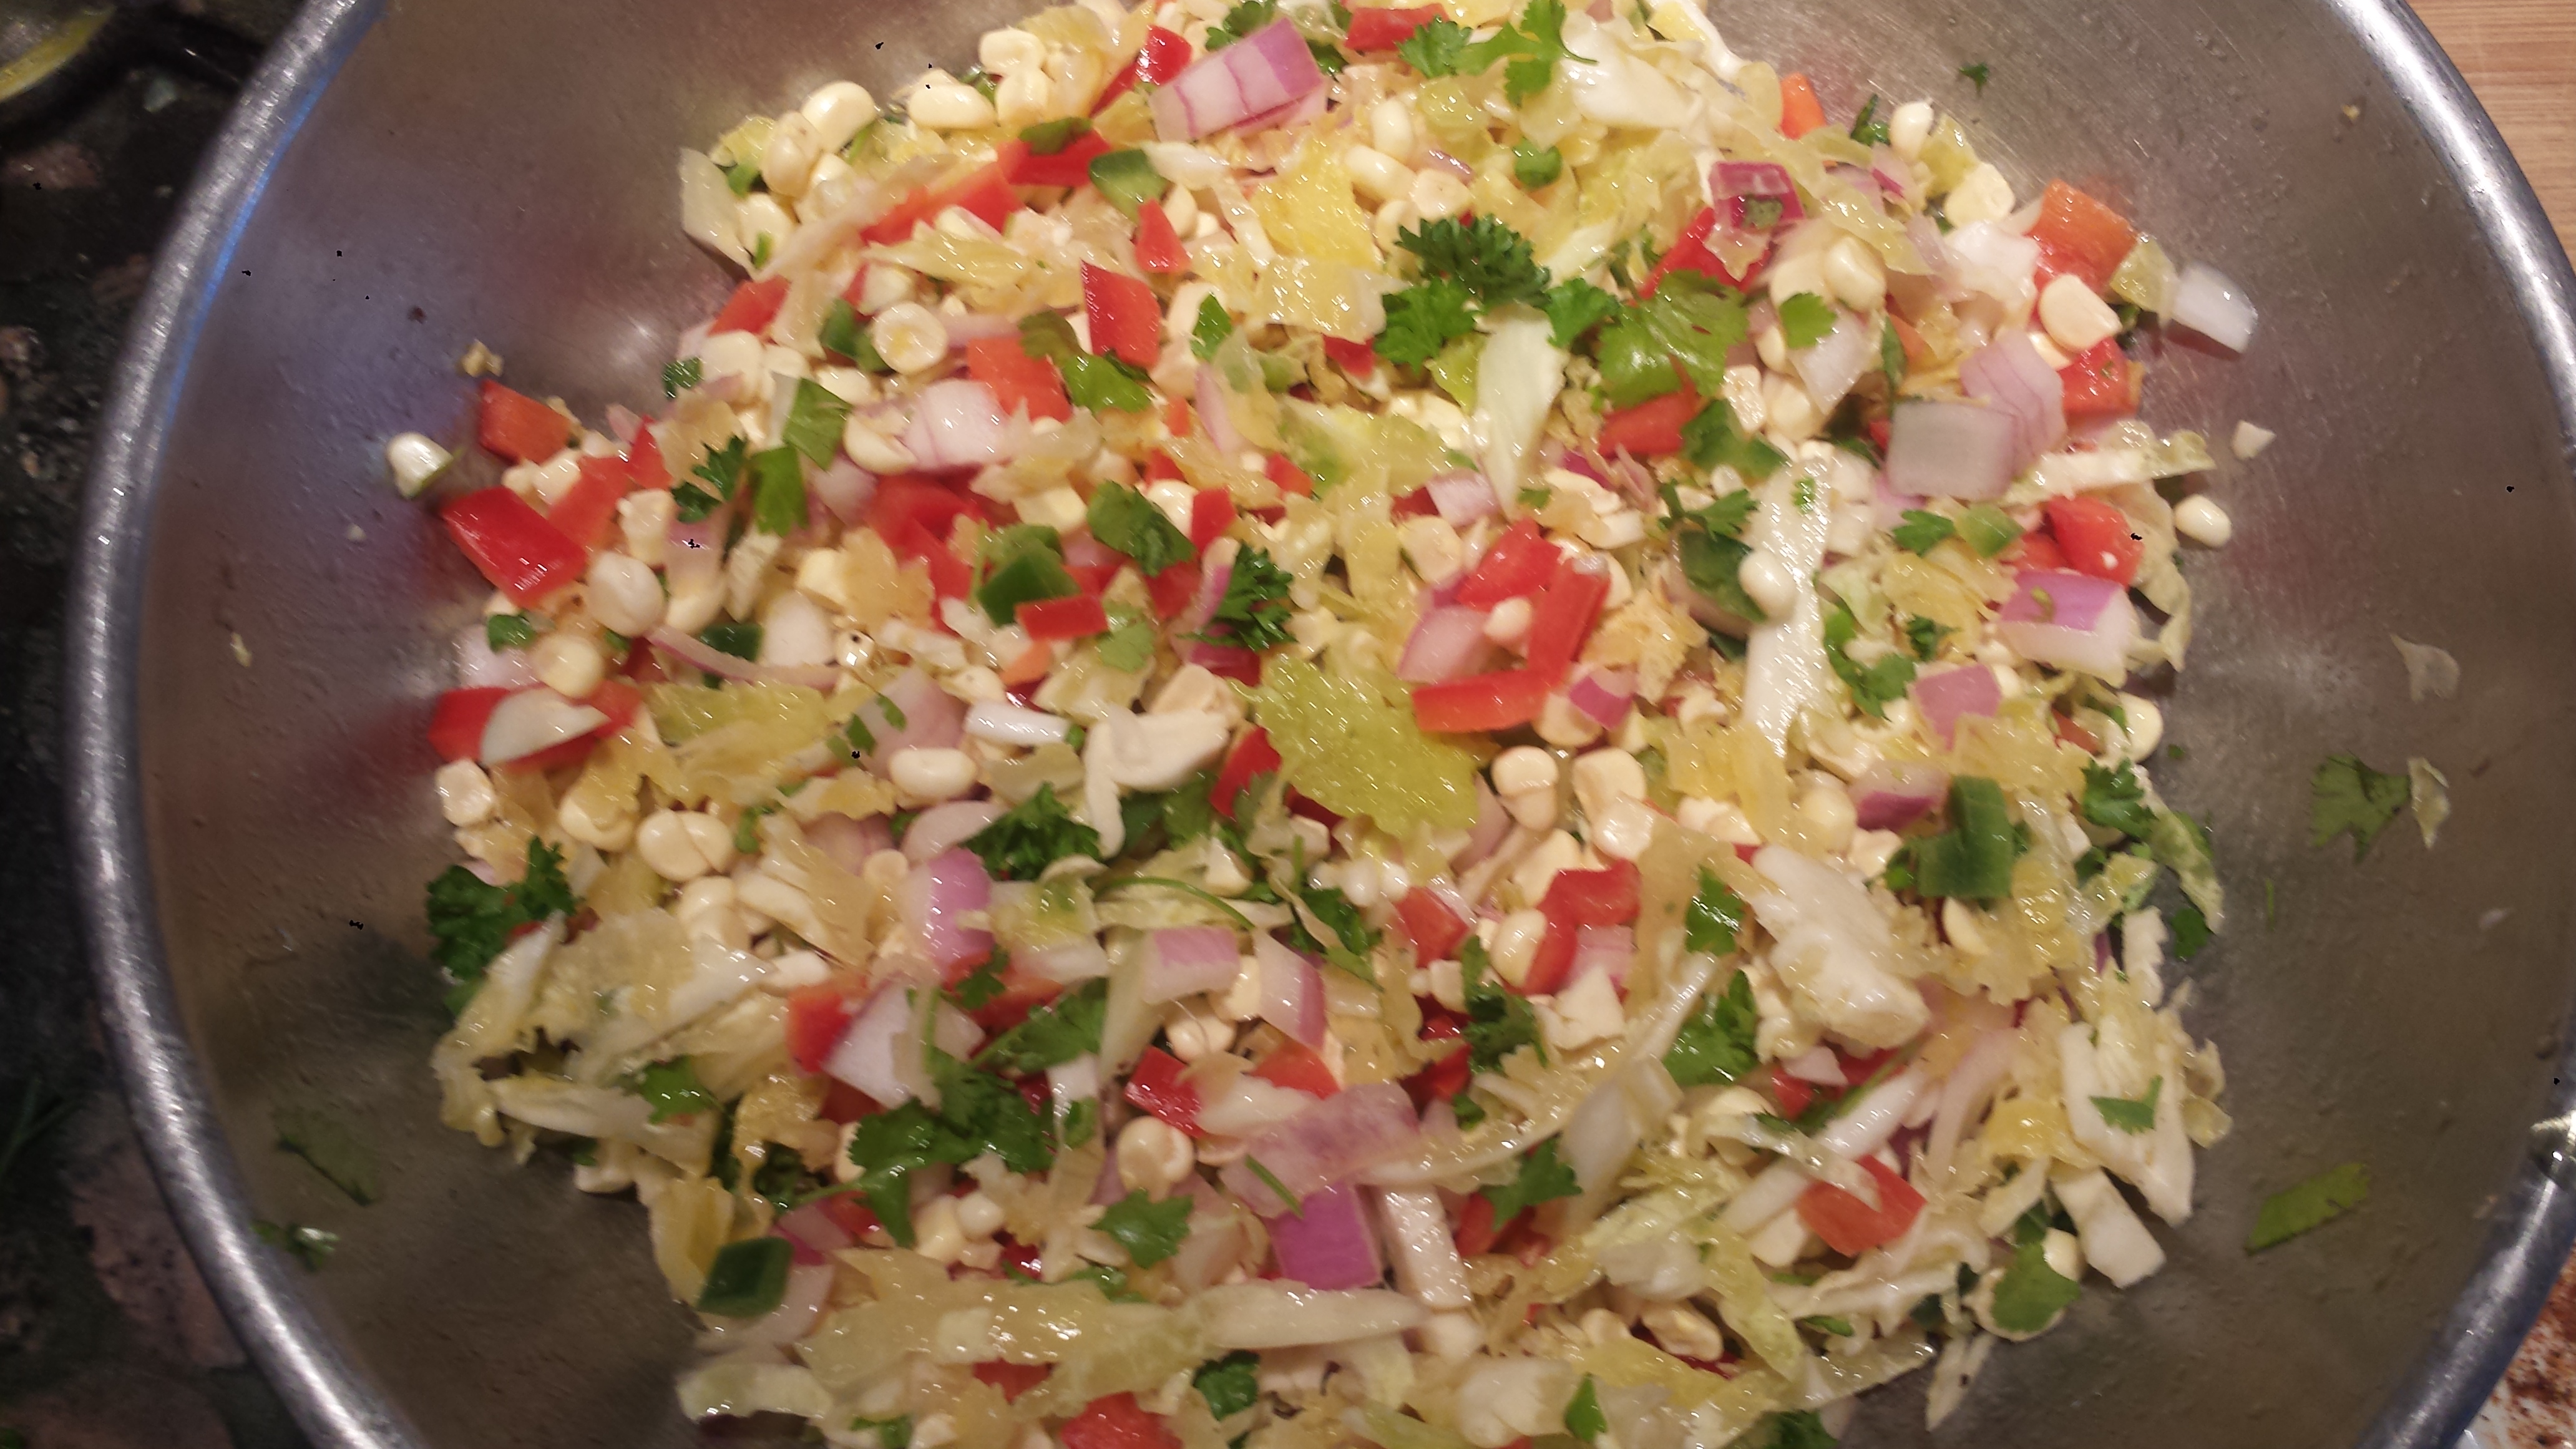
6 cups Napa cabbage (Savoy, green, and/or purple), cored and shredded
2-3 ears sweet corn
1 large red or yellow bell pepper, diced
1/2 red onion
1-2 Tbsn fresh jalapeño(or other hot pepper),minced
1/4 cup chopped fresh parsley leaves
1/4 cup olive oil
2 Tbsn red wine vinegar
1 clove garlic, minced
Salt and freshly ground black pepper
- Whisk together oil, vinegar, garlic, salt and pepper and set aside.

- Cut the kernels off the corn with a sharp knife. If they are sweet enough to eat raw, just add to salad. If they are tough, steam them for a few minutes to soften, then let cool.
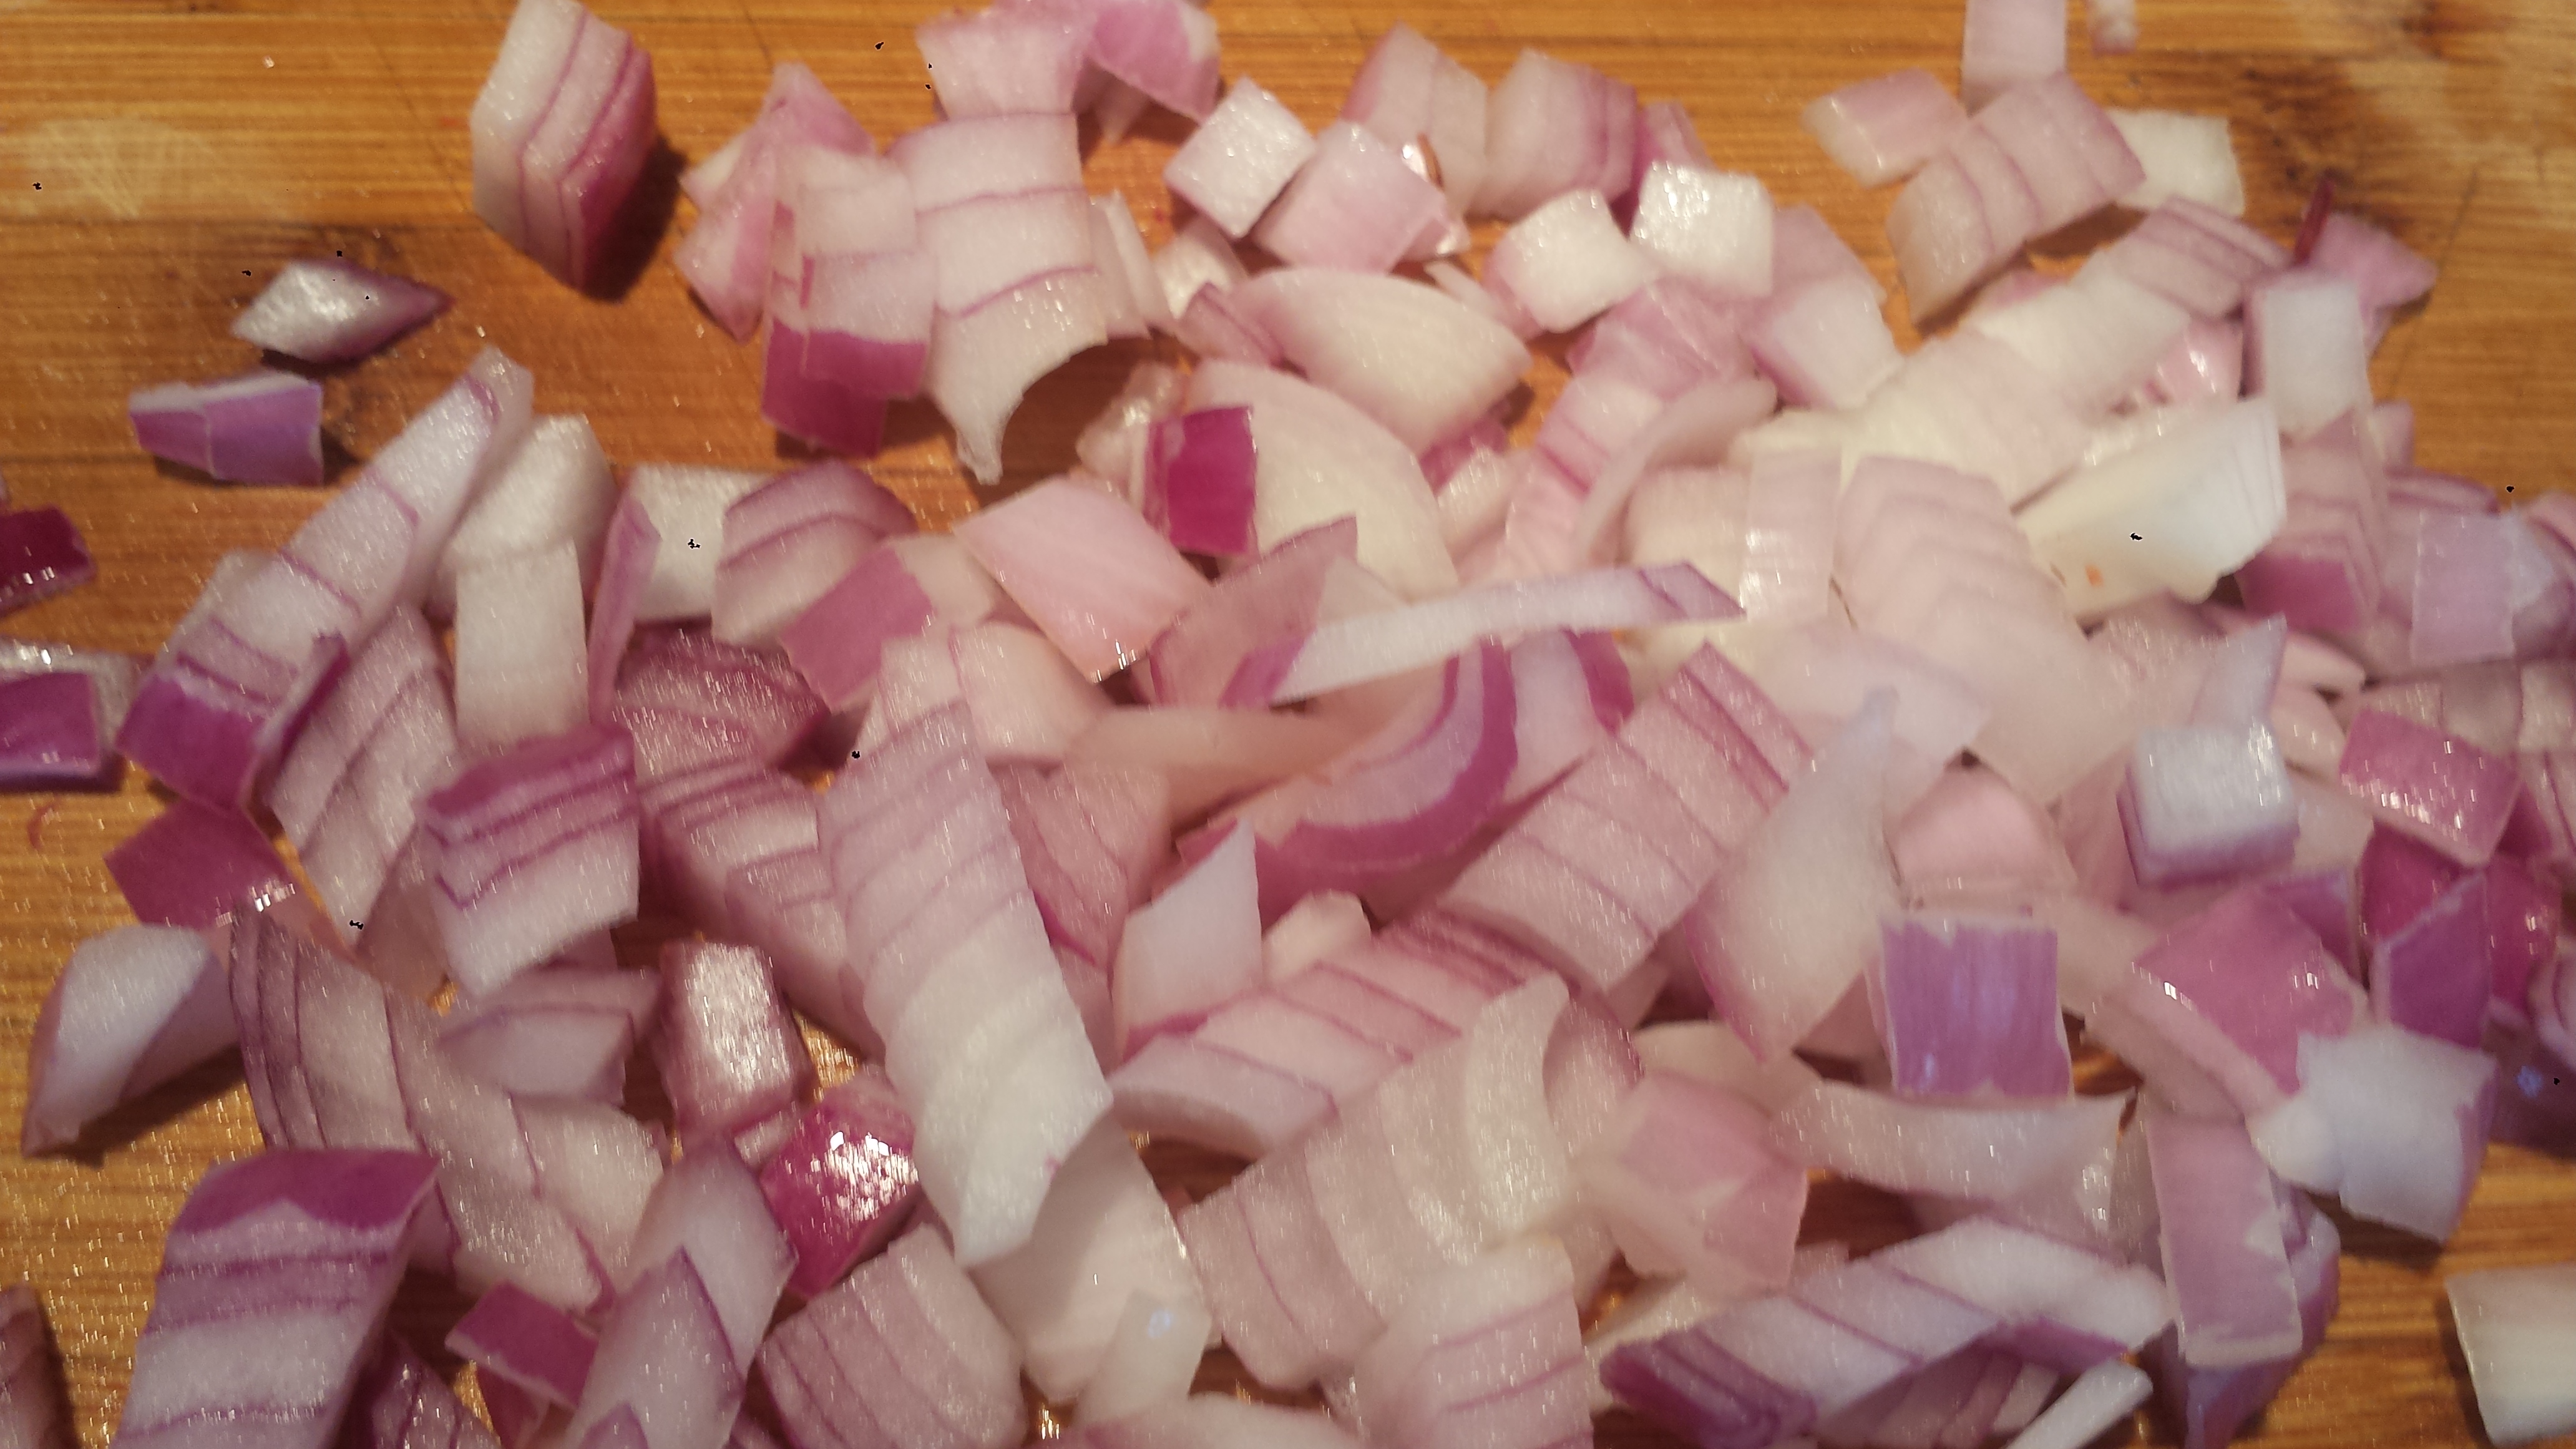

- Combine the cabbage, bell pepper, and onion.and toss with the dressing. refrigerate until ready to serve. (Slaw tastes best when it’s allowed to rest for an hour or so to allow the flavors to blend.) Just before serving, toss with the parsley.
2 cups high heat oil (avocado, coconut or peanut) NAPA CORN SLAW 6 cups Napa cabbage (Savoy, green, and/or purple), cored and shreddedFried Catfish with Napa and Corn Slaw

1/2 cup stone-ground fine cornmeal
1/2 cup coconut flour (or all purpose)
1 tsp Old Bay seasoning
1/2 tsp salt
1/4 tsp paprika
1/4 tsp cayenne pepper
1/4 tsp ground black pepper
6 (7 to 9-ounce) Wild Caught or US farm-raised catfish fillets, rinsed and thoroughly patted dry
2 eggs (or 1/2 cup buttermilk)
2-3 ears sweet corn
1 large red or yellow bell pepper, diced
1/2 red onion
1-2 Tbsn fresh jalapeño(or other hot pepper),minced
1/4 cup chopped fresh parsley leaves
1/4 cup olive oil
2 Tbsn red wine vinegar
1 clove garlic, minced
Salt and freshly ground black pepper


