Dreidel, Dreidel, Dreidel! You know what that means… It’s Hanukkah! Who wouldn’t love a celebration that lasts eight days and involves lighting pretty candles, exchanging gifts, playing games that involve chocolate coins and eating foods that have been fried in oil? Once a year, latkes (and even doughnuts) which are fried in oil are the reigning treats. Latkes, crispy and salty potato pancakes topped with applesauce and sour cream, are a family favorite. The only problem is, that no matter how many I make, they disappear! So what is the significance of the oil? Hanukkah, (Hanukah, Chanukkah or Chanukah depending on the transliteration) also known as the Festival of Lights, is an eight-day Jewish holiday in which candles are lit for eight nights to commemorate the rededication of the Holy Temple in Jerusalem which had been desecrated and a statue of Zeus built in it’s place back when Greek Gods were in favor (2nd century BCE). During the dedication a cask of oil which should have only been enough to burn the temple menorah for one night miraculously burned for eight, thus the eight days of celebration today incorporating candles, menorahs and oil.
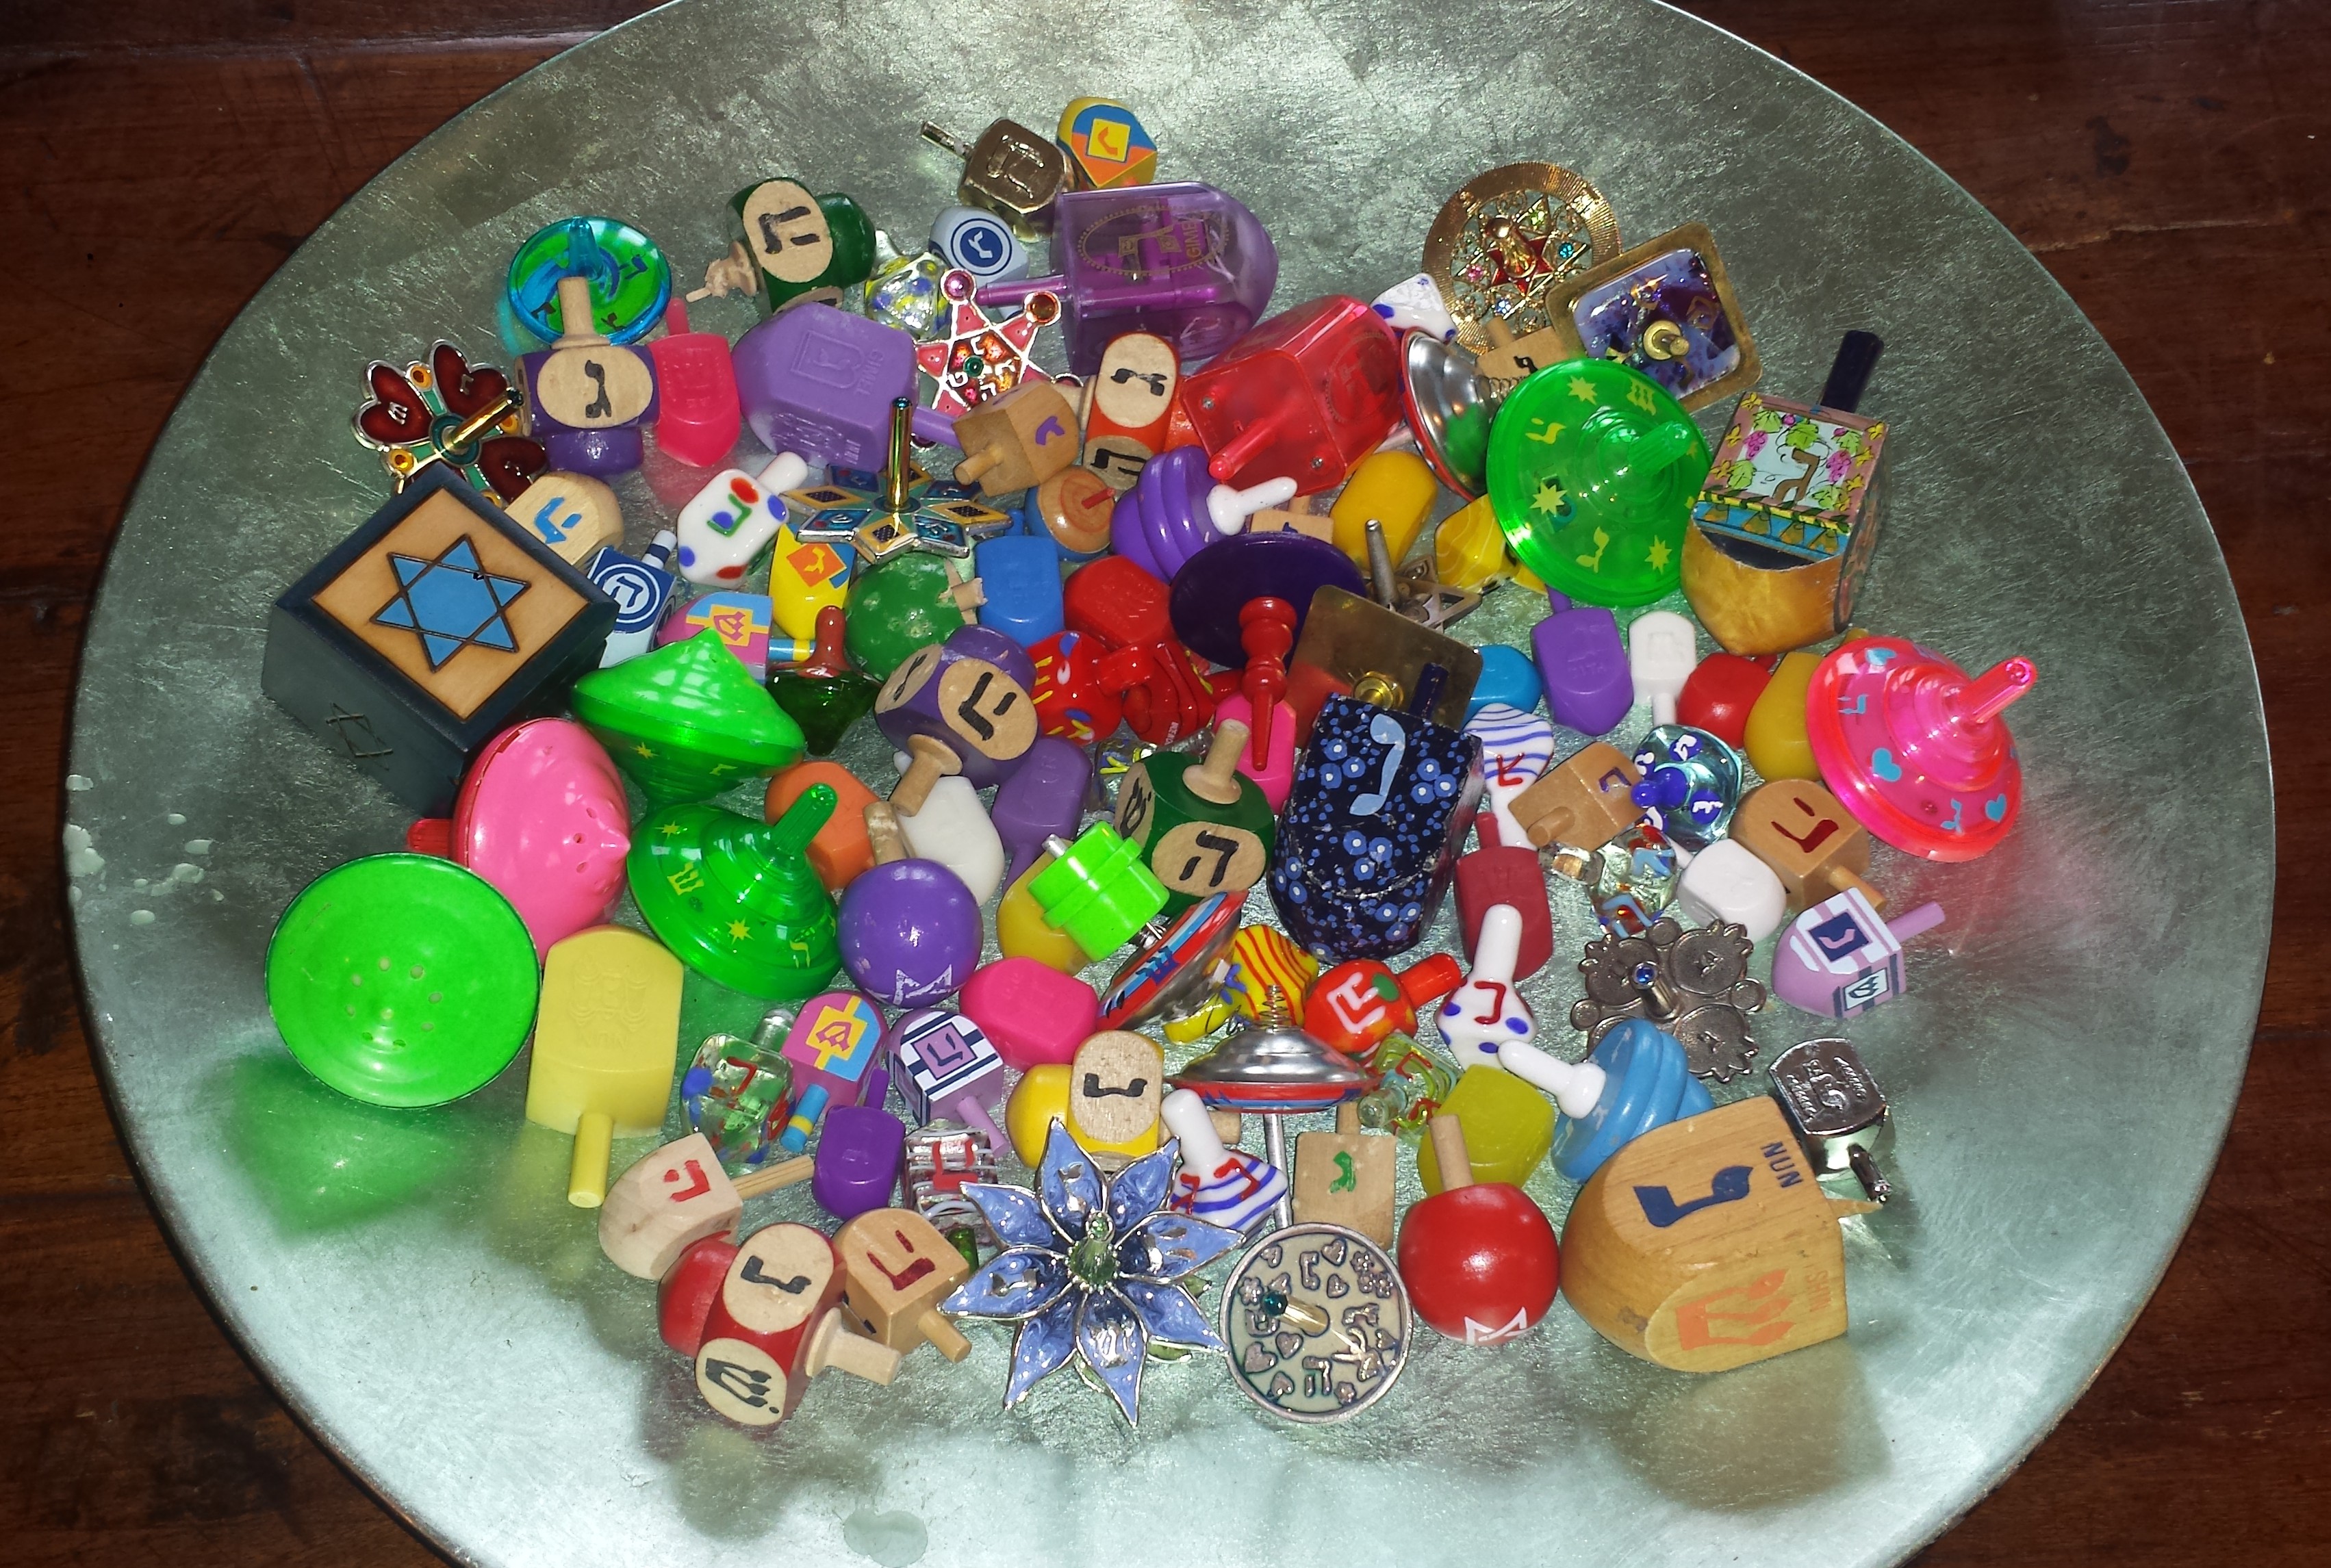
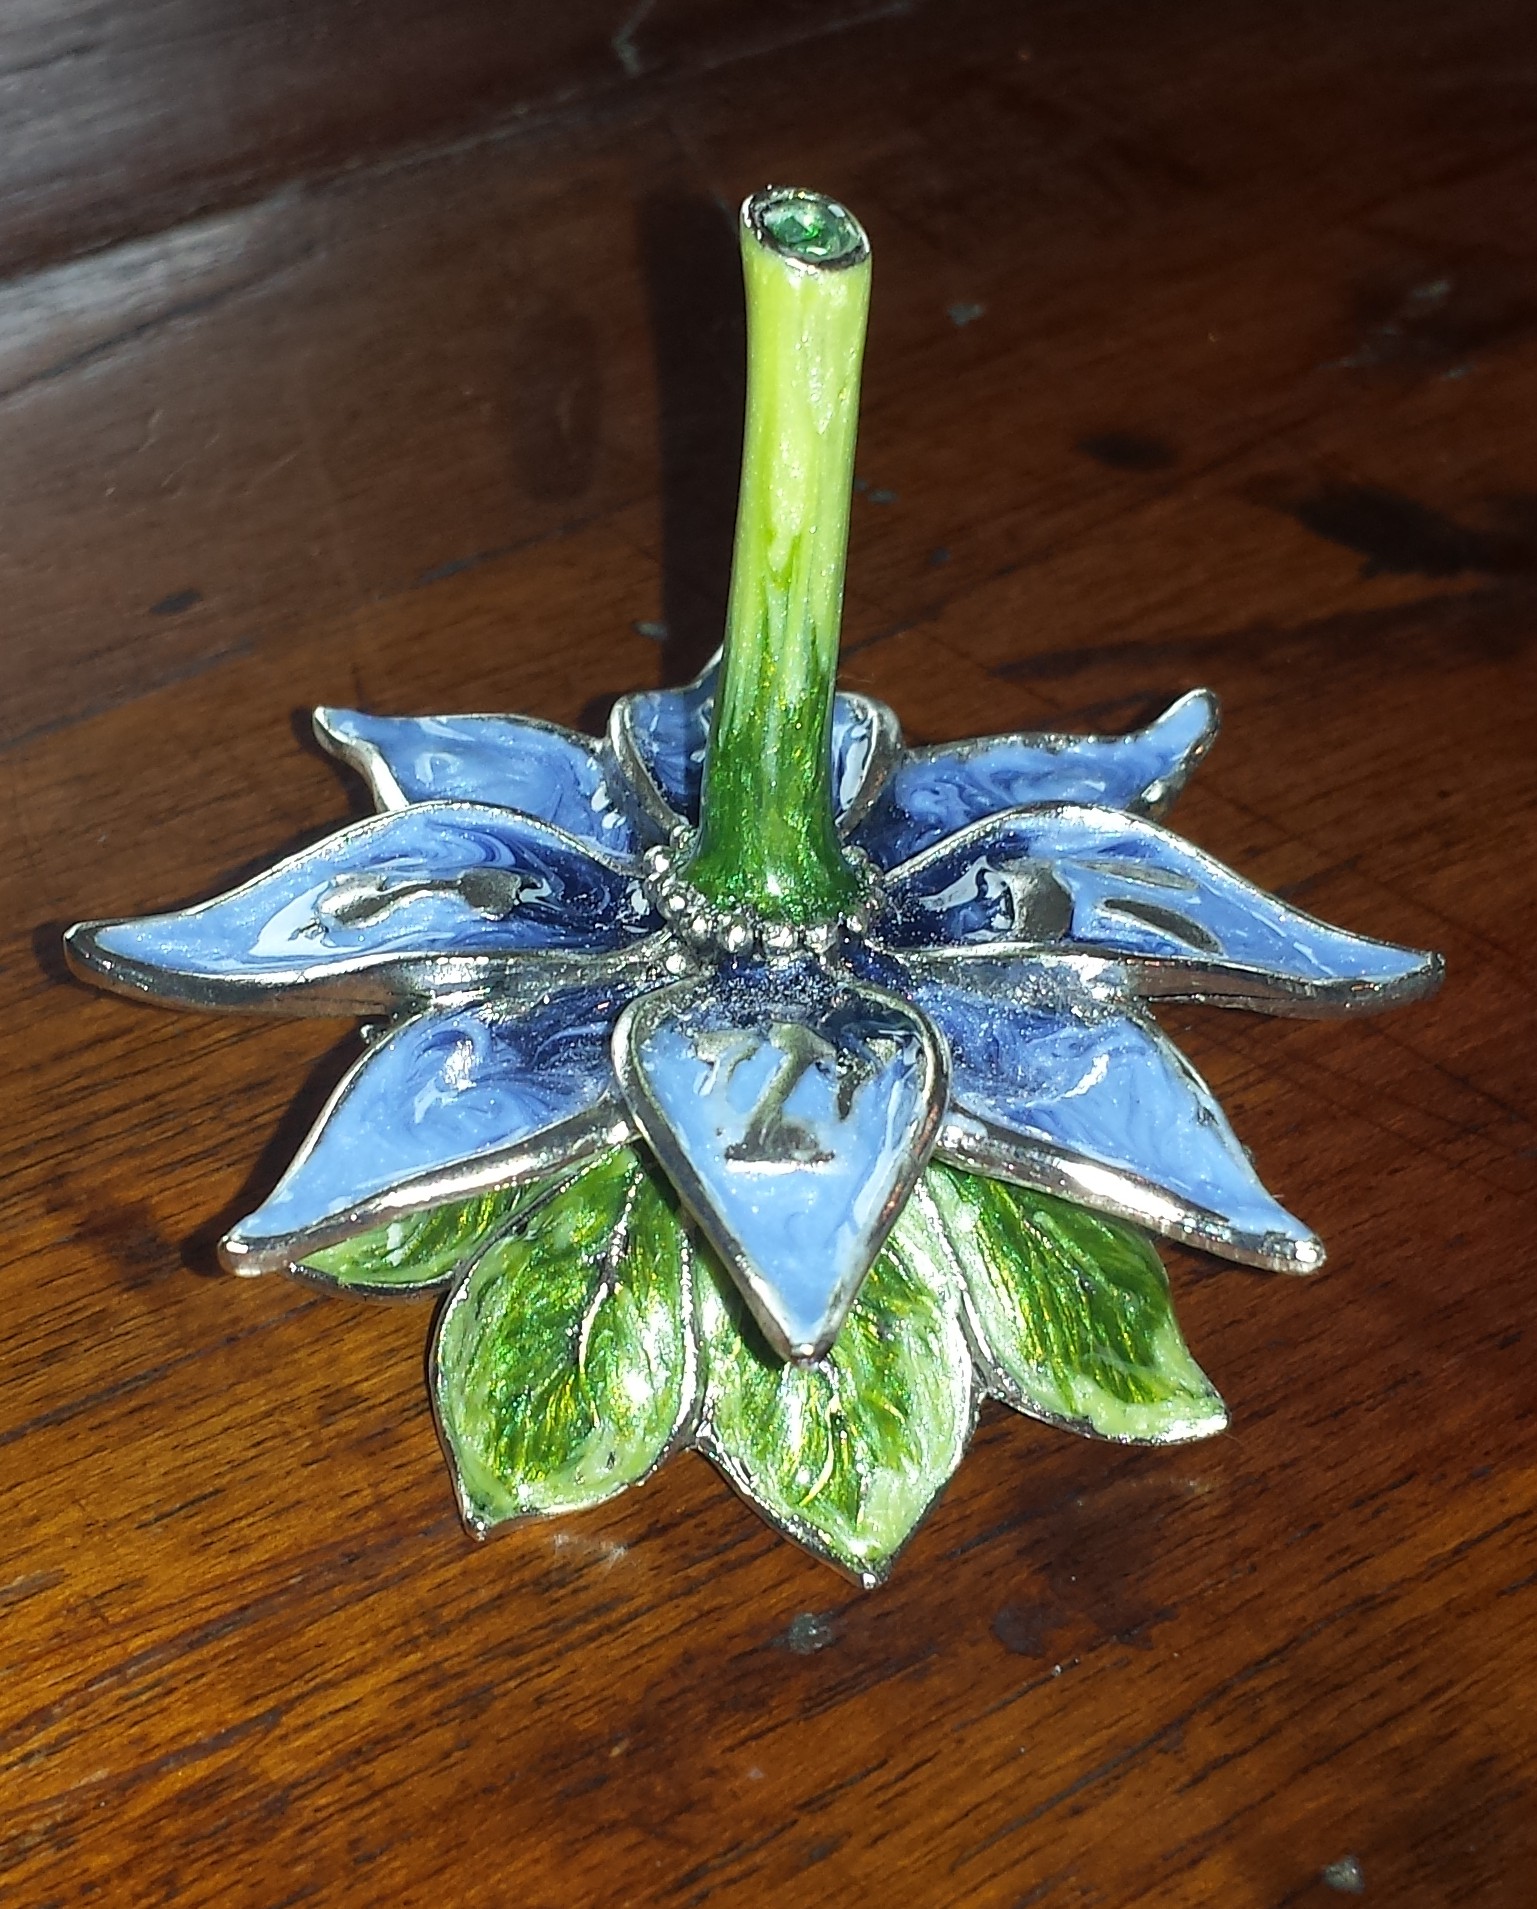
Dreidel is a popular game played during Hanukkah. Tradition has it that the reason the dreidel game is played is to commemorate a game devised by the Jews to camouflage the fact that they were studying Torah, which was outlawed at the time by the Ancient Greeks. The Jews would gather to study, posting a lookout to alert the group to the presence of soldiers. If soldiers were spotted, the Jews would hide their scrolls and start to spin tops, so it would look like they were gambling instead of studying Torah. My family loves playing dreidel, and I have been collecting dreidels for over 20 years. Every year I hunt for a new dreidel to add to our collection. It’s getting harder to find something unique but I always find one. Here is this year’s new addition.
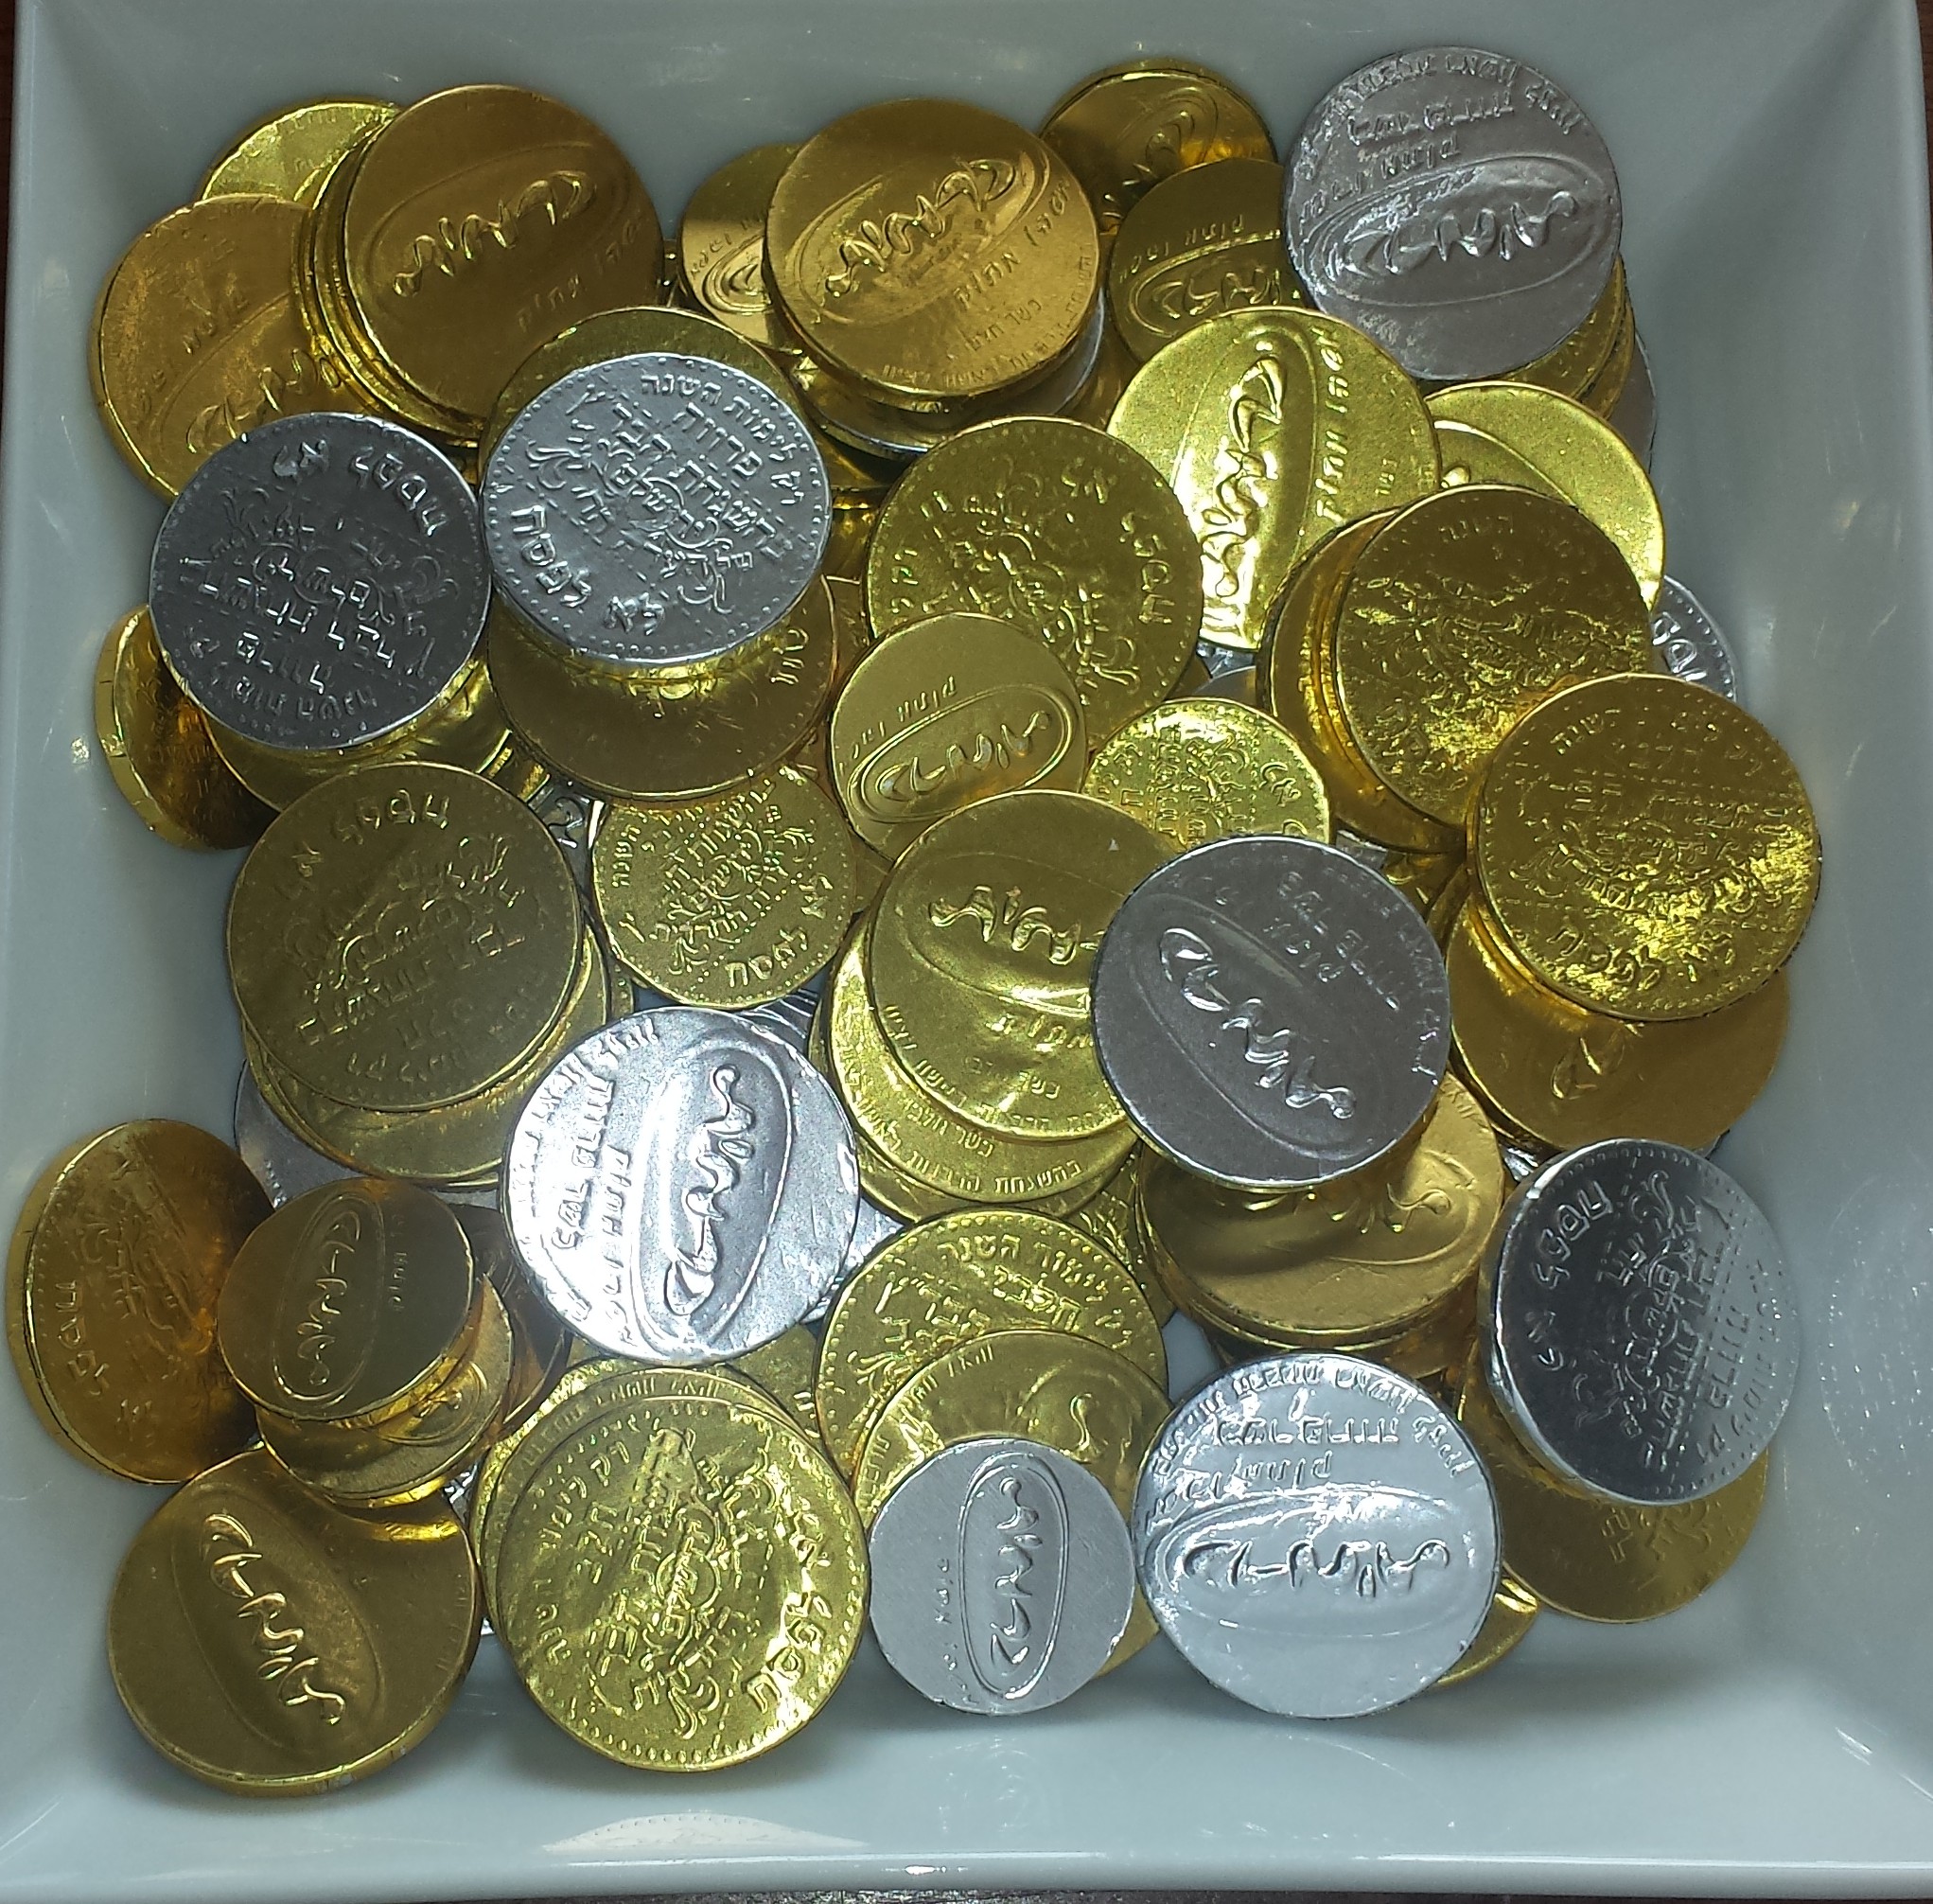
The other ubiquitous Hanukkah treat is the chocolate coins given as gifts or used as collateral in dreidel. Gold are milk chocolate and silver are dark, so pick your favorite!
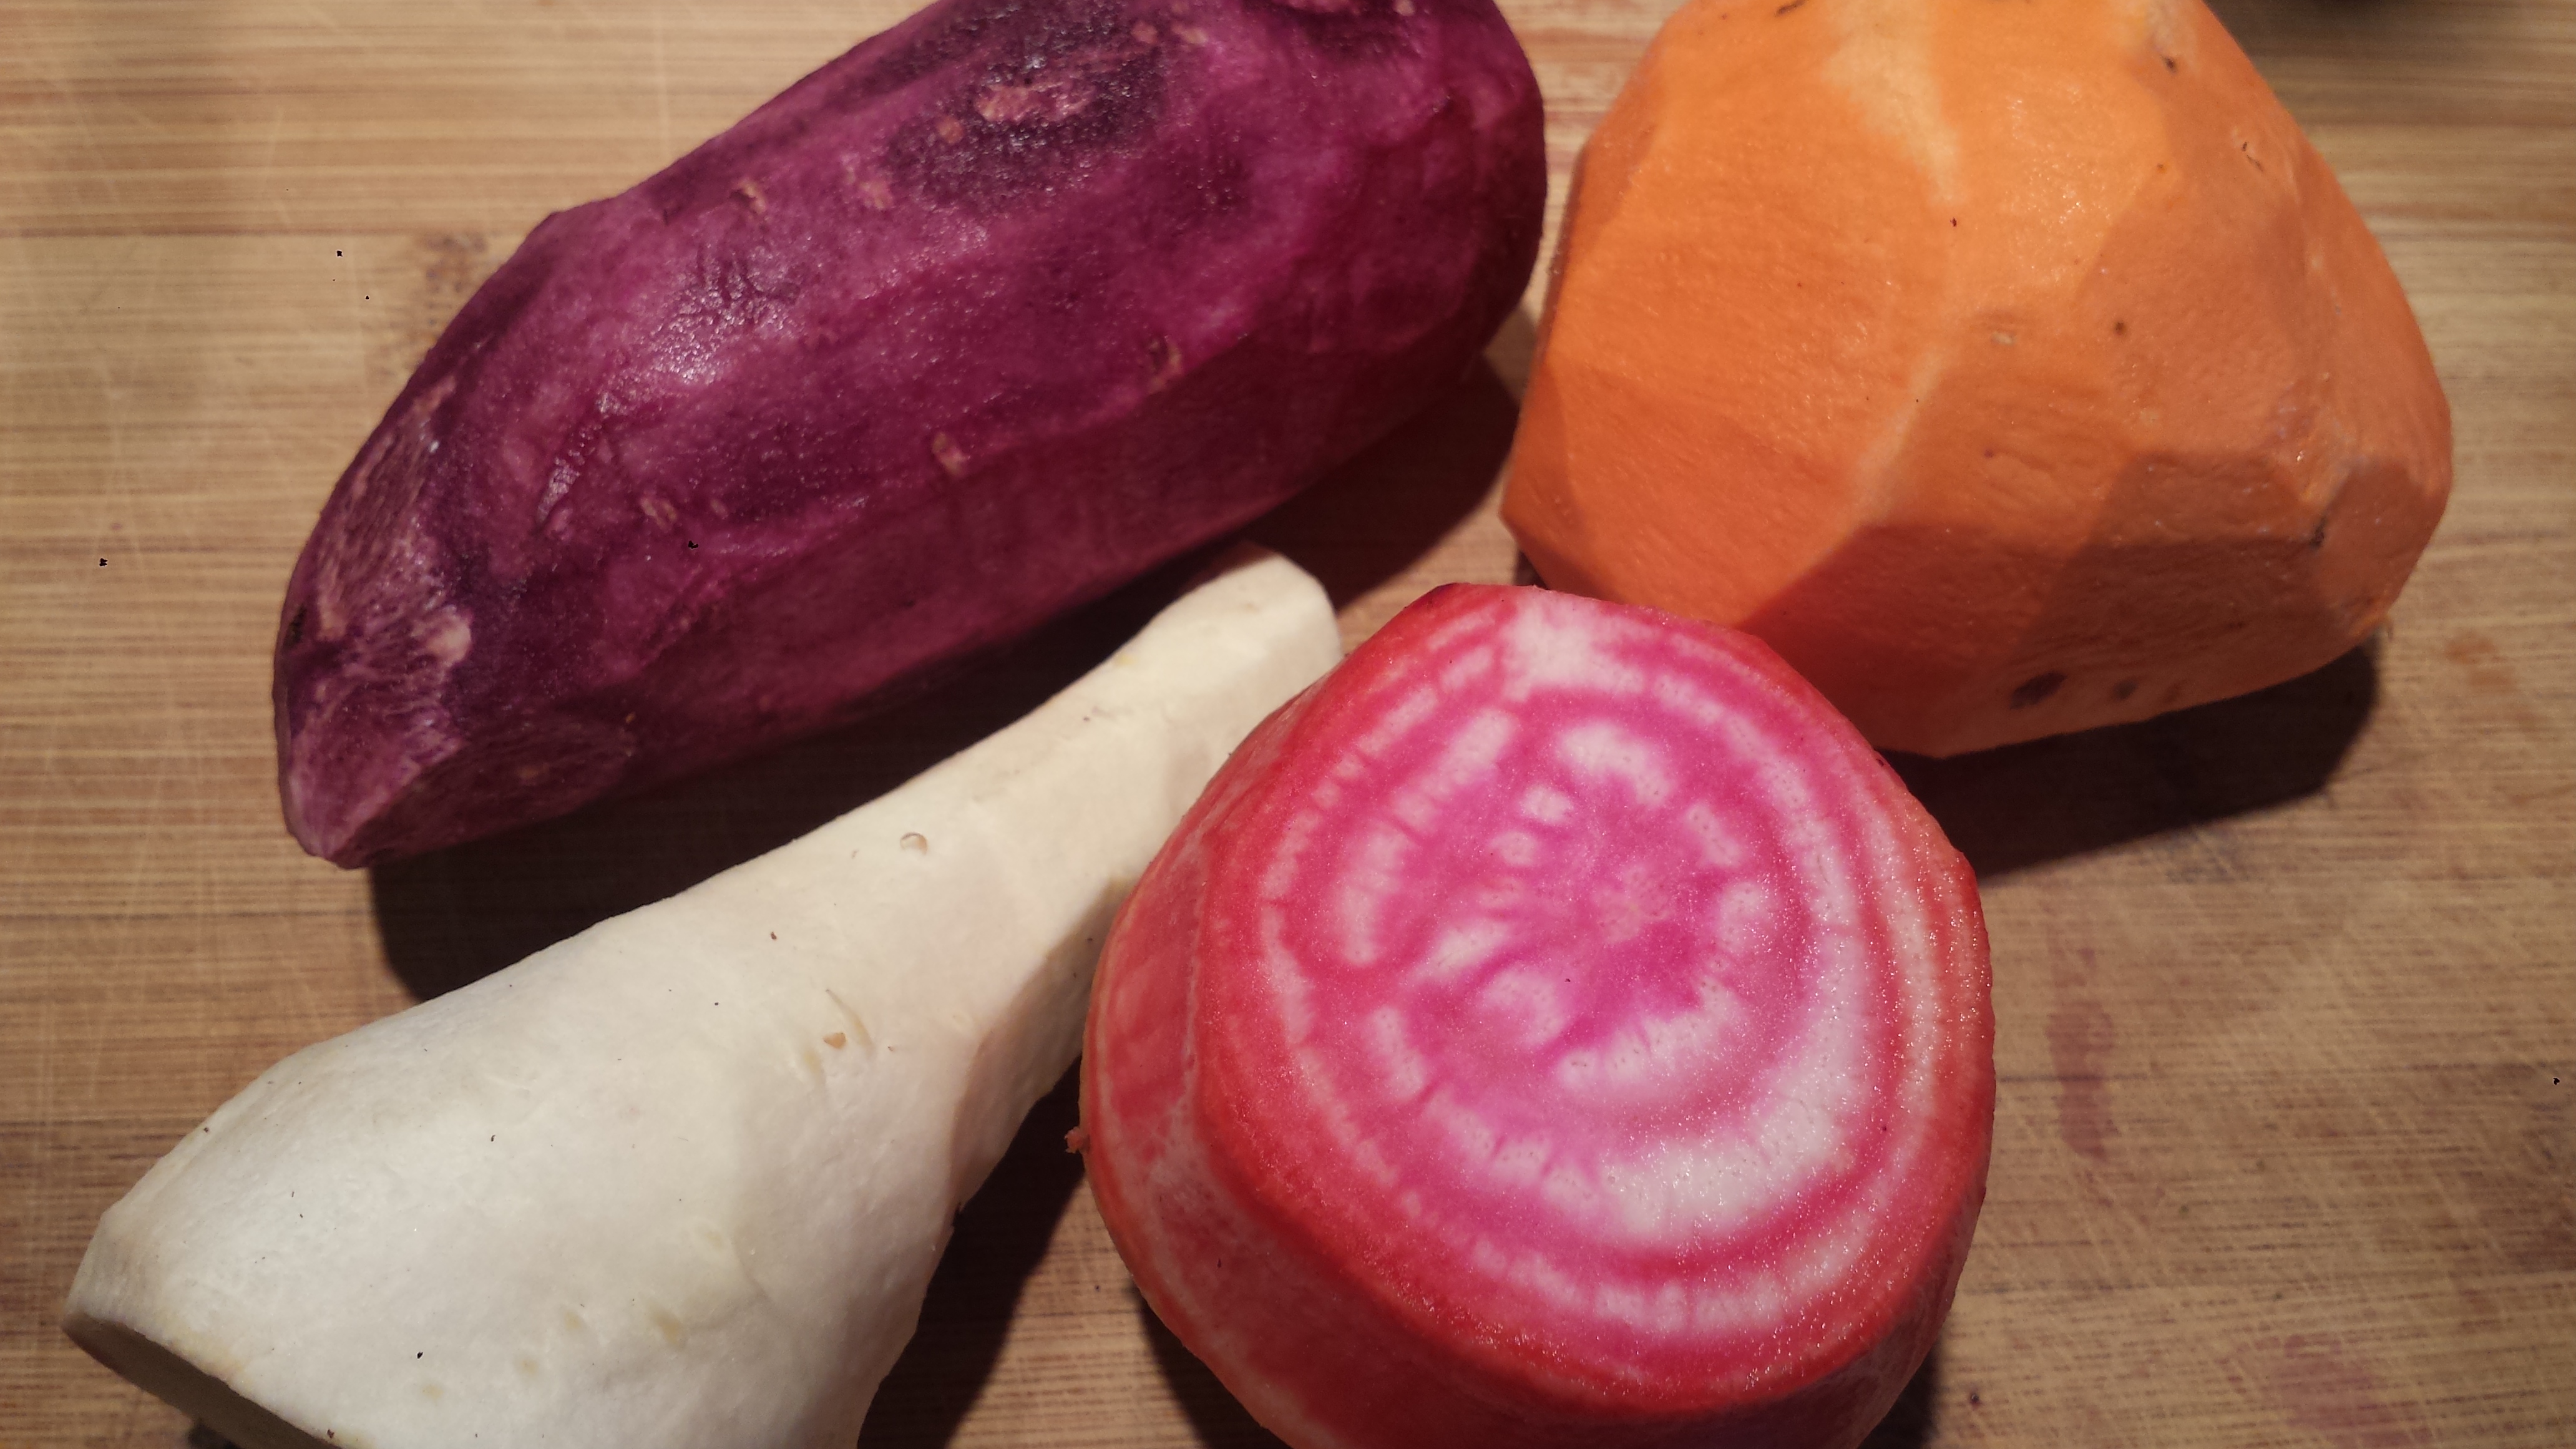
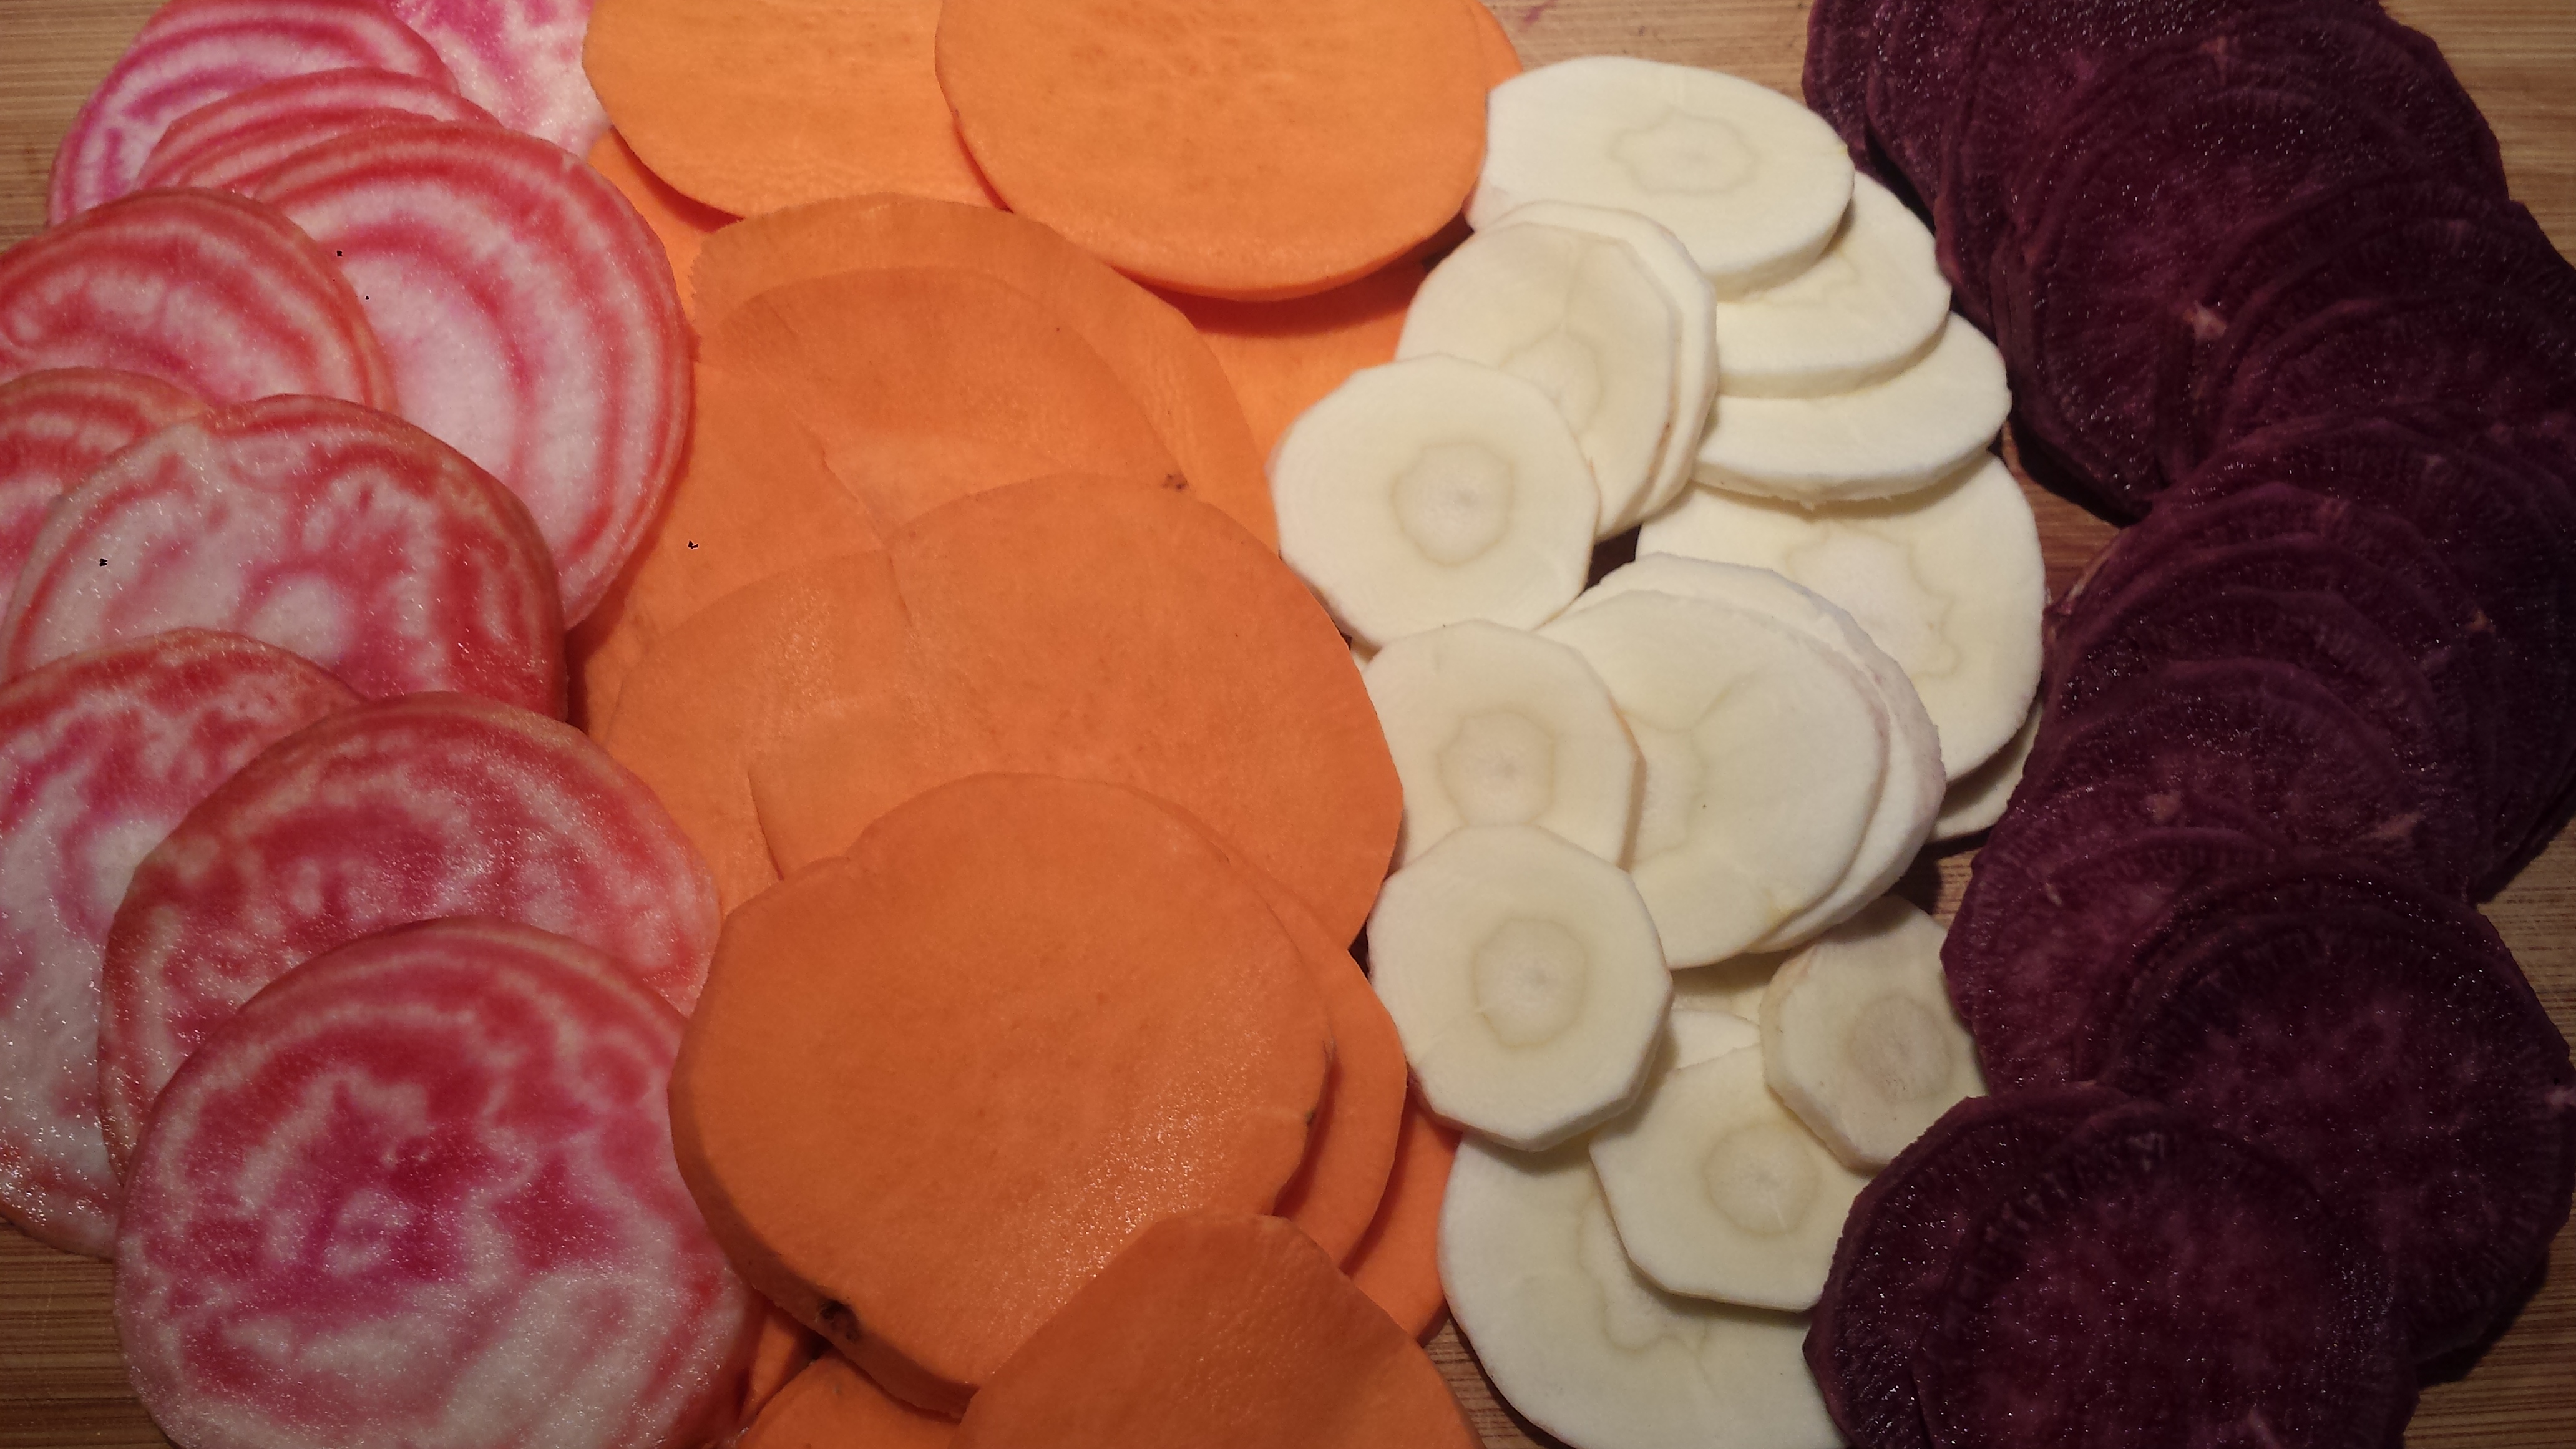
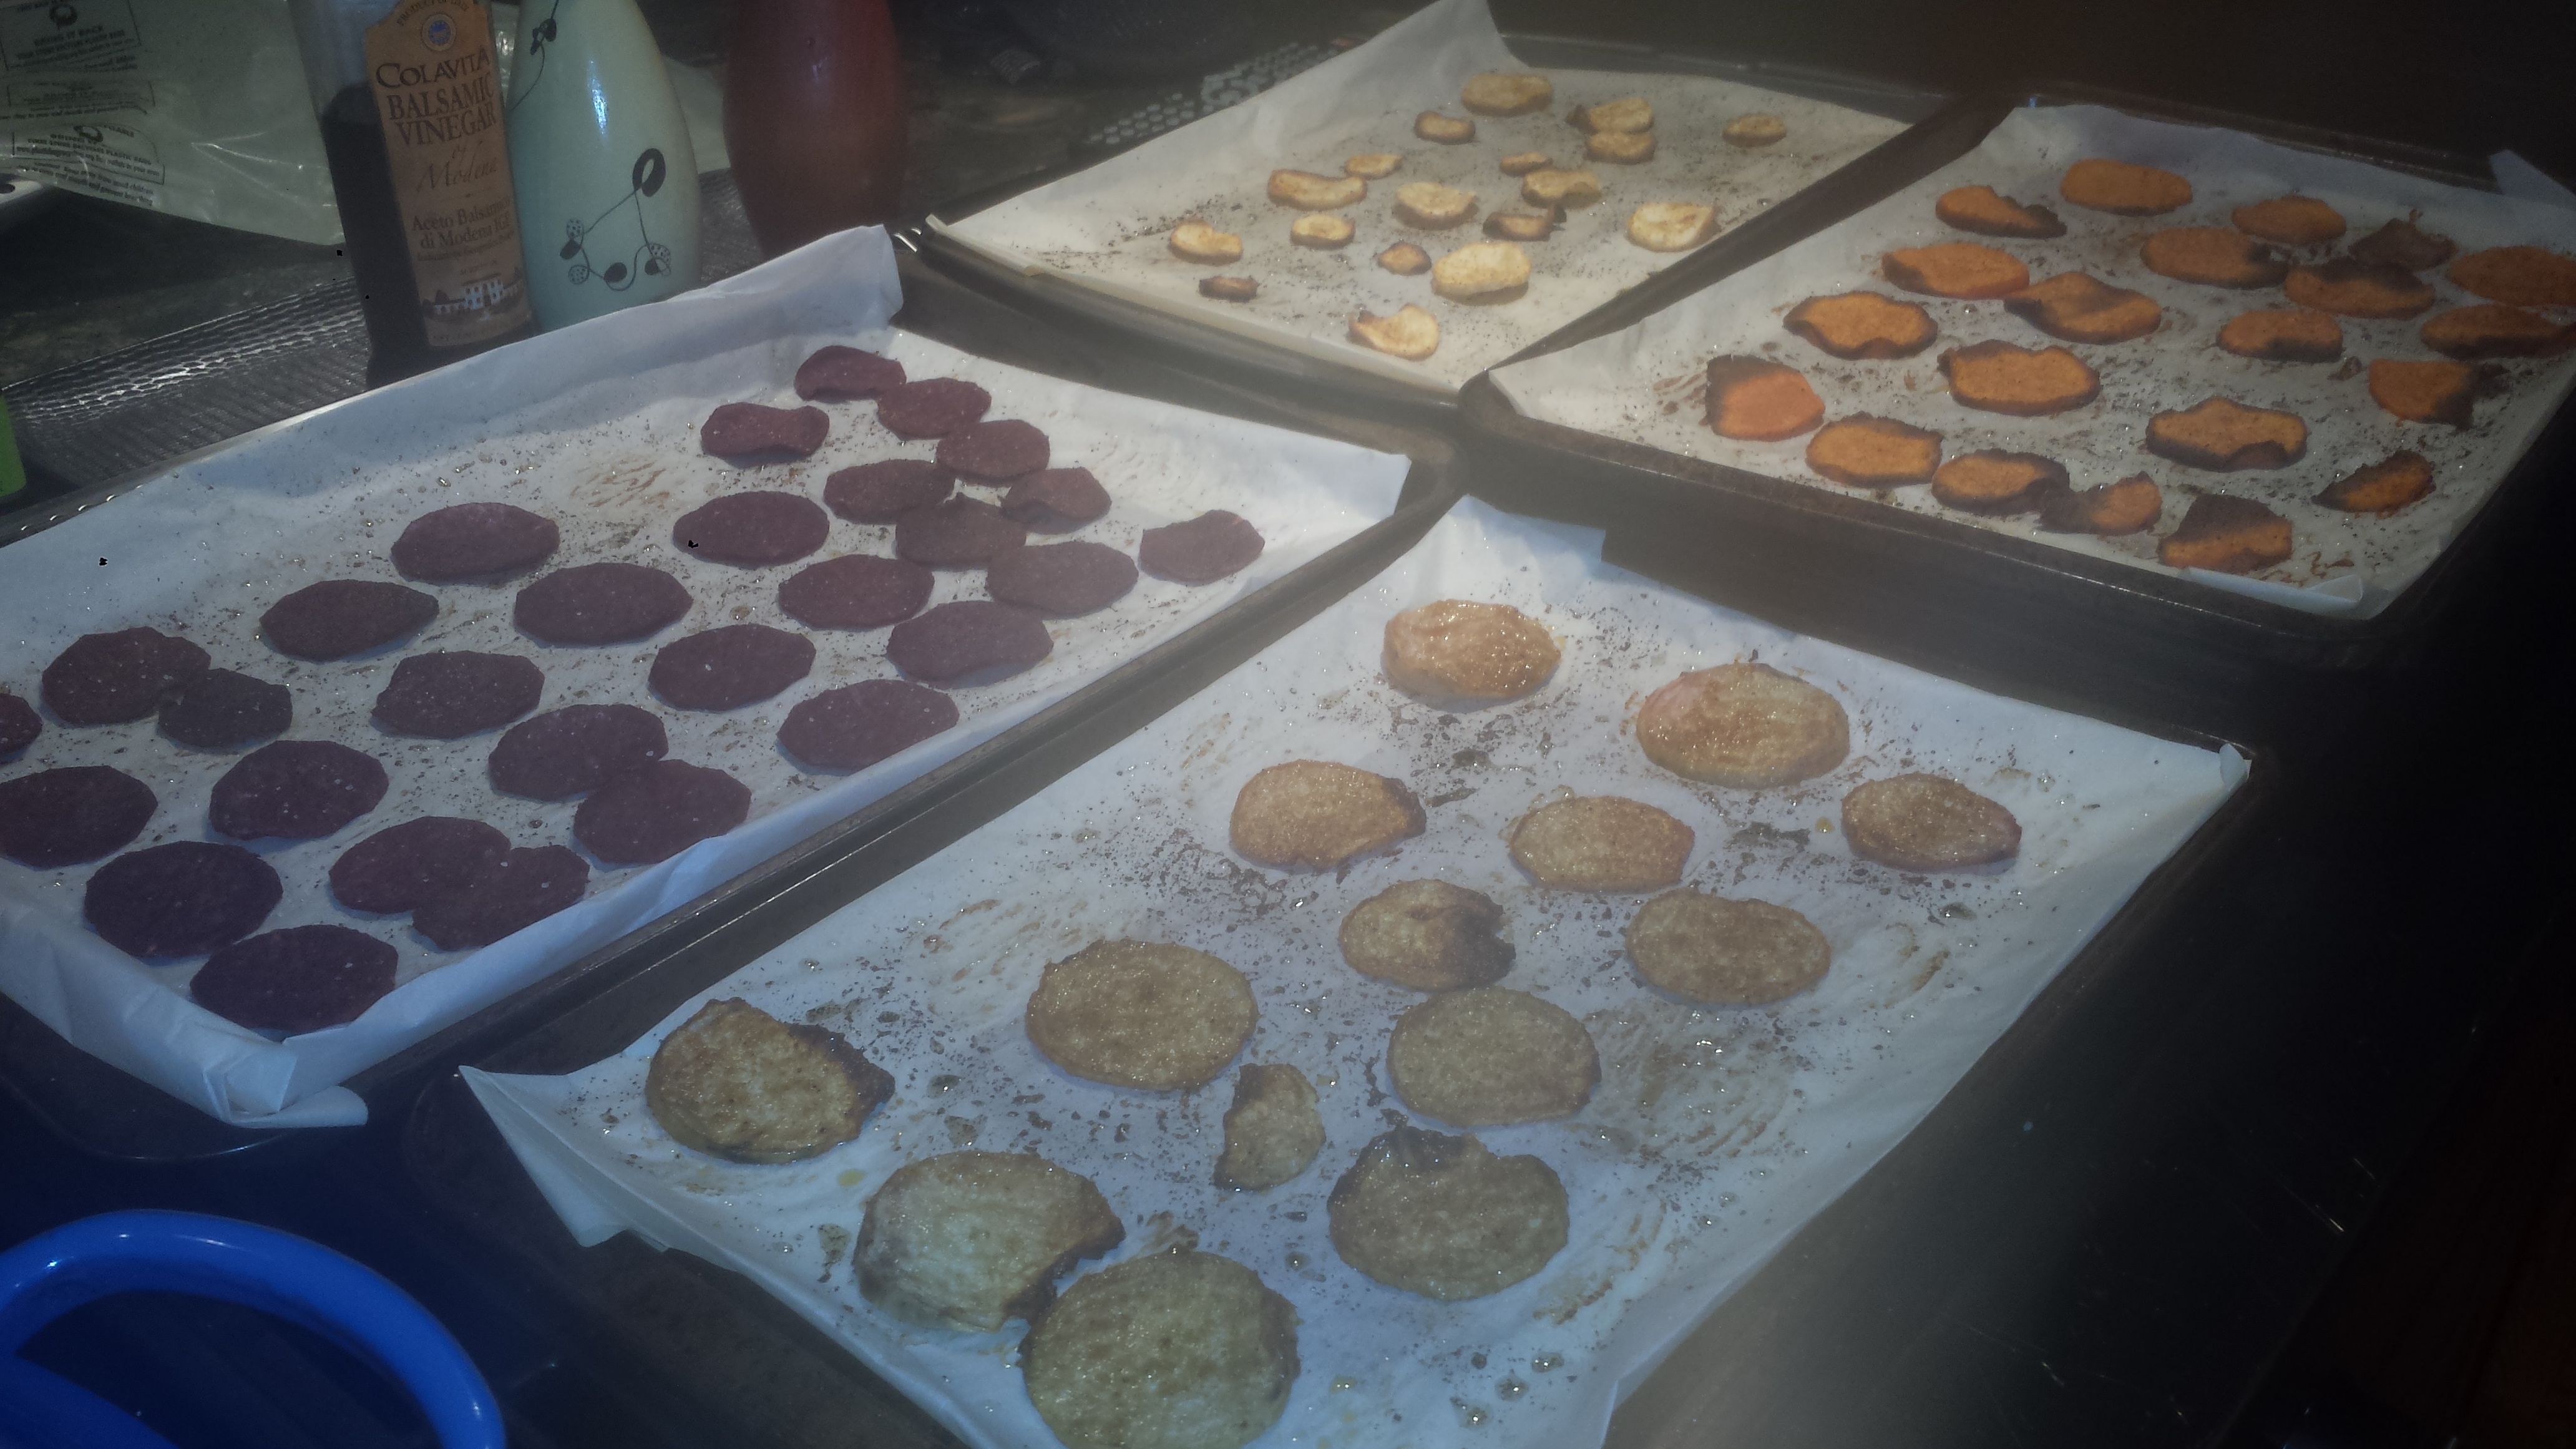
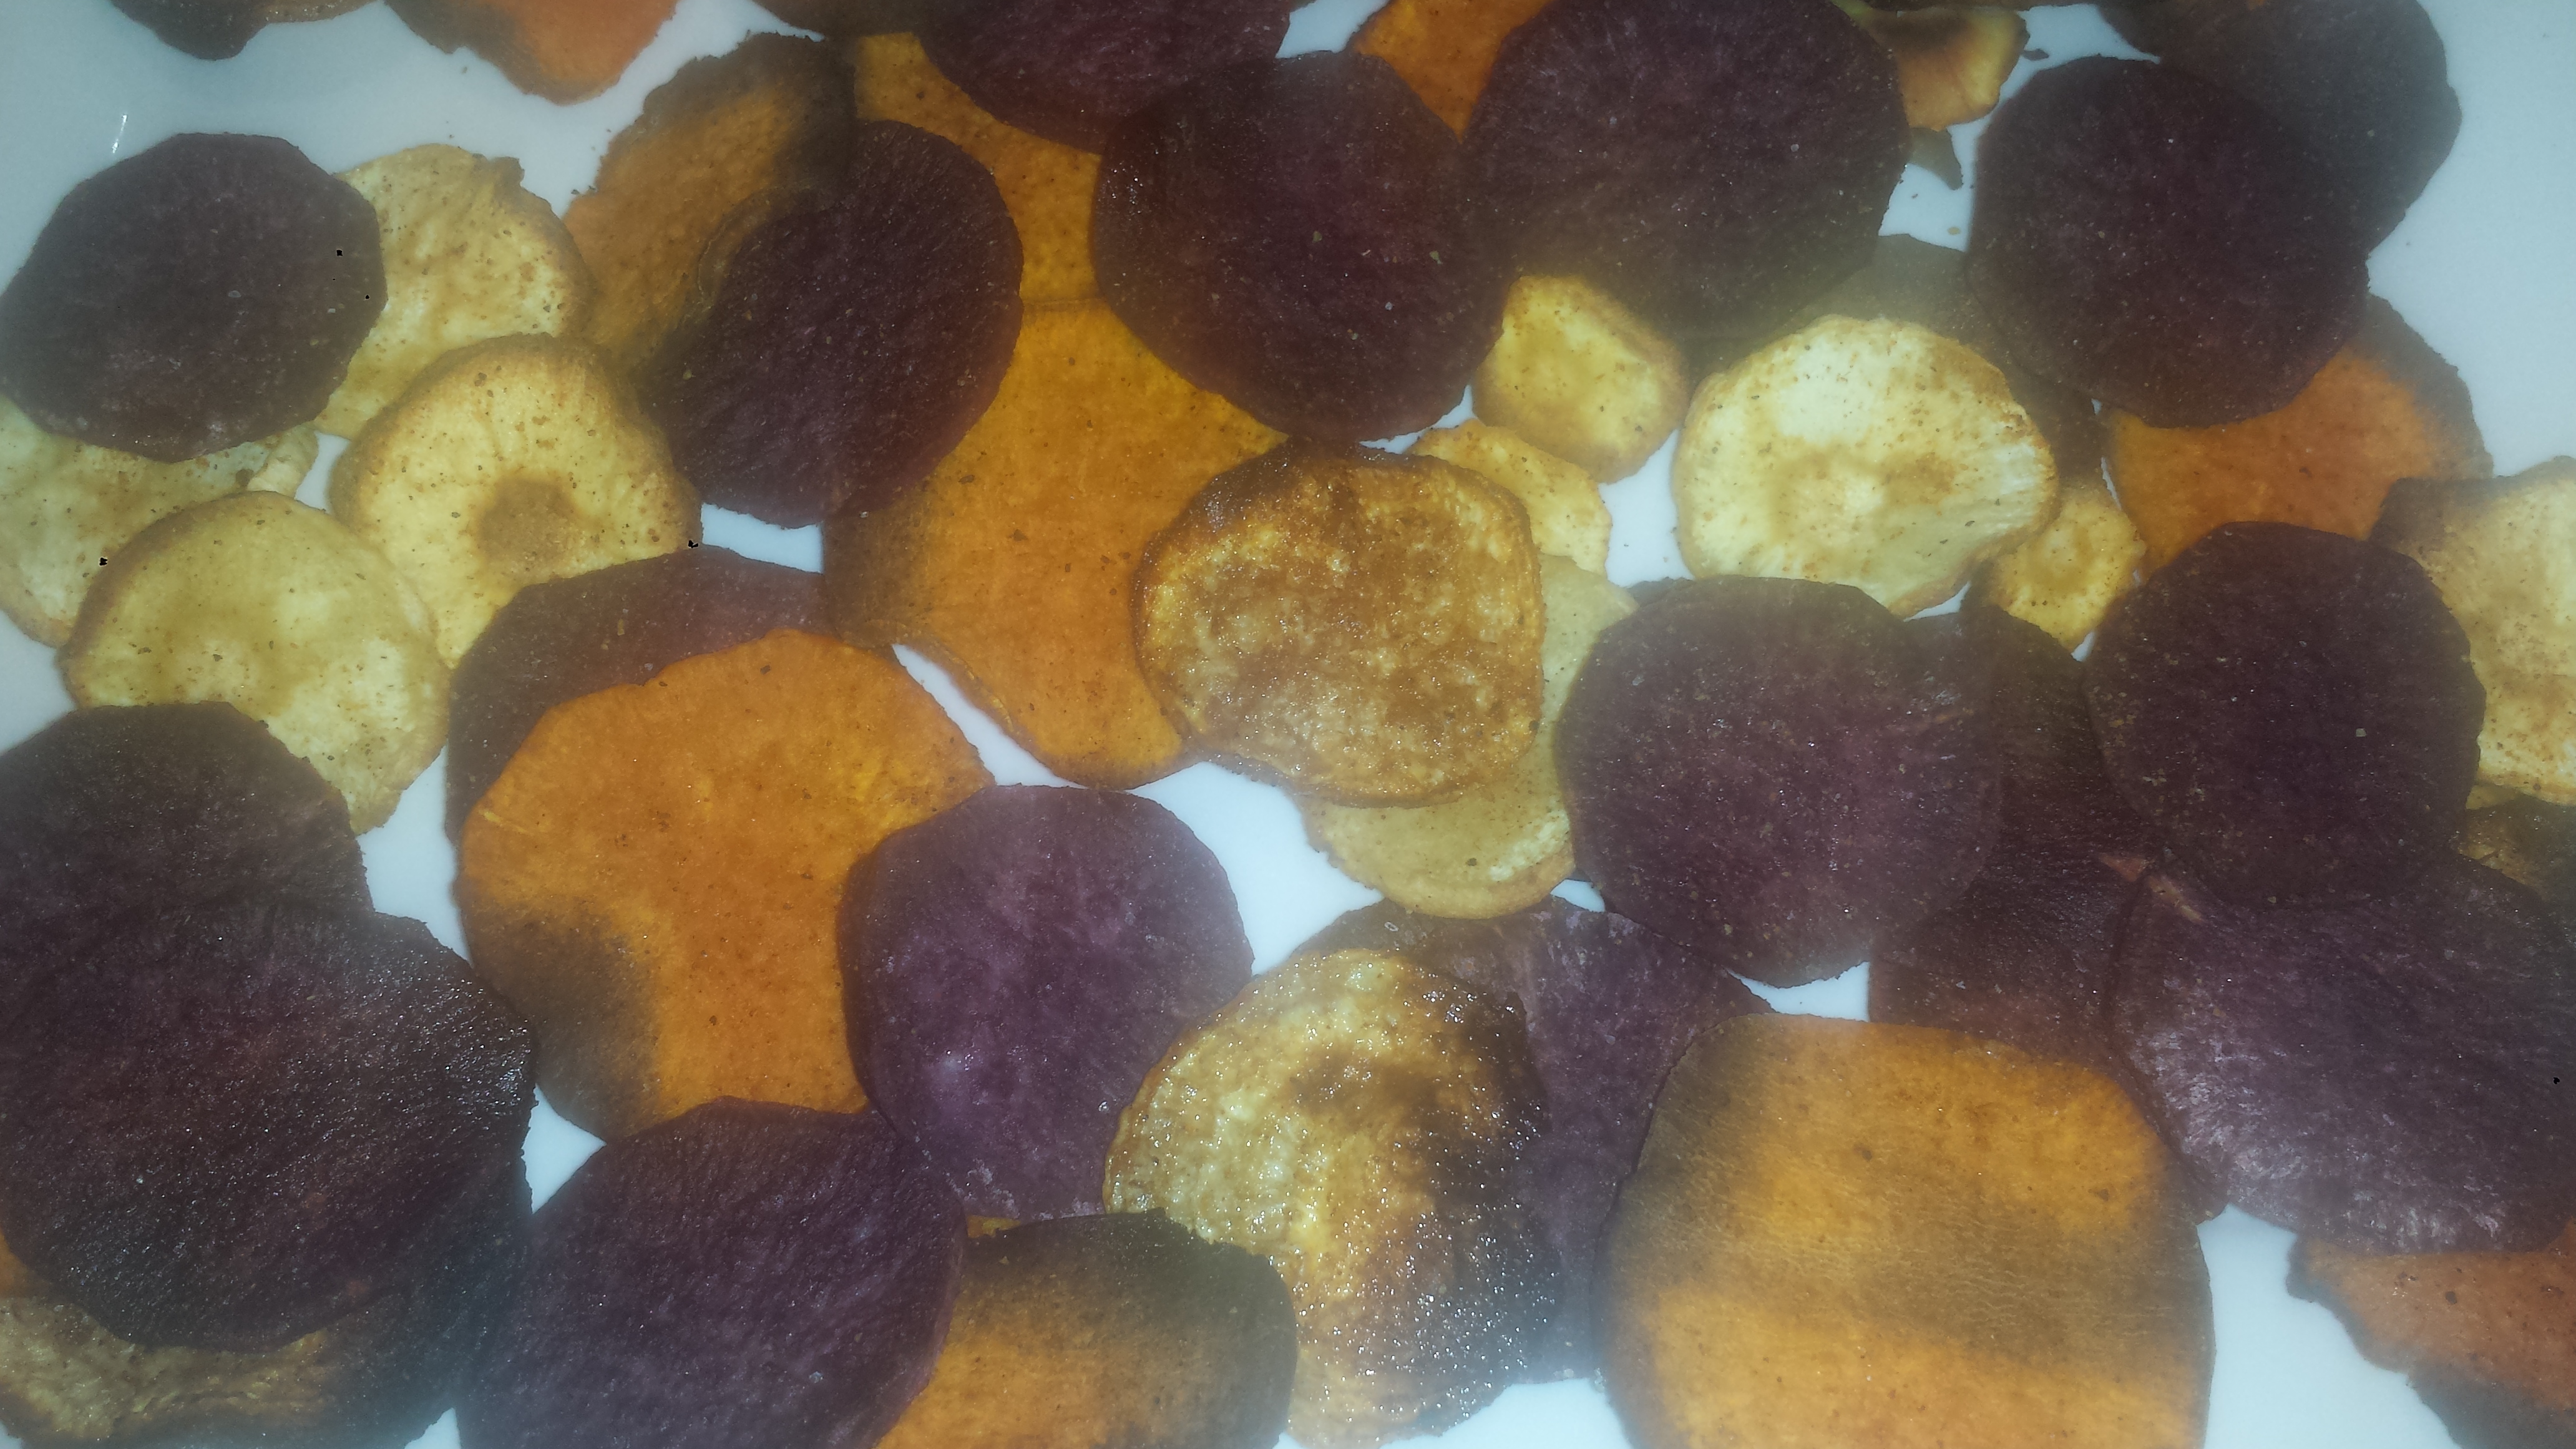
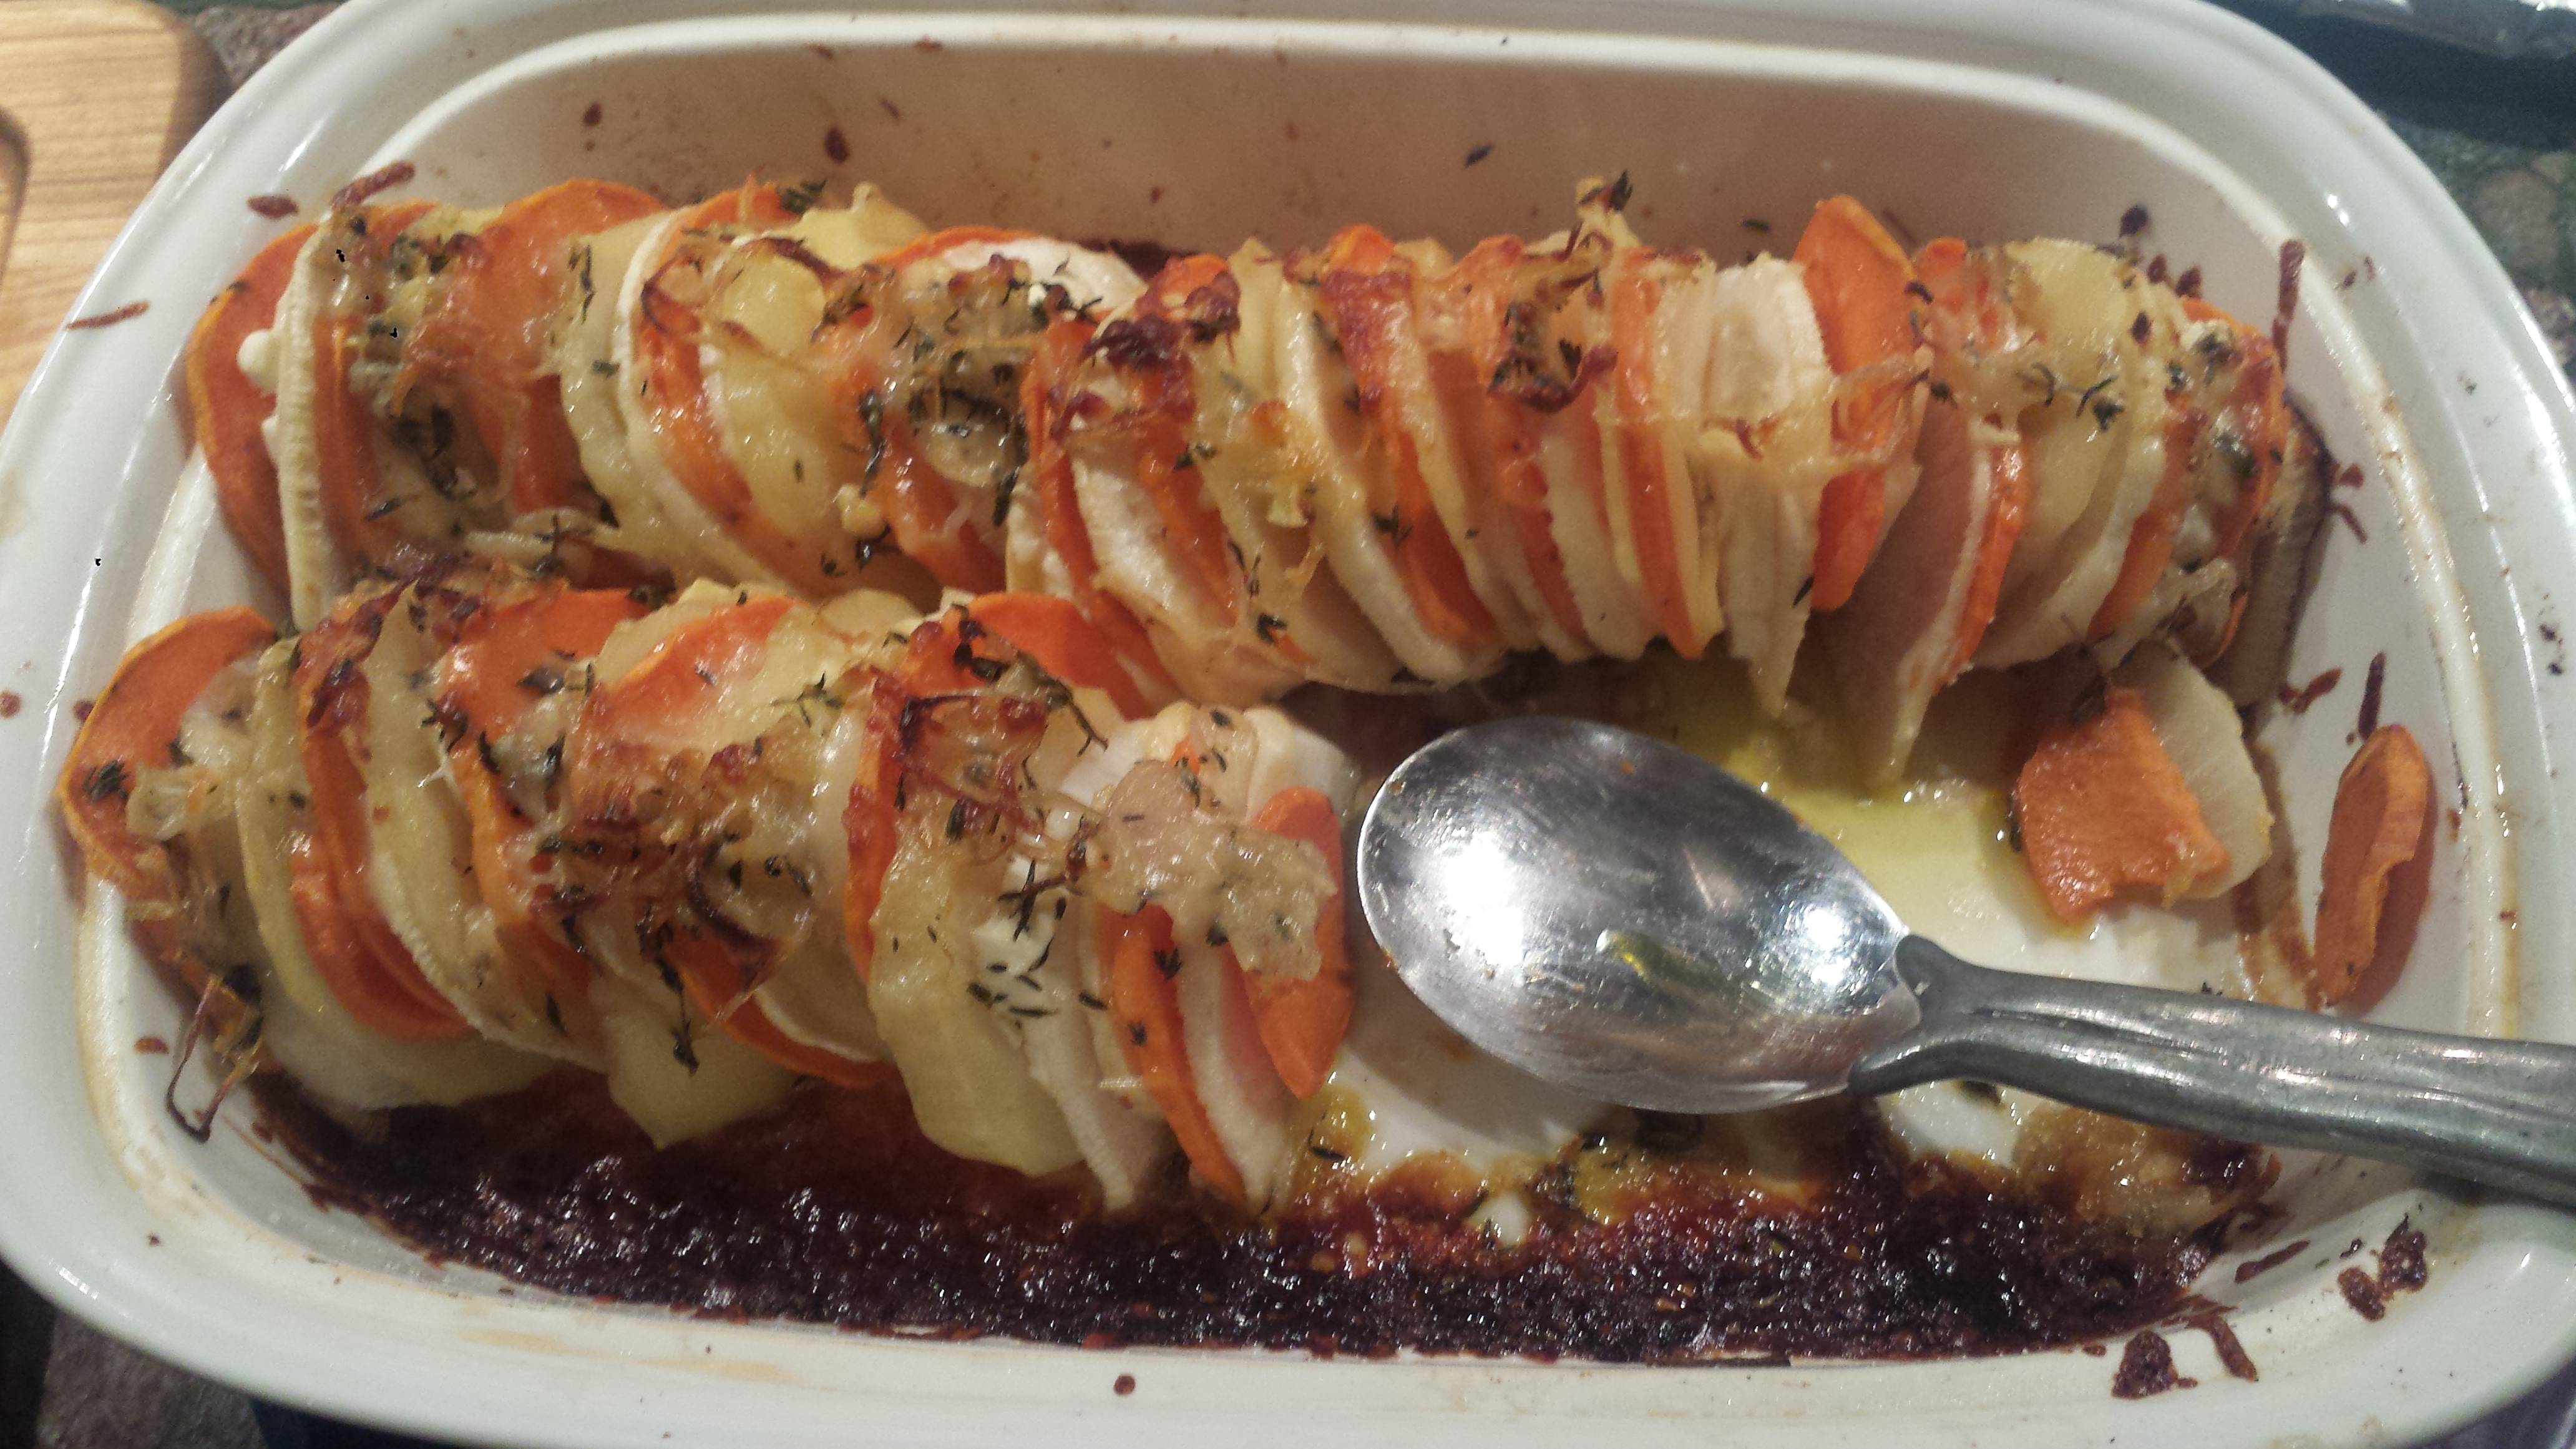
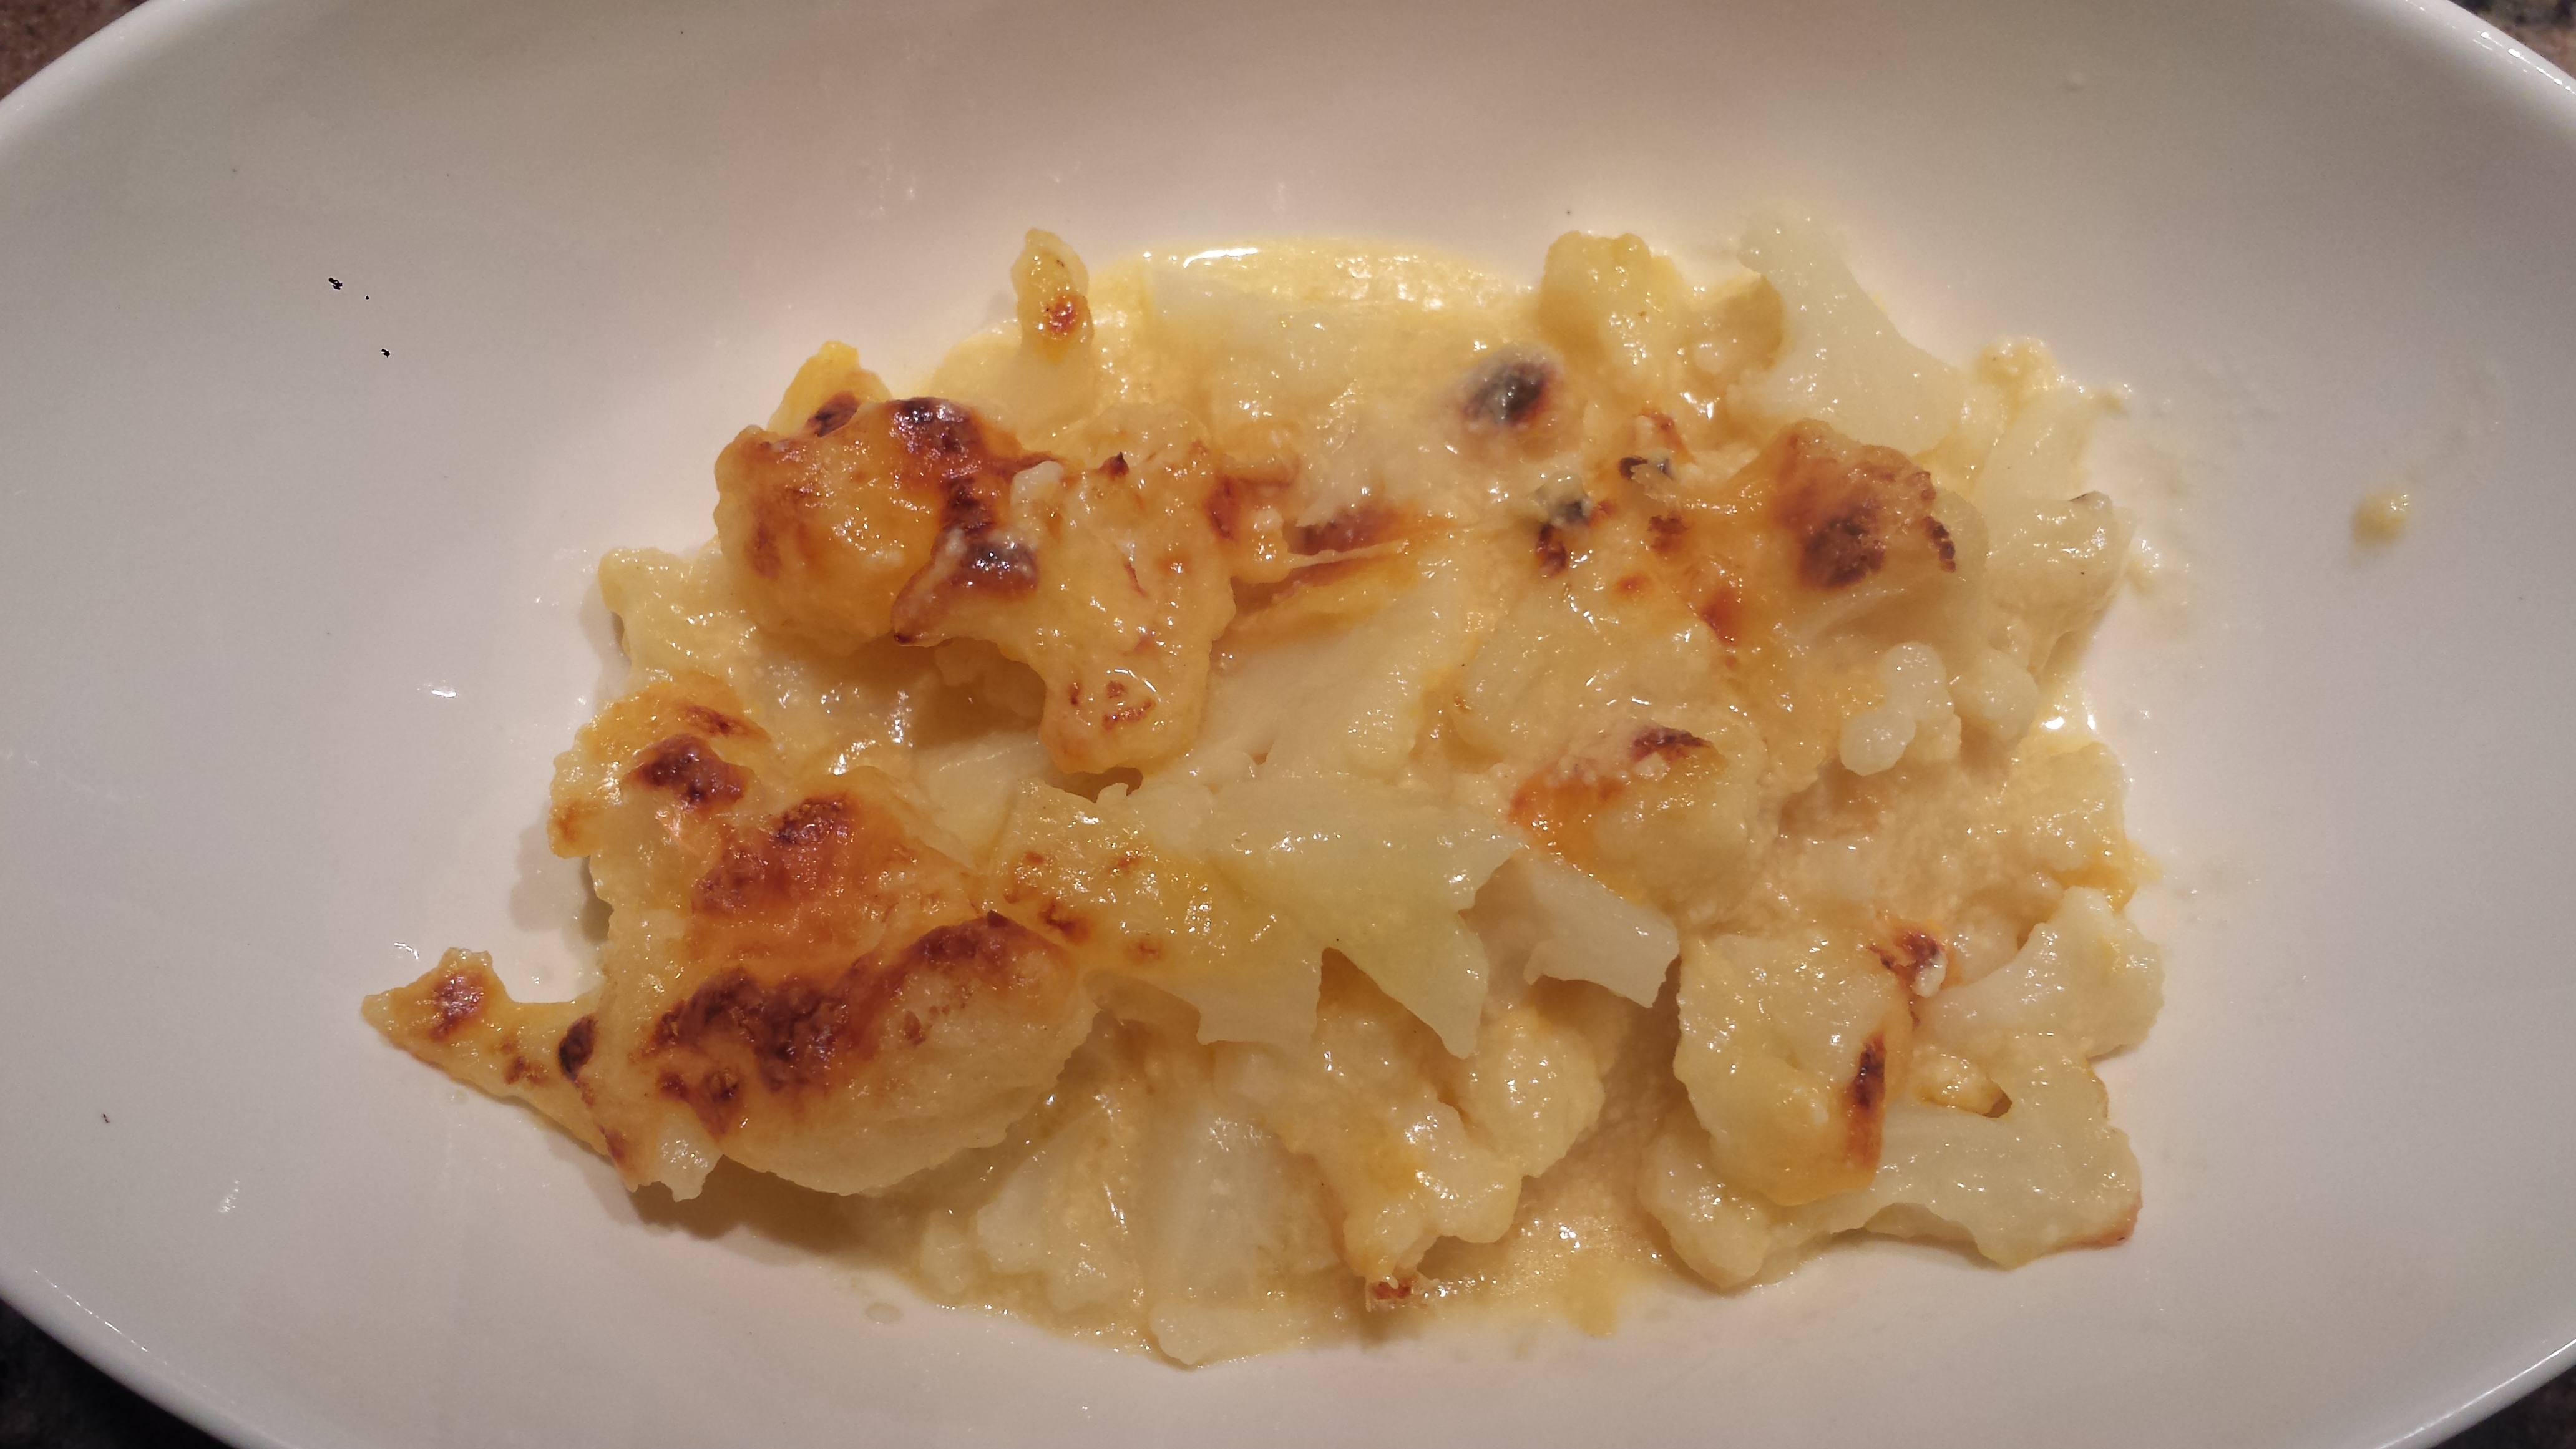
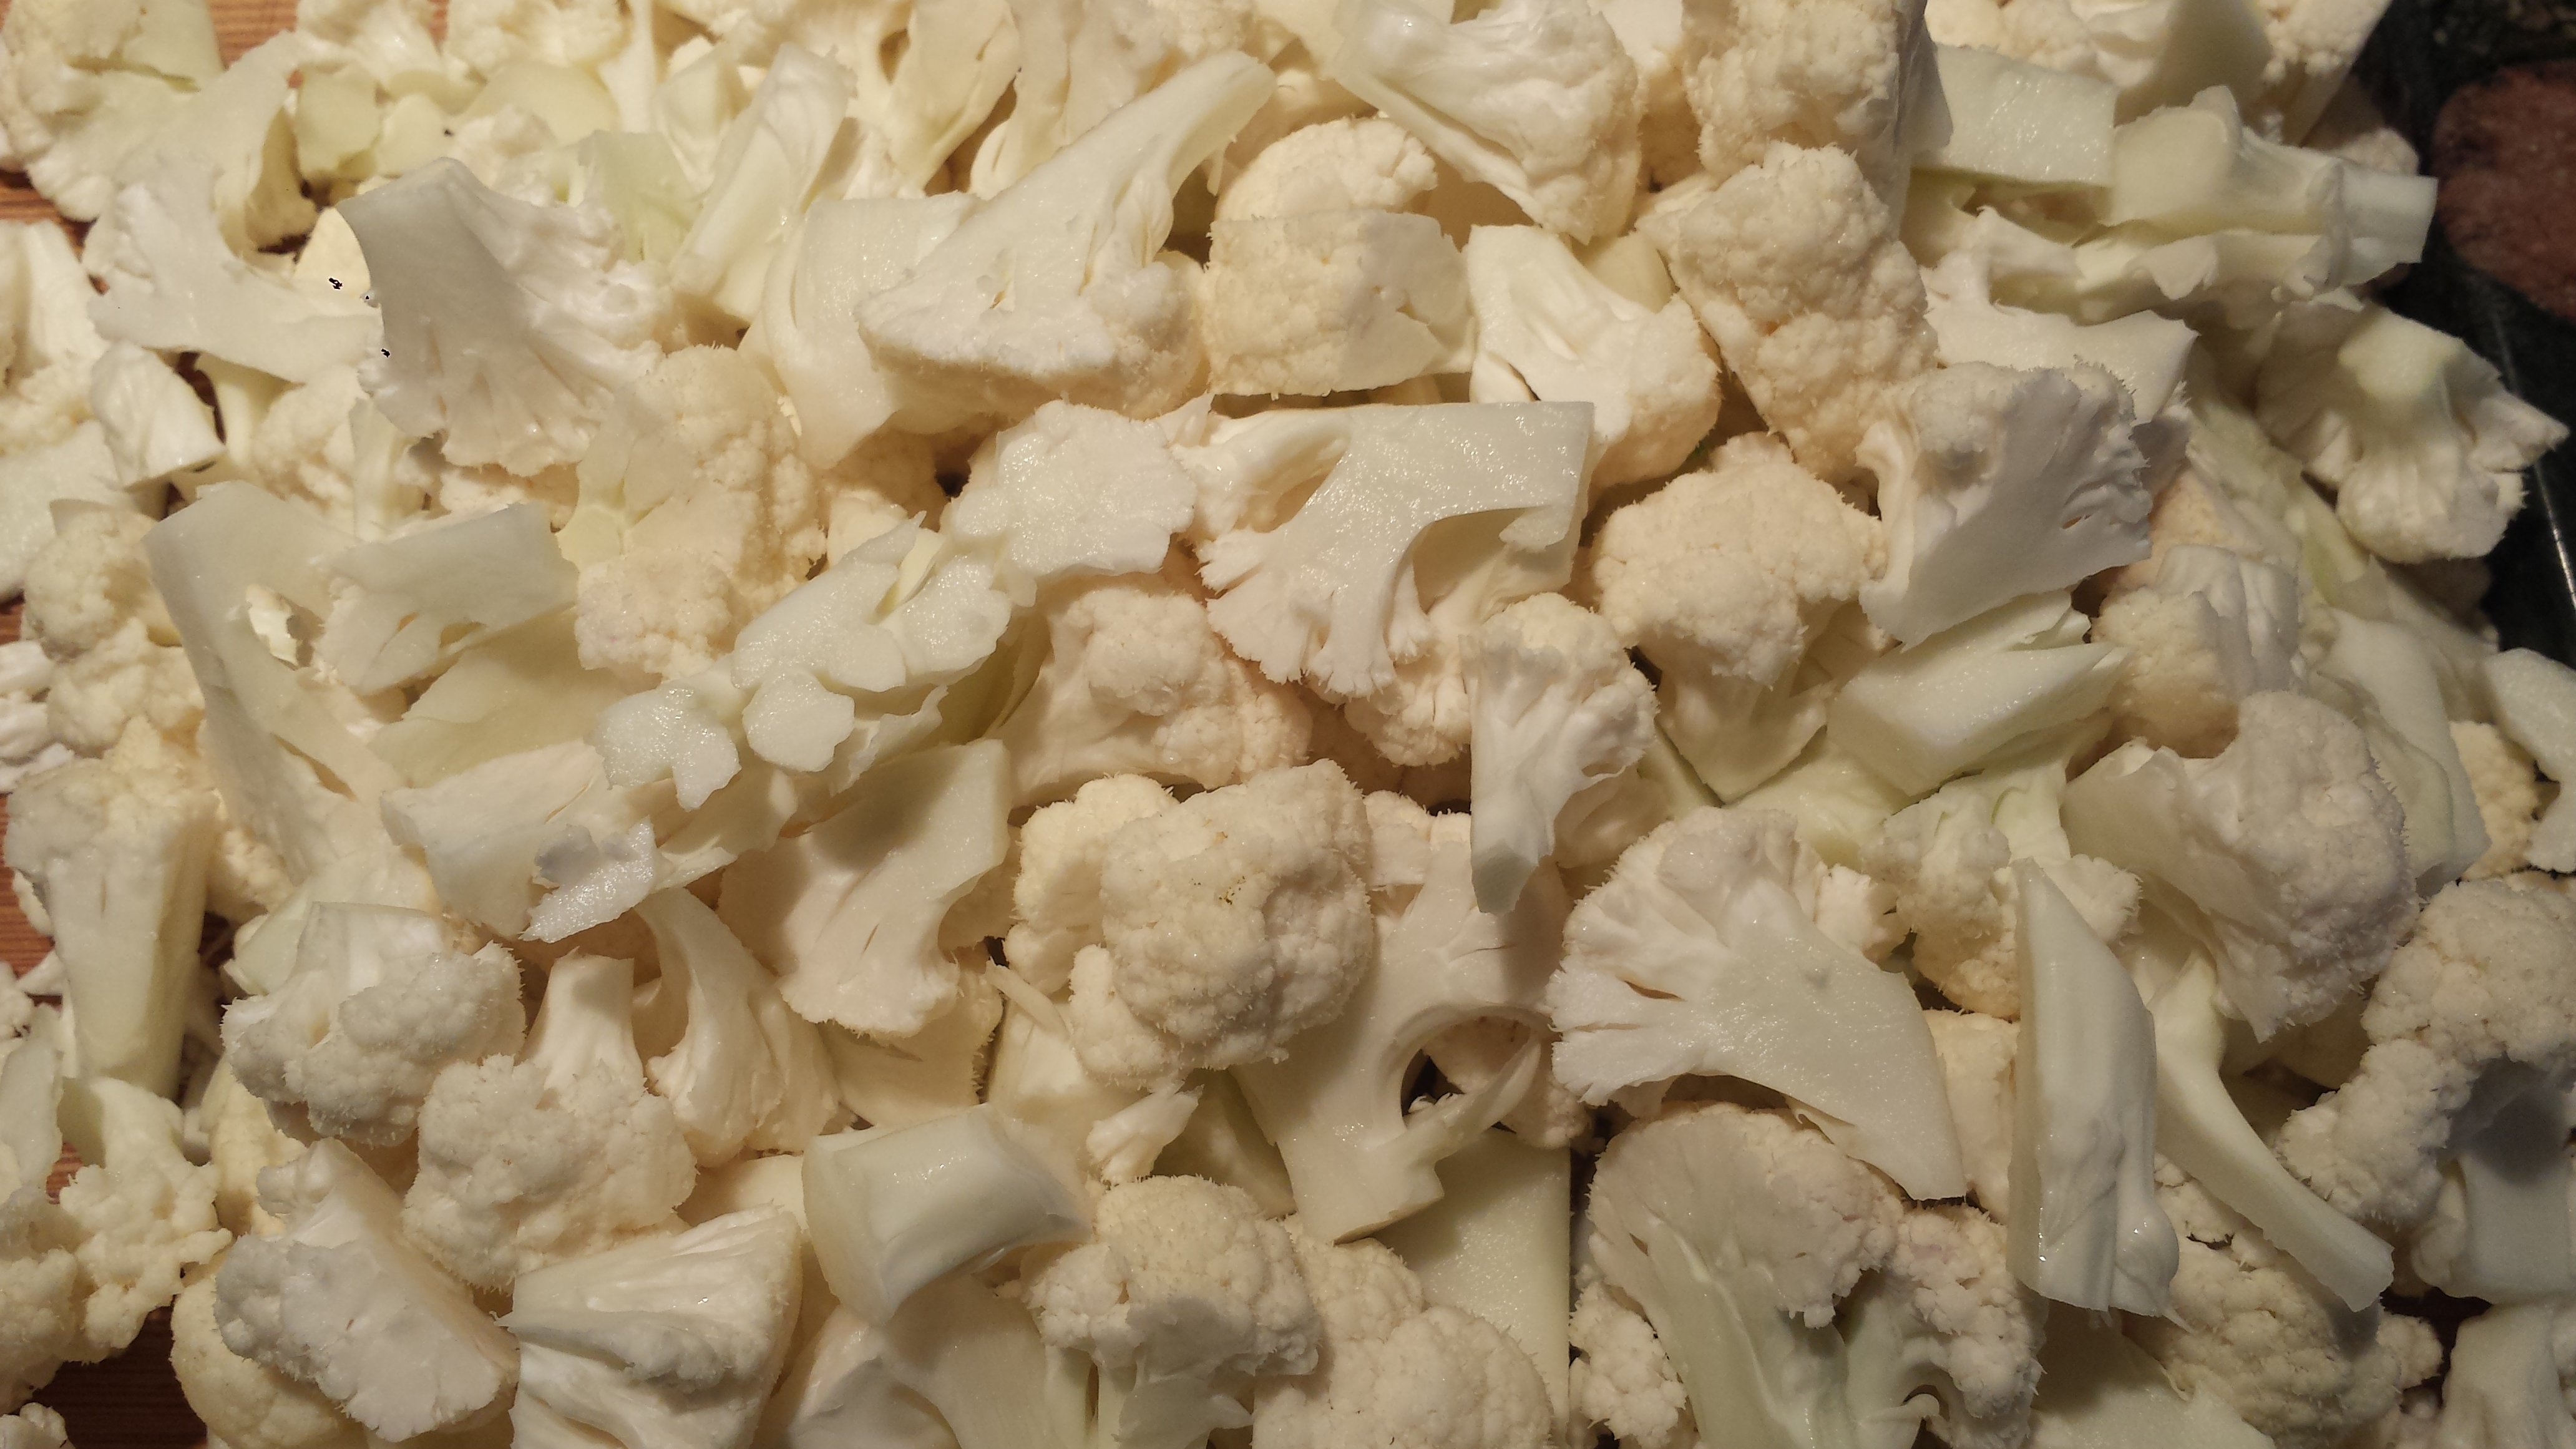
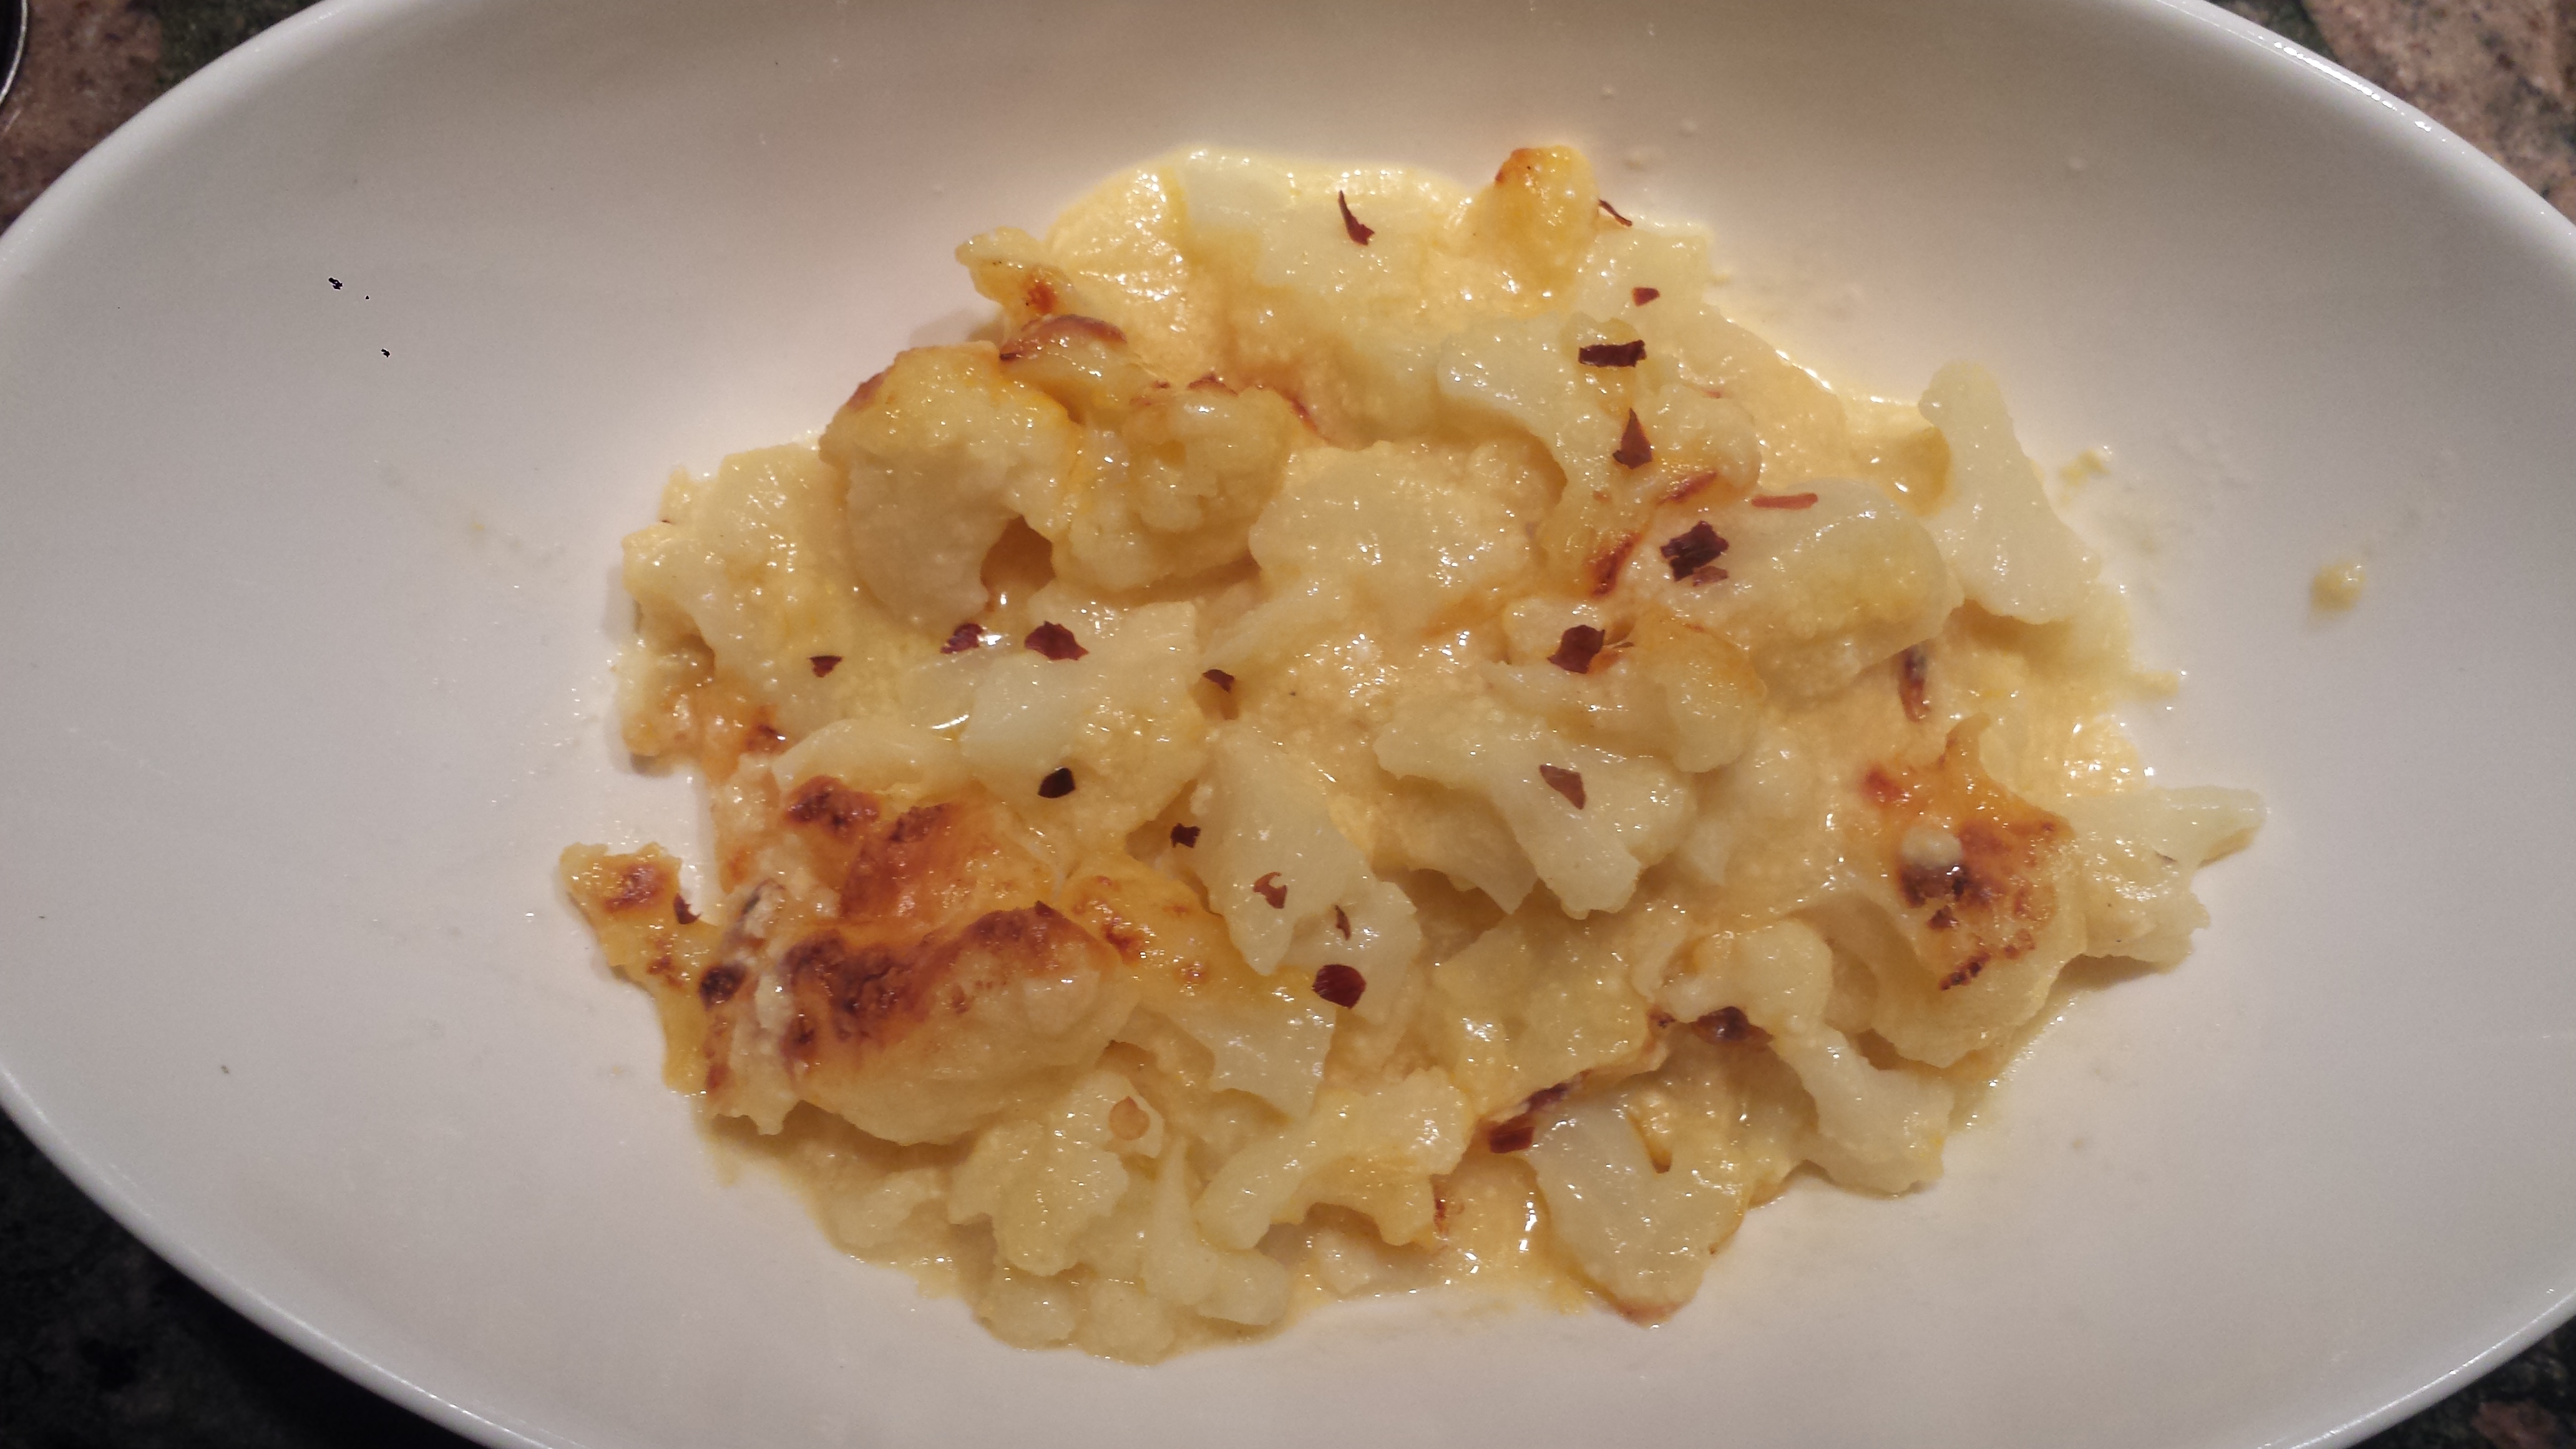
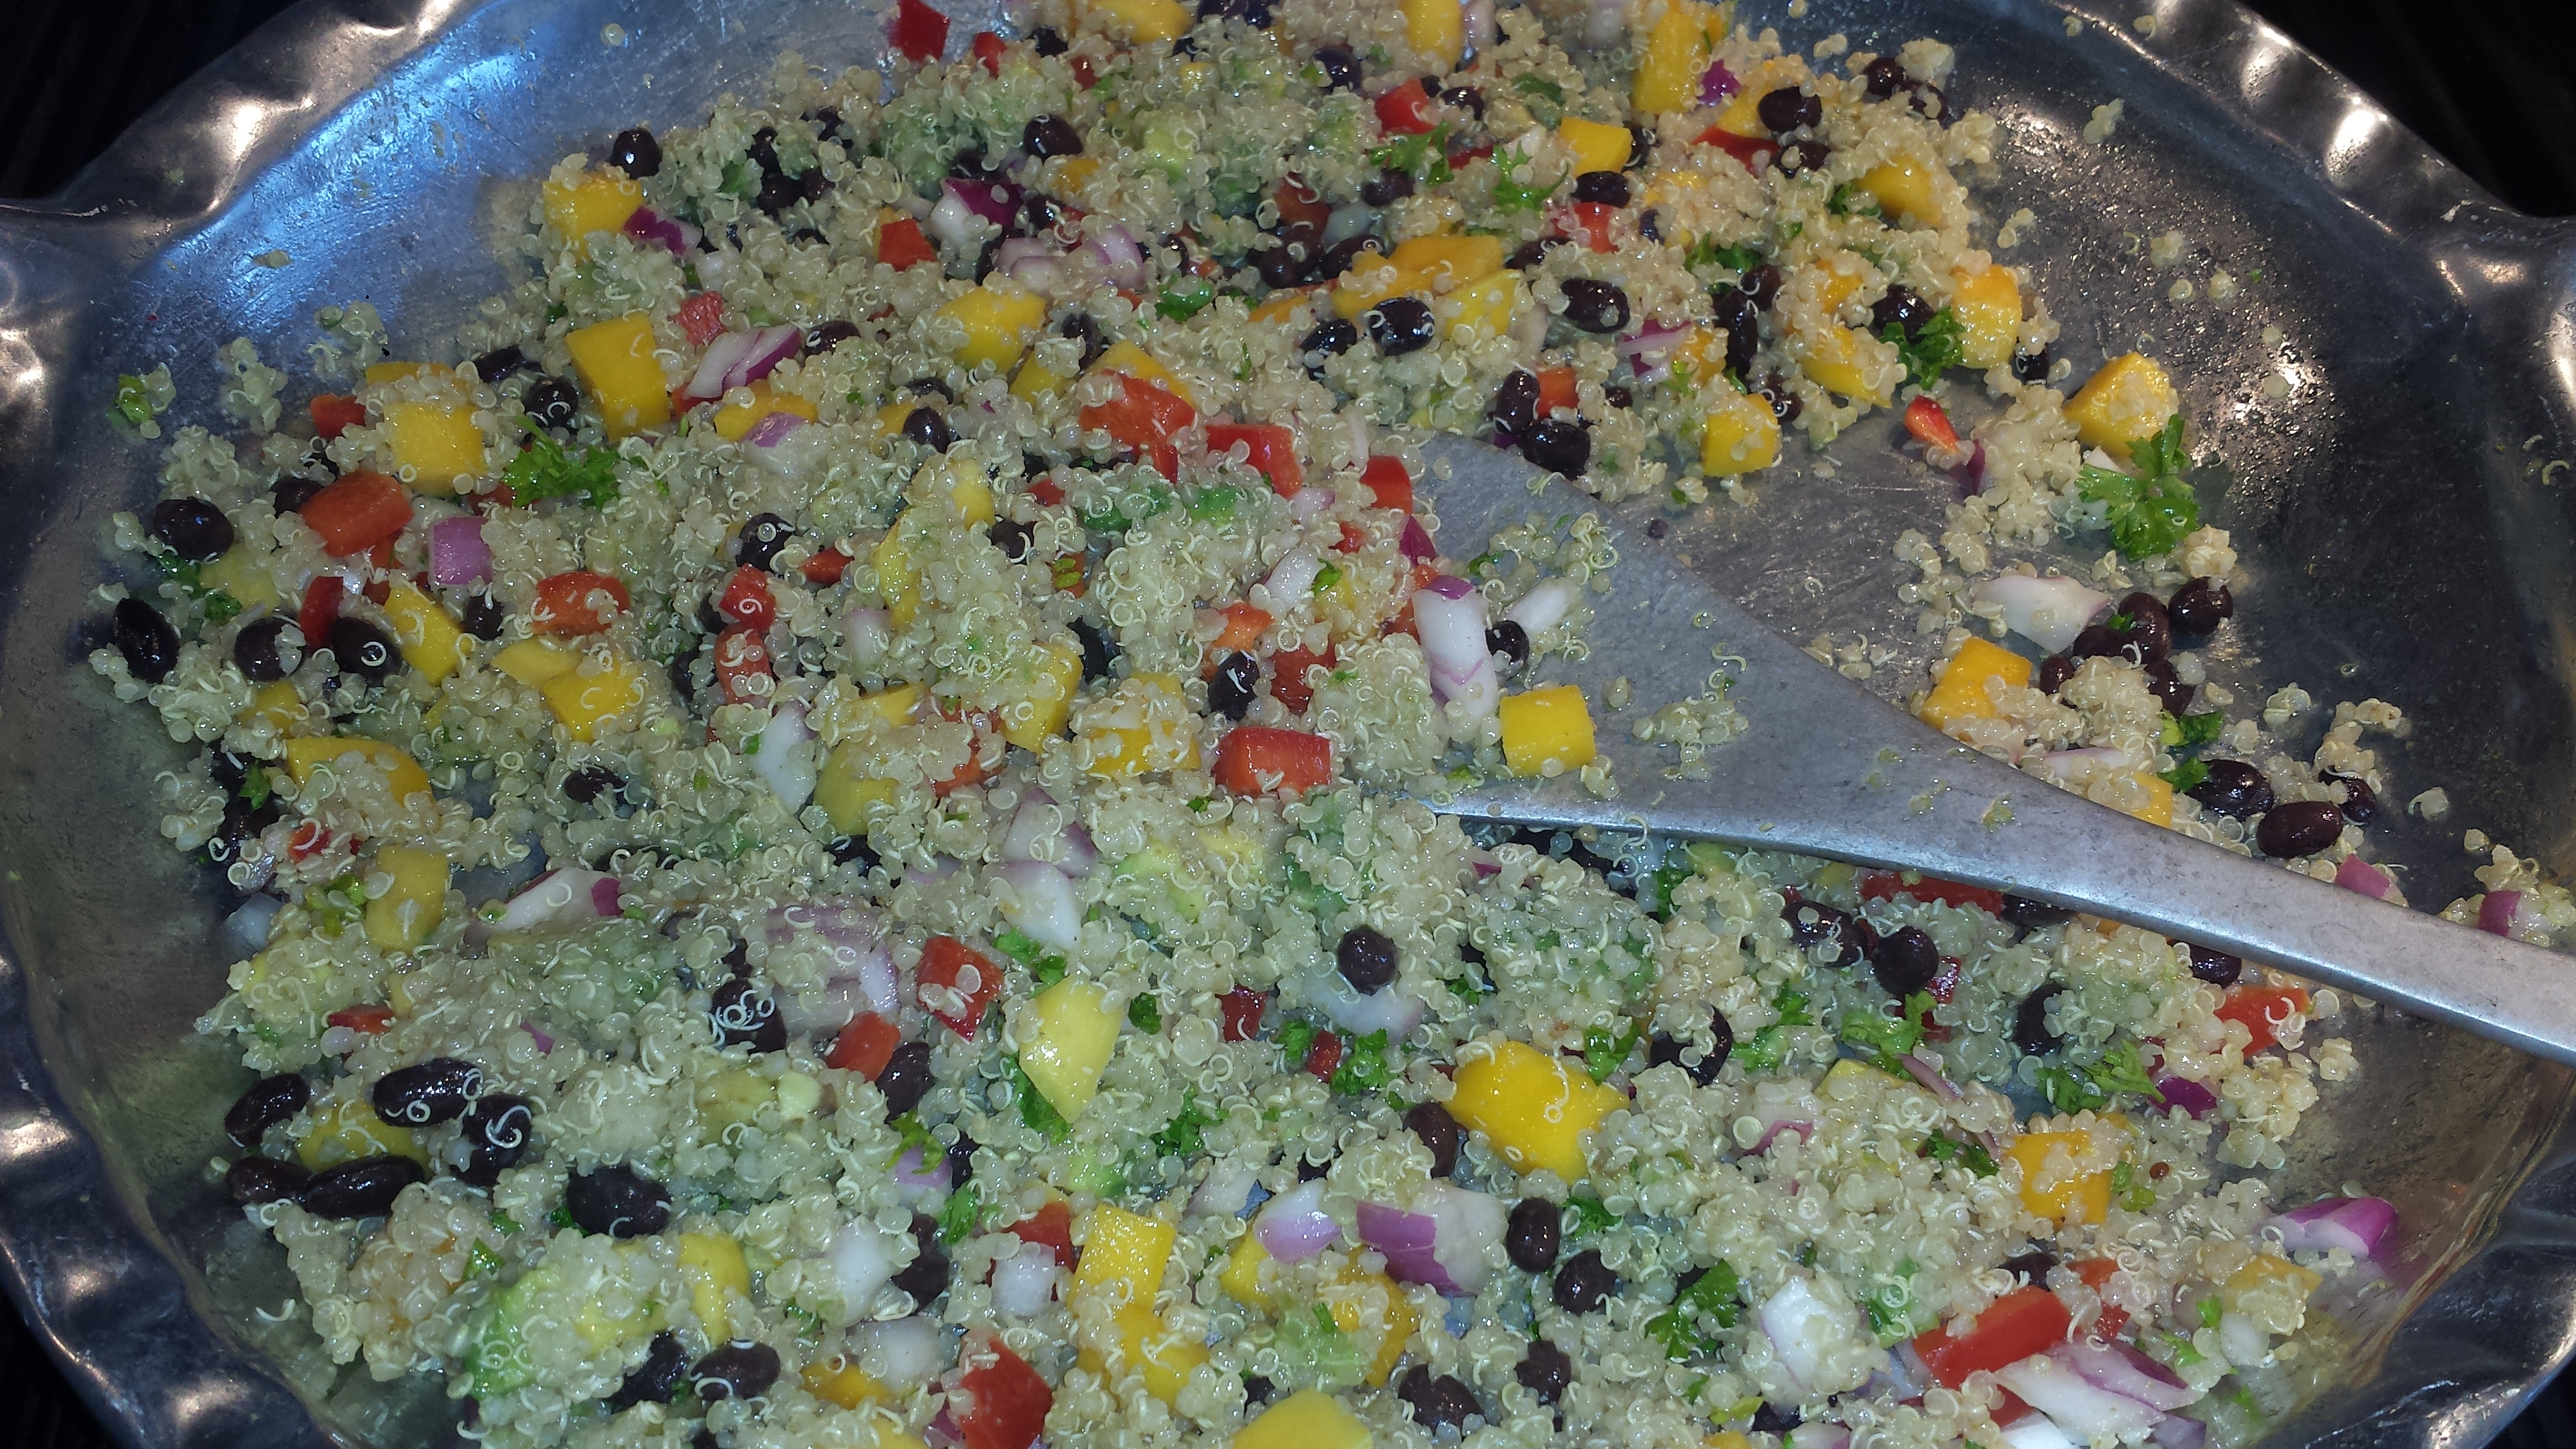
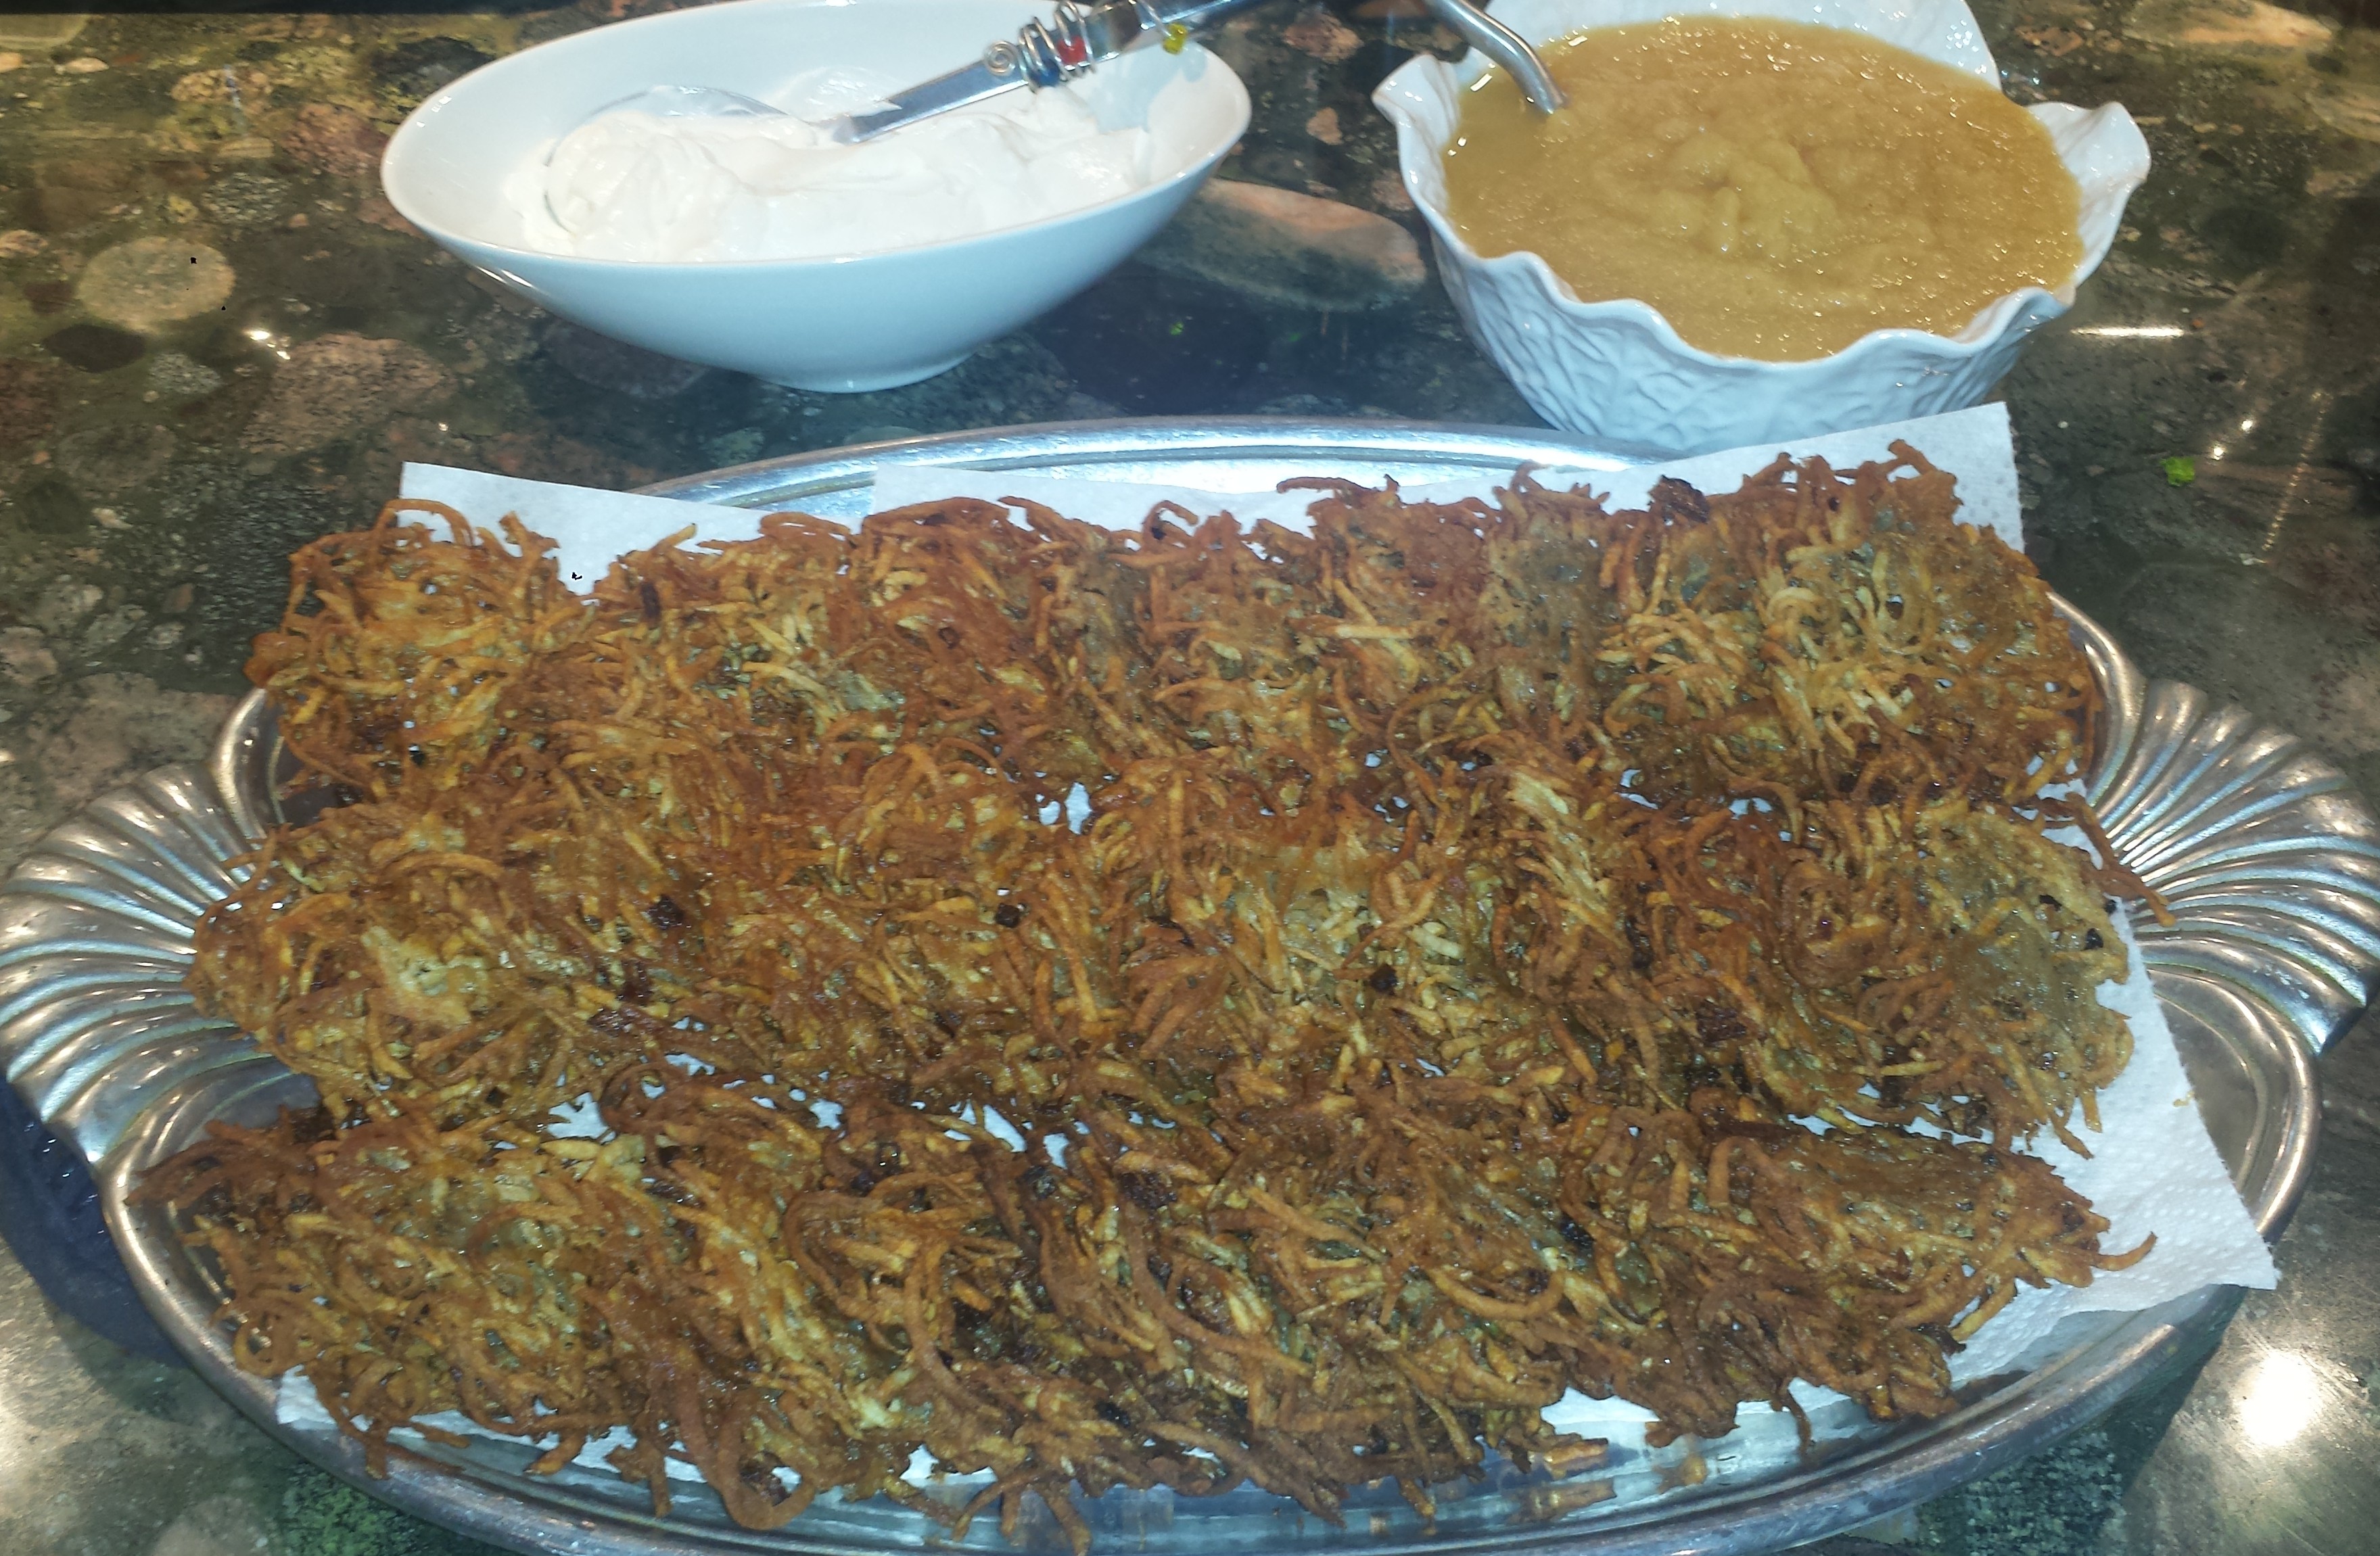
Latkes are easy to make but it does take a toll on your kitchen as the splattering oil makes a bit of a mess – but they are worth it! There are many kinds of latkes, made with grated, shredded or mashed potatoes but my family prefers them extra crispy made with long thin strips of potato that allows the oil to seep in through the middle, crisping them the whole way through. Topped with applesauce and sour cream, they are hard to beat.
TIPS: I like to keep the skins on the potatoes for two reasons: the skin has much of the nutrition and it helps make the latkes extra crispy. I would recommend scrubbing the skins and then drying them with a towel to remove any remaining residue. Of course, you can always peel them if you want but it’s not necessary.
LATKES
4 large potatoes
2 large eggs, beaten
1 tsp salt (or more to taste)
1/2 large or 1 whole small yellow onion, chopped
1/2 tsp baking powder
1 Tbsn lemon juice
2 Tbsn flour (any kind)
1 to 2 cups vegetable oil

- Grate unpeeled potatoes using a hand grater or food processor fitted with the grate attachment. You can use a blender but your latkes will be more like pancakes. Squeeze excess water from the grated potatoes with paper towels and add lemon juice right away to prevent browning.

- Stir in the flour, baking powder, salt and eggs. It will not look like batter.
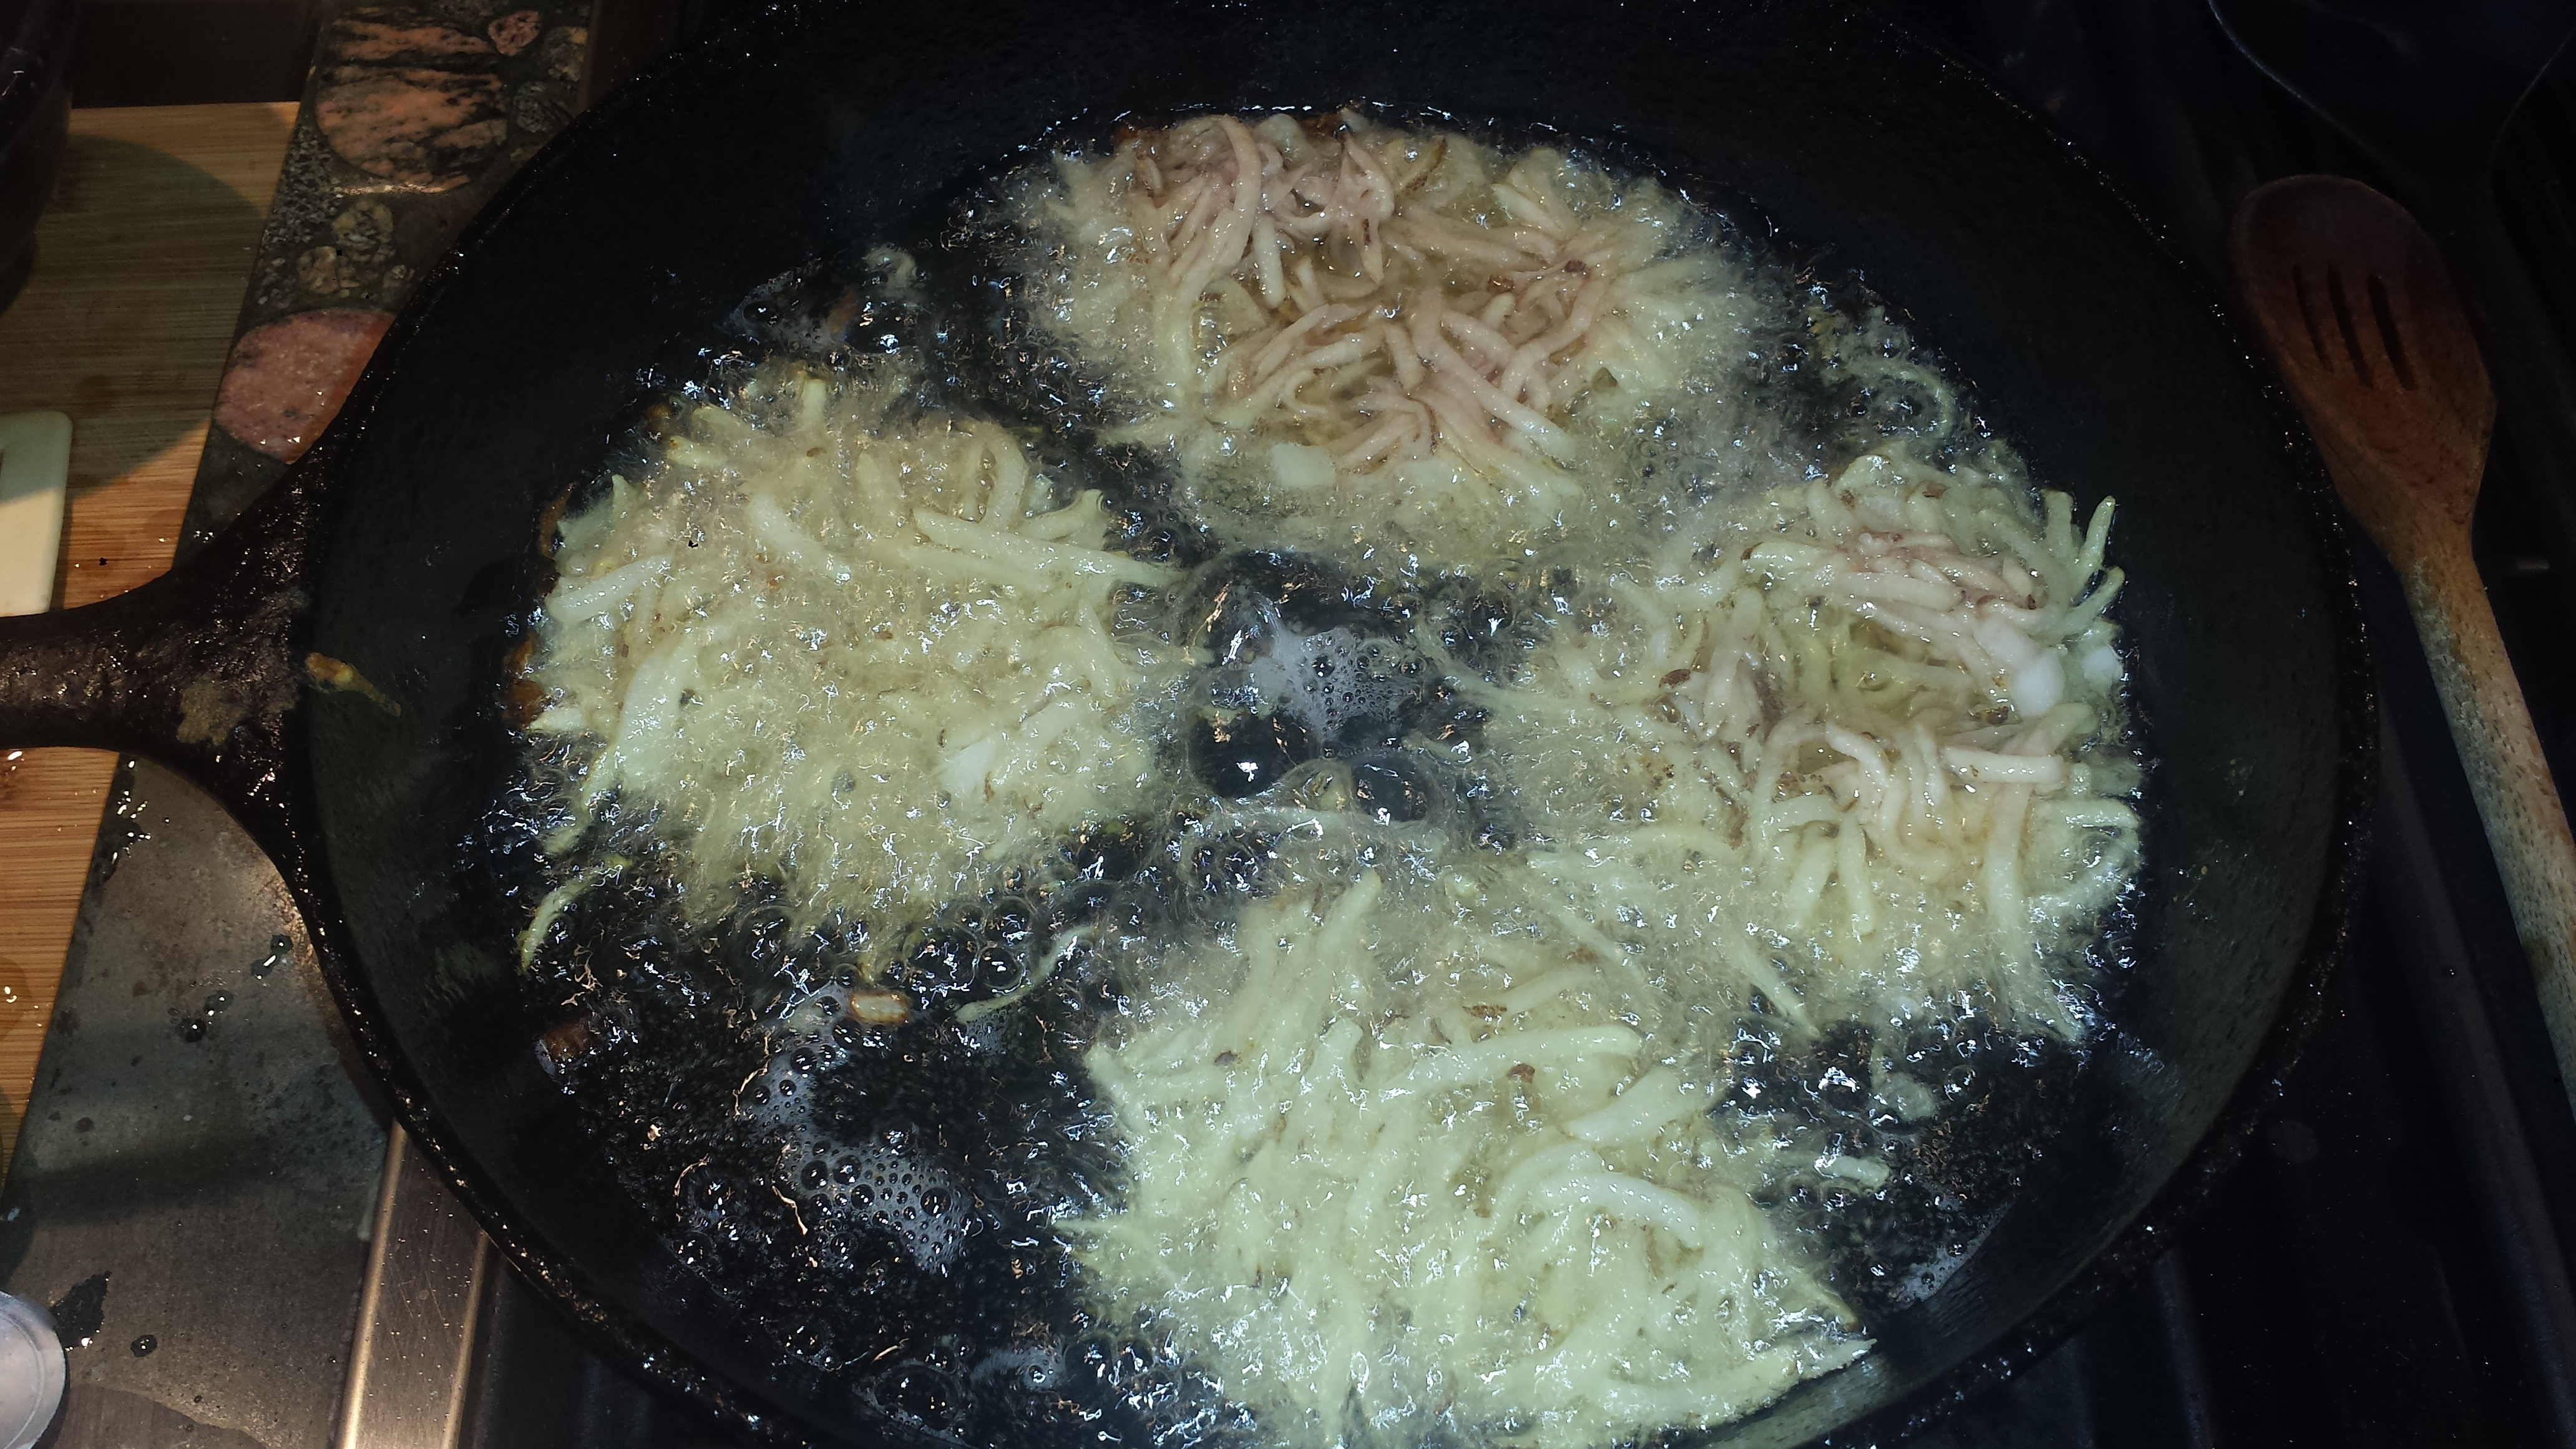
- Heat half the oil in a heavy skillet on medium high to high until the oil is almost smoking. A cast iron pan works great as it holds the heat. Drop potato mixture by generous spoonfuls onto hot oil and flatten slightly with the tip of a wooden spoon. I try to poke a few holes so oil can bubble up through the middle.

- Brown well on both sides, turning to accommodate hot spots in the pan.

- Drain on paper towels.

- Keep warm in a 250 degree oven covered loosely with aluminum foil. Latkes can be made ahead and reheated in single layers in a 350 degree oven.
- Serve plain or with applesauce and sour cream.
4 large potatoesPotato Latkes
2 large eggs, beaten
1 tsp salt (or more to taste)
1/2 large or 1 whole small yellow onion, chopped
1/2 tsp baking powder
1 Tbsn lemon juice
2 Tbsn flour (any kind)
1 to 2 cups vegetable oil