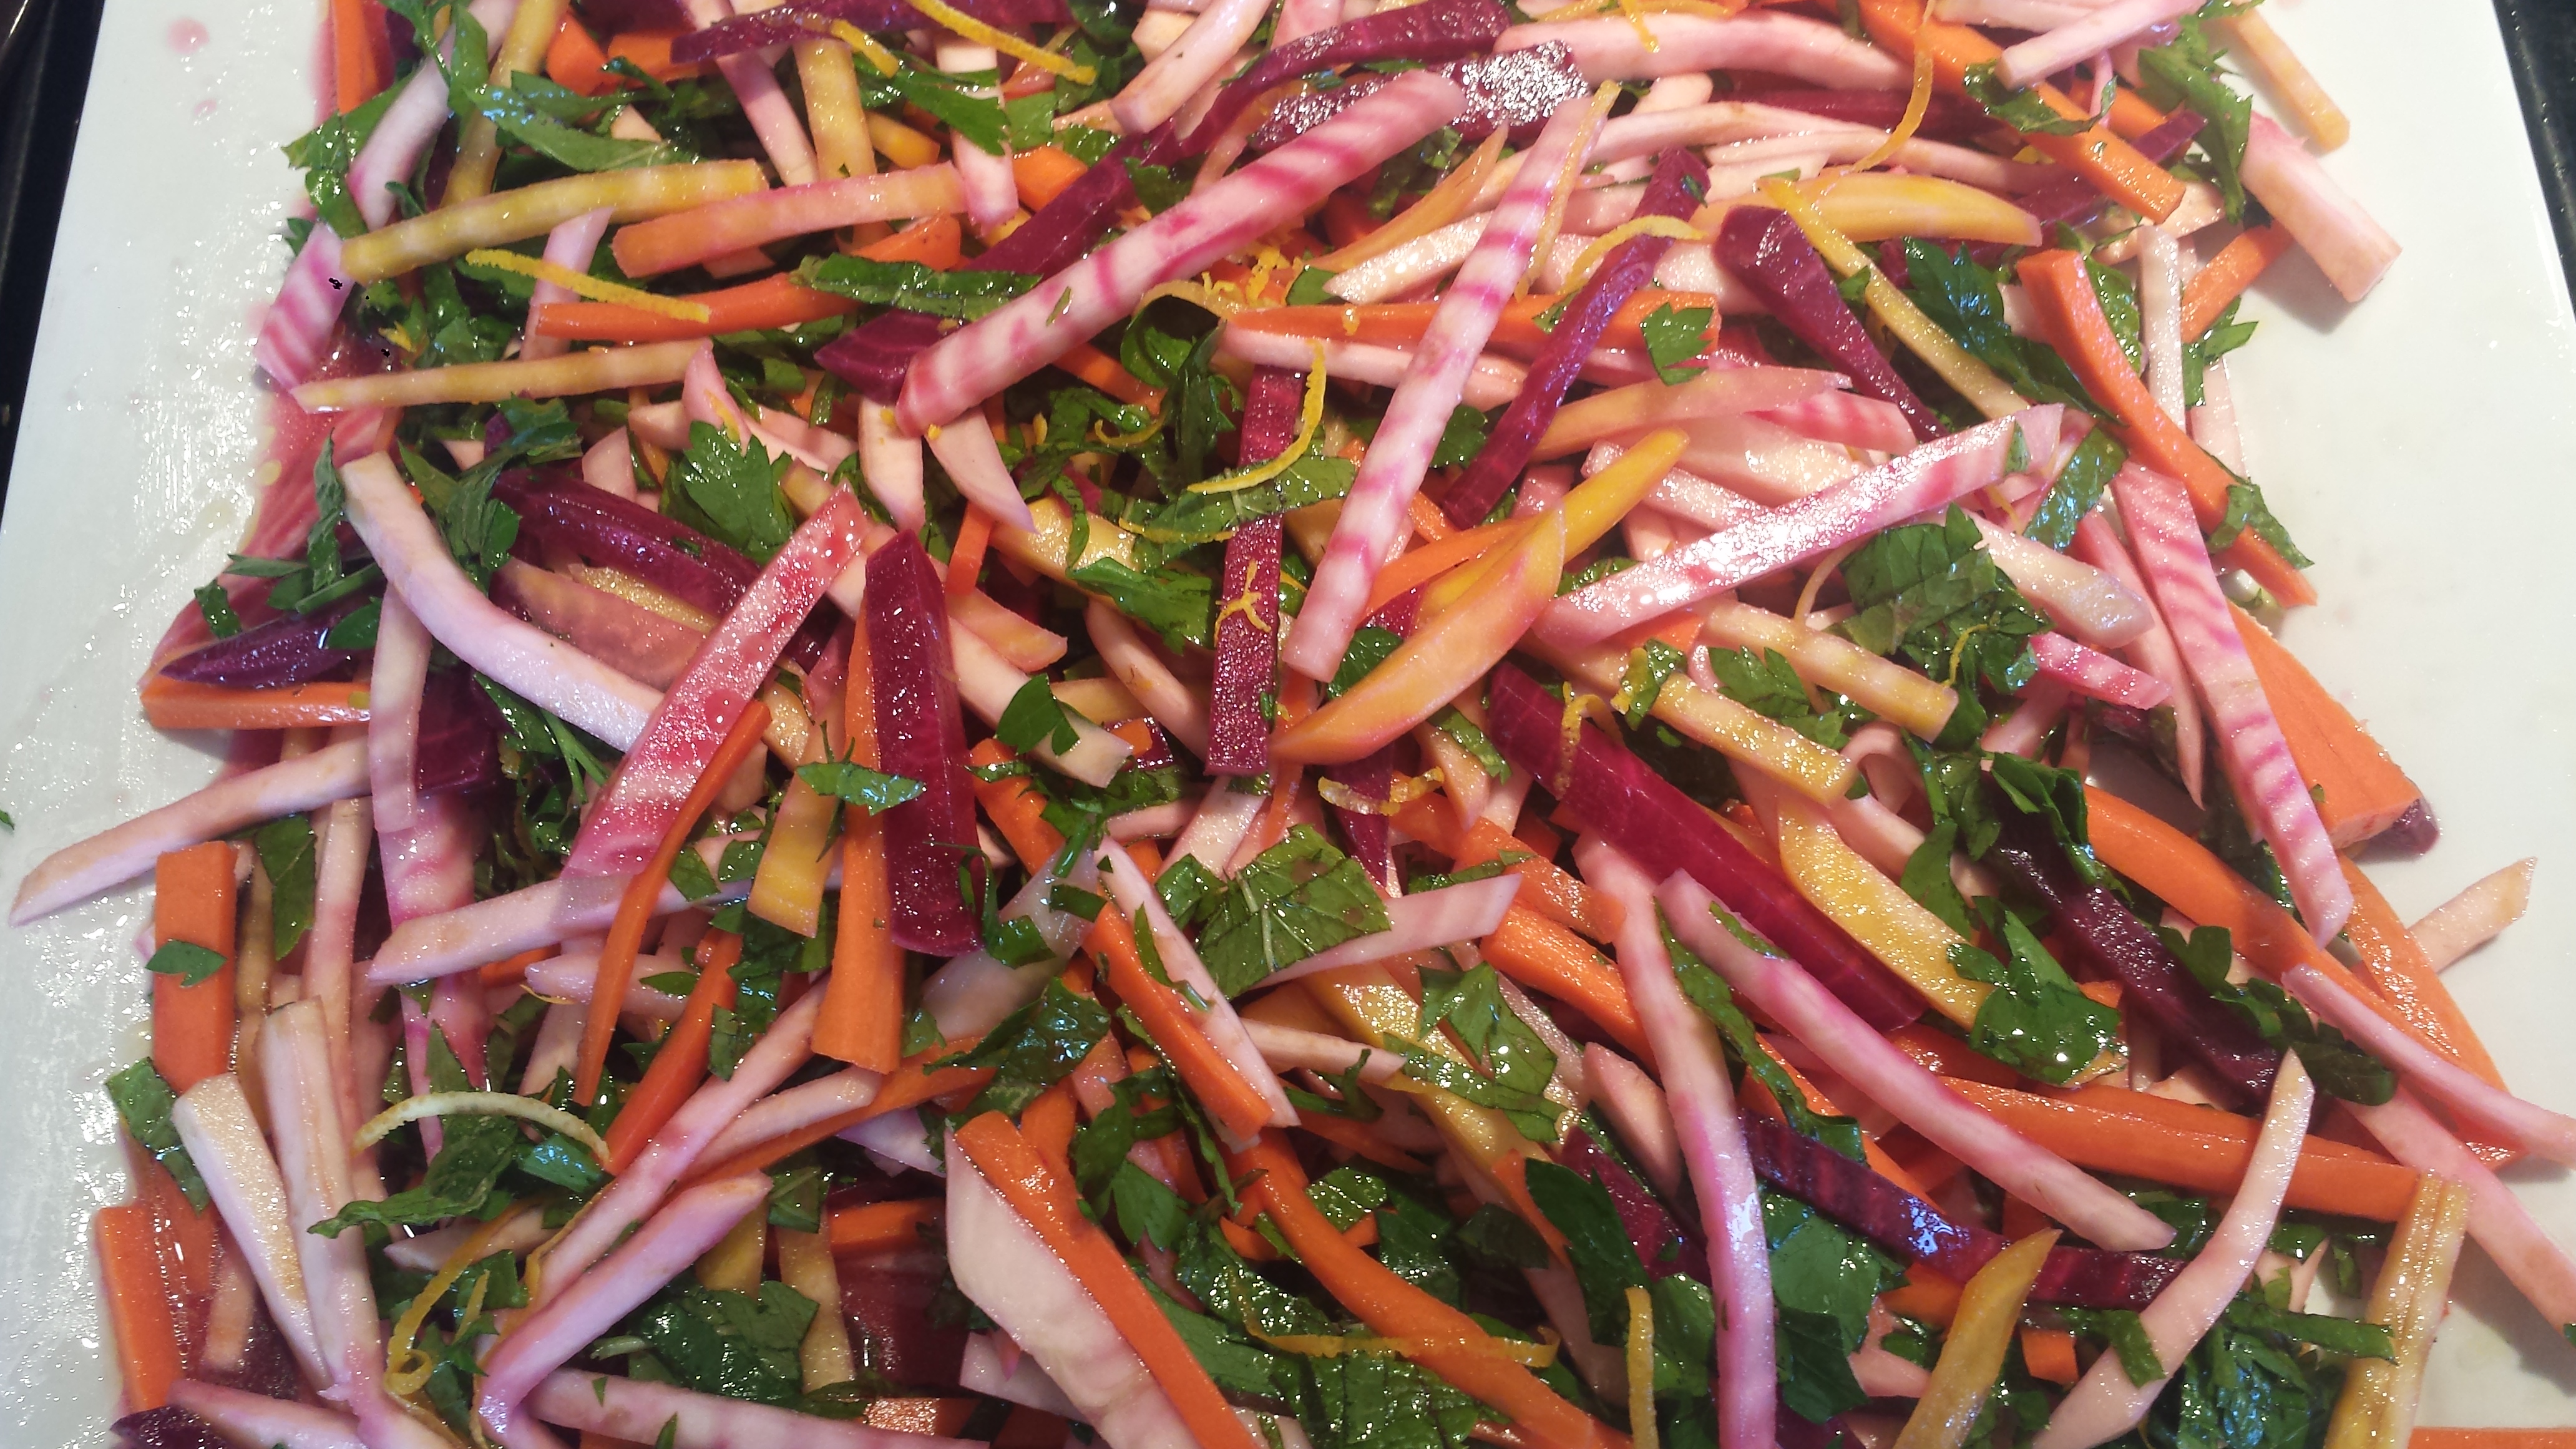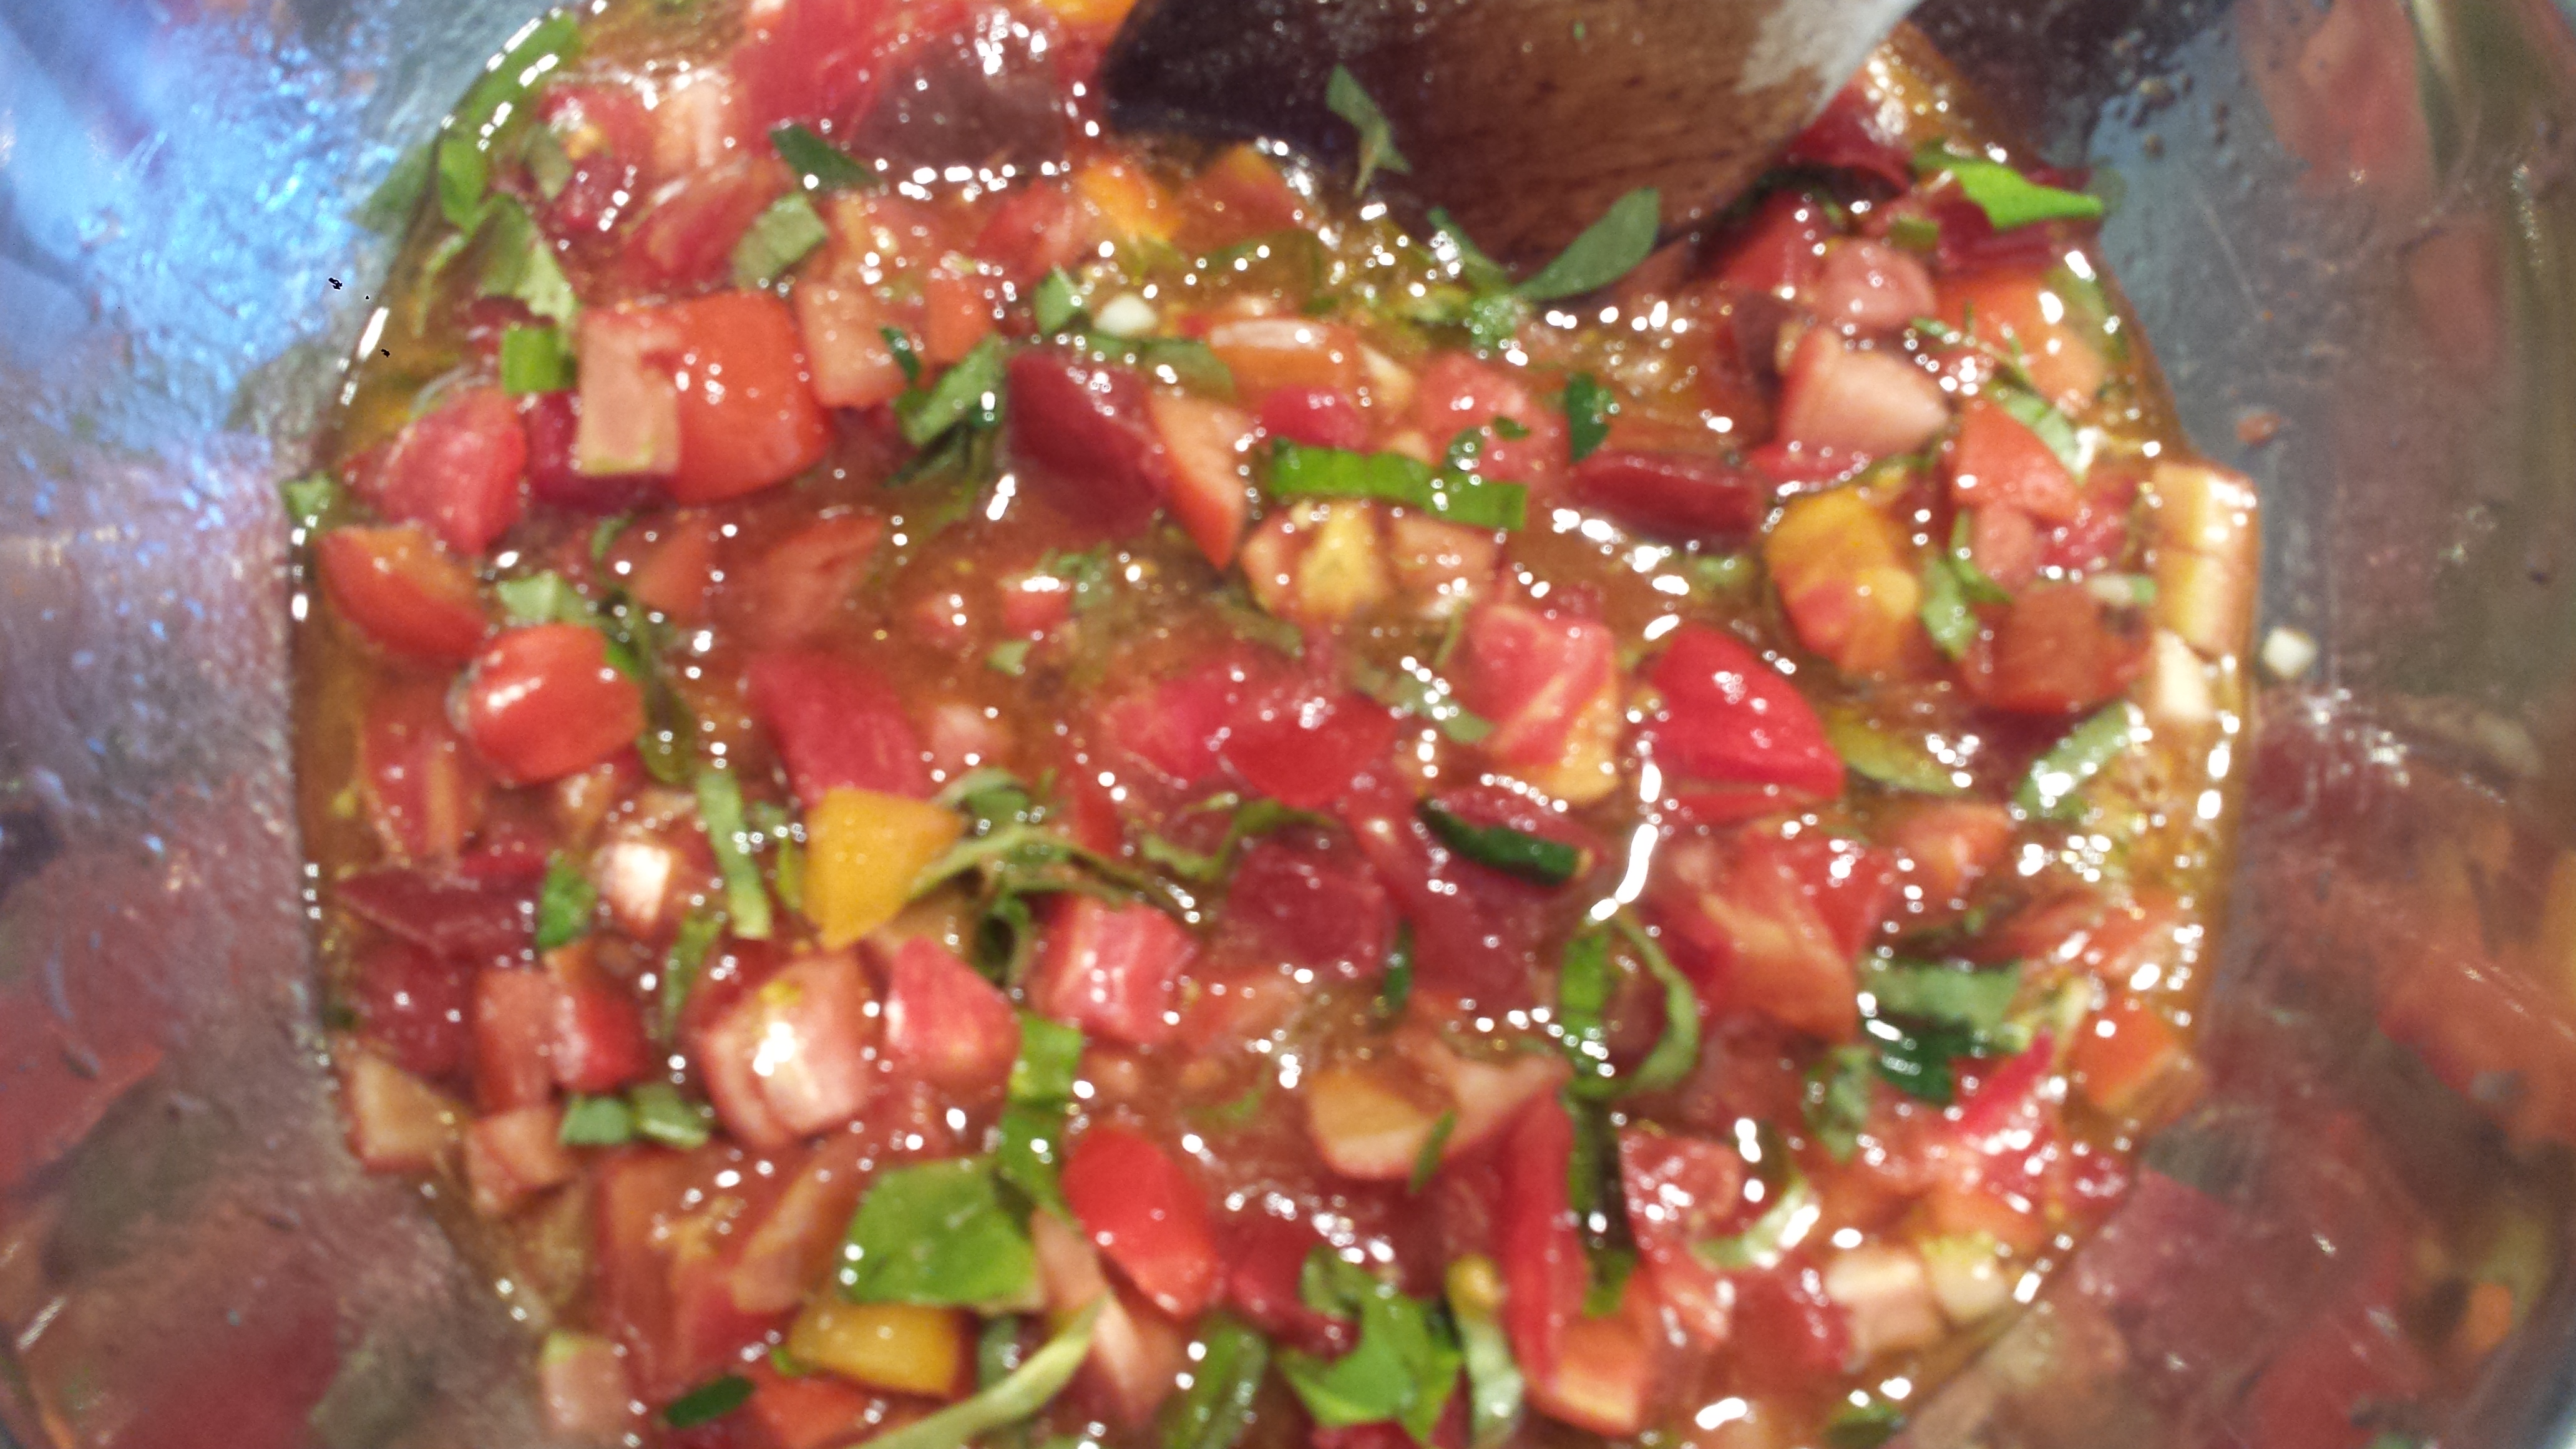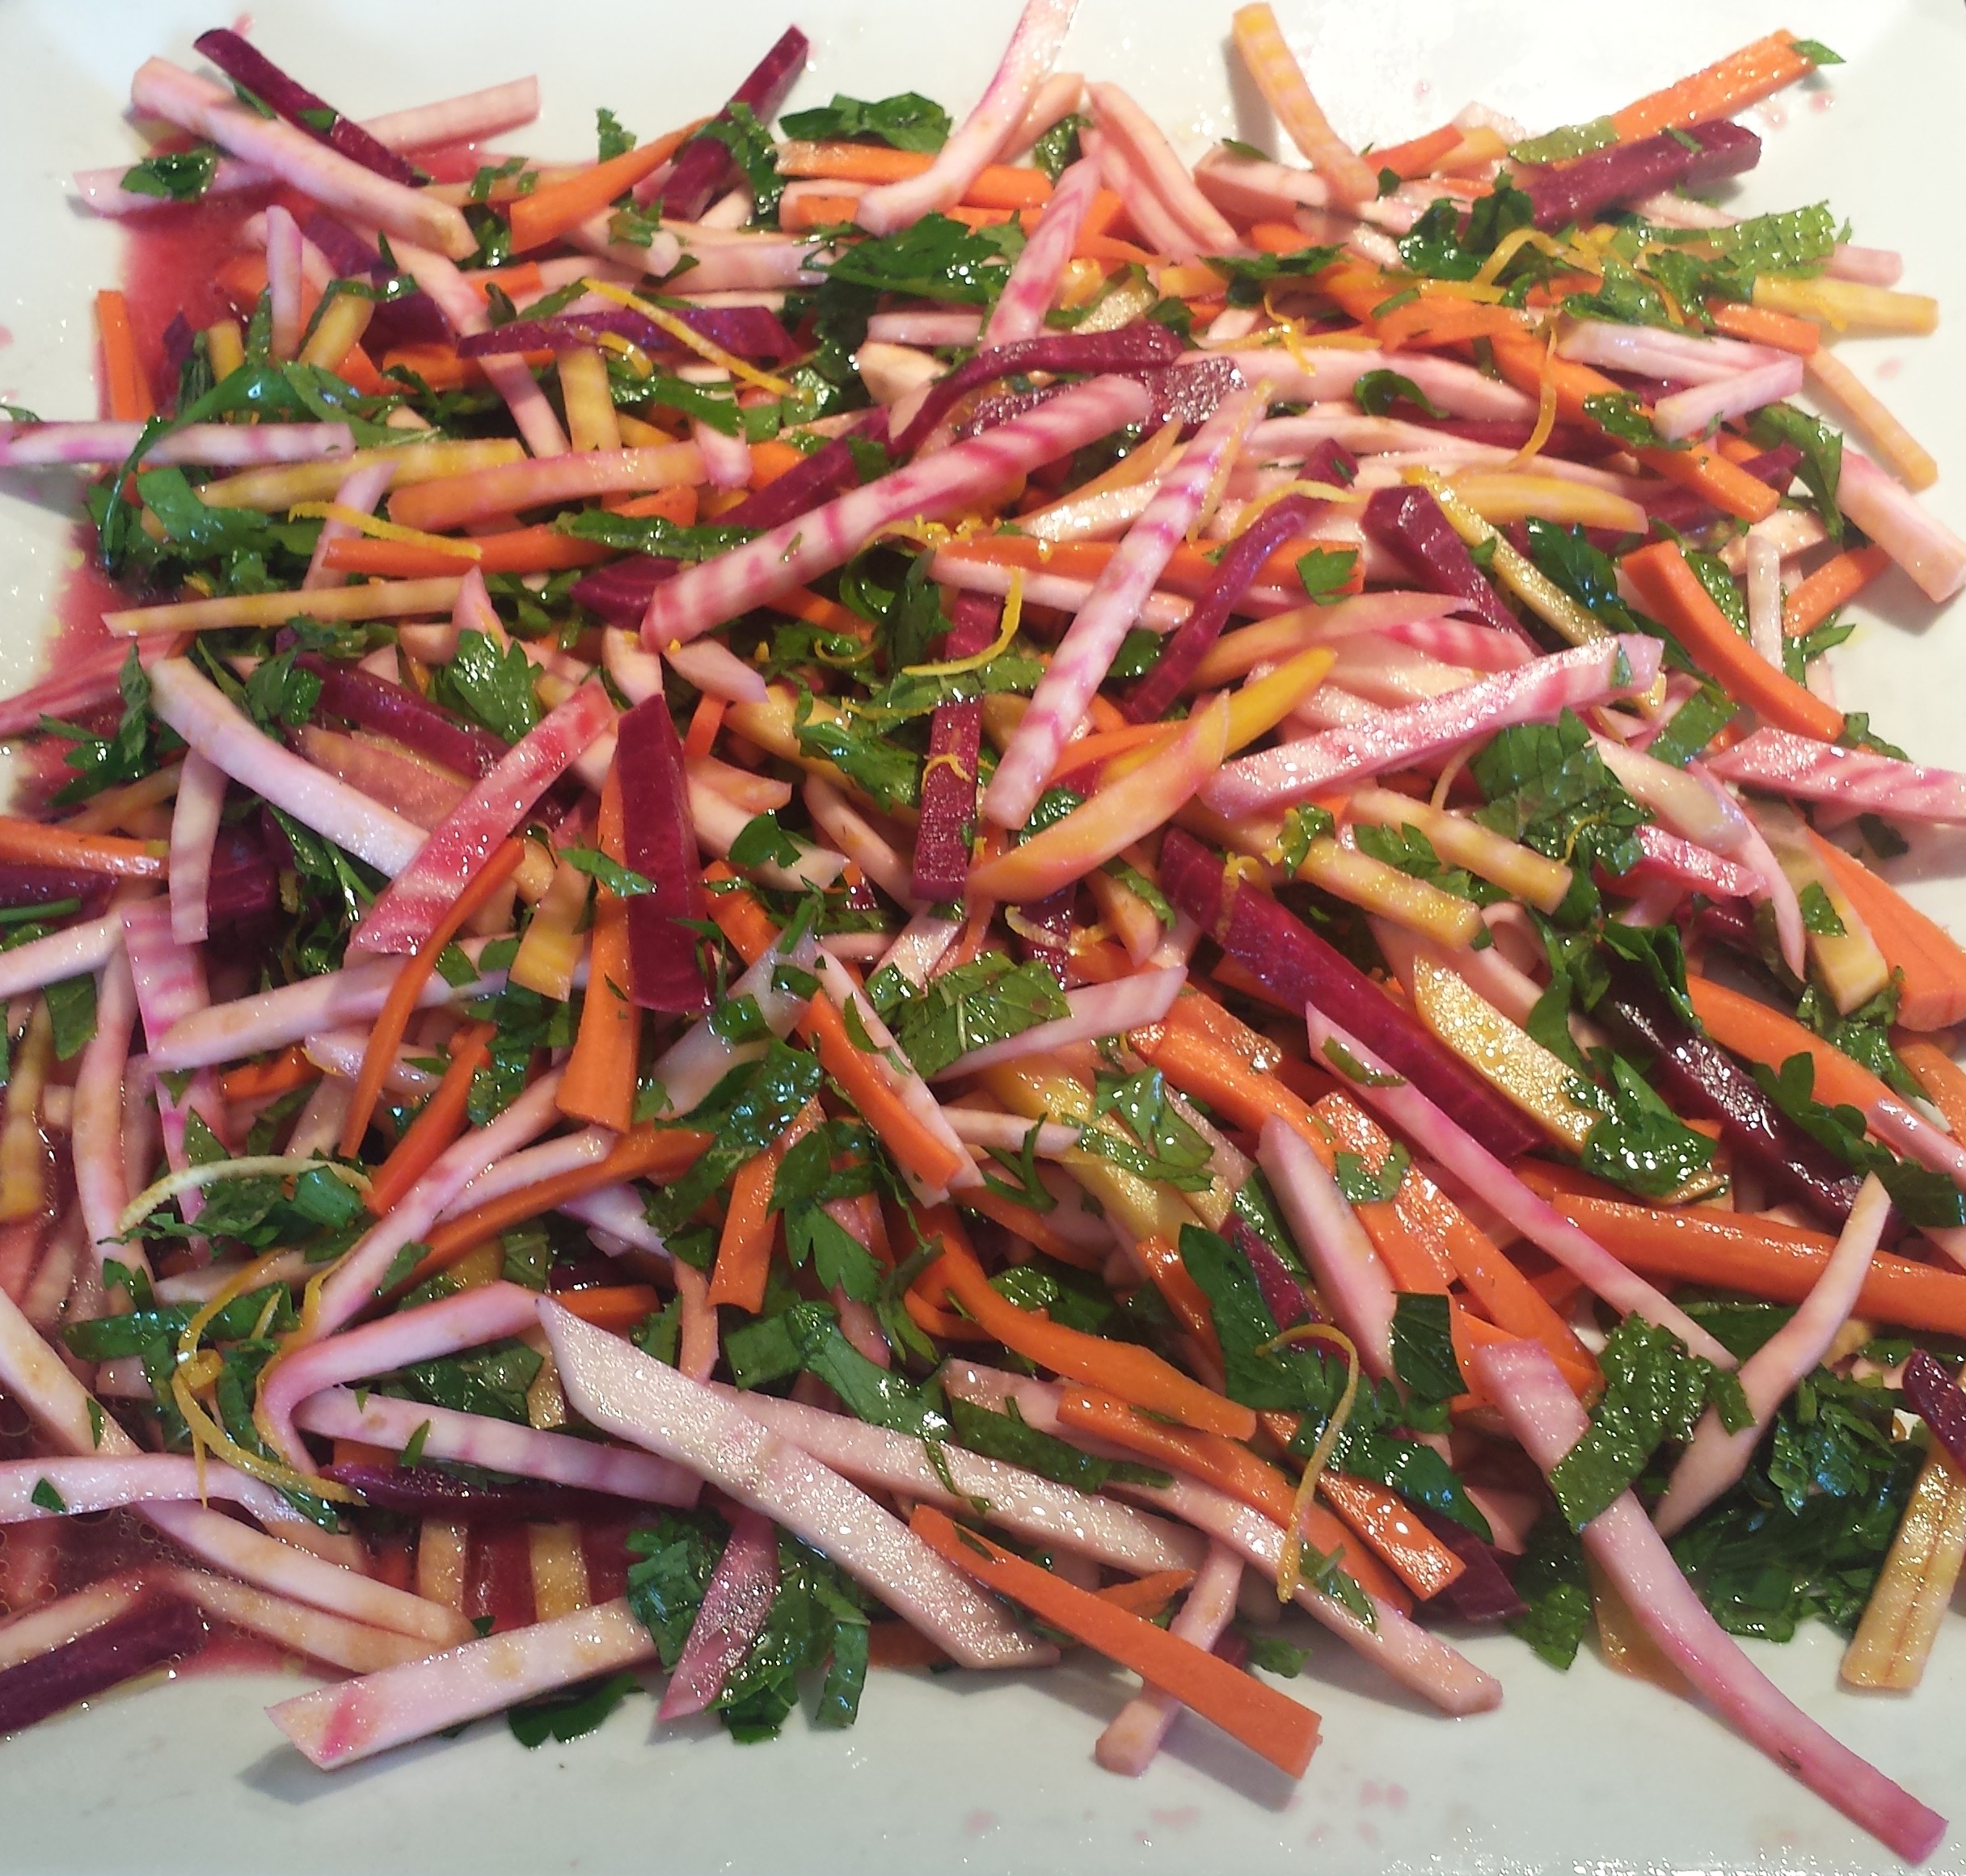
Roots don’t get the respect that they deserve. Don’t be fooled by the outward appearance of most root vegetables with their tough, hairy rough exteriors which only serve to protect the lovely jewels inside. Their gorgeous interior colors indicate their rich nutrient value with each root containing it’s own set of health benefits. This raw root salad is the epitome of Eat the Rainbow with it’s vibrant red, pink, orange, yellow and green. Roots are packed with a high concentration of antioxidants, Vitamins C, B, A, and Iron. Roots, which grow under ground, absorb vitamins and minerals from the soil and are the energy store house for the plants. Their complex carbohydrates and fiber makes us feel full and satiated, hopefully satisfying our cravings for junk food. Summer is a great time to eat root vegetables fresh when you can eat them raw and get the most health benefits.
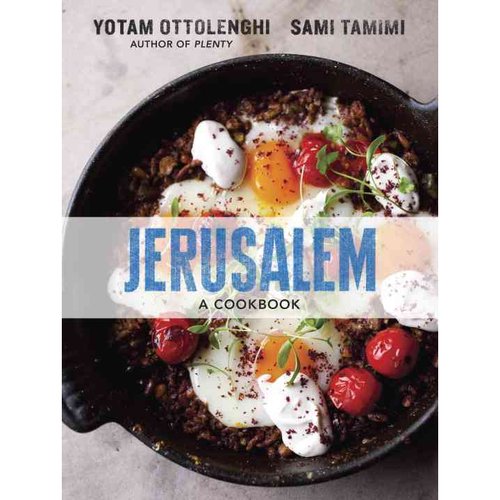
This Root Vegetable Slaw is from the “Jerusalem” cookbook which I received as a very thoughtful birthday gift from a good friend. “Jerusalem: A Cookbook” was written by Yotam Ottolenghi and Sami Tamimi, chefs who grew up on opposite sides of Jerusalem; Mr. Tamimi in the Arab East and Mr. Ottolenghi in the Jewish West, although they didn’t know each other. They left Israel more than 20 years ago and met in London where they became close friends and business partners. This is more than just a cookbook. It’s a gorgeous collection of photos, recipes, history and stories about Jerusalem. The authors describe it as “a self-indulgent, nostalgic trip into our pasts.”
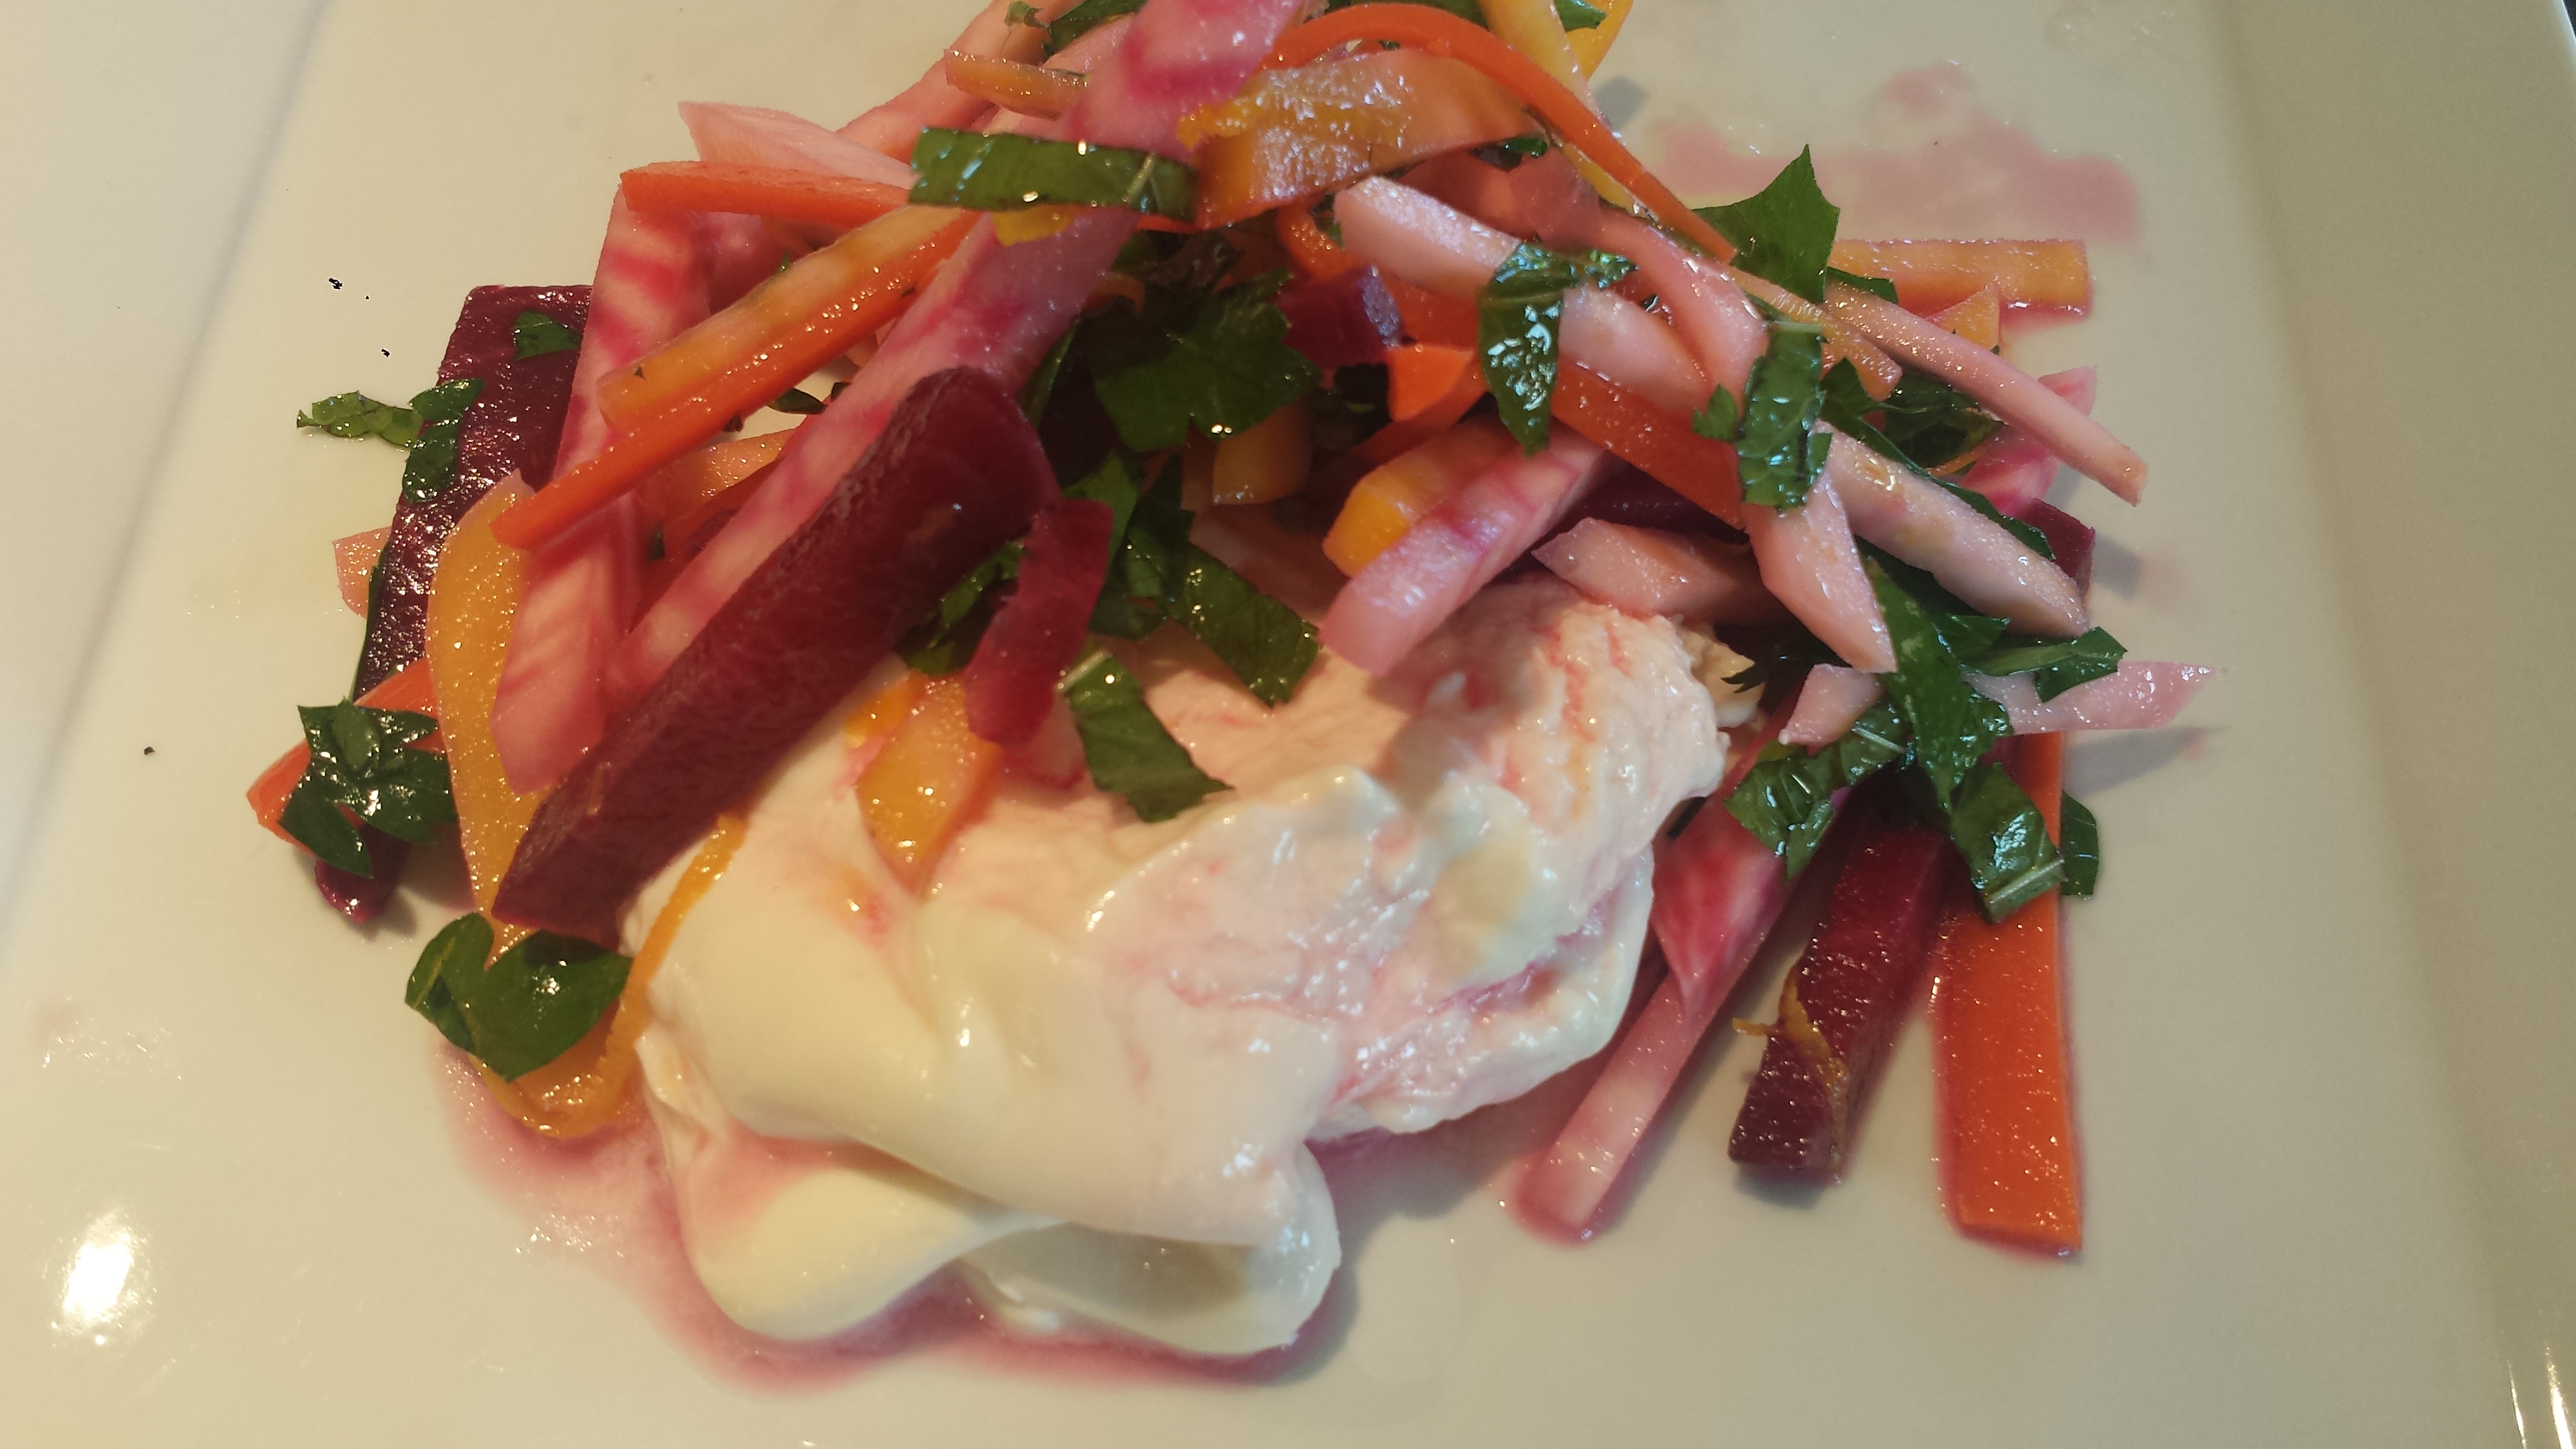
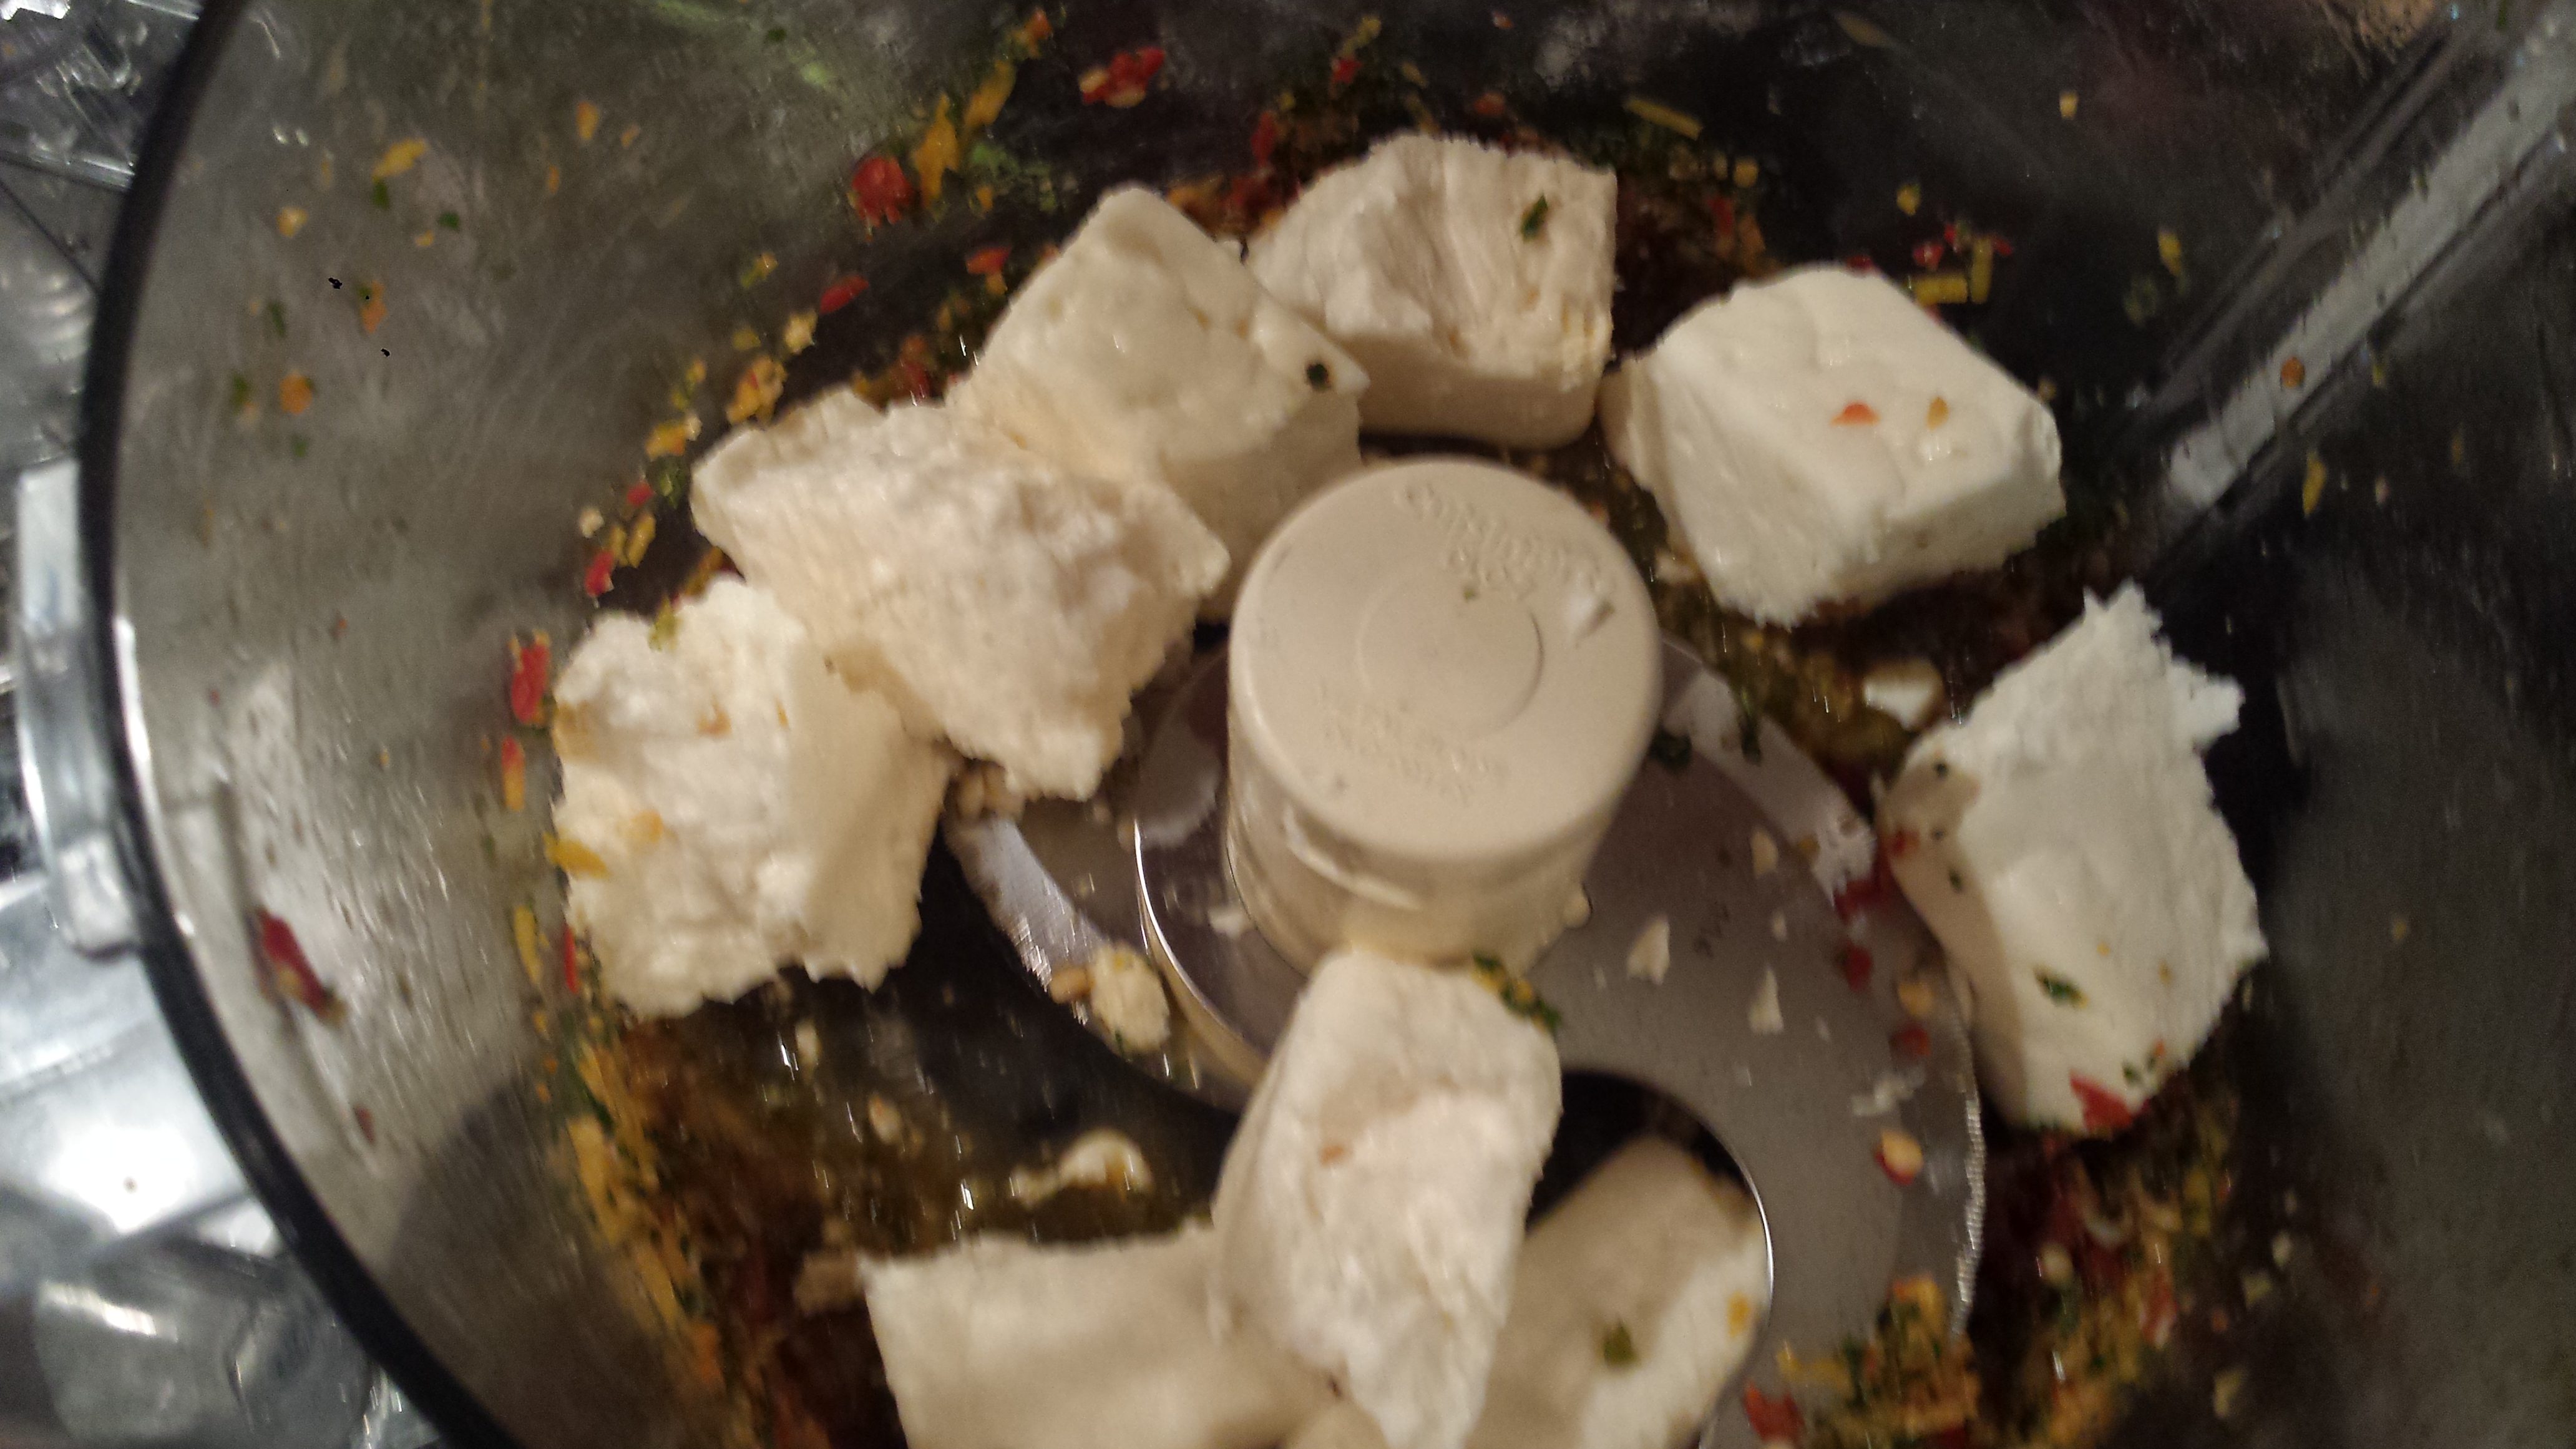
I loved this salad! At first I wasn’t sure about the combination of raw vegetables and soft cheese but the combination of crispy fresh with creamy soft is really nice. The recipe calls for Labneh, which is really common in the Mediterranean. It’s not as easy to find here so I substituted Burrata which is a fresh Italian cheese made from mozzarella and cream. It’s softer and creamier than fresh mozzarella. Burrata means “buttered” in Italian which seems very appropriate. “Jerusalem” includes a recipe to make your own Labneh if you are so inclined, or maybe you will find it in a market near you.
3 medium beets When ready to serve, add the herbs, lemon zest and 1 tsp black pepper to the salad. Toss well, taste, and add more salt if needed.Root Vegetable Slaw with Burrata

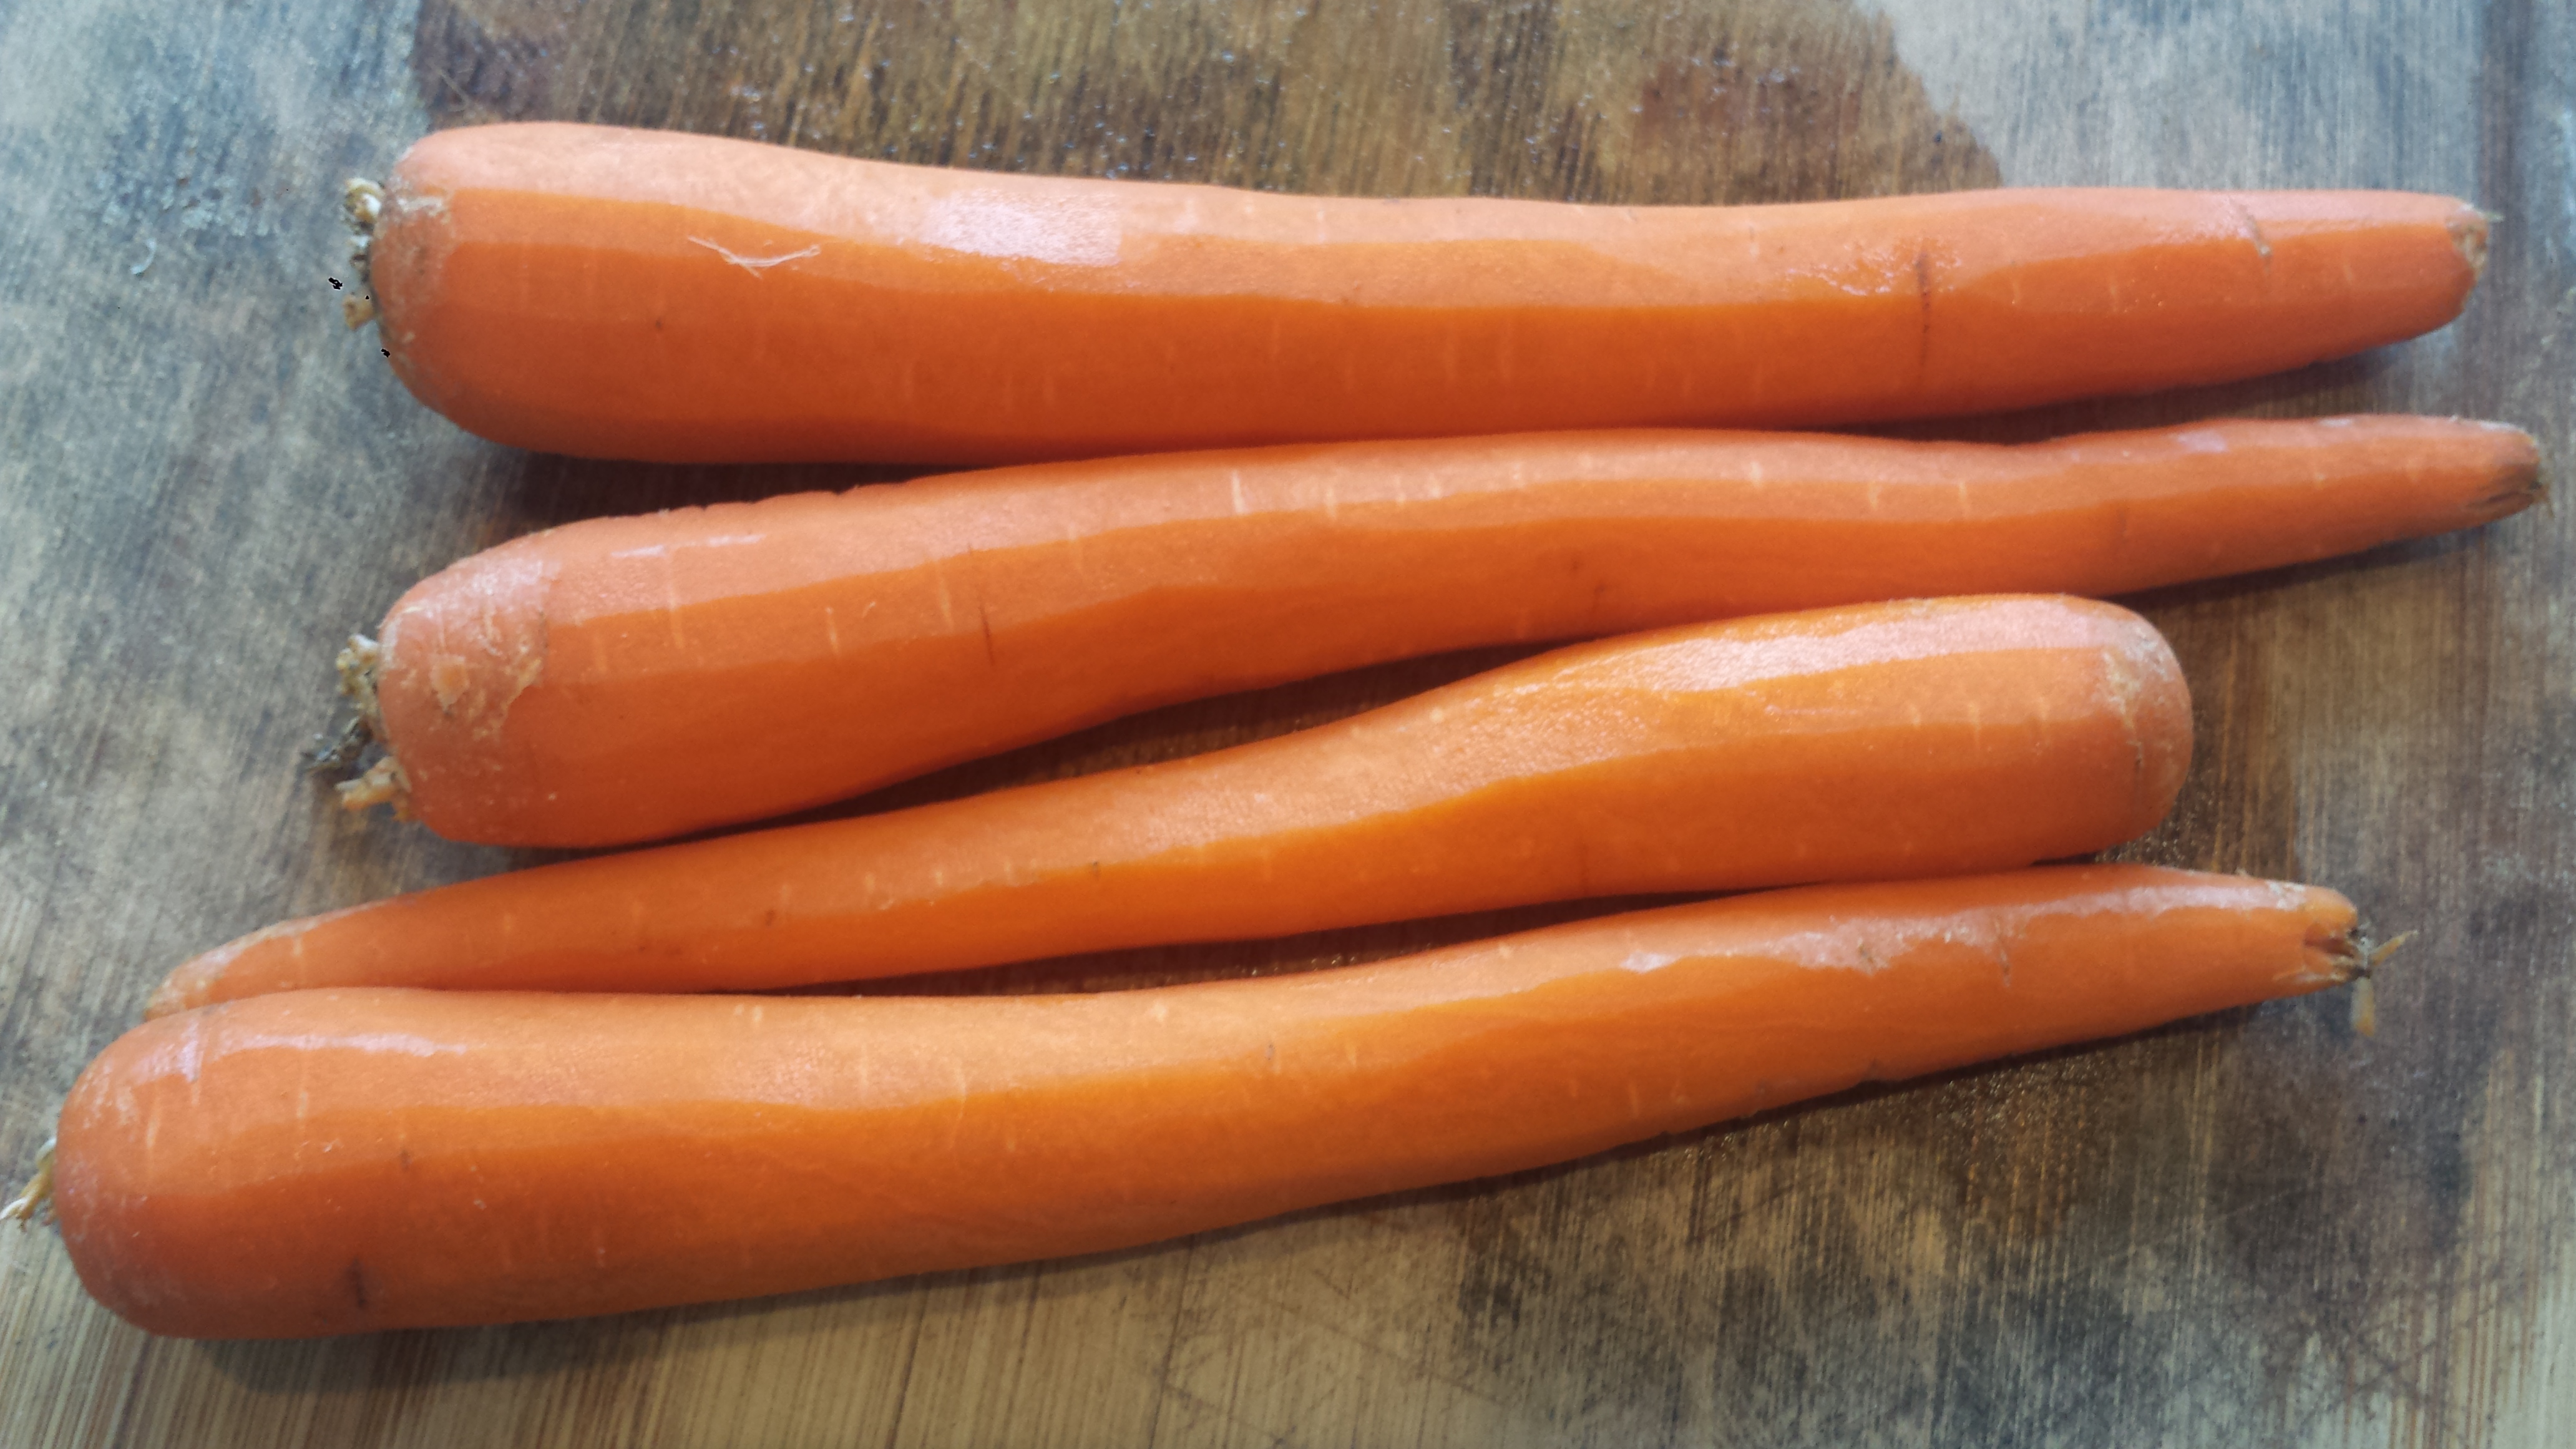
2 medium carrots
1/2 celery root
1 medium kohlrabi (optional)
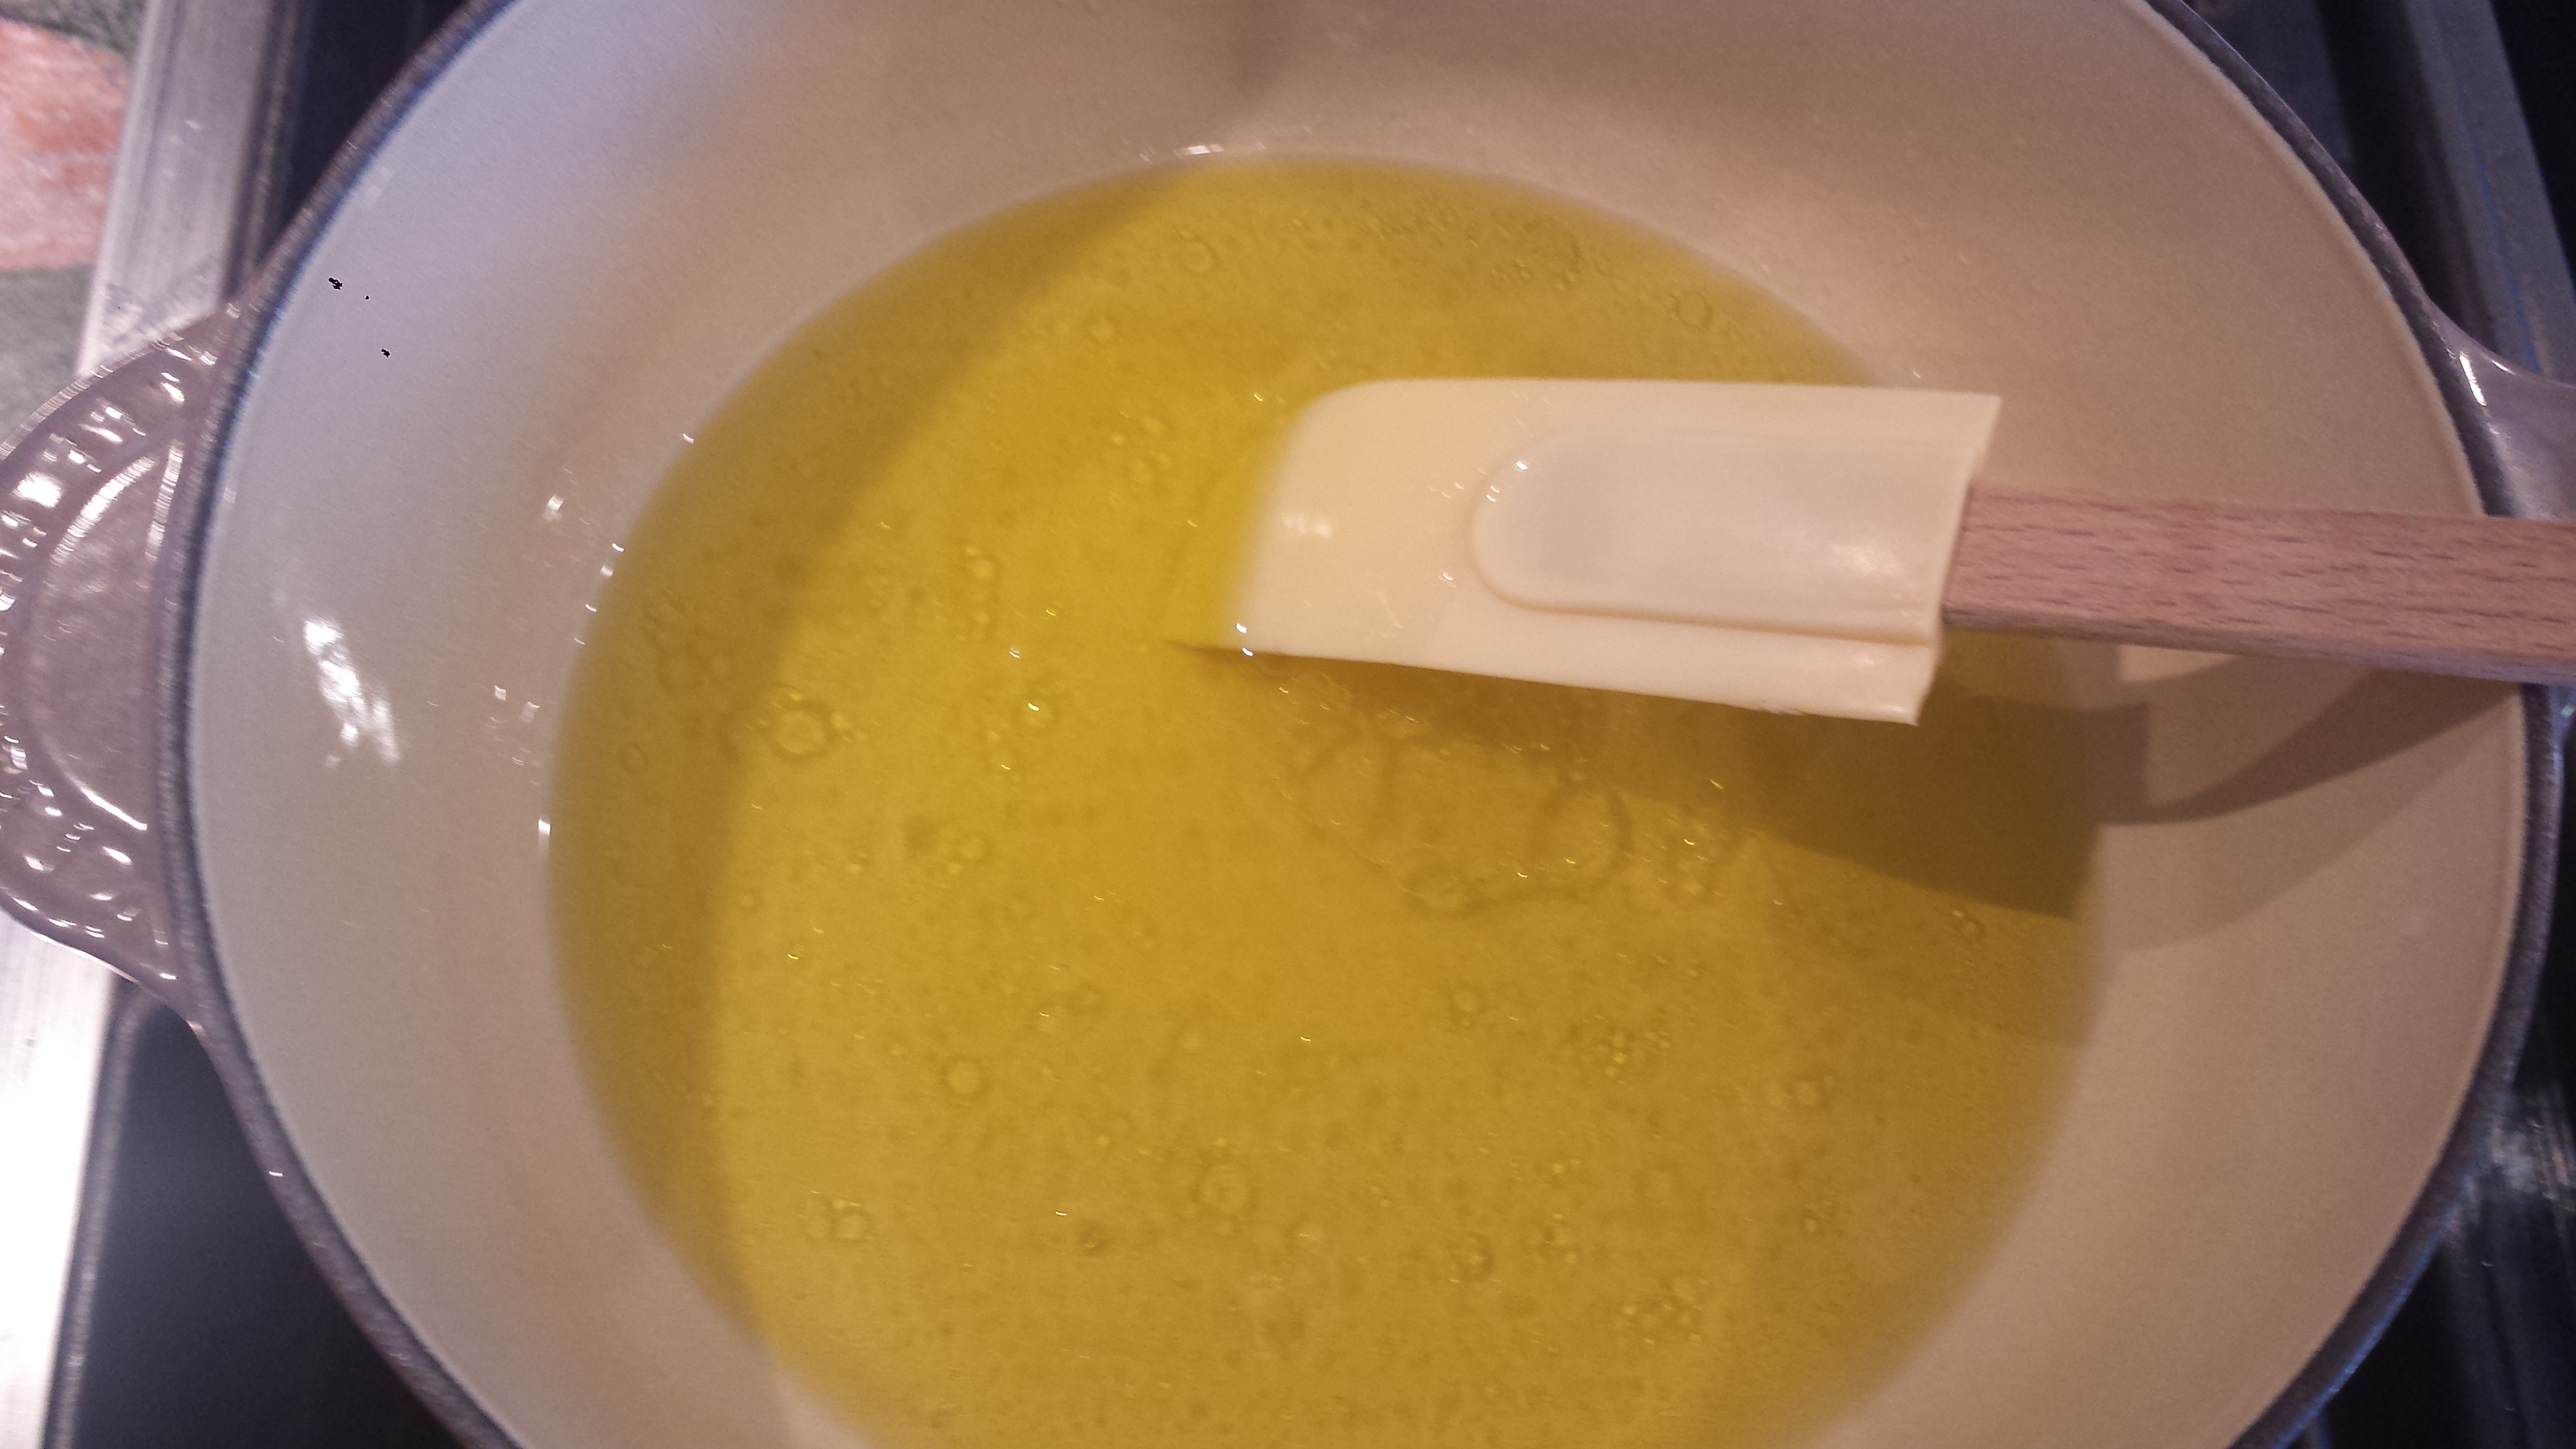
4 Tbsn lemon juice
4 Tbsn olive oil
3 Tbsn sherry vinegar (or mirin)
2 tsp sugar
3/4 cup cilantro, coarsely chopped
2/3 cup flat leaf parsley, coarsely chopped
3/4 cup mint, ribboned or chopped
1/2 Tbsn lemon zest
salt and pepper
1 cup burrata or labneh (optional)