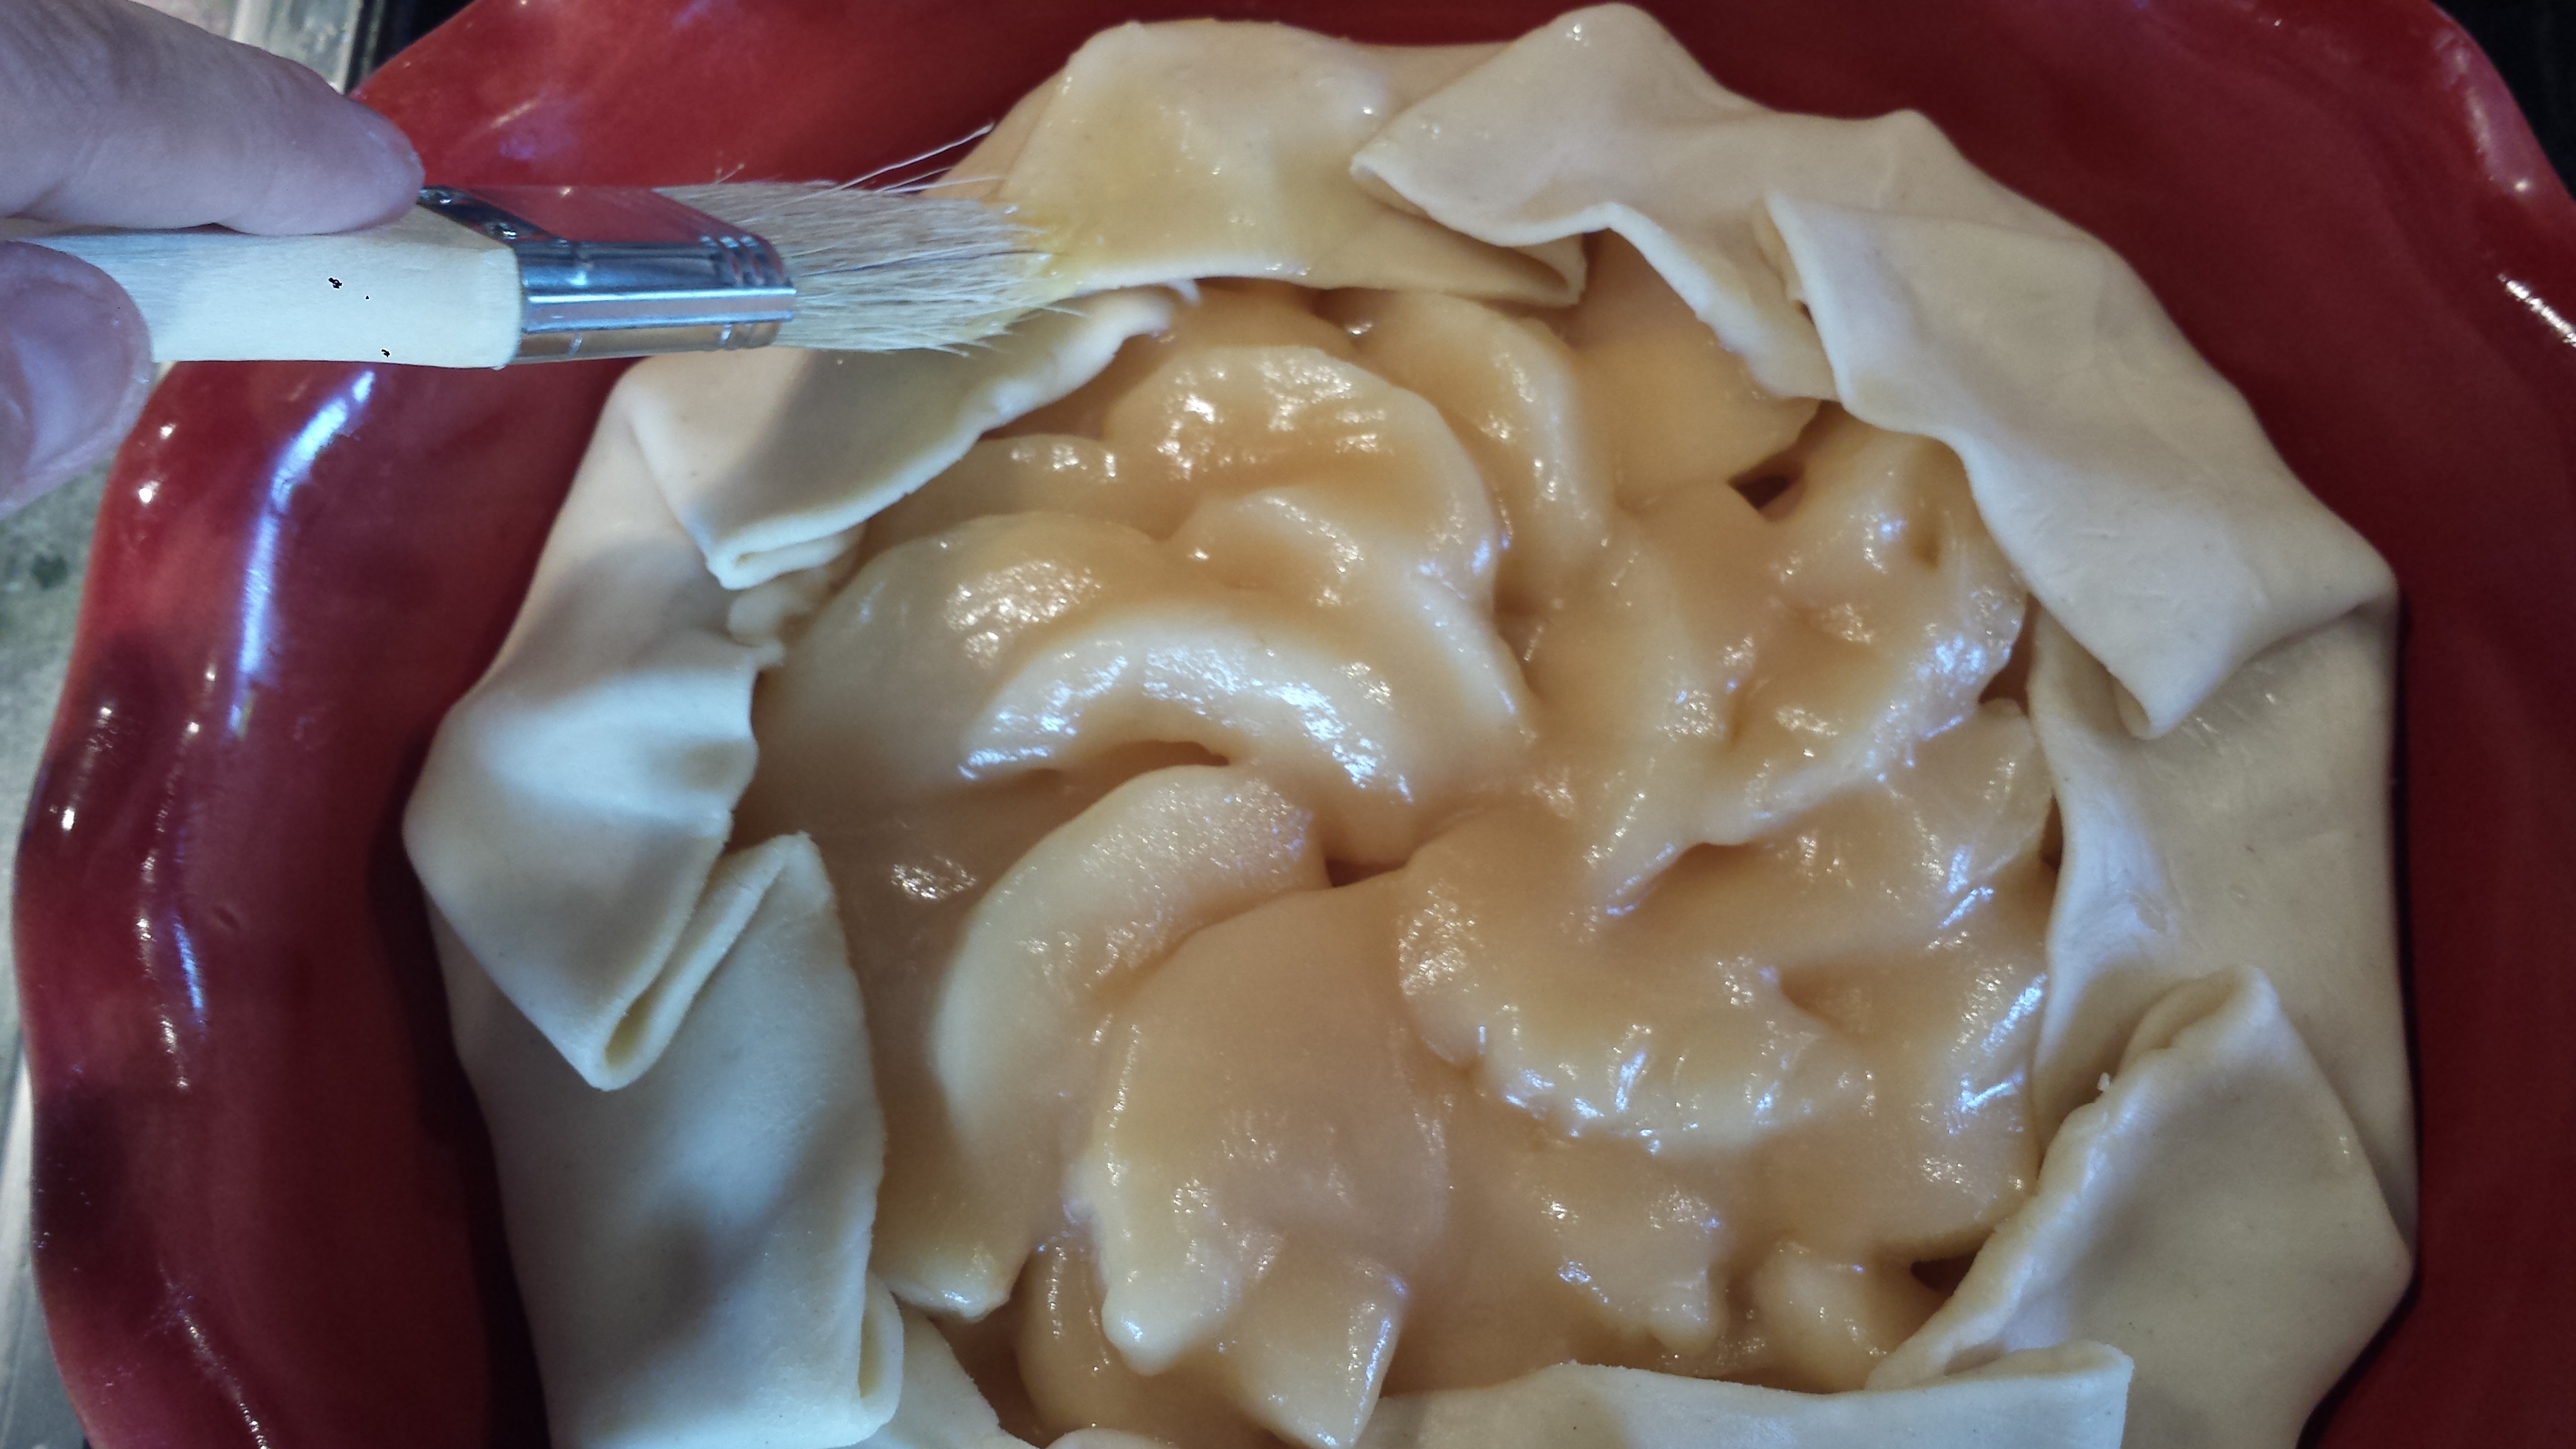
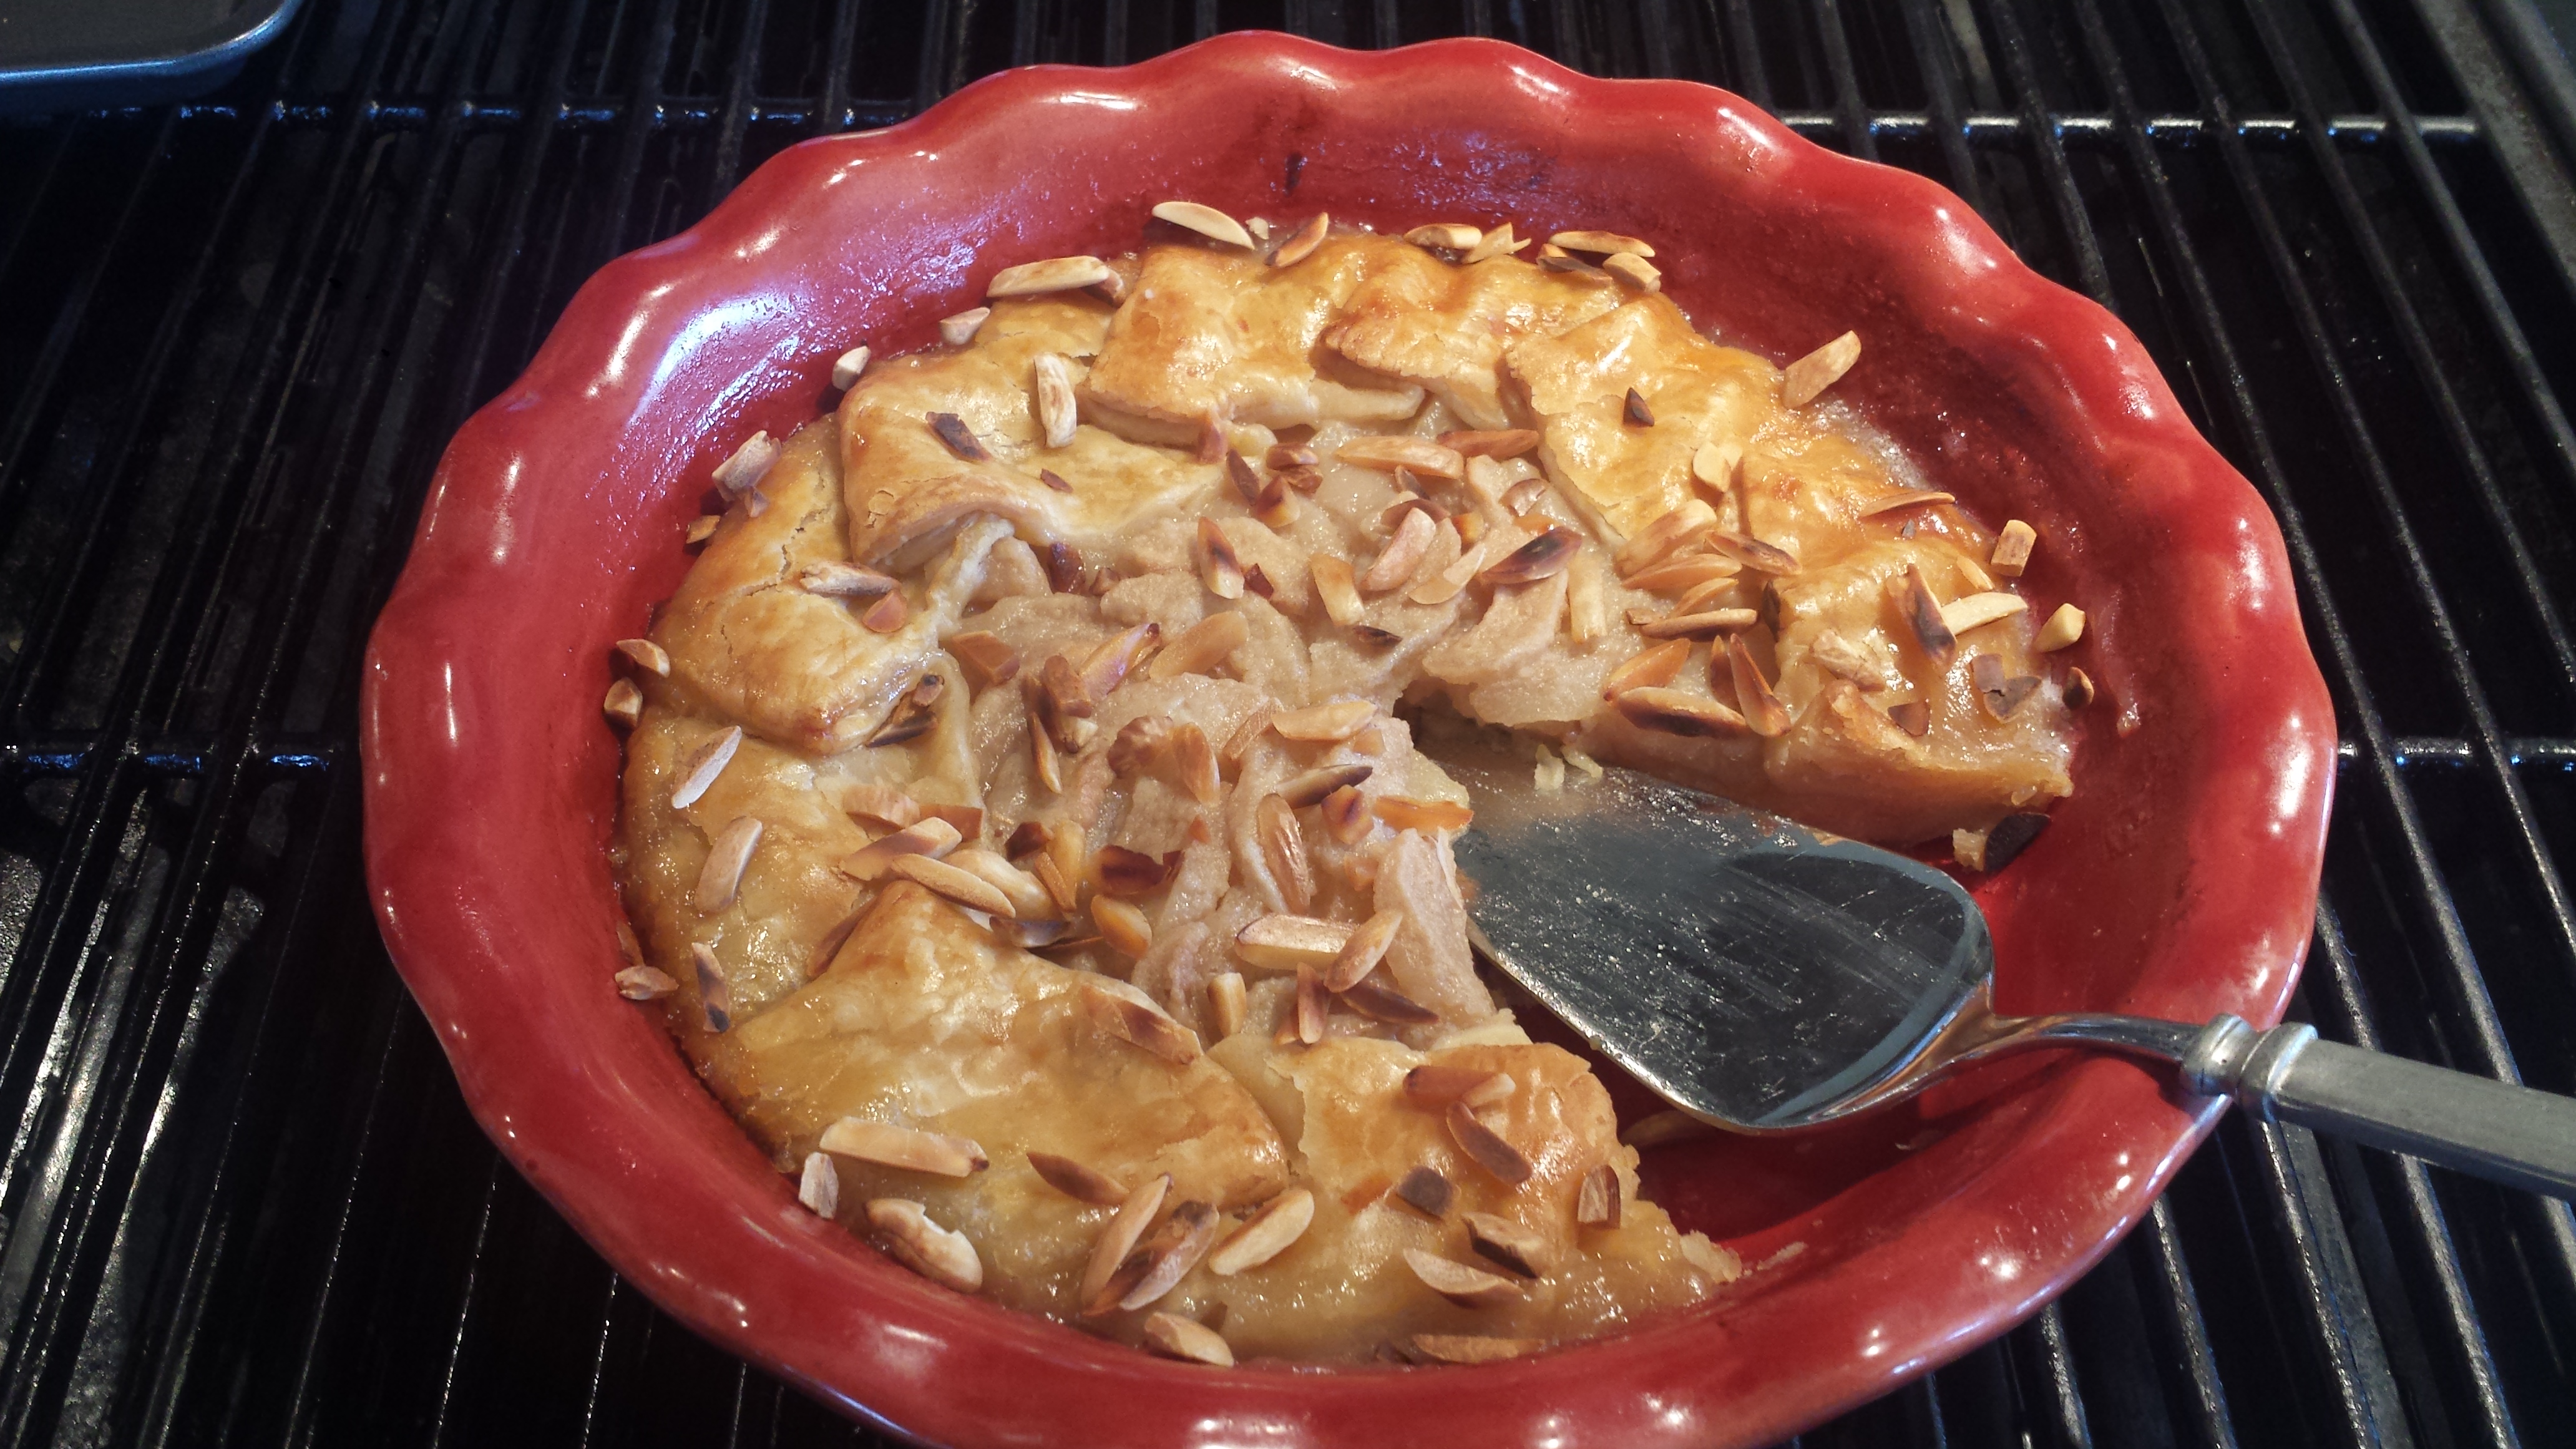
These delicious and pretty poached pears could be your new holiday treat! This recipe showcases the pears natural delicate flavor but adding a few spicy peppercorns and anise, along with the richness of the vanilla and brandy to the sugar syrup creates a wonderfully flavorful dessert. These lovely pears can be served just as they are, or with a dollop of whipped cream, creme freche or ice cream, or with a slice of angel food cake to soak up the juices. Yum! Of course, if you don’t have the sudden urge to can, you can follow this recipe and serve right away or refrigerate for a week or so. Just simmer the pears in the syrup (with all the ingredients) for about 30 minutes, until they are tender but not falling apart.

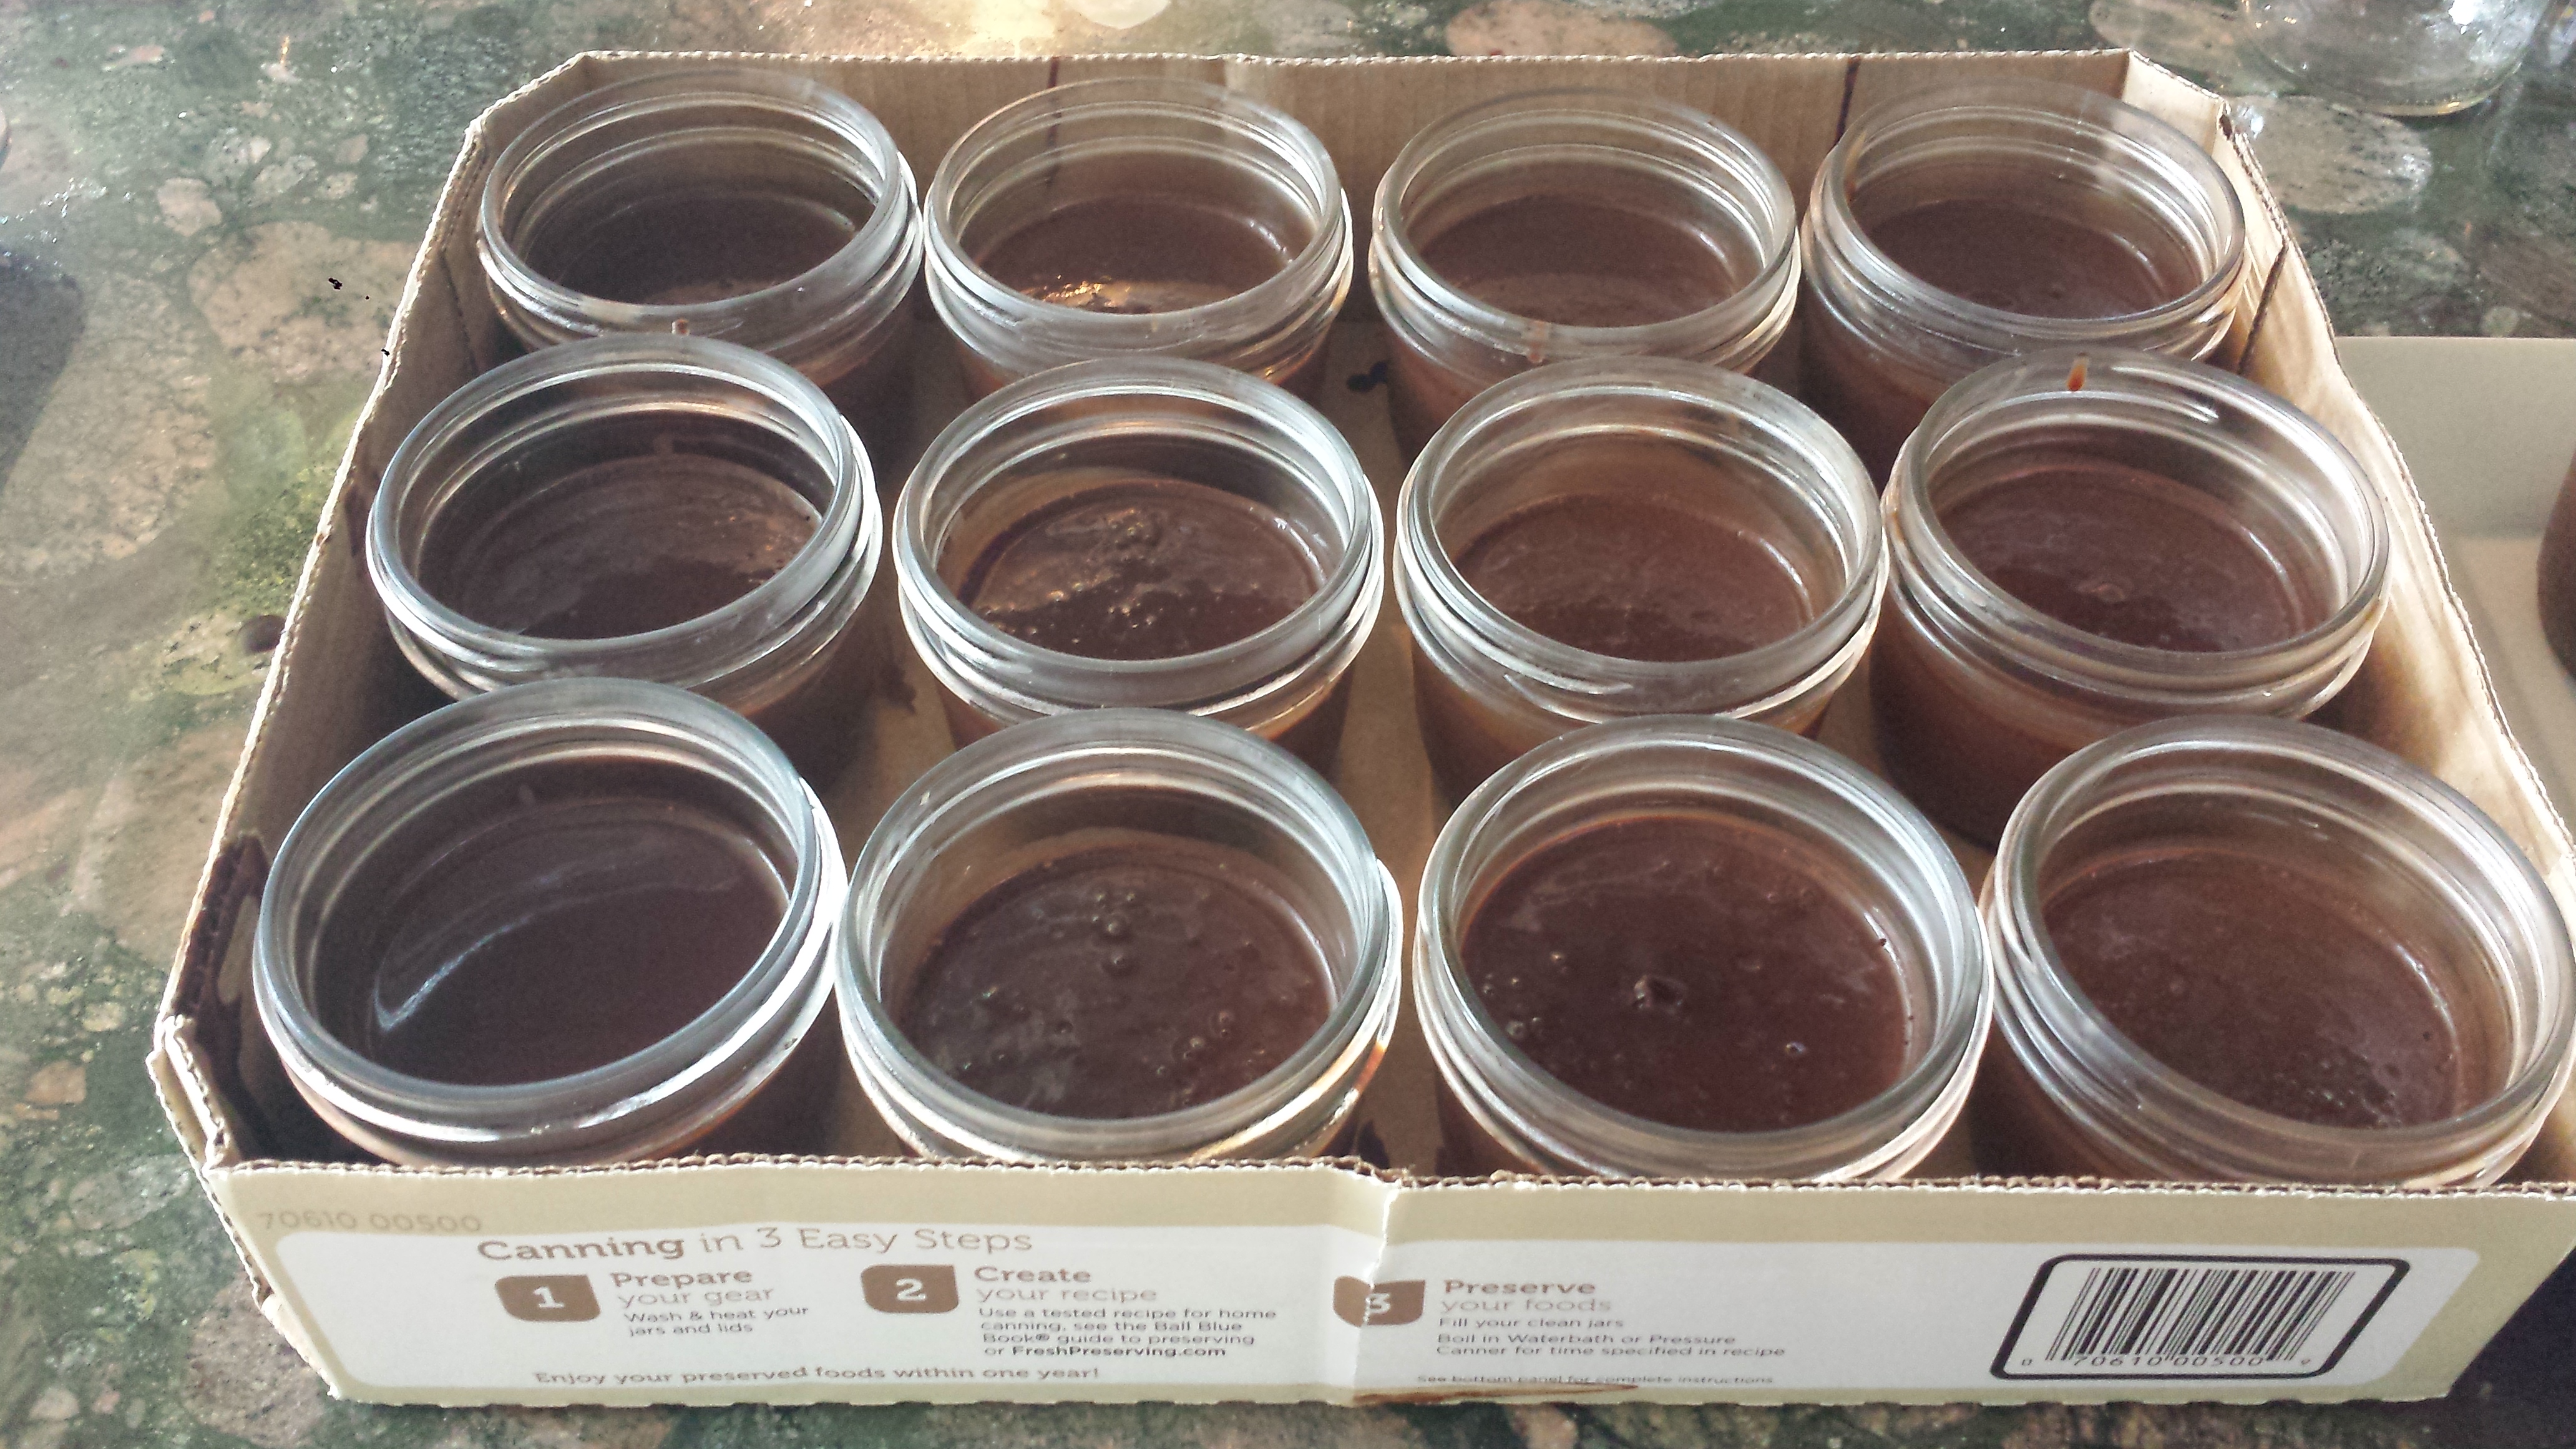
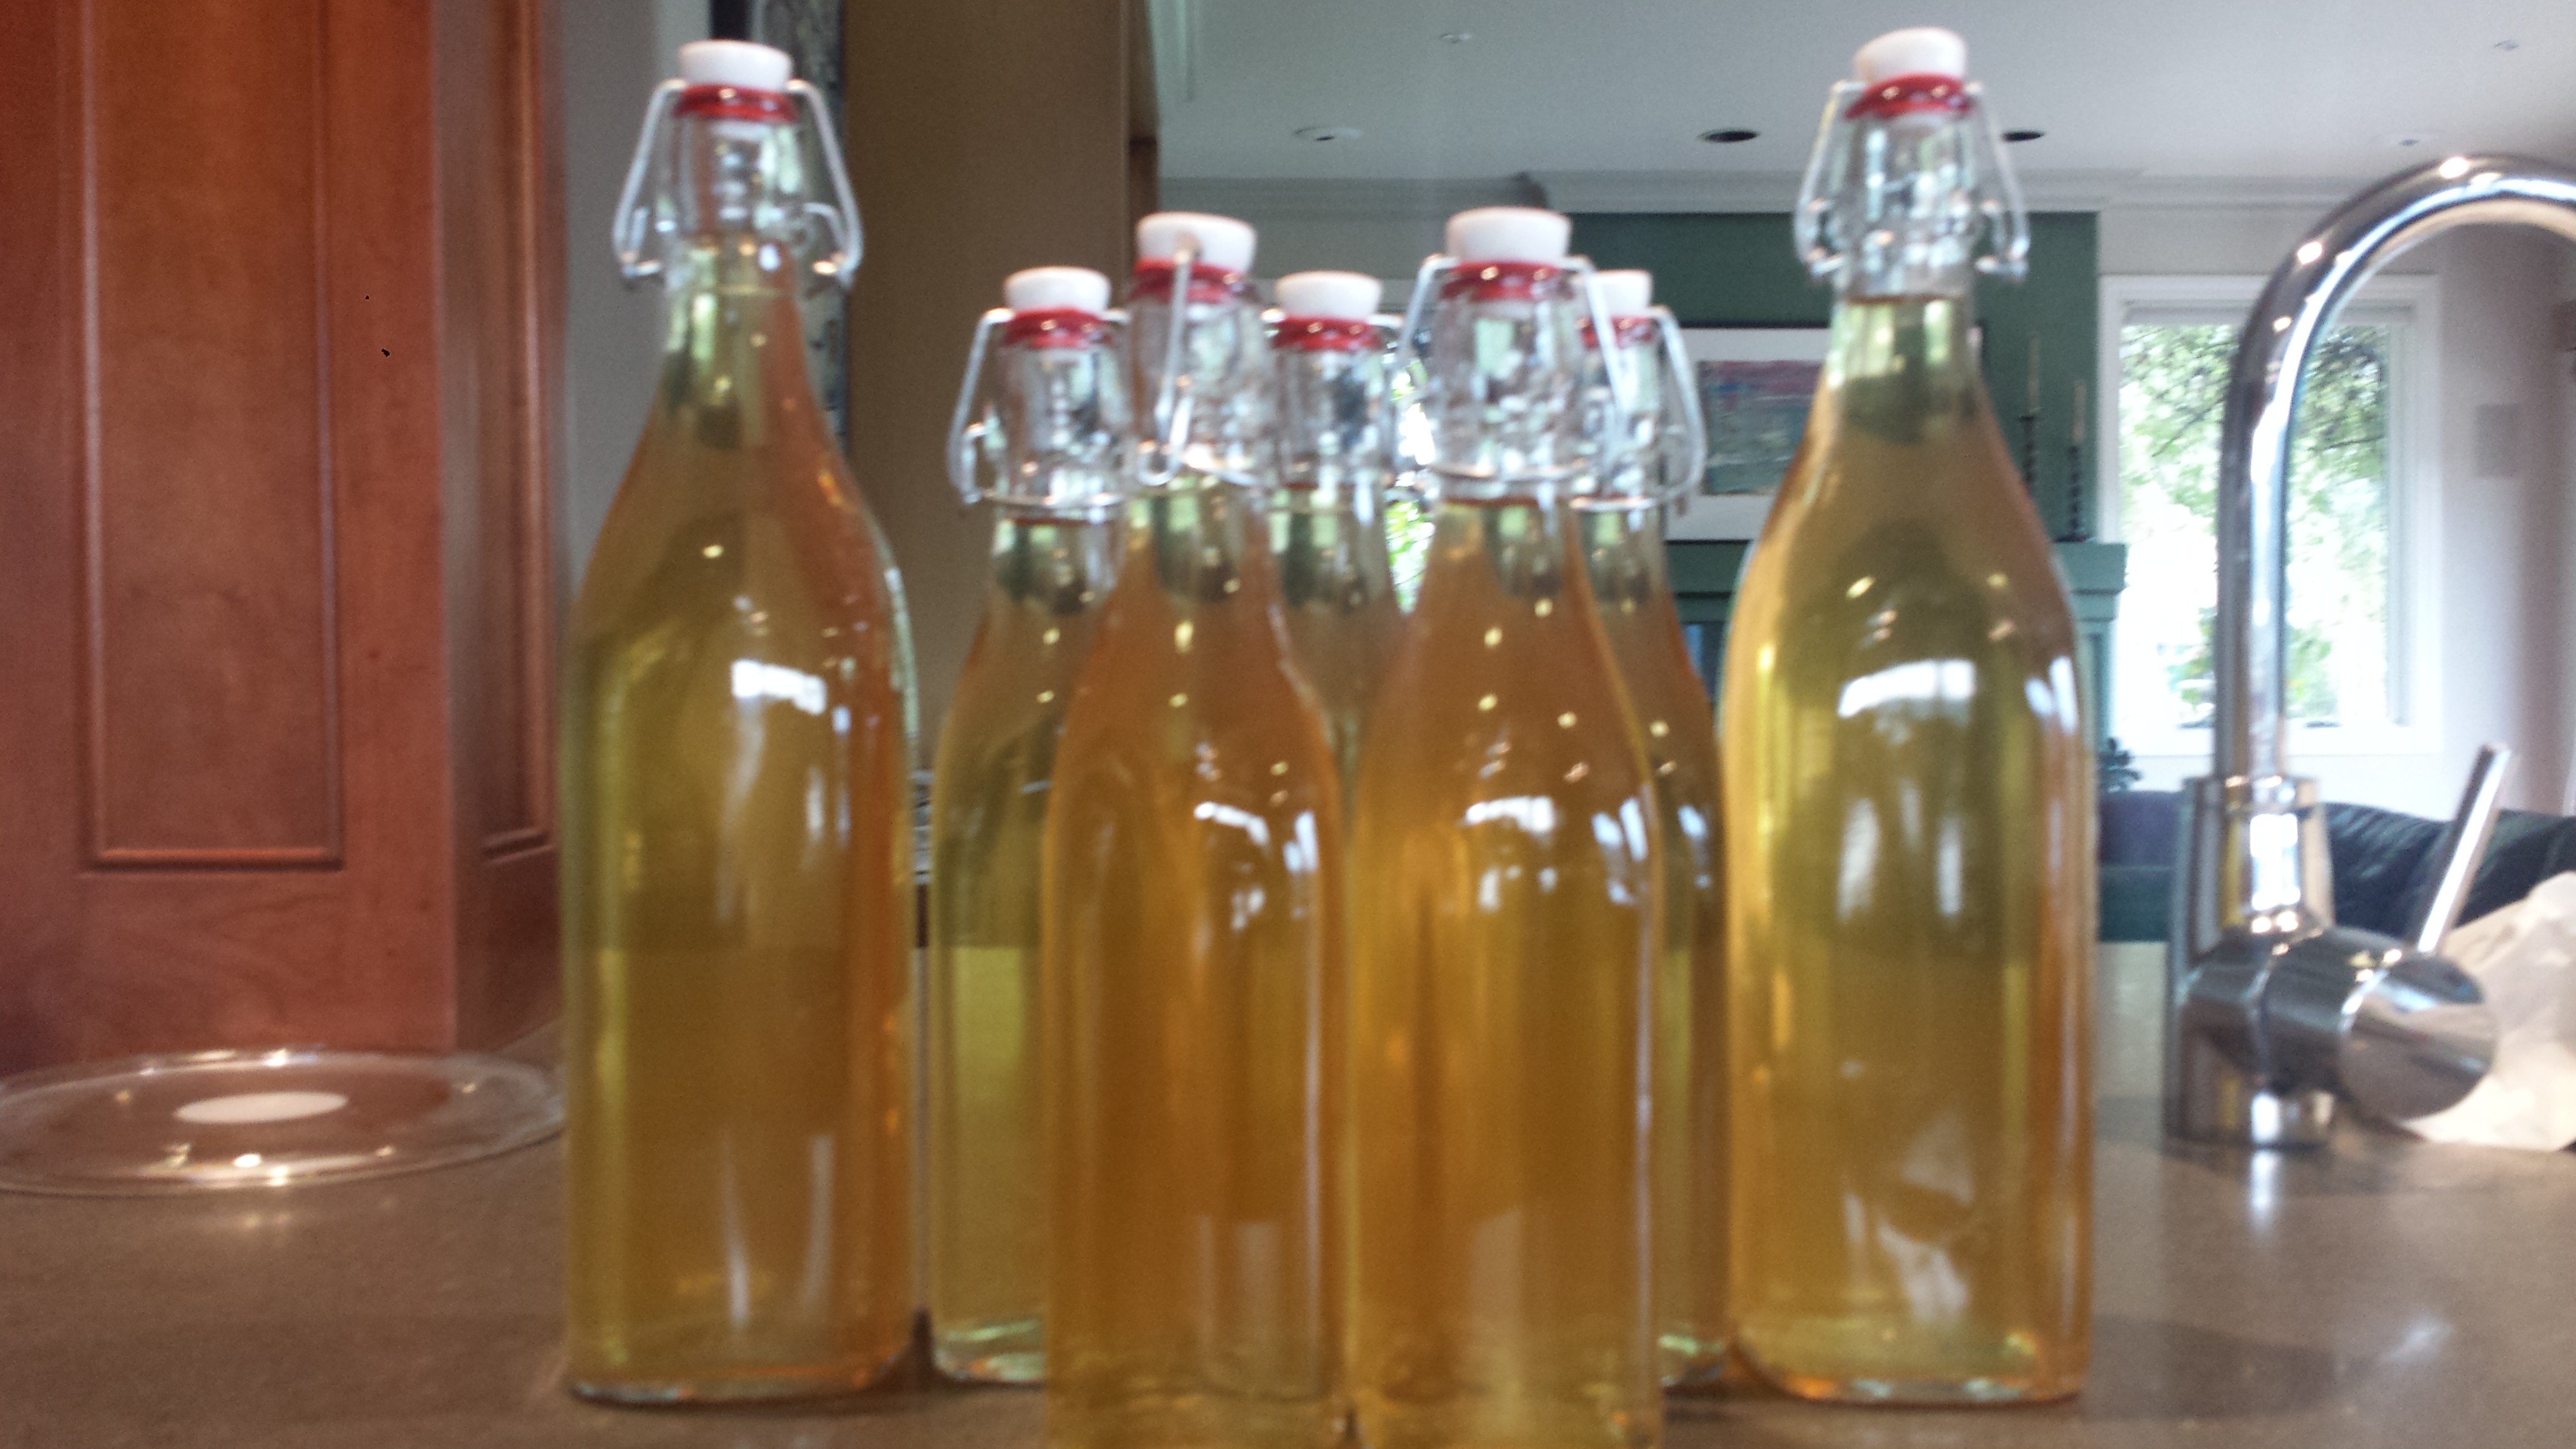
It takes time to can fruit, but the effort really pays off. Just open a jar of your poached pears and serve in a pretty bowl and you have a fabulous dessert, hassle free. I adapted this recipe from Put Up or Shut Up , a canning blog filled to the brim with great canning ideas. The blog name is a cute reference to canning. When people can goods, they refer to it as ‘putting up’ something. Don’t be afraid to try canning. Once you get the hang of it, it’s pretty easy. Just follow the guidelines for headspace (amount of space to leave at the top when filling) and processing (boiling) time. When I canned applesauce for the first time, I called my Mom for help. She told me to relax and follow the directions AND to watch out, because after this, I was going to be looking around to see what I could can next. She was so right! Smile…
There is another practical reason to can your extra fruits and vegetables. You can freeze many fruits and preserves but then your freezer gets full and there is no room for ice cream. Frown… Canned goods can be stored practically indefinitely at room temperature.

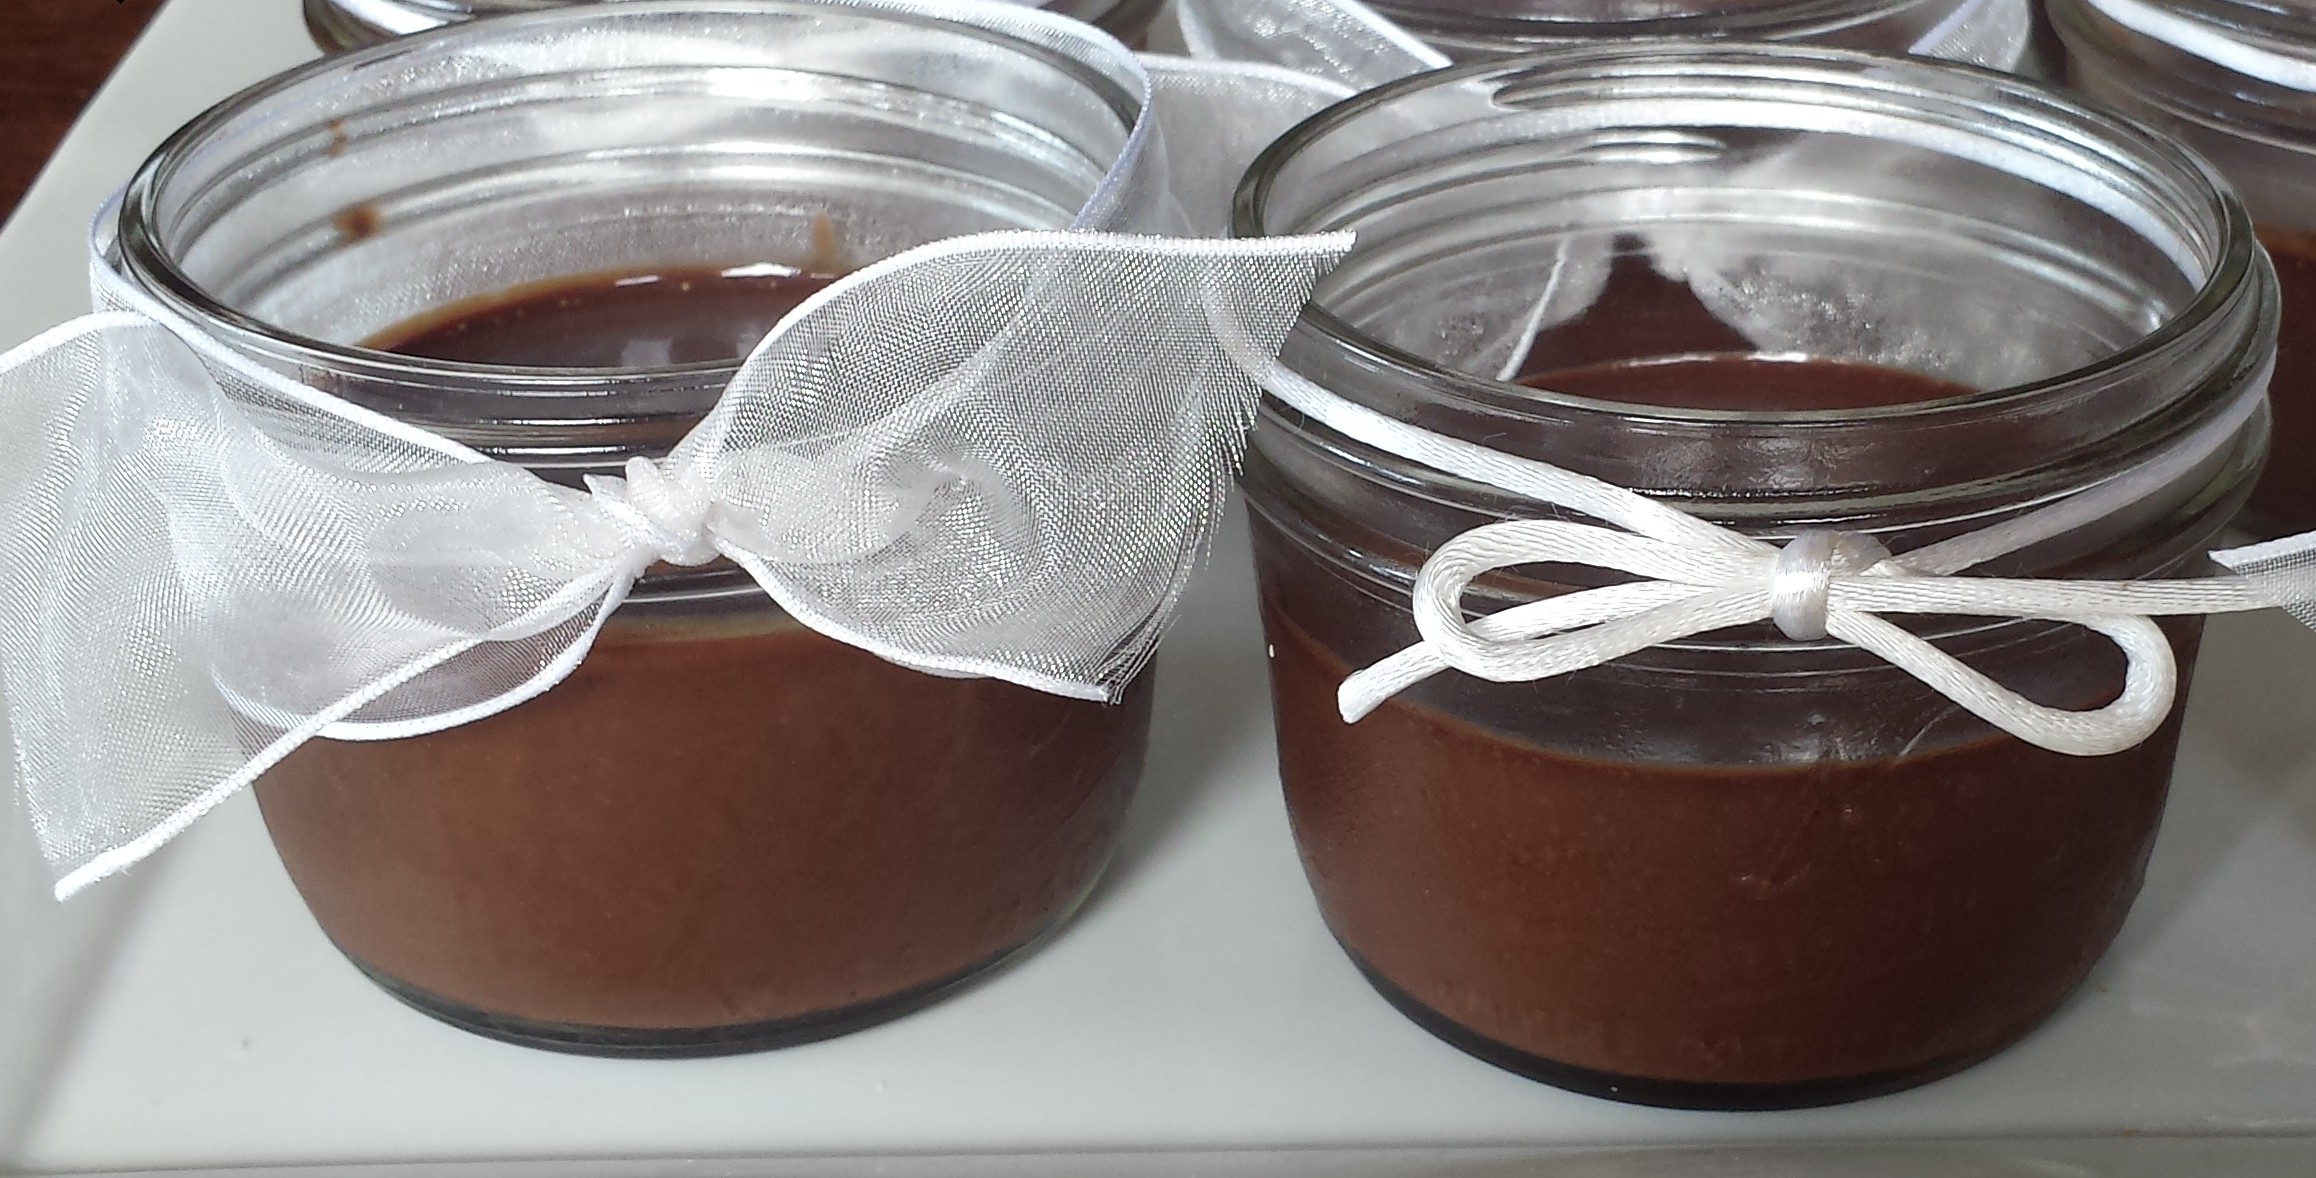
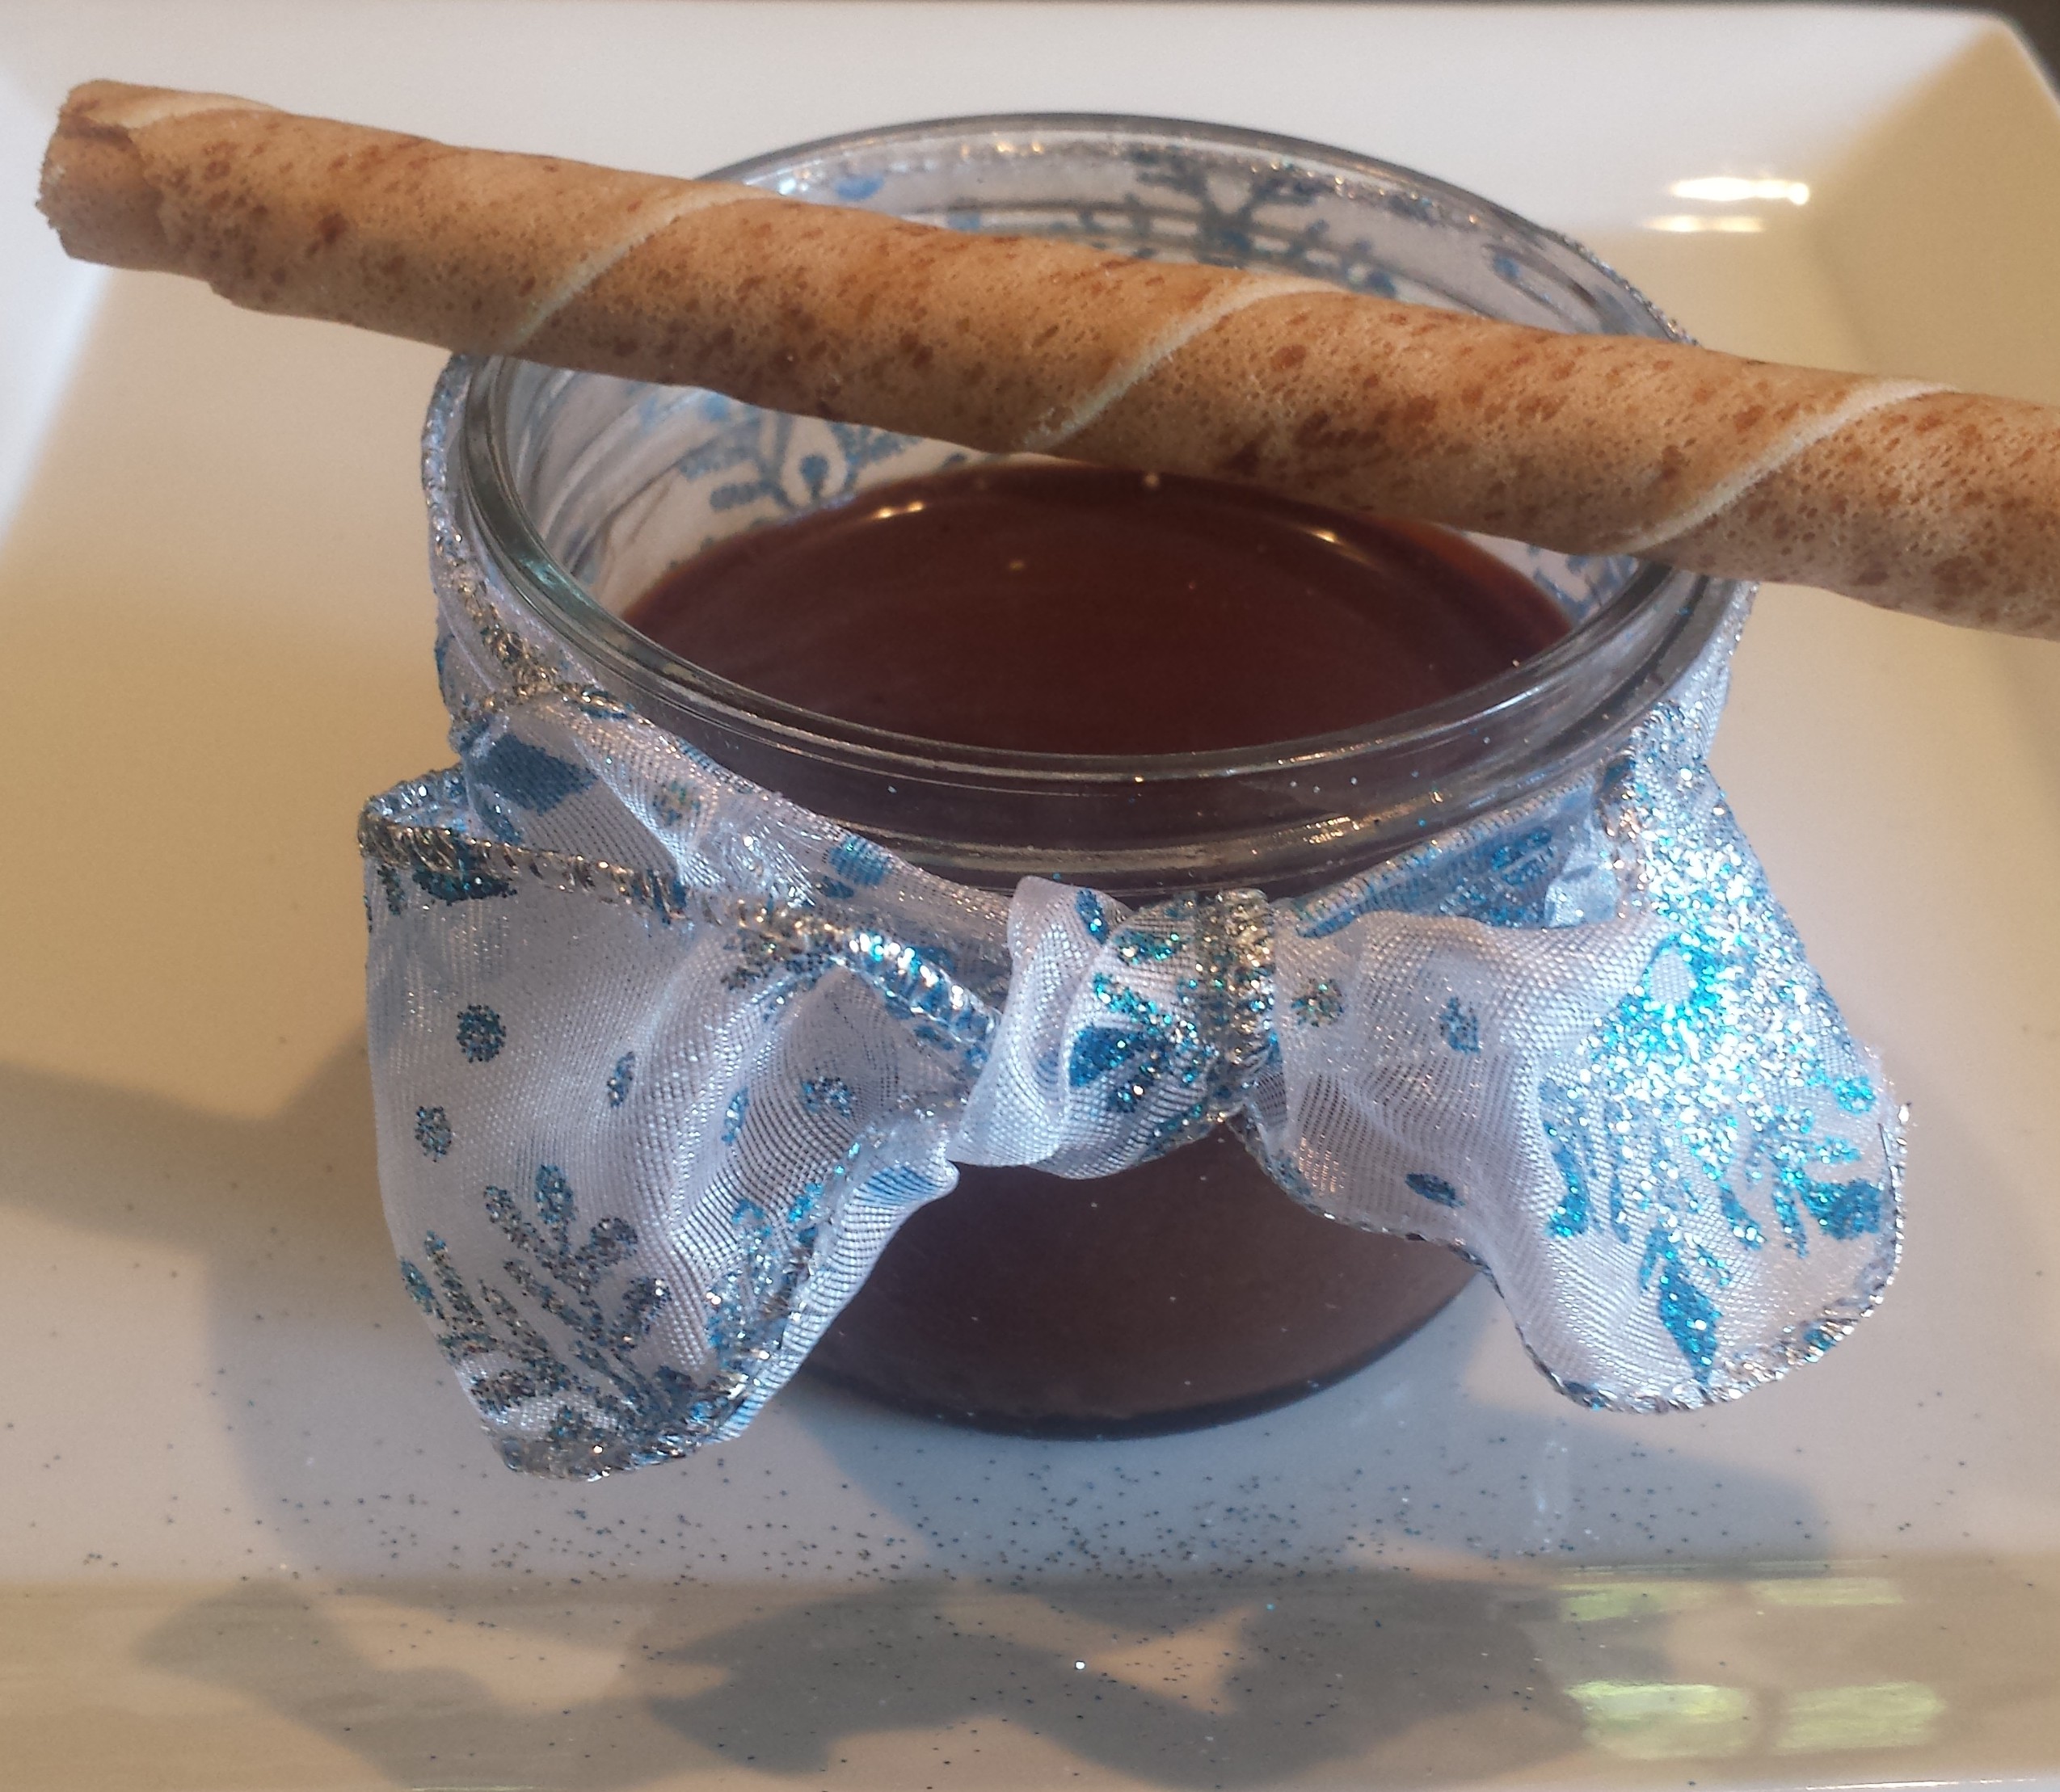
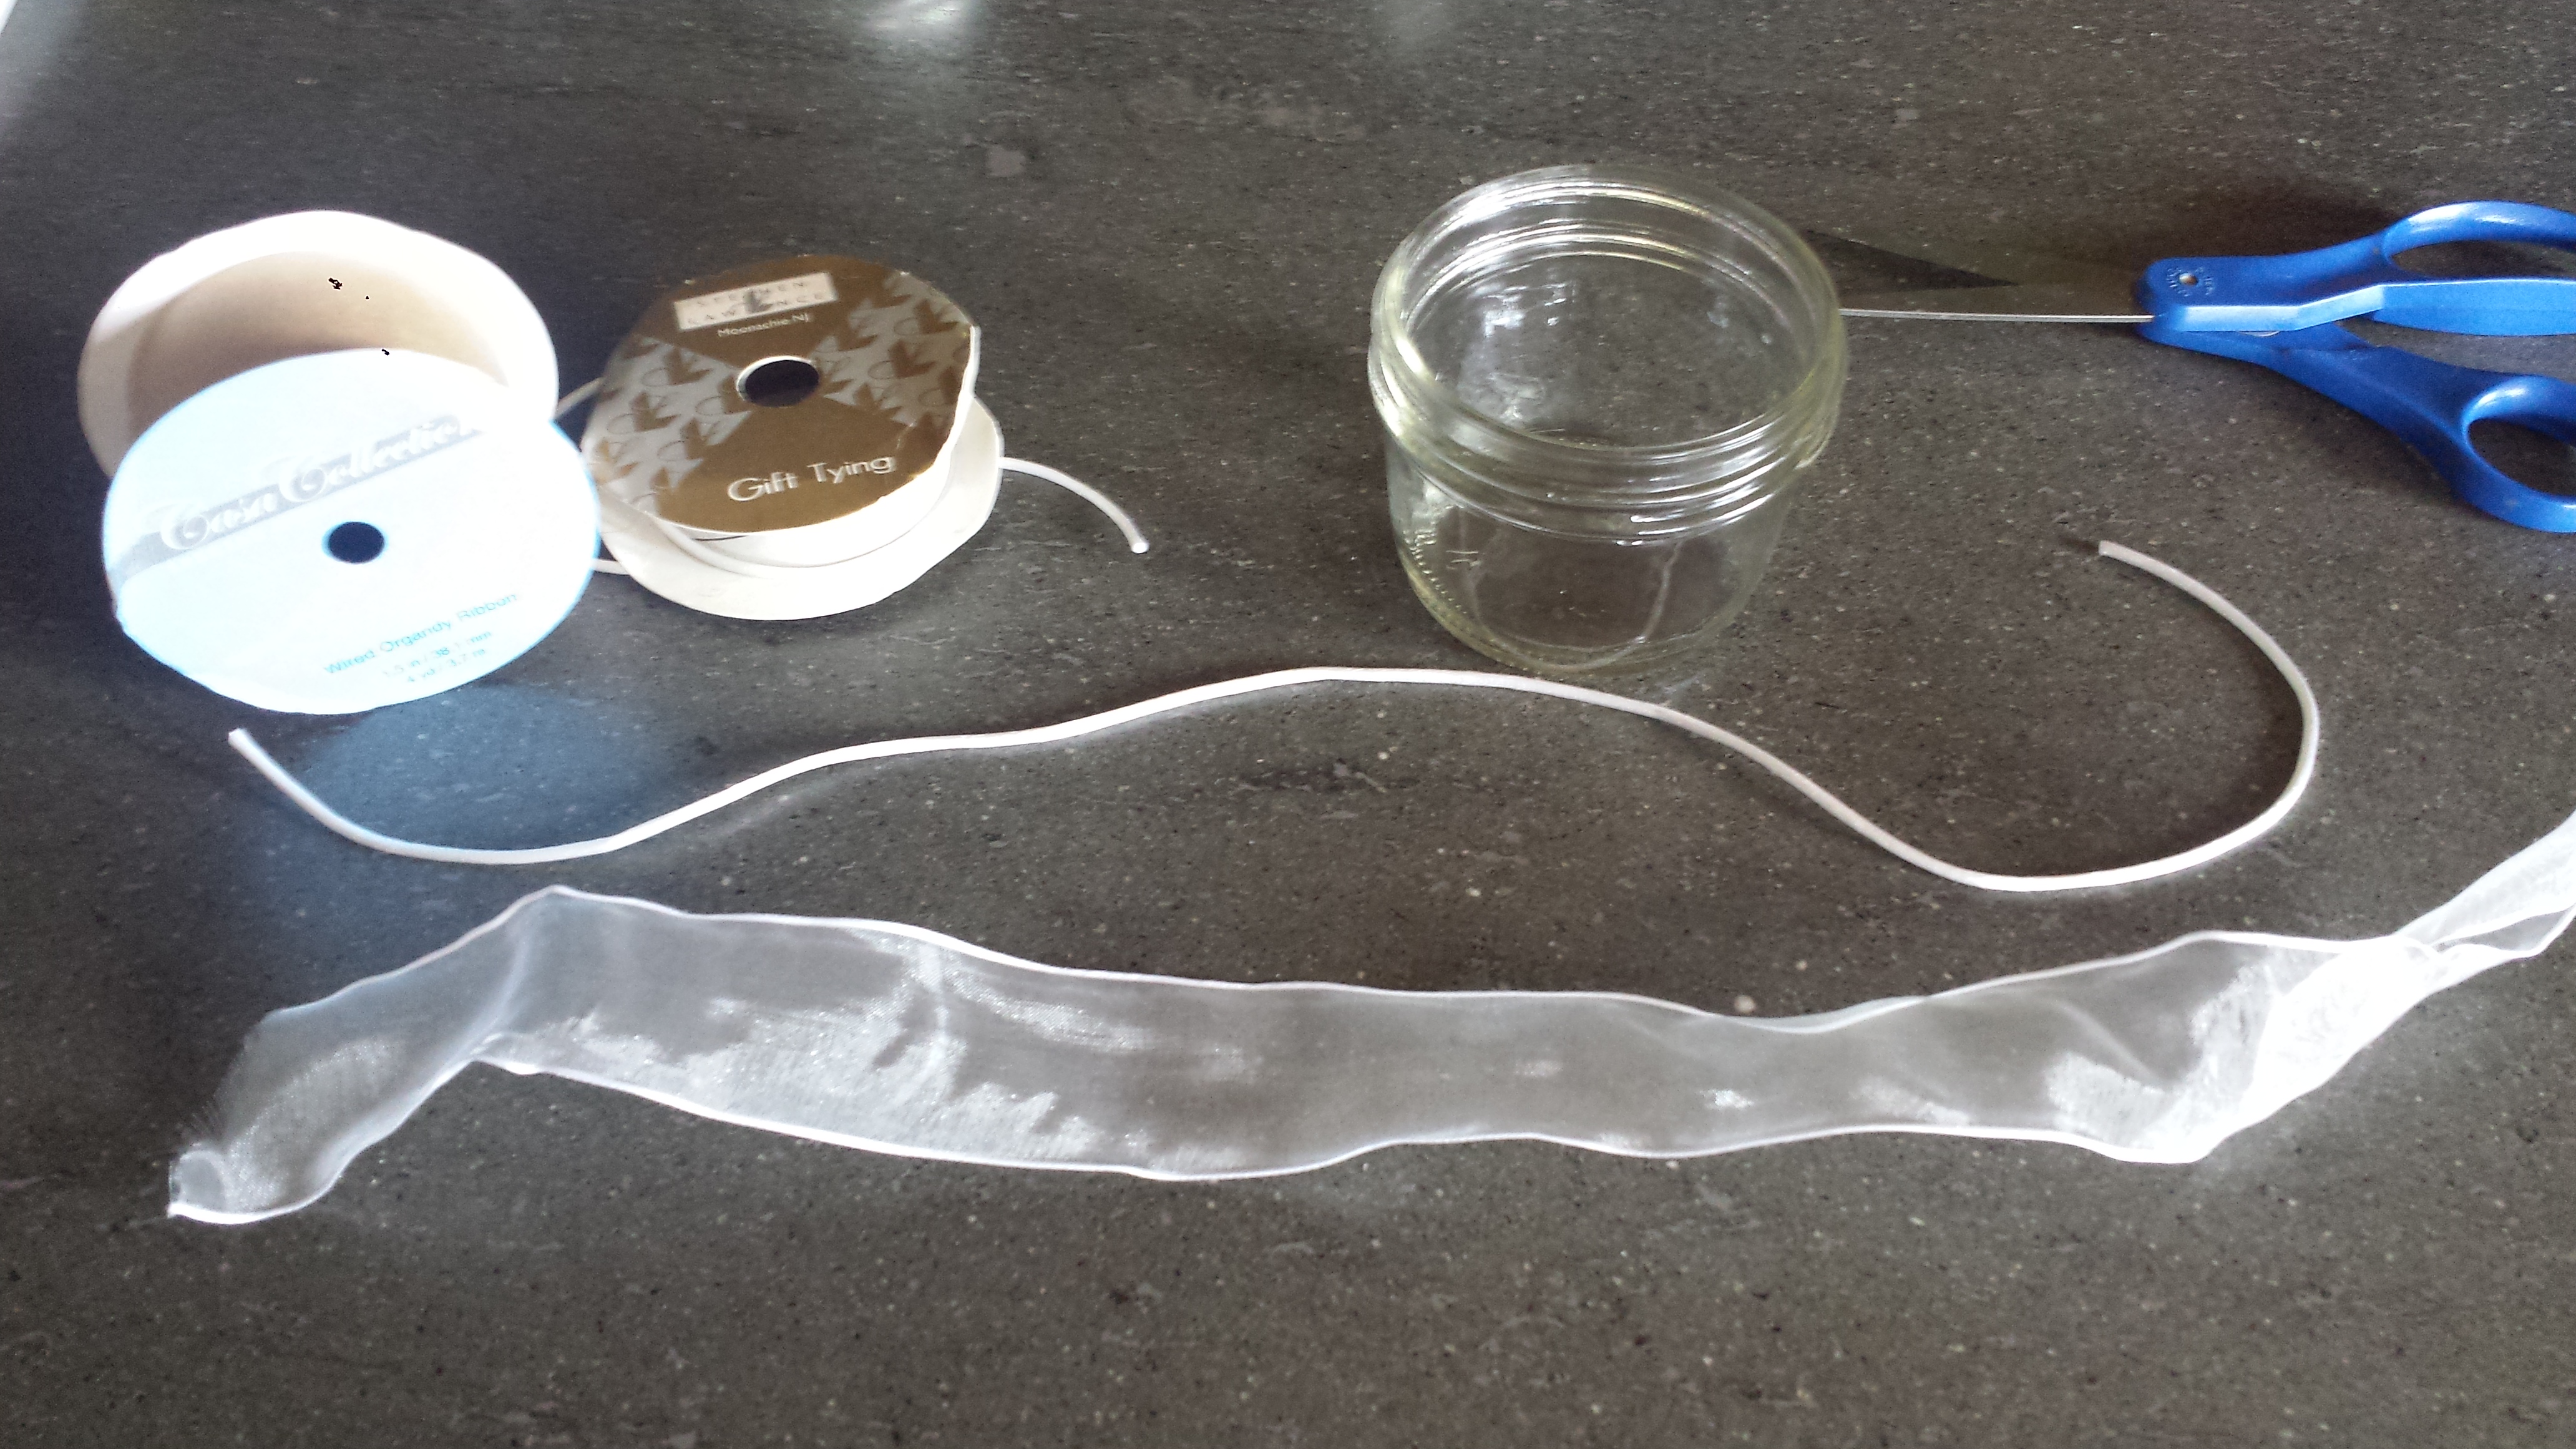
These canned pears make a pretty hostess gift as well. People seem to appreciate home made gifts. Maybe because we rarely take the time to make things any more when it’s so easy to just pick them up from the store. Its fun to snazz up your jars with a cute label and some decorative tape or ribbon. For wide mouth jars, I use a round 3.33″ label from Onlinelabels.com. For regular mouth lids, I use the round 2.75″ labels. You can download a printing template right from their website and create your own label. It’s easy!

I always have a selection of colorful tape handy to decorate the lid edge. My colors, of course, go with goodmotherdiet, red, white and black. You can find the tape in craft stores like Michaels or The Container Store.


TOOLS REQUIRED:

Canning Pot with wire rack

Mason Jars: 4 Quart jars, 6 Pint and a half jars or 8 Pint jars with lids and rings

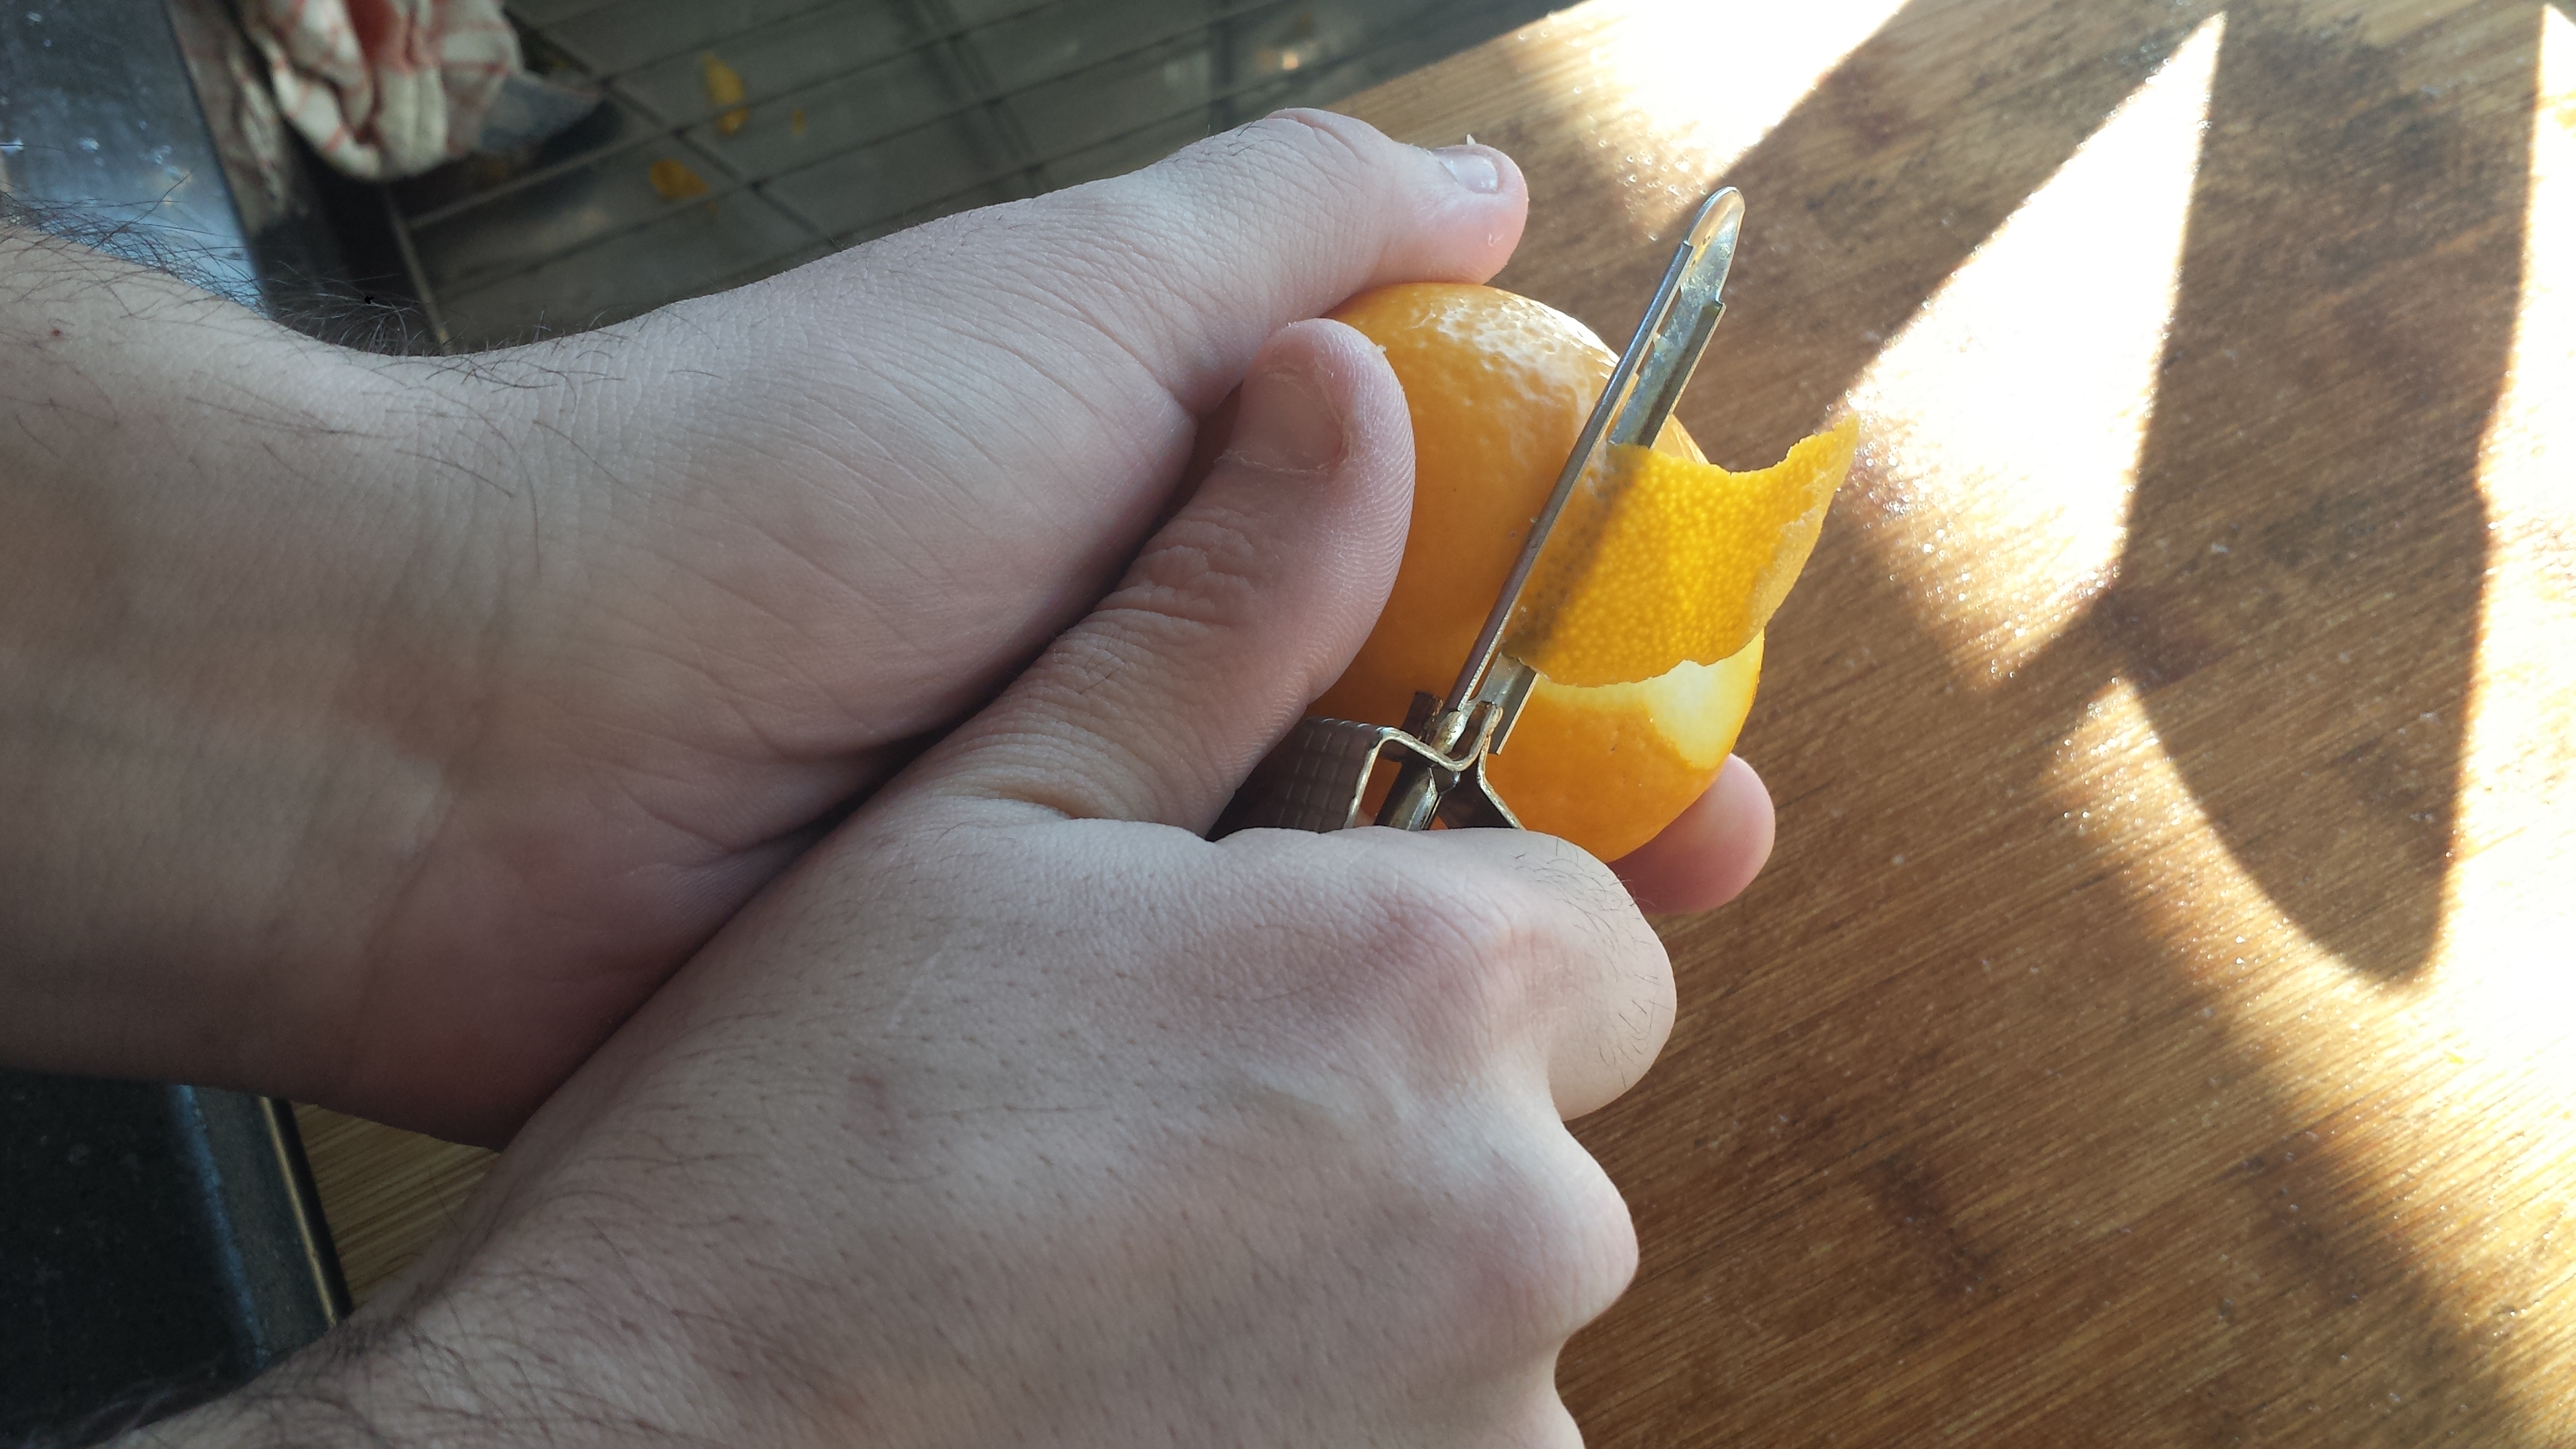
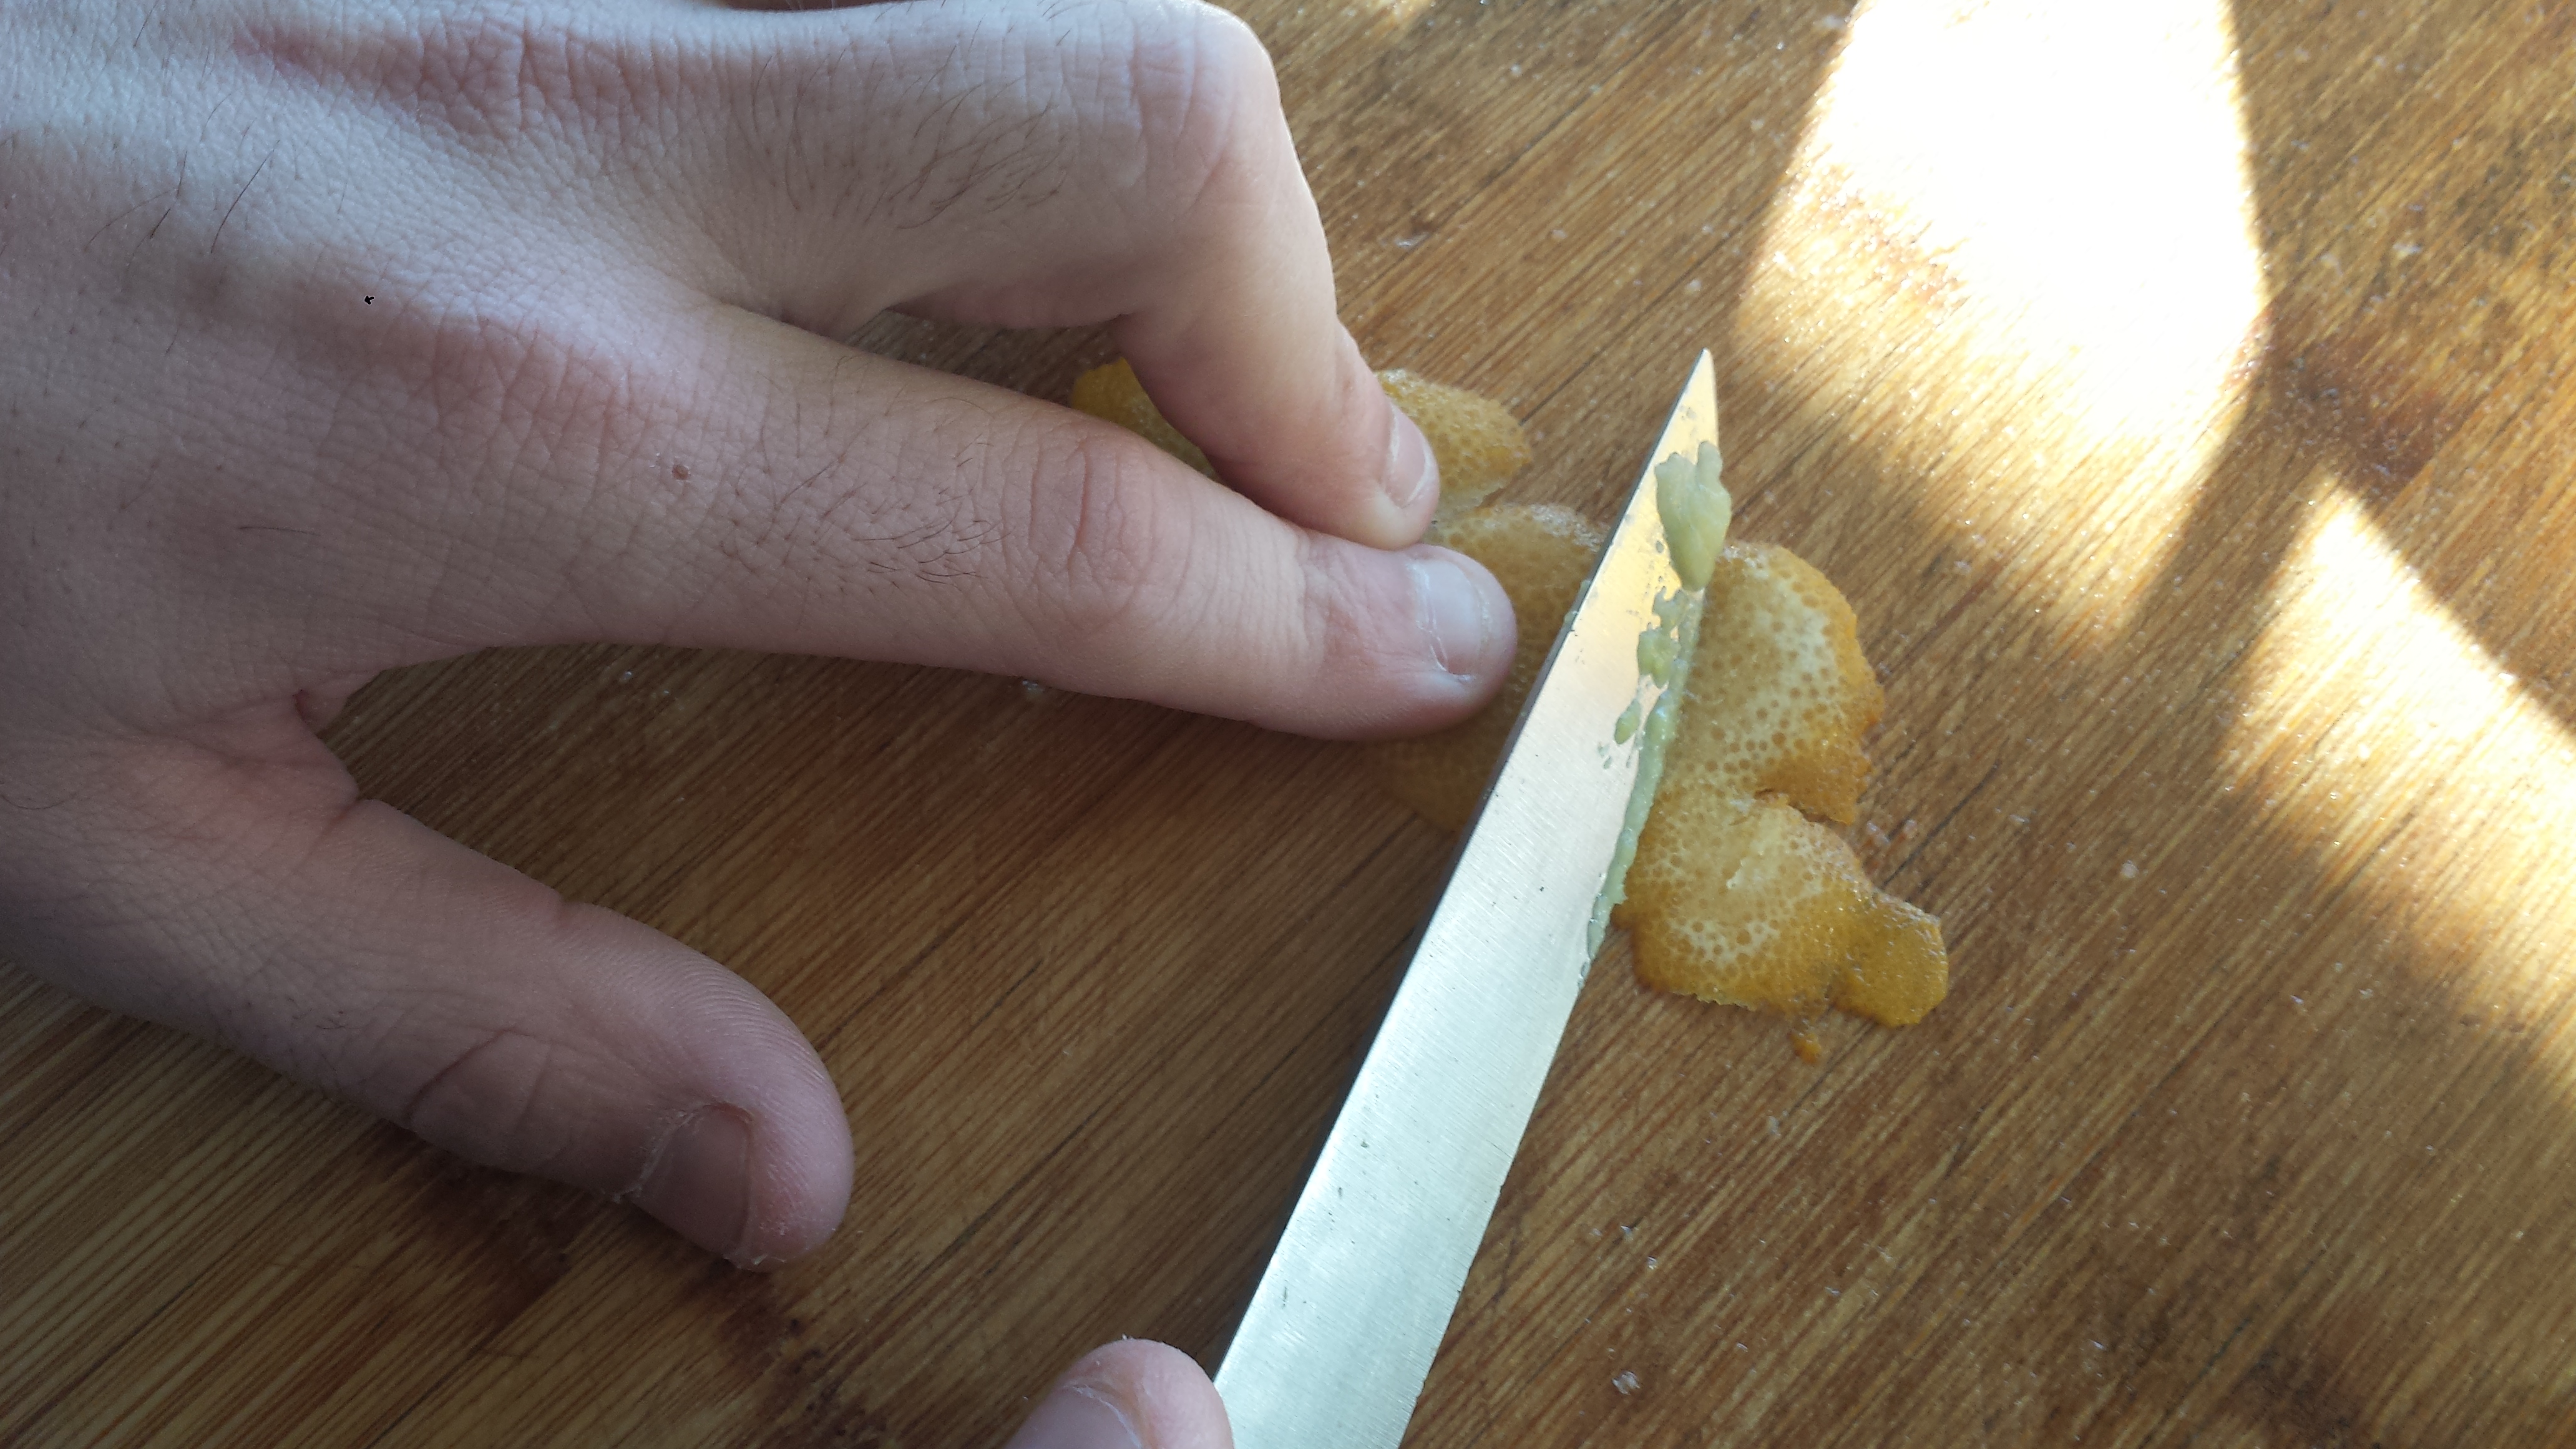
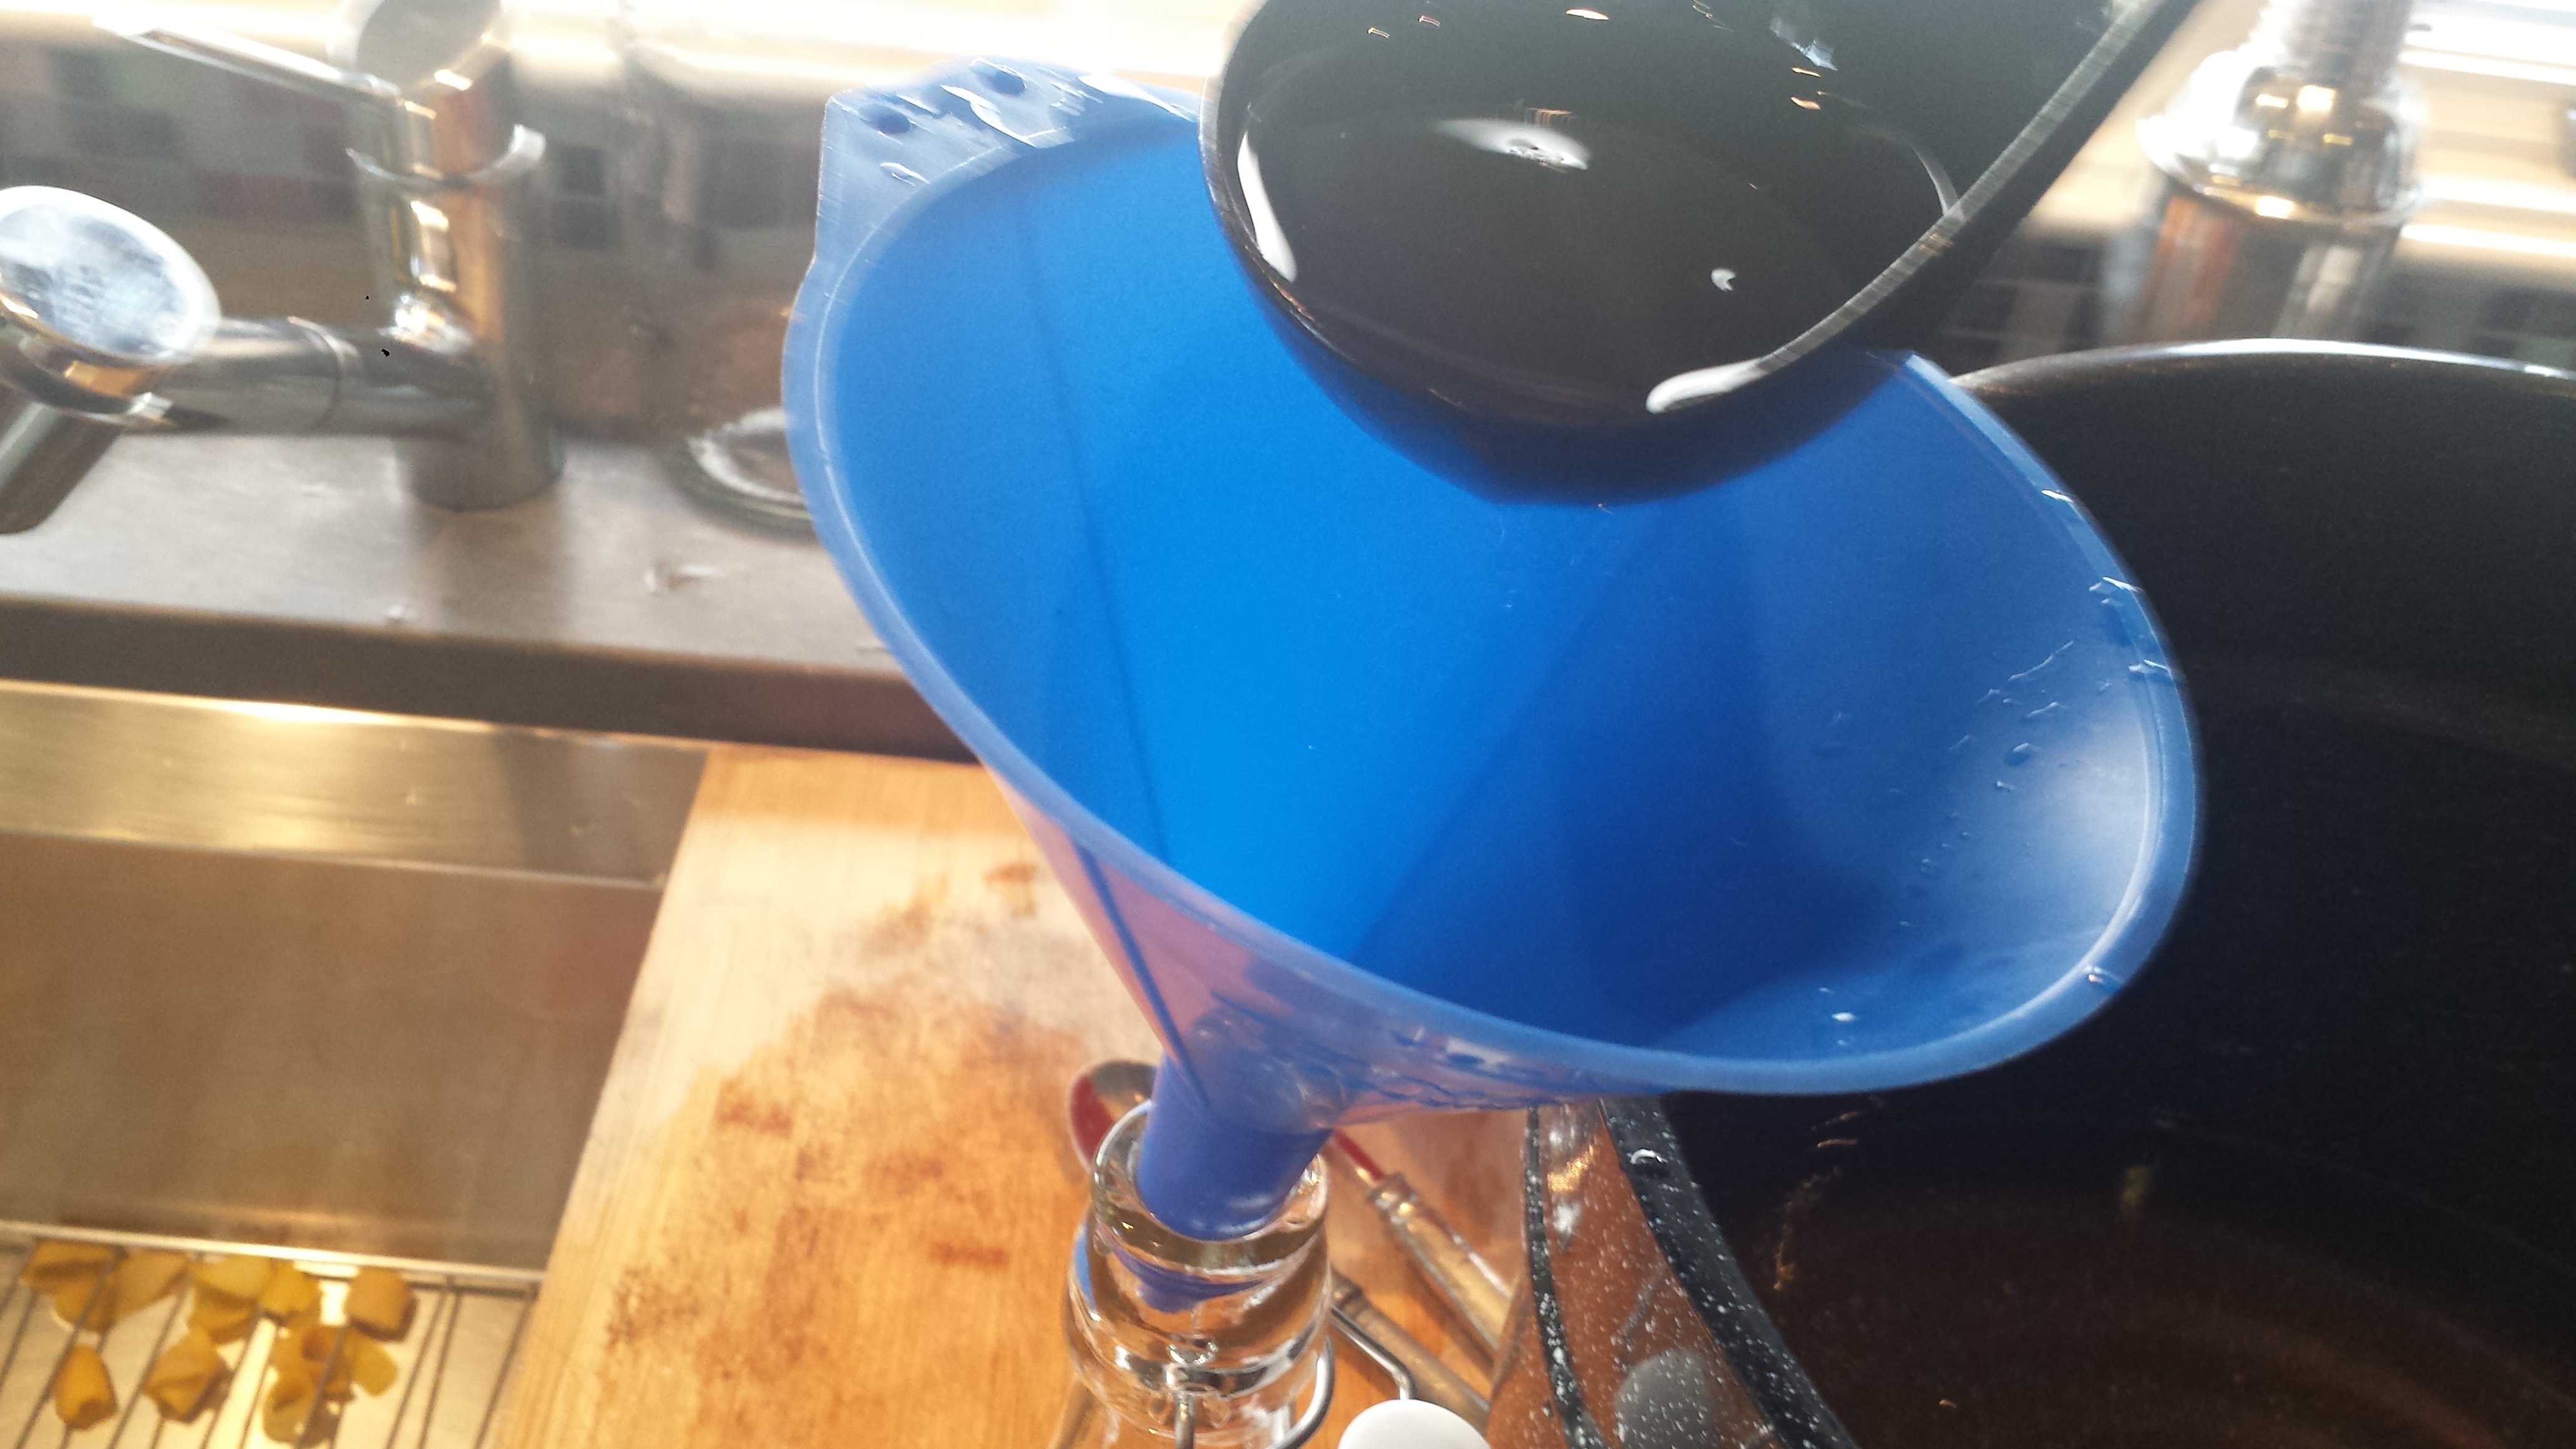
Wide mouth funnel, pot grabber, tongs, melon baller, sharp knife or potato peeler
INGREDIENTS:
- 1 gallon cold tap water
- 1 teaspoon citric acid or 1/2 cup lemon juice
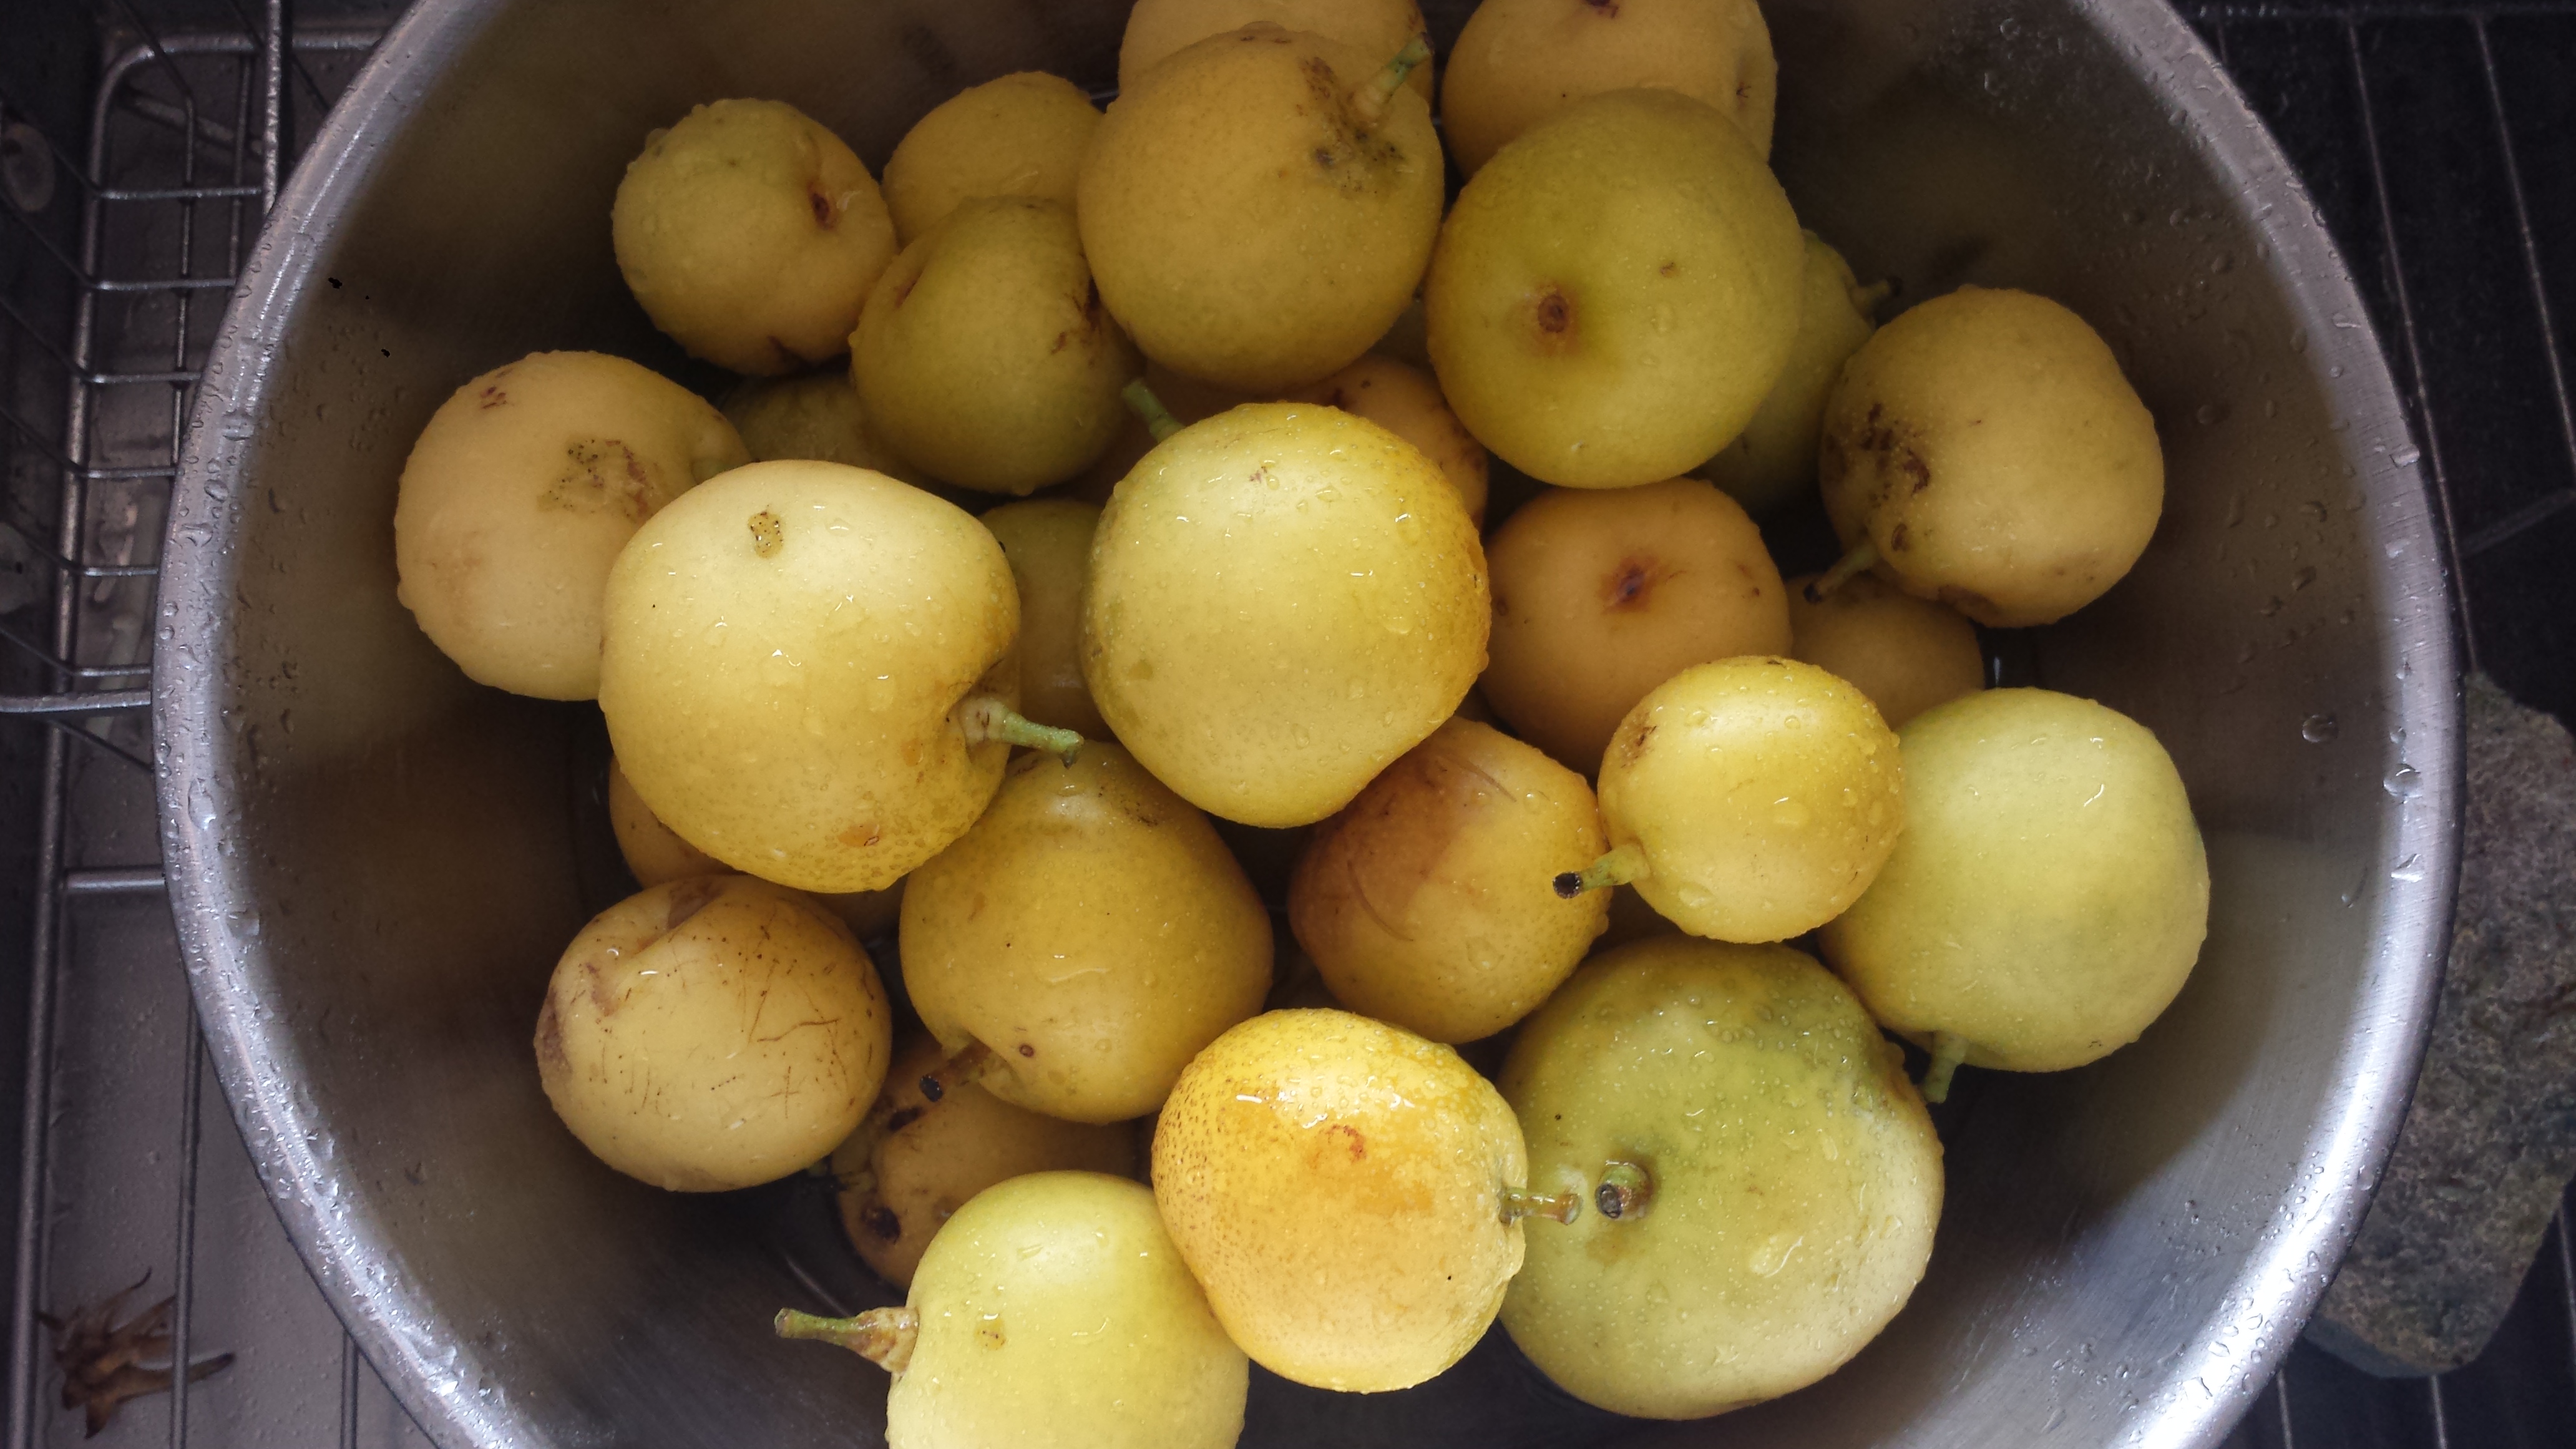
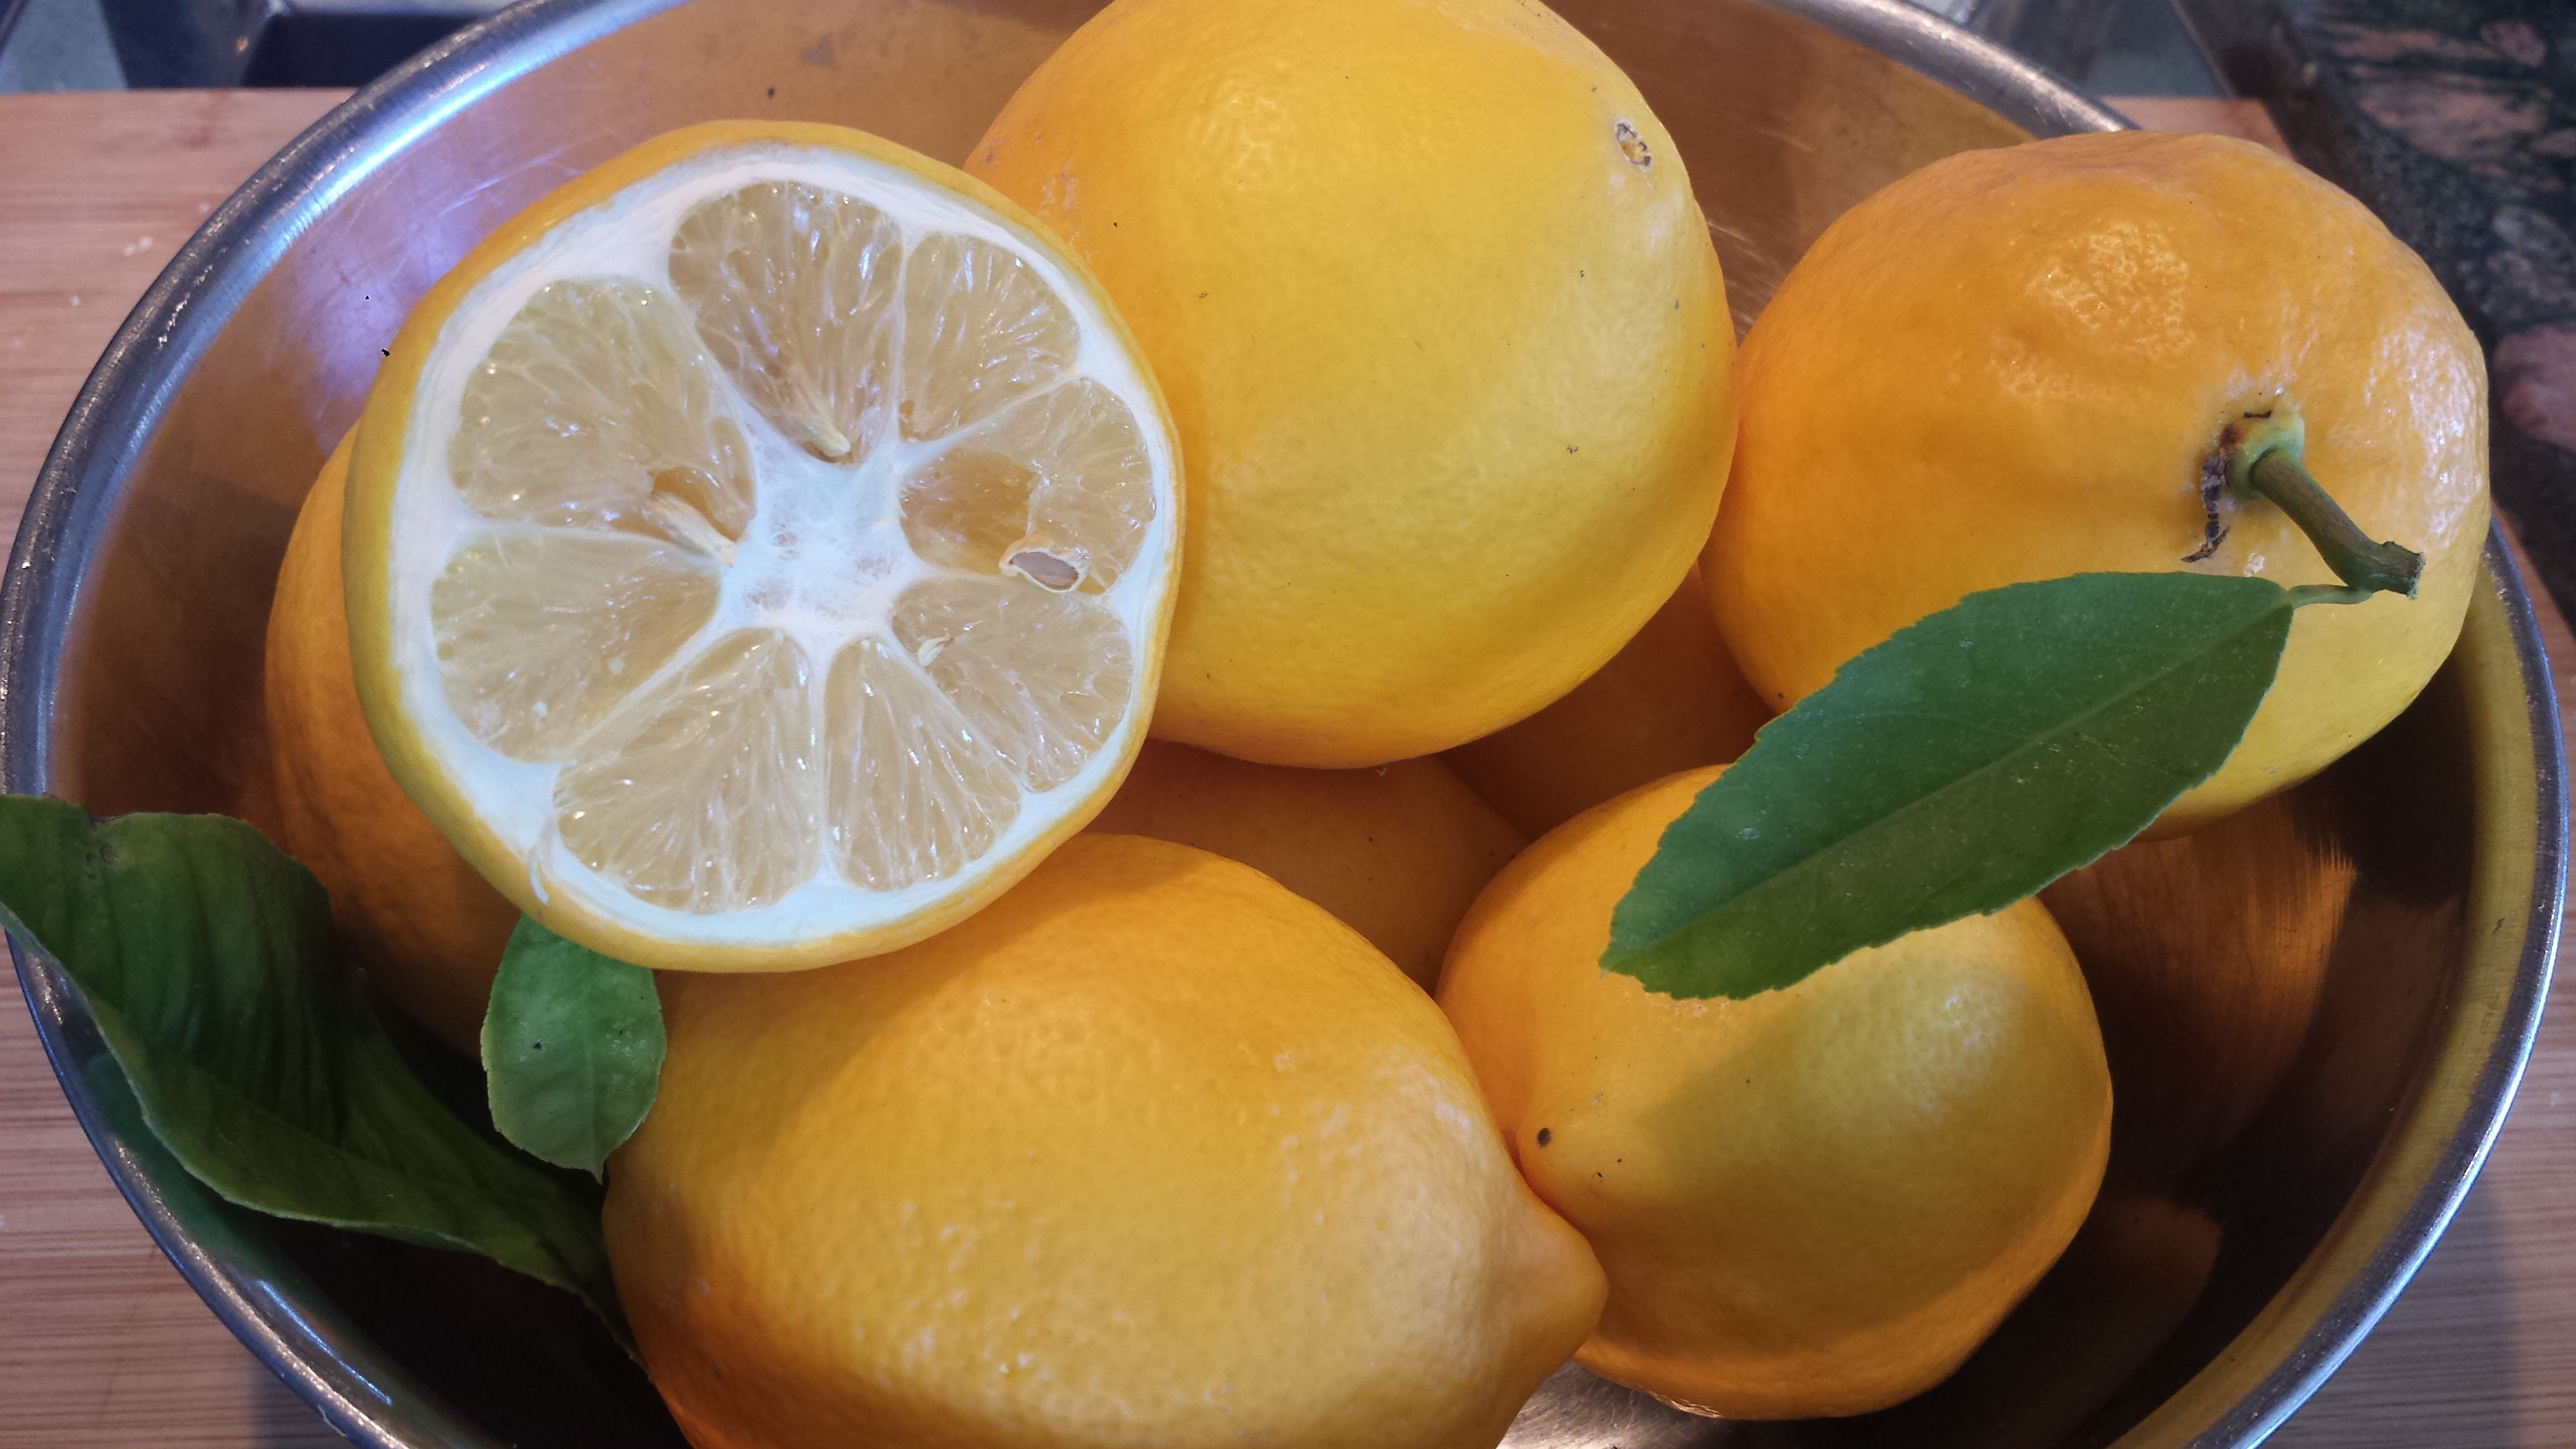
- 8-10 lbs firm pears
- 2 1/2 cups sugar
- 6 cups cold water
- 1 vanilla bean, cut into 4 pieces (or one for each jar)
- 24 peppercorns (preferably pink)
- 4- 8 tablespoons brandy (optional)

1. Fill your canning pot with 4 clean quart, 6 pint and a half, or 8 pint canning jars fully immersed in the water. Bring to a simmer. Immerse lids, but not rings, in a shallow pan of water. Bring to a simmer.


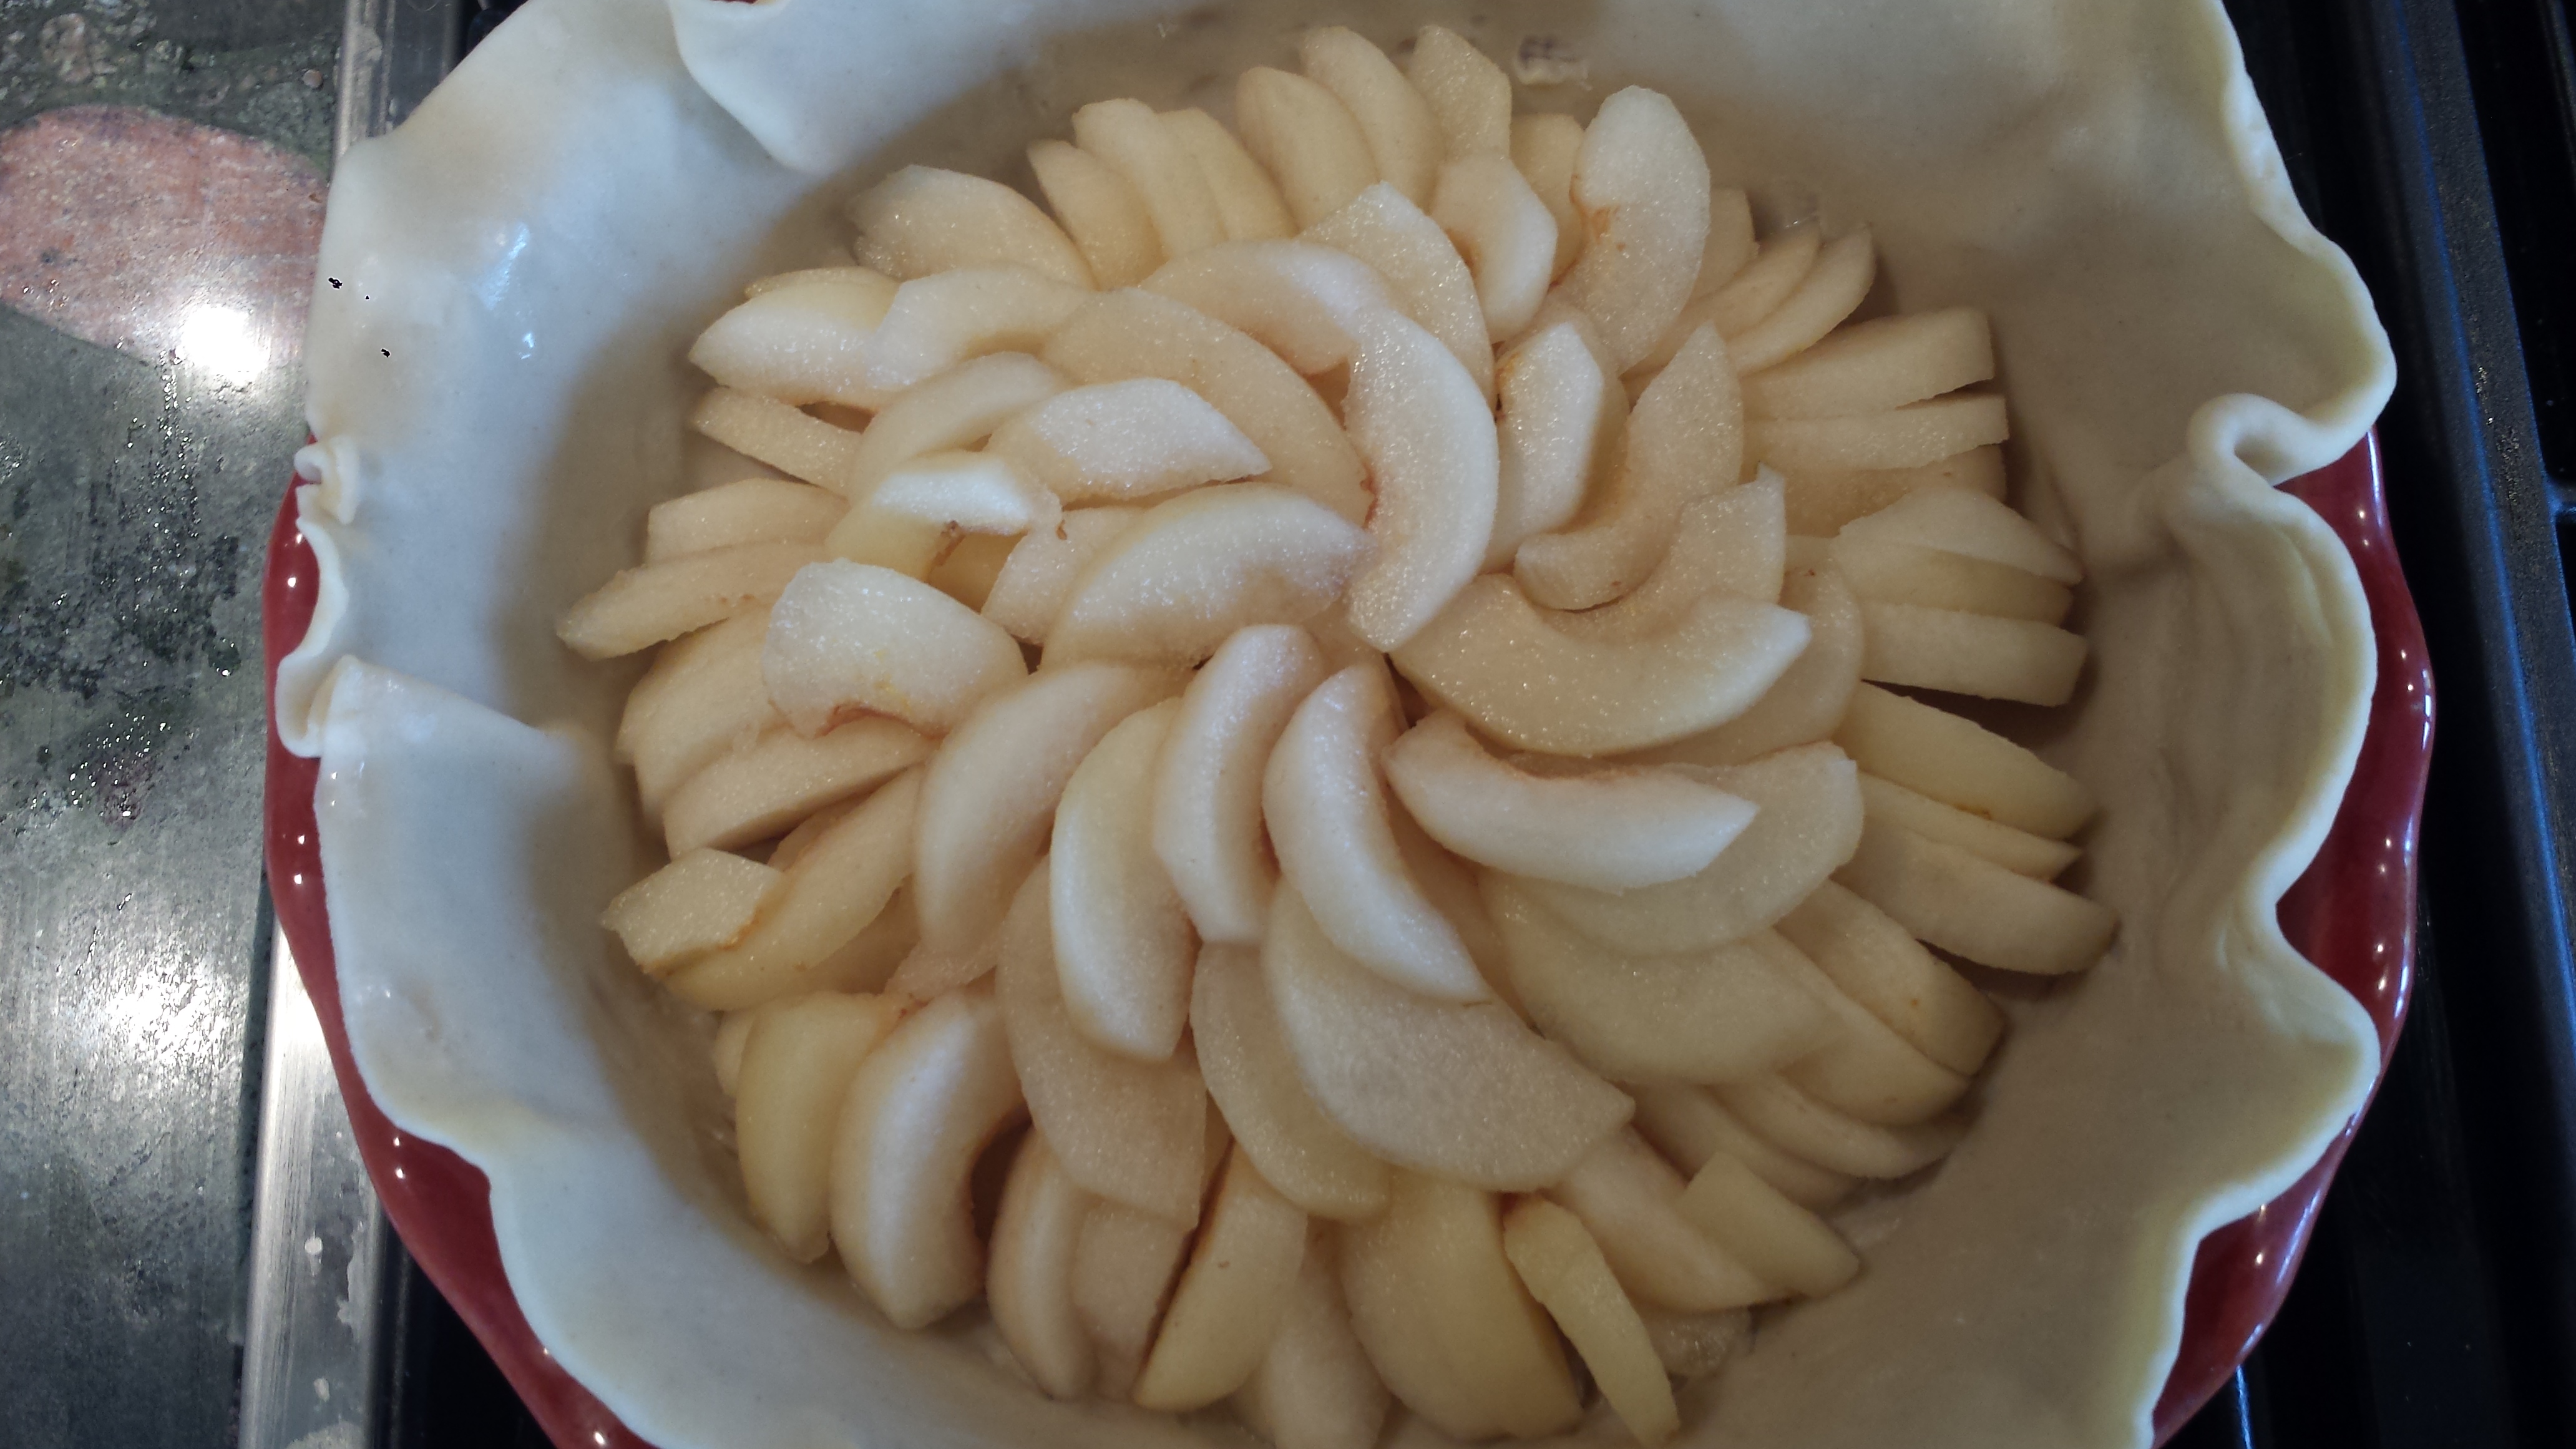
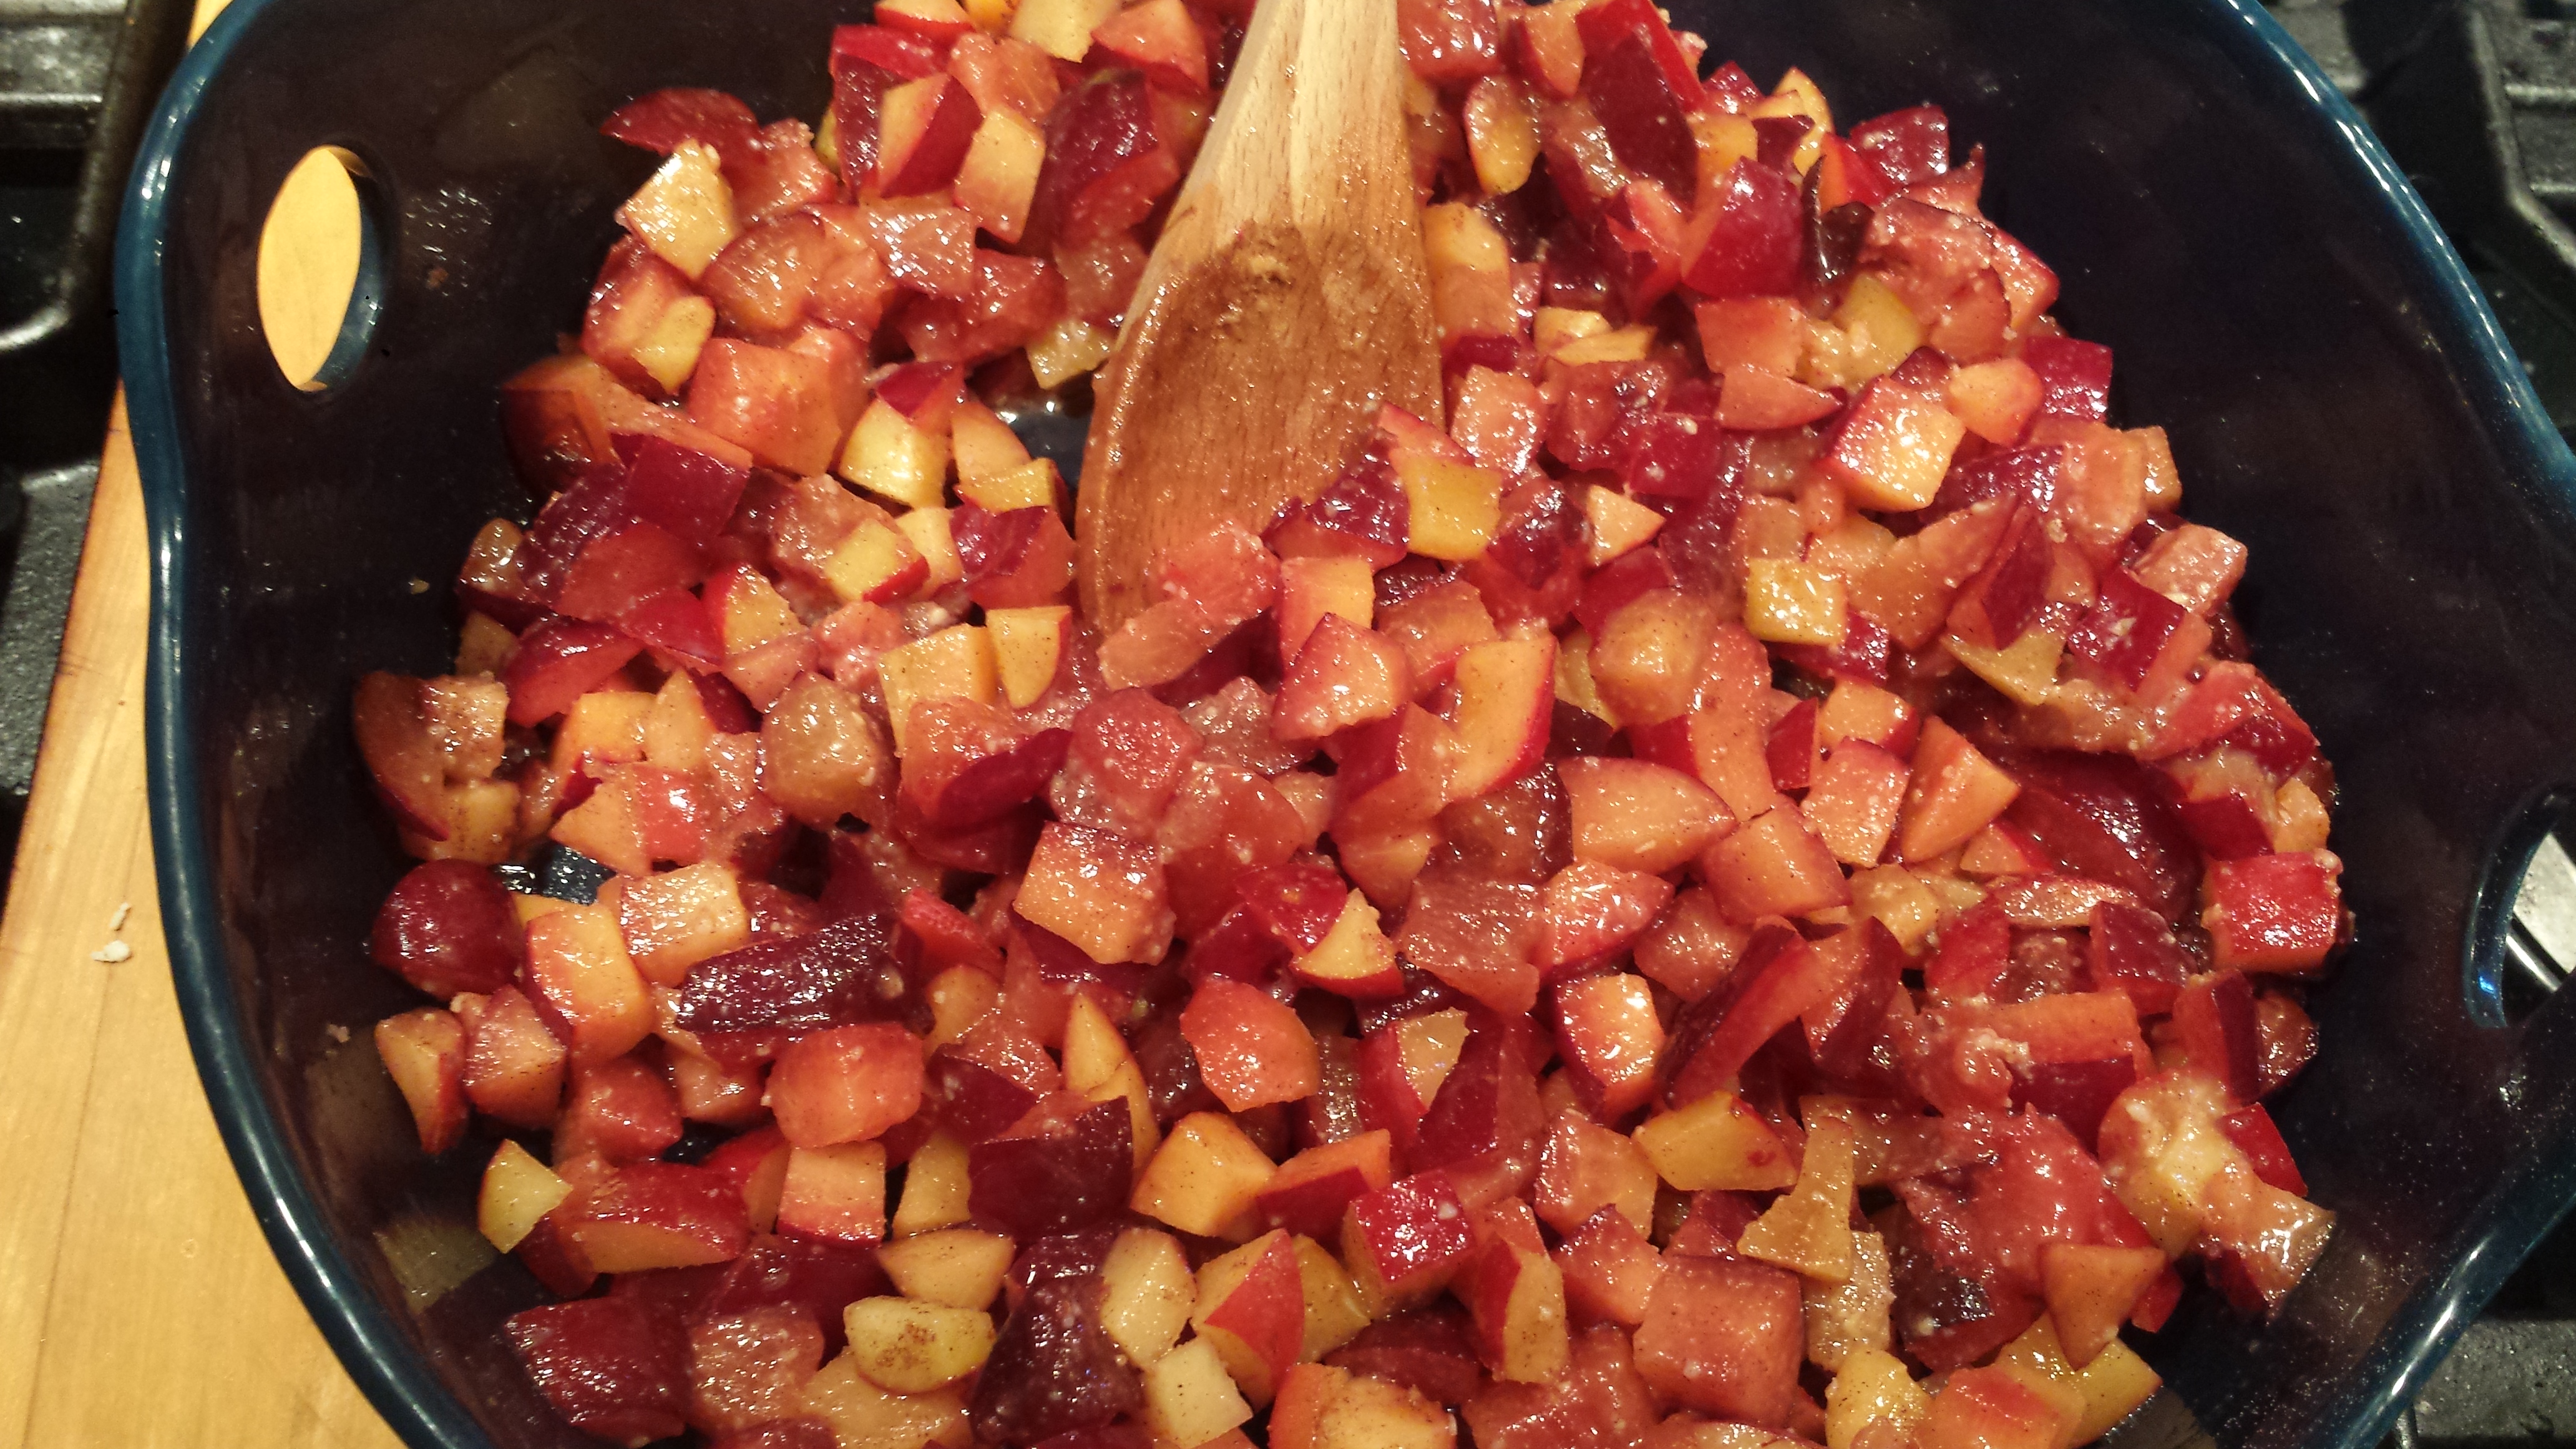
2.Mix the water and citric acid or lemon juice together in a large bowl. Peel, halve lengthwise and core the pears and place them in the water mixture to prevent browning. I like to use a melon baller to cleanly remove the core.

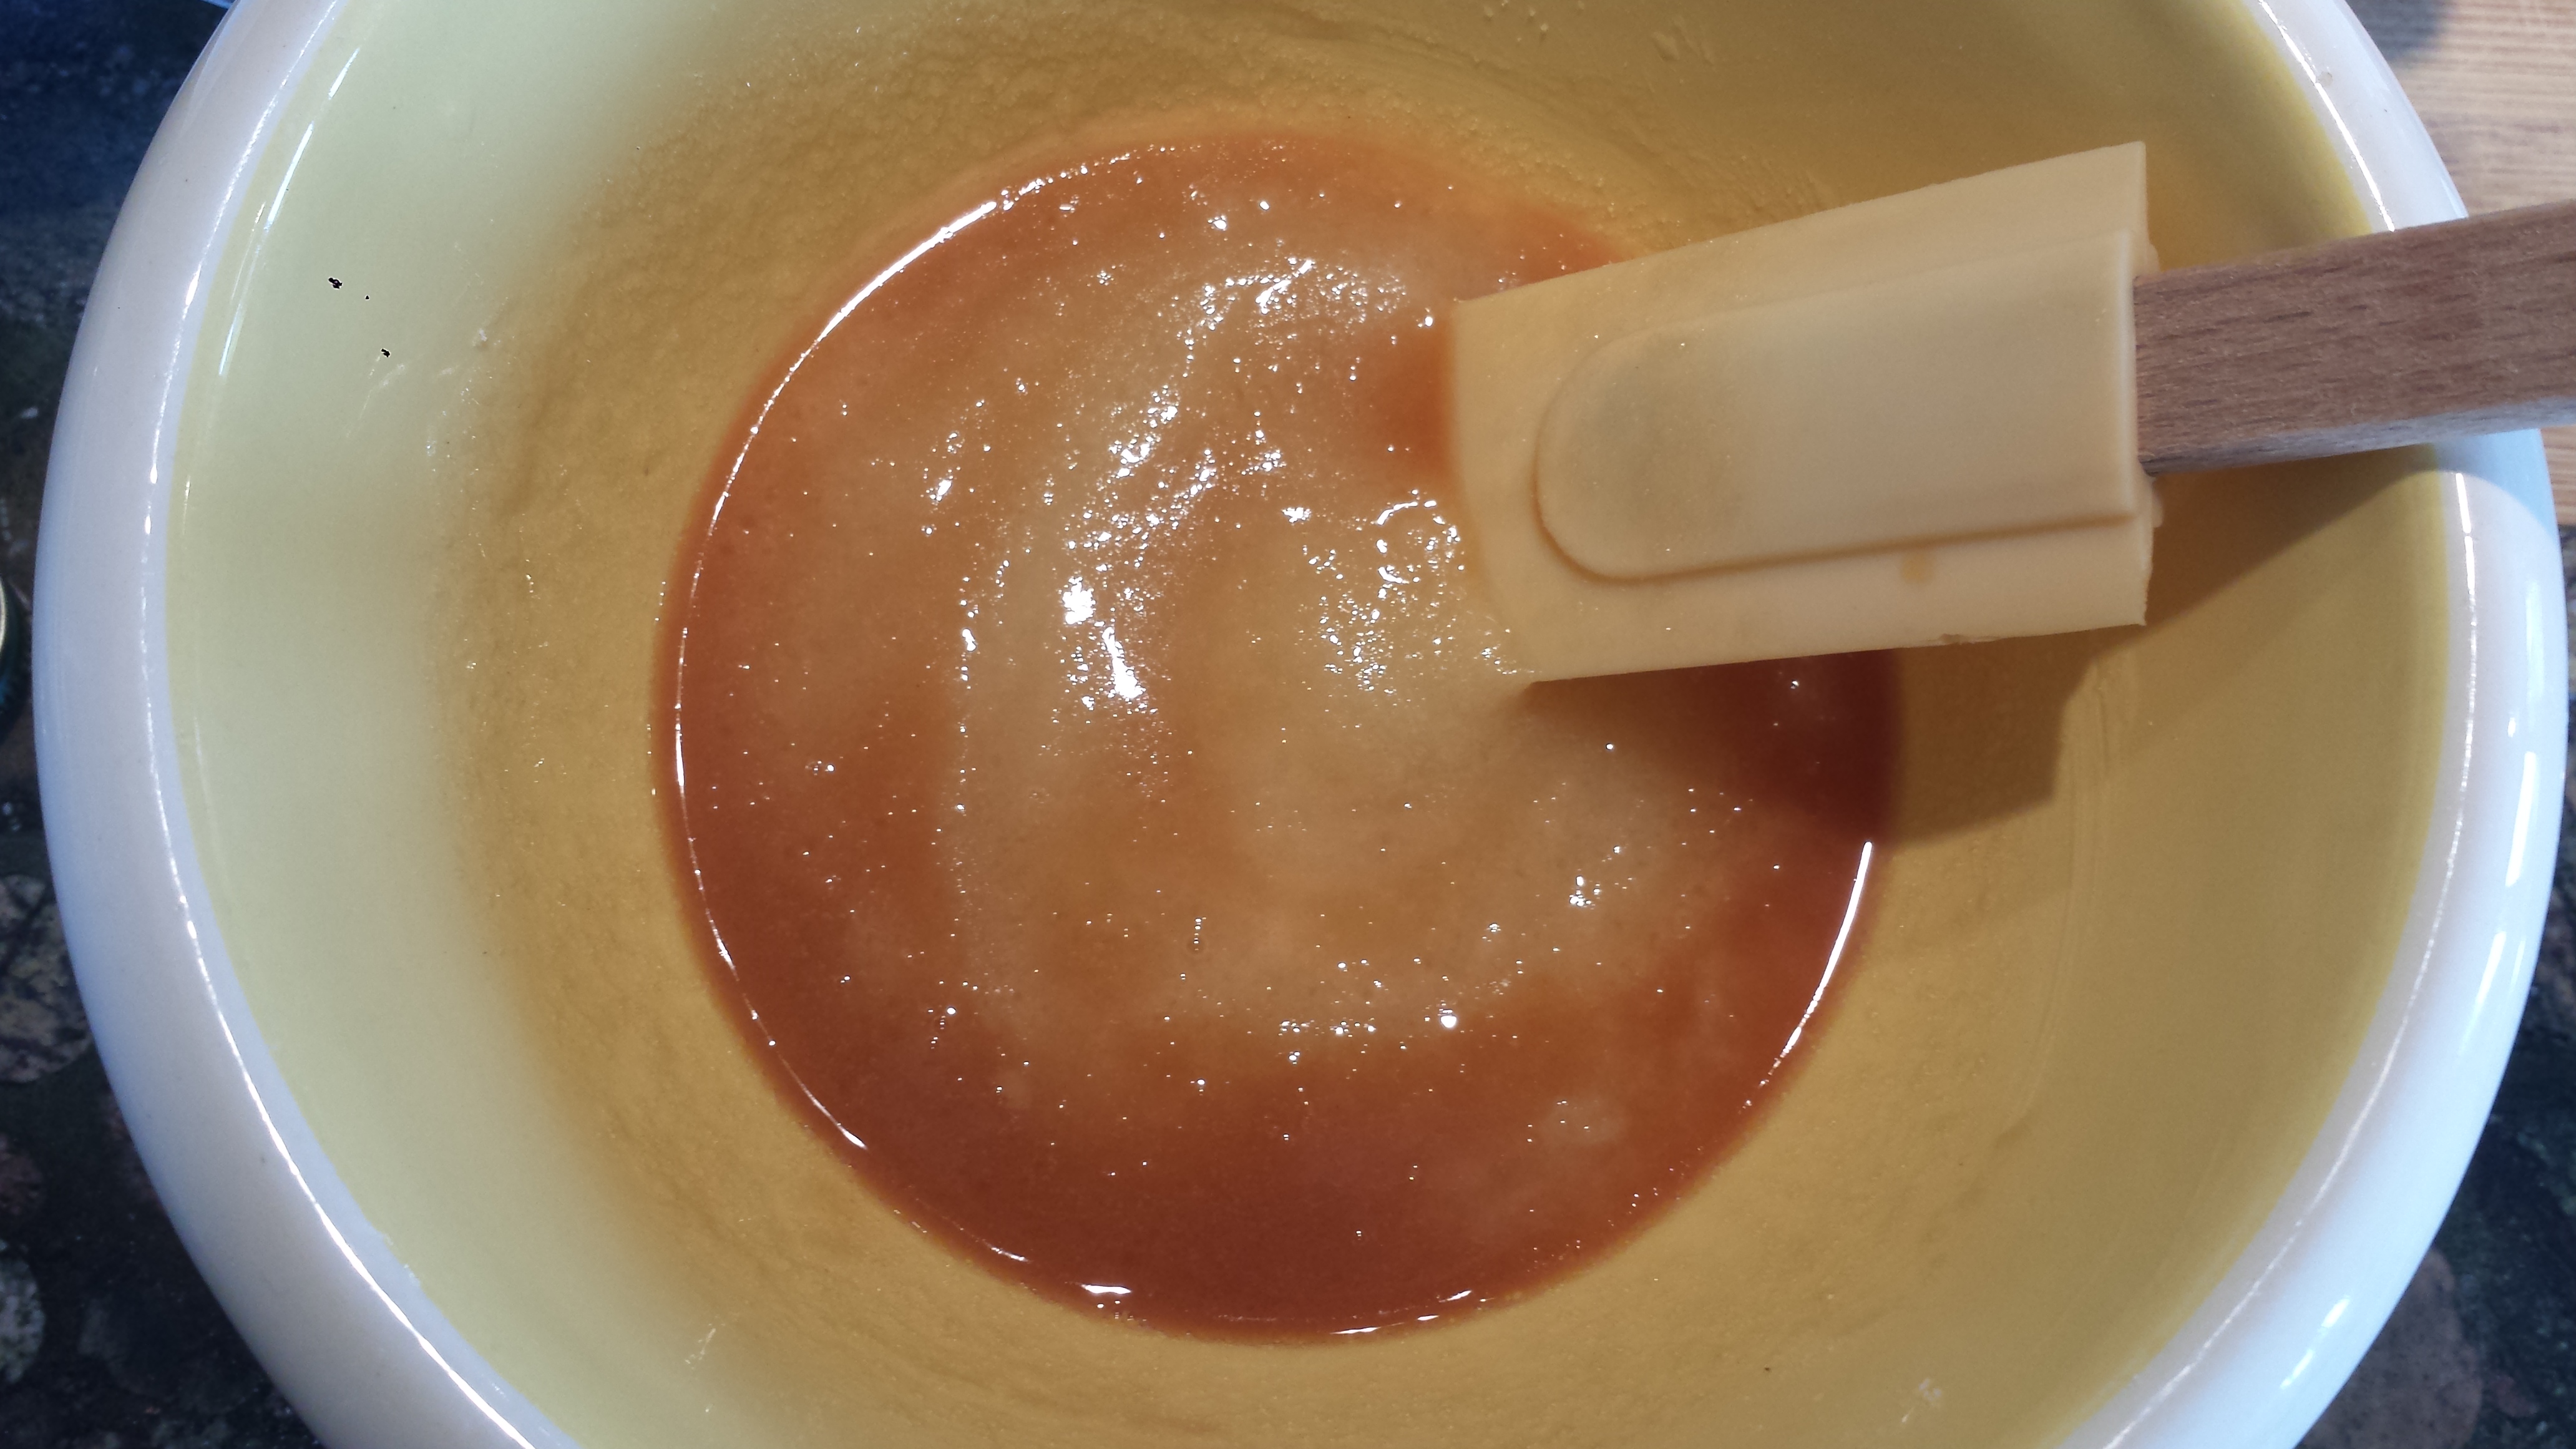
3.Meanwhile in a large saucepan combine the sugar and the water. Bring to a boil over medium heat stirring until sugar is dissolved. Reduce the heat to low and add the split vanilla bean.
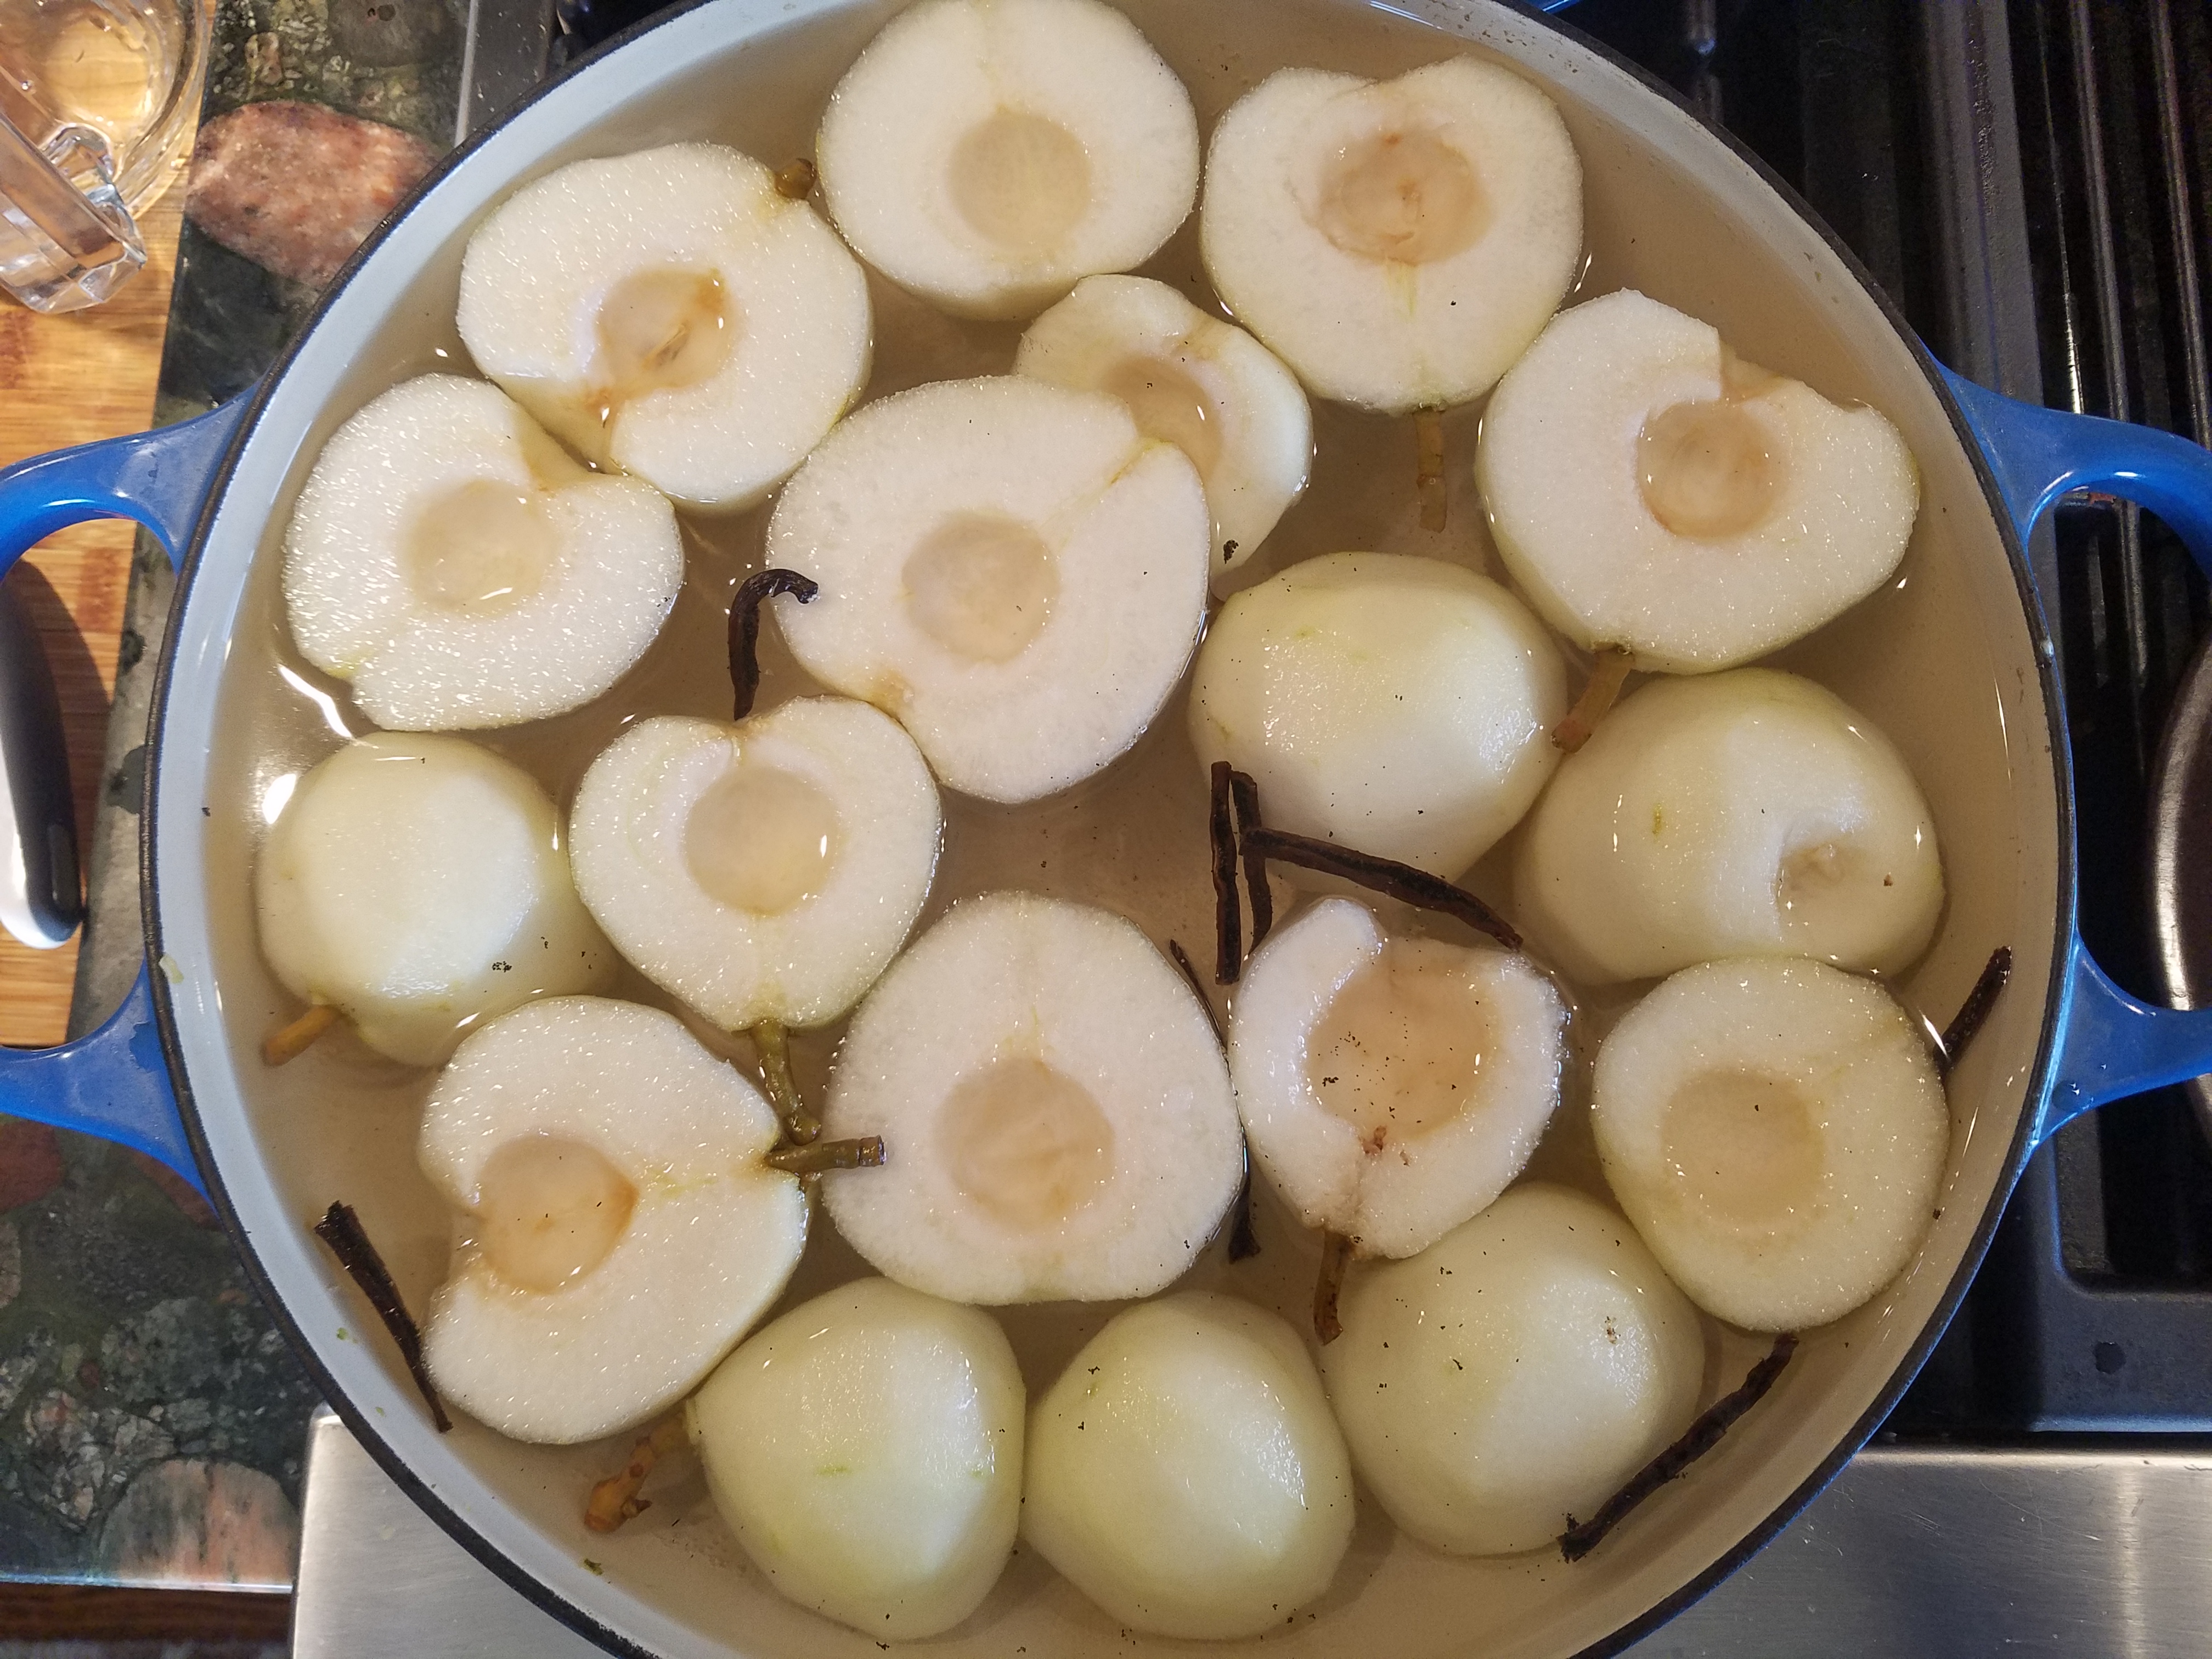
4.Place pears in a single layer (you may have to do two batches) in syrup. Cook over medium low heat for 5 minutes until fruit is heated through. Turn once.

5.Use the pot grabber to remove a hot jar from the water. Put six peppercorns and 1 – 2 tablespoons of the brandy in the bottom of the jar.

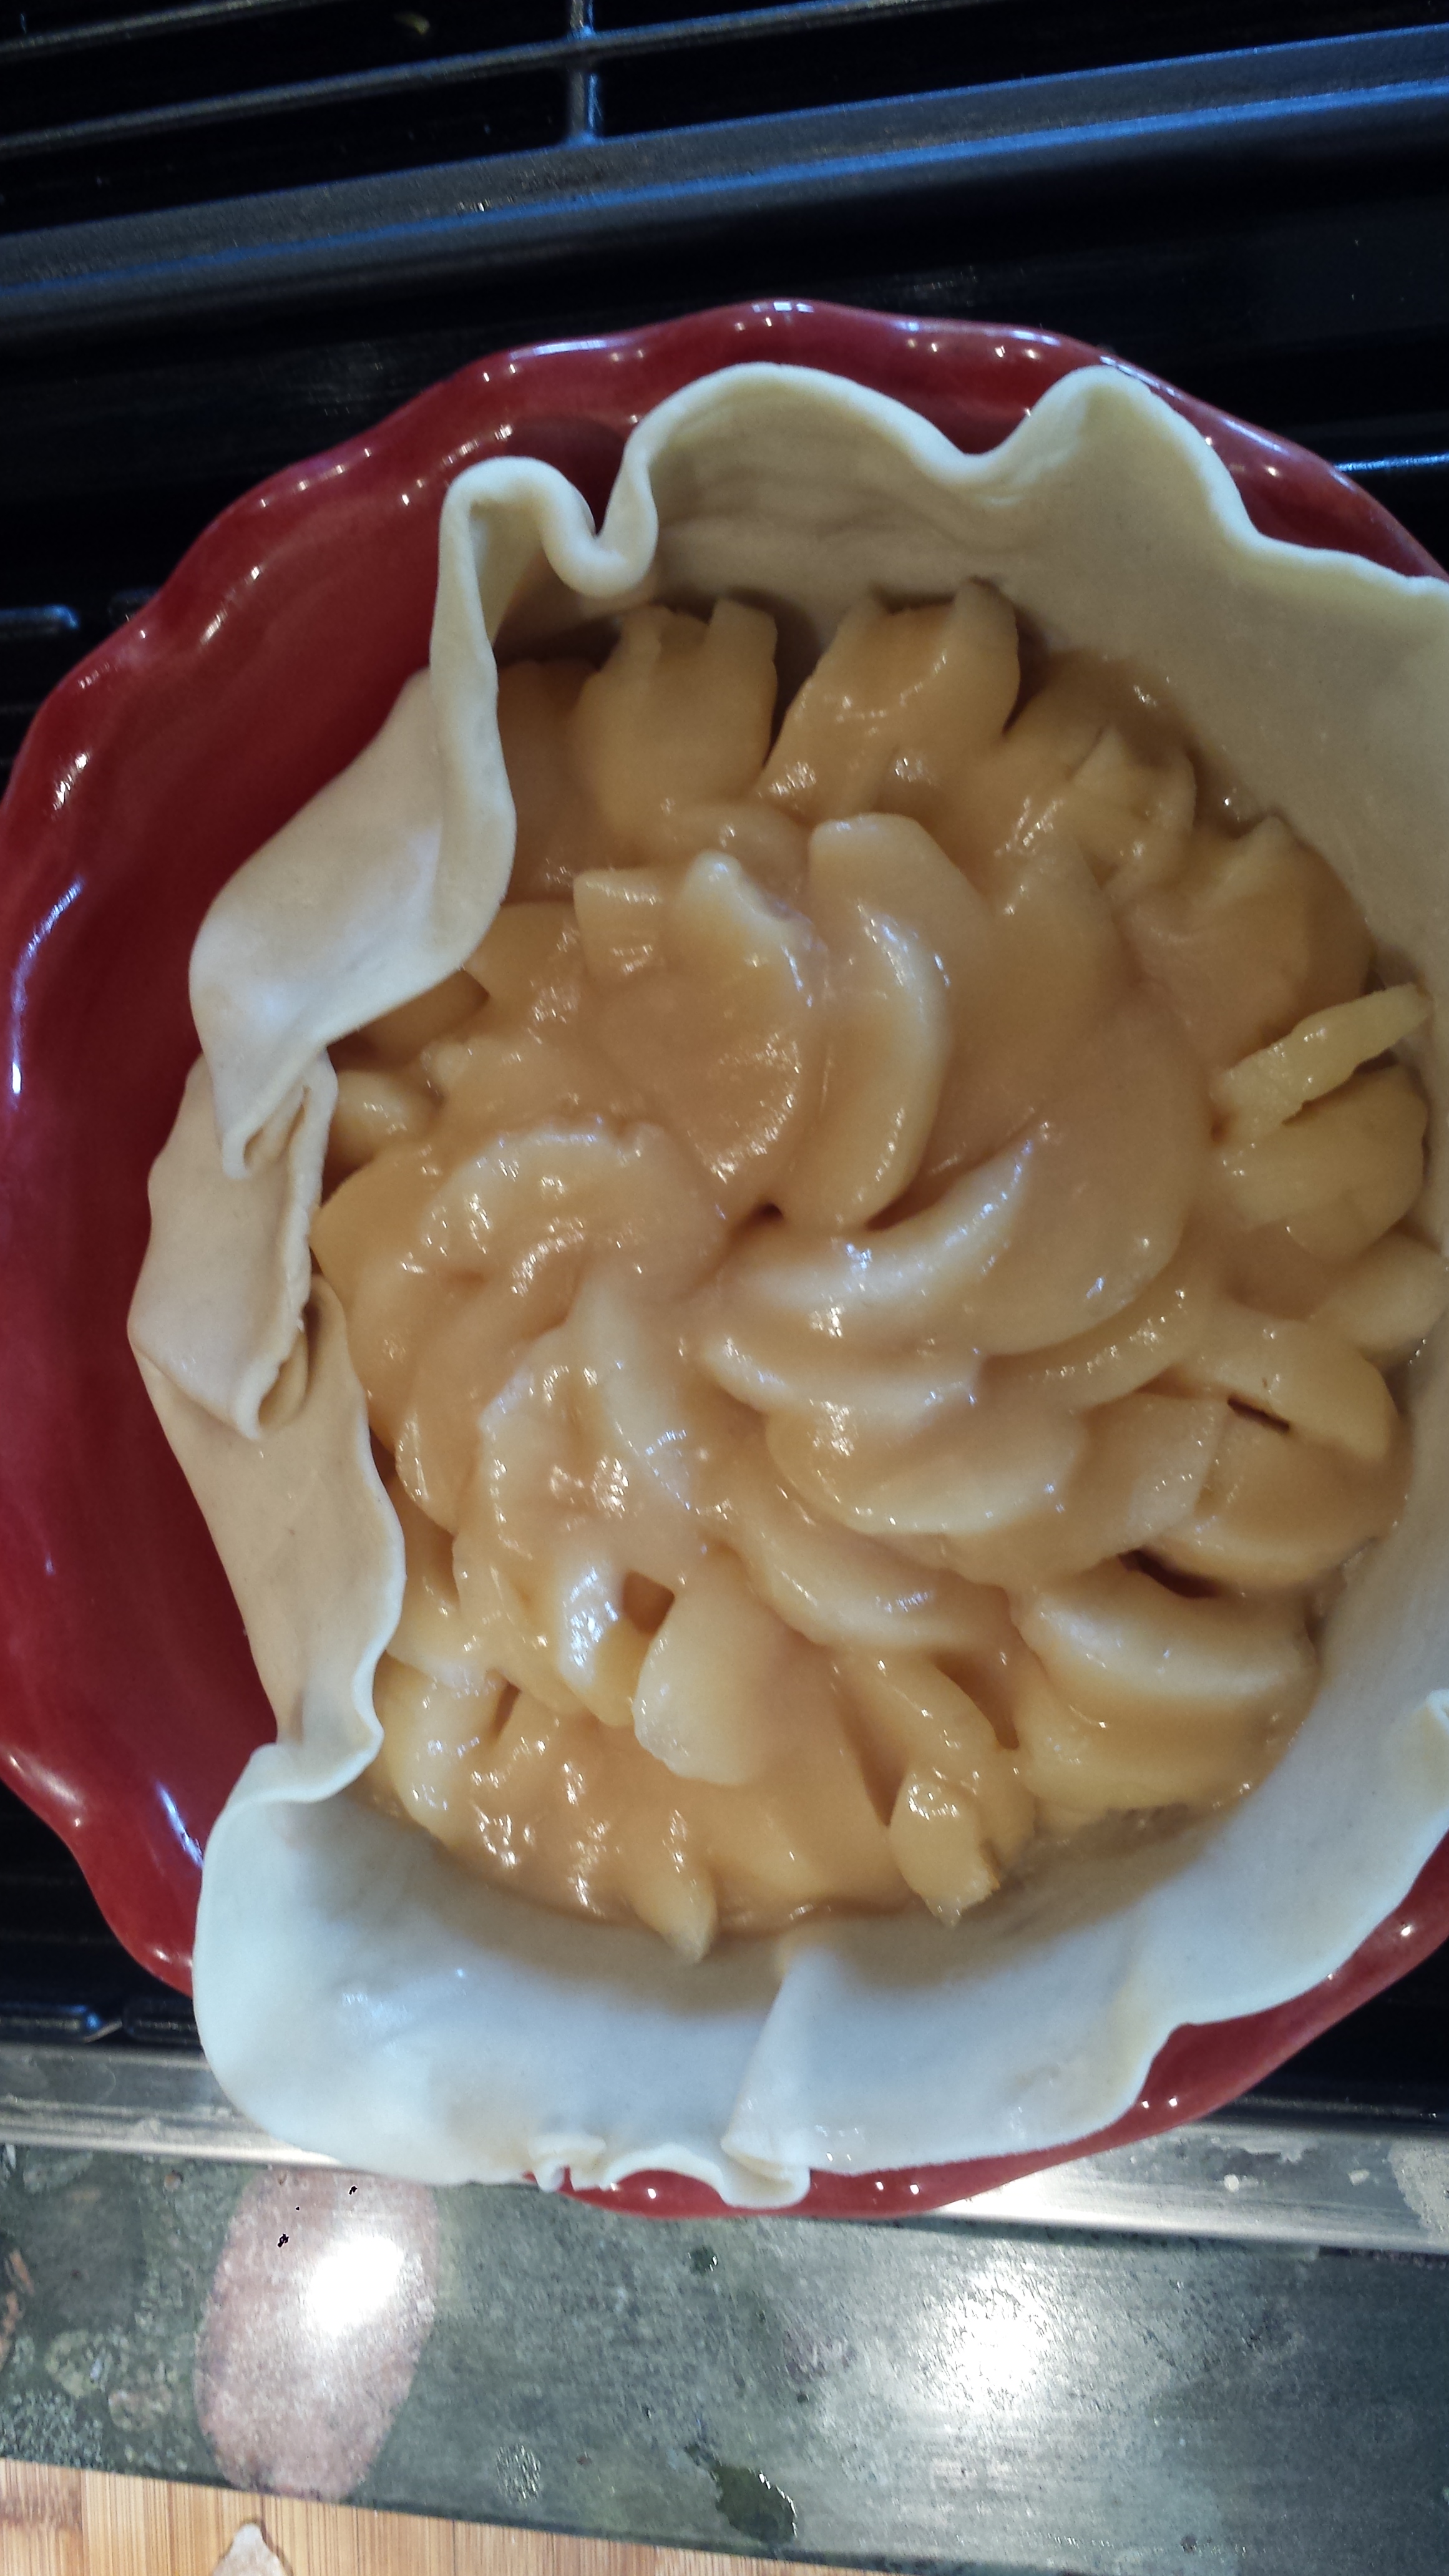
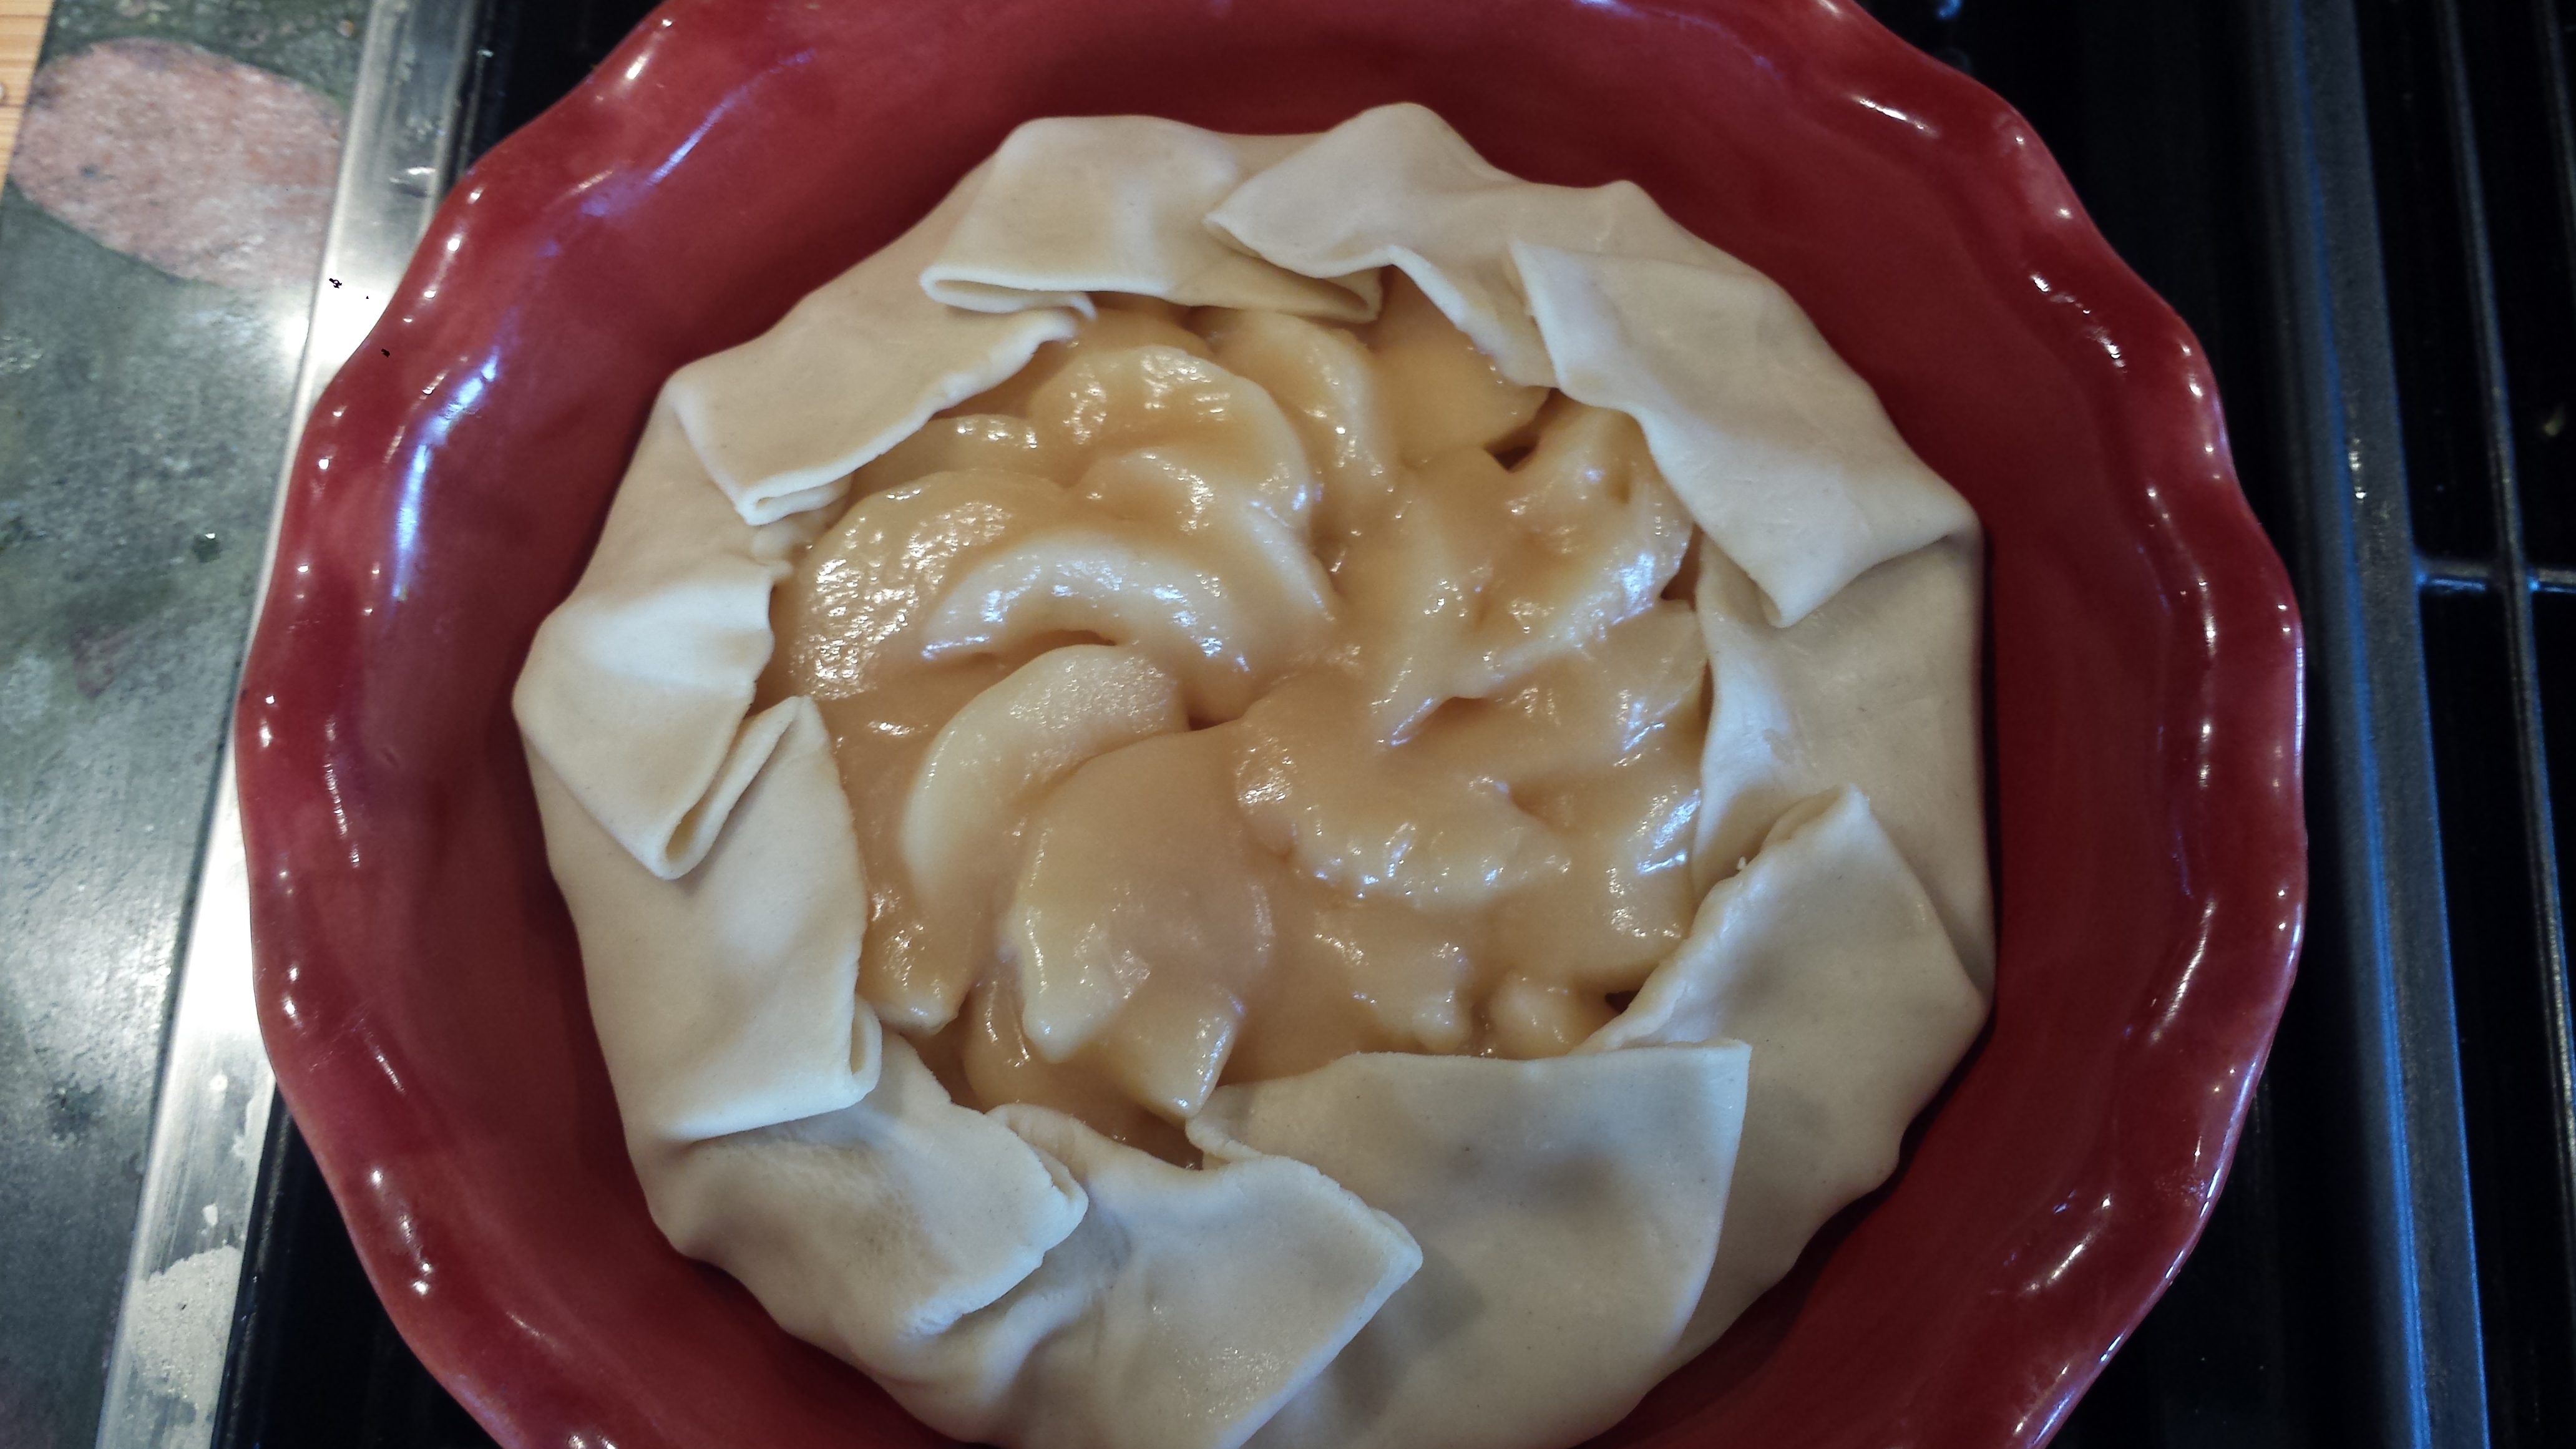
6.Using tongs or a slotted spoon pack pears into jars as snugly as possible (the fruit shrinks while cooking). Before filling completely, slide 3 star anise and one piece of vanilla bean down the side of the jar to make sure they are visible from the outside. Then fill to the top with pears, squeezing in an extra half pear if possible.

6.Cover the pears with the sugar syrup leaving 1/2 inch headroom. Remove any air bubbles. Wipe rims with a wet paper towel to make sure you get a tight seal and place lids on using tongs, screwing rings on only finger tight.

7.Place jars in canner covering with more hot water, if necessary,to submerge the jars by at least one inch. Bring to a boil and process for 25 minutes (timed from the boil). Process pints for 20 minutes. Turn off heat, remove canner lid and wait 5 minutes before carefully removing jars using the jar grabber. Don’t try using tongs or anything else or you will end up with a face full of boiling water. Place jars on towels or a cooling rack. Let cool undisturbed for 24 hours. You may hear a pinging sound as the jars seal themselves but you may not. Both are normal.
TIPS:
I prefer the look of wide-mouth jars, partially because they take a larger label and I like to include storing and serving instructions on my labels. However, canned fruits or tomatoes fare better in the regular jars as the small opening helps keep the fruit submerged. With the wide mouth jars the fruit rises up to the top sometimes leaving you with an inch or two of liquid on the bottom of the jar which does not look quite as pretty.
Poached D'Anjou Pears in Vanilla Brandy Syrup

TOOLS REQUIRED:
- Canning Pot with wire rack
- Mason Jars: 4 Quart jars, 6 Pint and a half jars or 8 Pint jars with lids and ring
- Wide mouth funnel, pot grabber, tongs, melon baller, sharp knife or potato peeler
INGREDIENTS:
- 1 gallon cold tap water
- 1 teaspoon citric acid or 1/2 cup lemon juice
- 8-10 lbs firm pears
- 2 1/2 cups sugar
- 6 cups cold water
- 1 vanilla bean, cut into 4 pieces (or one for each jar)
- 24 peppercorns (preferably pink)
- 4- 8 tablespoons brandy (optional)
- Fill your canning pot with 4 clean quart, 6 pint and a half, or 8 pint canning jars fully immersed in the water. Bring to a simmer. Immerse lids, but not rings, in a shallow pan of water. Bring to a simmer.
- Mix the water and citric acid or lemon juice together in a large bowl. Peel, halve lengthwise and core the pears and place them in the water mixture to prevent browning. I like to use a melon baller to cleanly remove the core.
- Meanwhile in a large saucepan combine the sugar and the water. Bring to a boil over medium heat stirring until sugar is dissolved. Reduce the heat to low and add the split vanilla bean.
- Place pears in a single layer (you may have to do two batches) in syrup. Cook over medium low heat for 5 minutes until fruit is heated through. Turn once.
- Use the pot grabber to remove a hot jar from the water. Put six peppercorns and 1 – 2 tablespoons of the brandy in the bottom of the jar.
- Using tongs or a slotted spoon pack pears into jars as snugly as possible (the fruit shrinks while cooking). Before filling completely, slide 3 star anise and one piece of vanilla bean down the side of the jar to make sure they are visible from the outside. Then fill to the top with pears, squeezing in an extra half pear if possible.
- Cover the pears with the sugar syrup leaving 1/2 inch headroom. Remove any air bubbles. Wipe rims with a wet paper towel and place lids on using tongs, screwing rings on only finger tight.
- Place jars in canner covering with more hot water, if necessary,to submerge the jars by at least one inch. Bring to a boil and process for 25 minutes (timed from the boil). Process pints for 20 minutes. Turn off heat, remove canner lid and wait 5 minutes before carefully removing jars using the correct tool. Don’t try using tongs or anything else or you will end up with a face full of boiling water. Place jars on towels or a cooling rack. Let cool undisturbed for 24 hours. You may hear a pinging sound as the jars seal themselves but you may not. Both are normal.