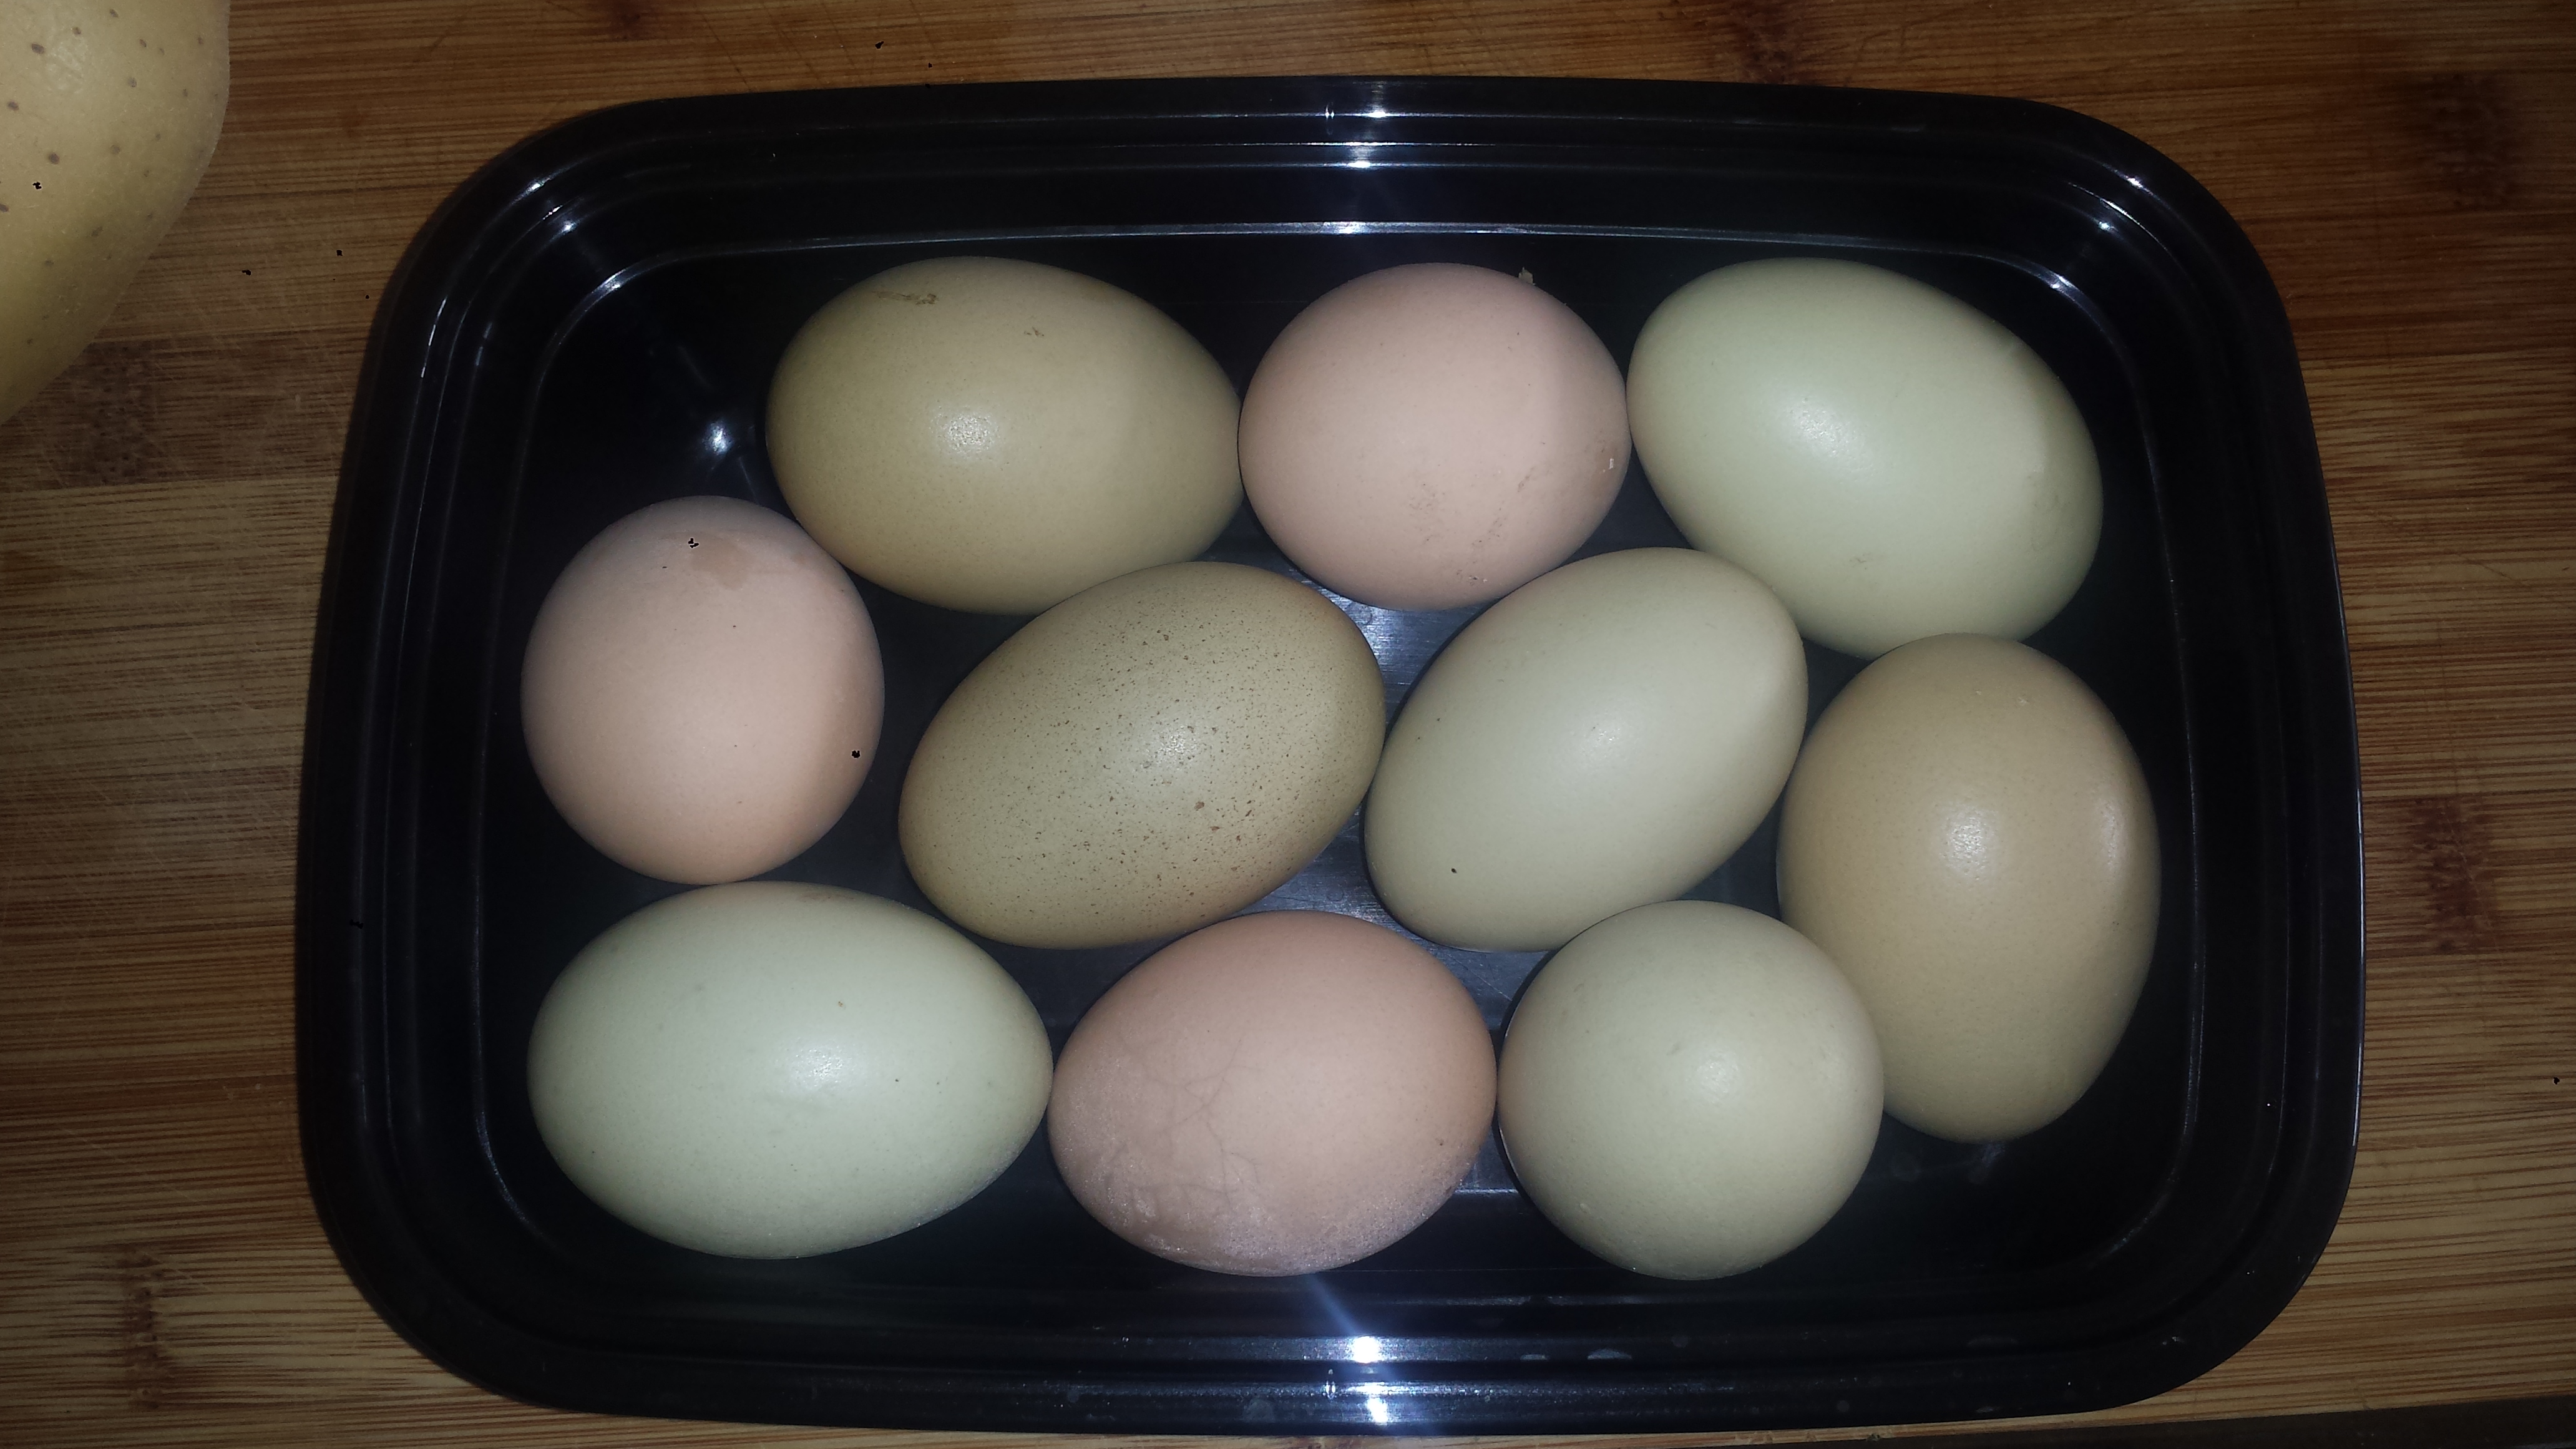
Ever feel like you’re running a Bed & Breakfast? That was me this past weekend, which was a whirlwind of my adult kids and various friends visiting from Maine. It was so much fun but that many people around means that the kitchen is always hoppin’. Saturday night I came home to this gorgeous bowl of eggs sitting by my front door. I have an arrangement with my next door neighbor, Sandy. I give her all of my kitchen scraps for her chickens who magically turn them into eggs. What a deal! Happy chickens and happy neighbors! These colorful eggs also bring back memories. My Mom raised chickens when I was a kid, so I grew up on multi-colored beautiful eggs like these from chickens who get to run around outside in the sunshine. So now, even though I don’t have my own chickens, I do have a ‘chicken bucket’ for my scraps. I’m sure this photo will make my Mom smile…

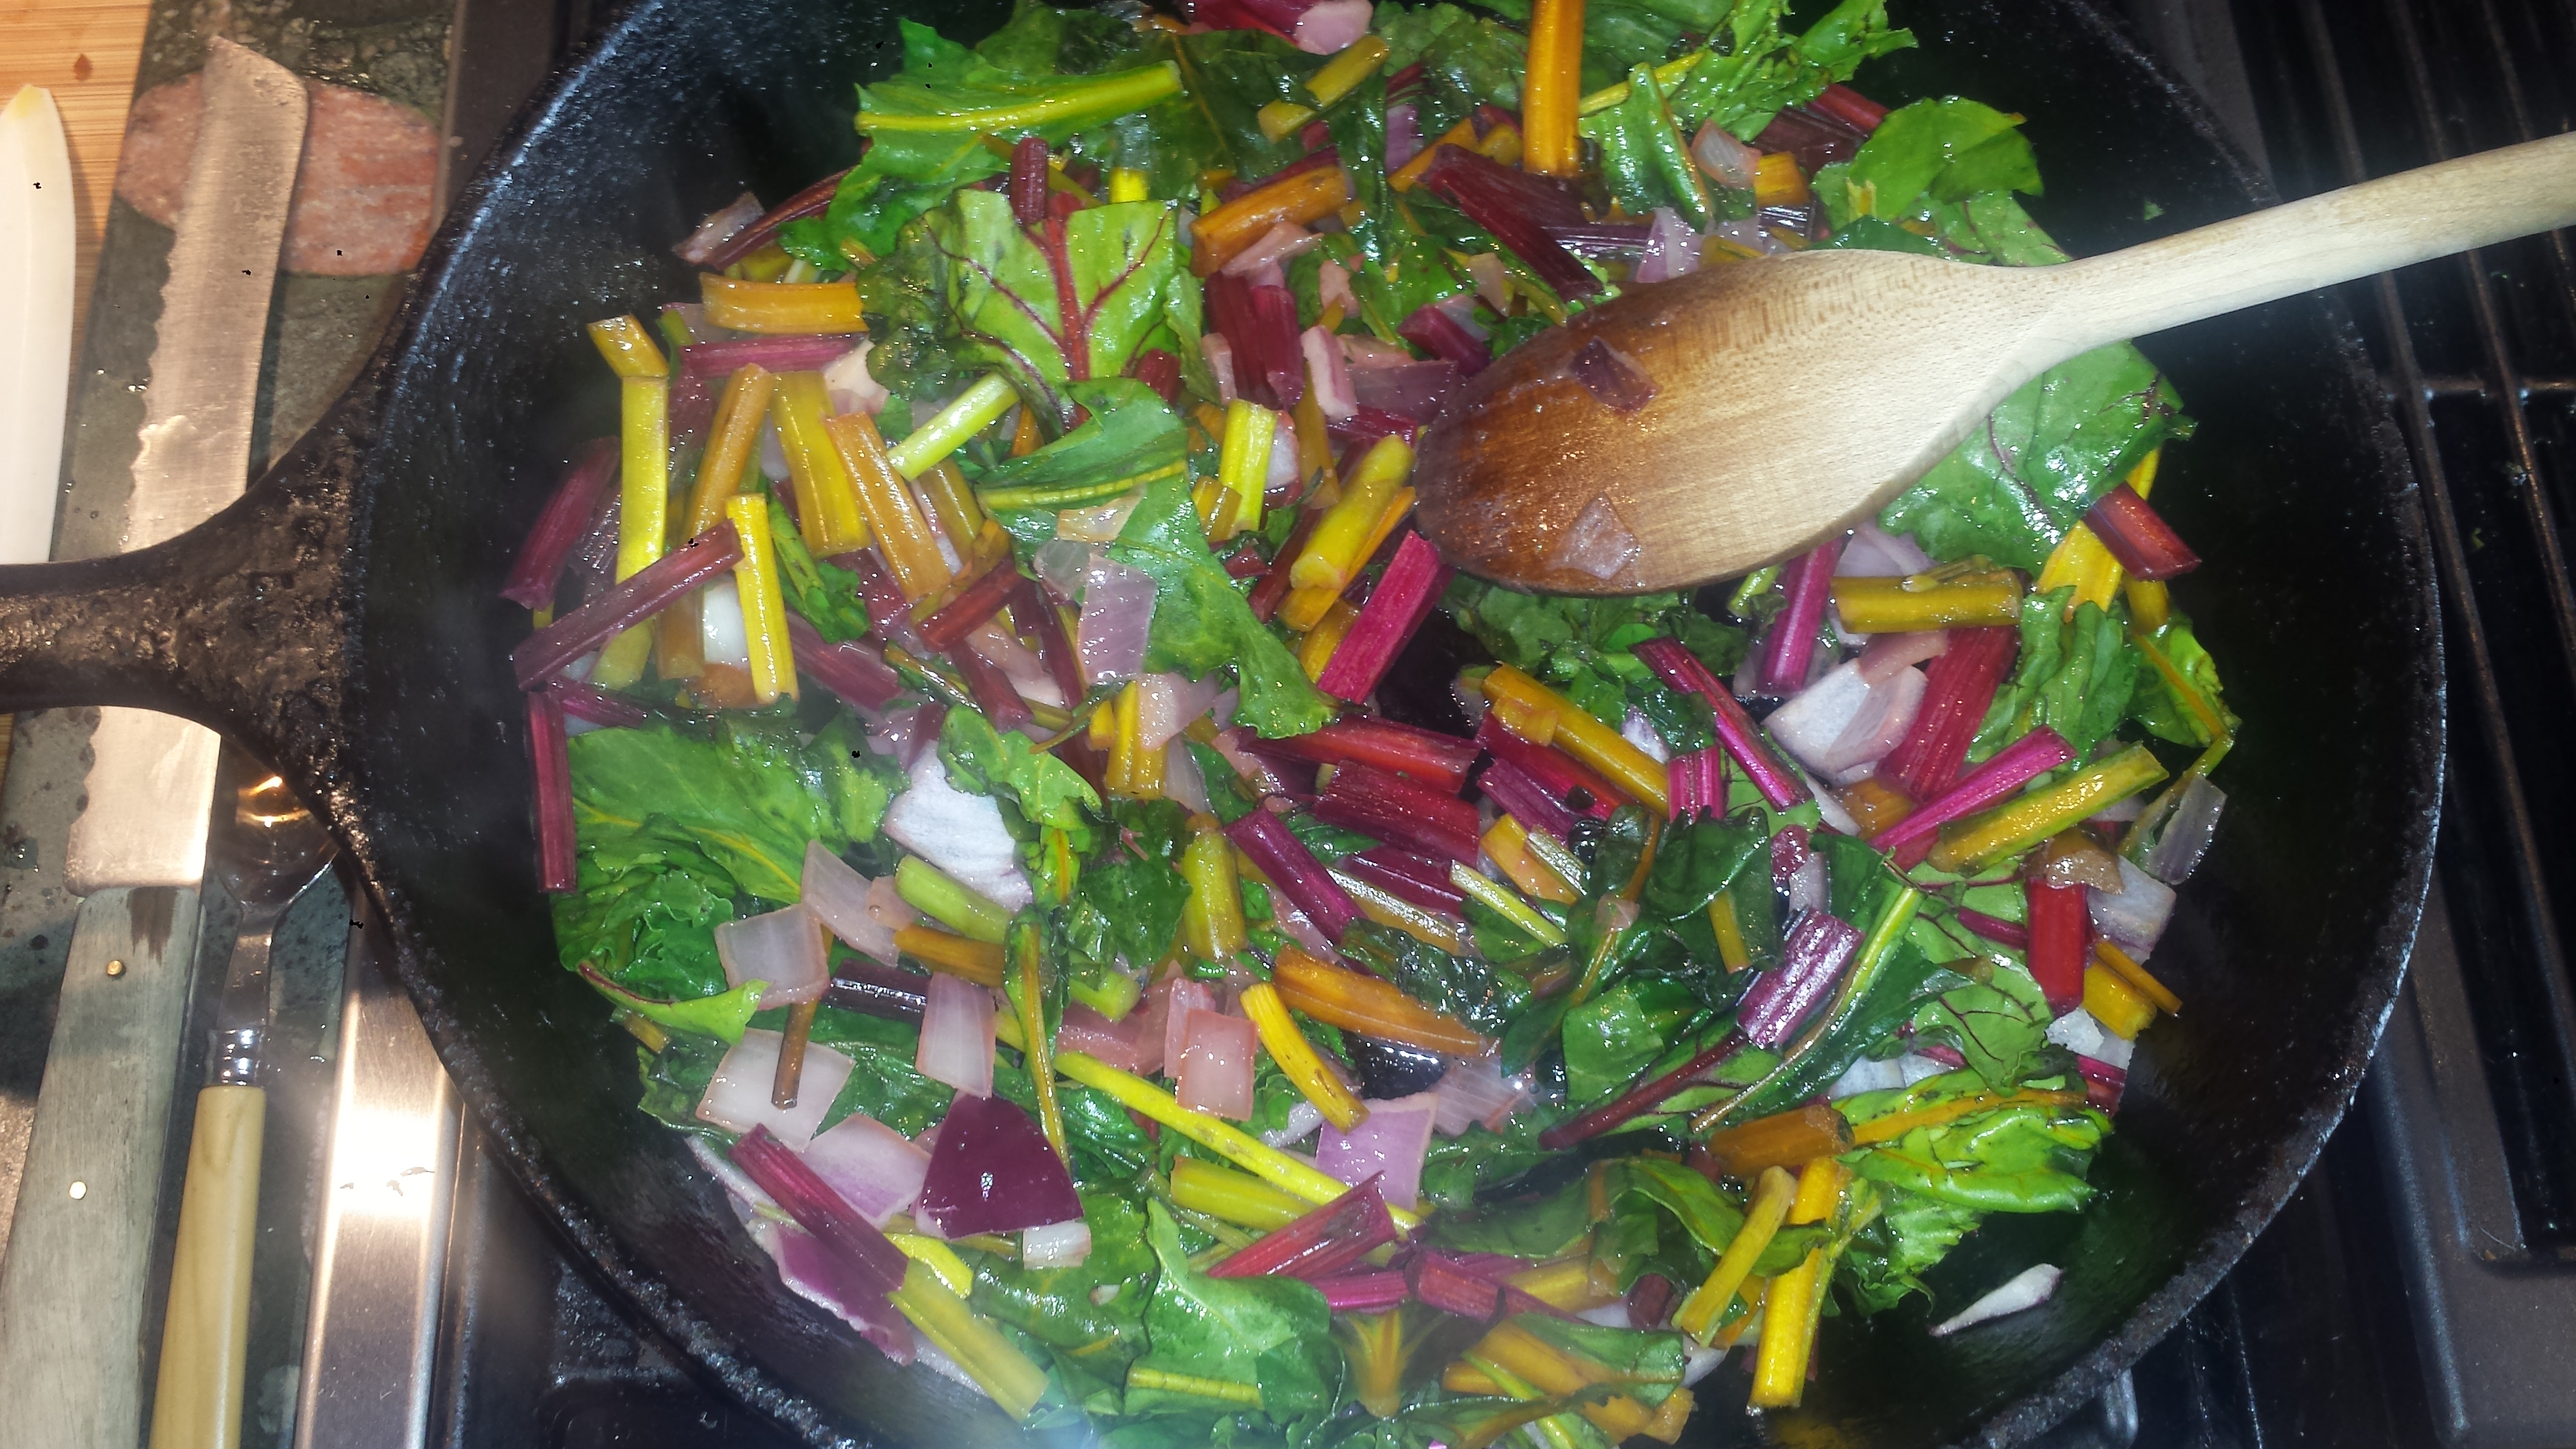
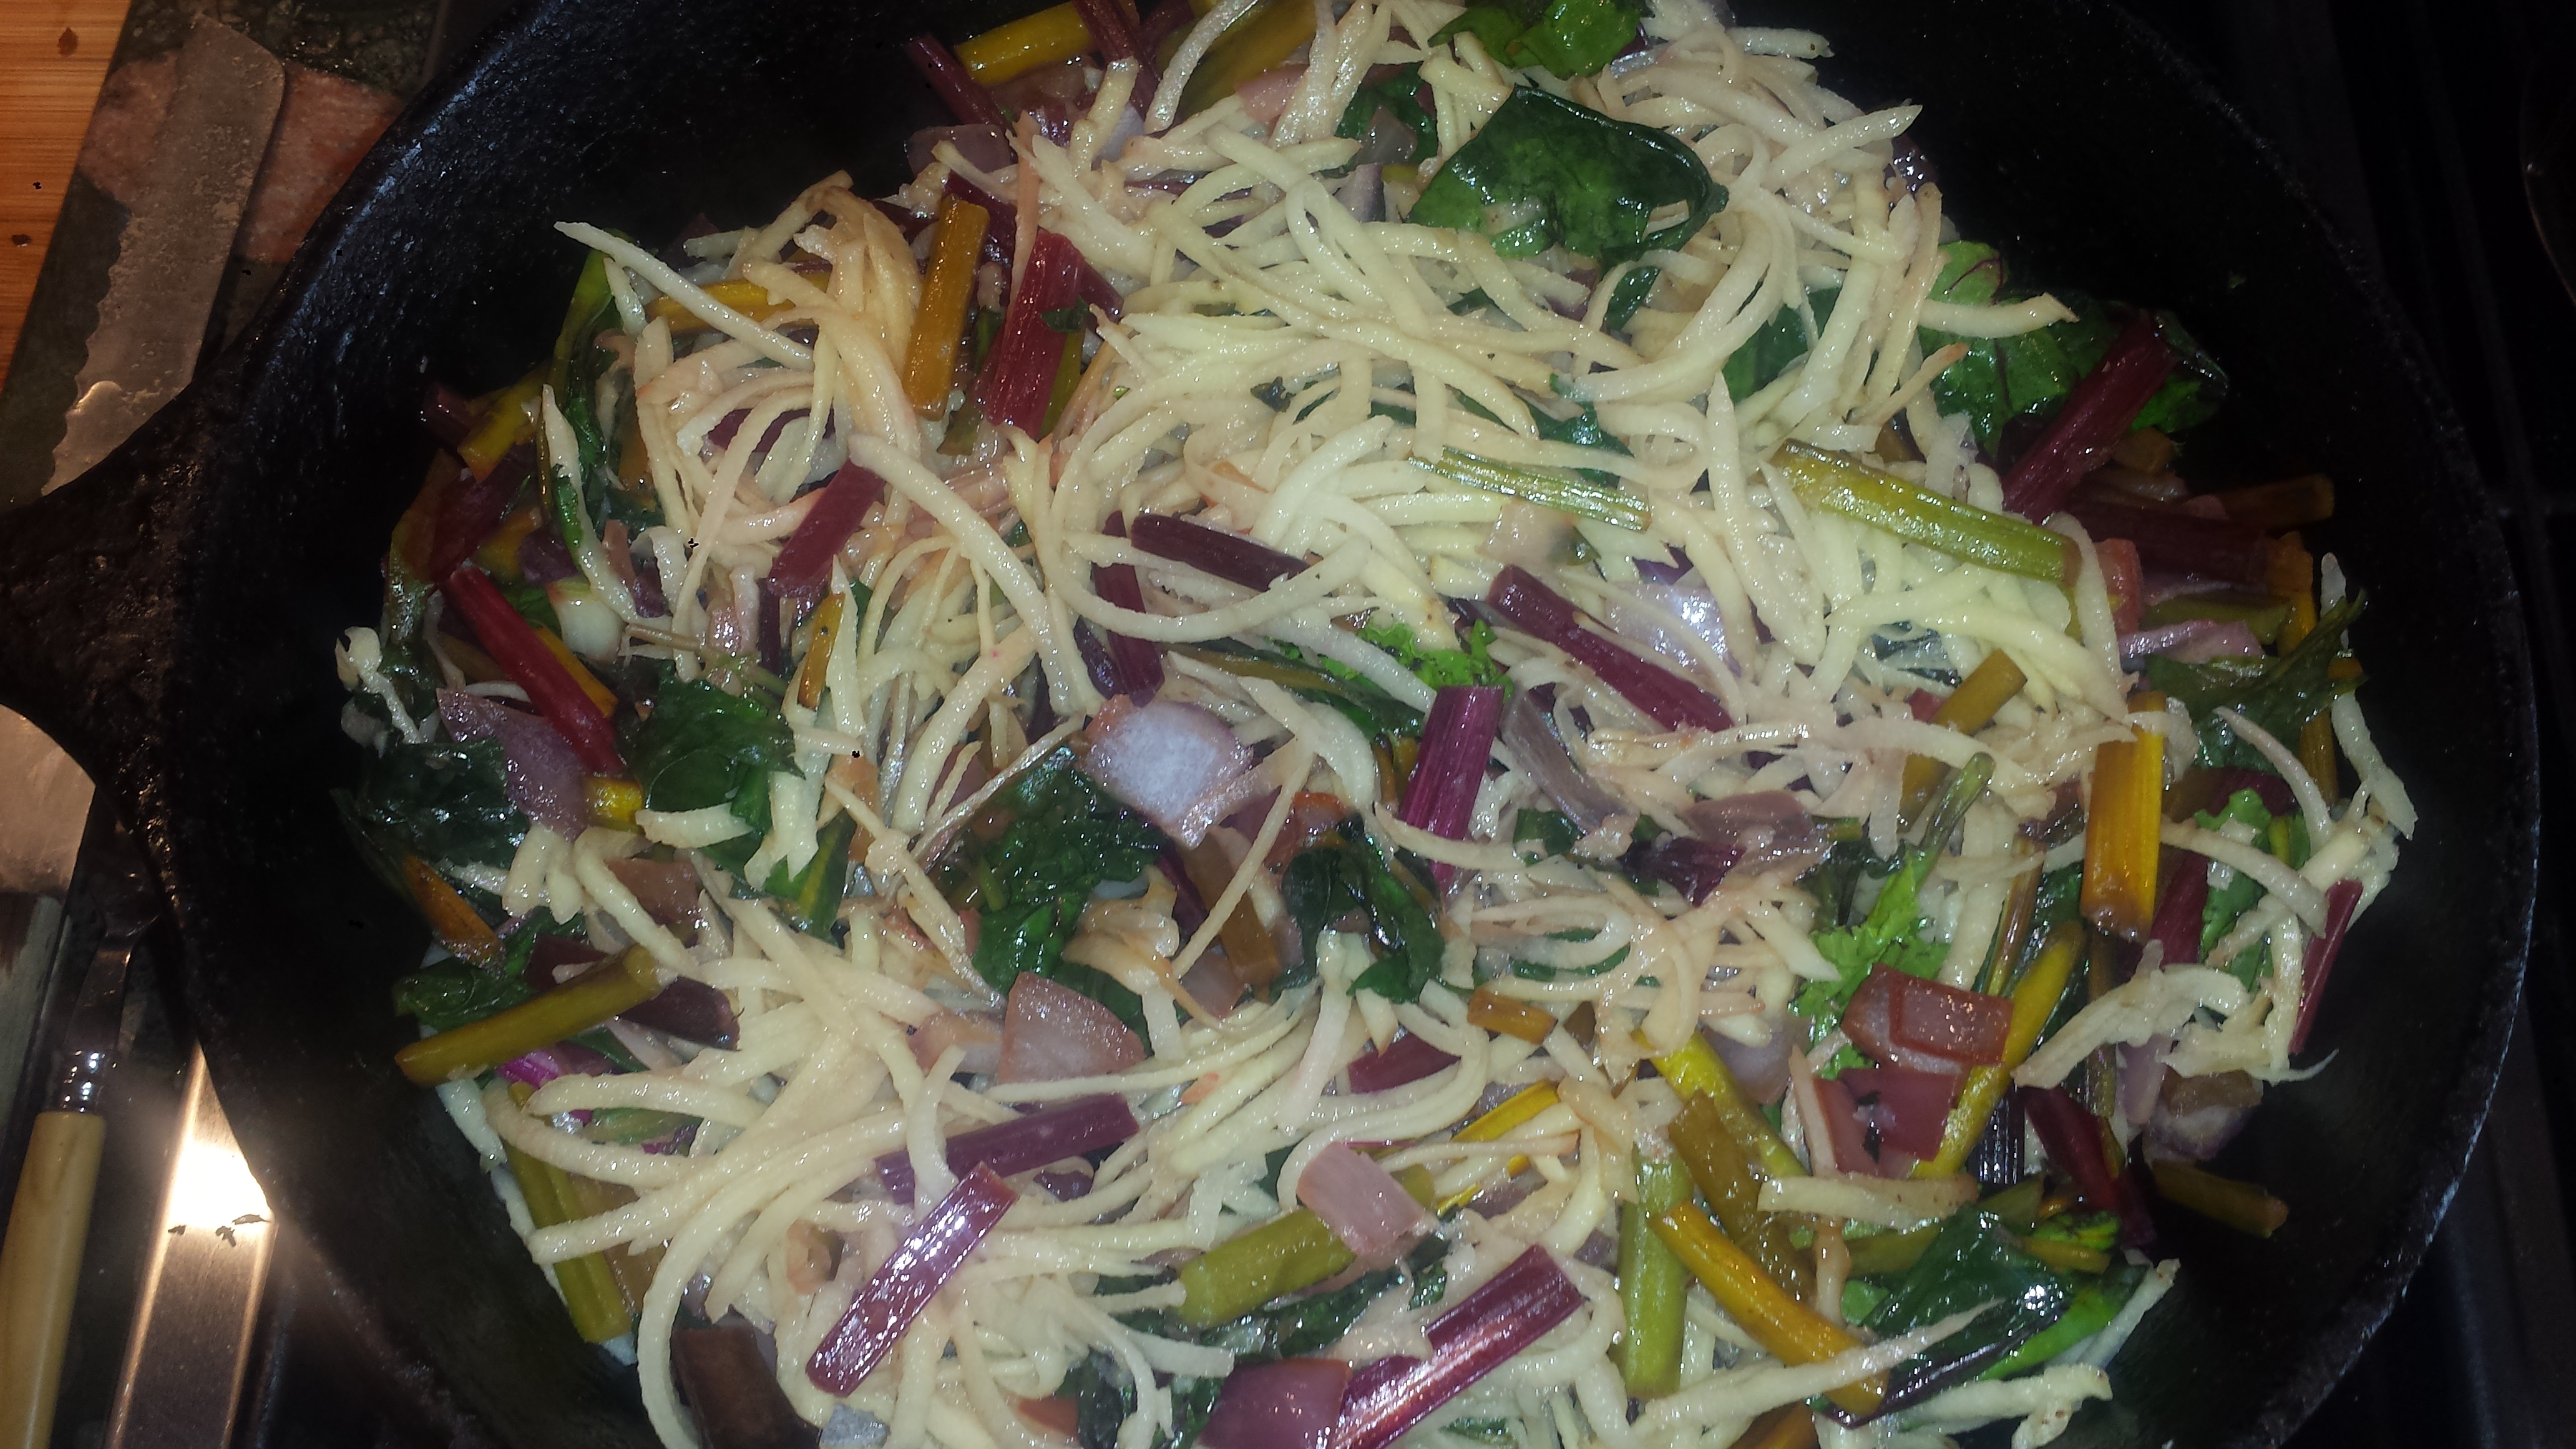
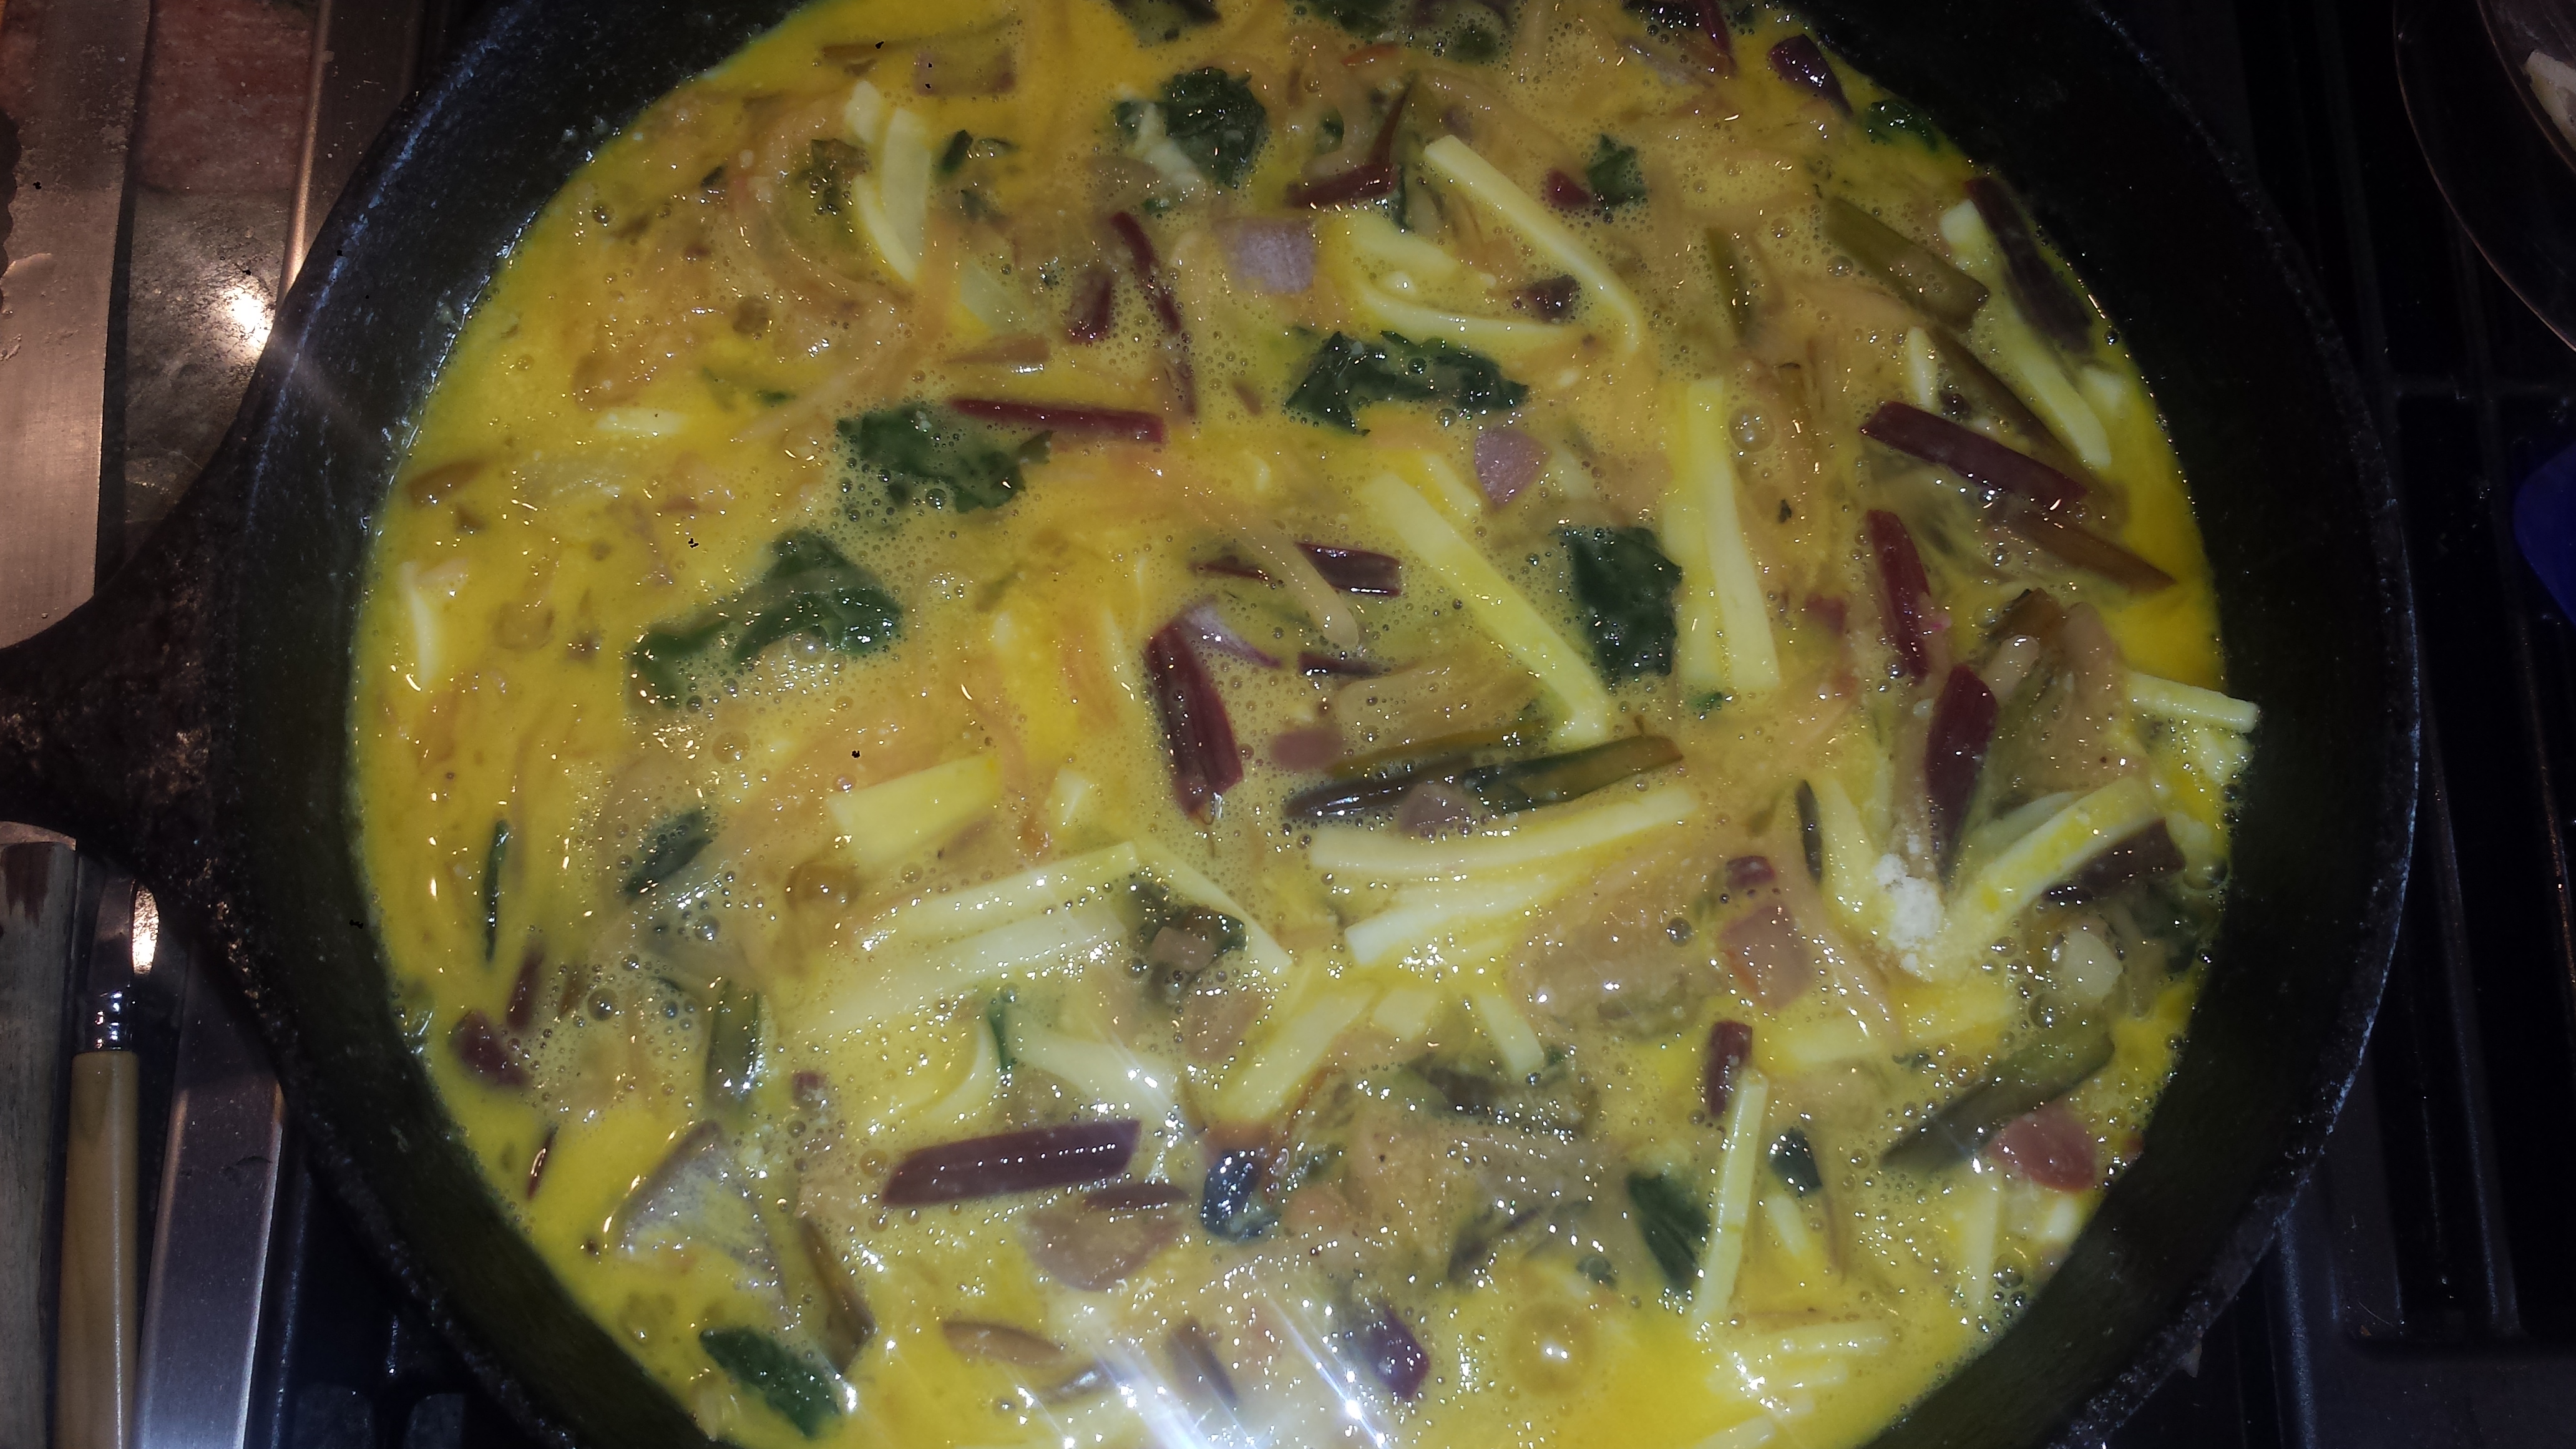
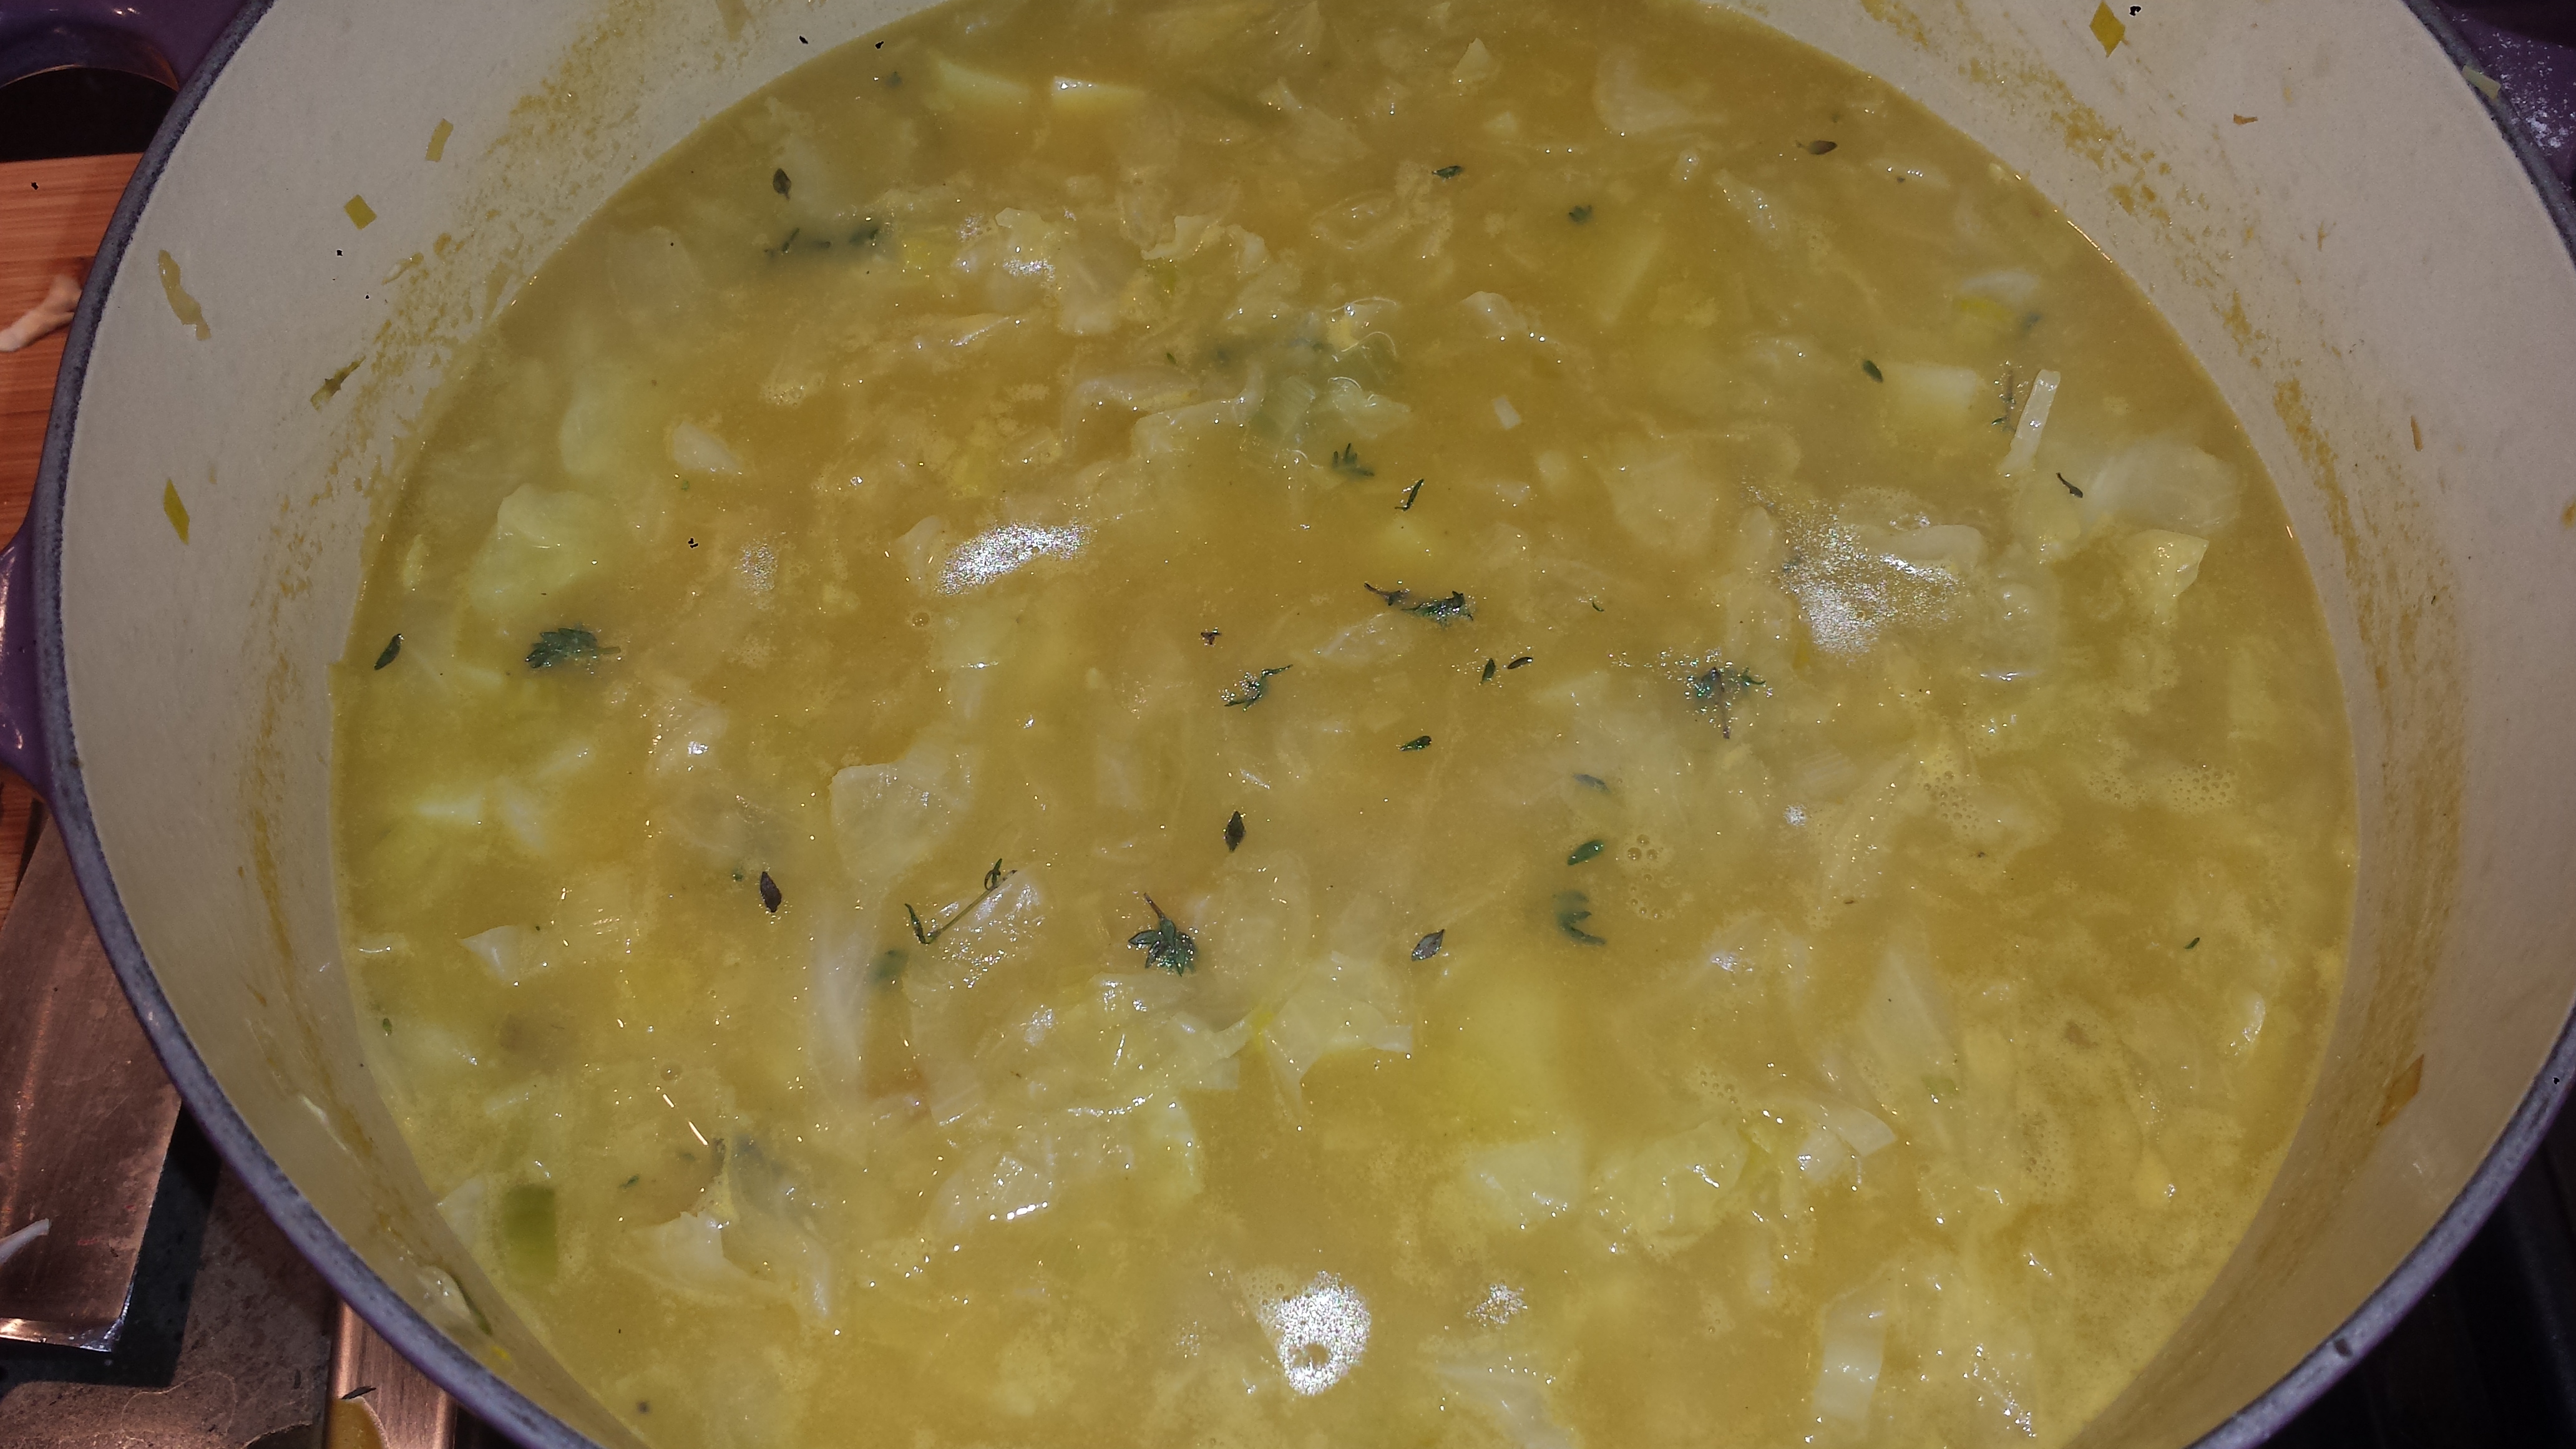
Sunday morning rolled around and I decided to make Eggs Baked in Avocado ‘Cups’. Fresh eggs from happy chickens + perfectly ripe avocado =heavenly. As is my usual way, I looked around the kitchen to see how I could snazz them up and spied a yellow bell pepper and a zucchini, which I quickly chopped into small pieces to make what I always call vegetable ‘confetti’. Throw on some fresh parmesan, red pepper flakes, salt and pepper, and a handful of freshly chopped parsley, yum! I served this as a breakfast buffet for my guests who got up at various times but it would also make a great dinner served with a fresh green salad. The beauty is that it doesn’t have to be served piping hot. It is just as good warm or at room temperature. You can also vary toppings based on personal tastes or what you have on hand.

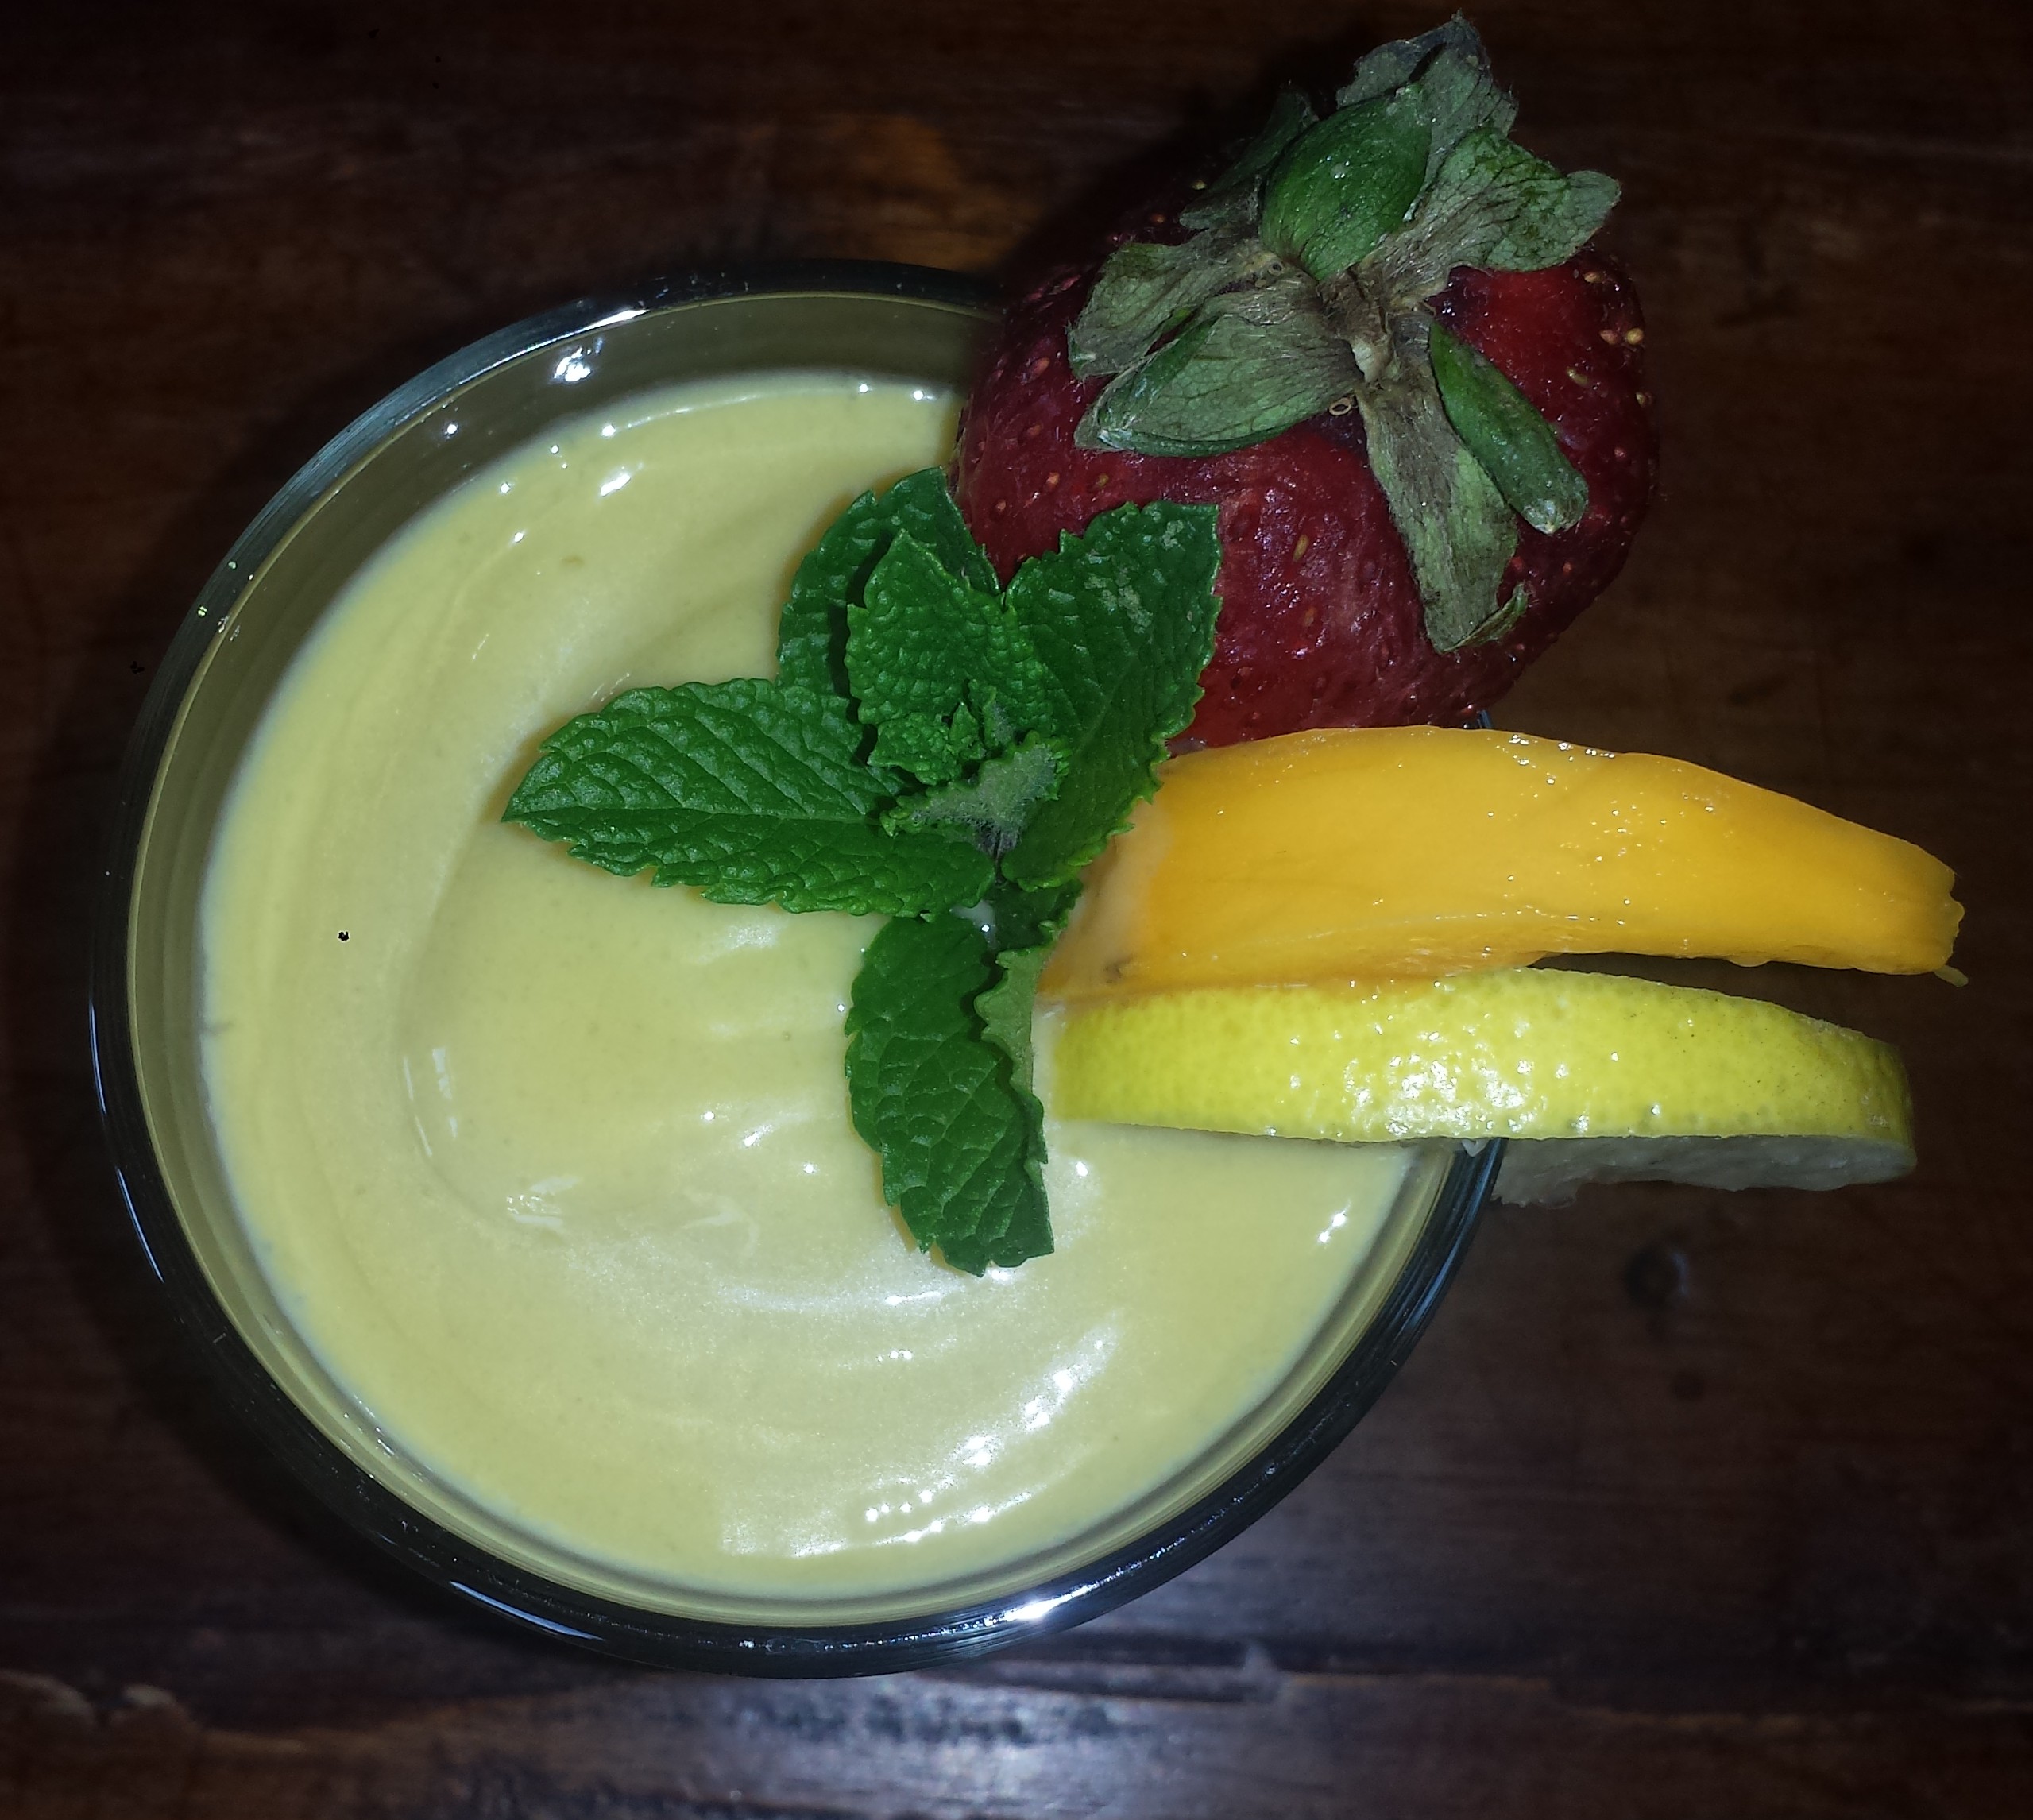
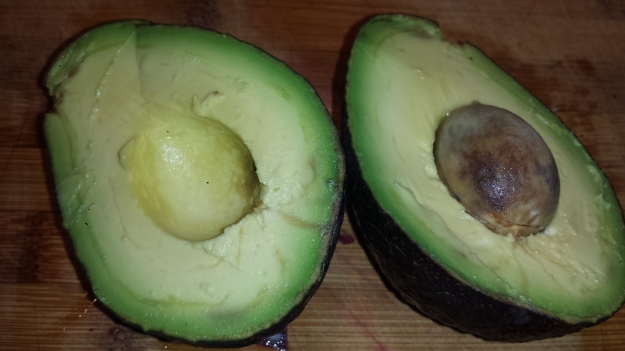
TIPS: The larger the avocado, the better. Or perhaps the reverse is true as well, the smaller the egg, the better. Most eggs won’t fit inside a regular Hass avocado, so I scooped out a bit of the avocado to make a larger opening for the egg. Then I used the avocado I scooped out to make Avocado Mango Smoothies for all of us to sip on while we waited for the eggs to bake. I like these so much that I now stock frozen mango chunks. You can substitute the yogurt for a banana for a non-dairy, vegan smoothie. Recipe HERE for Avocado Mango Smoothie

EGGS BAKED IN AVOCADO ‘CUPS’
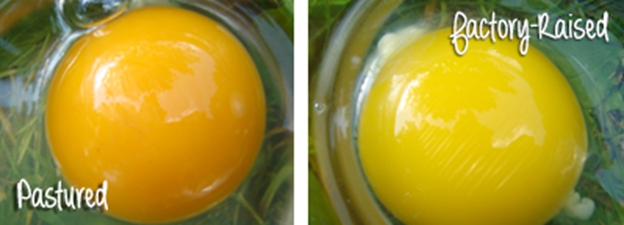
4 fresh pasture raised eggs (if available)
2 ripe but firm avocados
1/2 yellow, red or green bell pepper (optional)
1/2 zucchini (optional
1/4 cup shaved or grated parmesan (optional)
1/4-1/2 tsp red pepper flakes (optional)
salt and pepper to taste

- Halve each avocado and remove the pit. Scoop out some of the flesh to enlarge the hole to make room for the egg.

- Place avocados in a small baking dish cut side up. If they are wobbly, place them snuggly in a smaller pan to prop each other up. Sprinkle with salt and pepper.
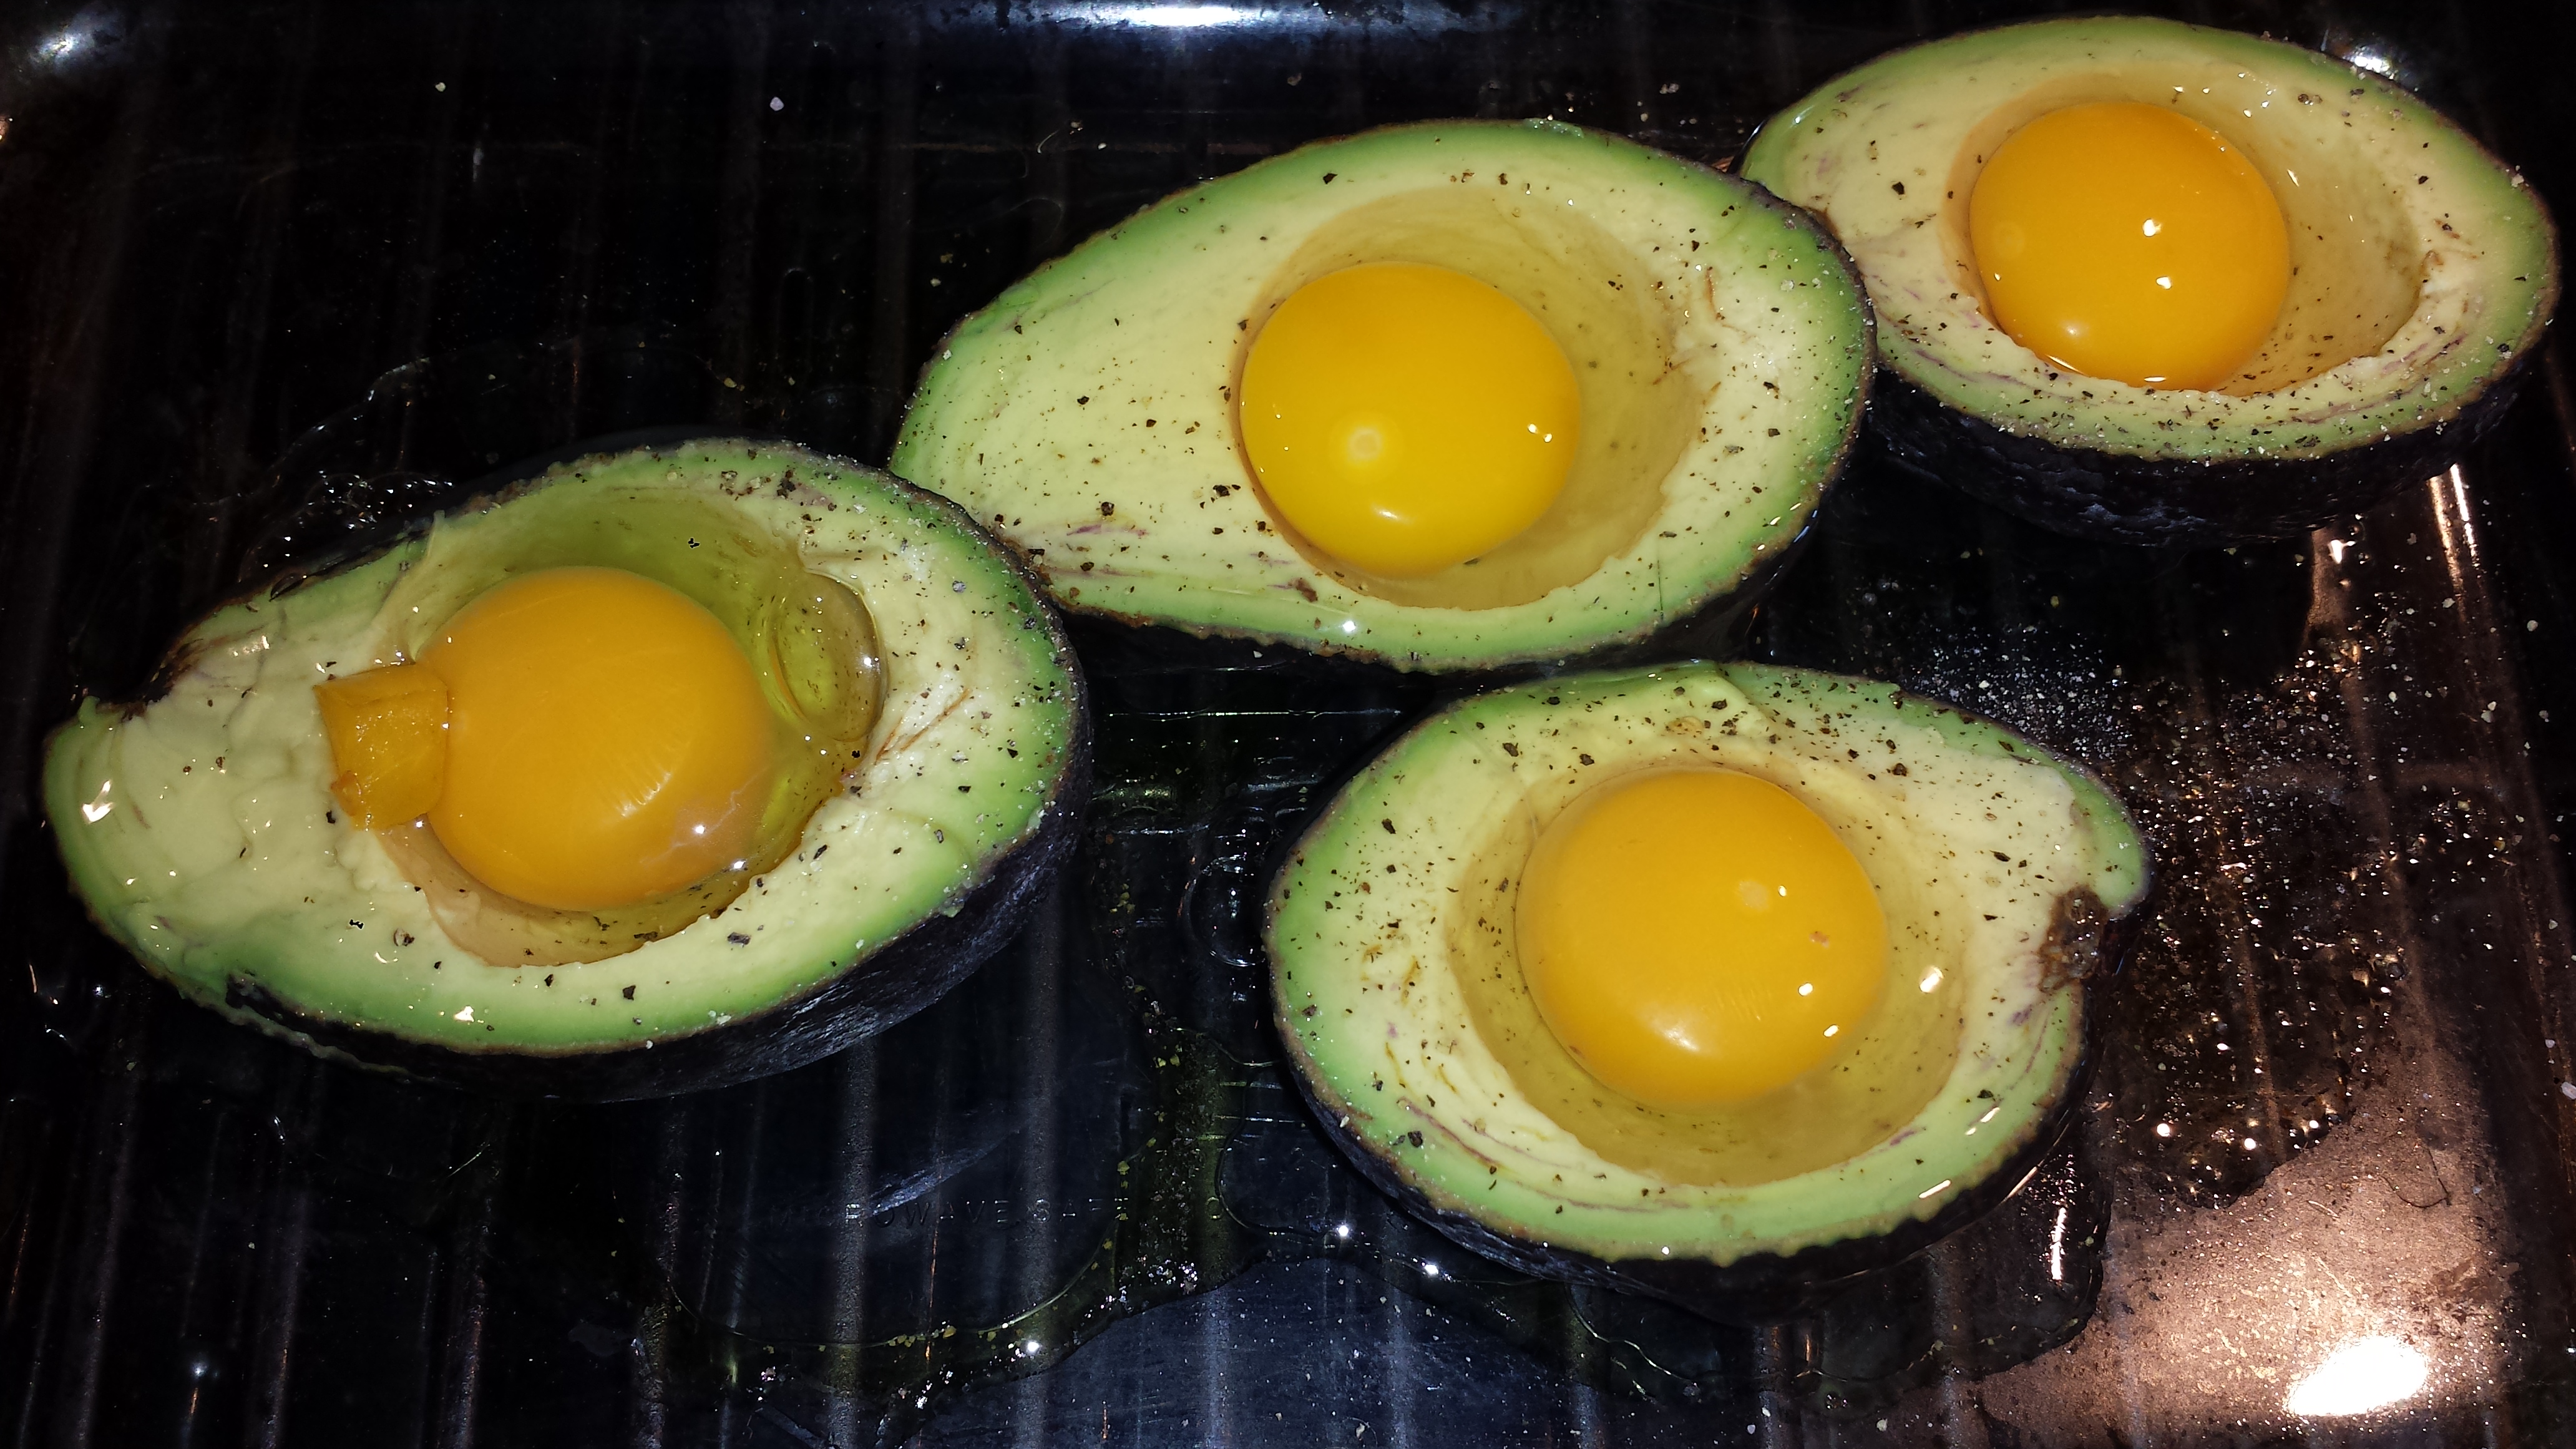
- Crack one egg at a time into the holes of each avocado.

- If you are using vegetable ‘confetti, finely dice pepper and zucchini (or any other veggie you prefer) and saute for a few minutes in butter or oil until slightly softened.
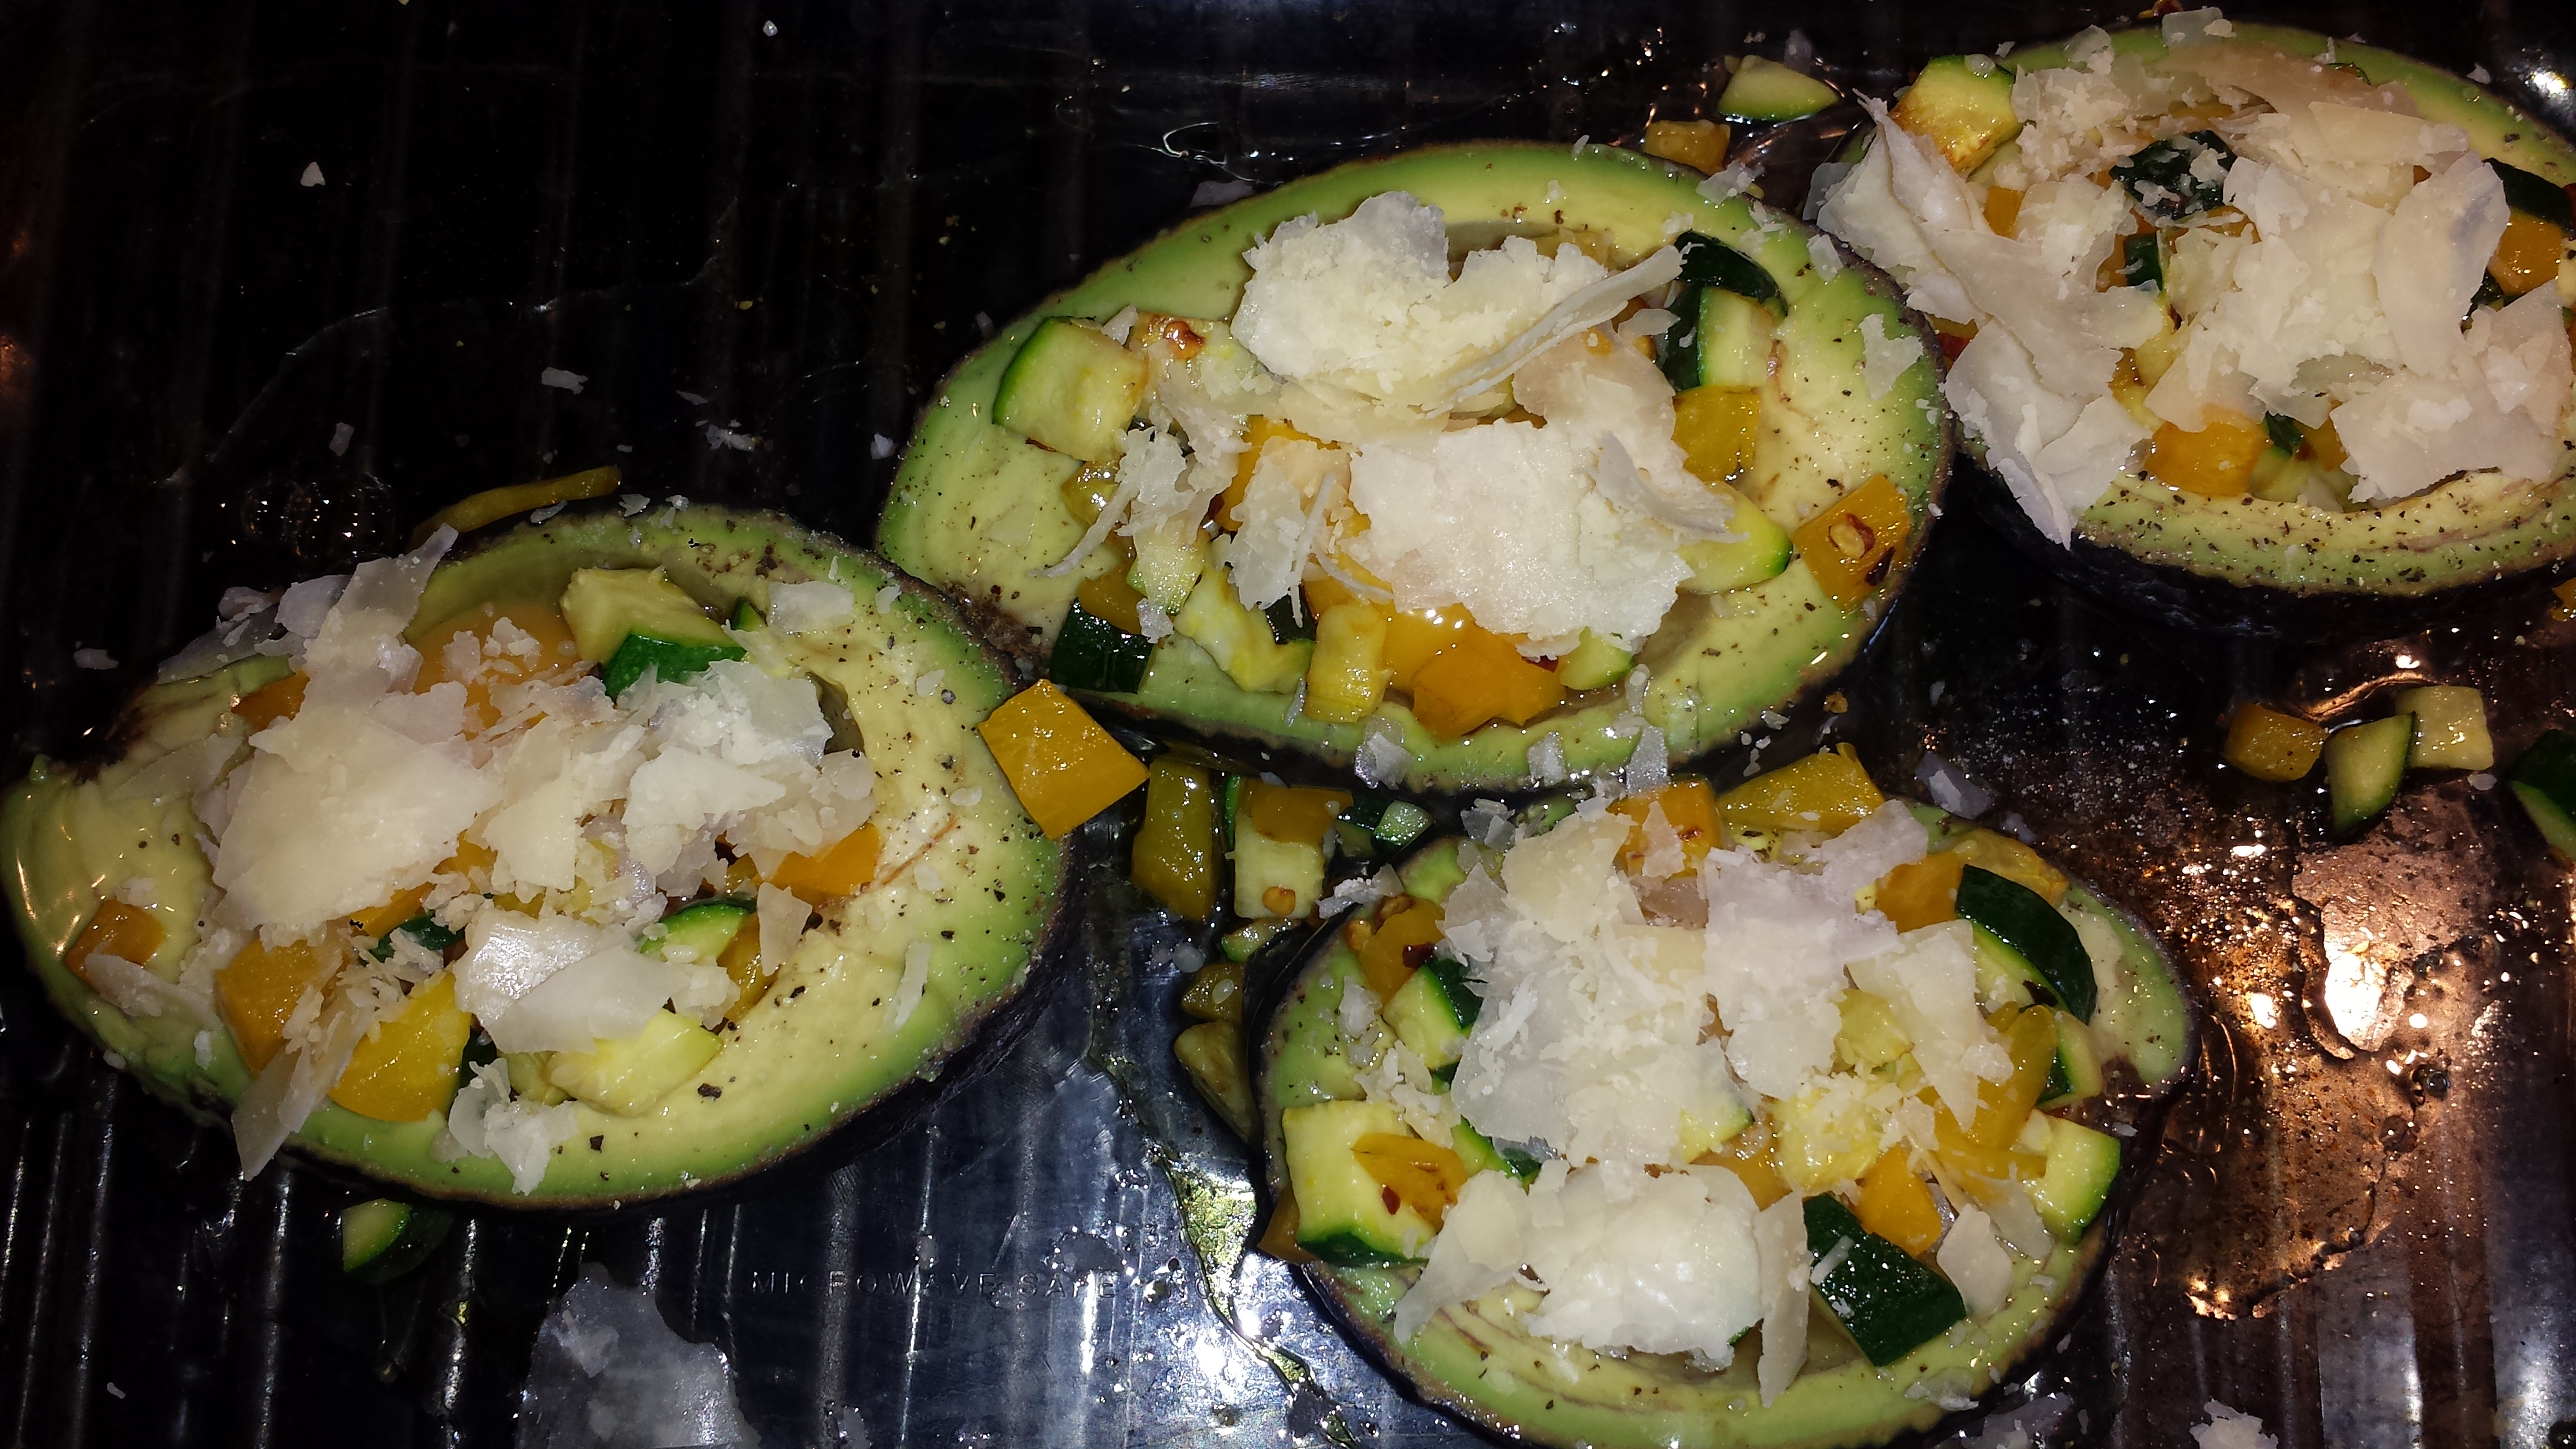
- Sprinkle confetti over eggs. Season with red pepper flakes, salt and pepper and top with parmesan, if using.

- Bake at 400°F for 15 to 25 minutes, or until your egg whites are set and the yolks are to your liking. (If you don’t like a runny yolk, you can slightly beat the egg before adding them to the avocado.)

- To serve, top with freshly chopped parsley and a side of Sriracha.
4 fresh pasture raised eggs (if available) Eggs Baked in Avocado Cups

2 ripe but firm avocados
1/2 yellow, red or green bell pepper (optional)
1/2 zucchini (optional
1/4 cup shaved or grated parmesan (optional)
1/4-1/2 tsp red pepper flakes (optional)
salt and pepper to taste