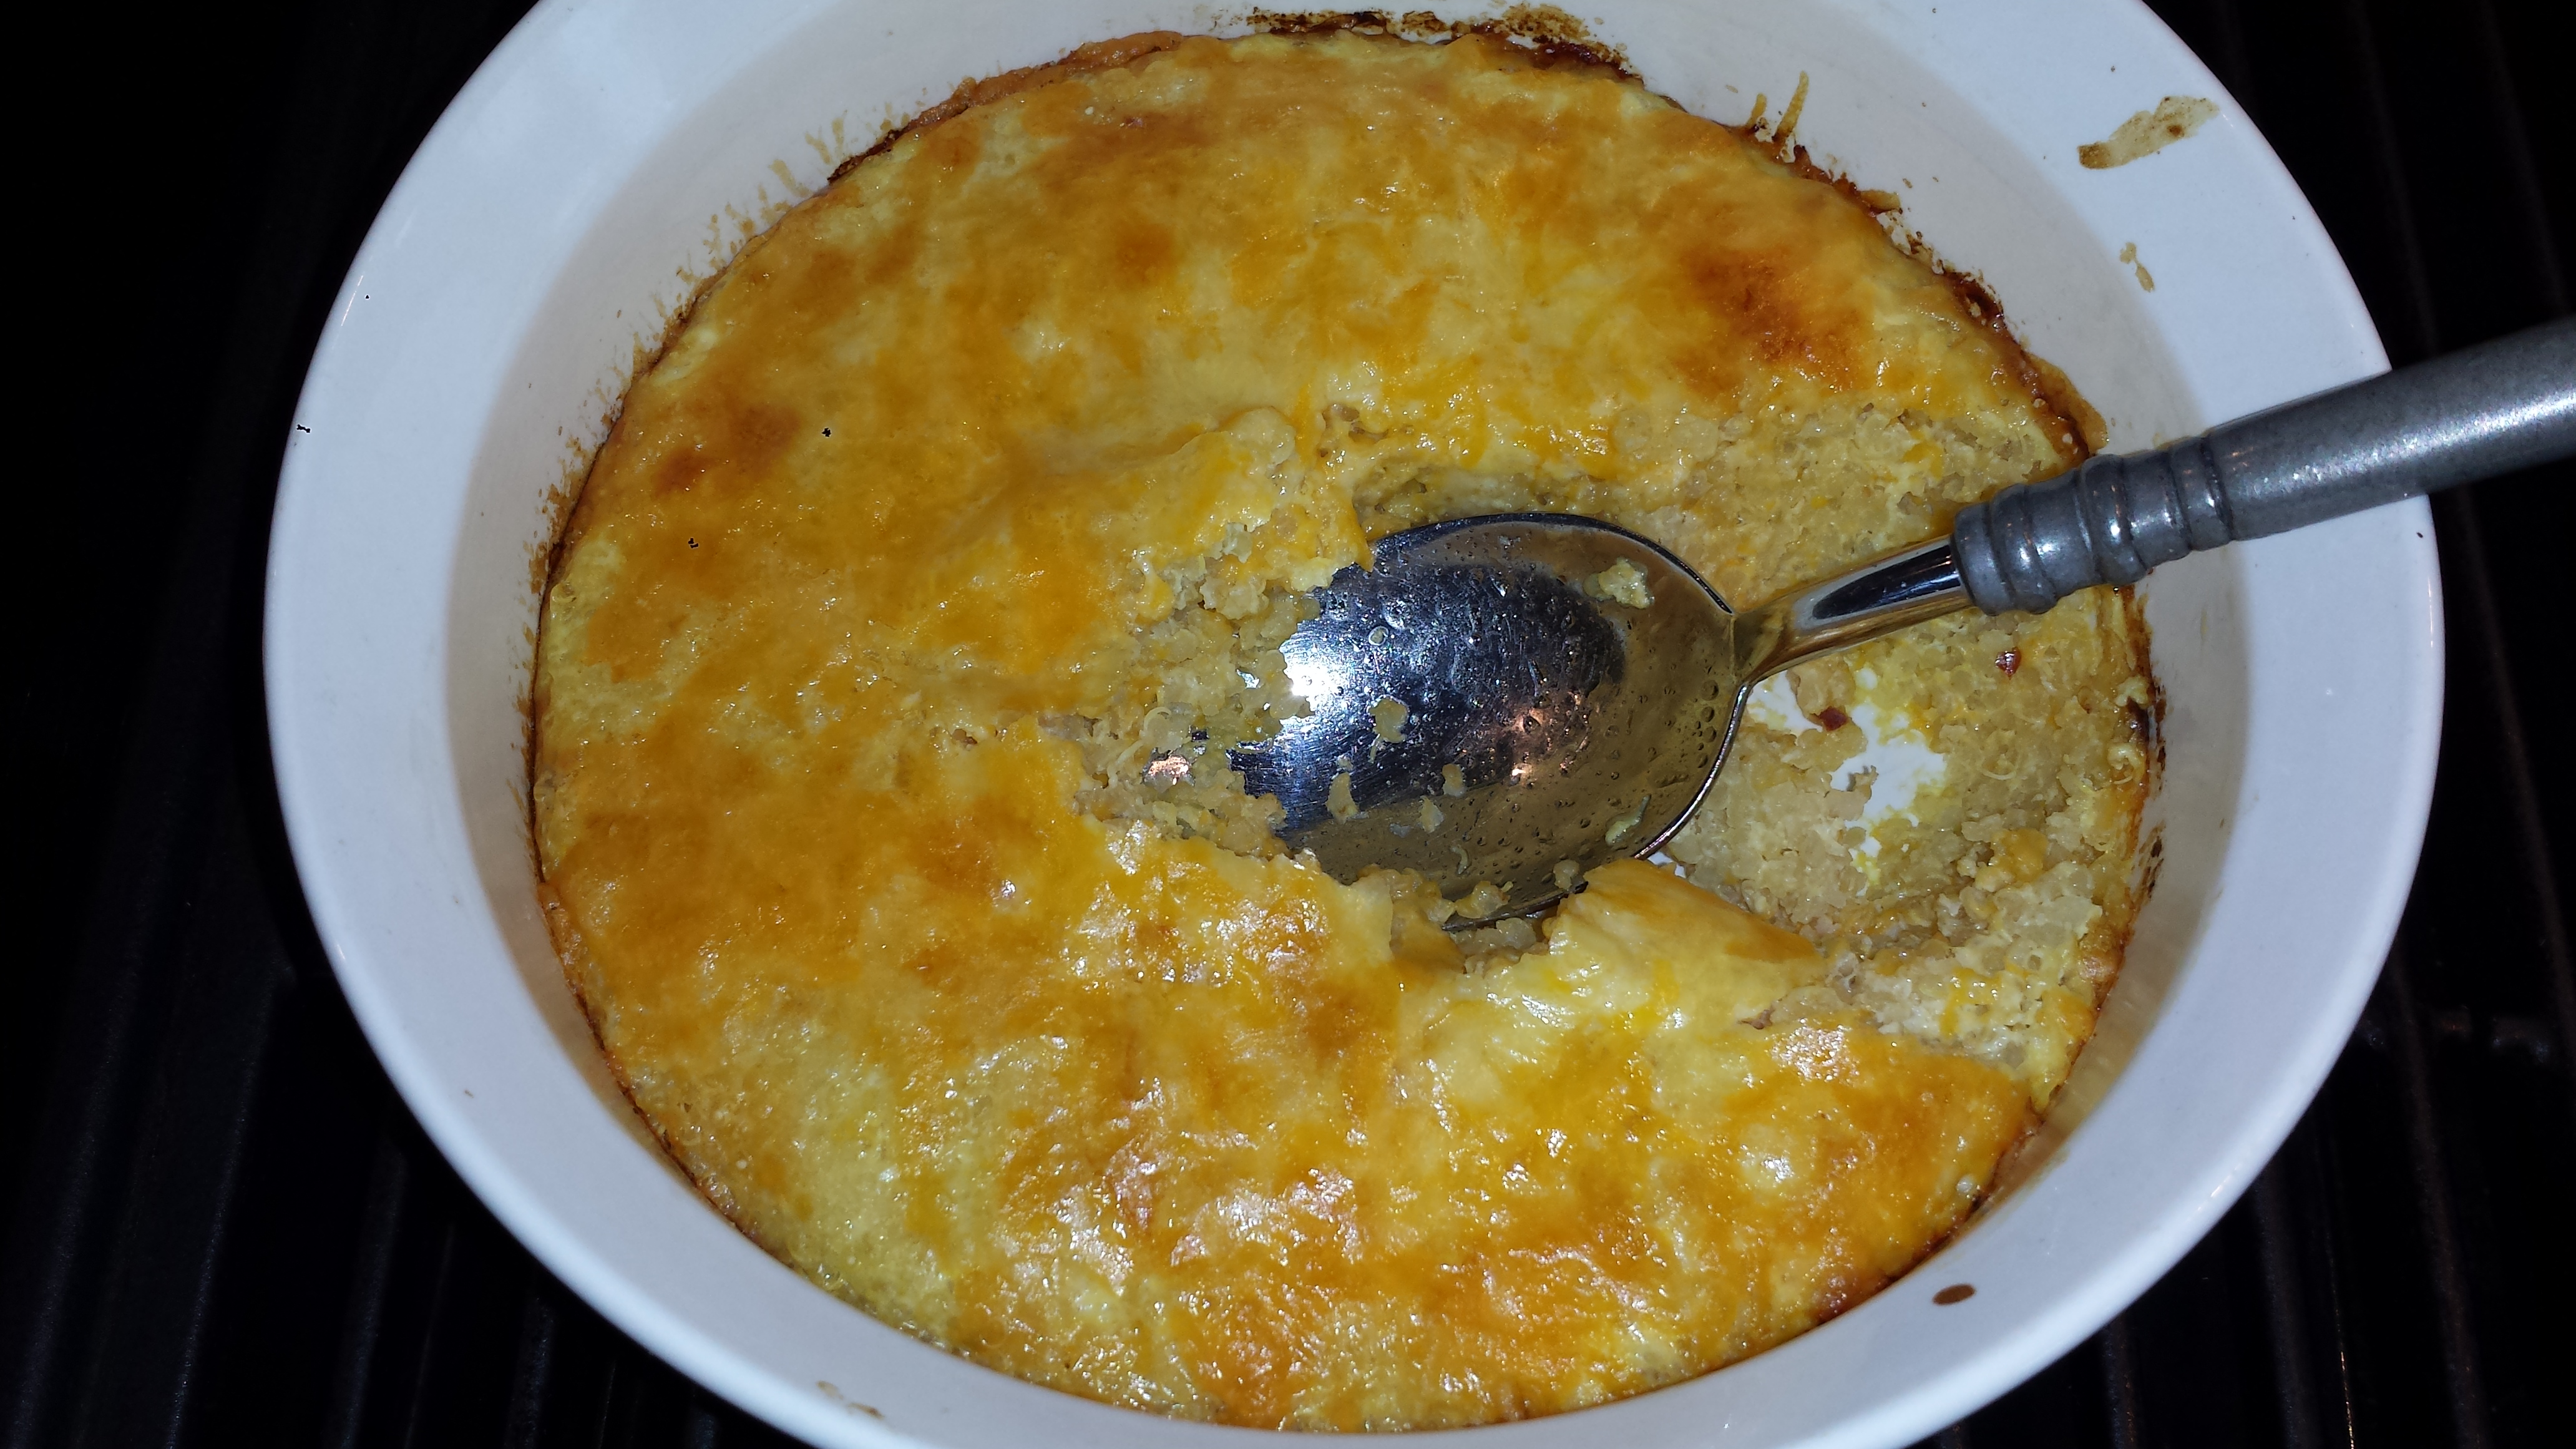
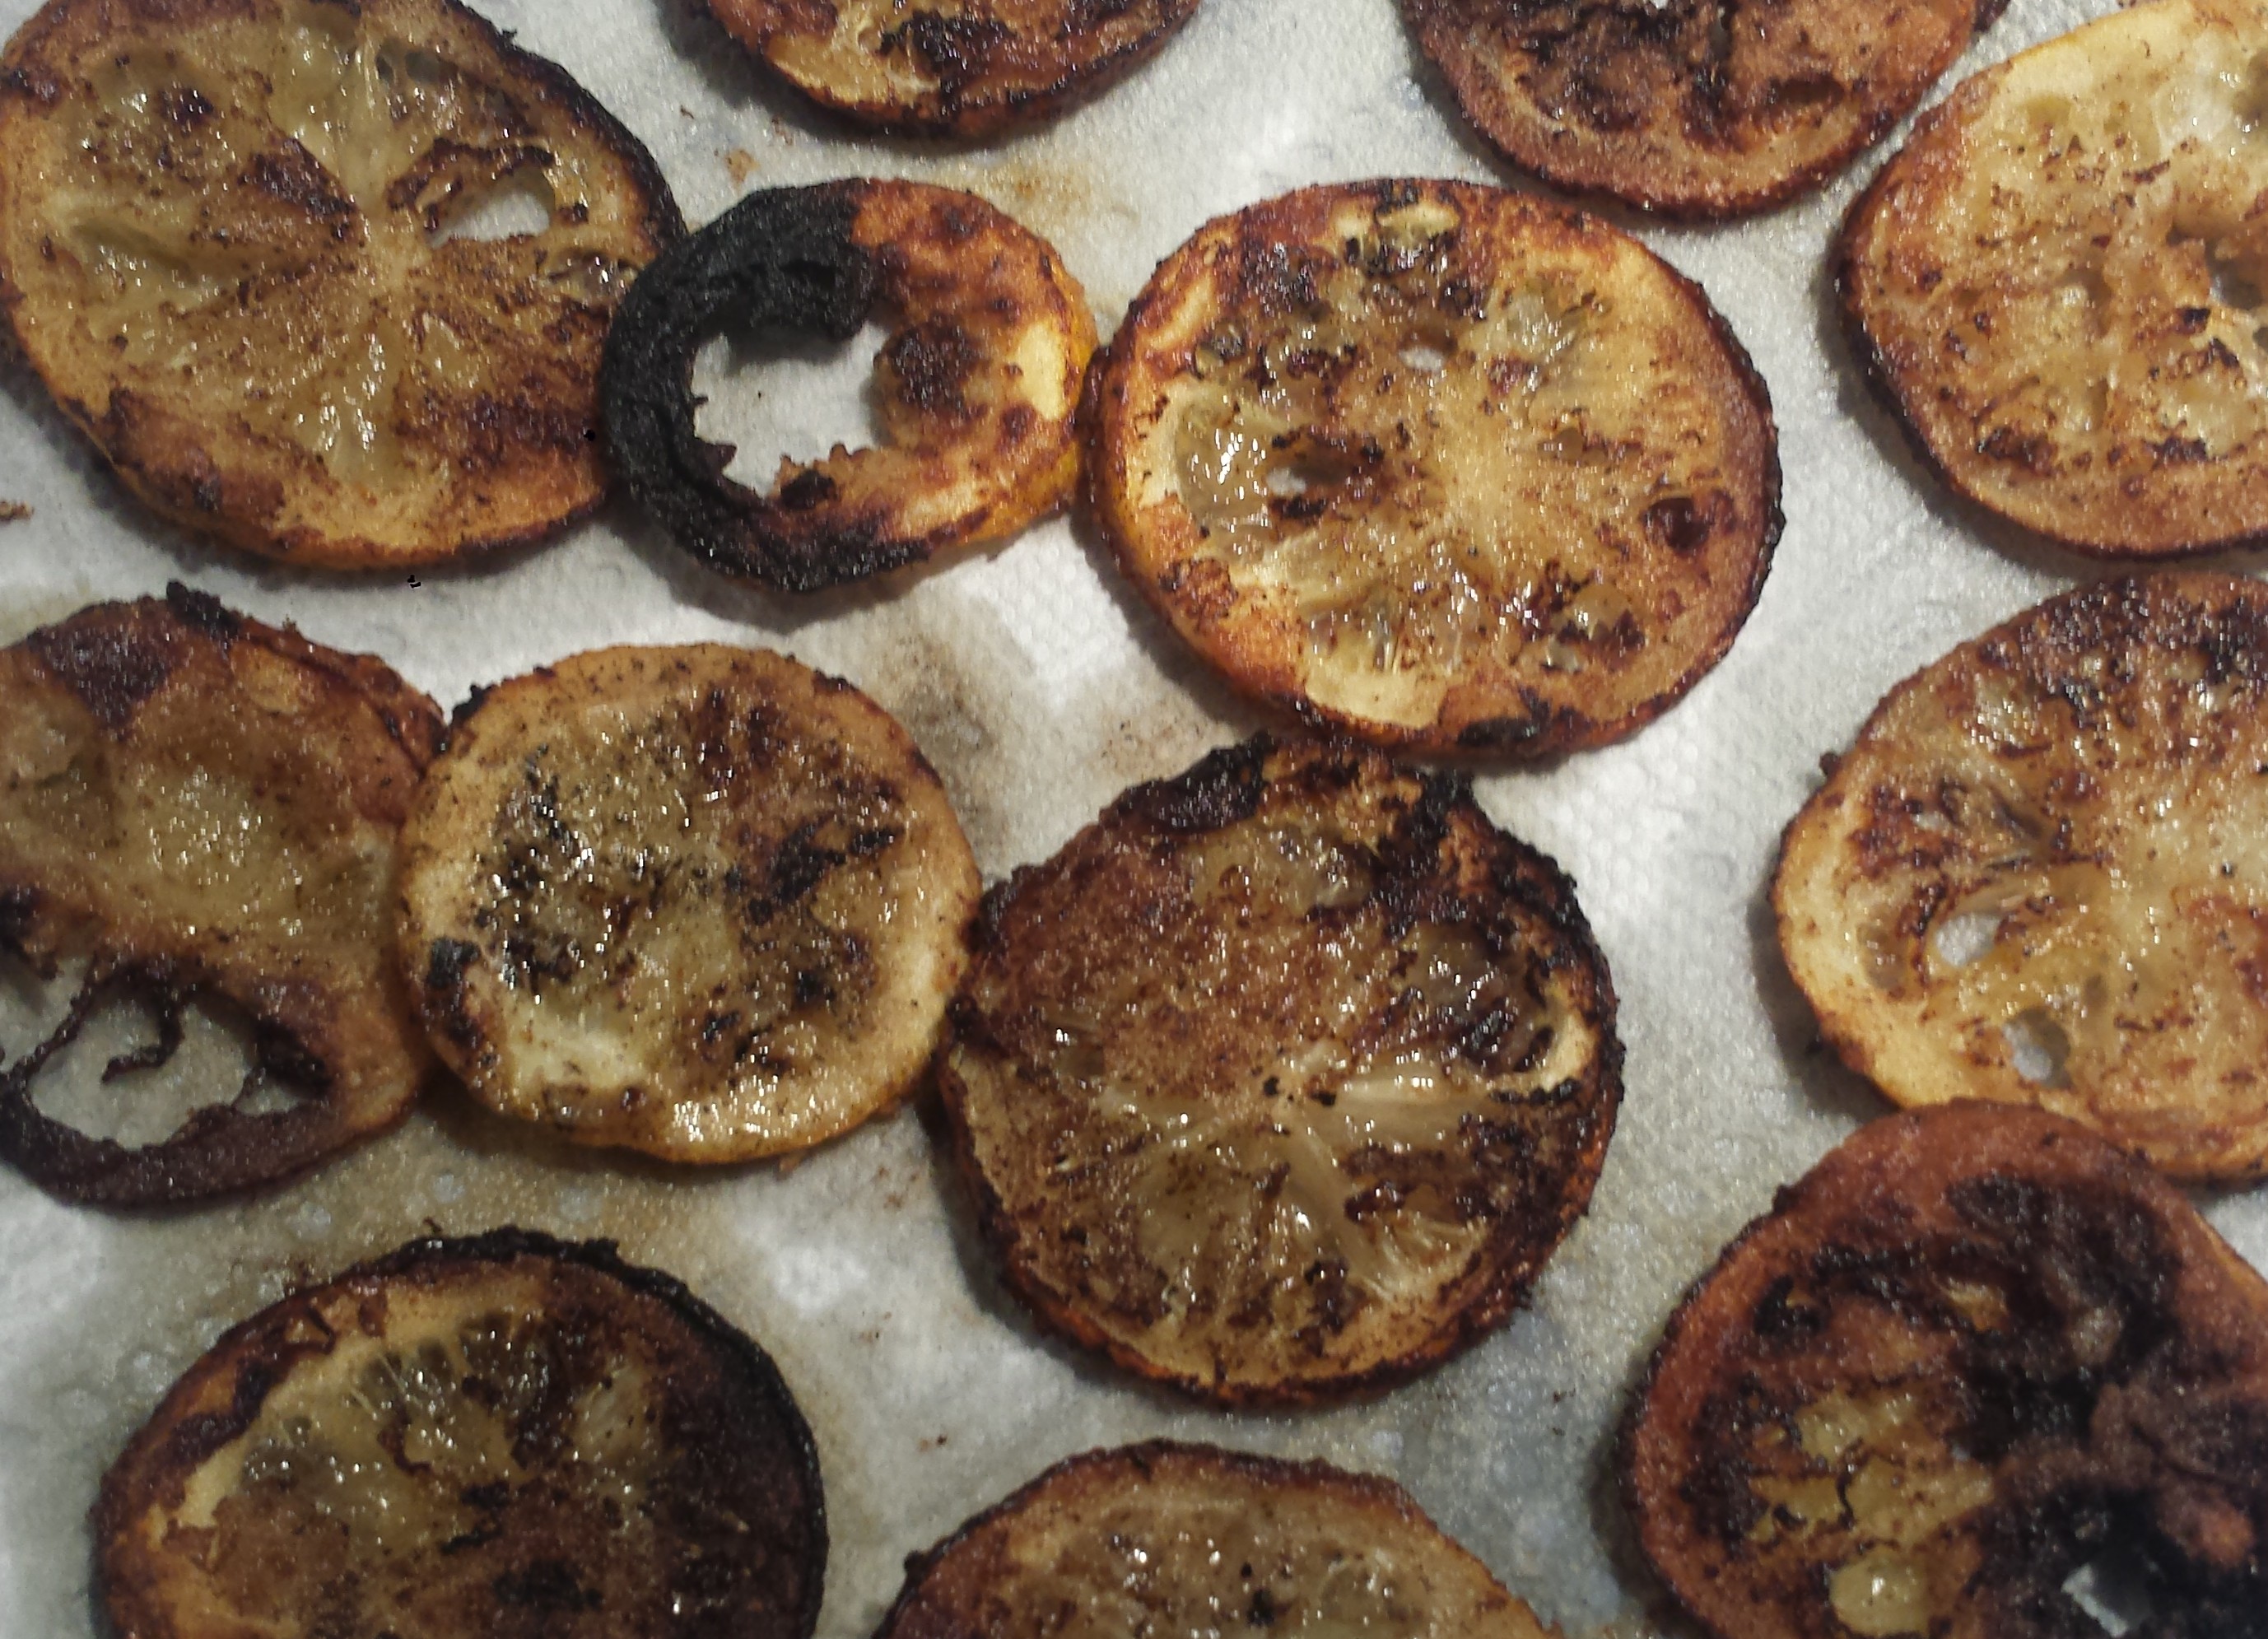
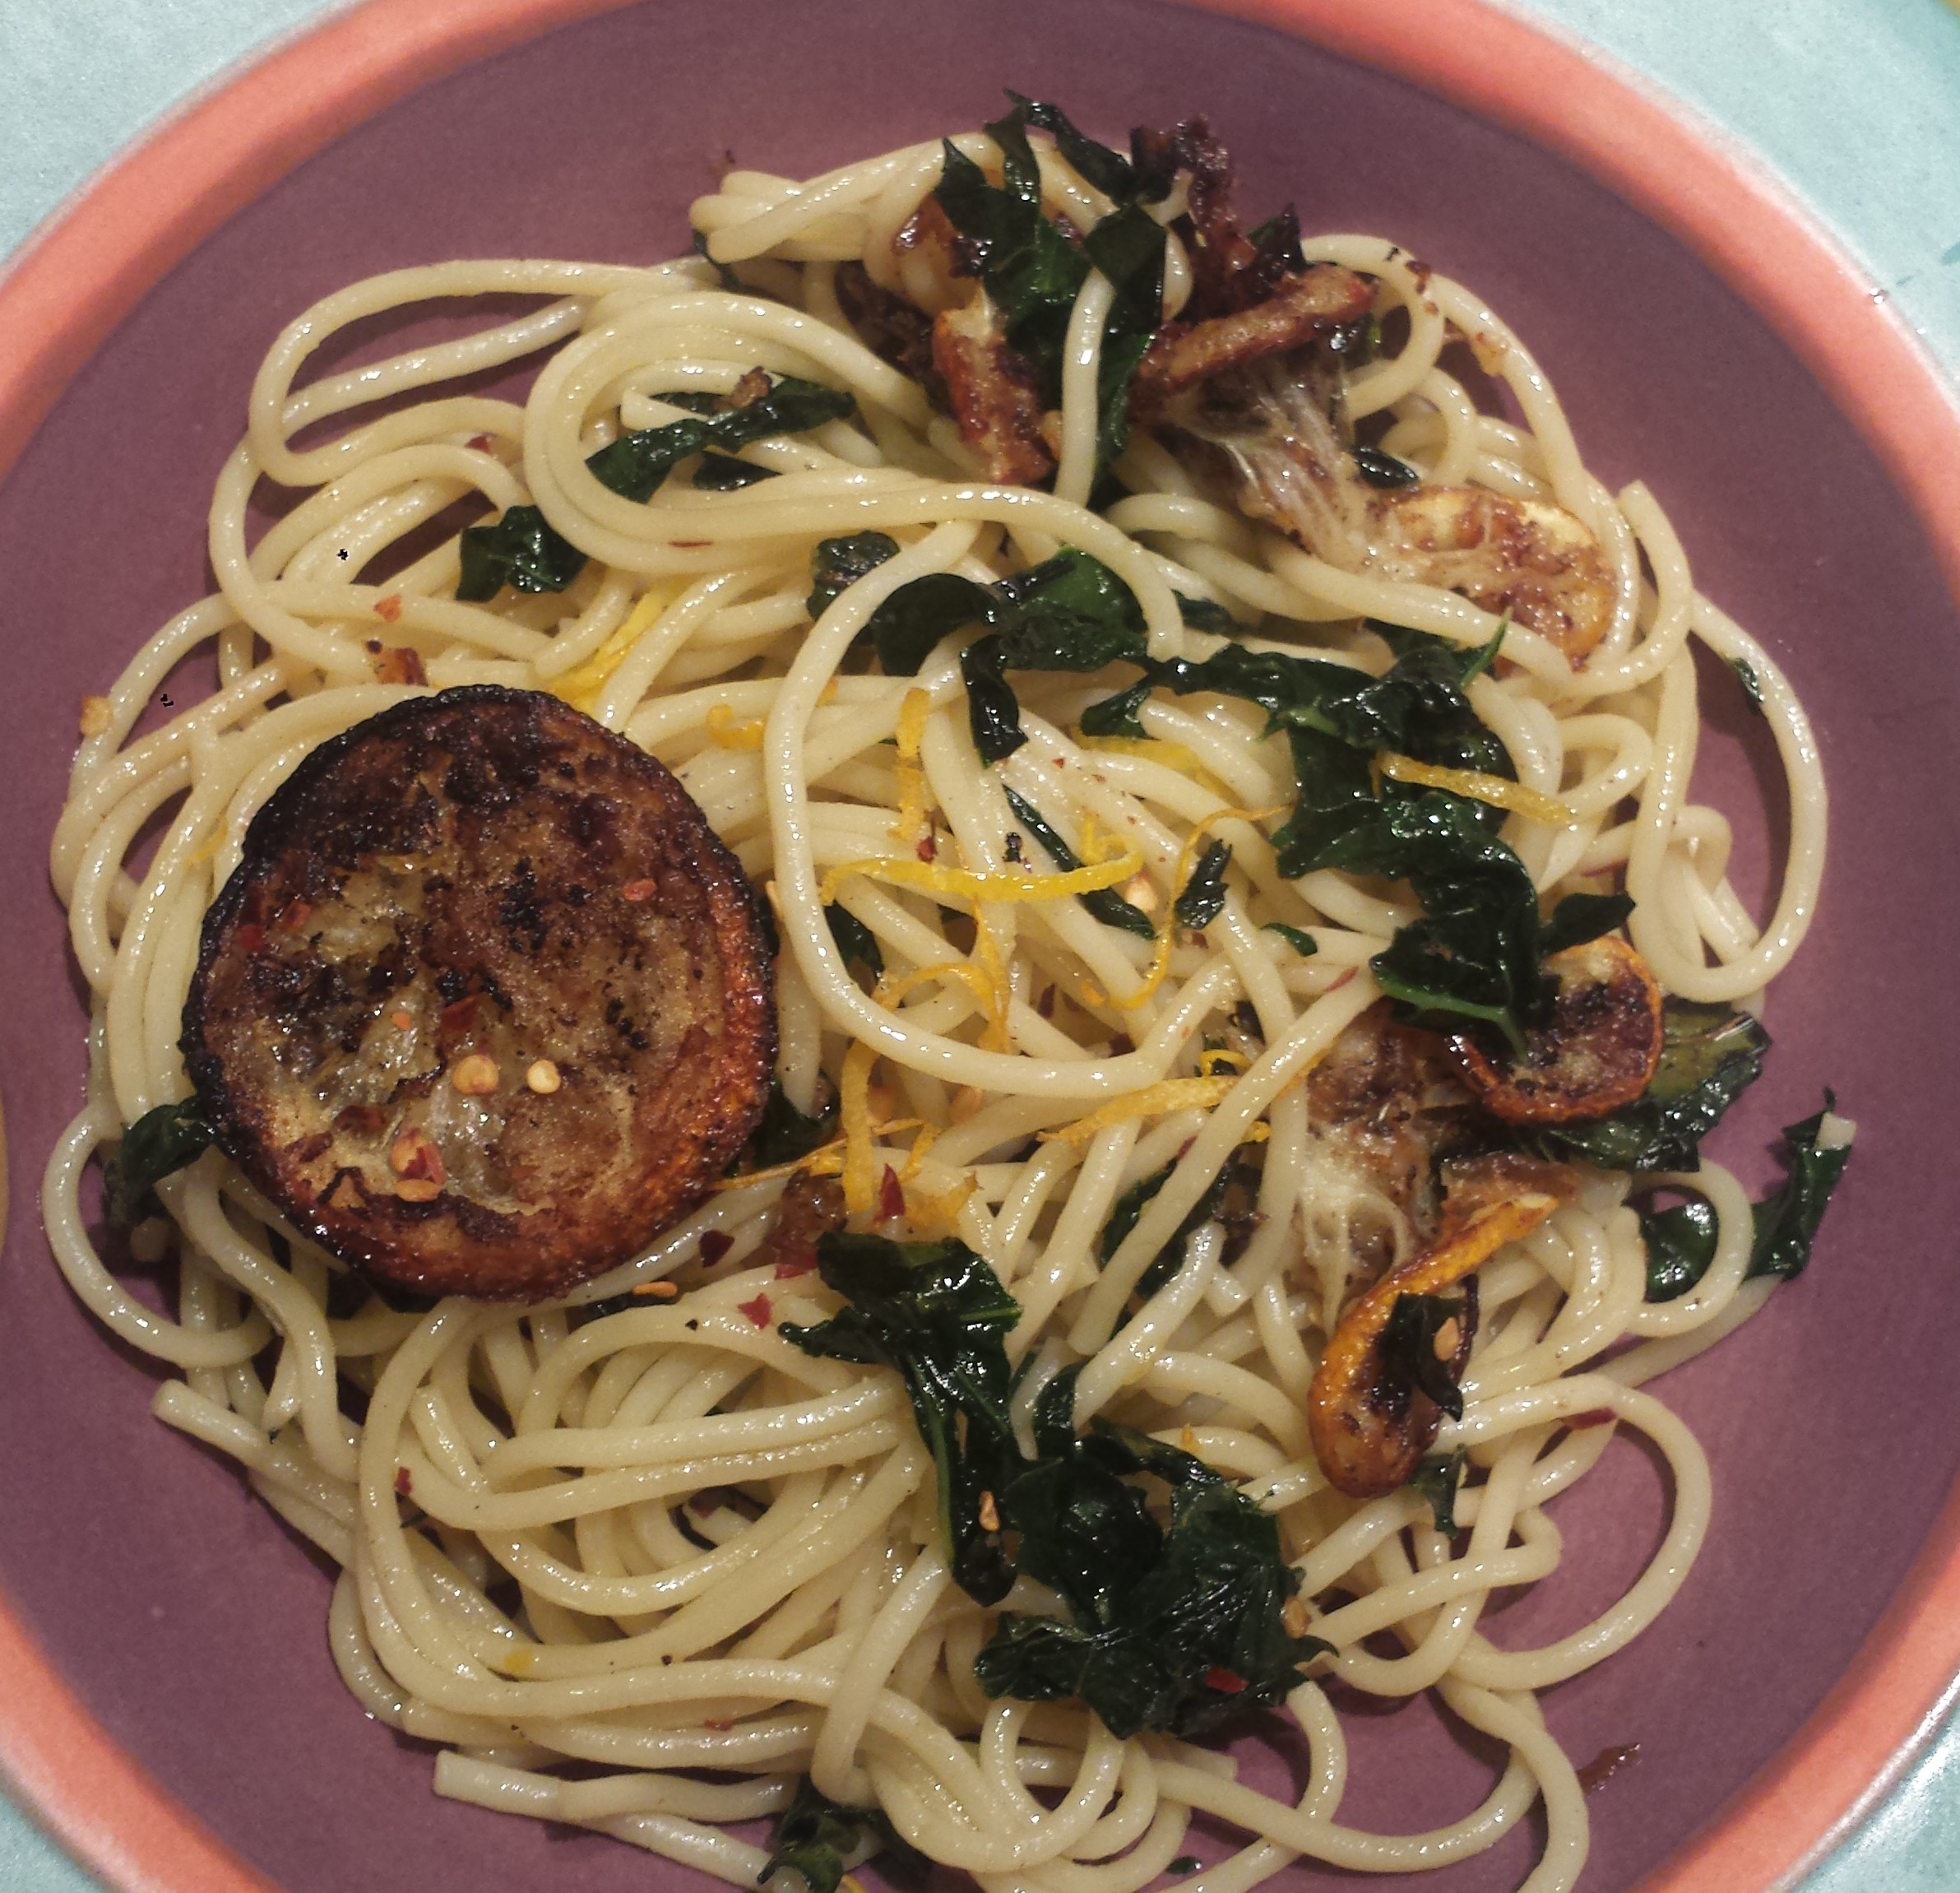
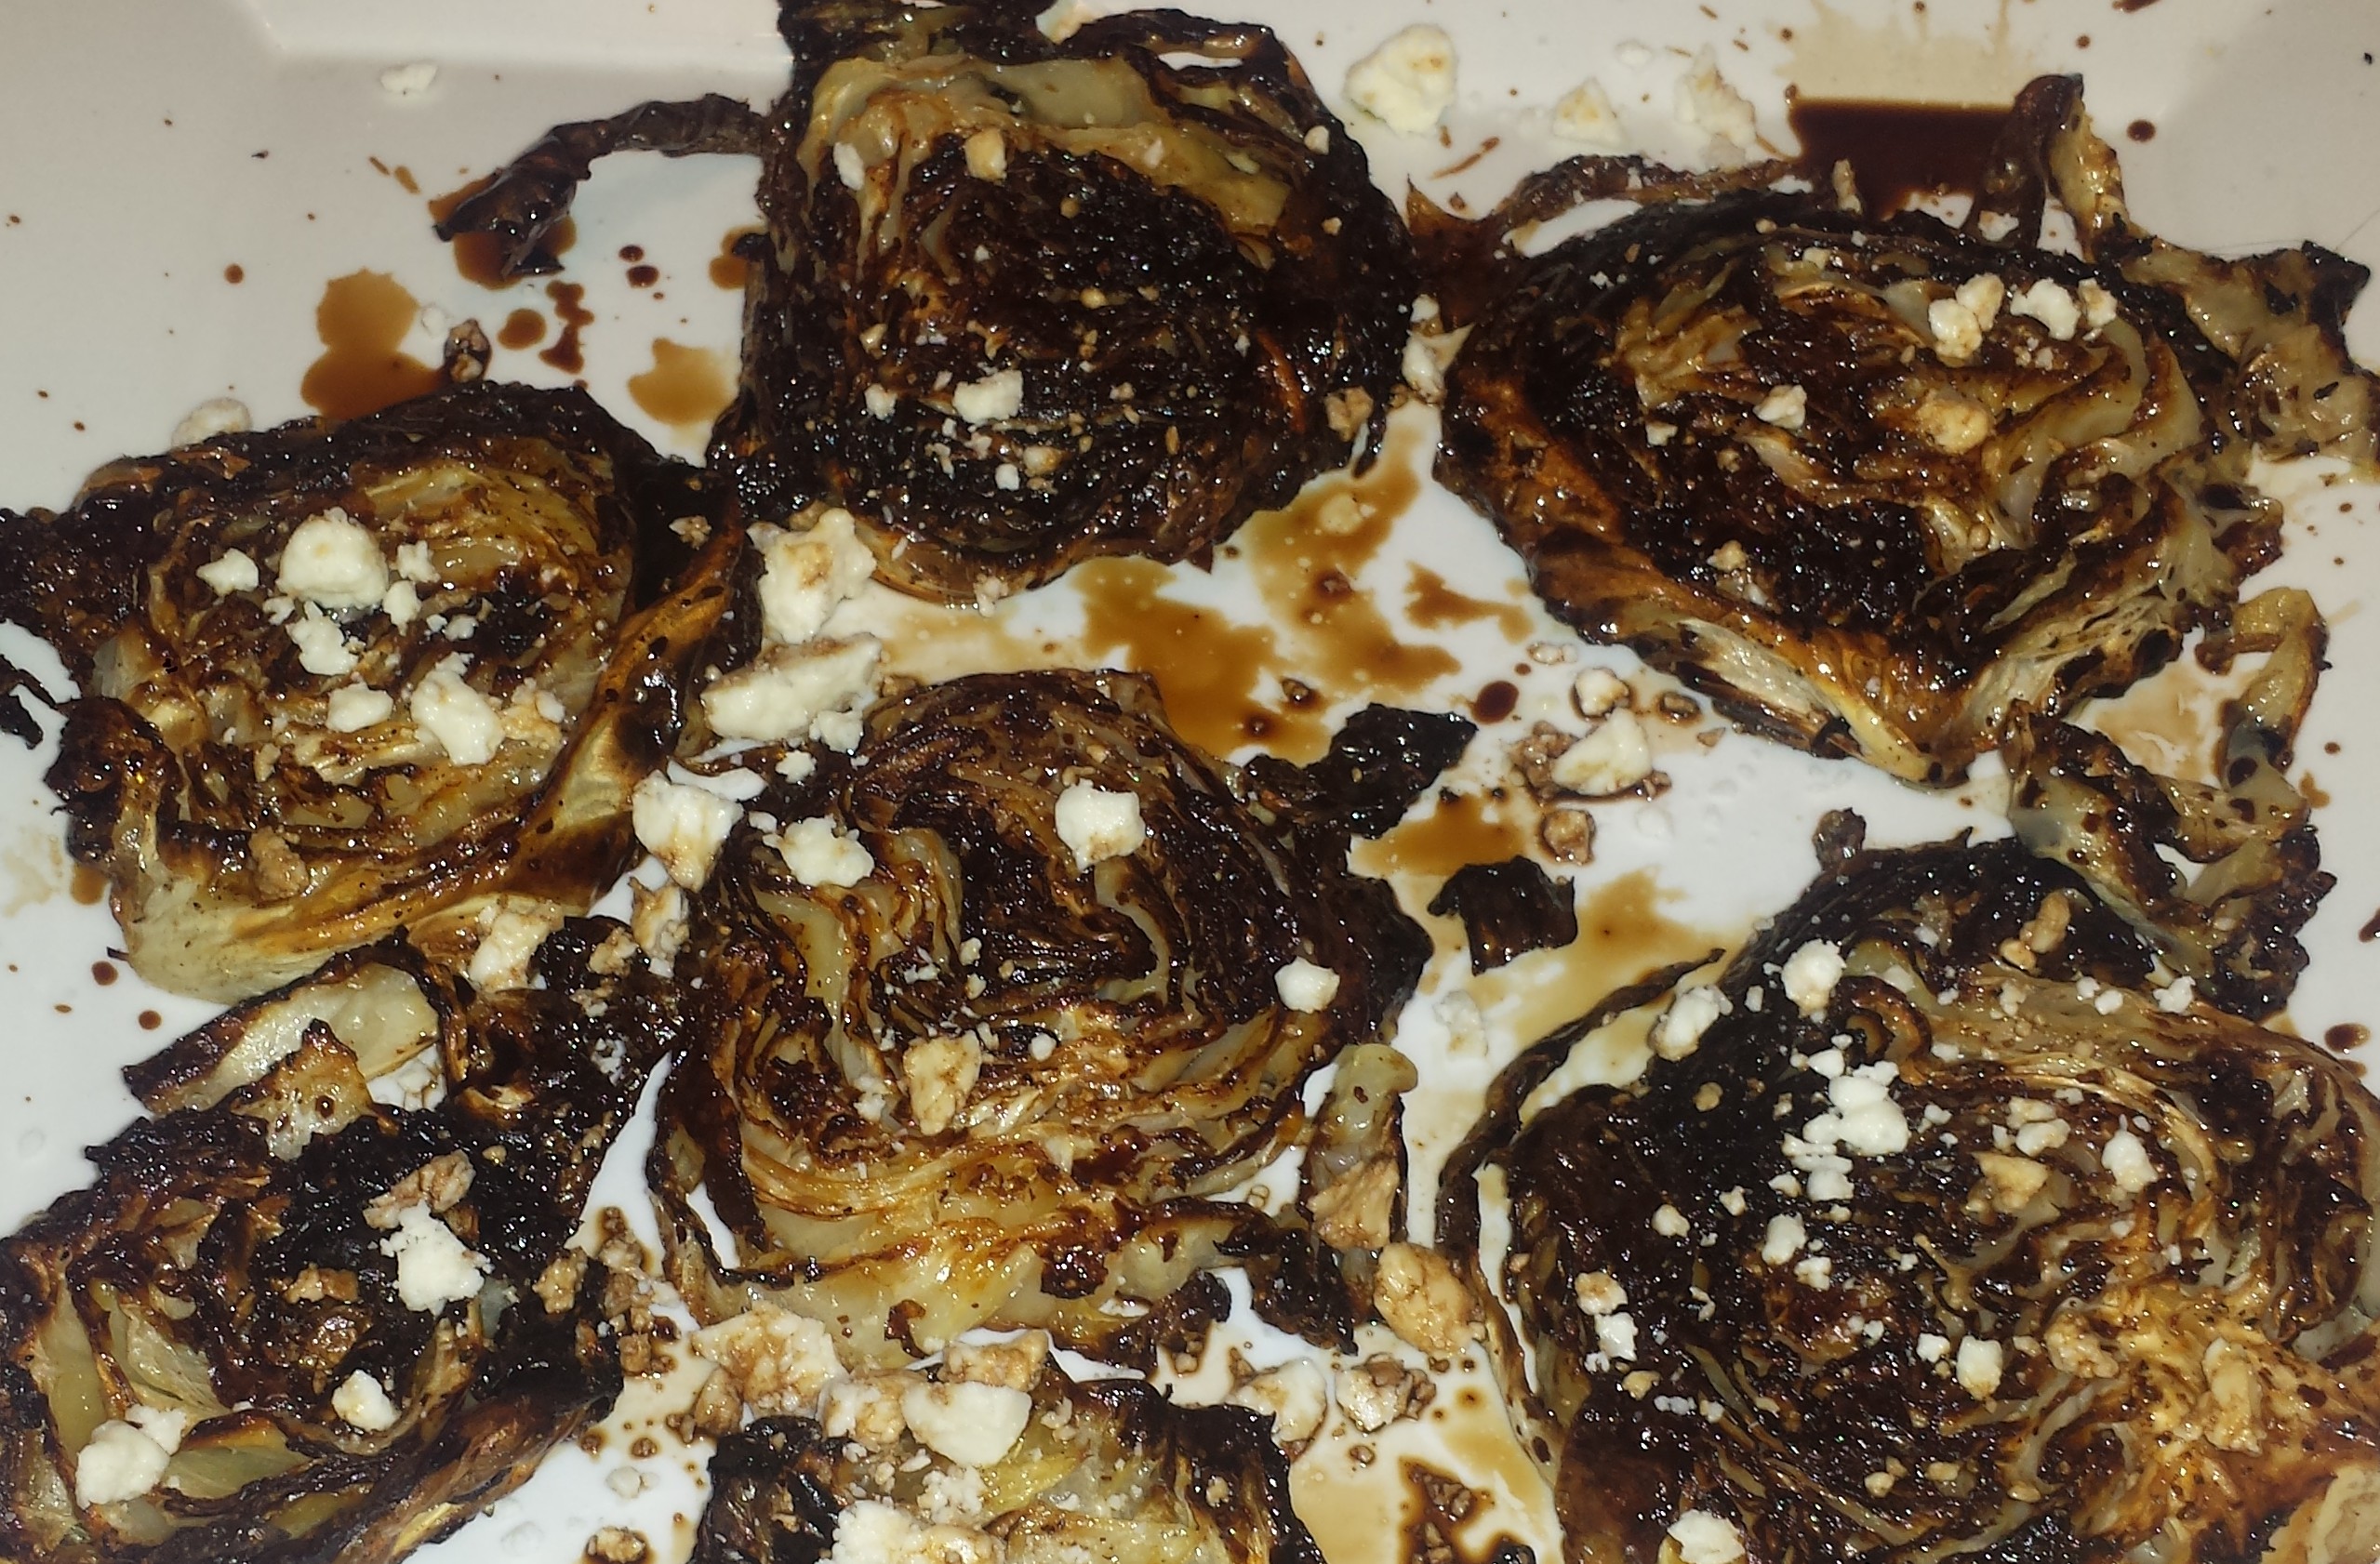
Think cabbage is boring? Think again. It can be oh-so-exciting! Okay, maybe that was a slight exaggeration but it CAN be the star of your dinner table. How about Cabbage ‘Steaks’? Picture thickly sliced cabbage bathed in olive oil and garlic, roasted to crispy ‘almost burnt’ perfection on the outside and creamy goodness on the inside. Serve plain or drizzle with balsamic vinegar and sprinkle with feta. It tastes like a cross between creamy leeks and brussels sprouts, I flipped them over and the bottoms are even more crispy and caramelly. Mmmm… This is my new favorite way to cook cabbage!
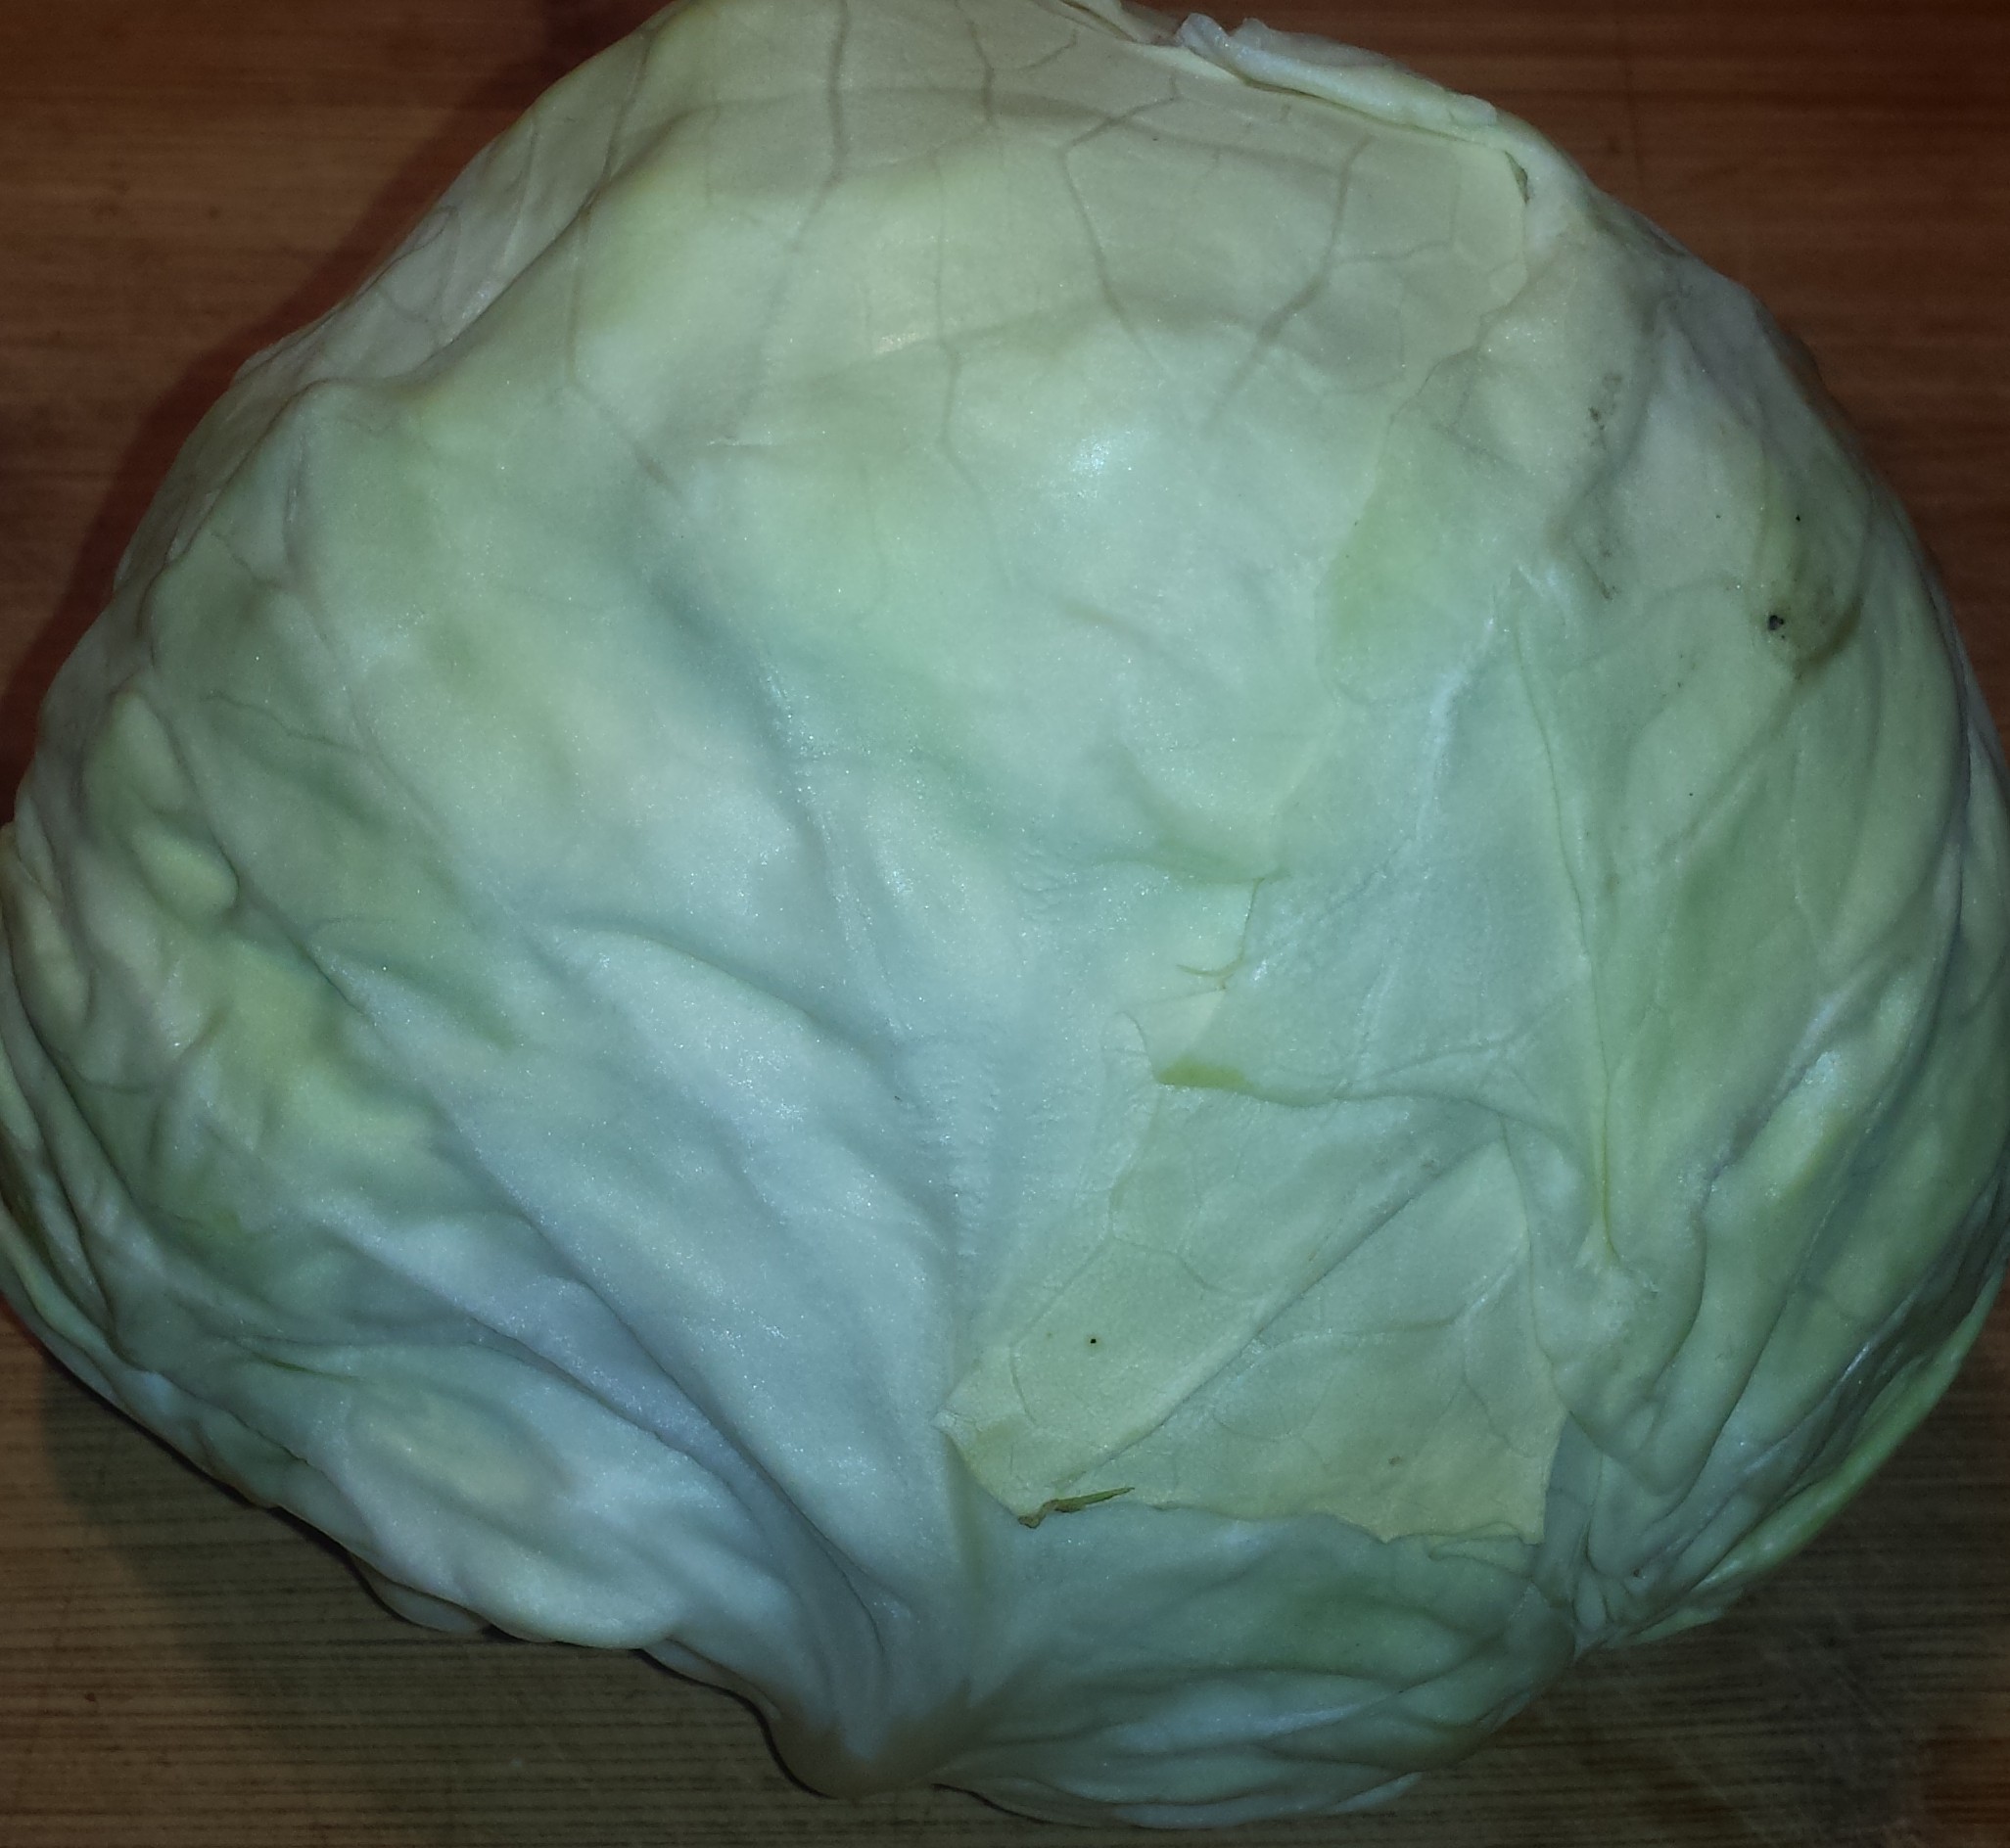
I have had a whole green cabbage sitting by it’s lonesome from last week’s CSA box making me feel guilty every time I open my refrigerator Yes, I know better than to personify my veggies but I’m just a softy. I didn’t know what to do with this lone cabbage. The last time I remember cooking cabbage, other than in a stir-fry was ages ago when I made Corned Beef and Cabbage. I normally use cabbage in slaws or fish tacos but those foods scream ‘summer’ to me and it’s only February. The conundrum is that even though cabbage is available all year long, the best cabbage is in season NOW as the cool temperatures brings out the very best in cruciferous vegetables like cauliflower, broccoli and cabbage which is why you see them piled up at the market right now. So I was overjoyed to come across a recipe for thick slices of cabbage roasted in the oven. aka ‘Cabbage Steaks’ from Everyday Maven. Had To Try And Glad I Did!
ROASTED CABBAGE ‘STEAKS’
1 head green cabbage
3 Tbsn olive oil, plus more for the pan
3-4 large garlic cloves, minced (or garlic paste)
salt and pepper to taste
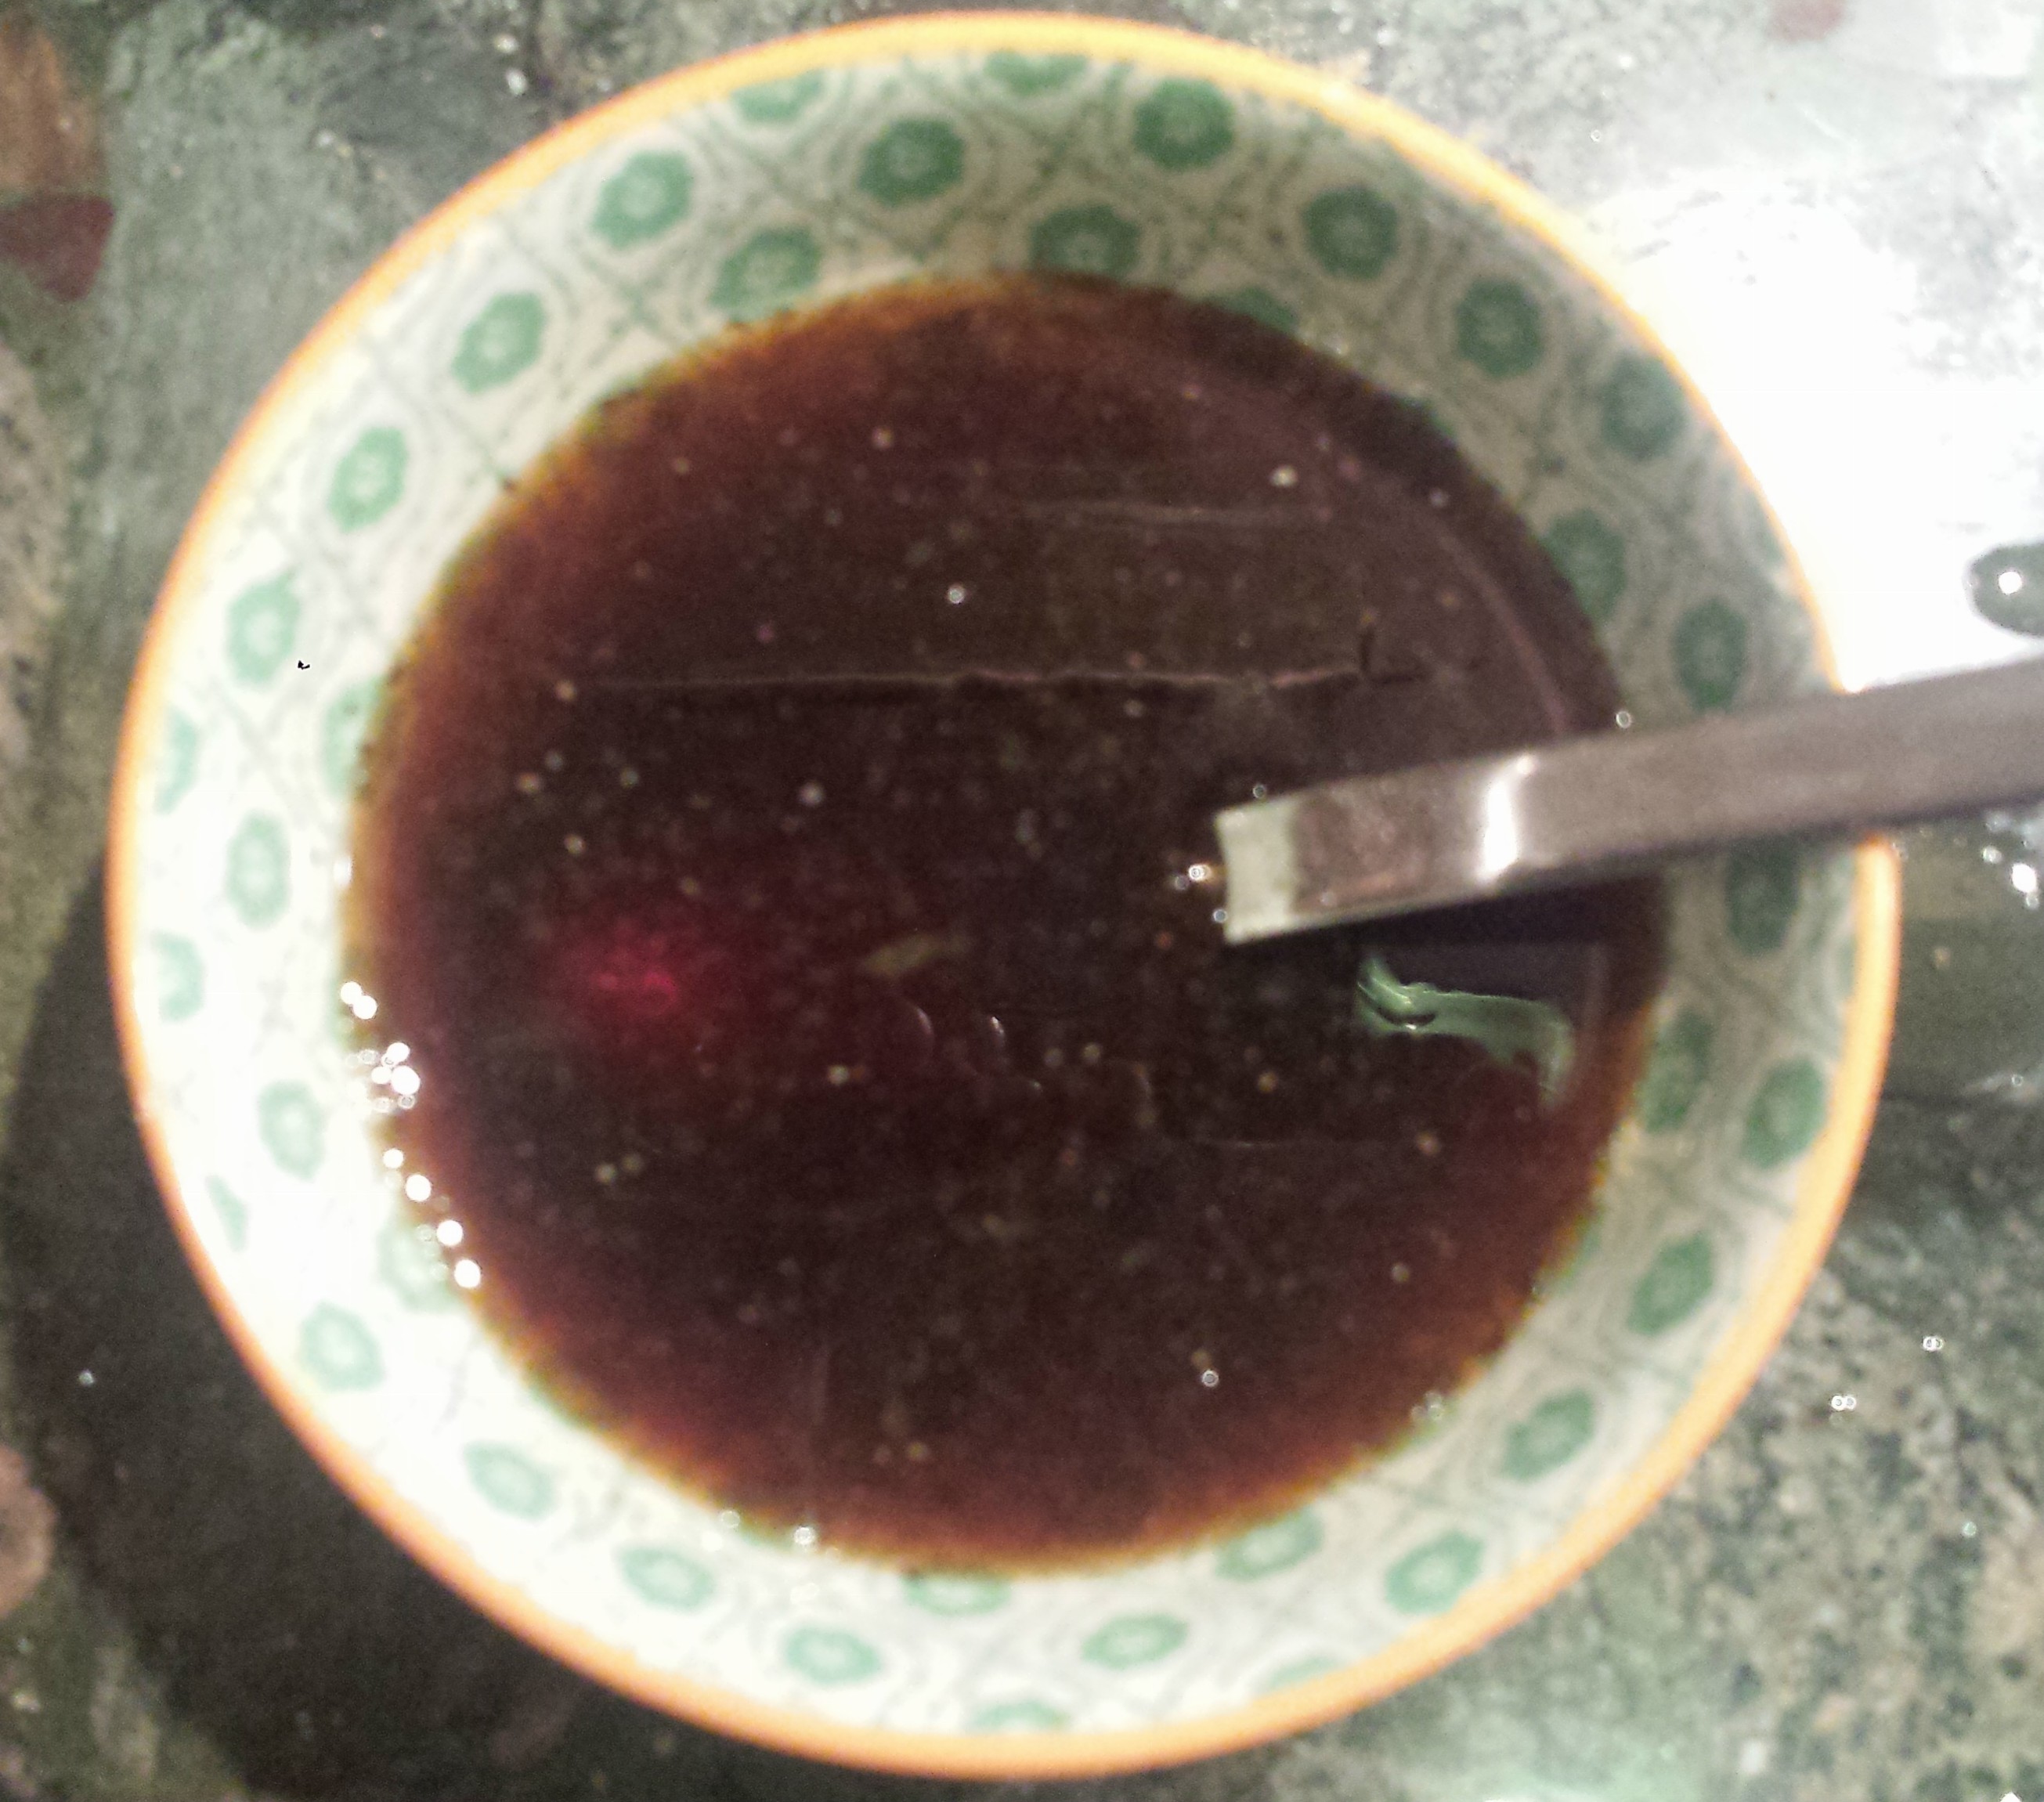
1-2 Tbsn balsamic vinegar (optional)
1 Tbsn feta, asiago or parmesan (optional)

- Pour olive oil into small bowl and add minced garlic or garlic paste. Let sit while you prepare the cabbage.

- Preheat oven to 400F and coat a baking sheet with olive oil or cooking spray or line with parchment paper. Slice cabbage vertically into 1″ thick slices.

- Place cabbage in single layer in baking dish. Brush the olive oil mixture on each of the cabbage slices, then sprinkle generousy with salt and pepper.

- Turn them over and repeat on the other side.

- Roast on the middle rack for 30 minutes. Carefully flip the cabbage steaks (keeping them together) and roast for an additional 30 minutes until edges are brown and crispy.

- To serve, drizzle with balsamic vinegar and sprinkle with feta or asiago cheese, if desired.
Roasted Cabbage 'Steaks'

1 head green cabbage
3 Tbsn olive oil, plus more for the pan
3-4 large garlic cloves, minced (or garlic paste)
salt and pepper to taste
1-2 Tbsn balsamic vinegar (optional)
1 Tbsn feta, asiago or parmesan (optional)- Pour olive oil into small bowl and add minced garlic or garlic paste. Let sit while you prepare the cabbage.
- Preheat oven to 400F and coat a baking sheet with olive oil or cooking spray or line with parchment paper. Slice cabbage vertically into 1″ thick slices.
- Place cabbage in single layer in baking dish. Brush the olive oil mixture on each of the cabbage slices, then sprinkle generousy with salt and pepper.
- Turn them over and repeat on the other side.
- Roast on the middle rack for 30 minutes.
- Carefully flip the cabbage steaks (keeping them together) and roast for an additional 30 minutes until edges are brown and crispy.
- To serve, drizzle with balsamic vinegar and sprinkle with feta or asiago cheese, if desired.