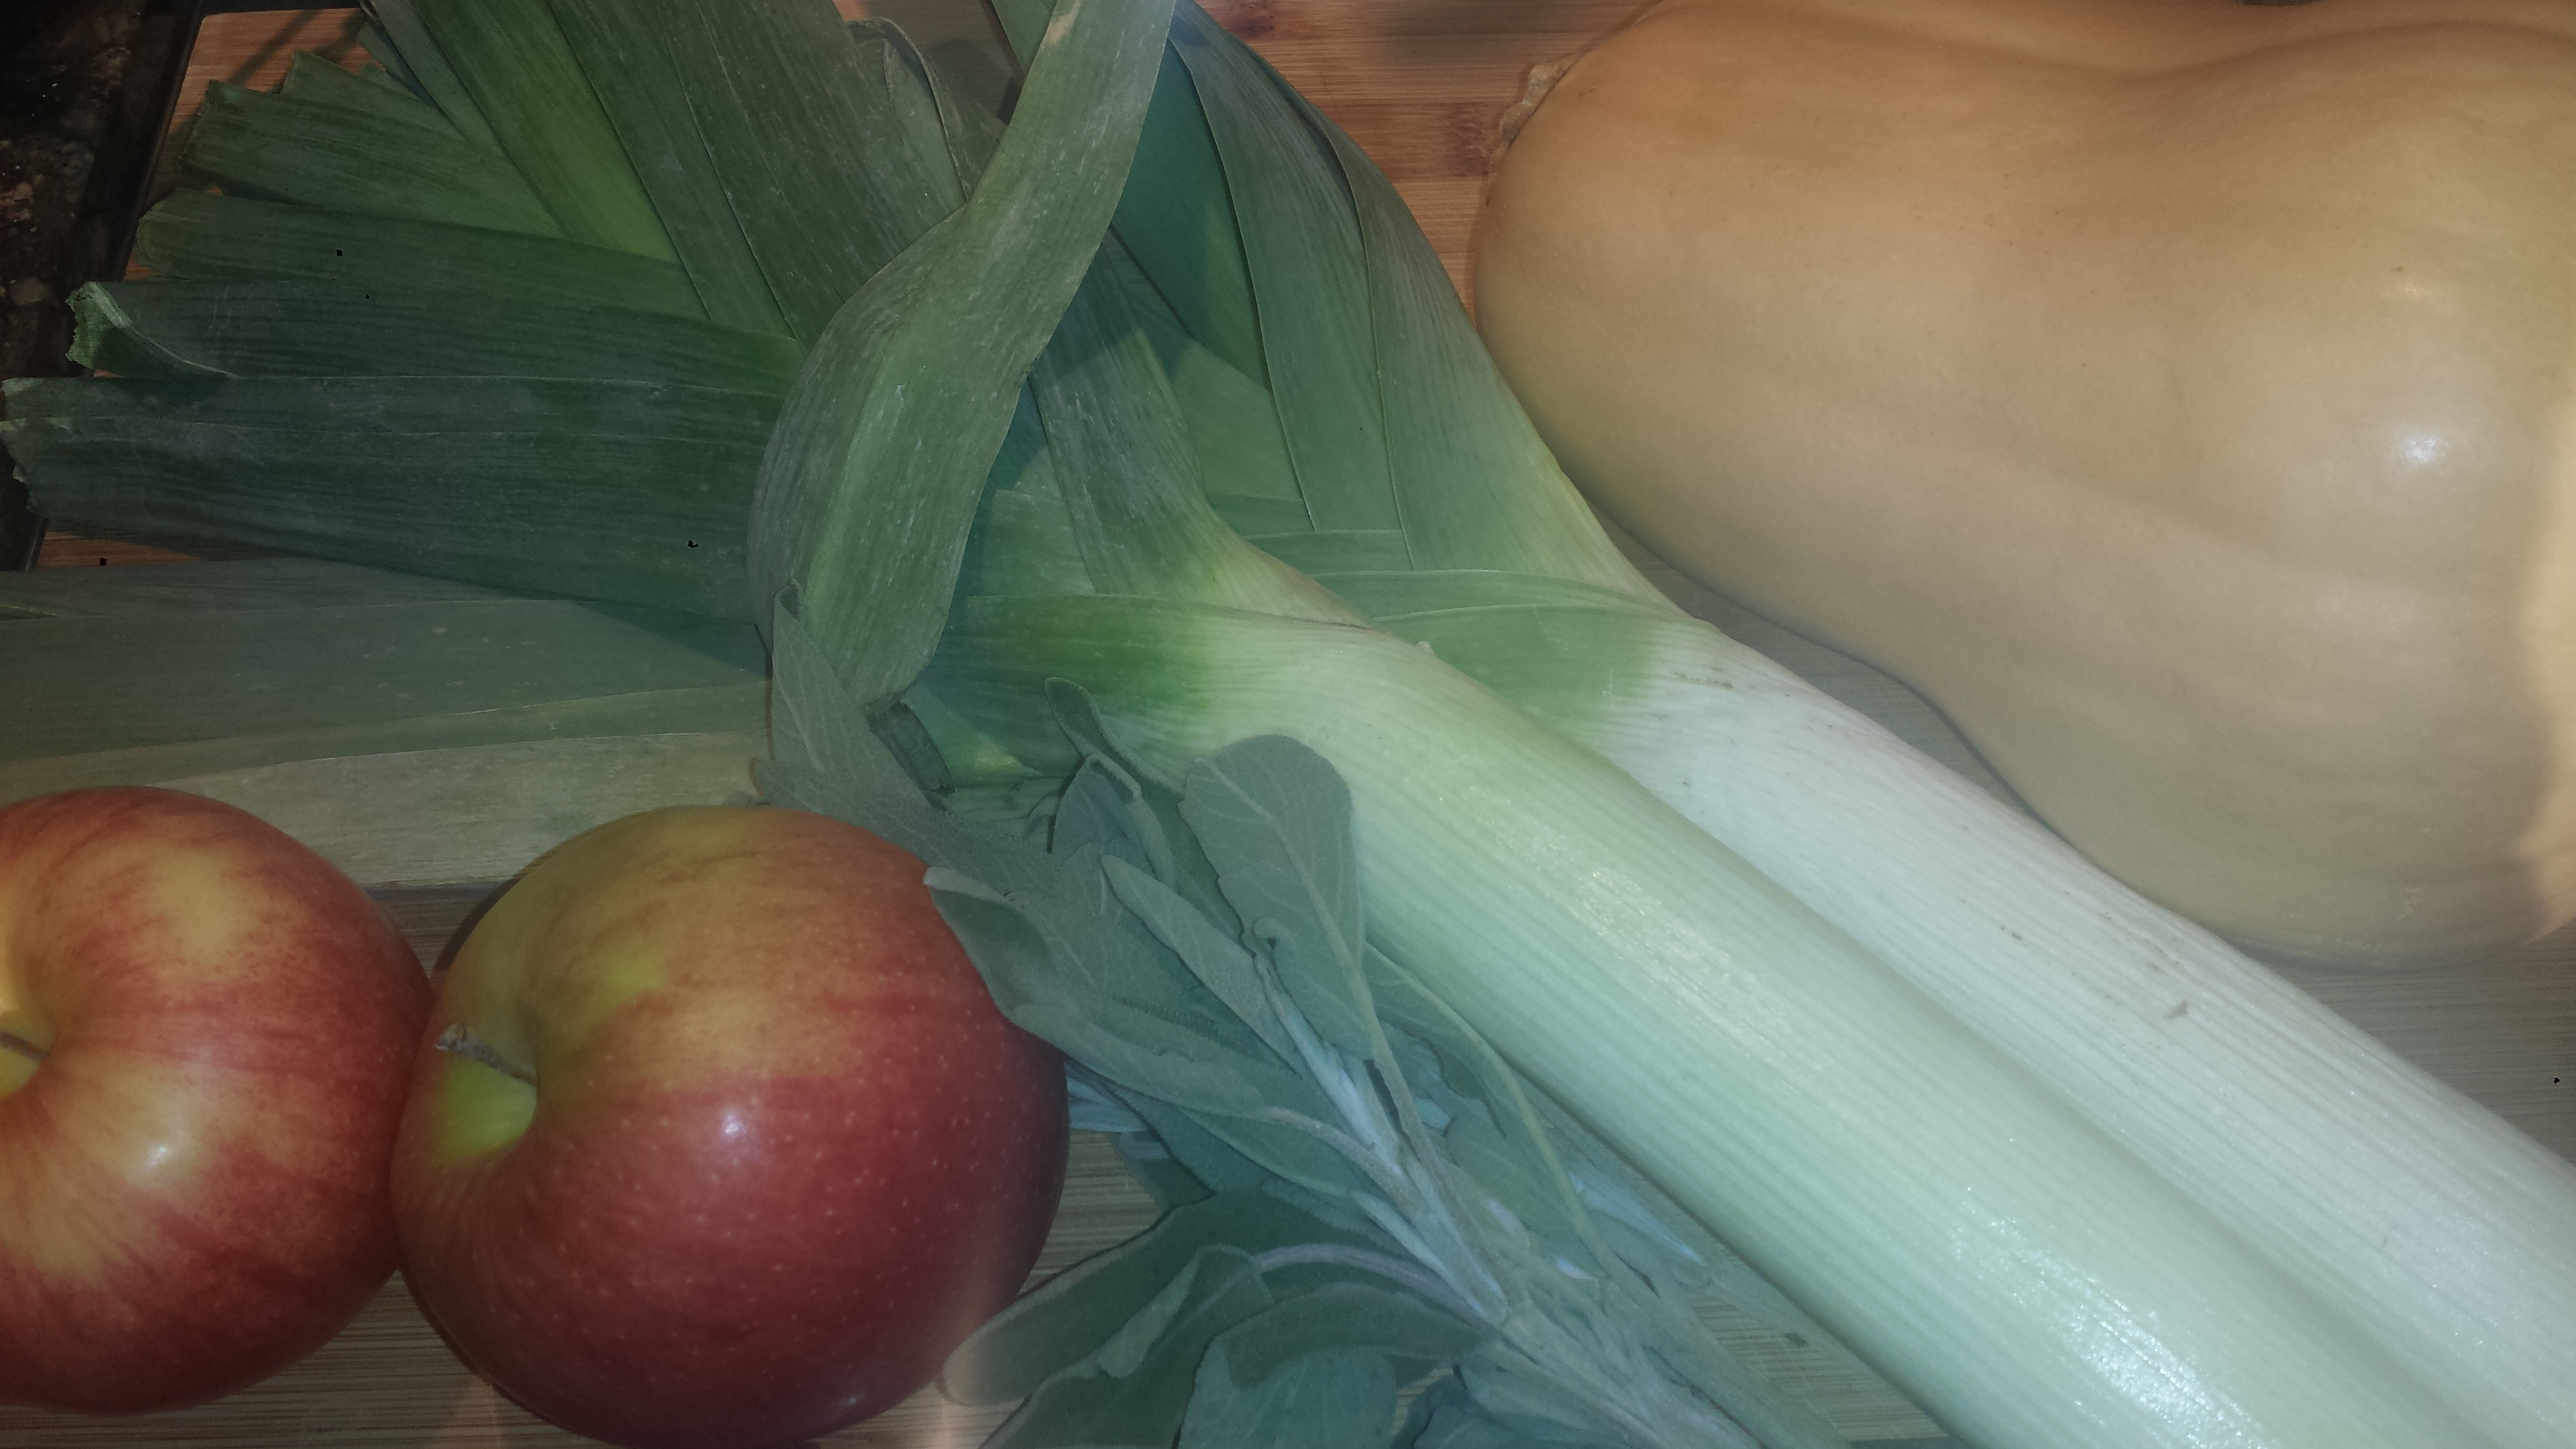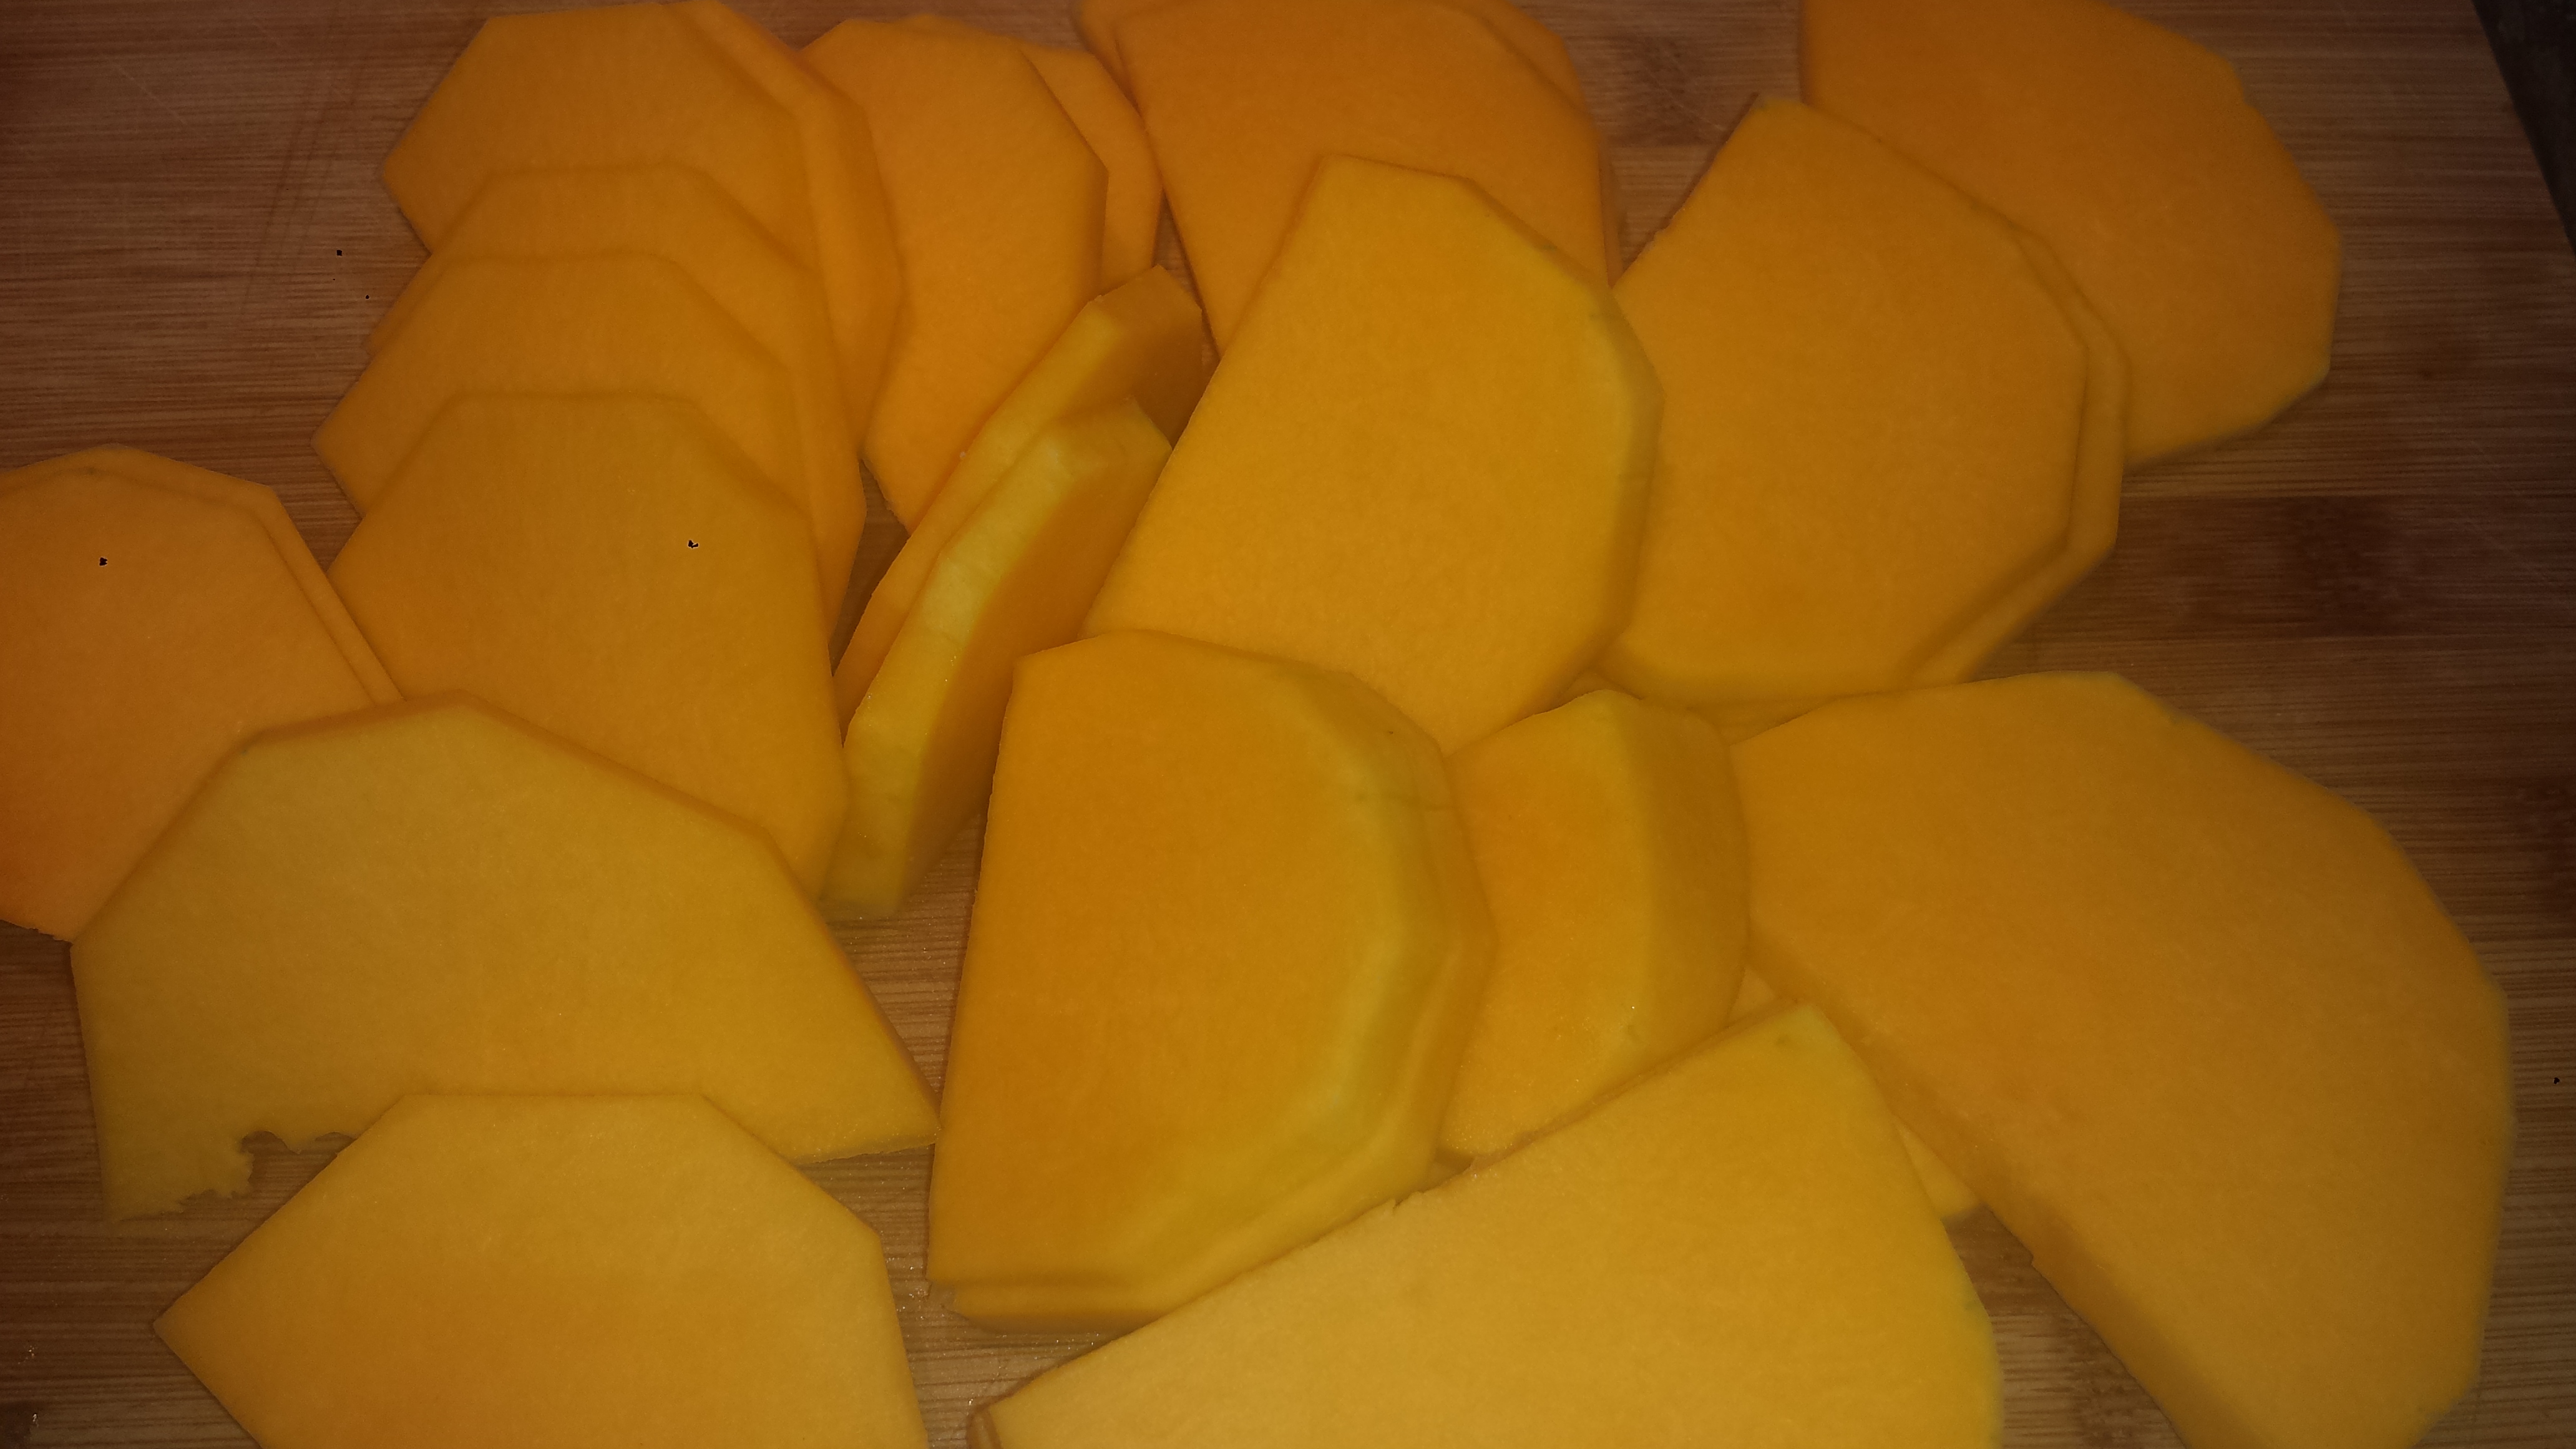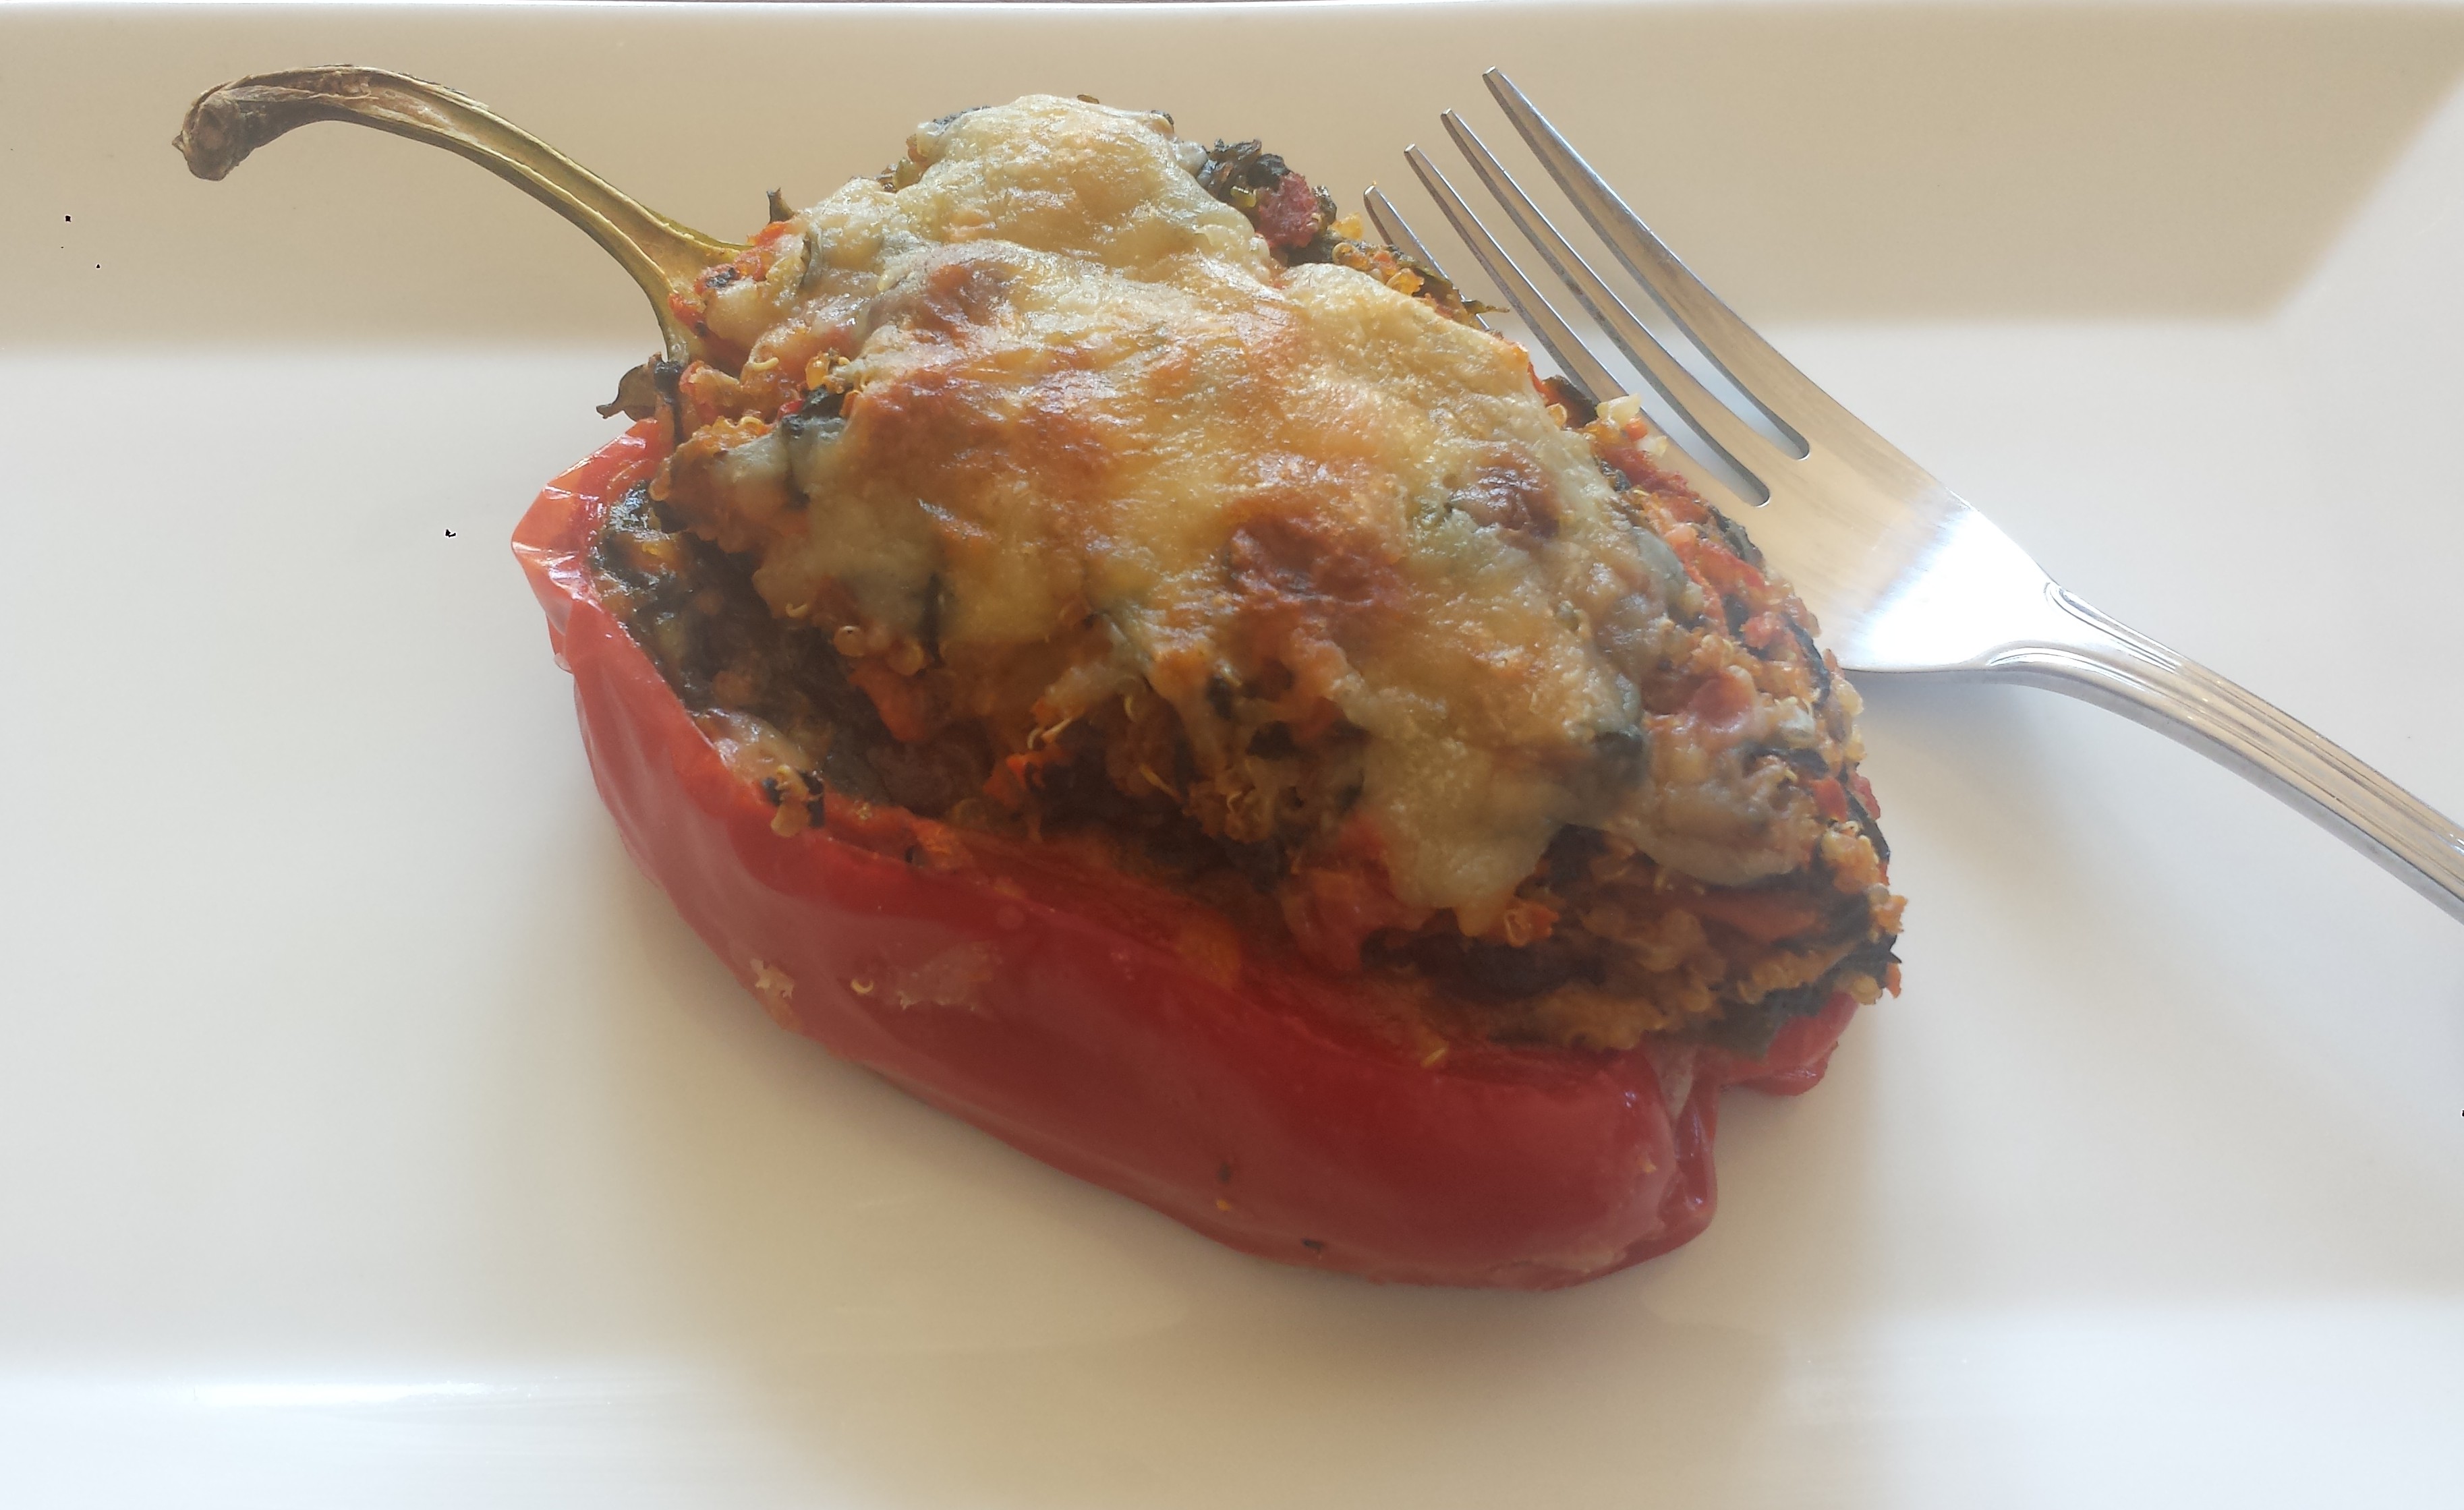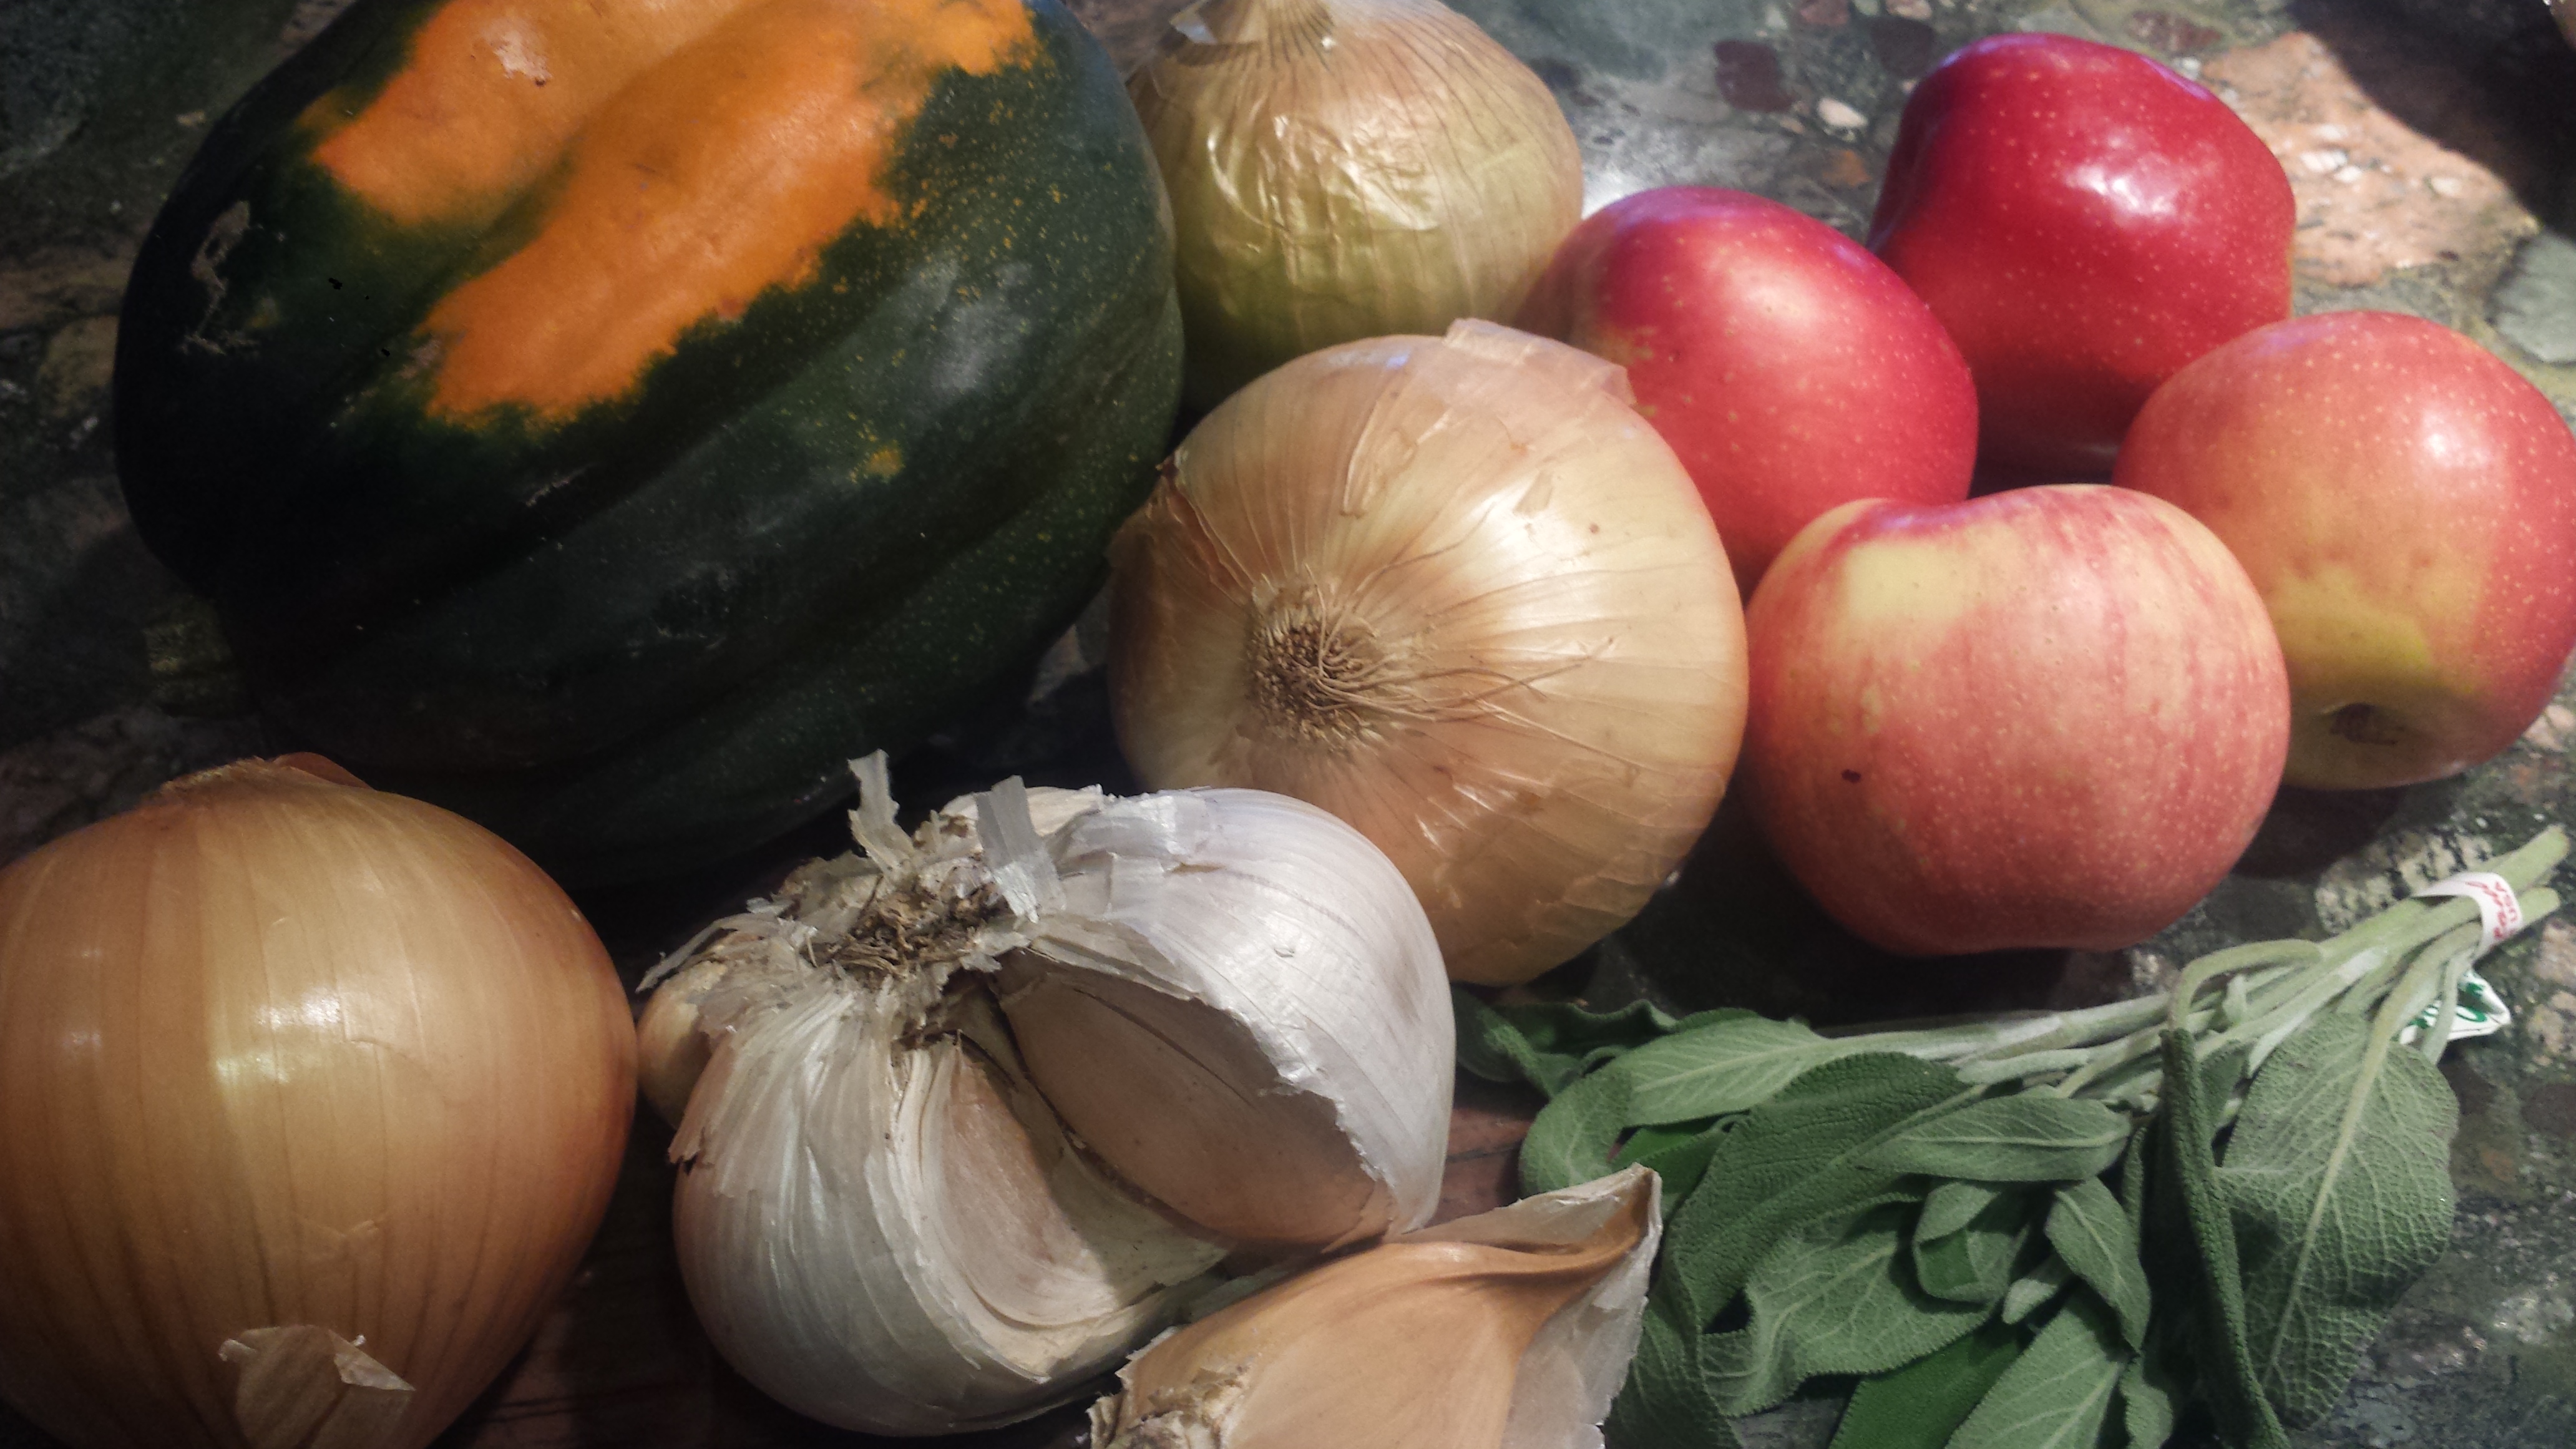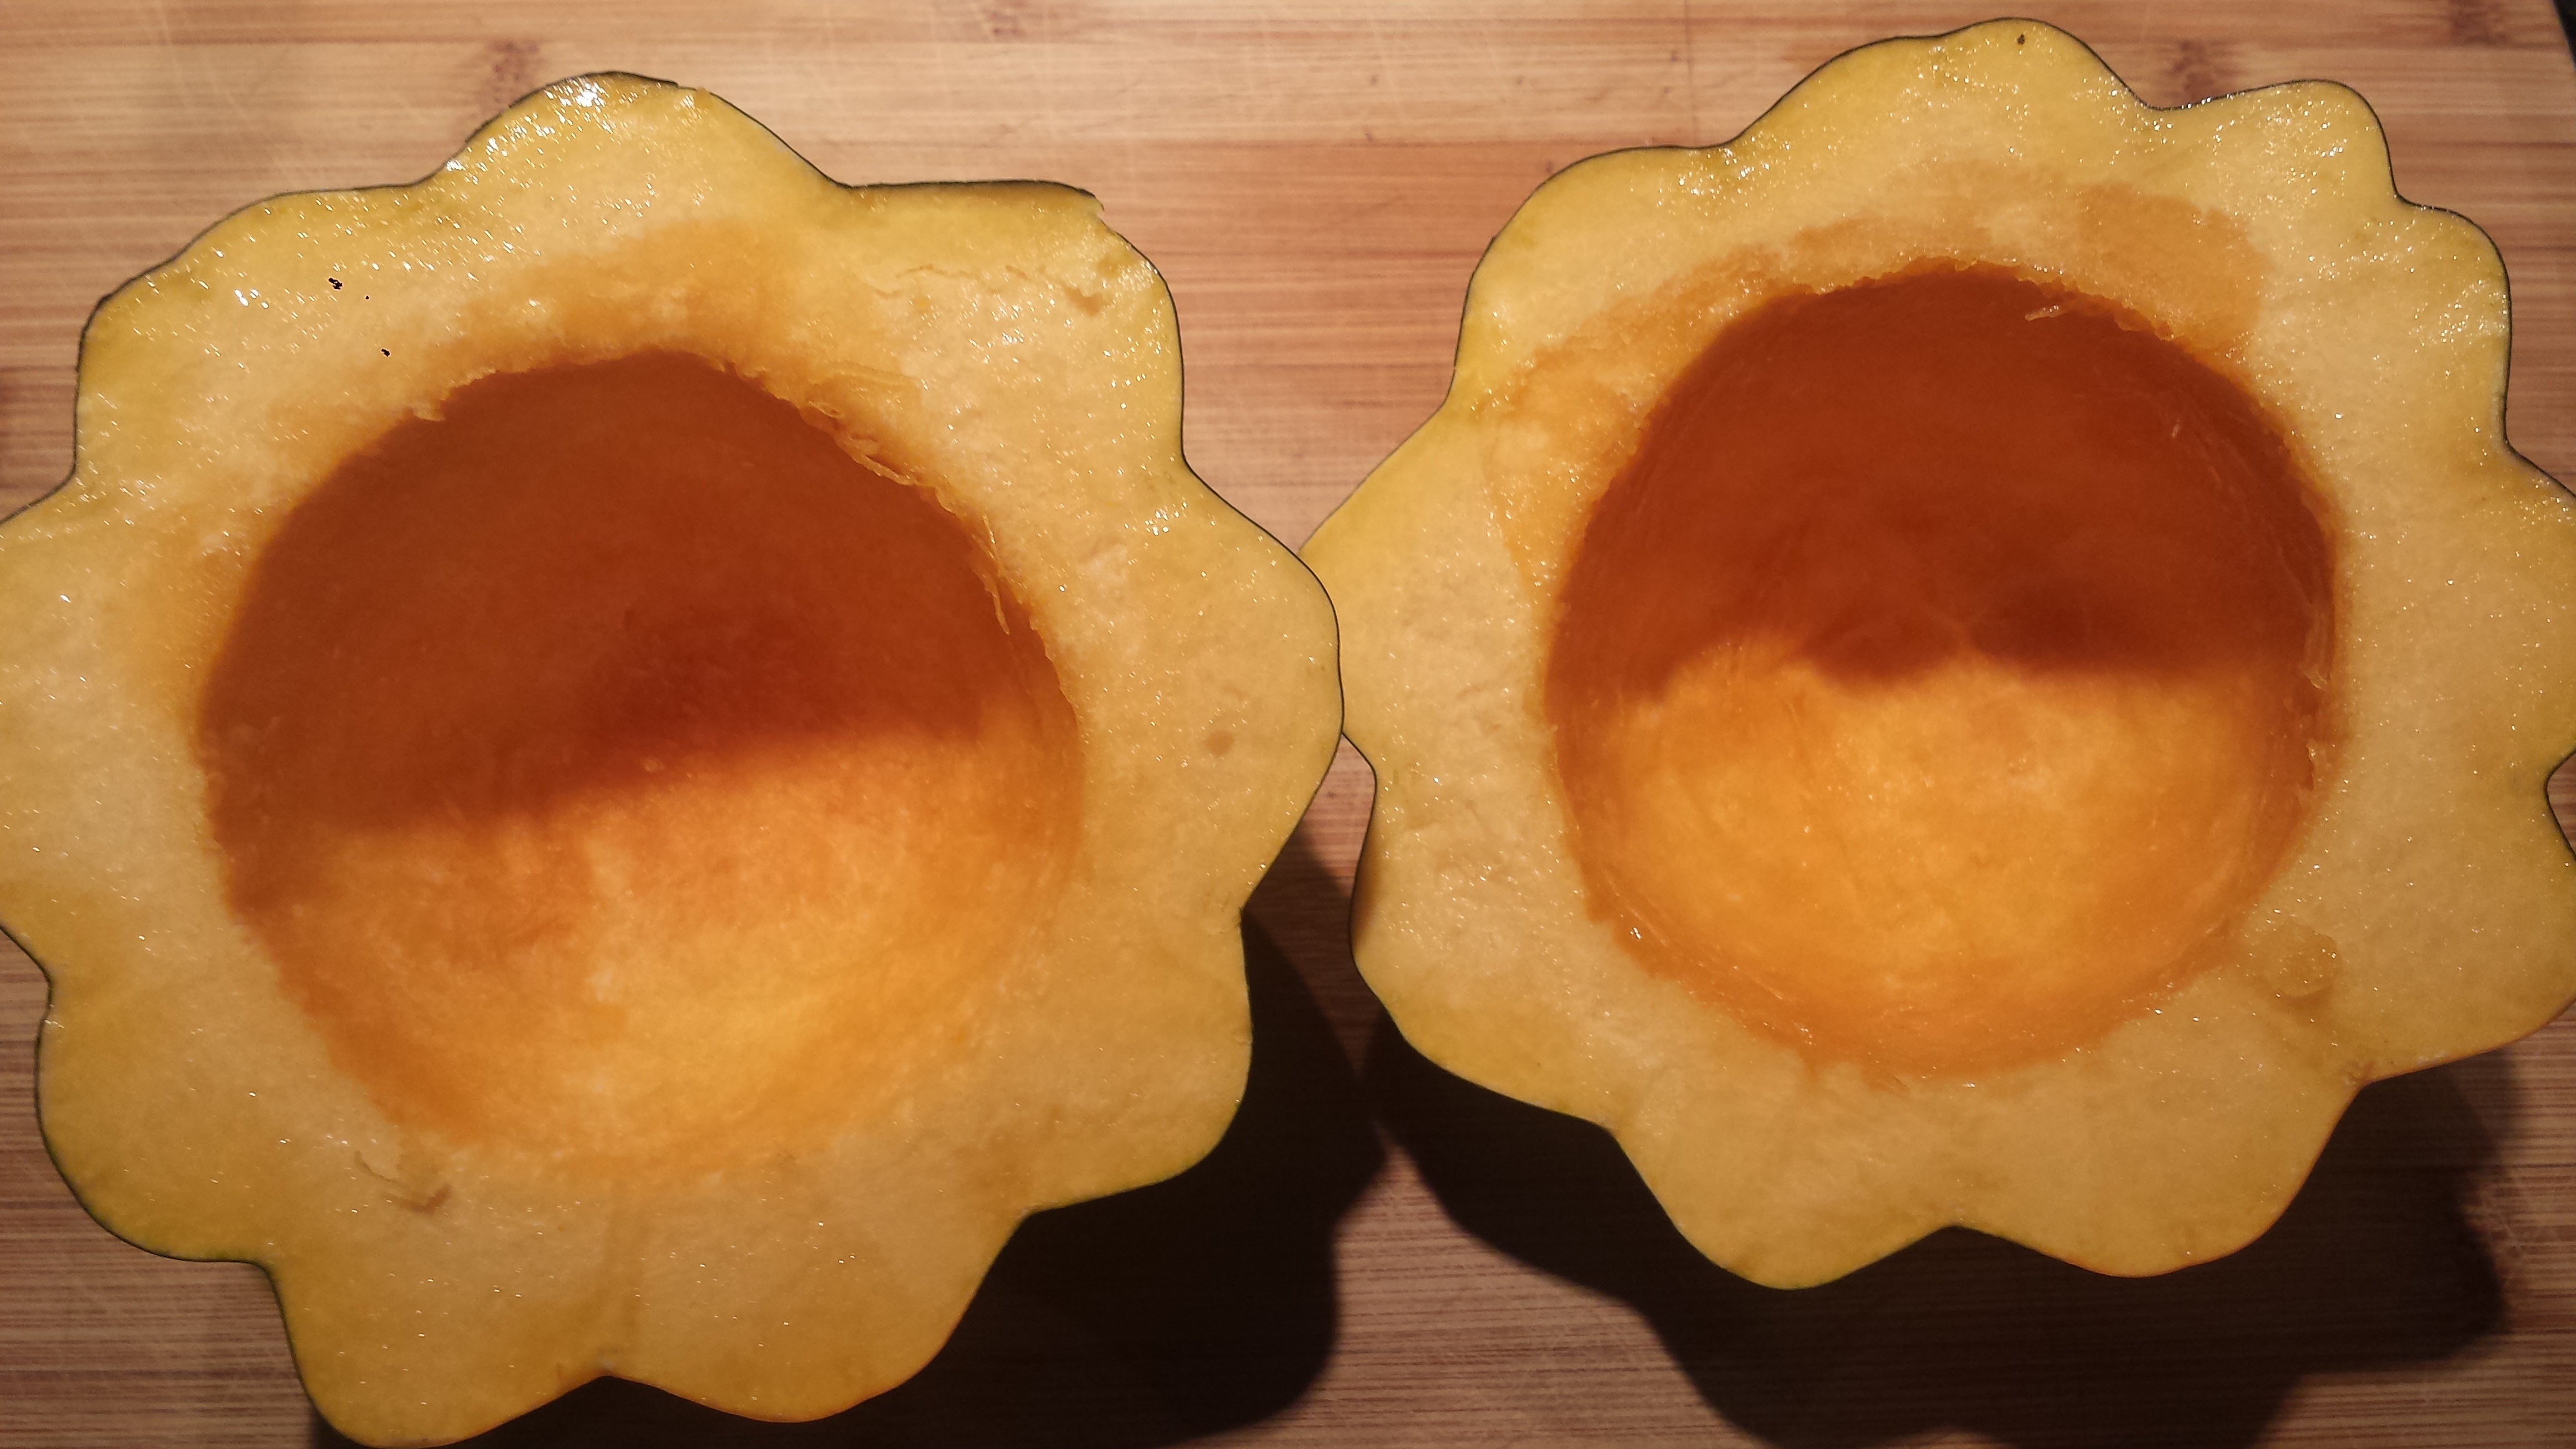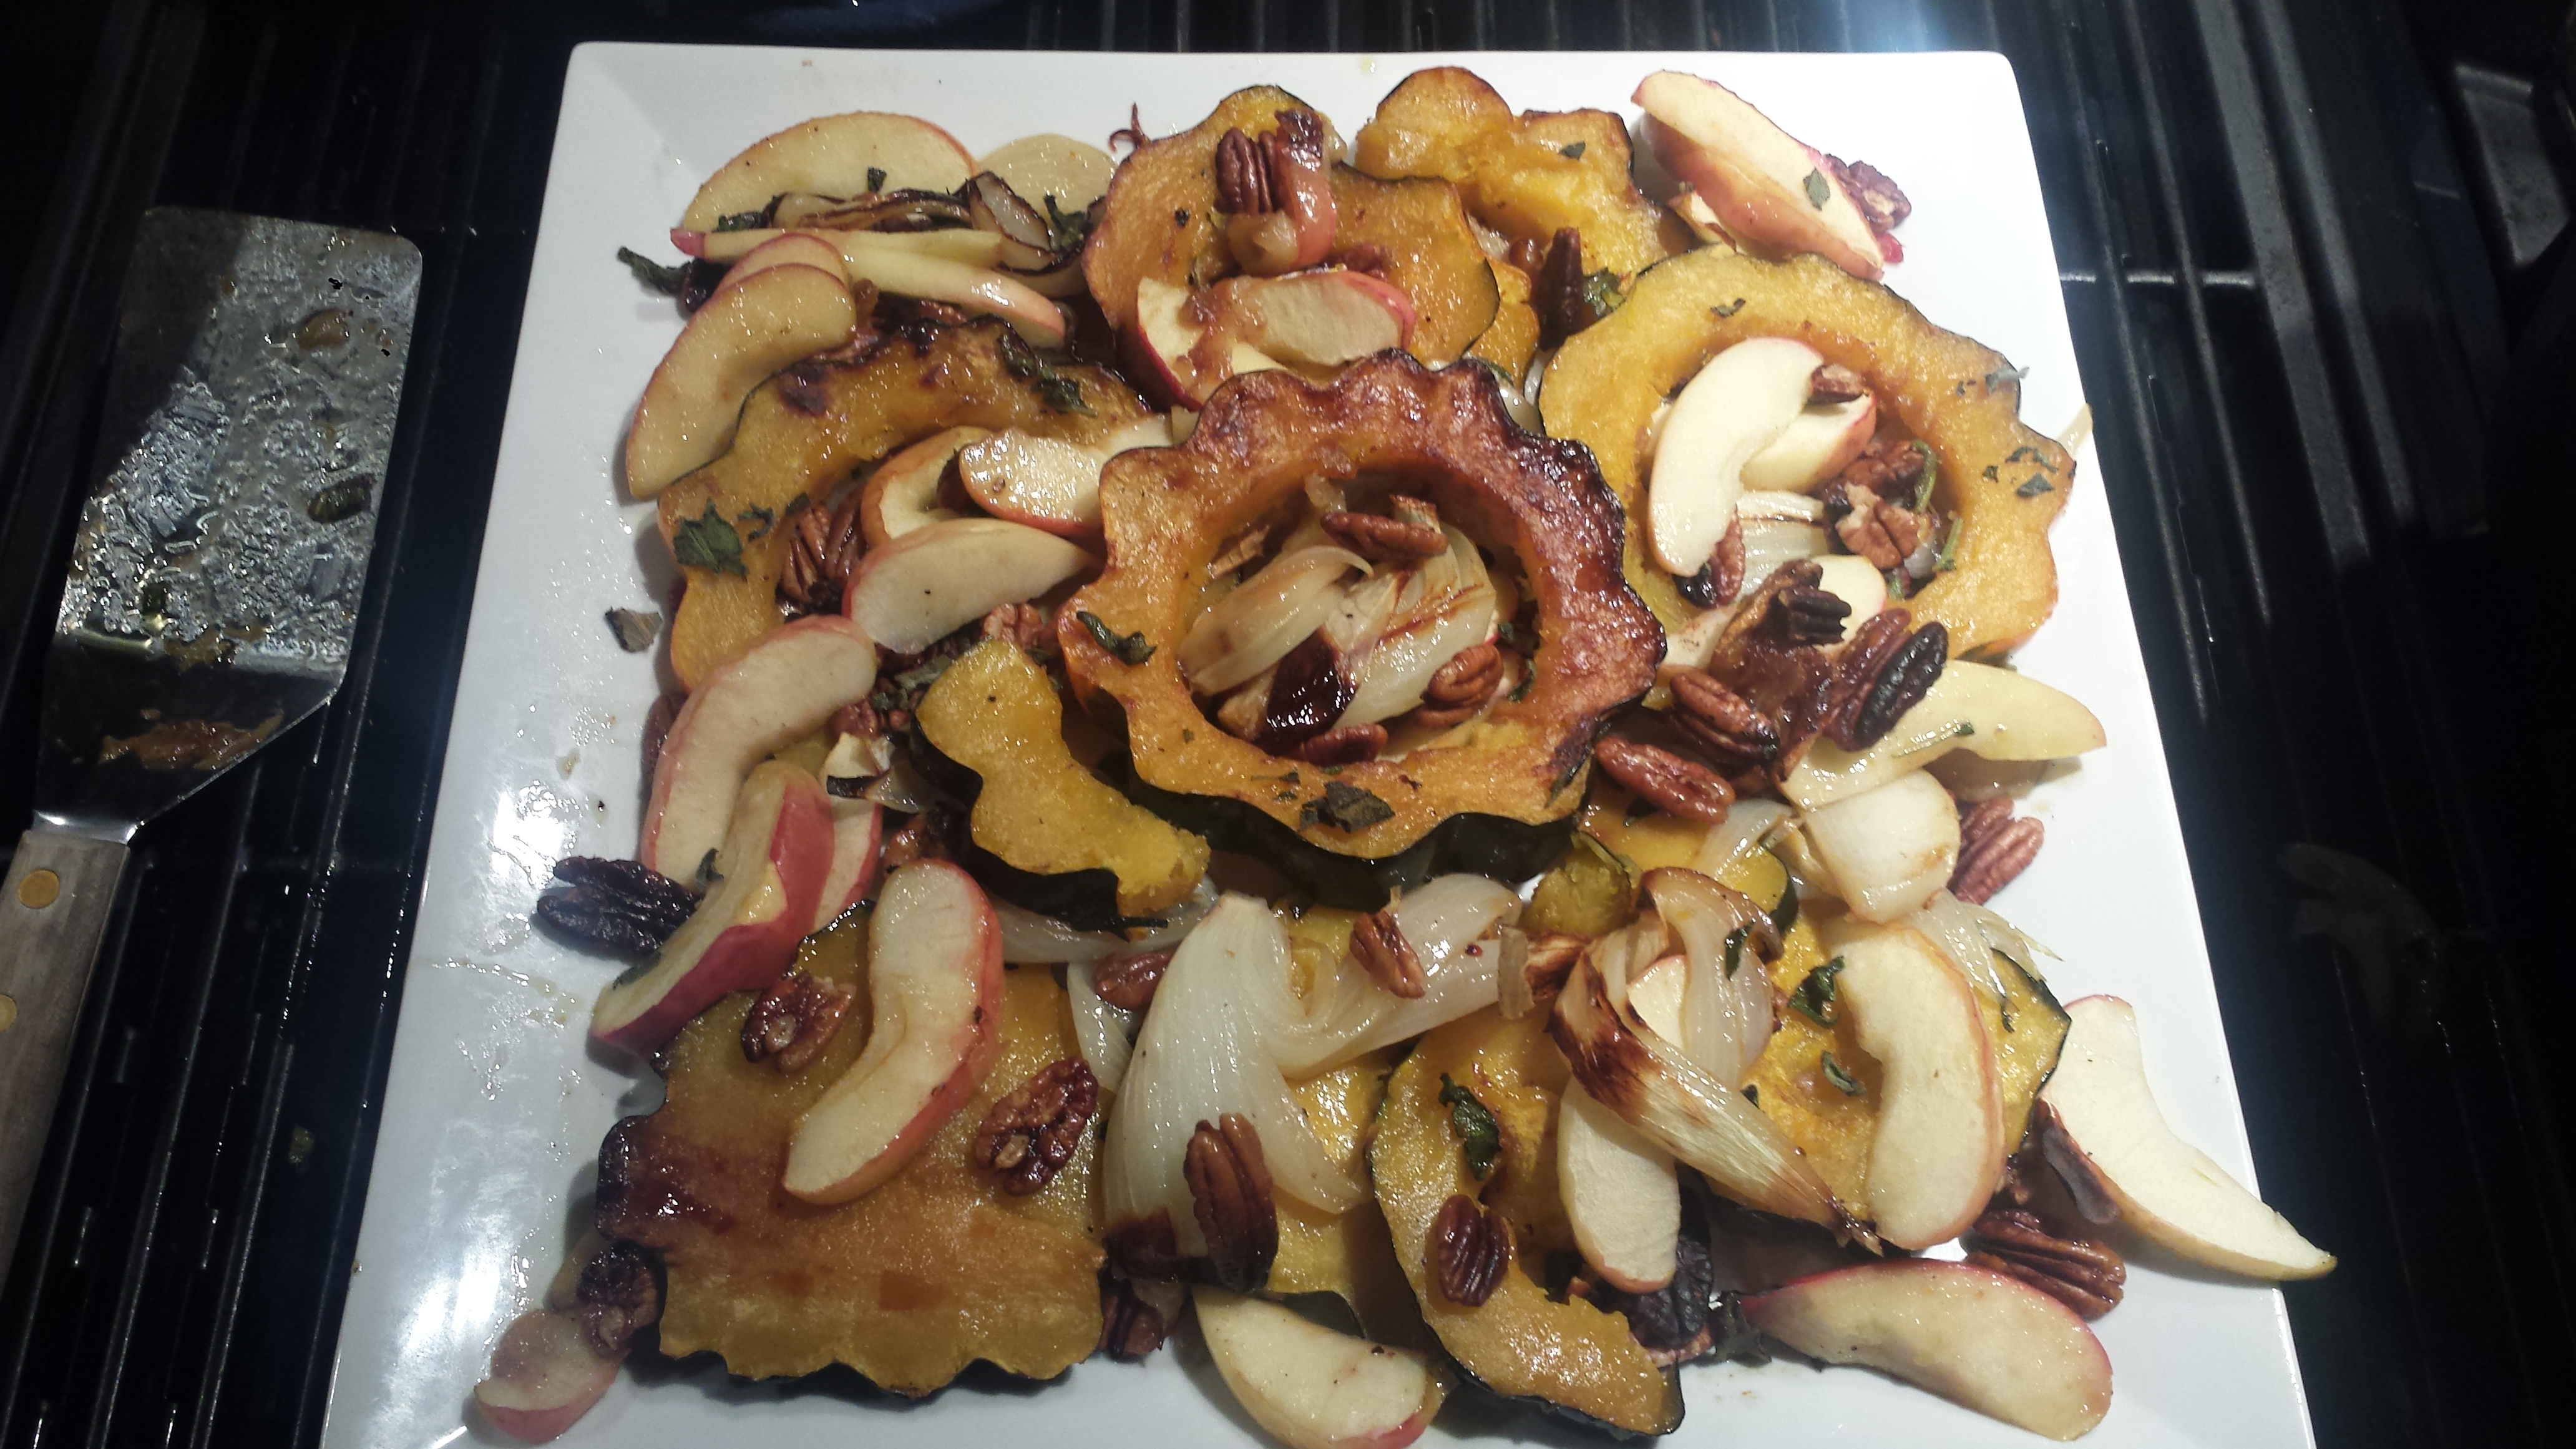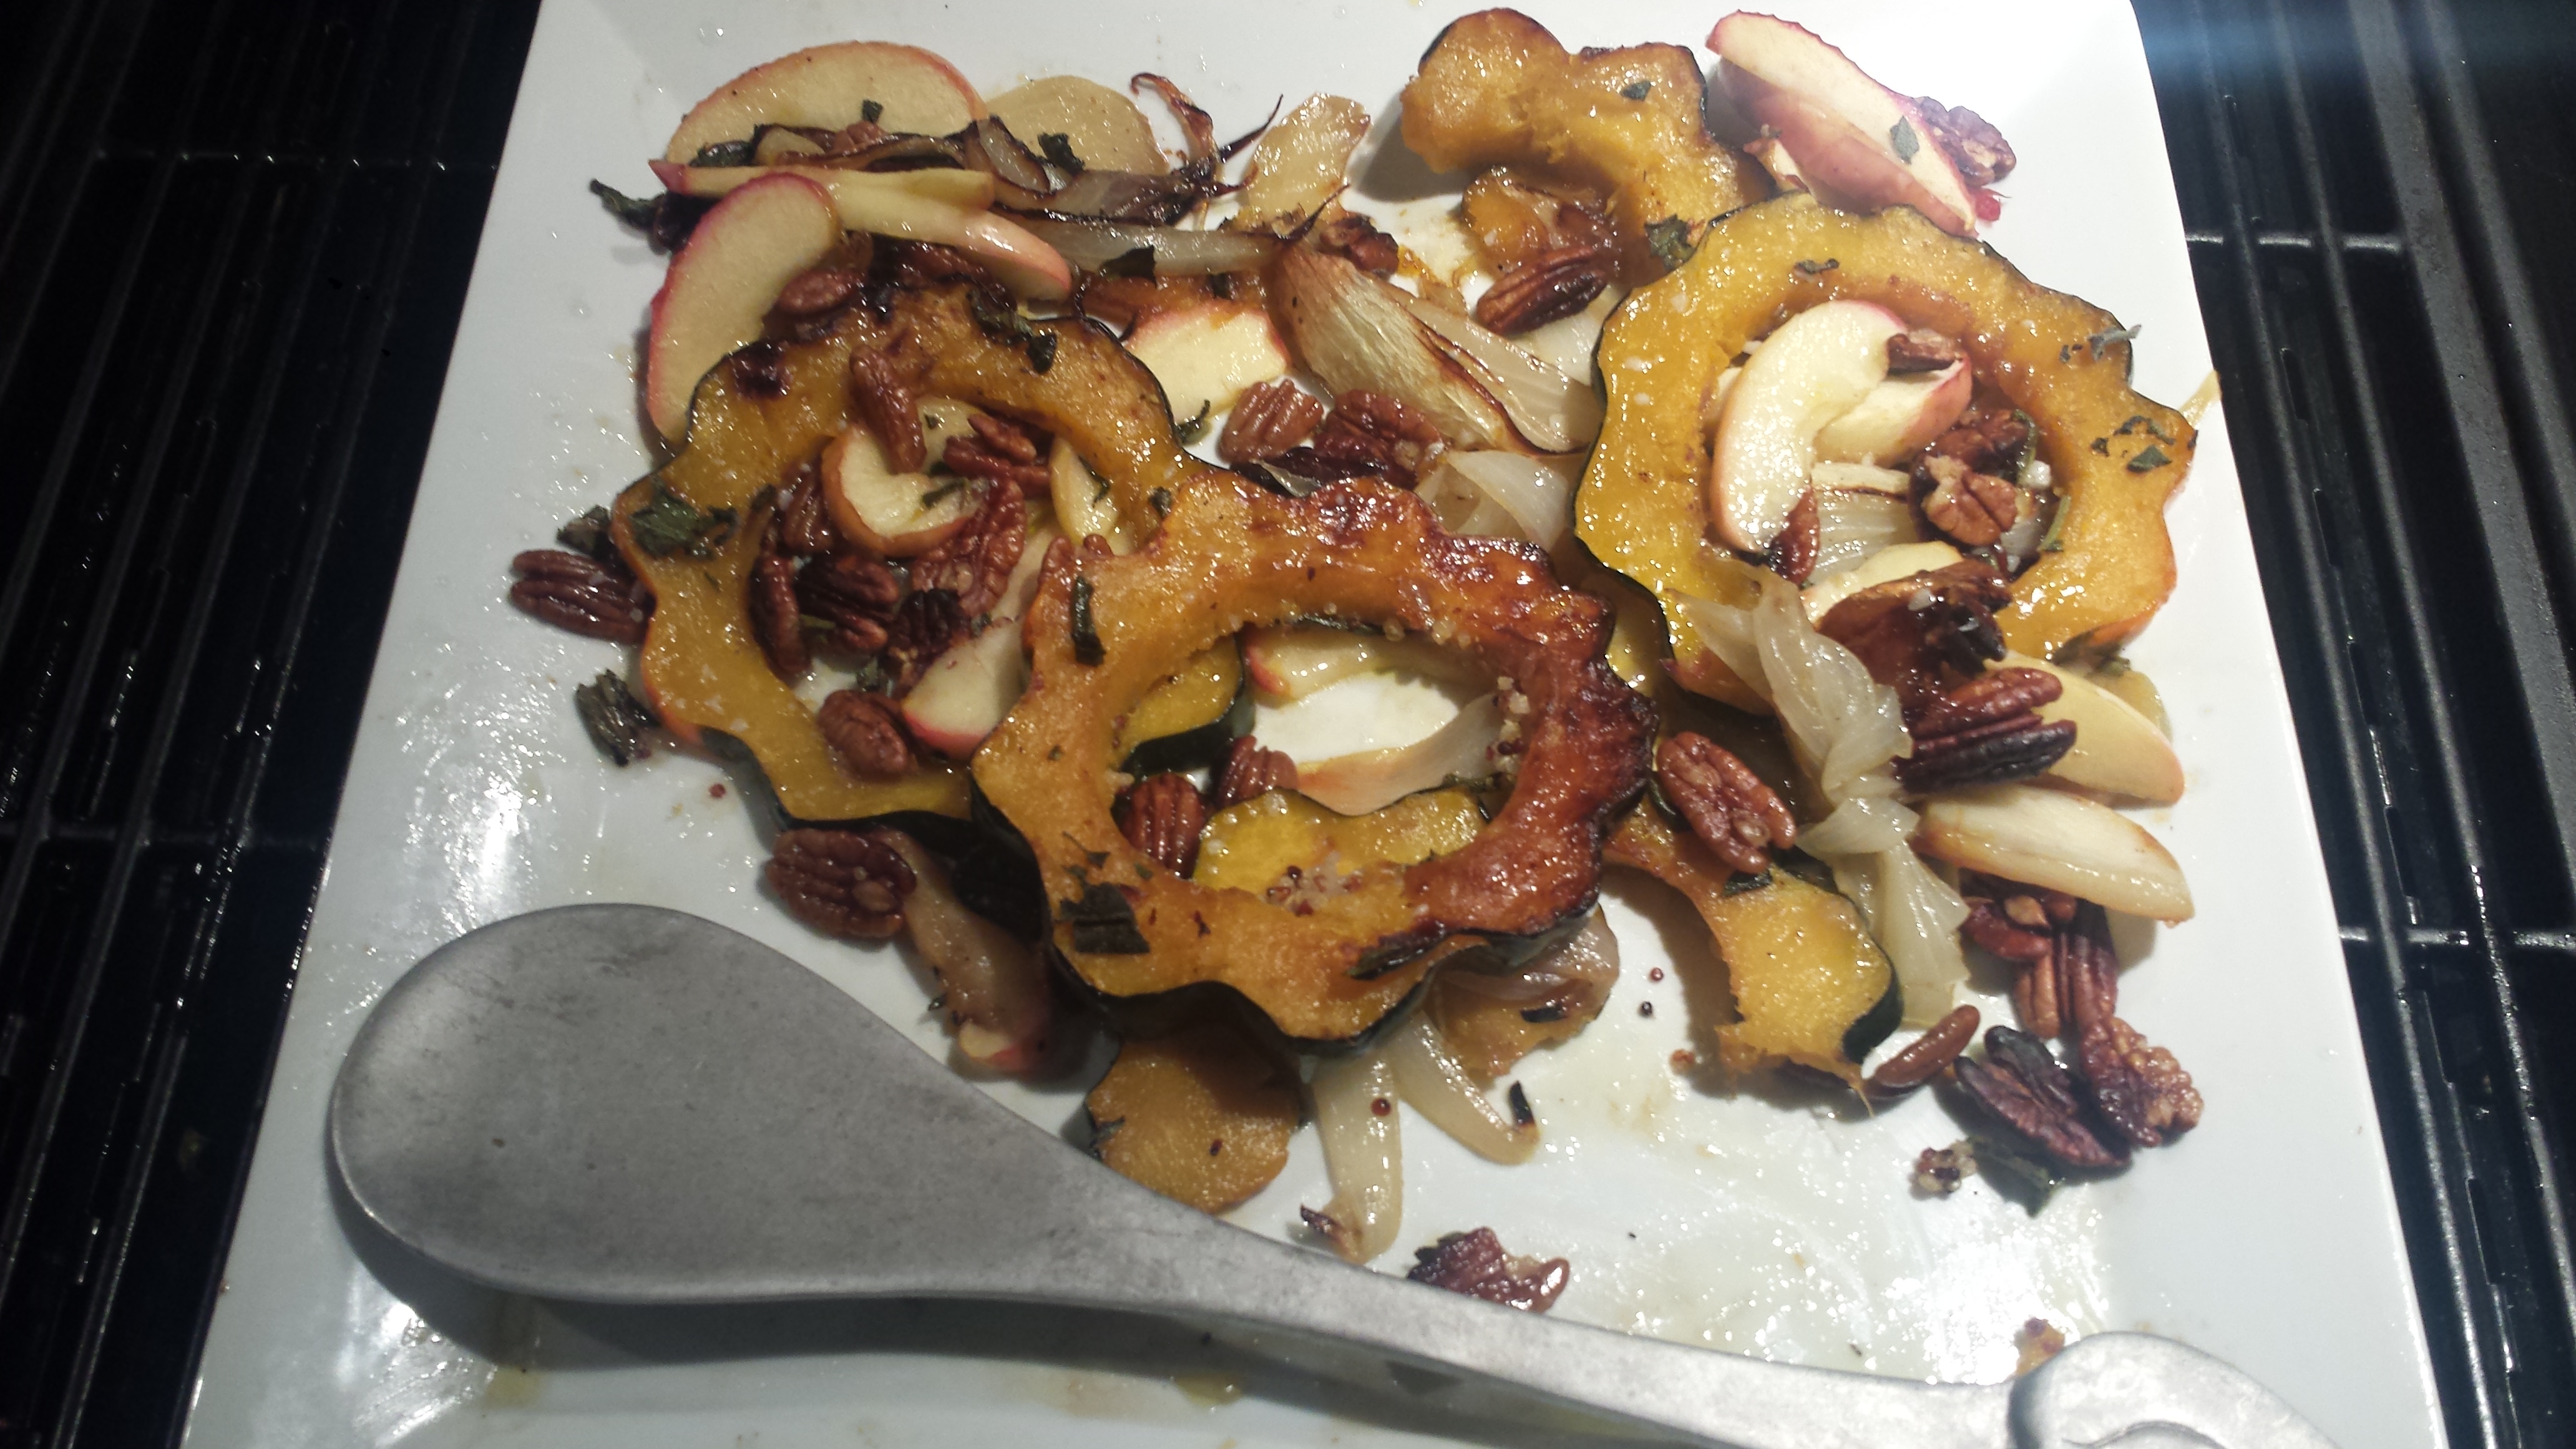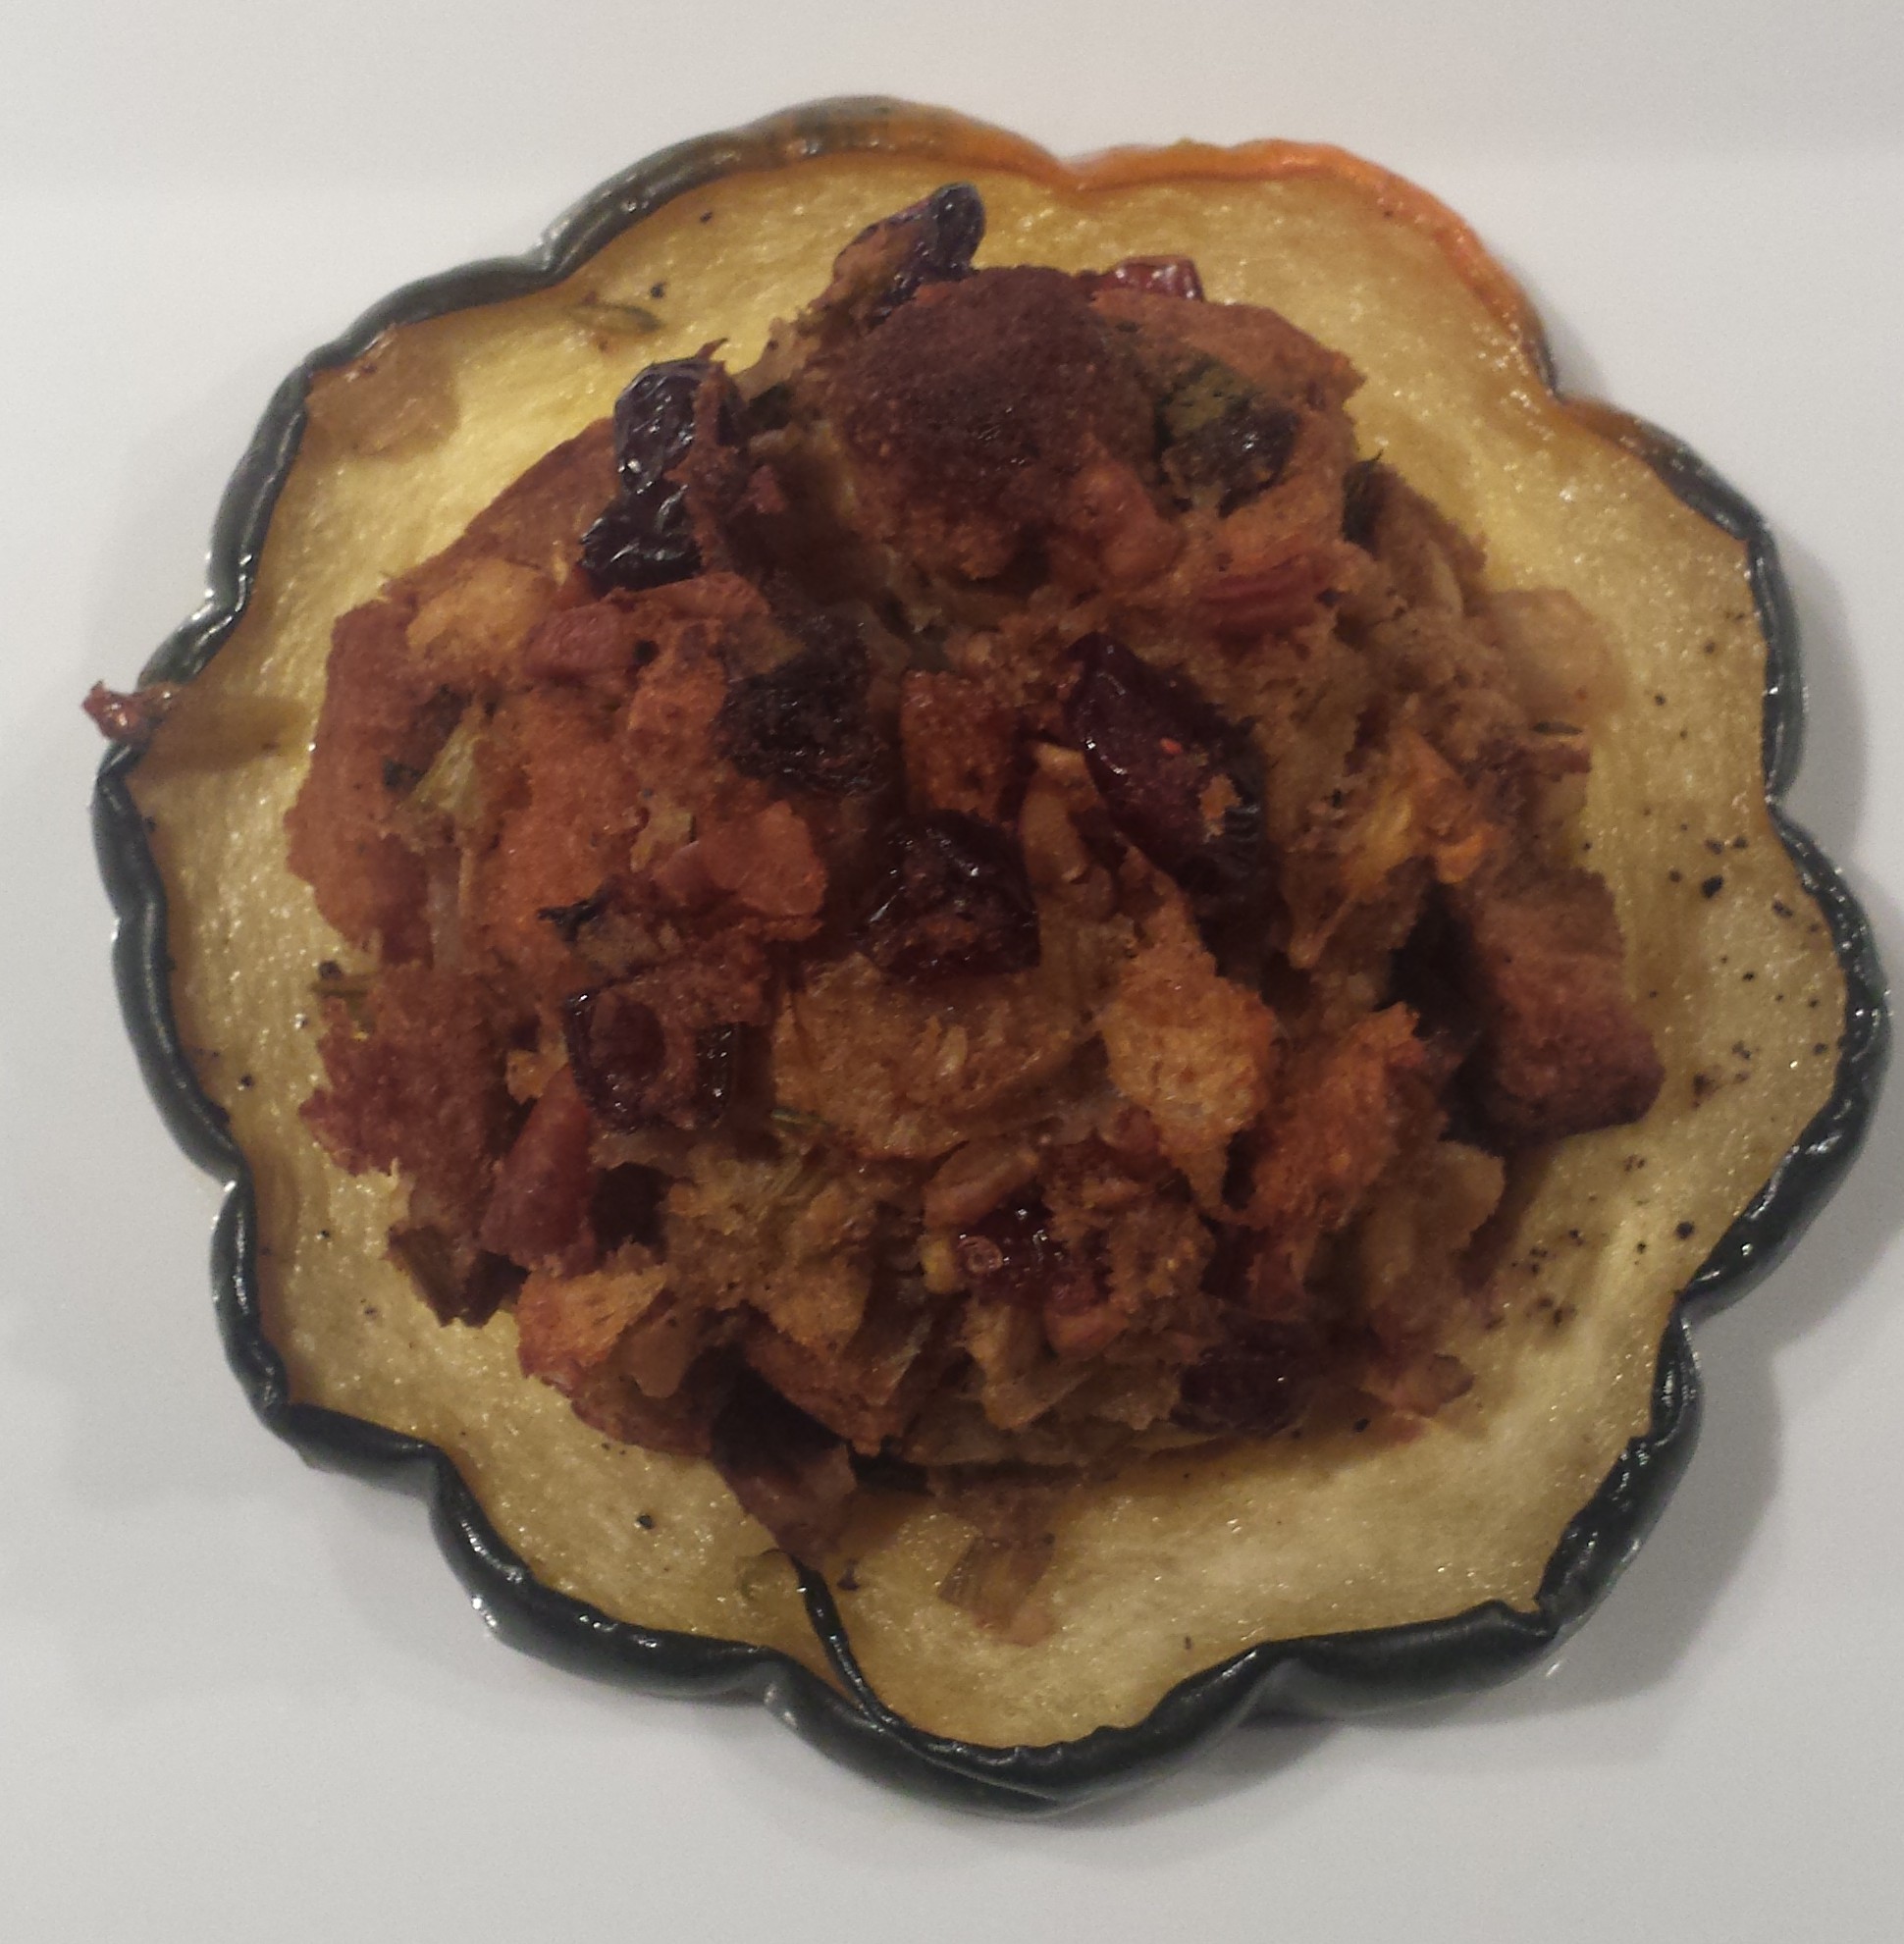
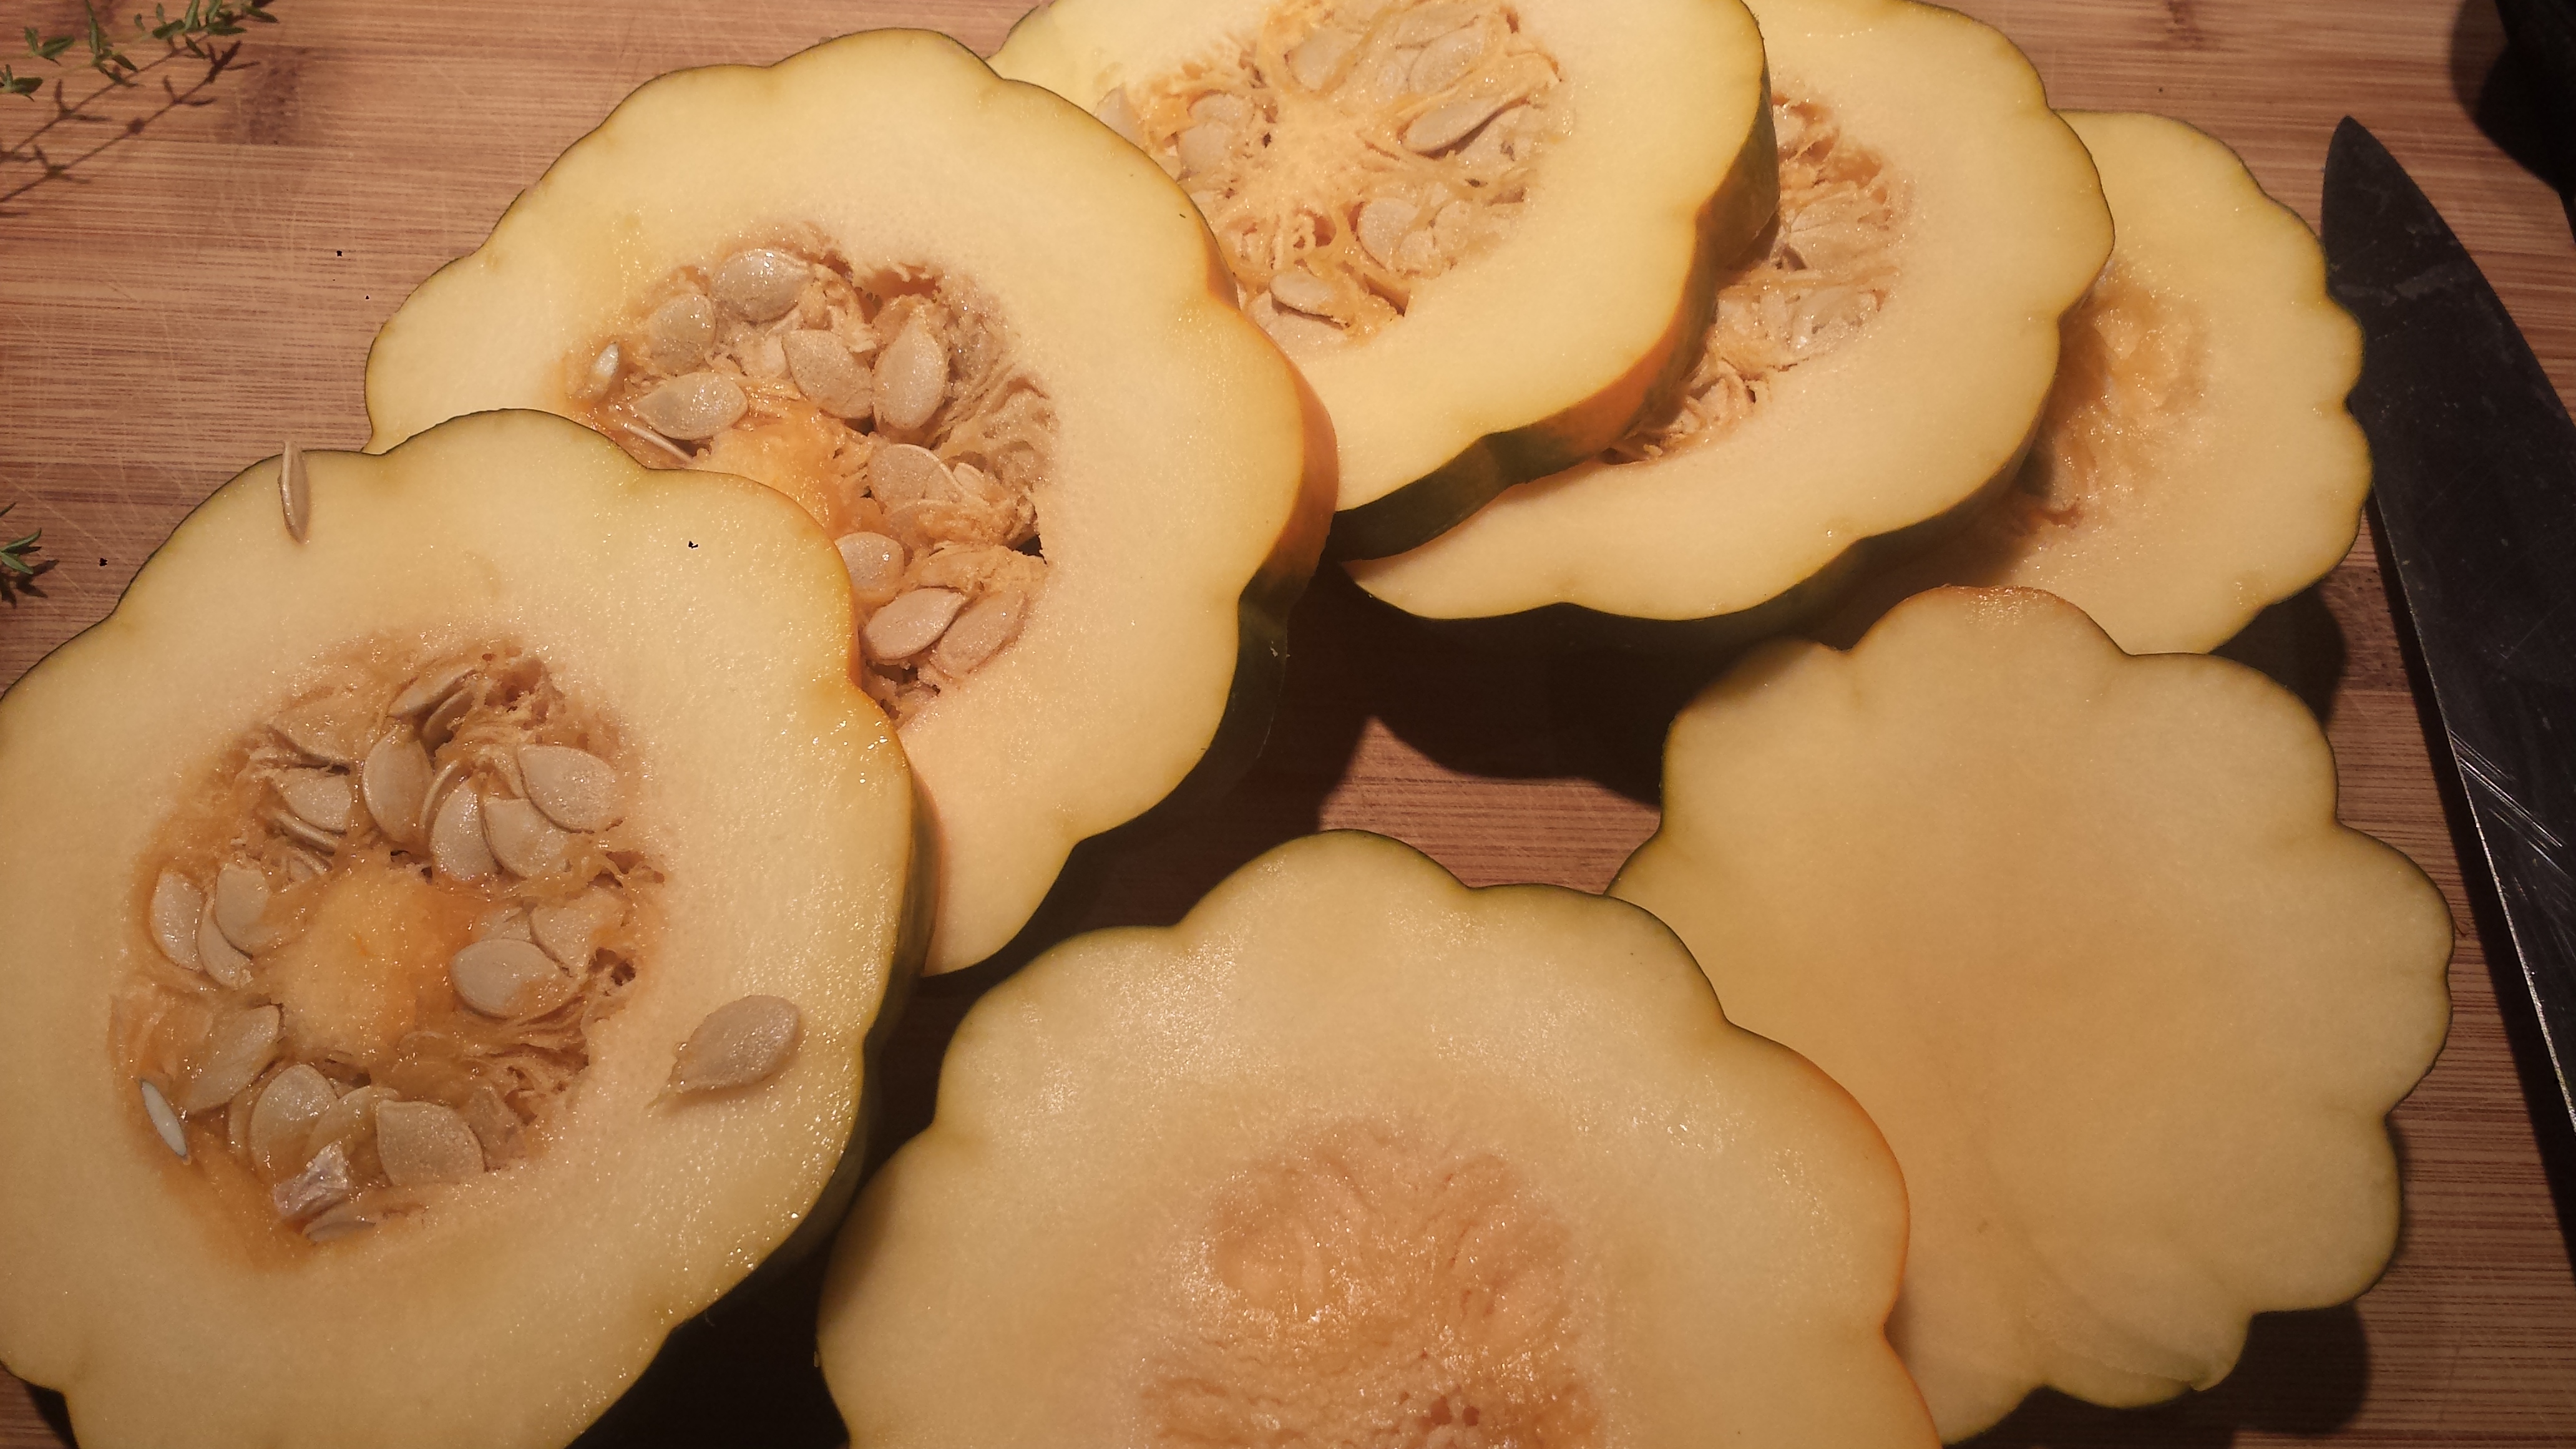
Thanksgiving is right around the corner and I’ve already started planning our feast. This will be my first Thanksgiving not roasting a turkey so it will take some extra inspiration on my part. My favorite part of the meal has always been the side dishes anyway, so I’m sure I won’t even miss the turkey – and I’ll save myself from the dreaded post dinner Turkey Coma. I guess I’ll have to come up with another excuse reason to take an afternoon nap. So the big question now is, ‘Where do I put my stuffing’? It seems anticlimactic to just bake it in a covered dish. I mean it’s not really stuffing if you haven’t stuffed anything! So I decided acorn squash would make a worthy vessel for this once a year treat. I was going to stuff acorn squash halves but decided to cut the squash into rings first and make individual servings. A half squash can be an awfully large portion for one person, although halves certainly work well as a main course. The rings also make a very attractive, almost floral, presentation with their fluted edges and golden yellow color.
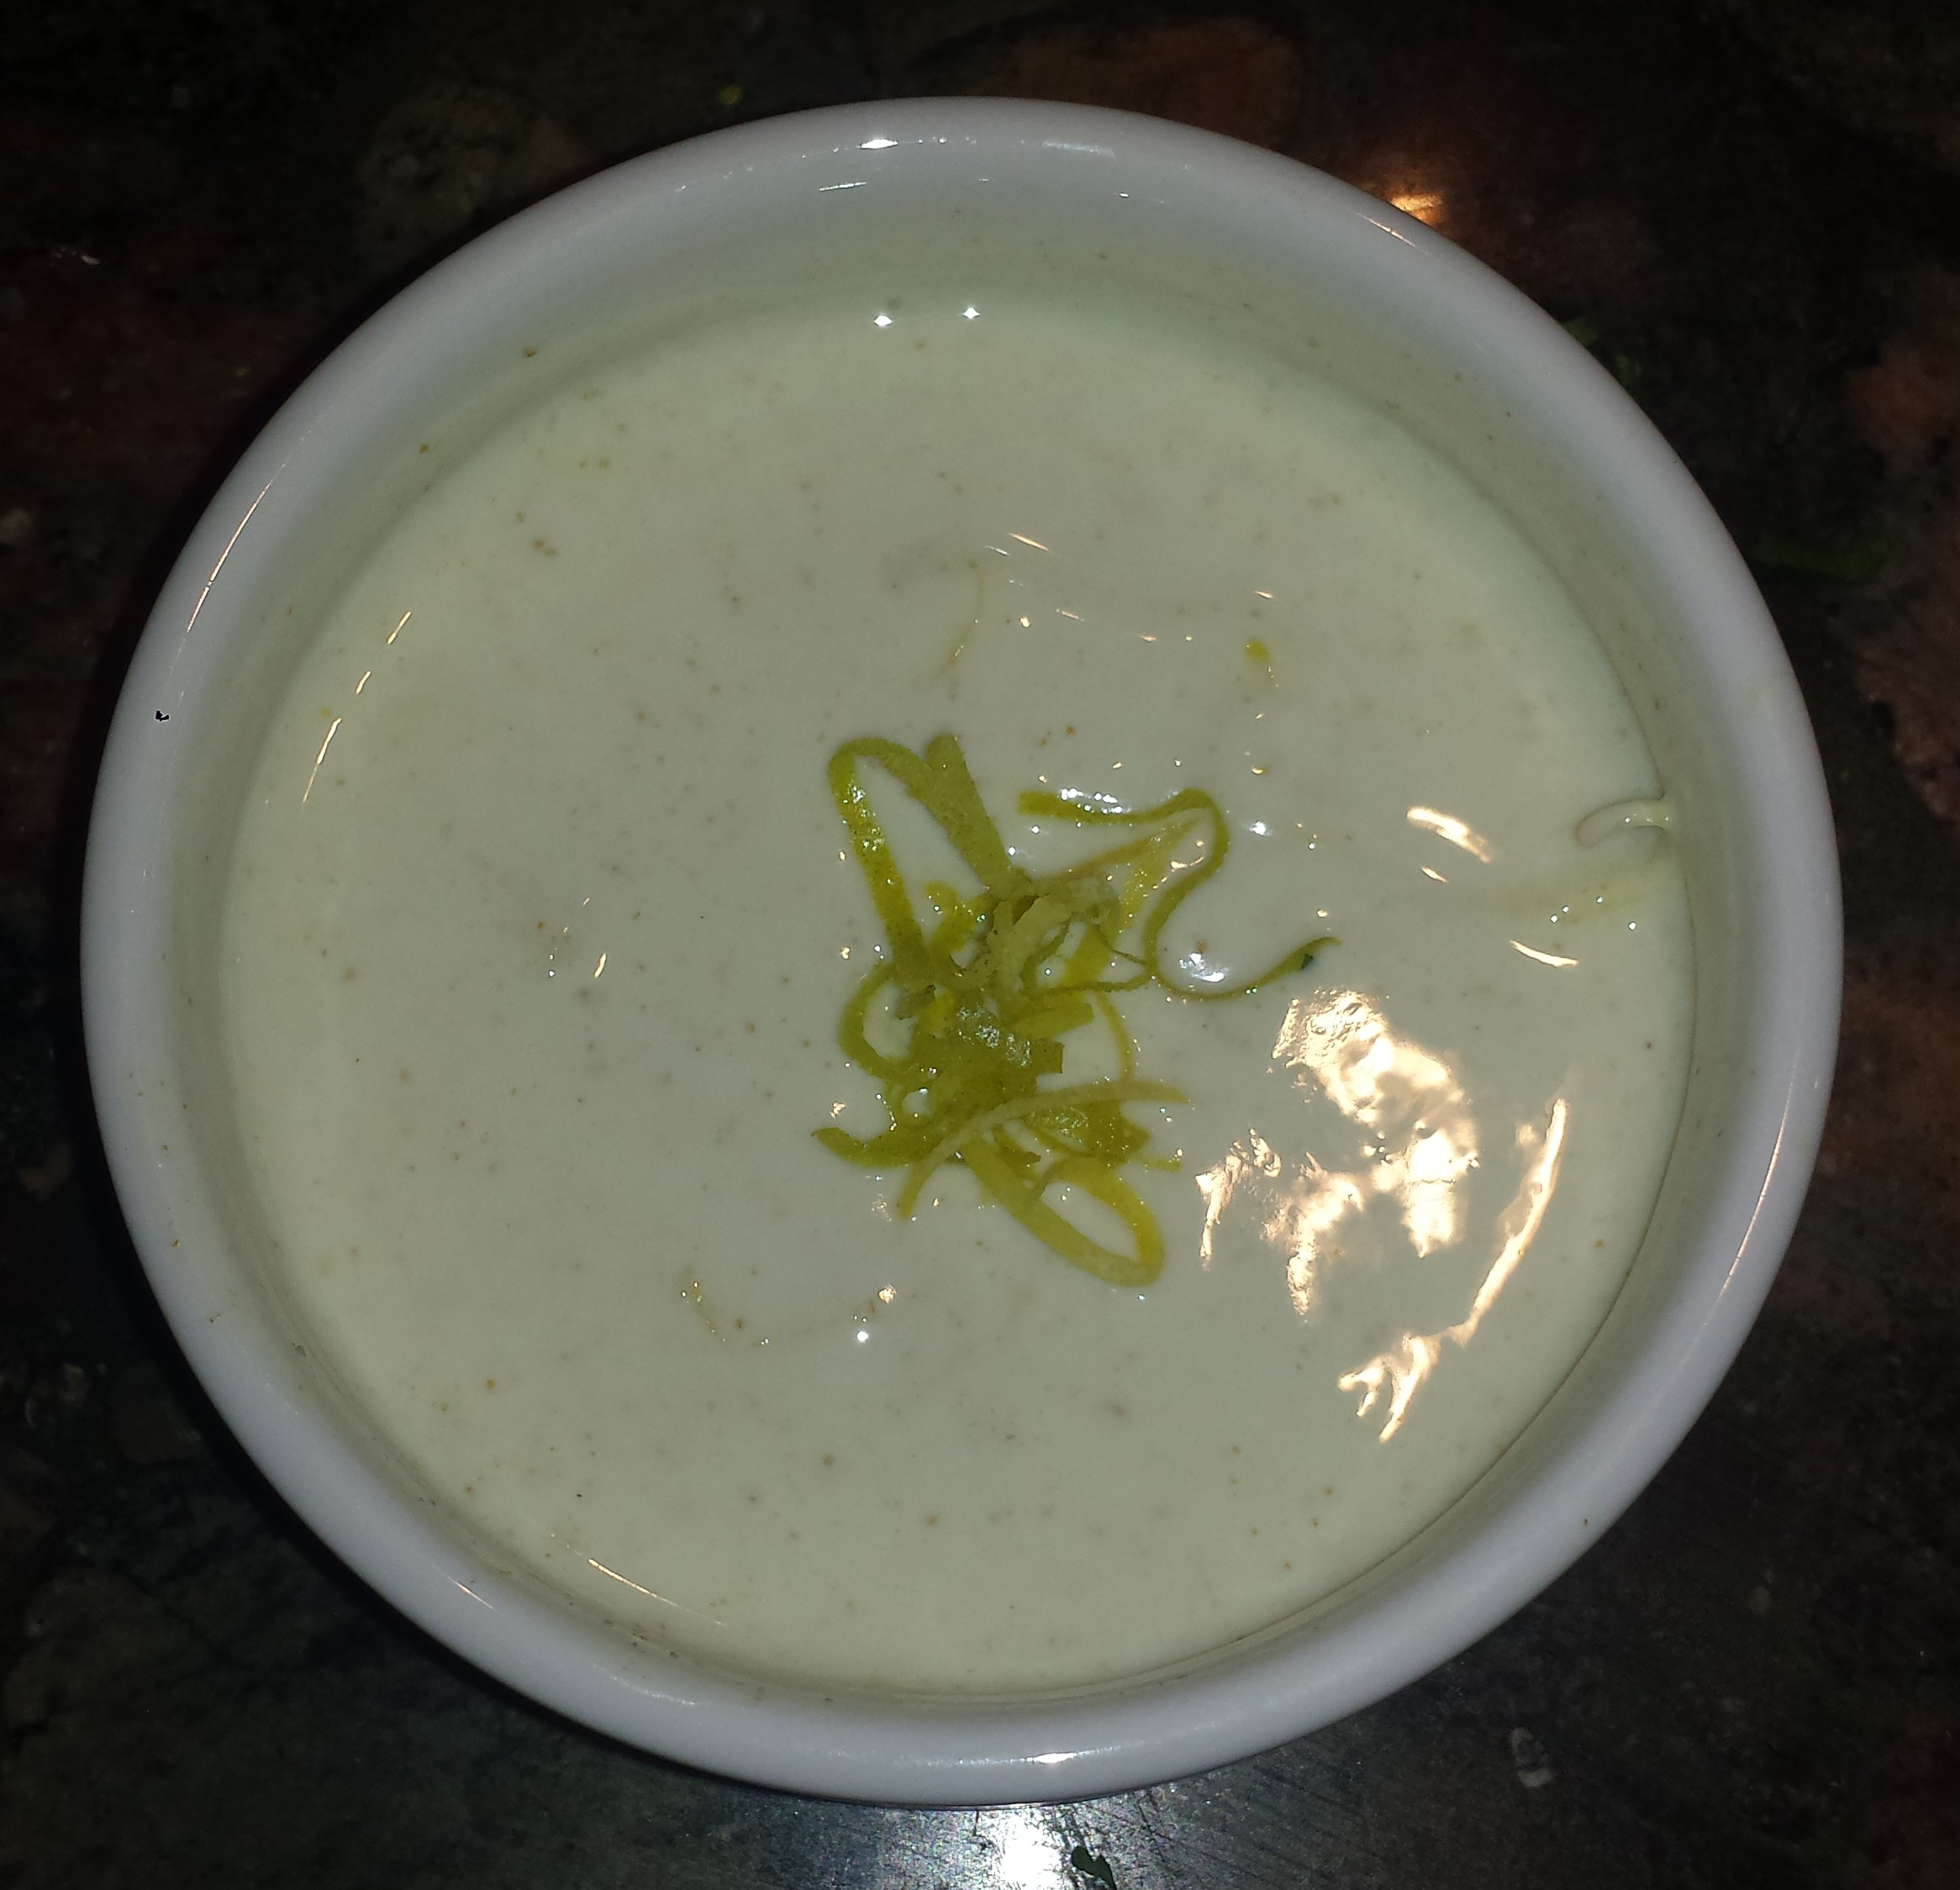
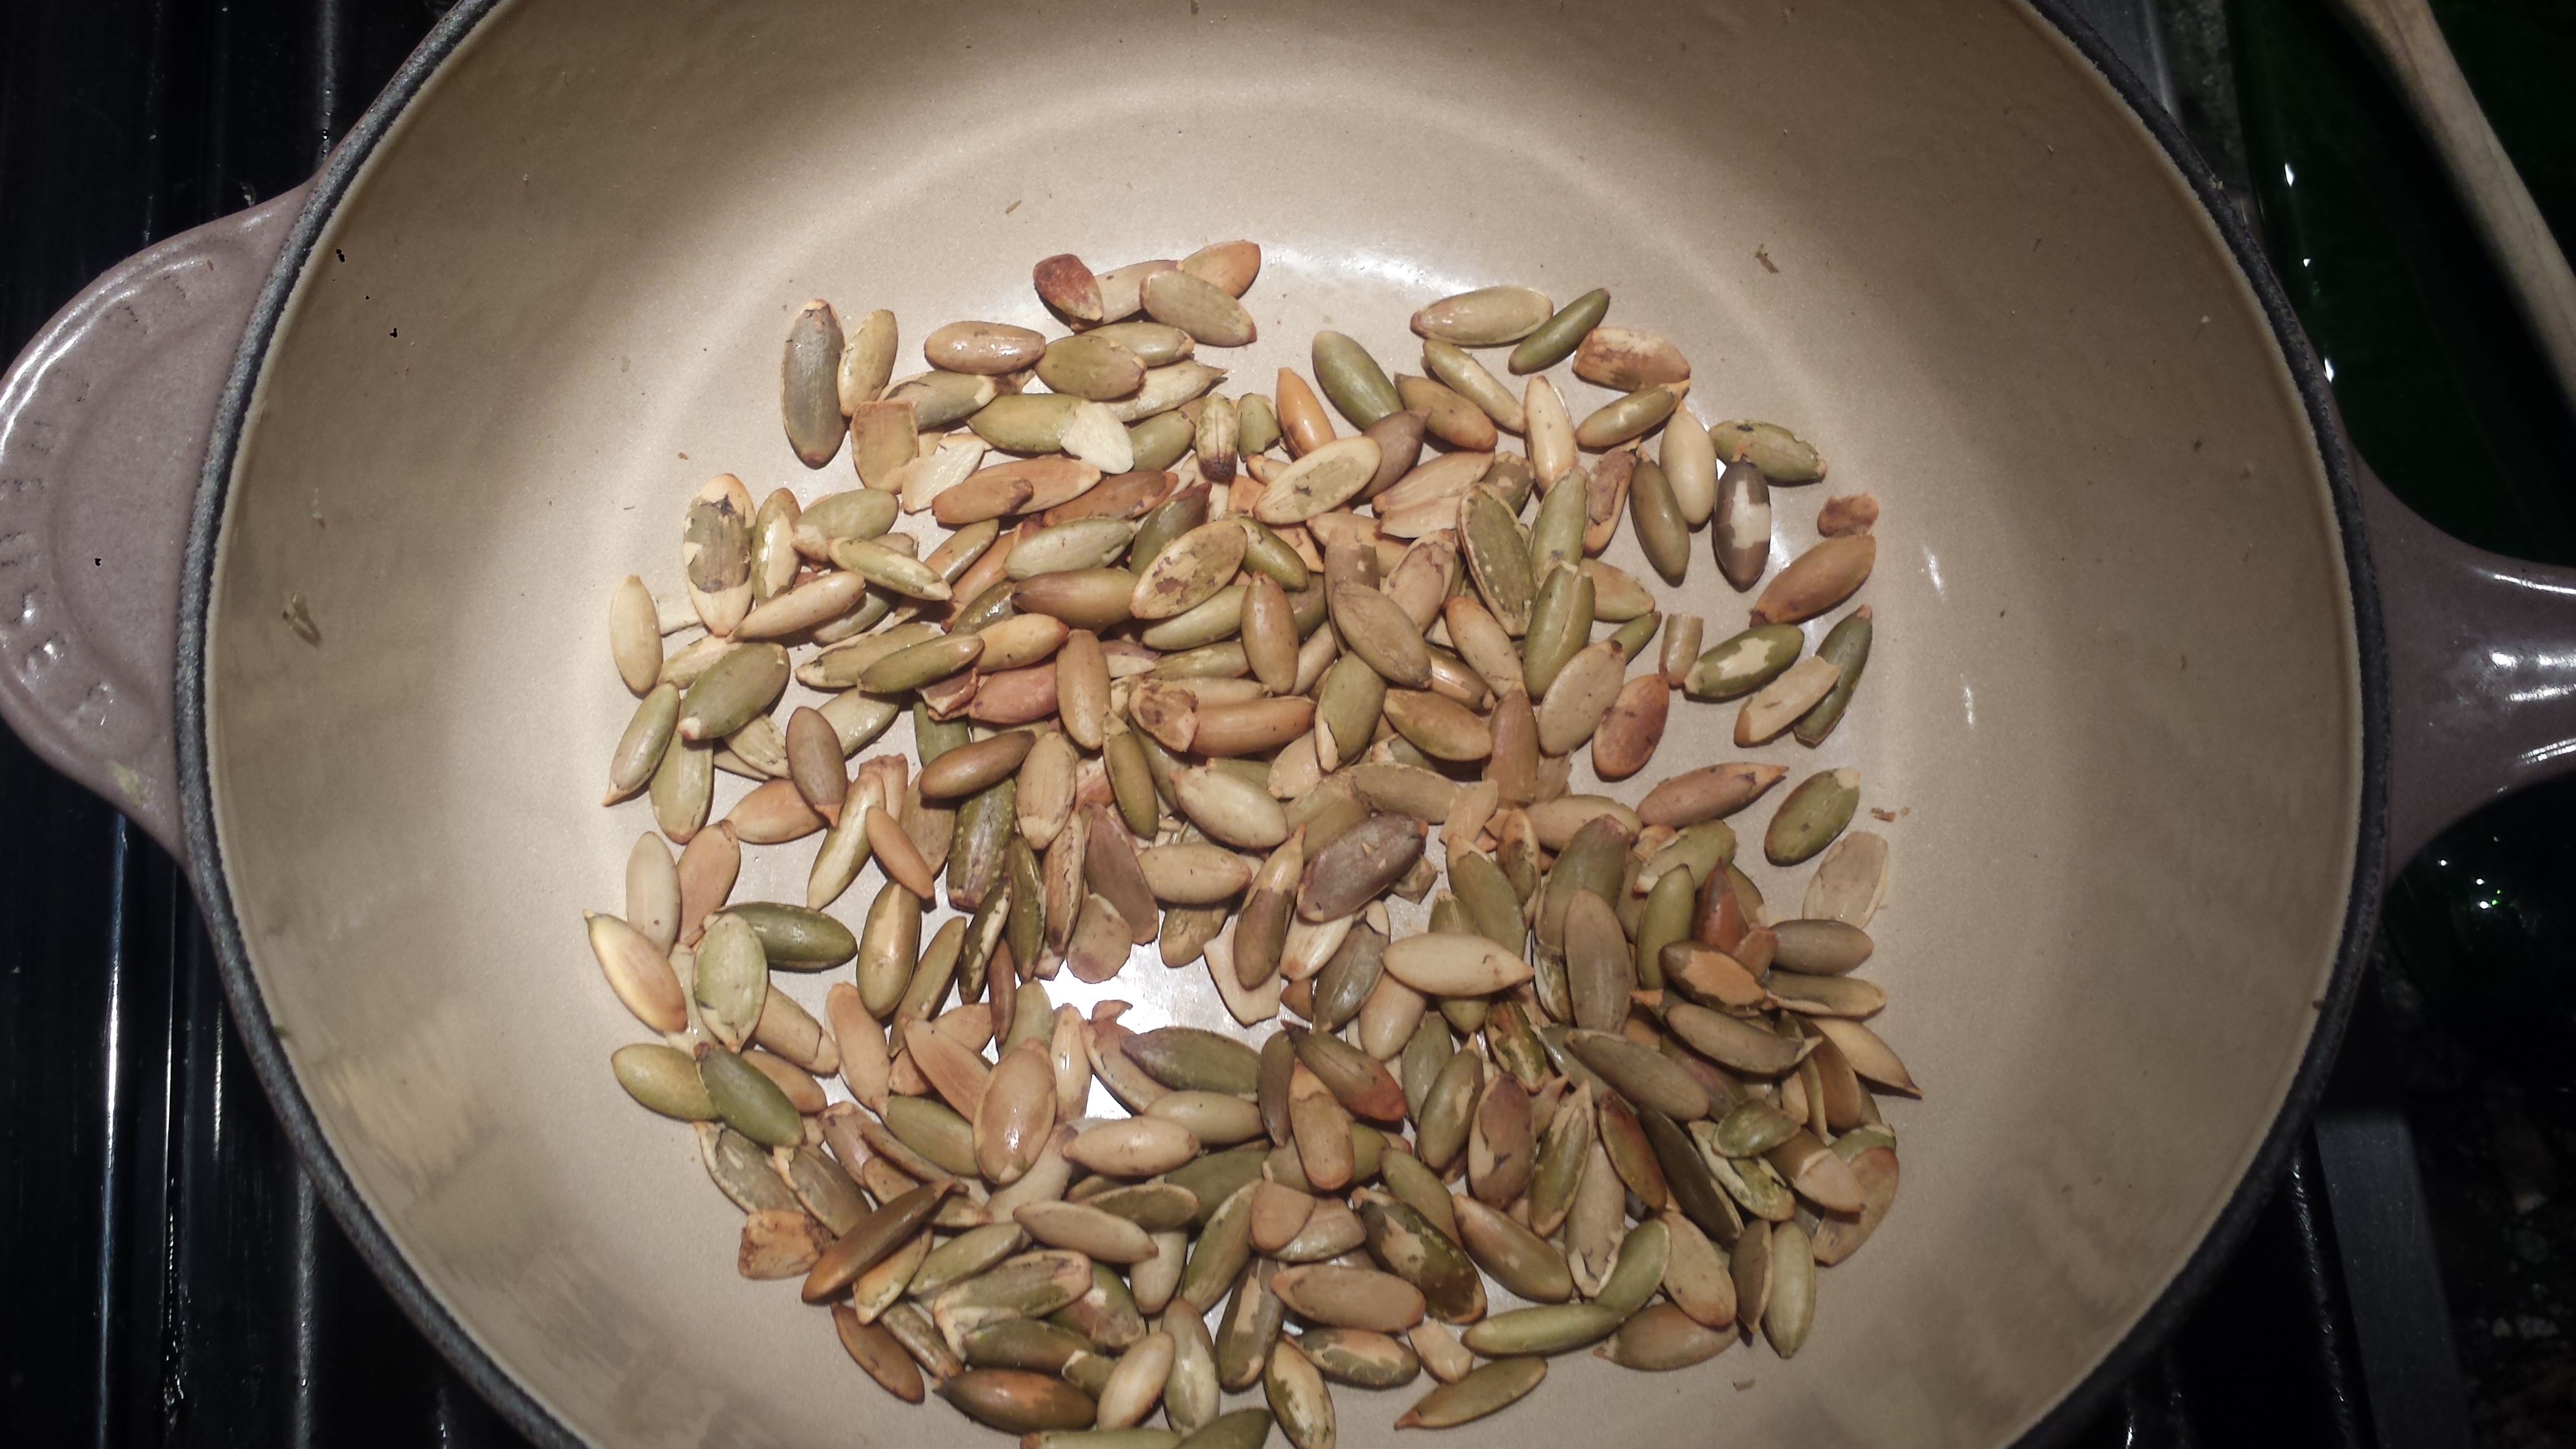
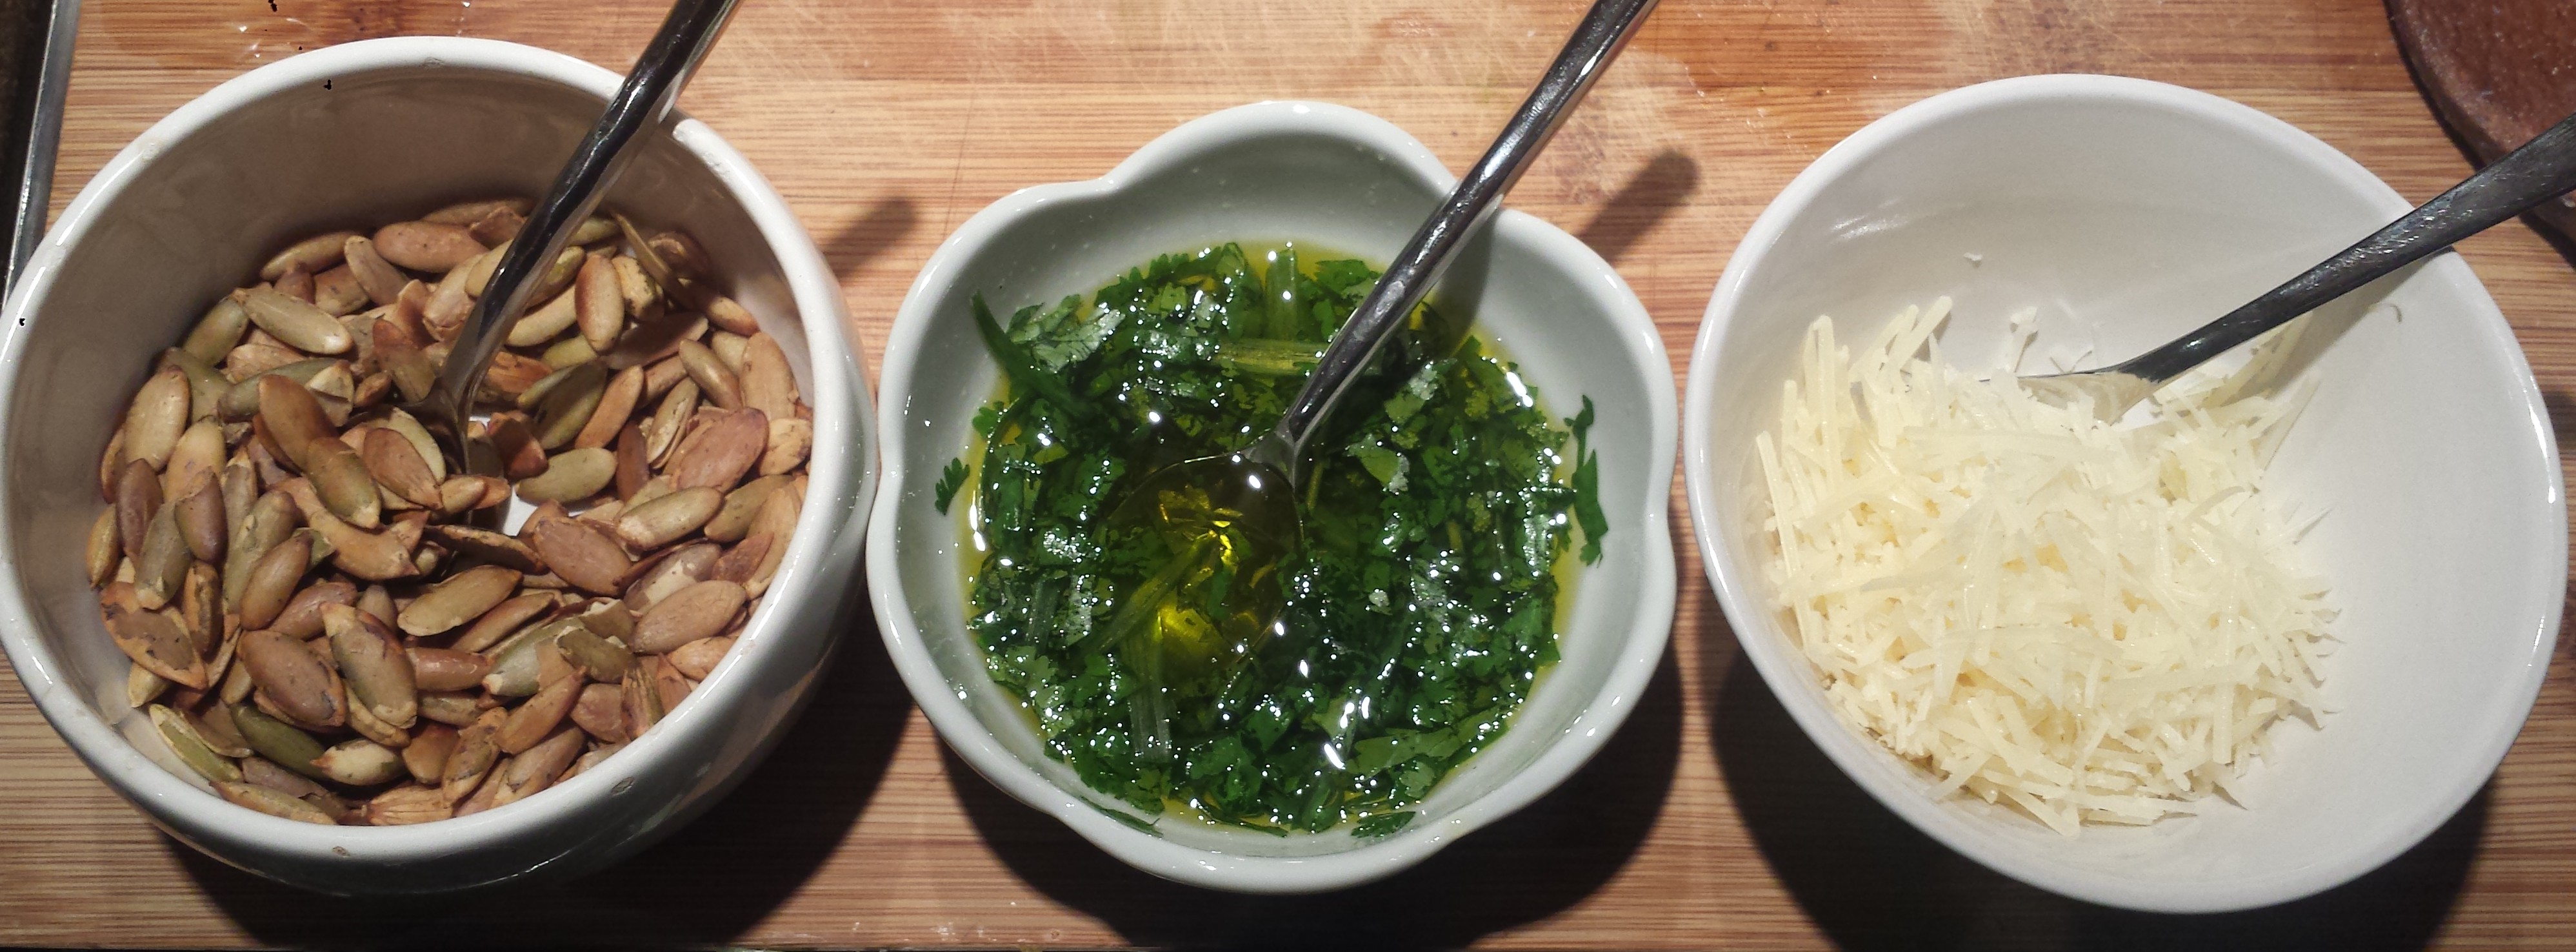
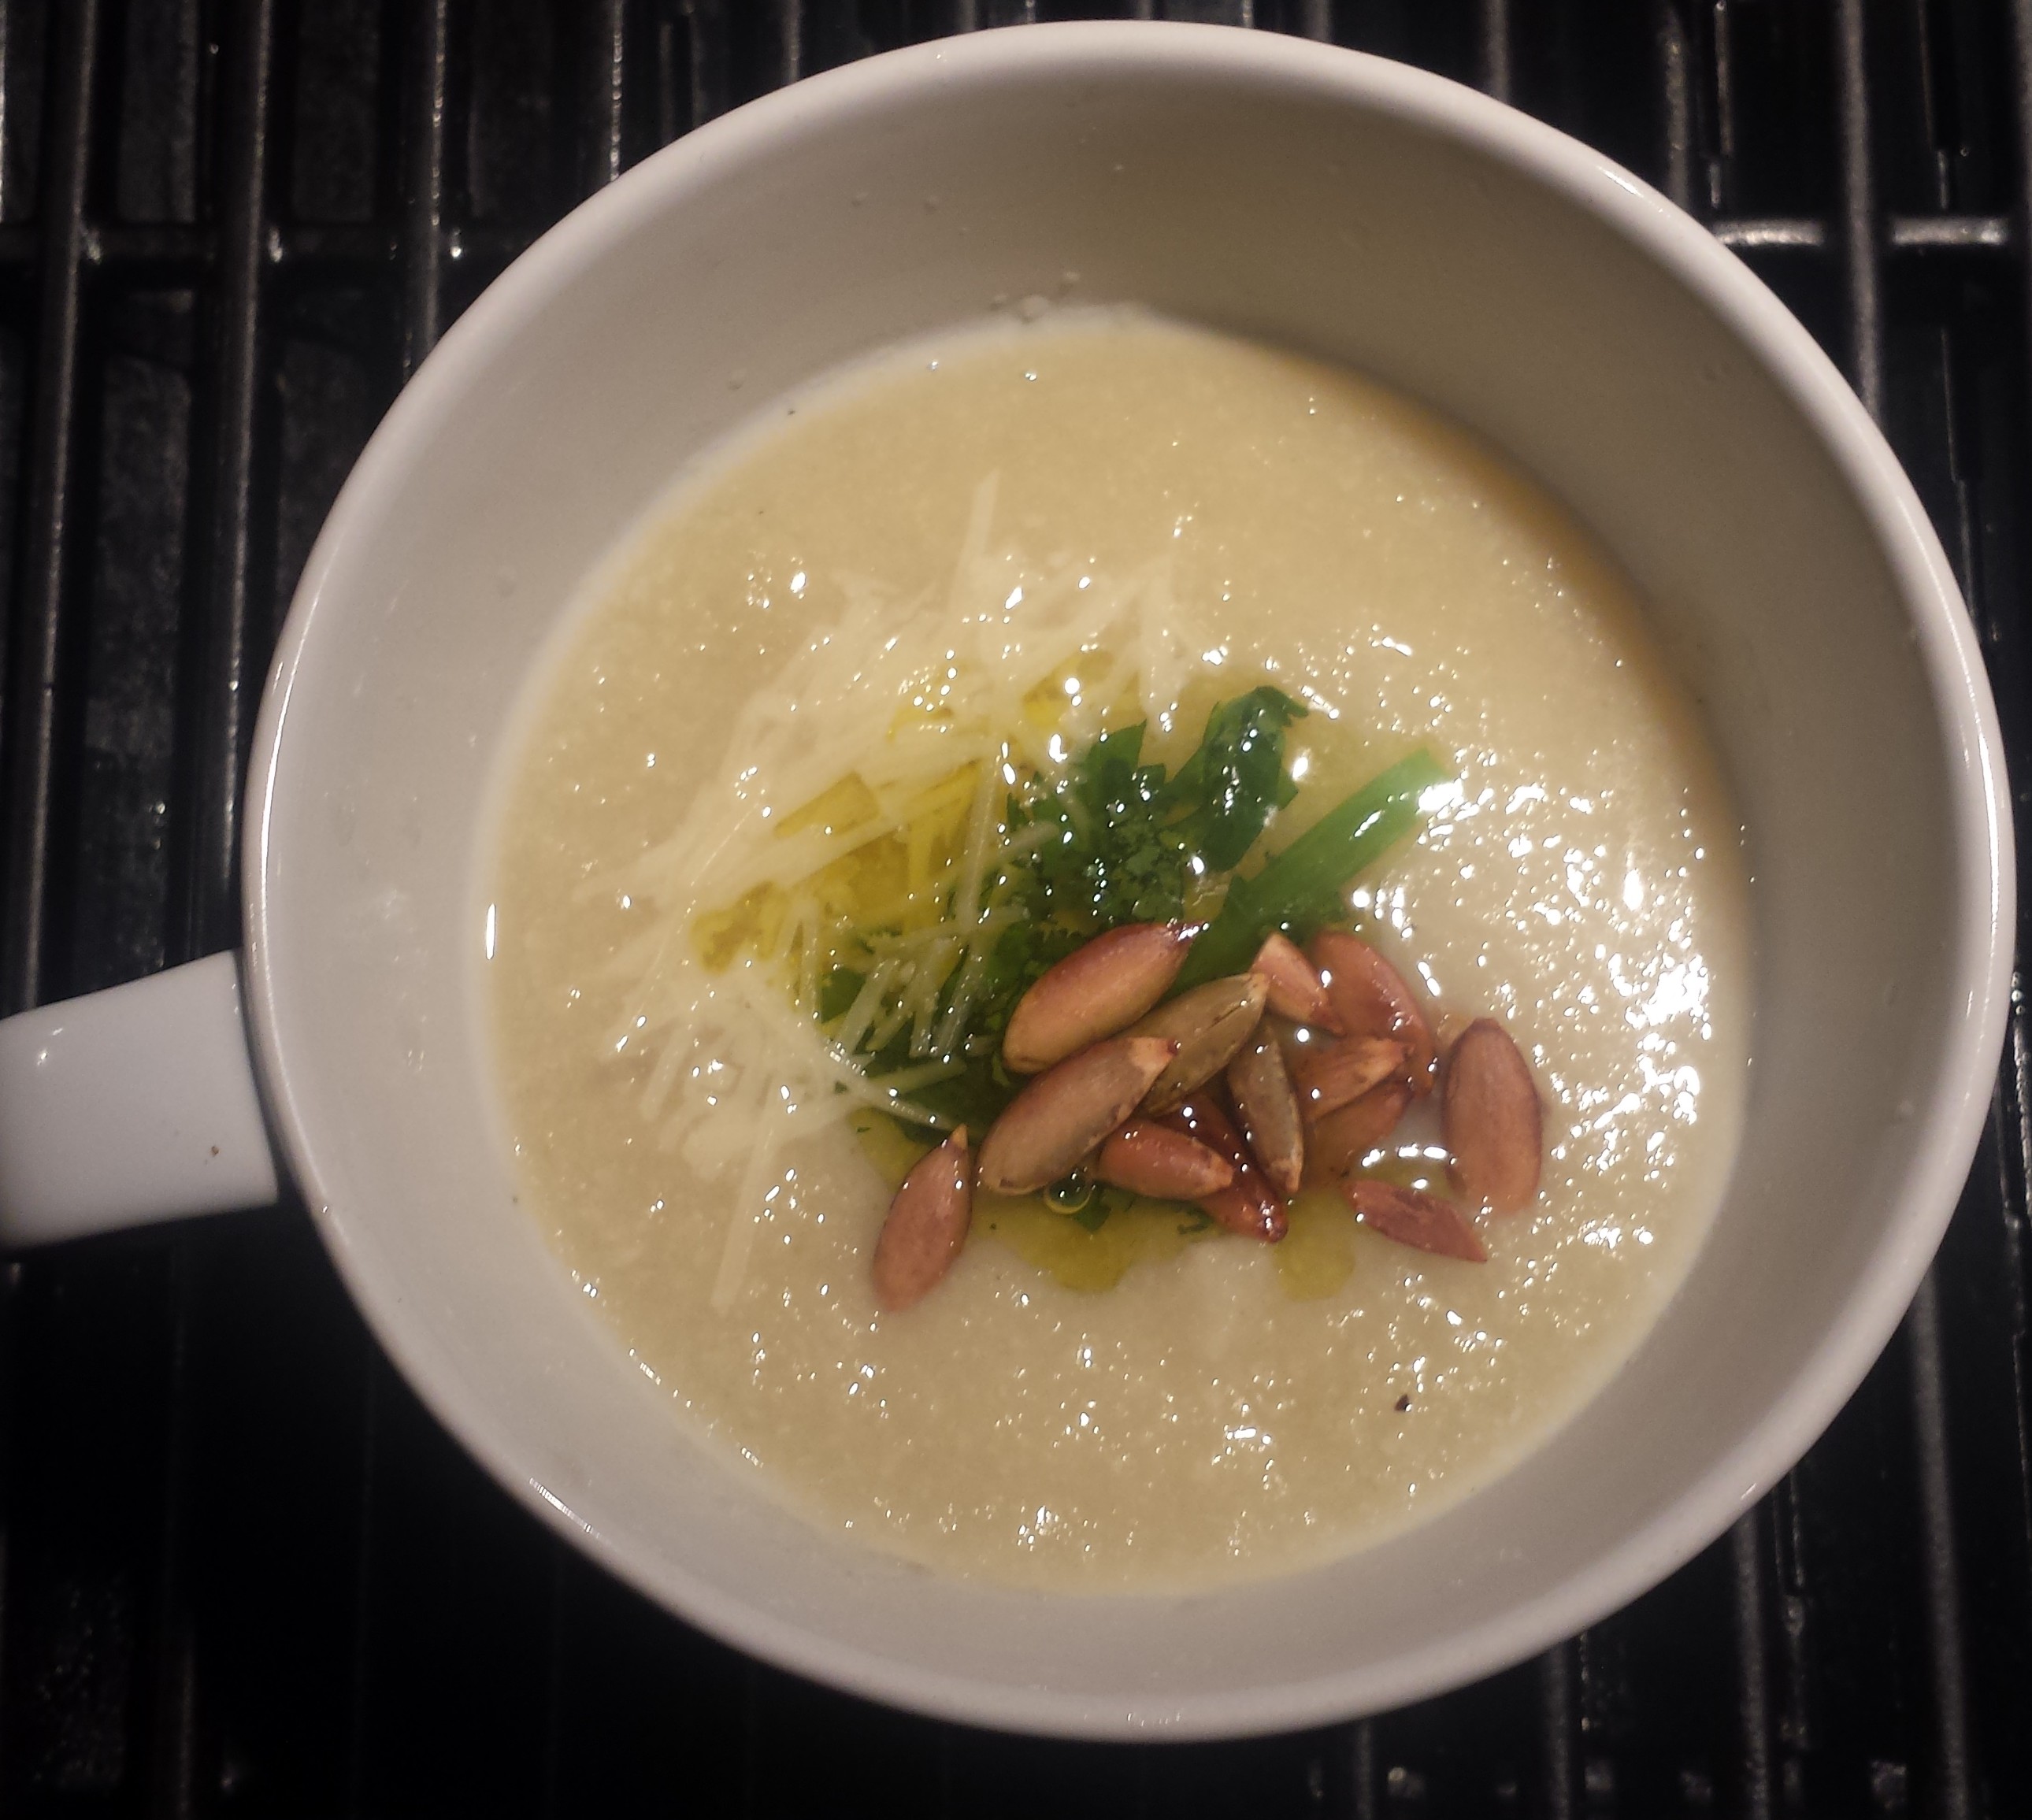
Acorn Squash is a good food choice, especially this time of year when it is at the peak of the season and the most flavorful. It turns out that, once again, nature is providing us what we need just as cold season begins. Winter Squash is one of the richest sources of plant based anti-inflammatory nutrients such as omega 3s and beta-carotene, which are important for a strong immune system to help protect against colds and flu. Considered one of the world’s healthiest foods, acorn squash is nutrient dense, rich in vitamins, including A, C and B6, and harder to find potassium and iron. It is also a good source of fiber and has zero fat and cholesterol. The seeds can be rinsed and roasted on a cookie sheet in a single layer at 160-170°F (about 75°C) in the oven for 15-20 minutes. By roasting them at a low temperature you minimize damage to their healthy oils which contain Linoleic acid (the polyunsaturated omega-6 fatty acid) and oleic acid (the same monounsaturated fatty acid that is plentiful in olive oil).

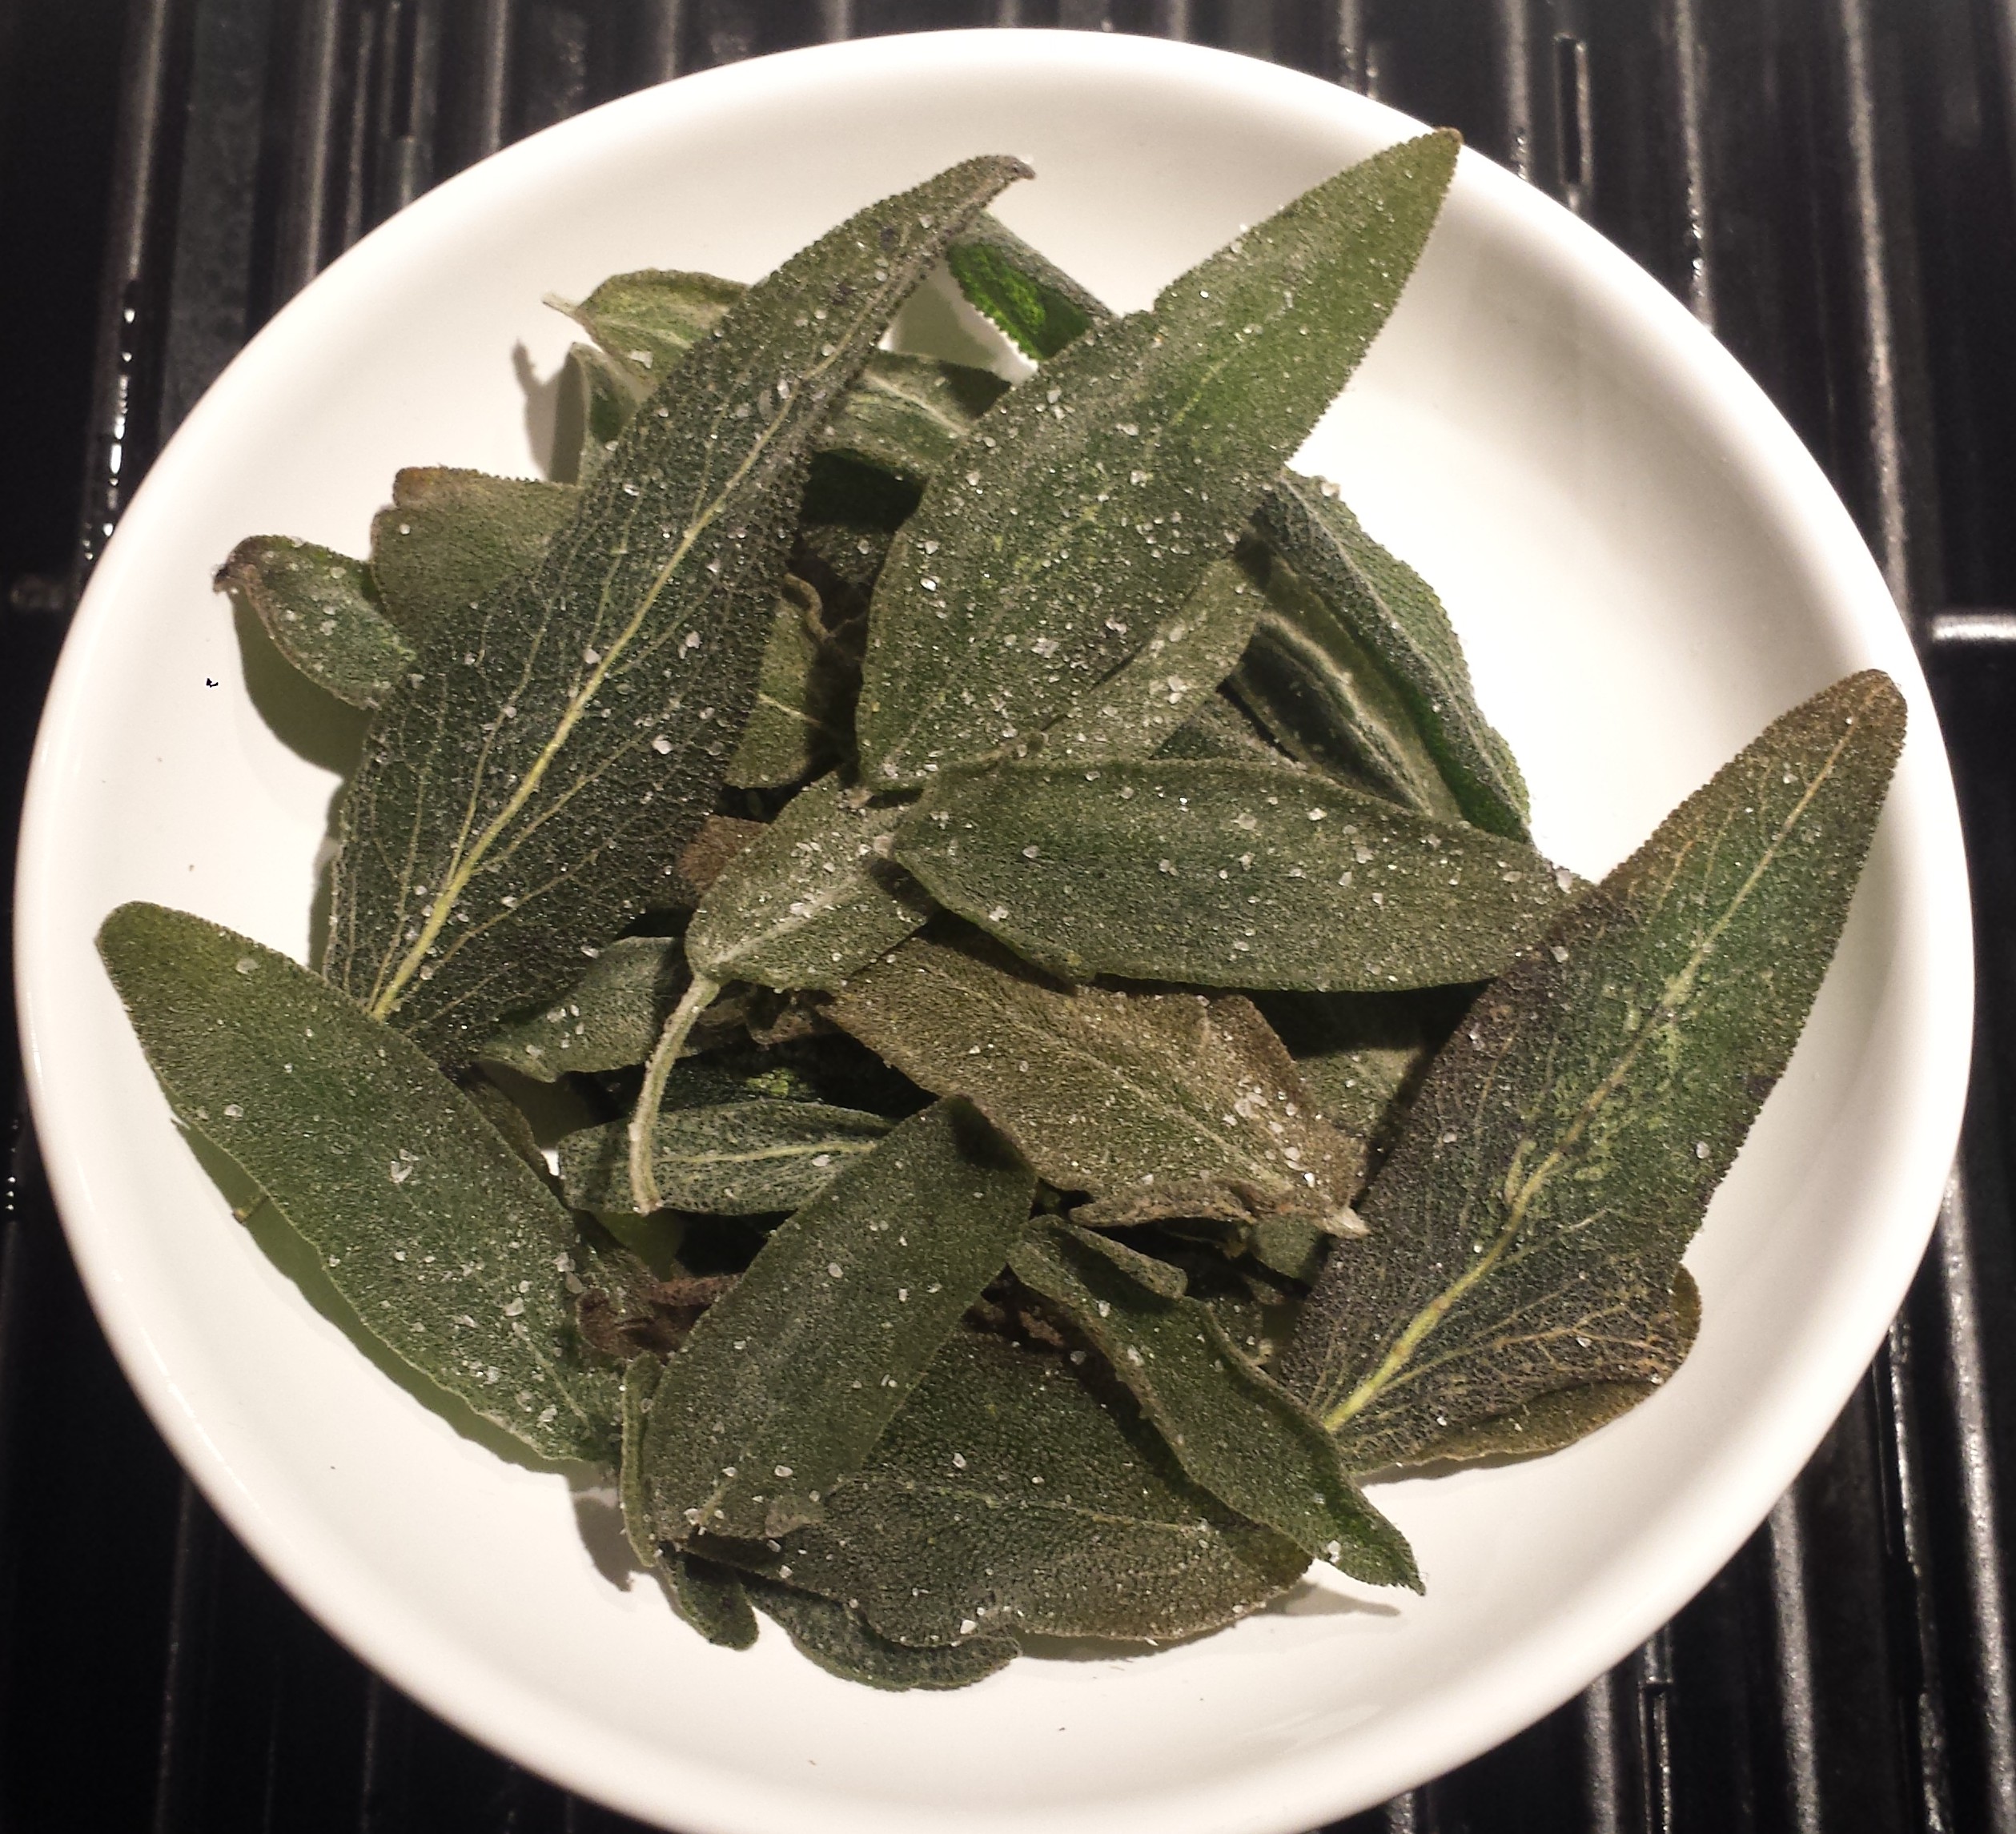
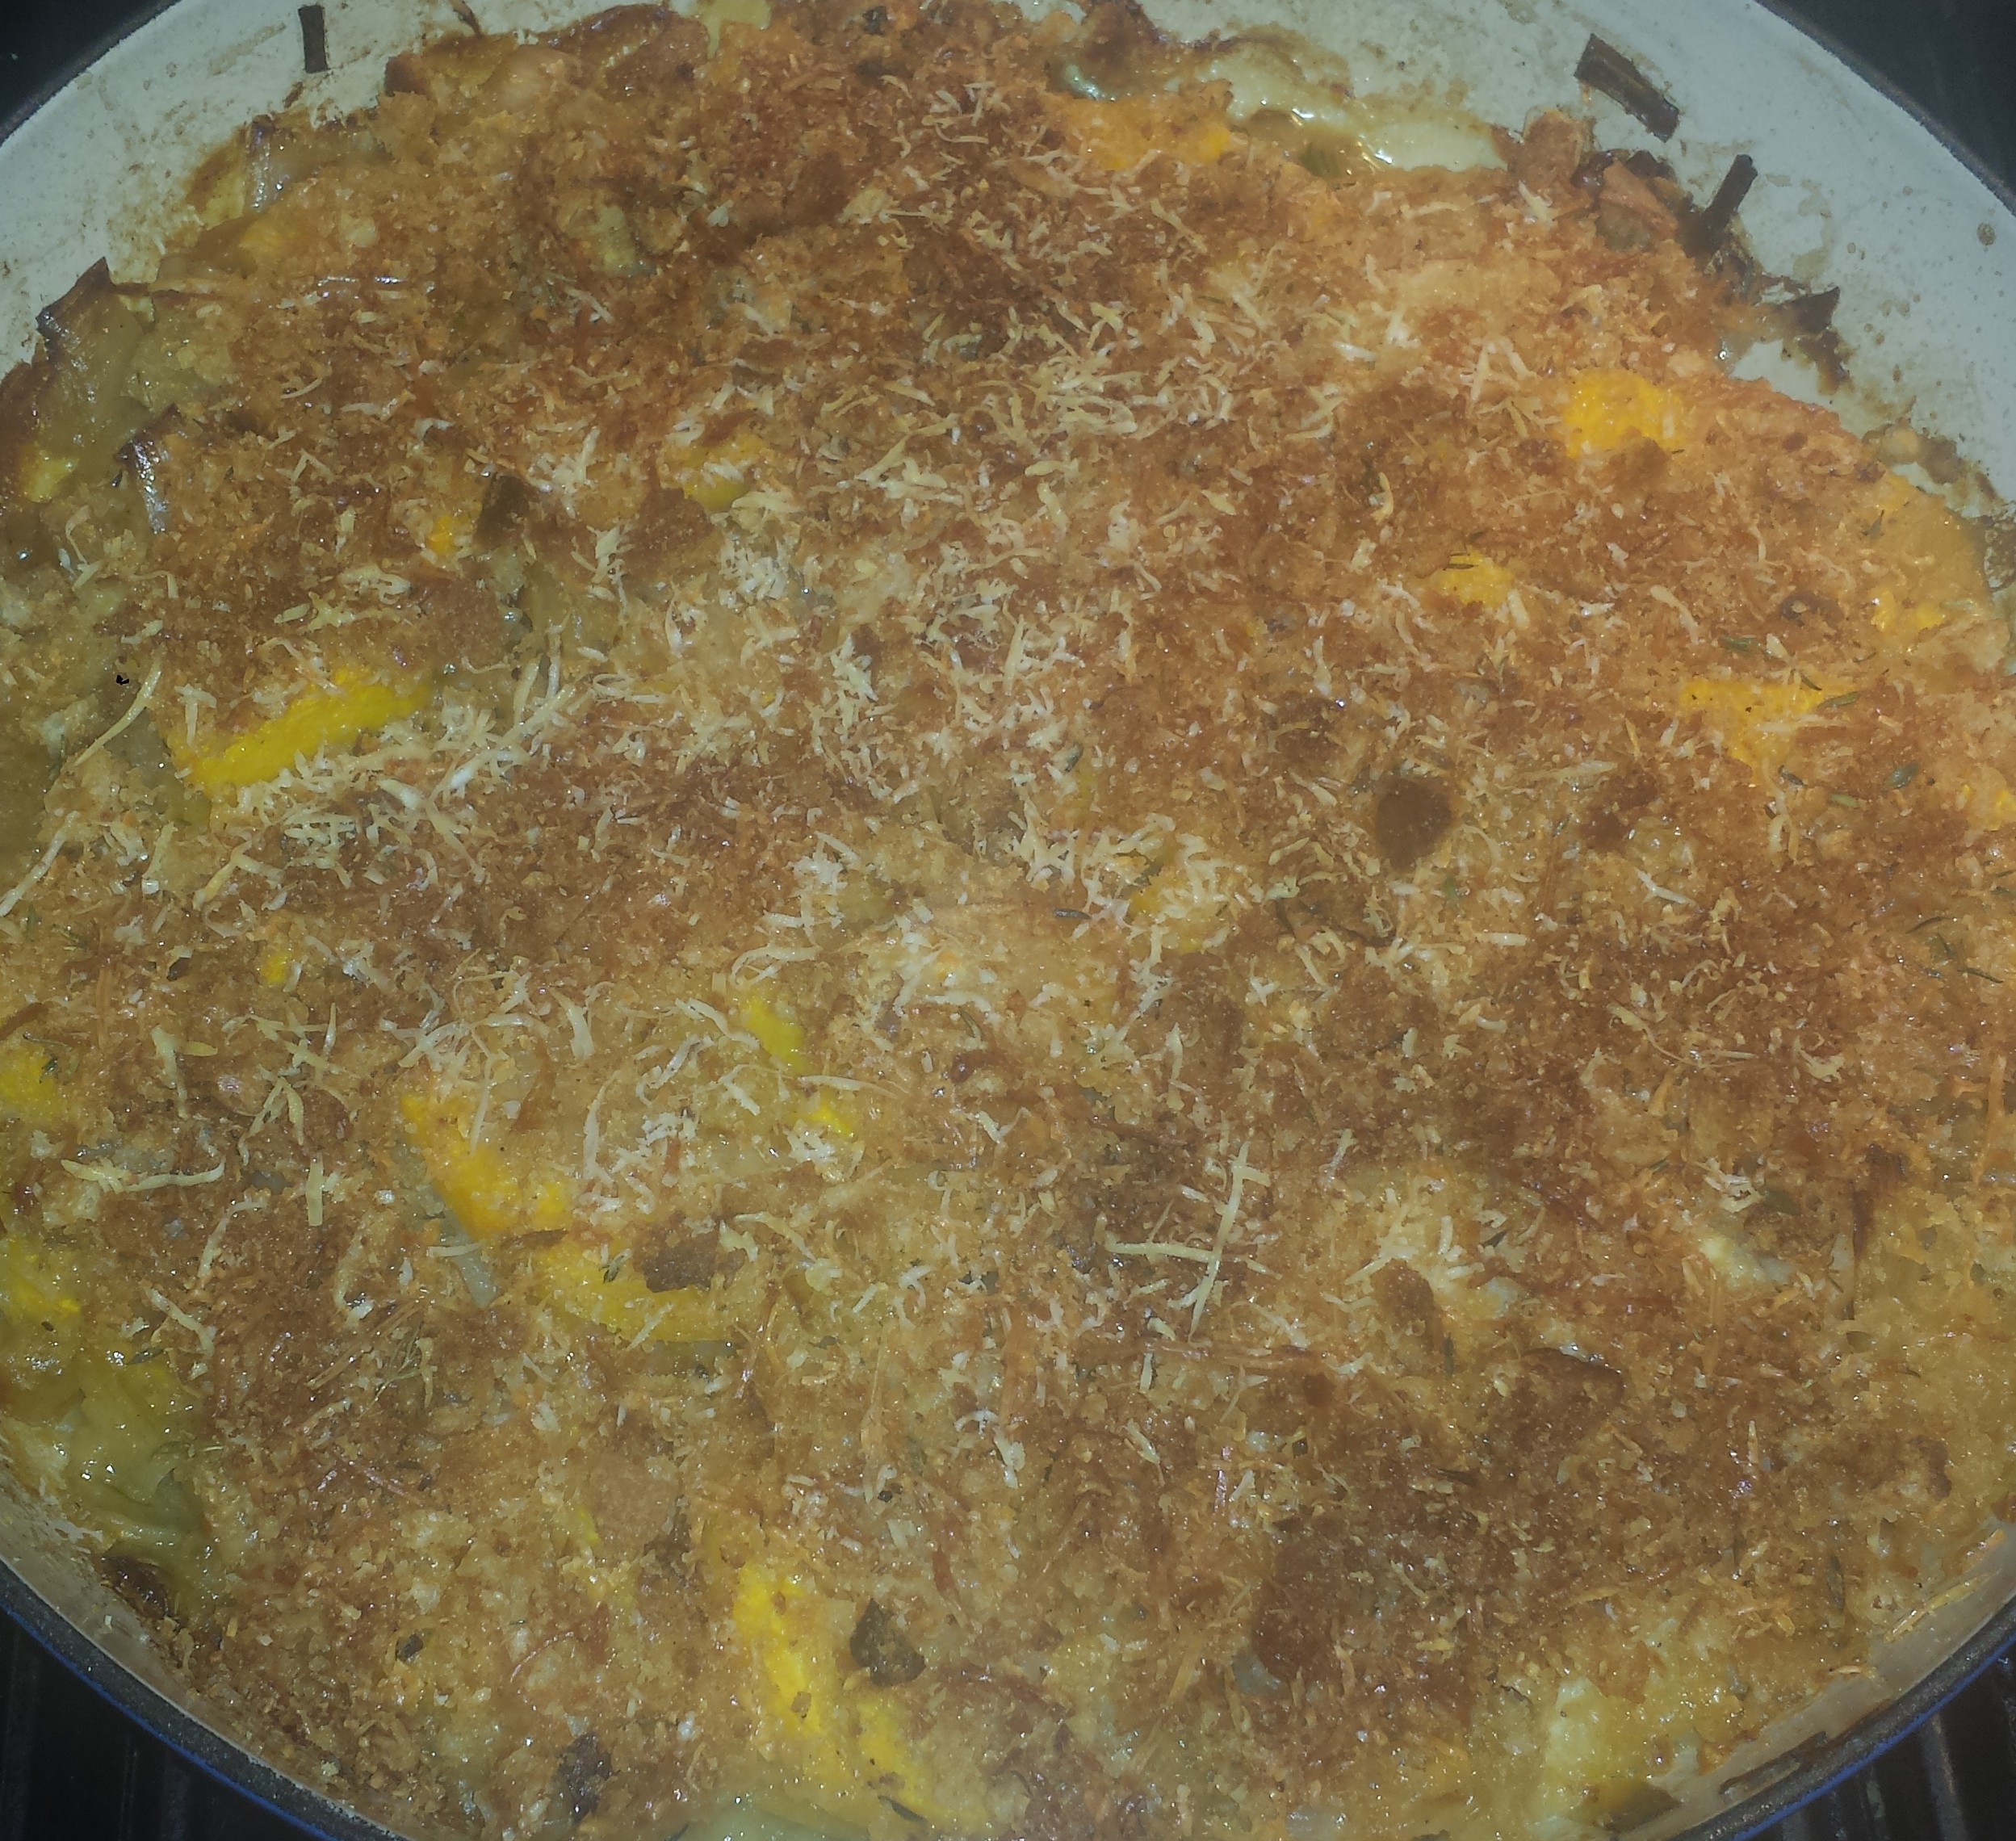
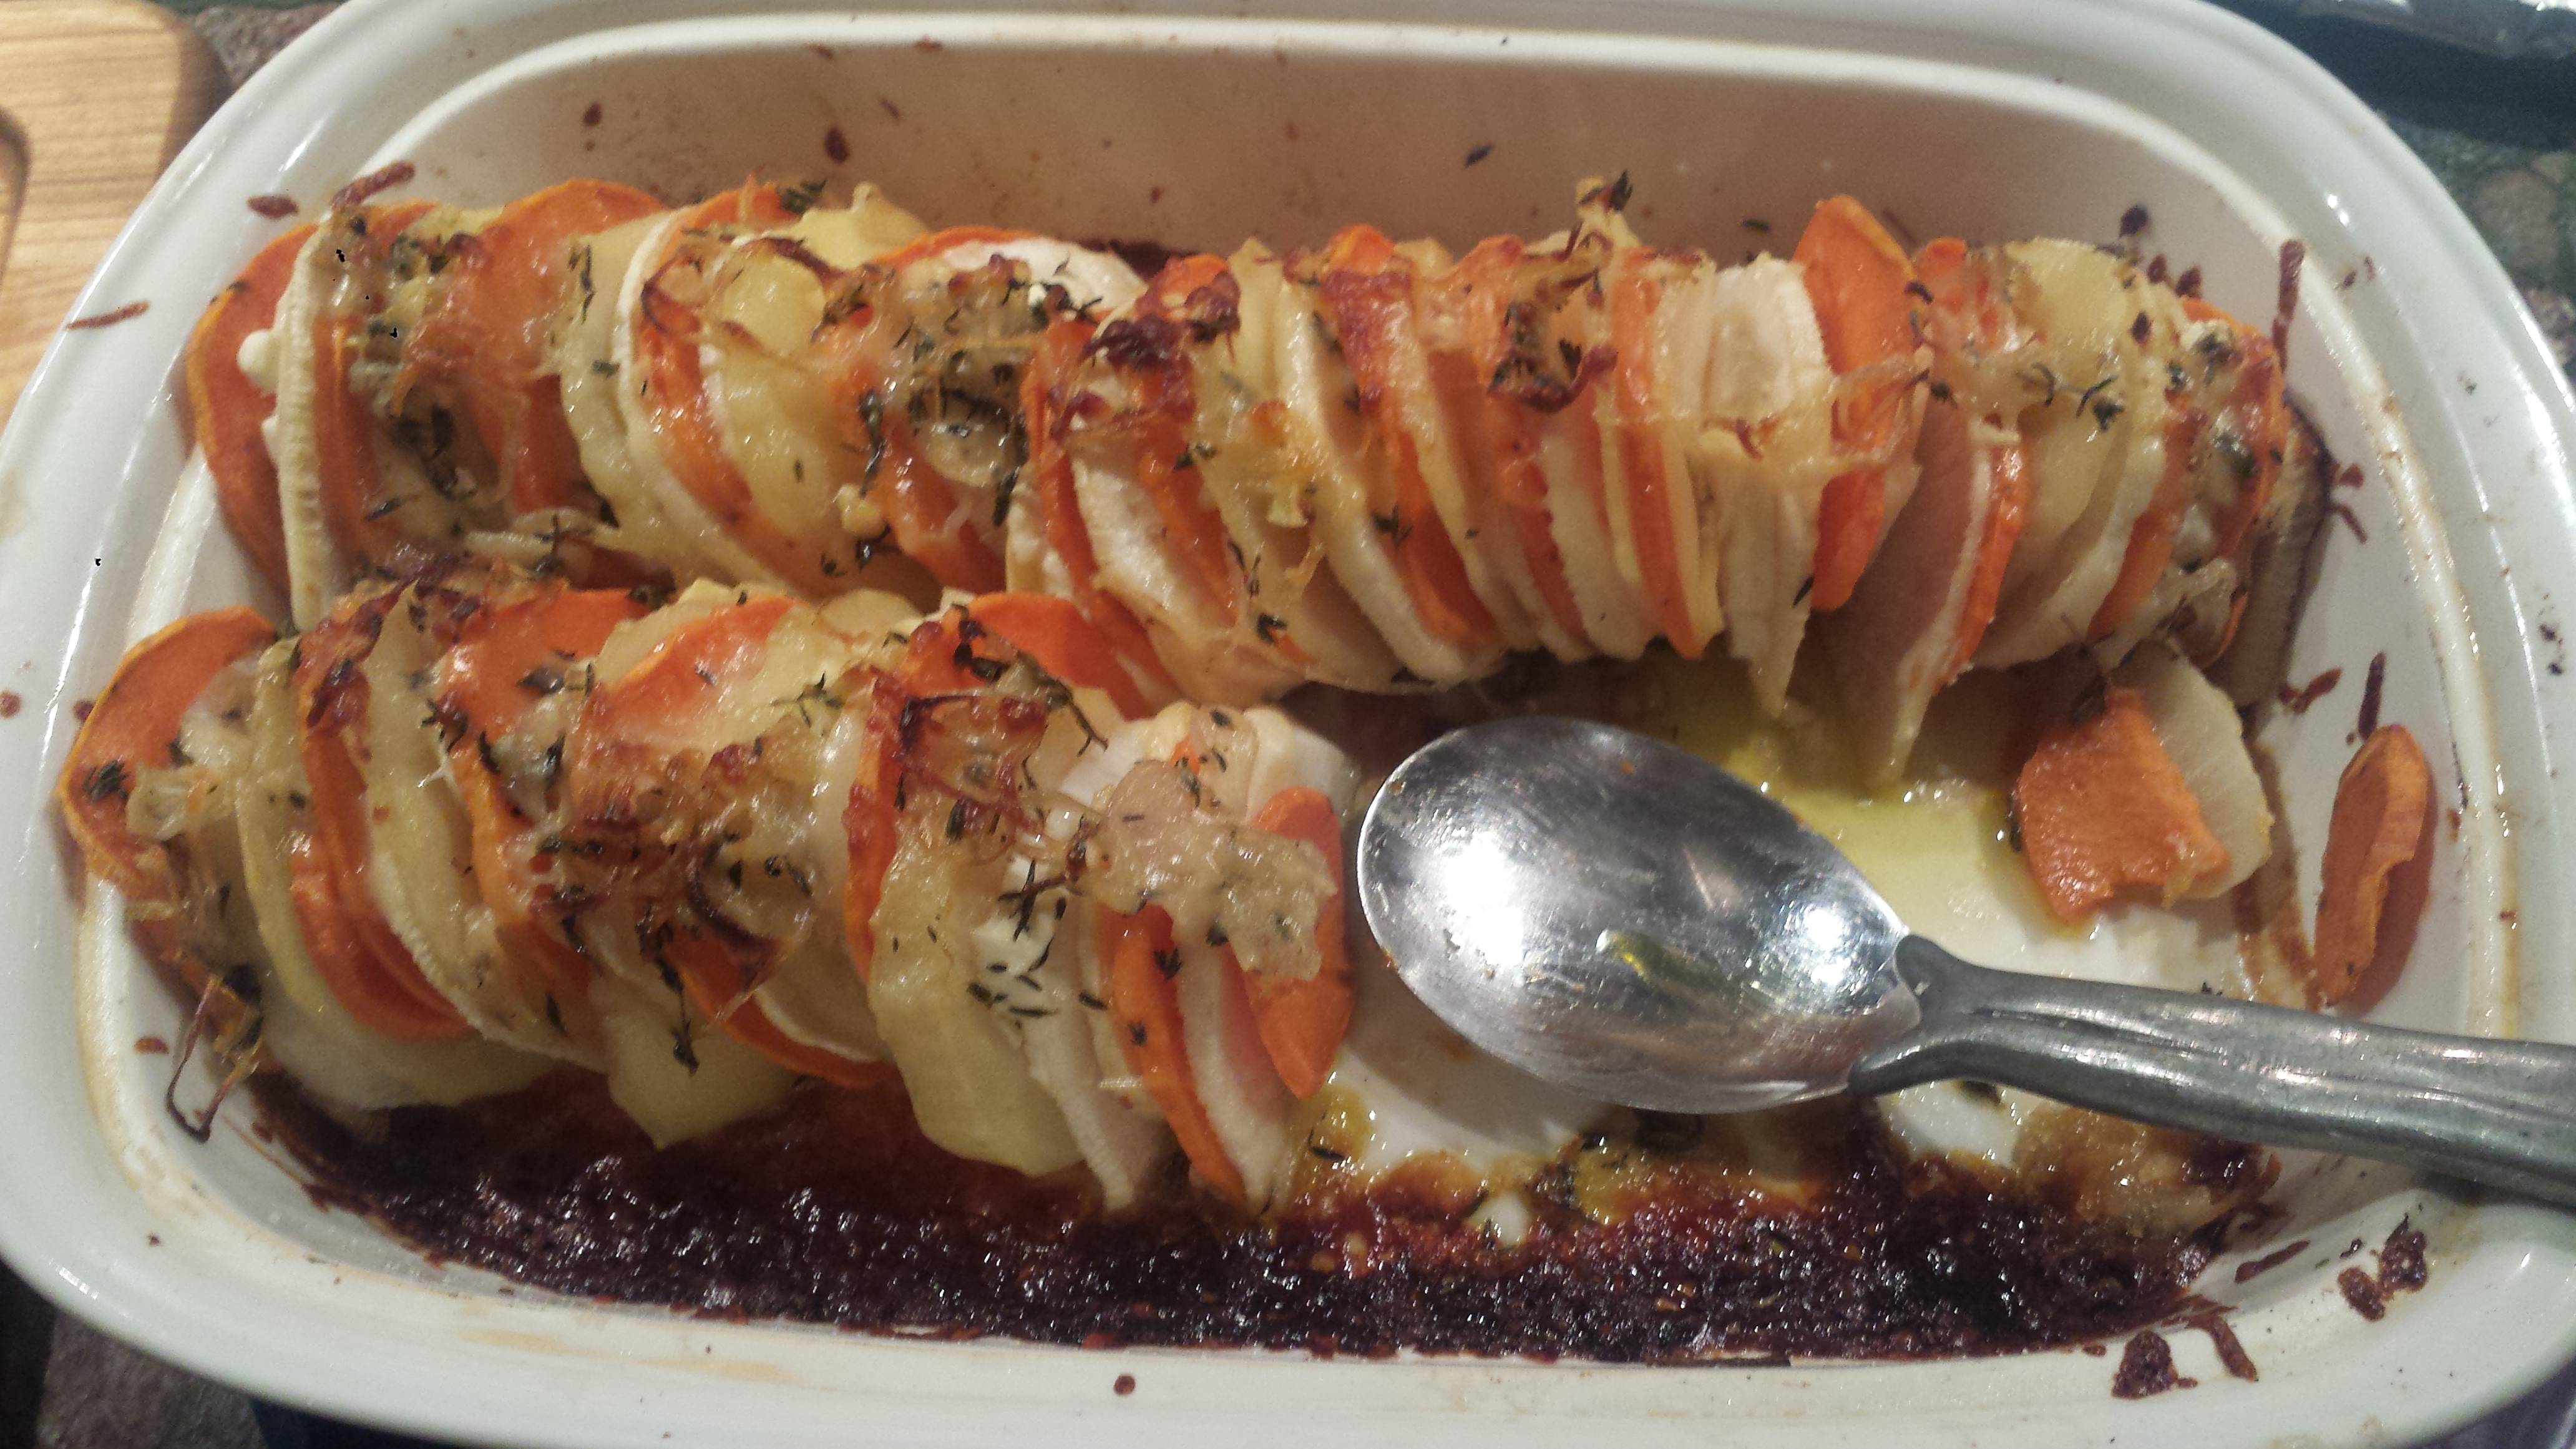
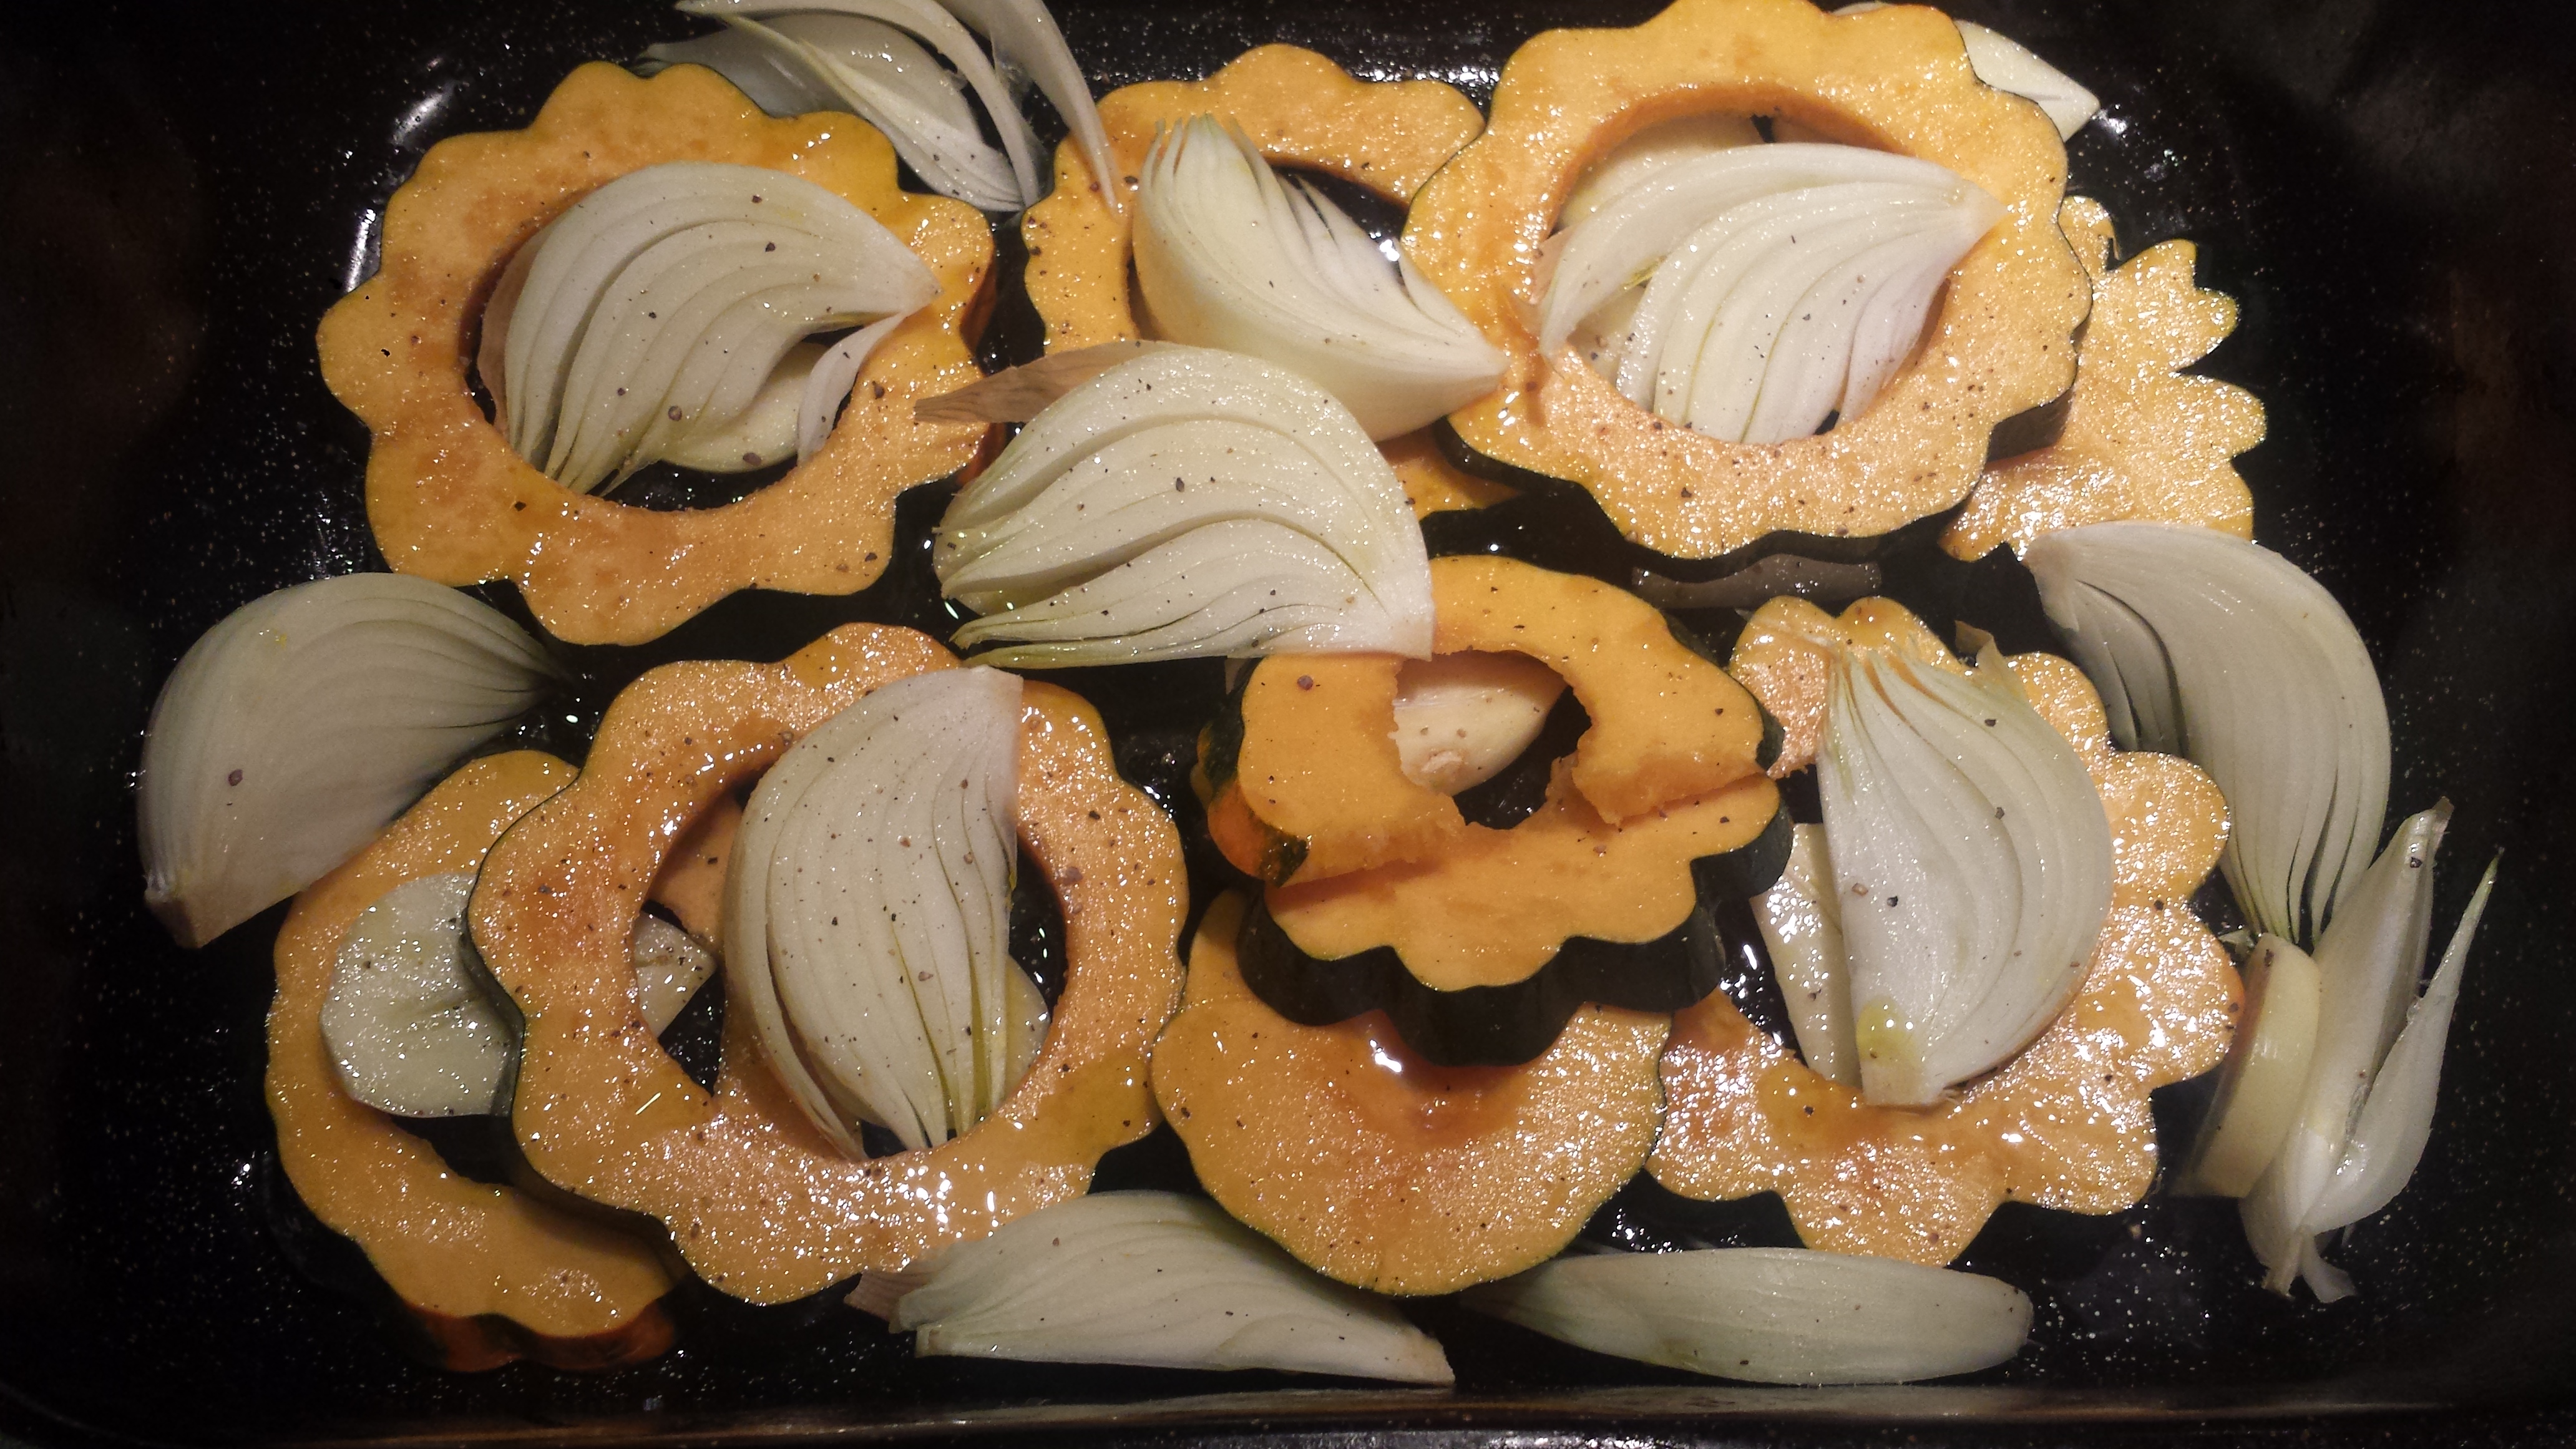
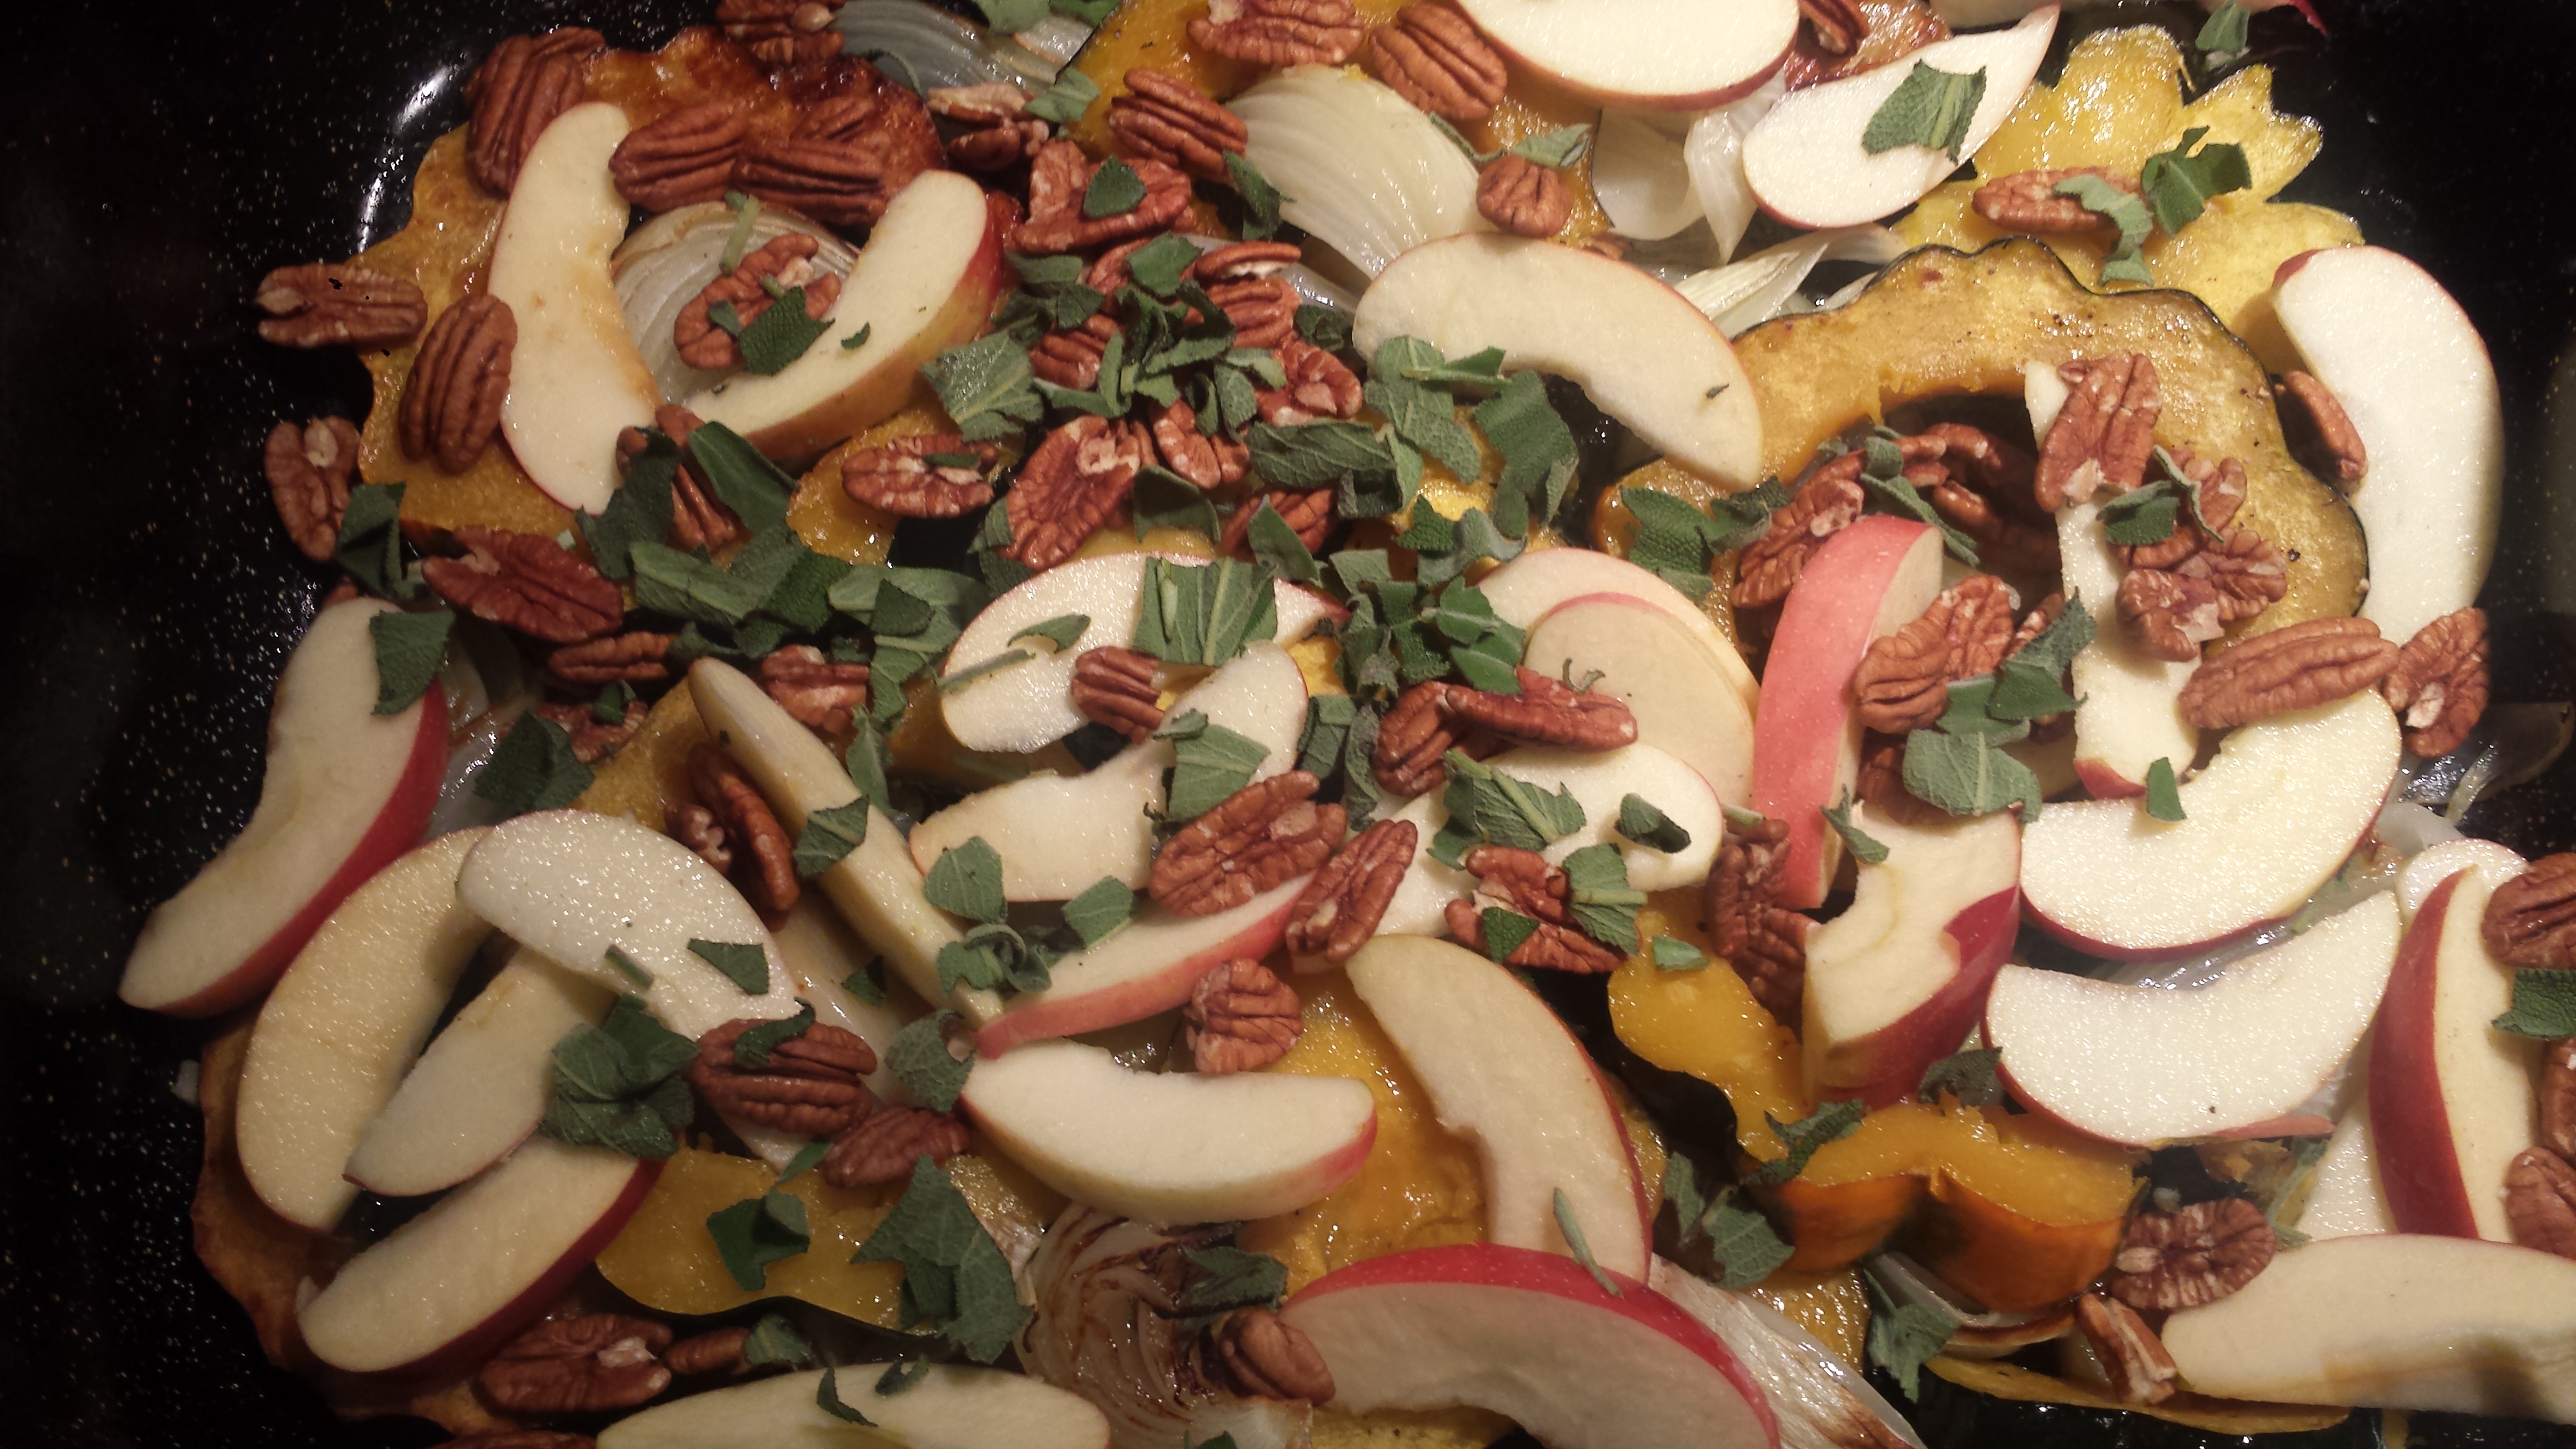
I chose to make a traditional savory, sweet stuffing that combines savories like onions, celery, fresh sage and thyme with sweet apples, dates, pecans and cranberries. I brushed the squash with a maple butter glaze before cooking to enhance it’s natural sweetness. Then I piled each slice high with a mound of yummy buttery stuffing and baked until the squash was soft and the stuffing golden brown. If you like very moist stuffing, you can cover with aluminum foil for the first 20 minutes and remove foil for the last 10 or 15 minutes to brown the top.
TIP: This recipe can easily be halved using one acorn squash. Just divide the ingredients accordingly. I think it’s plenty sweet with the dates, cranberries and maple but for additional sweetness substitute half or more of the broth with apple juice.

ACORN SQUASH RINGS WITH CORNBREAD STUFFING
1 cup plus 2 Tbsn butter (divided)
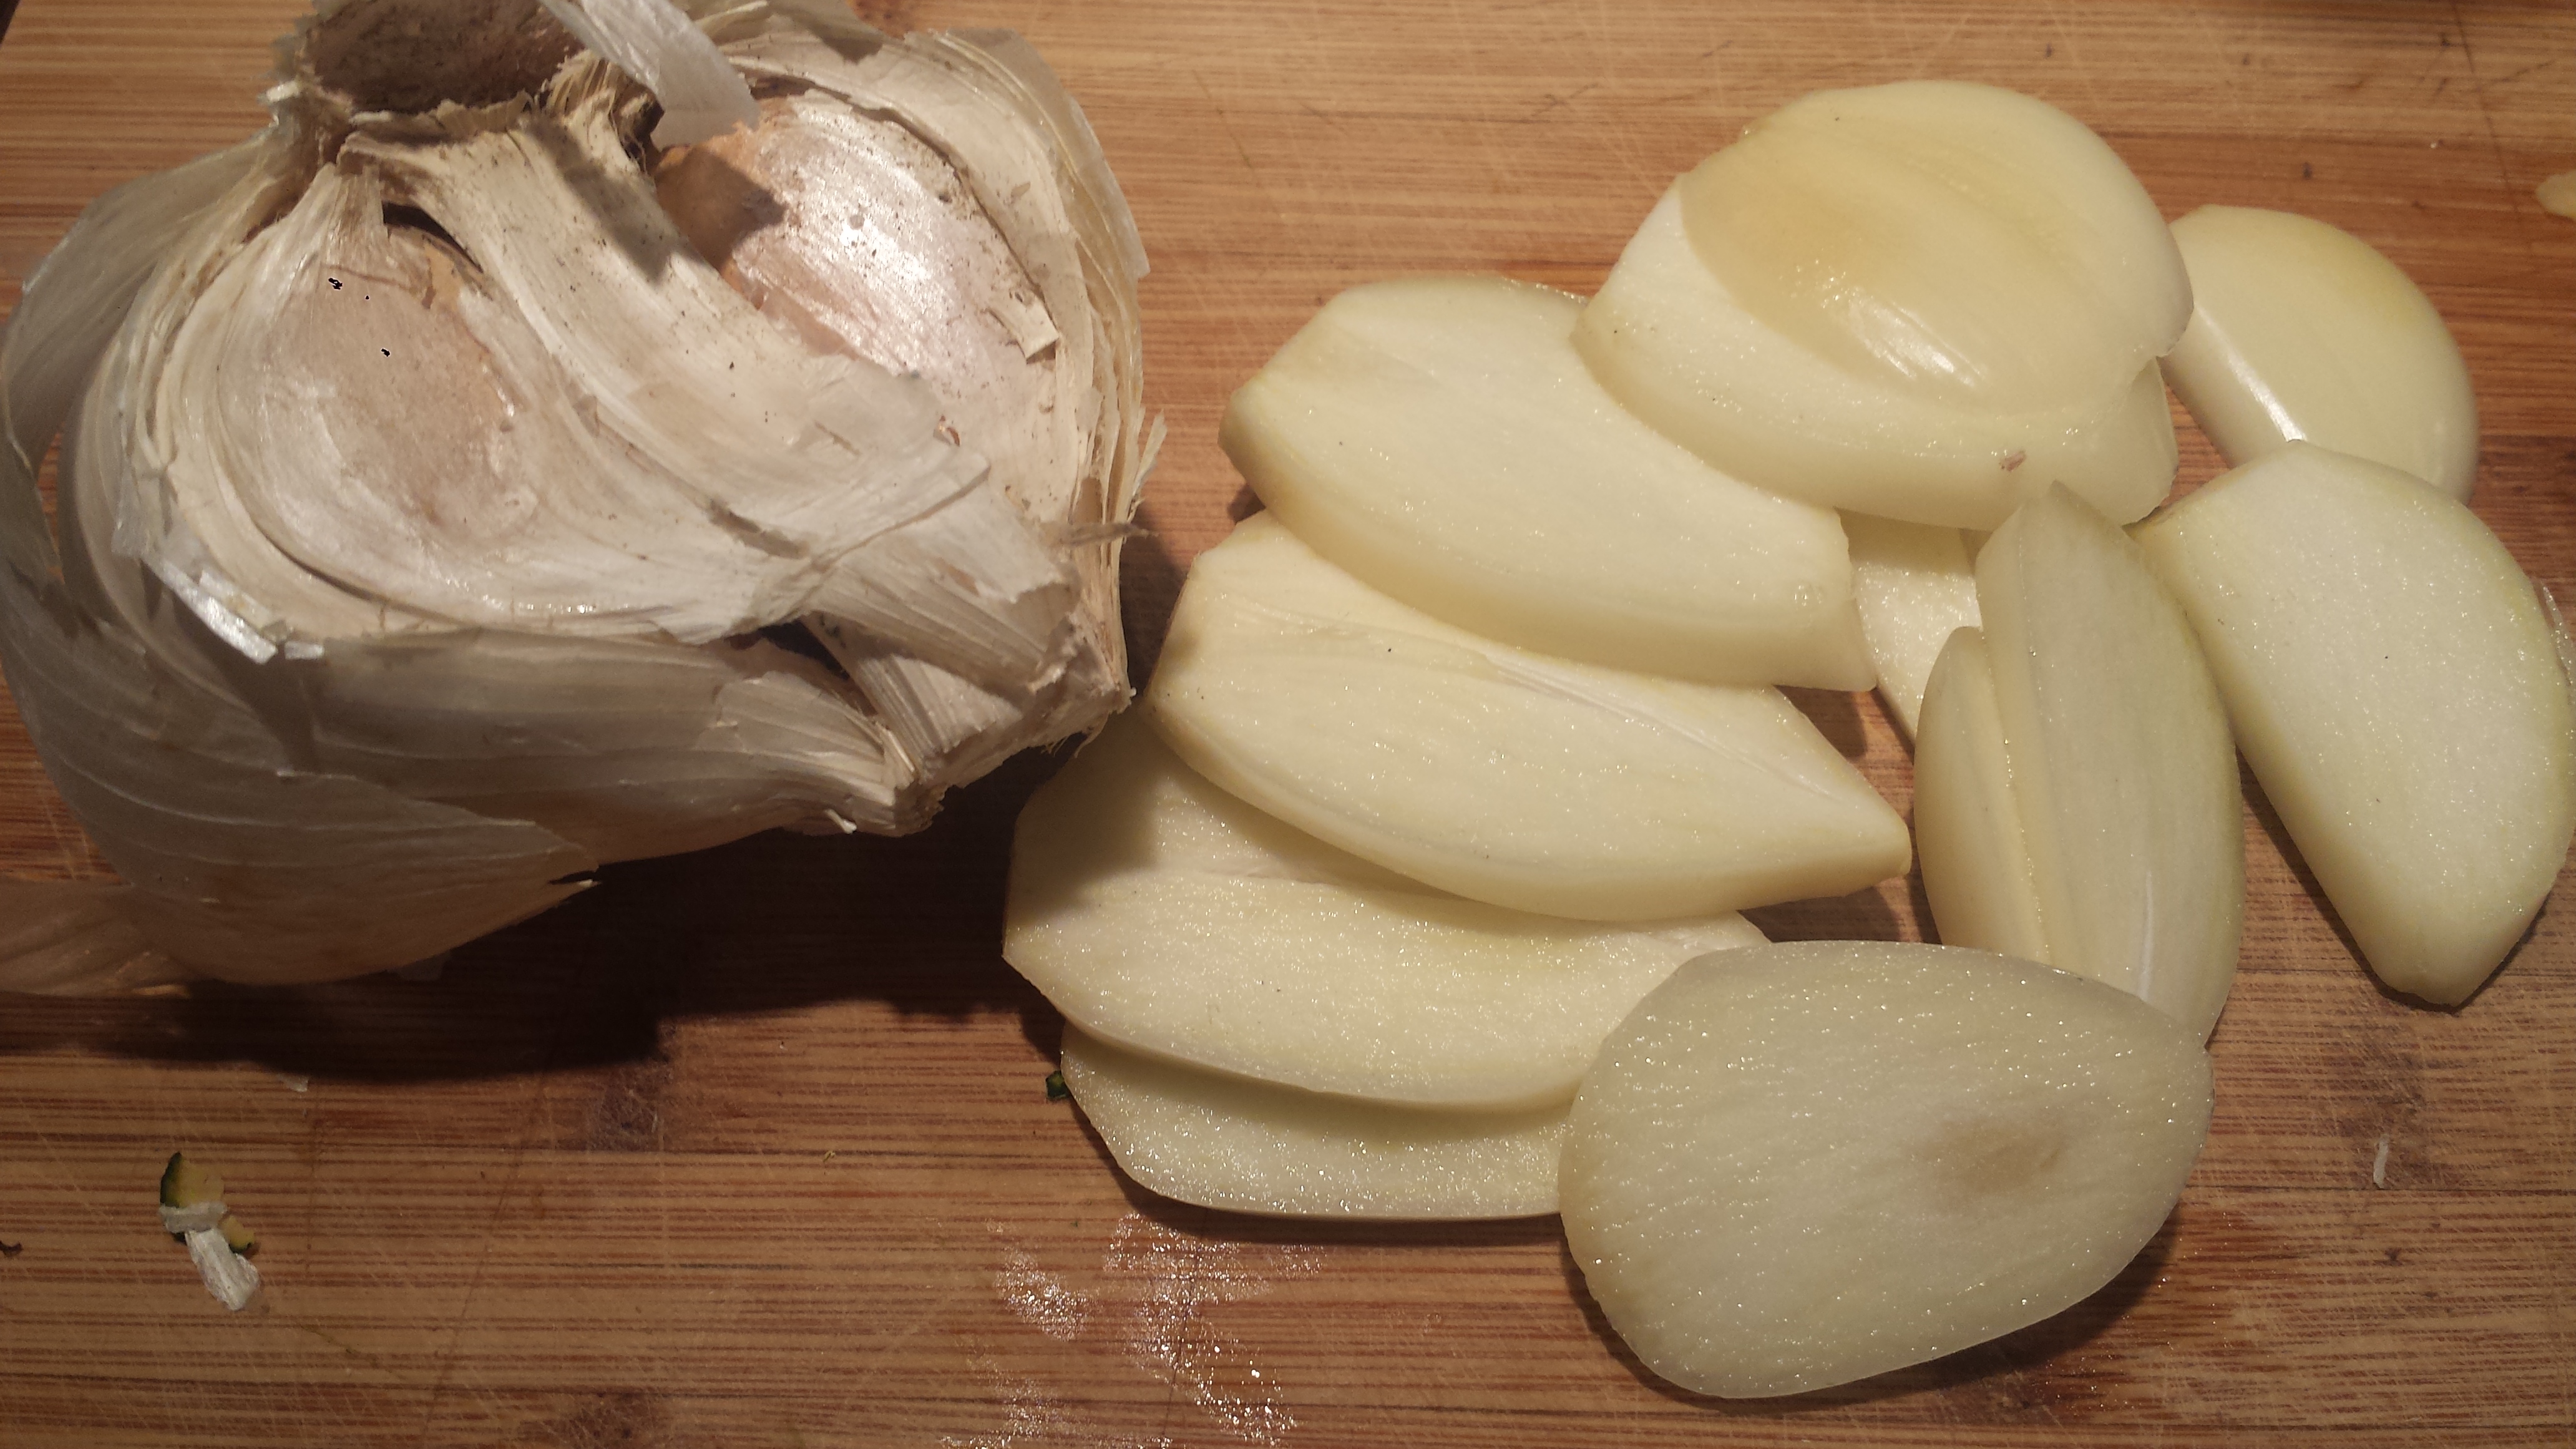
1 onion, chopped
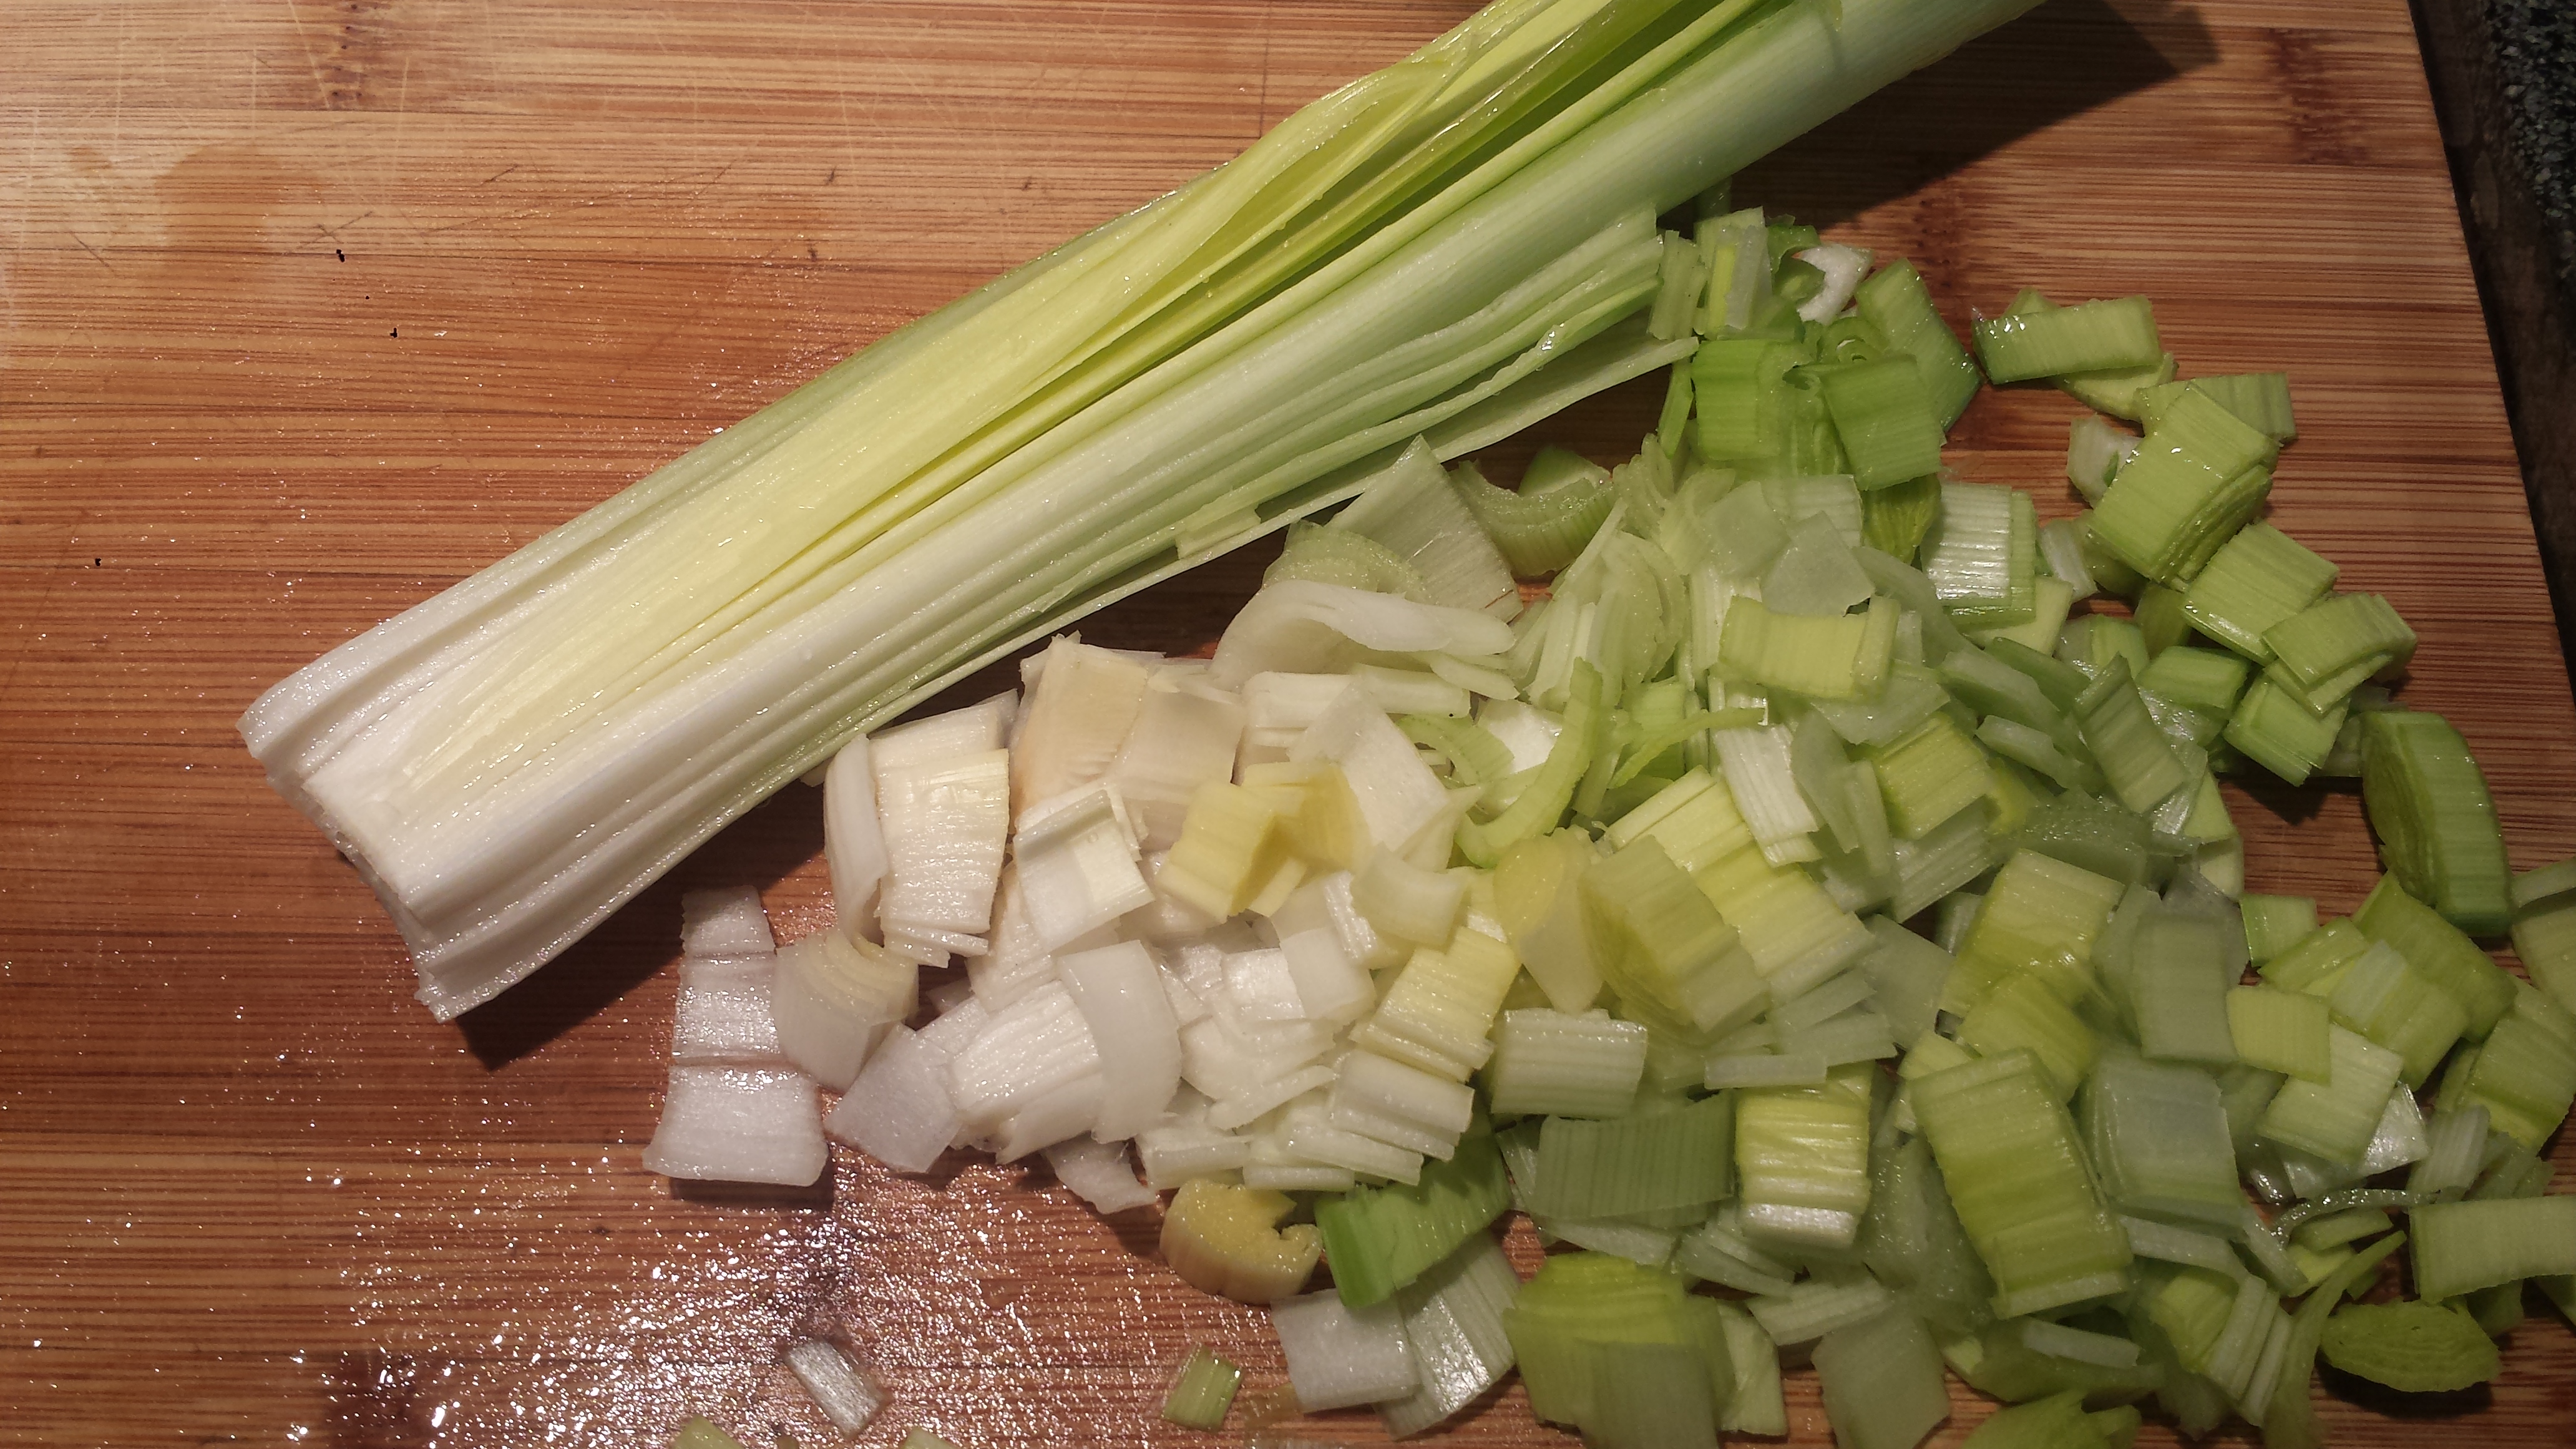
2 stalks celery, chopped
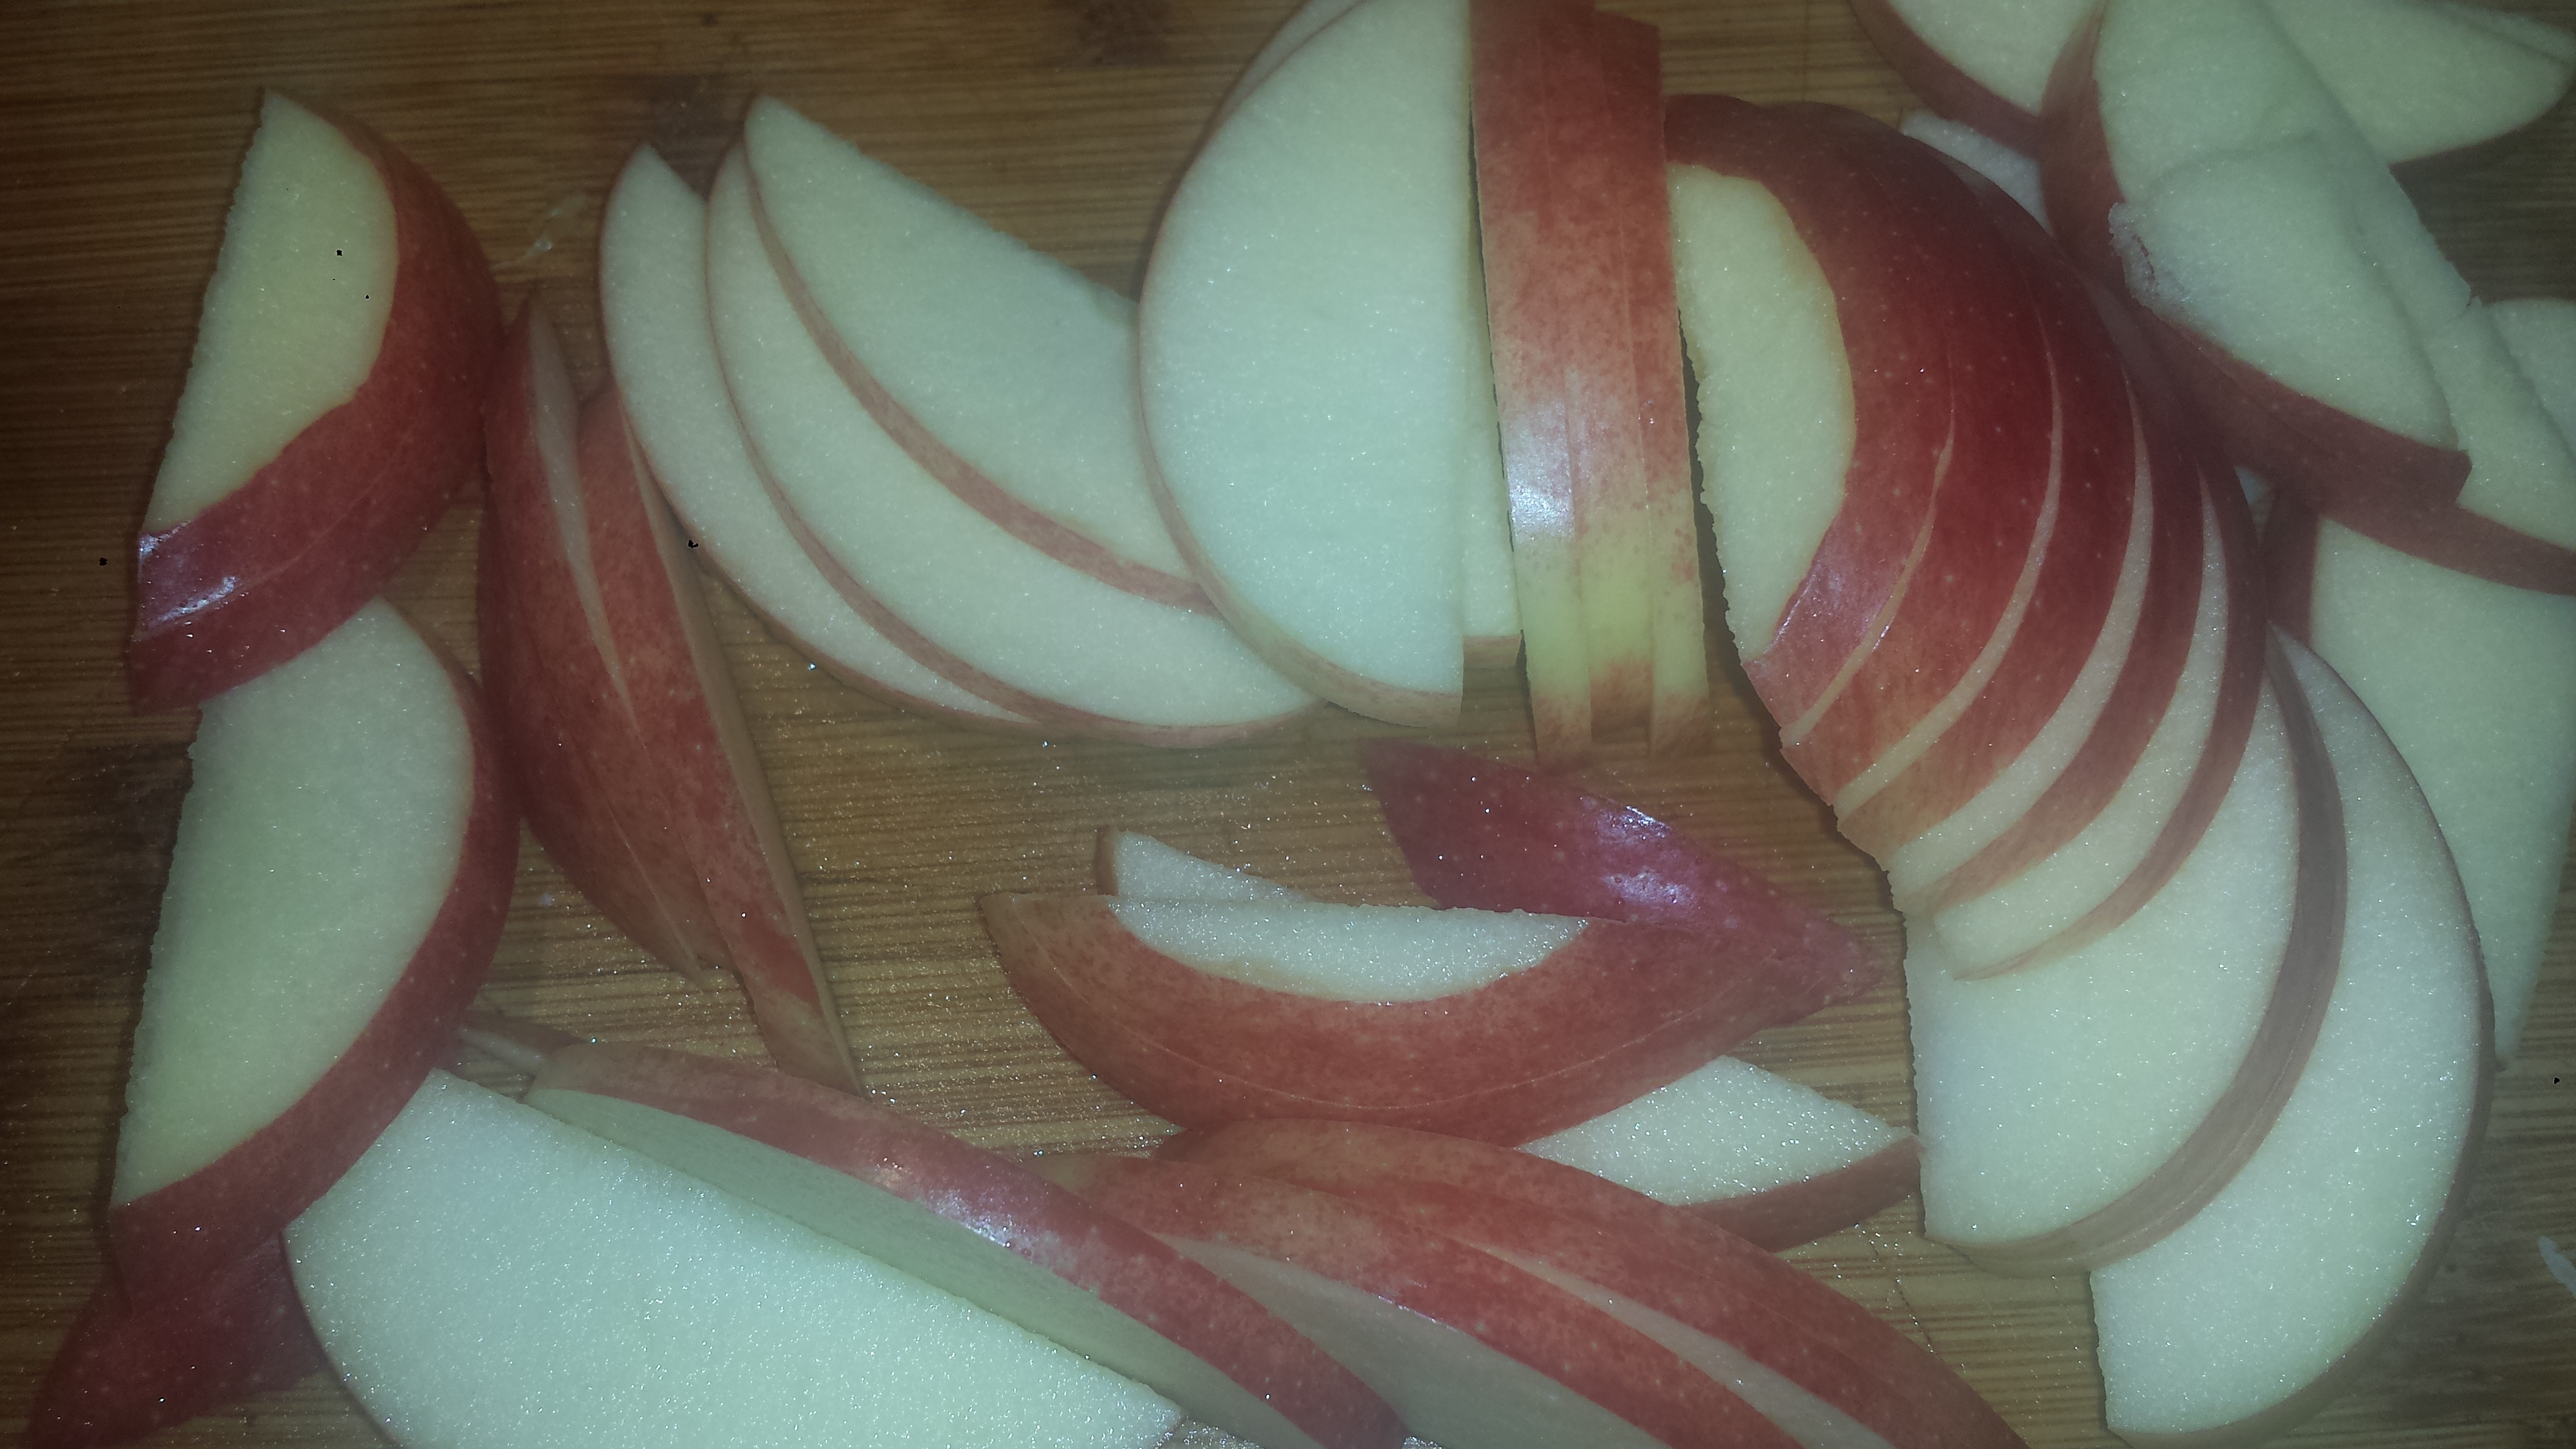
1 apple, chopped
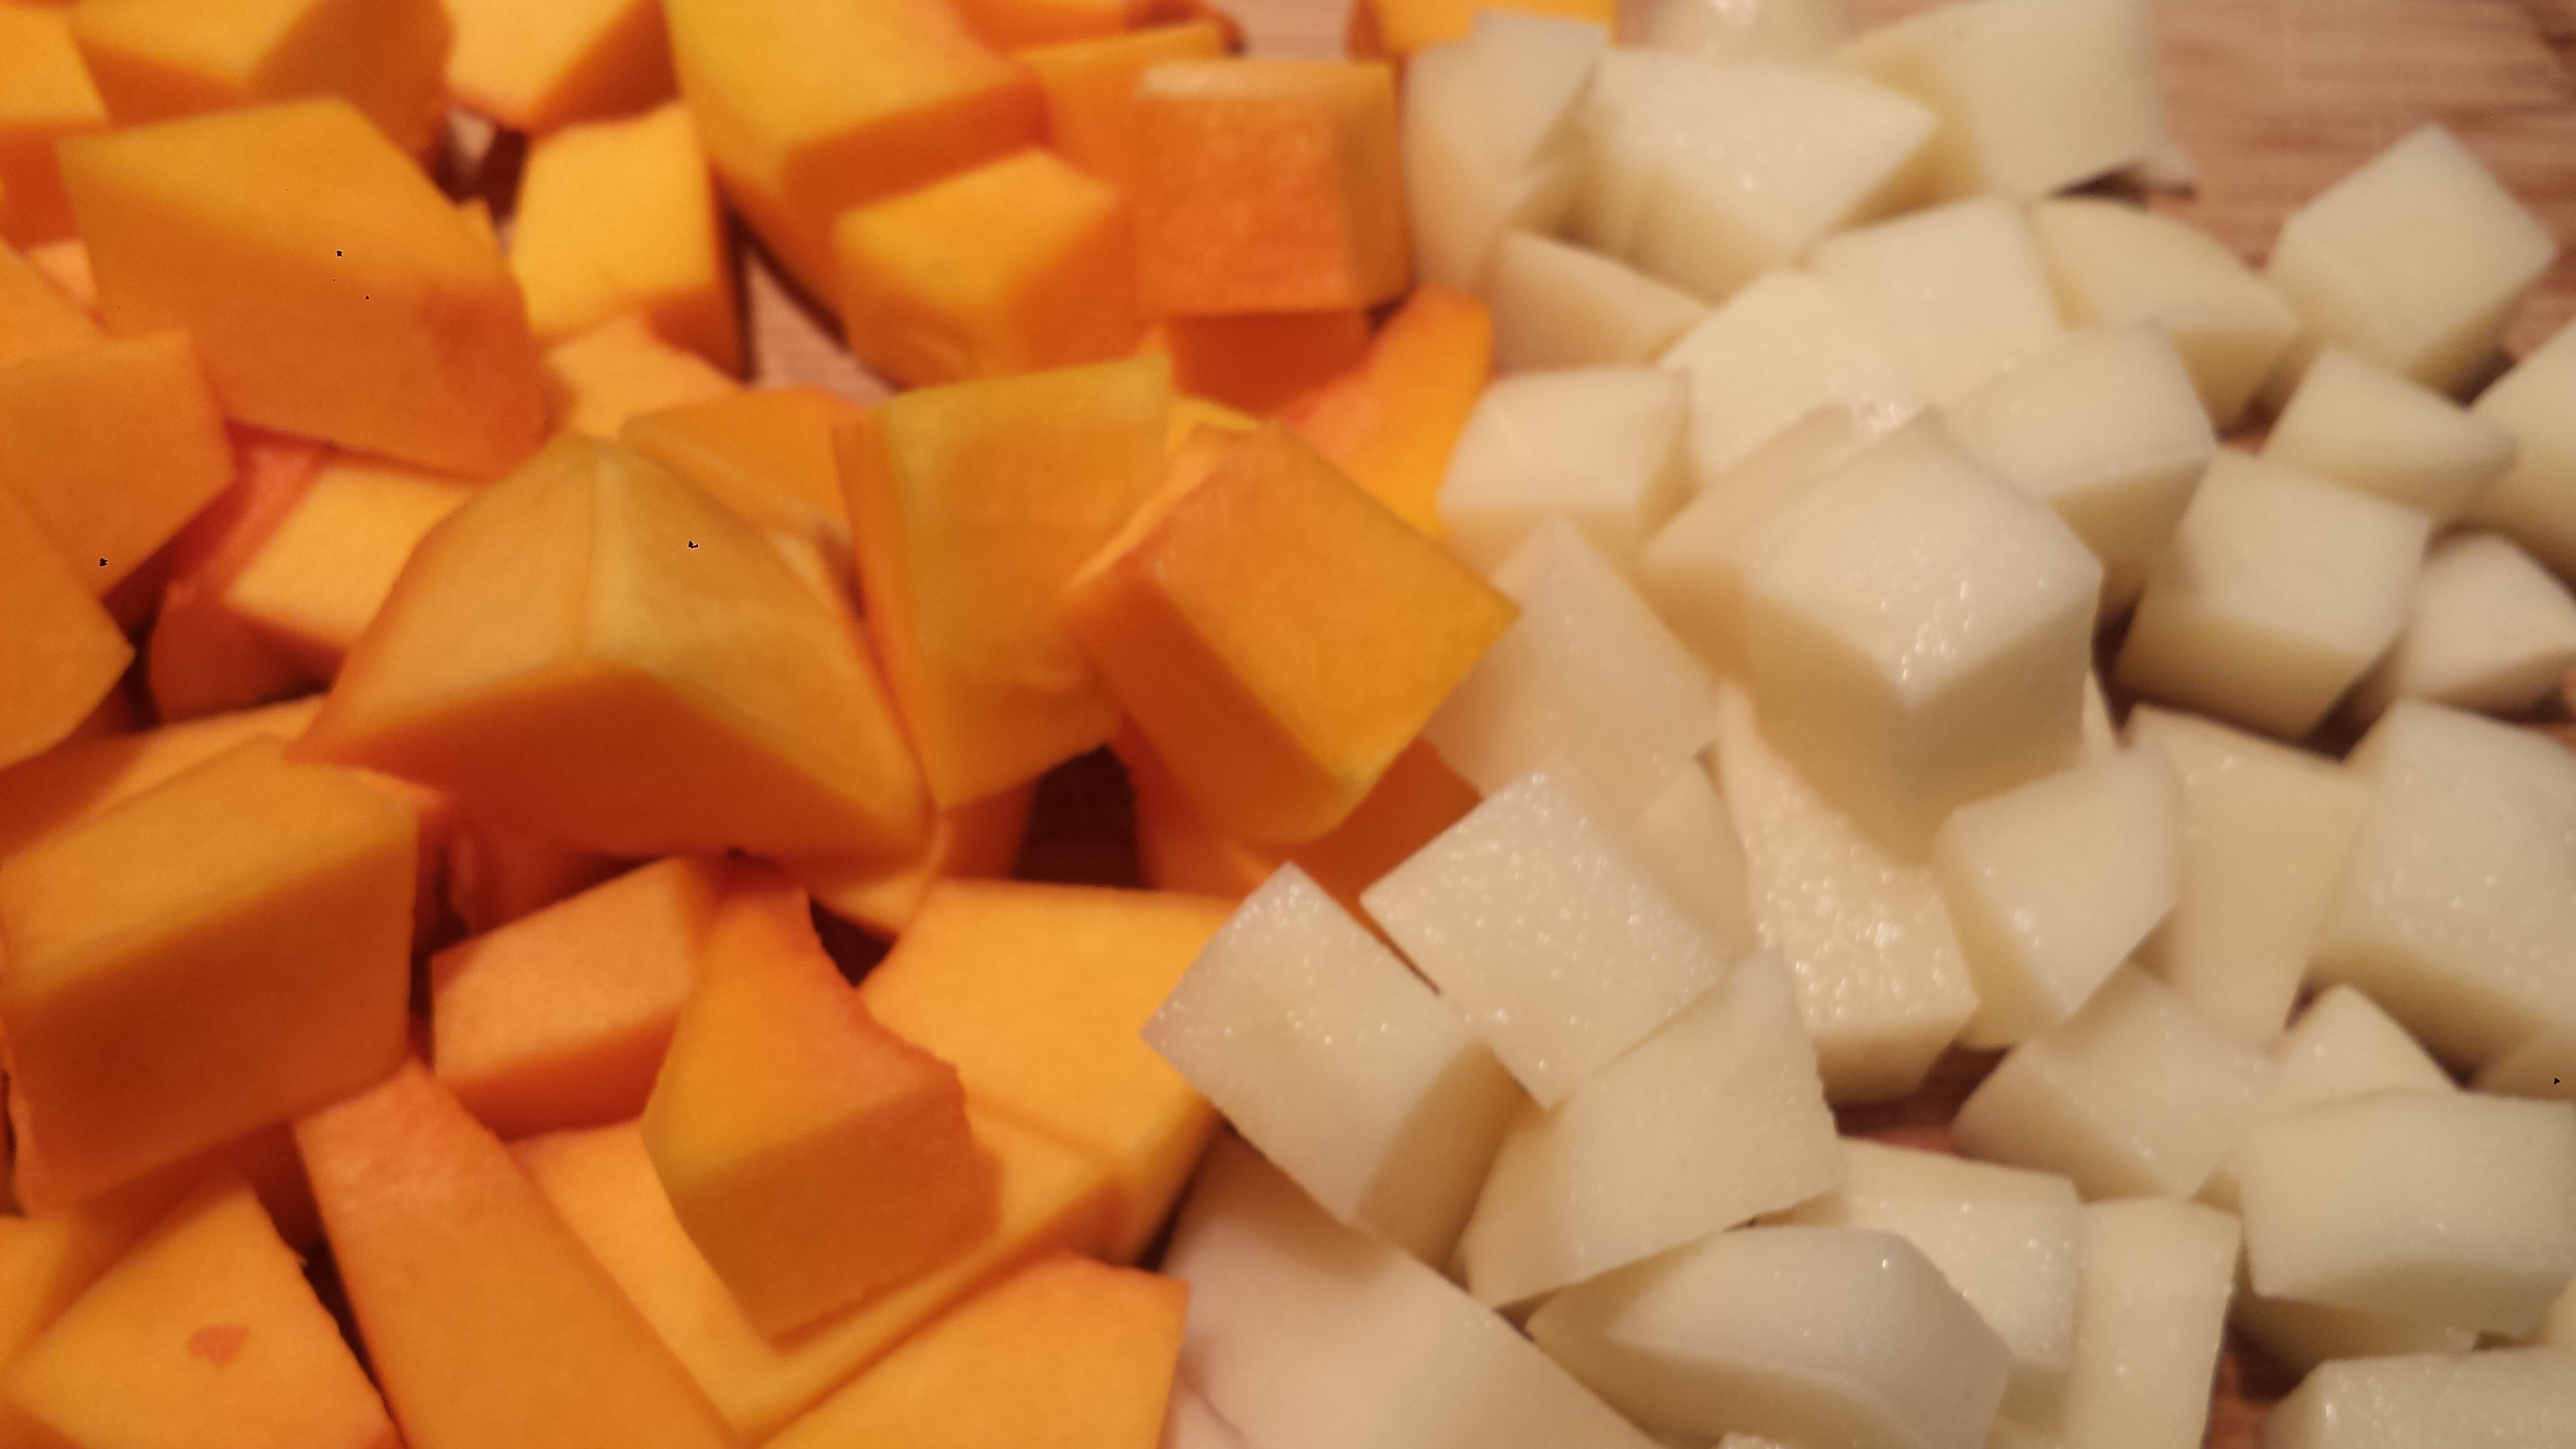
2 whole acorn squash
2 Tbsn maple syrup
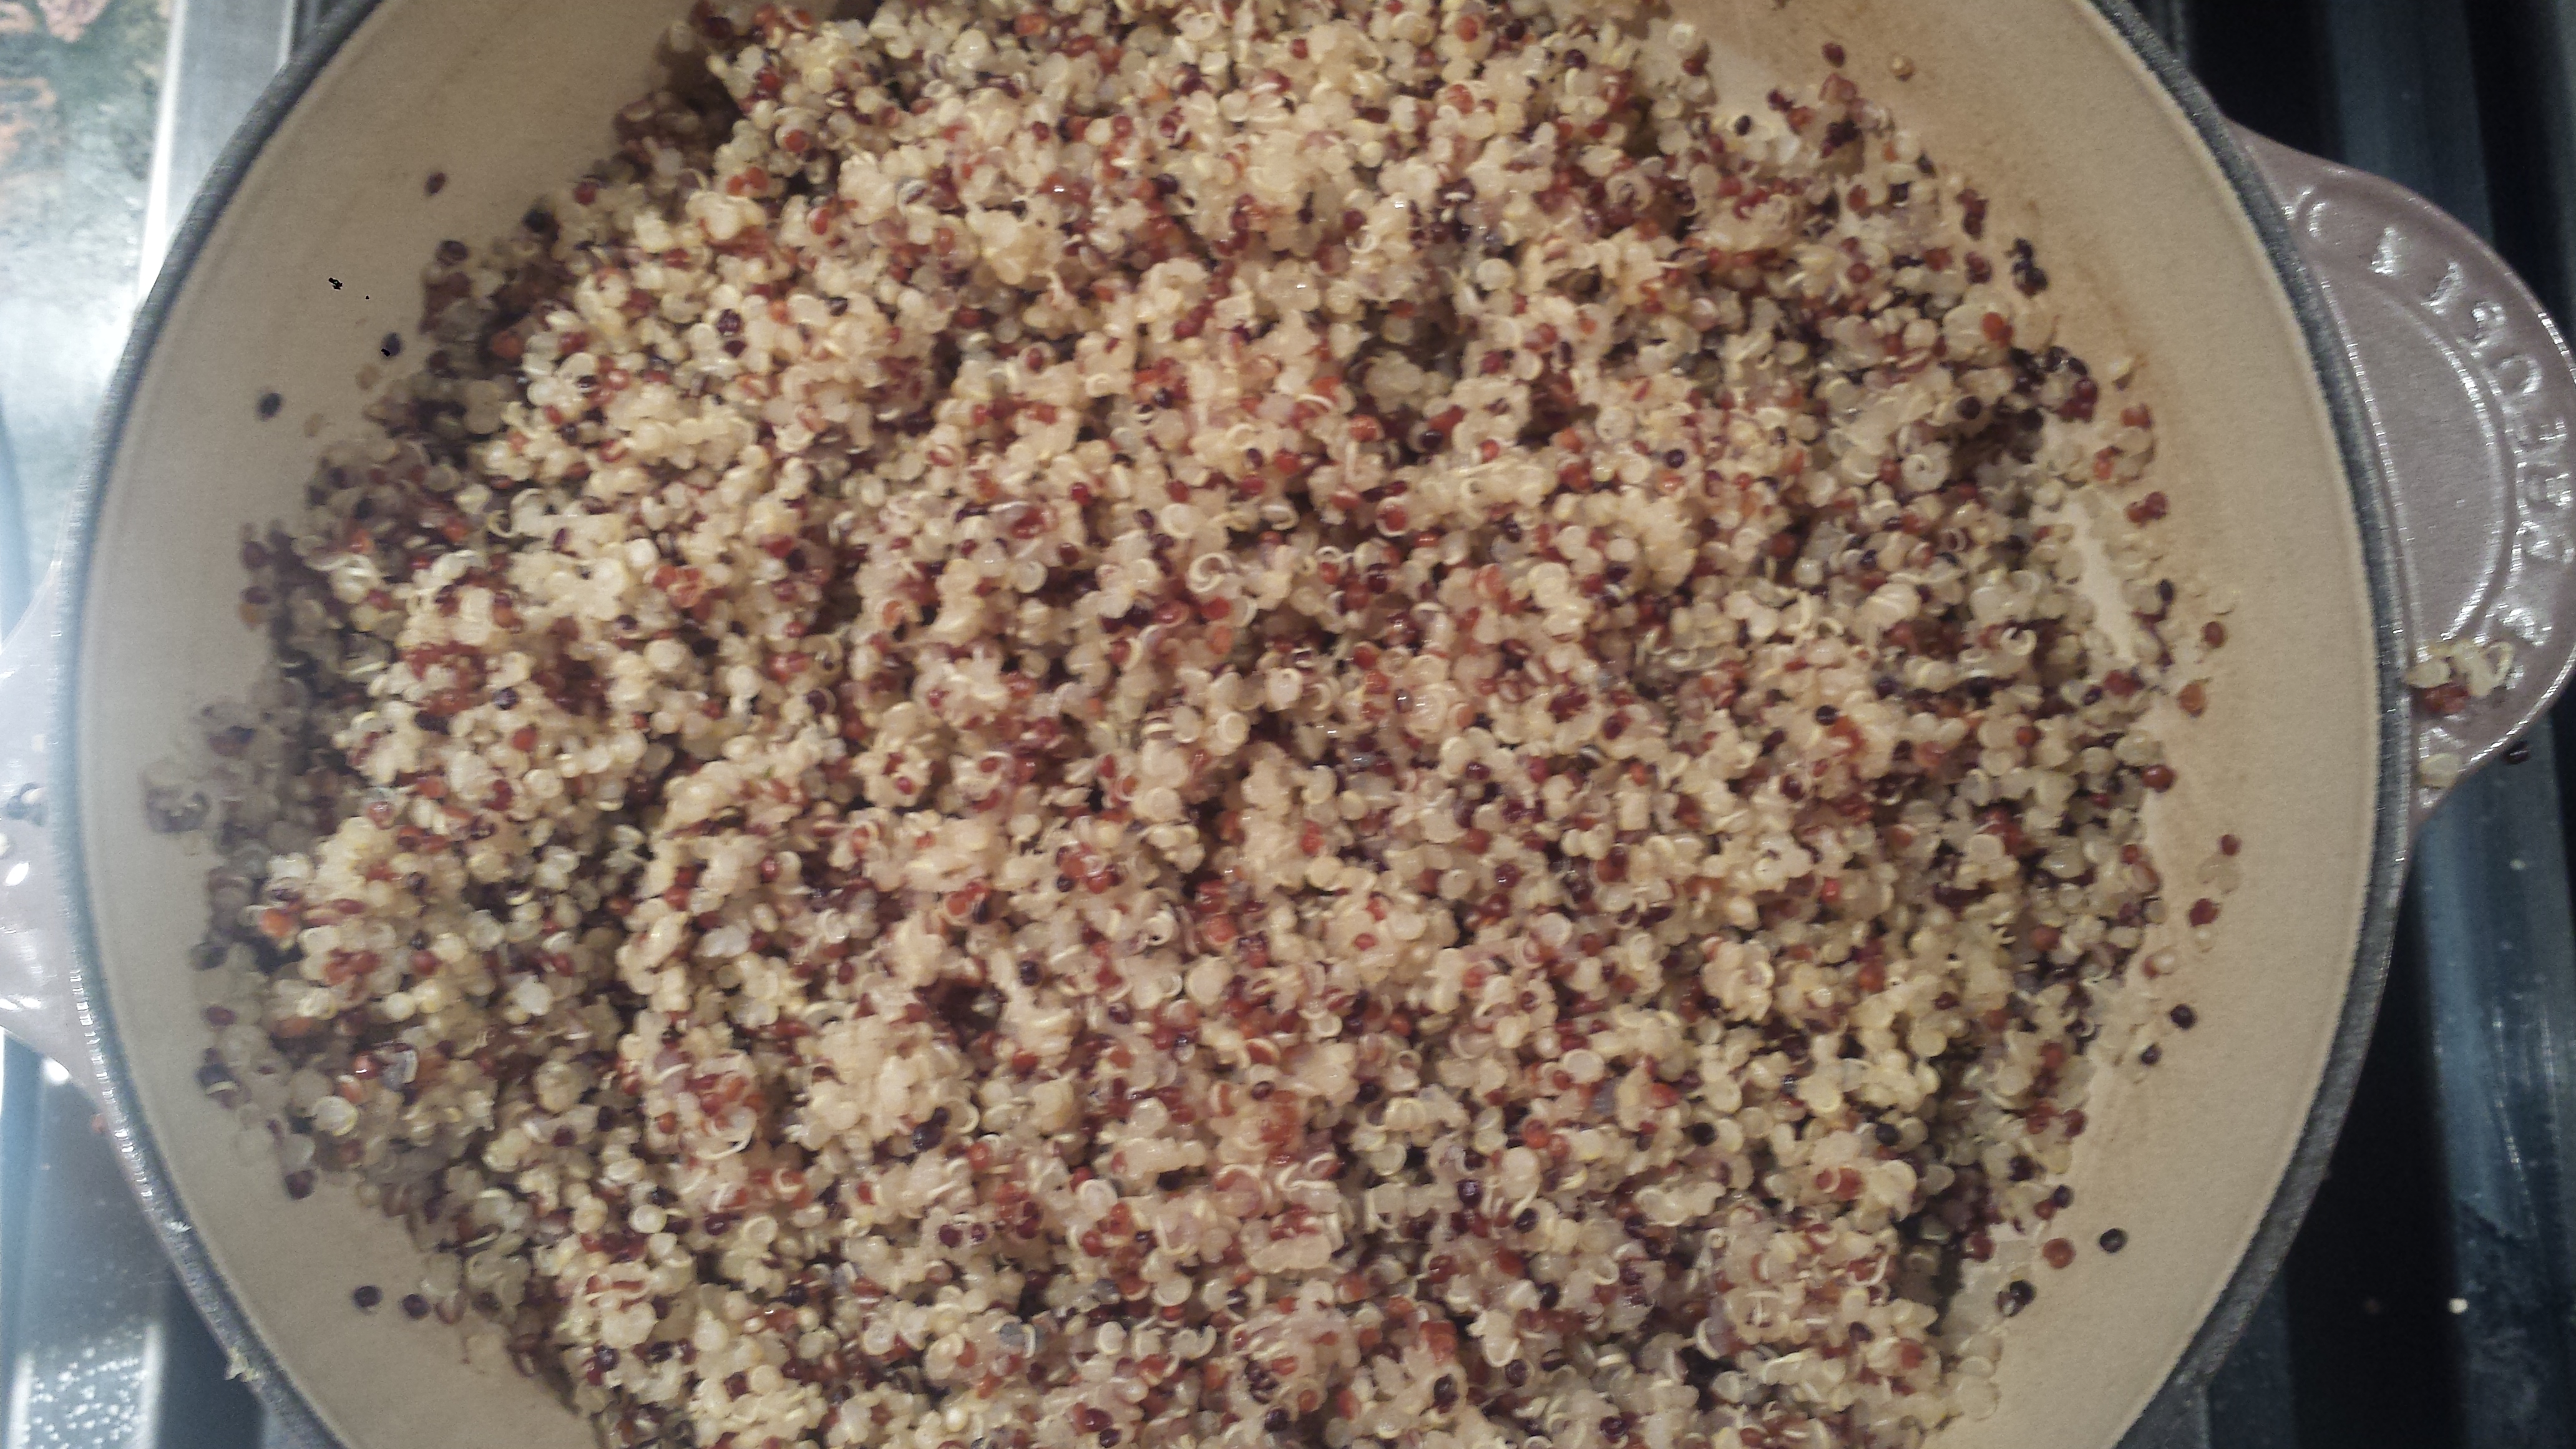
4 c dried cornbread (or stuffing mix)
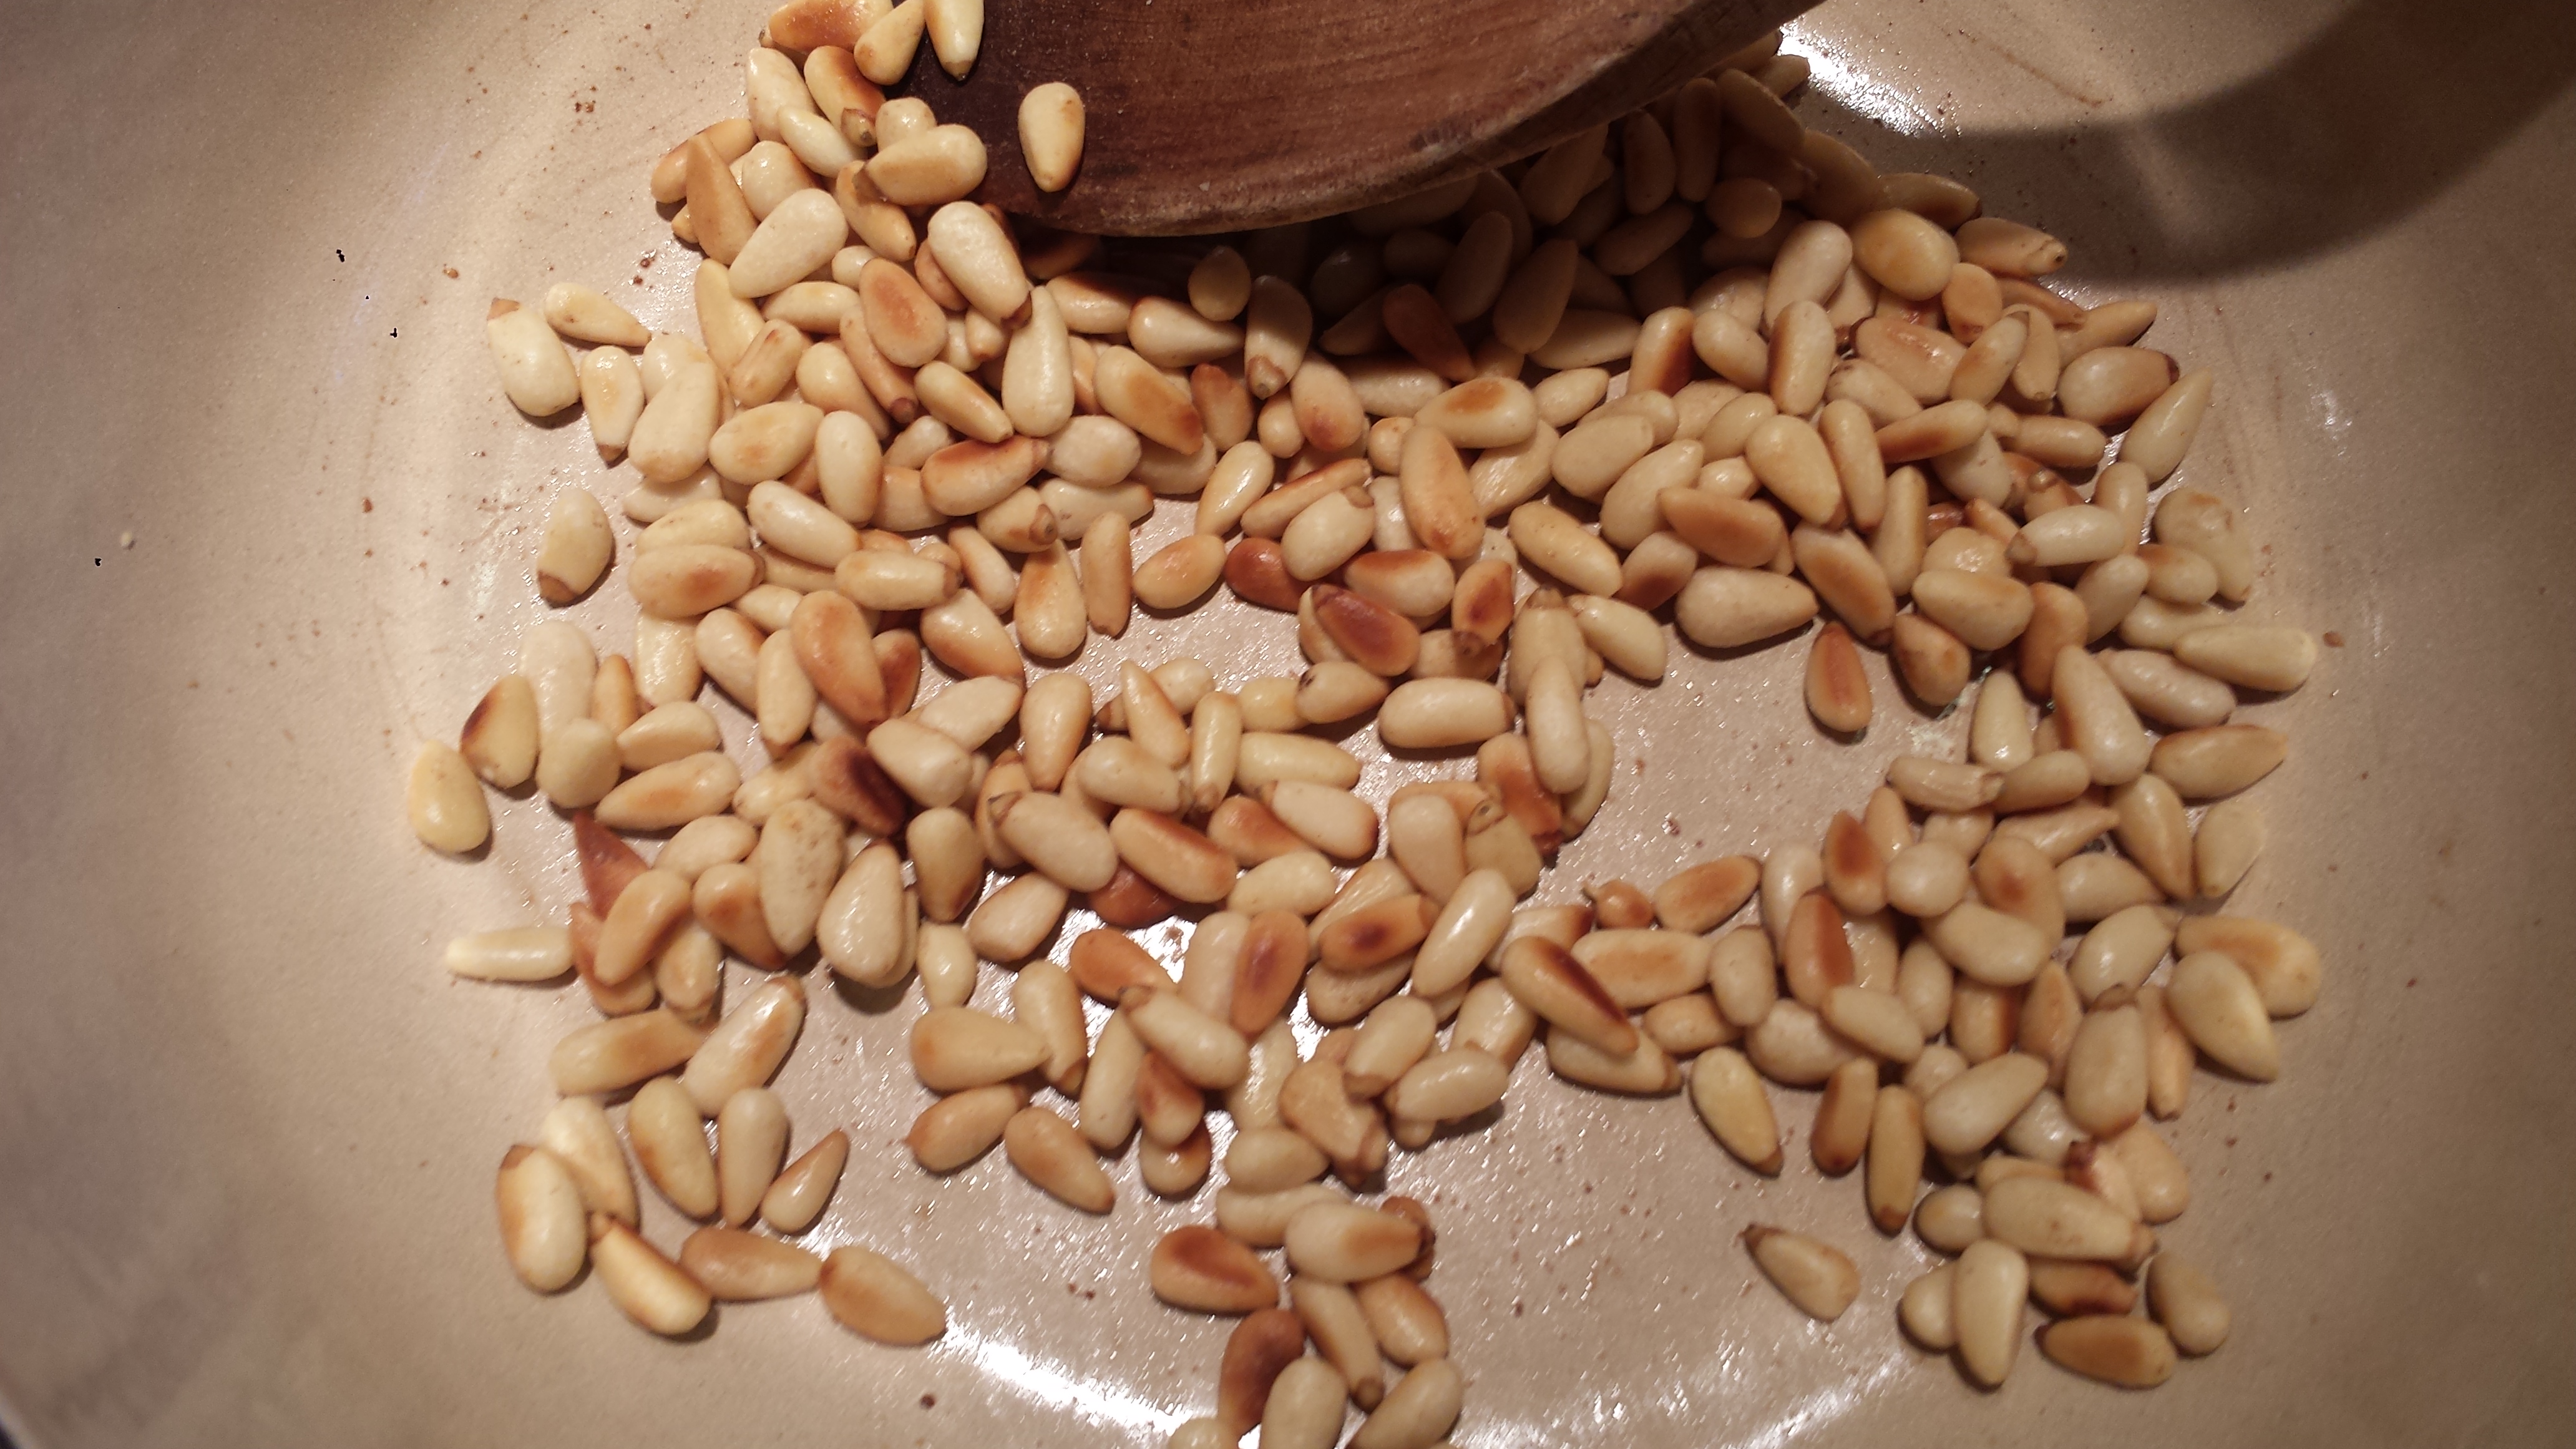
1/2 c pecans or walnut, chopped
1/2 c dates, chopped
1/2 c dried cranberries, currants or yellow raisins
1 Tbsn fresh sage, minced or 1 tsp dried
1 Tbsn fresh thyme, or 1 tsp dried
4 c vegetable broth (or half broth half apple juice)
2 eggs, lightly beaten
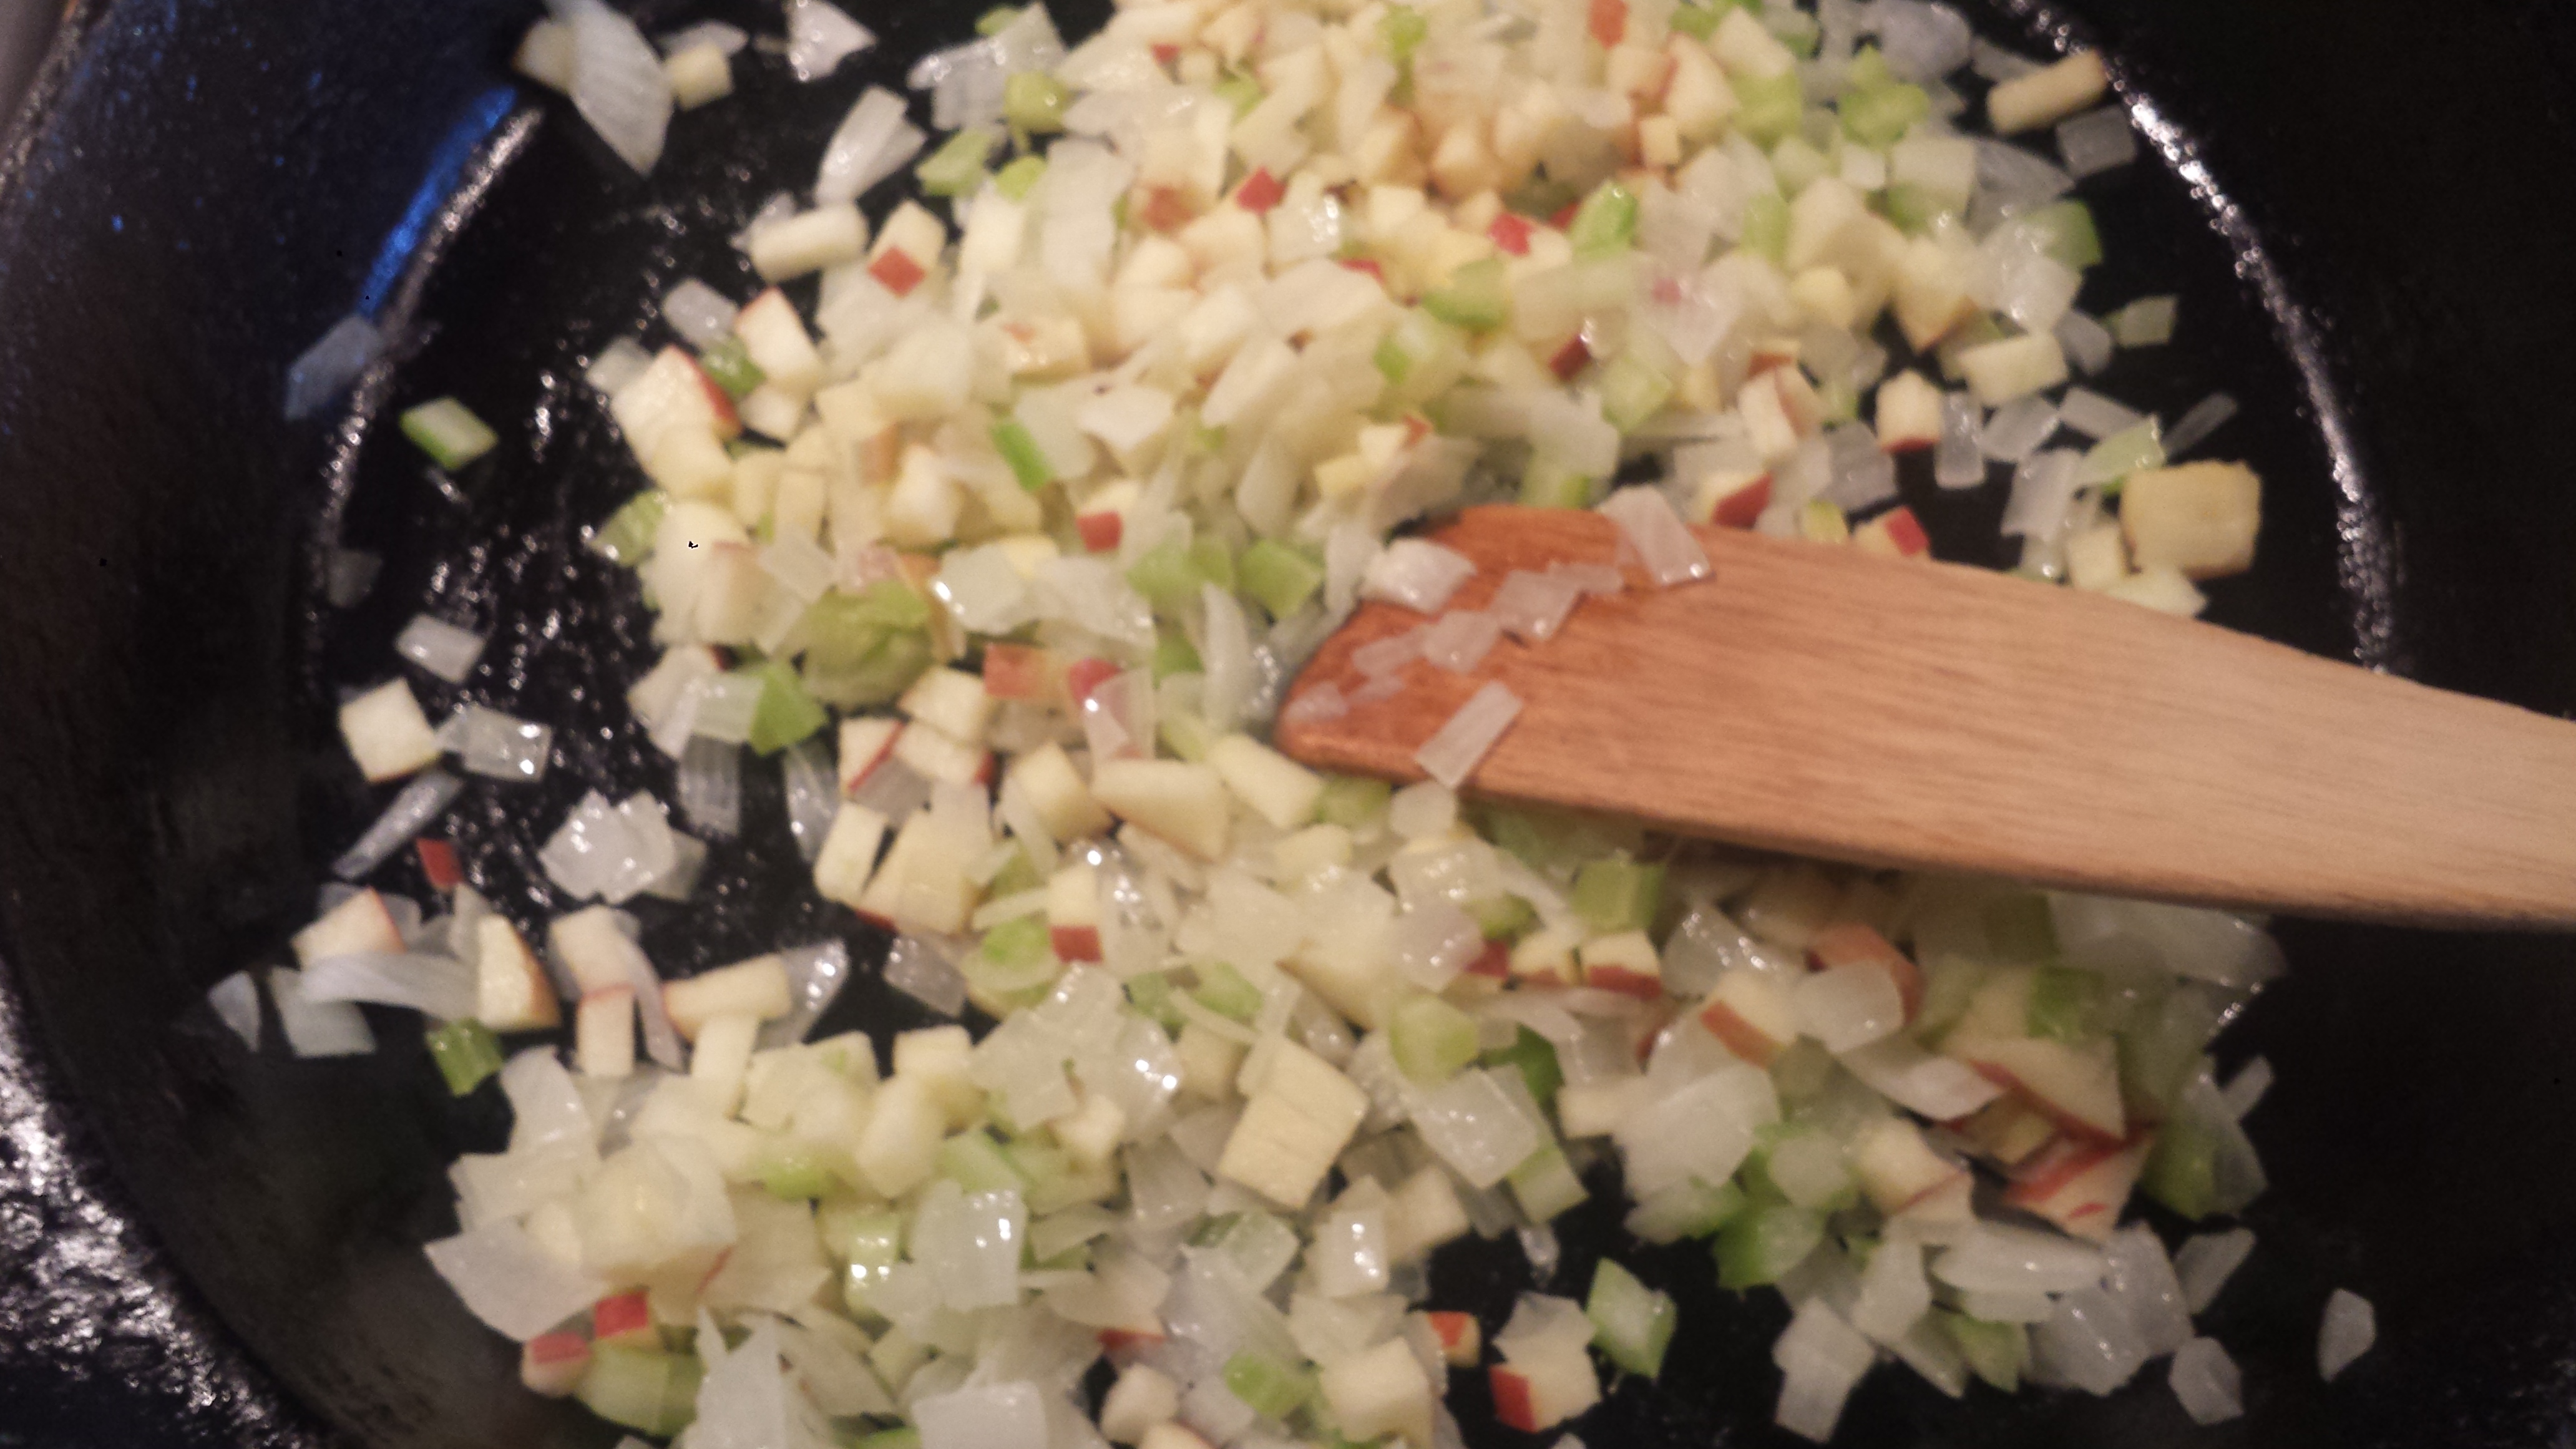
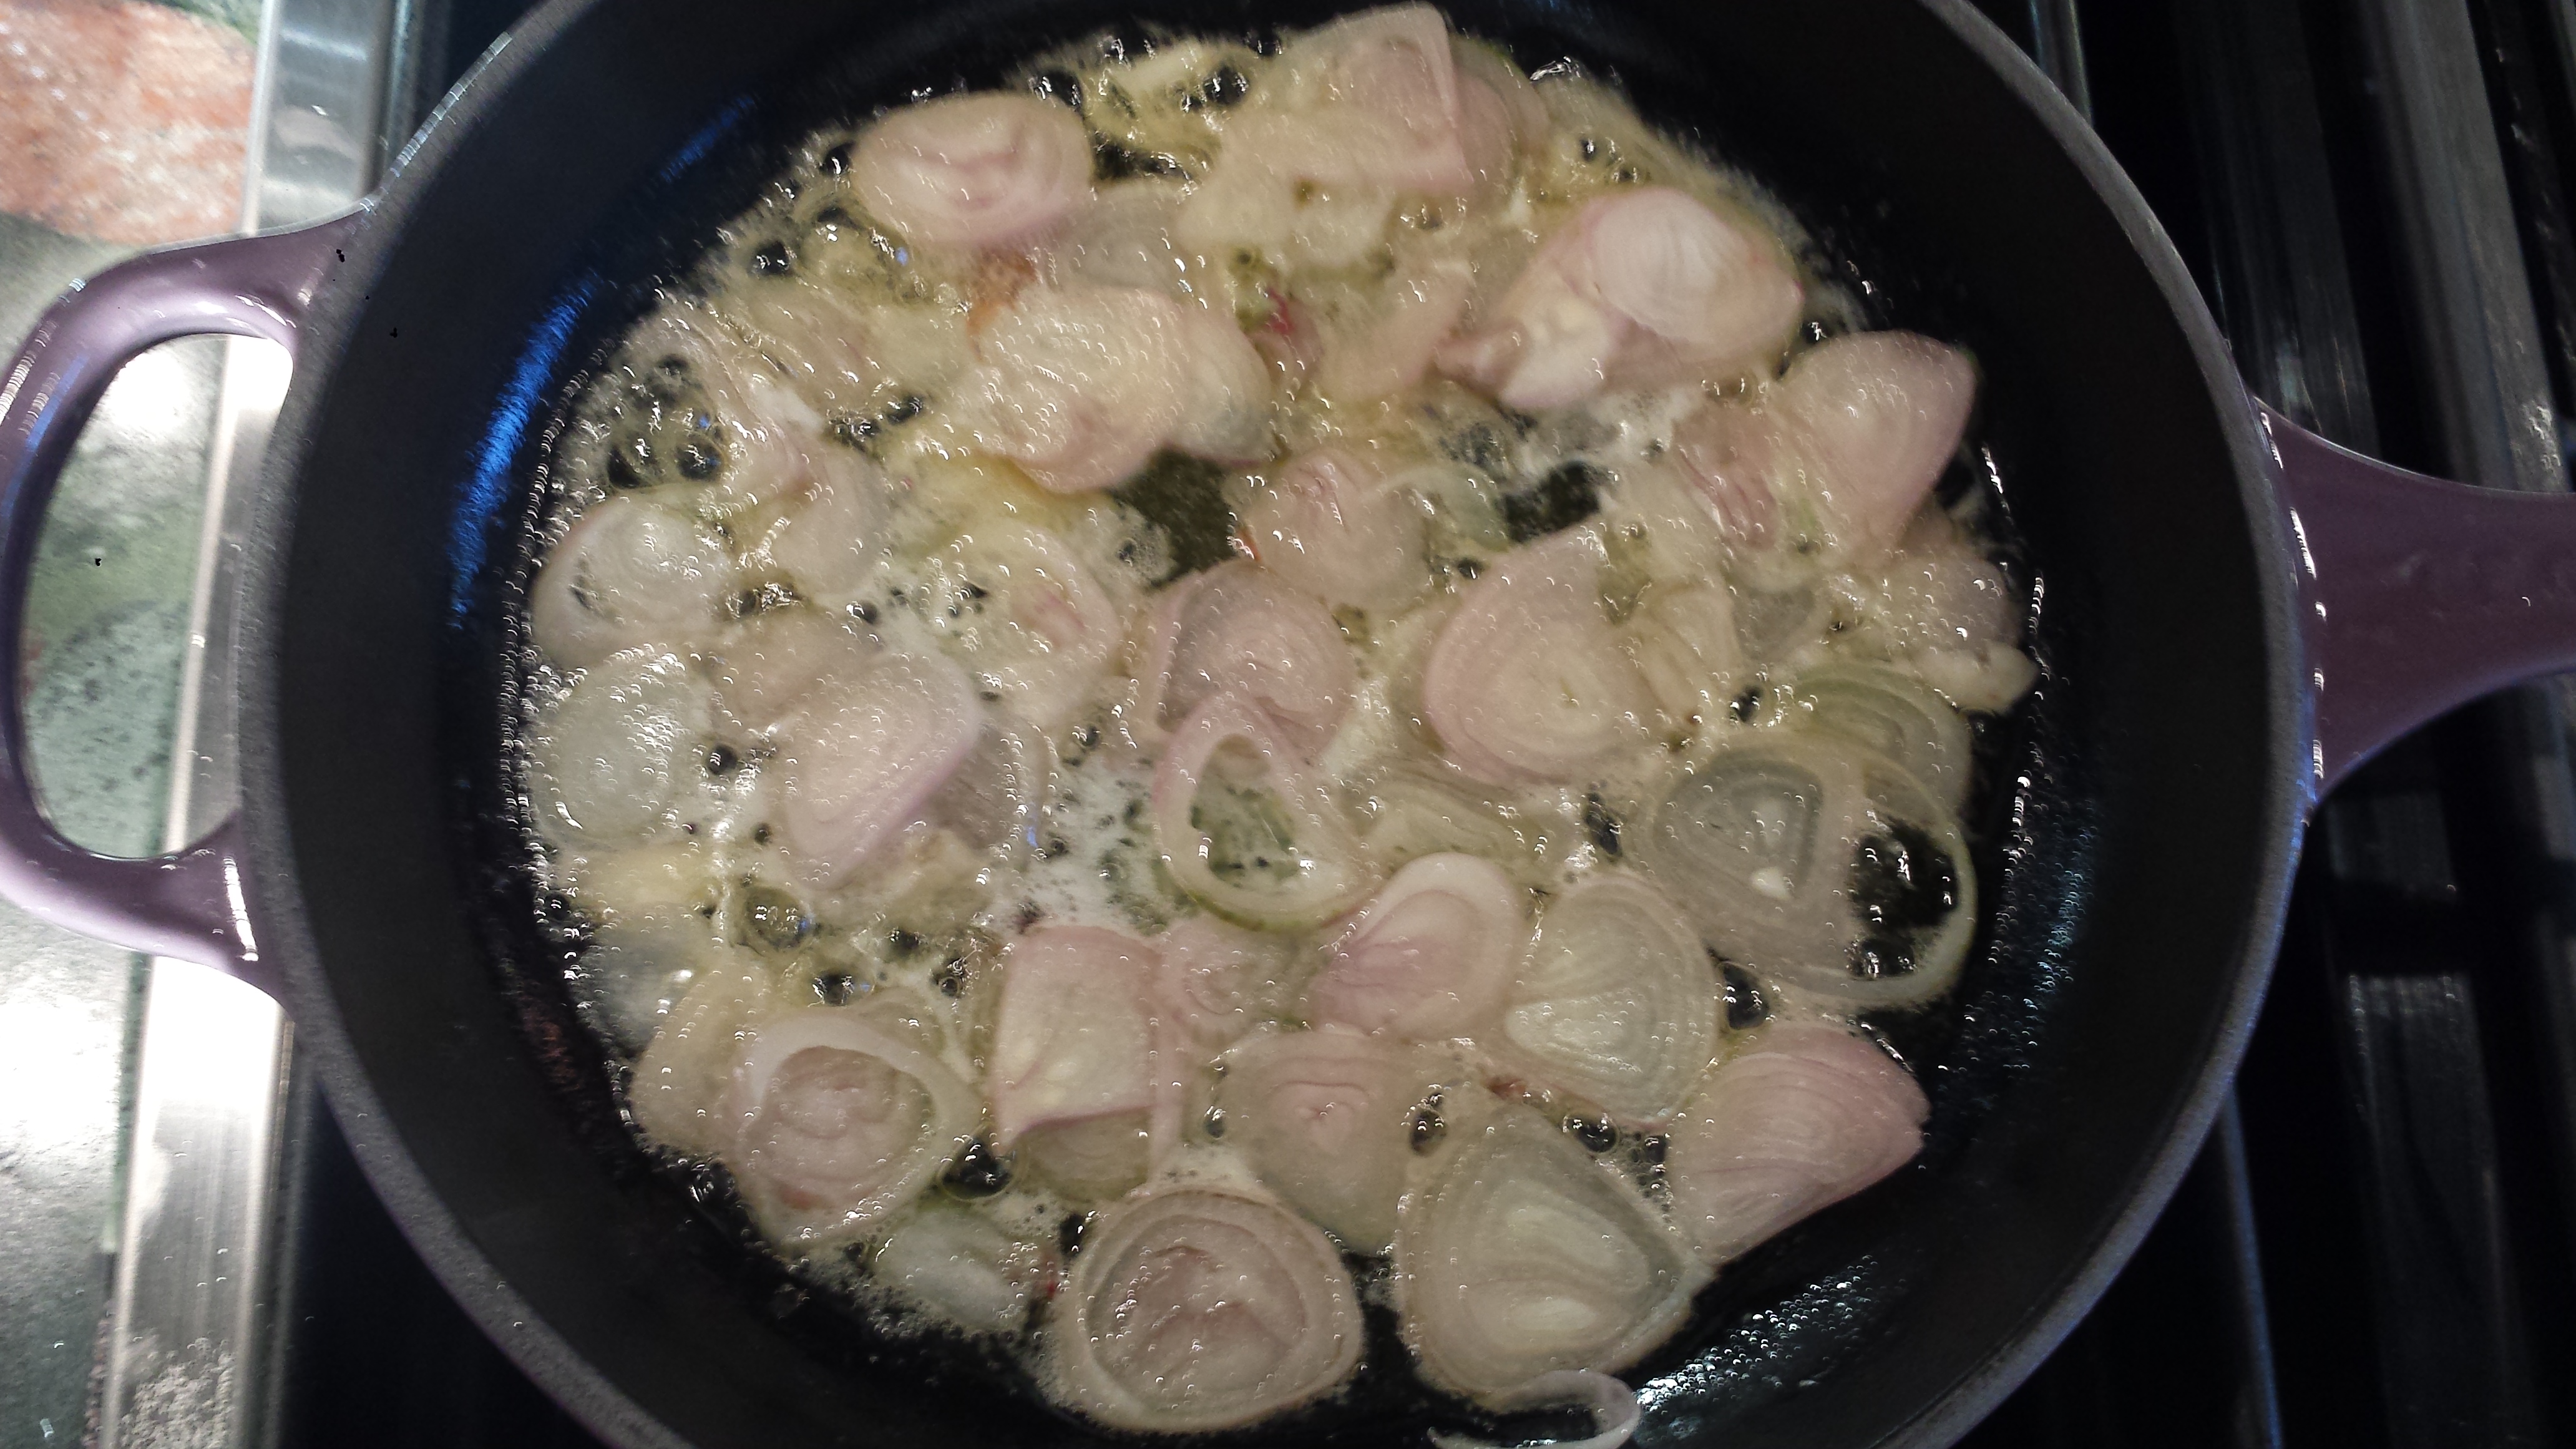
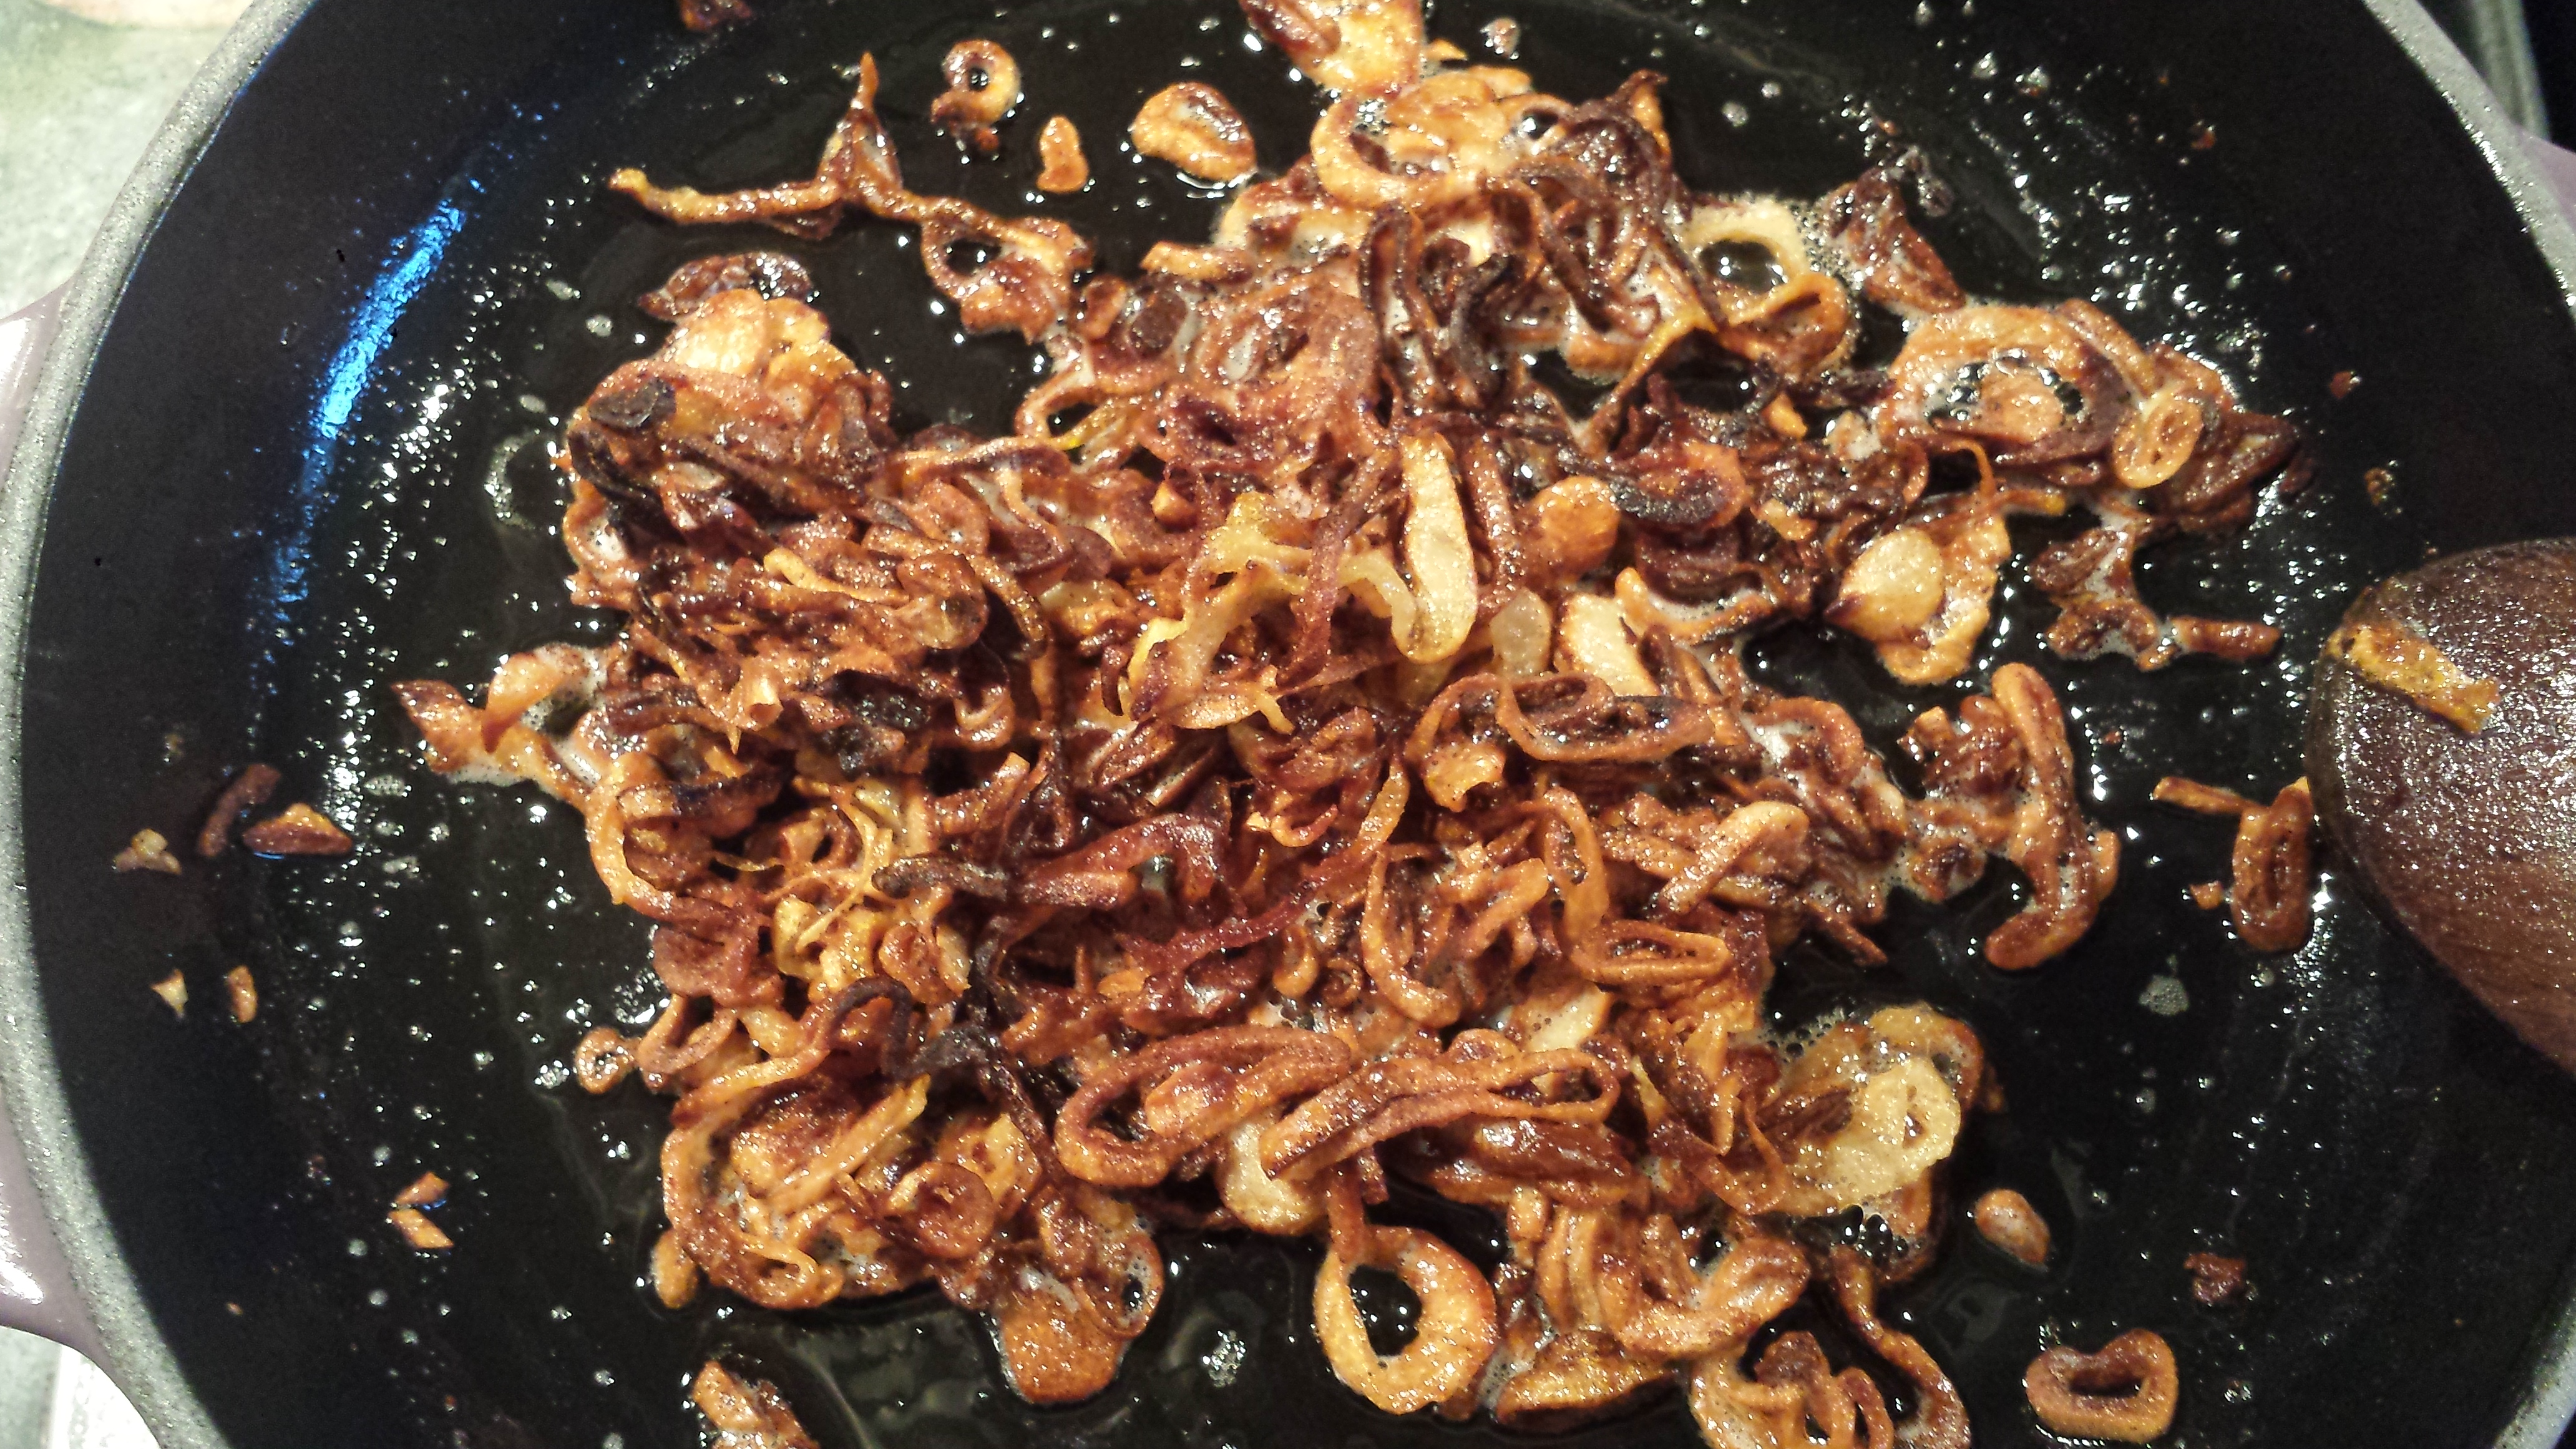
- Saute onion and celery in 1 cup butter for 5 to 10 minutes, or until onion is translucent. Add apple and cook another 5 minutes. Set aside..

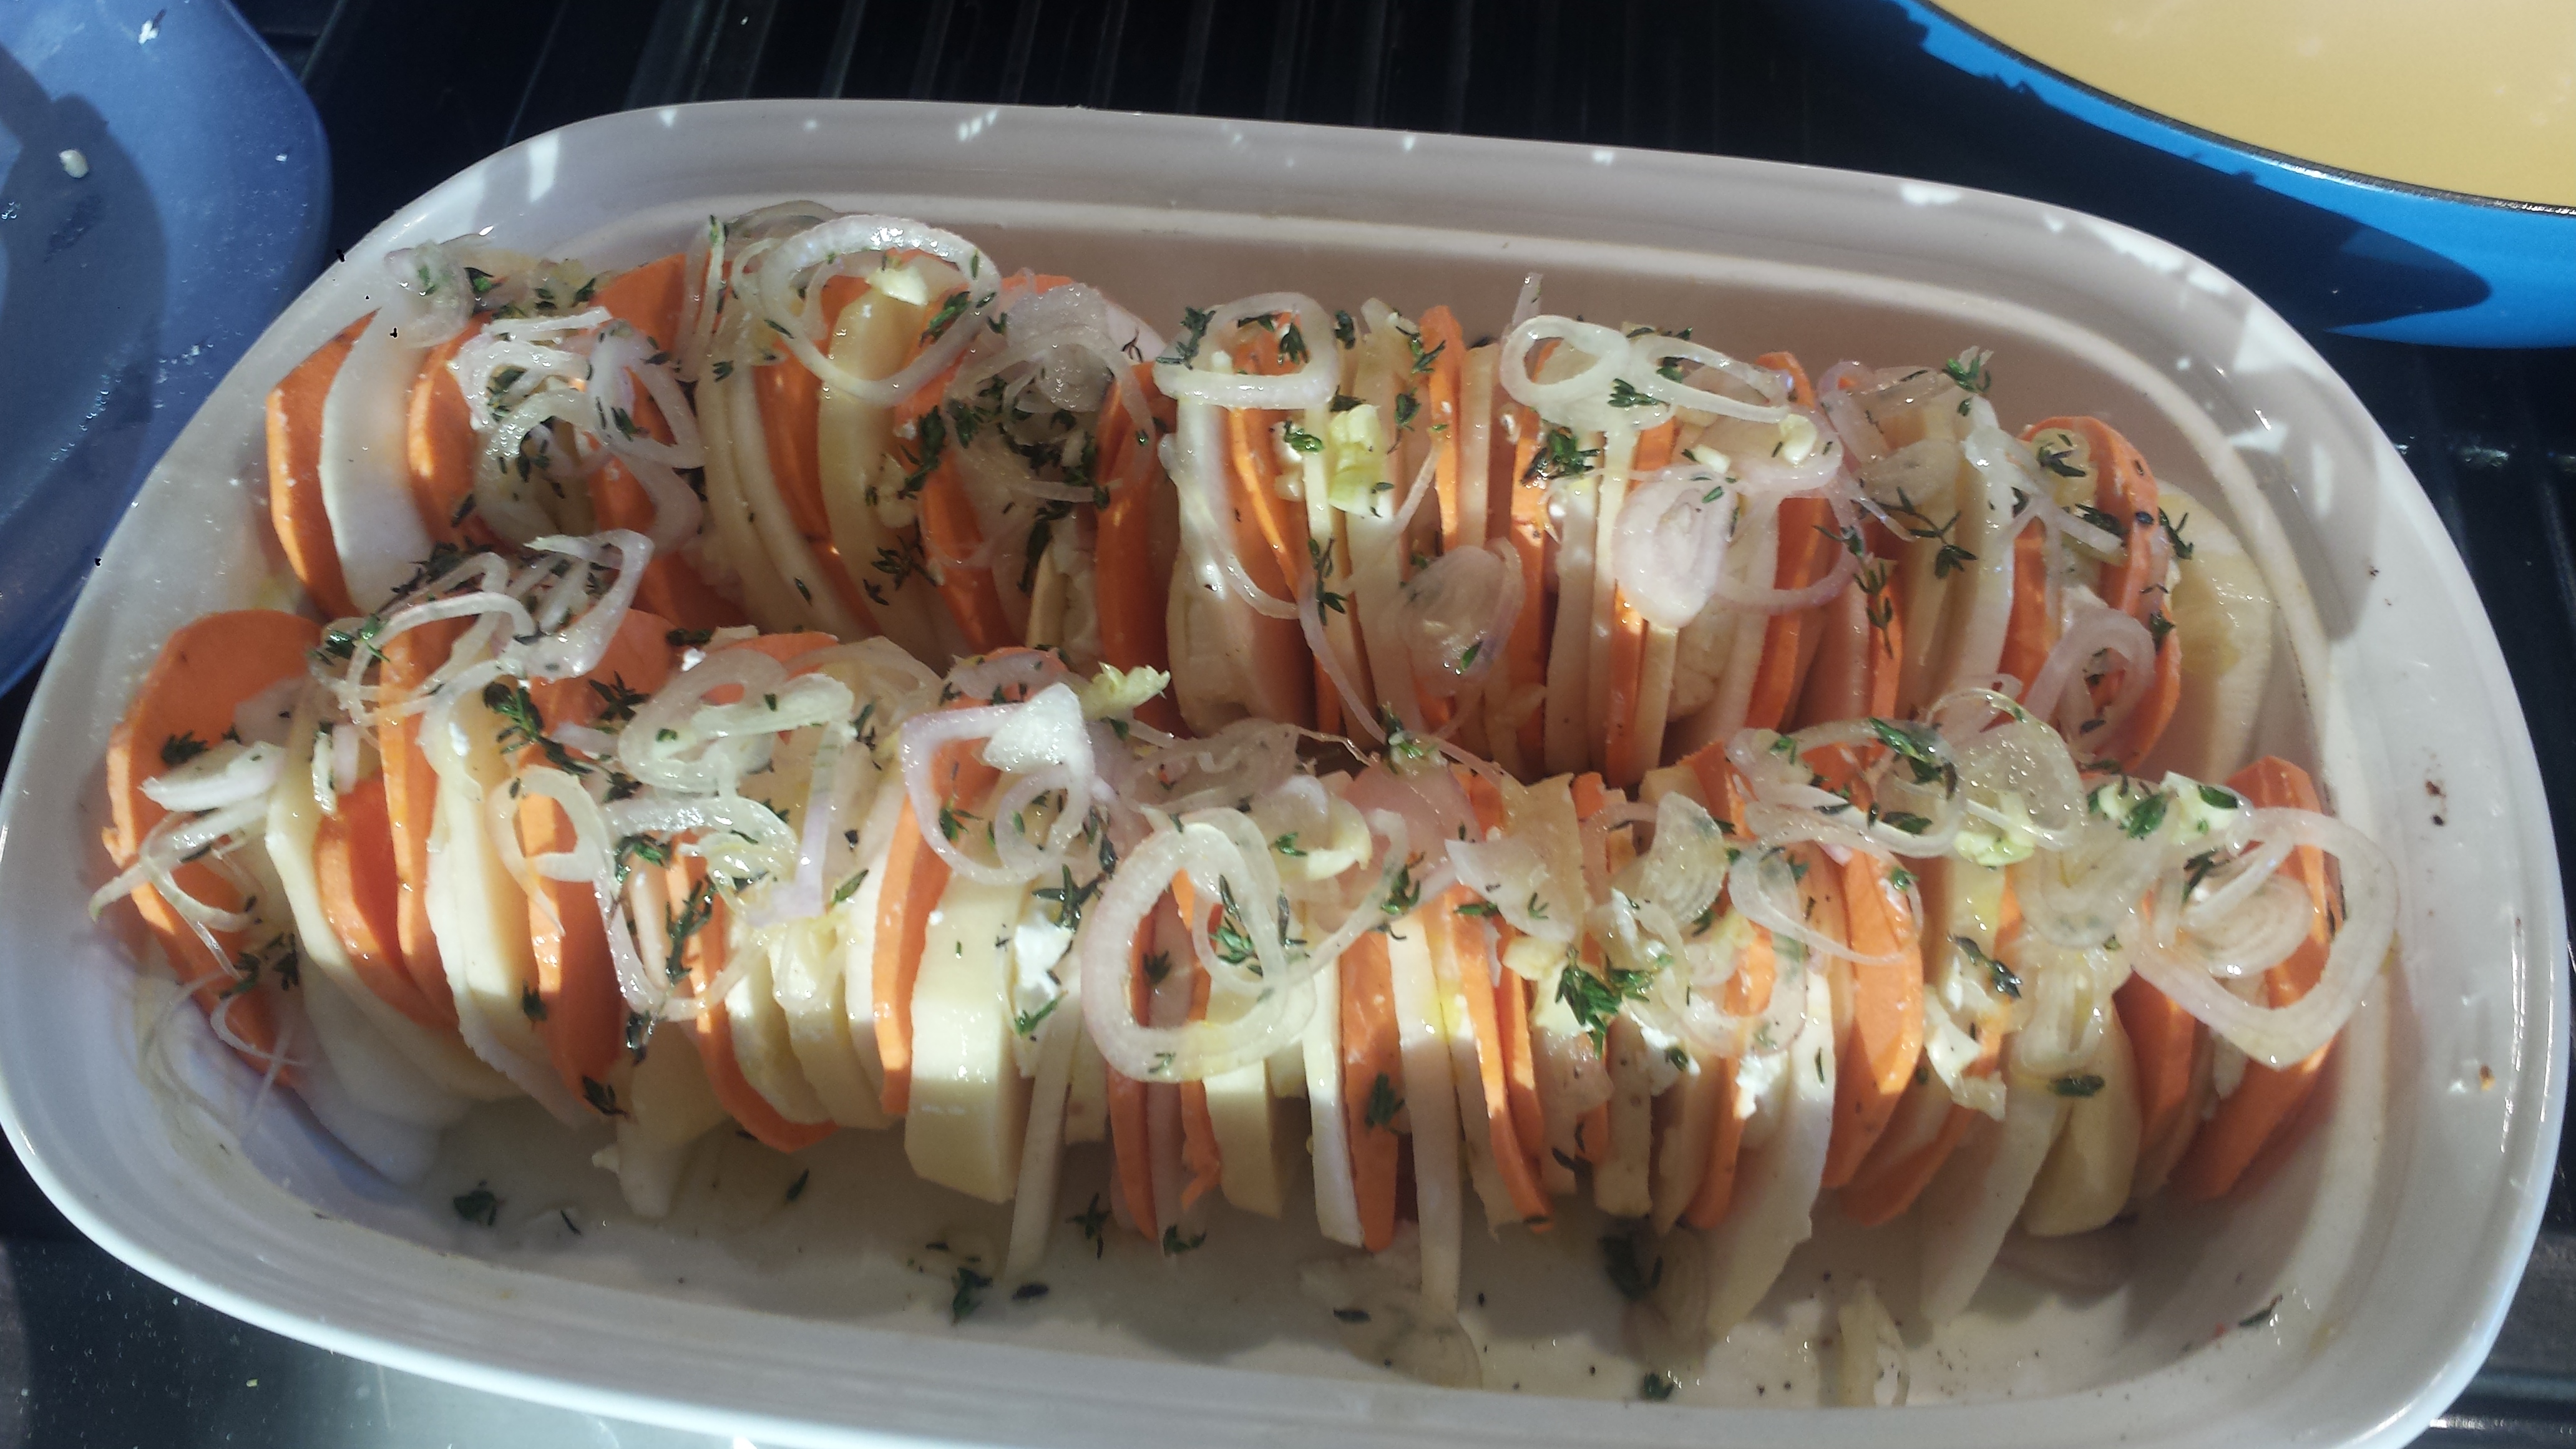
- Slice acorn squash into 1/2 inch rings and remove seeds and stringy bits.
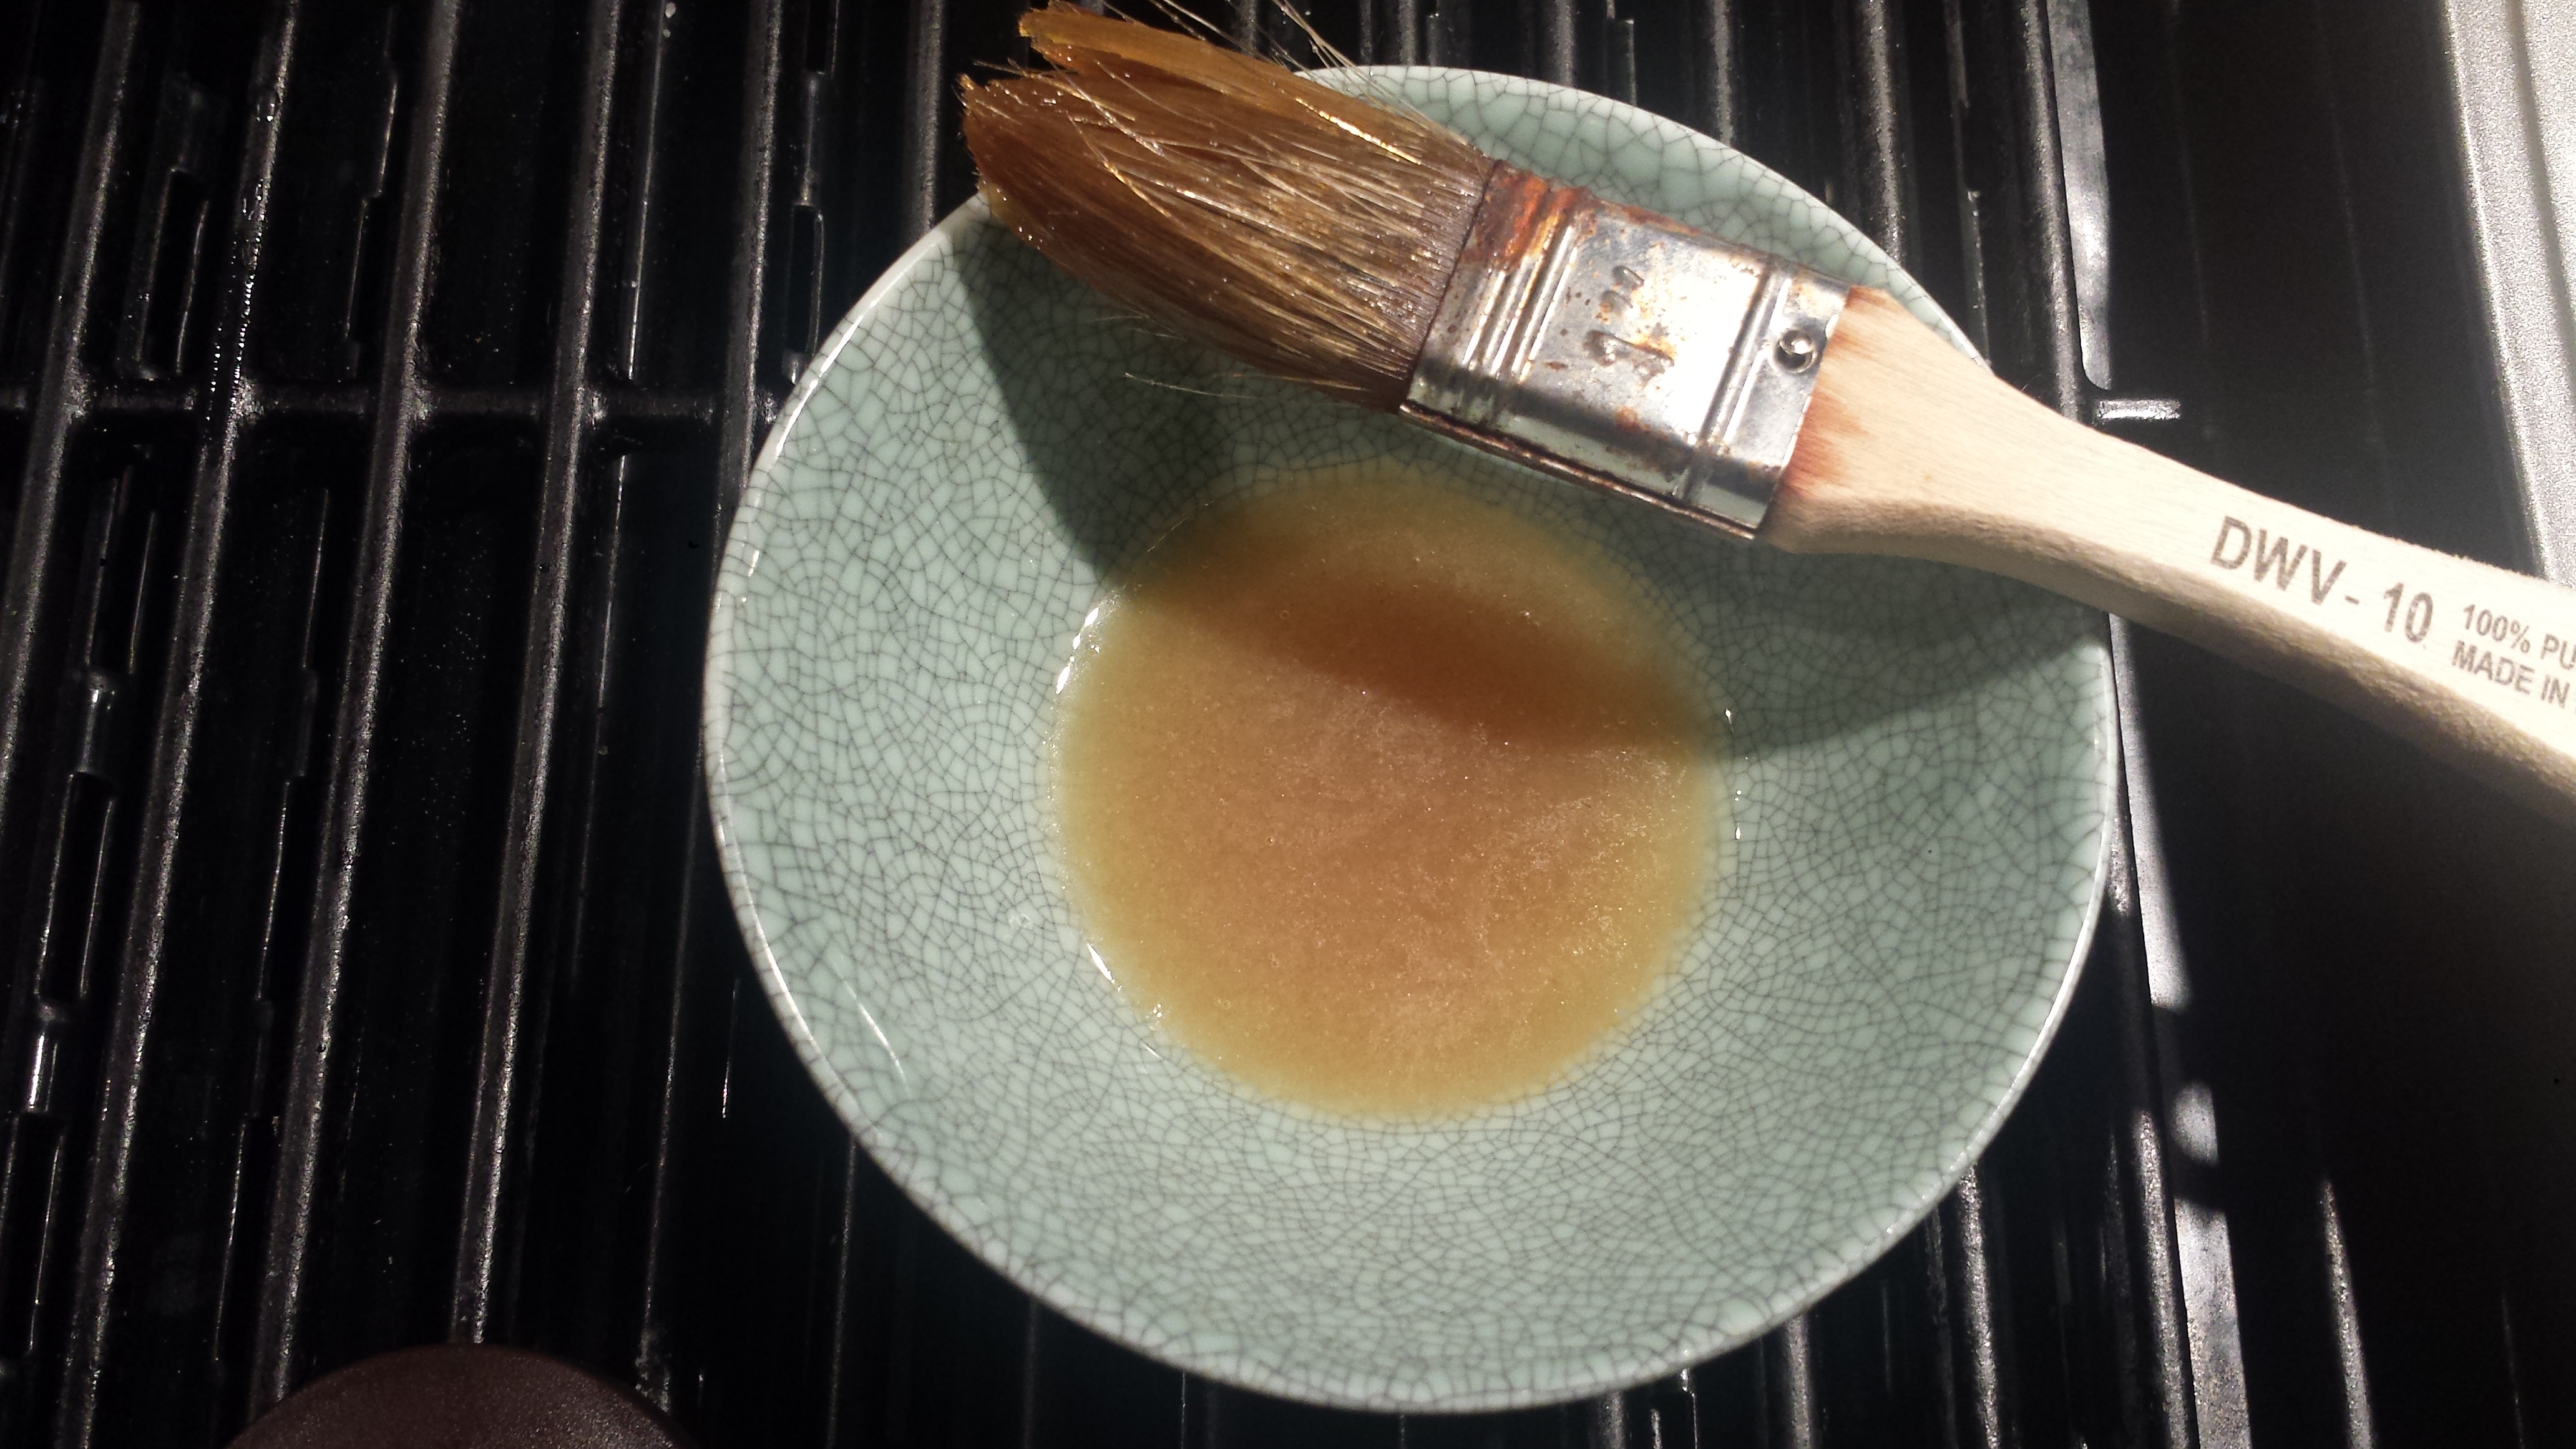
- Place squash rings on lightly oiled baking sheets. (Each squash will probably fill a pan.) In a small bowl combine 2 Tablespoons melted butter and maple syrup and brush tops and insides of rings with mixture. Sprinkle with salt and pepper.

- In a large bowl, combine cornbread, onion mixture, dates, cranberries pecans, sage and broth. Taste and add salt and pepper or more herbs if necessary before mixing in raw egg.
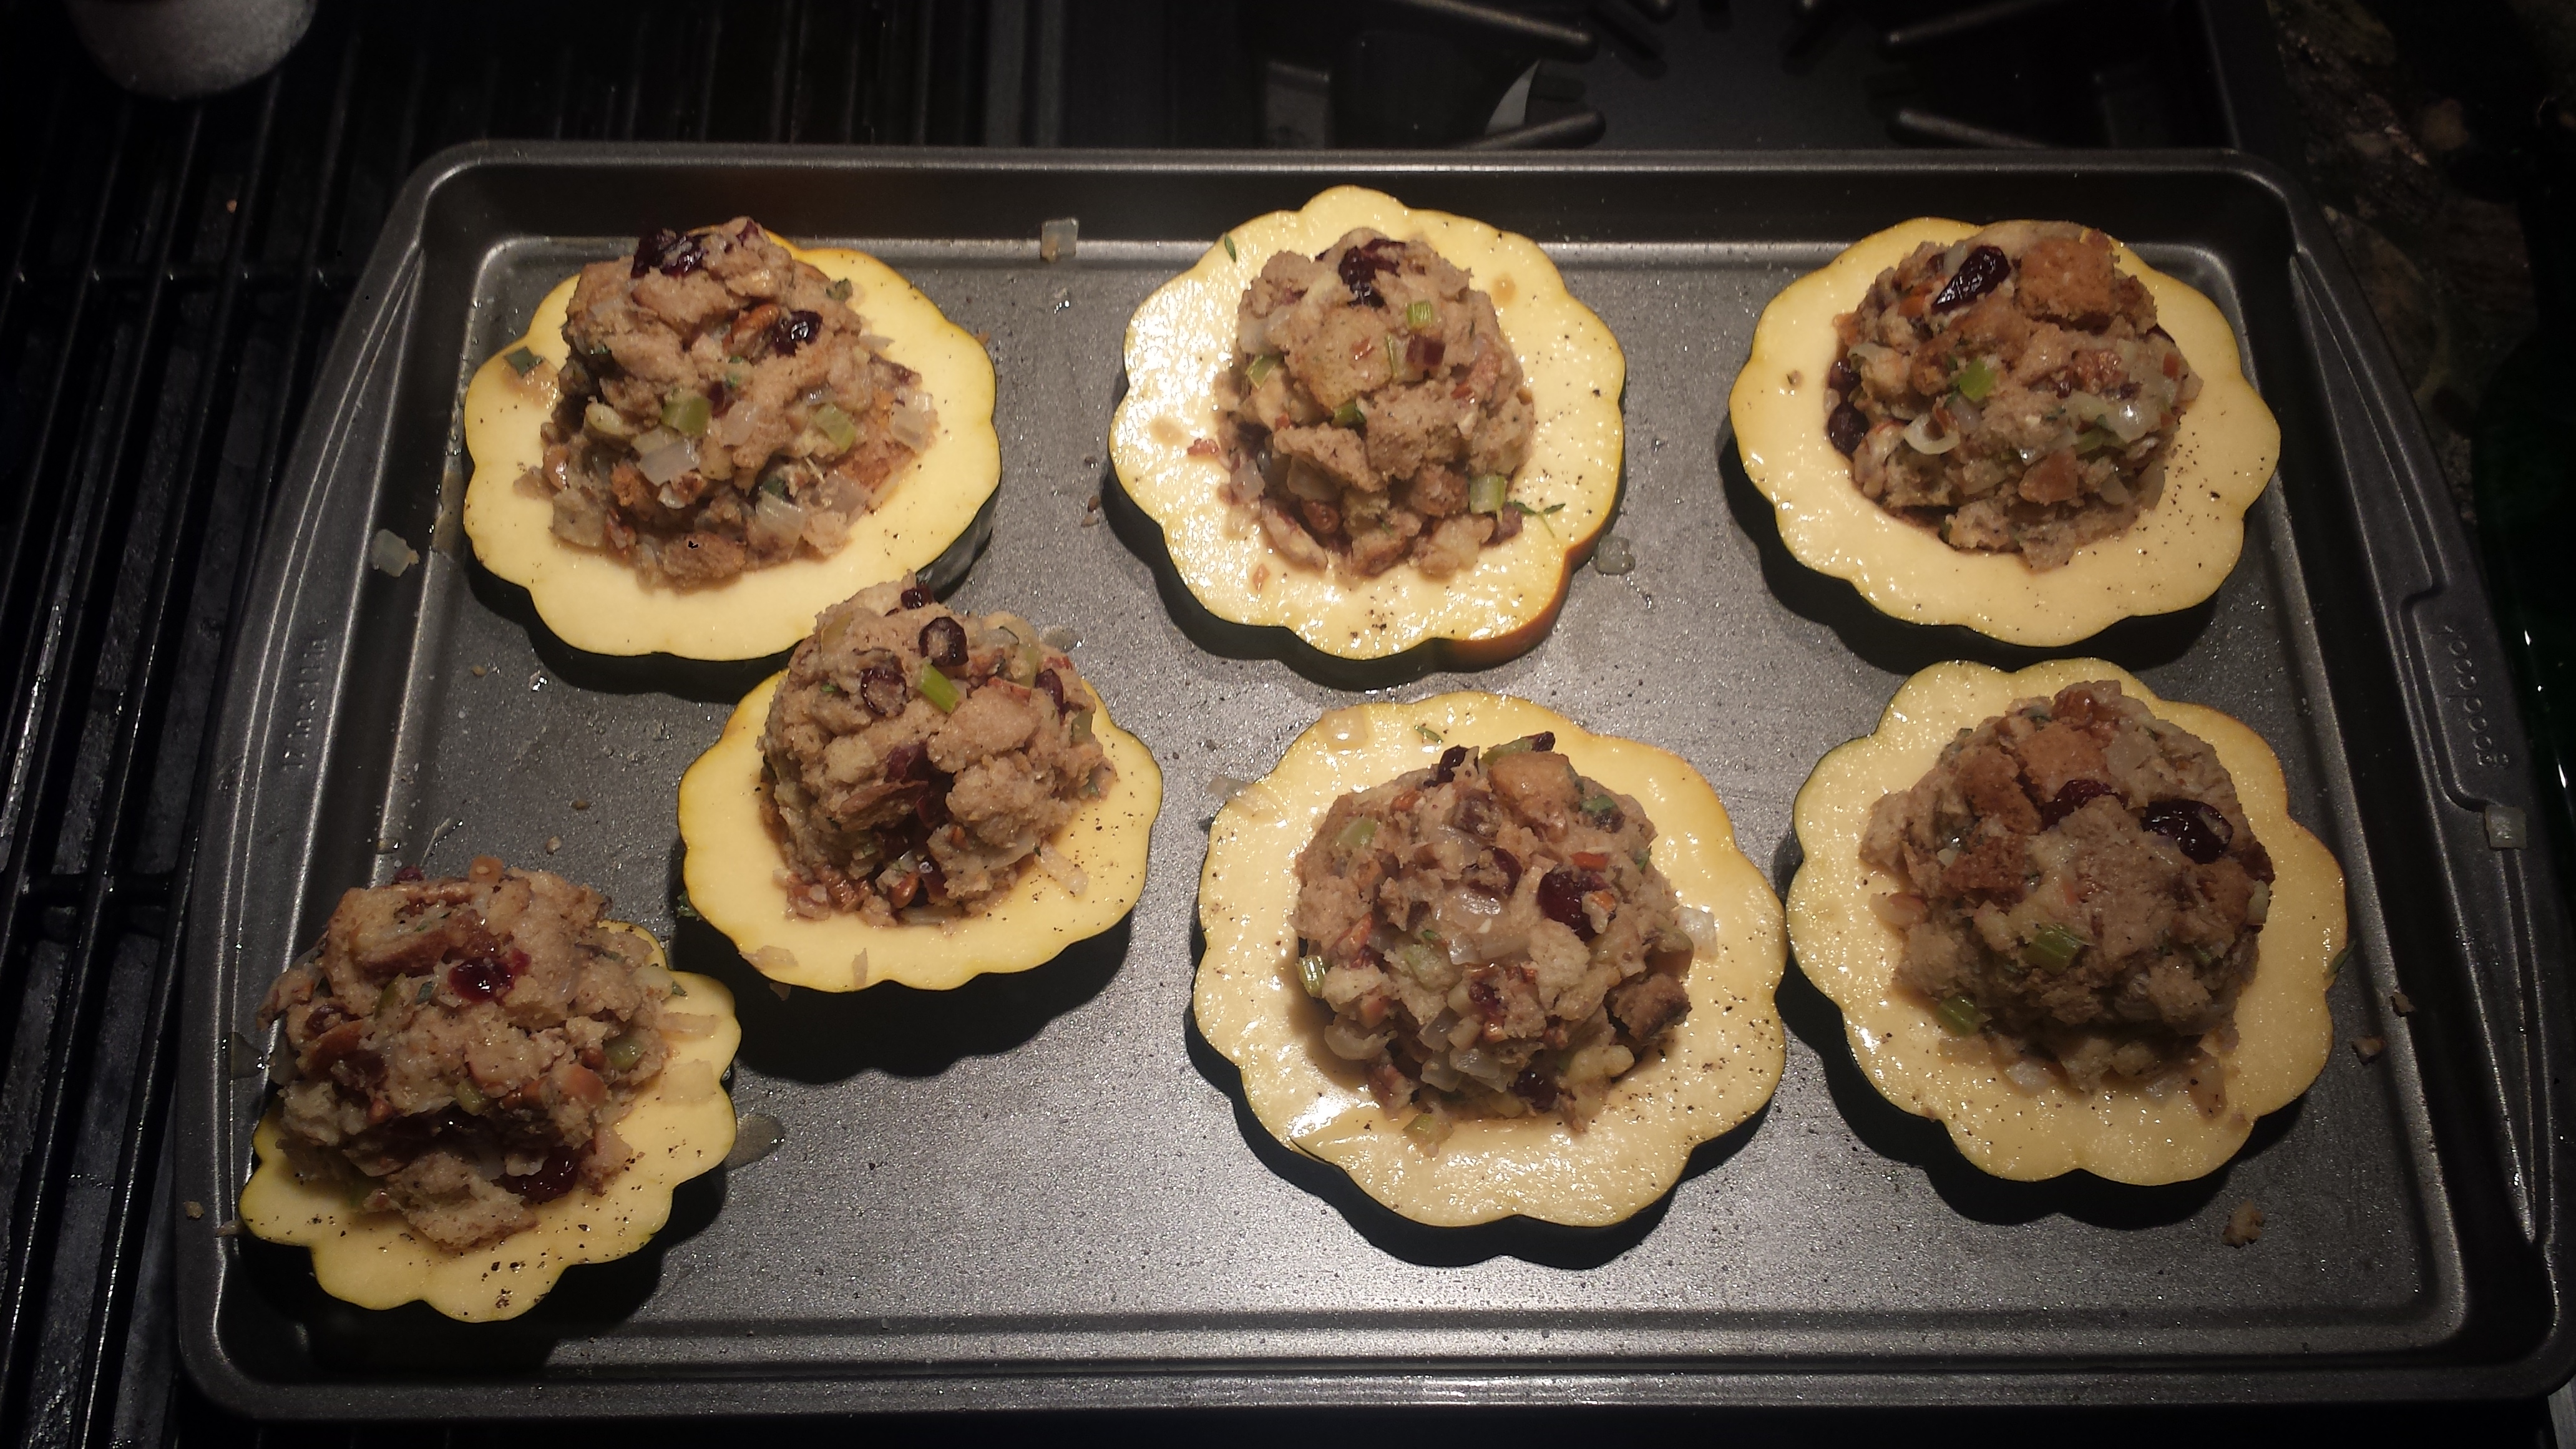
- Fill each squash ring with a heaping spoonful of cornbread mixture. Mixture should be damp but not wet. You should be able to form it into balls with your hands and place each ball inside the squash and press into shape.
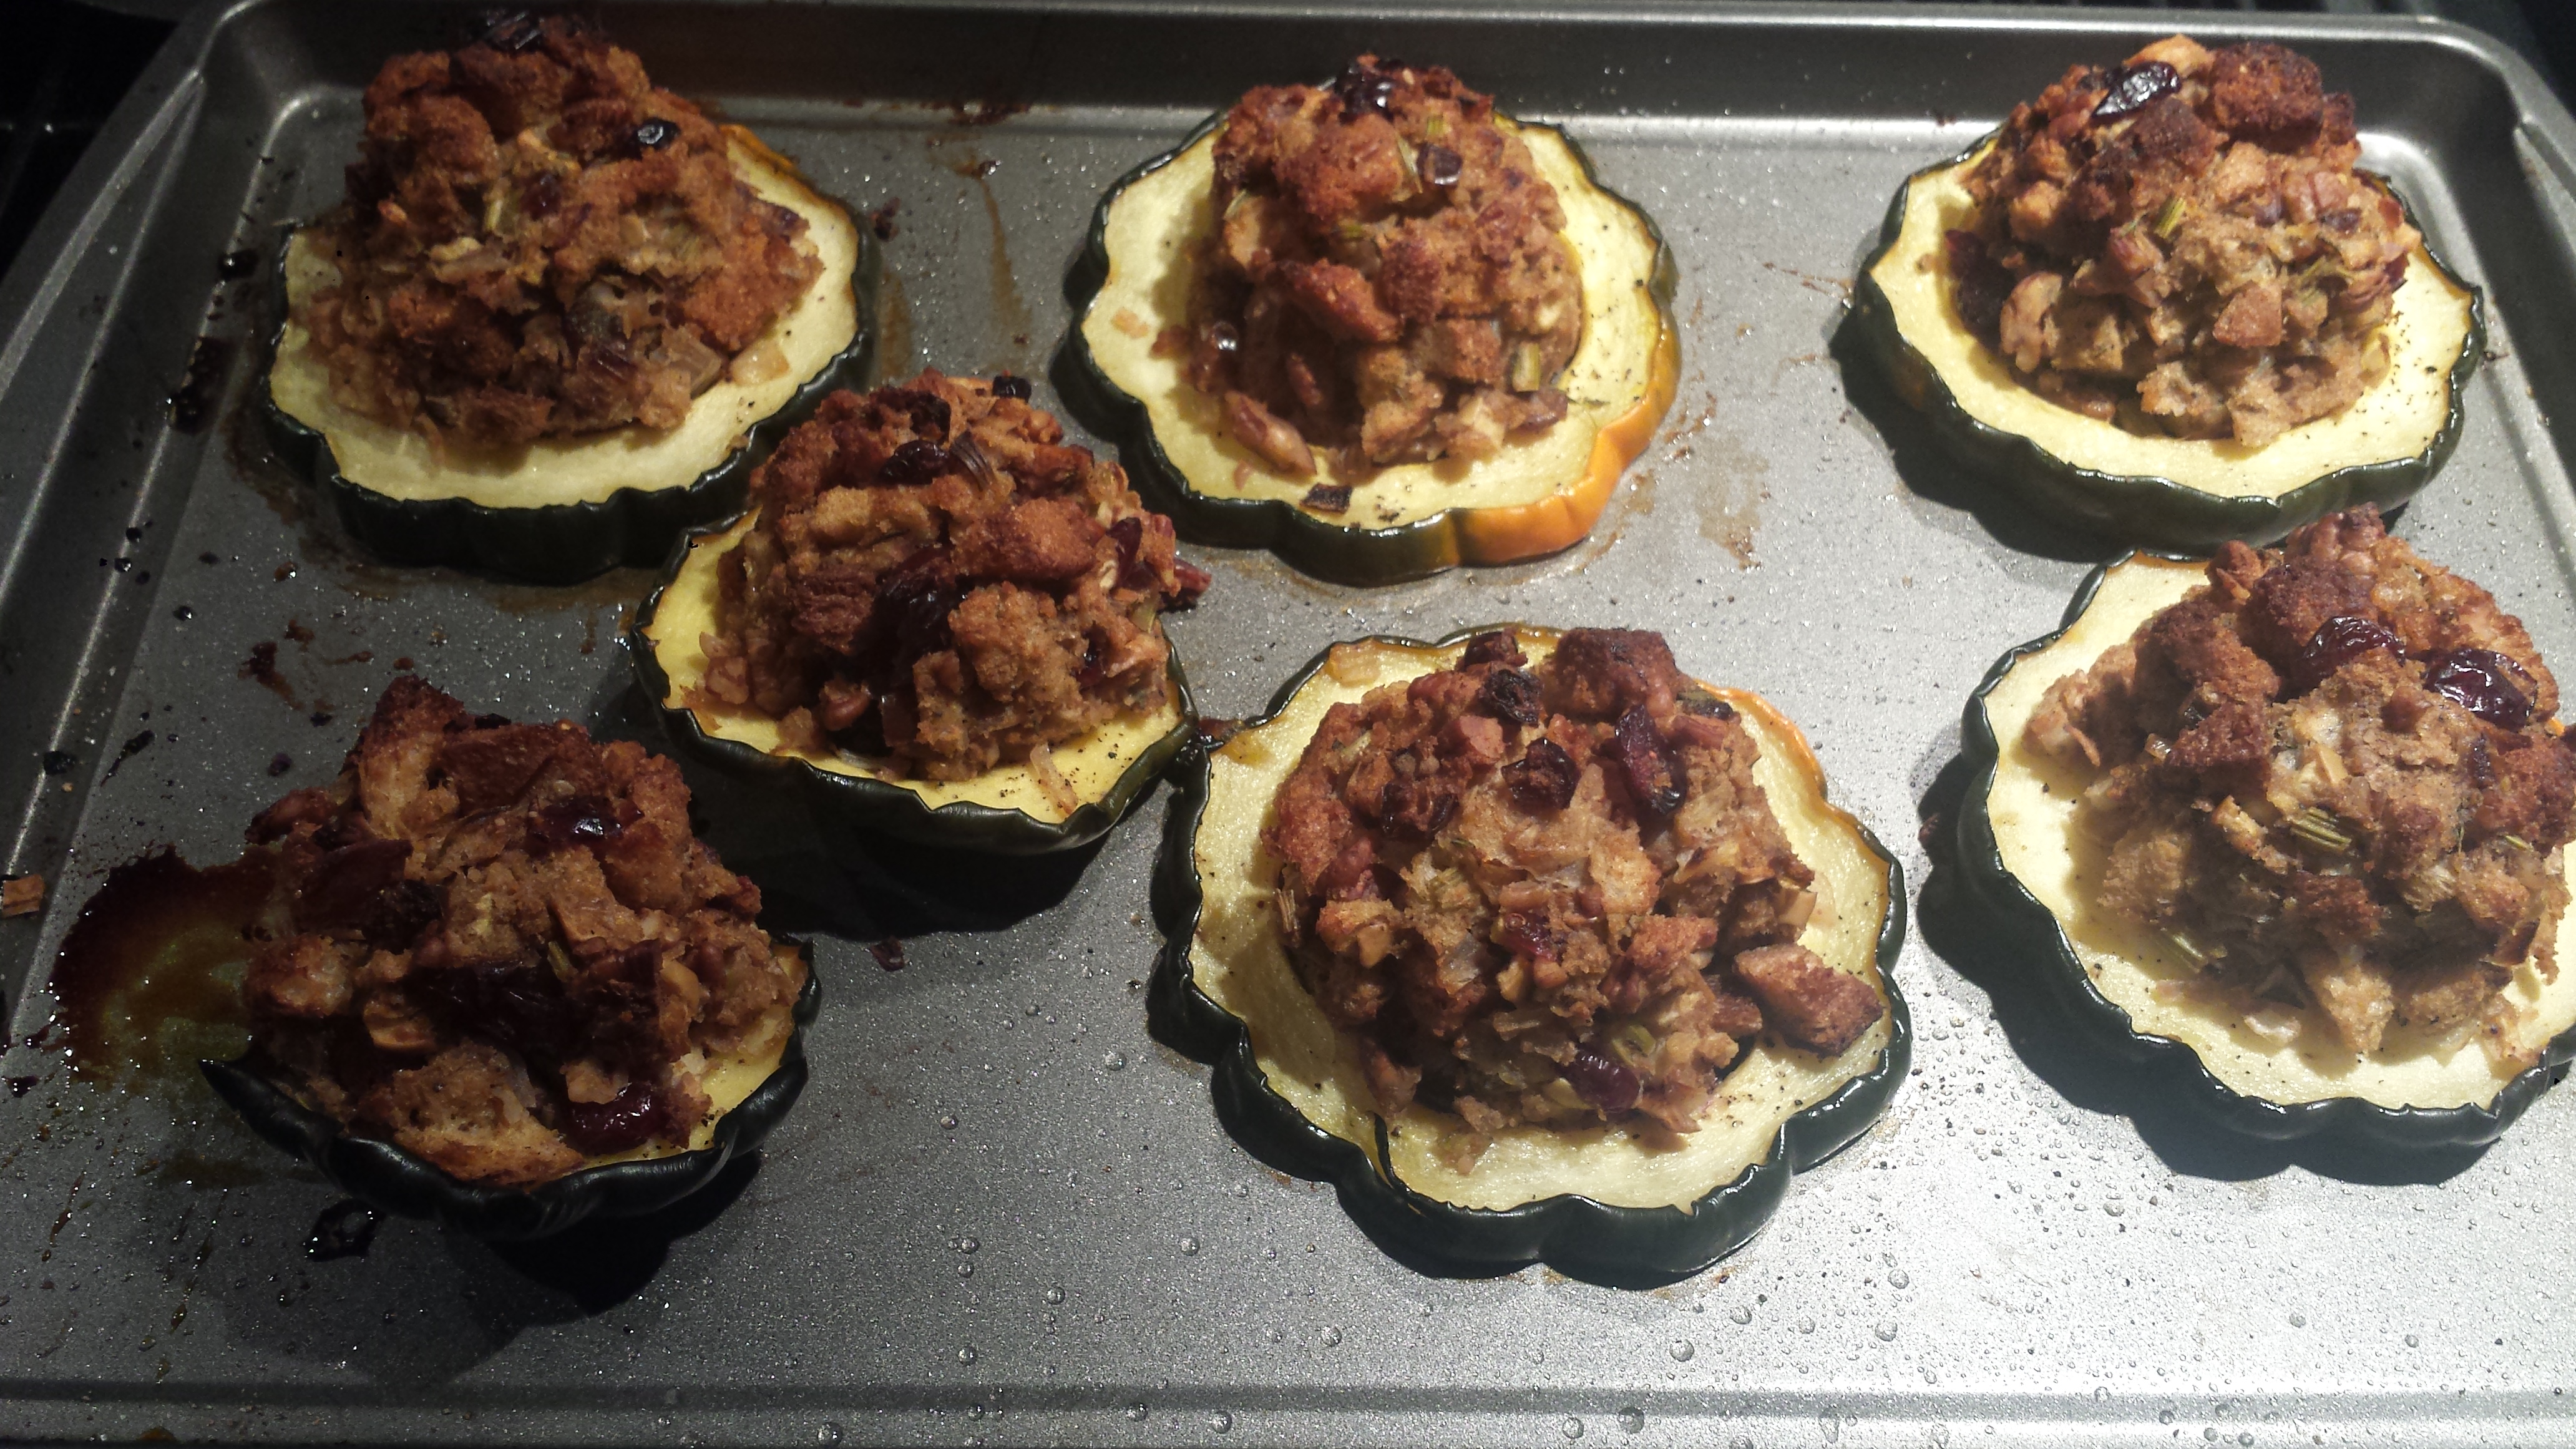
- Bake 30-40 minutes at 375 degrees, or until tops are golden brown and squash is tender. For a softer stuffing, cover with aluminum foil for the first 20 minutes or so.
1 cup plus 2 Tbsn butter (divided) Acorn Squash Rings with Cornbread Stuffing
1 onion, chopped
2 stalks celery, chopped
1 apple, chopped
2 whole acorn squash
2 Tbsn maple syrup
4 c dried crumbled cornbread (or stuffing mix)
1/2 c pecans or walnut, chopped
1/2 c dates, chopped
1/2 c dried cranberries, currants or yellow raisins
1 Tbsn fresh sage, minced or 1 tsp dried
1 Tbsn fresh thyme, or 1 tsp dried
4 c vegetable broth (or half broth half apple juice)
2 eggs, lightly beaten