“Remember if people talk behind your back, it only means you are two steps ahead.”
― Fannie Flagg, Fried Green Tomatoes at the Whistle Stop Cafe
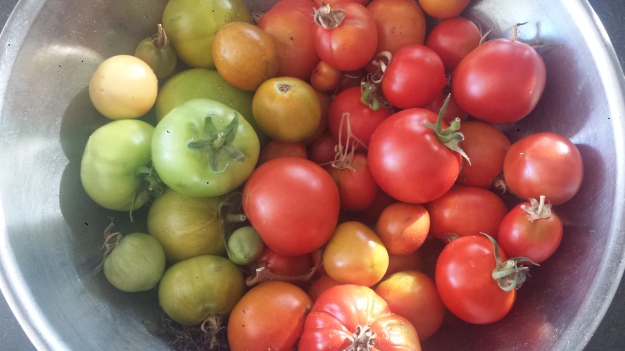
Spring was early and hot in Northern California this year, so I took a risk and planted about a dozen tomato plants. I have been enjoying an abundance of early red, vine-ripened tomatoes but then a chilly late spring set some of my plants back a bit. They don’t like cold nights and foggy mornings. So even though many of the ailing plants still had fruit clinging to them, I opted to pull them out and replace them with healthy plants since it’s still early in the season. Of course, that meant harvesting quite a few still green tomatoes too.
If I place green tomatoes in a sunny window sill, often they will get ripe but having just enjoyed ‘Fried Green Tomatoes’ in Charleston a couple of weeks ago, I decided to give it a whirl. Yum! I can see why it’s such a popular dish! I usually end up with quite a few green tomatoes in the late fall, when it’s time to pull up the old and wizened tomato plants that still have green tomatoes hanging off of them before the nights get too cold. Now, I will be looking forward to my green tomato harvest in October so I can make this again. Winner!
When I was deciding which recipe to use for this dish, I decided to go straight to the source that made ‘Fried Green Tomatoes’ famous around the whole country and not just in the South. I’m talking about Fanny Flagg and her novel, “Fried Green Tomatoes at the Whistlestop Cafe”, which was beloved and made into a popular movie. Fannie Flagg started by writing a novel about the little cafe her great- aunt Bess owned in Irondale, Alabama. After the success of her novel and movie, she received thousands of requests from all over the world asking for recipes from the little cafe of her Alabama childhood. So she put together, Fannie Flagg’s Original Whistle Stop Cafe Cookbook , which is a compilation of traditional Southern dishes, including the Fried Green Tomato recipe which I followed below (although I halved the batter recipe and added suggestions on making it vegan and/or more nutritious).

Photo Credit: Amazon.com
Fannie Flagg’s Original Whistle Stop Cafe Cookbook Reviews:
“If you liked her novel, Fried Green Tomatoes at the Whistle Stop Cafe, and if you liked the movie they made from that novel, you’ll like this cookbook….It’s funny, just like Flagg.”
–Richmond Times-Dispatch
“Recommended…All the traditional dishes are here, along with the author’s irreverent, irresistible commentary on Southern cooking and culture.”
–Library Journal

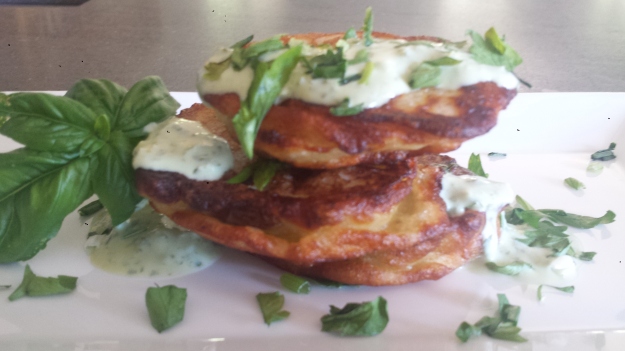
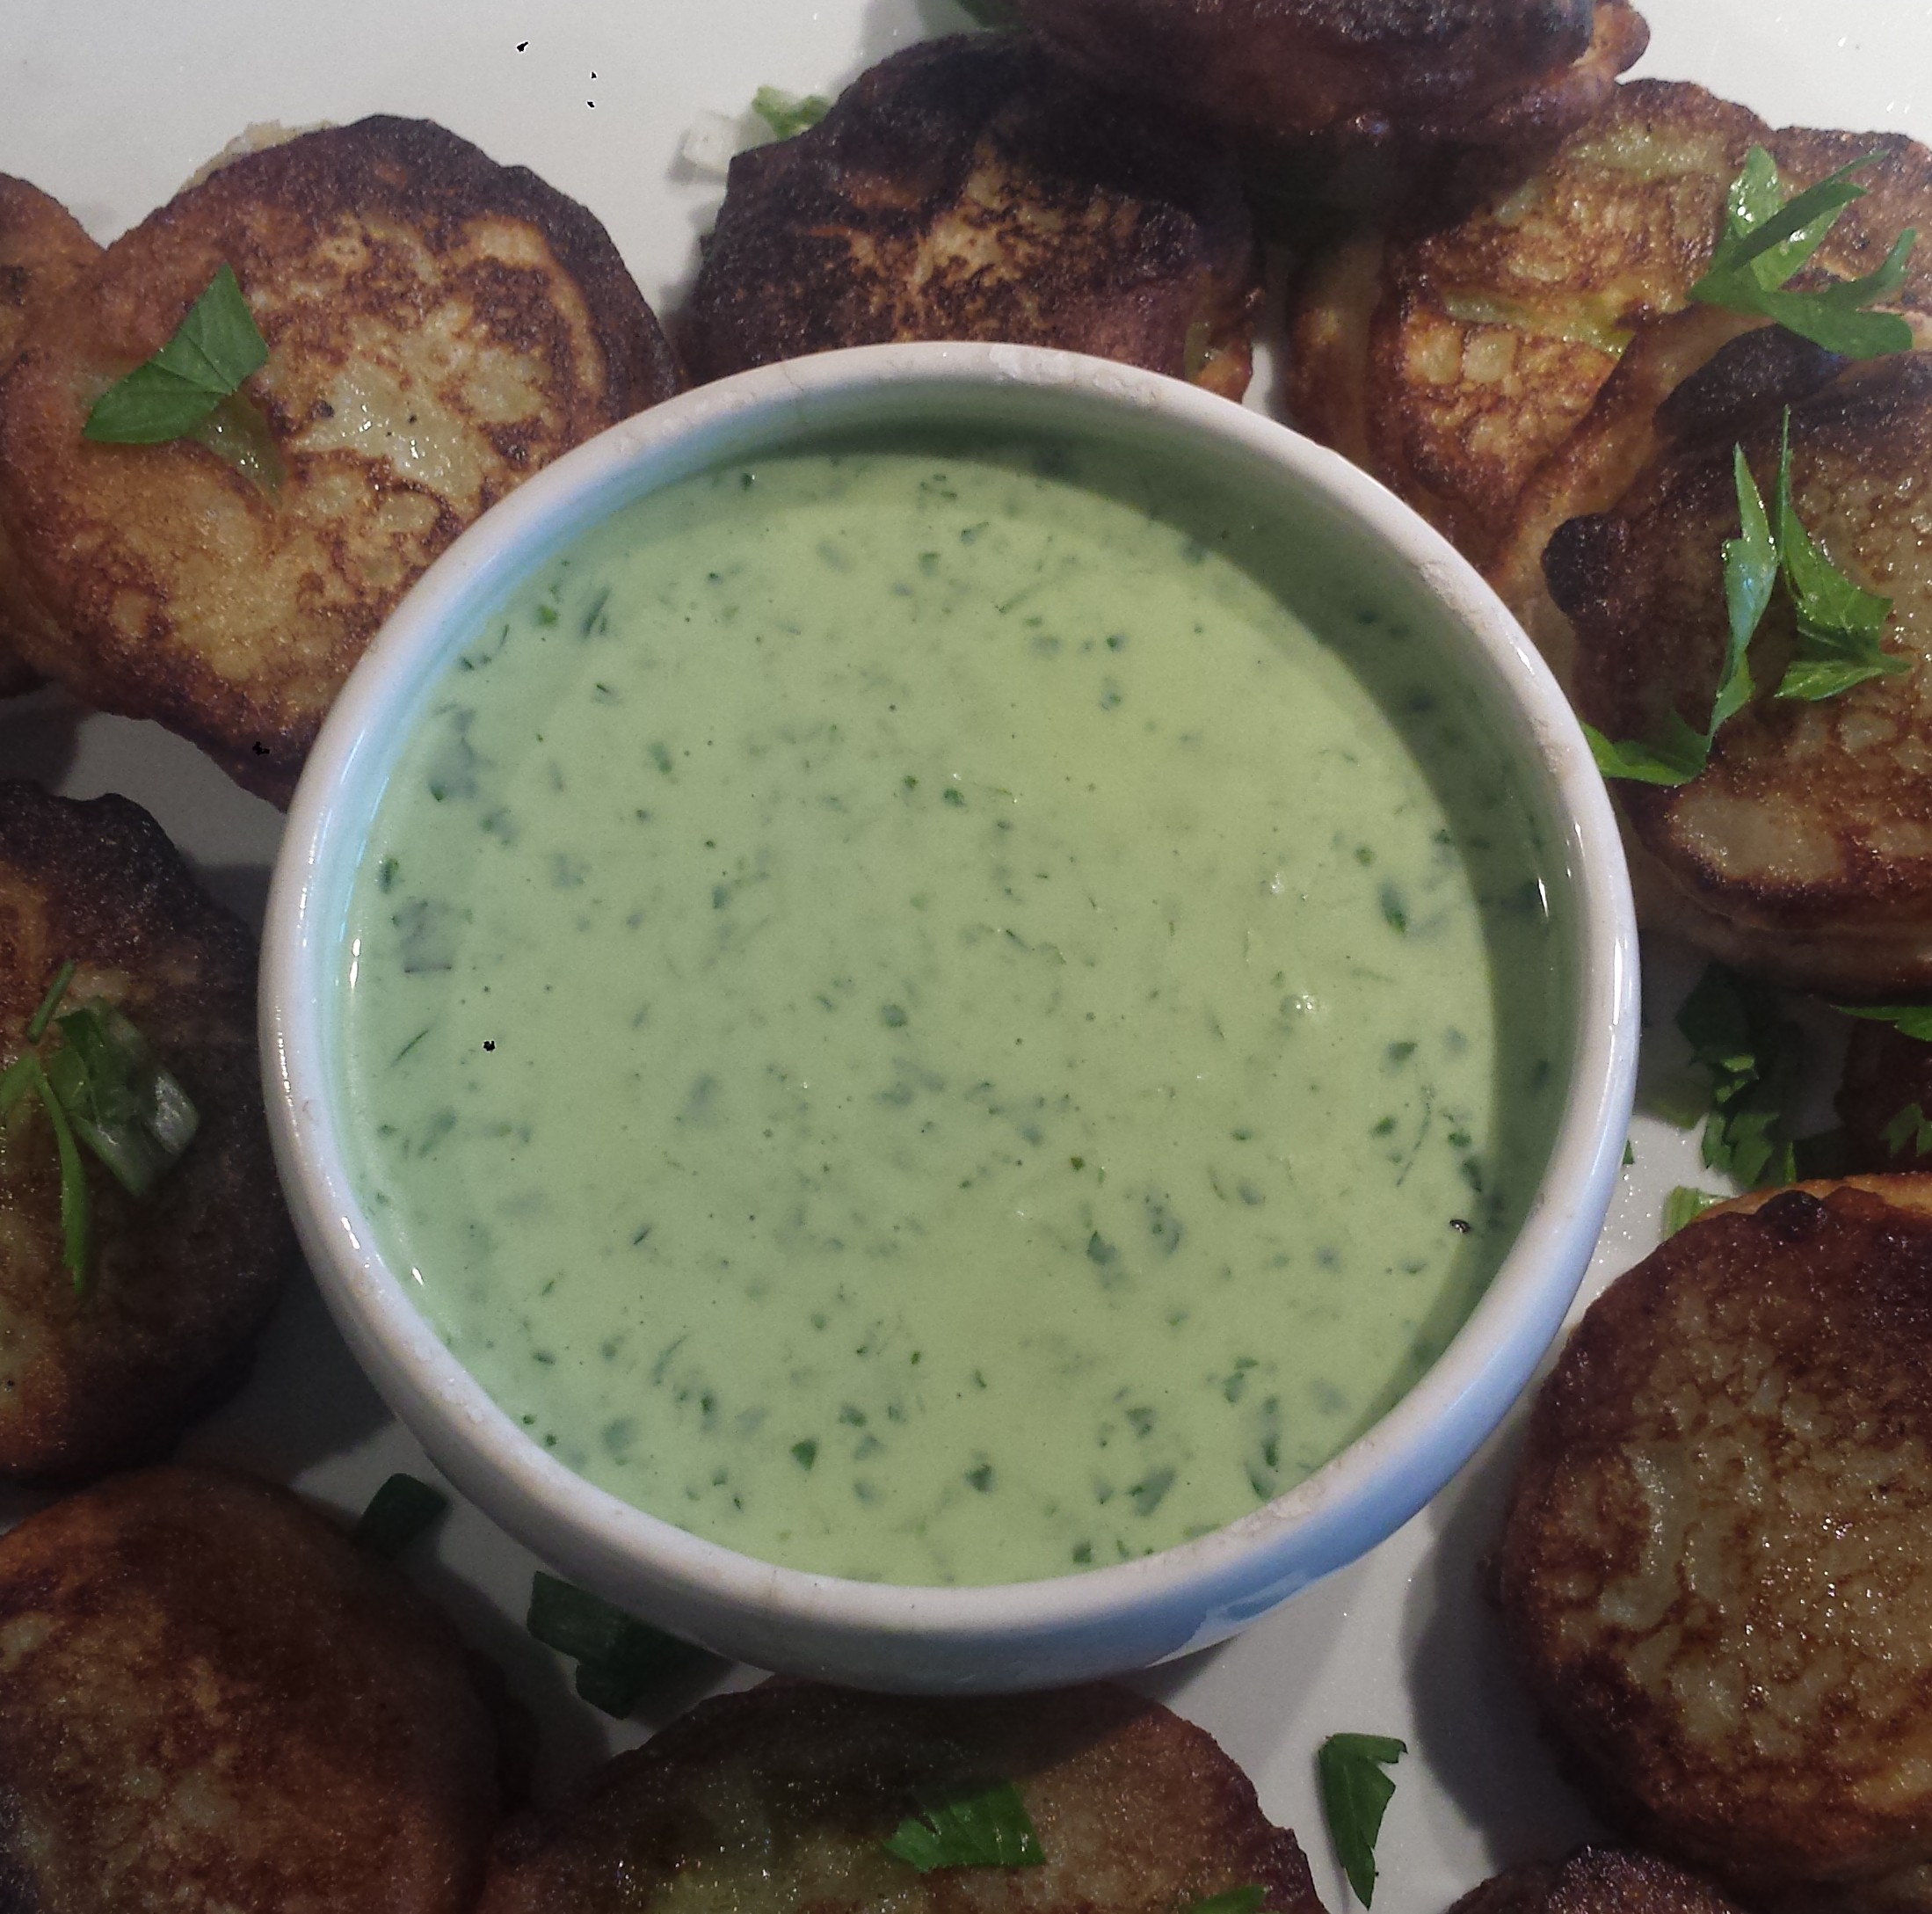
I tend to like a dipping sauce or dressing to drizzle over the top of battered and fried foods, so came up with a Buttermilk Lime Sauce since I already had buttermilk left over from making the batter. I mixed it with plain yogurt to thicken it up, fresh lime juice, garlic and fresh herbs. You could always substitute mayo or sour cream to suit your own tastes. If you don’t want to make a sauce, there are many good aioli’s and remoulades available to top off your tomatoes.

TIPS: October is the best time to get green tomatoes from your garden as we don’t often see them in markets, but maybe you will get lucky. The best tomatoes for frying are firm and green, that haven’t begun to change color and without any red spots. For a more nutritious batter, substitute a light whole grain flour, like coconut or oat flour for the flour. Vegan milk and yogurt can be used if desired. I would recommend a high quality vegetable oil like avocado, coconut or olive oil.
Fried Green Tomatoes
3-4 green tomatoes
3/4 cups flour
1/4 cup corn meal
1/2 tsp salt & pepper
1 cup +milk or buttermilk (or vegan milk)
vegetable oil

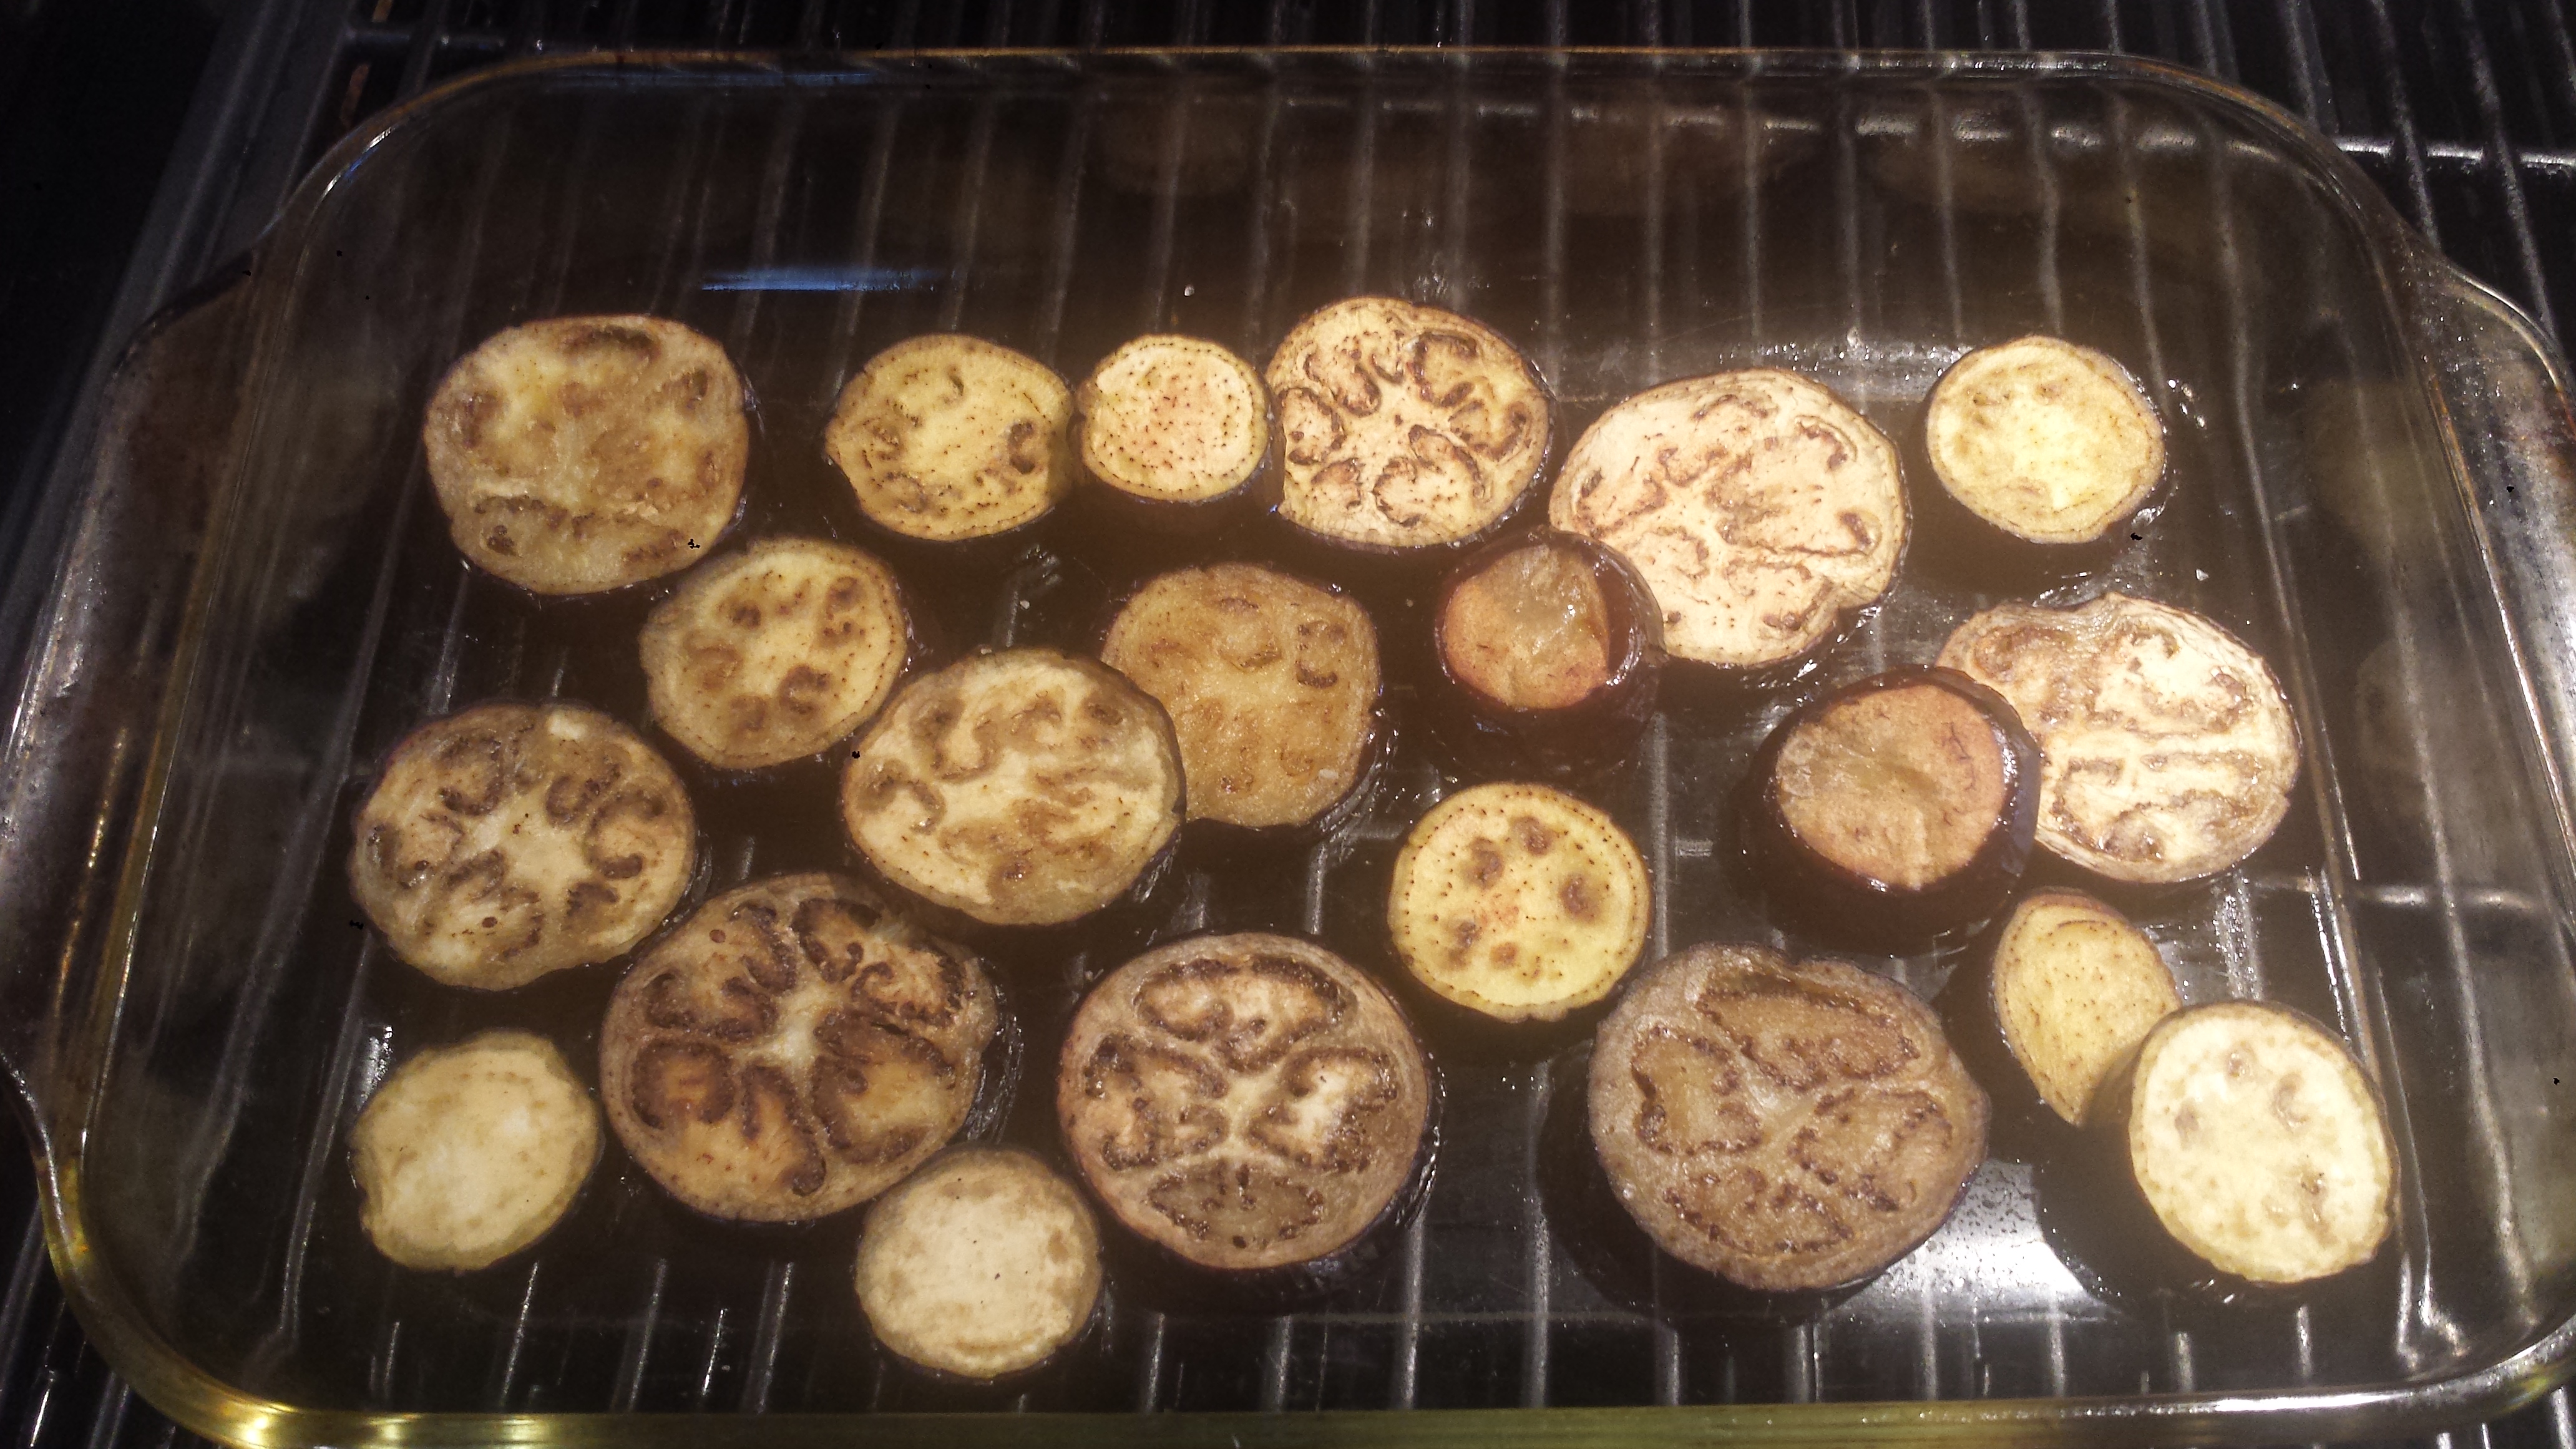
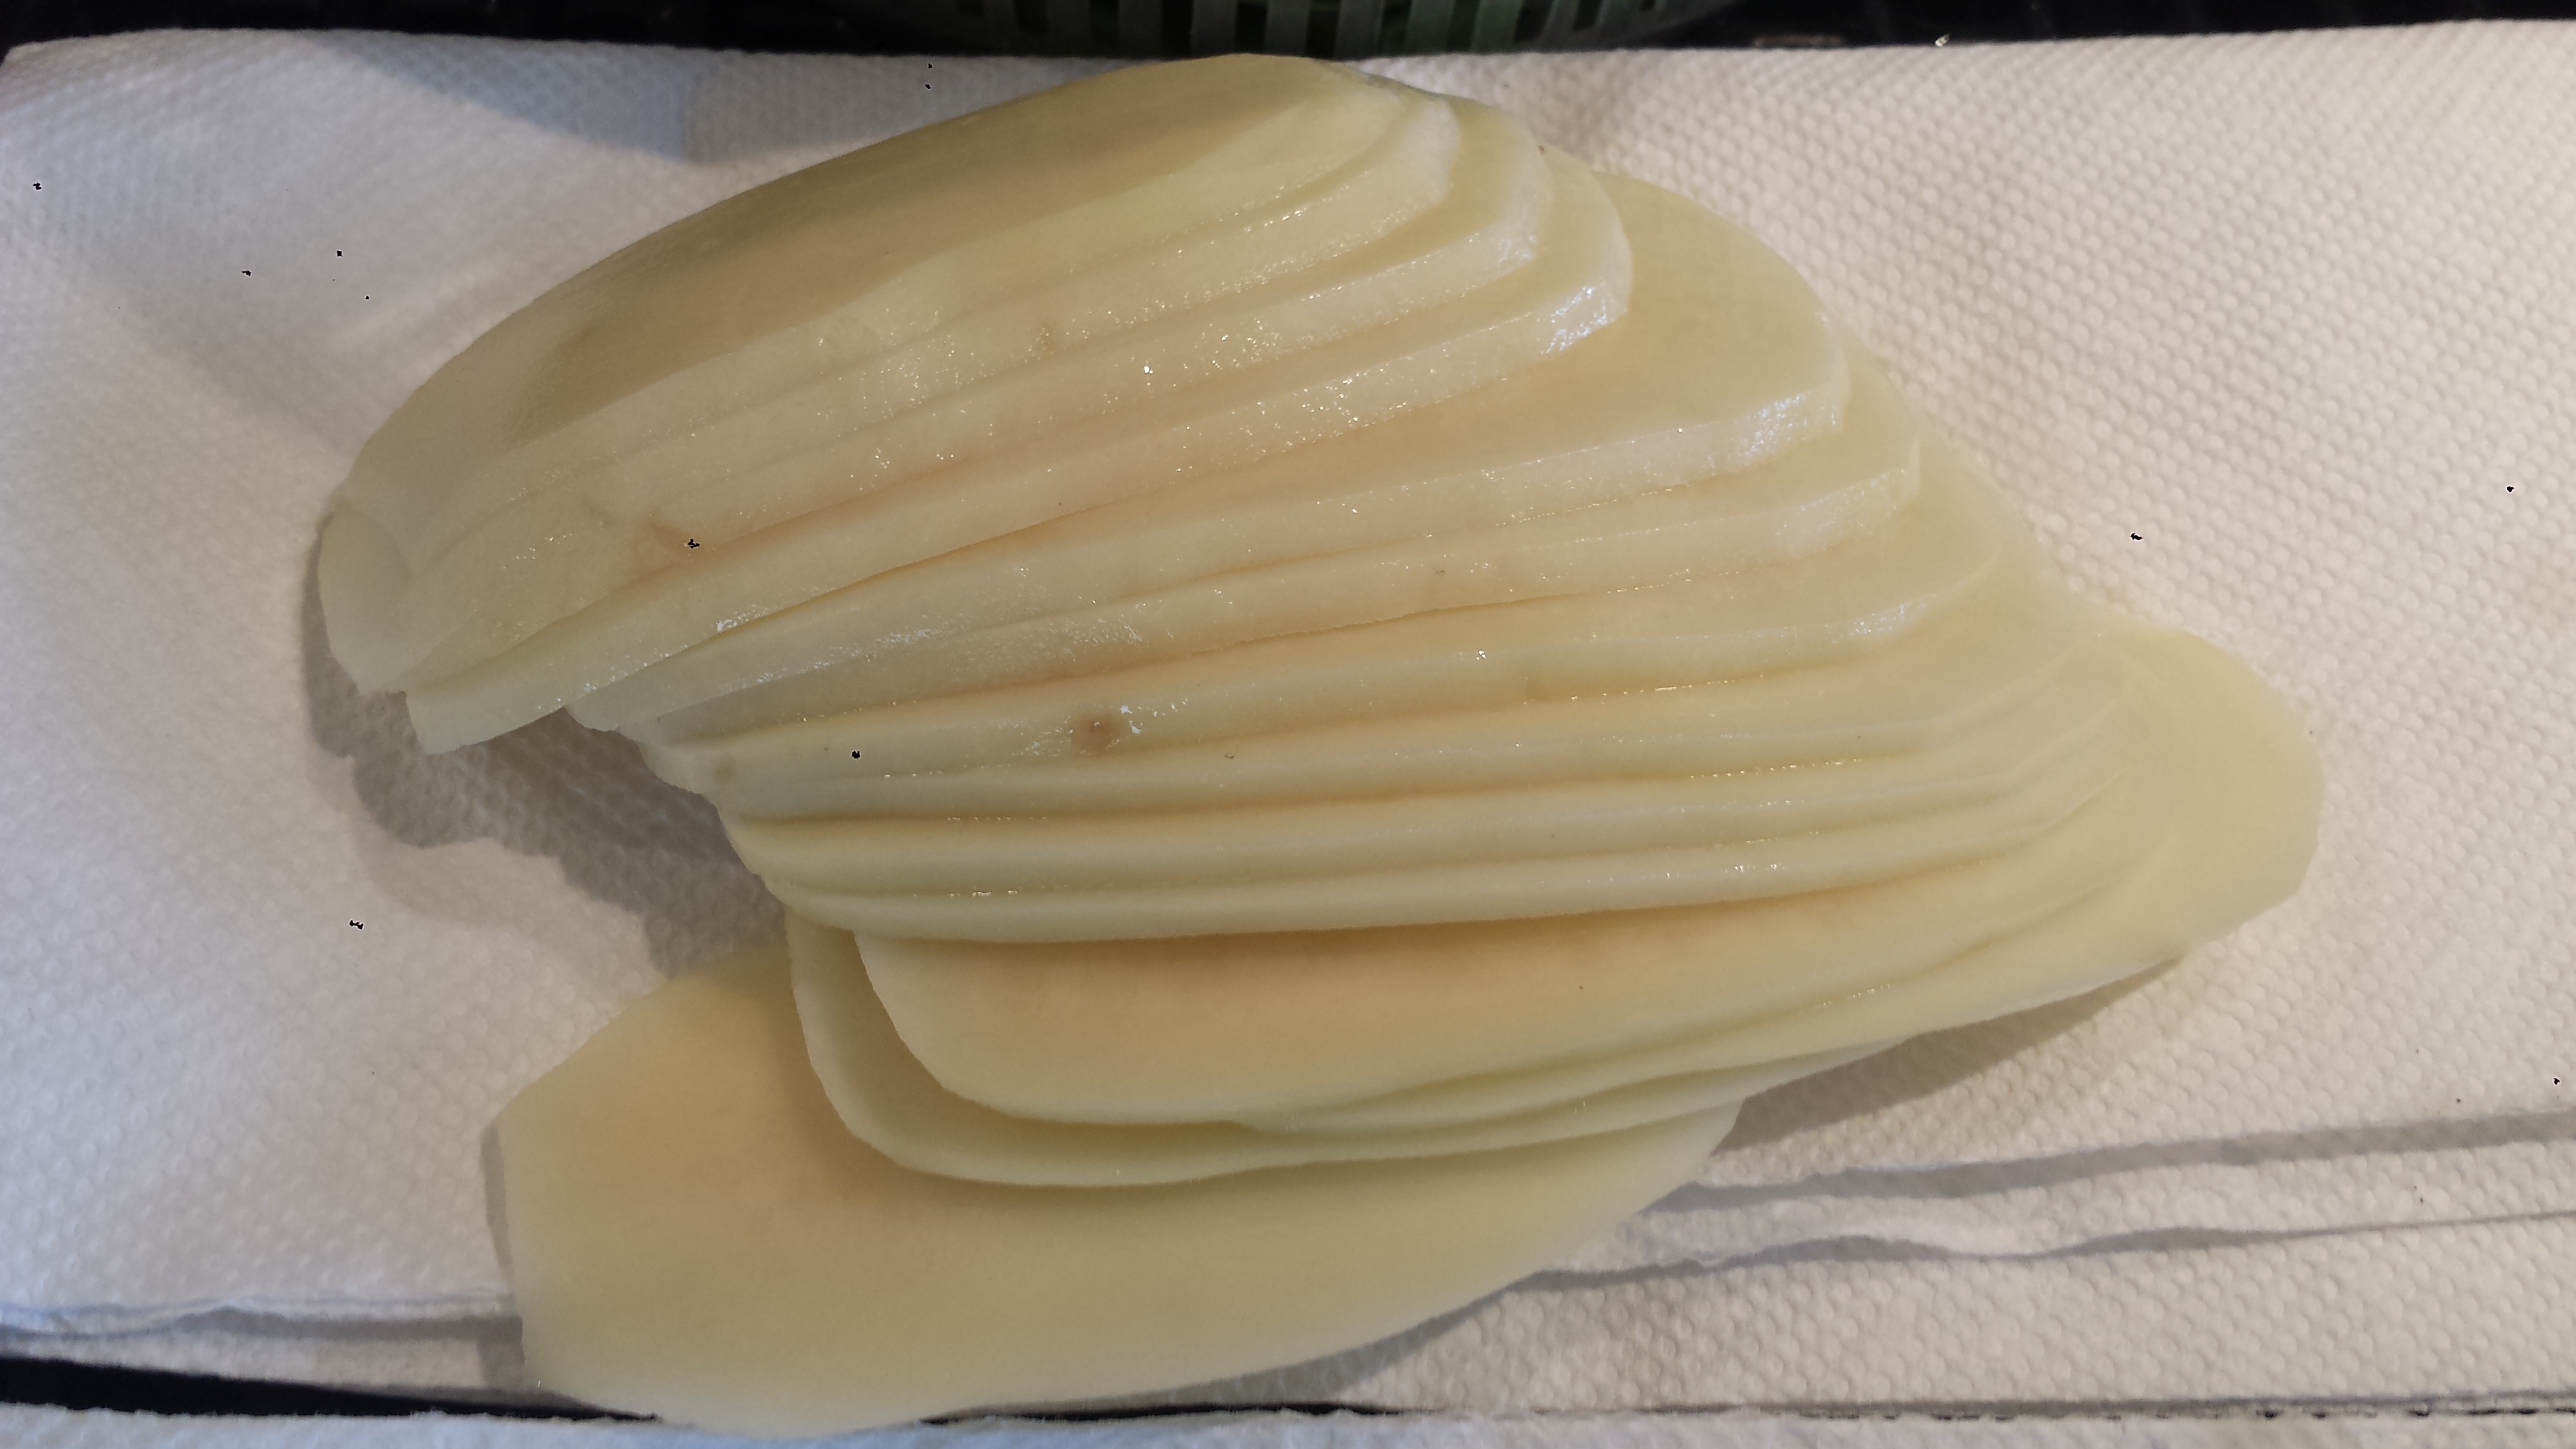
- Wash and slice tomatoes into 1/4 inch thick slices- about 3- 5 slices per tomato.

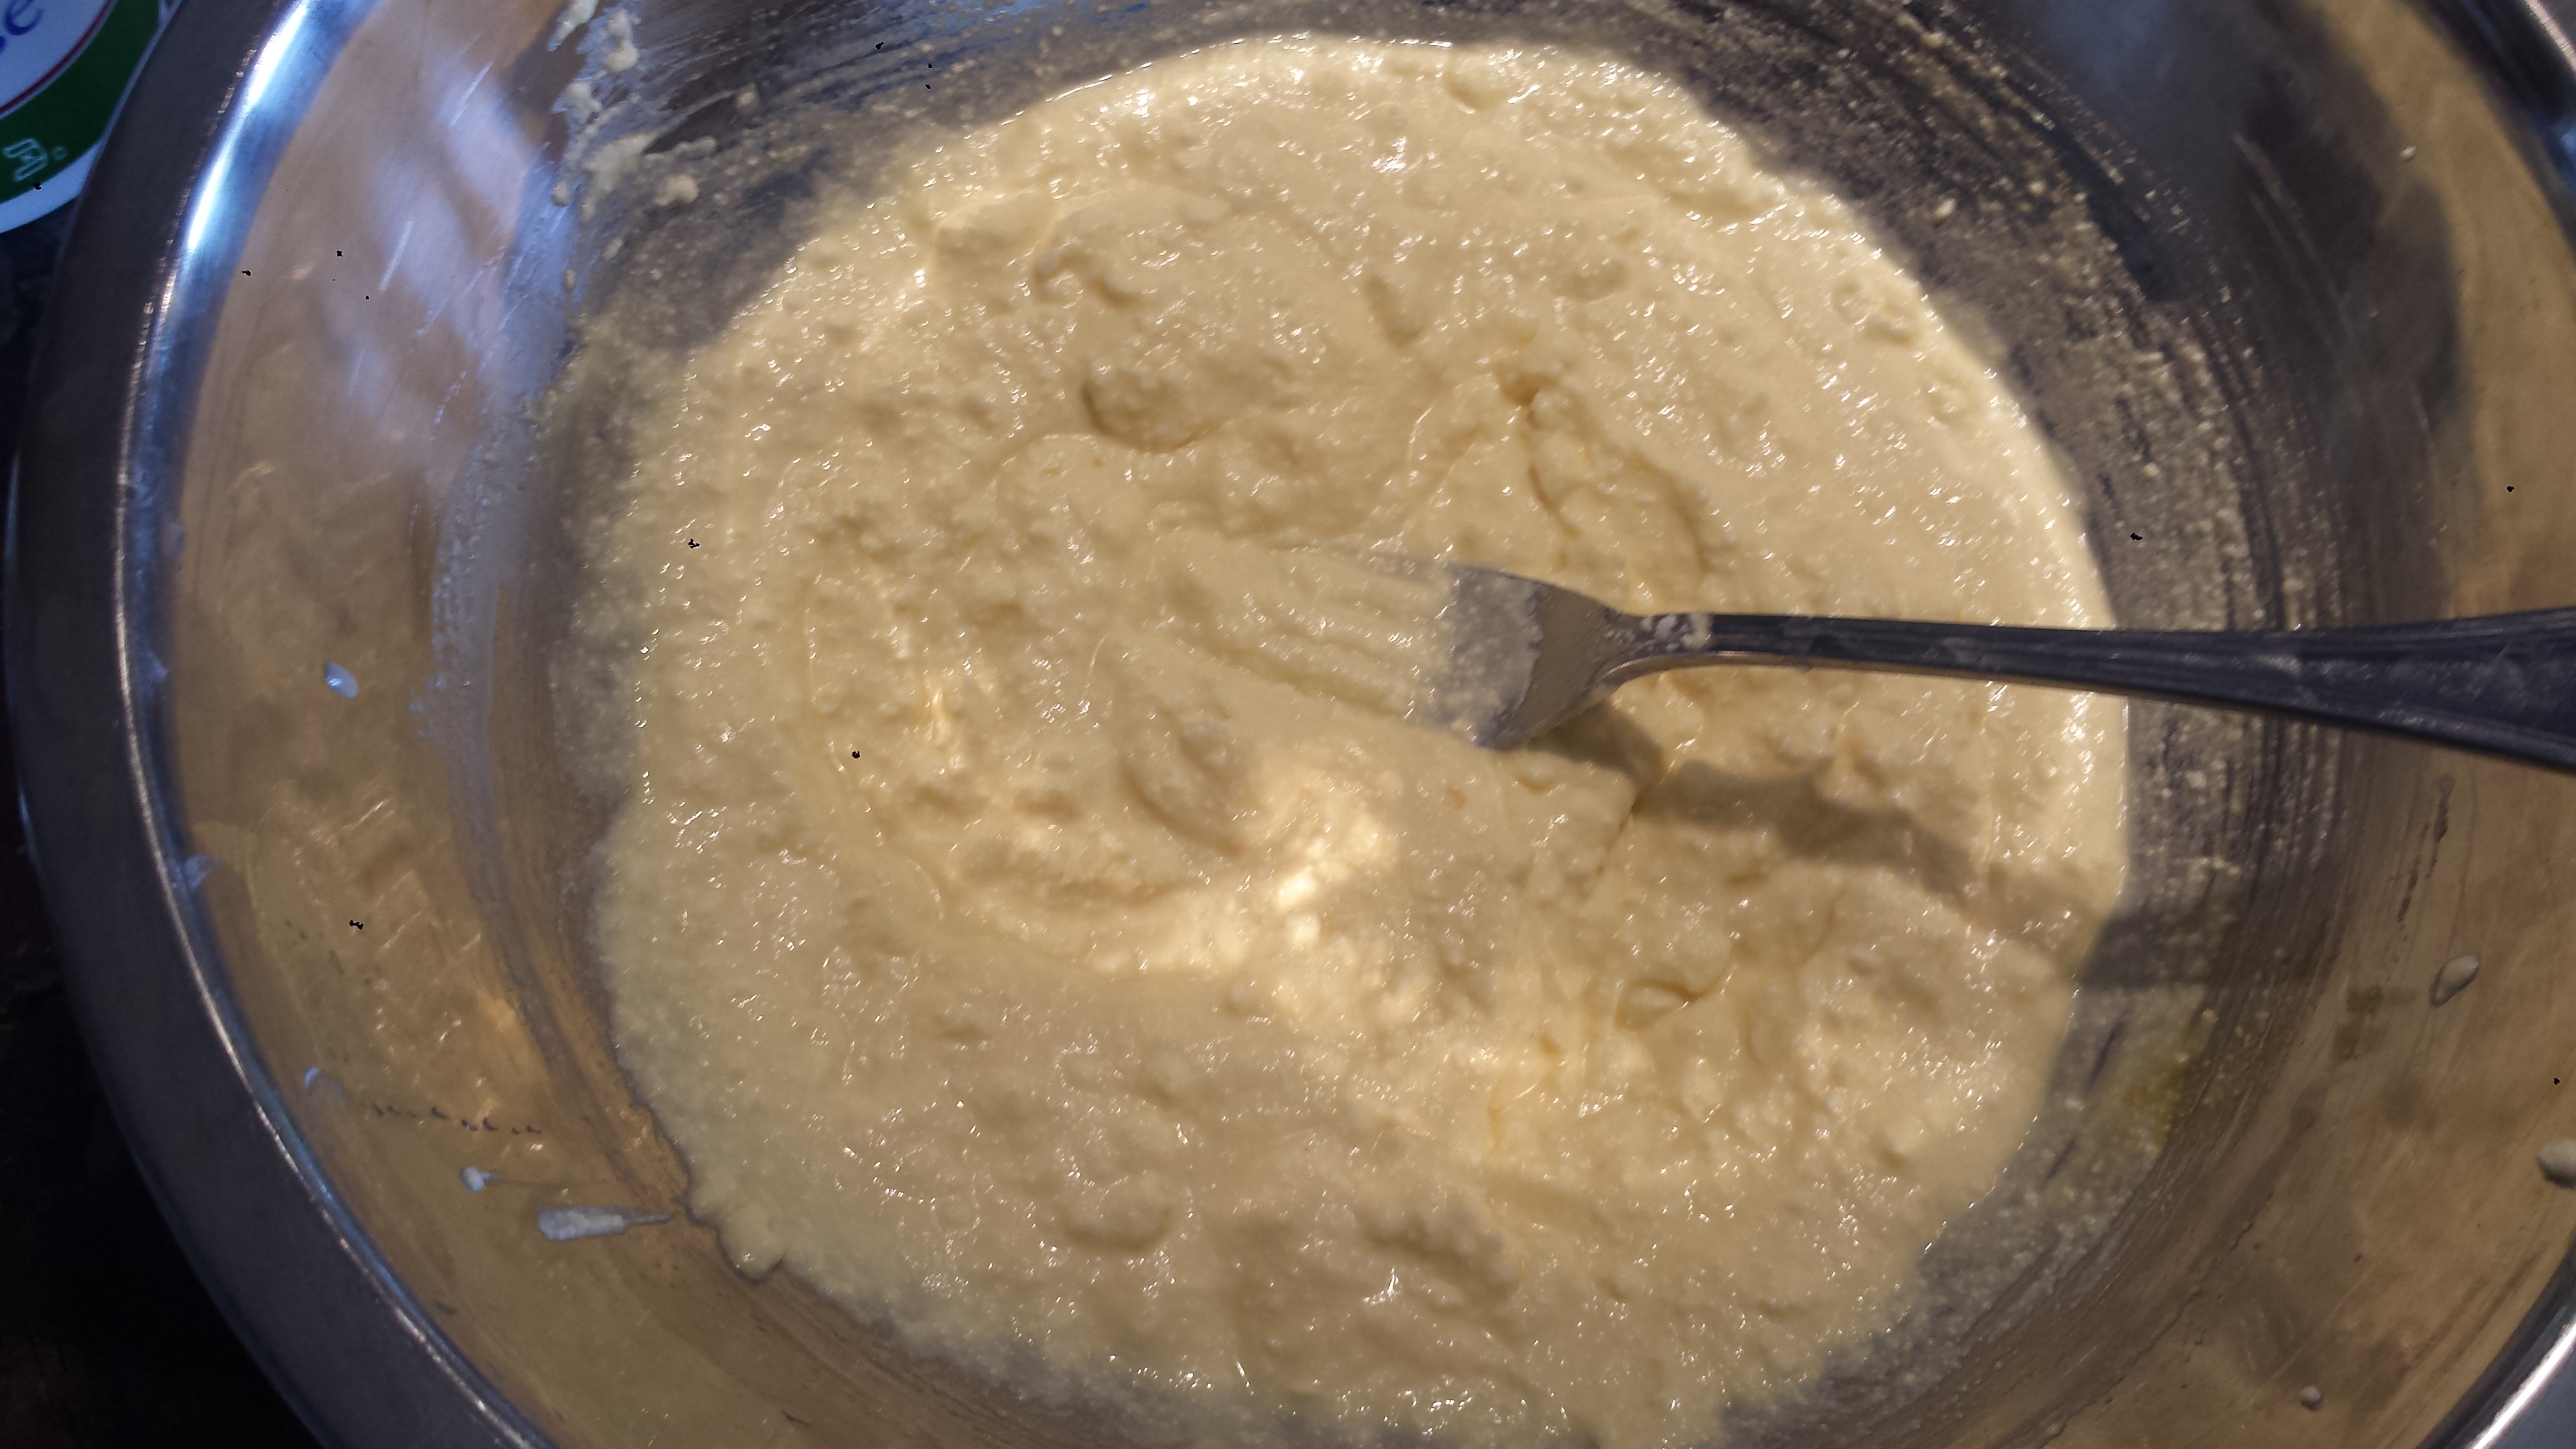
- Mix together flour, cornmeal, salt & pepper. Add enough milk to create a thick batter.
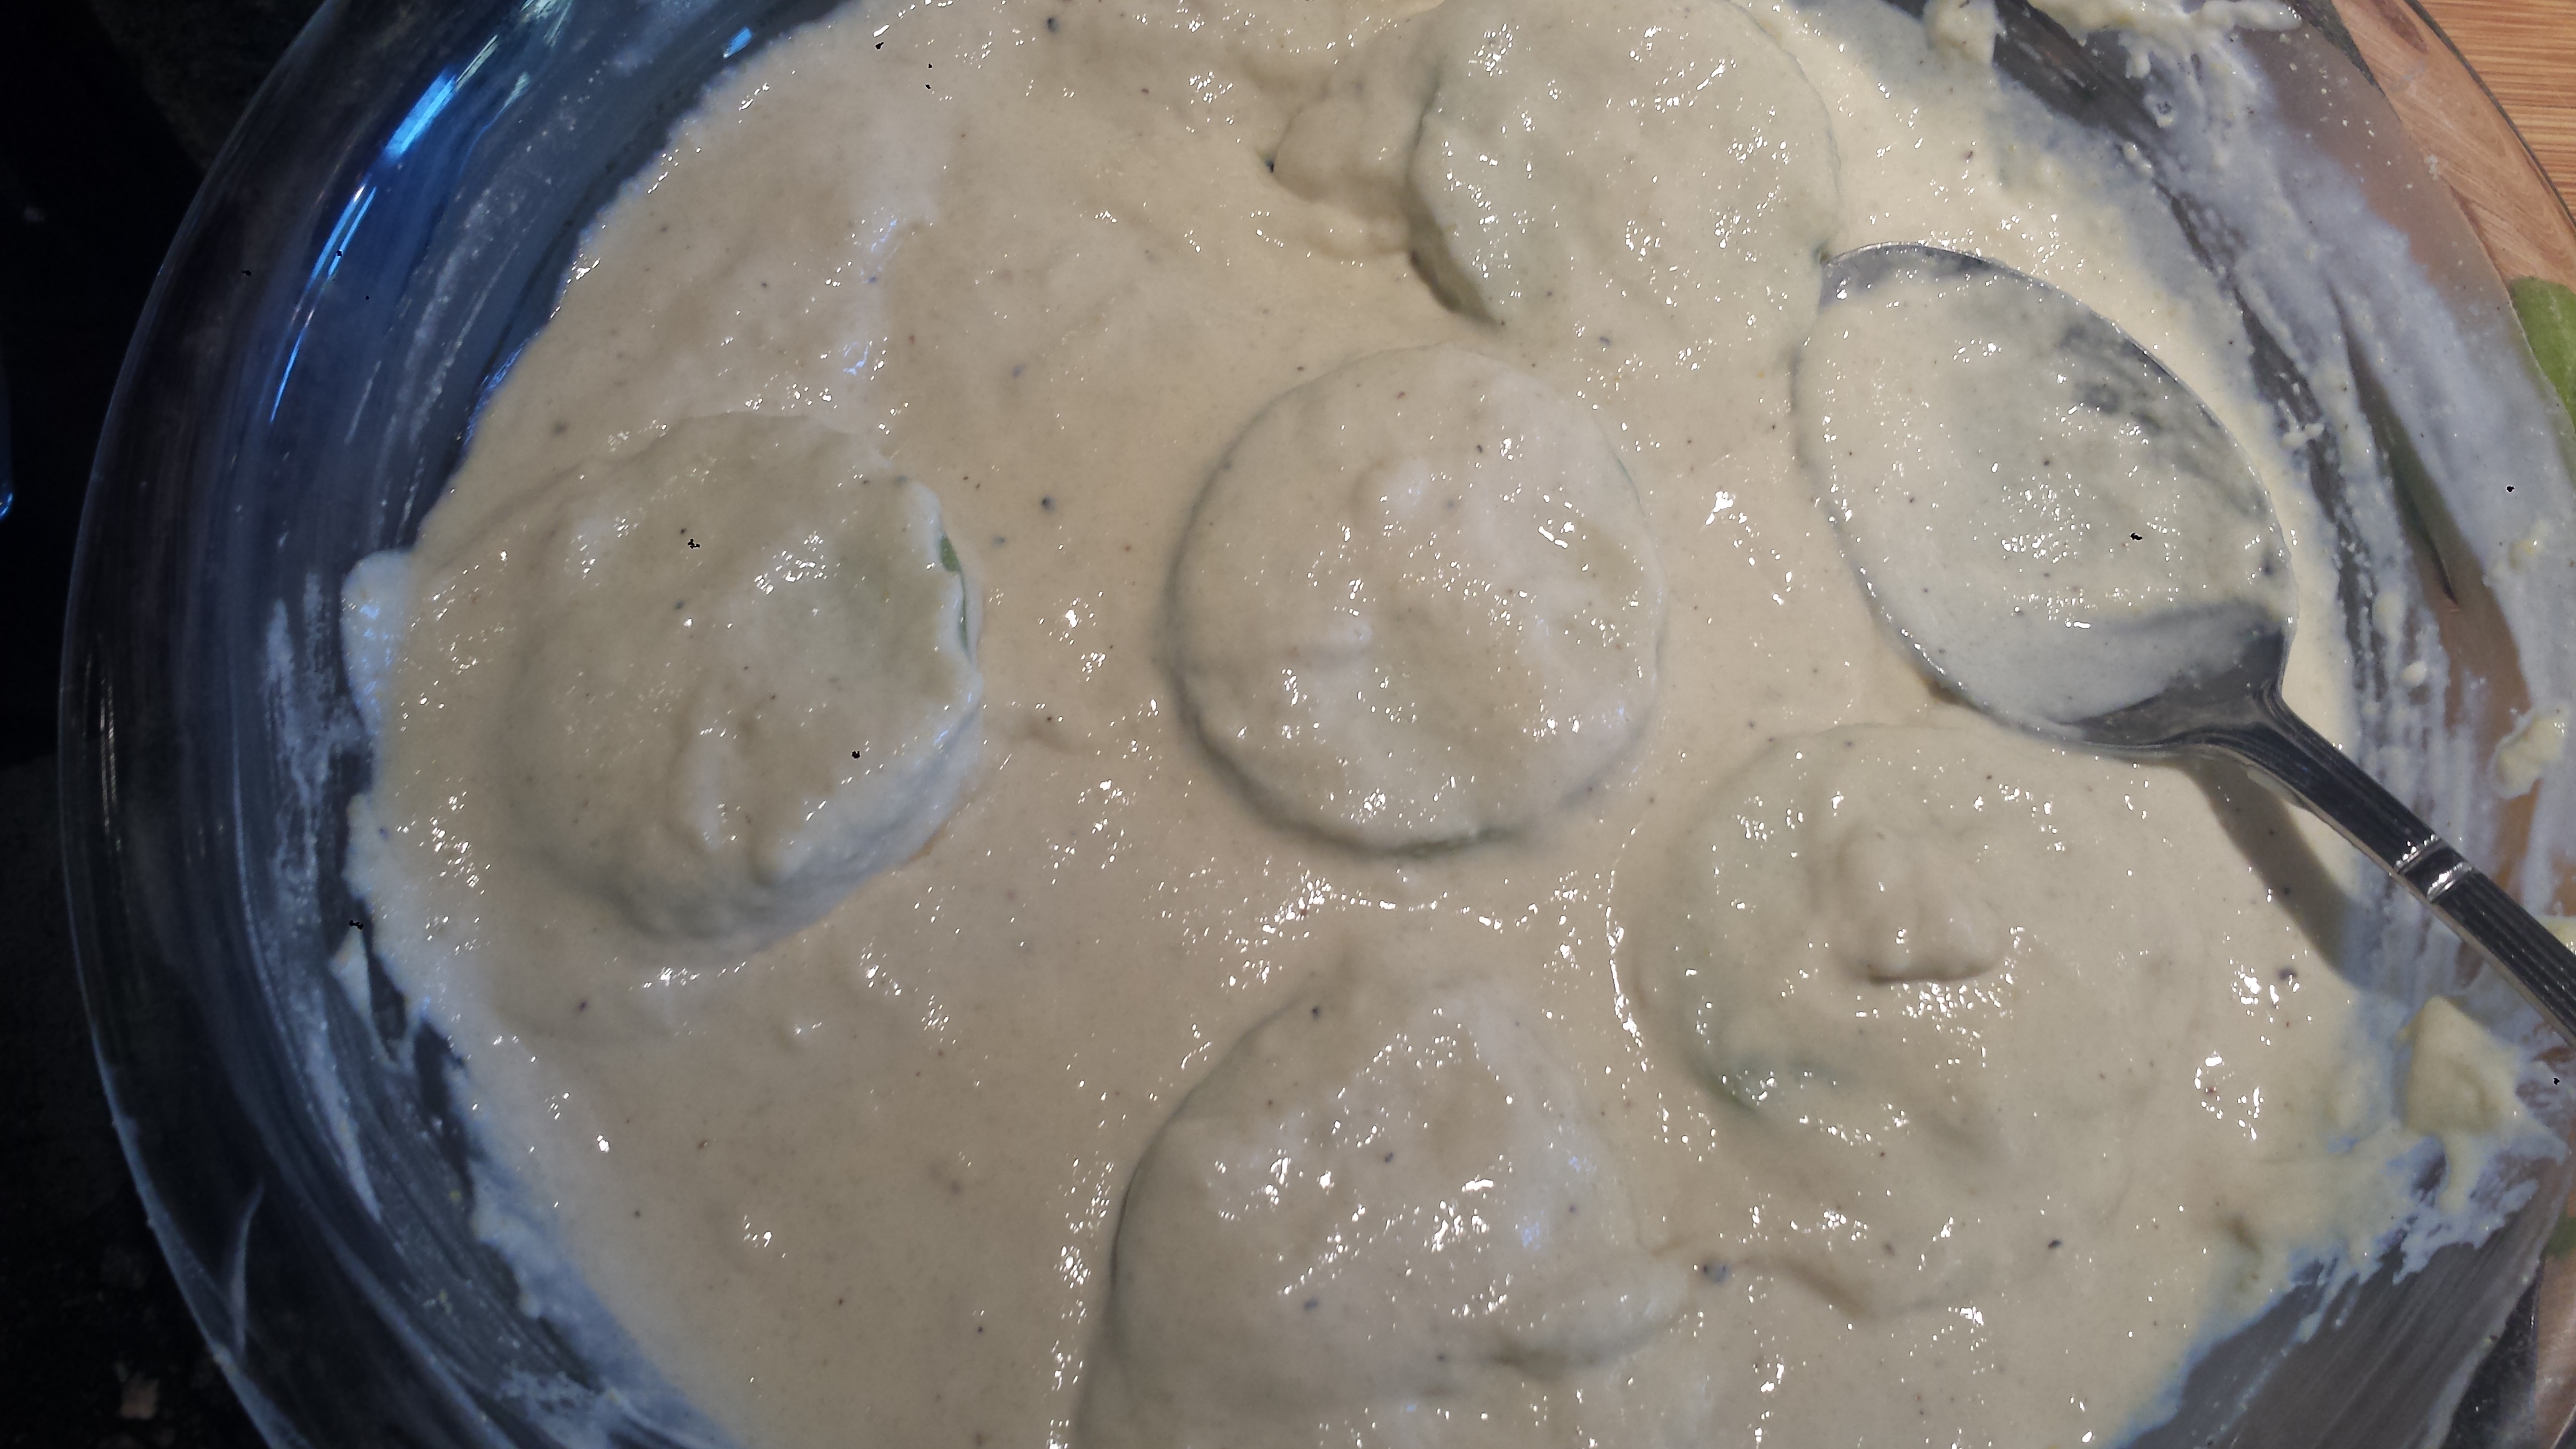
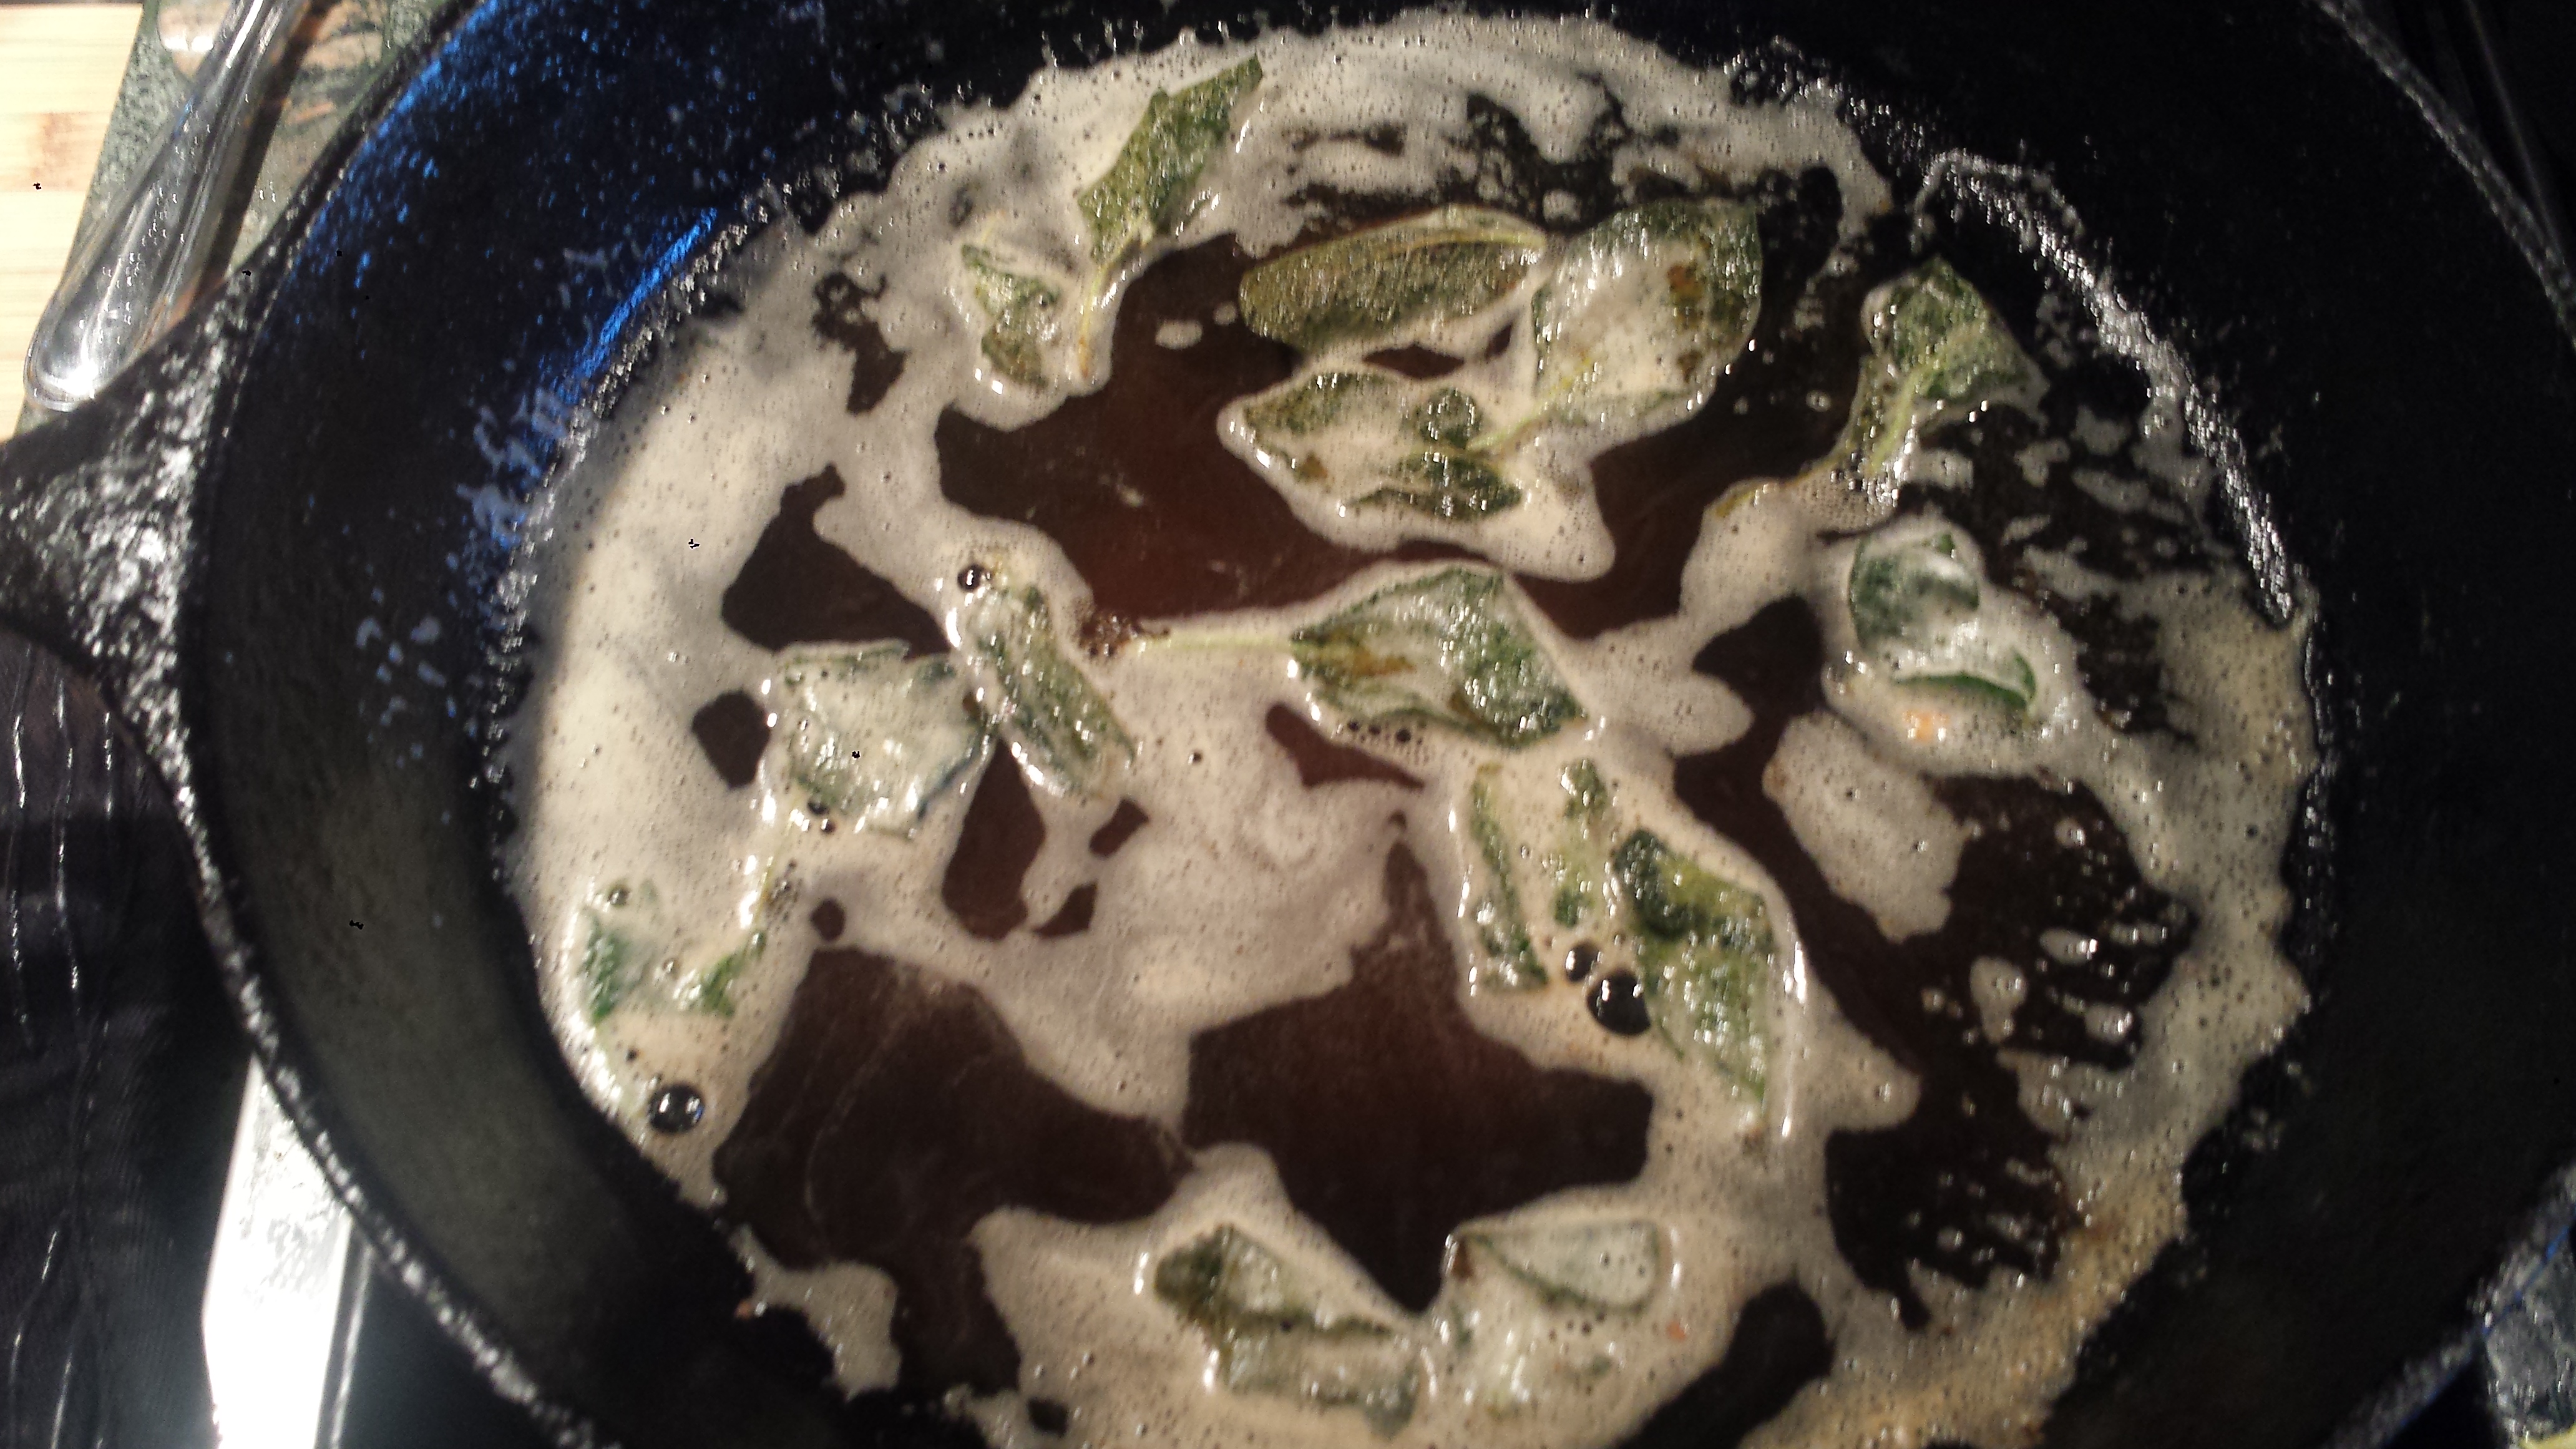
- Heat 2 inches of oil in a large skillet. Batter each tomato slice, and wipe off excess.

- Carefully place in hot oil, browning on both sides. (may or may not need turning, depending on the amount of oil)

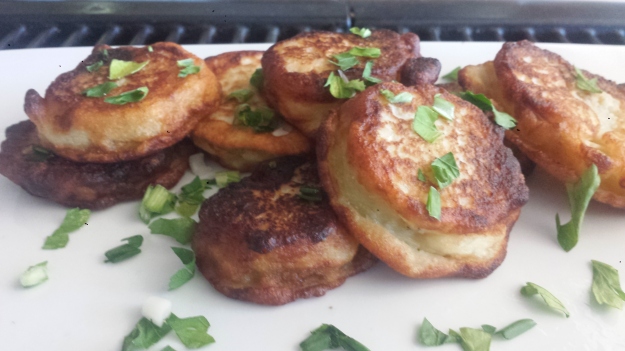
- To cool, drain in a colander (or on a cooling rack with paper towels) to keep tomatoes from becoming soggy. Salt to taste.
Buttermilk-Lime Dressing
Makes about a cup
1/4 cup whole or lowfat buttermilk (or vegan milk)
1/2 cup plain yogurt
2-3 Tbsn fresh lime juice (to taste)
1 clove garlic
1 Tbsn honey (0r more to taste)
1/4 cup fresh basil, roughly chopped
1/4 cup green onion, roughly sliced
1/4 cup flat leaf parsley, roughly chopped
1/2 tsp salt

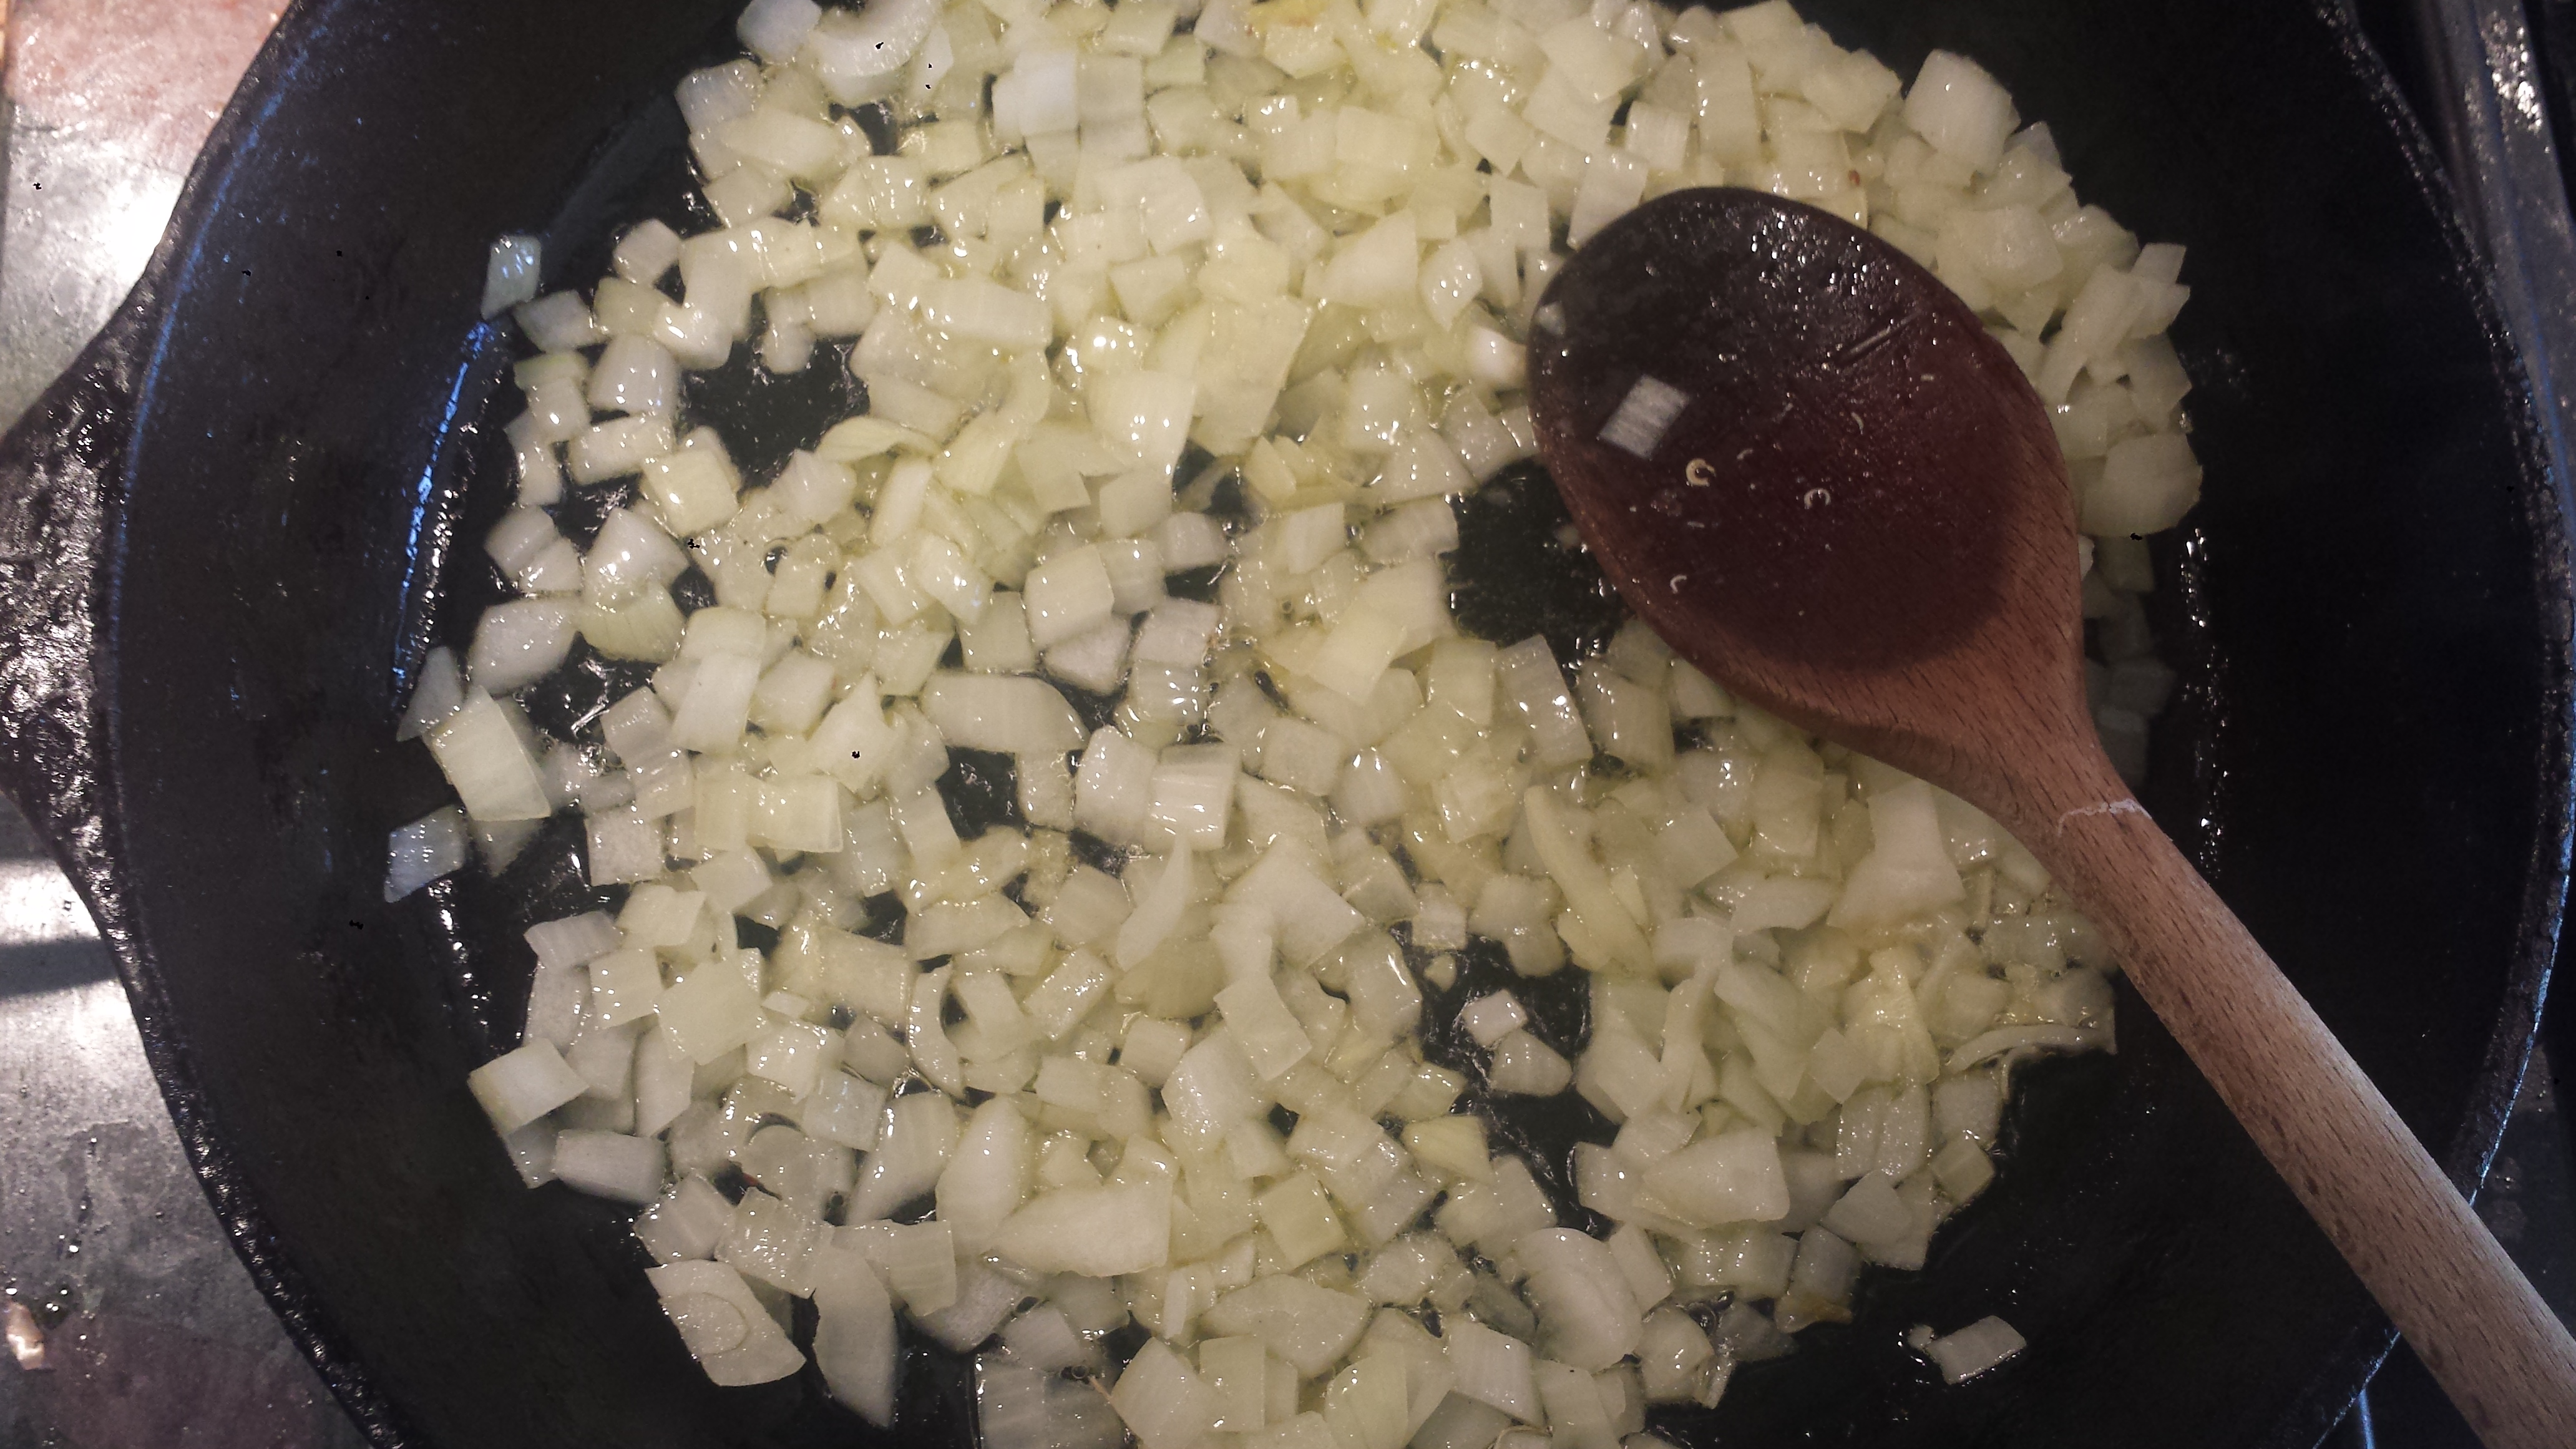
- Place garlic, green onion, basil and parsley in a food processor or blender and process until finely minced.

- Add buttermilk, yogurt, honey and salt and process until smooth. If it seems too sour, add a drizzle more of honey.

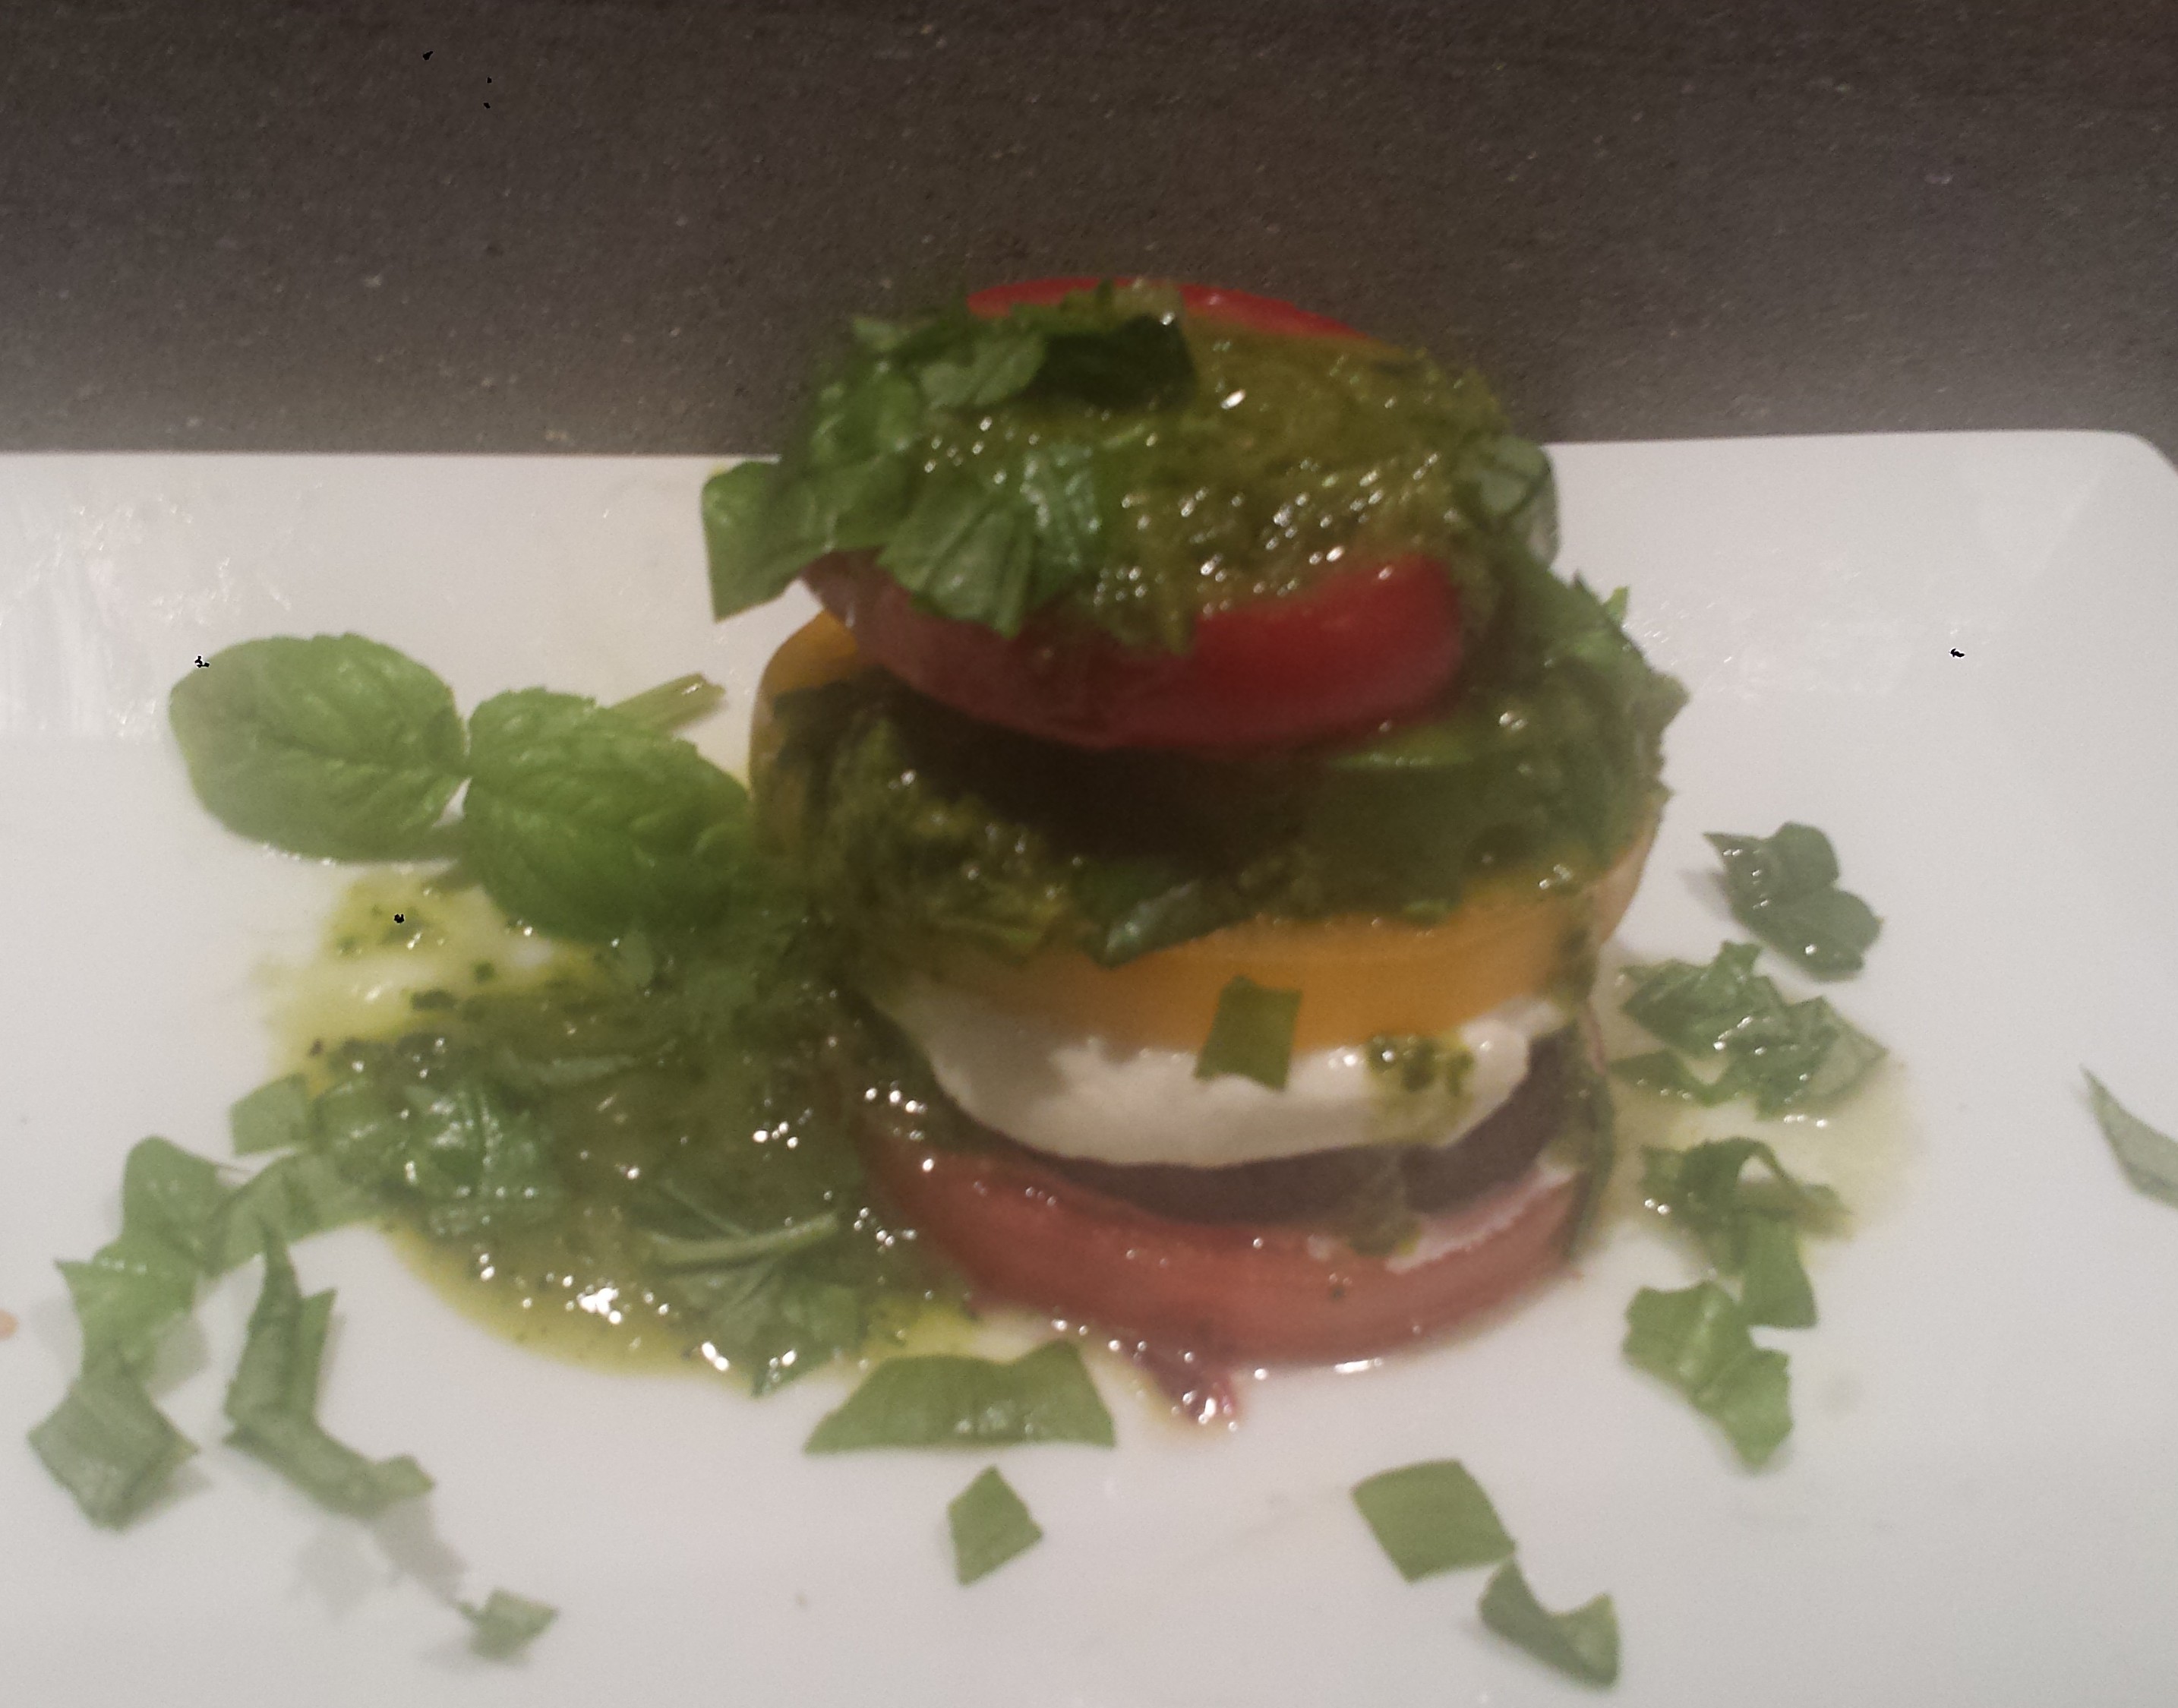
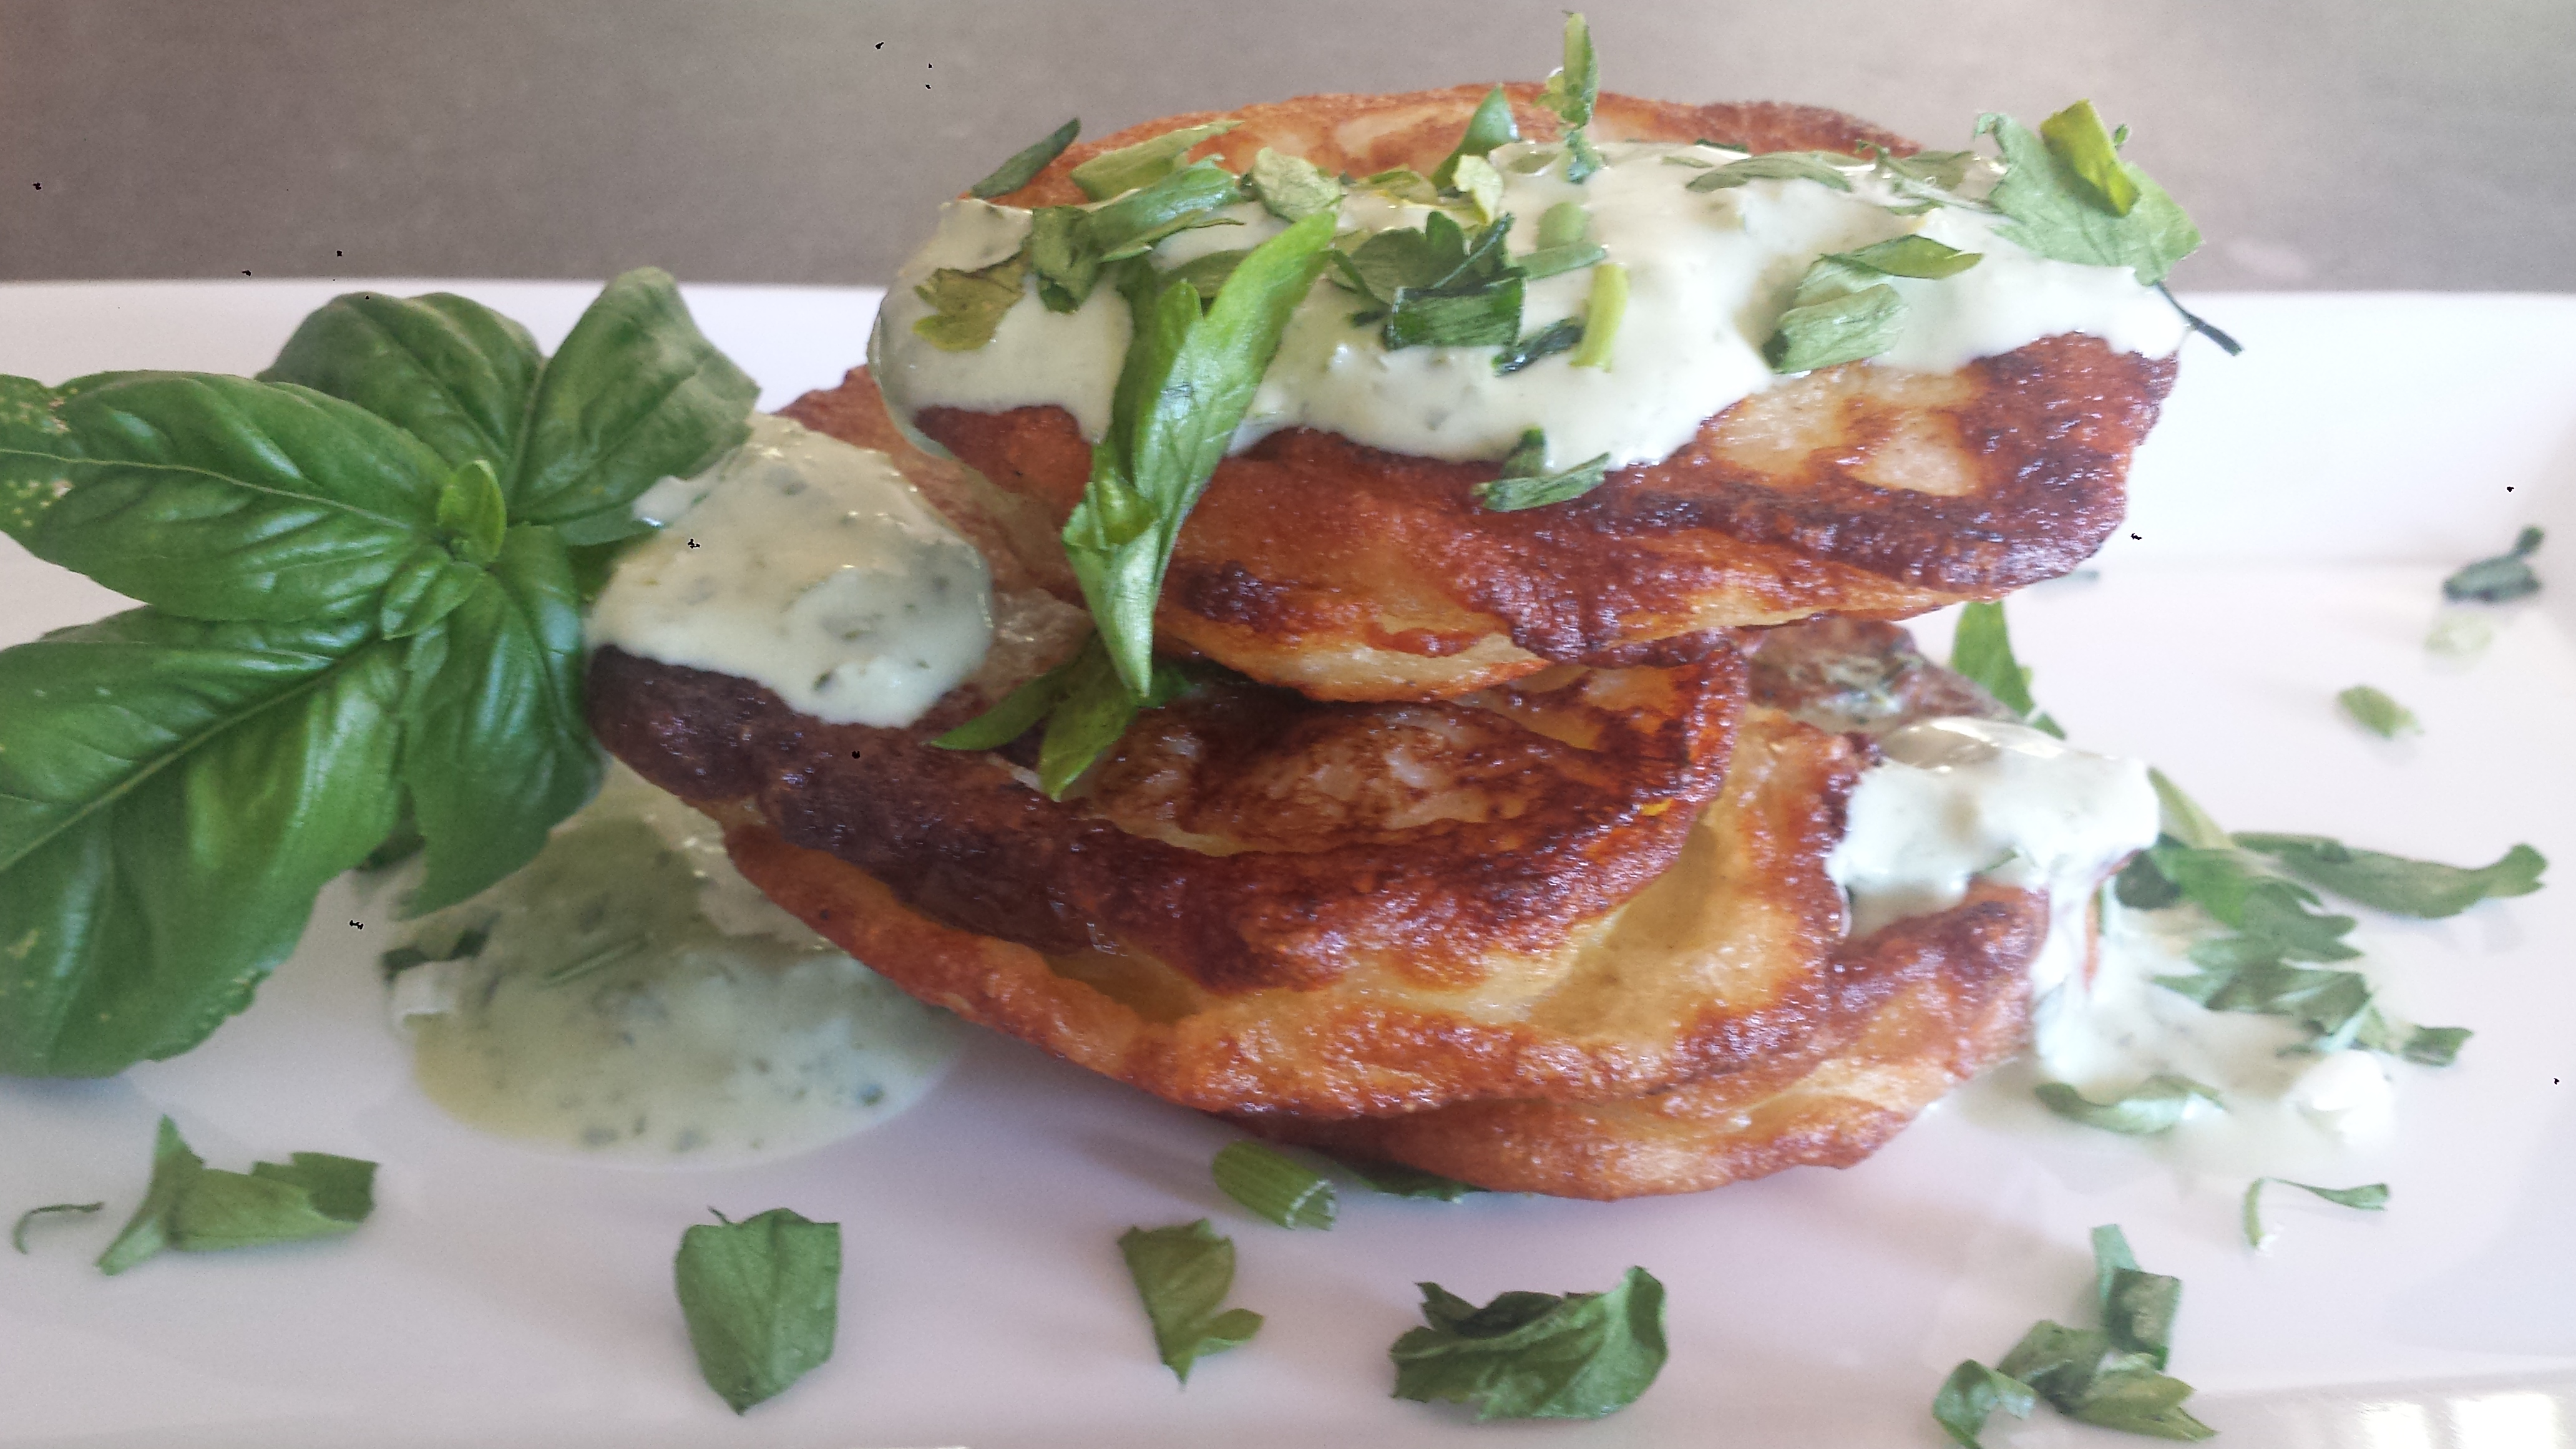
Fried Green Tomatoes Makes about a cup 1/4 cup whole or lowfat buttermilk (milk or vegan milk)Fried Green Tomatoes with Buttermilk Lime Sauce
3-4 green tomatoes
3/4 cups flour
1/4 cup corn meal
1/2 tsp salt & pepper
1 cup+ buttermilk (milk or vegan milk)
vegetable oil
Buttermilk-Lime Dressing
1/2 cup plain yogurt
2-3 Tbsn fresh lime juice (to taste)
1 clove garlic
1 Tbsn honey
1/4 cup fresh basil, roughly chopped
1/4 cup green onion, roughly sliced
1/4 cup flat leaf parsley, roughly chopped
1/2 tsp salt