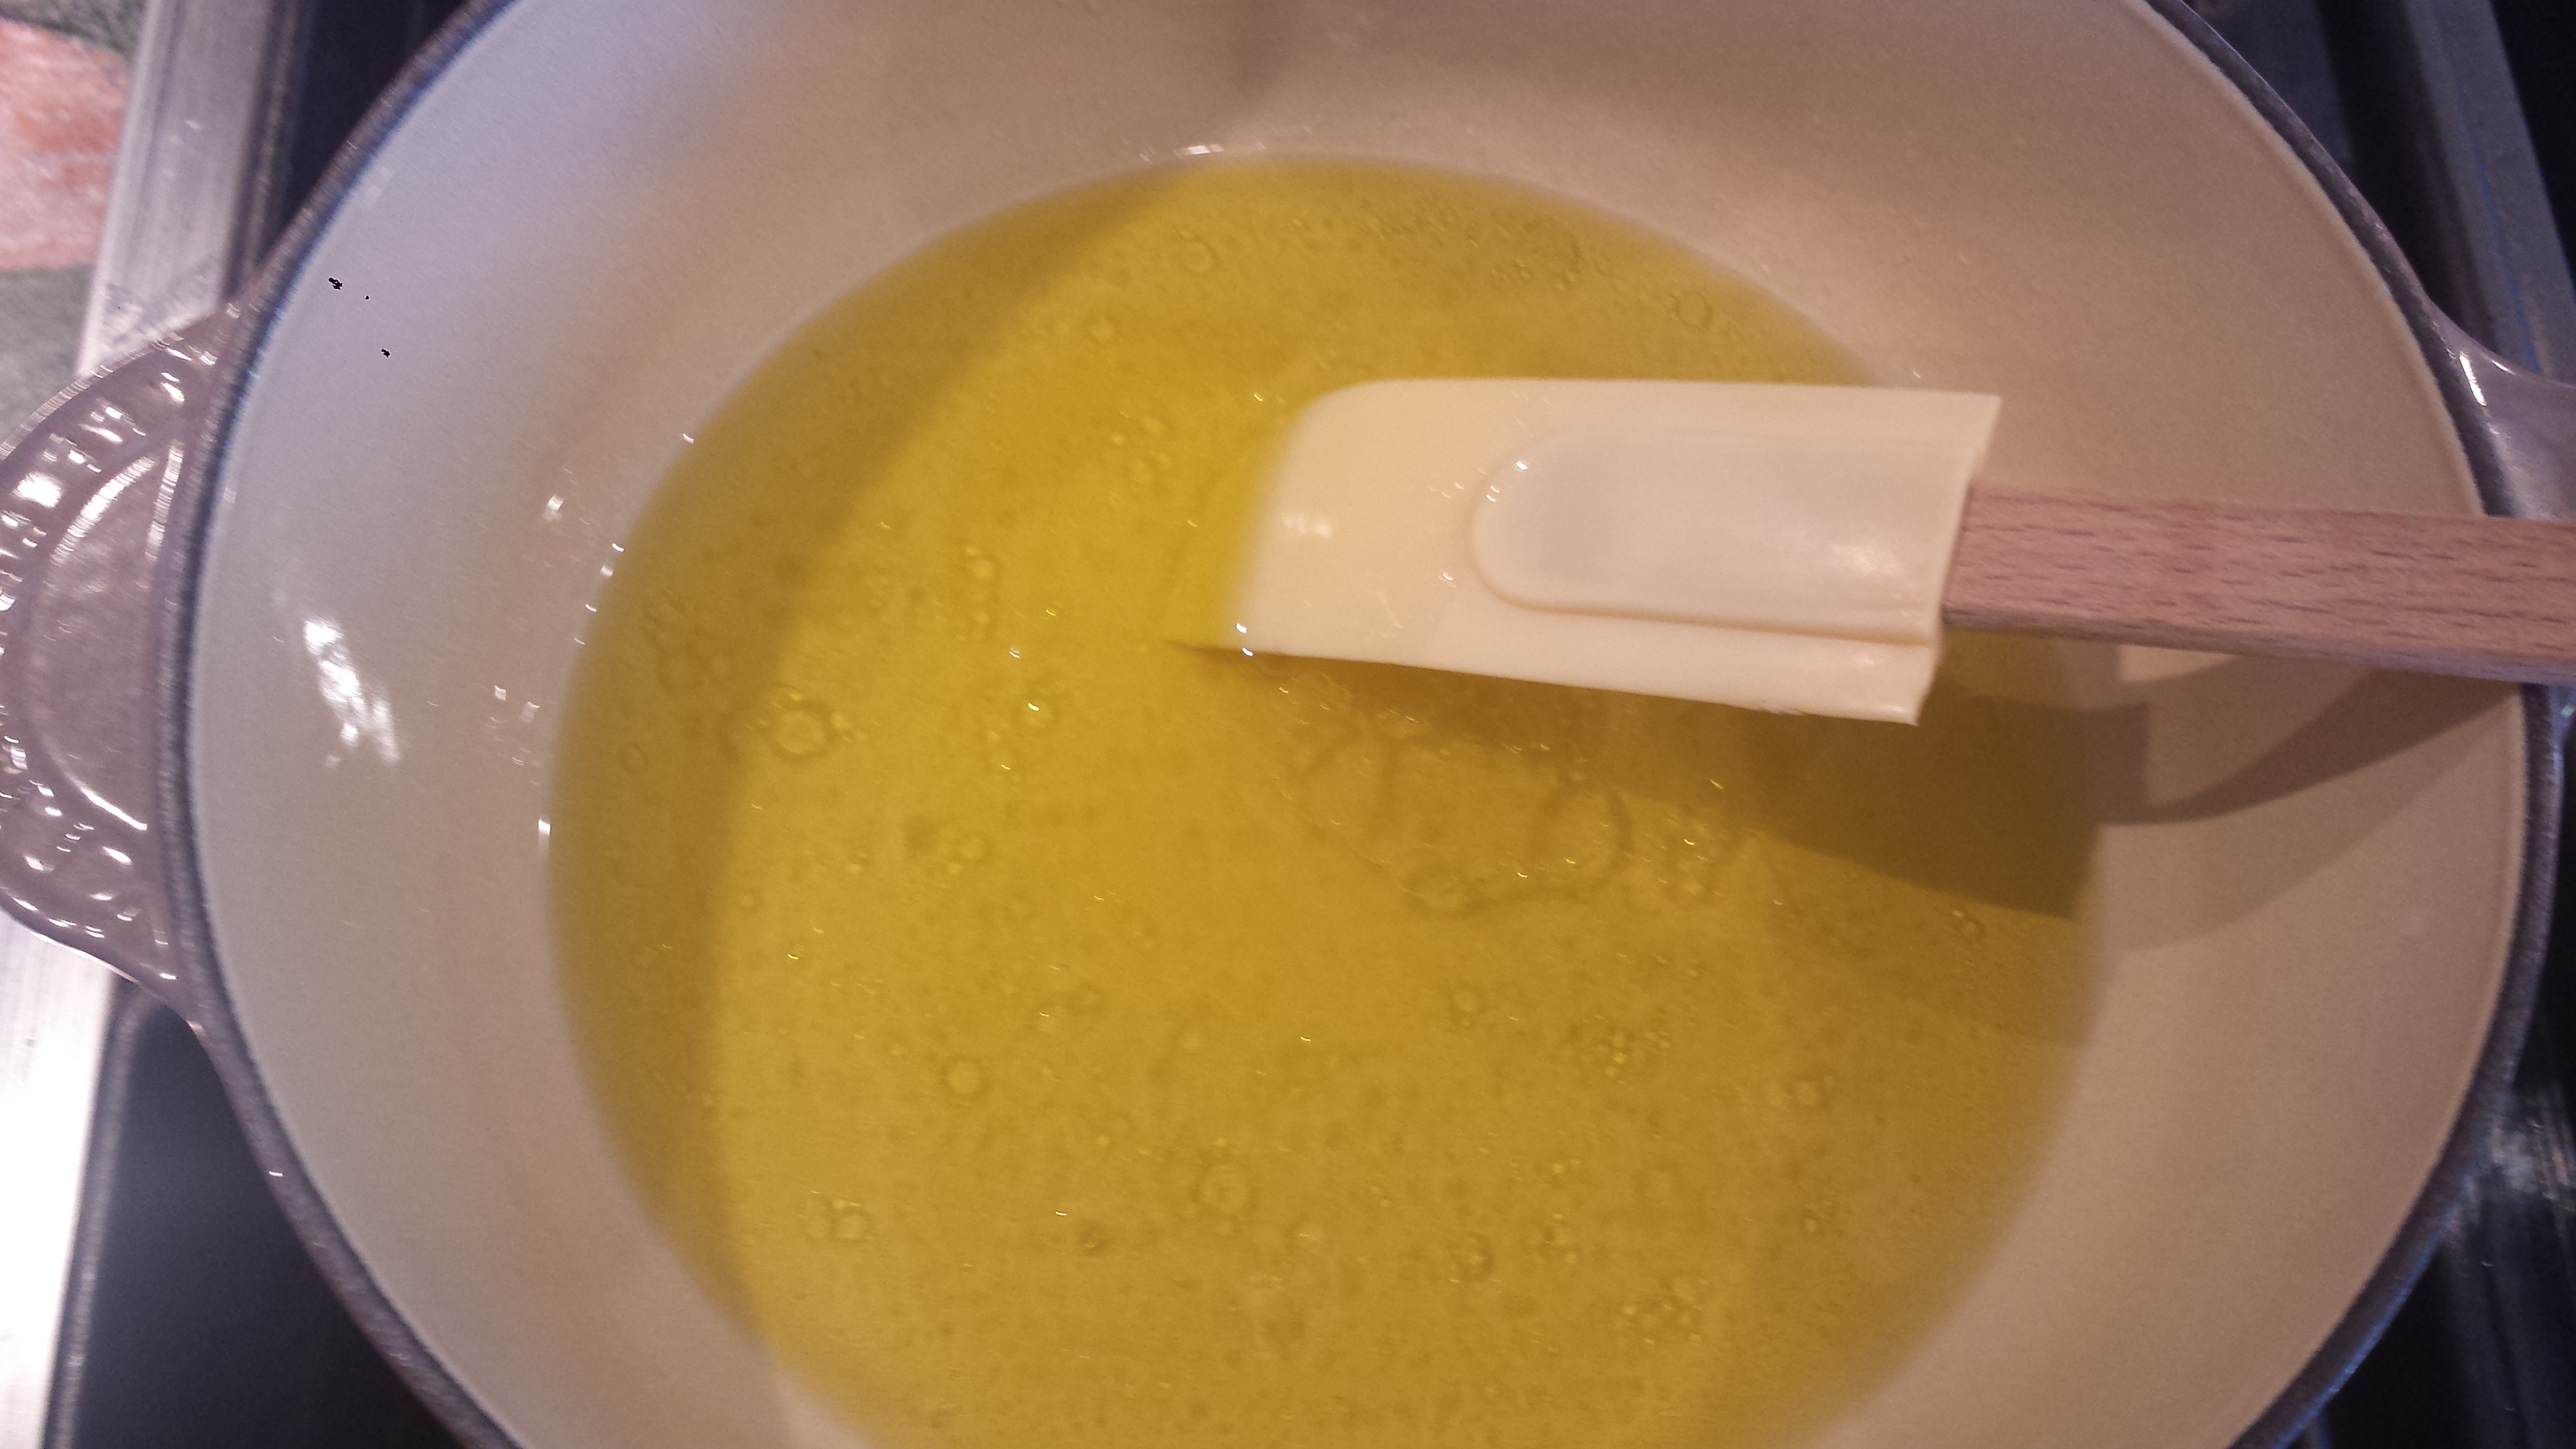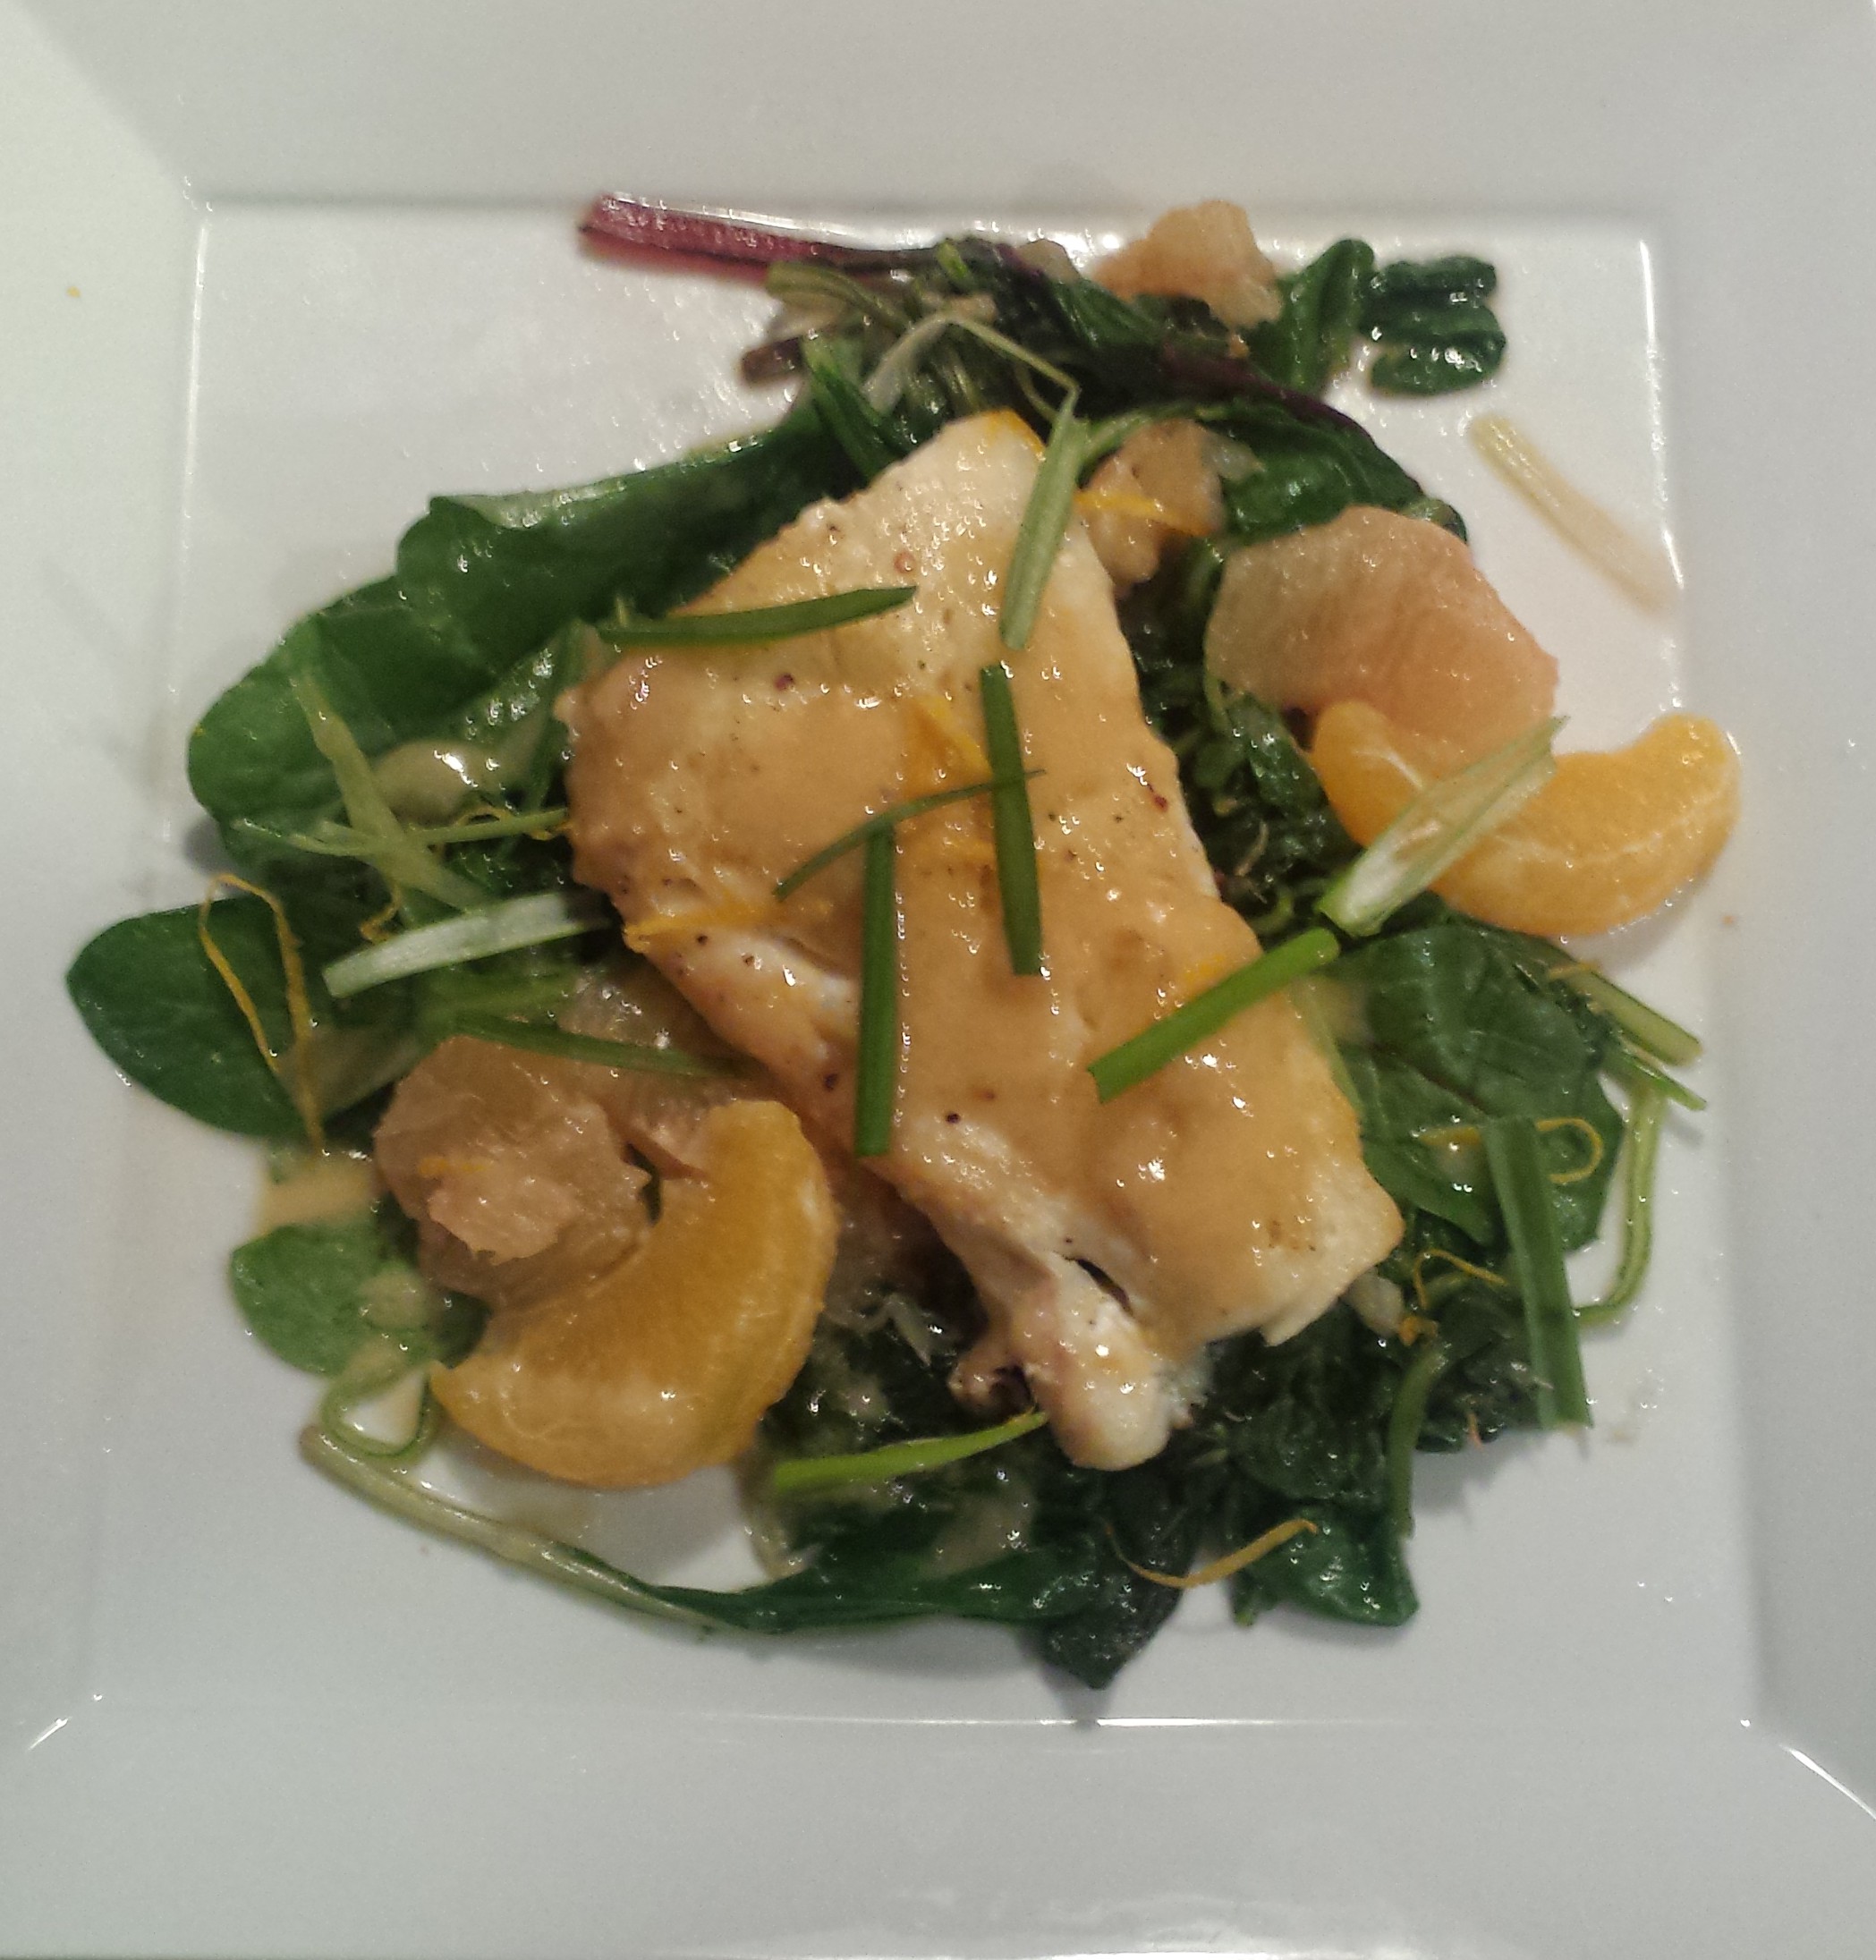
You know when you’re at a restaurant and have just polished off a dish with a sauce so delicious that you come darn close to licking your plate? Well this is that sauce. Meyer Lemon Beurre Blanc is buttery and slightly creamy with the perfect lemon tang and carmelly wine finish. Yum! I could pretty much eat it on anything (or even by itself standing by the stove on the pretense of testing it, but don’t tell). I paired it with a mild halibut which I pan roasted and then quick sautéed power greens in the same pan to pick up any remaining flavors. I added orange and grapefruit segments to the greens and topped them with the pan roasted fish, then drizzled the whole thing with the lovely Meyer Lemon Beurre Blanc. Mmmm…

Fish is delicious, especially when cooked to perfection with a light golden crust and the perfect flake, but this recipe is really all about the beurre blanc. The recipe, which I adapted from Better Homes and Gardens, August, 2014 Good & Fresh magazine, doesn’t use loads of heavy cream like so many recipes, just one tablespoon of cream or yogurt, wine, shallots and butter, which we now know is a healthy fat, not the enemy as we have been told all these years. So whisk away! This sauce is definitely worth the ten or fifteen minutes it takes. The only problem is you’ll be trying to figure out what else you can put it on…

When you’re at the market choosing which fish to buy, be aware that not all fish is raised naturally and without added chemicals. If you are eating fish as a healthy alternative, this is something to think about. I am a big believer in voting with my pocketbook. I prefer to buy ‘live caught’ fish to support local fisherman rather than the factory farming industry. The farm raised fish industry, in some countries, is very questionable with the fish being fed unmentionables along with antibioltics and other things to counter the crowded horrible conditions. The best choice is to buy Sustainable Seafood which includes caught or farmed fish that whose purveyors take into account the health of the species and the oceans. If you aren’t sure you can check out Seafood Watch which has a website and an app that tells you if the fish you are going to buy is a good choice or not.
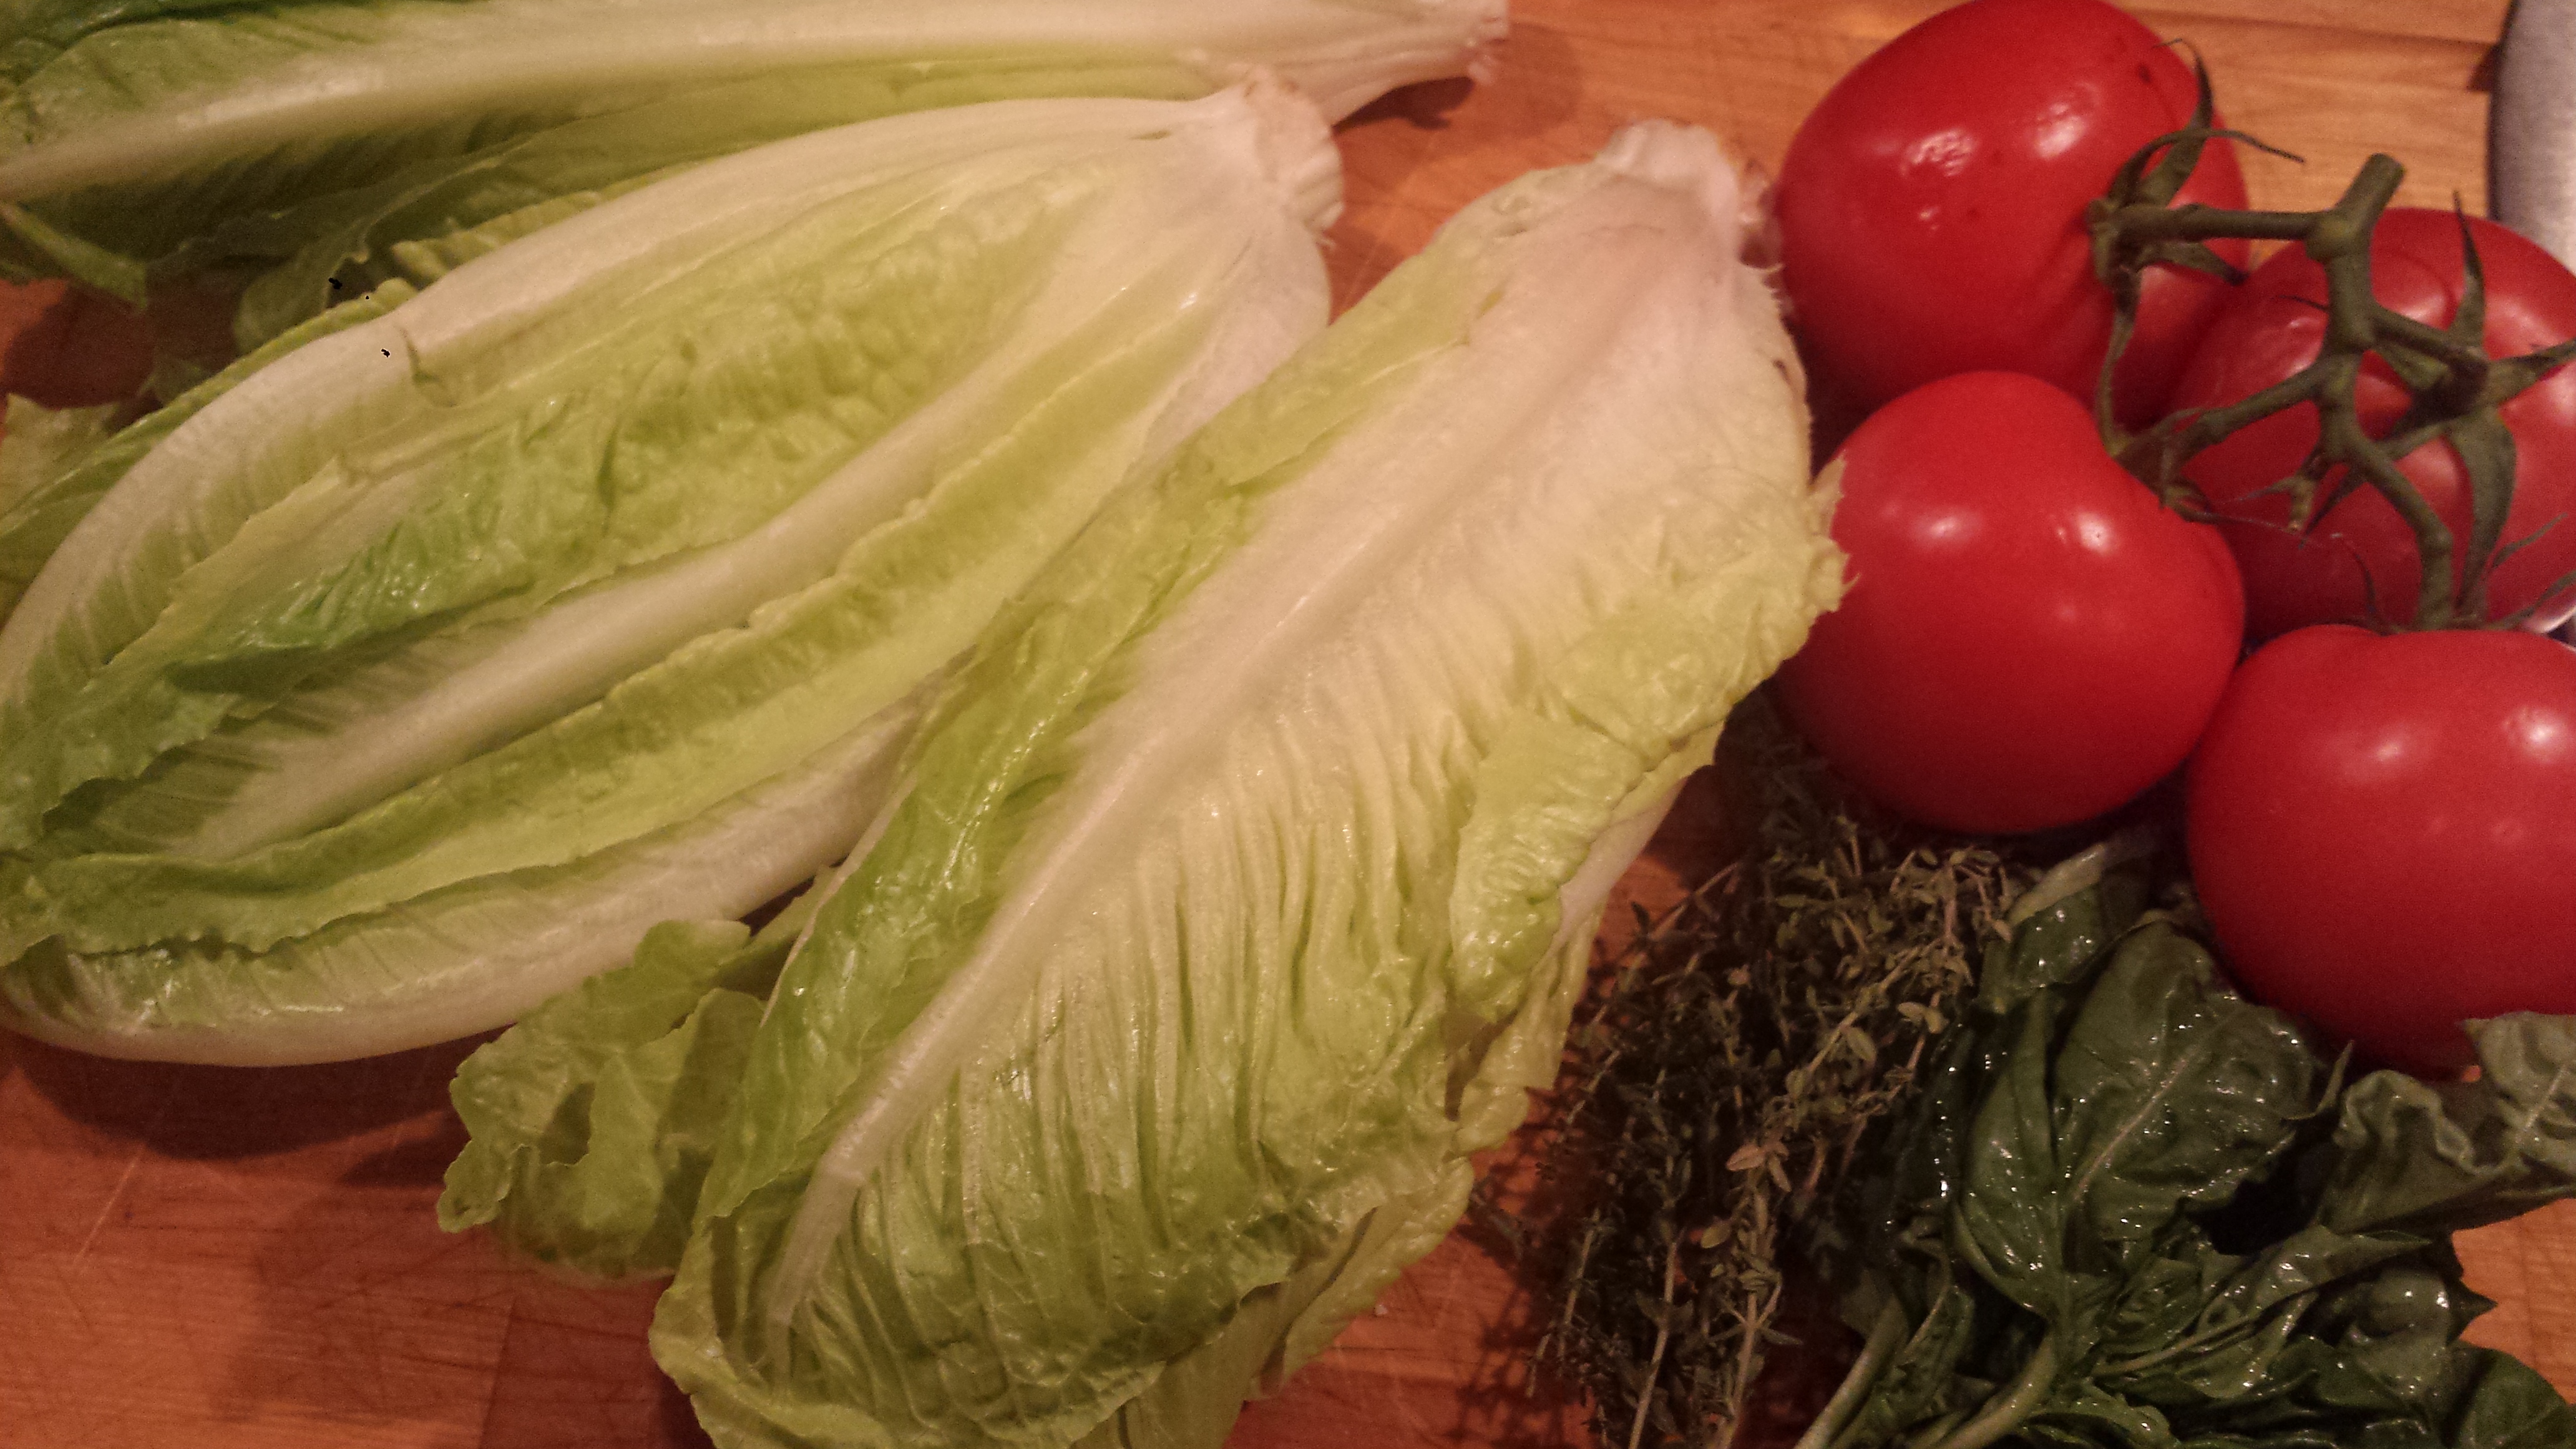
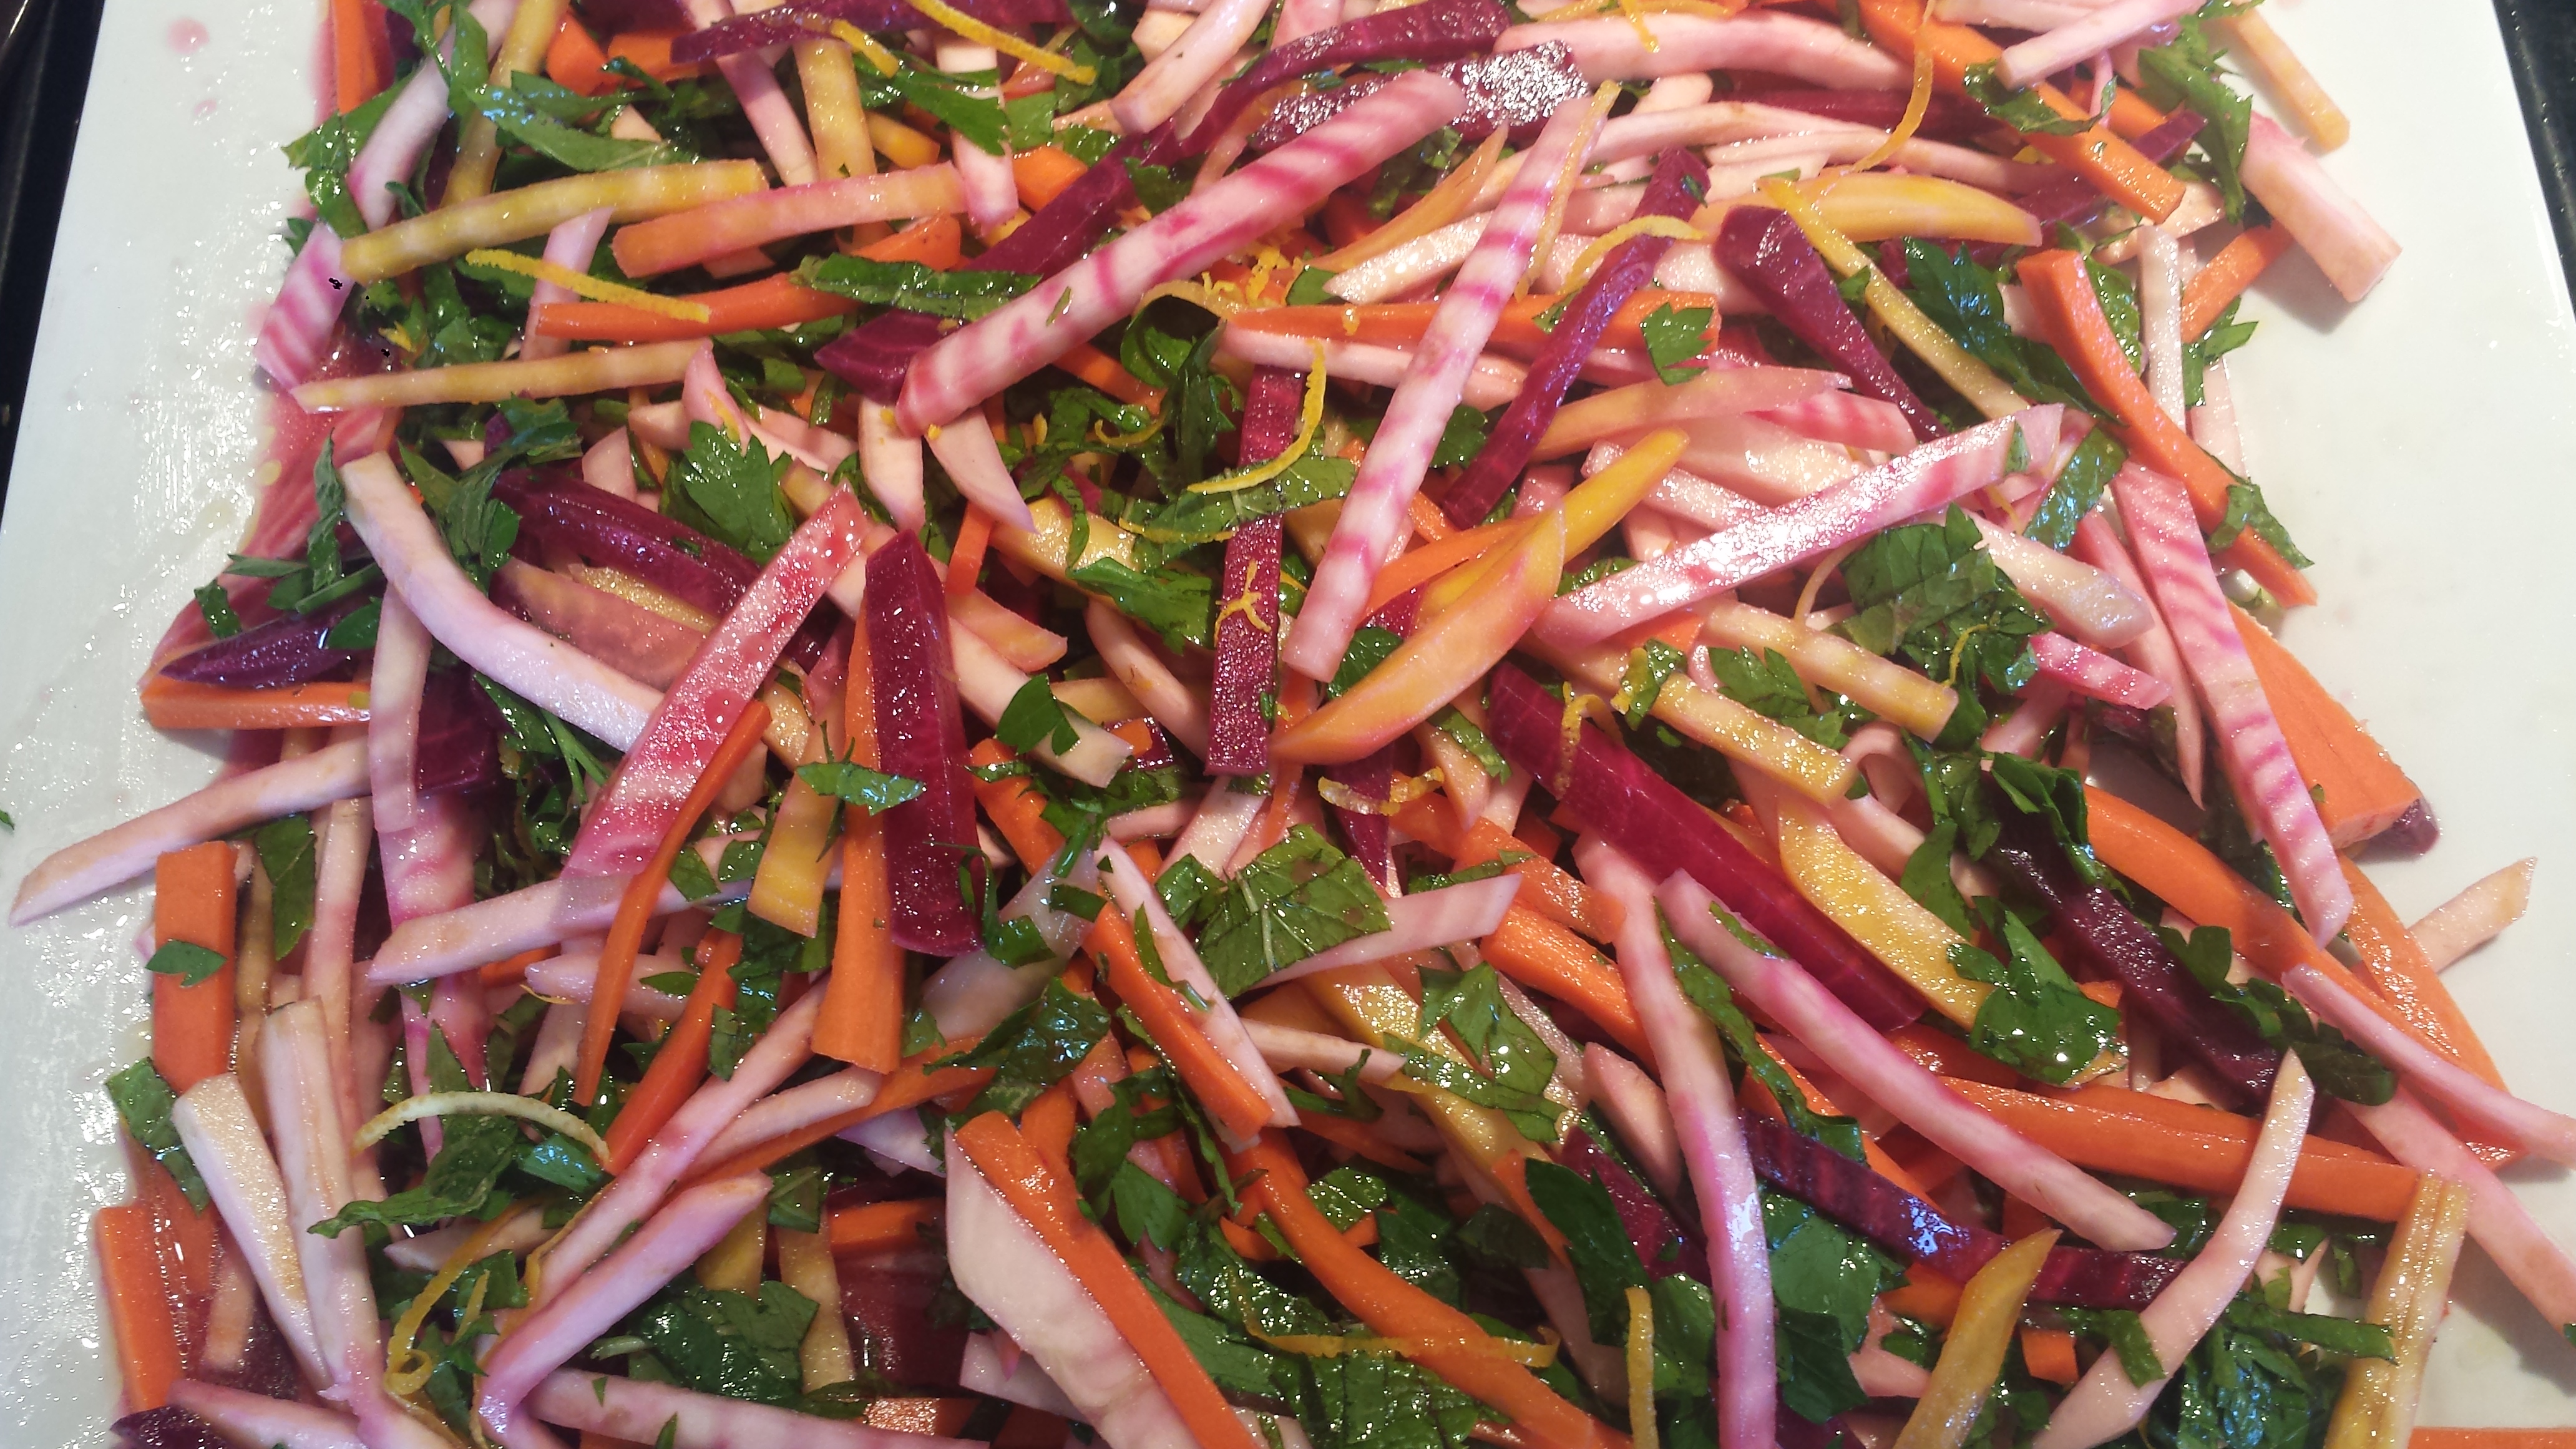
- Prepare your fruits and vegetables before you start cooking.
- Then make the Meyer Lemon Beurre Blanc (recipe below) and set aside covered to keep warm.

- Heat the oil in a heavy skillet over medium high heat. Season the fish on both sides with salt and pepper and add to the pan. Cook until the fish is golden and turn to cook the other side, 6 to 8 minutes per side, or until the fish flakes easily with a fork. Remove the fish to a plate and cover loosely with foil.

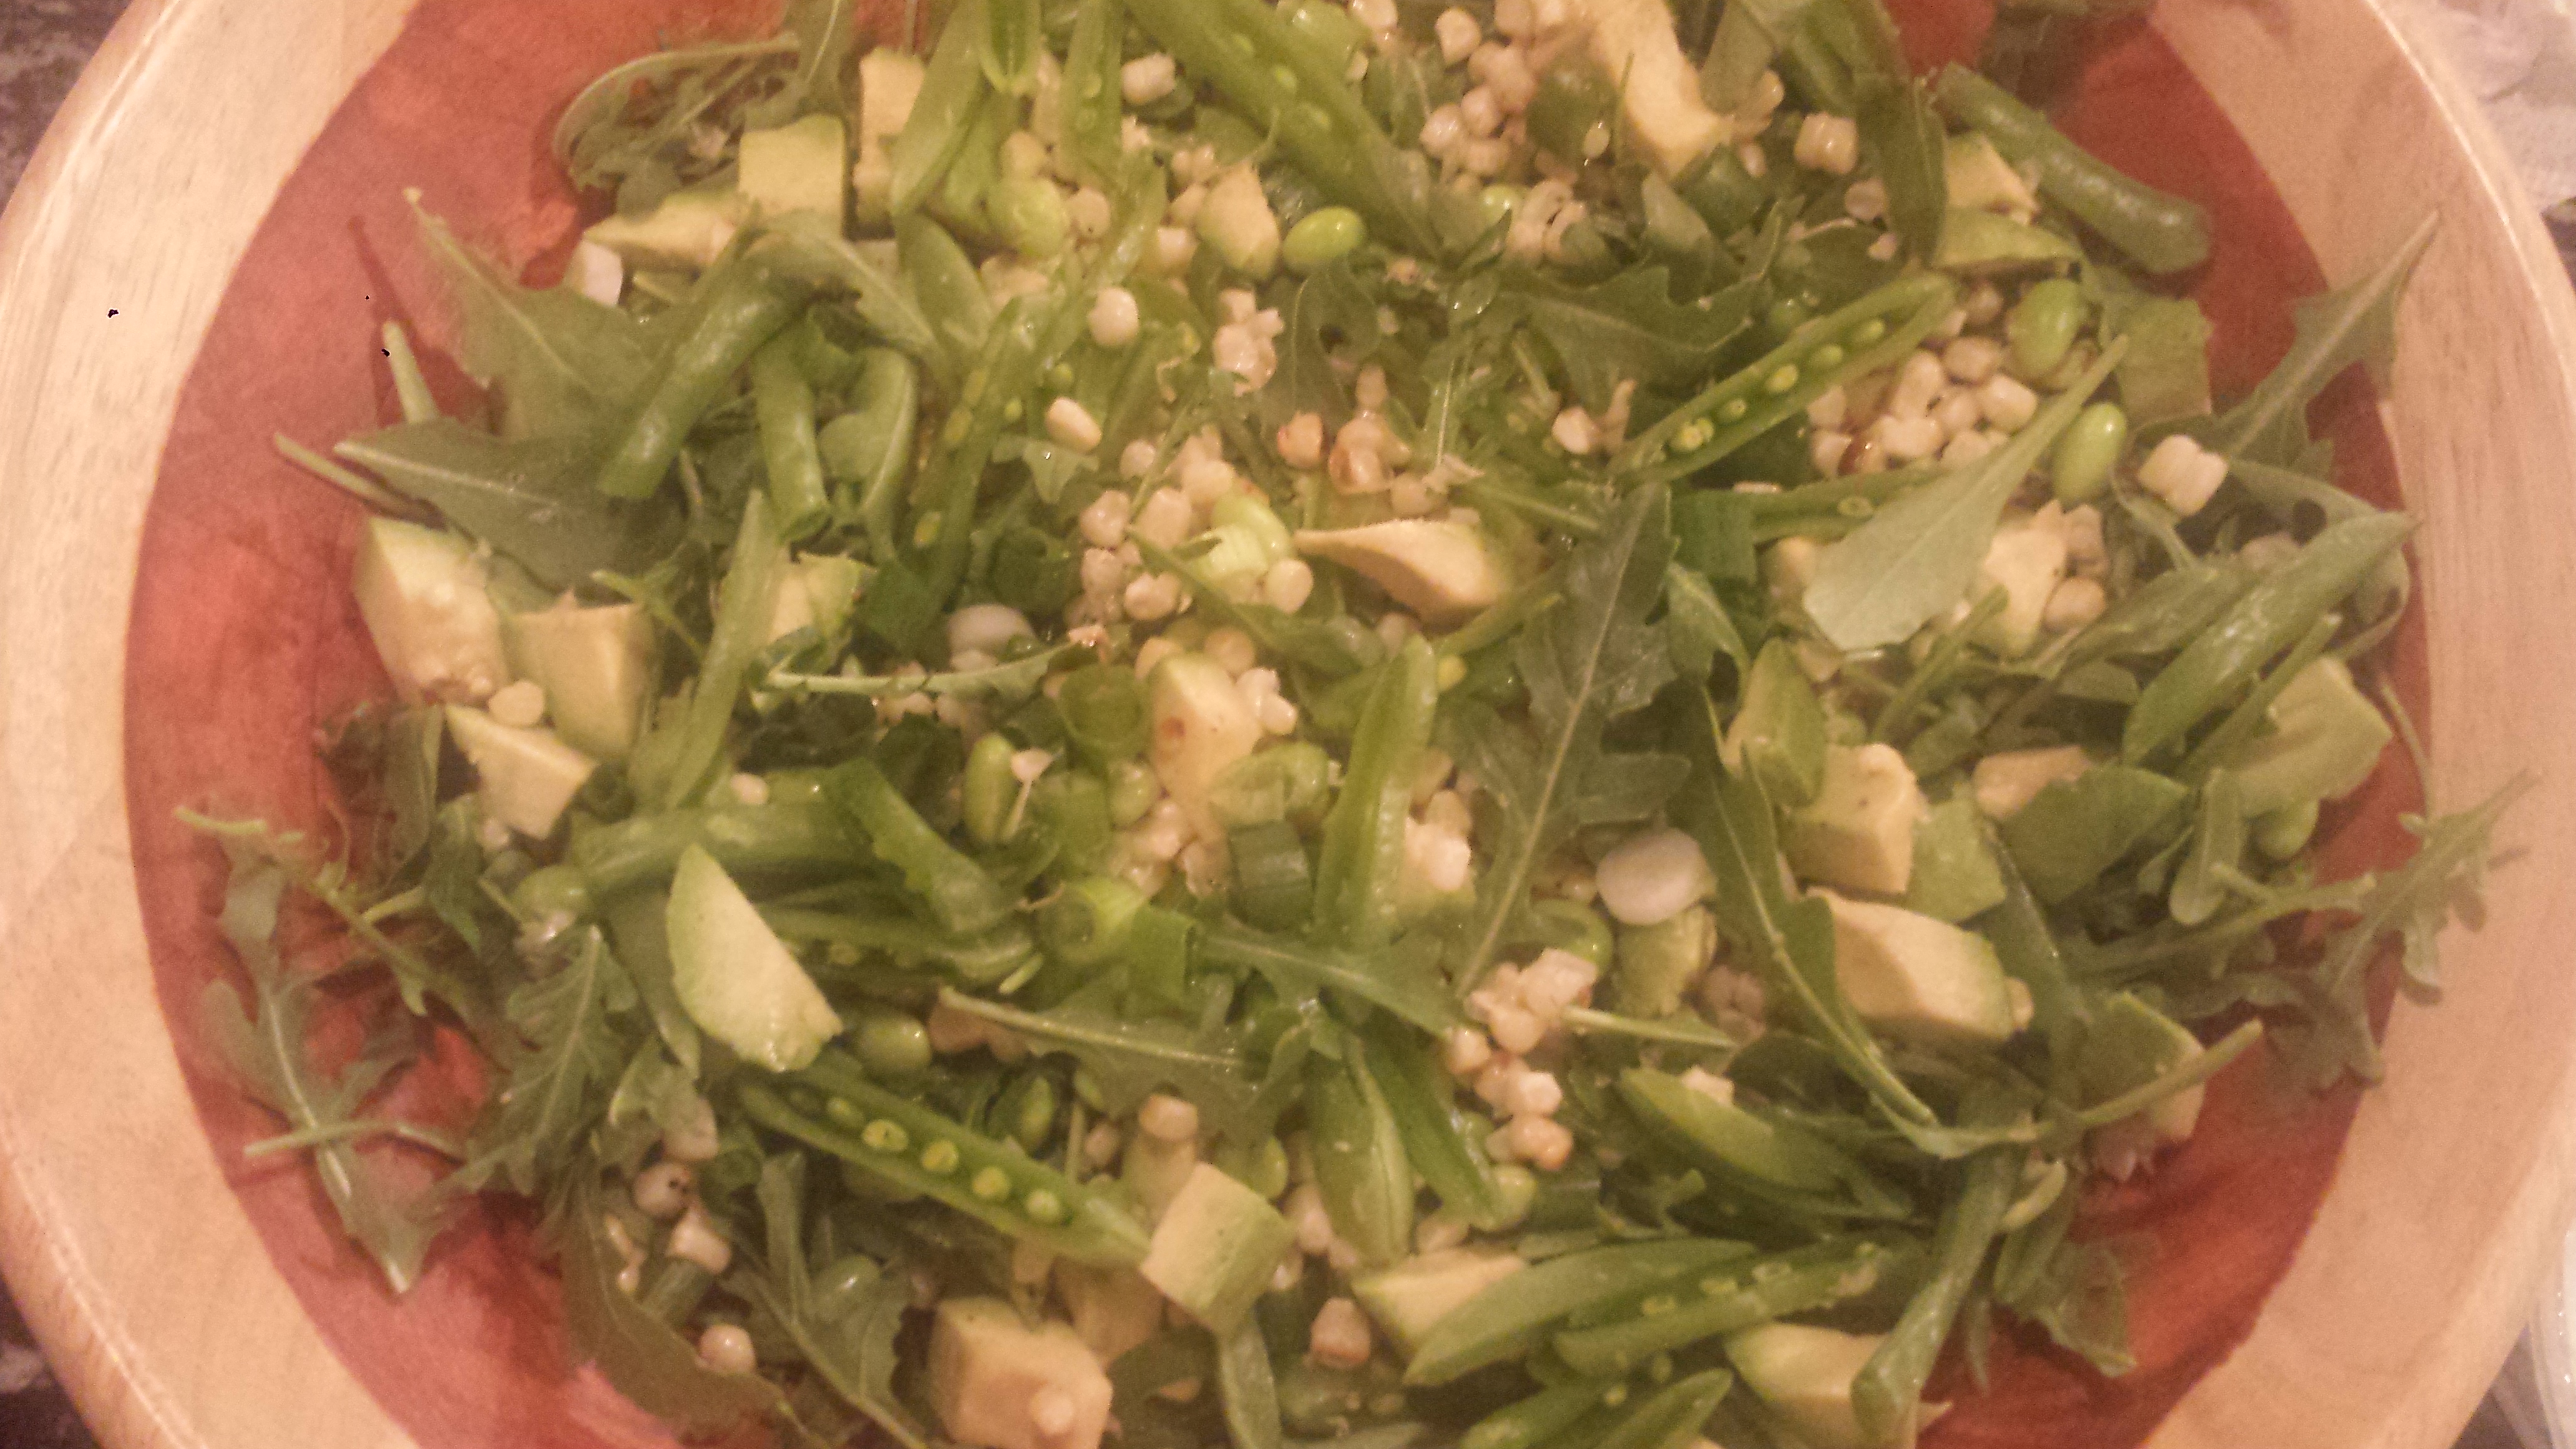
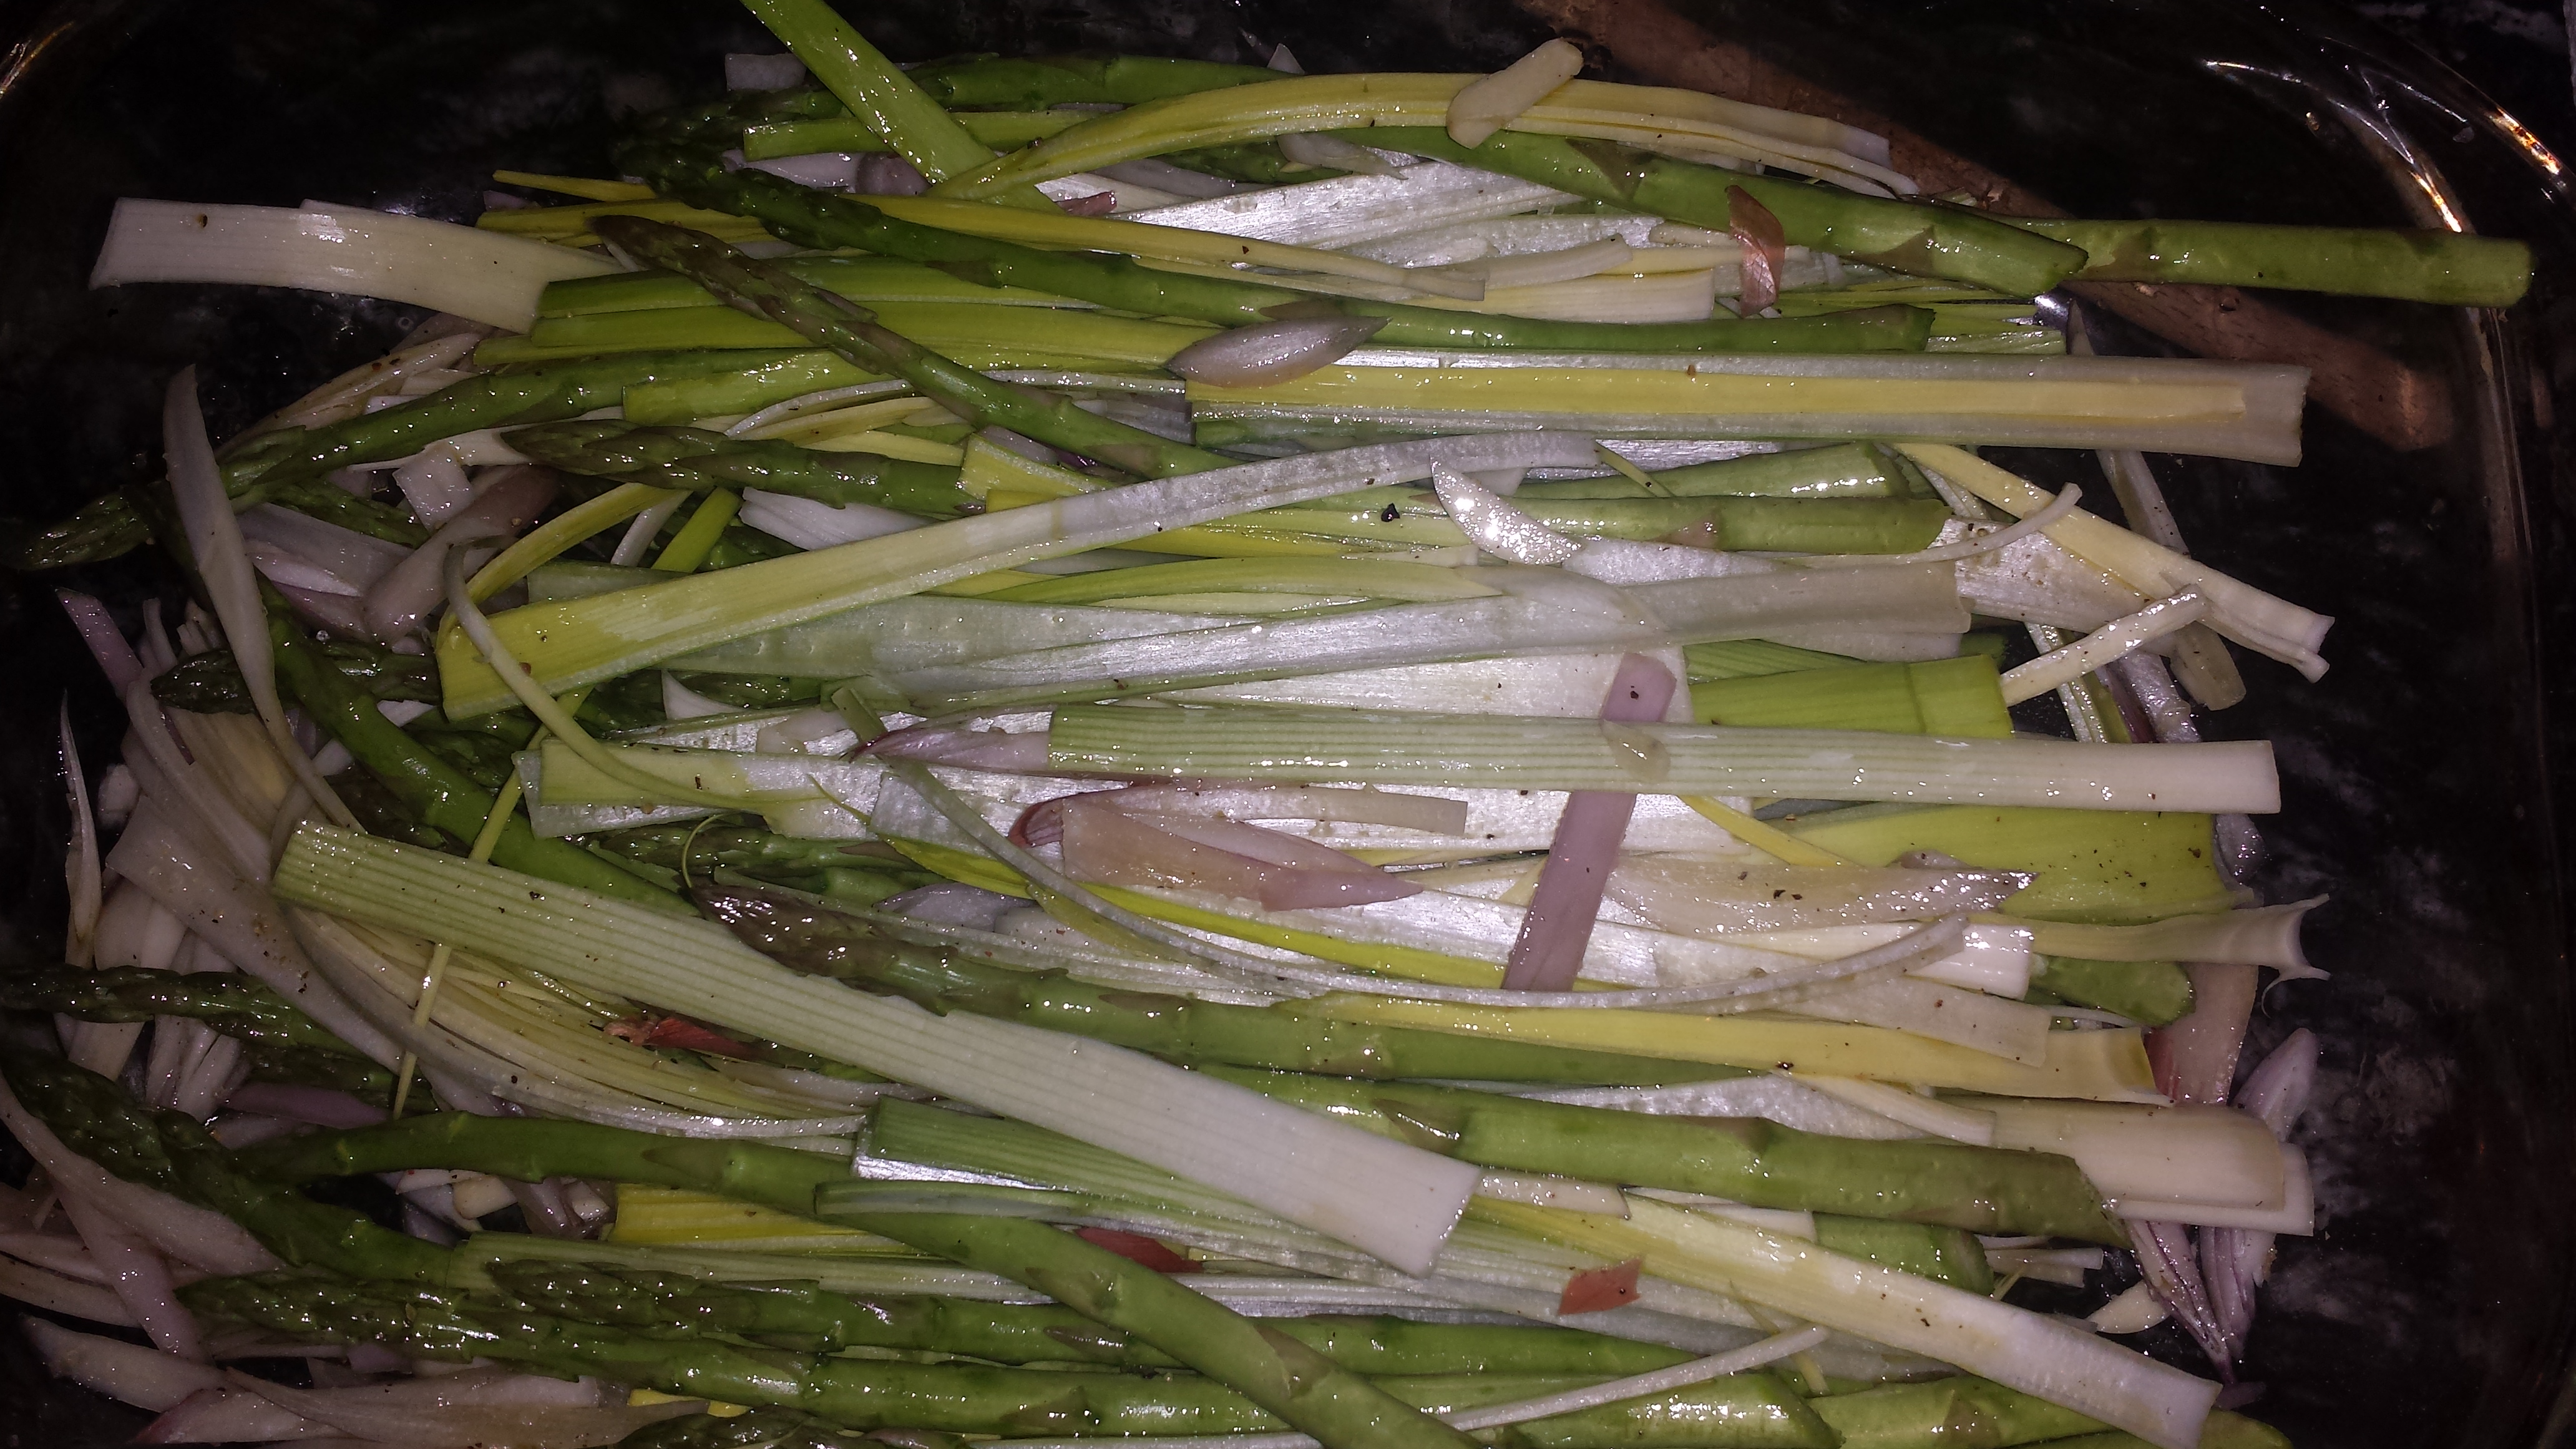
- Add another Tablespoon oil to the pan if necessary and toss in half the scallions. the vinegar and the greens. Saute about a minute just until they start to wilt.

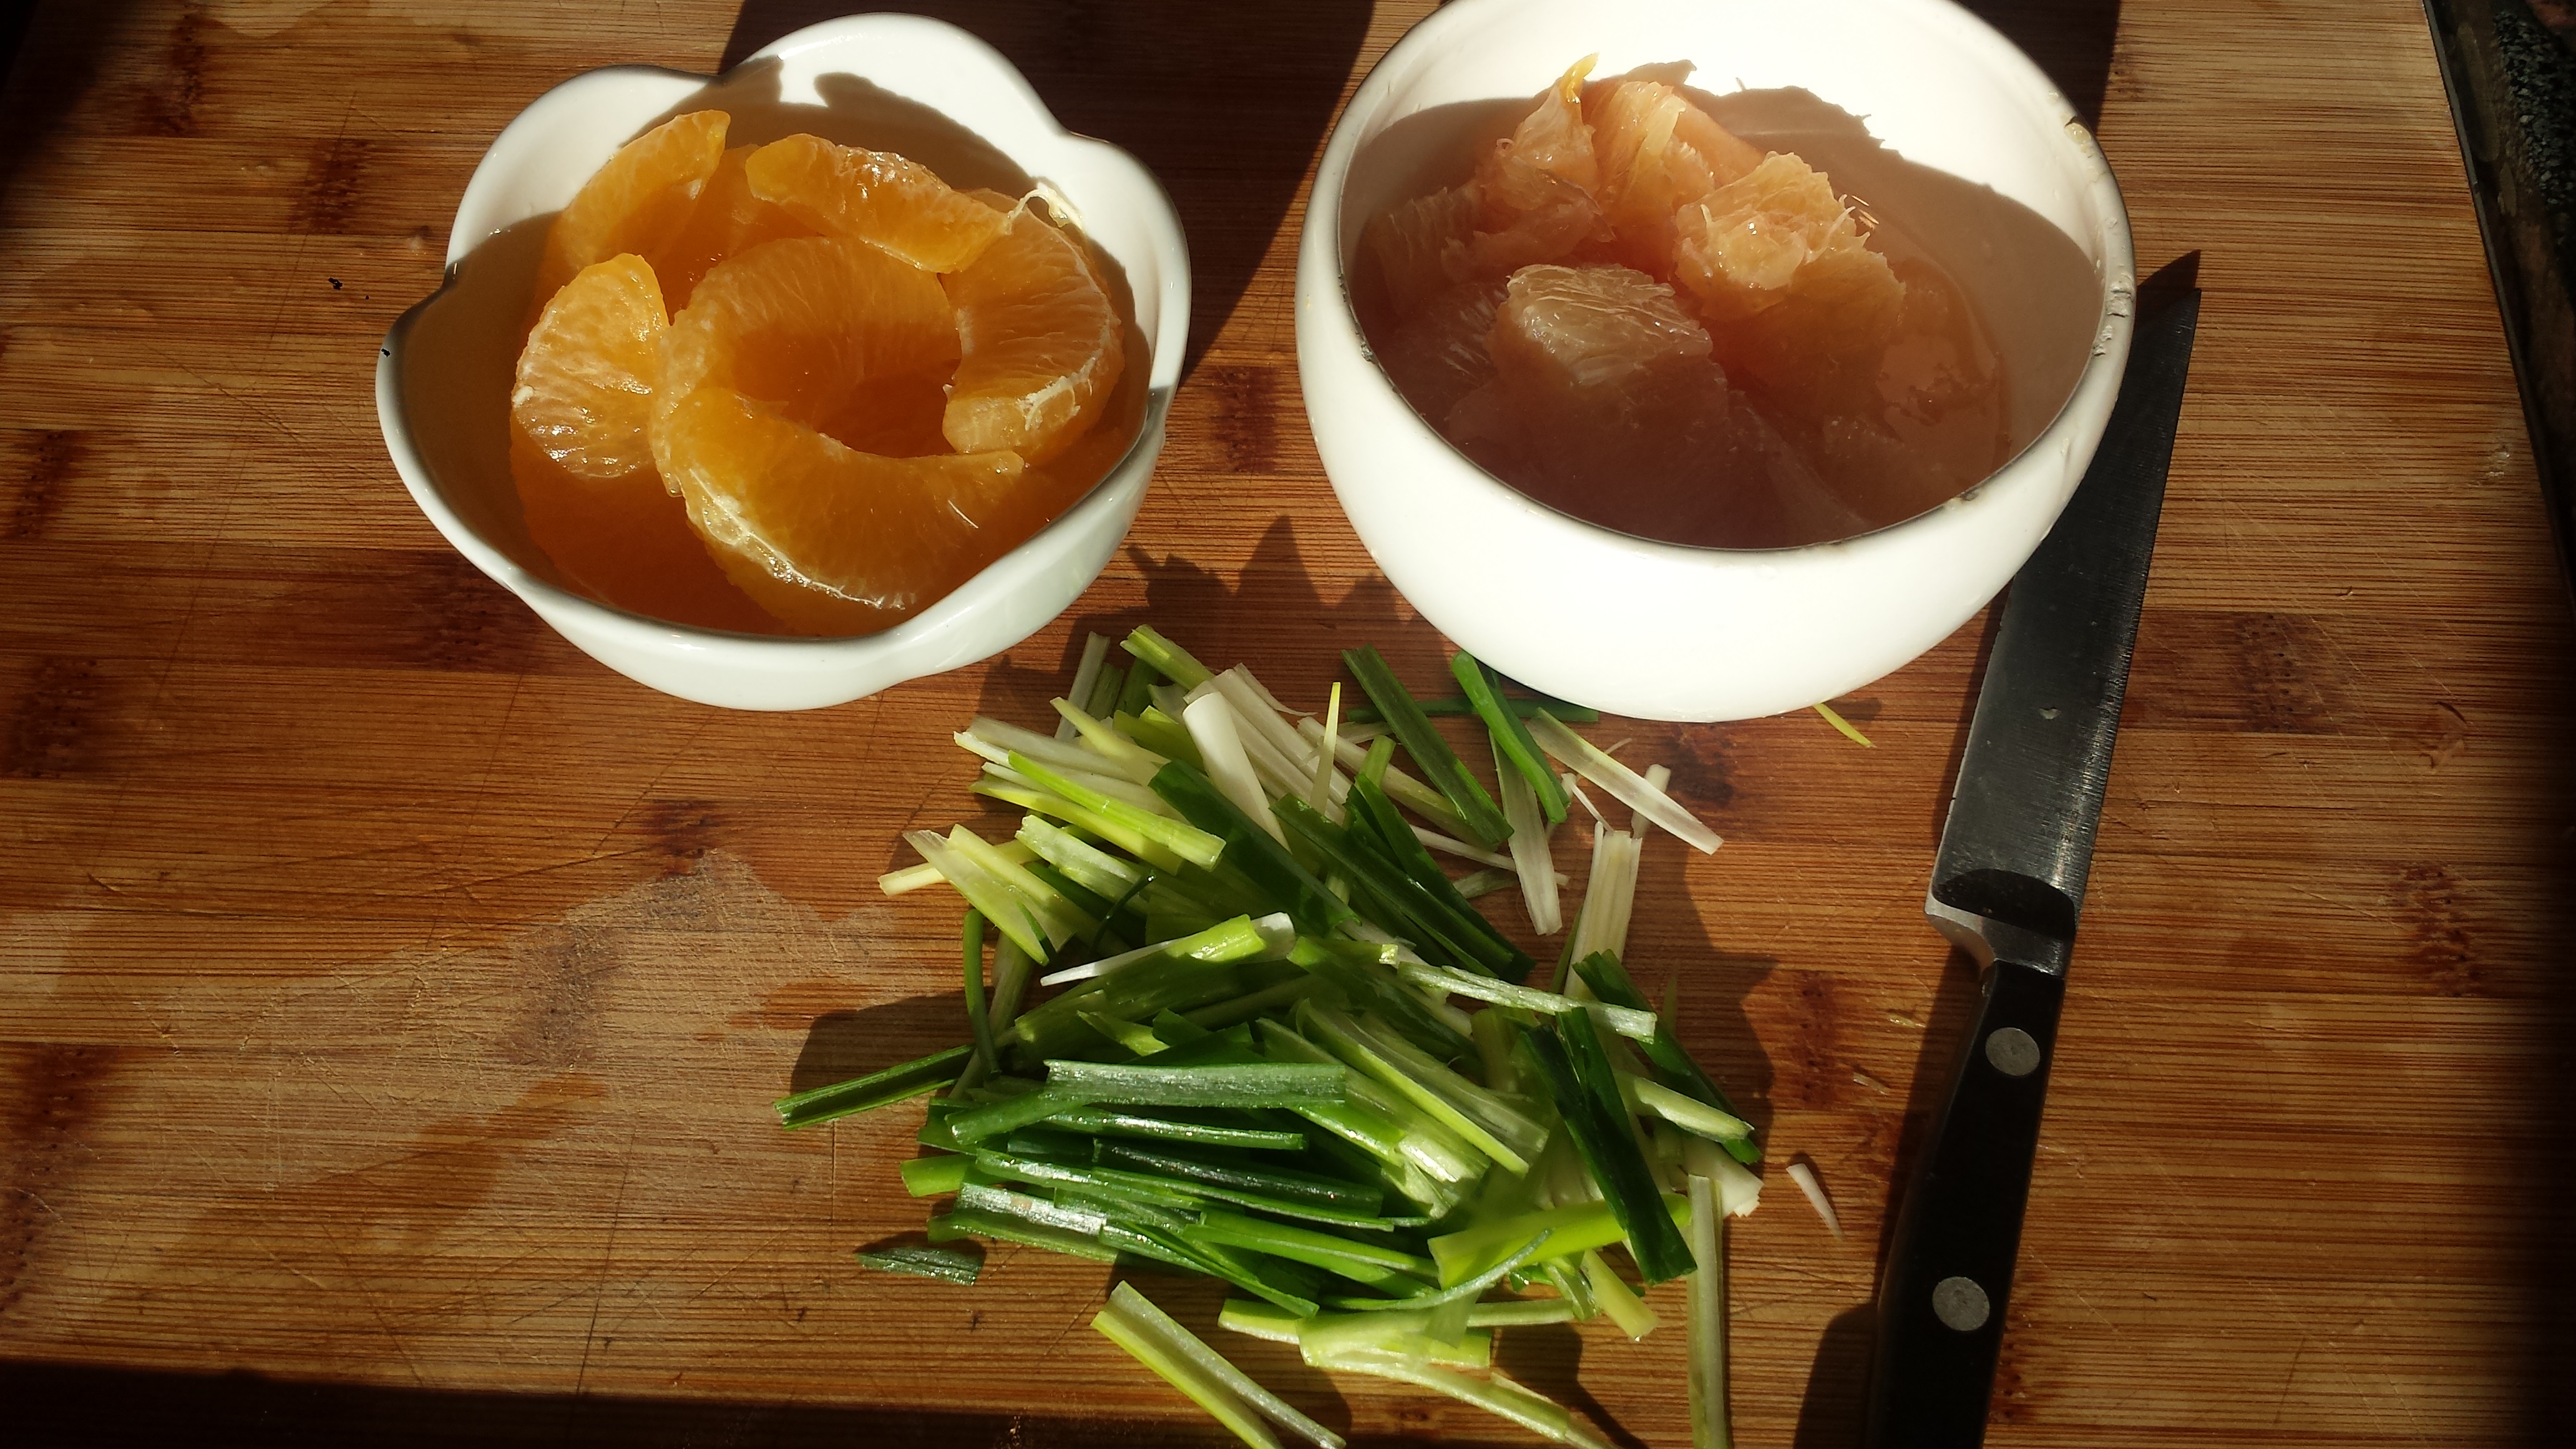
- Remove skillet from heat and add grapefruit and orange segments. Divide among four plates and top each with a piece of fish. Briefly reheat the beurre blanc, if necessary, and drizzle over the top of each plate. Garnish with remaining scallions and lemon zest. Serve immediately.

4 5 oz skinless halibut, cod or sea bass filetsPan Roasted Halibut with Meyer Lemon Beurre Blanc
2 Tbsn olive oil
salt and pepper
1 Tbsn cup white wine vinegar
4 cups mixed greens (baby kale, chard, arugula or spinach)
1 orange, peeled and sectioned
1 pink grapefruit, peeled and sectioned
1/4 cup scallions, sliced into thin julienne, or snipped chives
1 Tbsn lemon zest (optional)
Meyer Lemon Beurre BlancMeyer Lemon Beurre Blanc
1 cup white wine (Sauvignon Blanc or Chardonnay, not sweet)
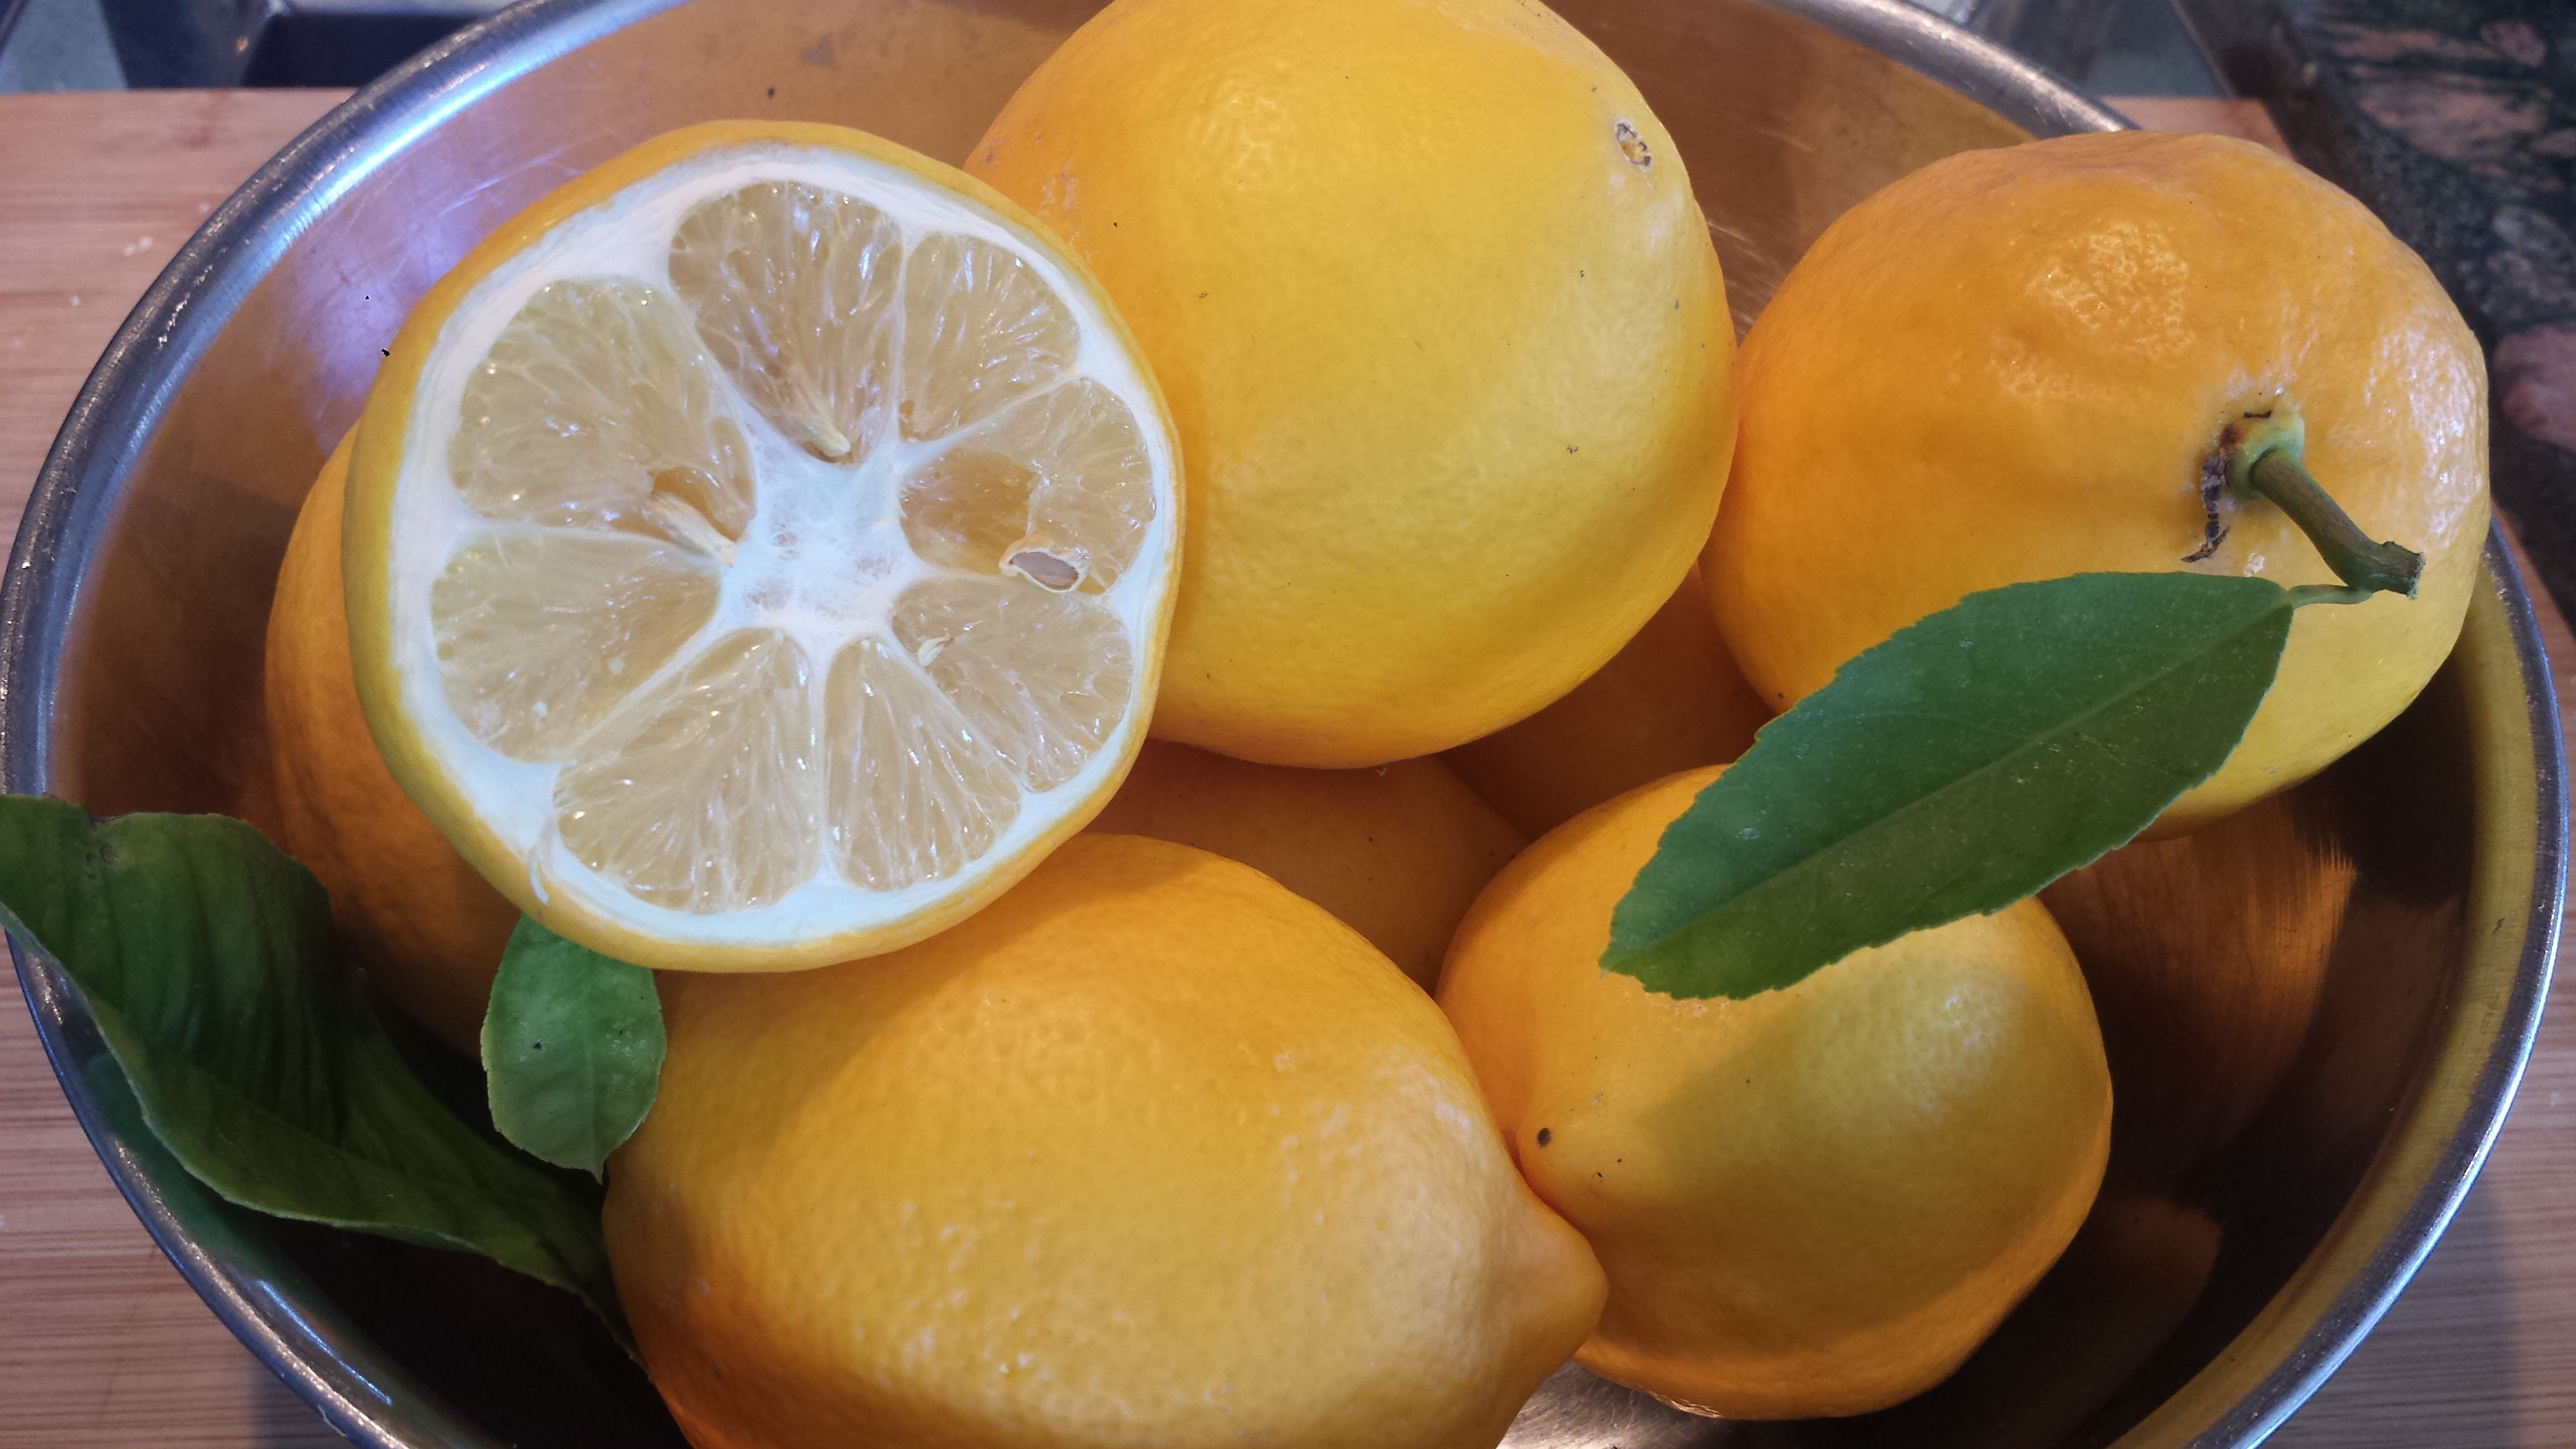
1/4 cup lemon juice (Meyer lemon preferably)
2 large shallots, minced
1 Tbsn cream or yogurt
12 Tbsn cold butter, cubed