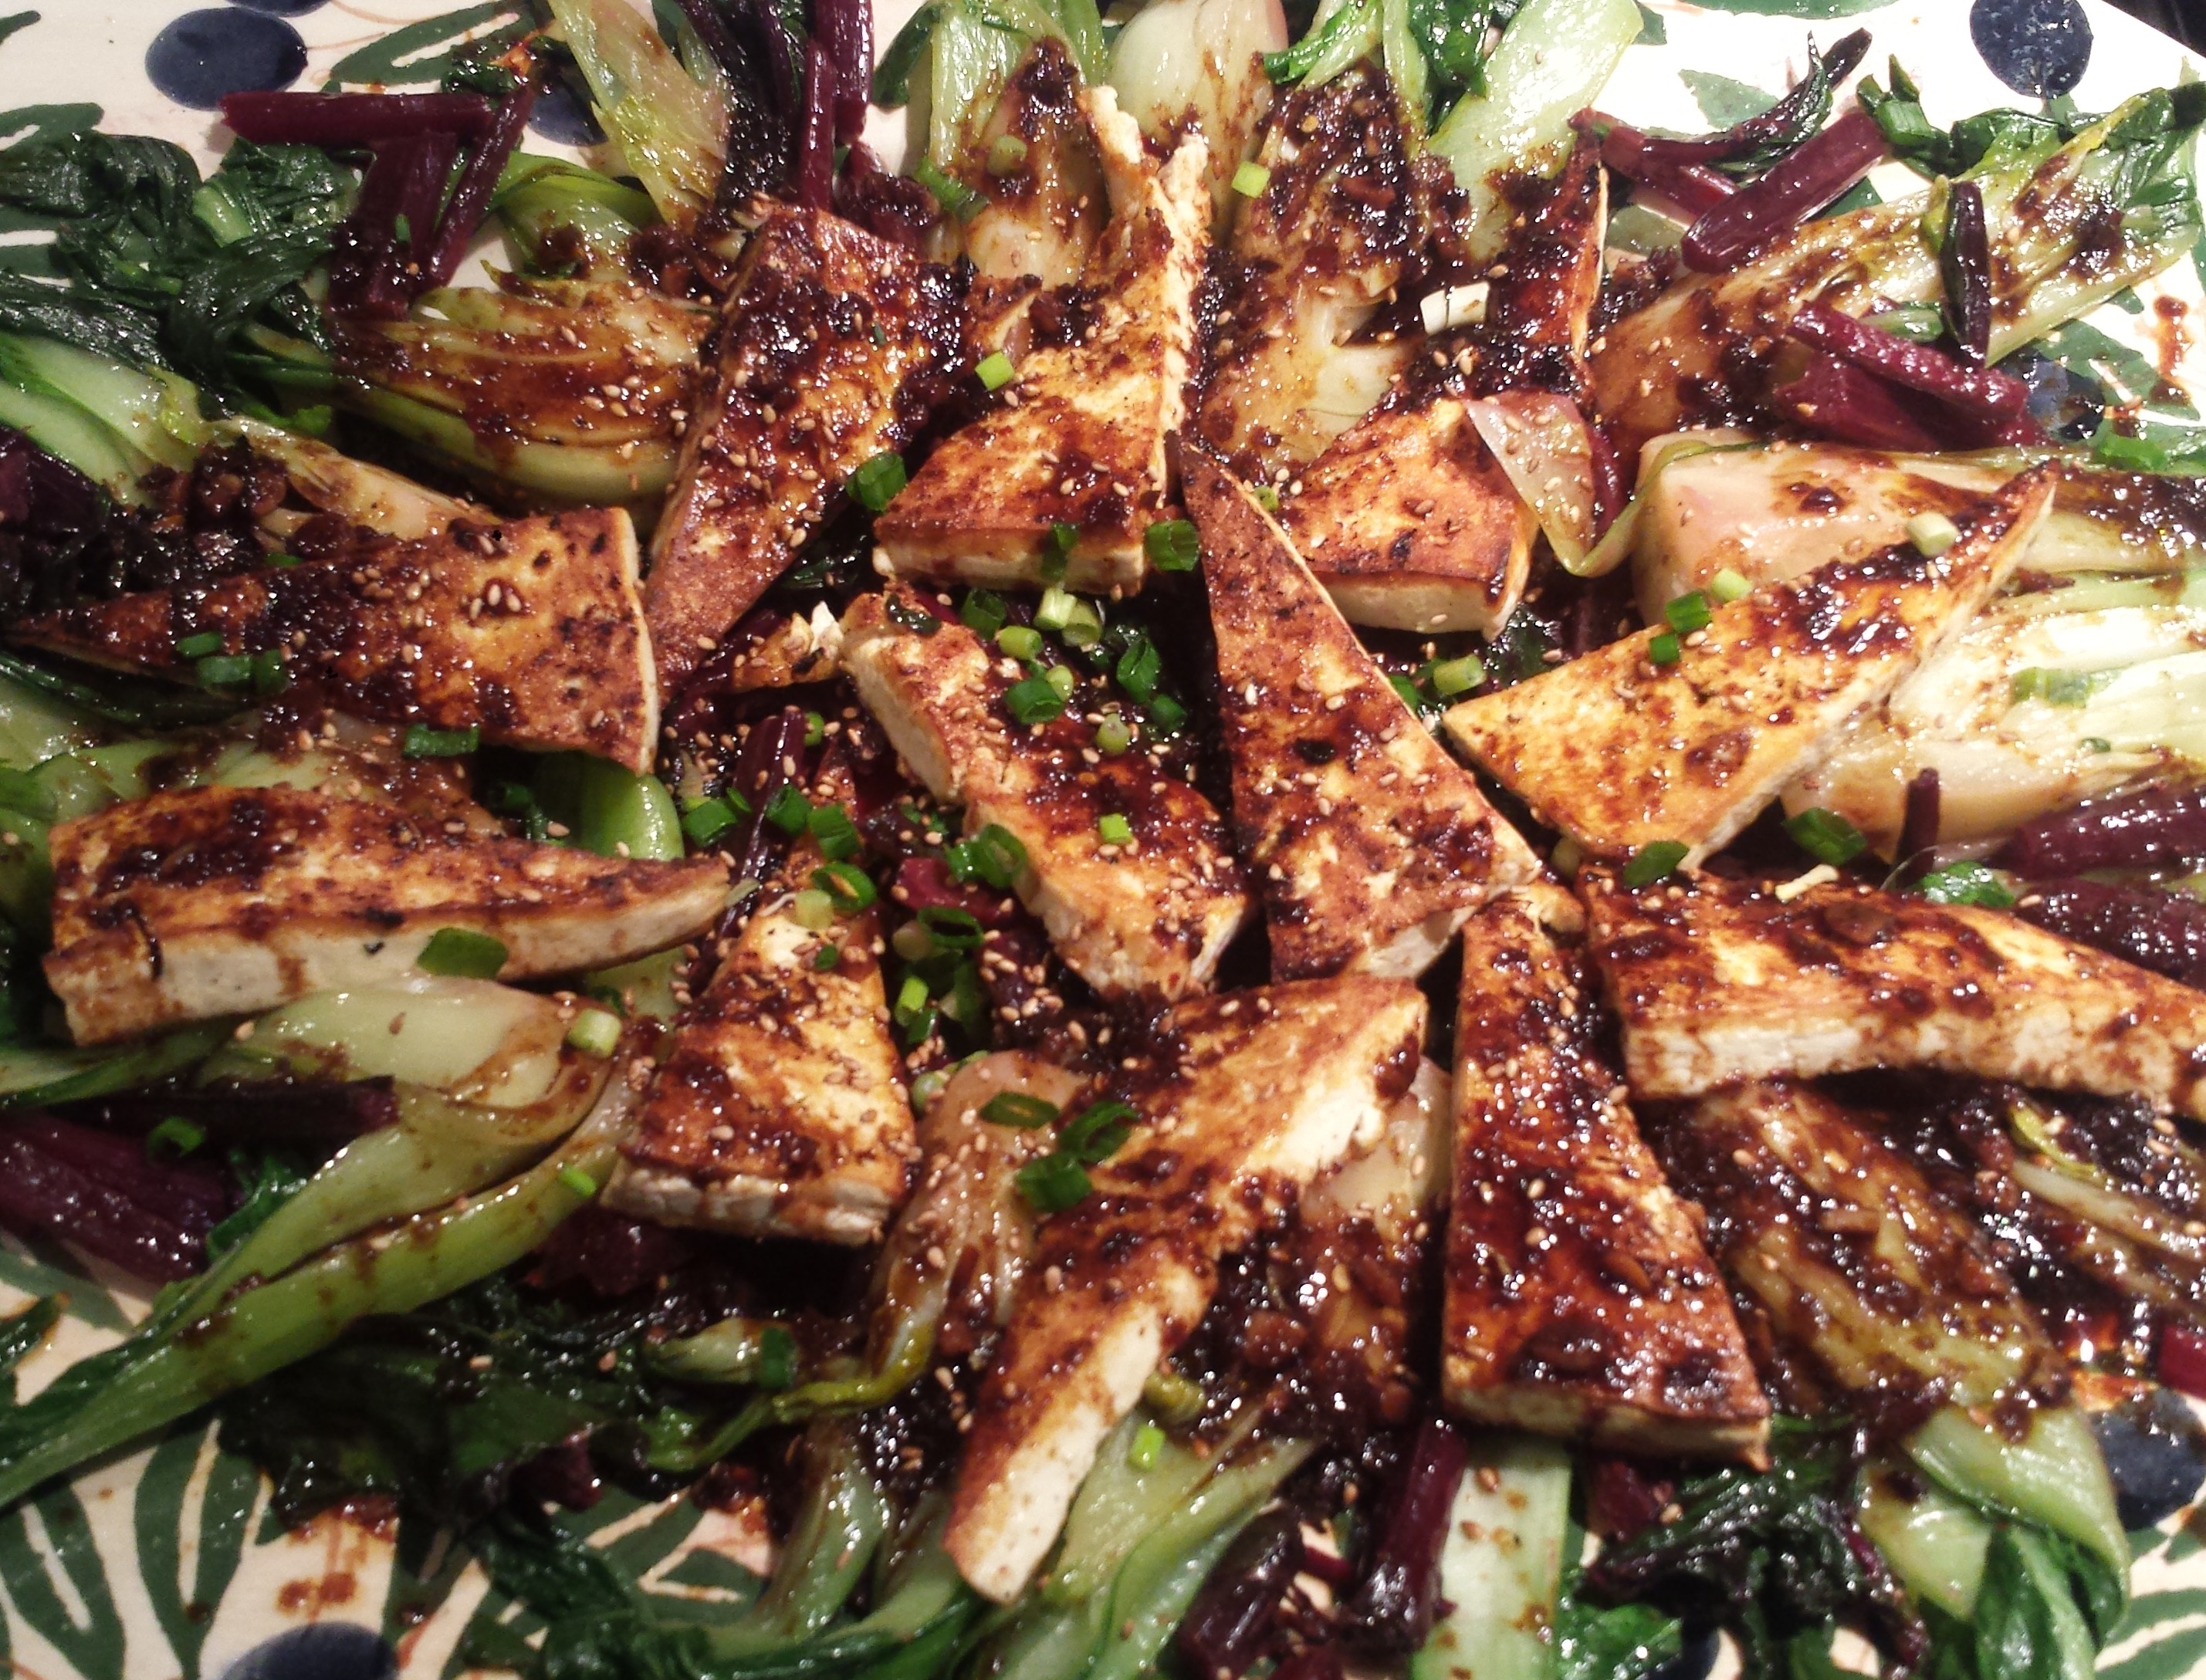
Winner Winner Tofu Dinner! Yep, it’s Meatless Monday and we’re going vegan, green and spicy! As they say, we’ve come a long way, baby! When my three boys were little it was hard to get them to eat their veggies, (salads, forget it!) except for frozen peas and broccoli. When I say frozen peas, I mean they liked them best still frozen like little icy pieces of green goodness. That was a favorite snack for them to nibble on when they were in their high chairs waiting for me to make the rest of their dinner. They were so cute, curling their fat little fingers around the tiny peas that would roll around on the tray…And trust me, it couldn’t be easier! Broccoli was also a winner but only acceptable if steamed and served with a mini dish of soy sauce for dipping. Done and done! Now that my youngest is 20, it’s no surprise that we have moved beyond frozen peas and plain veggies. My sons also eat (and enjoy) salads at dinnertime. Will wonders never cease! Those of you parents whose kids aren’t there yet, have faith. It will happen… Meanwhile, frozen peas.

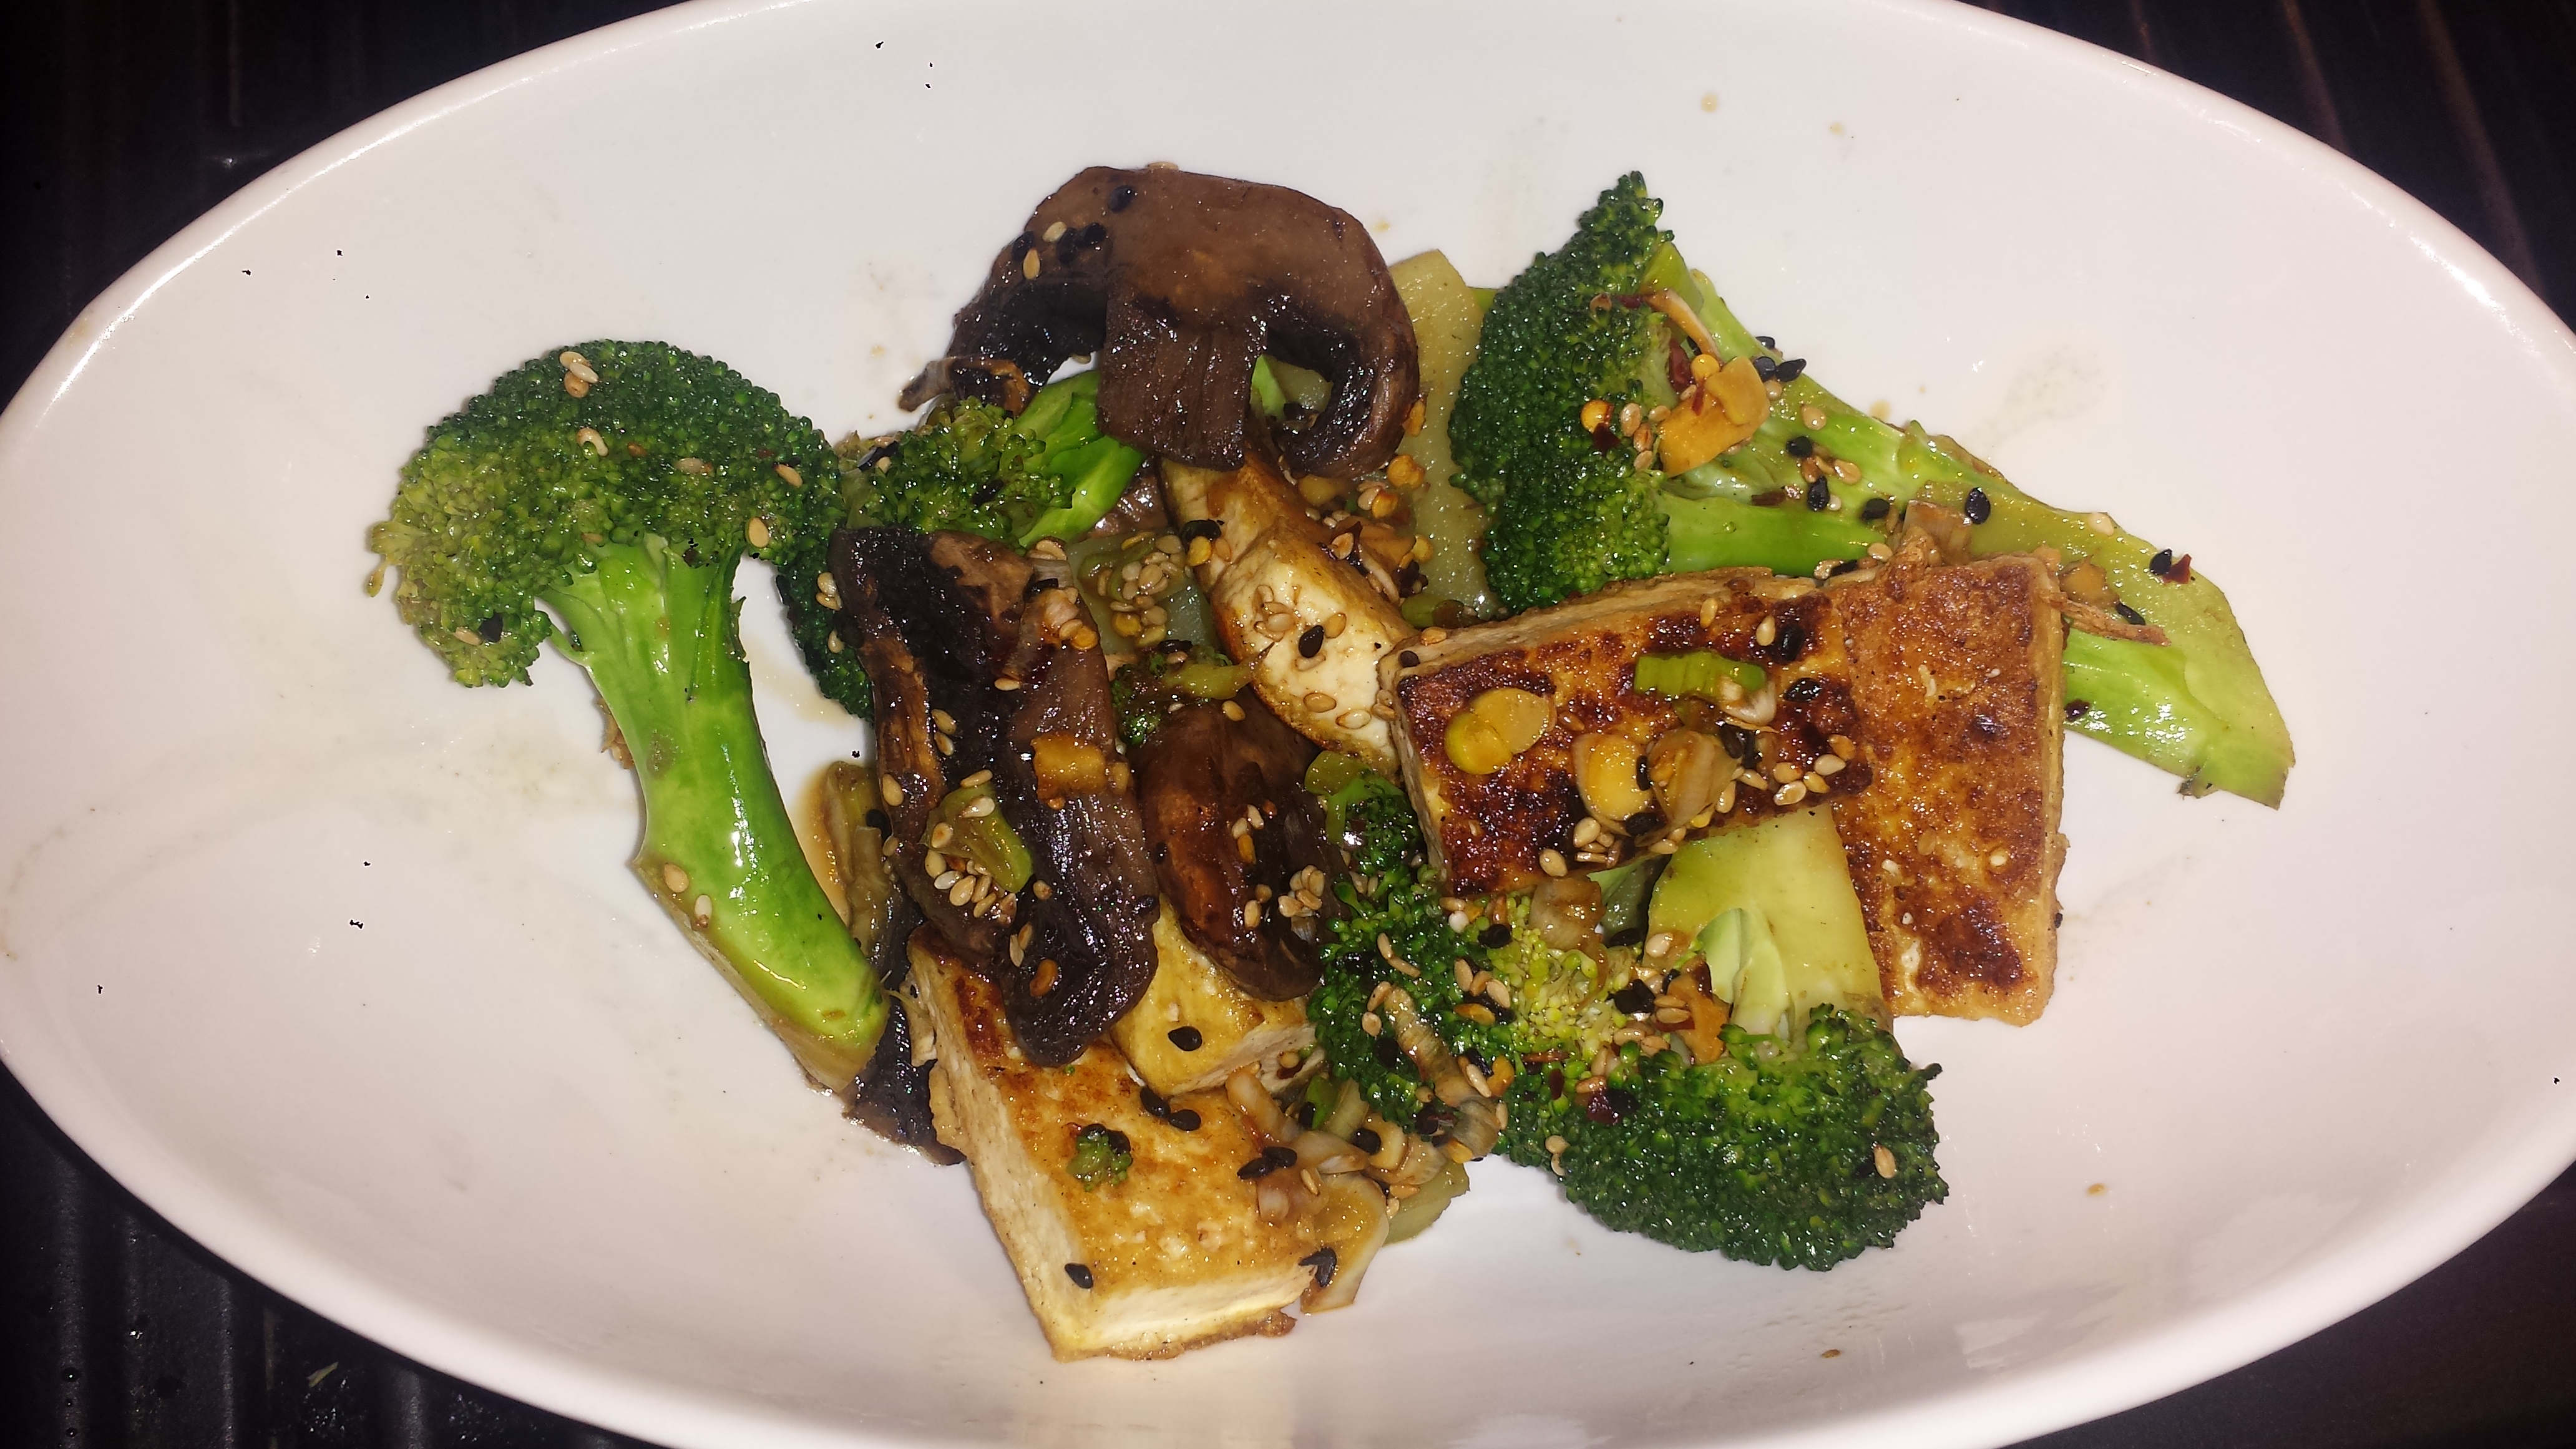
Well this Broccoli Tofu dish is like a grown up version of the kiddie broccoli dipped in soy sauce, with a lot more flavor and a definite kick. The tofu provides ample protein, just make sure you buy organic, non-GMO tofu. Broccoli is rich in fiber and a great source of vitamin C (one cup of cooked broccoli provides as much as an orange) and a host of other essential vitamins, minerals and phytonutrients. Mushrooms are not only delicious, they are the only fruit or vegetable that naturally provides Vitamin D. They are also a good source of B vitamins, iron and antioxidants. So tossed together in one meal, this trio is a nutritional powerhouse. And sesame seeds they’re not just a decoration. They are rich in protein, vitamins and minerals. Did I mention the sauce is so tasty, you’ll consider licking your plate?
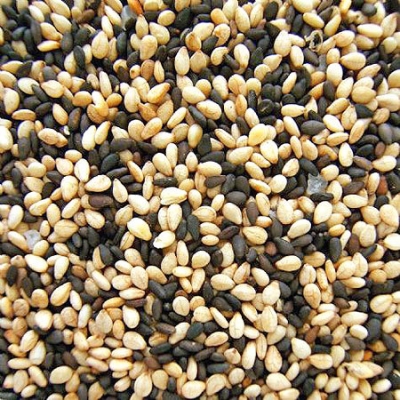
TIPS: I have not mastered the art of wok cooking and timing each vegetable to be done at the same time by pushing the veggies up the side, as the darned things always fall back into the center. I actually use a cast iron pan instead of a wok and I prefer to cook each vegetable separately and then toss them all together at the end with a tasty sauce. If you are better with a wok, feel free to attempt the precision timing thing and disregard the following instructions, however for those that are wok-challenged like me, I swear by my approach. For added flavor (and pizazz) try using both white and black sesame seeds. The sauce can be adjusted for spiciness by adding more or less red pepper flakes.

SPICY SESAME TOFU, BROCCOLI AND MUSHROOMS
1 block extra firm tofu (organic)
1 small bunch broccoli
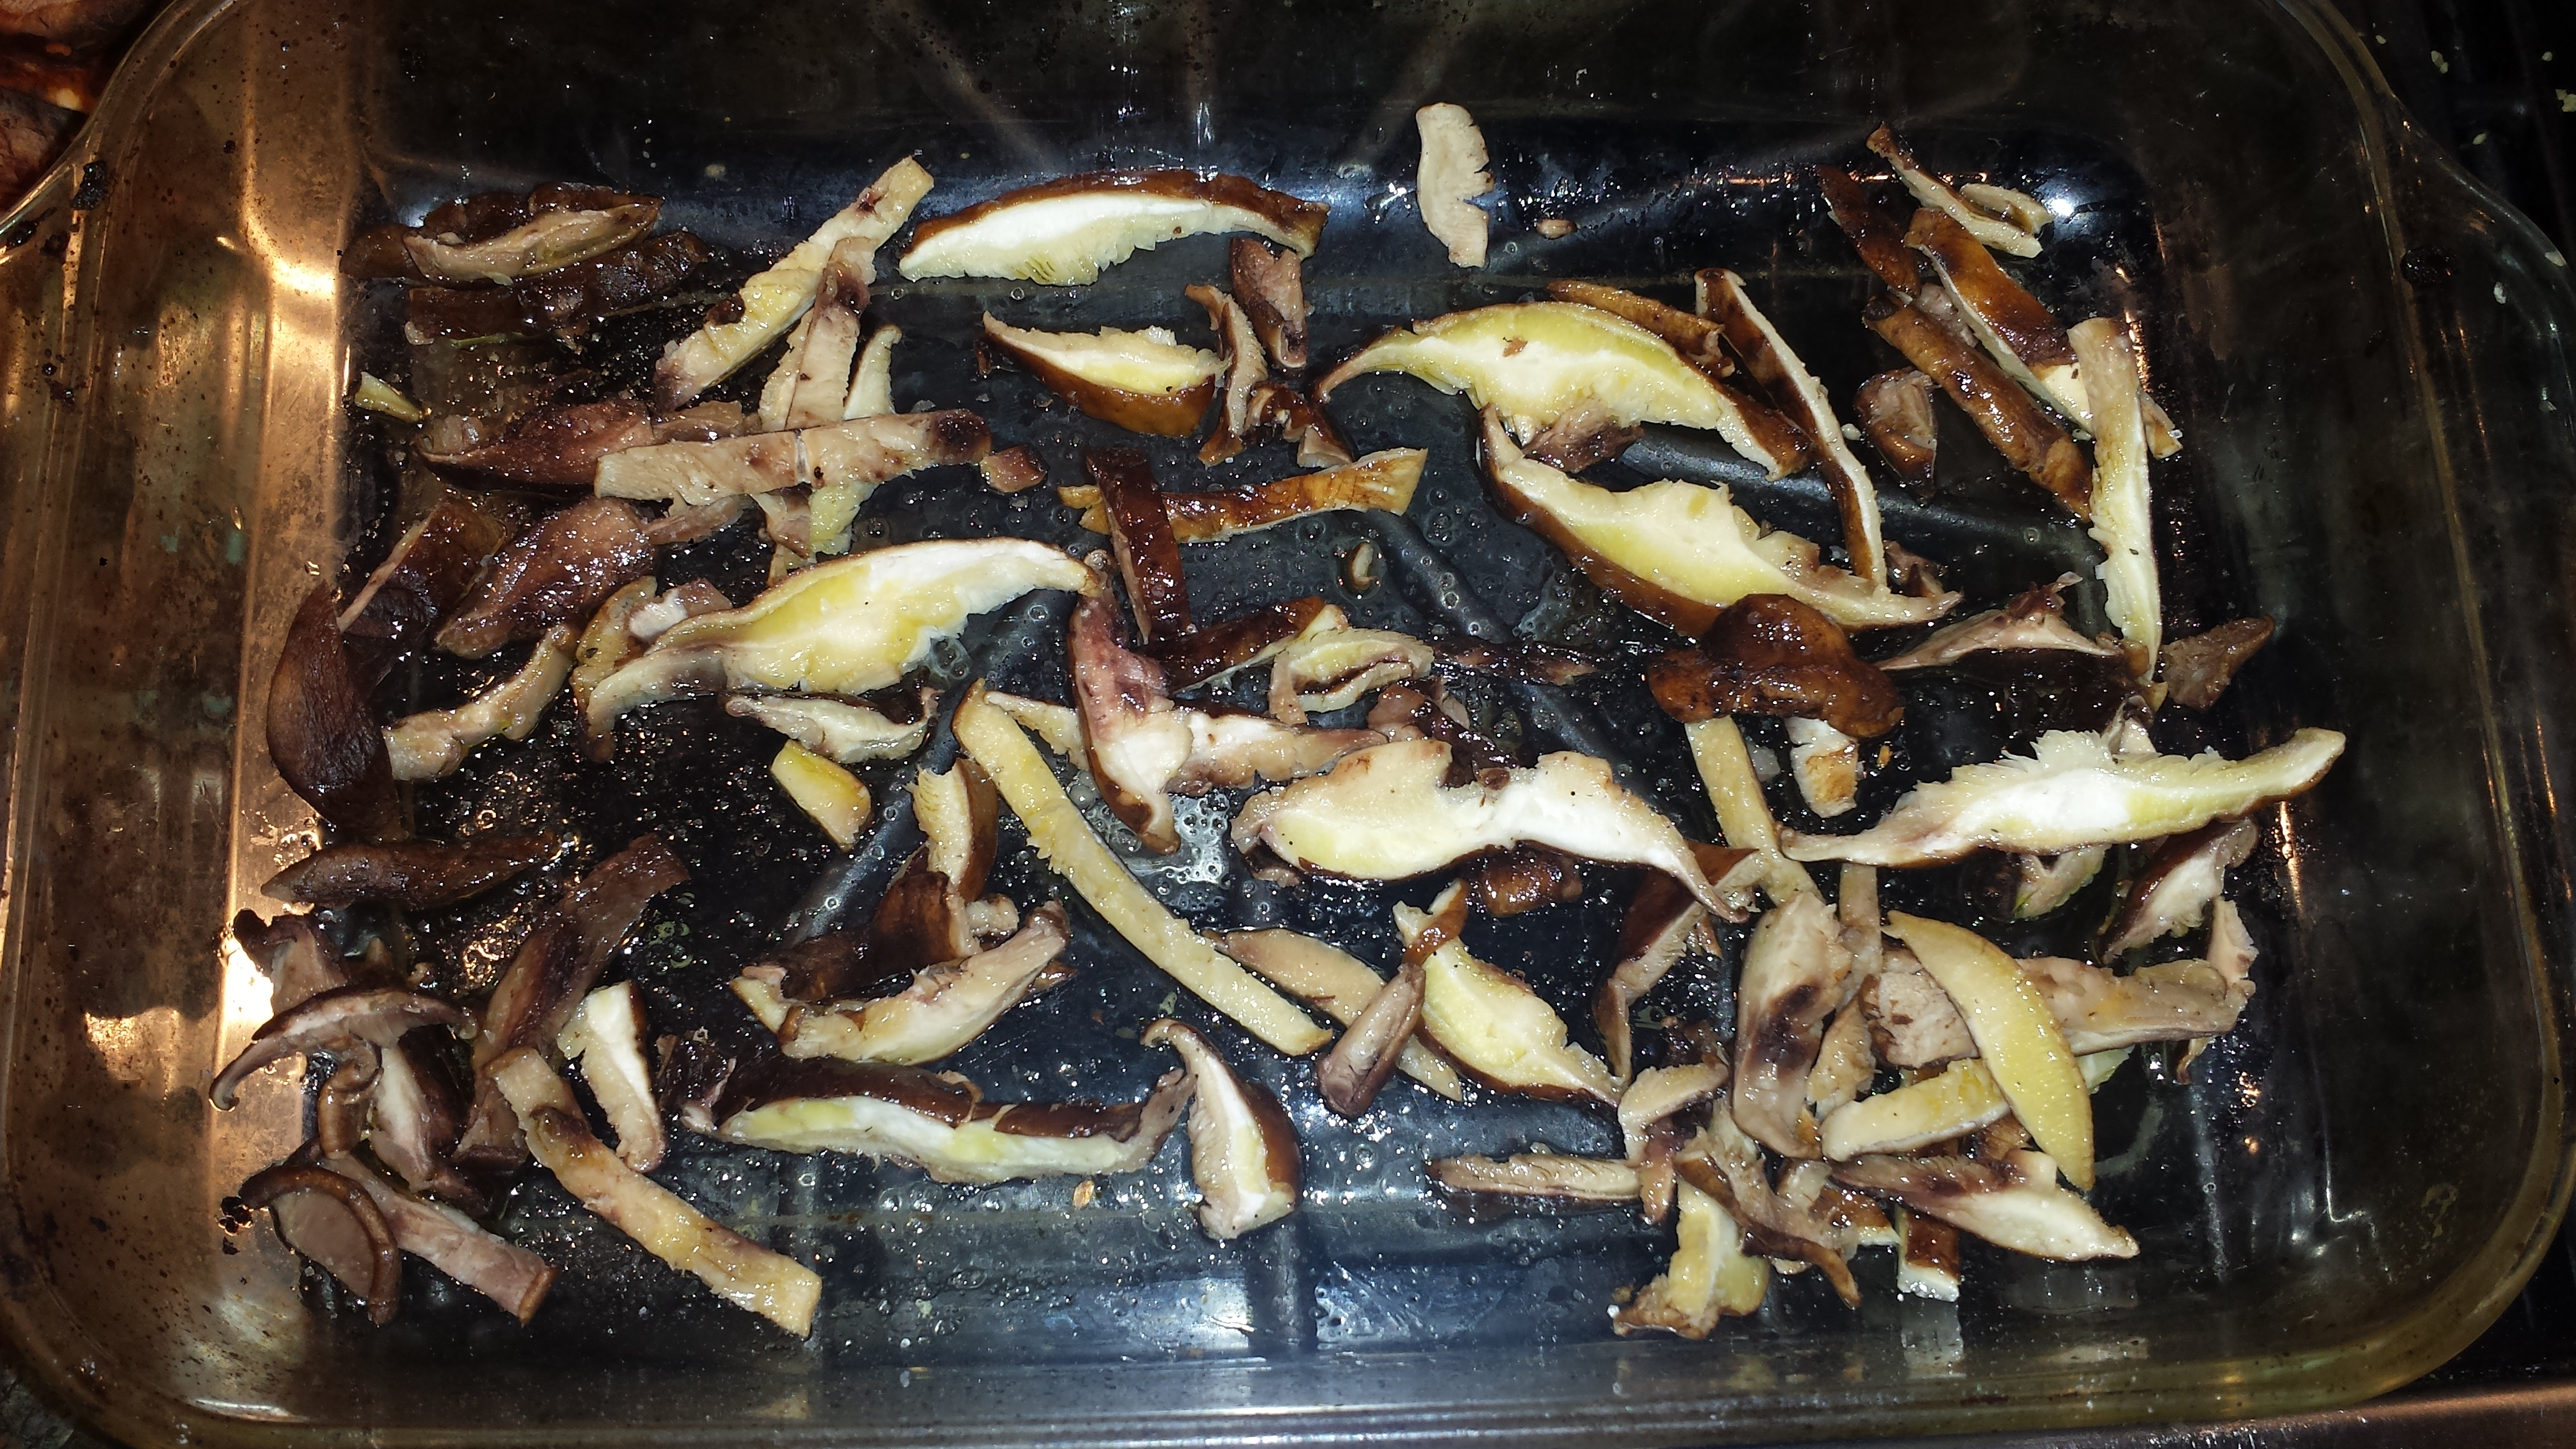
6-8 mushrooms (any kind – criminy, shitake, etc)
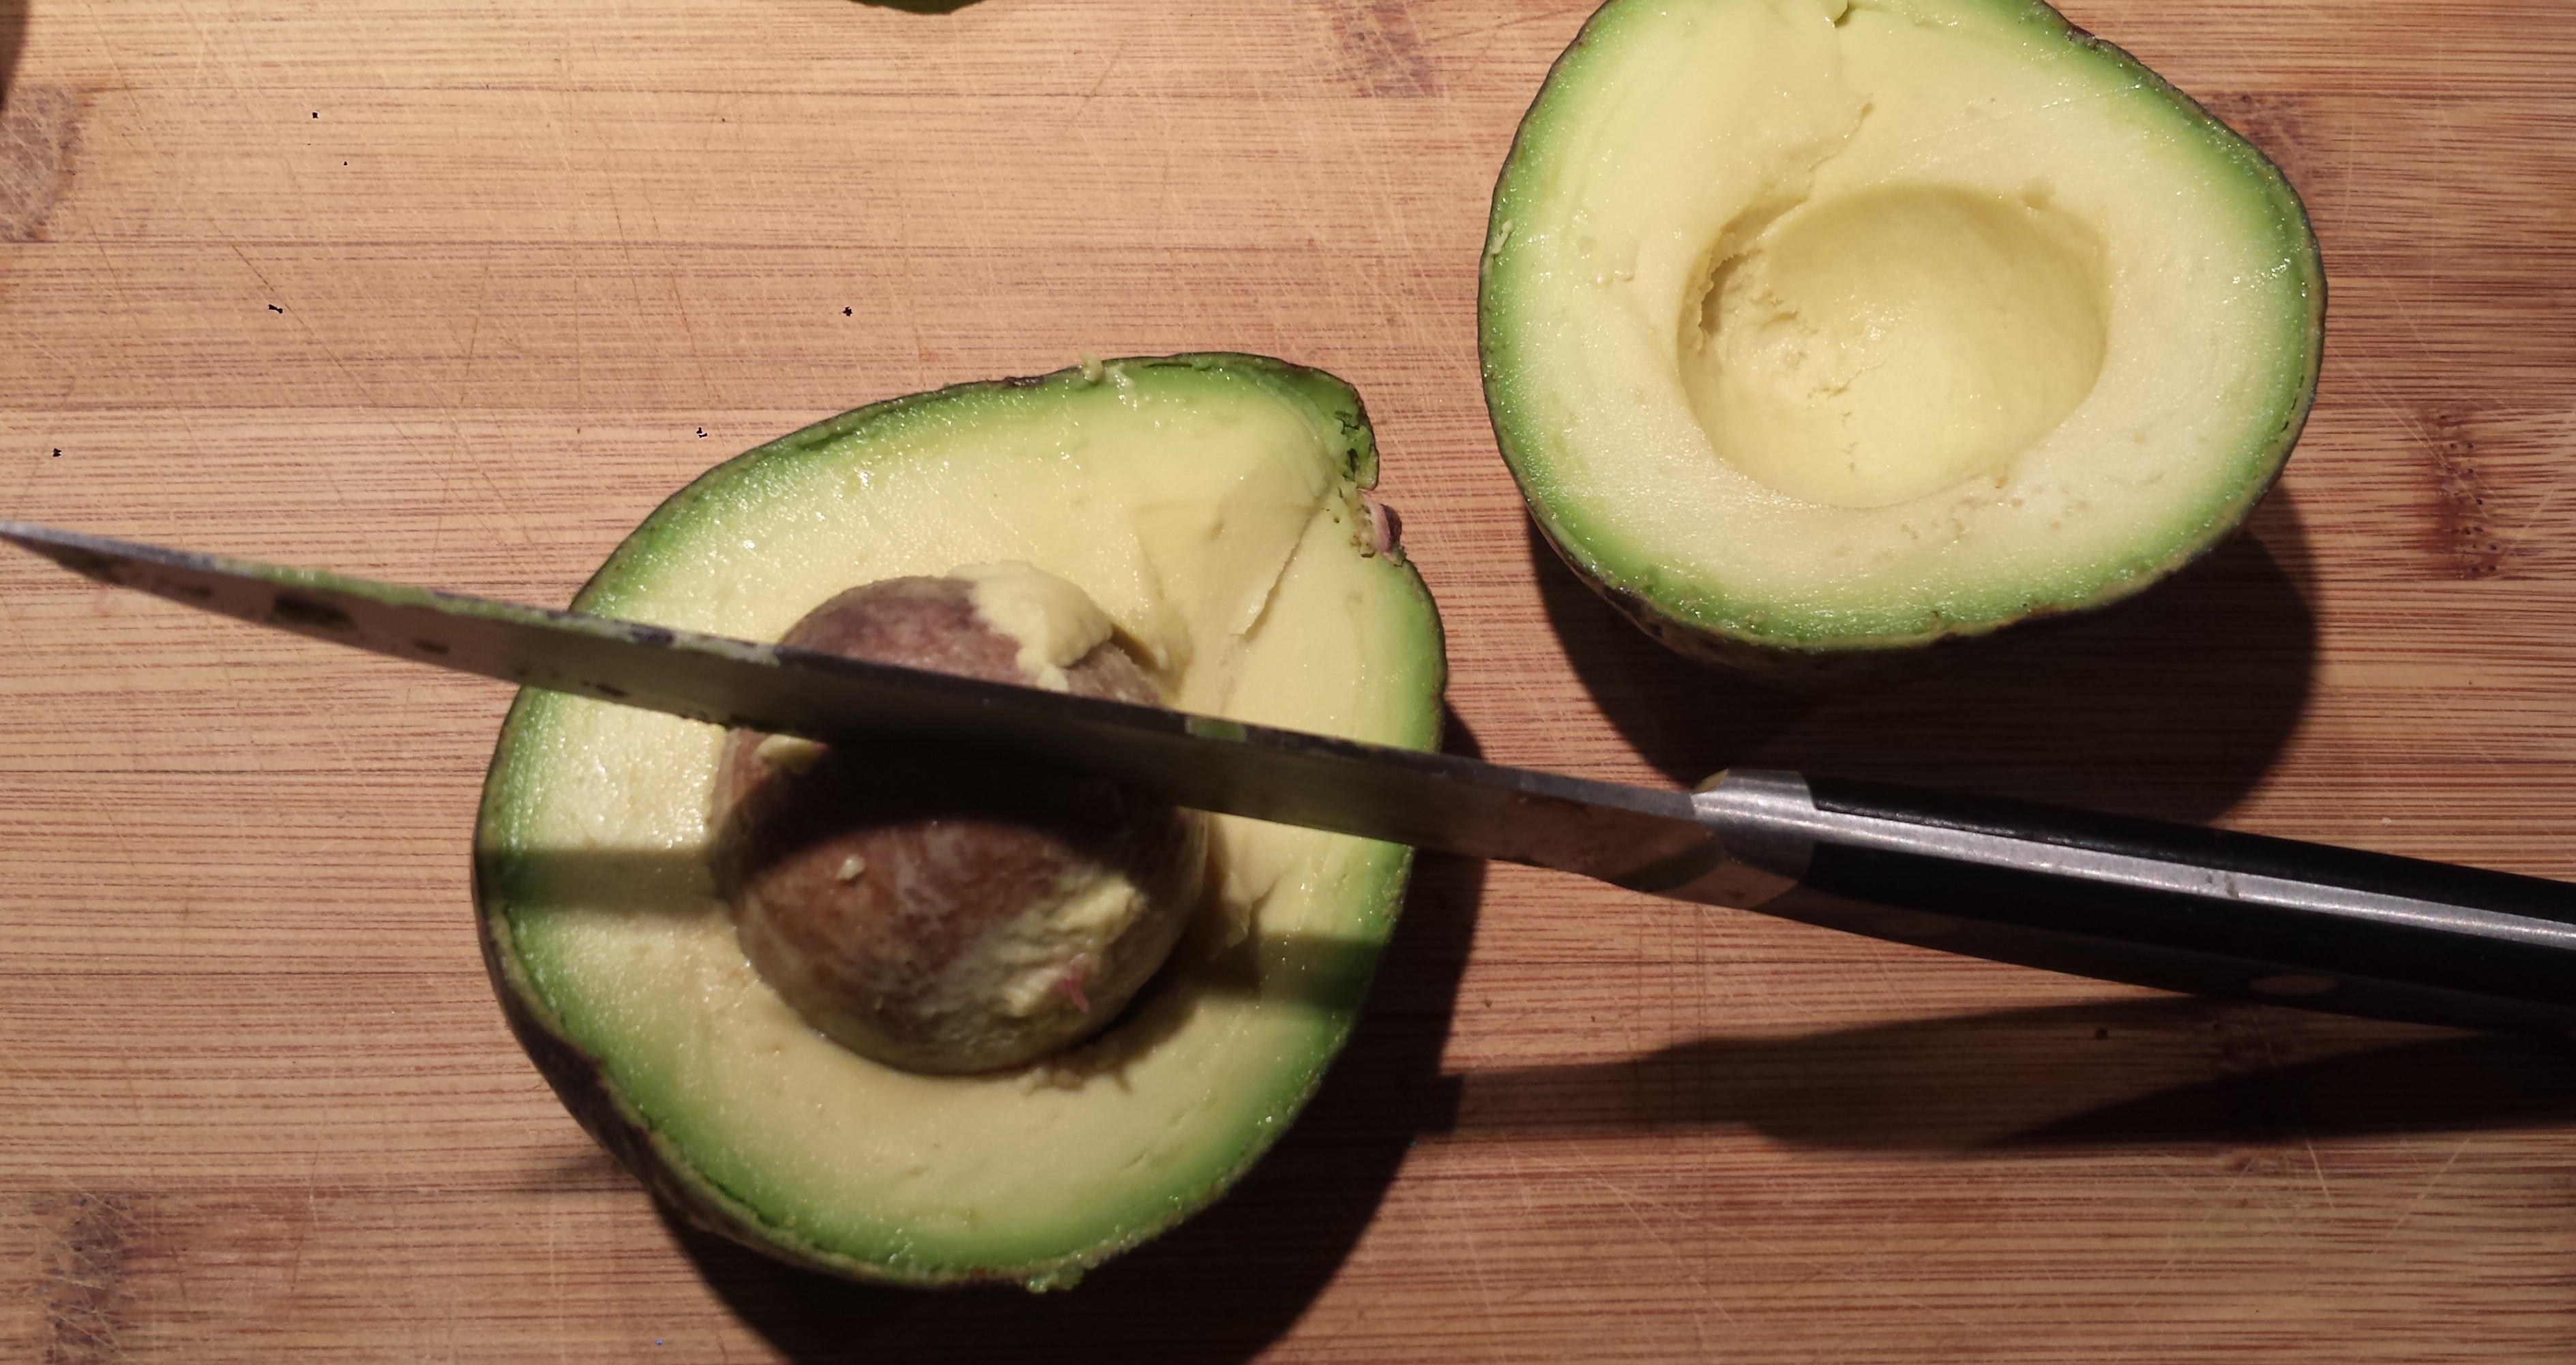
1/4 cup avocado, coconut or other high heat oil
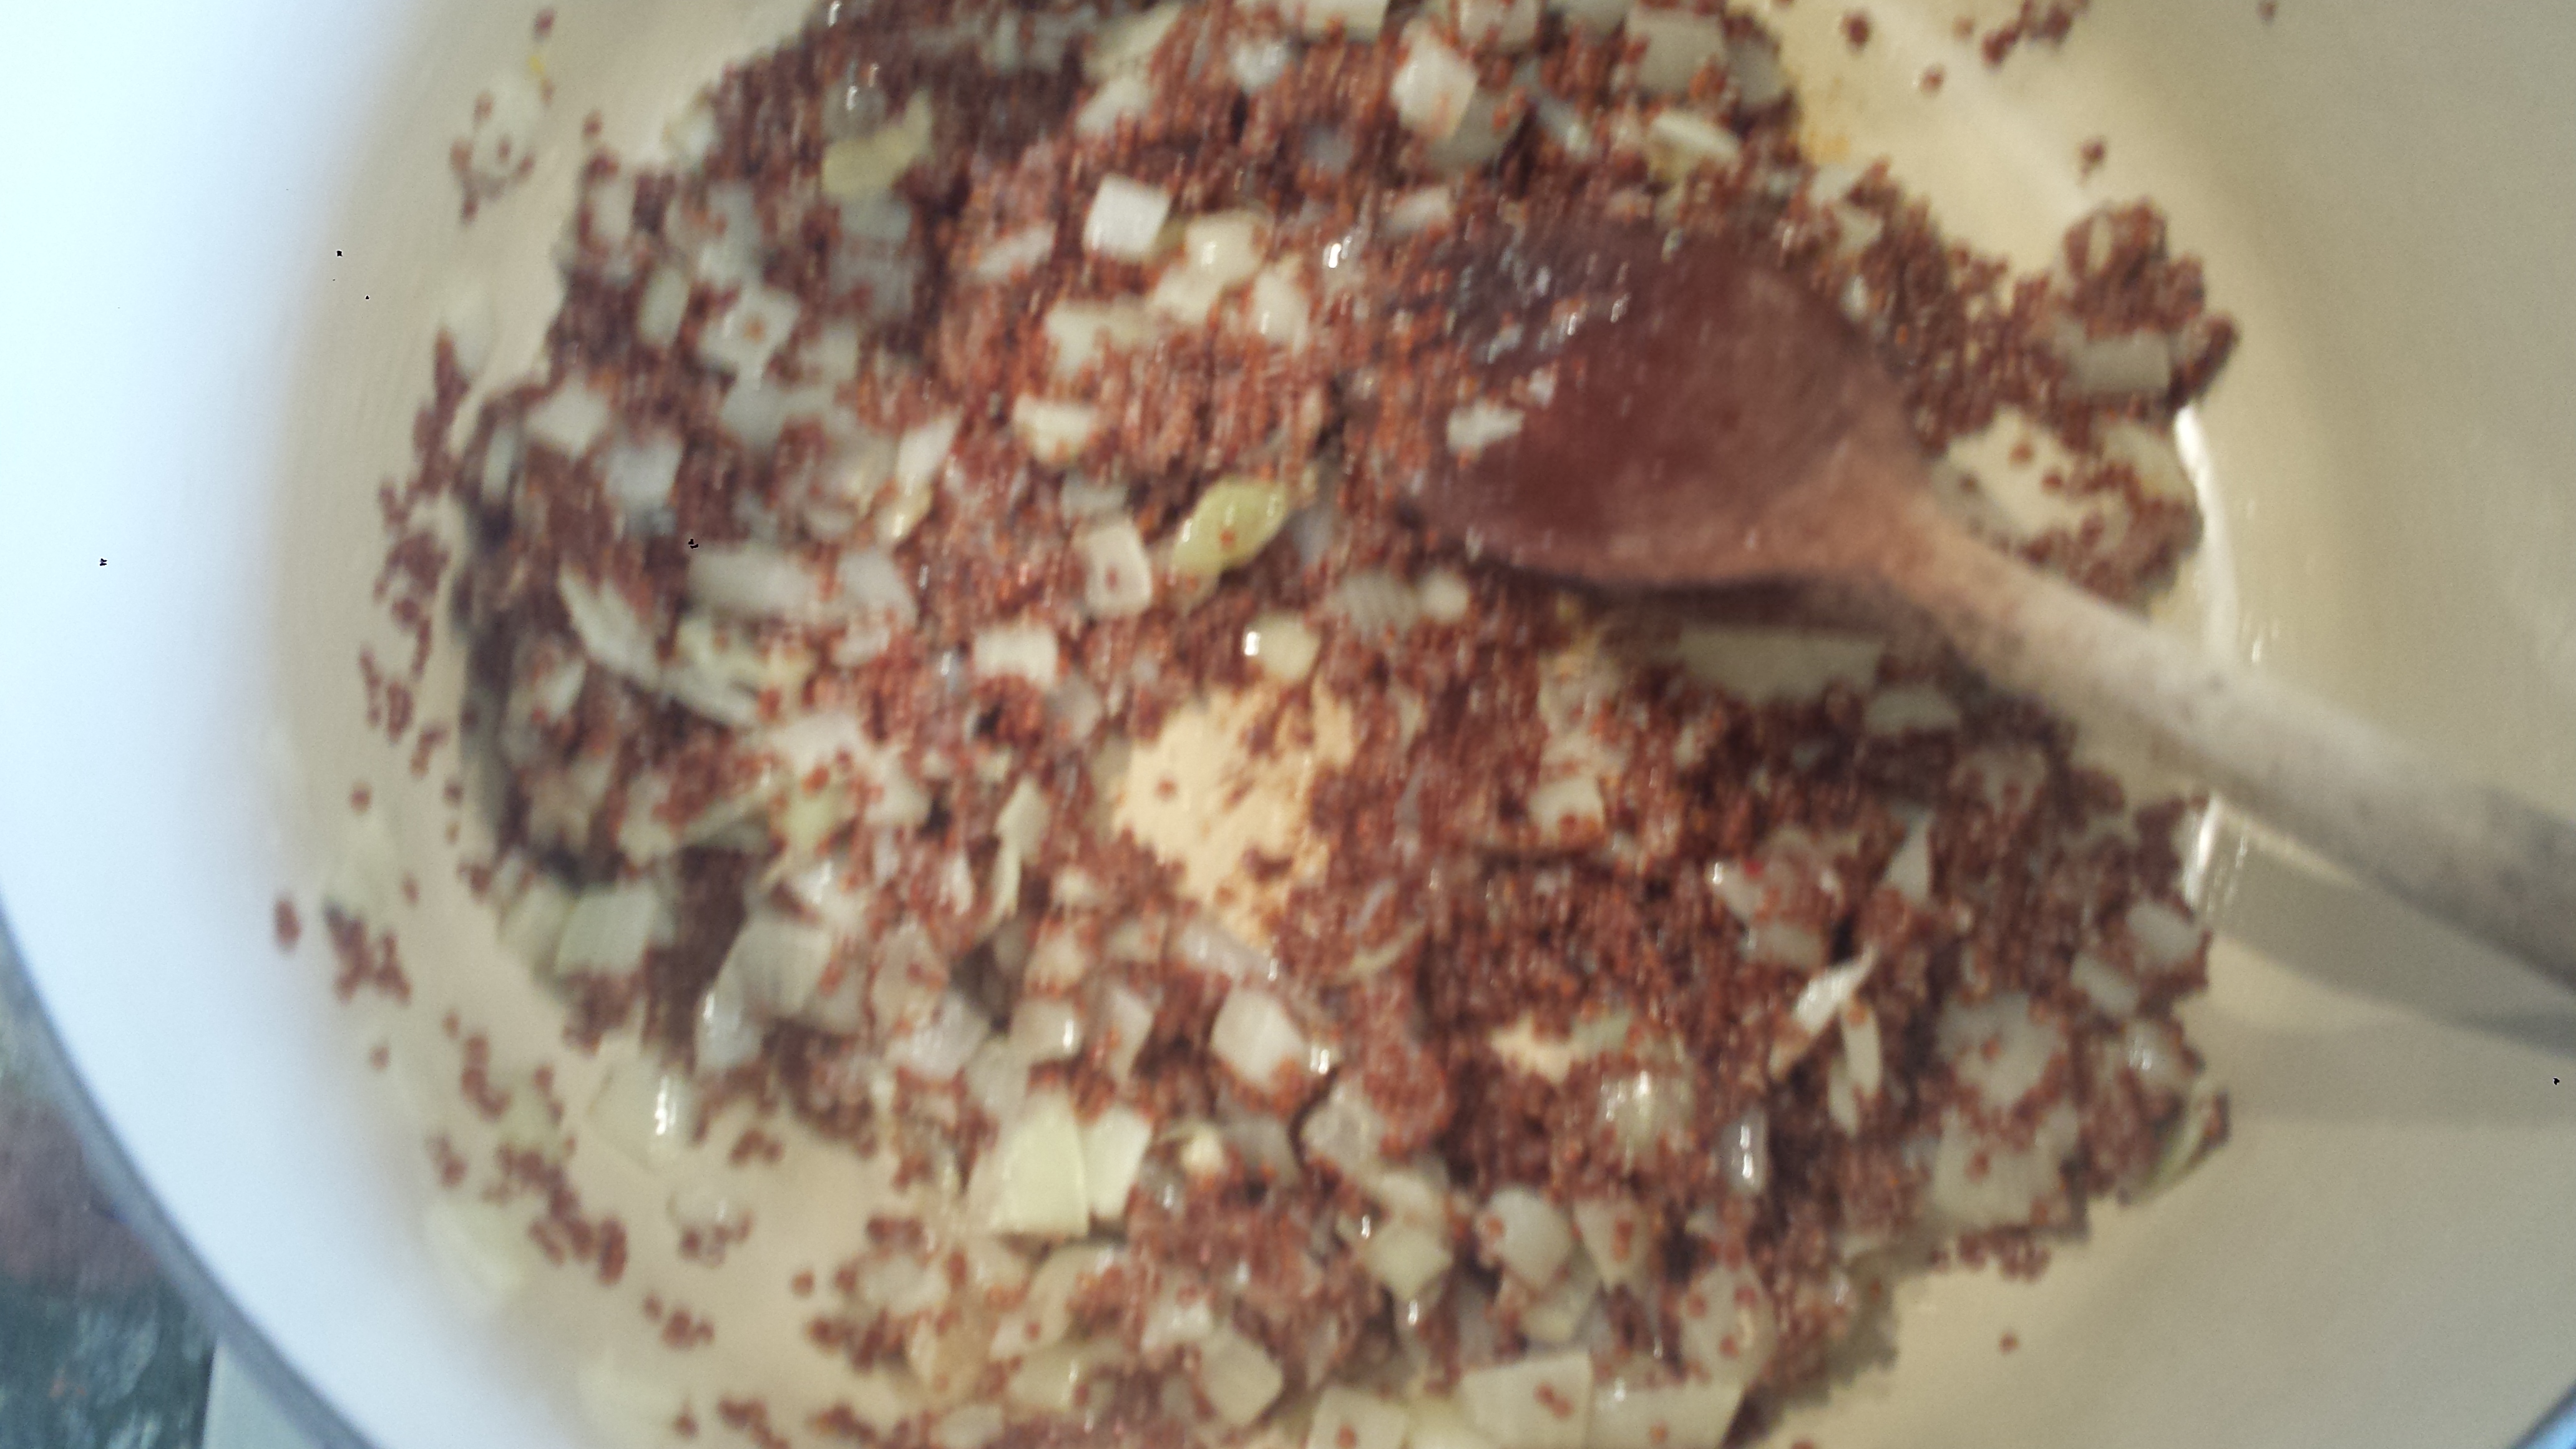
1 large clove garlic, minced
1 scallion, thinly sliced
2 tsp toasted sesame seeds (or 1 1/2 tsp white and 1/2 tsp black)
2 Tbsn soy sauce
2 tsp sesame oil
1 tsp red pepper flakes (more or less to taste)
1 tsp sugar or honey
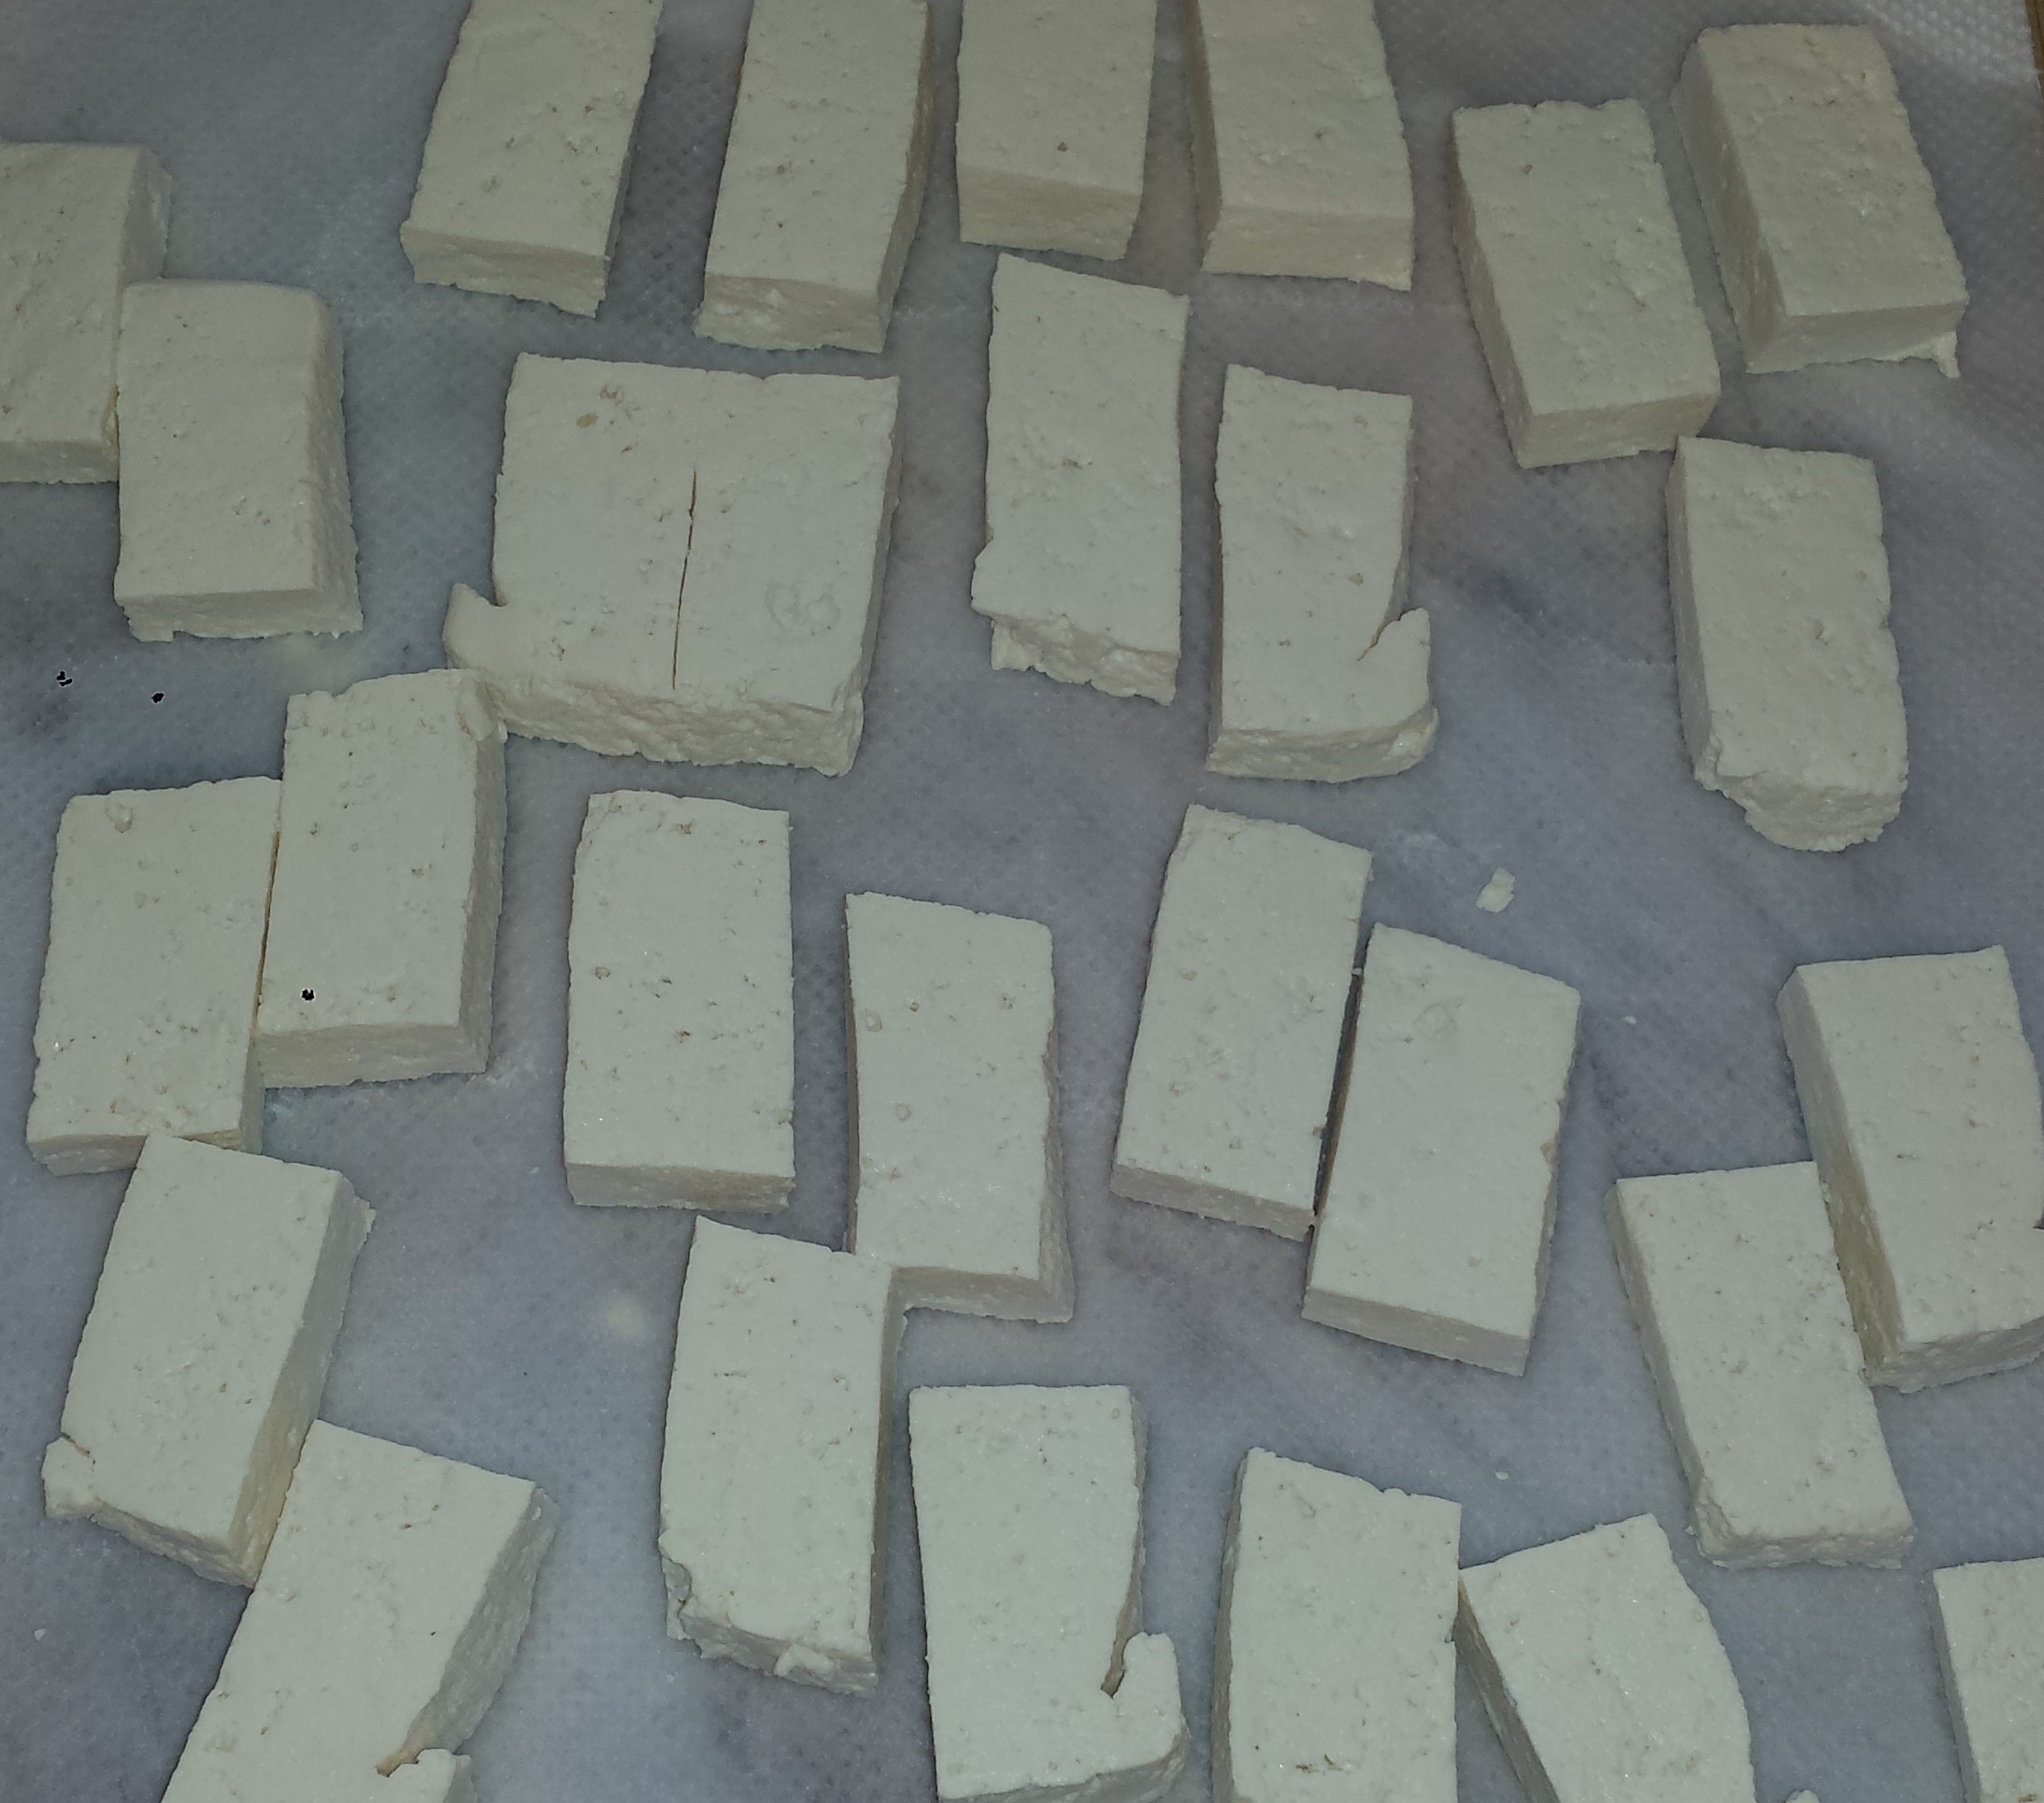
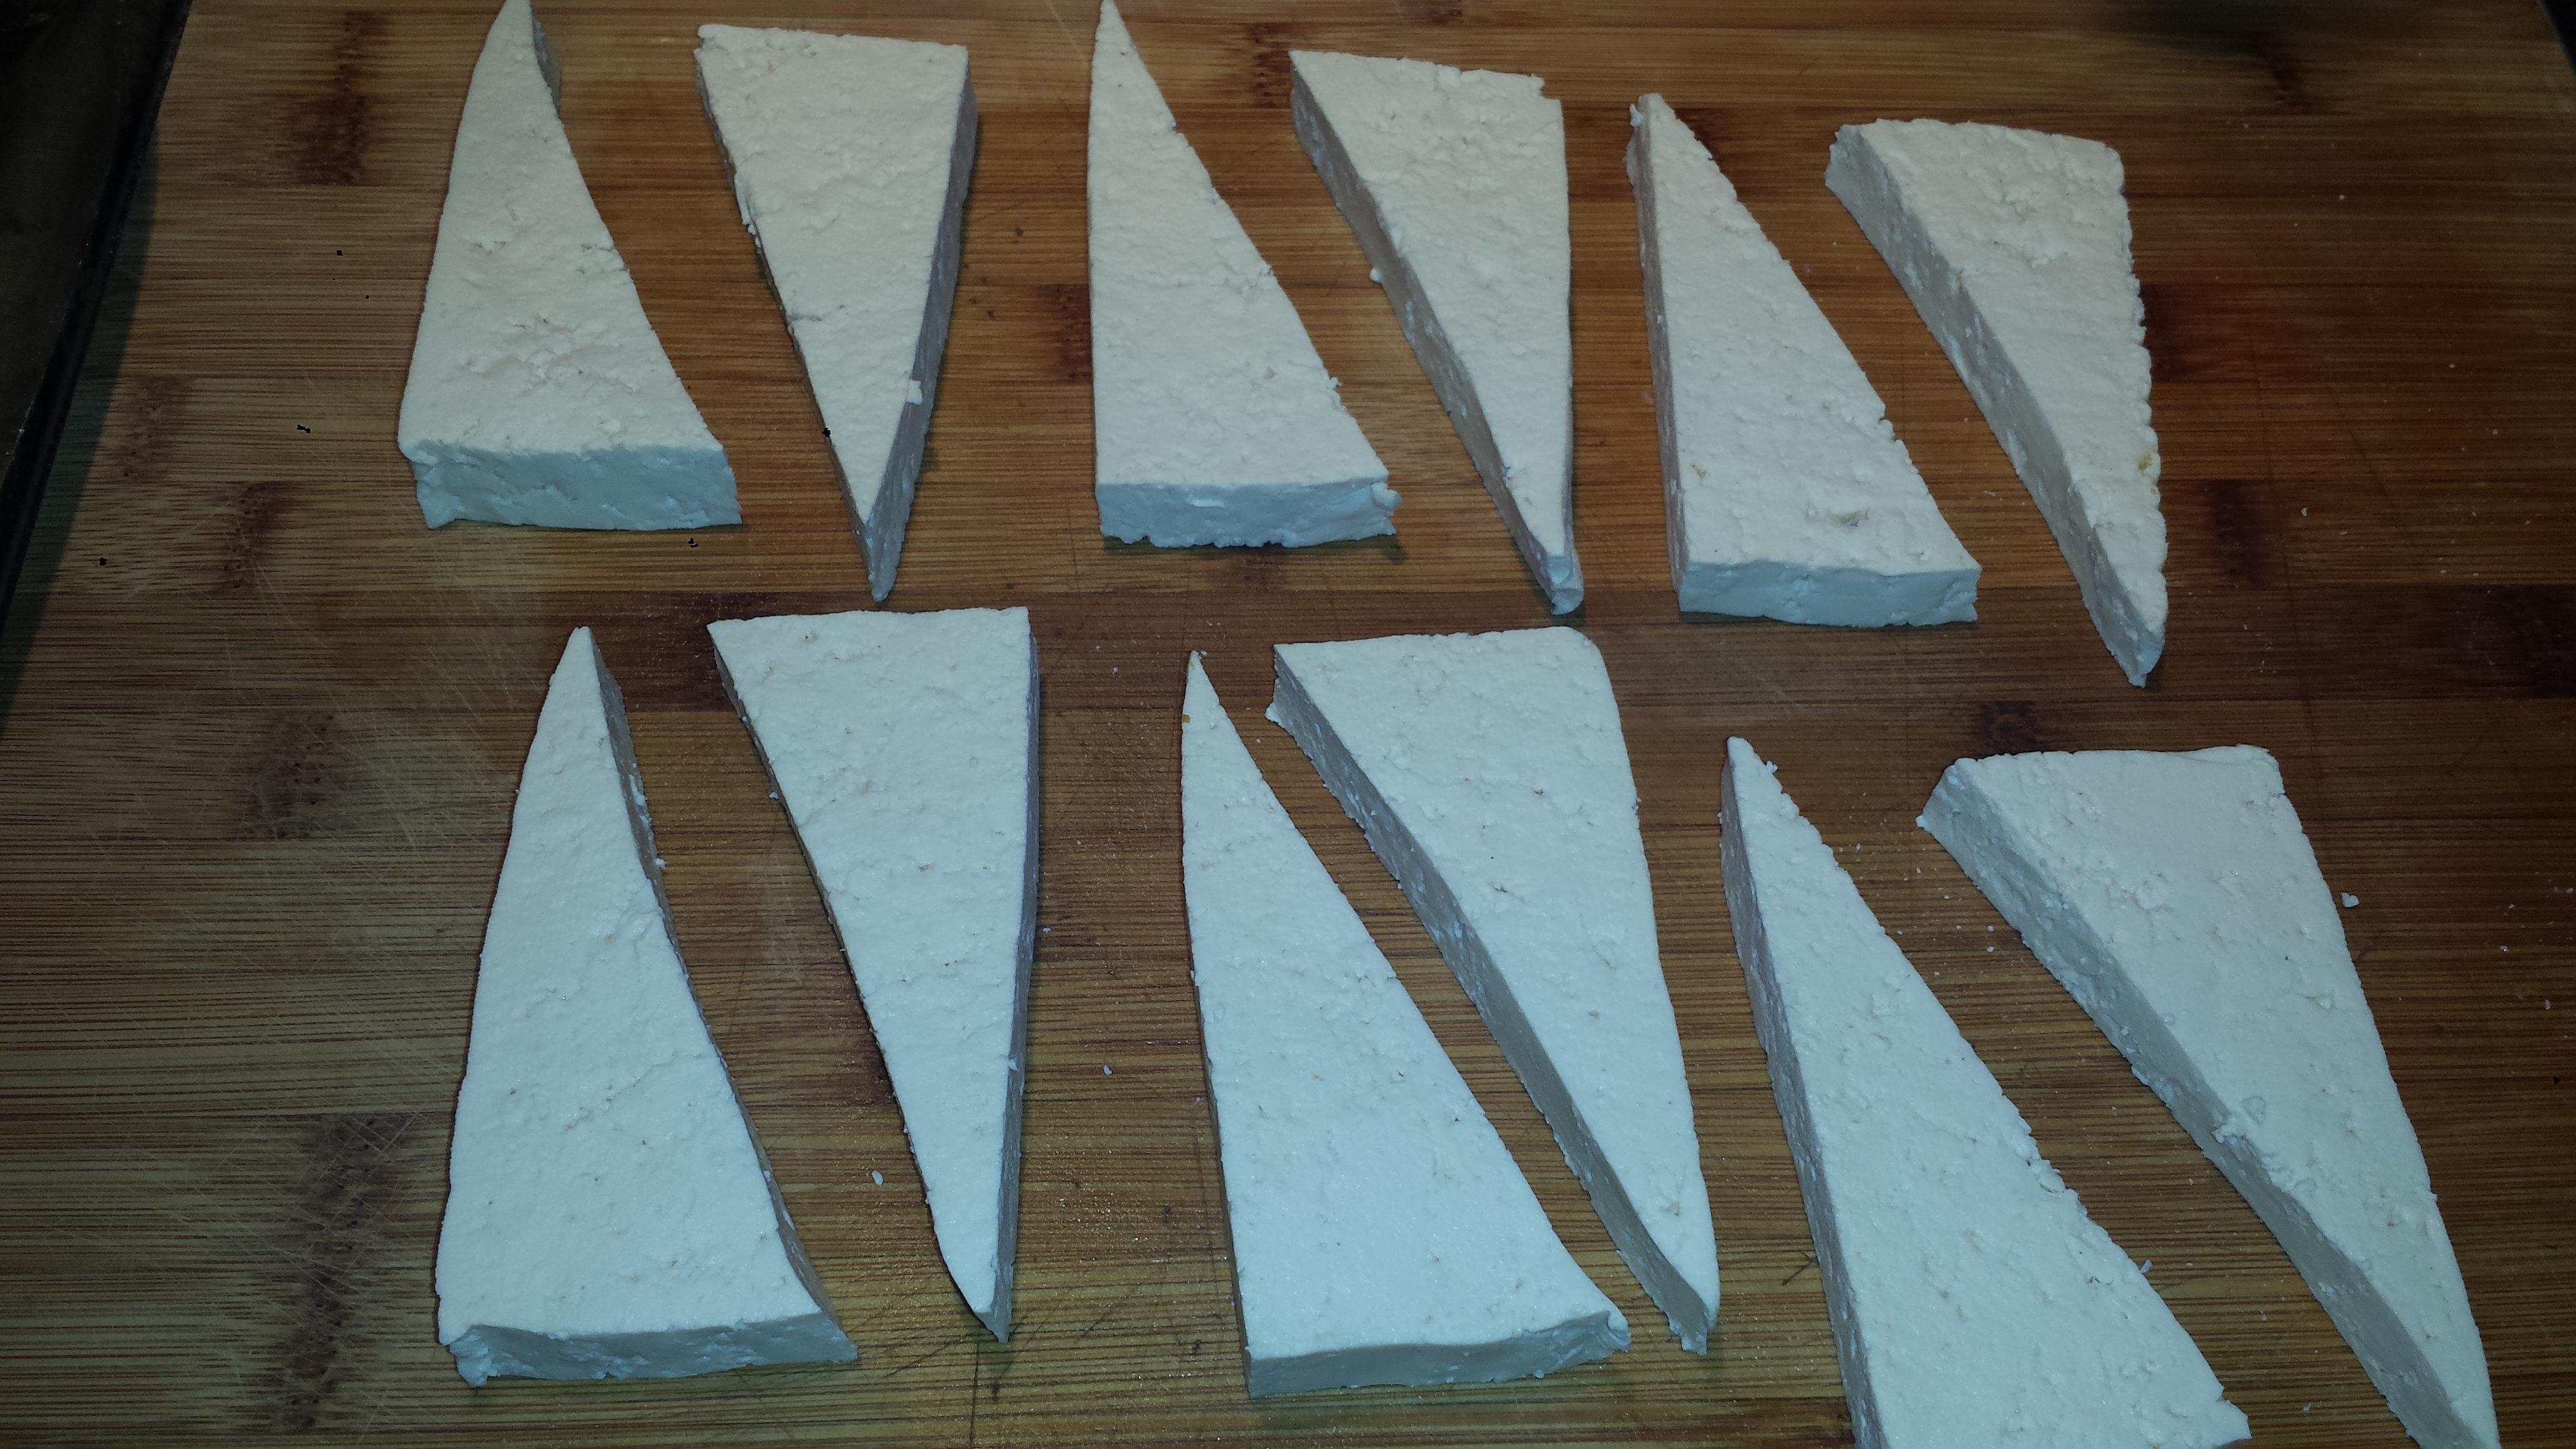
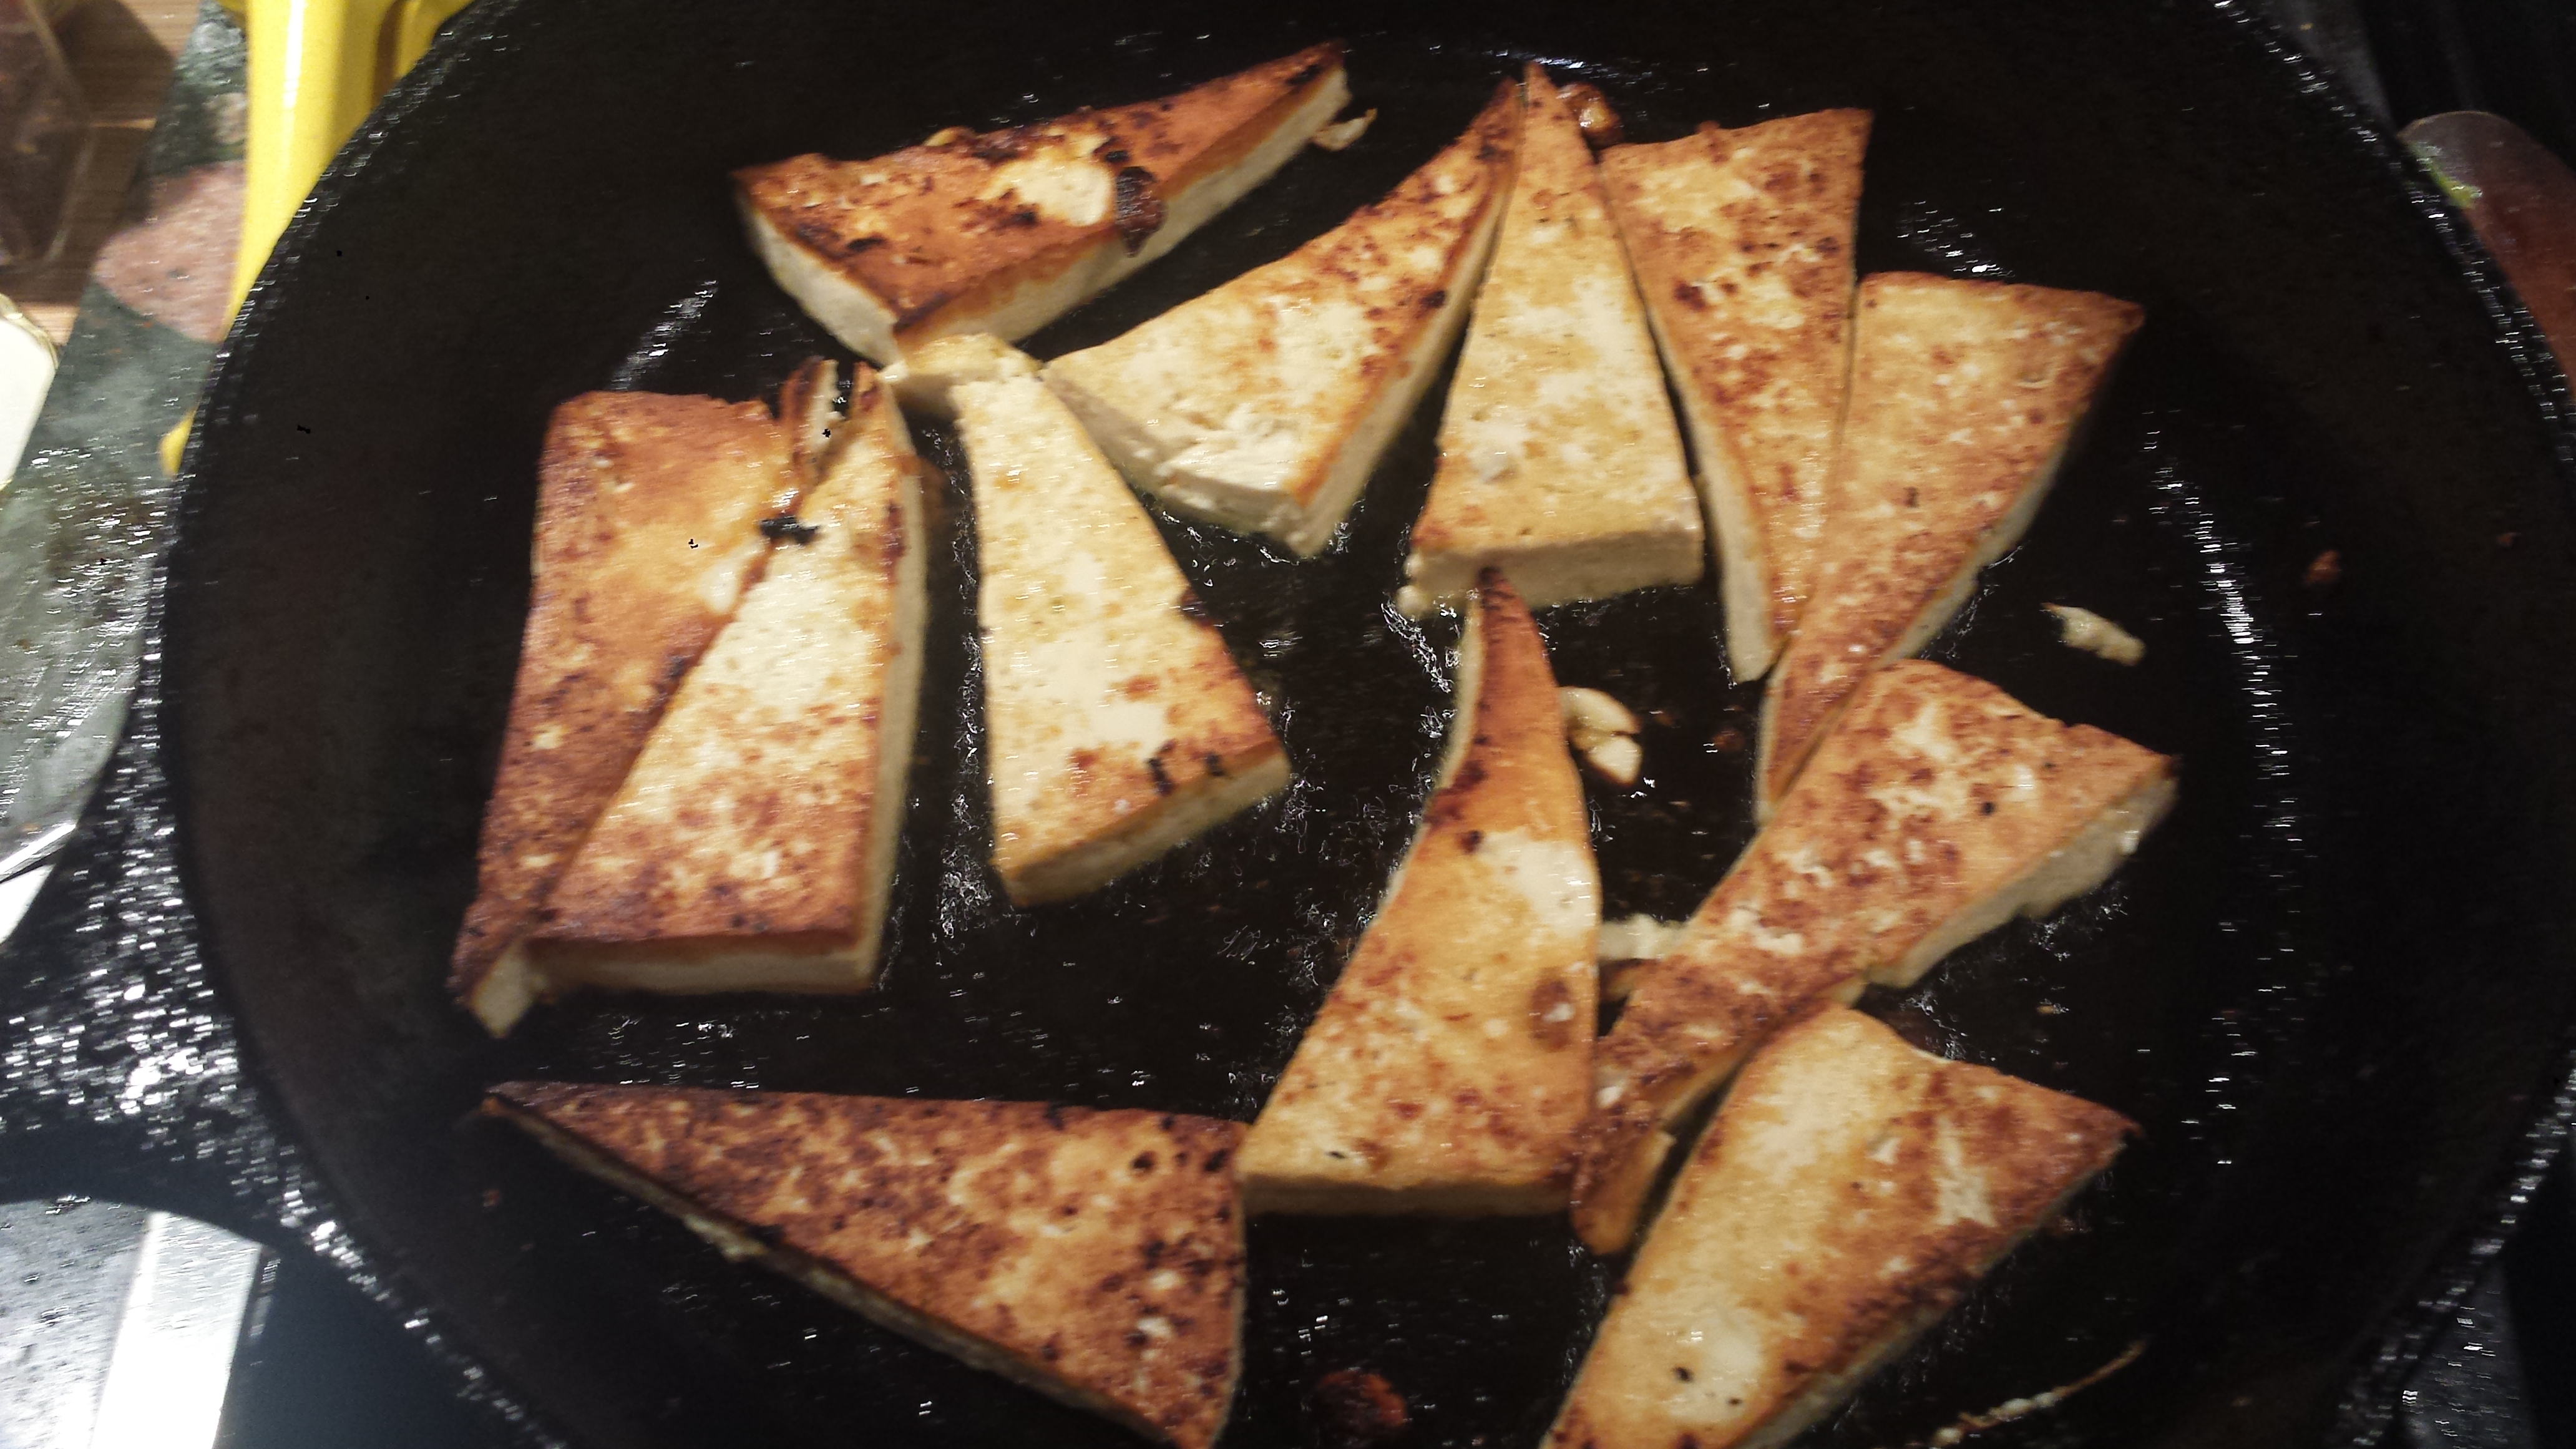
- Remove tofu from container and cut into equal thickness slices, then cut each slice in half and then half again. Place on papertowels in a single layer, put another layer of papertowels on top and place a heavy pan on top to press out the water. Let sit at least 10 minutes.

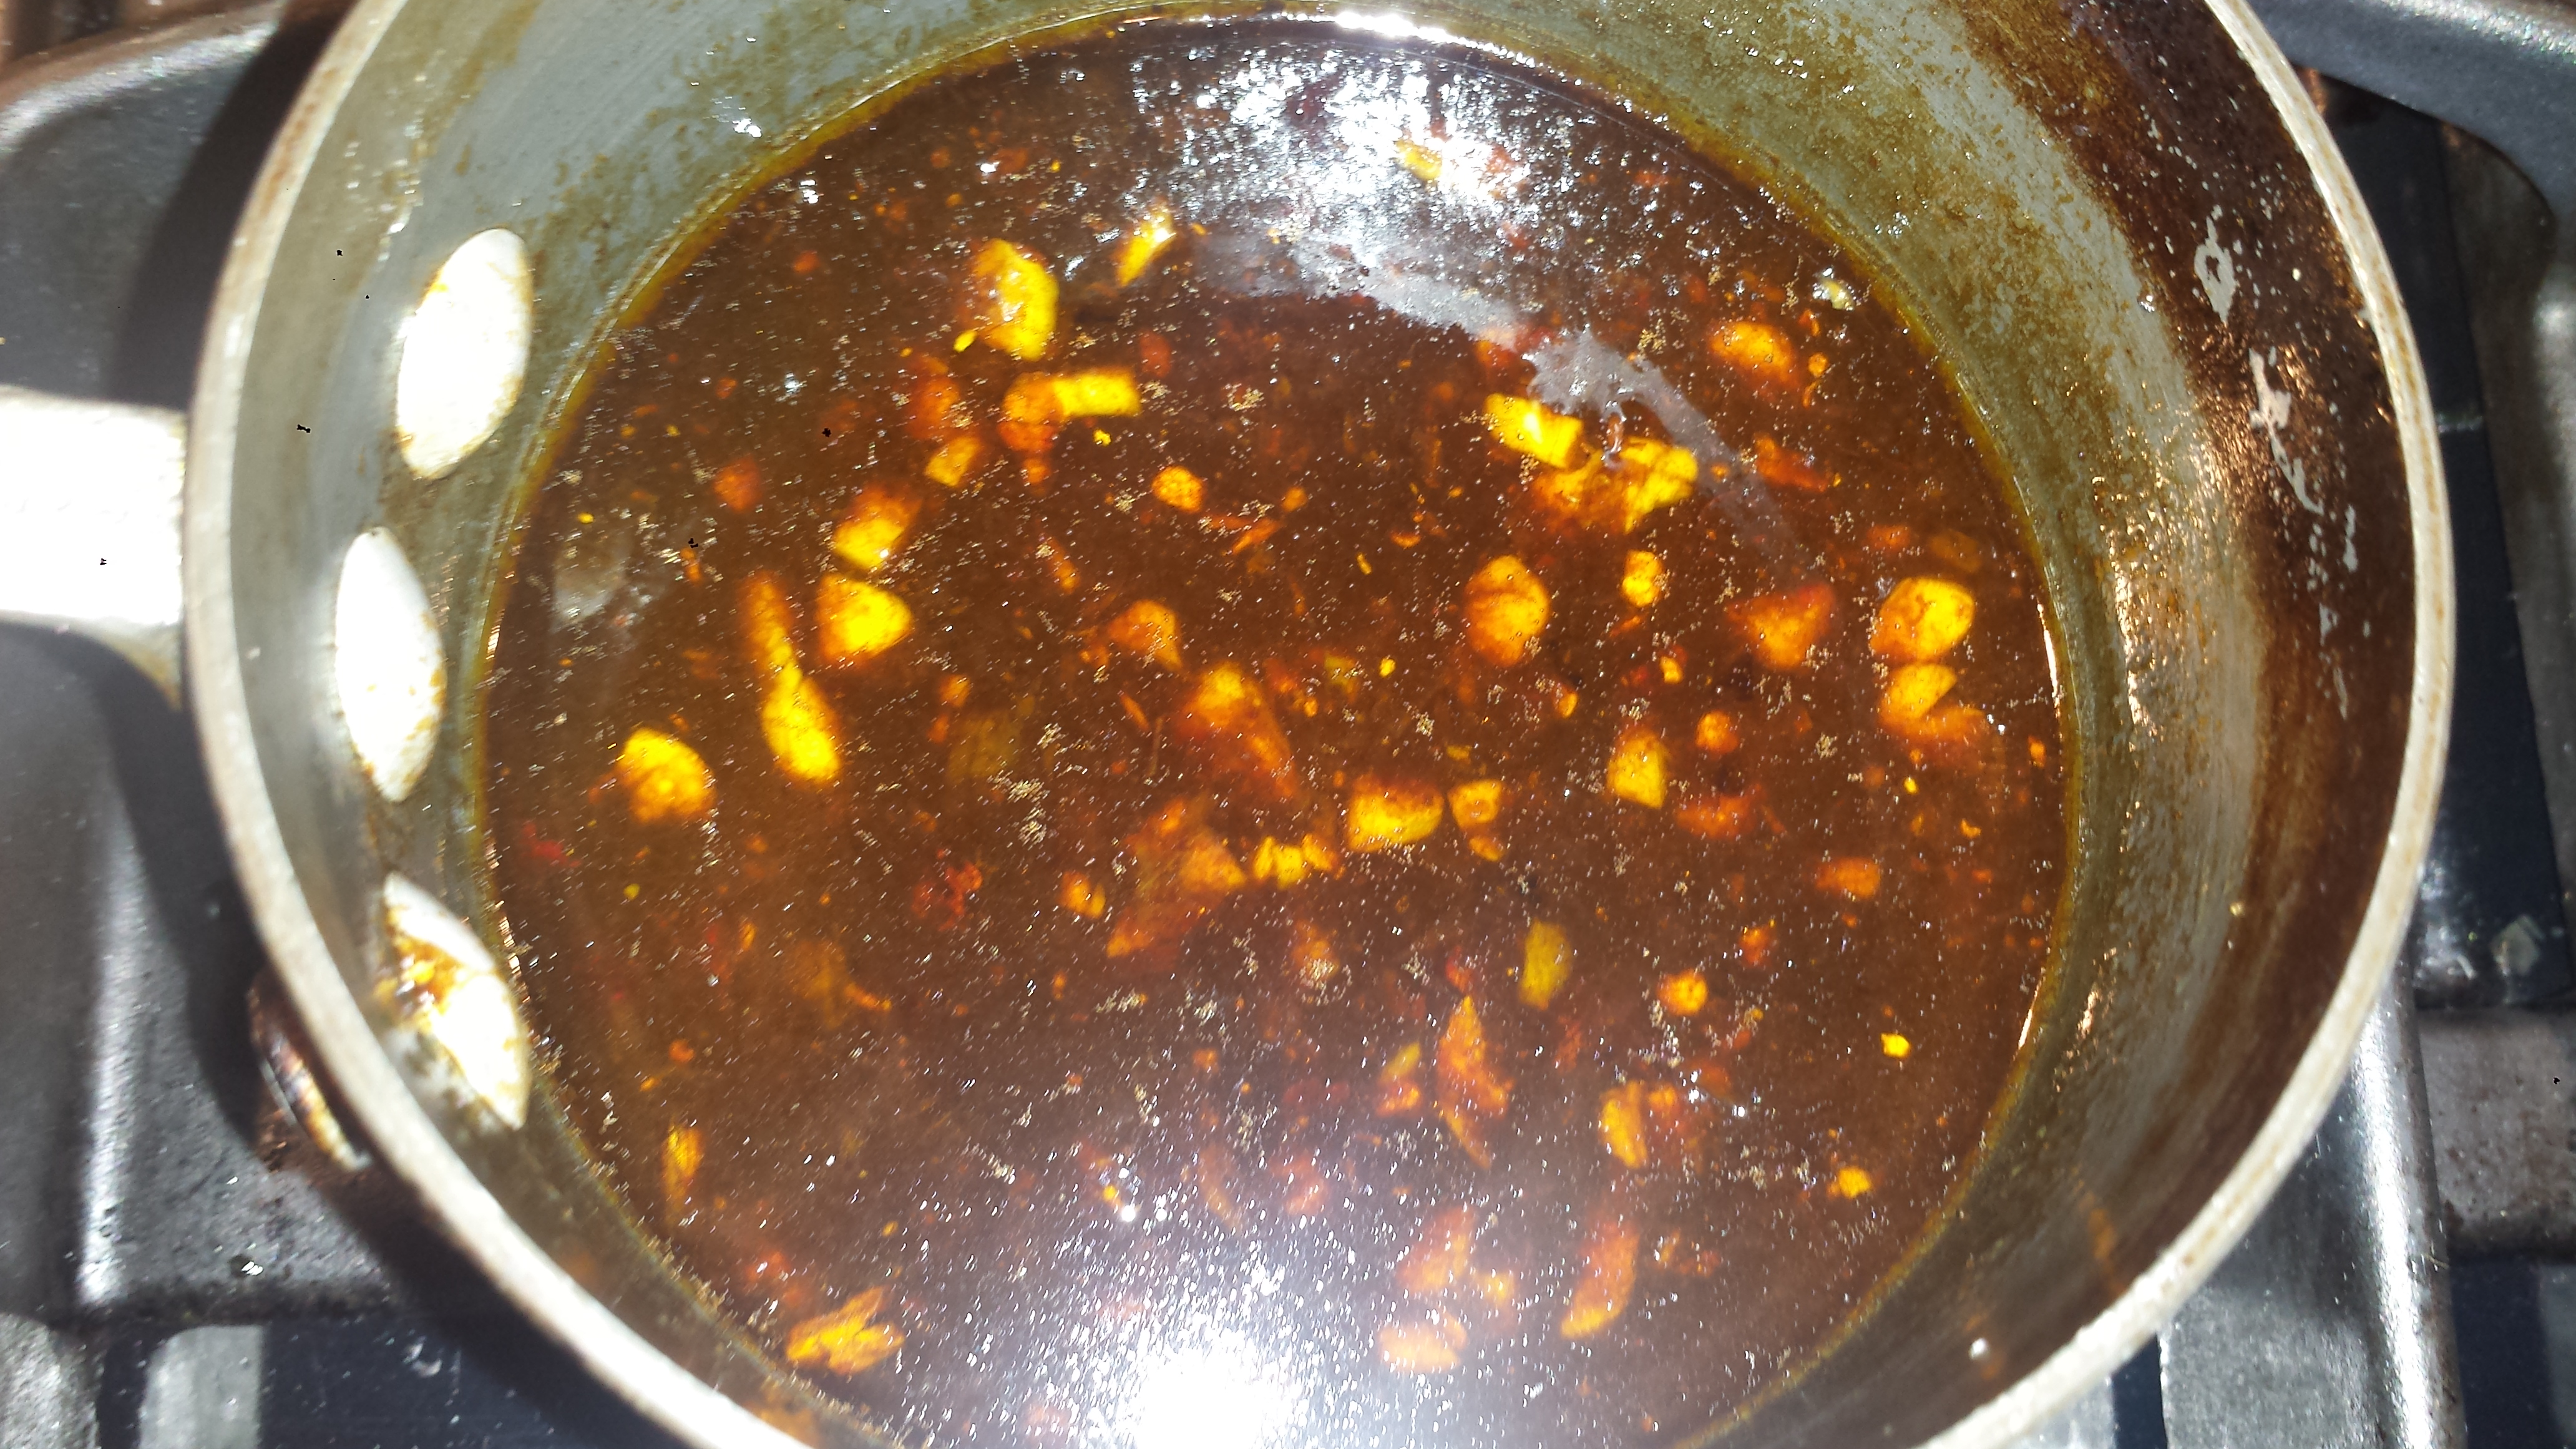
- Combine garlic, scallion, sesame seeds, soy sauce, sesame oil, red pepper flakes and sugar together in a small bowl and set aside.
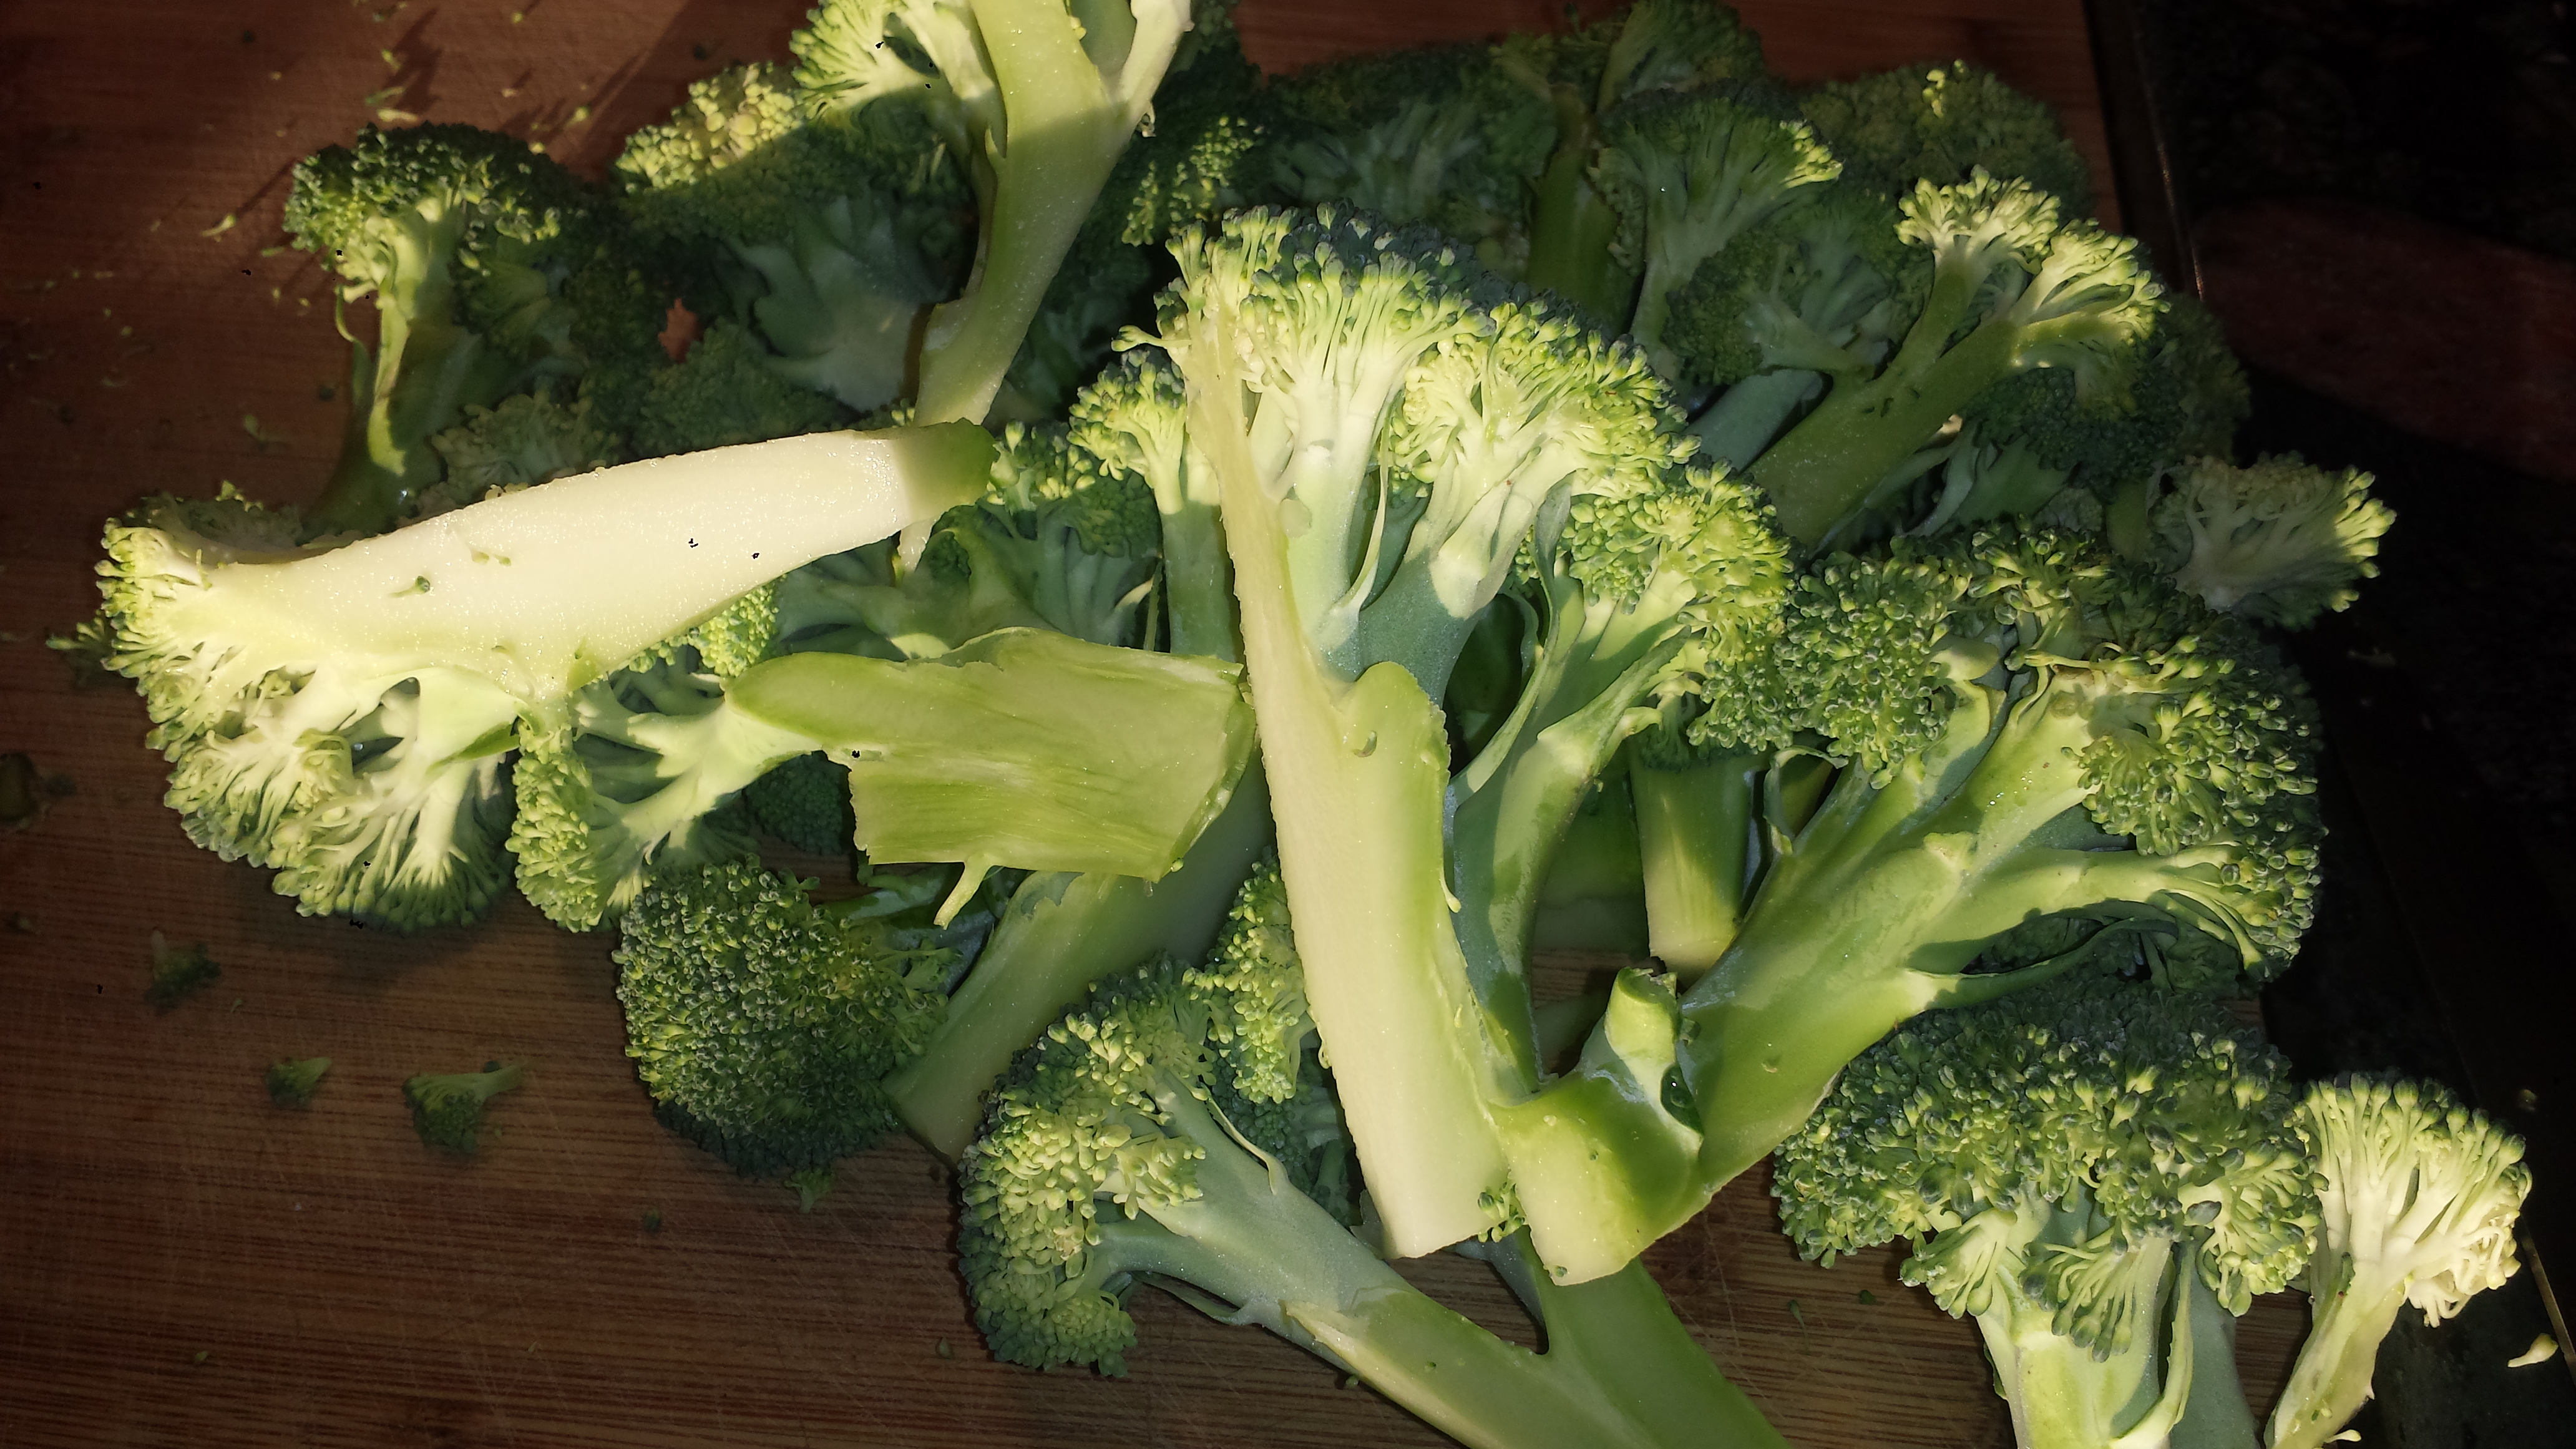
- Cut broccoli into florets.
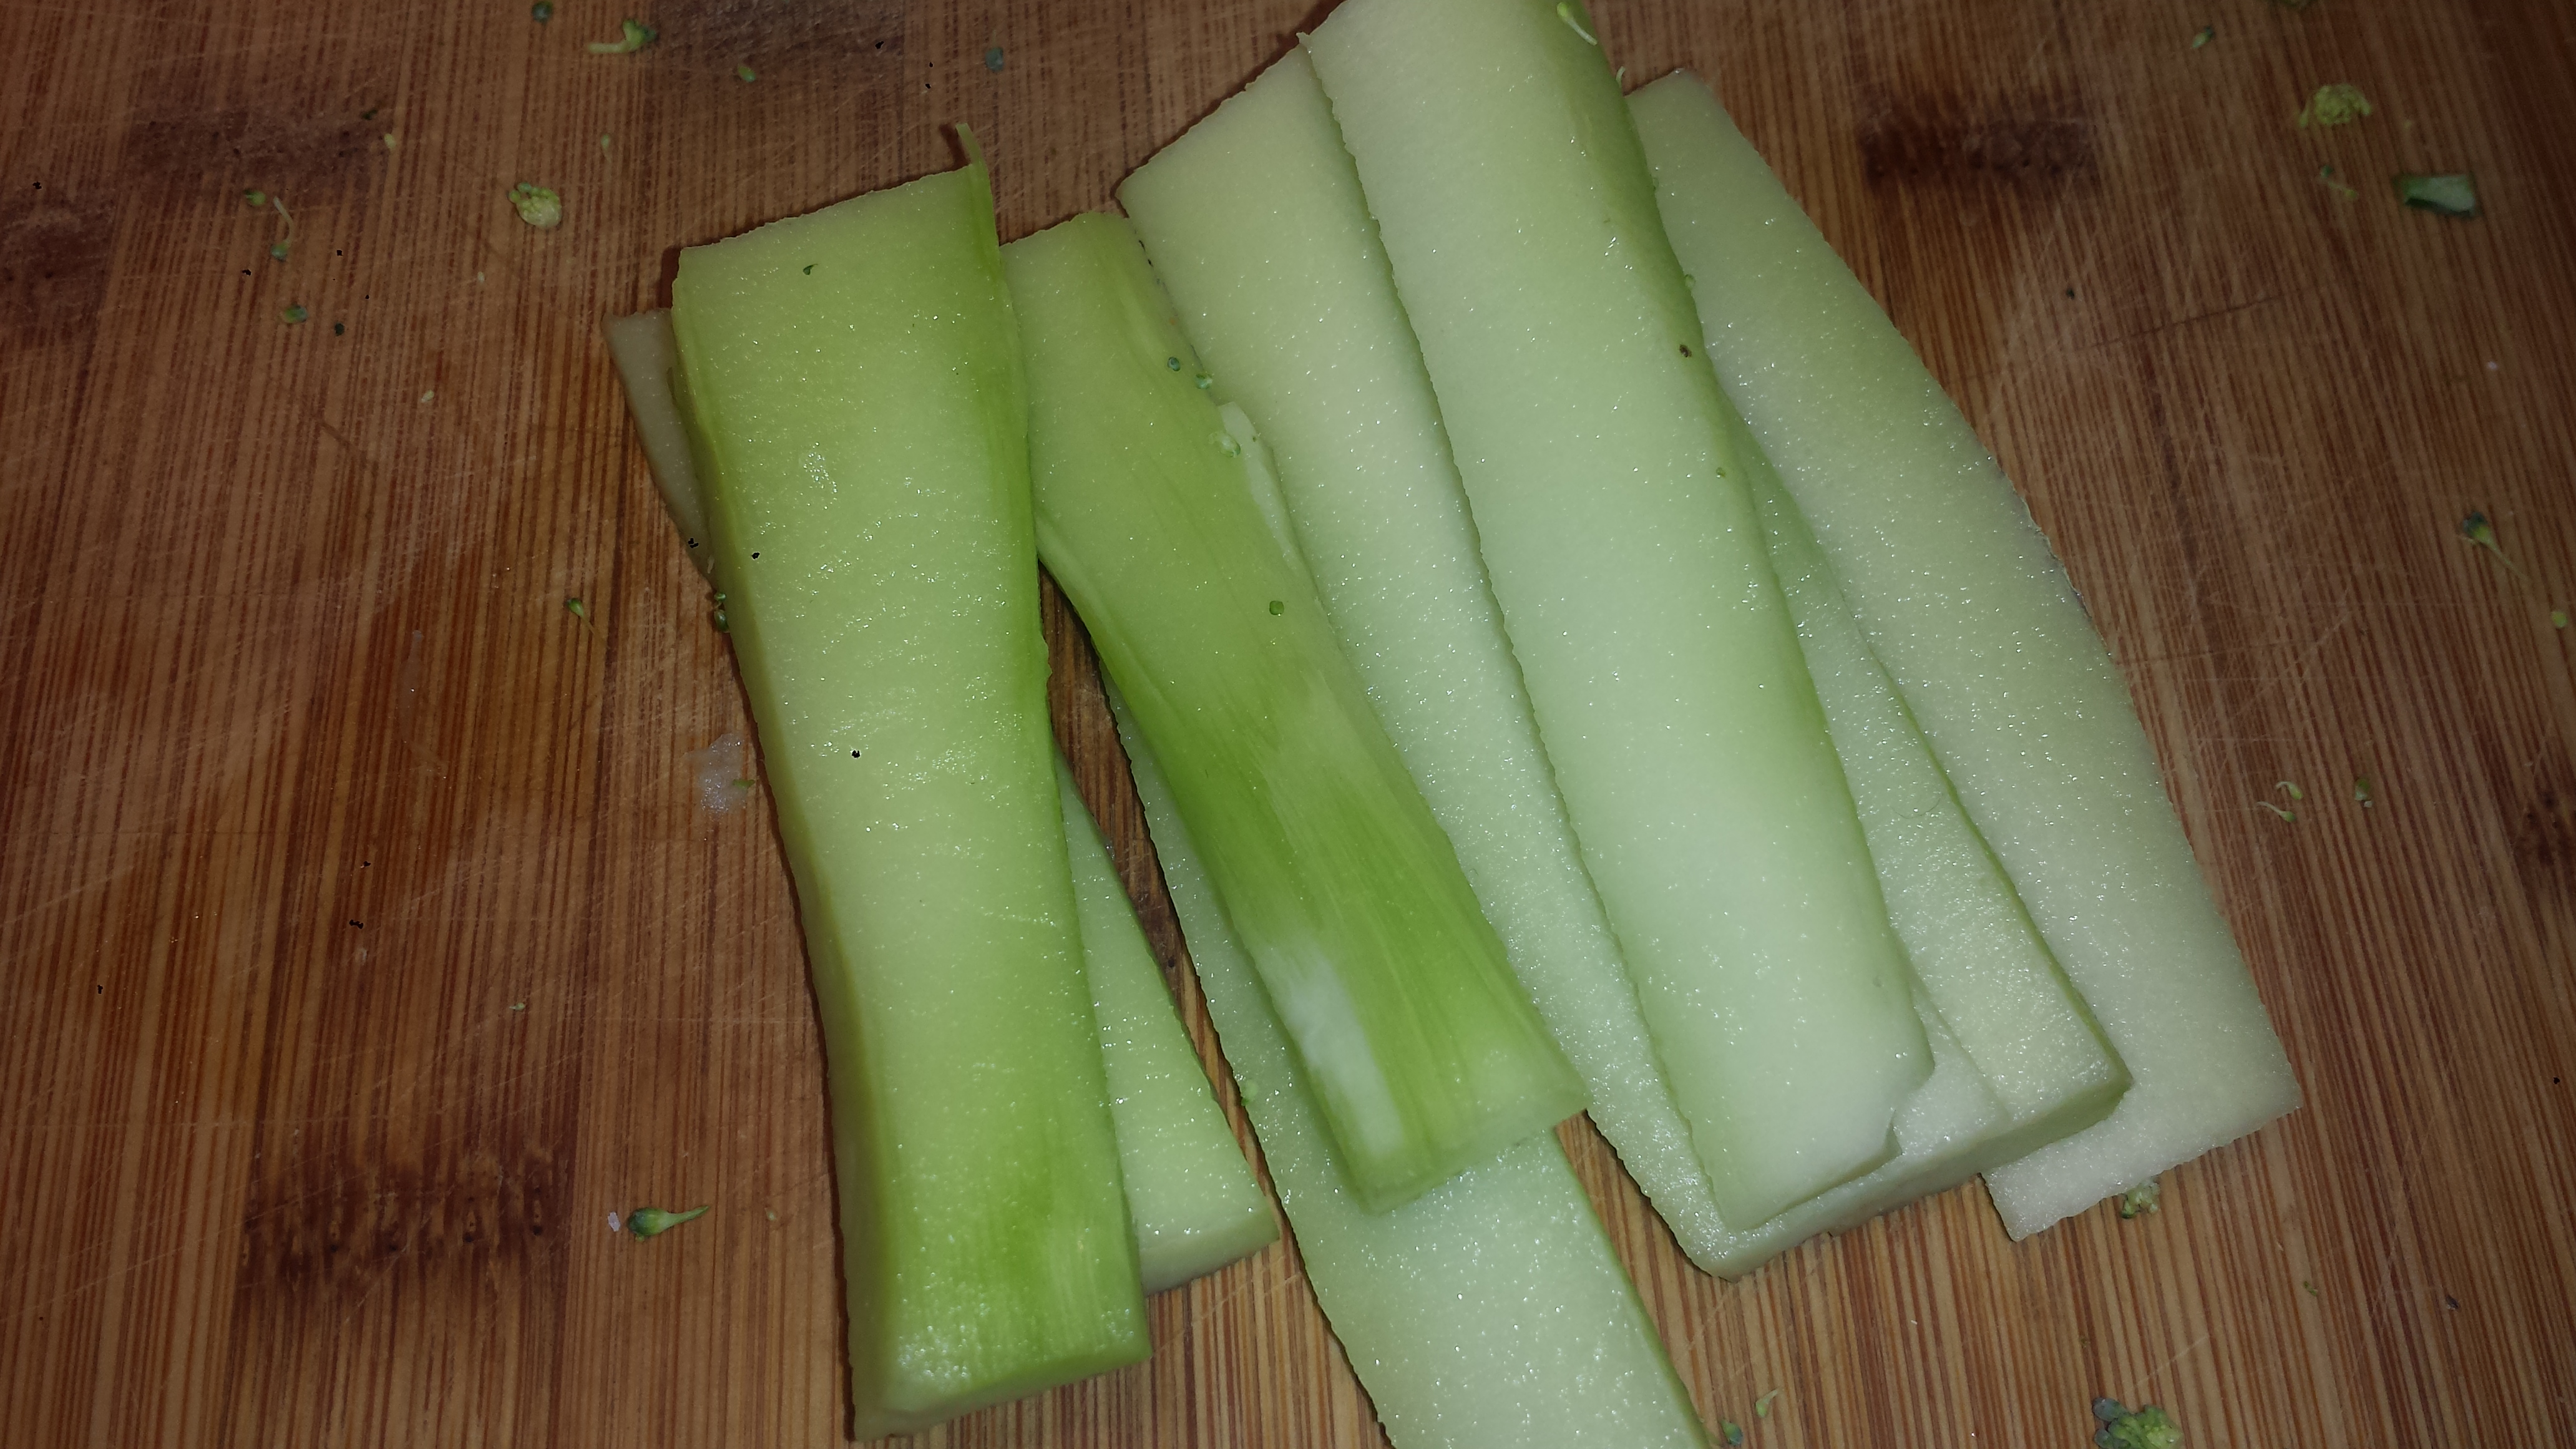
- If your broccoli has nice thick stems, peel and slice them and cut to similar size as florets

- Wipe mushrooms with a damp papertowel and slice.

- Heat half of oil in a heavy pan or wok and cook tofu on medium high heat until golden on all four sides. Remove tofu to a plate and set aside.
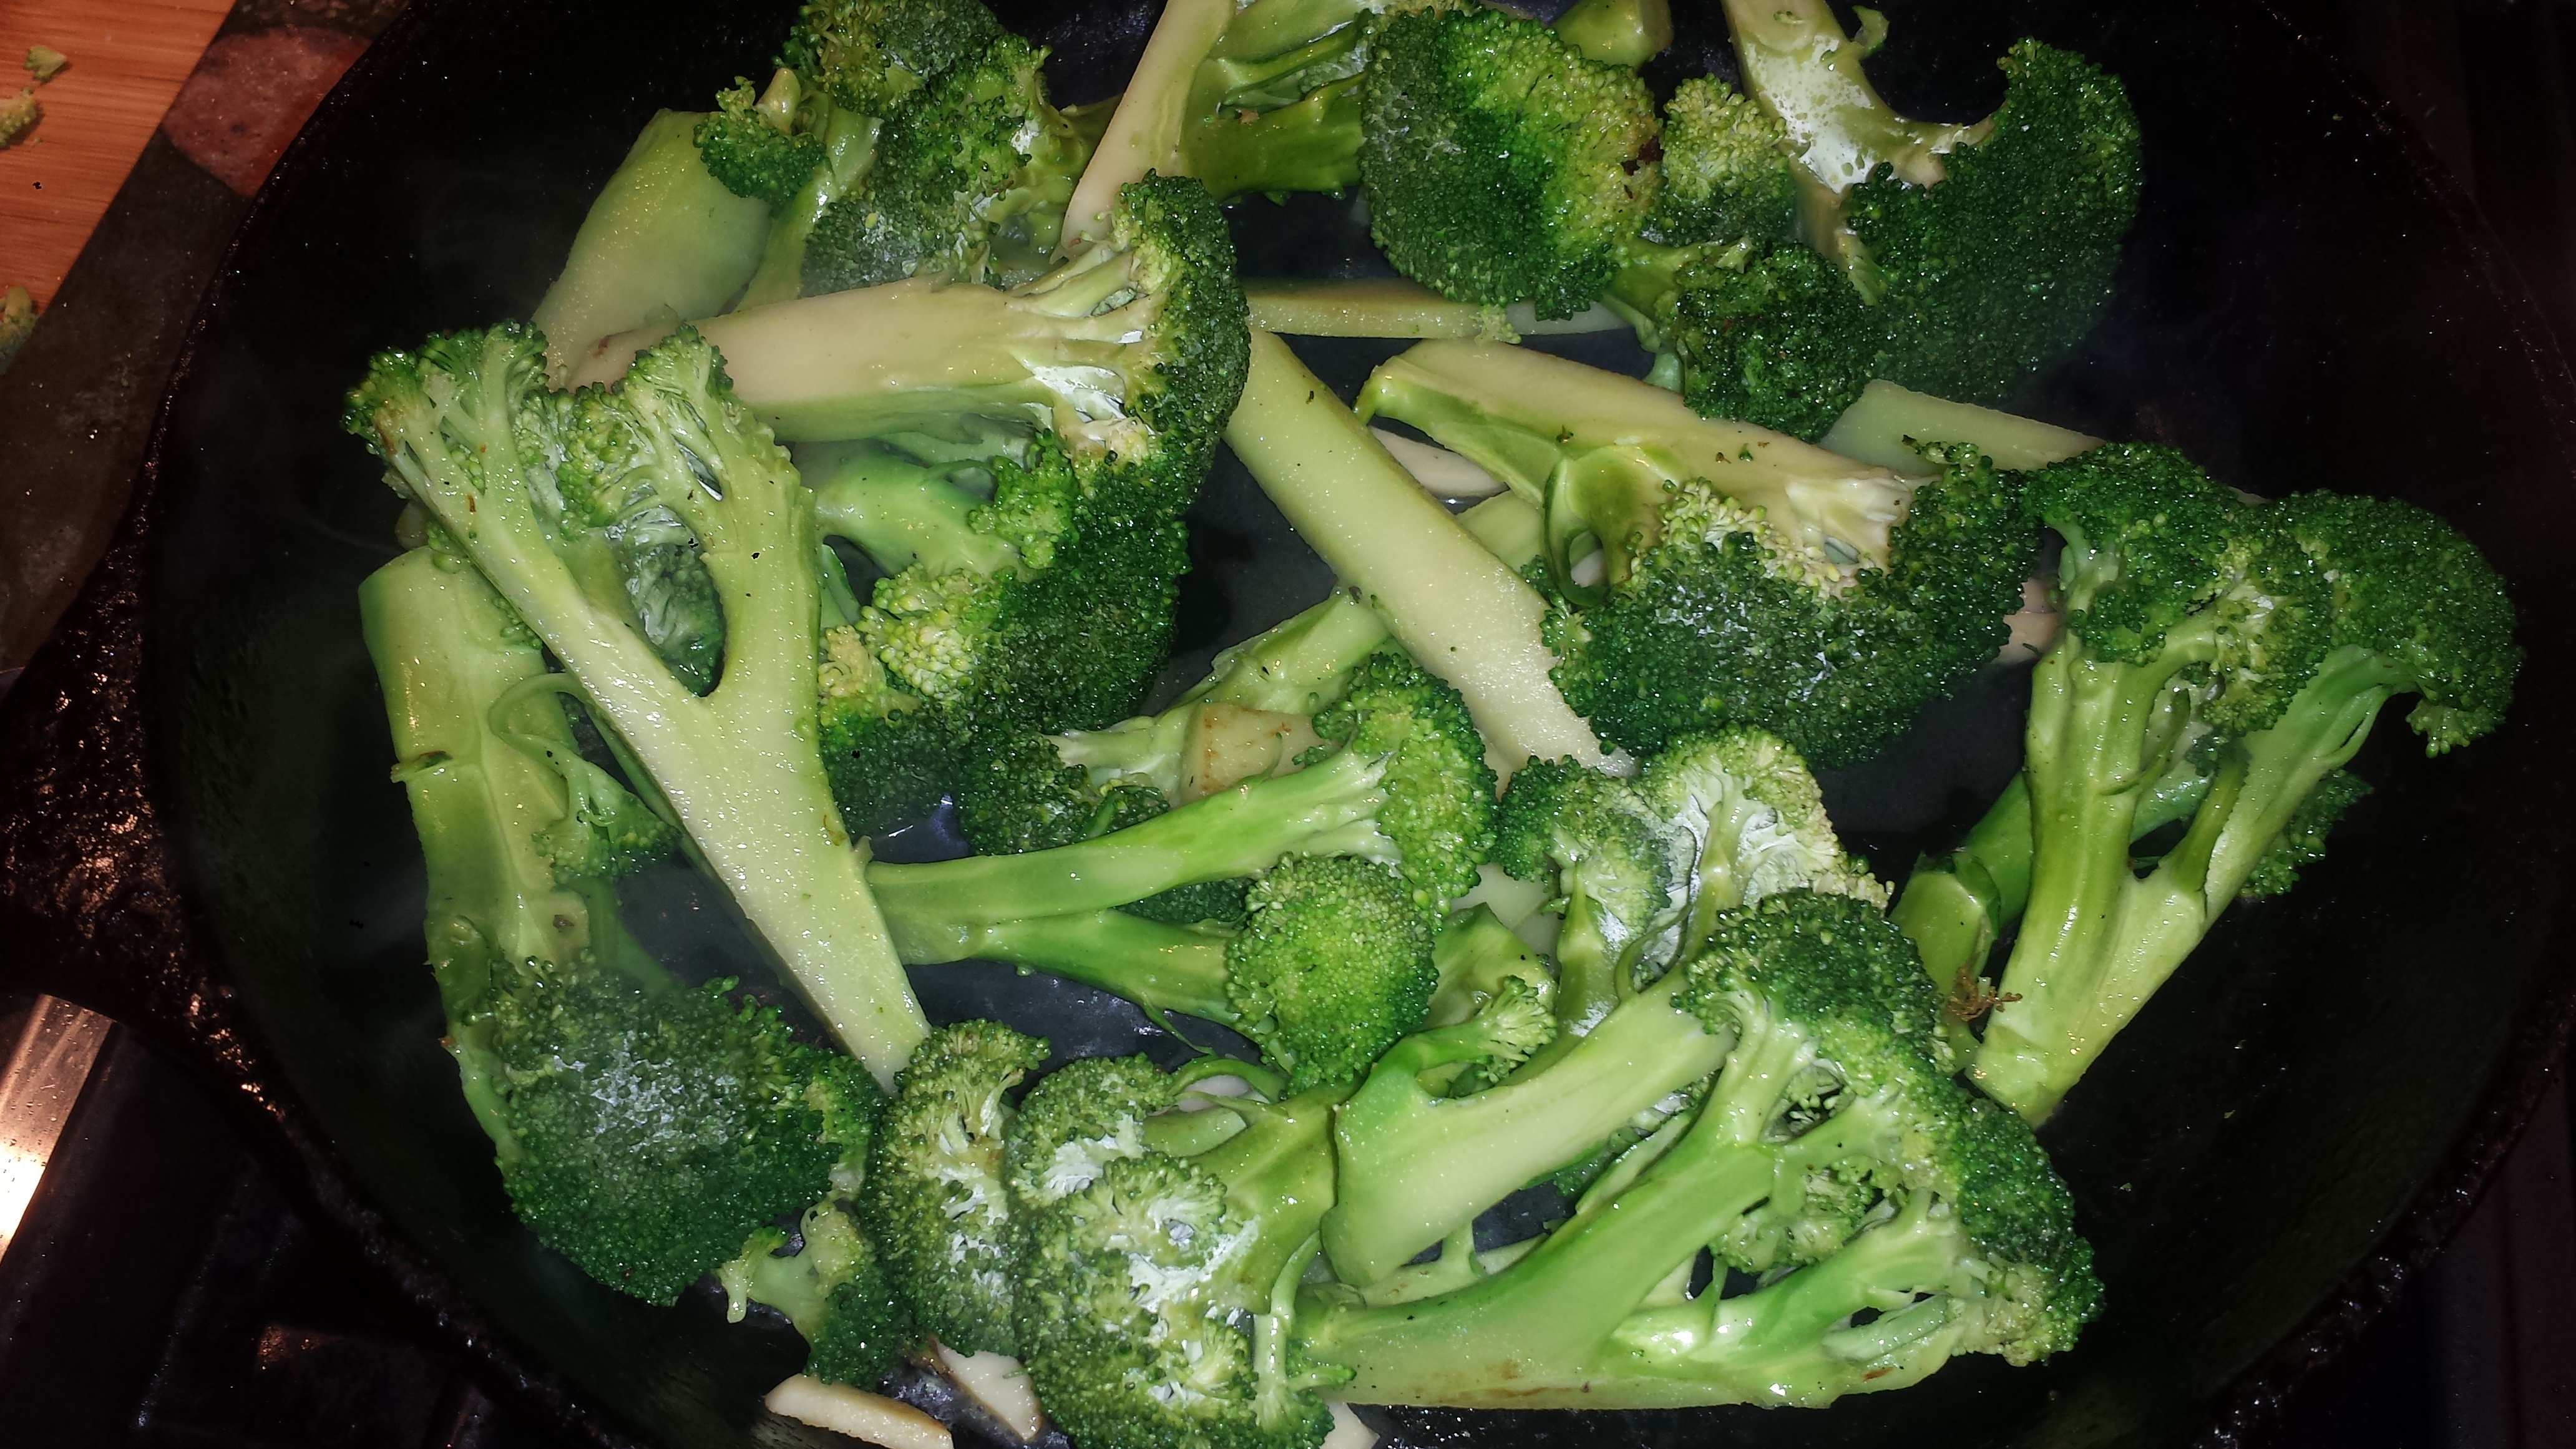
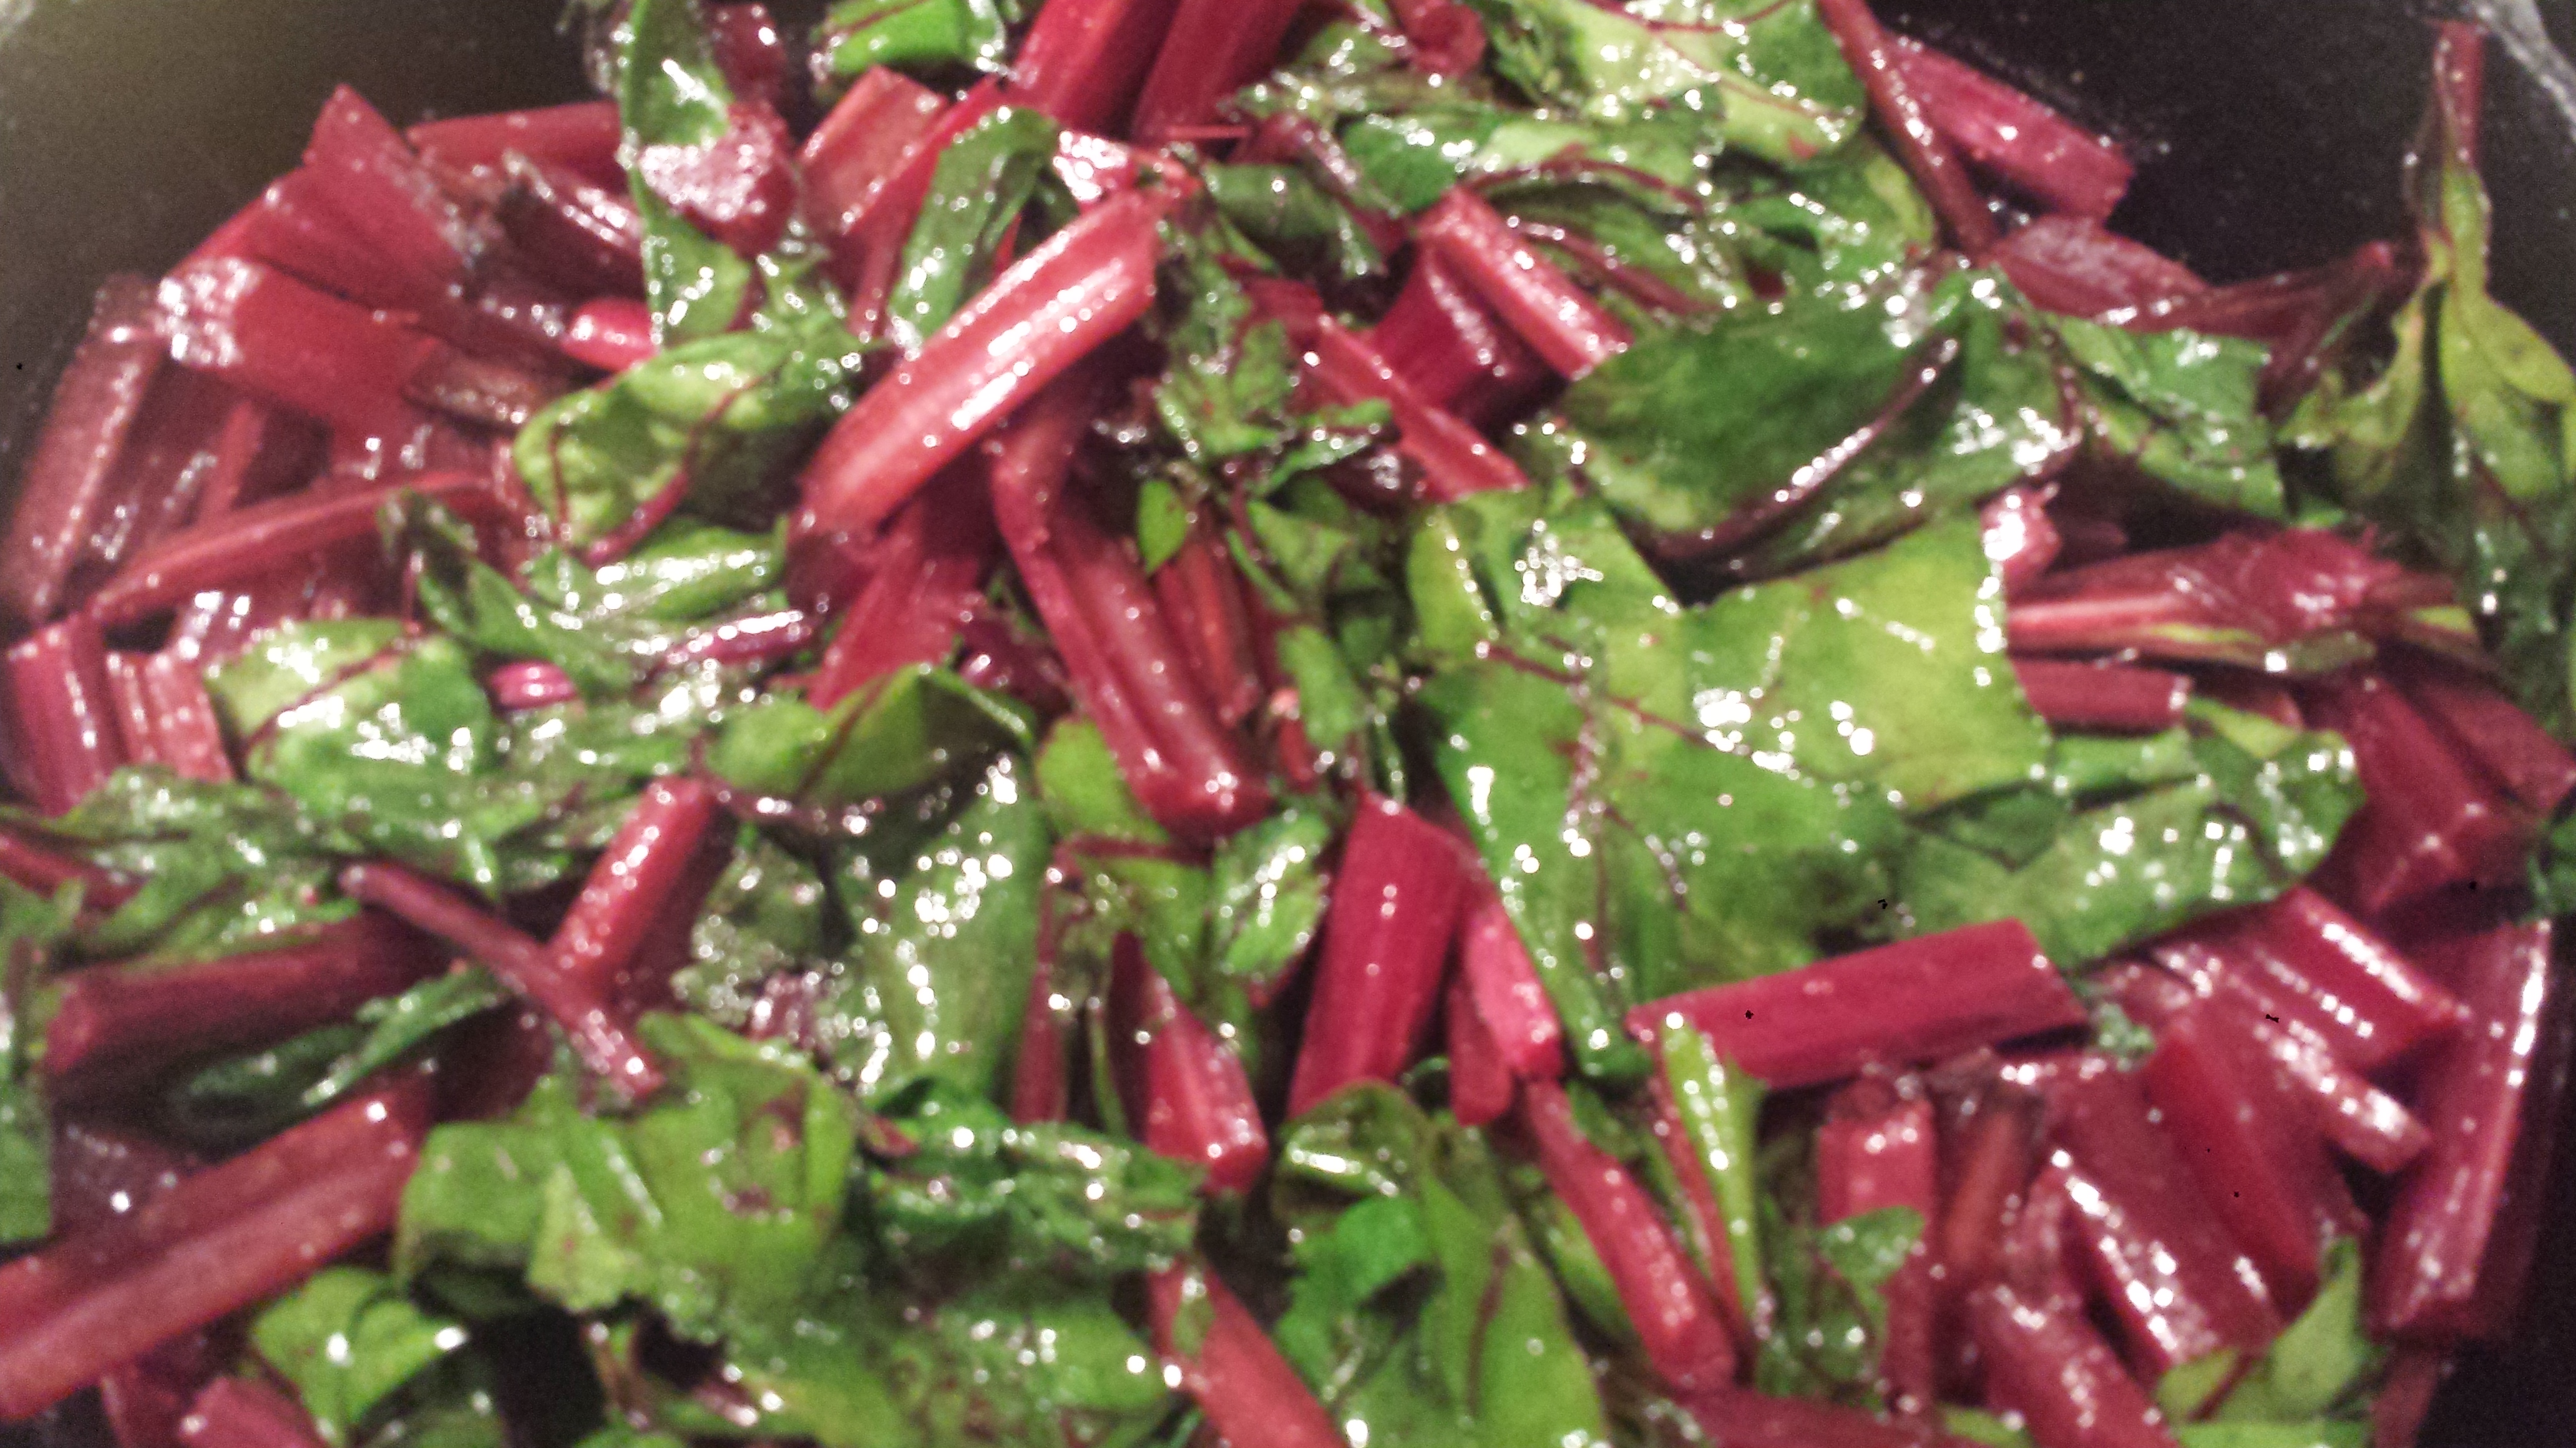
- Add a bit more oil and saute broccoli on medium heat about 5 minutes or until softened but still bright green. If the pan gets too dry add water not more oil. Remove from pan and set aside.
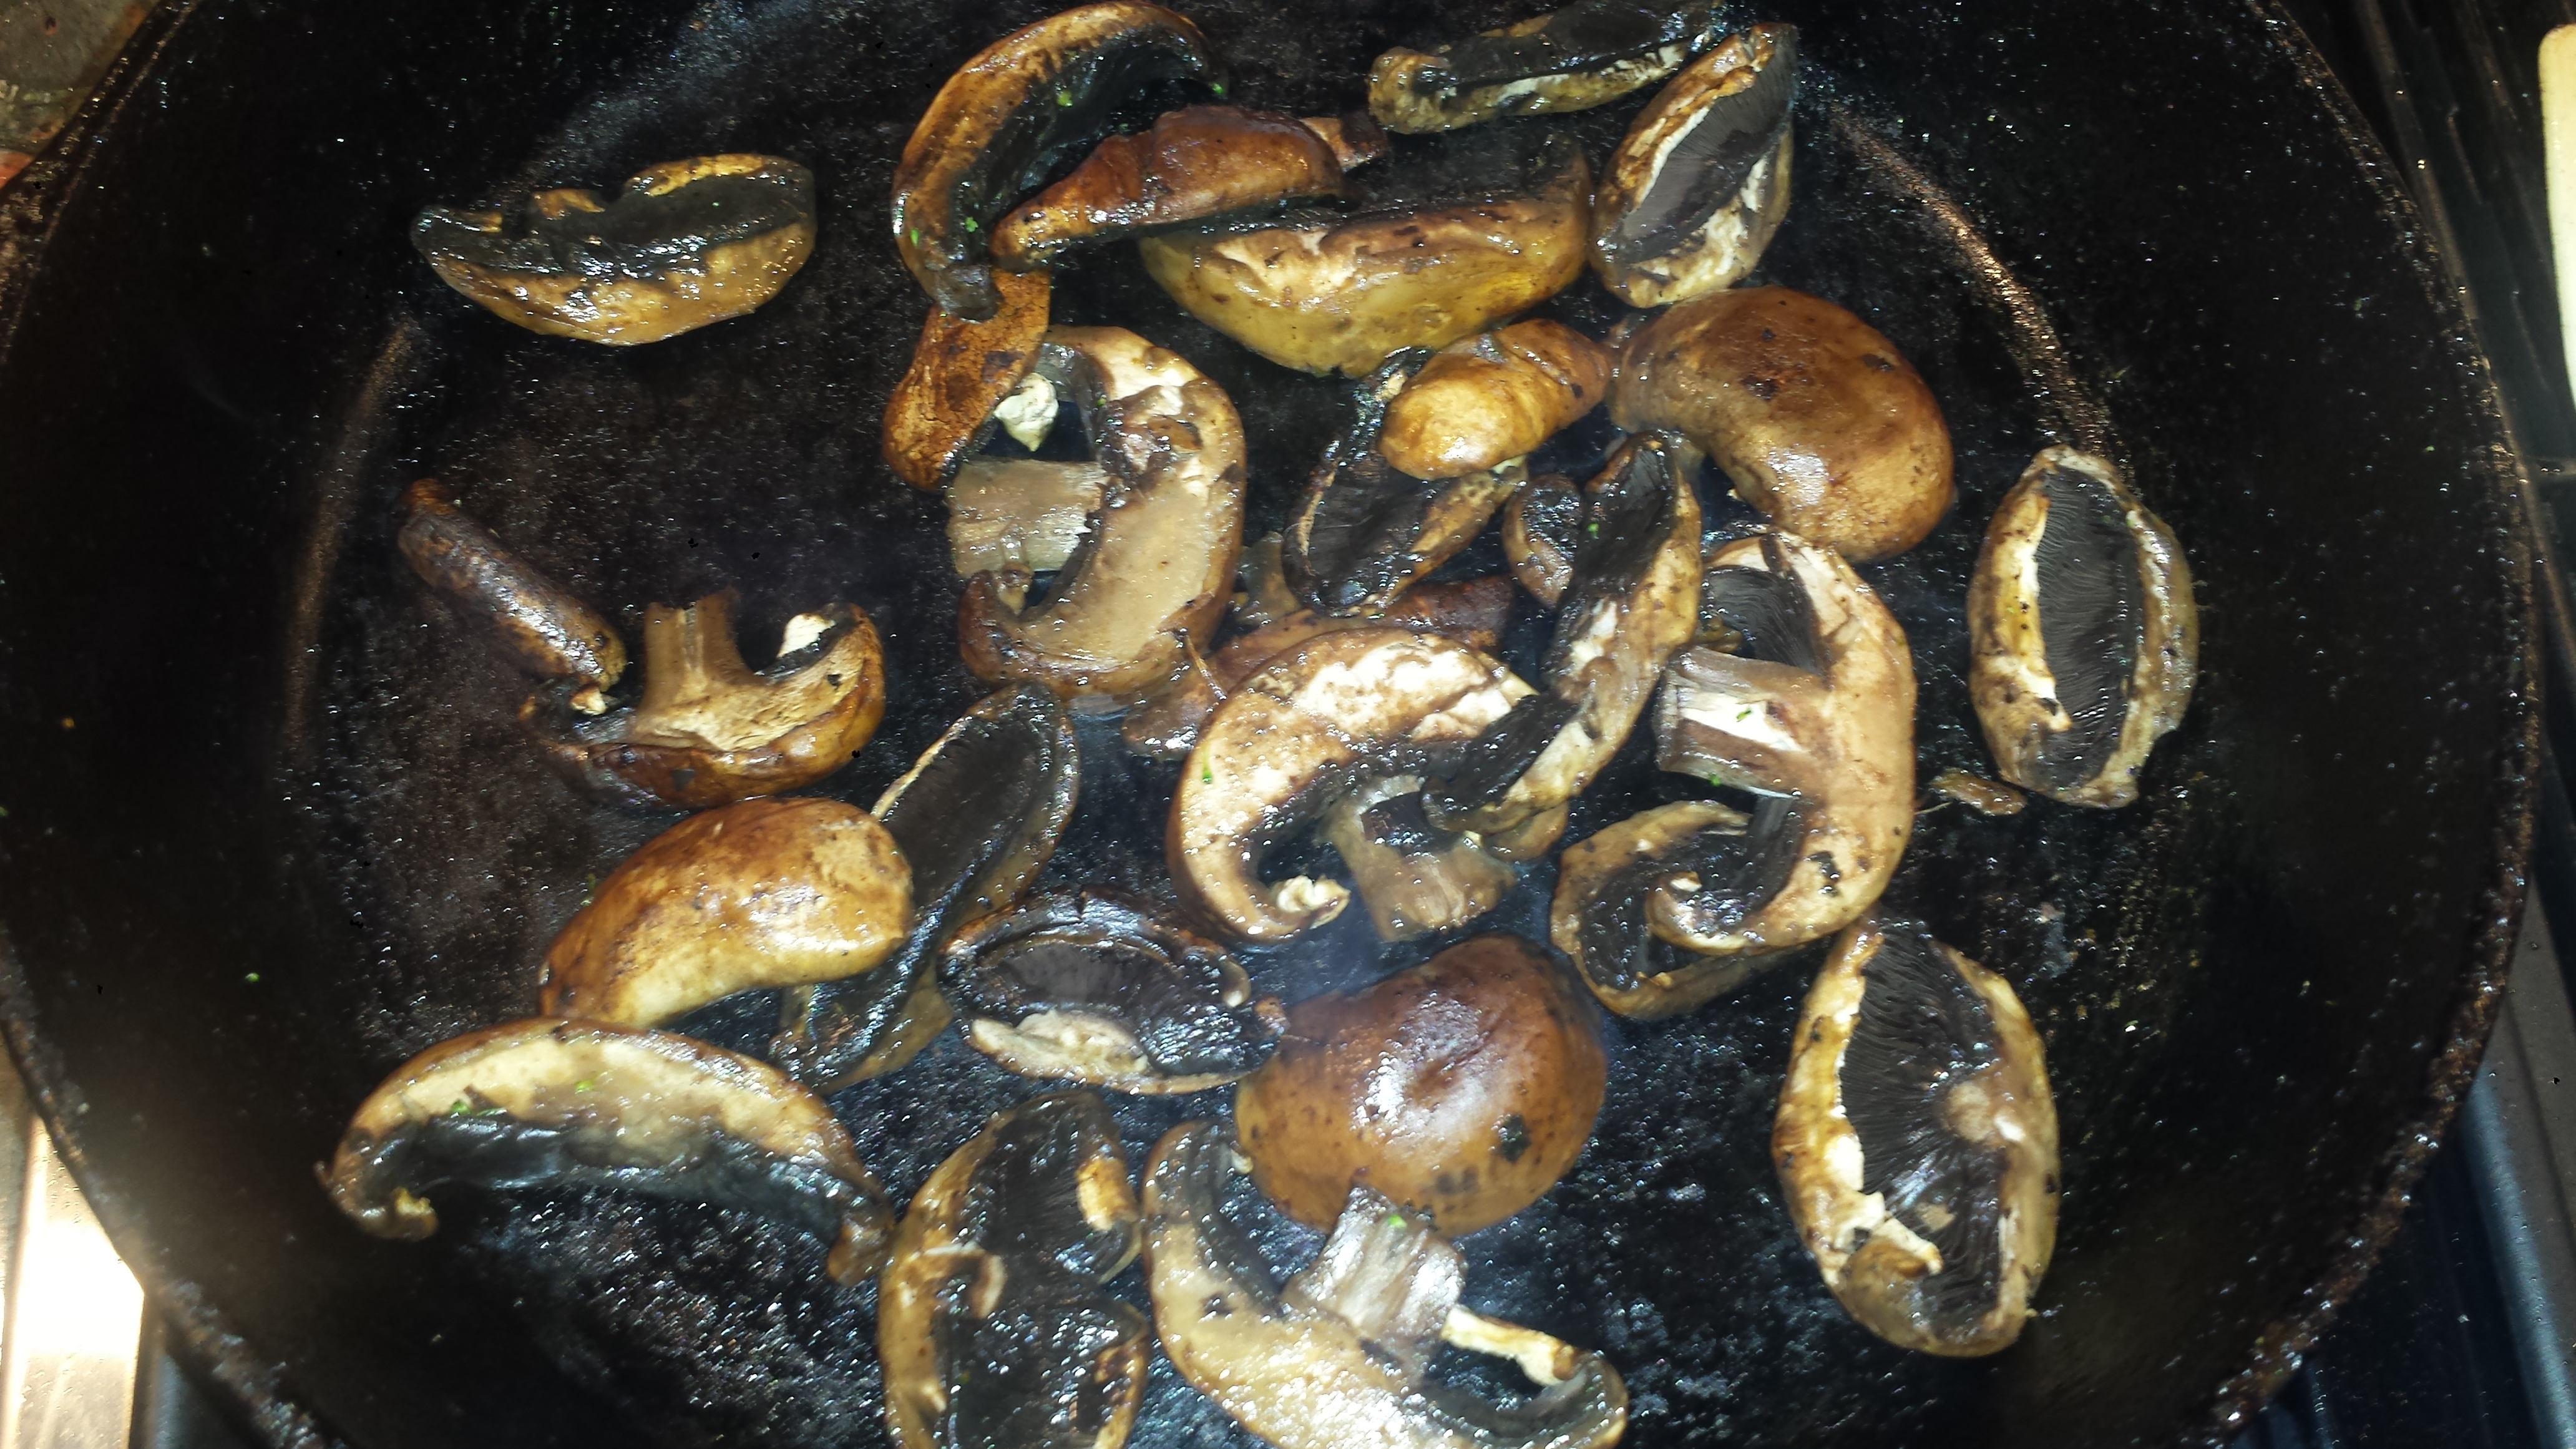
- Add last bit of oil to pan and saute mushrooms until they lose their water.
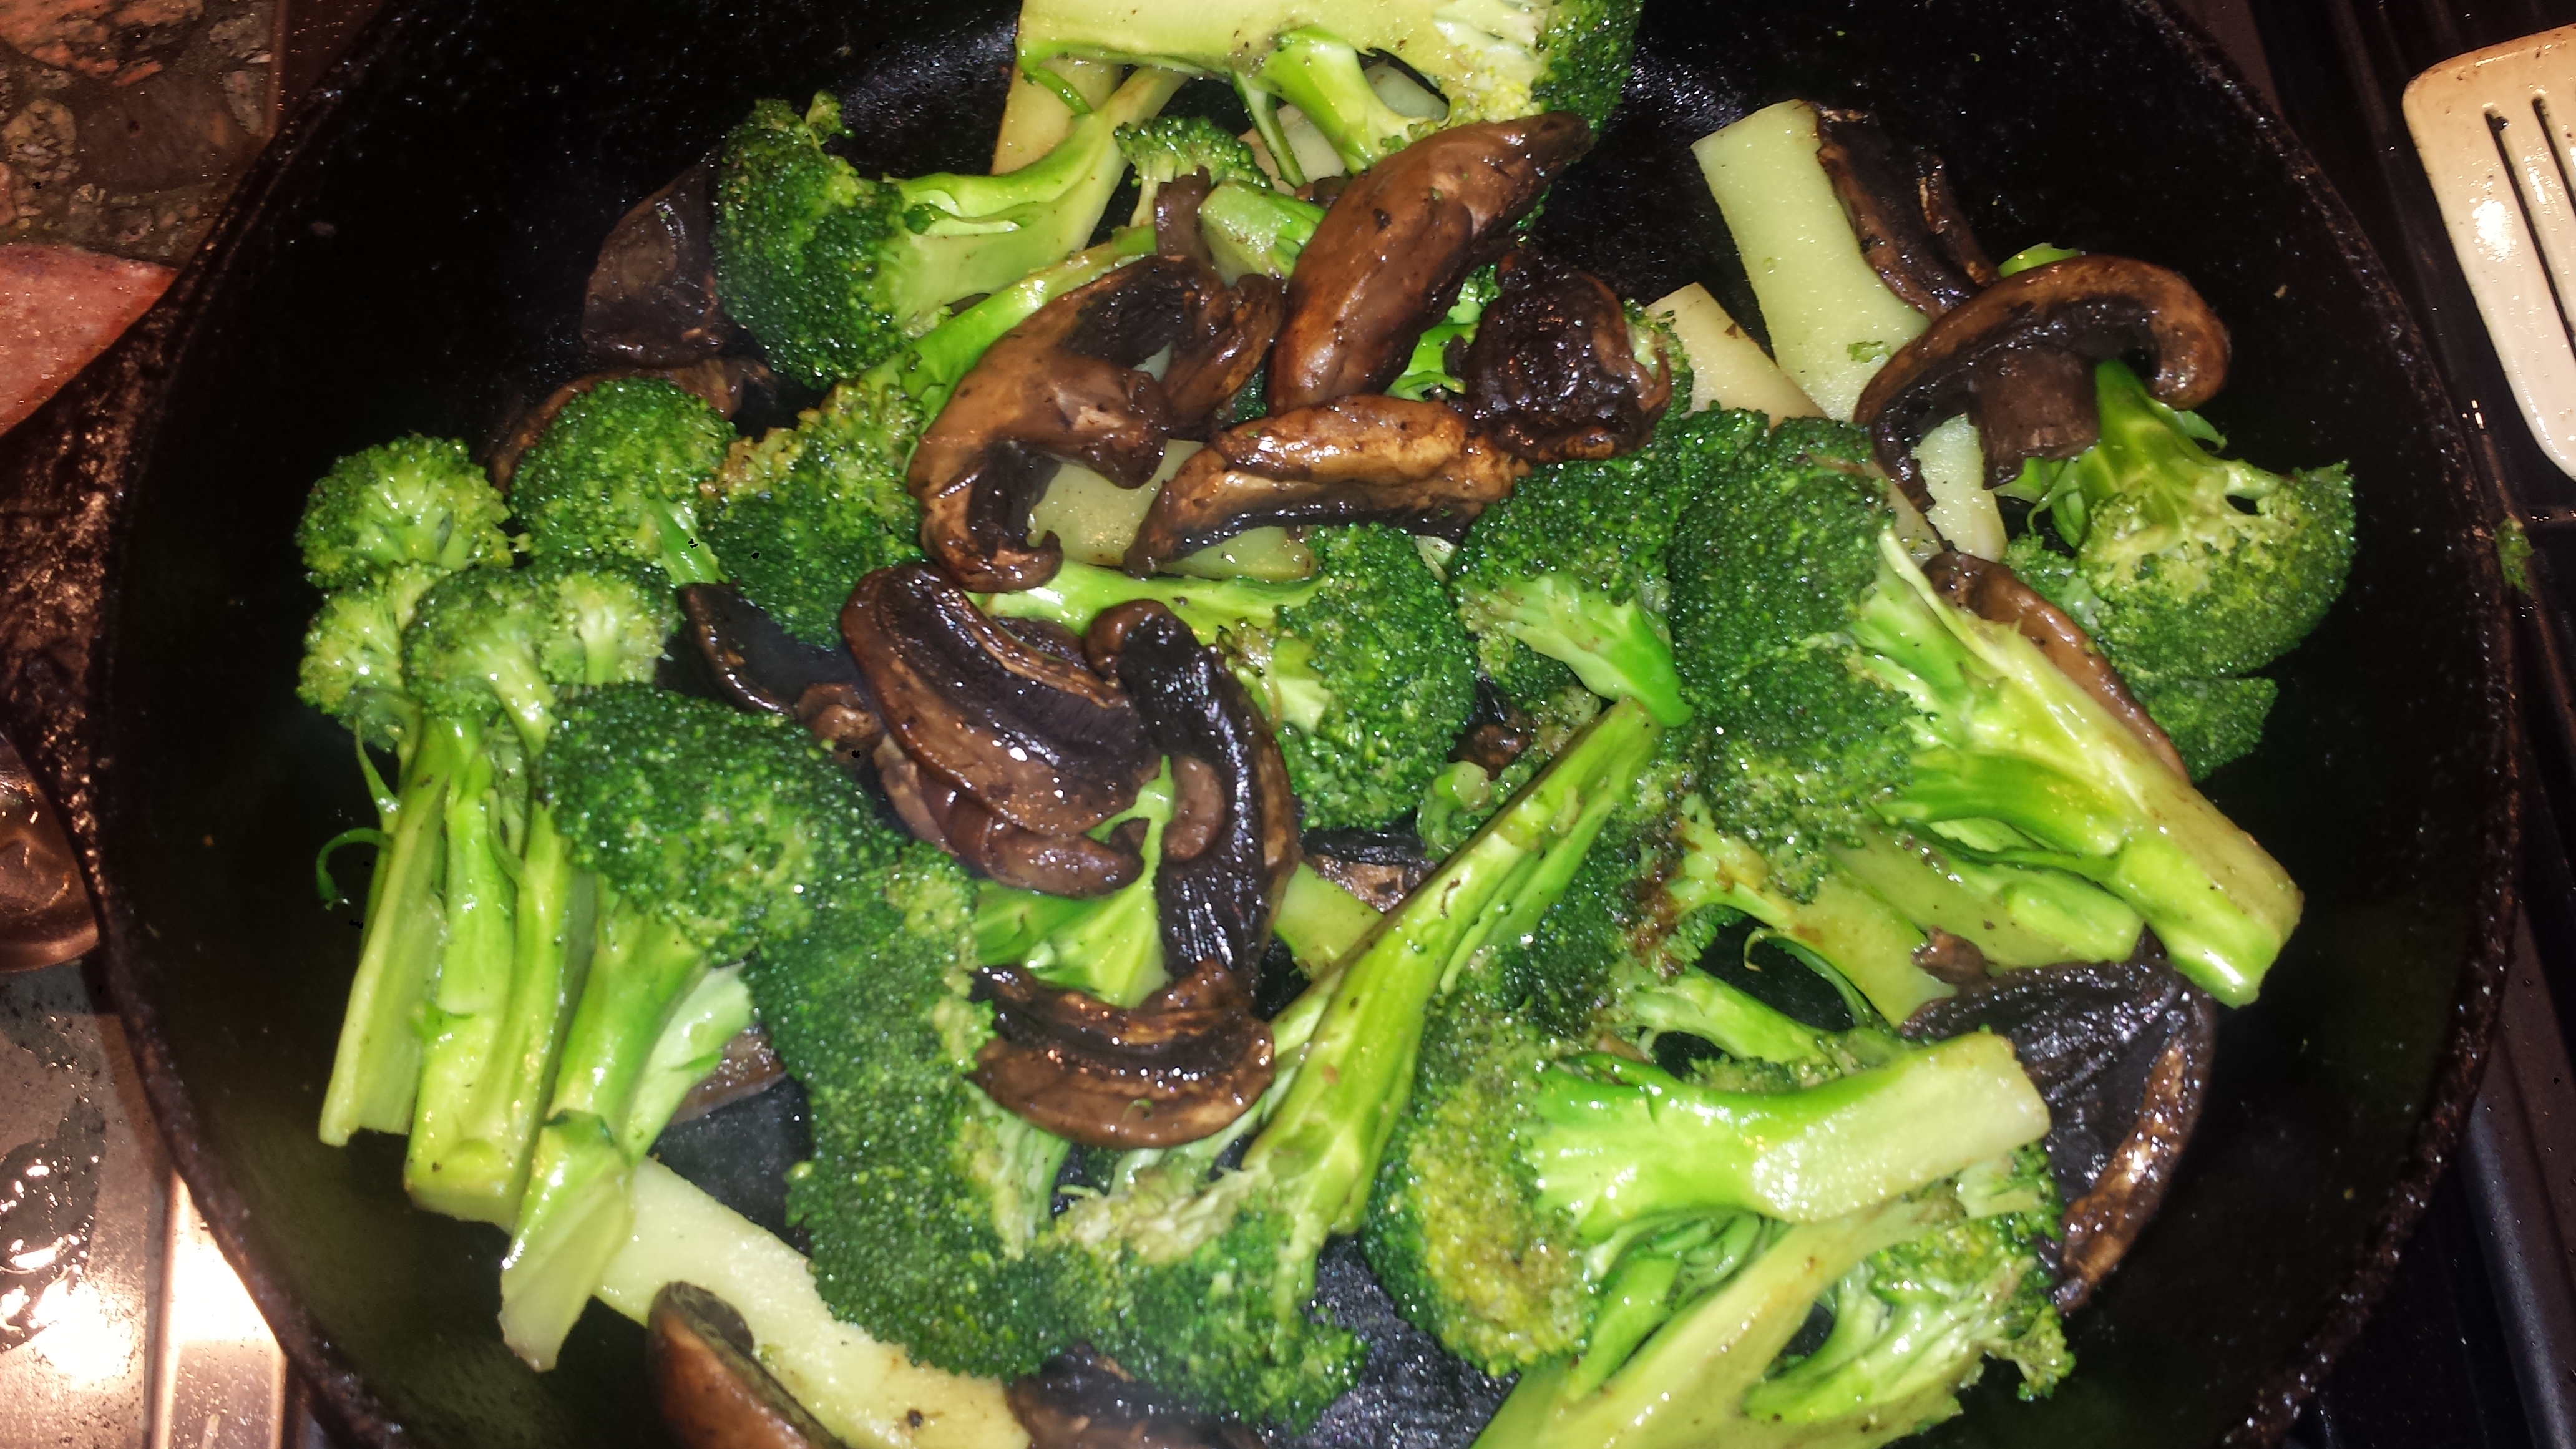
- Put broccoli back in with mushrooms and toss to combine. Check broccoli for doneness (to your liking)

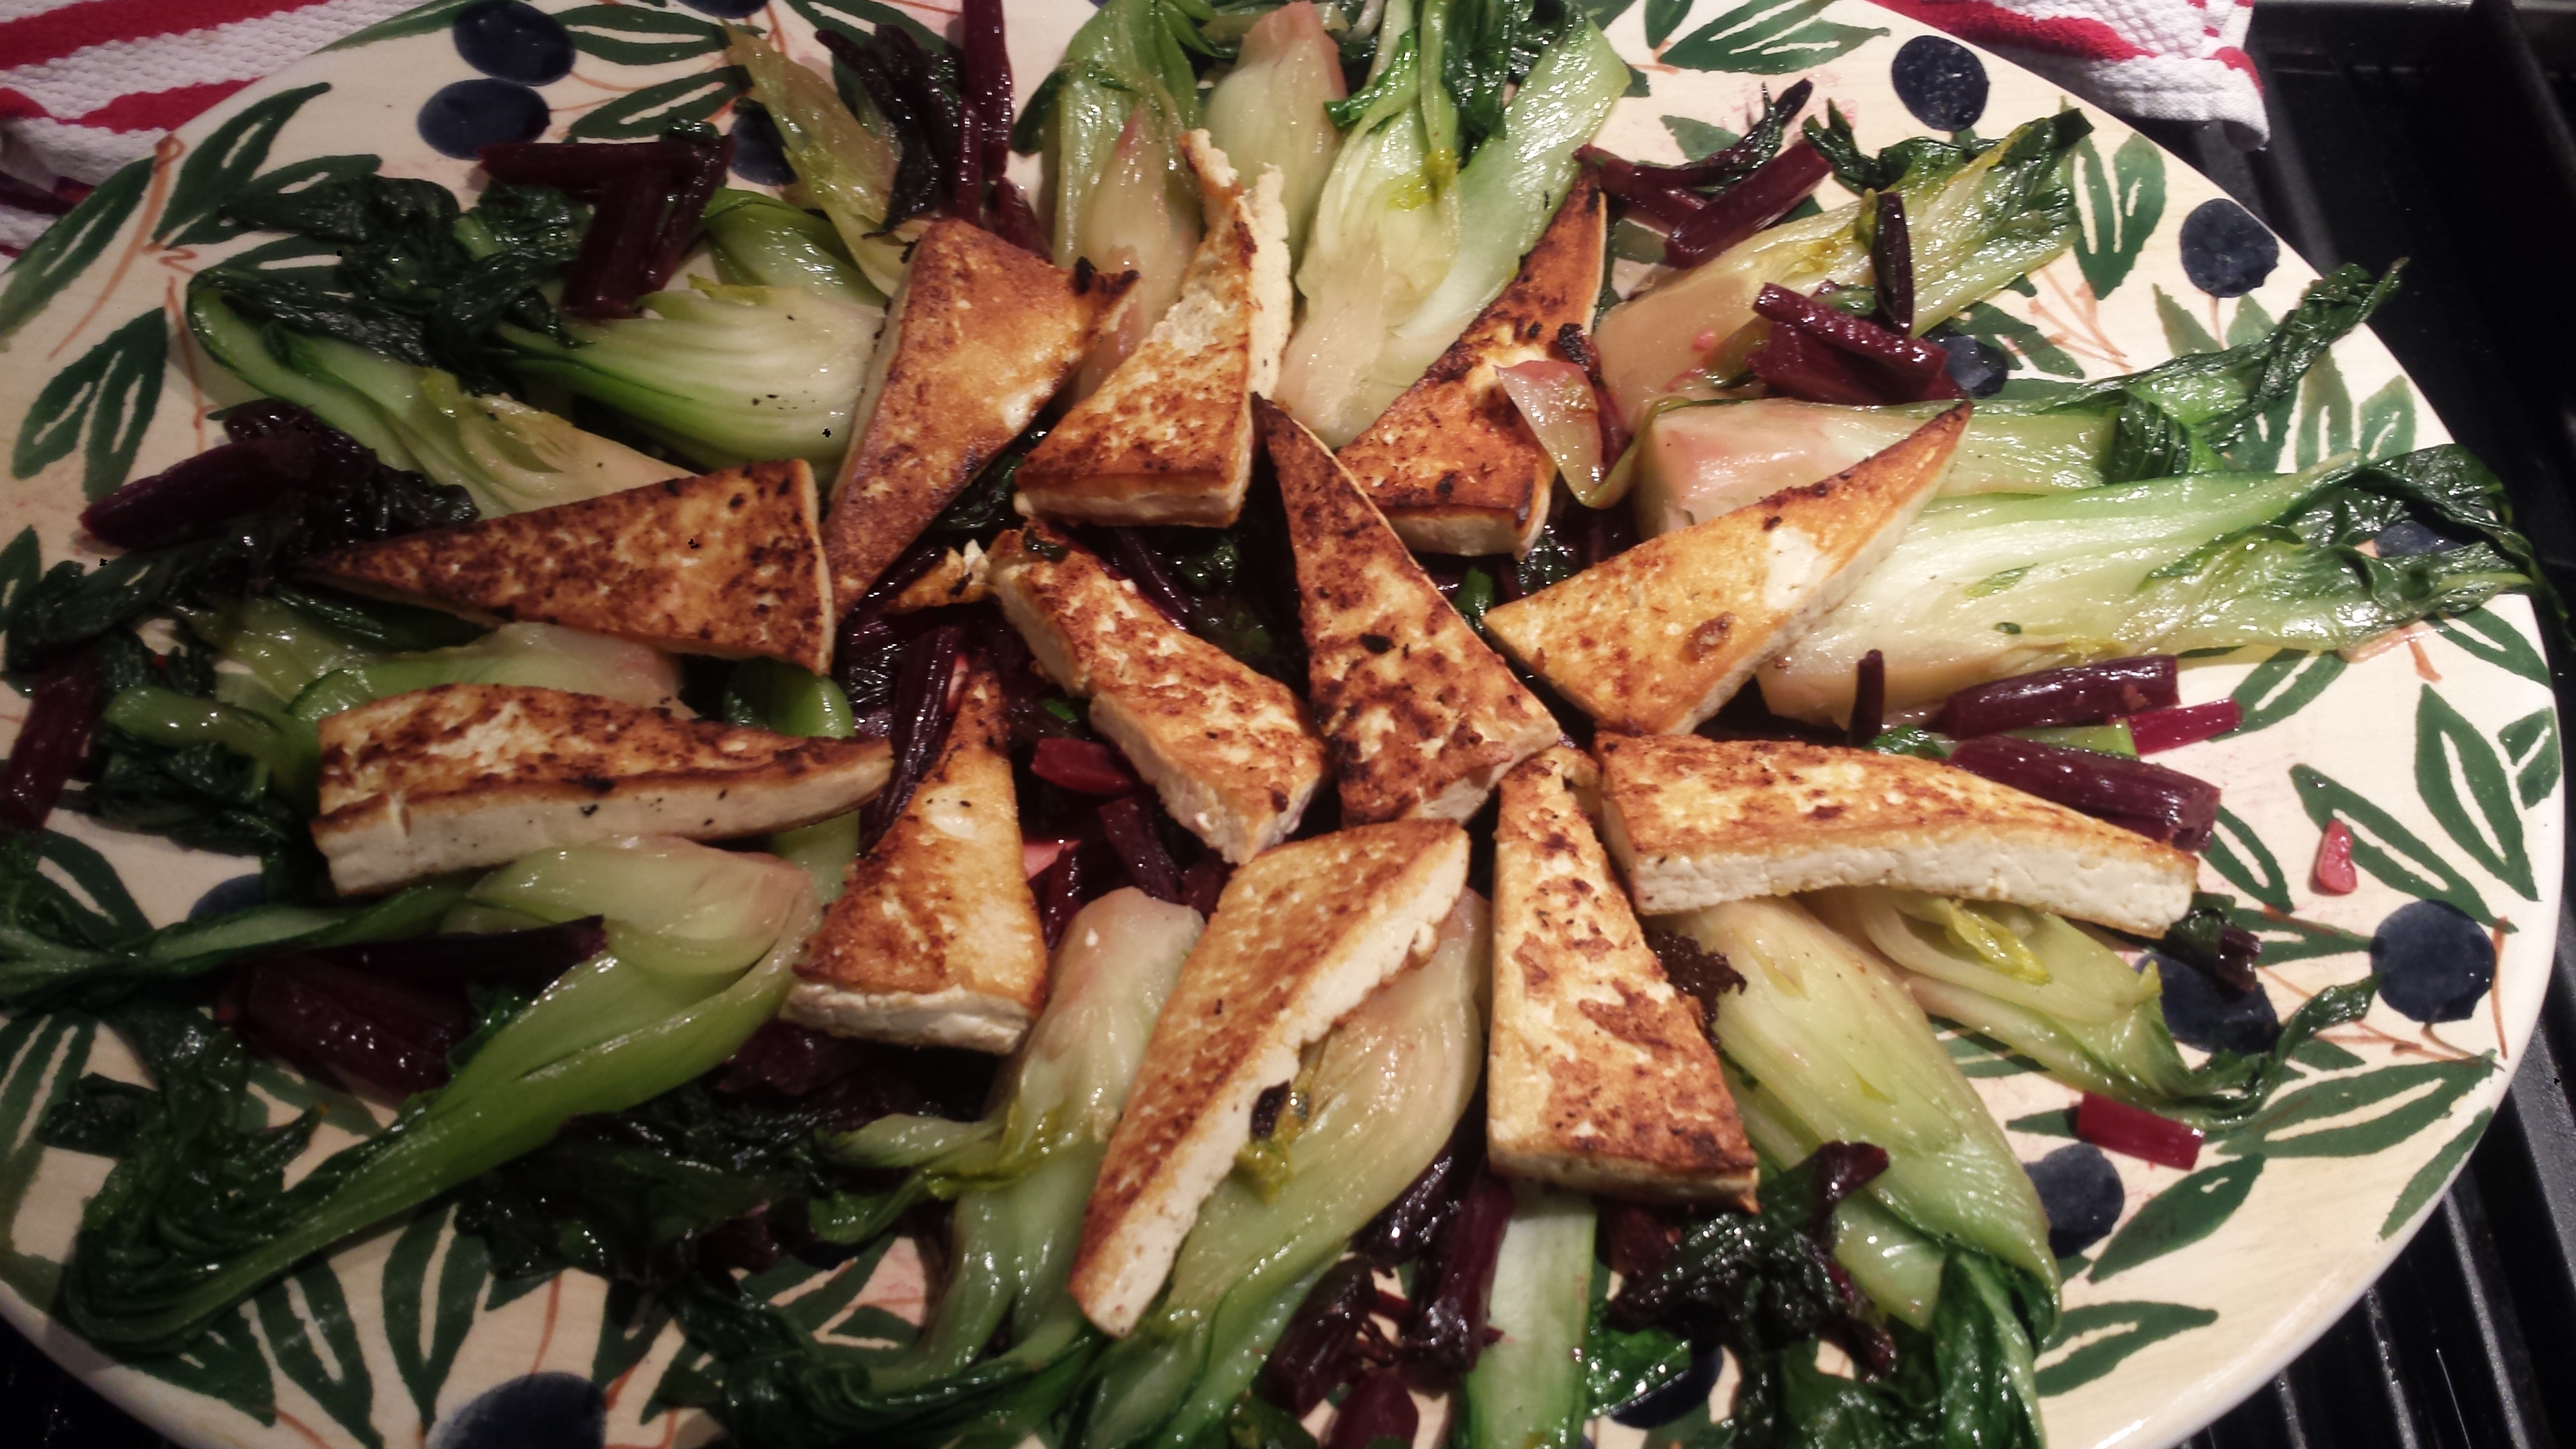
- Add tofu back into the pan. Pour sauce over the top and gently toss. Serve over rice, if desired.
1 block extra firm tofu (organic)Spicy Sesame Tofu, Broccoli and Mushrooms
1 bunch broccoli
8-10 mushrooms (any kind – criminy, shitake, etc)
1/4 cup avocado, coconut or other high heat oil
1 large clove garlic, minced
1 scallion, thinly sliced
2 tsp toasted sesame seeds (or 1 1/2 tsp white and 1/2 tsp black)
2 Tbsn soy sauce
2 tsp sesame oil
1 tsp red pepper flakes (more or less to taste)
1 tsp sugar or honey