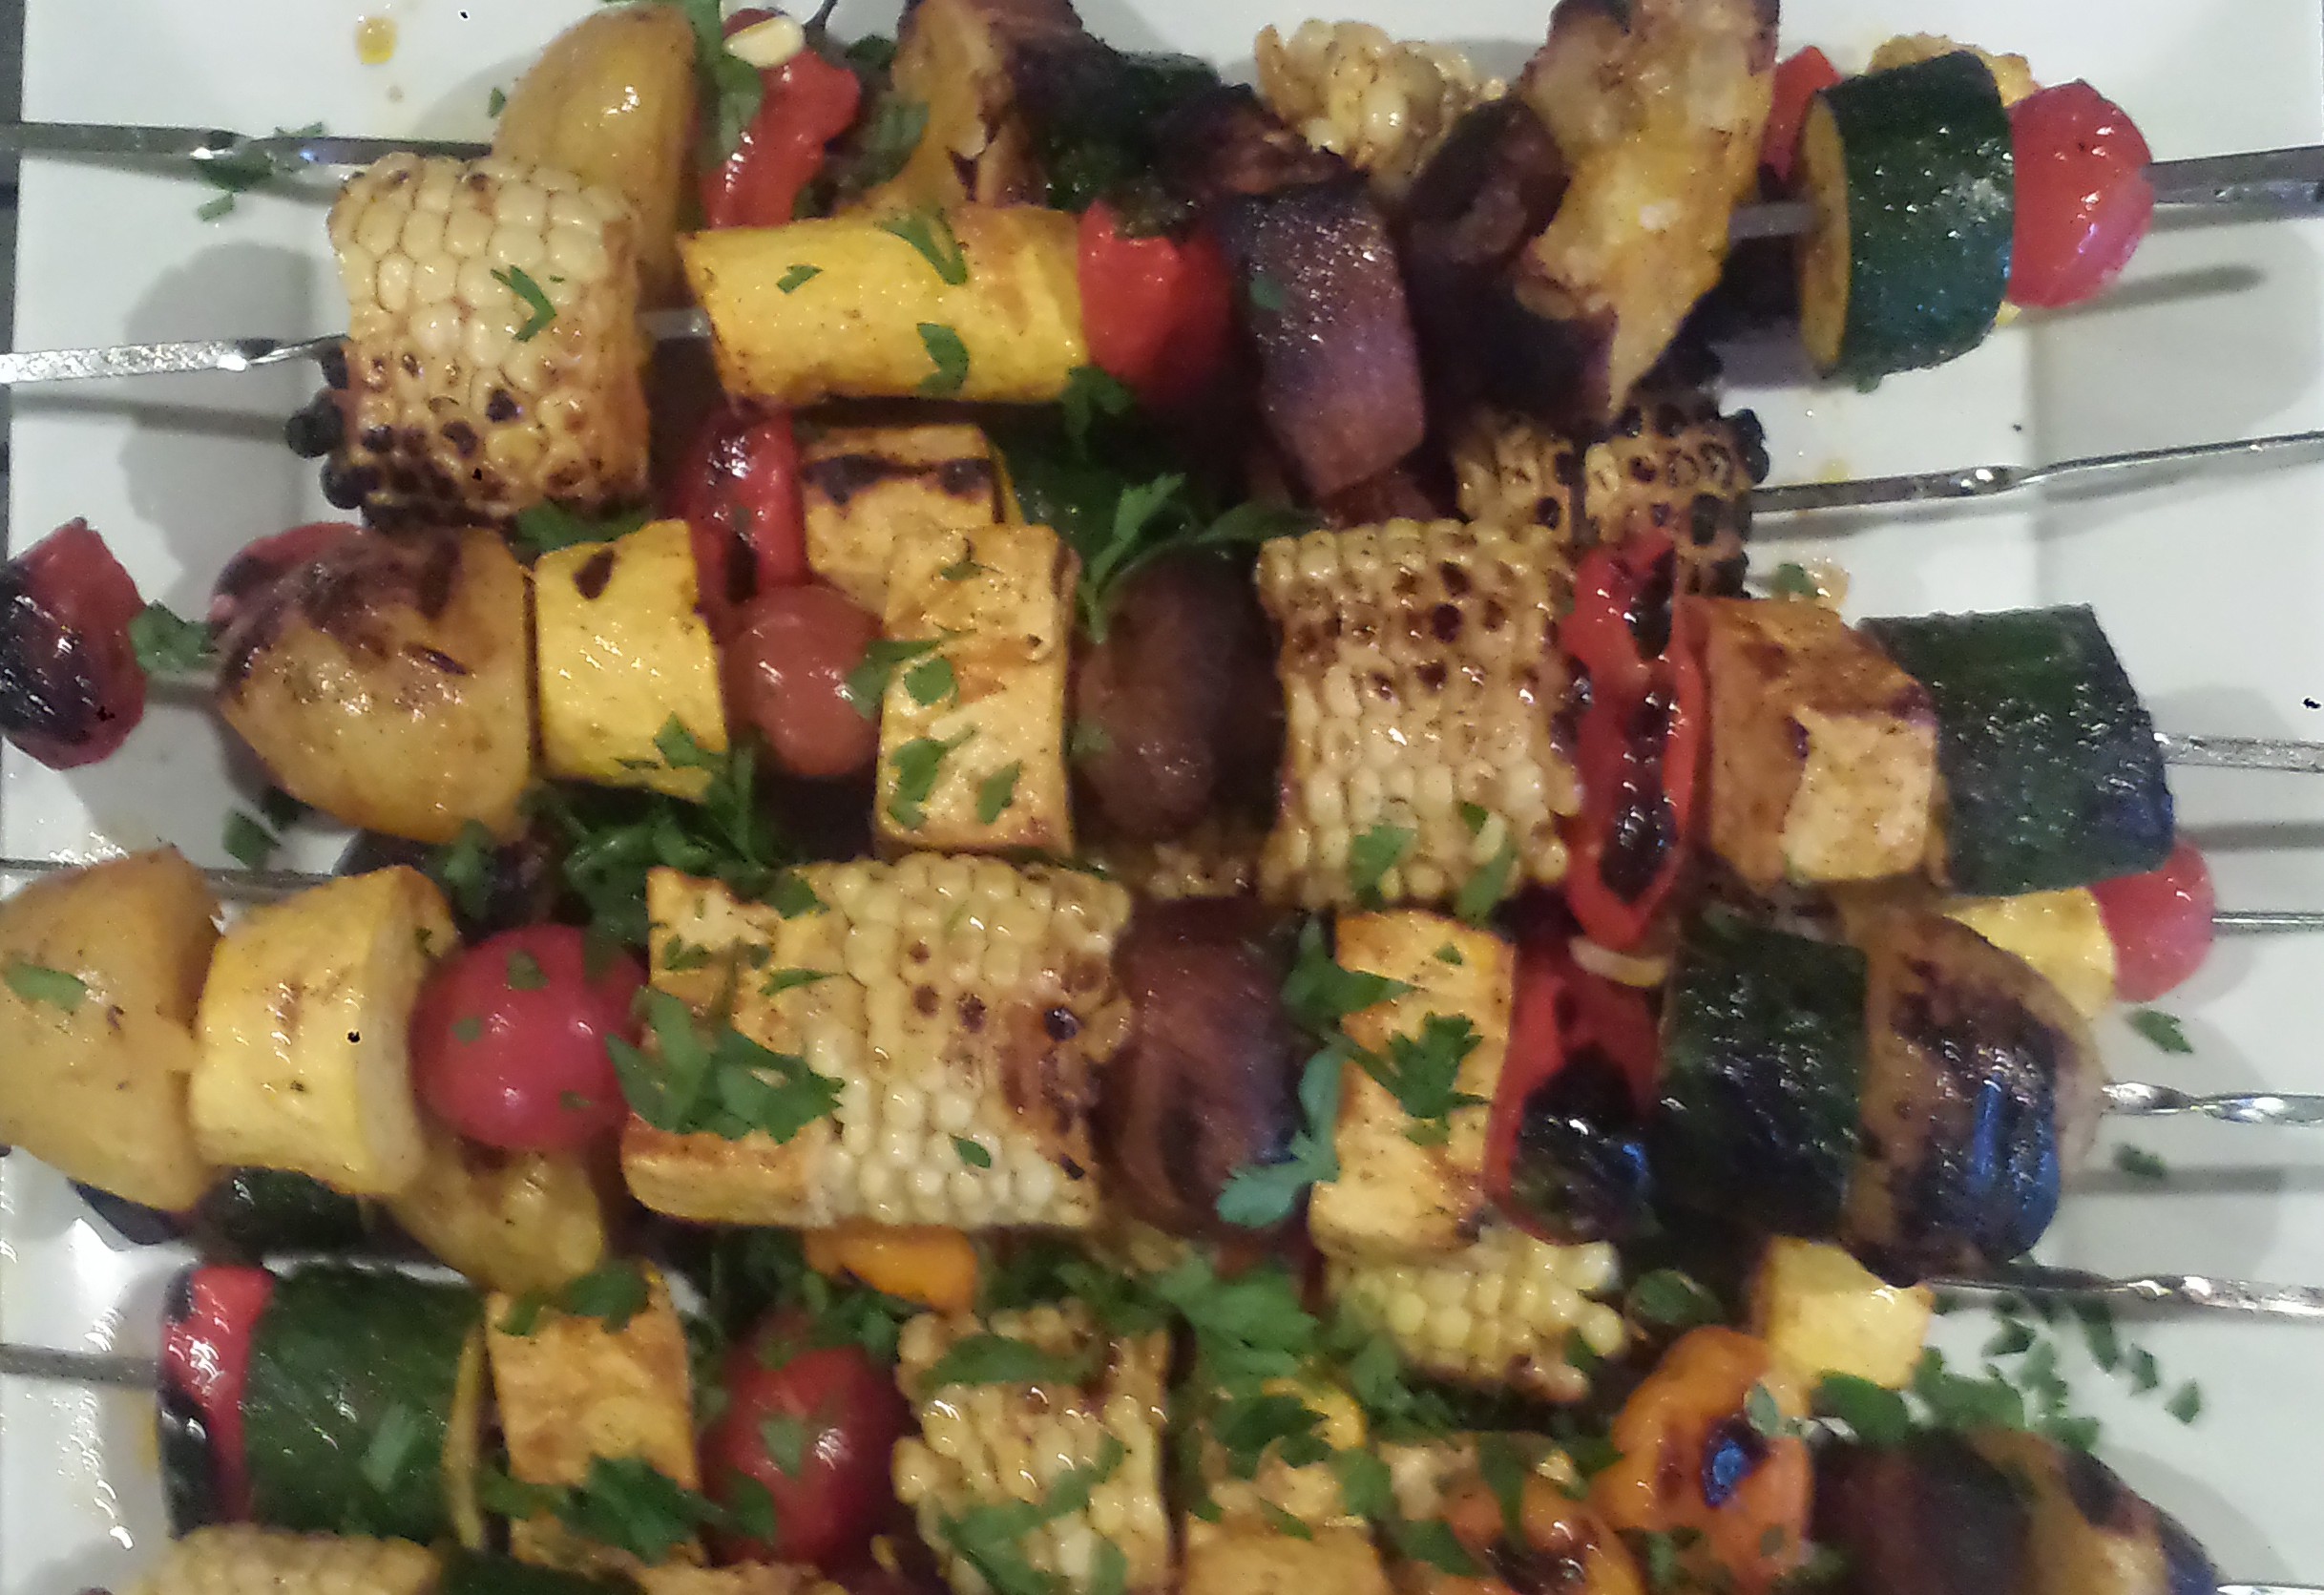
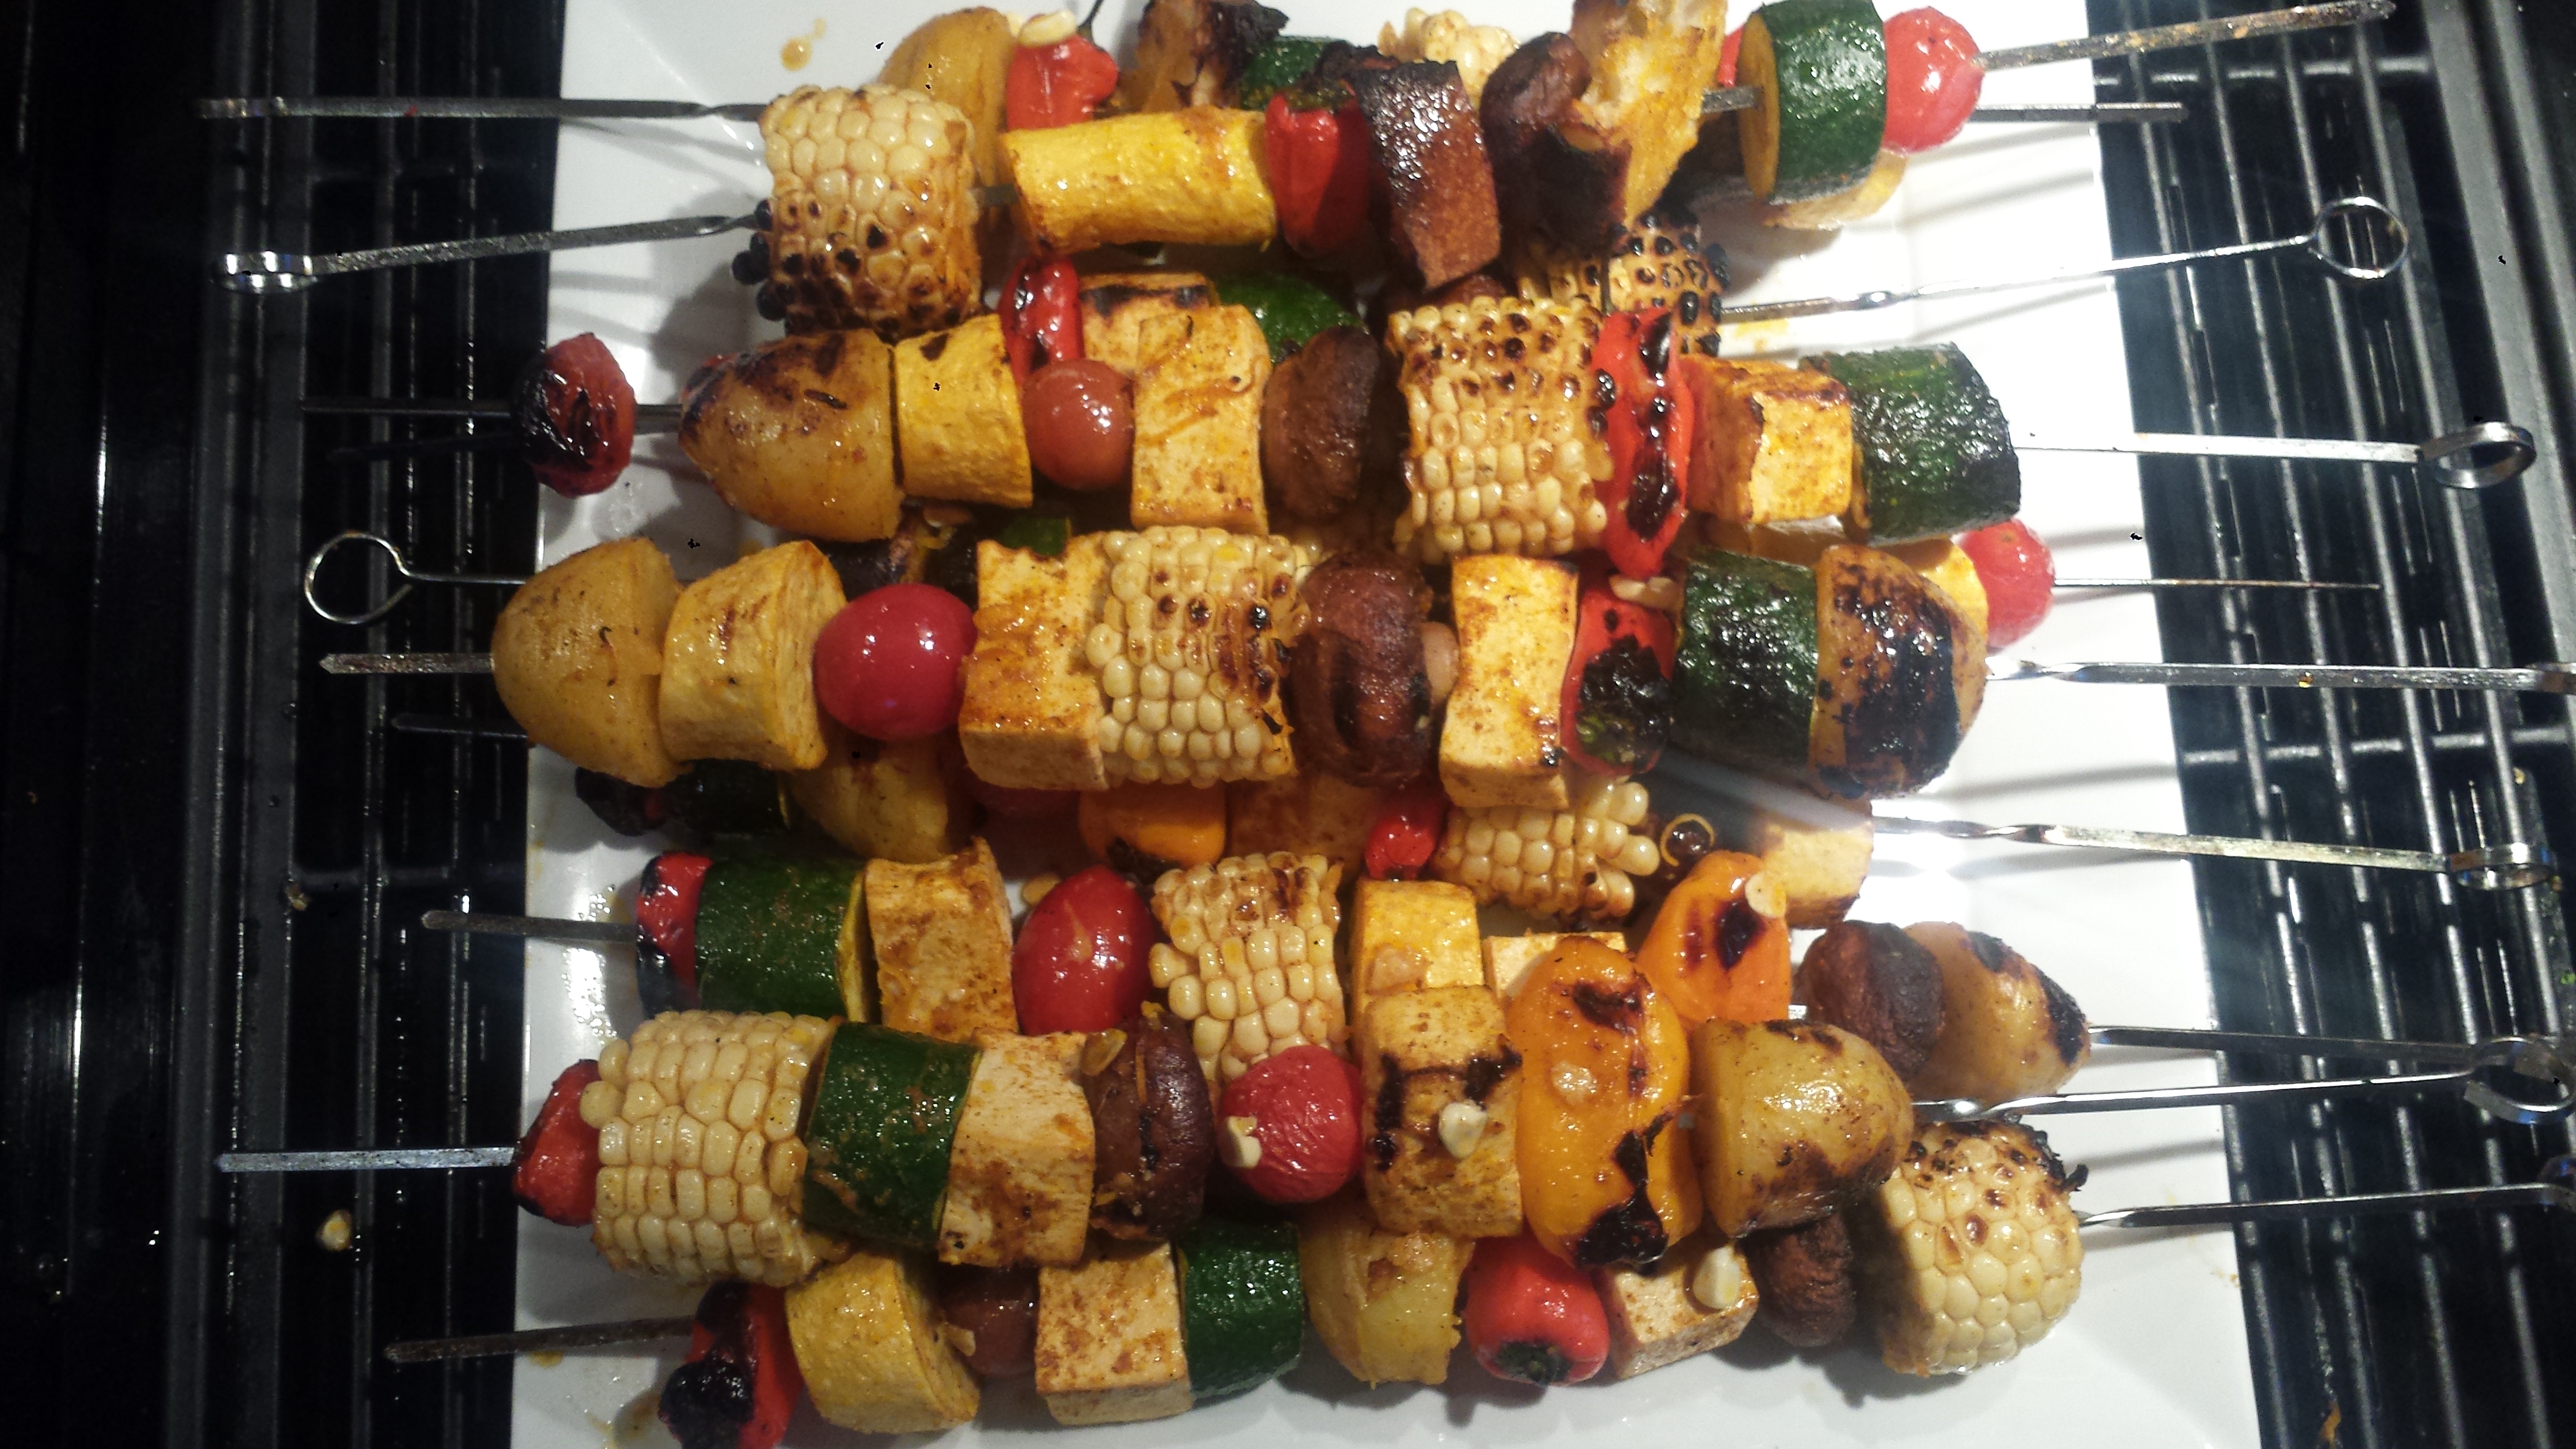
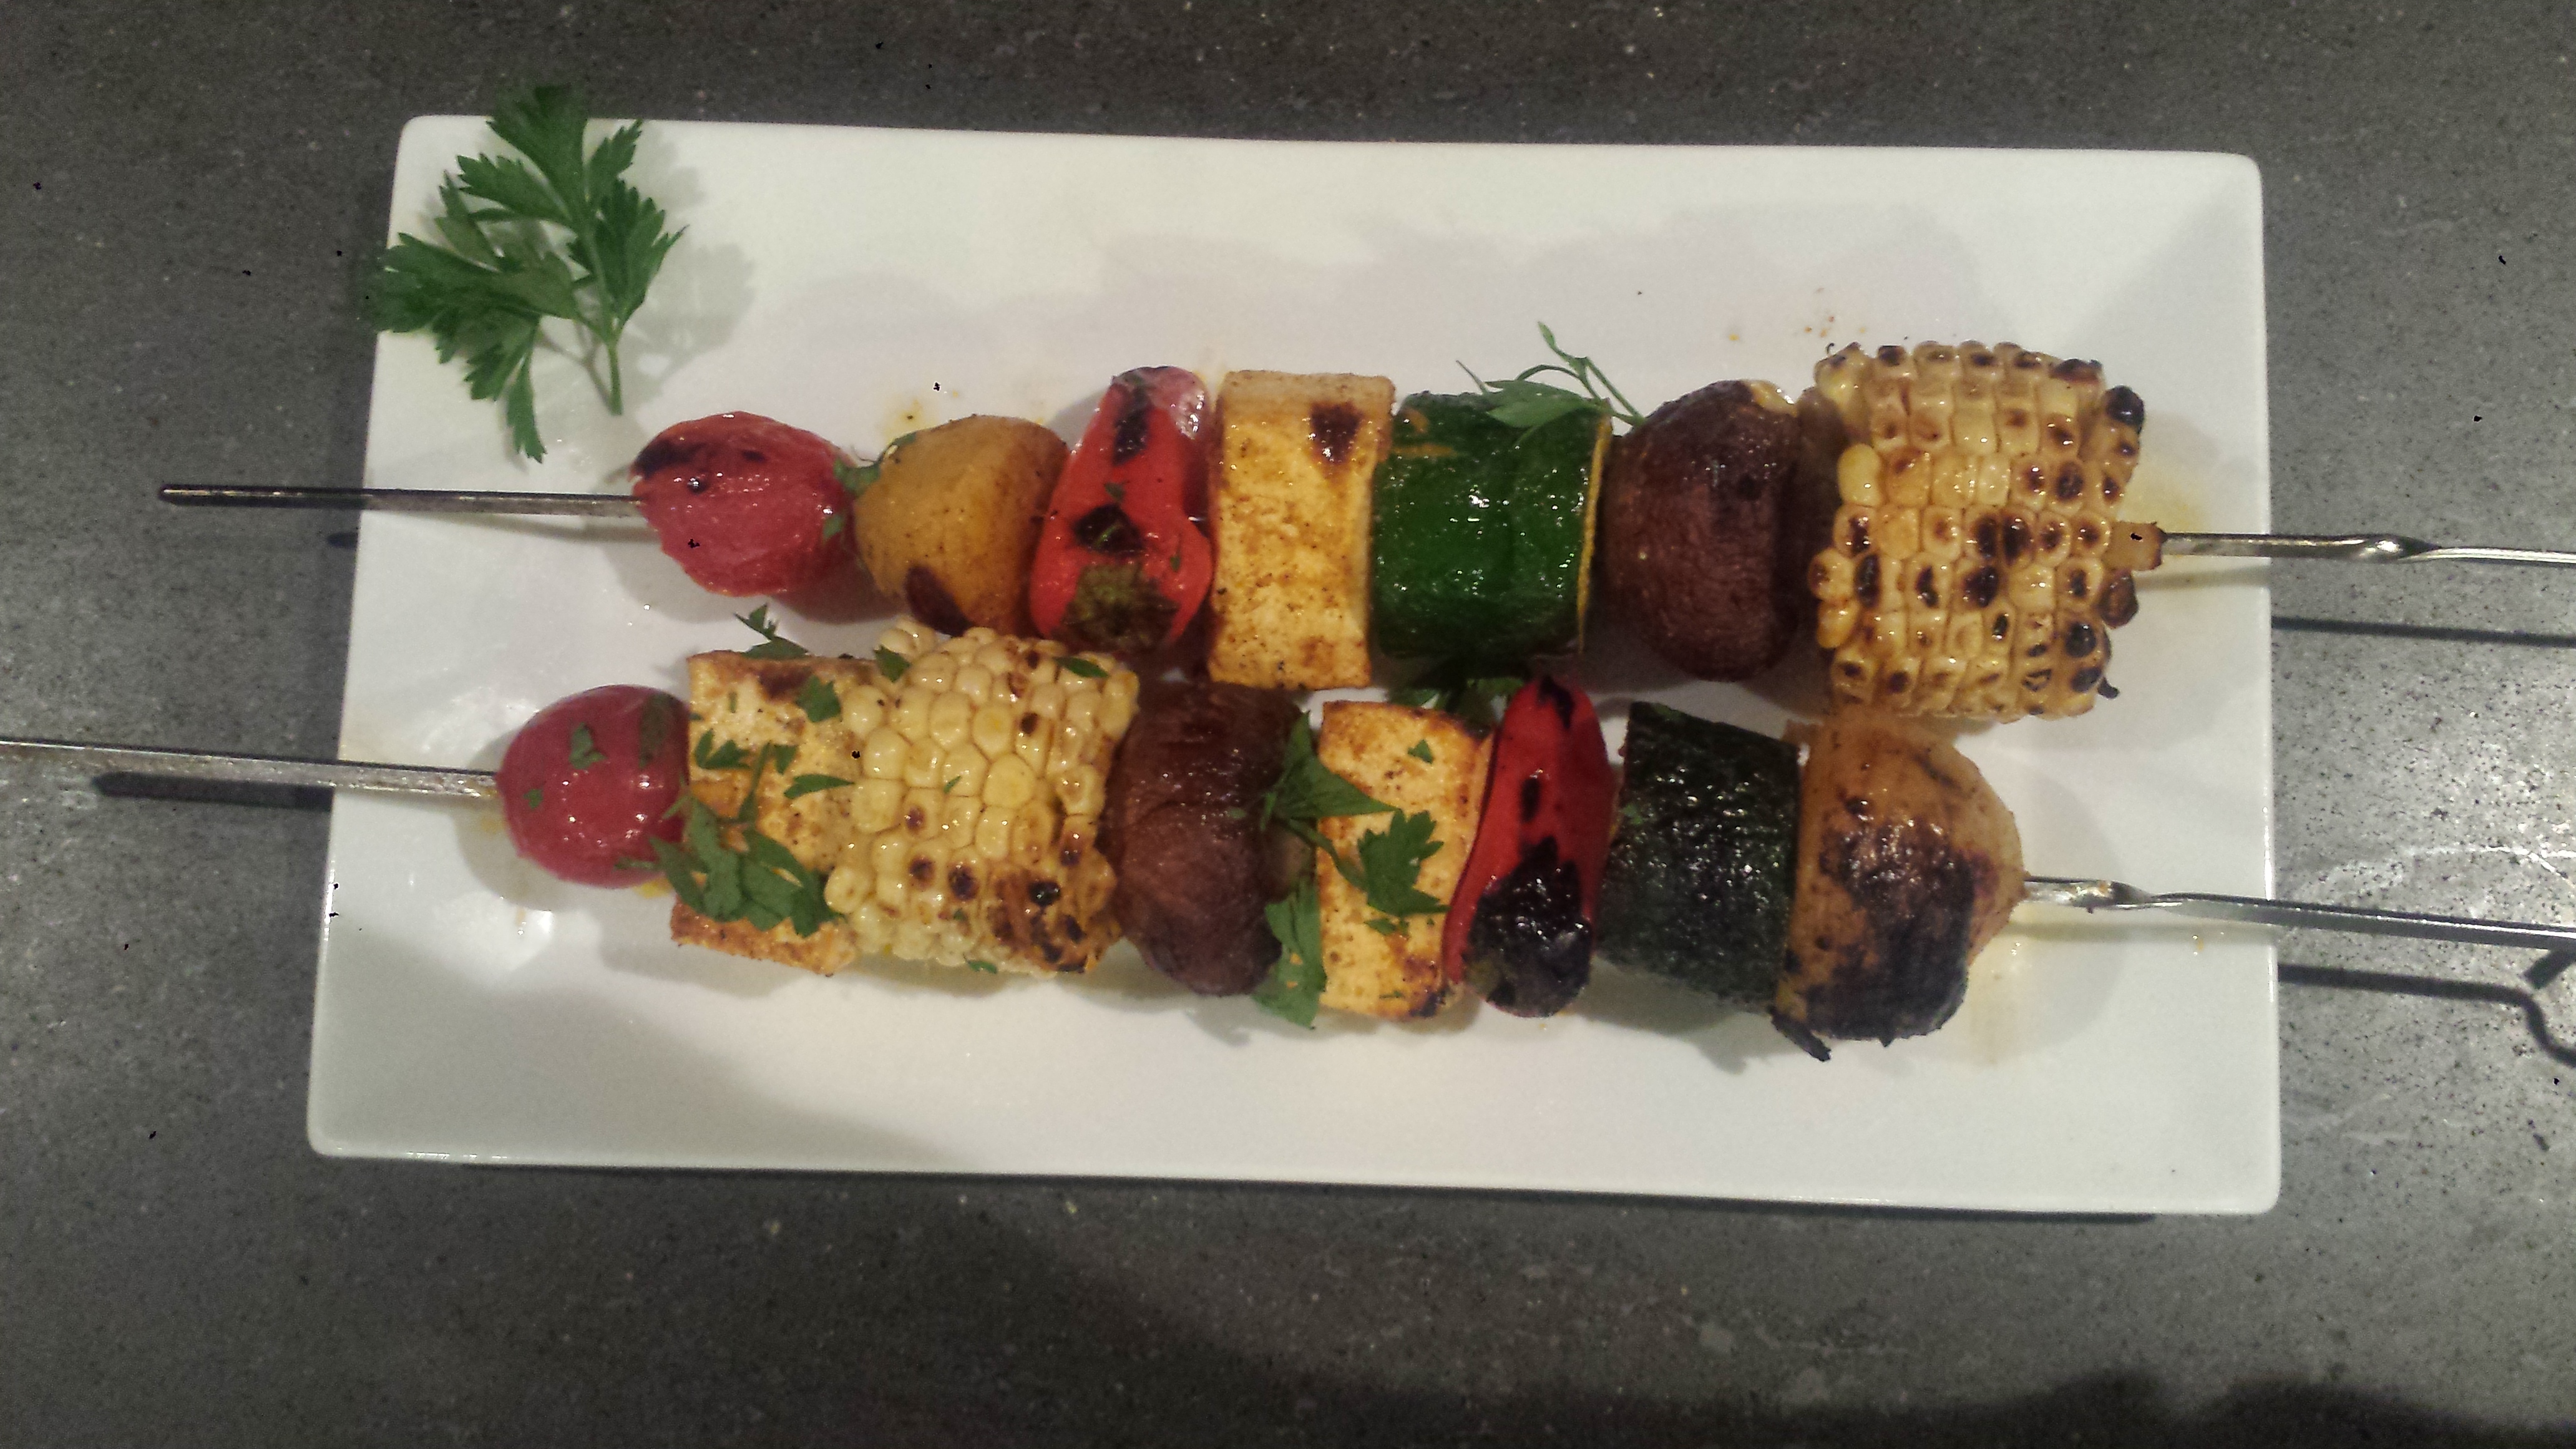
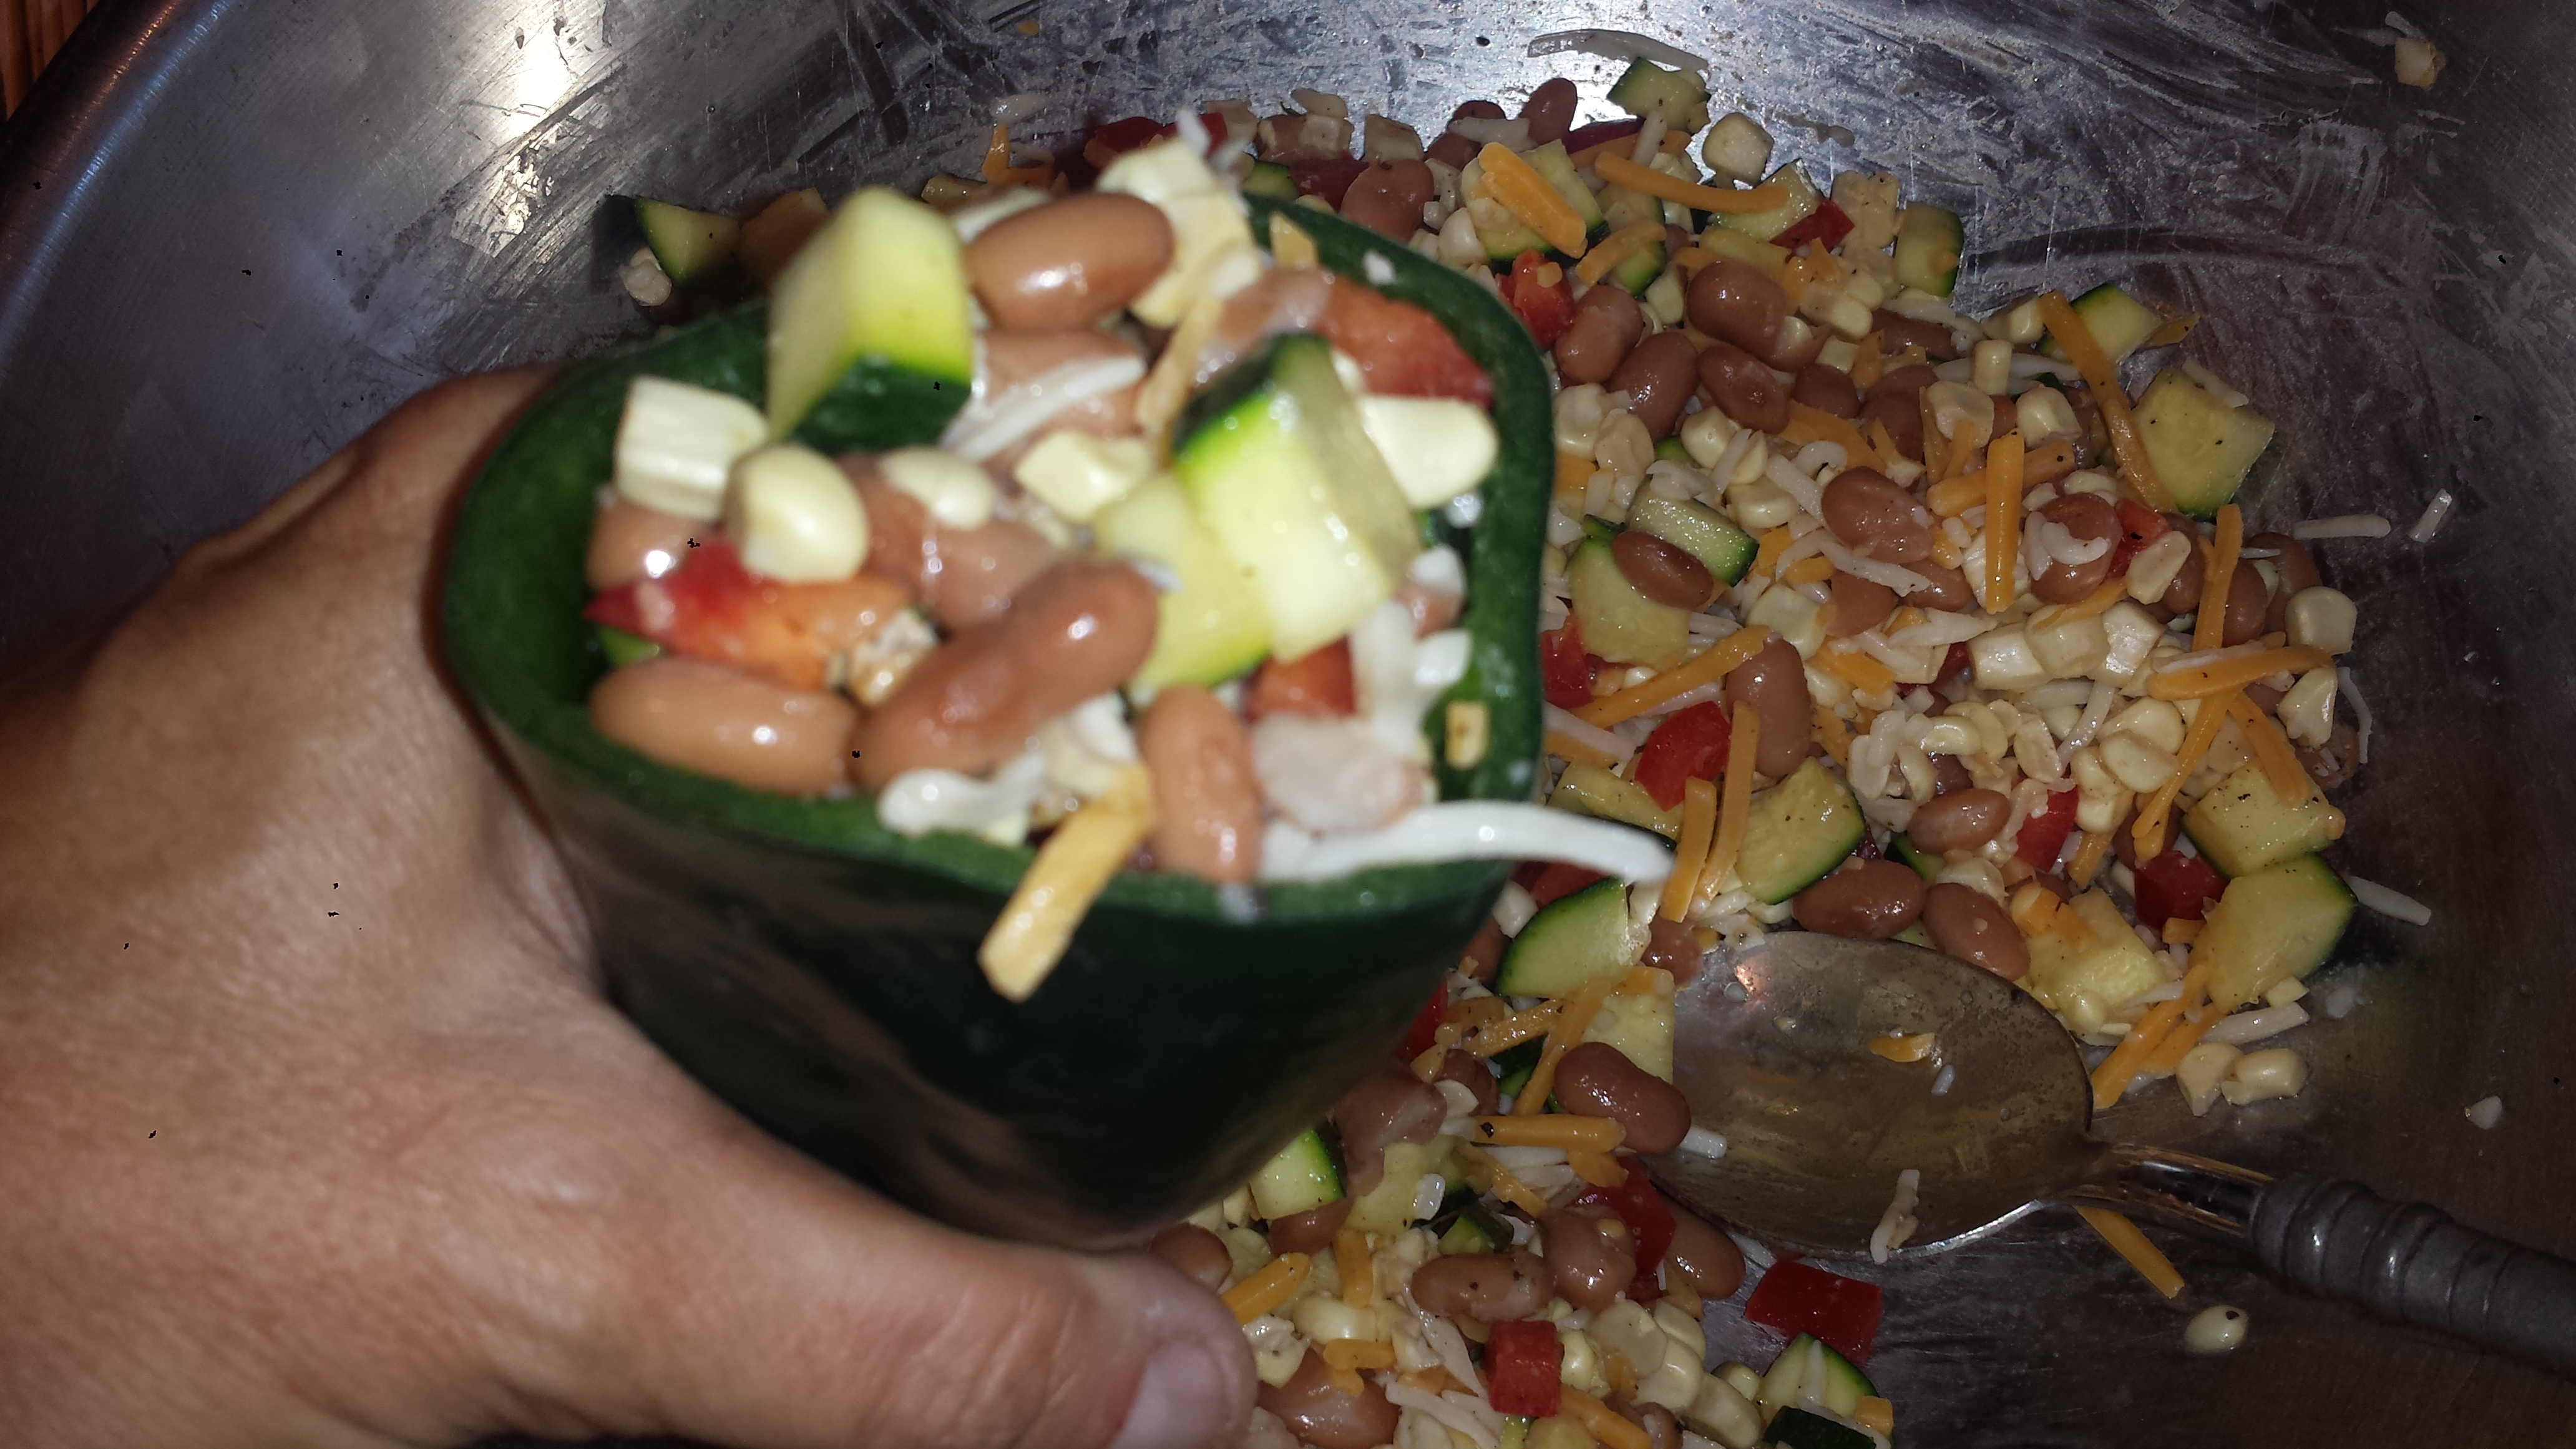
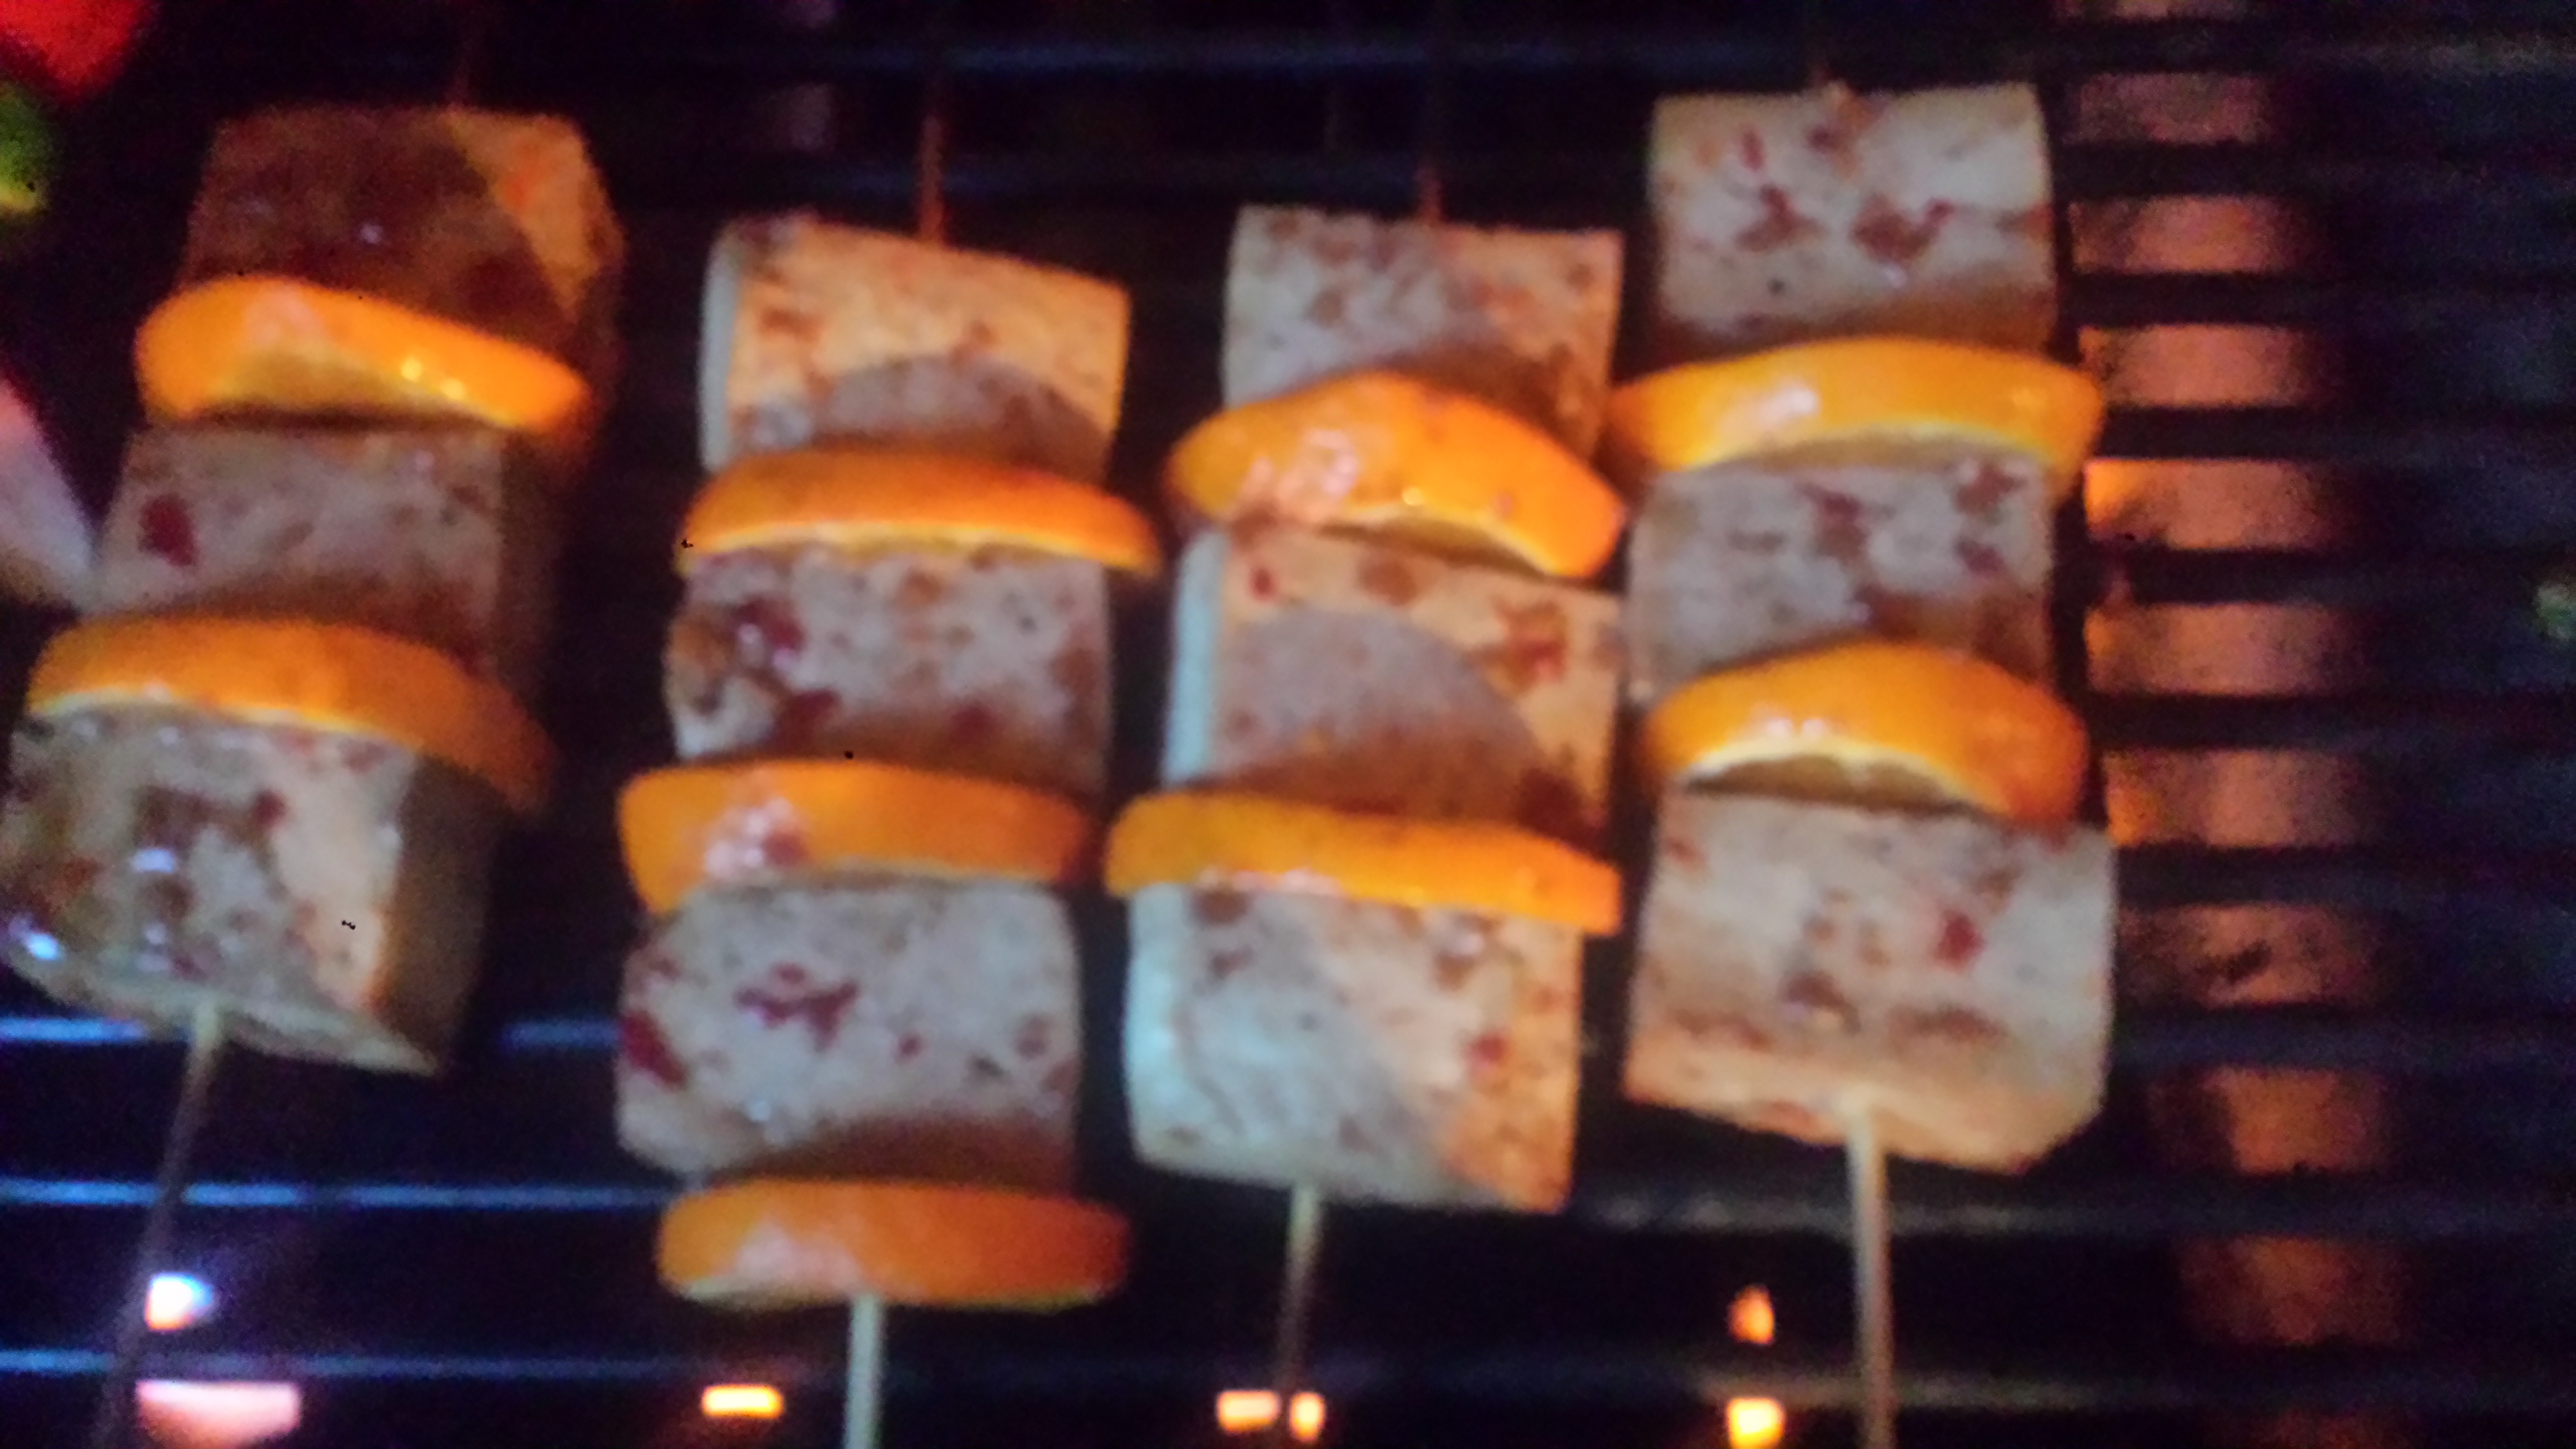
Grilling is Fun! That said, can we think outside the veggie burger? If you are tired of ‘burgers’ and ‘dogs’ being the stars of the grill, rest assured that there are some tasty options available. Veggie Kabobs are a colorful and tasty alternative that can be adapted to any tastes. I mean, who can resist corn wheels? You can even set up a ‘Veggie Bar’ and let your guests design their own. I opted to use sweet corn, summer squash and tomatoes which are still in season, and oh-so-good right now. I also added potatoes and tofu to help add fullness to the meal and a bit of protein. Other fun items to round out your skewers would be chunks of crusty sourdough bread, mushrooms, onions and peppers, or even fruit like peaches and mangos. Don’t be shy.

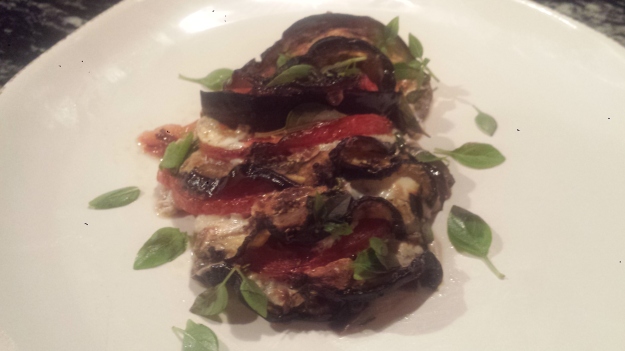
Each of these vegetables brings something different to the table in taste, texture and nutritional value, so a combination of ingredients assures a well rounded meal. I tested the recipe on all ingredients mentioned except for the red onion because I didn’t have one (darn!). I was pleased that each one was enhanced by the chili, cumin marinade but held it’s own once grilled. Charred Grilled bread is surprisingly good (think pizza oven crust with it’s blackened bits) and its a great way to use up day old bread. Best of all, I guarantee that your meat loving friends will be jealous… One word of warning; I normally use bamboo skewers but decided to use the longer metal ones this time. Well, this is probably obvious, but don’t try to turn them with your bare fingers. You can get away with touching bamboo skewers but metal ones are bleeping hot. I learned that lesson in a single distacted moment. I’m holding a cold beverage to my left pointer and index fingers as I type, just FYI. Use tongs!
TIPS: Make skewers ahead of time and let them rest in marinade until you’re ready to cook, even overnight. If you have picky eaters (or people who always pick off ‘the good stuff’ and leave the rest) try making some corn, potato or tofu only skewers. Pile onto a platter and serve.
If veggie kabobs aren’t for you, check out the following recipes for other vegetarian grilling ideas. Click on the links for the full recipes:

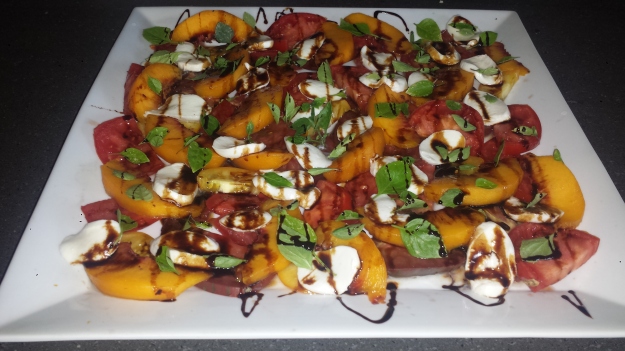
Grilled Avocado Caprese Salad – https://goodmotherdiet.com/2014/07/30/wheatless-wednesday-grilled-avocado-caprese-salad/
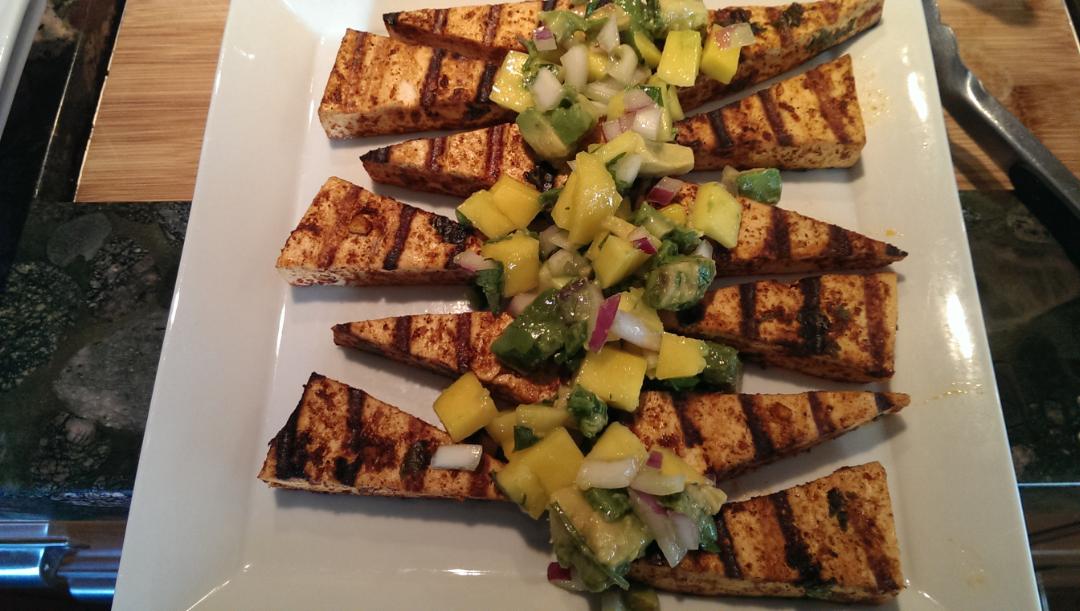
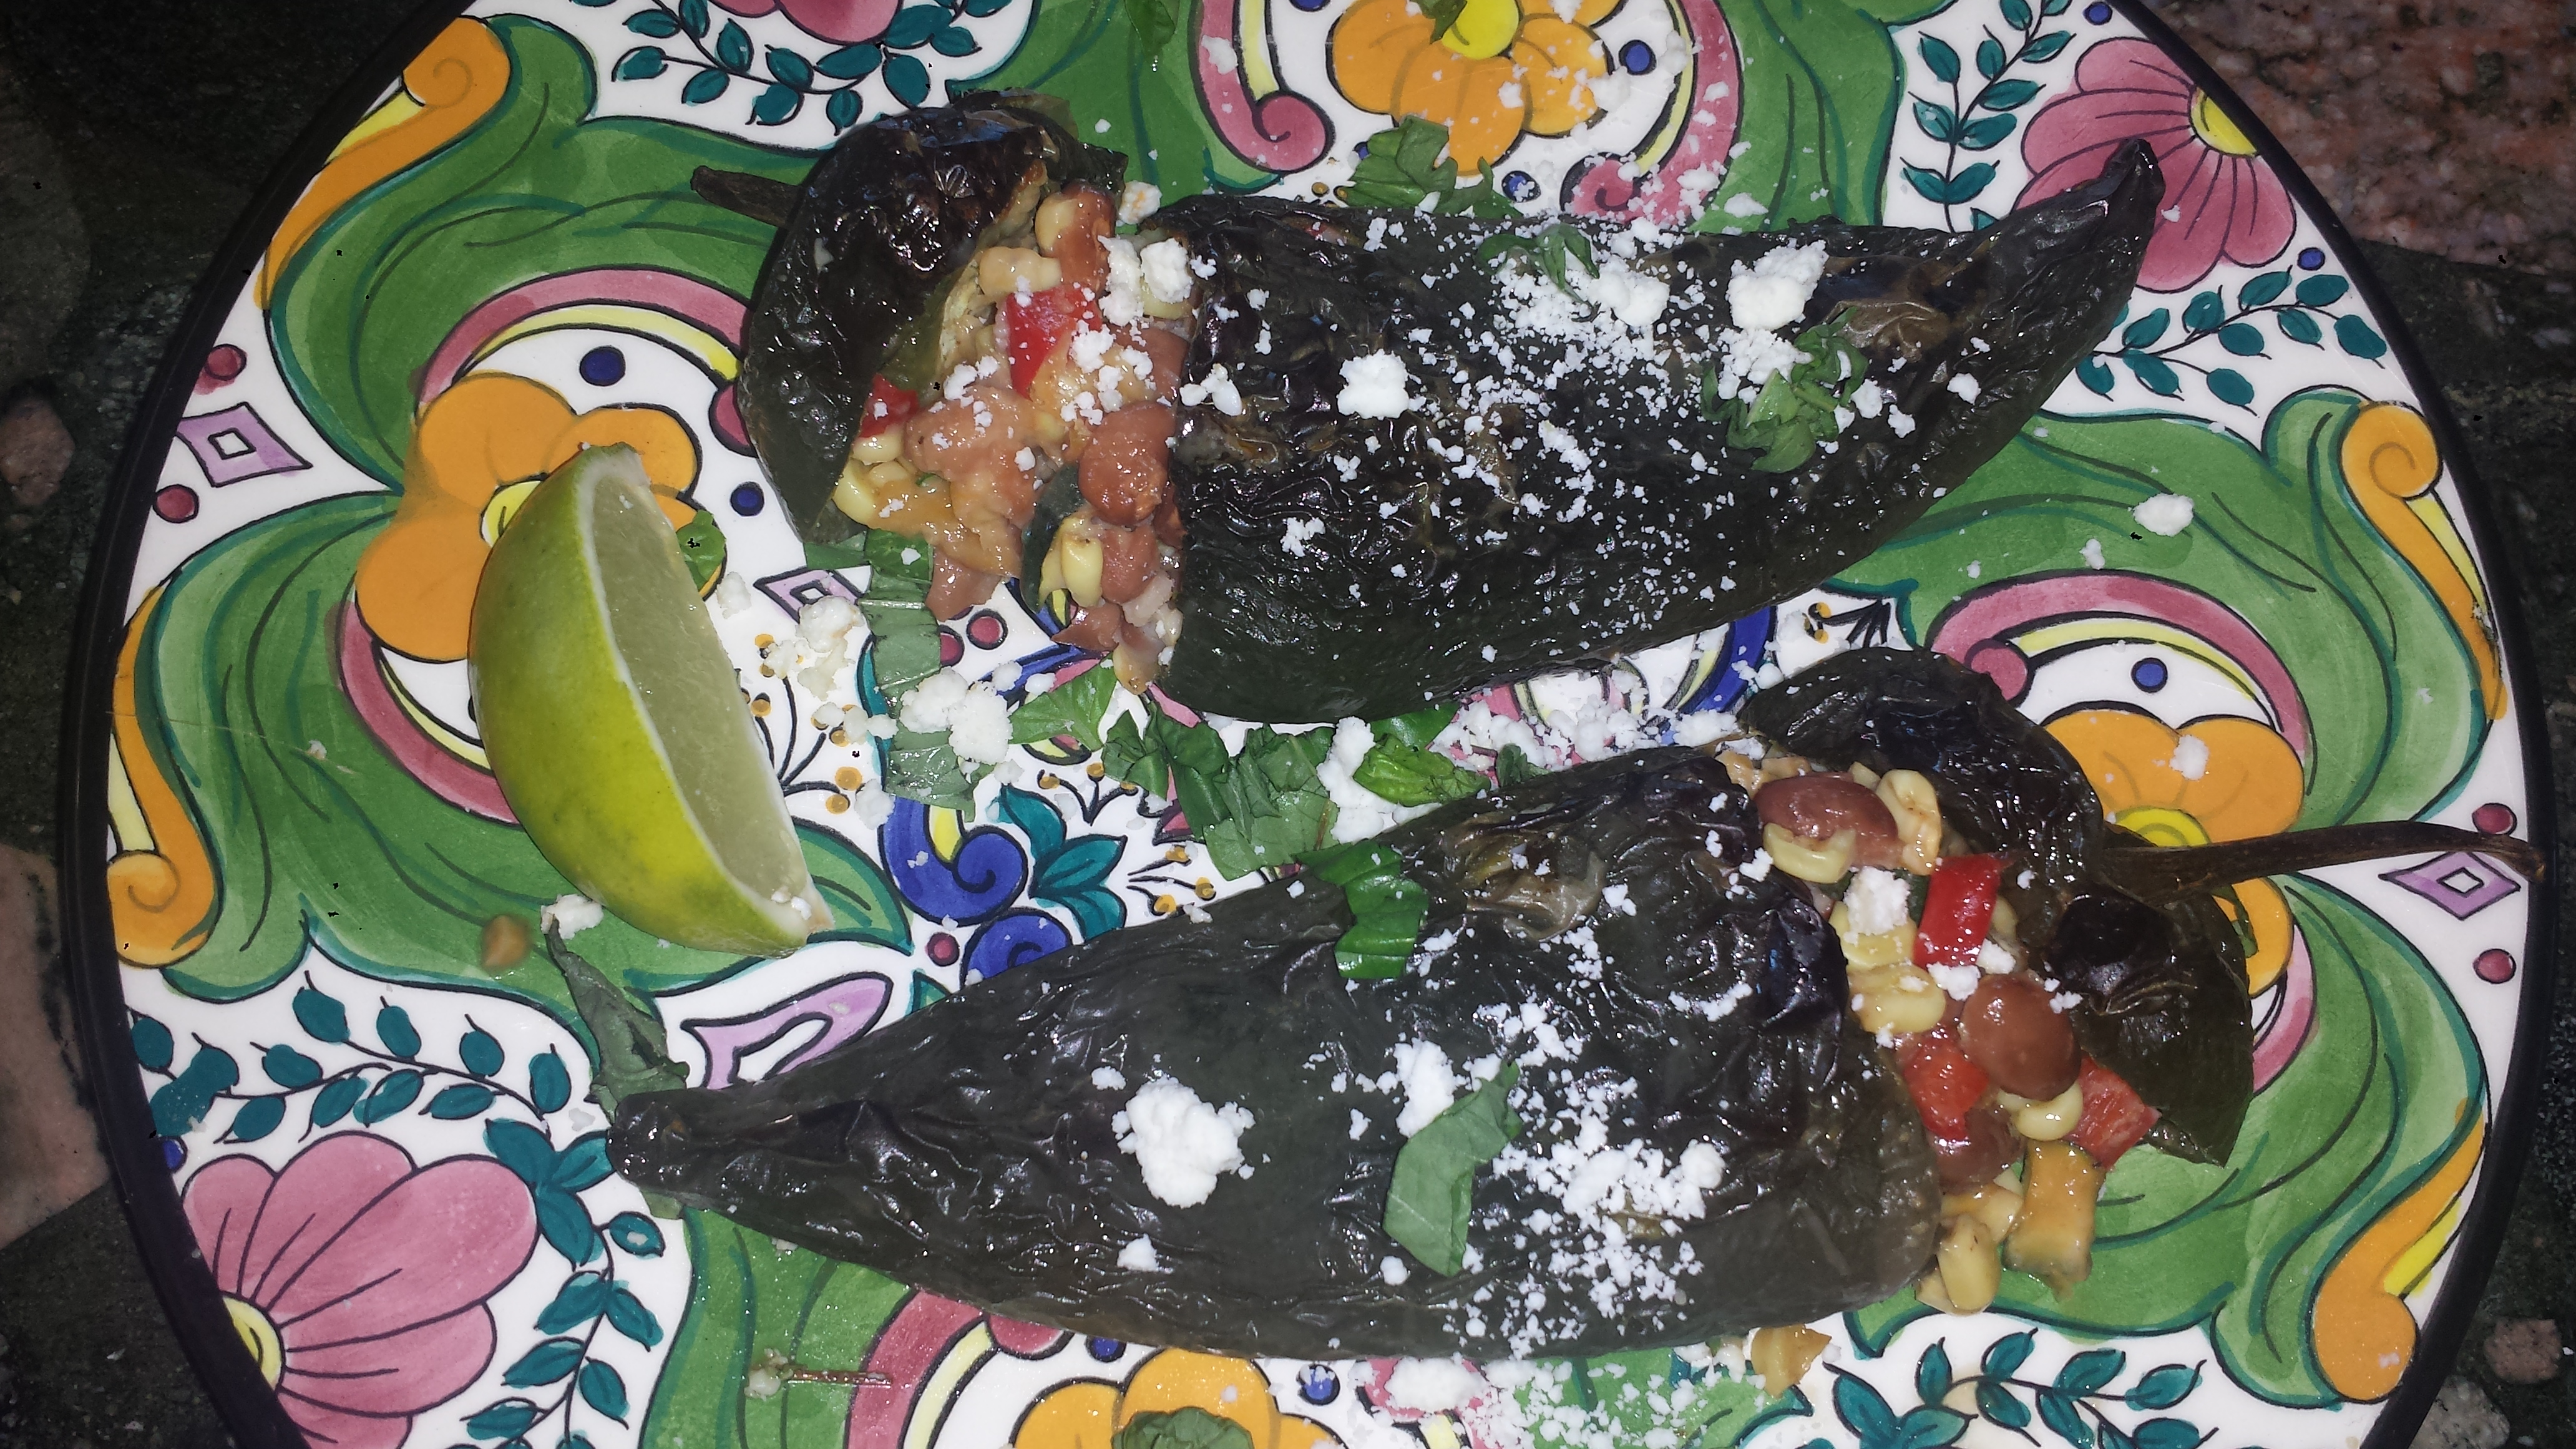
Chili Lime Tofu – https://goodmotherdiet.com/2014/08/11/meatless-monday-chili-lime-grilled-tofu-with-avocado-mango-salsa/

Grilled Nectarines and Summer Squash – https://goodmotherdiet.com/2014/06/02/meatless-monday-grilled-nectarines-and-summer-squash-with-balsamic-glaze/
VEGGIE KABOBS WITH CHILI CUMIN OIL

Choose 5 or more of your favorite ingredients from the list below (or get creative):
8-10 baby (or 5 small potatoes)
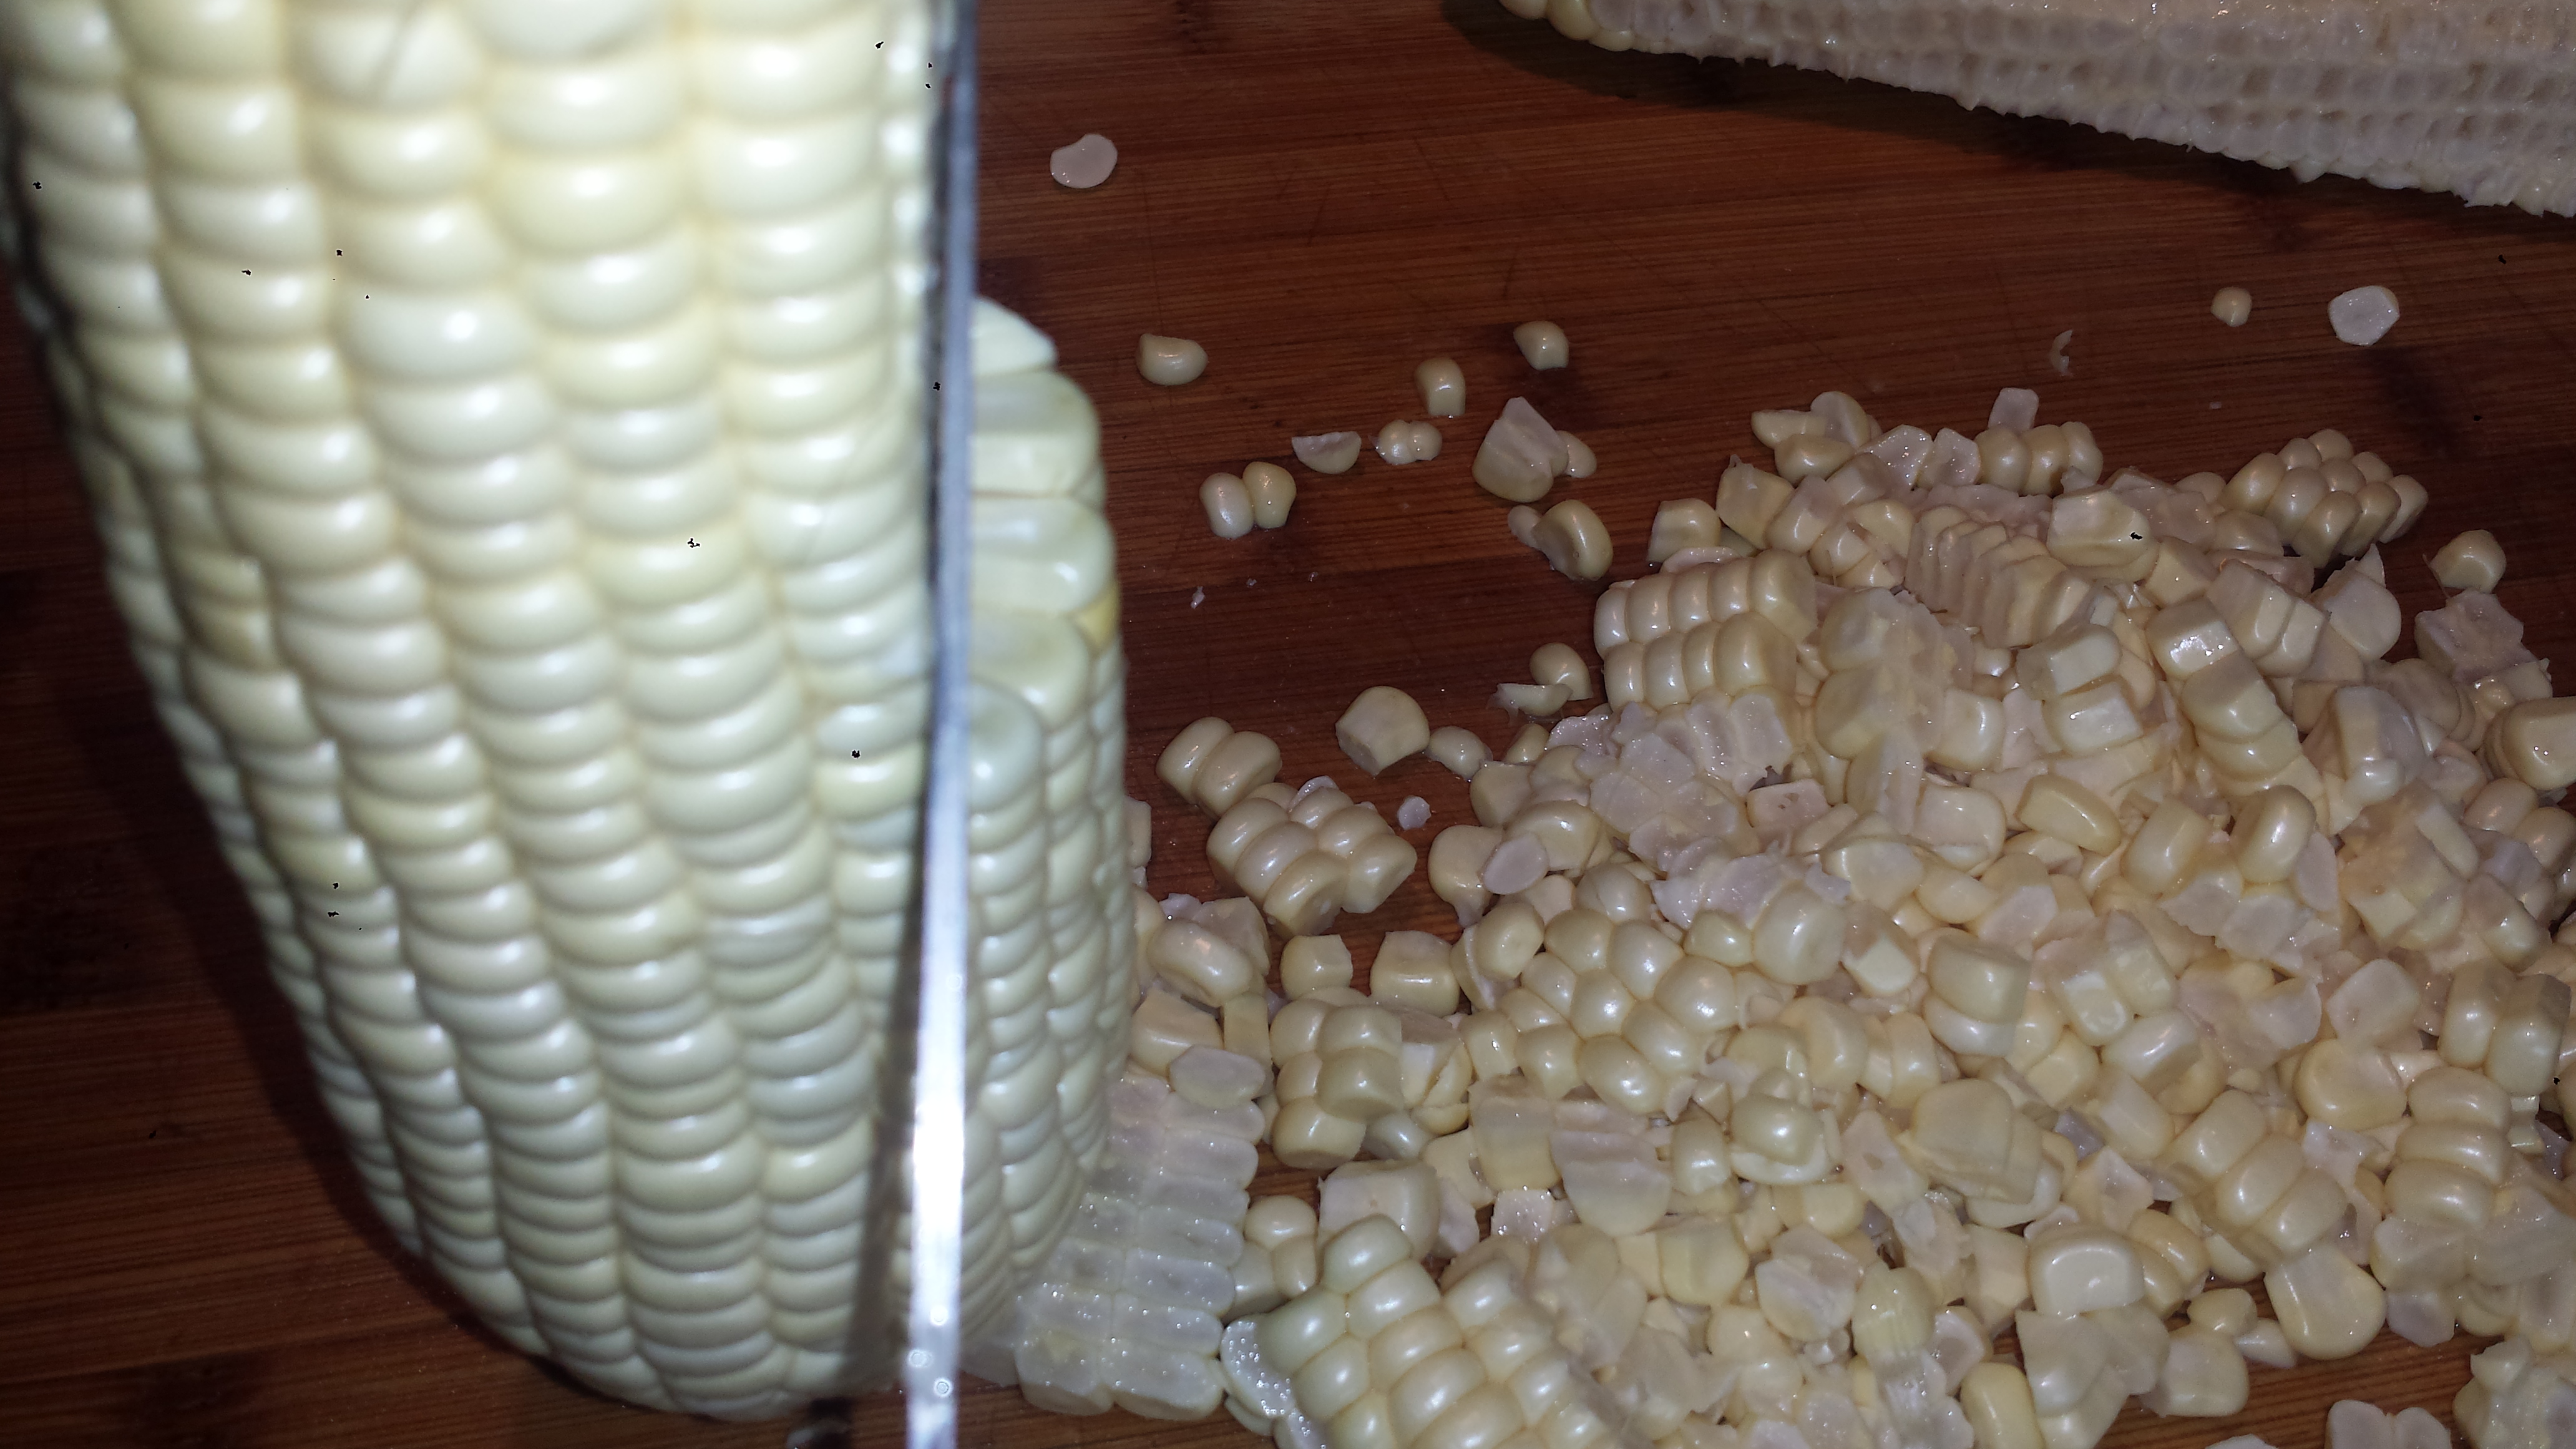
2 ears of fresh corn
8-10 criminy mushrooms
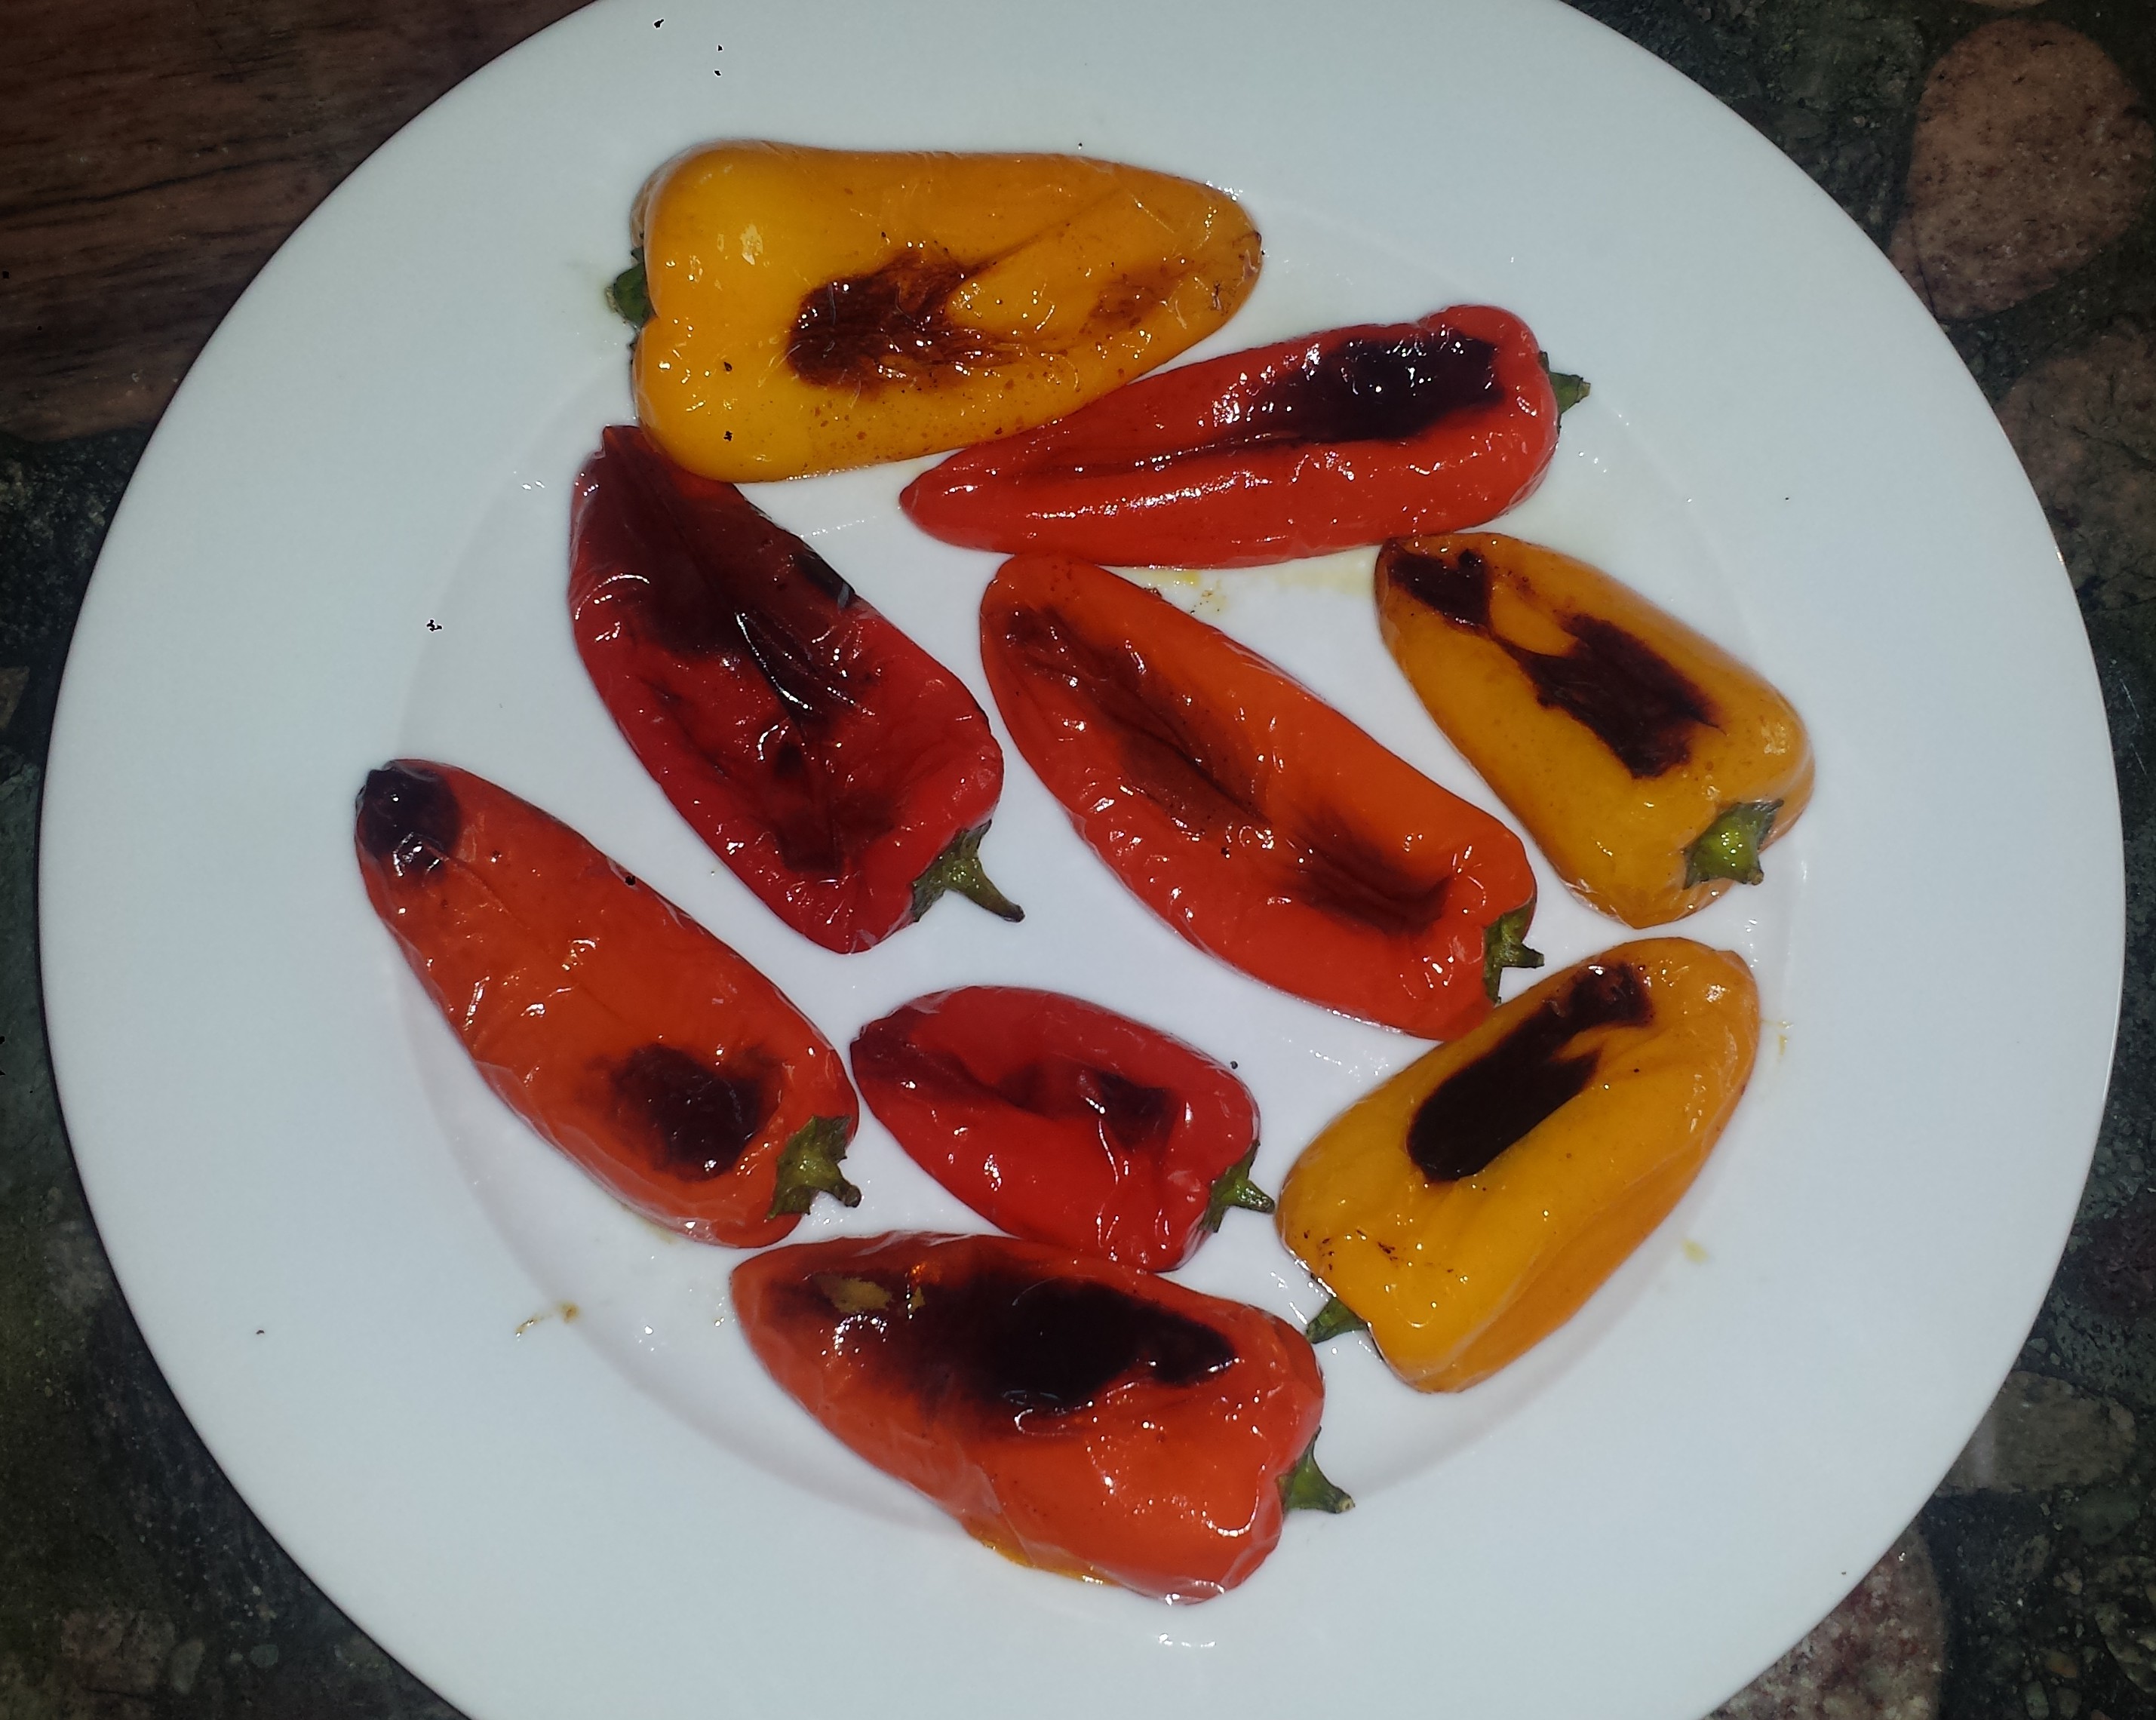
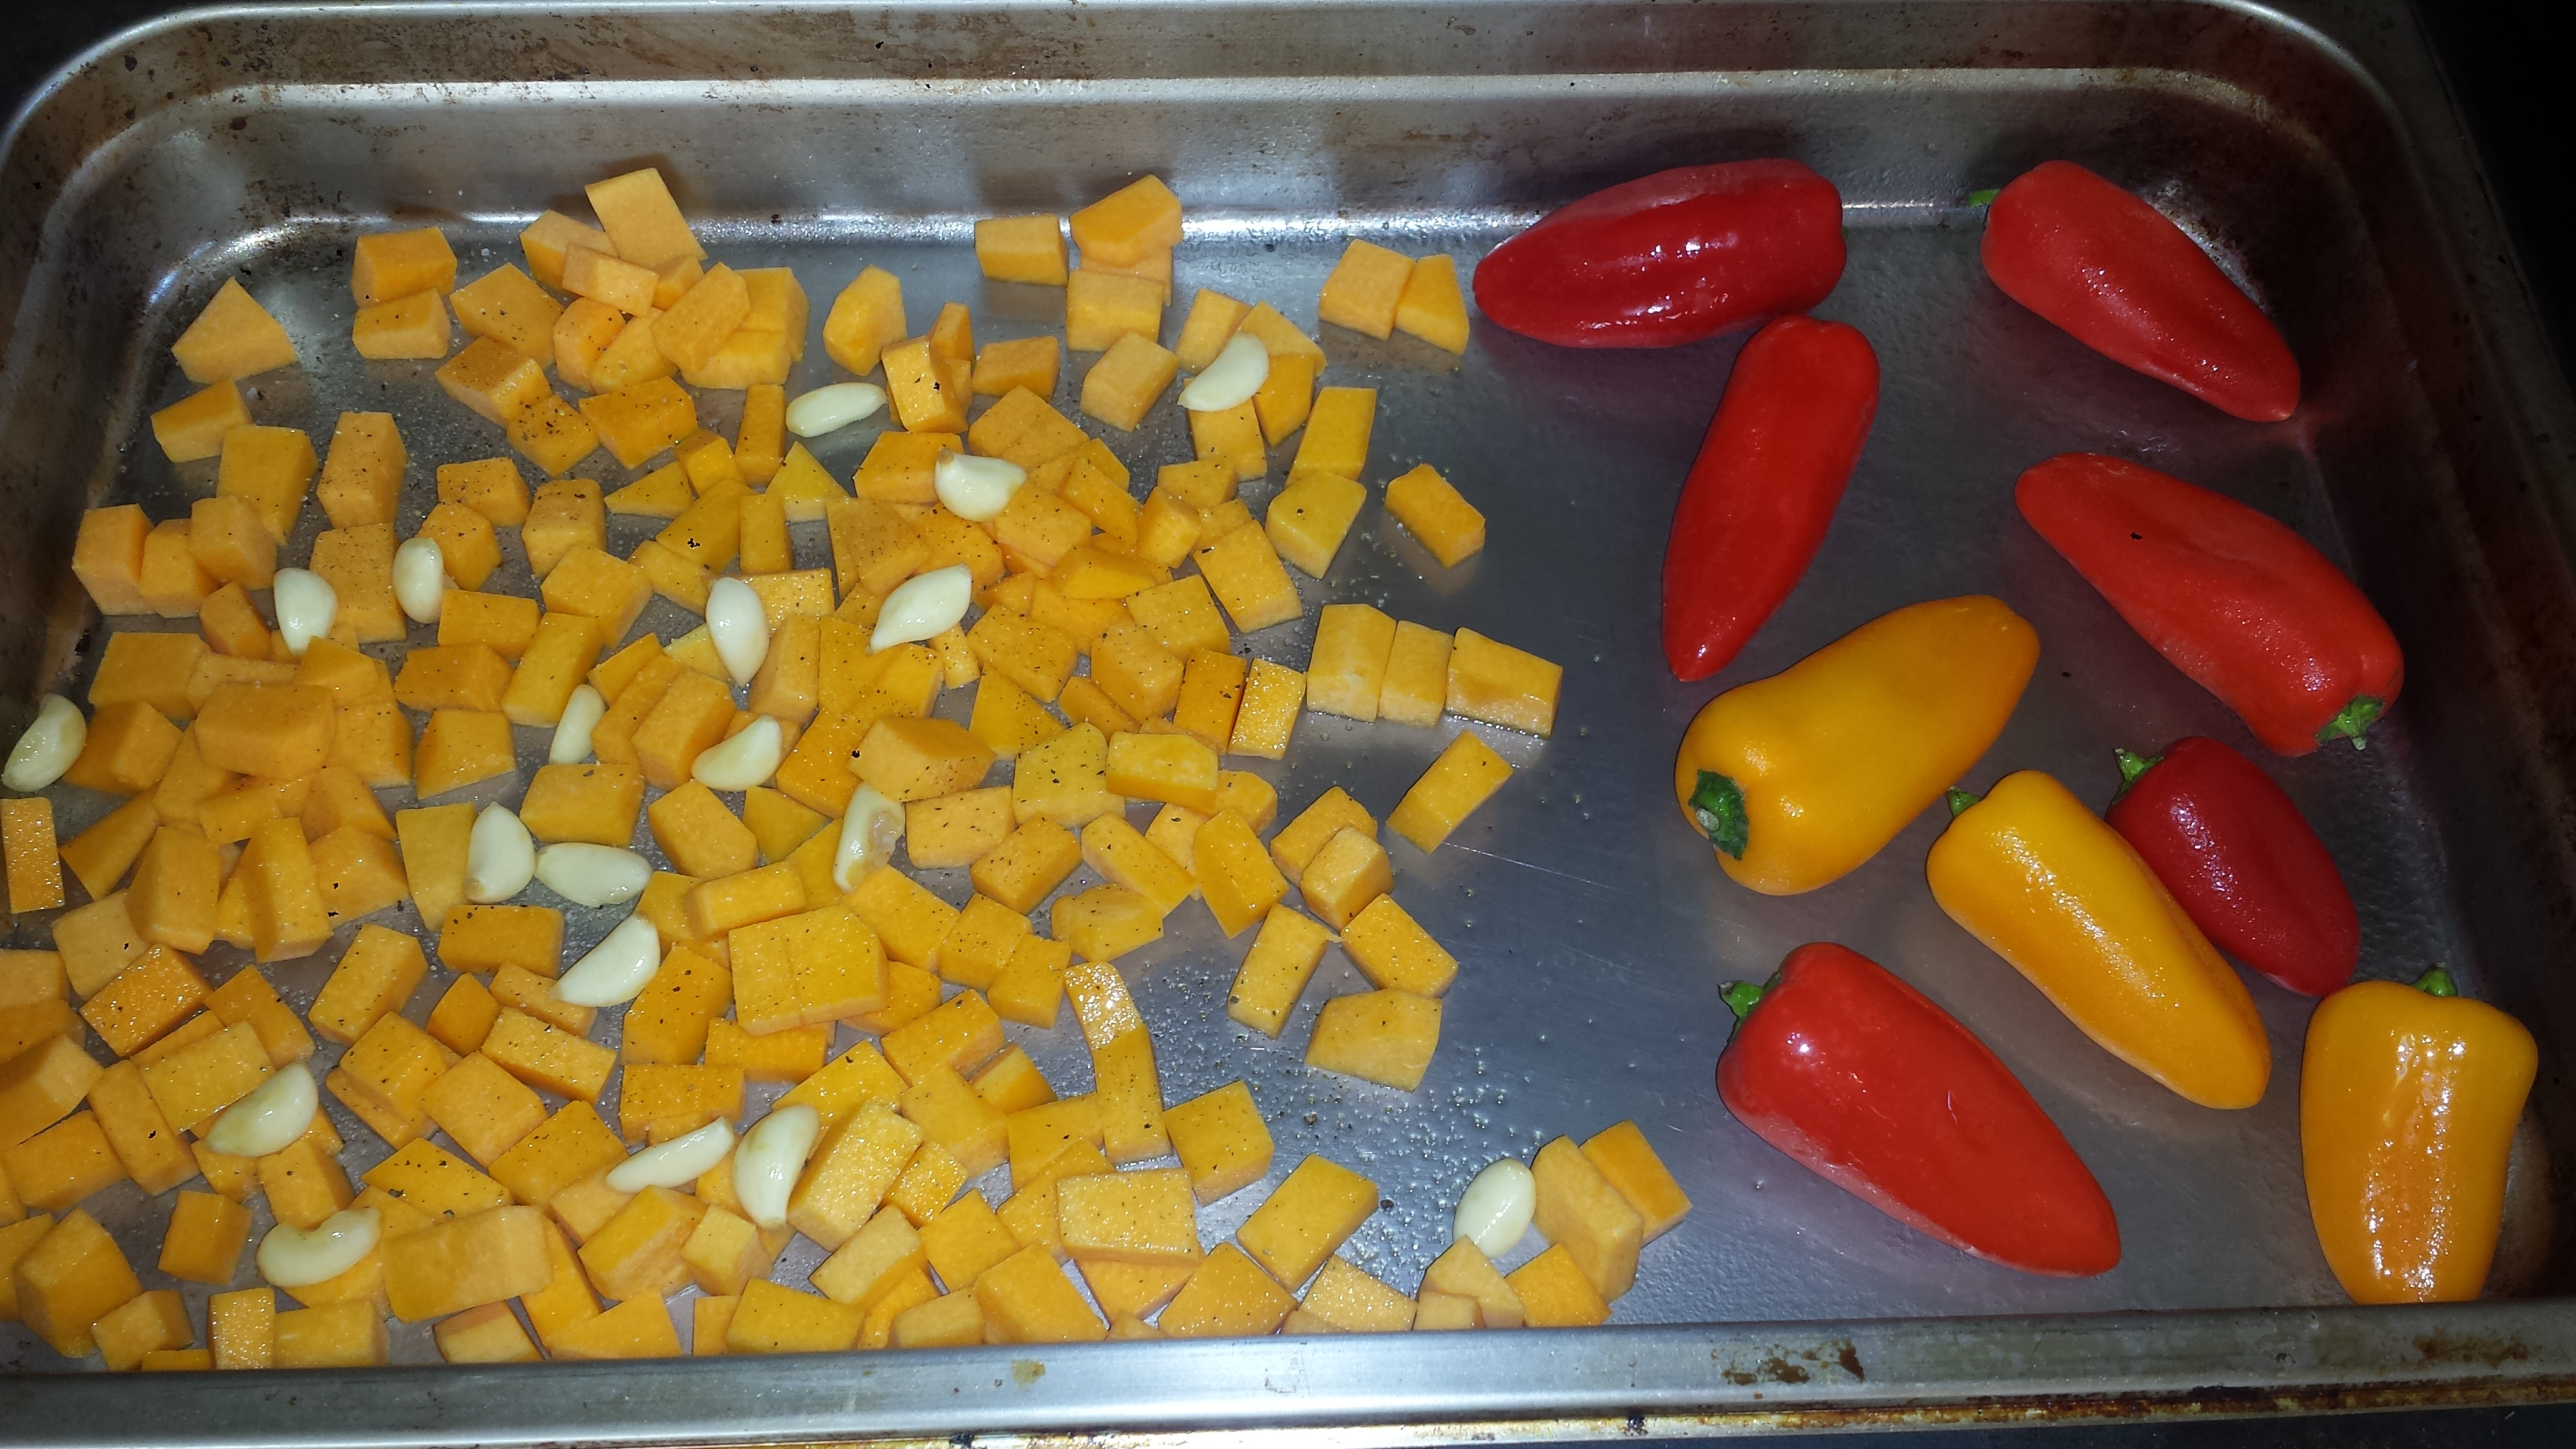
1-2 red bell pepper (or 8-10 mini sweet peppers)
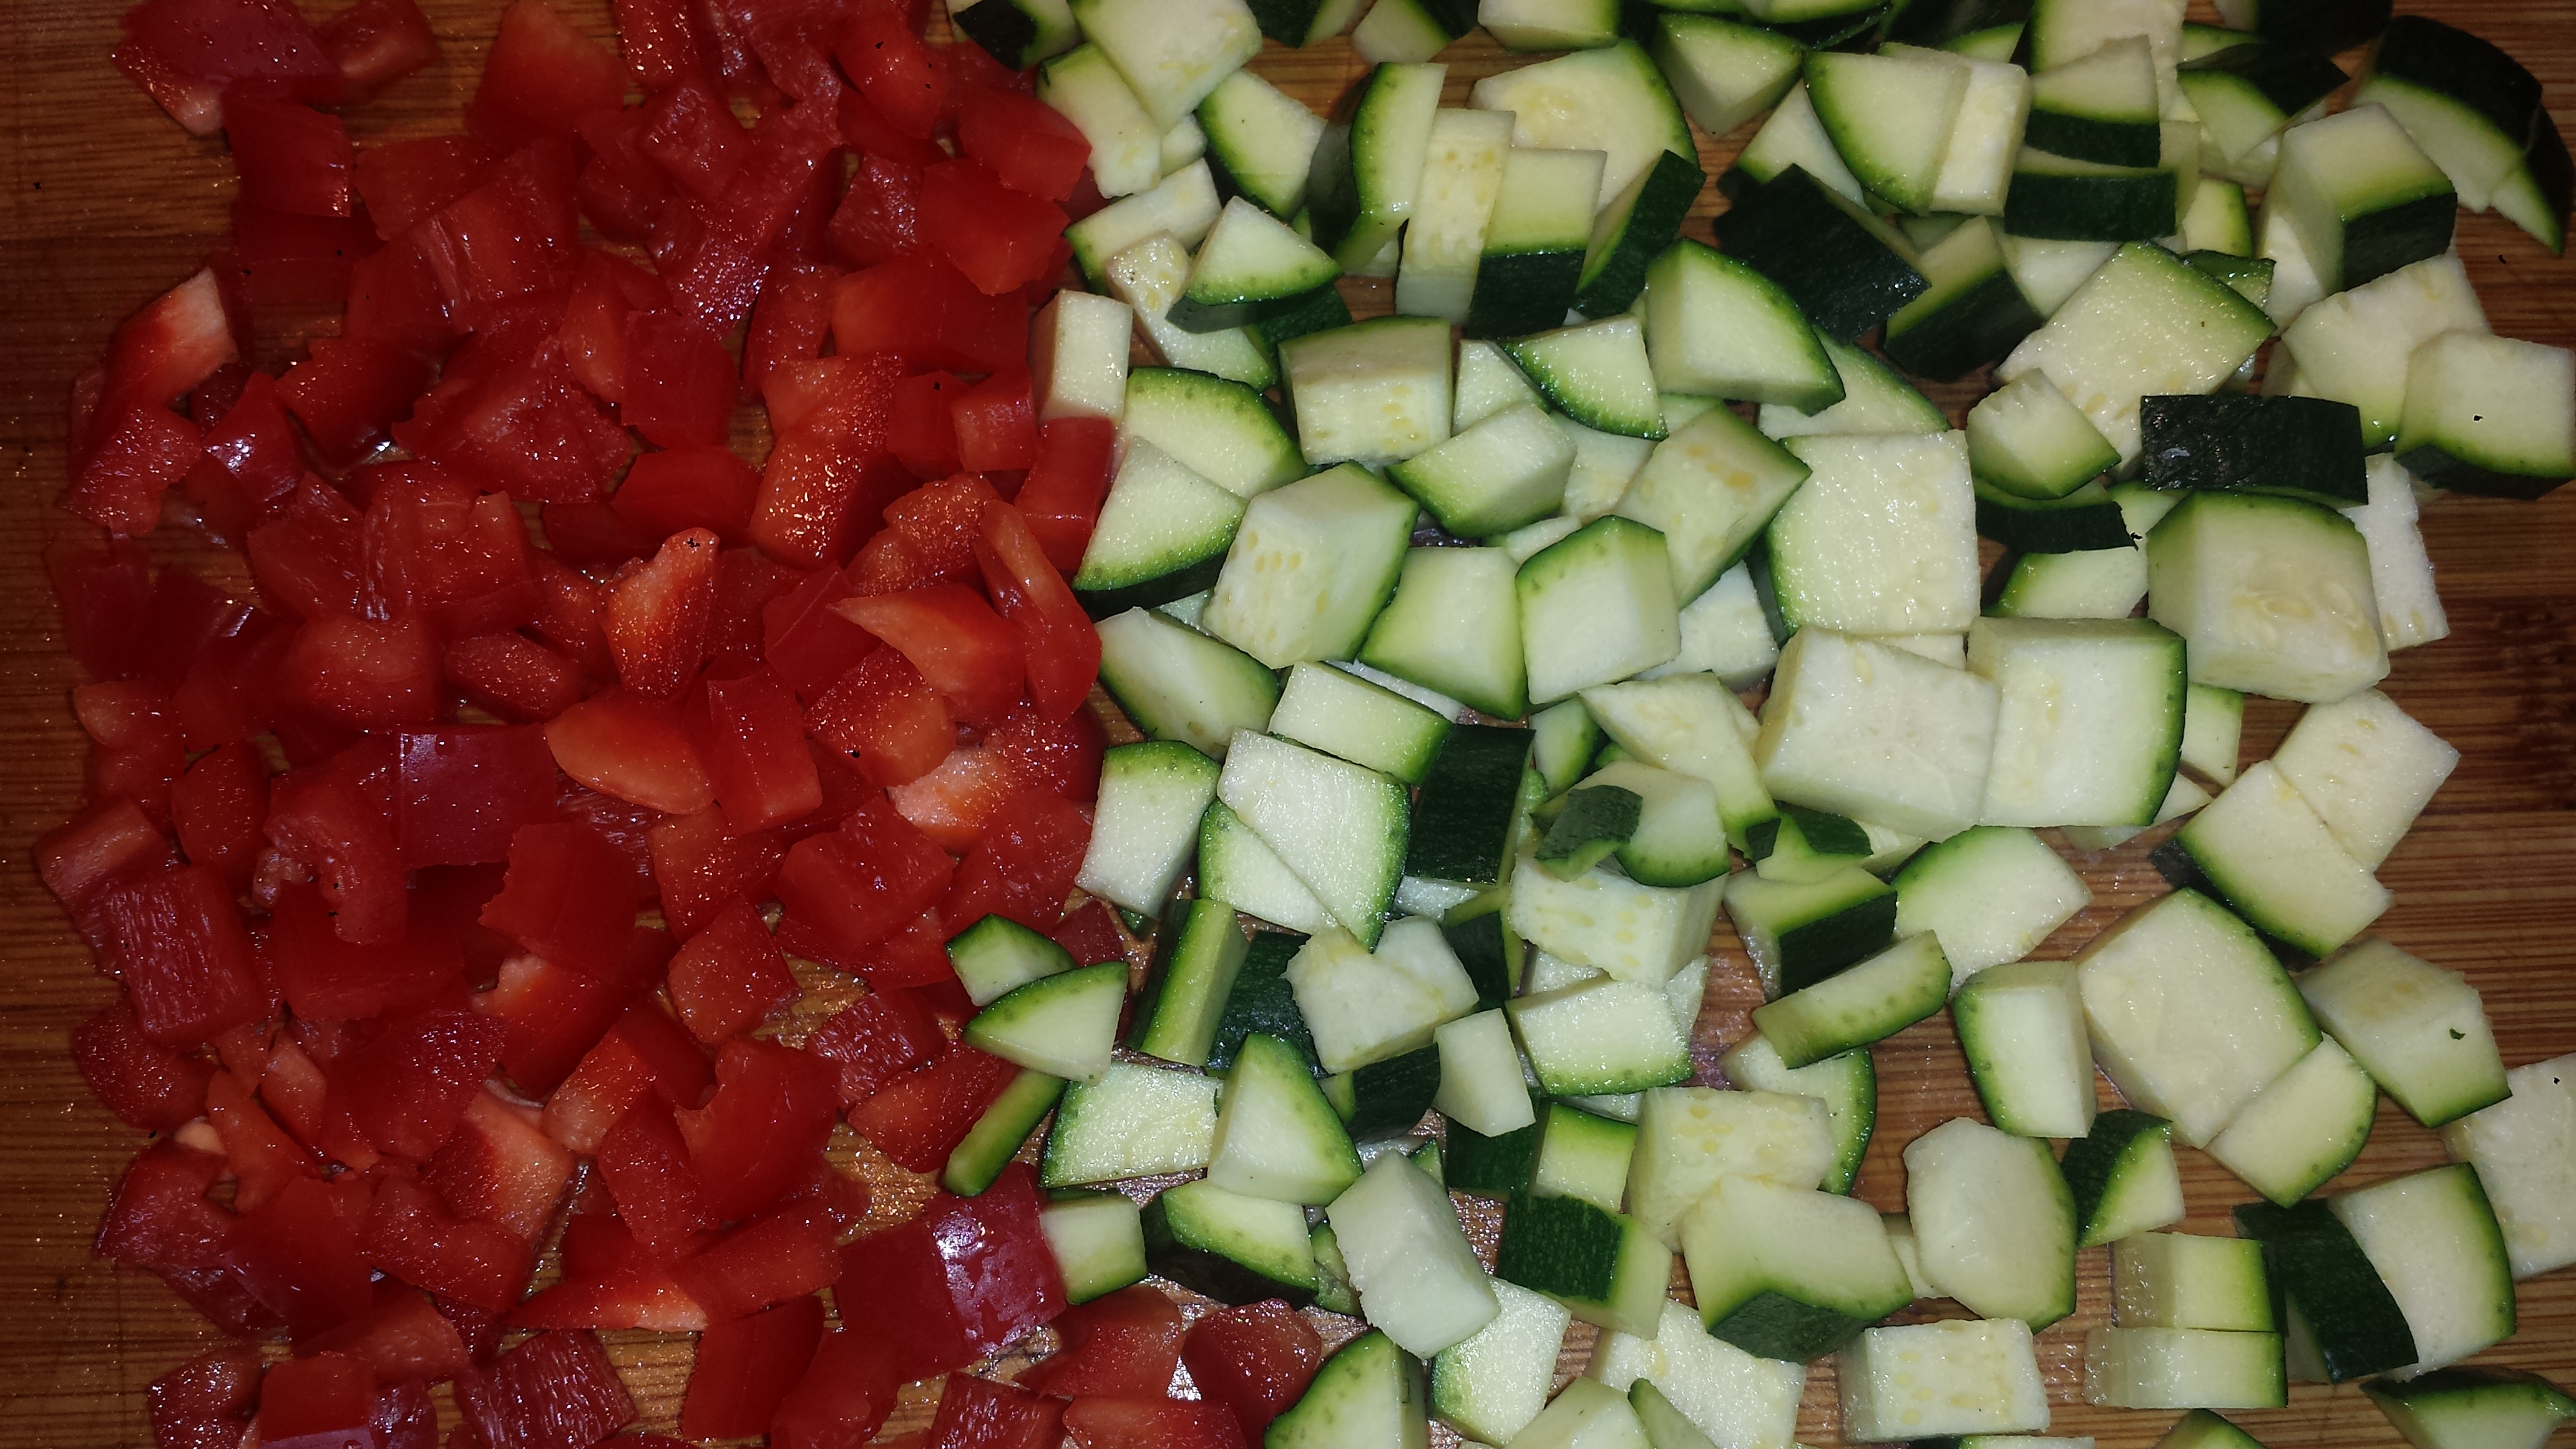
2 zucchini squash
2 summer squash
1 red onion
1 dozen cherry tomatoes
1 block extra firm tofu
several thick slices of crusty sourdough or ciabatta bread
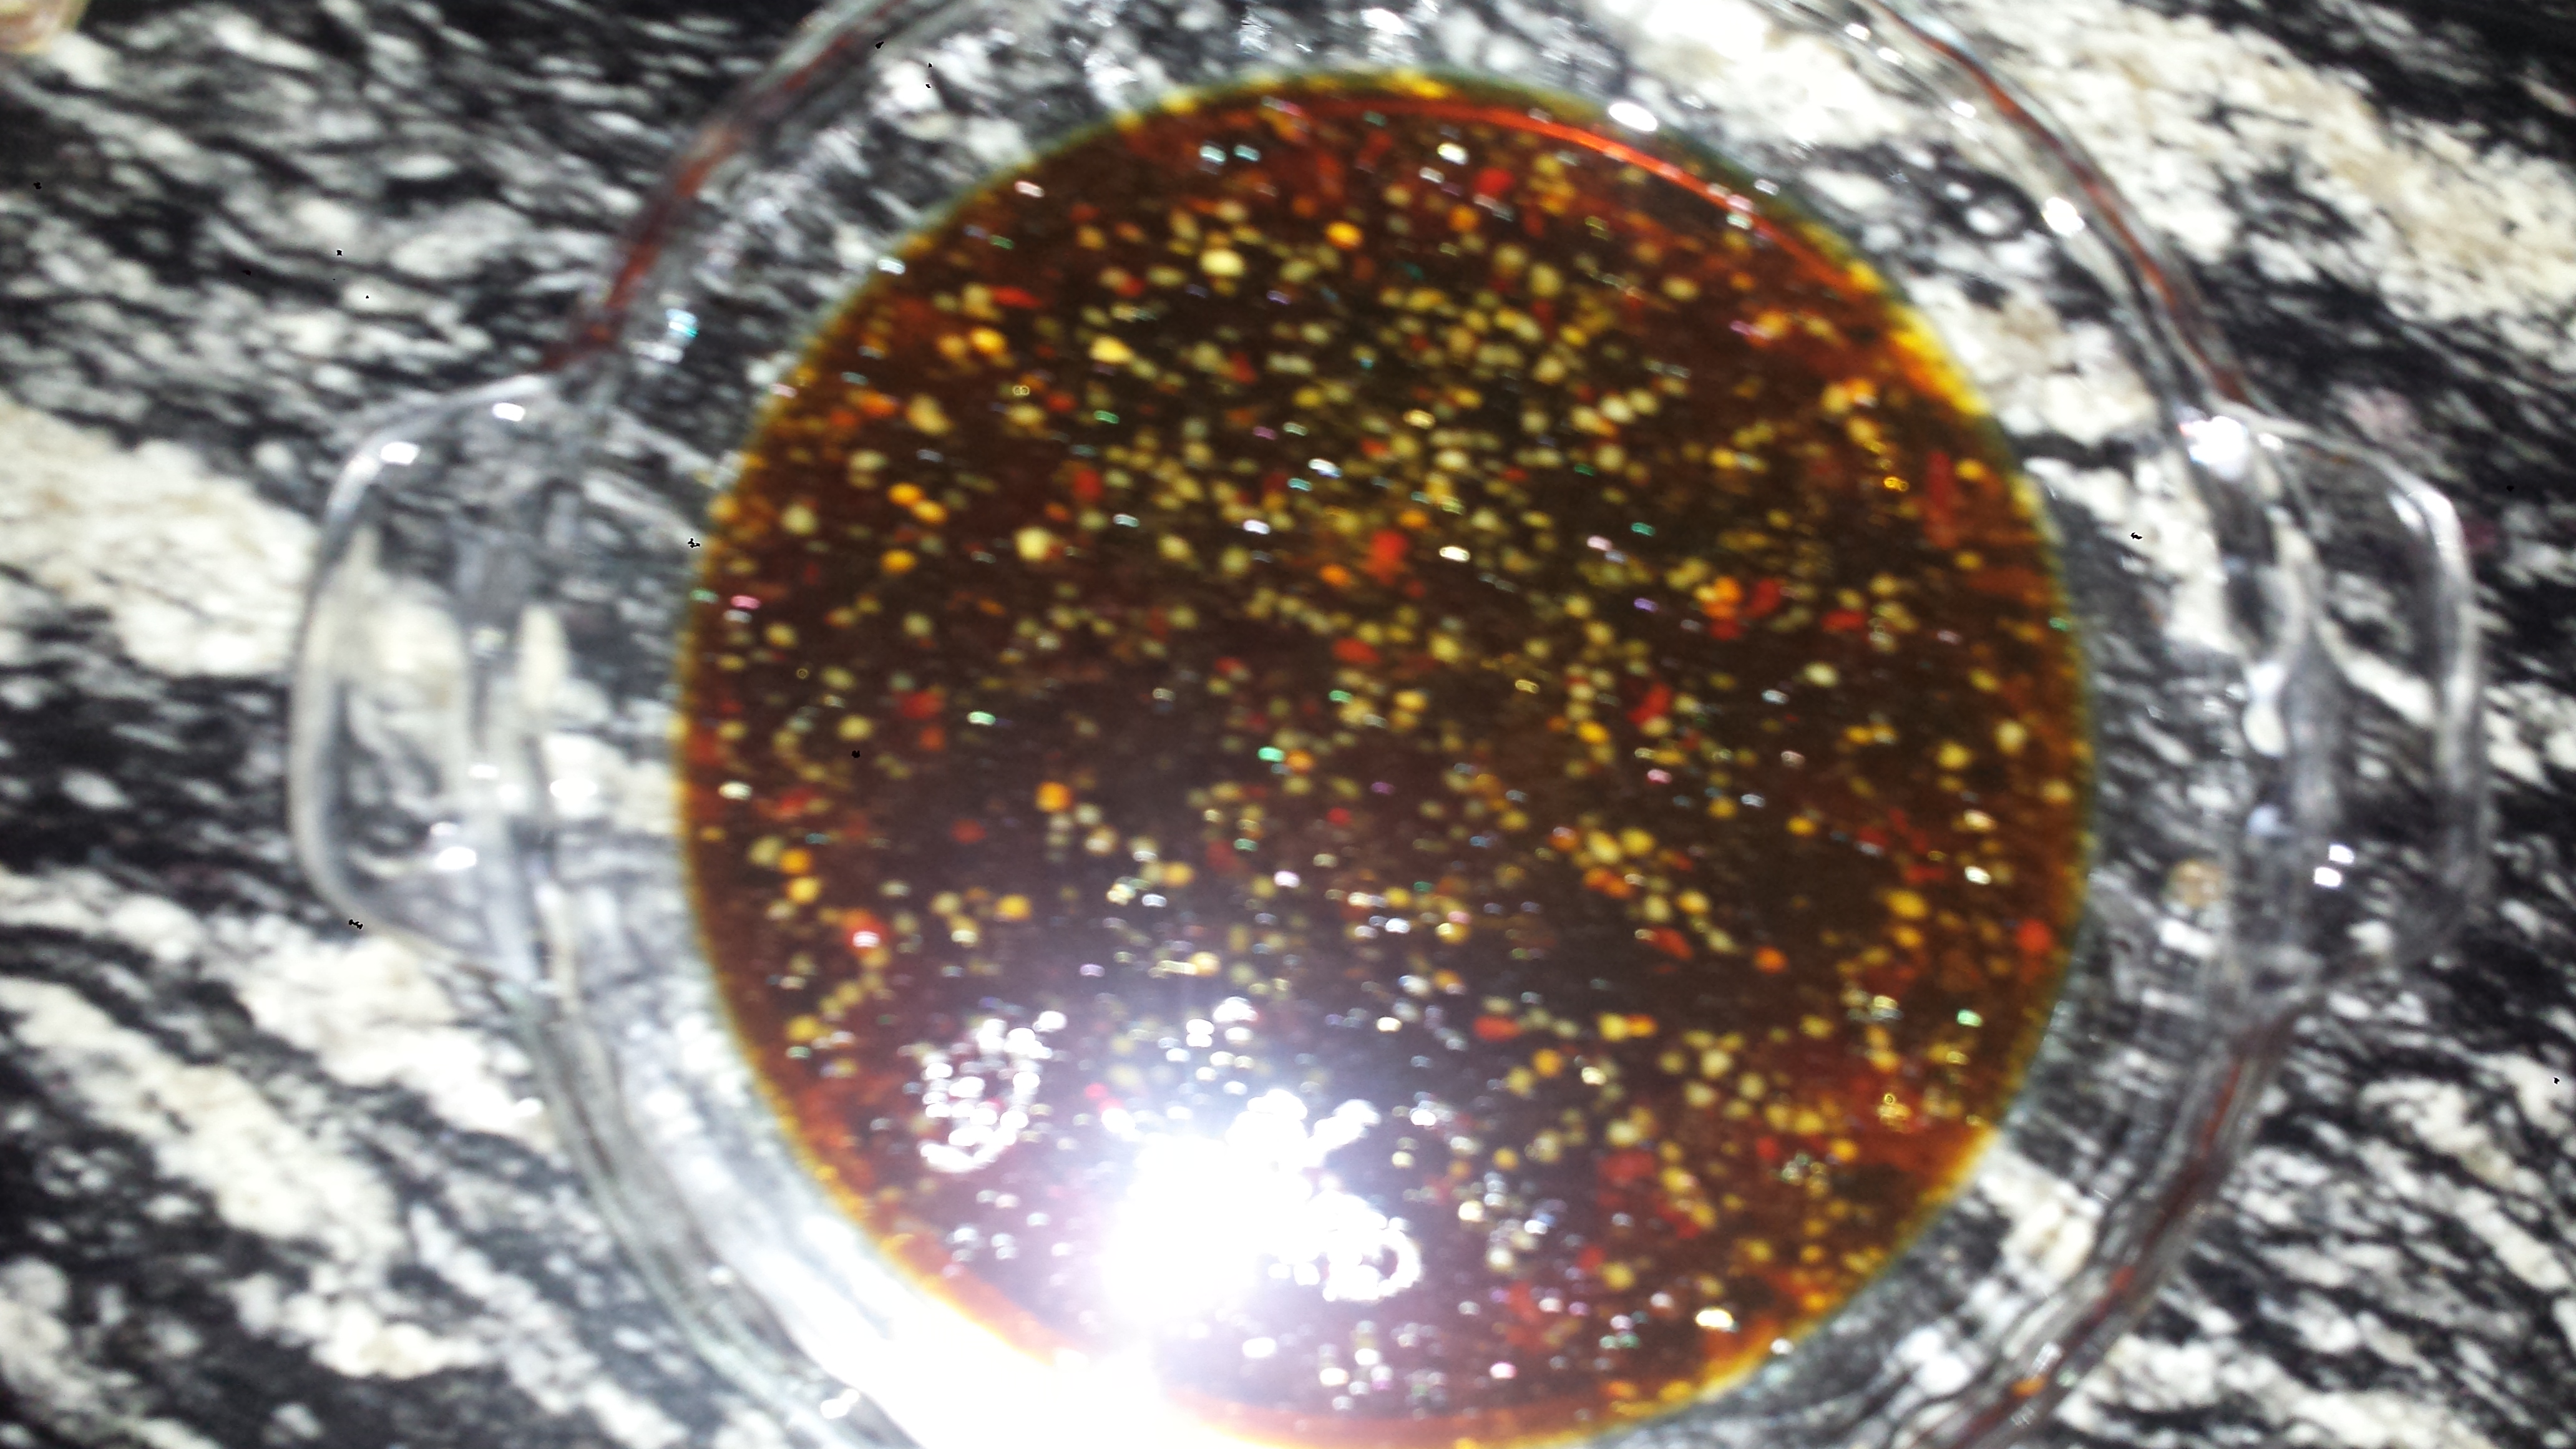
MARINADE (If you are using more than five skewer ingredients, you may want to double the recipe)
*Use the larger amount of spice if you like extra flavor.
1/2 cup olive oil
4-5 cloves garlic, minced
1 lemon, zest and juice
1-2 tsp cumin
1-2 tsp chili powder
1/4-1/2 tsp cayenne pepper (Optional)
1/2 tsp salt
1/4 tsp black pepper
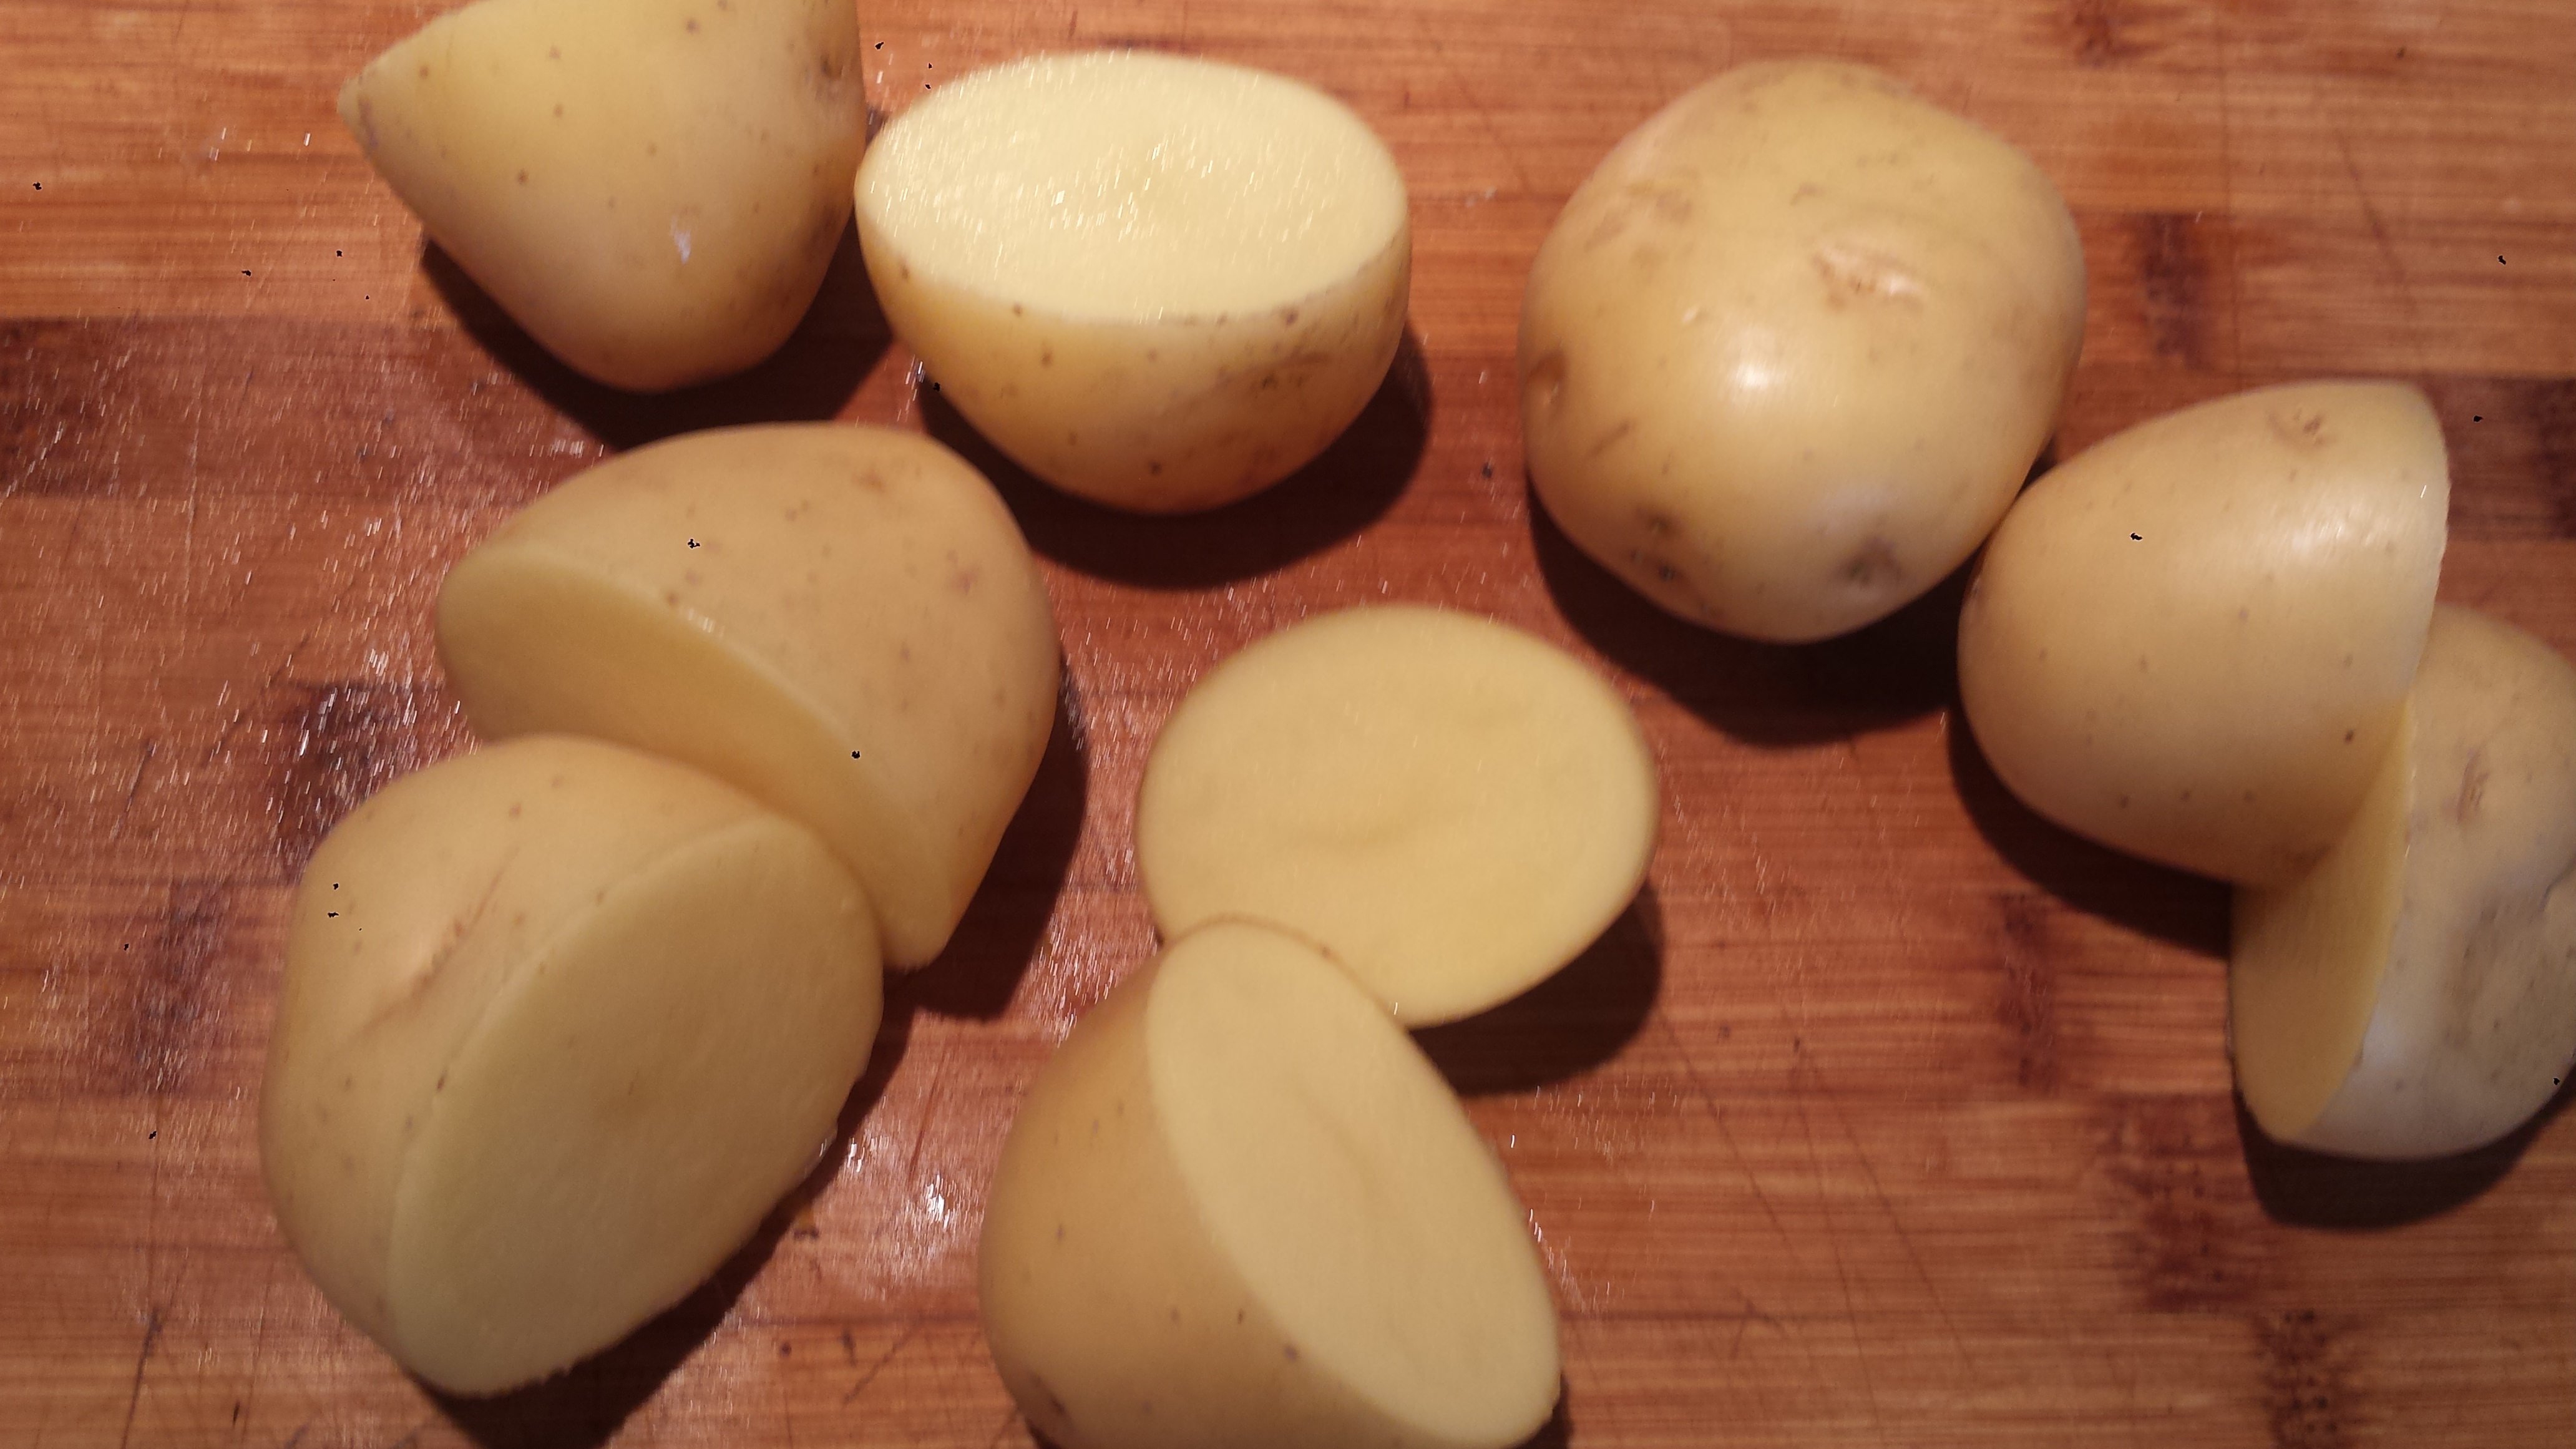
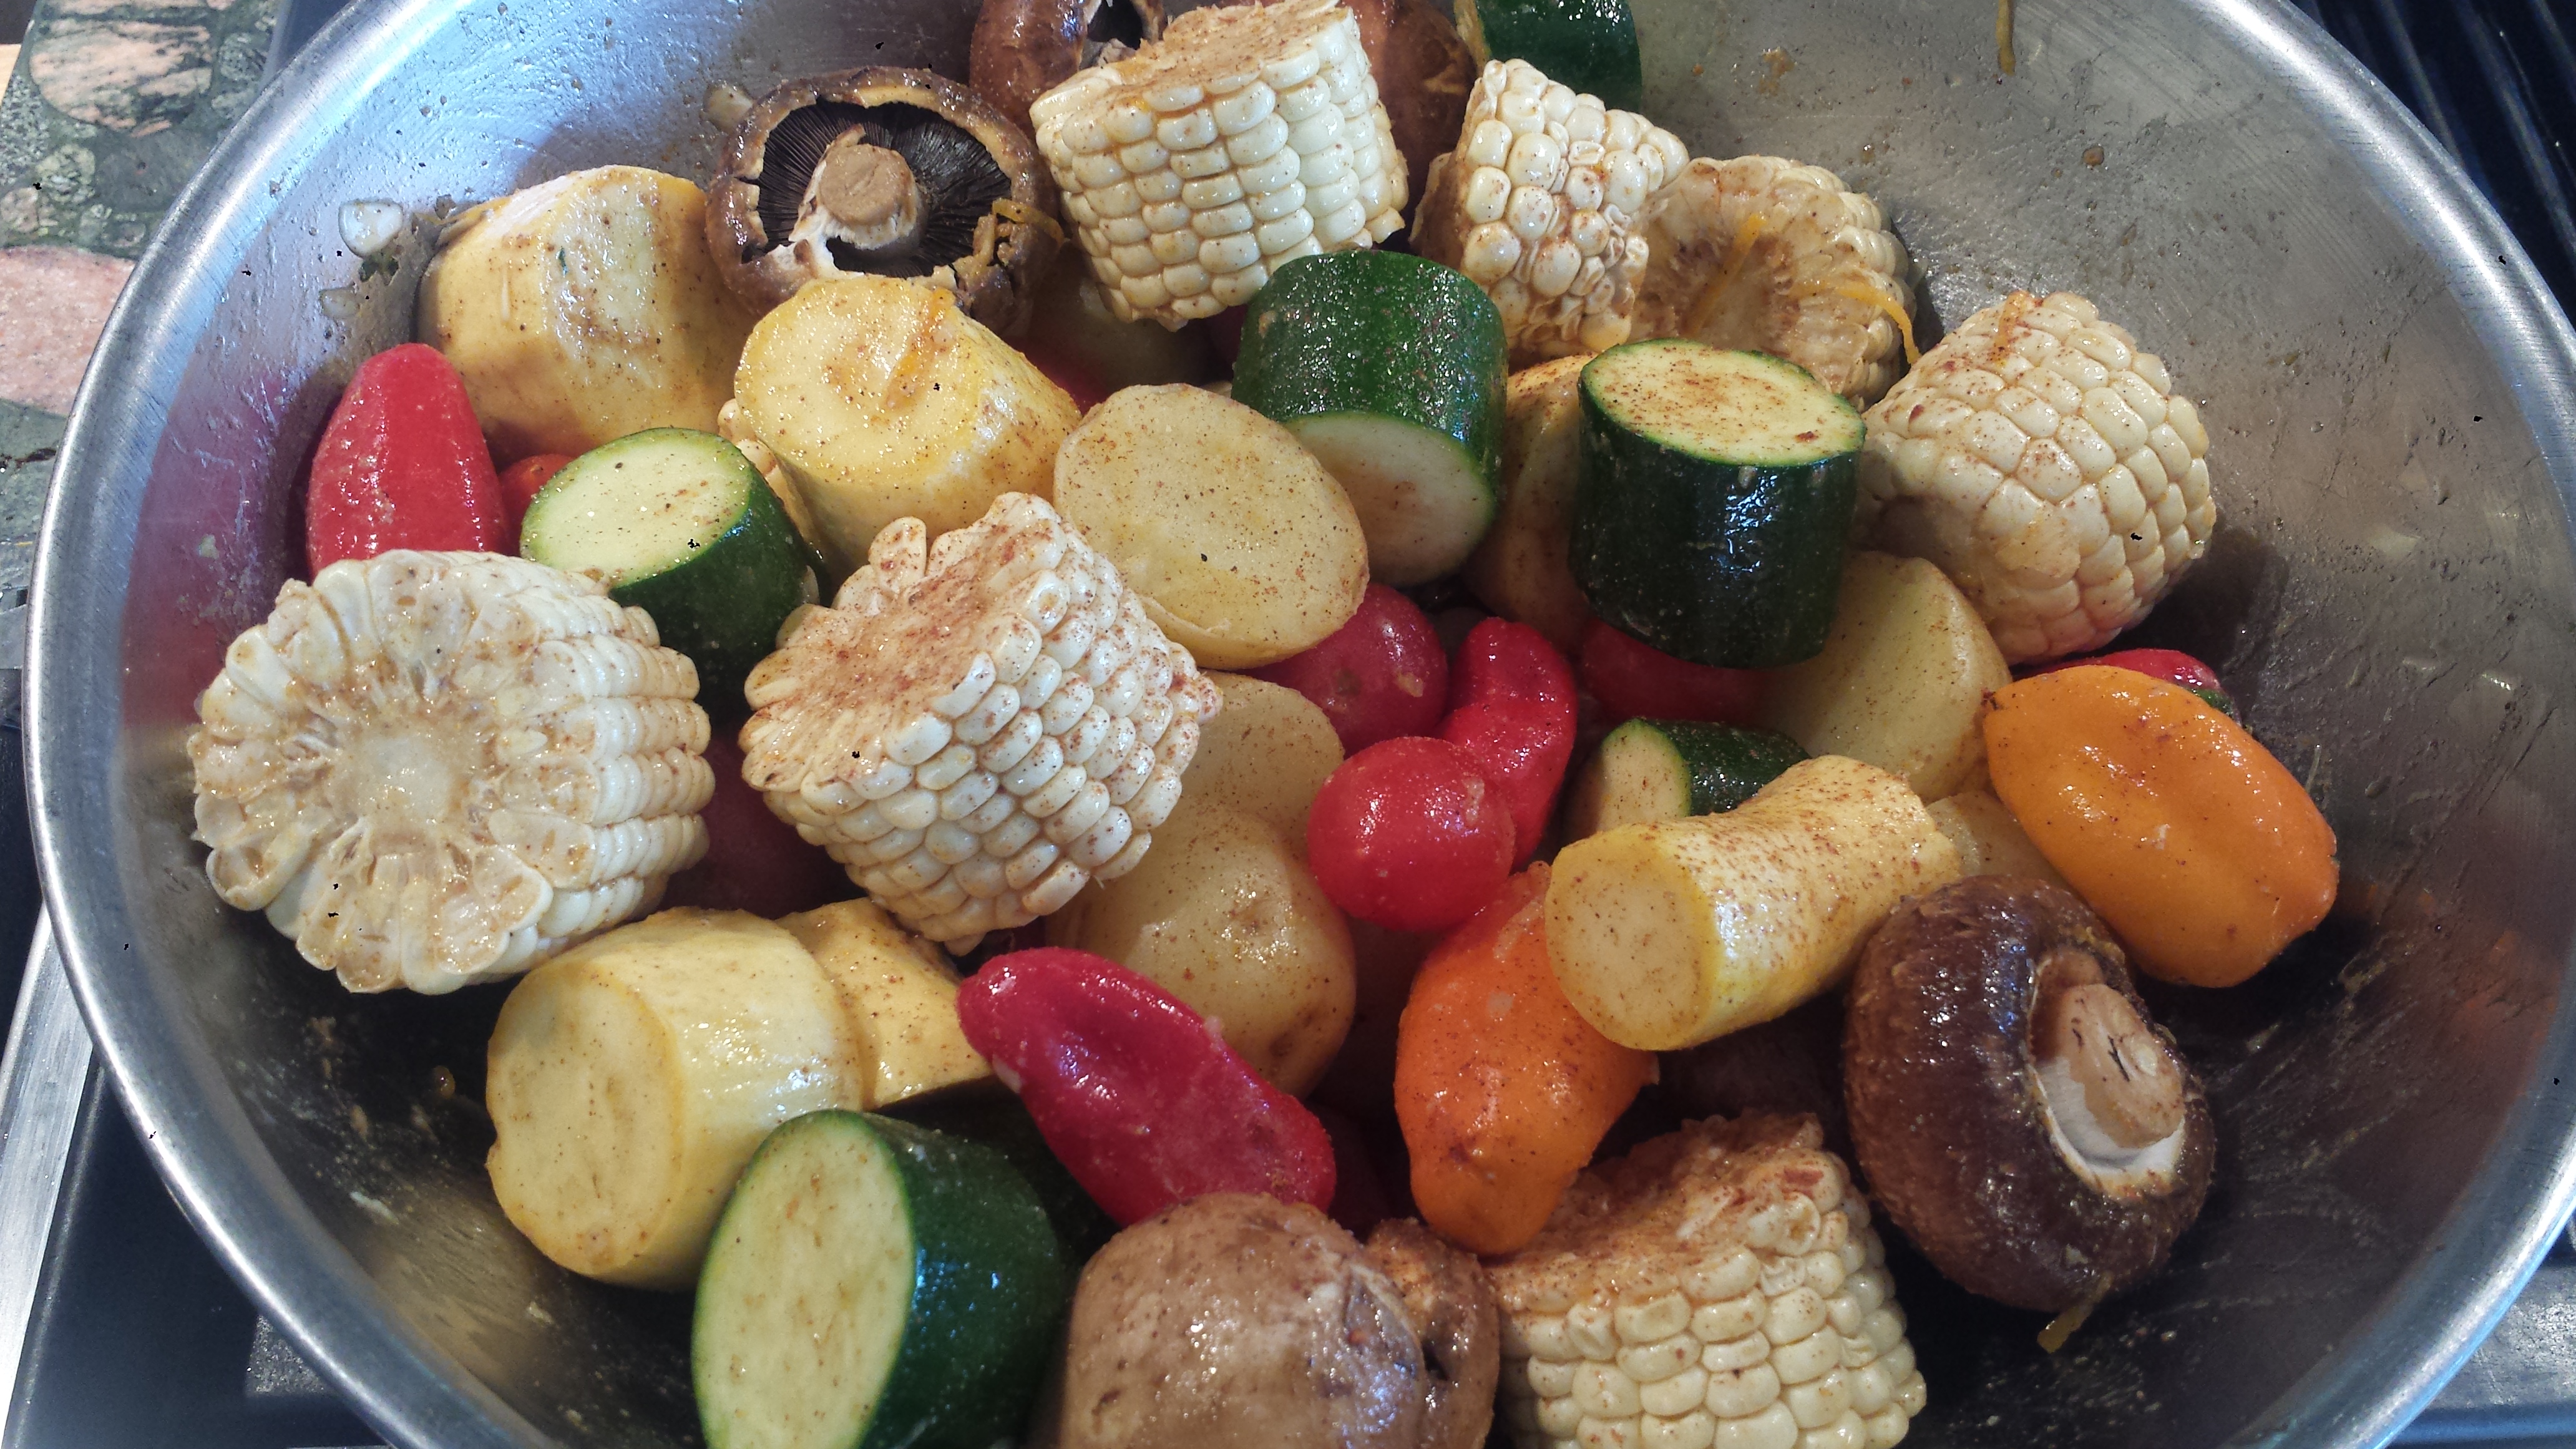
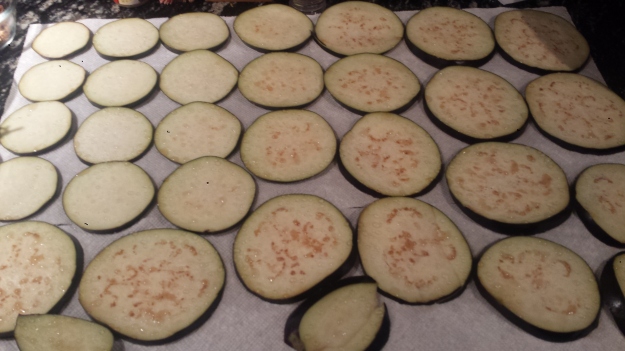
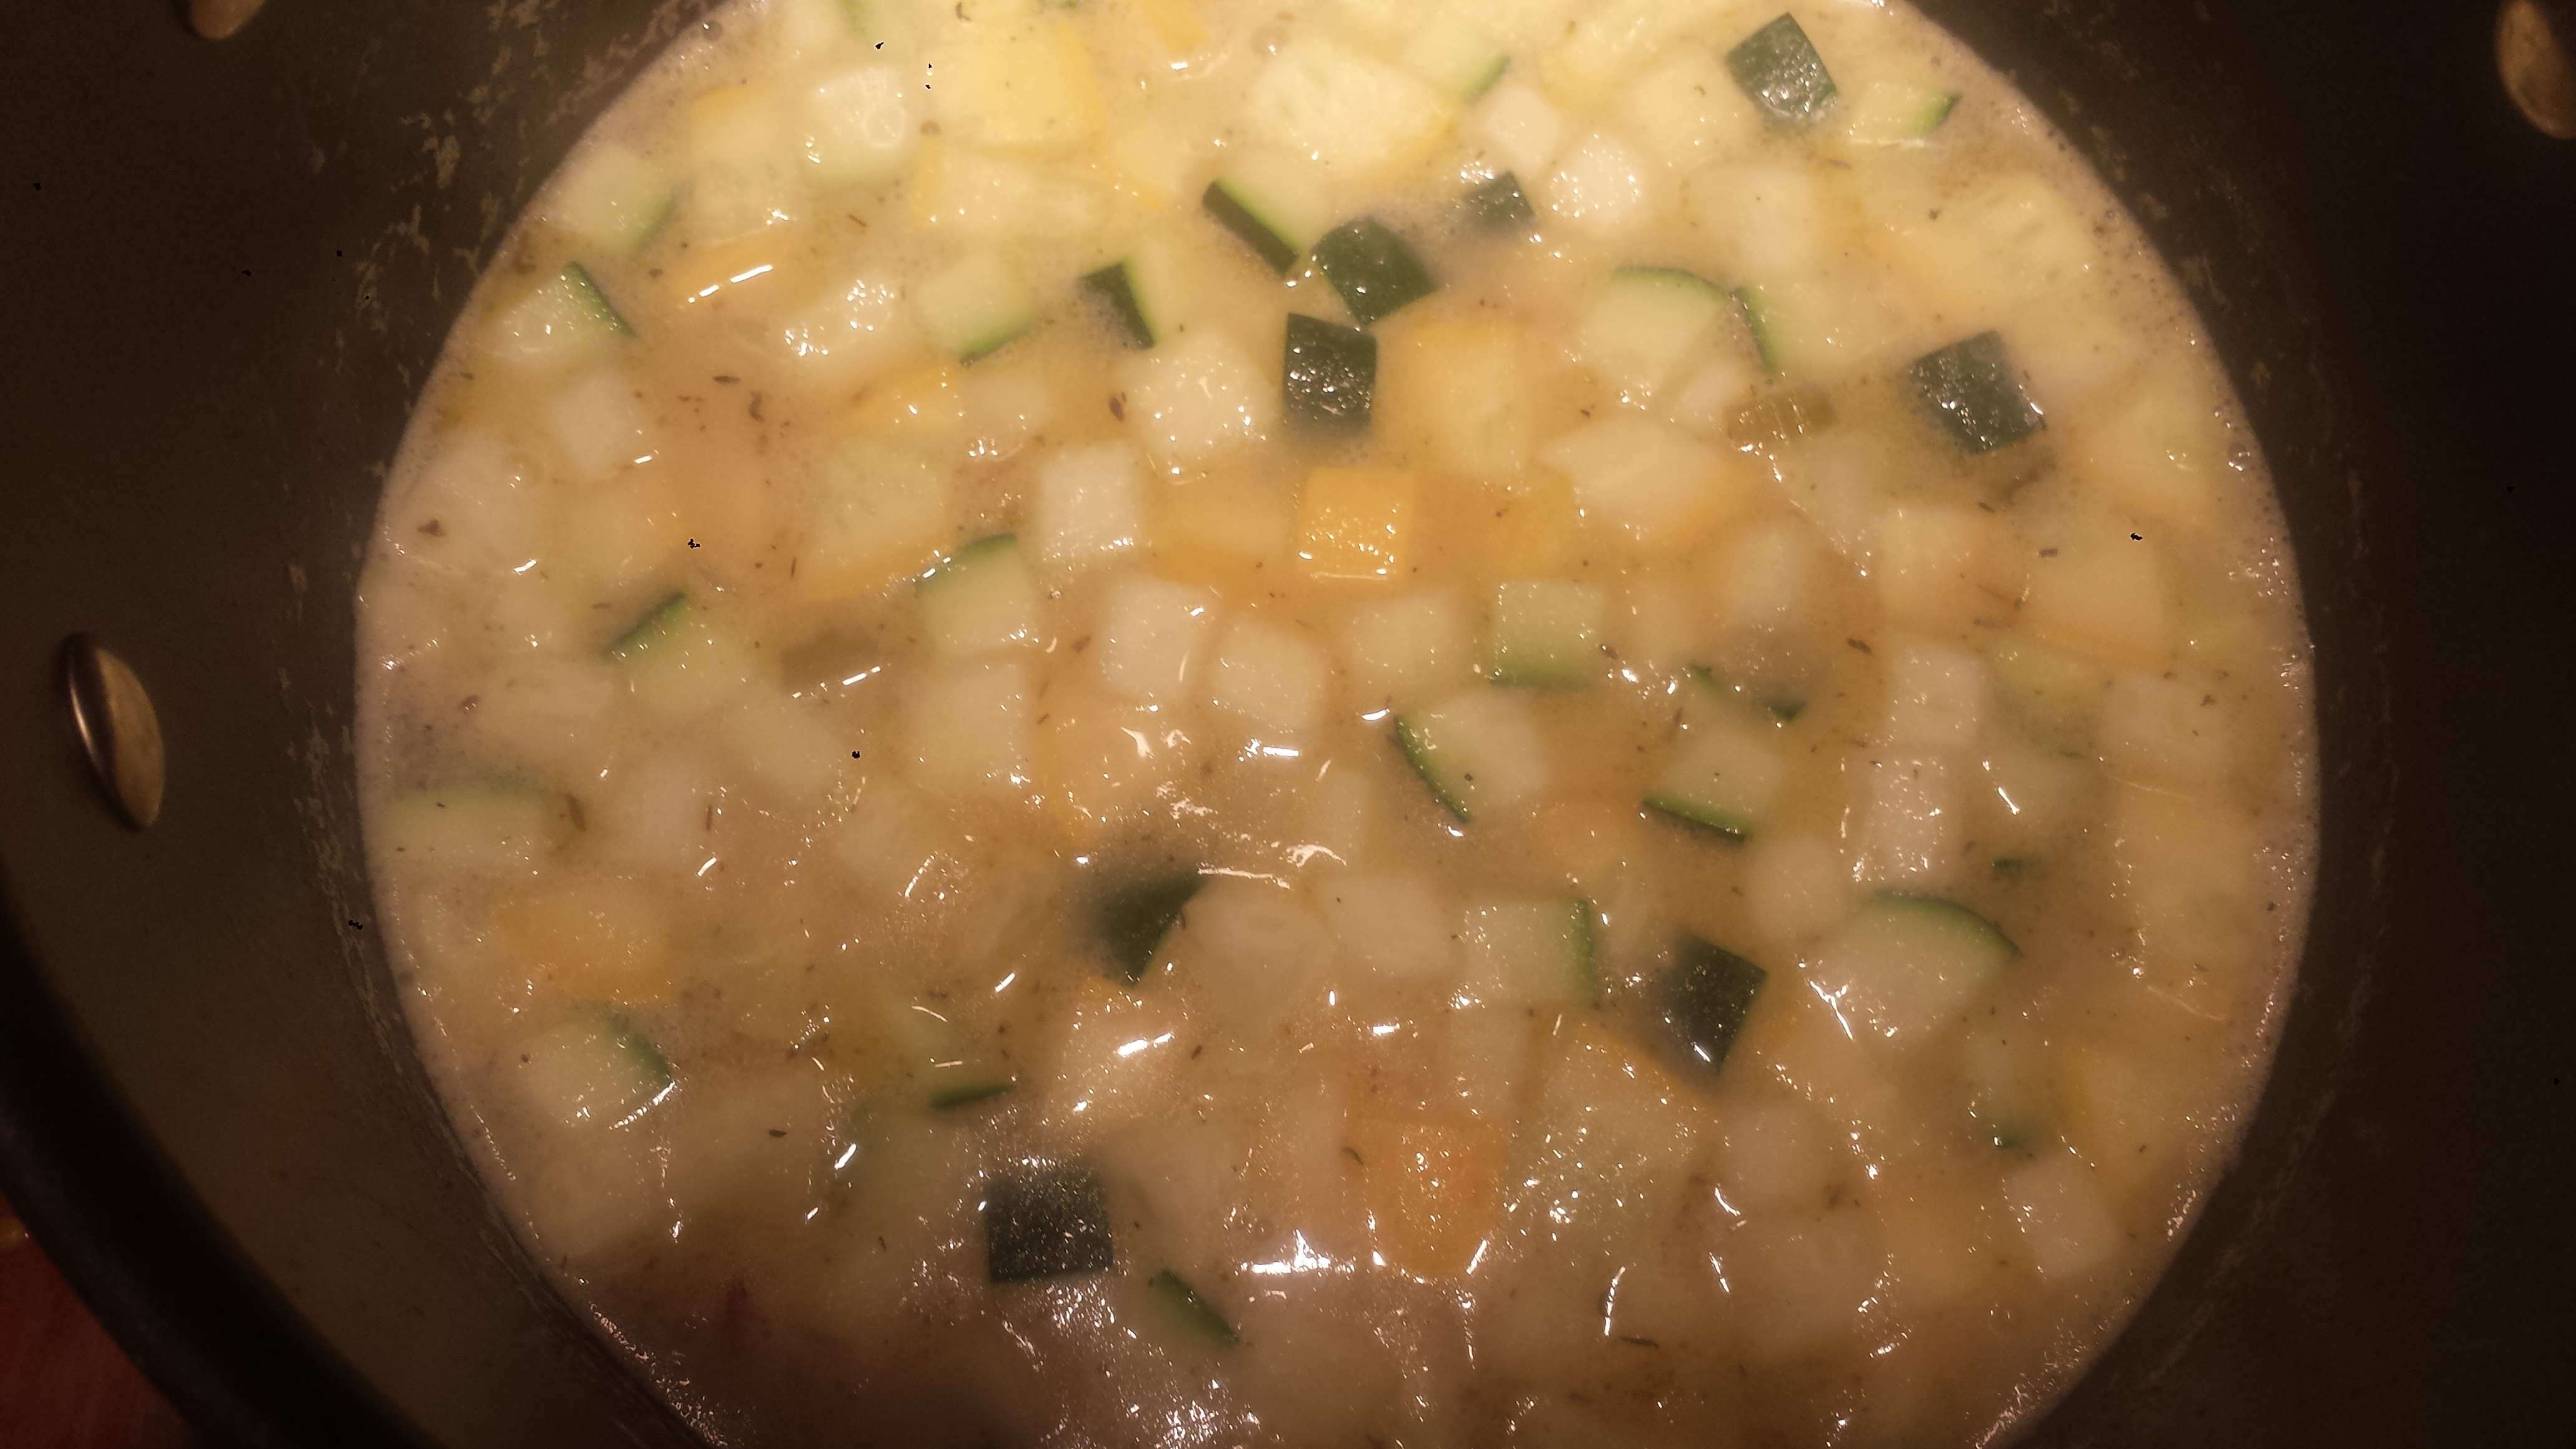
- If using bamboo skewers, soak them in water for 2 hours prior to using to reduce charring. Cut potatoes in half and parboil in salted water until fork tender but still firm (about 5-10 minutes). Let cool and place in a large bowl.
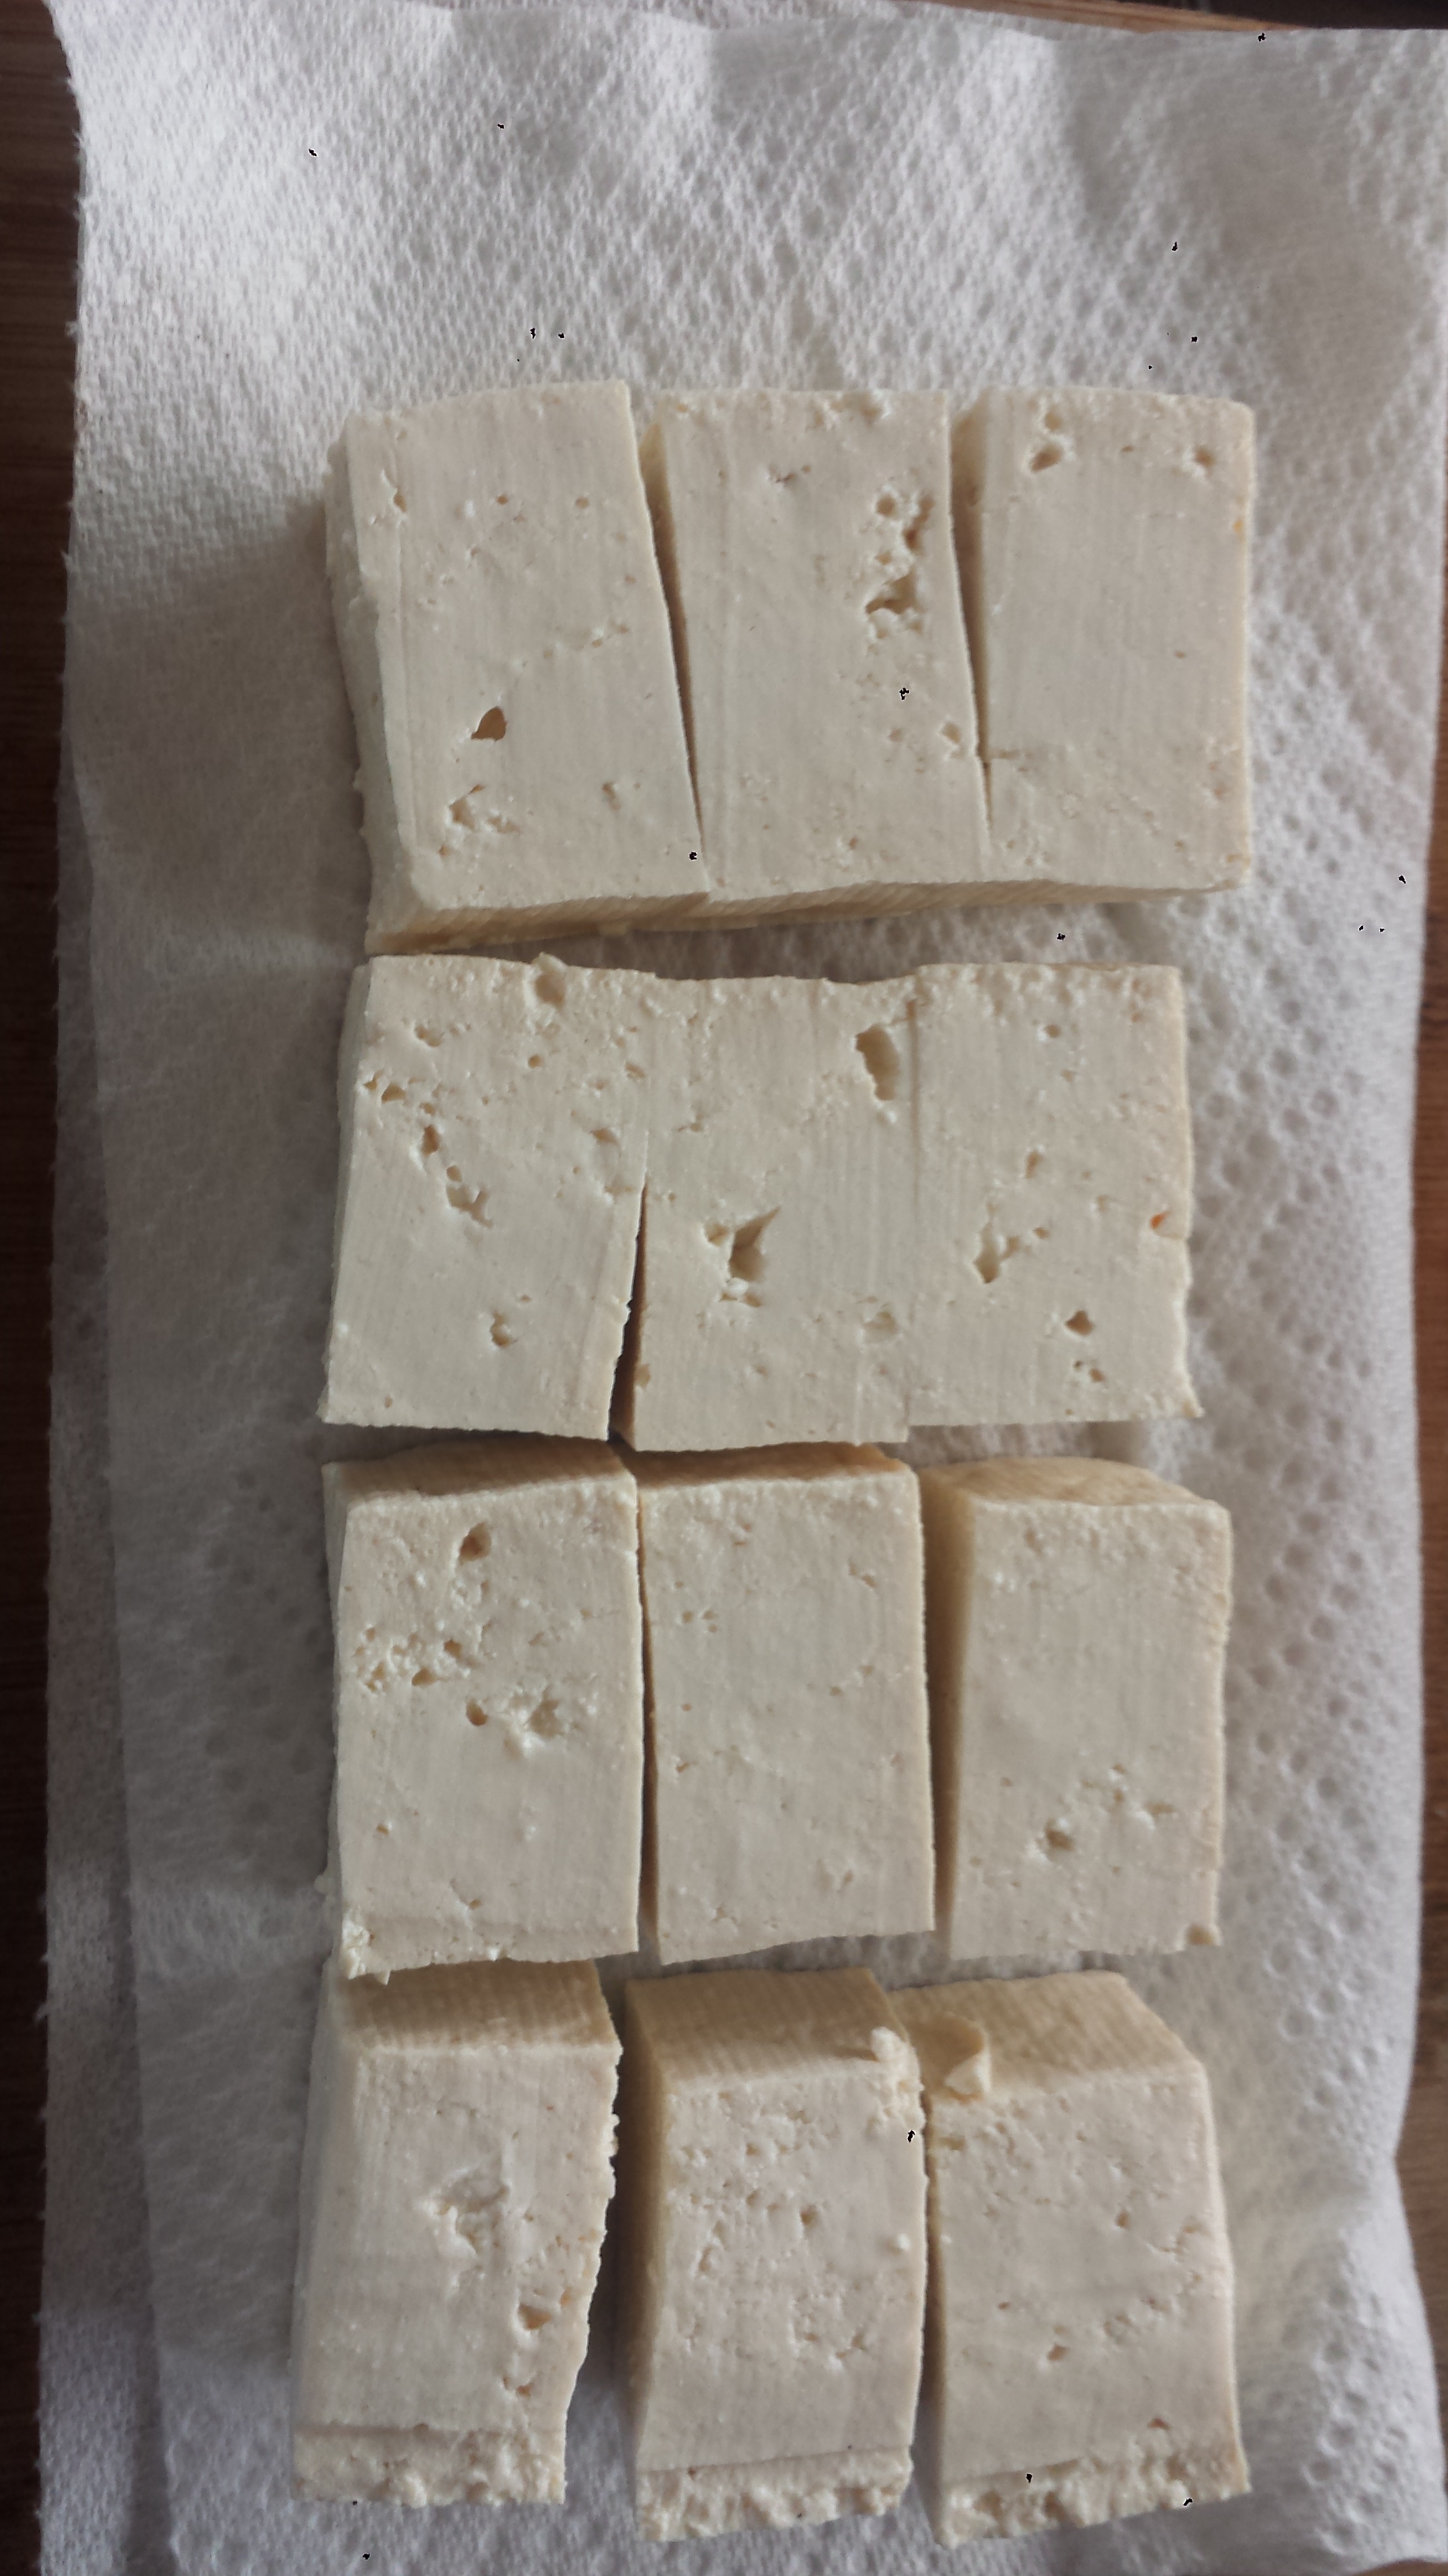
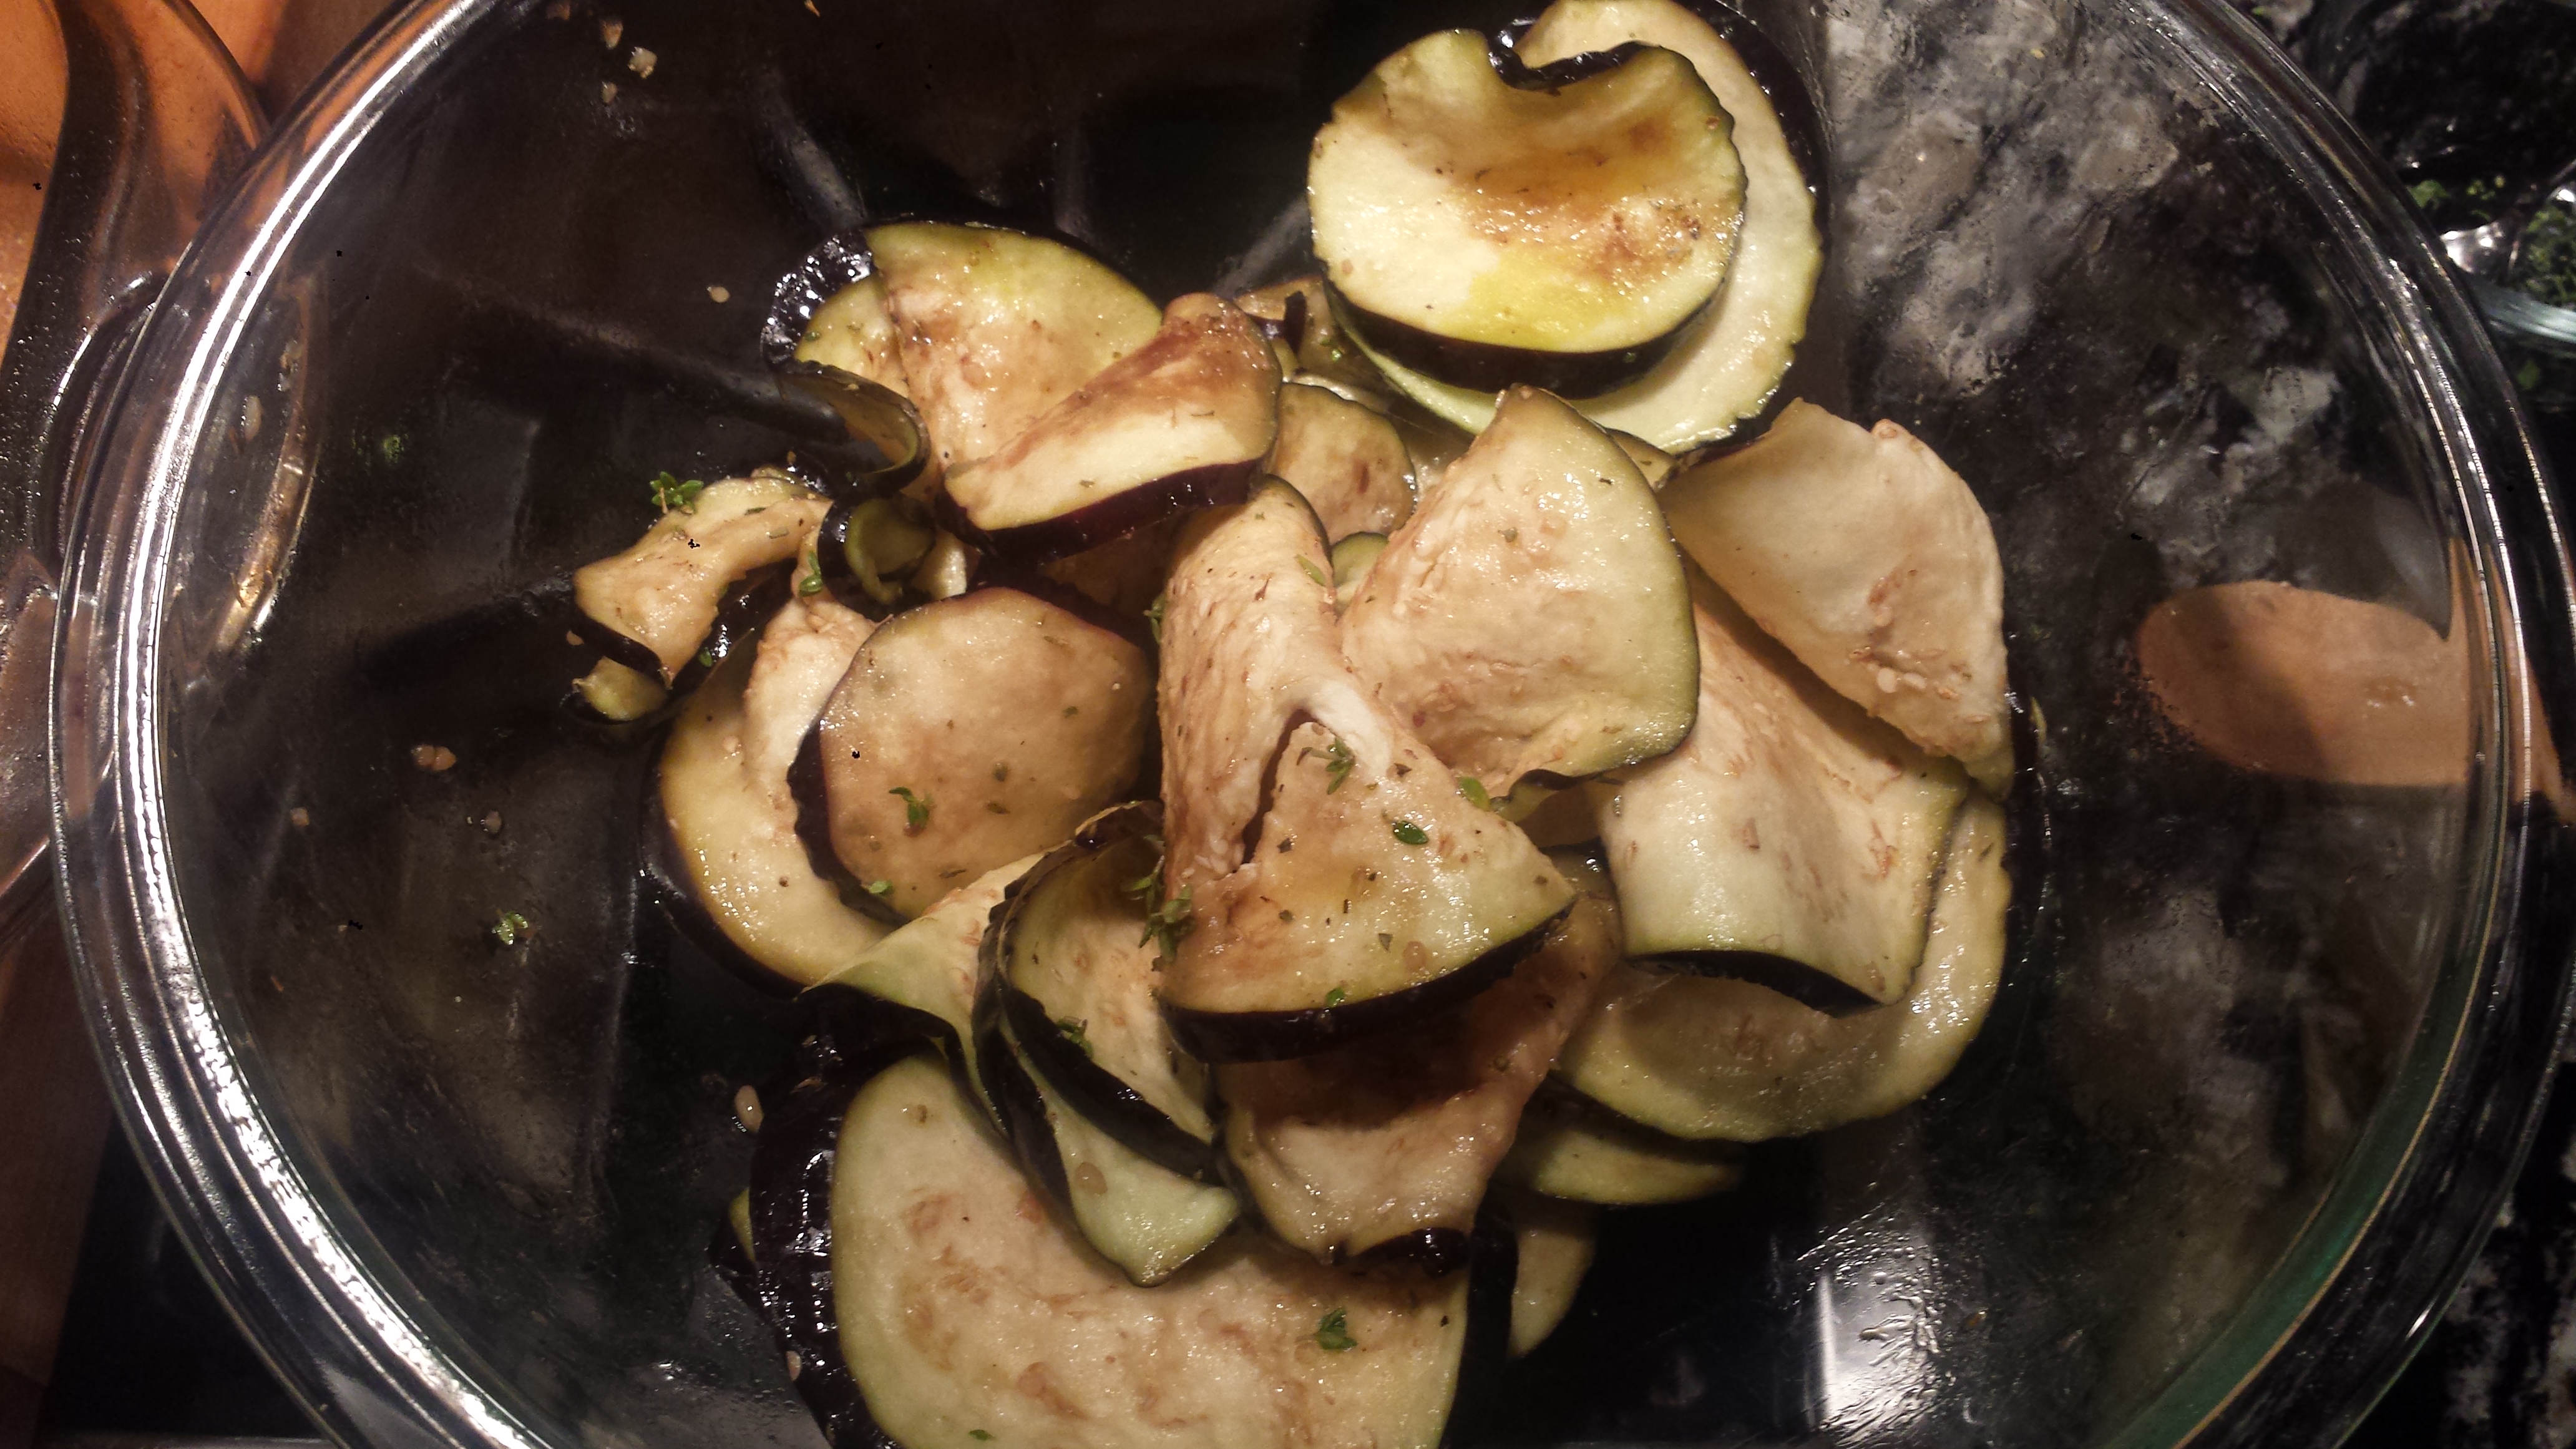
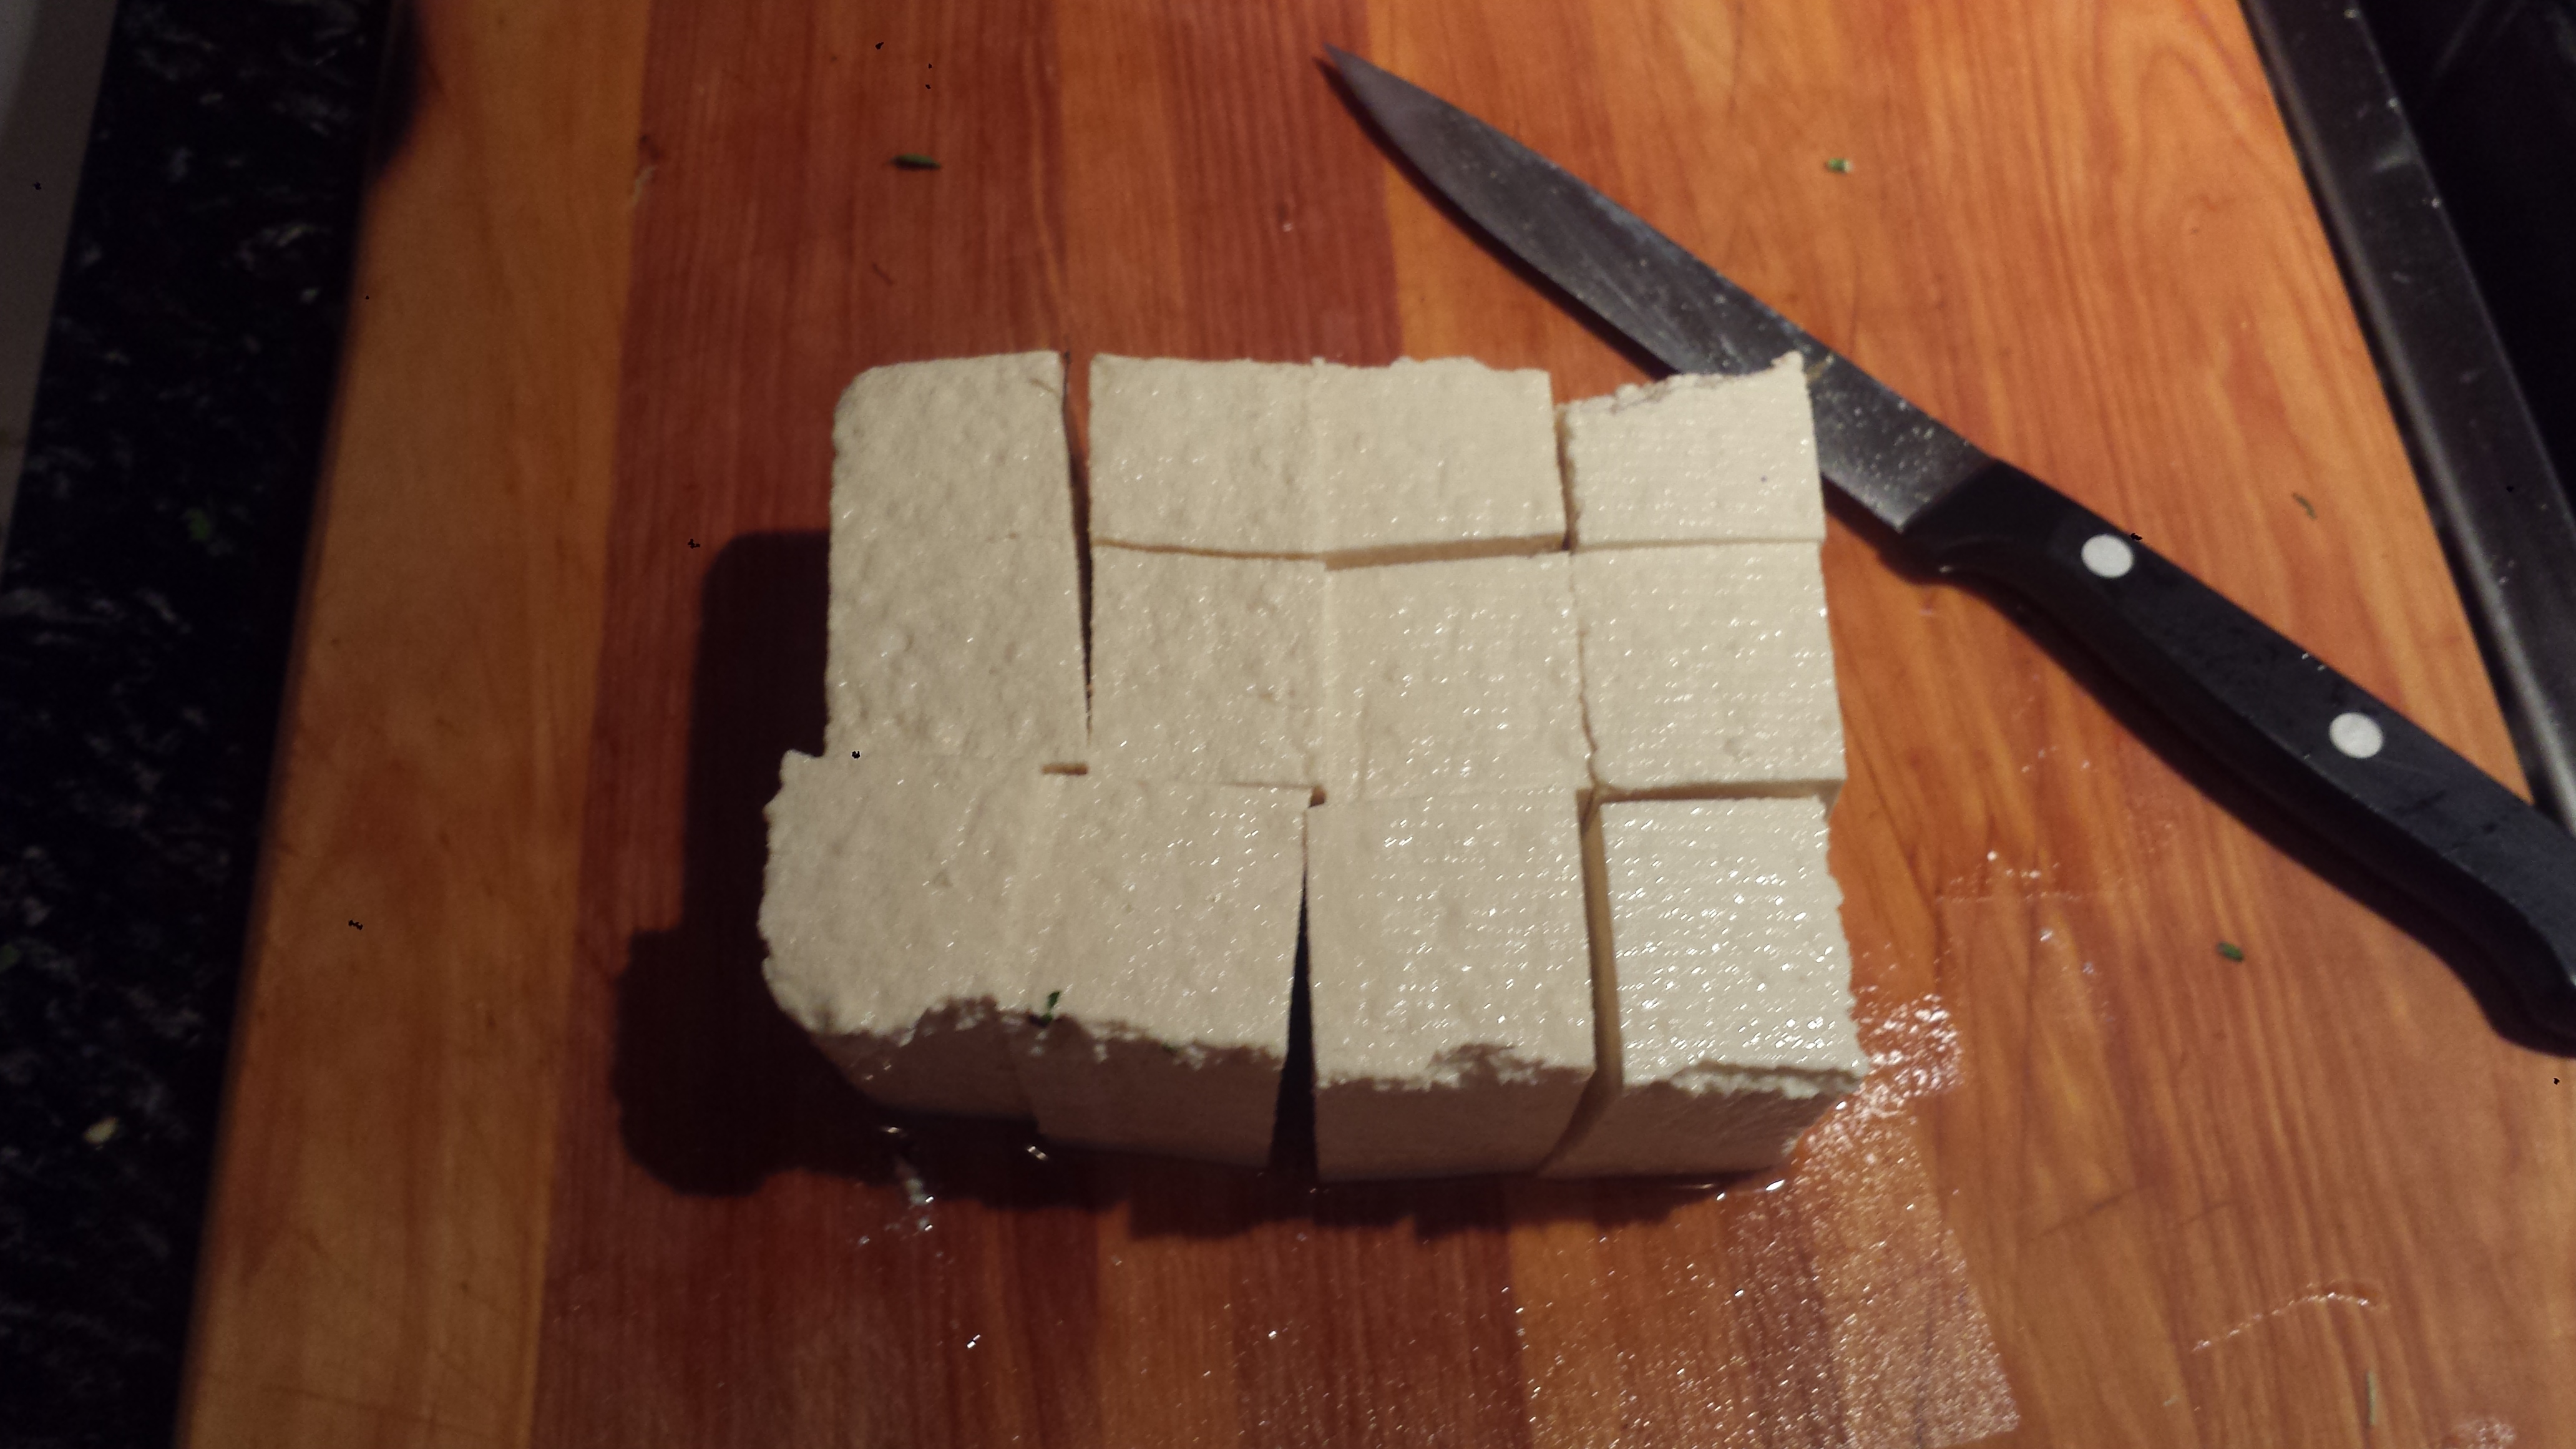
- If using tofu, drain and slice into cubes 1 -2 inches thick. (If you cut them too thin, they could fall off the skewer) Press them between double layers of papertowels to remove excess water.
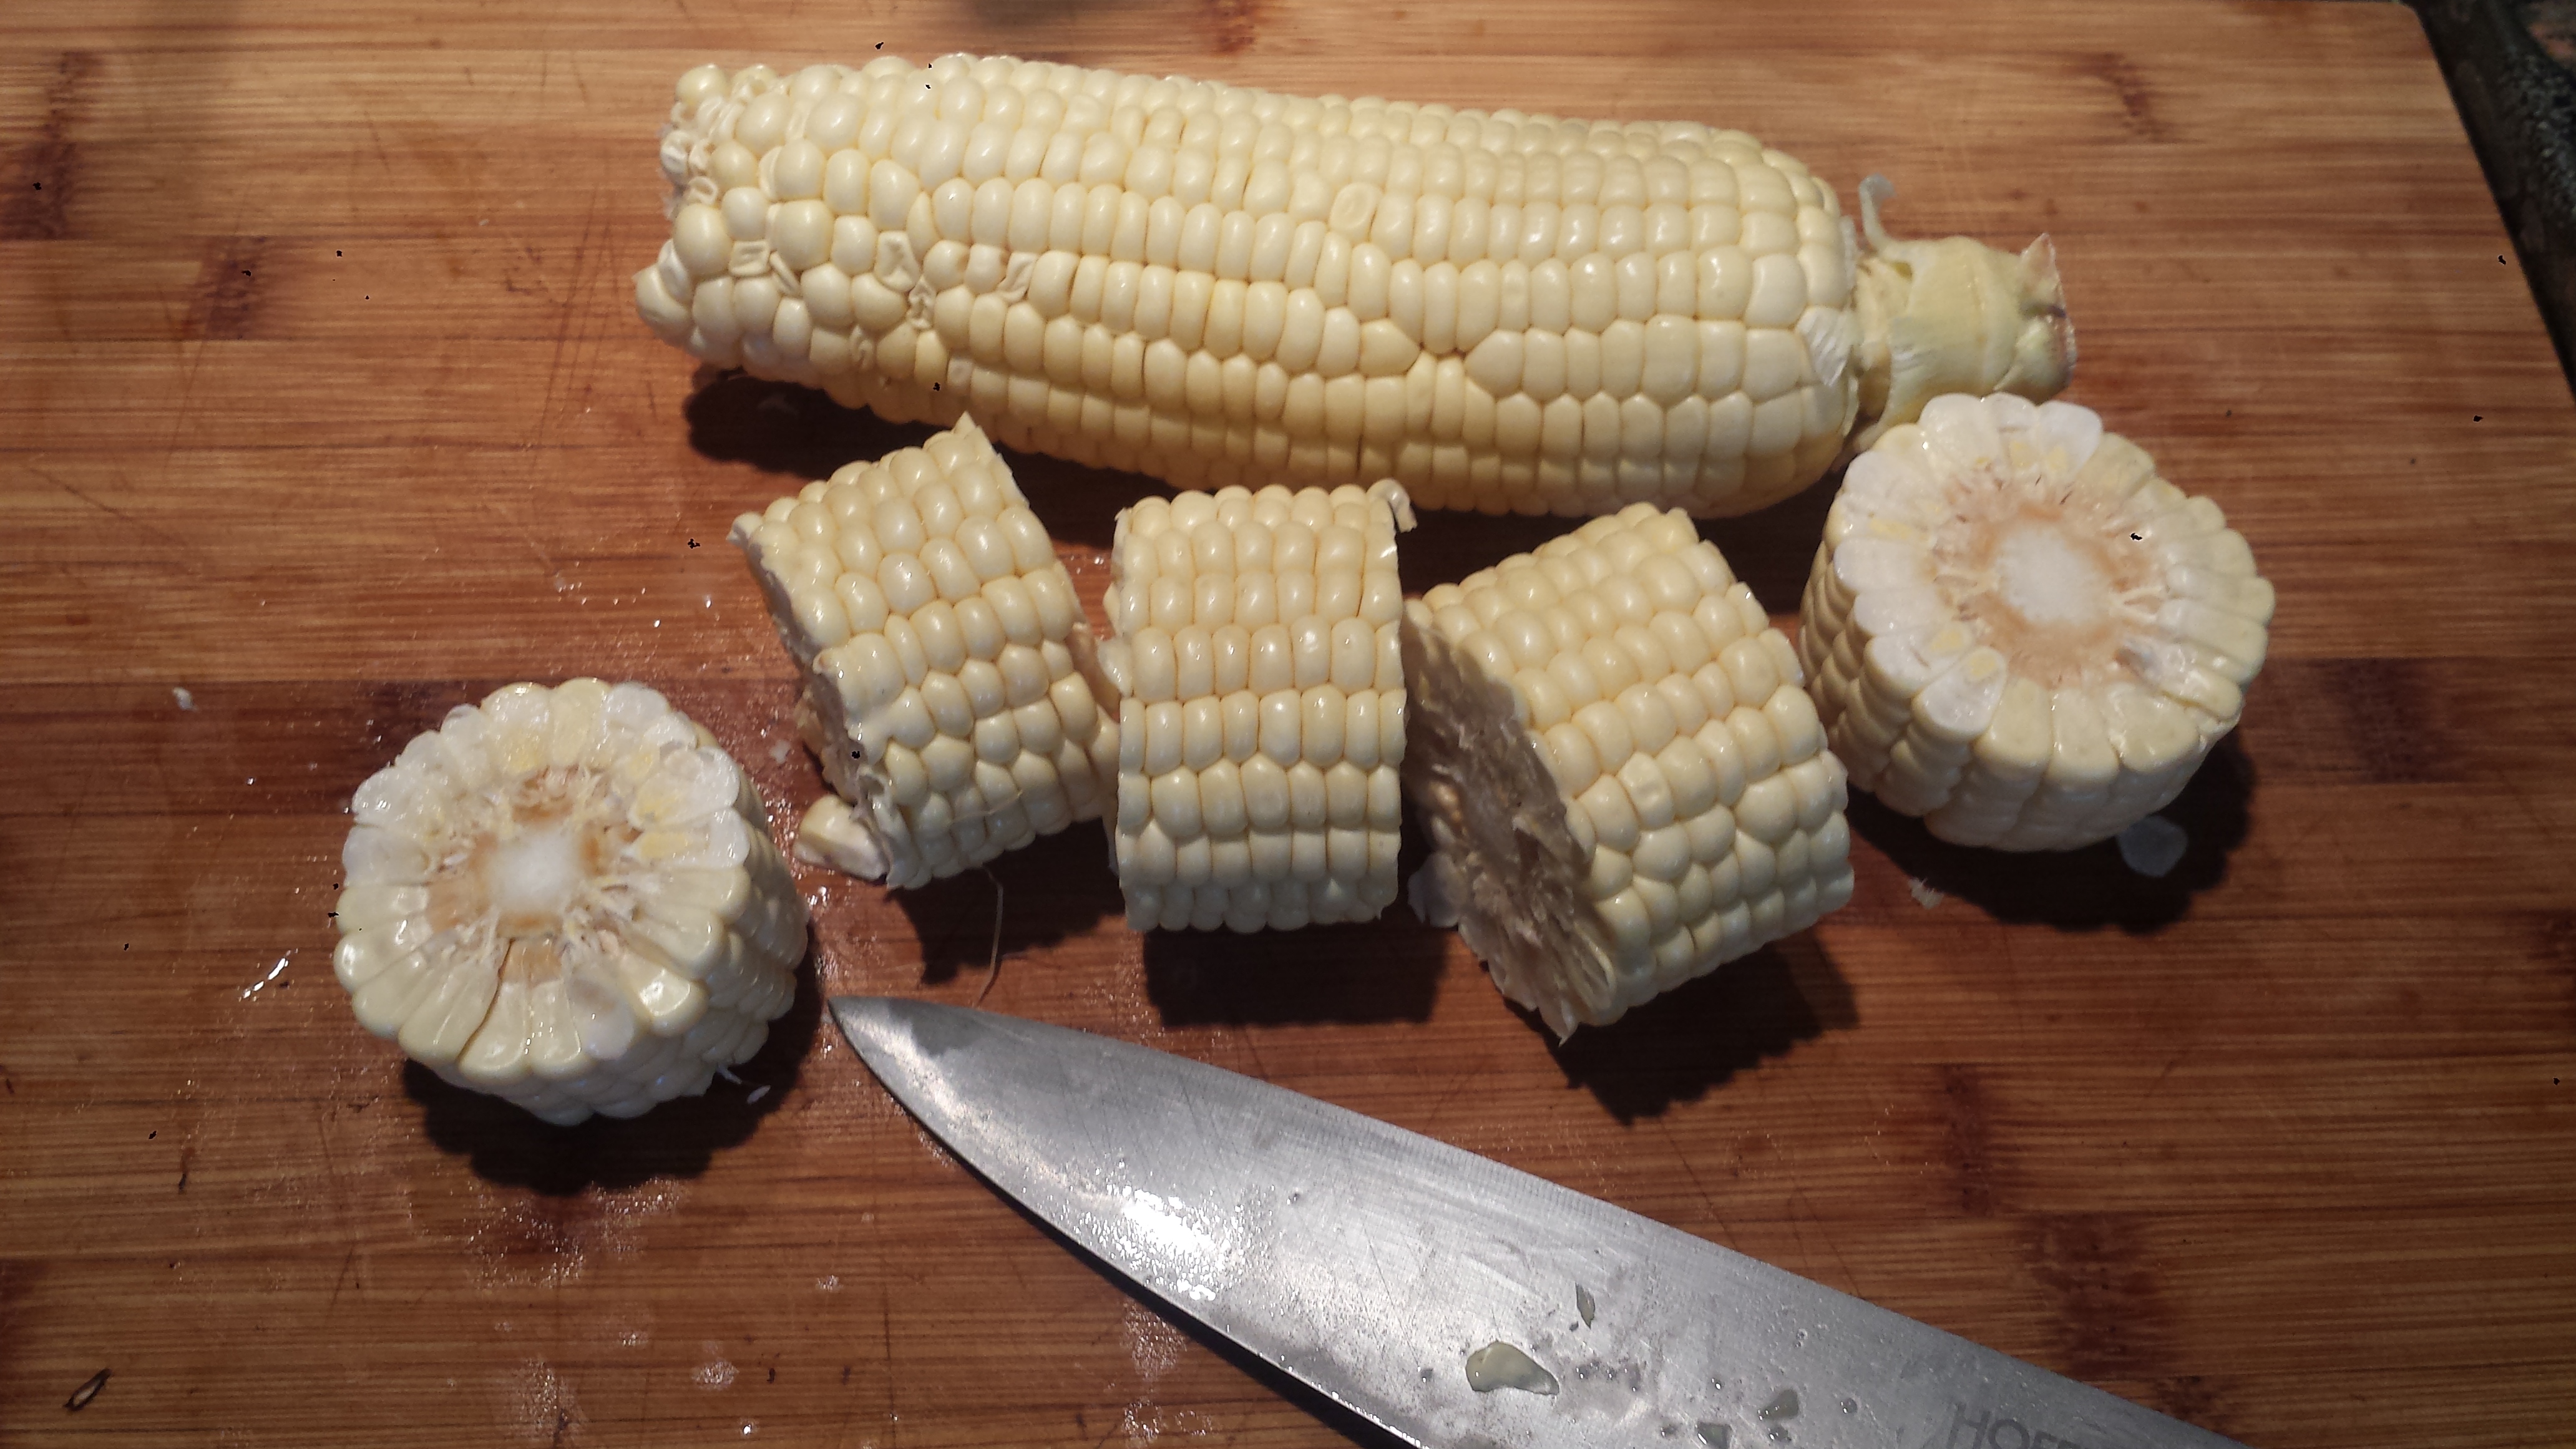
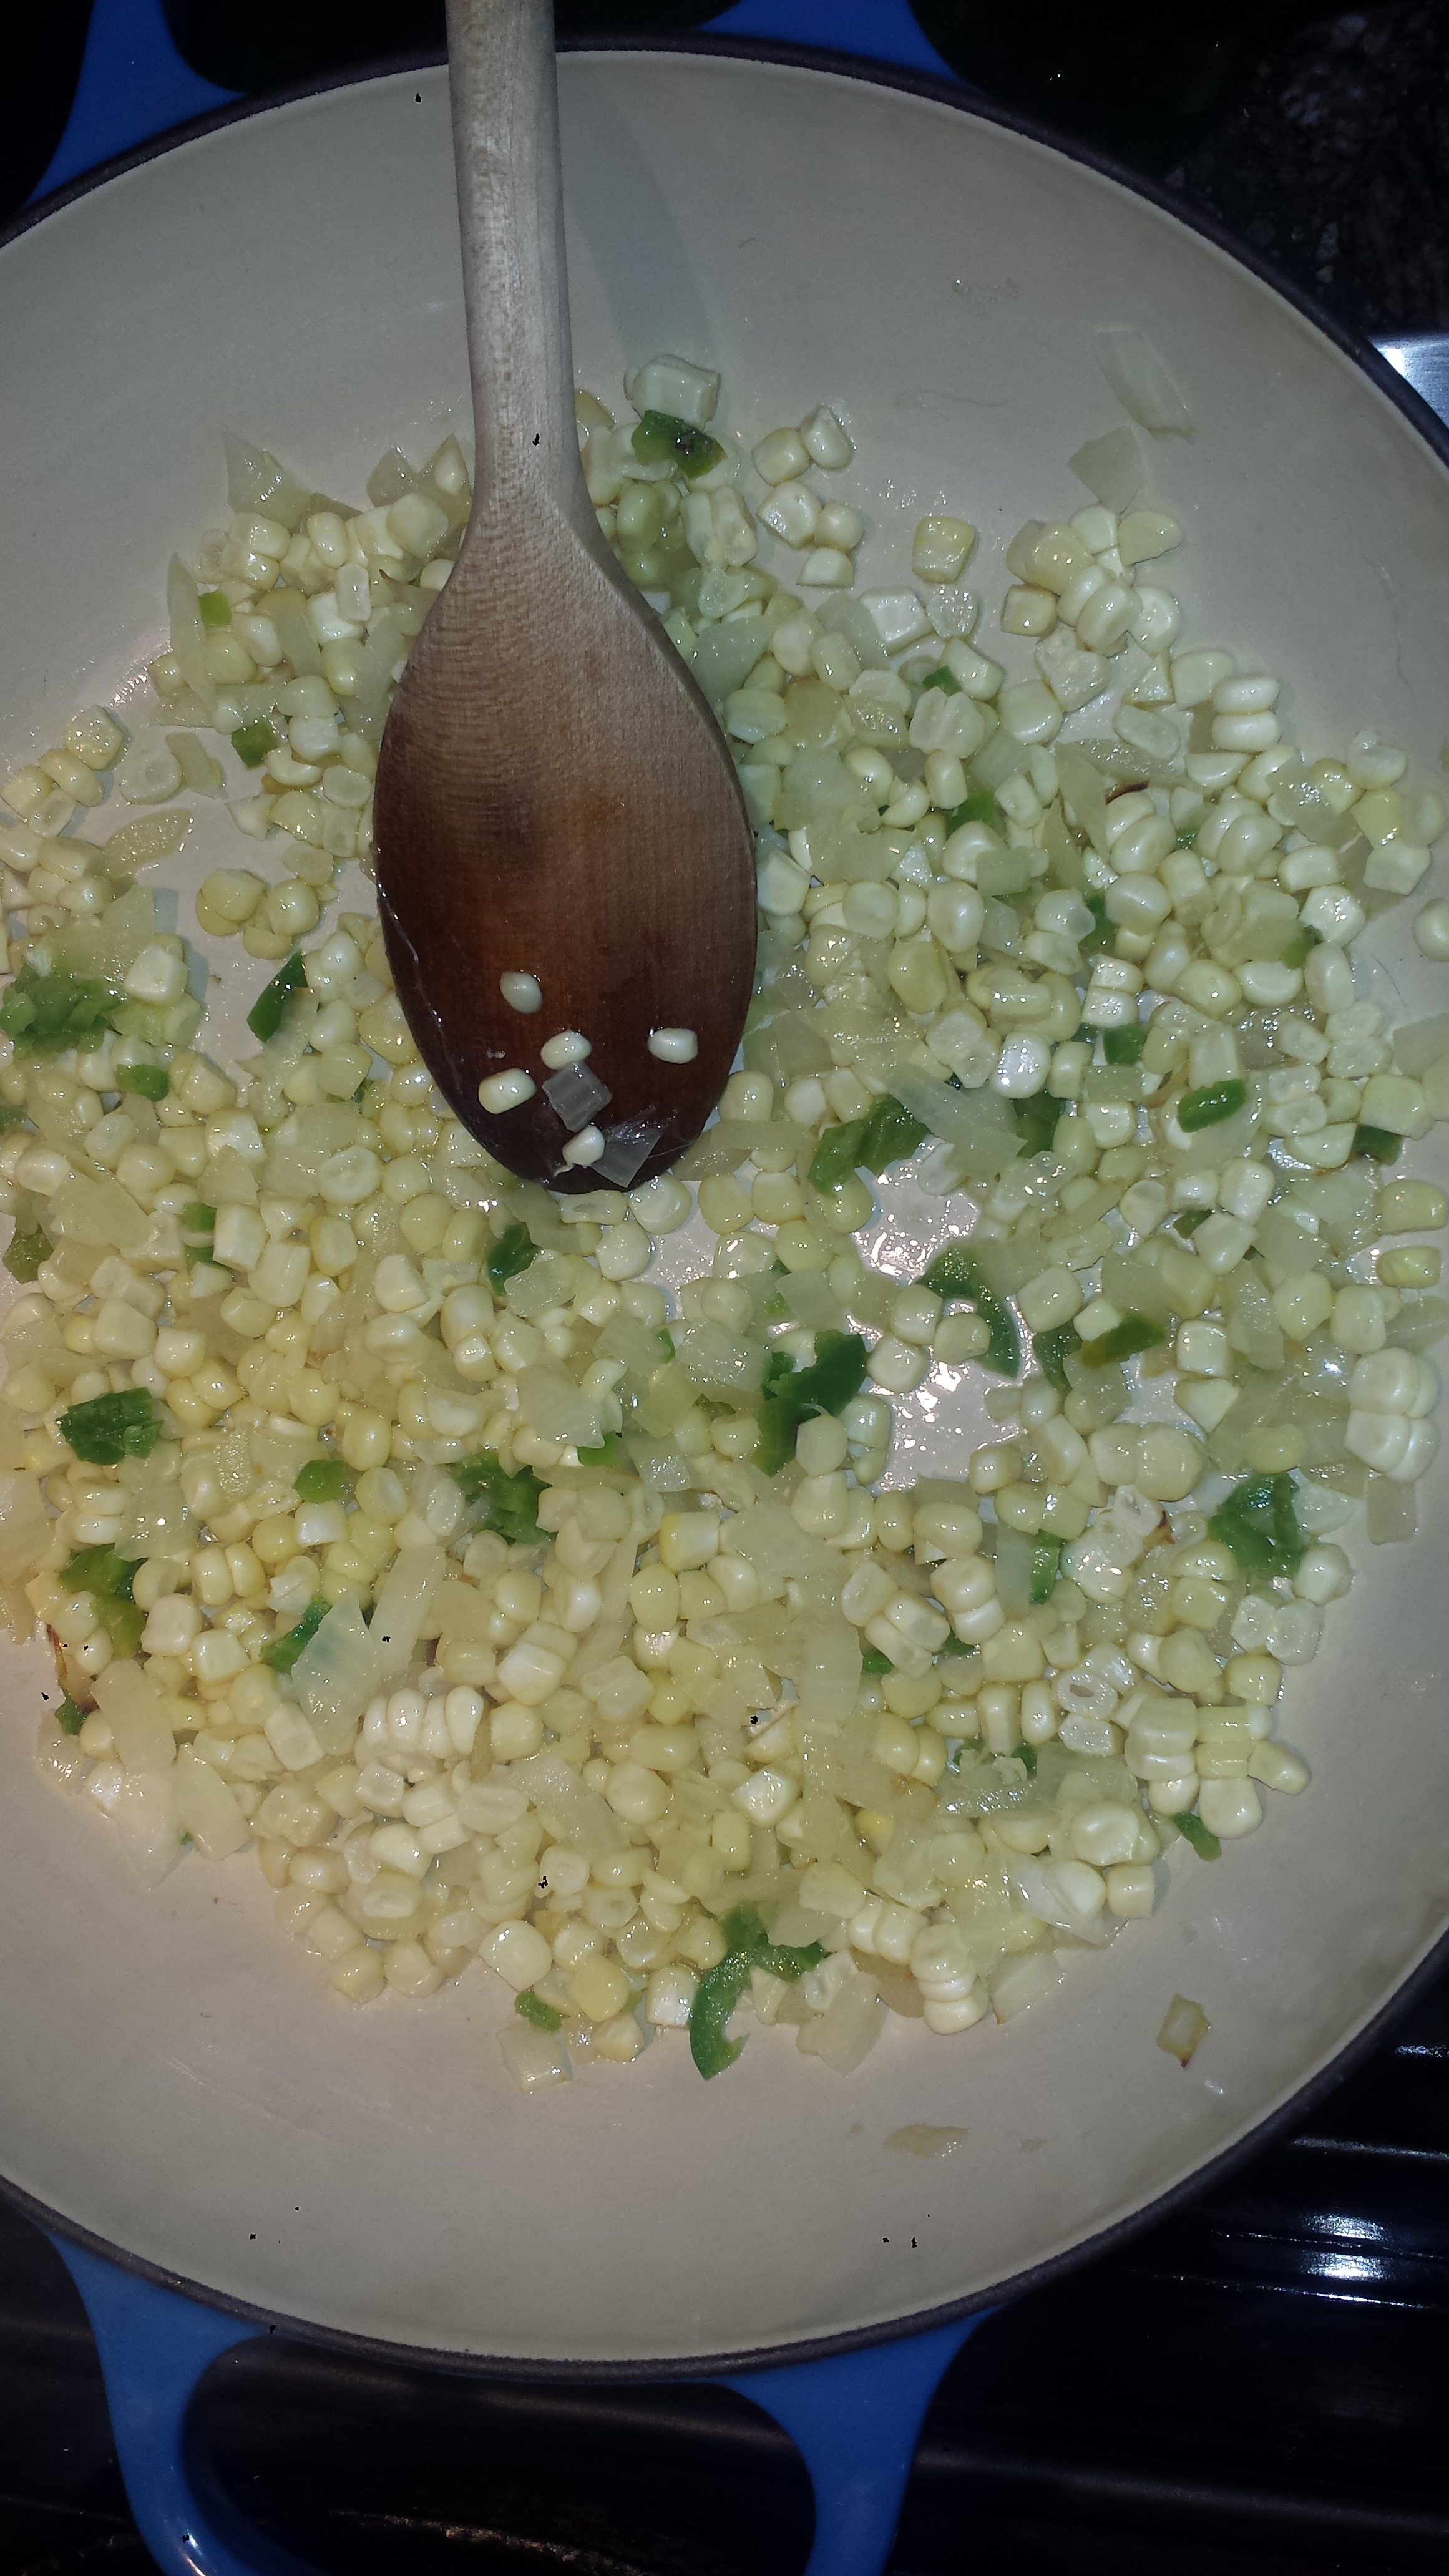
- Shuck corn and cut into 1 or 2 inch wheels.
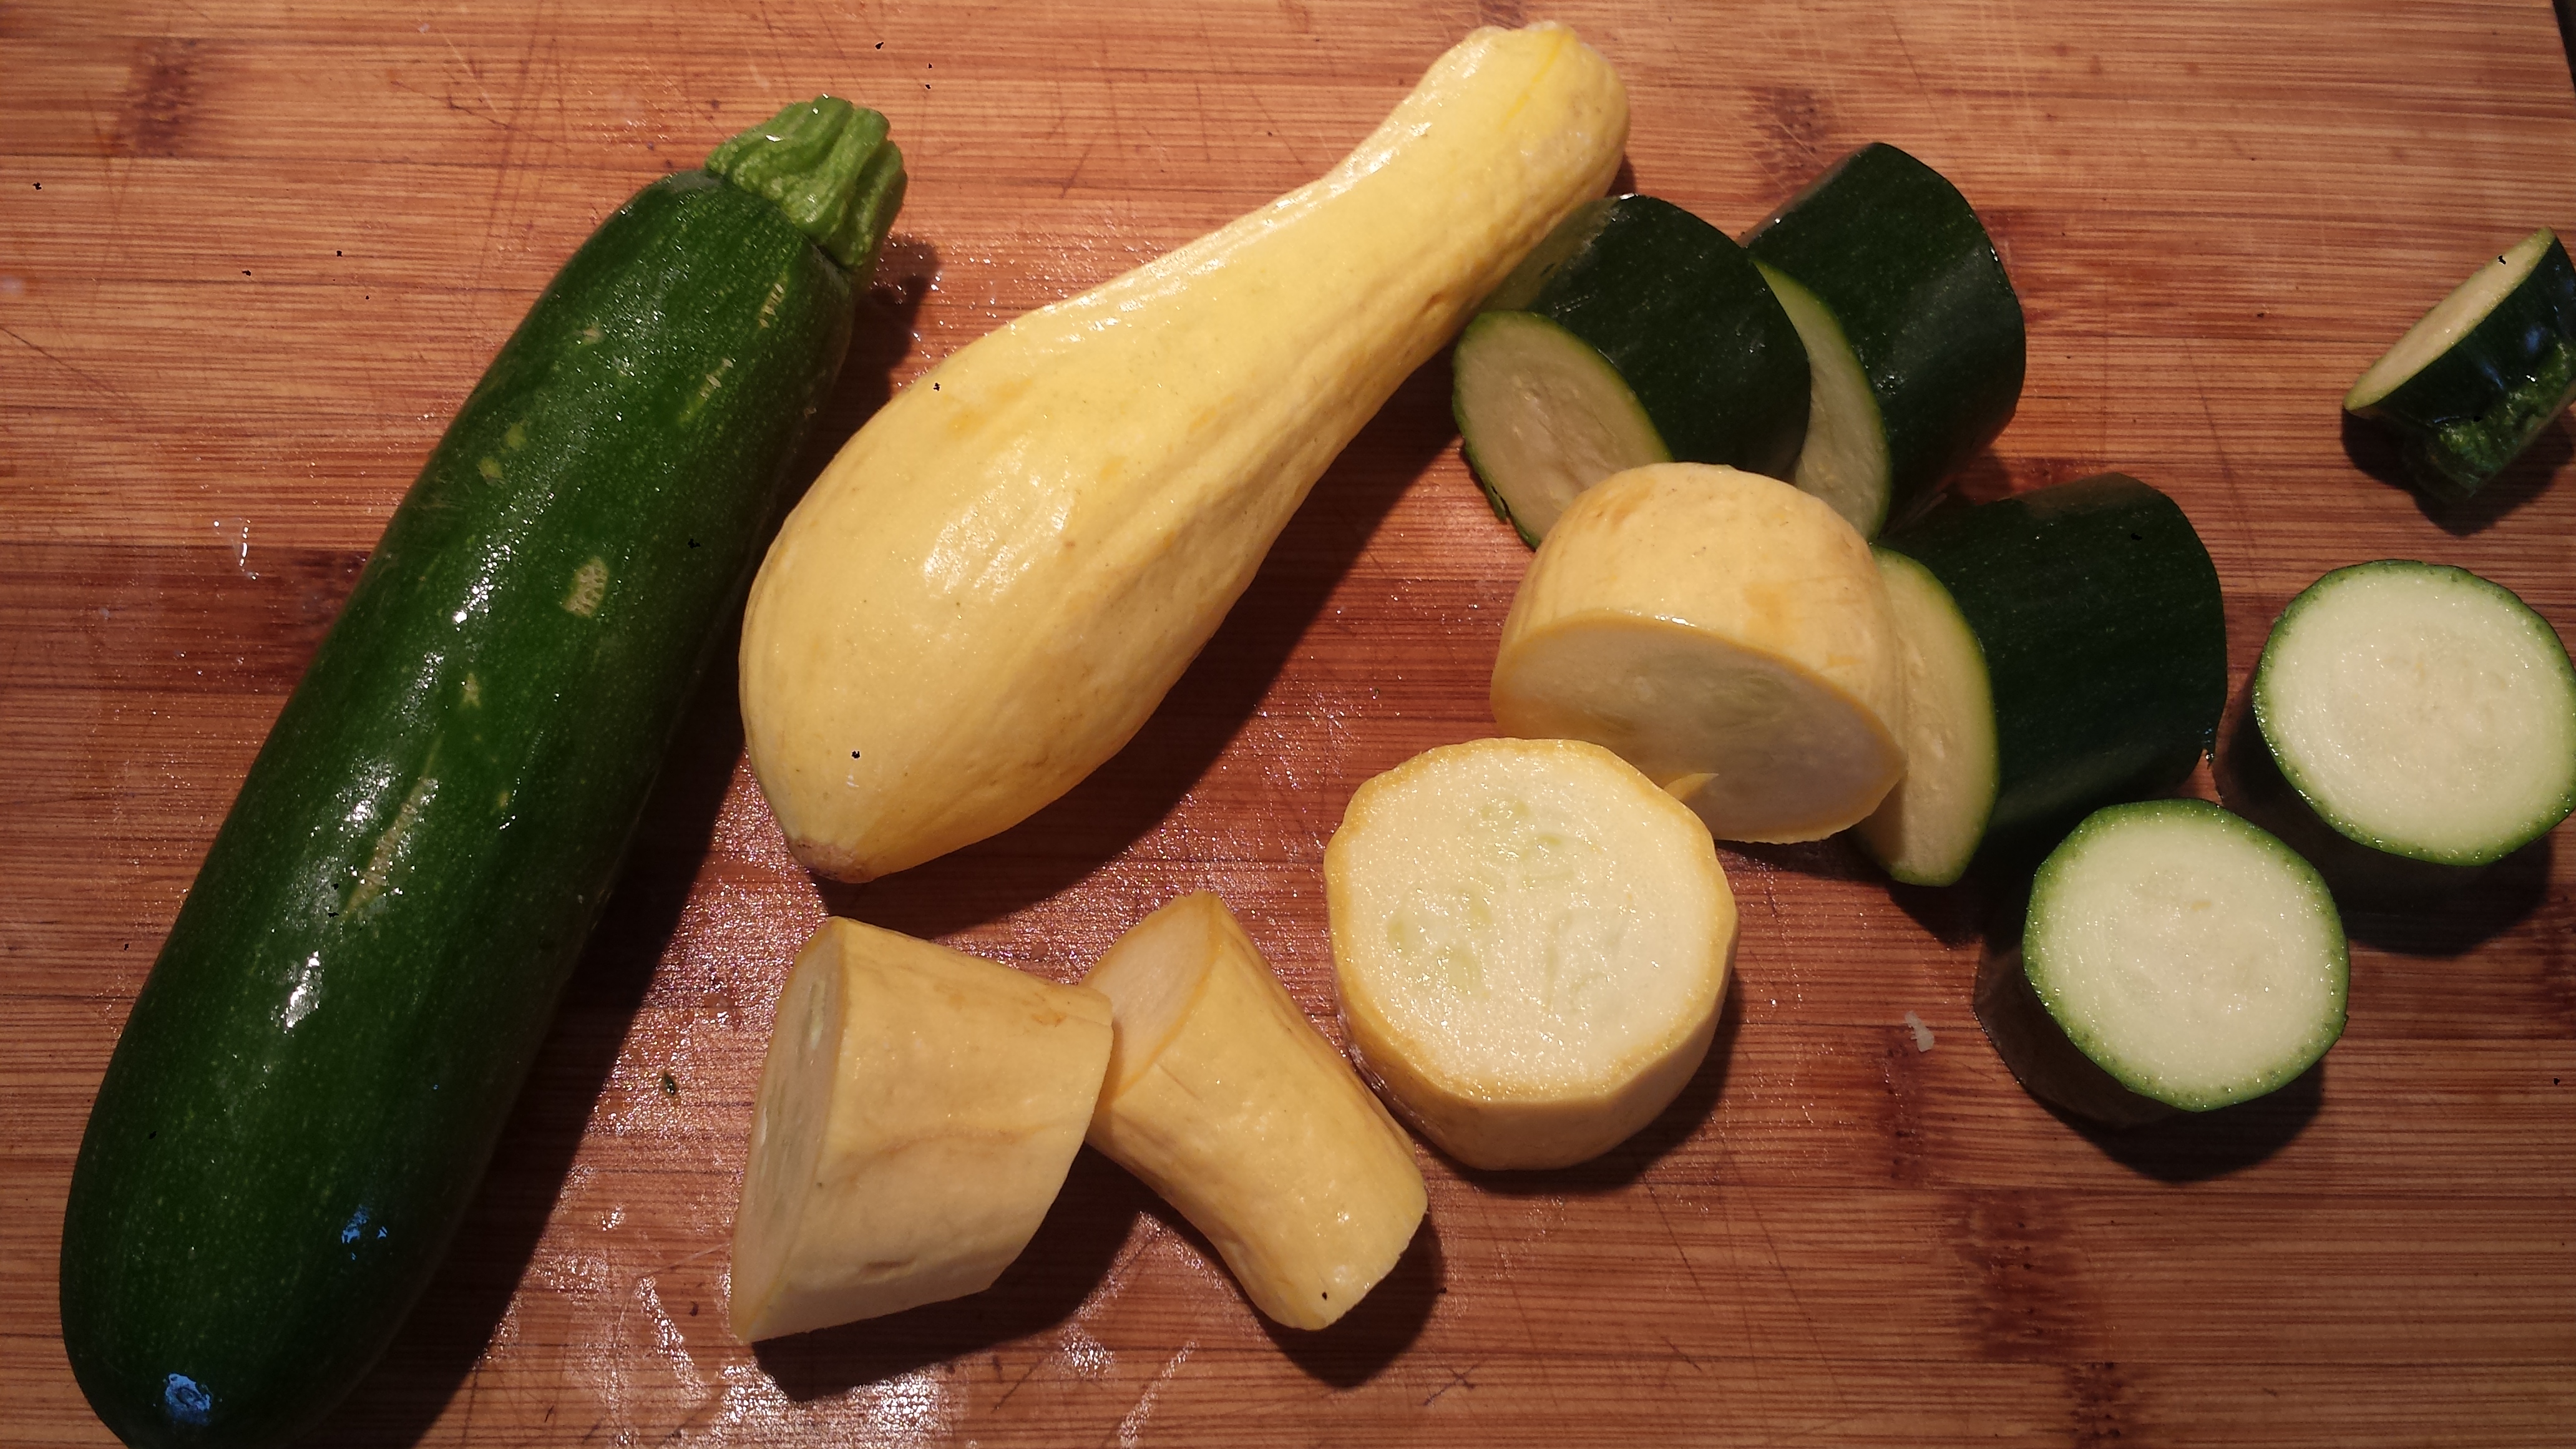
- Cut squash into 1 or 2 inch wheels. If using mini peppers, leave them whole. If using bell peppers, cut them into quarters or eights. Wipe mushrooms with a damp paper towel and cut off any dry stems. Cut onion in half lengthwise and then into wedges, keeping stem end intact.

- Place all vegetables in bowl with potatoes. Do not add bread or tofu at this time.

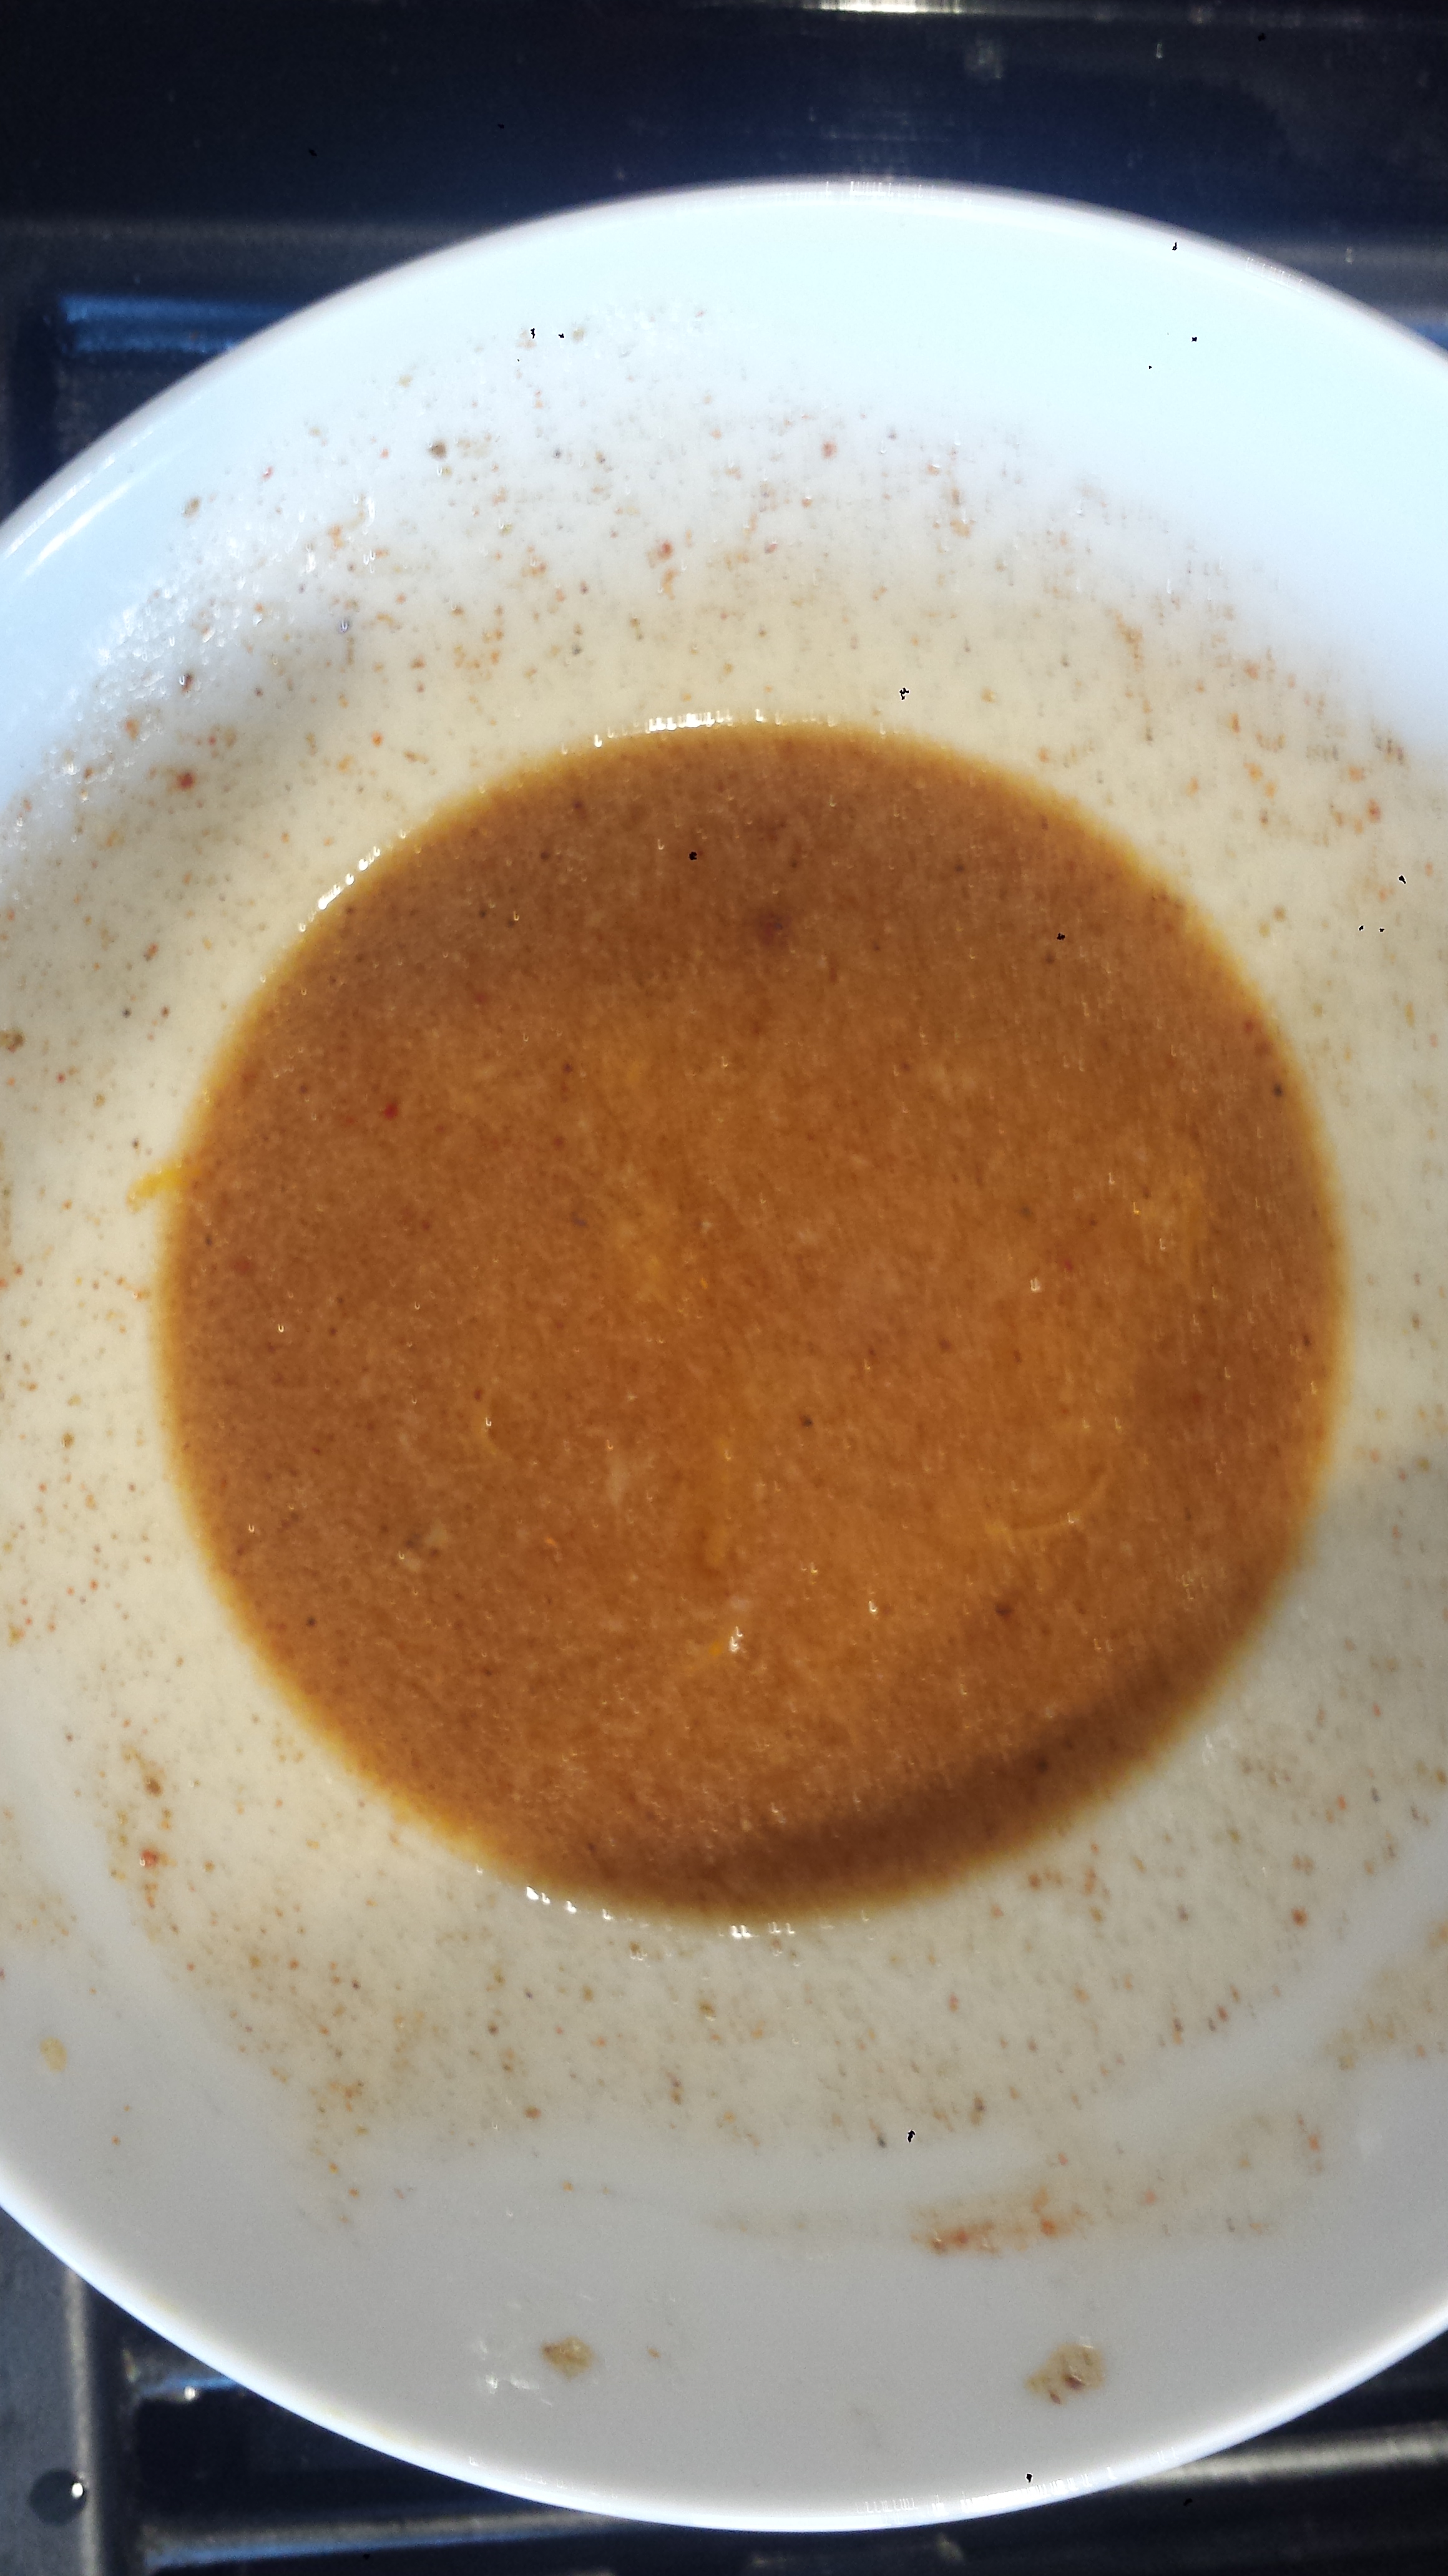
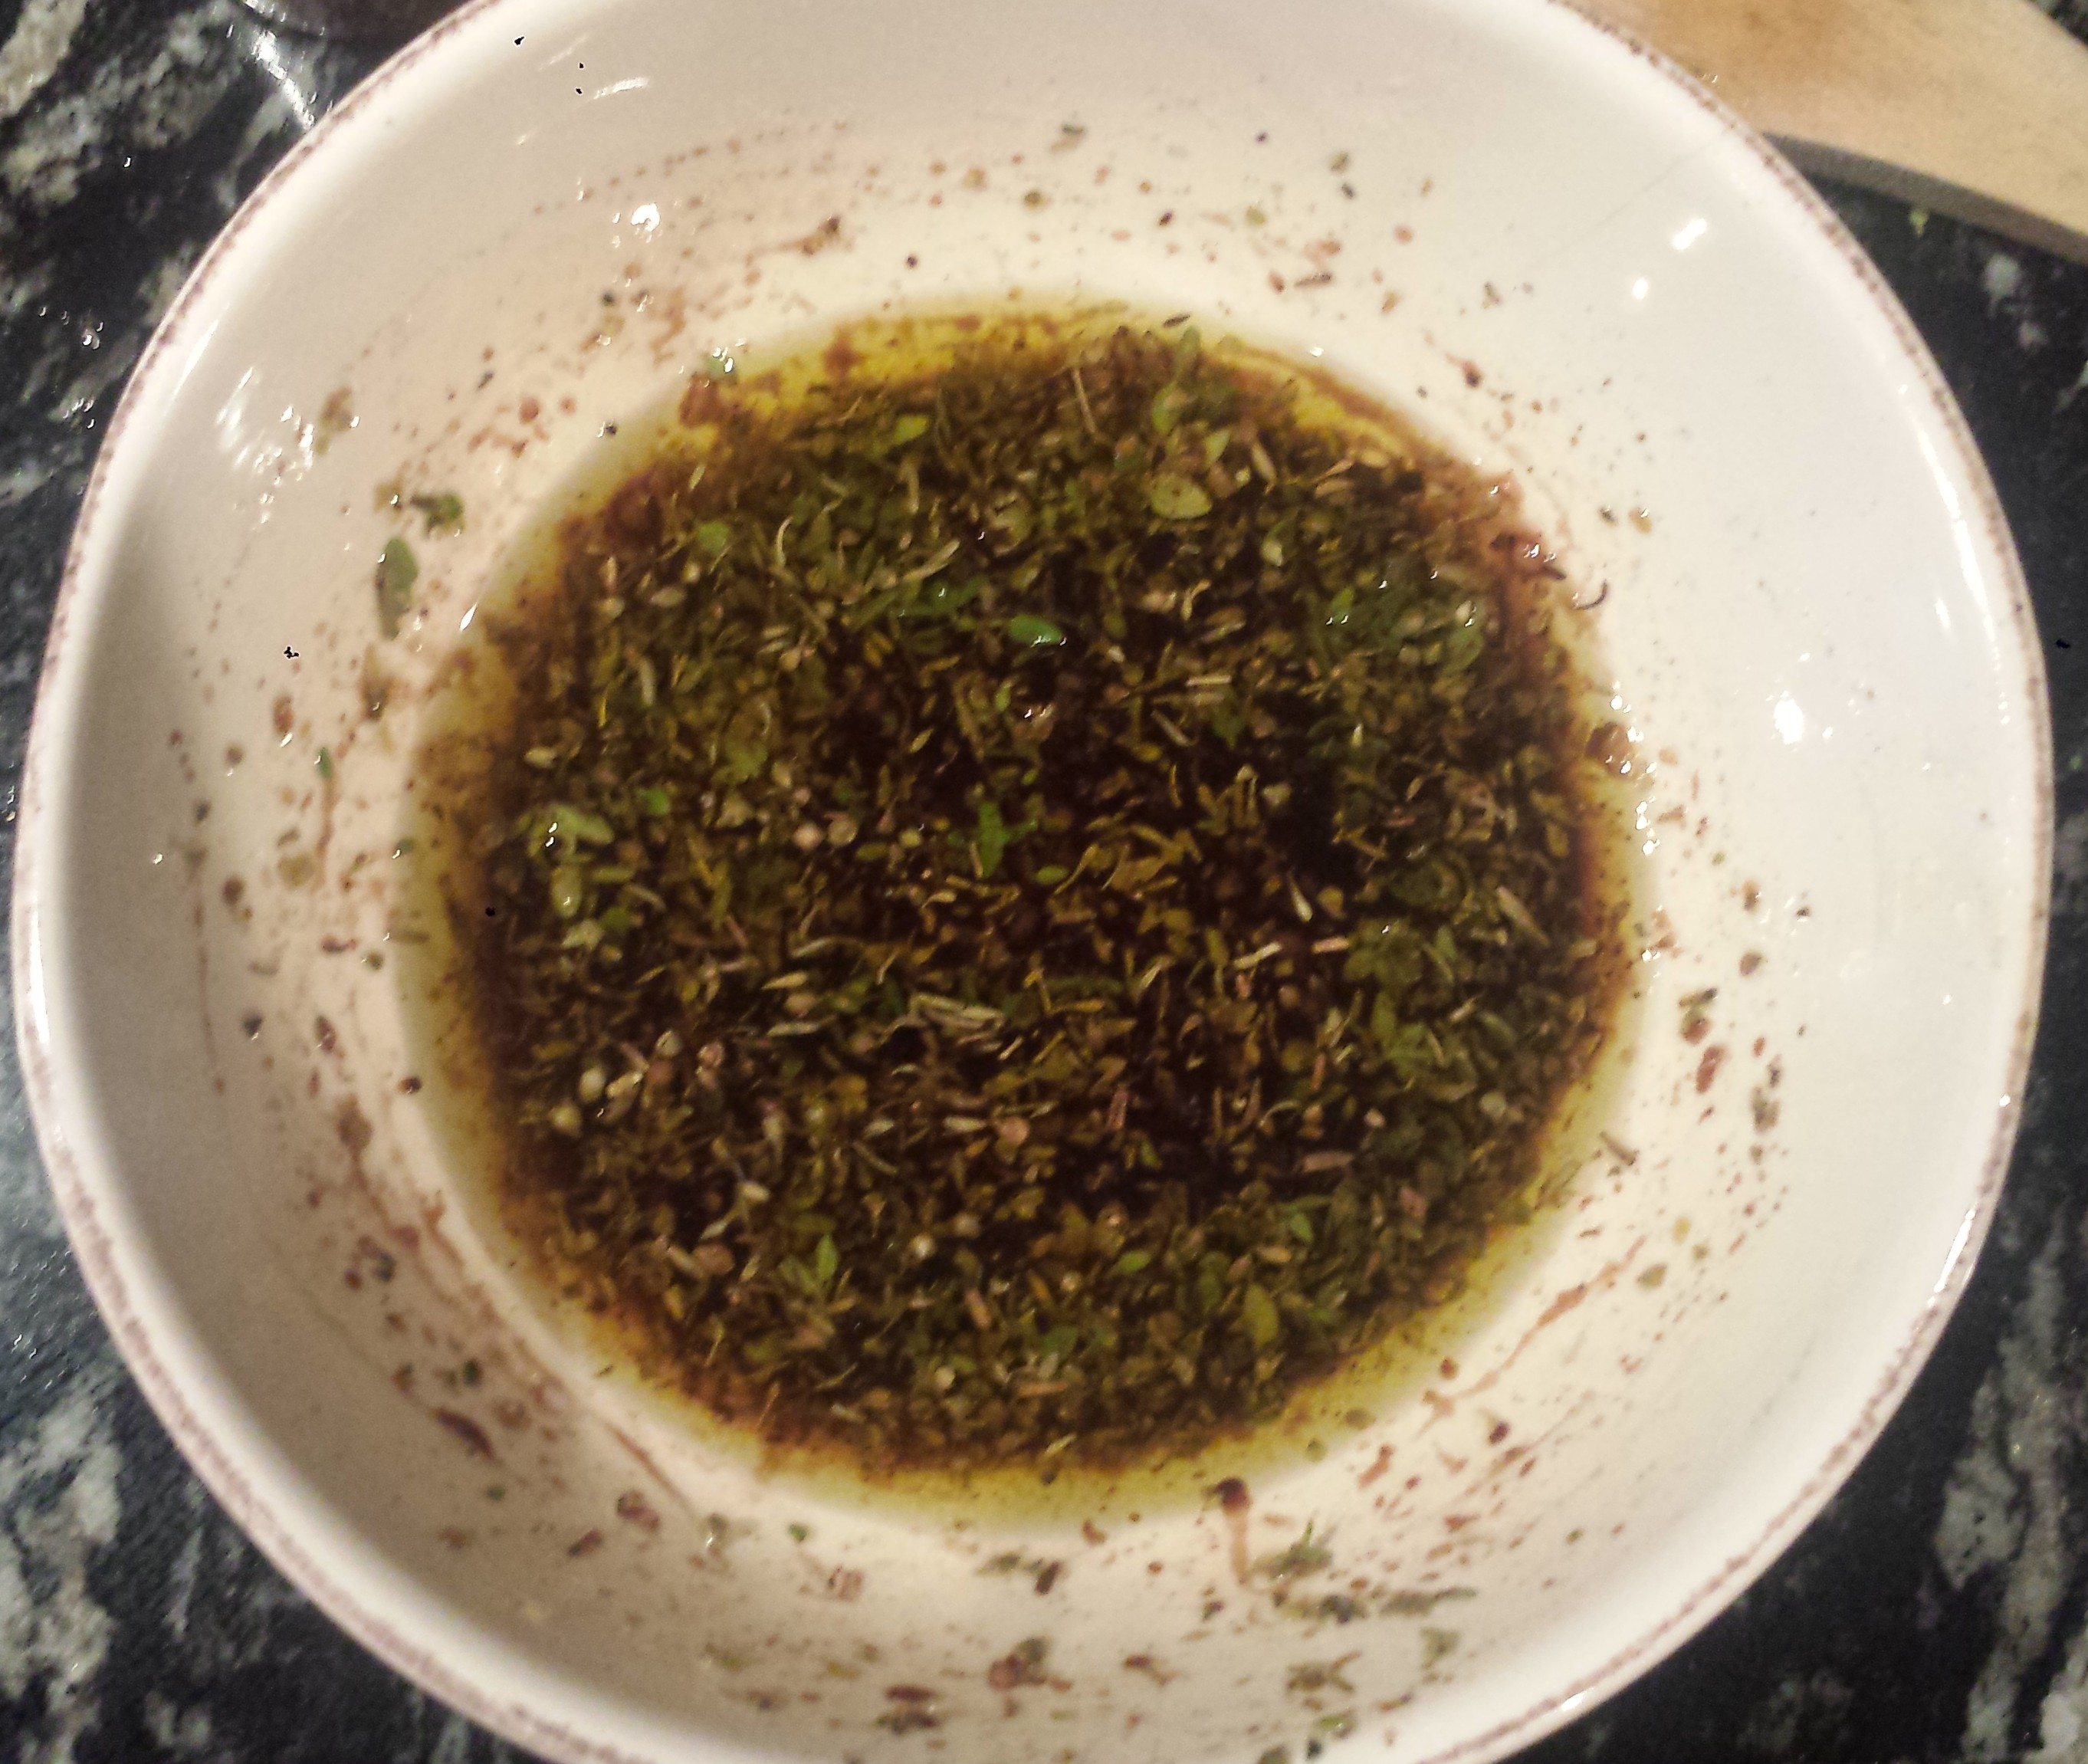
- Combine all marinade ingredients in a small bowl and stir to combine.

- Place tofu in a small bowl or zip lock baggie and pour 1/4 cup of marinade over the top and gently stir to coat. Set aside.
- Pour the rest of the marinade over vegetables. Let sit for at least 30 minutes or overnight in the refrigerator.

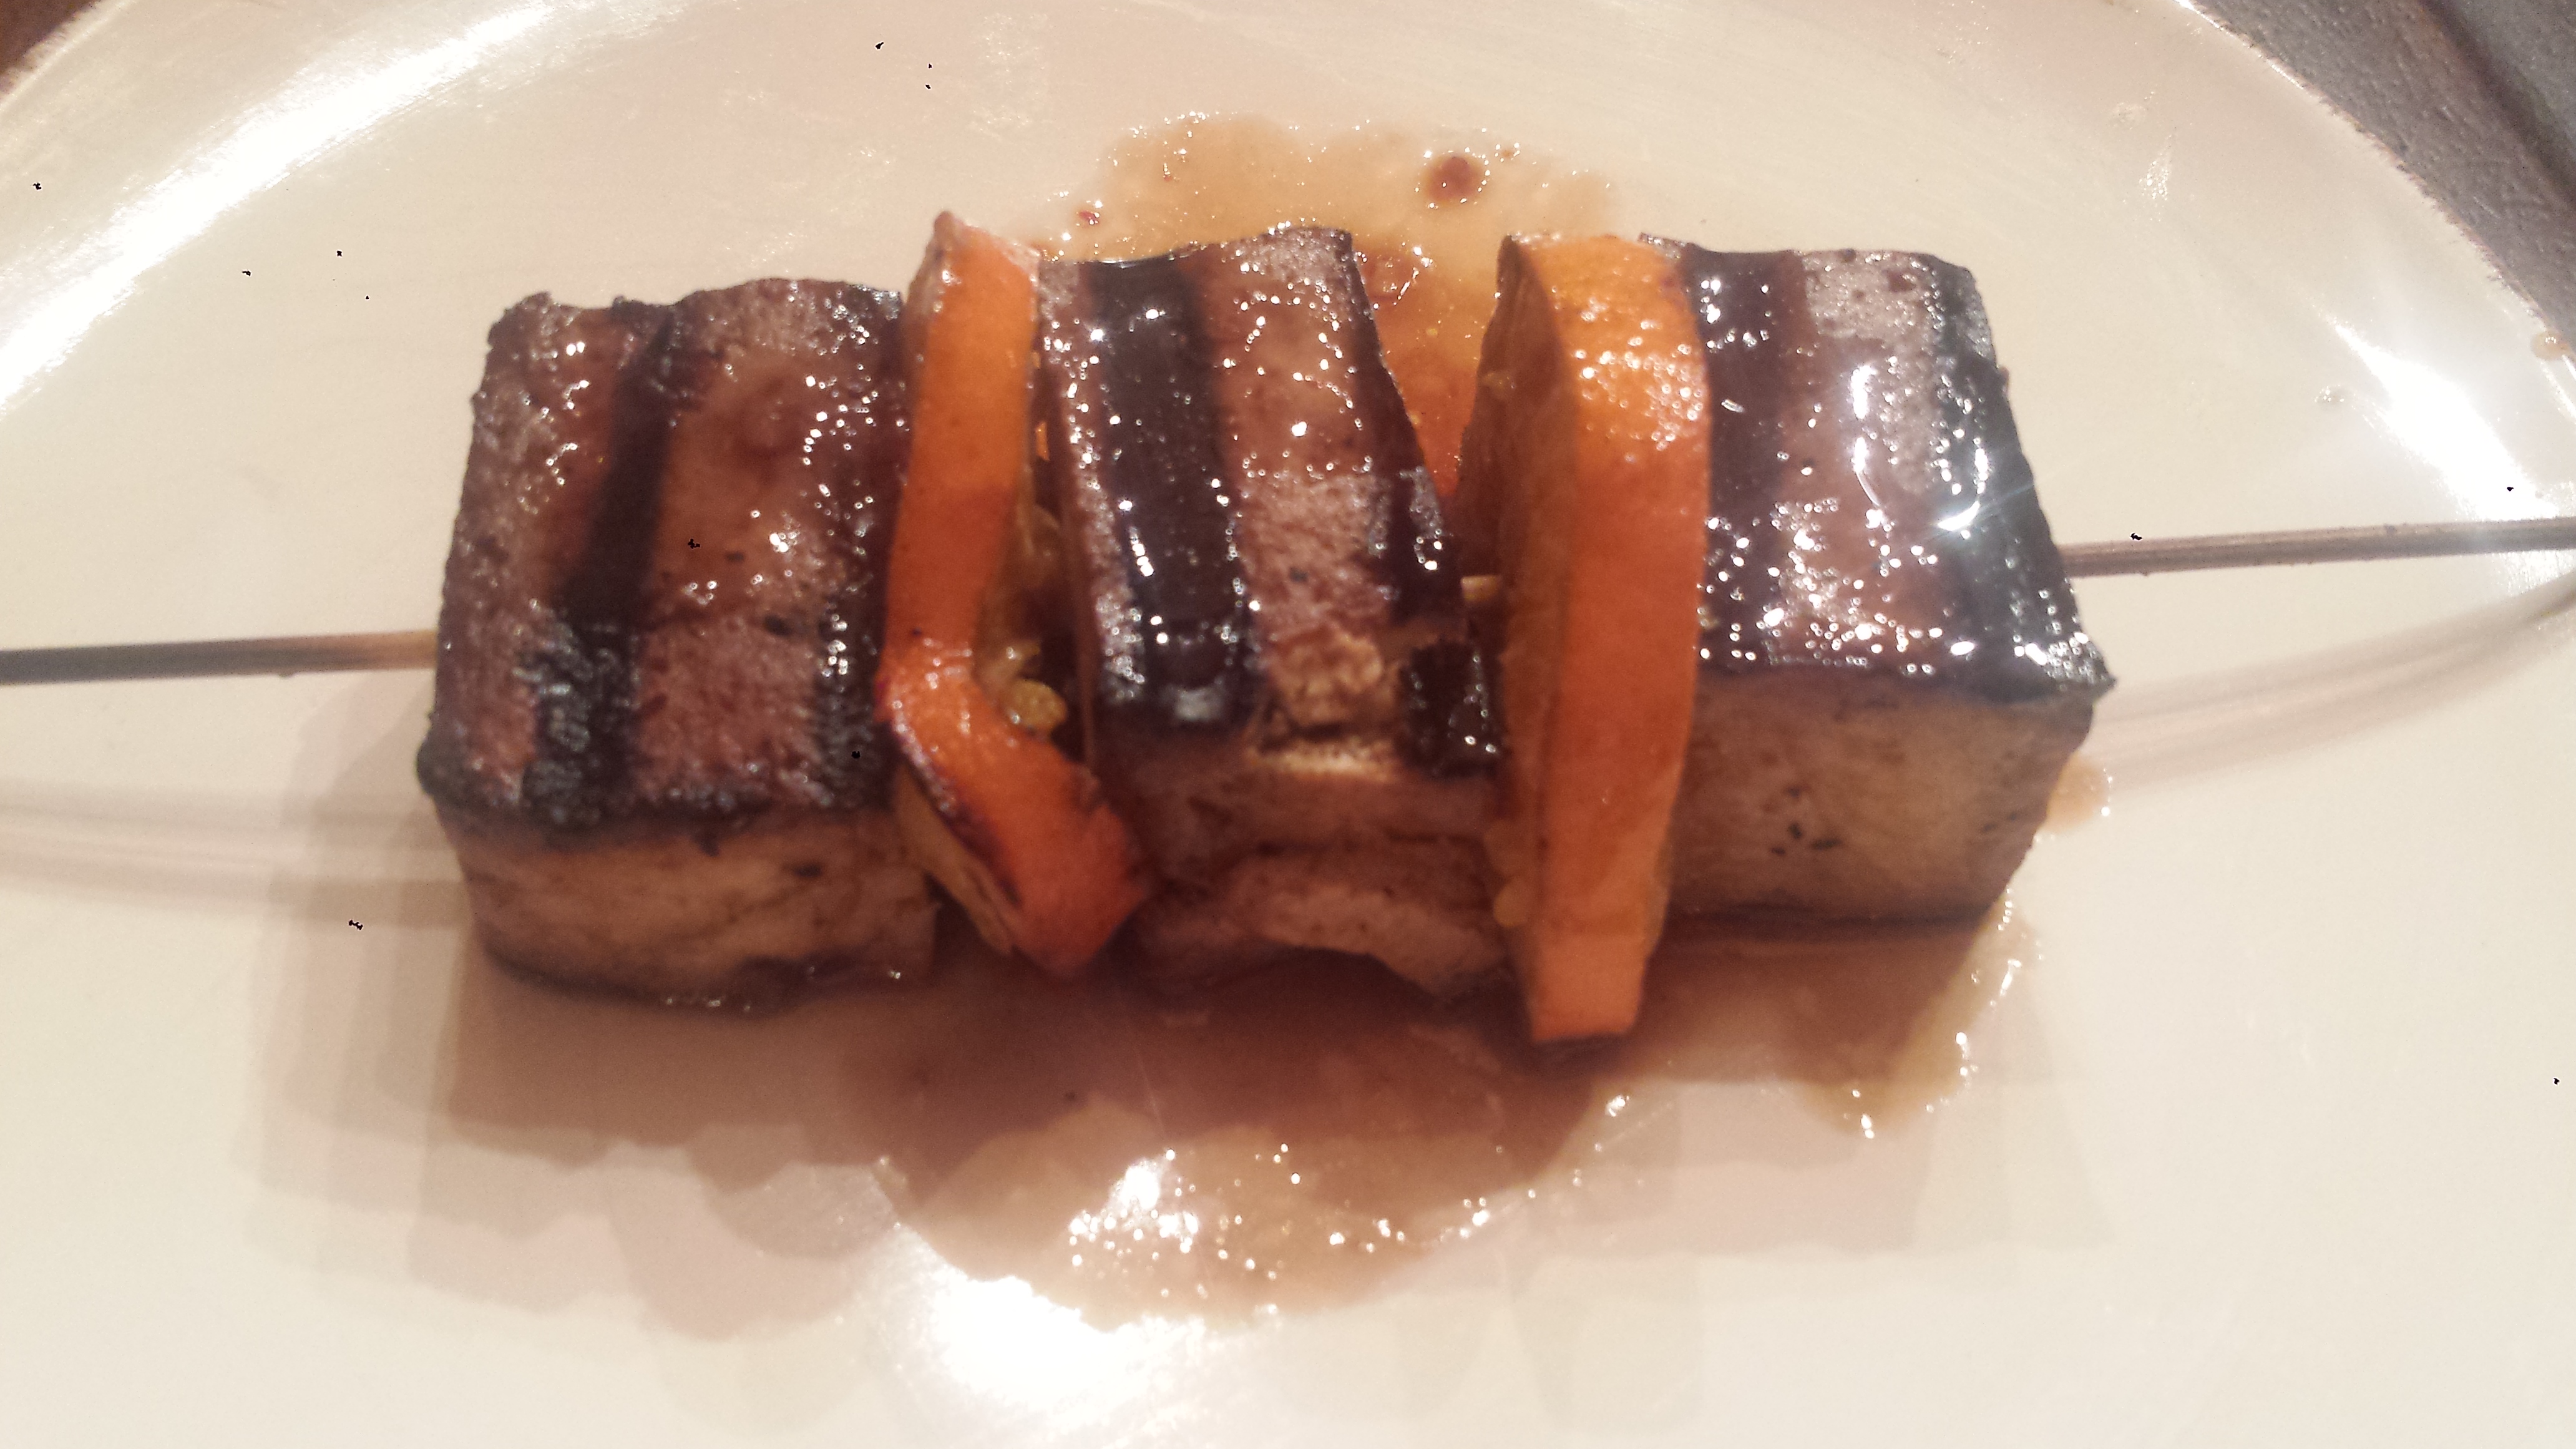
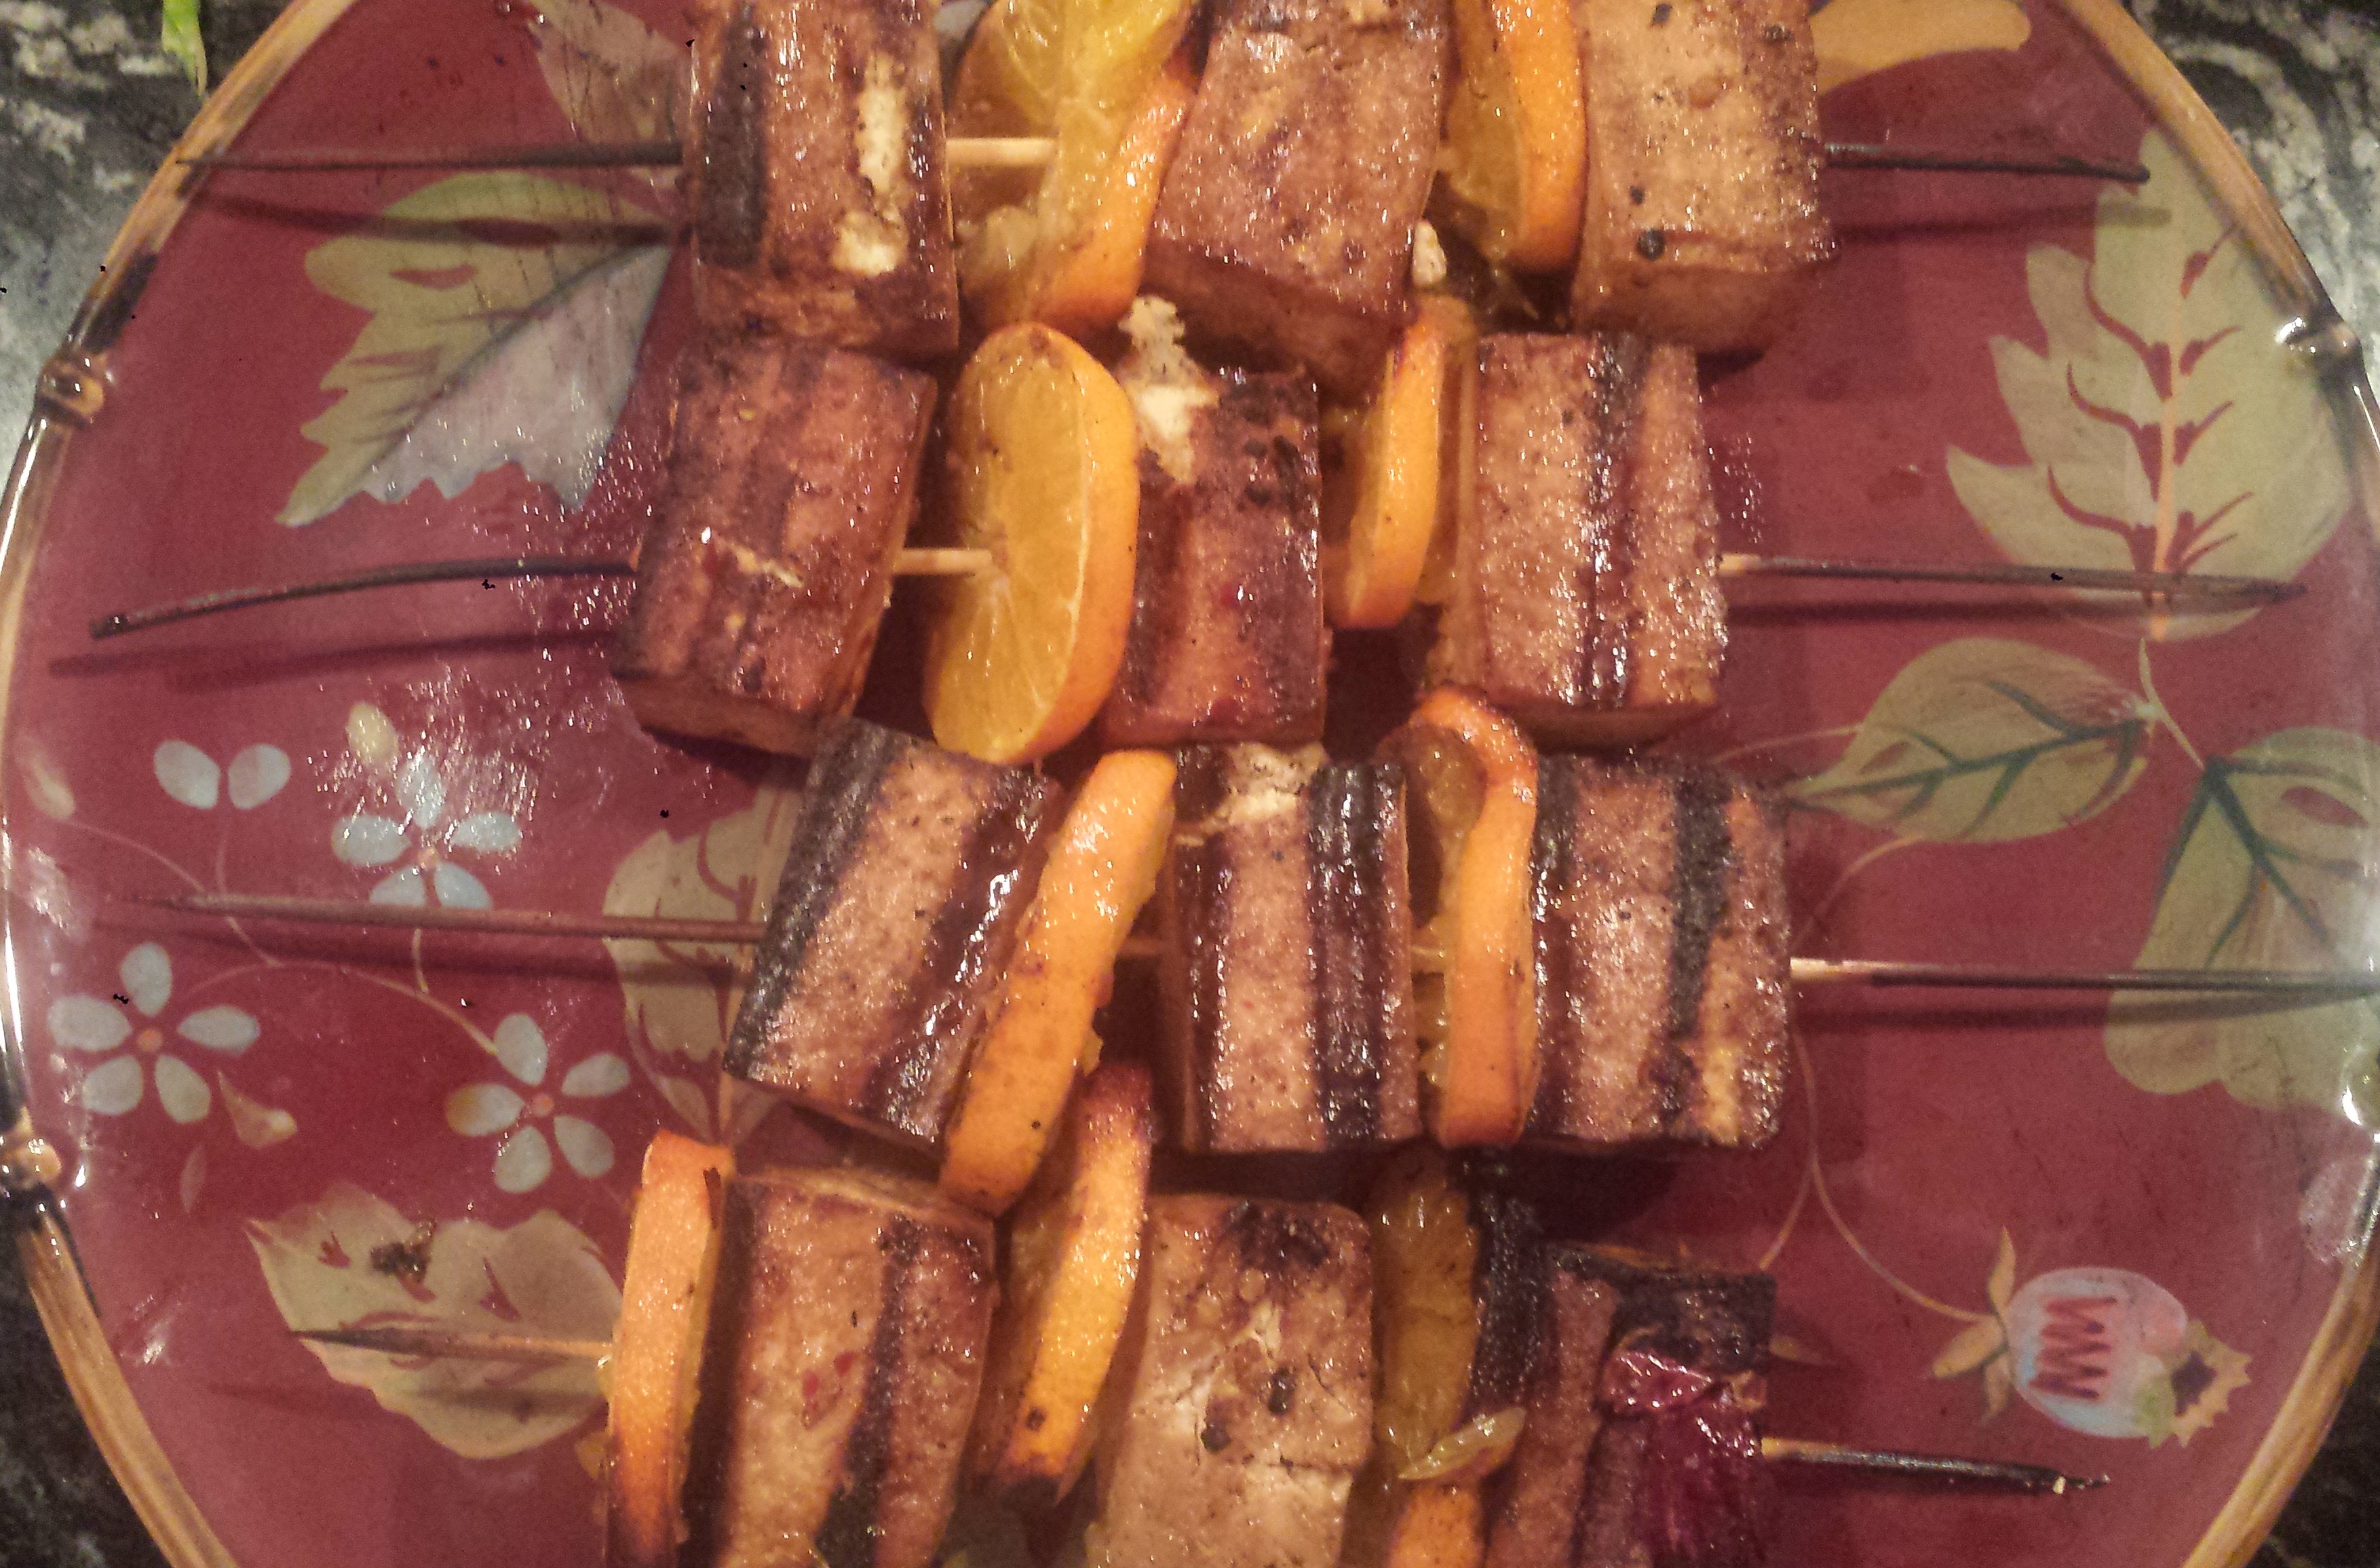
- Preheat an outdoor grill to medium heat. Cut bread into 1-2 inch chunks, if using. Brush lightly with marinade. Remove tofu and vegetables from the marinade, reserving marinade. Thread onto skewers.

- Cook skewers on grill until vegetables are lightly charred all over, about 10 minutes, basting with reserved marinade and turning occasionally.
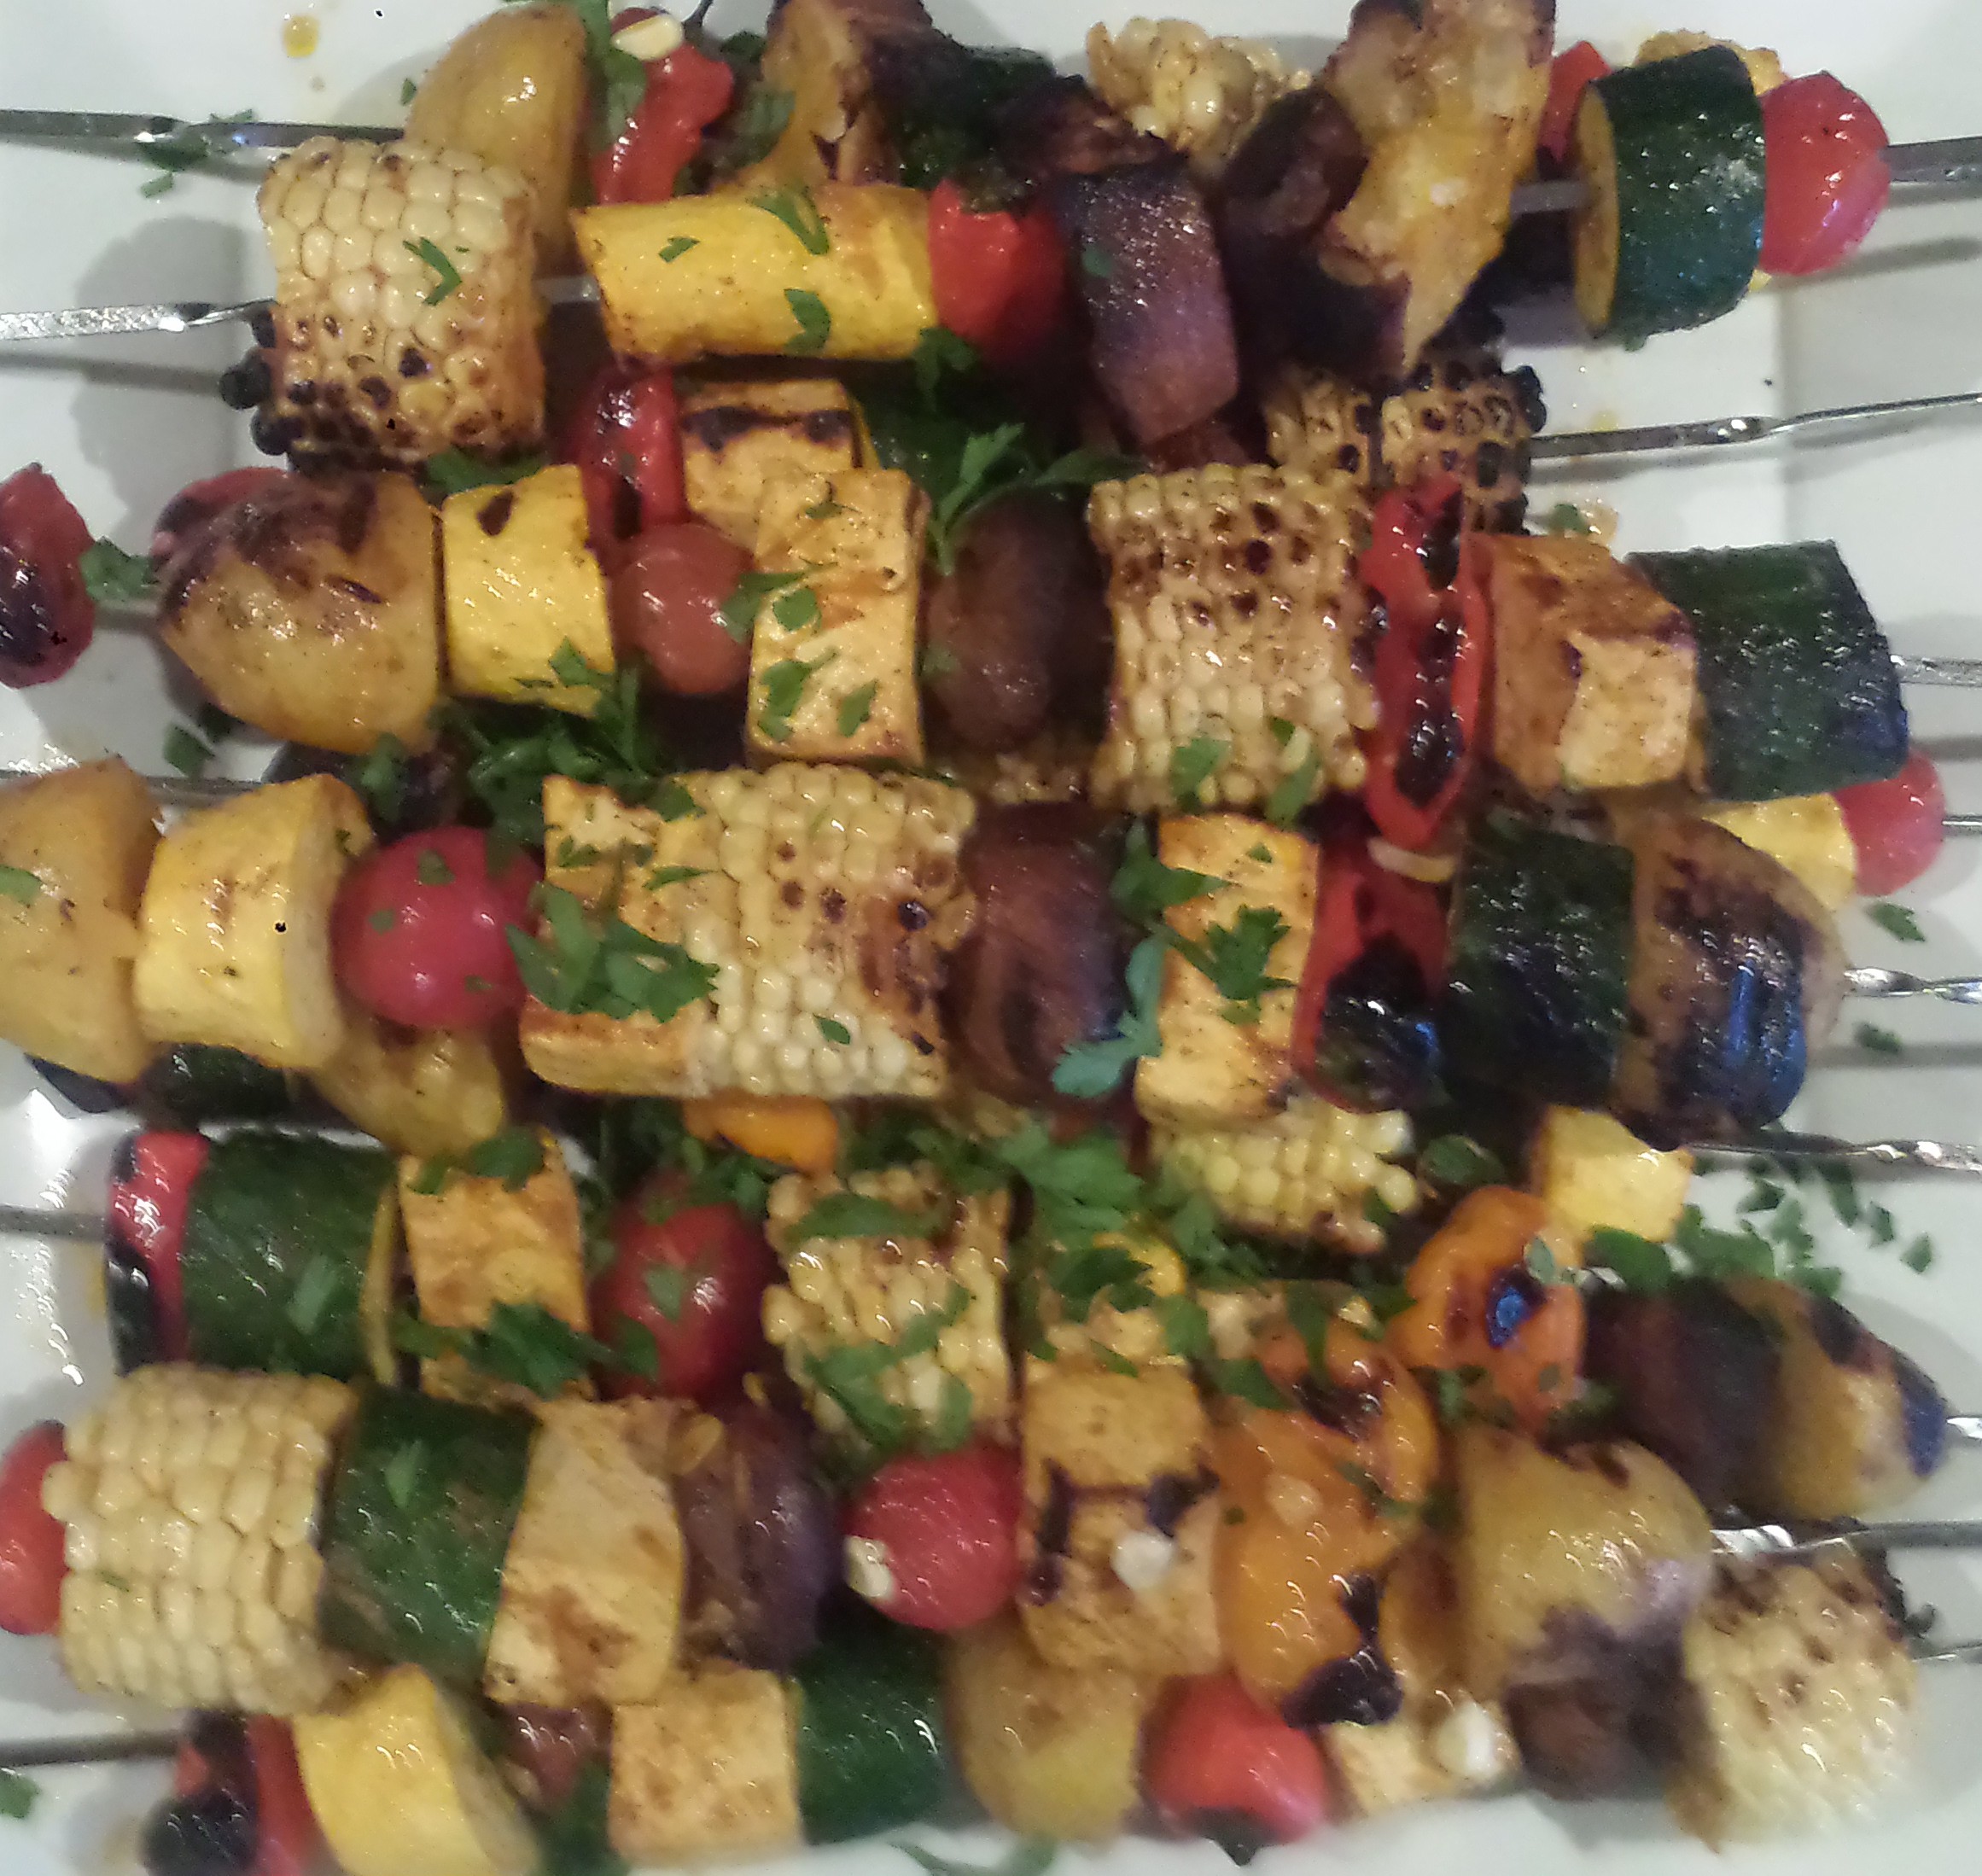
- Remove skewers to a serving platter and spoon extra sauce over the top.
Choose 5 or more of your favorite ingredients from the list below (or get creative): 1 lb baby or small potatoes (about a dozen) MARINADE (If you are using more than five skewer ingredients, you may want to double the recipe) *Use the larger amount of spice if you like extra flavor. 1/2 cup olive oilVeggie Kabobs With Chili Cumin Oil
2-3 ears of fresh corn
8 oz criminy mushrooms
1-2 red bell pepper or mini sweet peppers
1 large or 2 small zucchini squash
1 large or 2 small summer squash
1 red onion
1 dozen cherry tomatoes
1 block extra firm tofu
several thick slices of crusty sourdough bread
4-5 cloves garlic, minced
1 lemon, zest and juice
1-2 tsp cumin*
1-2 tsp chili powder*
1/4-1/2 tsp cayenne pepper * (Optional)
1/2 tsp salt
1/4 tsp black pepper


