Here’s a vegetarian or vegan twist on the classic comfort food, Chicken Fried Steak, nestled on a bed of creamy mash. This version has all the yummy flavor with none of the guilt, perfect for your summer barbecue or picnic. Cauliflower, the chameleon of veggies, makes a great couple of center cut ‘steaks’ while the rest is pureed into a silky, creamy cauliflower mash. This recipe makes use of the whole head of cauliflower and requires very few other ingredients, other than spices that you probably already have in your pantry. Now you can make a healthier, lower fat and meat free version of this popular dish. Its an easy and surprisingly satisfying meal that can be ready in about 30 minutes. You just might lick the plate clean…
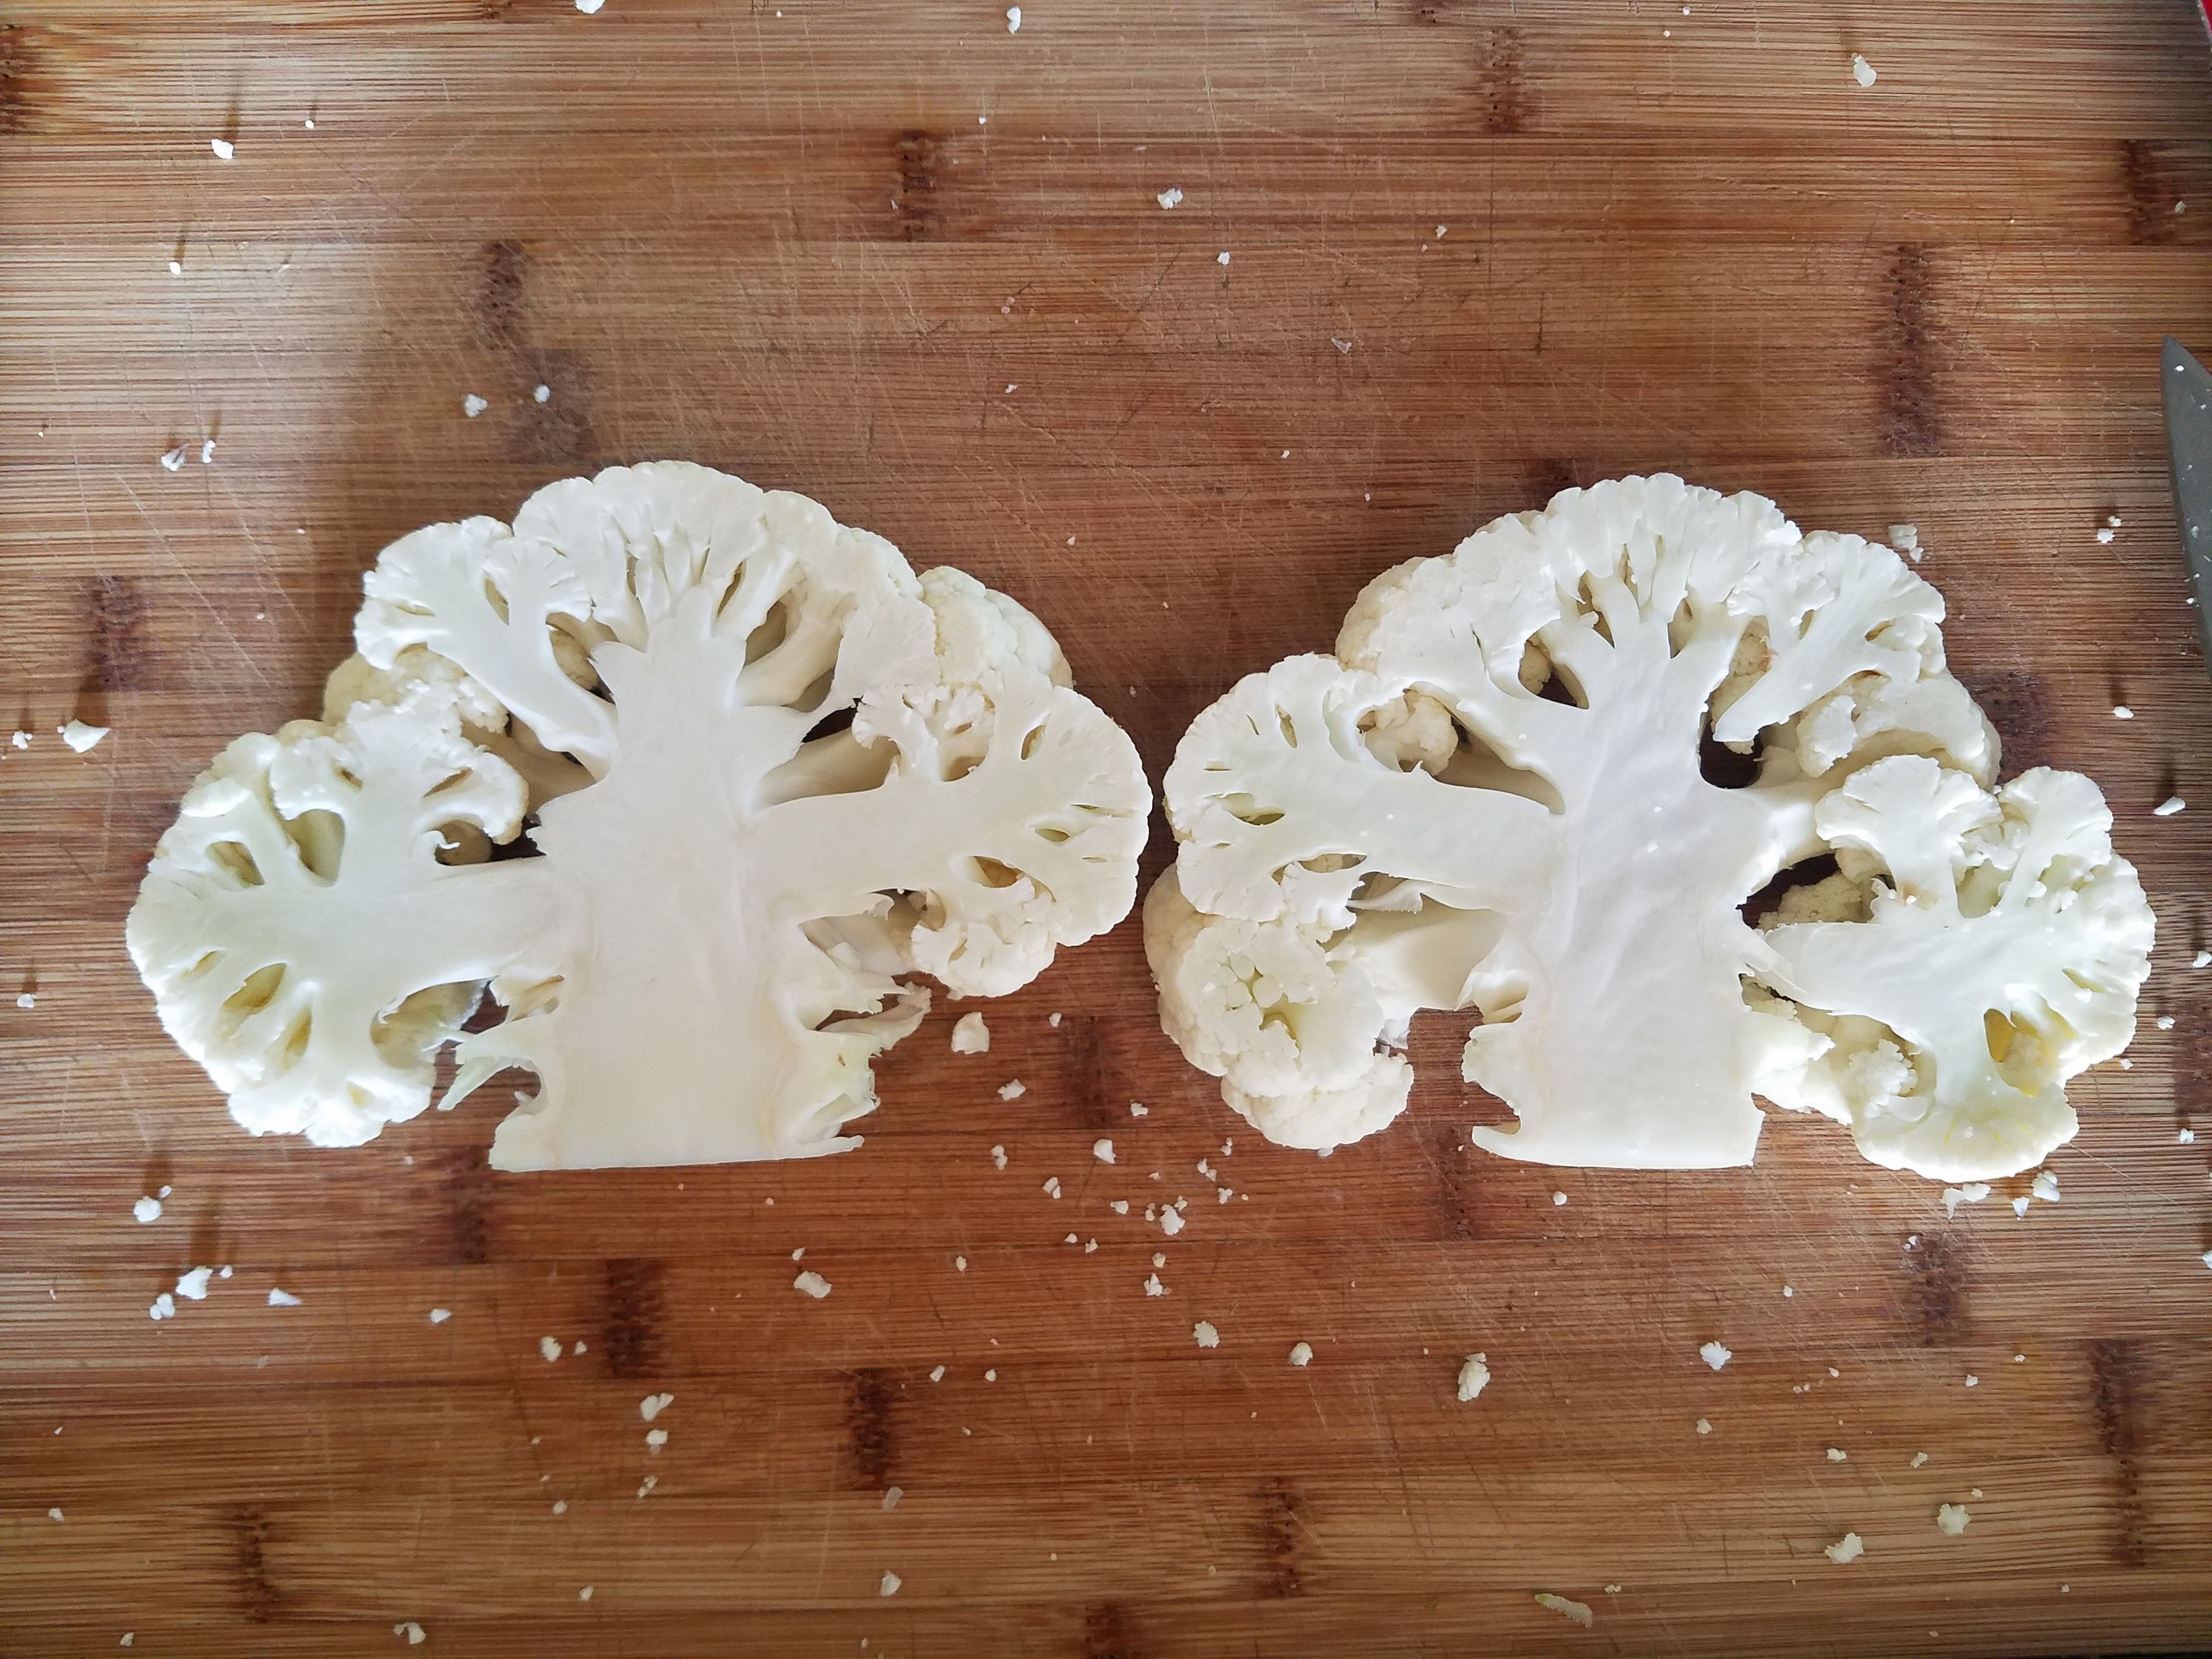
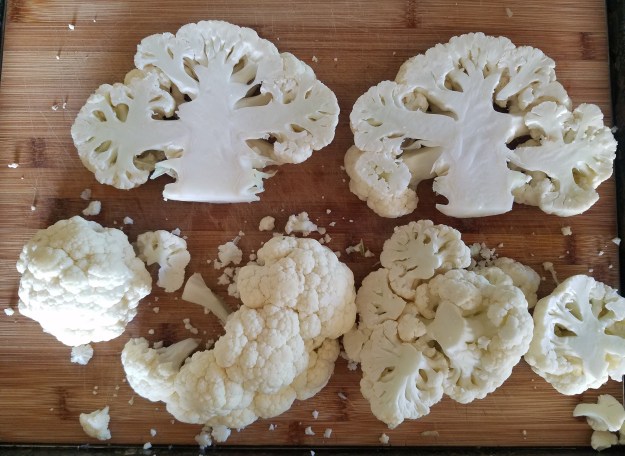
This recipe serves two adults if prepared as directed but can easily be doubled. The head of cauliflower is cut in half and two thick planks are cut from the center. The remaining cauliflower is cut into florets and steamed until very soft and then pureed into a delicious low-cal substitution for mashed potatoes. Even though the puree and the steaks are made from the same ingredient, they taste and feel entirely differently from each other, so its not like eating a plate of cauliflower-even though it is. You will be surprised.
I have found that cauliflower tends to fall apart once most of the core is cut away, which is why cauliflower mash is such a great idea. If you are interested in the fried cauliflower and not the mash, you can carefully cut a few more smaller ‘steaks’ from the head before it falls apart and then fry up the remaining florets into ‘nuggets’ that are perfectly sized for small hands. I wish I had tried this when my kids were little.

Cauliflower is not as nutrient-dense as many of the other cabbage-family vegetables, but it is still power-packed with nutrition. Most people know it is low in fat and calories but did you know that it has protein? One cup of raw cauliflower is an excellent source of vitamin K (476.2 percent of the RDA) and vitamin C and is a very good source of fiber, potassium, phosphorus, and B vitamins. A 3 1/2-oz (100 g) serving of cooked cauliflower provides 35 calories, 2.3 g of protein, no cholesterol, 0.4 g of fat, 7.2 g of carbohydrate, and 3.3 g of fiber.

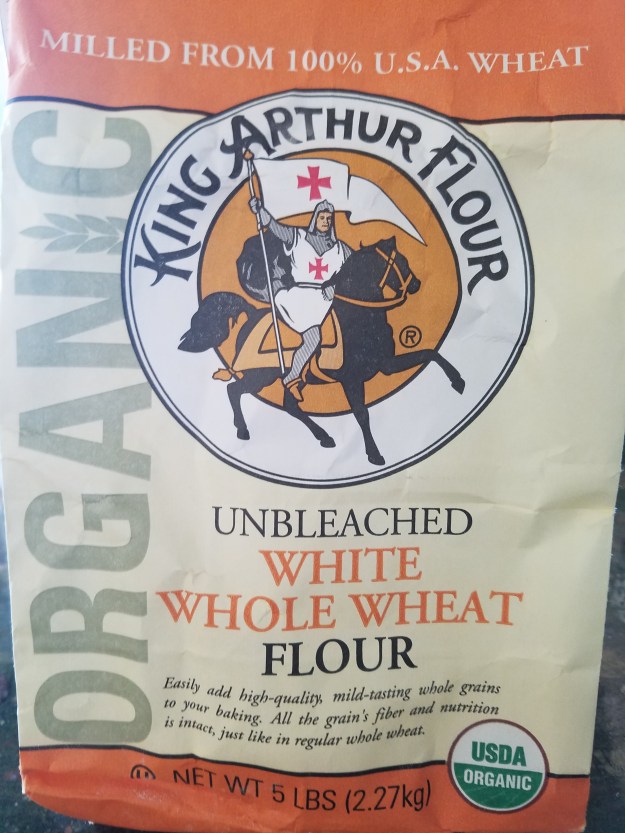
To boost nutrition, I used white whole wheat flour which is a real thing not a typo. It is made from white wheat instead of the typical red wheat. White whole wheat flour is lighter and milder in flavor than regular whole wheat flour which also tends to make everything heavy and can have an aftertaste. White whole wheat flour also retains most of the fiber and nutrition through processing since its a whole grain flour. Regular white flour is made from red wheat which has been processed to remove the germ, which contains most of the nutrients, and the bran, which has the fiber. I prefer to use whole grain whenever possible, however, you can substitute any kind of flour that you normally use, including gluten free flour mixes.
TIPS: The cauliflower can be fried in a pan or in a deep fryer, if you have one. Any leftover oil can be reused if handled properly. Allow the oil to cool down to a safe handling temperature. Strain any food particles floating in the oil by raking through it with a slotted spoon and discard them. While pouring into a container, strain through a coffee filter or piece of cheesecloth. Cover and store in the refrigerator or freezer for up to six months. The oil may appear cloudy when cold but will clear as it warms up. How To Reuse Cooking Oil
CHICKEN FRIED CAULIFLOWER ‘STEAKS’ WITH CREAMY MASH
CAULIFLOWER MASH
- 1/2-3/4 cup water
- 1 garlic clove, crushed
- 1/2- 1 cup milk (unsweetened almond, soy or coconut)
- 2 Tbsn vegan butter (optional)
- 1/2 tsp salt, or to taste
- 1/2 tsp pepper (optional)
CHICKEN FRIED STEAKS
- 2 Tbsn cornstarch
- 1 Tbsn milk (unsweetened almond, soy or coconut)
- 1 large egg, lightly beaten OR 2 Tbsn vegan mayo
- 1/2 cup white whole wheat flour (or all purpose or gluten free)
- 3/4 tsp garlic powder
- 3/4 tsp onion powder
- 1/2 tsp paprika
- 1/4- 1/2 tsp cayenne pepper (optional)
- 1/2 tsp black pepper
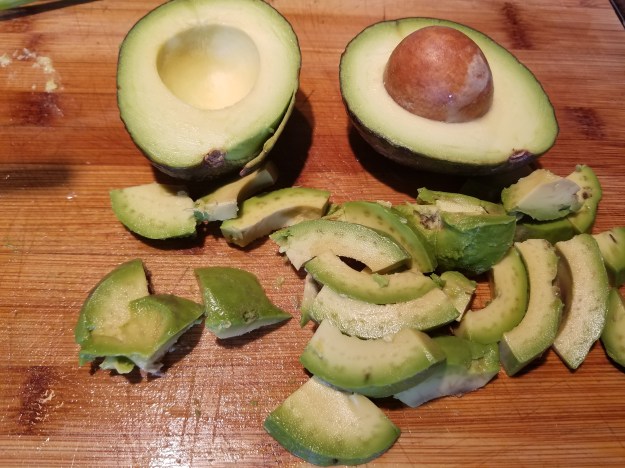
- 1/2 cup lighter vegetable oil, (avocado, grape seed or canola, not olive oil)
- salt to taste
- Trim away outer leaves from cauliflower head. Do not core. Cut head in half lengthwise; cut a 1-inch-thick “steak” from each cauliflower half. Set steaks aside.
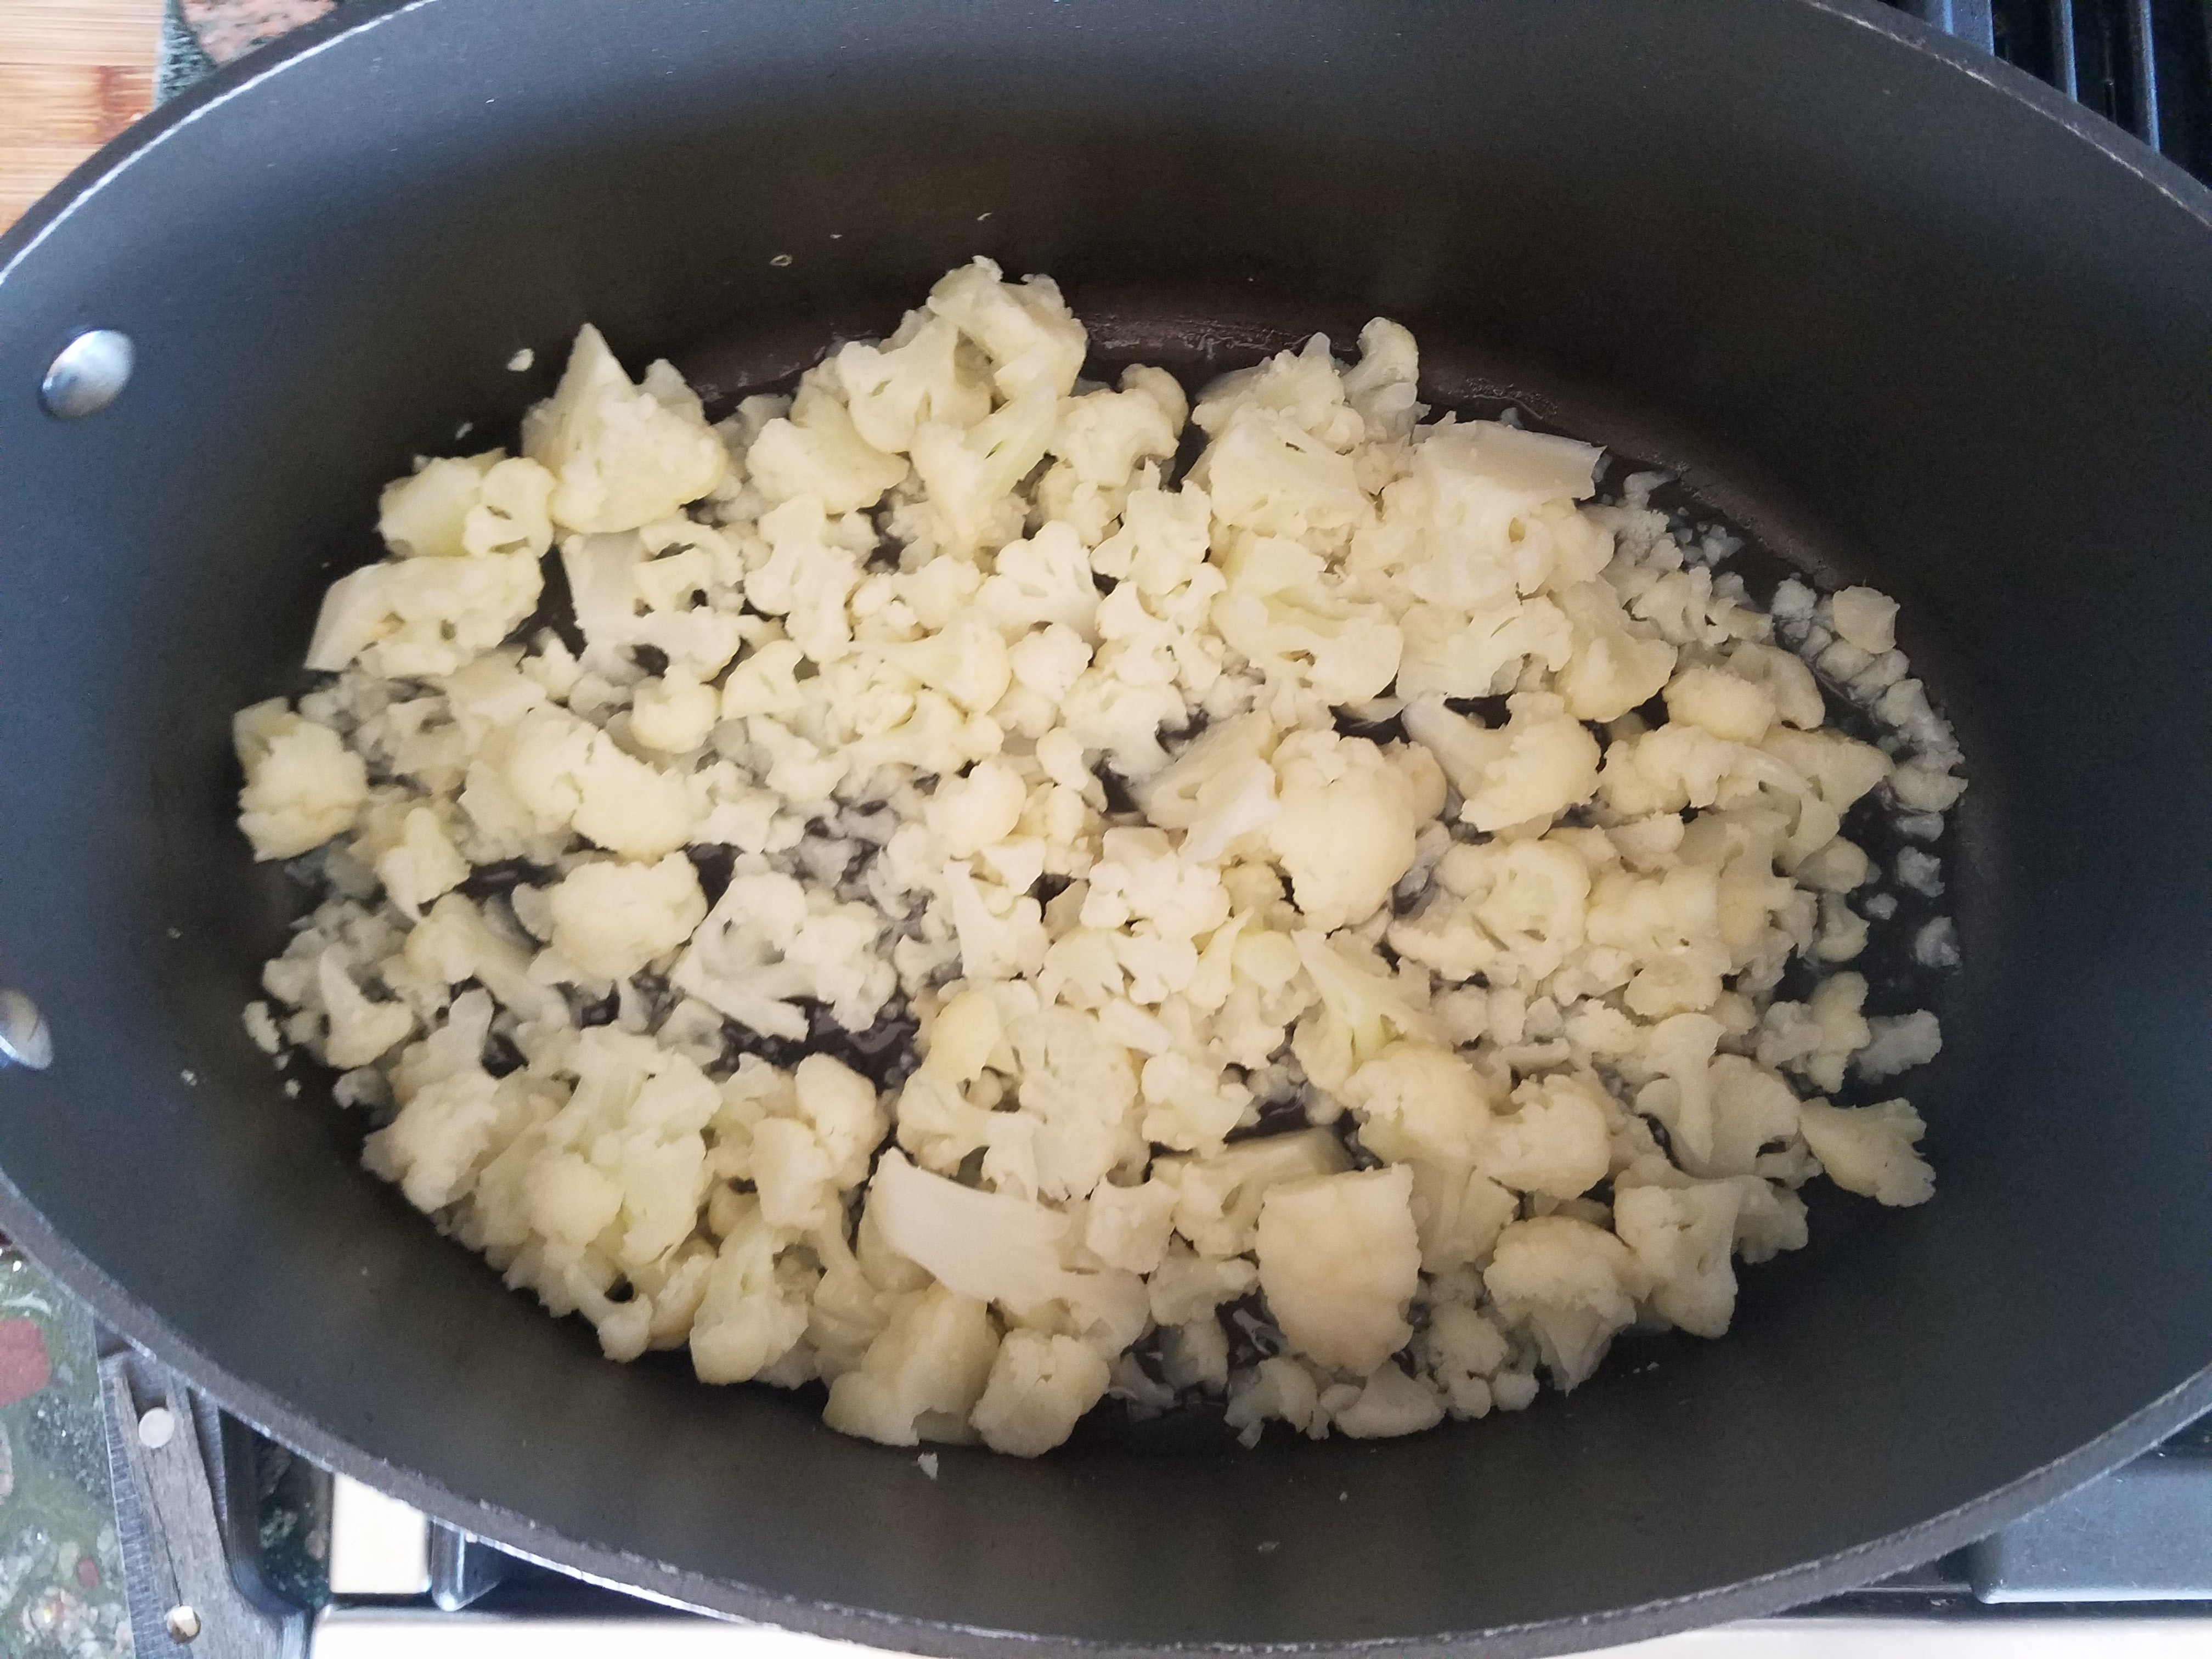
- Cut remaining cauliflower into small pieces. Place in a saucepan with 1/2 cup water and garlic; bring to a boil over high. Reduce heat to medium-low, cover, and cook 15 minutes or until very tender. Add more water if necessary. Remove from heat; let stand while you prepare steaks.
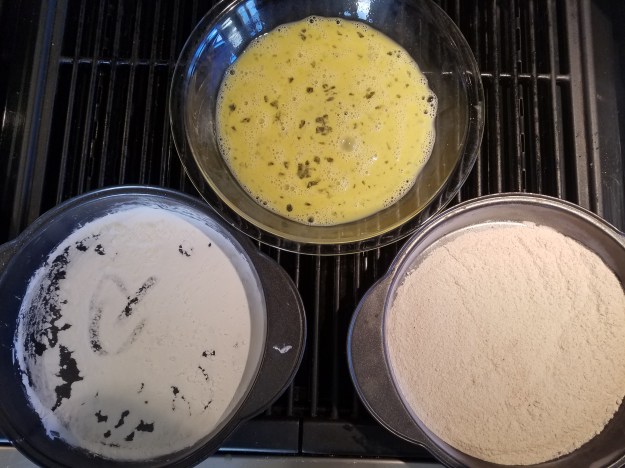
- Place cornstarch in a shallow dish. Combine milk and egg or mayo in another shallow dish. Combine flour and spices in a third shallow dish. (pie pans work well)
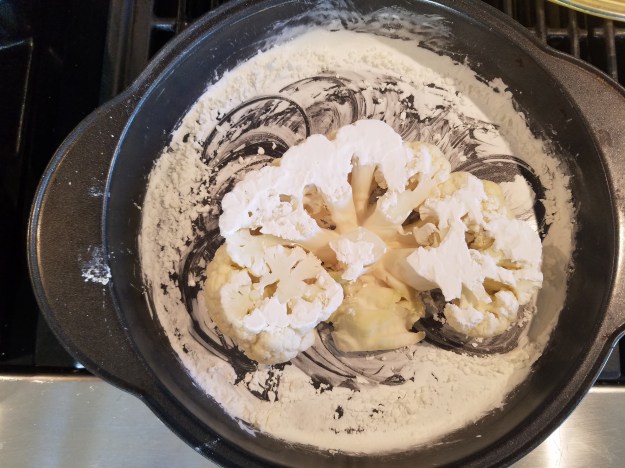
- Dredge one cauliflower steak in cornstarch; shake off excess.


- Dredge in flour mixture, shaking off excess. Repeat with other cauliflower steak.

- Heat oil in a large nonstick skillet over medium. Add cauliflower steaks to pan and cook 4 to 5 minutes or until browned on bottom. Cover pan to steam the inside of the cauliflower.
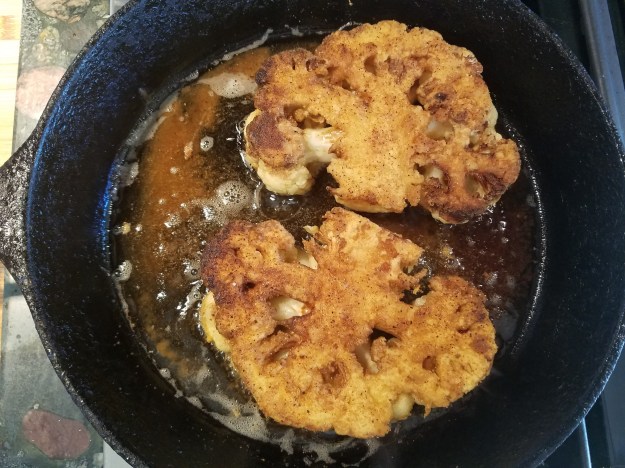
- Carefully turn and cook another 4 to 5 minutes, uncovered, until golden brown. Sprinkle with salt while hot.

- Place steamed cauliflower in a food processor or blender. Add 1/2 cup milk, butter. salt and pepper. Blend until very smooth, adding more milk as needed to reach the desired consistency.
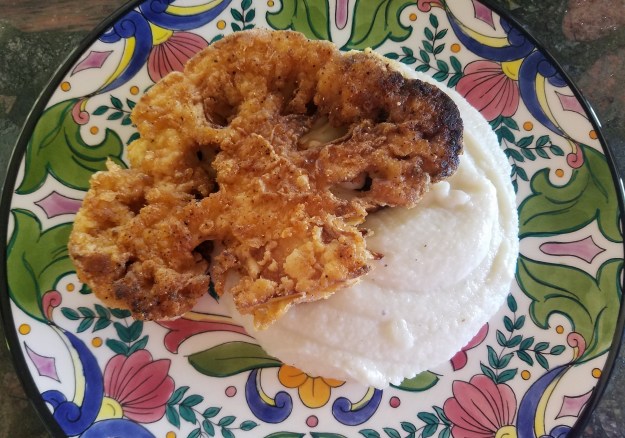
- To serve, spread cauliflower over a plate and top with cauliflower. As an alternative, you can thin the cauliflower into a sauce like consistency and drizzle over the top or use as a dip.
Chicken Fried Cauliflower Steaks and Cauliflower Mash

CAULIFLOWER PUREE
- 1/2-3/4 cup water
- 1 garlic clove, crushed
- 1/2- 1 cup milk (unsweetened almond, soy or coconut)
- 2 Tbsn vegan butter
- 1/2 tsp salt, or to taste
- 1/2 tsp pepper (optional)
CHICKEN FRIED STEAKS
- 2 Tbsn cornstarch
- 1 Tbsn milk (unsweetened almond, soy or coconut)
- 1 large egg, lightly beaten OR 2 Tbsn vegan mayo
- 1/2 cup white whole wheat flour (or all purpose or gluten free)
- 3/4 tsp garlic powder
- 3/4 tsp onion powder
- 1/2 tsp paprika
- 1/4- 1/2 tsp cayenne pepper (optional)
- 1/2 tsp black pepper
- 1/2 cup lighter vegetable oil, (avocado, grape seed or canola not olive oil)
- salt to taste
- Trim away outer leaves from cauliflower head. Do not core. Cut head in half lengthwise; cut a 1-inch-thick “steak” from each cauliflower half. Set steaks aside.
- Cut remaining cauliflower into small pieces. Place in a saucepan with 1/2 cup water and garlic; bring to a boil over high. Reduce heat to medium-low, cover, and cook 15 minutes or until very tender. Add more water if necessary. Remove from heat; let stand while you prepare steaks.
- Place cornstarch in a shallow dish. Combine milk and egg or mayo in another shallow dish. Combine flour and spices in a third shallow dish. (pie pans work well)
- Dredge one cauliflower steak in cornstarch; shake off excess. Dip in egg mixture; dredge in flour mixture, shaking off excess. Repeat with other cauliflower steak.
- Heat oil in a large nonstick skillet over medium. Add cauliflower steaks to pan and cook 4 to 5 minutes or until browned on bottom. Cover pan to steam the inside of the cauliflower. Carefully turn and cook another 4 to 5 minutes, uncovered, or until golden brown. Sprinkle with salt.
- Place steamed cauliflower in a food processor or blender. Add 1/2 cup milk, butter. salt and pepper. Blend until very smooth, adding more milk as needed to reach the right consistency.
- To serve, spread cauliflower over a plate and top with cauliflower. As an alternative, you can thin the cauliflower into a sauce like consistency and drizzle over the top or use as a dip.

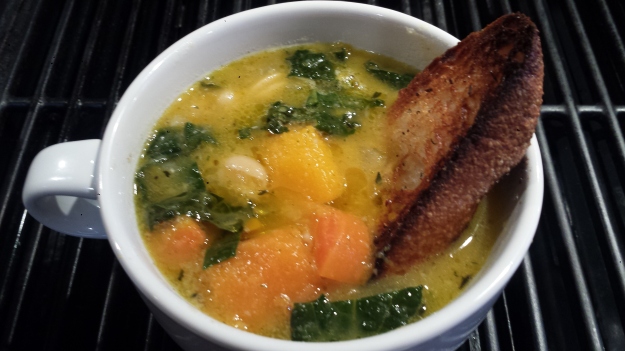


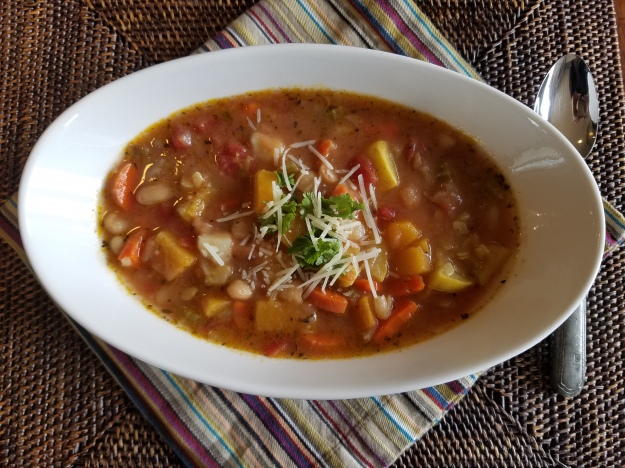
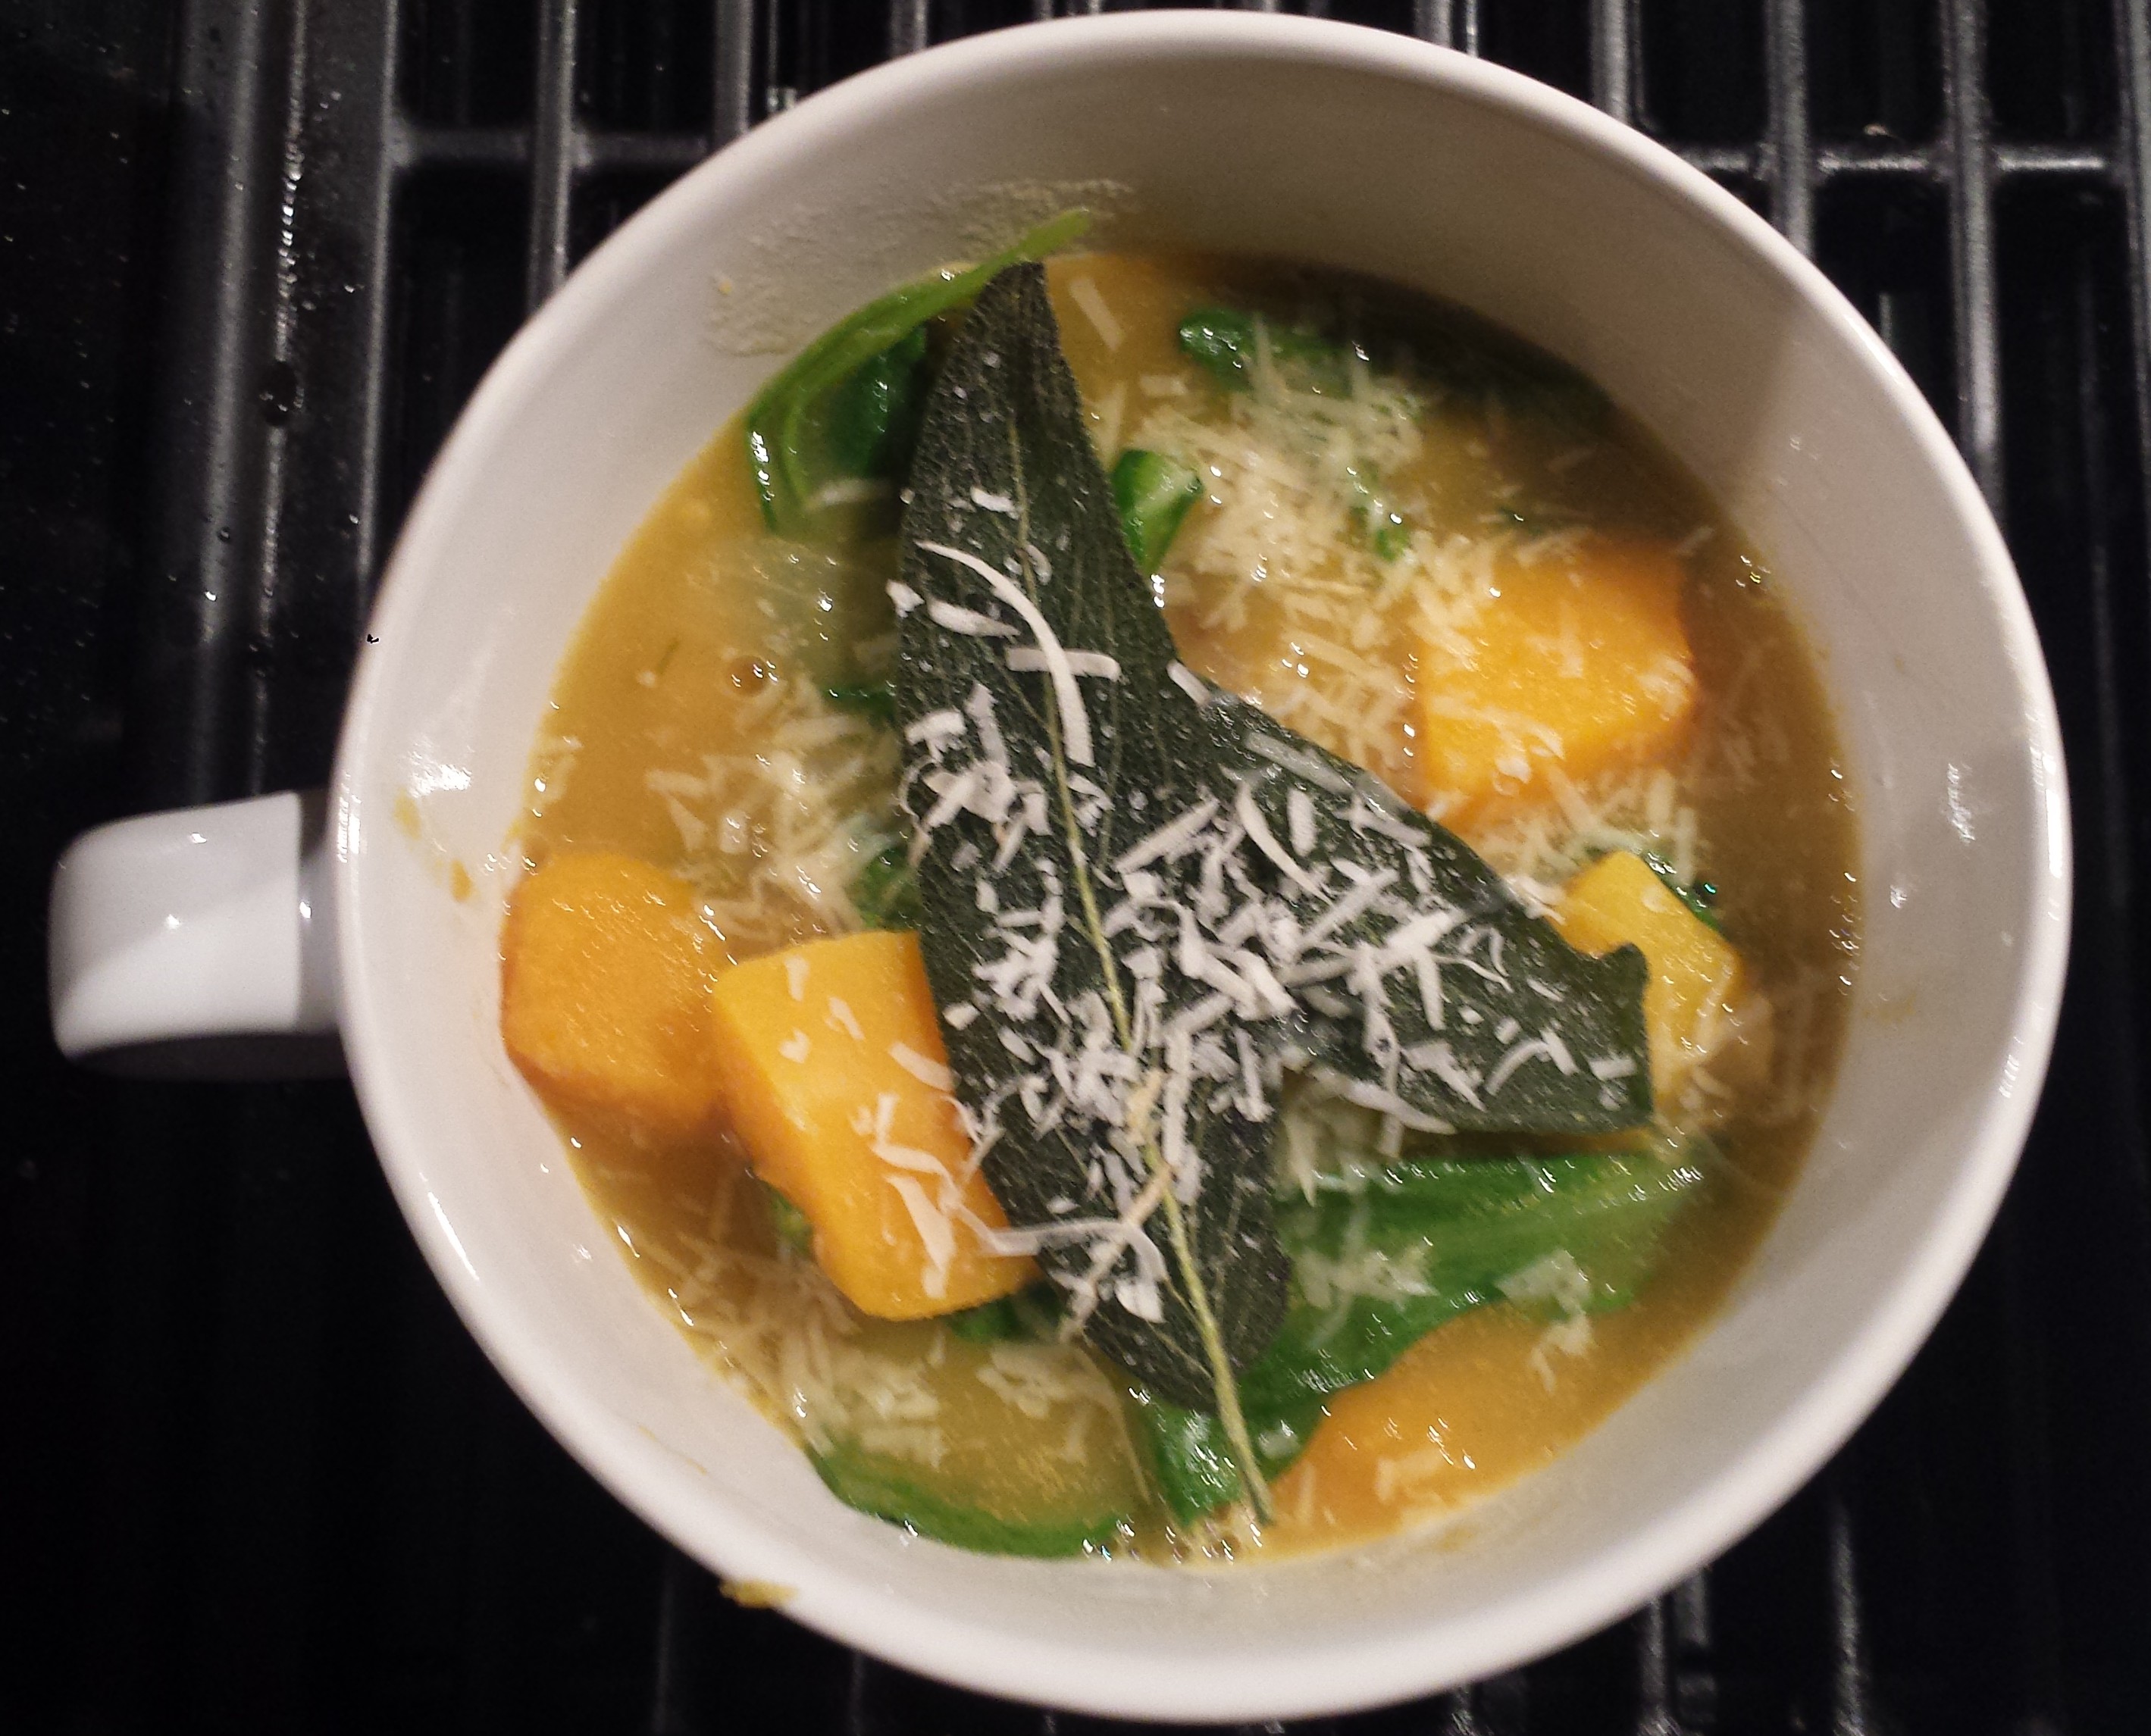


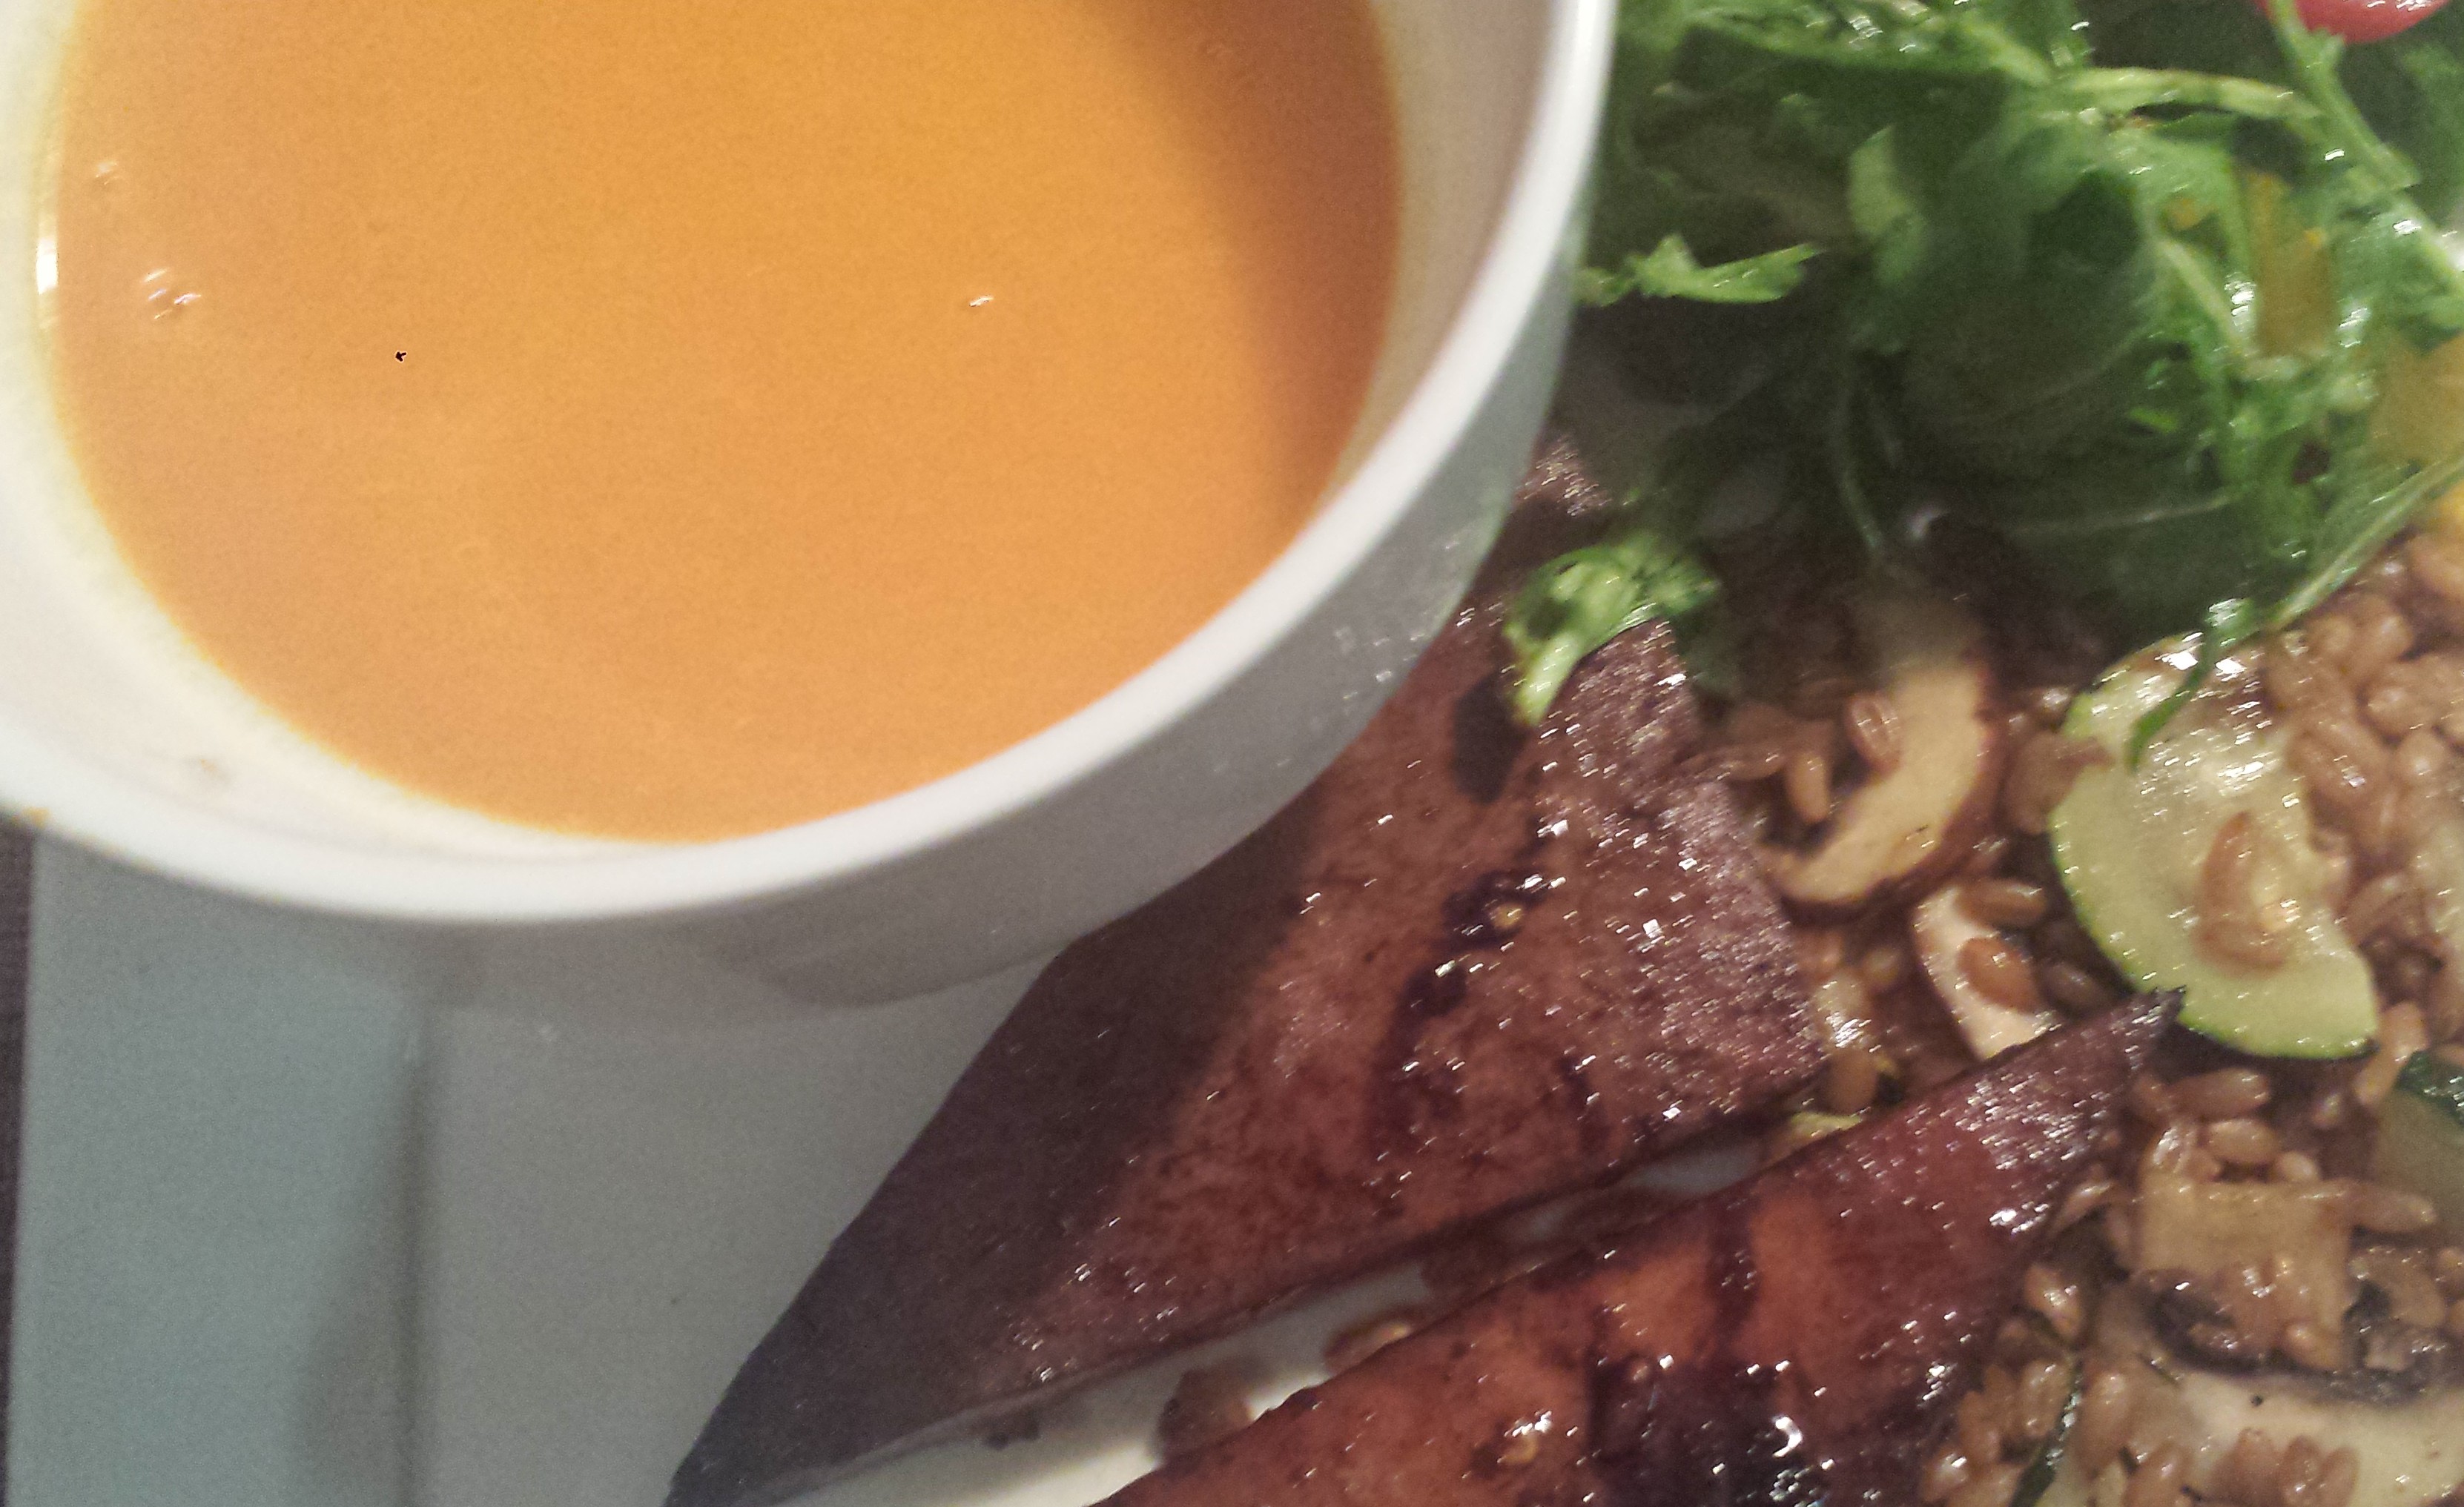


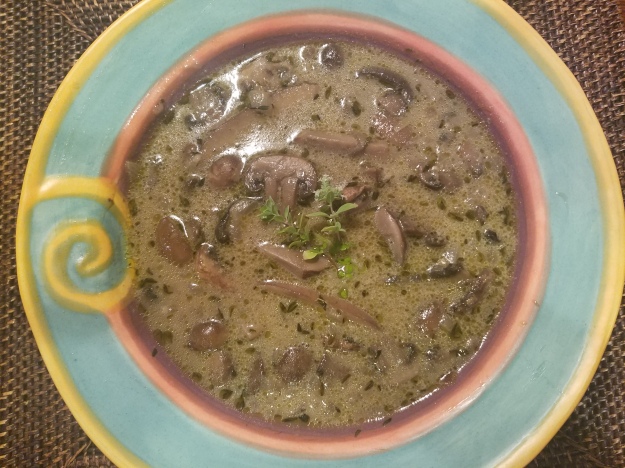
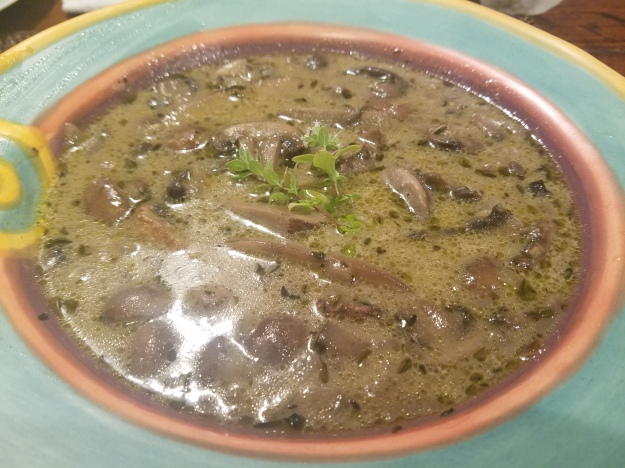
 Risotto is so rich and creamy that it seems fancy and somewhat decadent. Well this version is no different, even though it is made without meat or dairy and I used barley instead of the traditional Arborio rice which adds flavor and interest. If you are intimidated by making risotto at home, don’t be. It’s actually a pretty easy (mostly) one pot dish. Yes, you do have to stir it but not constantly. You don’t have to be a slave to the stove but it is the technique of slowly adding broth and allowing it to absorb into the barley which creates the rich and creamy almost sauce-like texture which is the result of the barley releasing starch into the broth. Starch is that magic ingredient that helps marry the ingredients. (This is same reason I always save a cup of cooking water when making pasta). The barley risotto is a wonderful, slightly chewy consistency and the butternut squash is sweet and perfectly accented by the lovely ‘sauce’ and fresh tangy sage. The end result is worth the extra attention, however, I have a short cut in TIPS below for those who can’t be bothered but still like the idea of butternut squash and barley.