I’m sorry for going MIA this summer. A combination of travel without my computer,(Iceland is another coming post) made blogging (and cooking) difficult and the recent illness and death of my beloved father left me with a void that I am struggling to fill. He was a kind man. He chose family and a career in education over wealth and prestige. Dare I say it was not the exciting career he probably thought he was going to have. He and my mom fostered dozens of kids and believed in uplifting others, especially those that really needed help the most. I suppose, his death, following hers three years ago, only reaffirms my growing belief that we should try our best to leave a gentle footprint on the earth and make a positive difference in the world, no matter how small. Kindness matters. Voting with your pocketbook matters. Our choices matter. Speaking up for those that have no voice matters. I guess a tofu recipe is a good start.
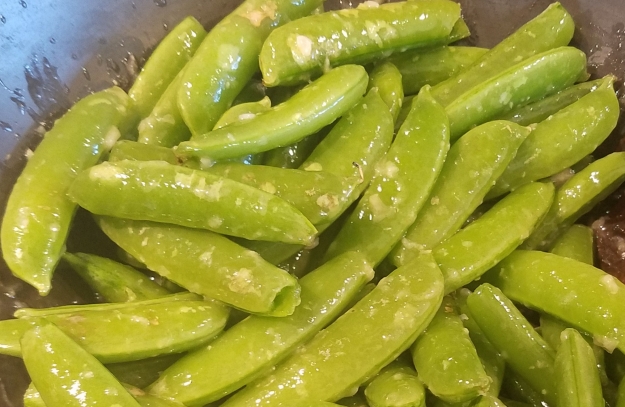
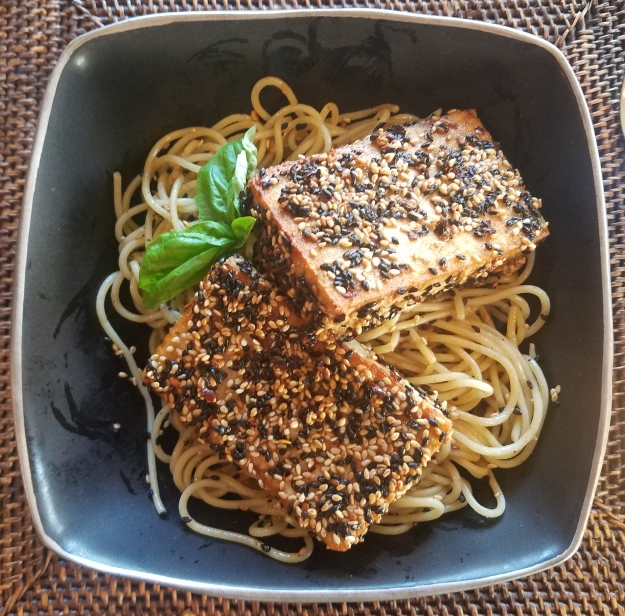
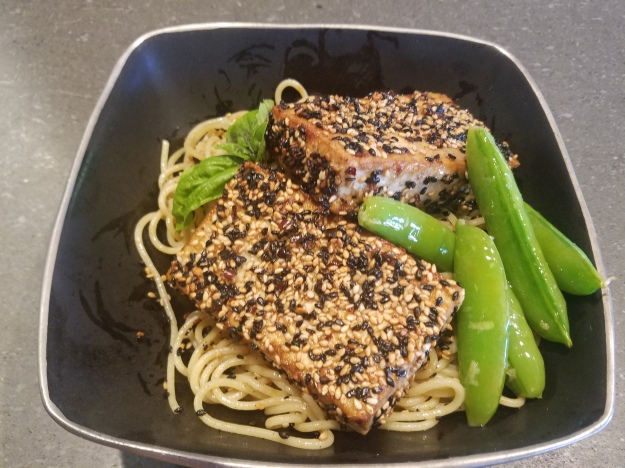
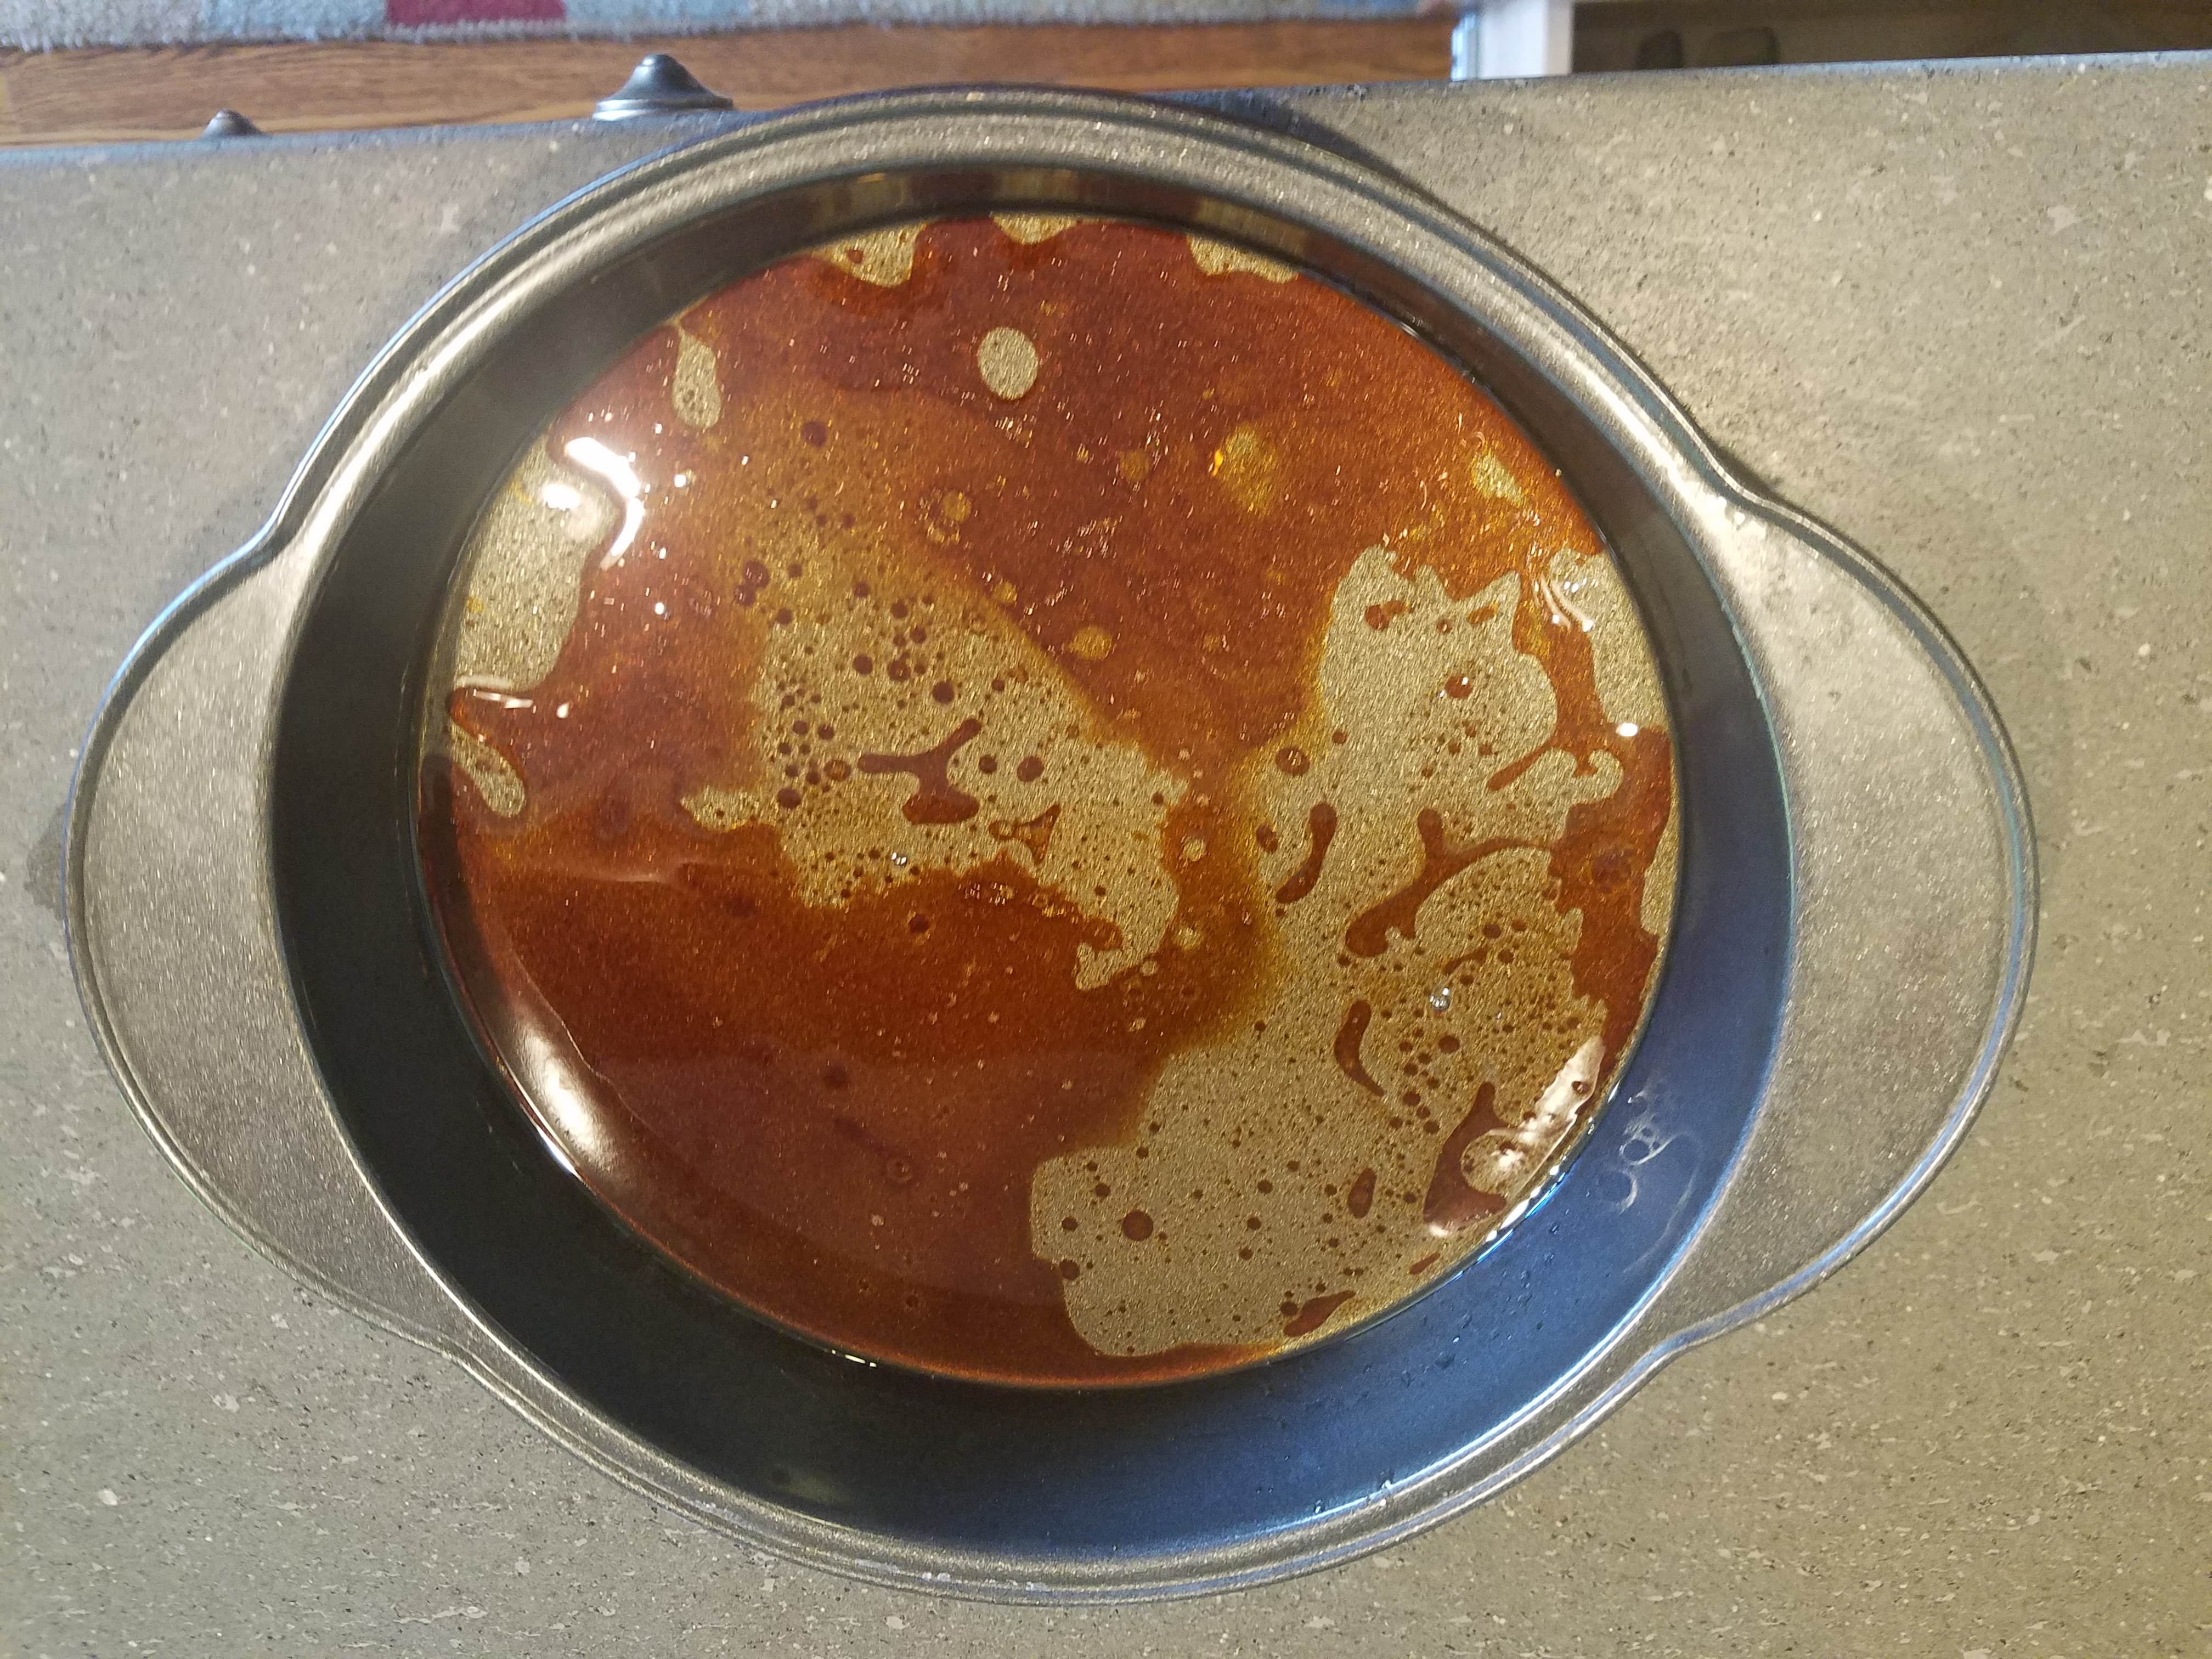
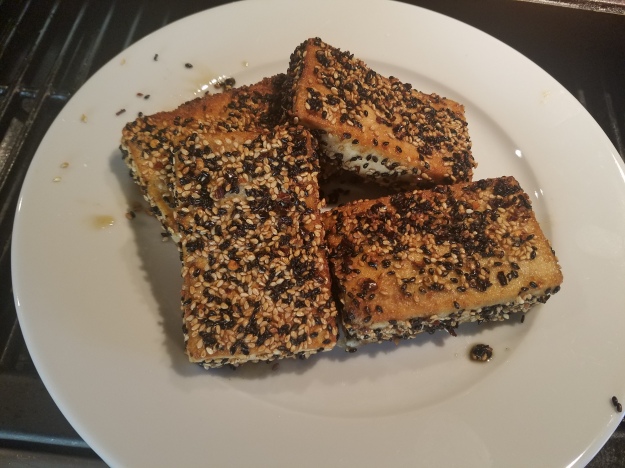
This is my favorite, quick and easy, protein filled, go-to dish. I especially like to make it for my meat eating friends who think they don’t like tofu. I have changed some pretty closed minds with this one. The tofu is savory and crispy on the outside and creamy on the inside. I like to serve sesame crusted tofu over pasta or rice to take advantage of the yummy pan drippings. Surprise! Vegan food can have pan drippings. This time I tossed together some sugar snap peas sauteed with ginger and garlic until they glisten, tender but firm.

I love the combination of black and white sesame seeds, but if you think they are just a pretty decoration you would be mistaken. They add a nutty flavor and add to the crunchy texture in this dish, but for their small size, they also provide quite a bit of nutrition. Sesame seeds are an excellent source of copper, a very good source of manganese, and a good source of calcium, magnesium, iron, phosphorus, vitamin B1, zinc, molybdenum, selenium, and dietary fiber. Black sesame seeds are unhulled while white seeds are hulled. Since most of the calcium is in the hulls, black sesame seeds have more calcium. Otherwise, they are nutritionally similar.
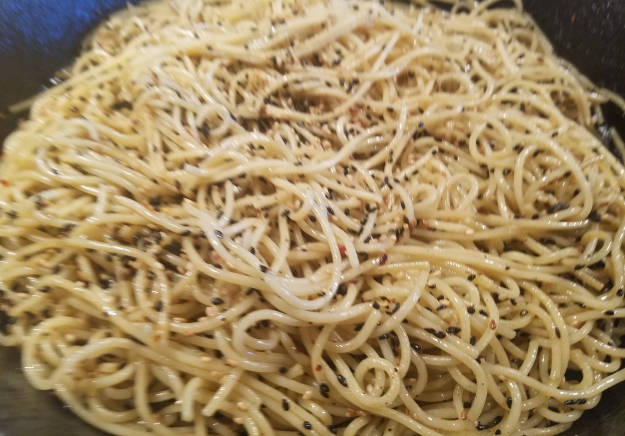
TIPS: This time, I served the tofu over thin spaghetti which picks up the sesame seeds and spices easily but angel hair pasta would work well too. I just stirred the hot, cooked pasta in the same pan I cooked the tofu to evenly coat the strands. I often serve this with brown jasmine or basmati rice. Just cook with vegetable broth and a 1 inch knob of peeled fresh ginger or teaspoon of ginger paste and drizzle the sesame oil and pan drippings over the rice. Yum!… (*smacking lip sound*)
This recipe serves two to four people, depending on appetites. I can only eat one 4 ounce tofu steak but my husband can eat two. You can easily double the recipe. I also prefer the 4 oz steaks because I like the crispy edges.
SESAME CRUSTED TOFU
- 1 block extra firm tofu
- 1/4 cup toasted sesame seeds
- 1/4 cup black sesame seeds
- 1-2 tsp crushed red pepper flakes (optional)
- 1 tsp garlic powder
- 1 tsp onion powder
- 1/4 cup + 1 Tbsn sesame oil, divided
- 1 Tbsn soy sauce (or gluten free tamari)
- 2 Tbsn cornstarch
- 3 scallions, minced (optional garnish)
- 8 oz thin spaghetti
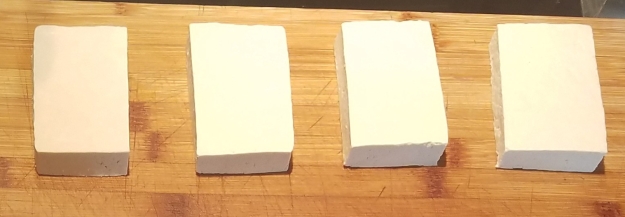
- Drain tofu and slice in half lengthwise into two wide slabs (8 oz. steaks). You can also cut the slabs half again for four 4 oz. servings. Arrange in a single layer on double papertowels or a clean dishcloth, cover with more towels and let drain 15 or 20 minutes. Placing a heavy pan on top might help press the liquid out.
- Cook spaghetti as directed, drain and set aside
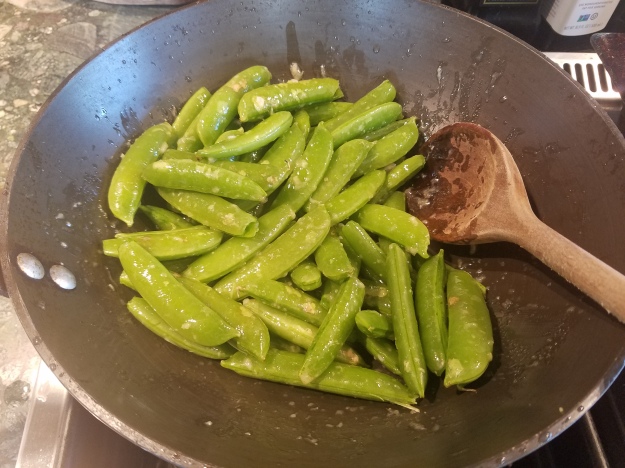
- If you are making sugar snap peas, in a cold saute pan, stir together a Tablespoon each of olive oil and sesame oil, 1 teaspoon minced ginger or ginger paste and several cloves of crushed garlic. Remove stems and strings from the peas, rinse and stir them into the garlic mixture. They can sit until you are ready. Cook for about 5 minutes on medium heat just before you cook the tofu.
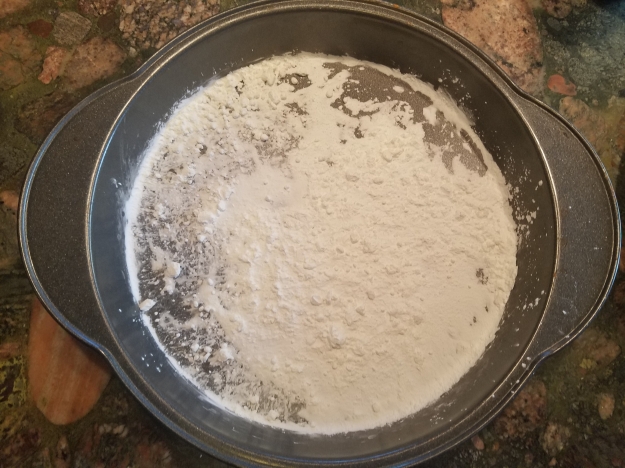
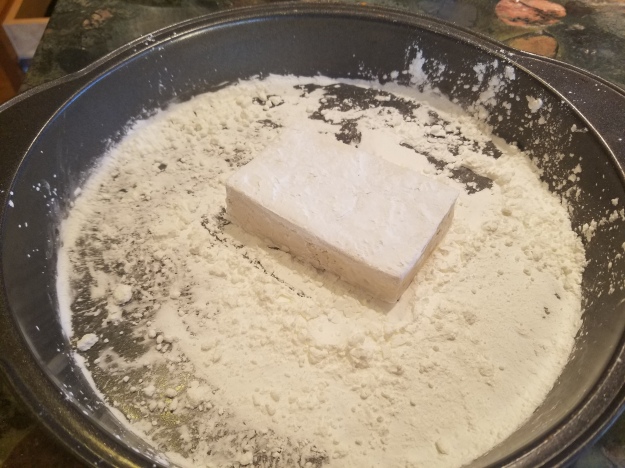
- Place cornstarch in a shallow pie pan or plate
- Stir together 1 Tablespoon sesame oil and 1 Tablespoon soy sauce
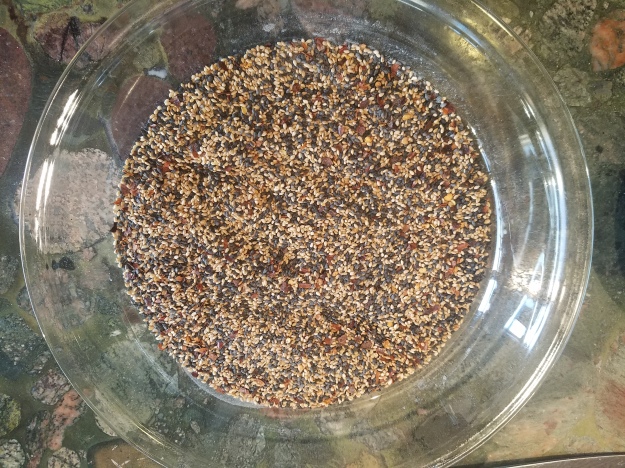
- Combine sesame seeds, red pepper flakes, garlic and onion powders in a shallow pie pan
- Heat a heavy fry pan (cast iron if you have) on medium heat and add remaining sesame oil while you prepare your tofu.
- Dredge tofu on all sides in cornstarch
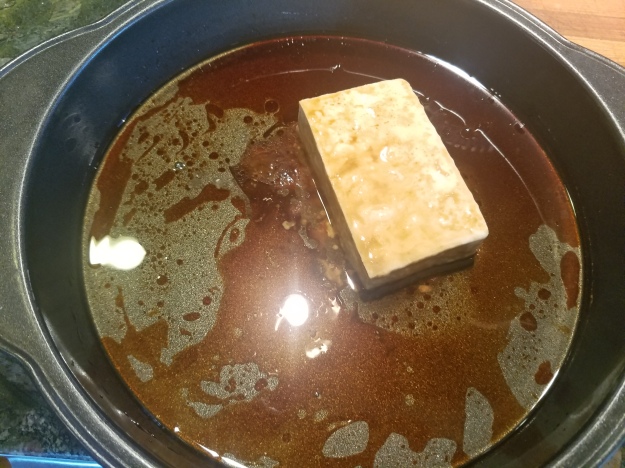
- Dip tofu in soy/sesame mixture, all sides
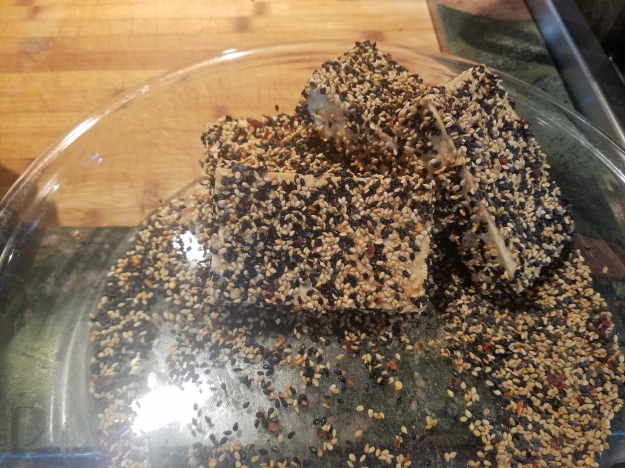
- Press tofu into sesame seed mixture making sure to coat all sides. Repeat with remaining pieces.
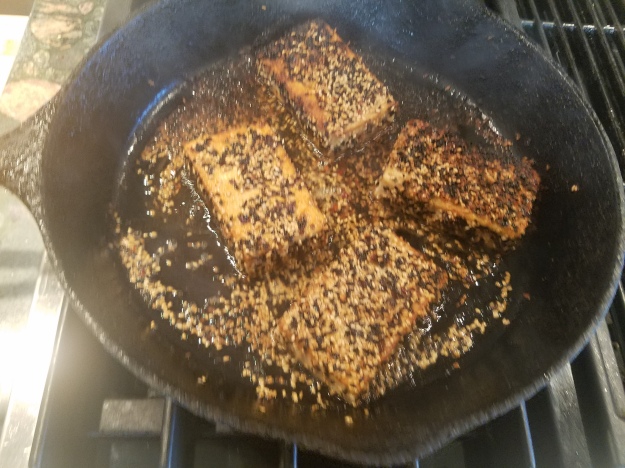
- Cook in hot sesame oil several minutes on each side, or until crispy and golden brown. Lower heat if the oil starts to smoke.
- Remove tofu from pan and set aside. Turn heat to low.
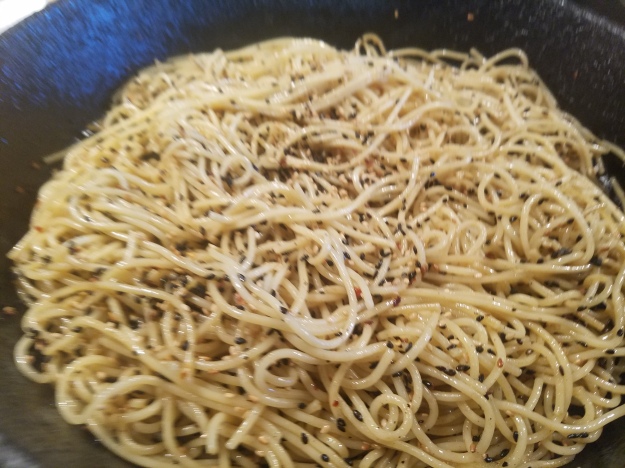
- Toss cooked spaghetti in hot pan used for cooking the tofu until sesame seeds and oil are evenly distributed. Add any remaining seeds and spices or a drizzle of sesame oil, if desired.
- Serve tofu topped with tofu steaks and sugar snap peas, garnish with scallions, if desired.
Sesame Crusted Tofu

- 1 block extra firm tofu
- 1/4 cup toasted sesame seeds
- 1/4 cup black sesame seeds
- 1-2 tsp crushed red pepper flakes (optional)
- 1 tsp garlic powder
- 1 tsp onion powder
- 1/4 cup + 1 Tbsn sesame oil, divided
- 1 Tbsn soy sauce (or gluten free tamari)
- 2 Tbsn cornstarch
- 3 scallions, minced (optional garnish)
- 8 oz thin spaghetti
- Drain tofu and slice in half lengthwise into two wide slabs (steaks). You can also cut the slabs half again for four servings. Arrange in a single layer on double papertowels or a clean dishcloth, cover with more towels and let drain 15 or 20 minutes. Placing a heavy pan on top might help press the liquid out.
- Cook spaghetti as directed, drain and set aside
- If you are making sugar snap peas, in a cold saute pan, stir together a Tablespoon each of olive oil and sesame oil, 1 teaspoon minced ginger or ginger paste and several cloves of crushed garlic. Remove stems and strings from the peas, rinse and stir them into the garlic mixture. They can sit until you are ready. Cook for about 5 minutes on medium heat just before you cook the tofu.
- Place cornstarch in a shallow pie pan
- Stir together 1 Tablespoon sesame oil and 1 Tablespoon soy sauce
- Combine sesame seeds, red pepper flakes, garlic and onion powders in a shallow pie pan
- Heat a heavy fry pan (cast iron if you have) on medium high heat and add remaining sesame oil
- Dredge tofu on all sides in cornstarch
- Dip tofu in soy/sesame mixture, all sides
- Press tofu into sesame seed mixture making sure to coat all sides
- Cook in hot sesame oil several minutes on each side, or until crispy and golden brown. Lower heat to medium if the oil starts to smoke.
- Remove tofu from pan and set aside
- Toss cooked spaghetti in hot pan used for cooking the tofu until sesame seeds and oil are evenly distributed. Add any remaining seeds and spices or a drizzle of sesame oil, if desired.
- Serve tofu topped with tofu steaks and garnish with scallions, if desired.


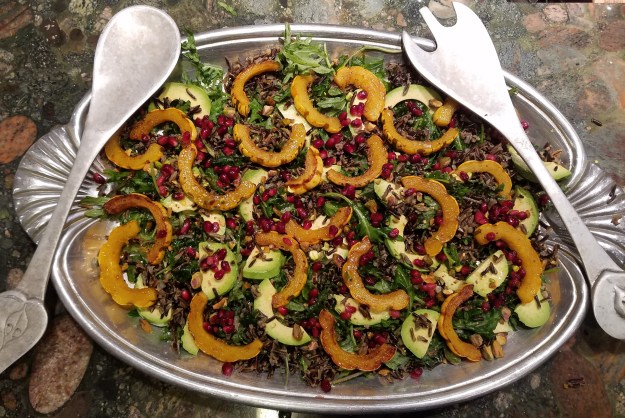
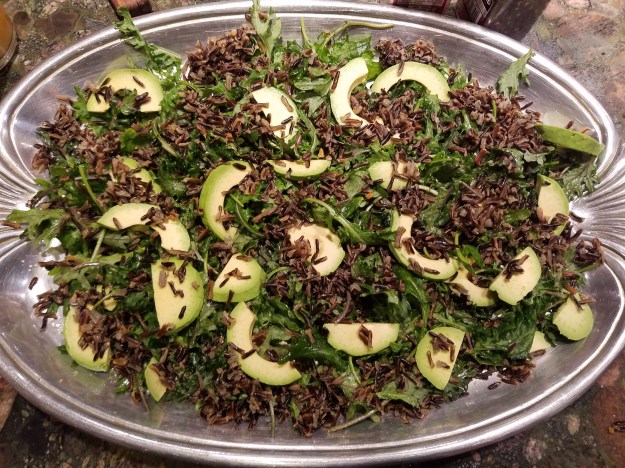
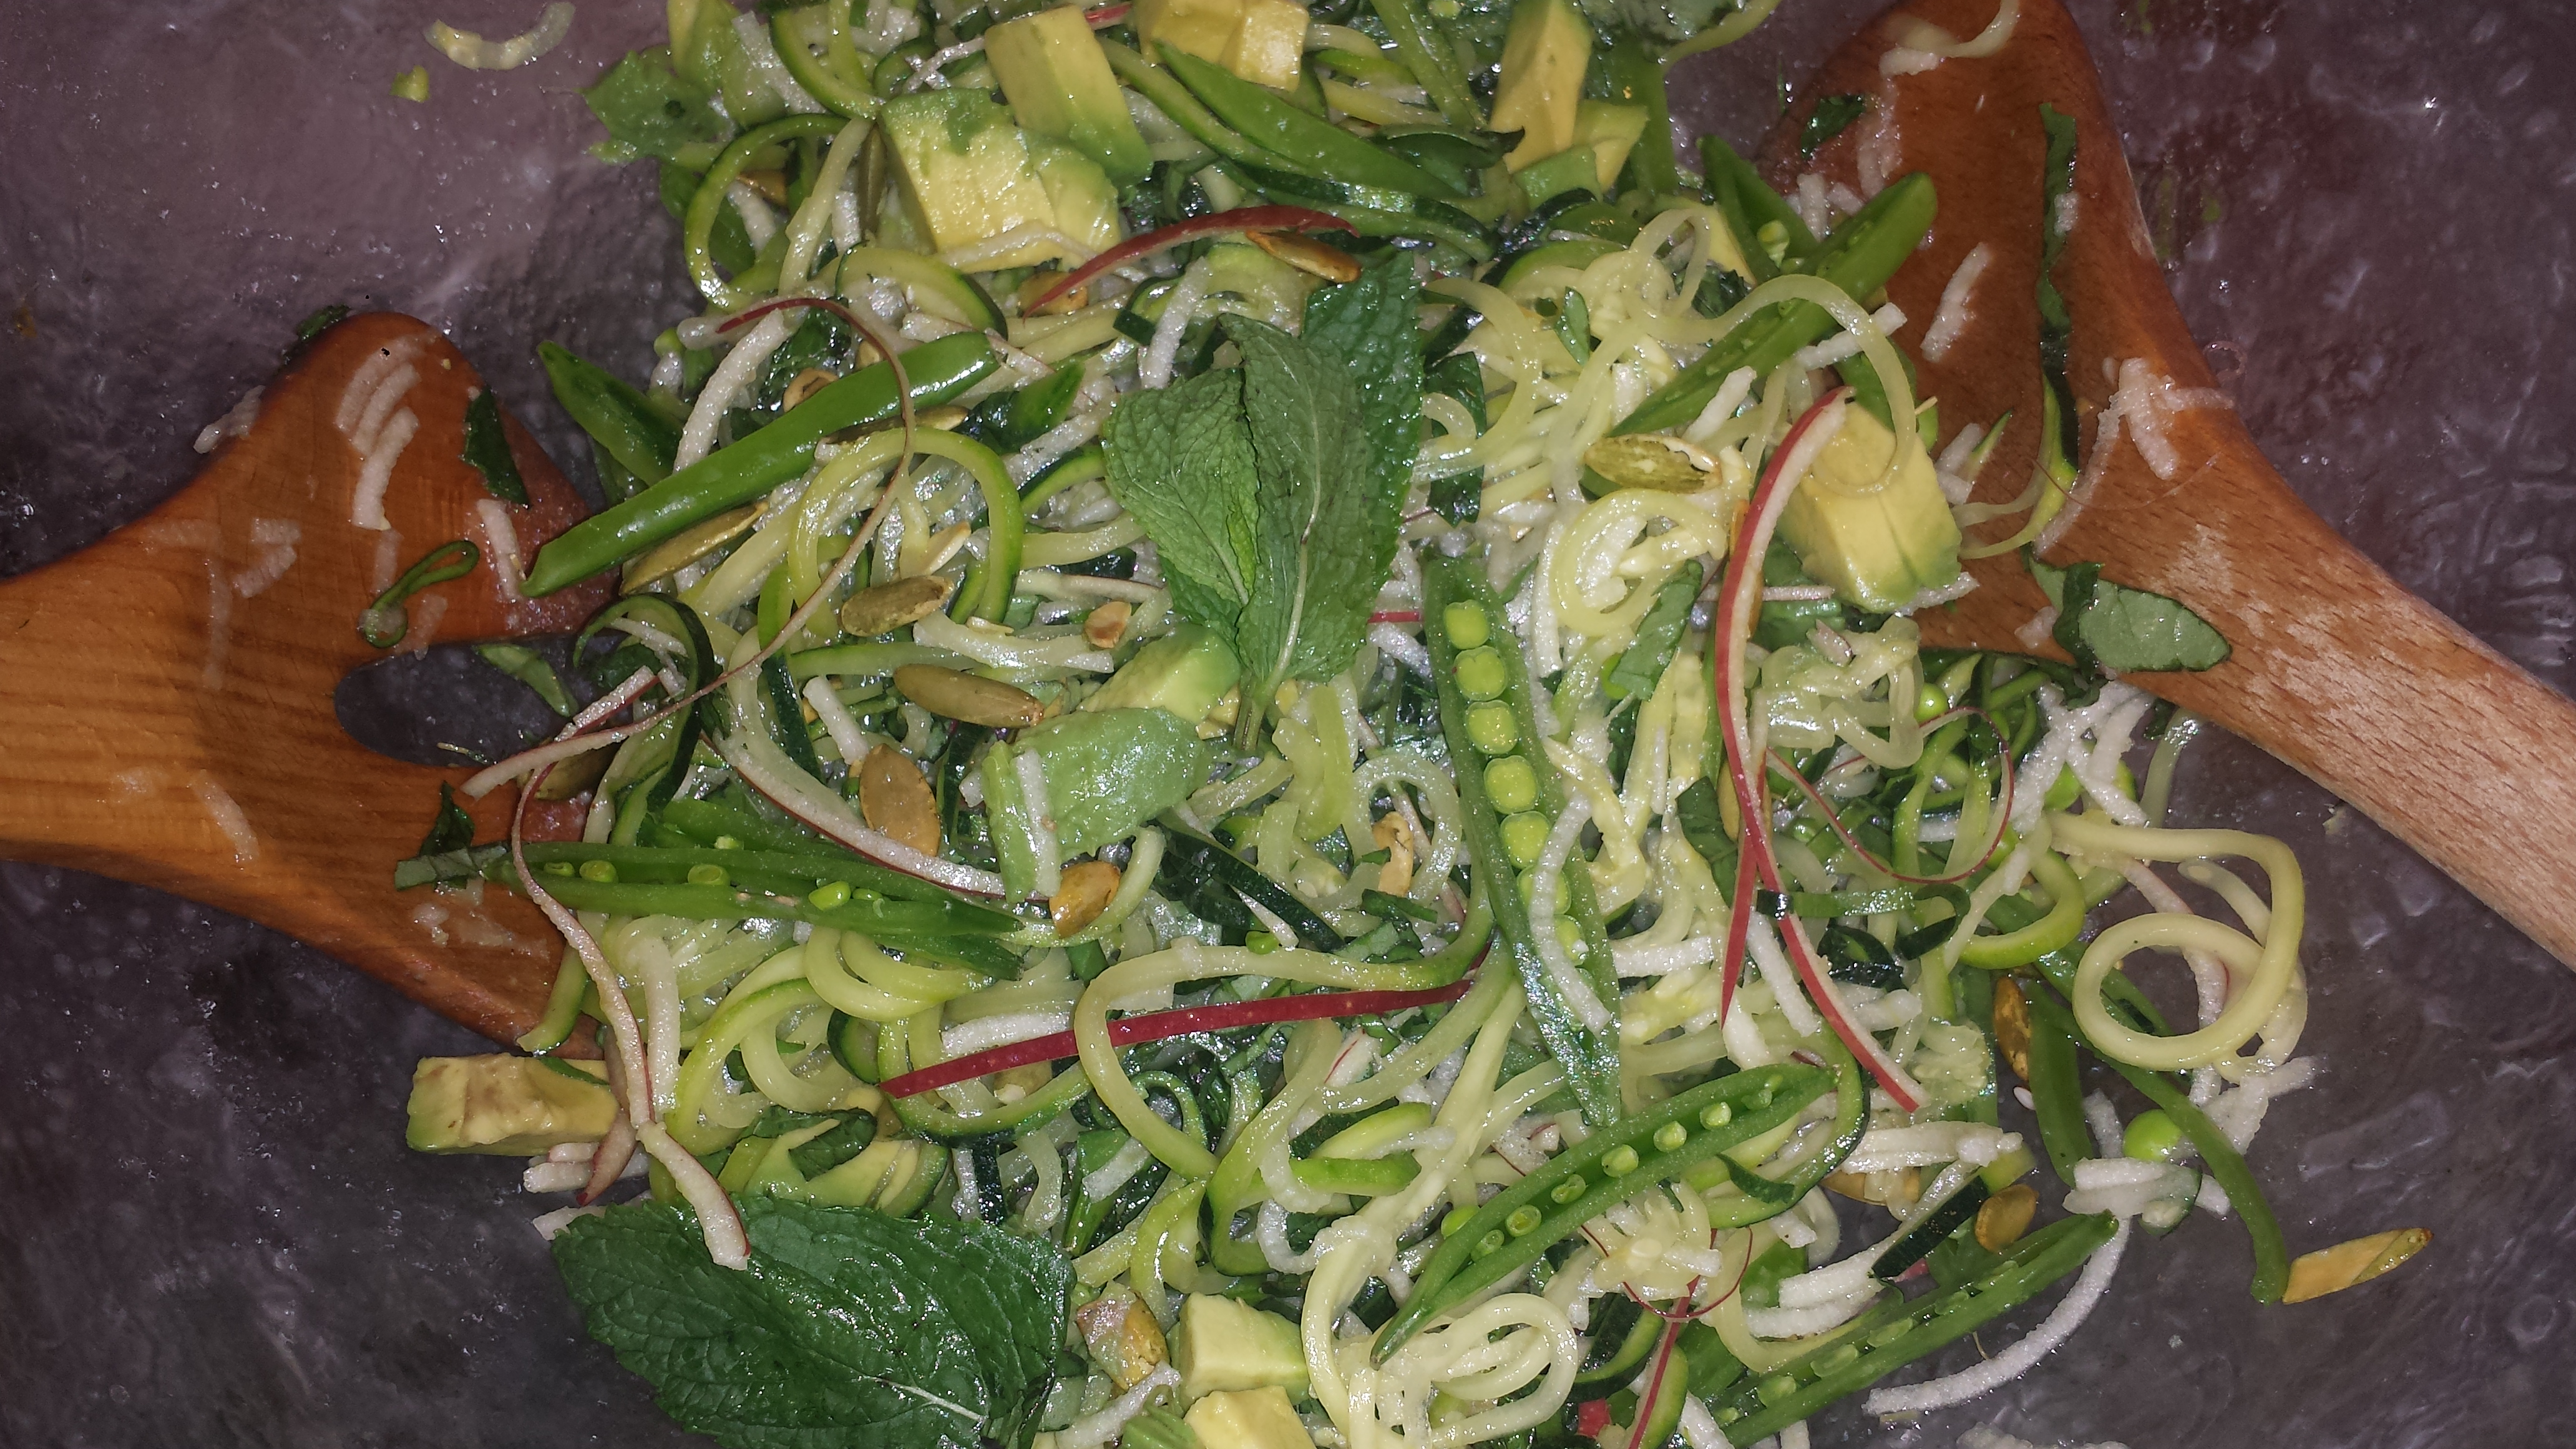
 I love wild rice in salads. It has a nutty flavor and chewy texture that helps satisfy your mouth and your belly. This salad is not heavy but it makes you feel satisfied and happy. For those that like to compare the nutrition of various ingredients, there is a healthy reason to incorporate wild rice into your diet. According to
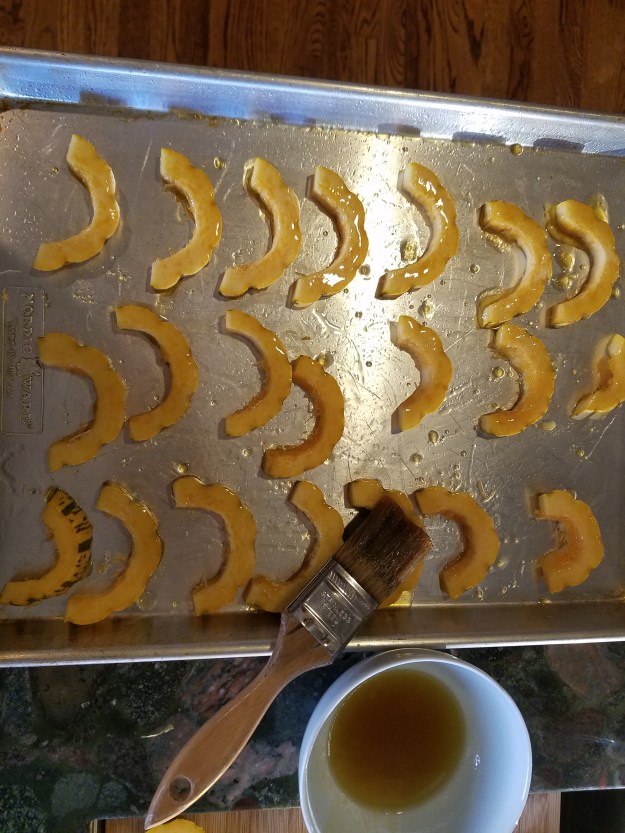
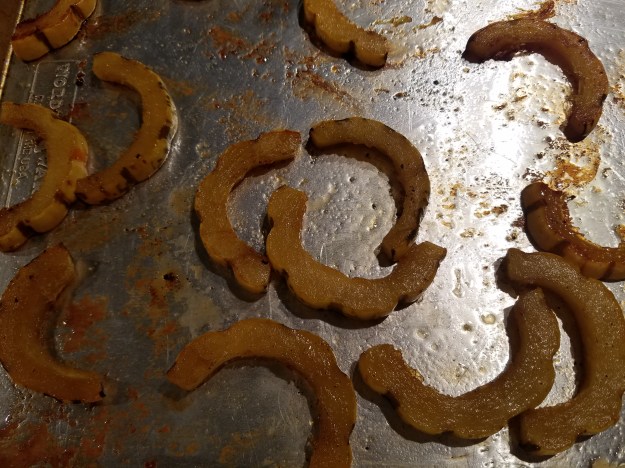
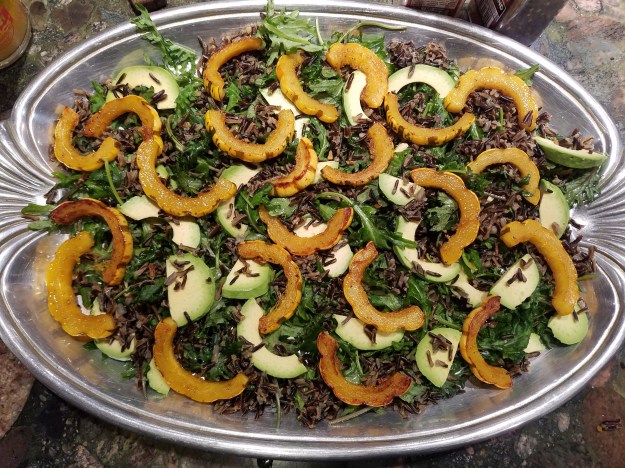
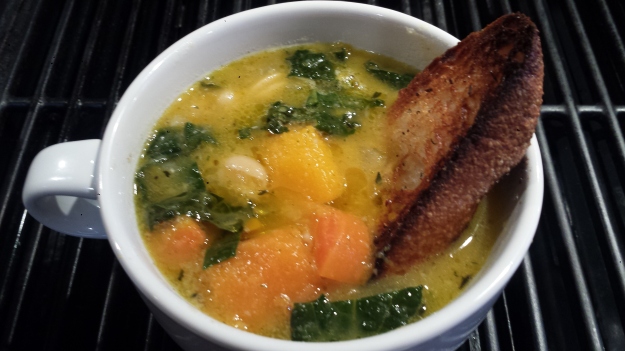
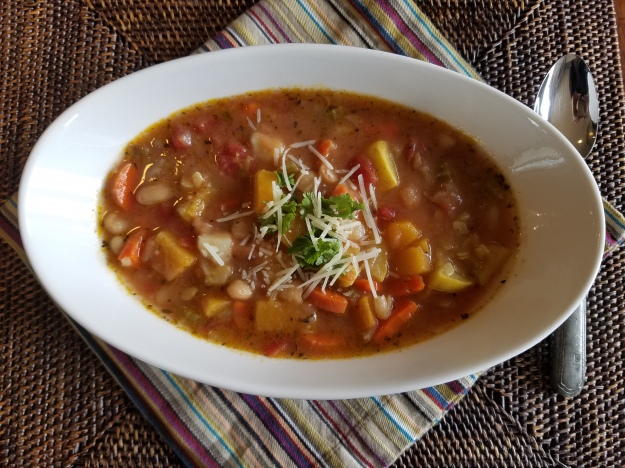
 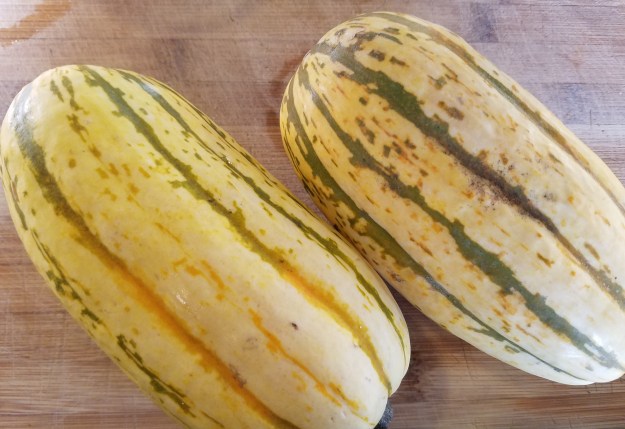 This recipe calls for kabocha squash which is perfect for salad since its flavorful and tender and has a soft edible rind. You can also use acorn squash which also has the pretty scallops but the rind is hard and inedible. Its not really a problem, you can just remove the rind as you eat. Acorn squash should probably be cut in thin quarter rounds since they are generally larger and may need to cook longer depending on thickness.


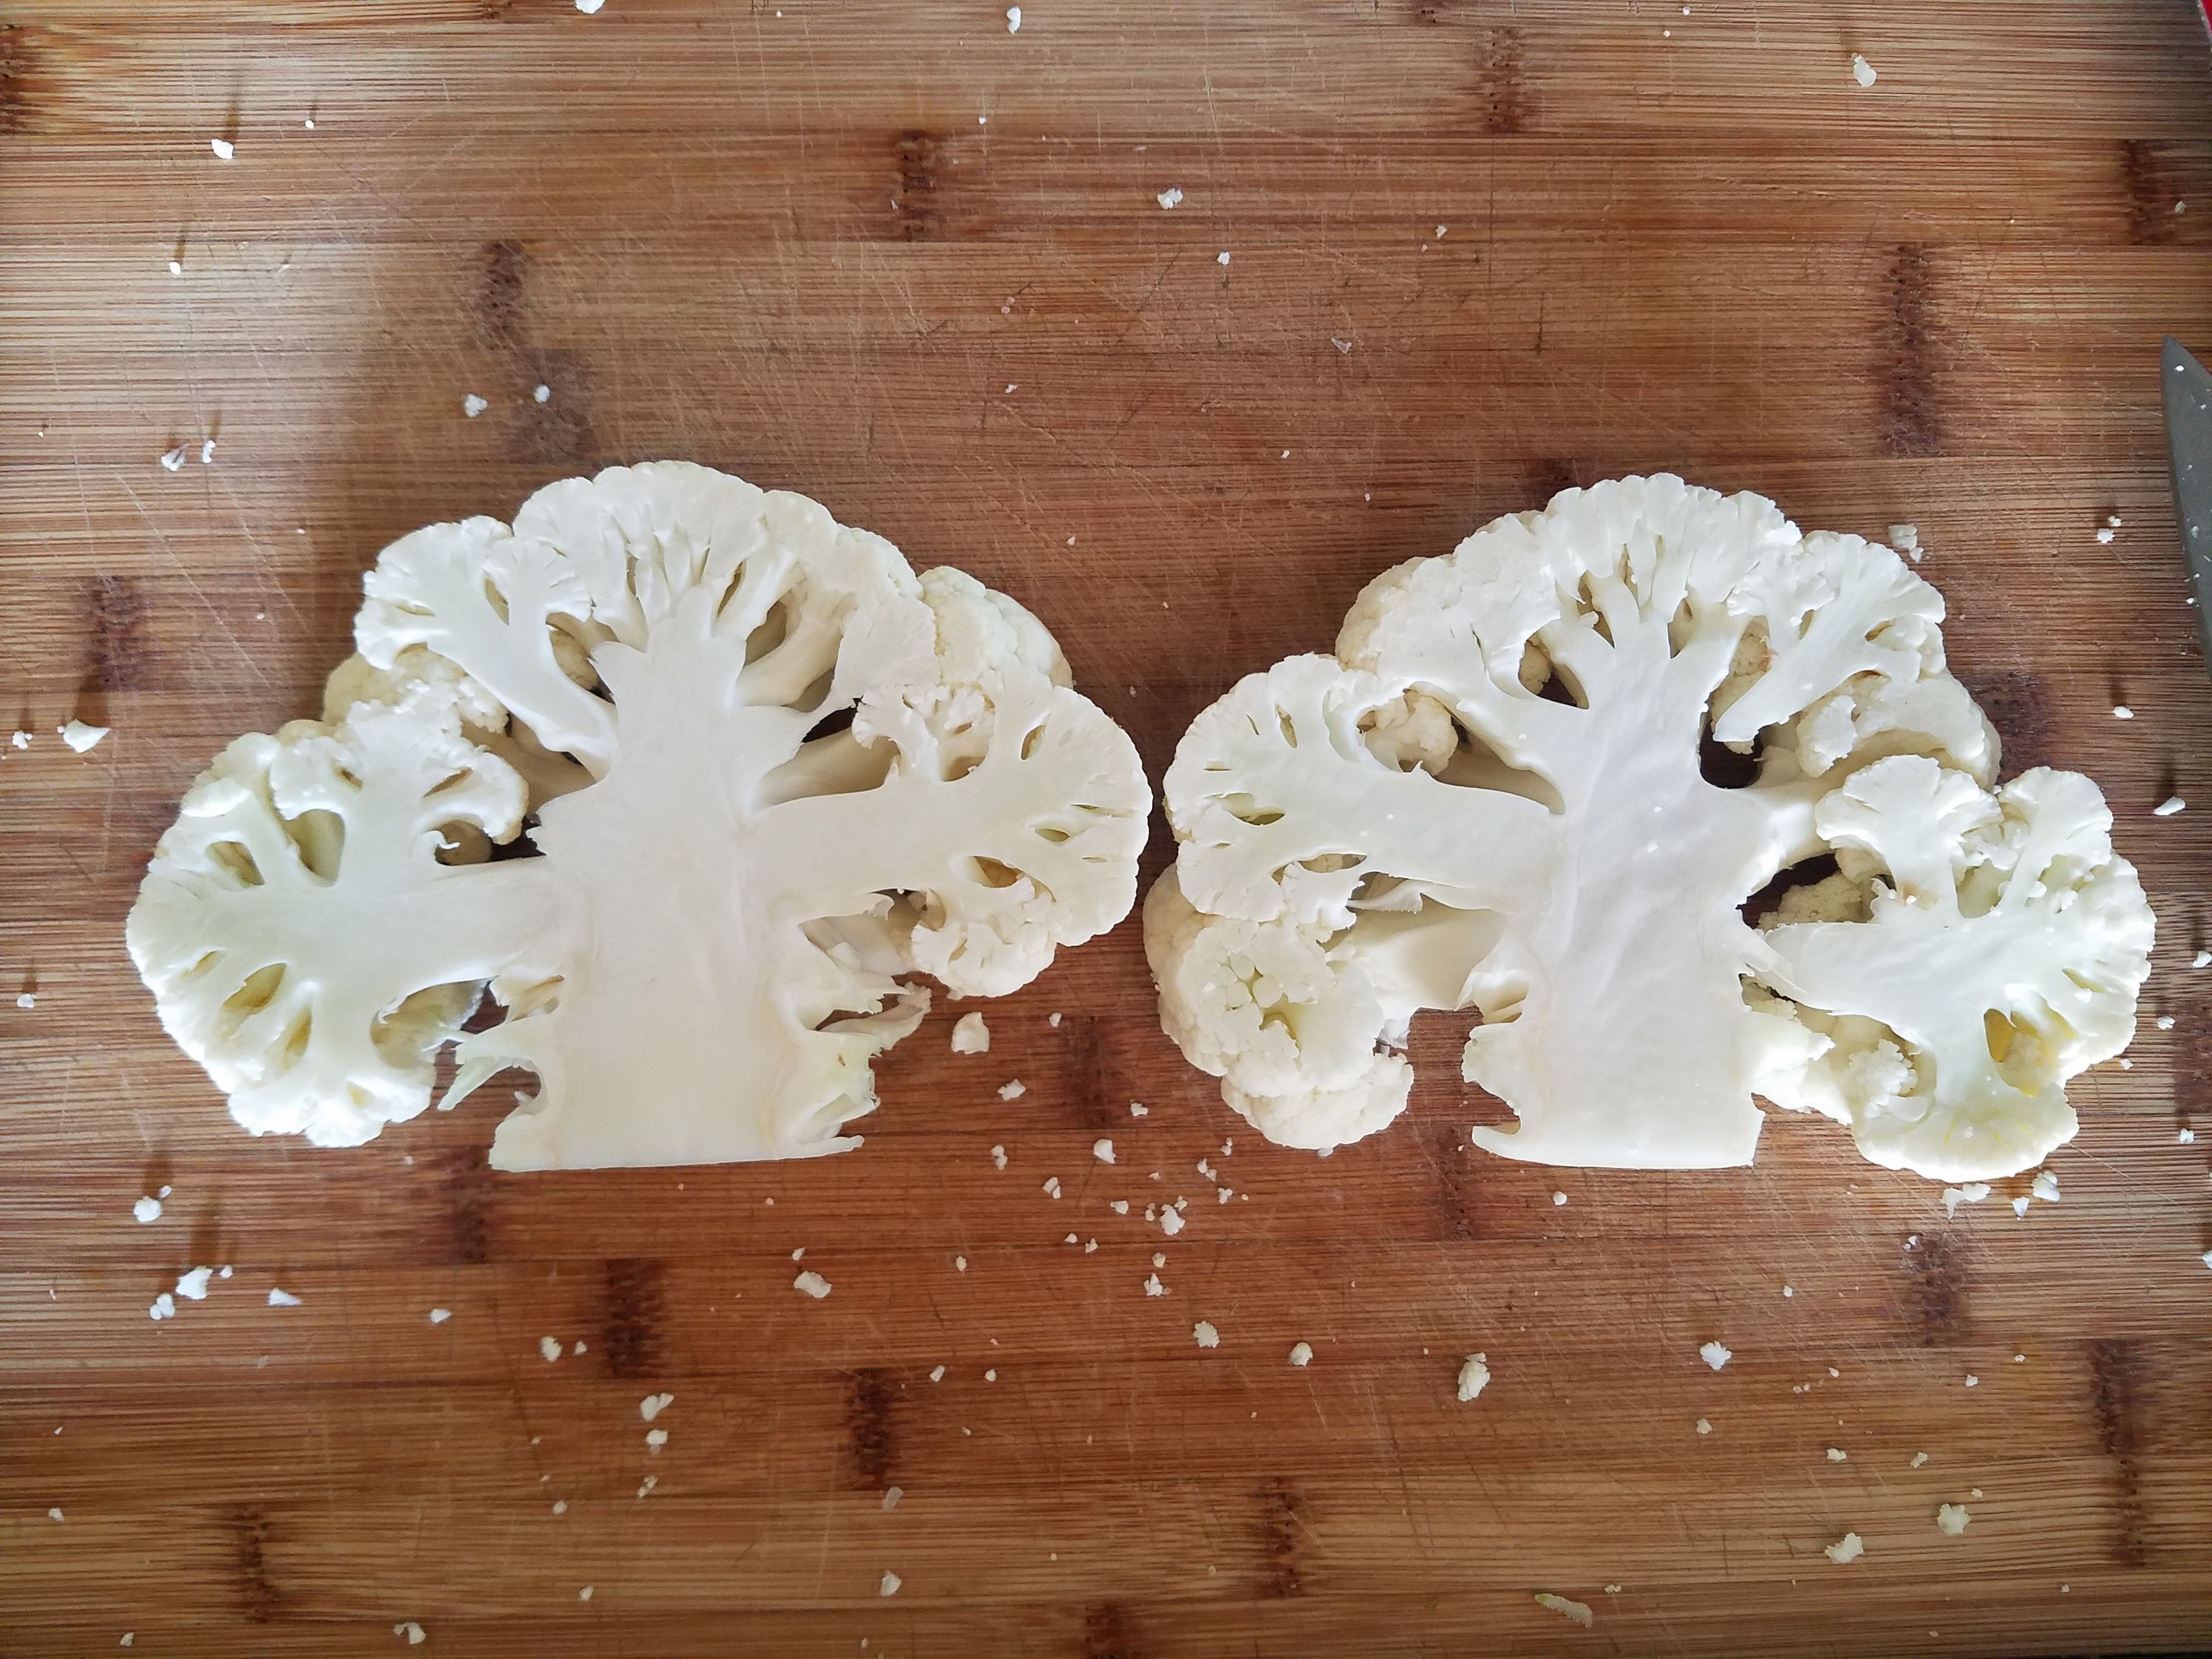
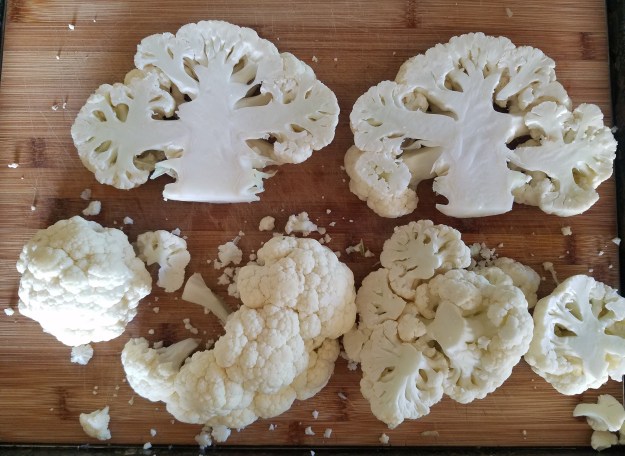
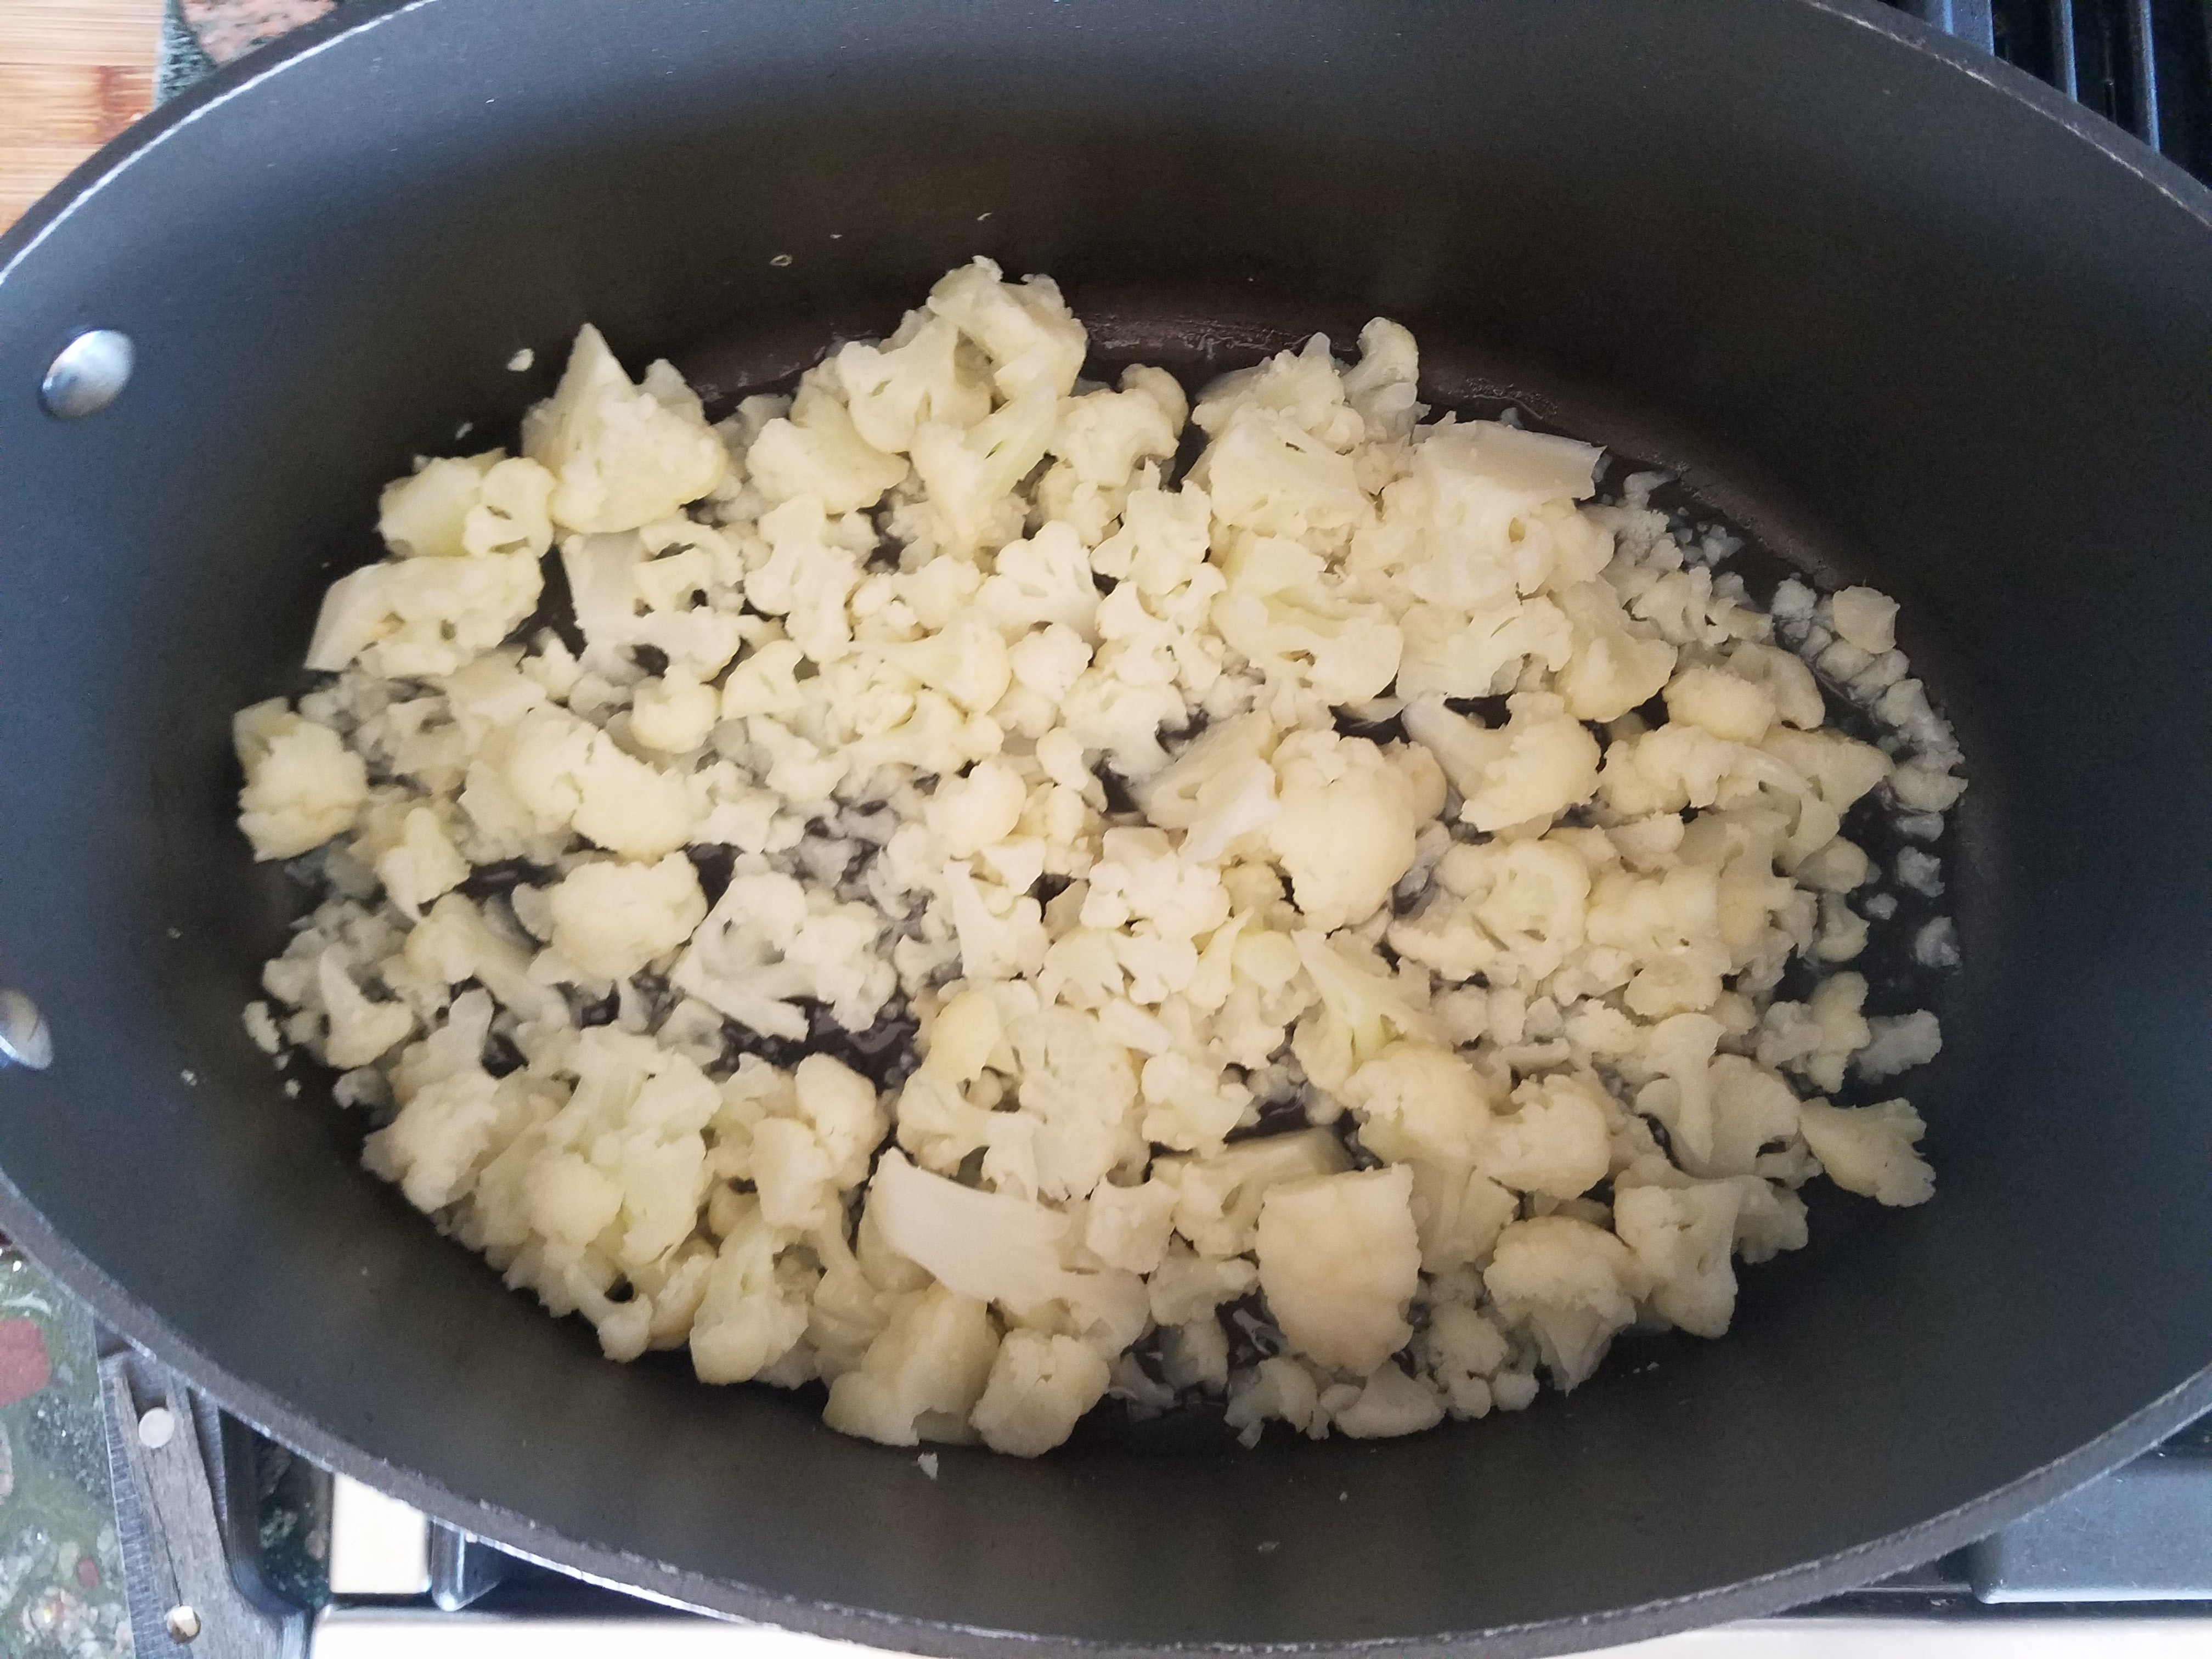
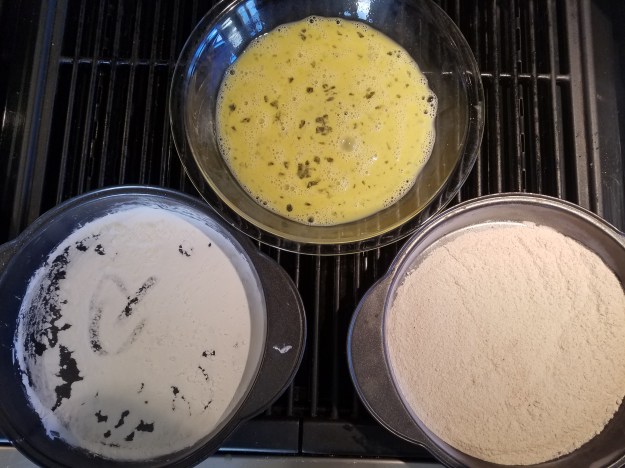
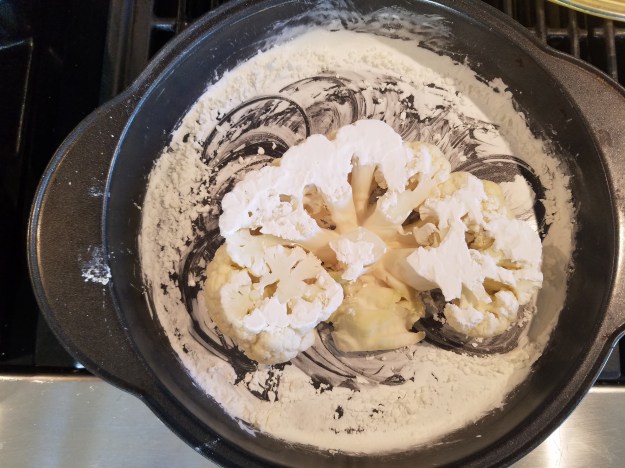
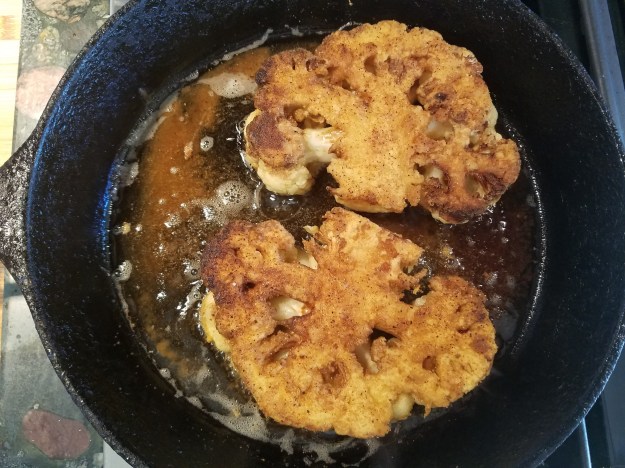
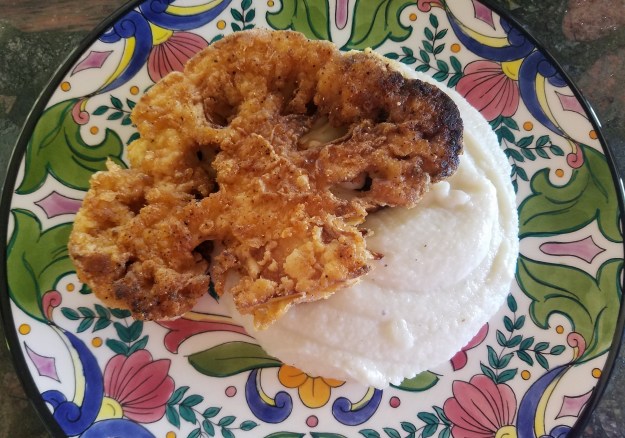
 Here’s a vegetarian or vegan twist on the classic comfort food, Chicken Fried Steak, nestled on a bed of creamy mash. This version has all the yummy flavor with none of the guilt, perfect for your summer barbecue or picnic. Cauliflower, the chameleon of veggies, makes a great couple of center cut ‘steaks’ while the rest is pureed into a silky, creamy cauliflower mash. This recipe makes use of the whole head of cauliflower and requires very few other ingredients, other than spices that you probably already have in your pantry. Now you can make a healthier, lower fat and meat free version of this popular dish. Its an easy and surprisingly satisfying meal that can be ready in about 30 minutes. You just might lick the plate clean…