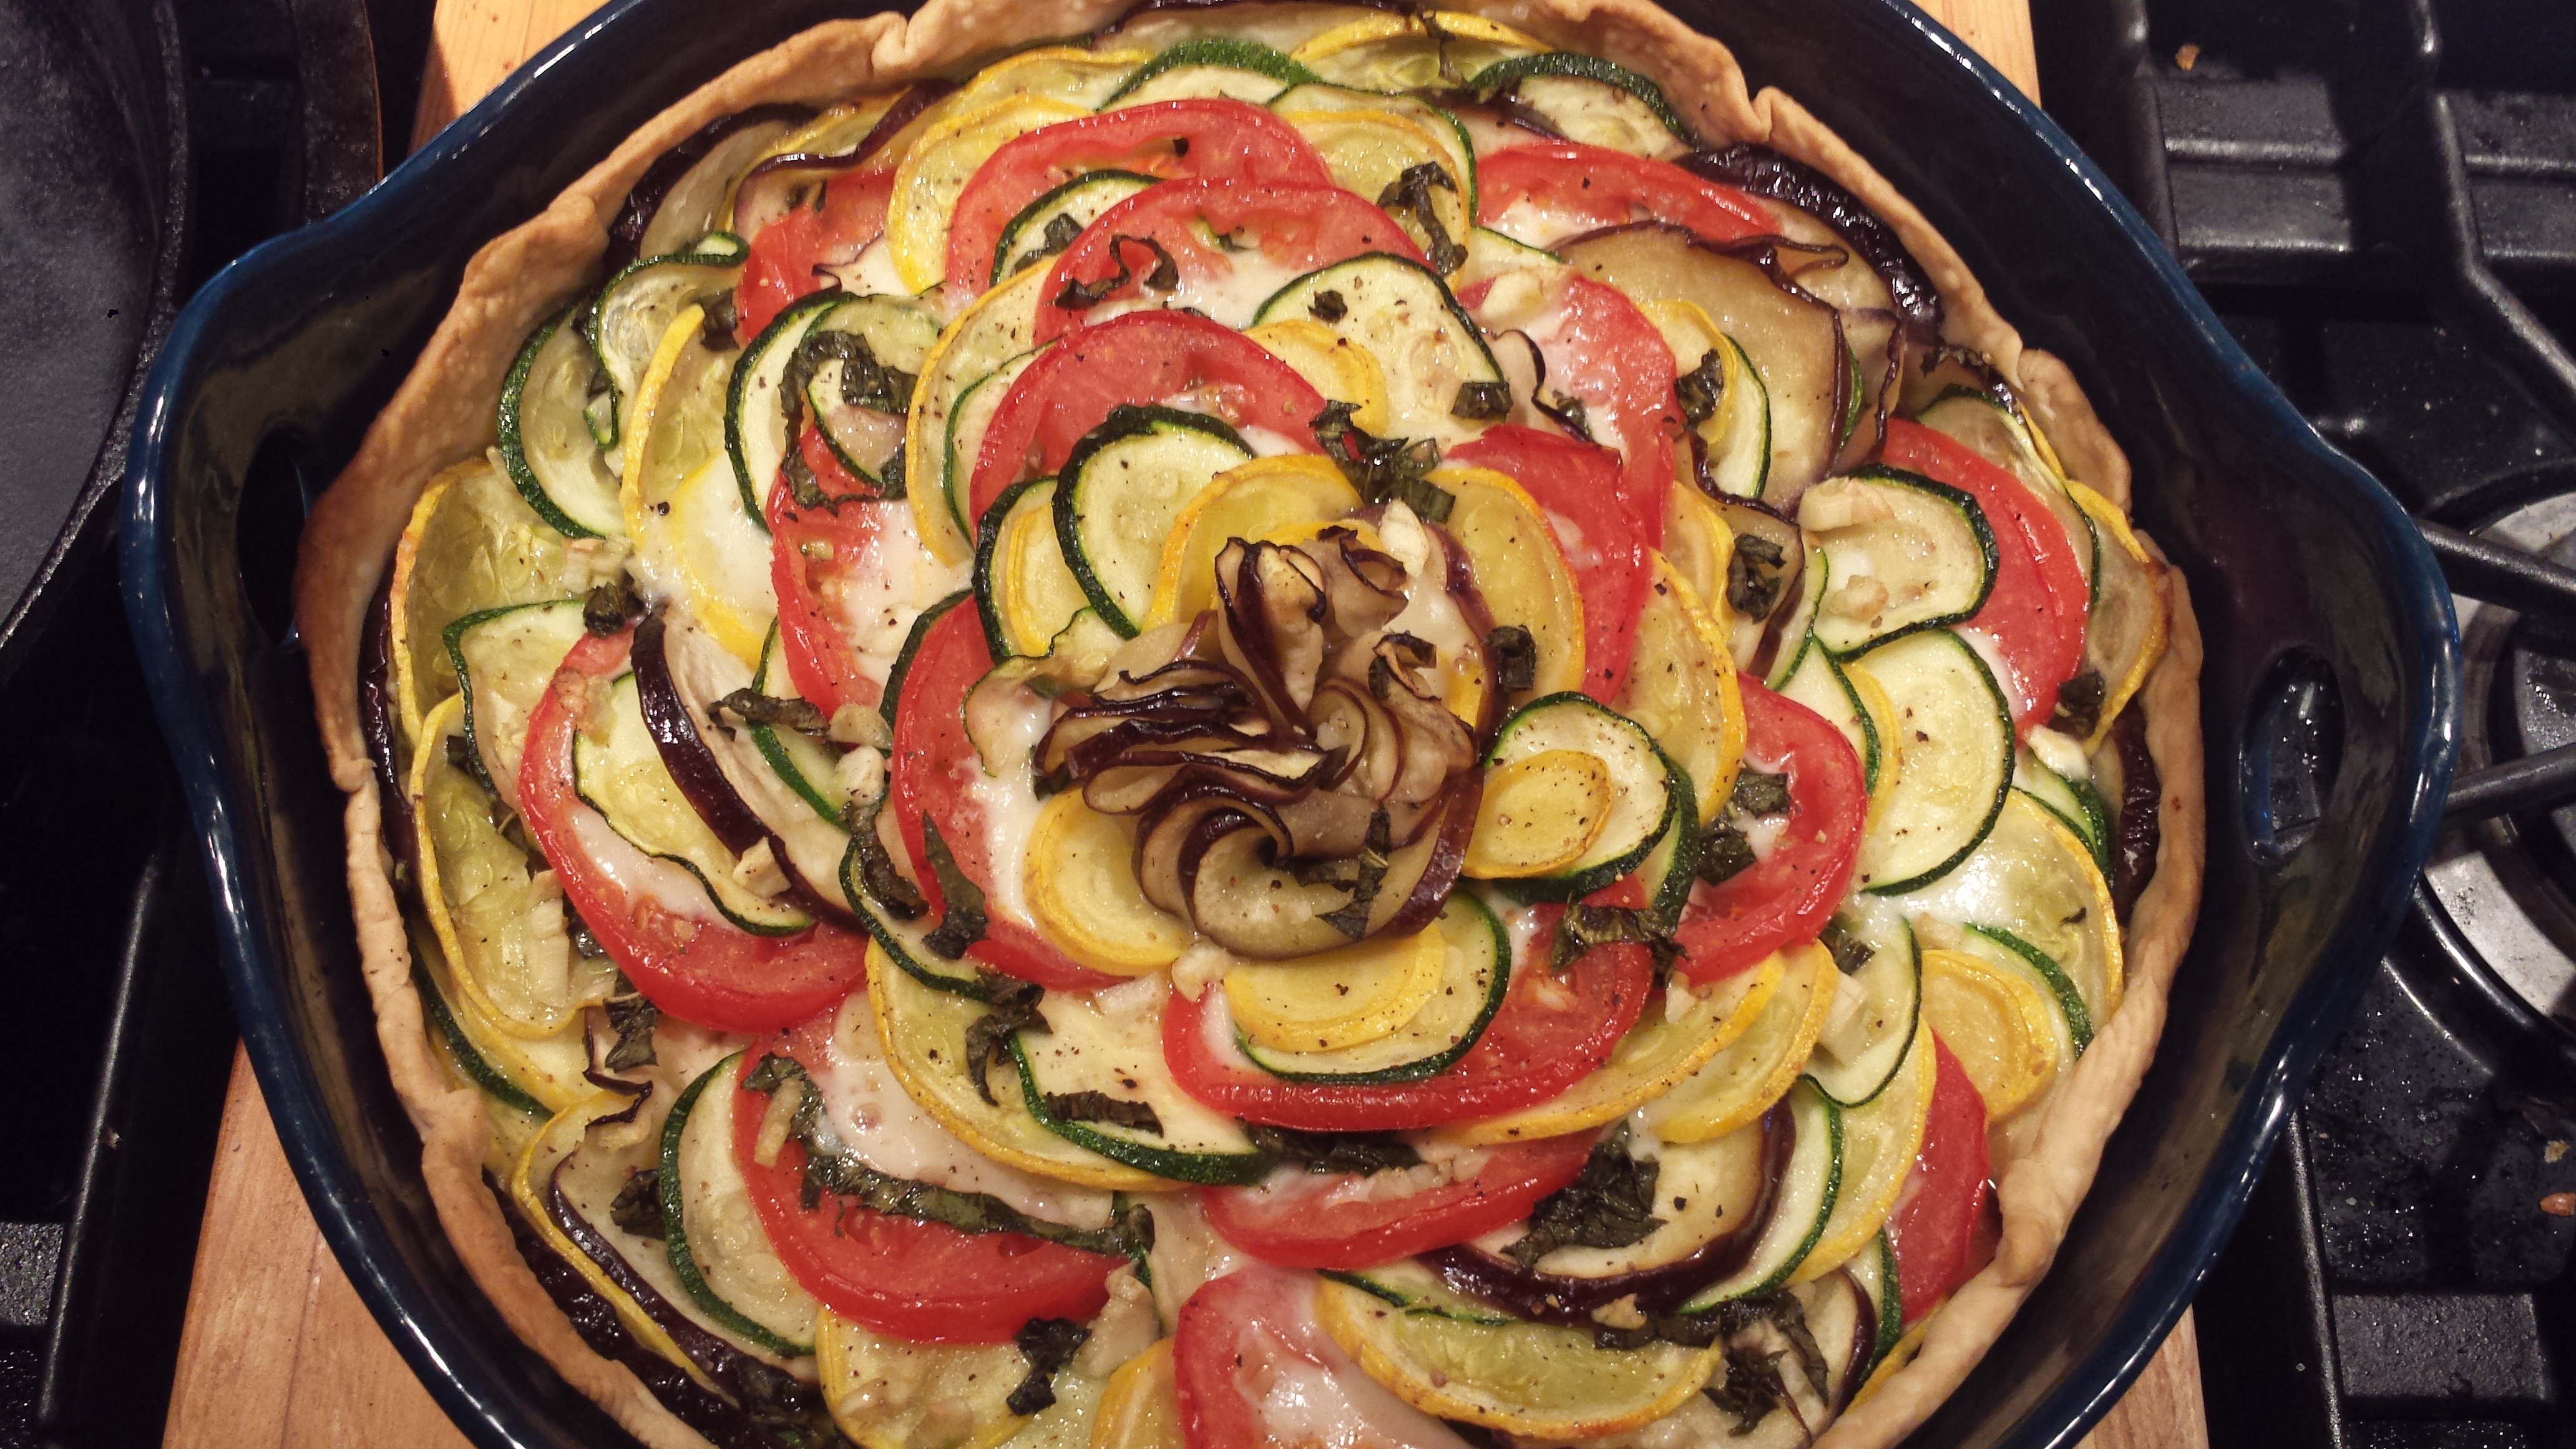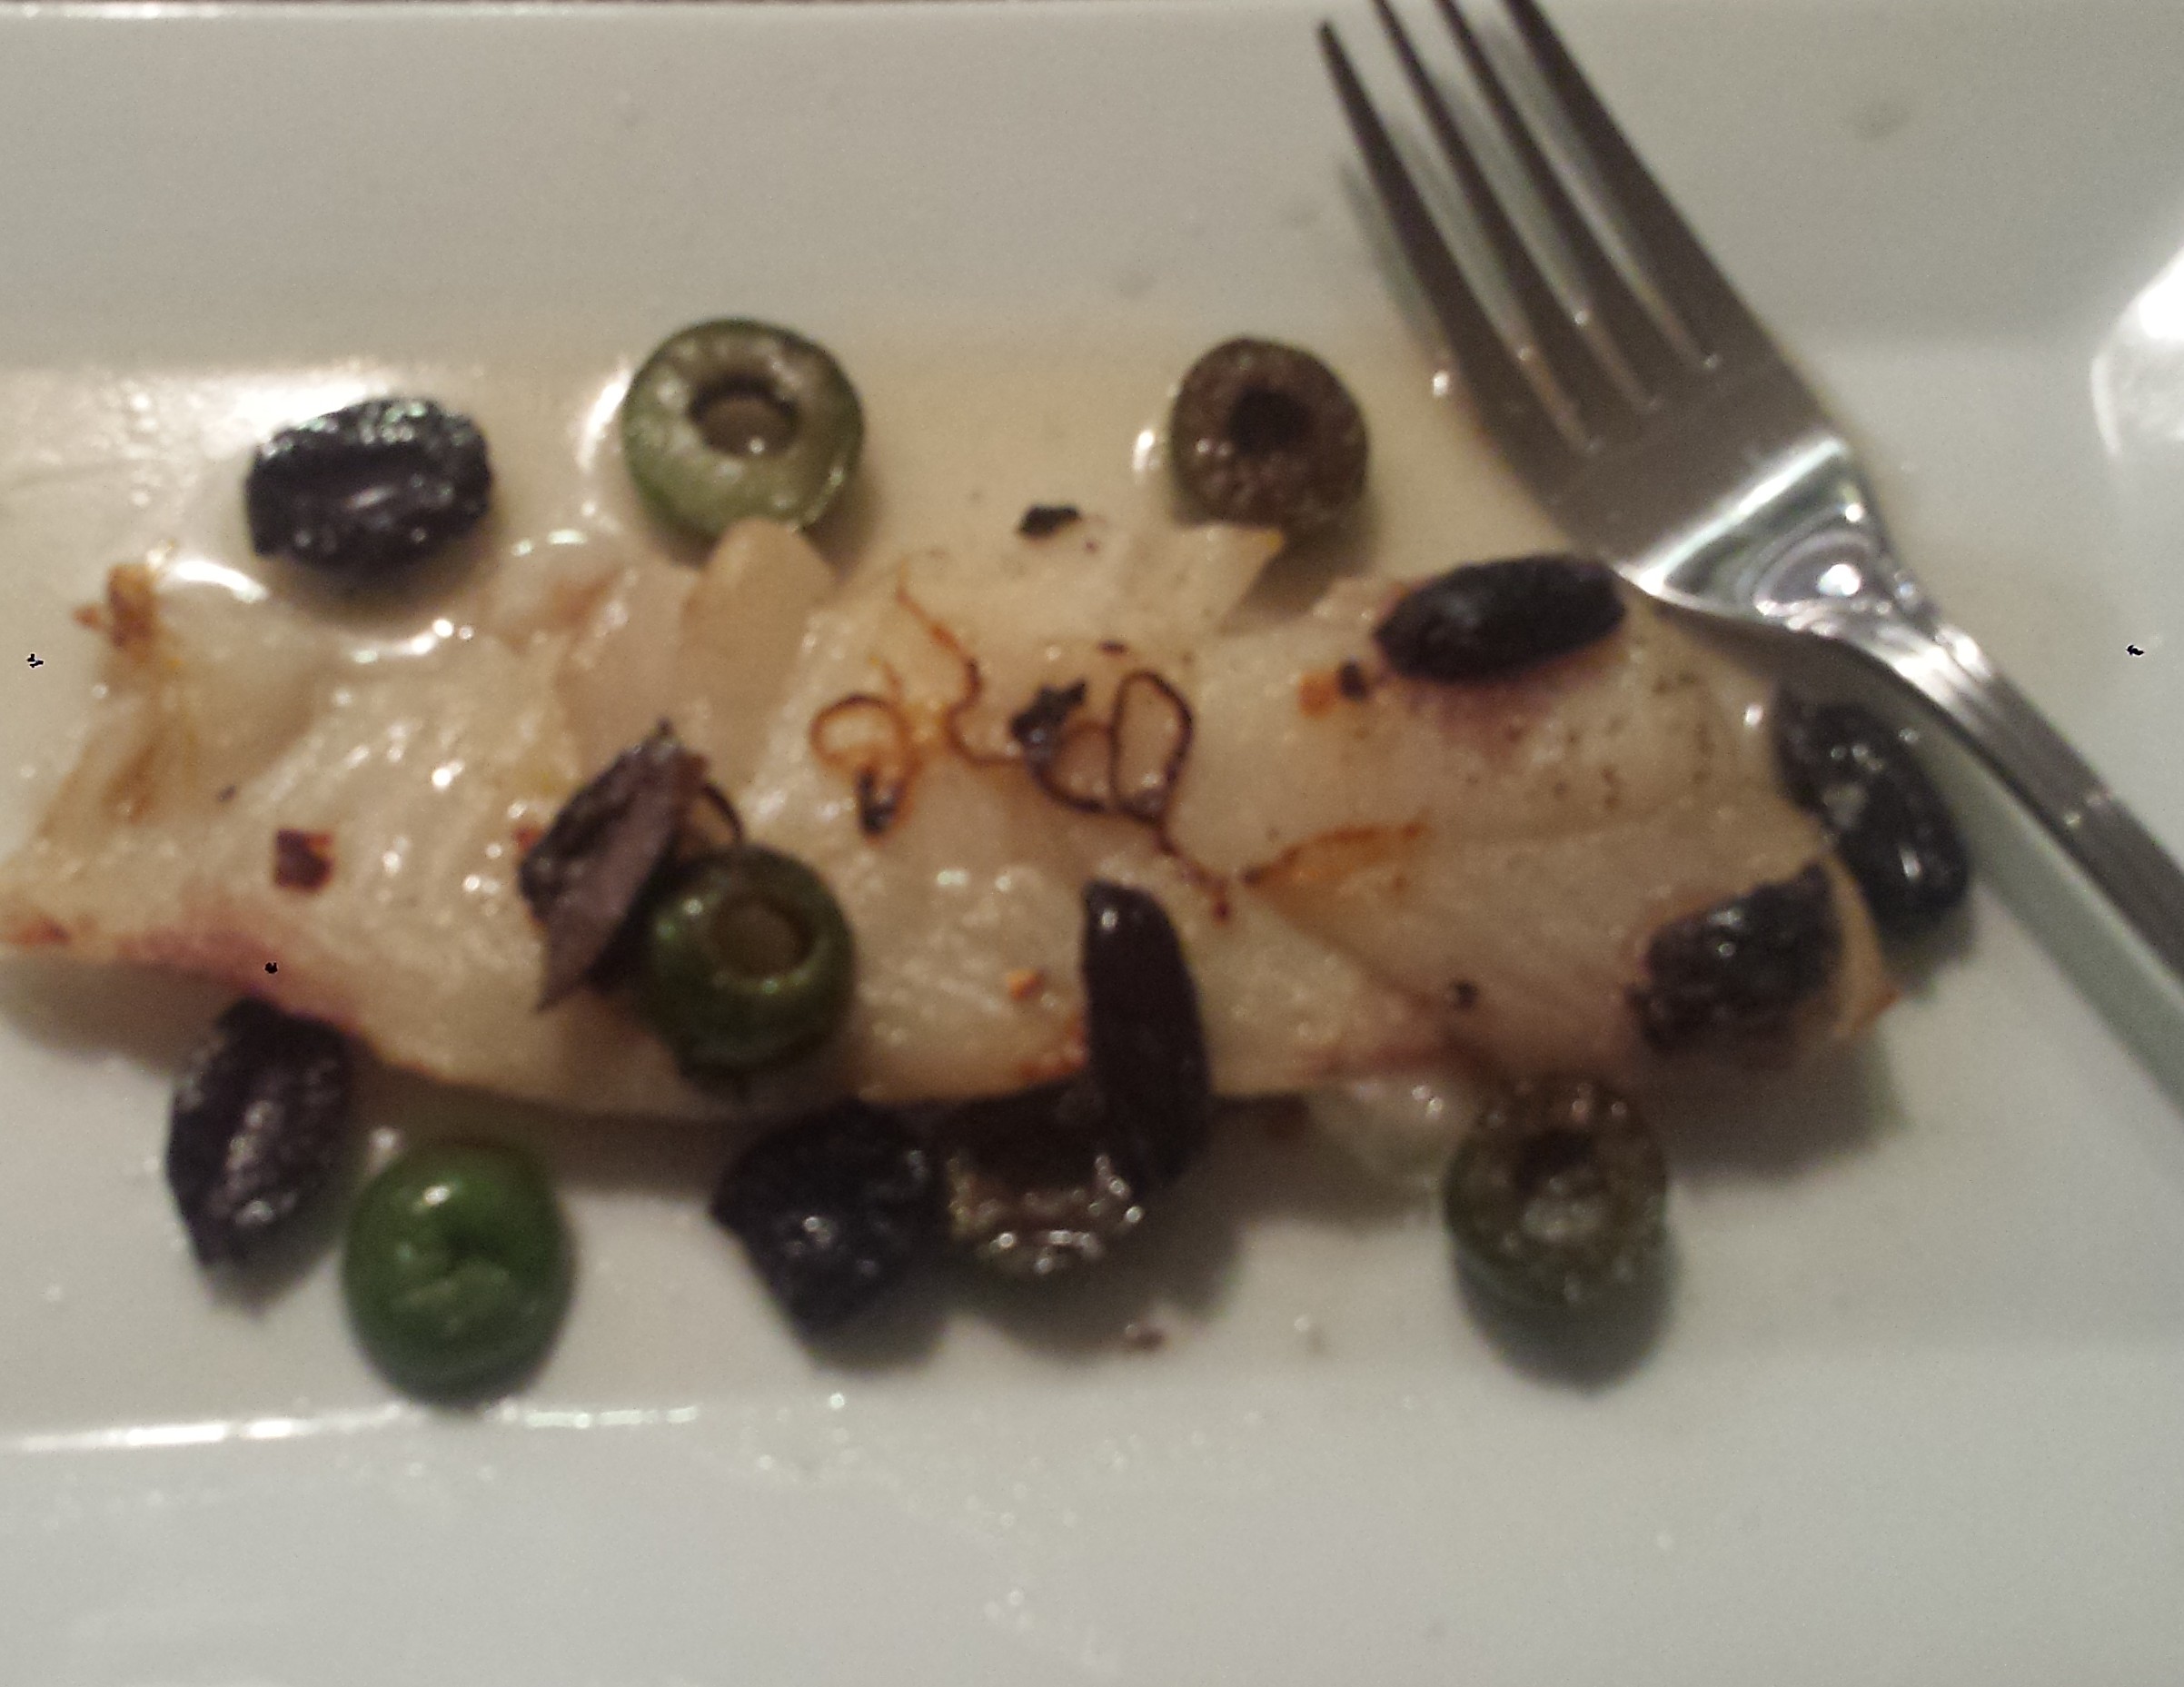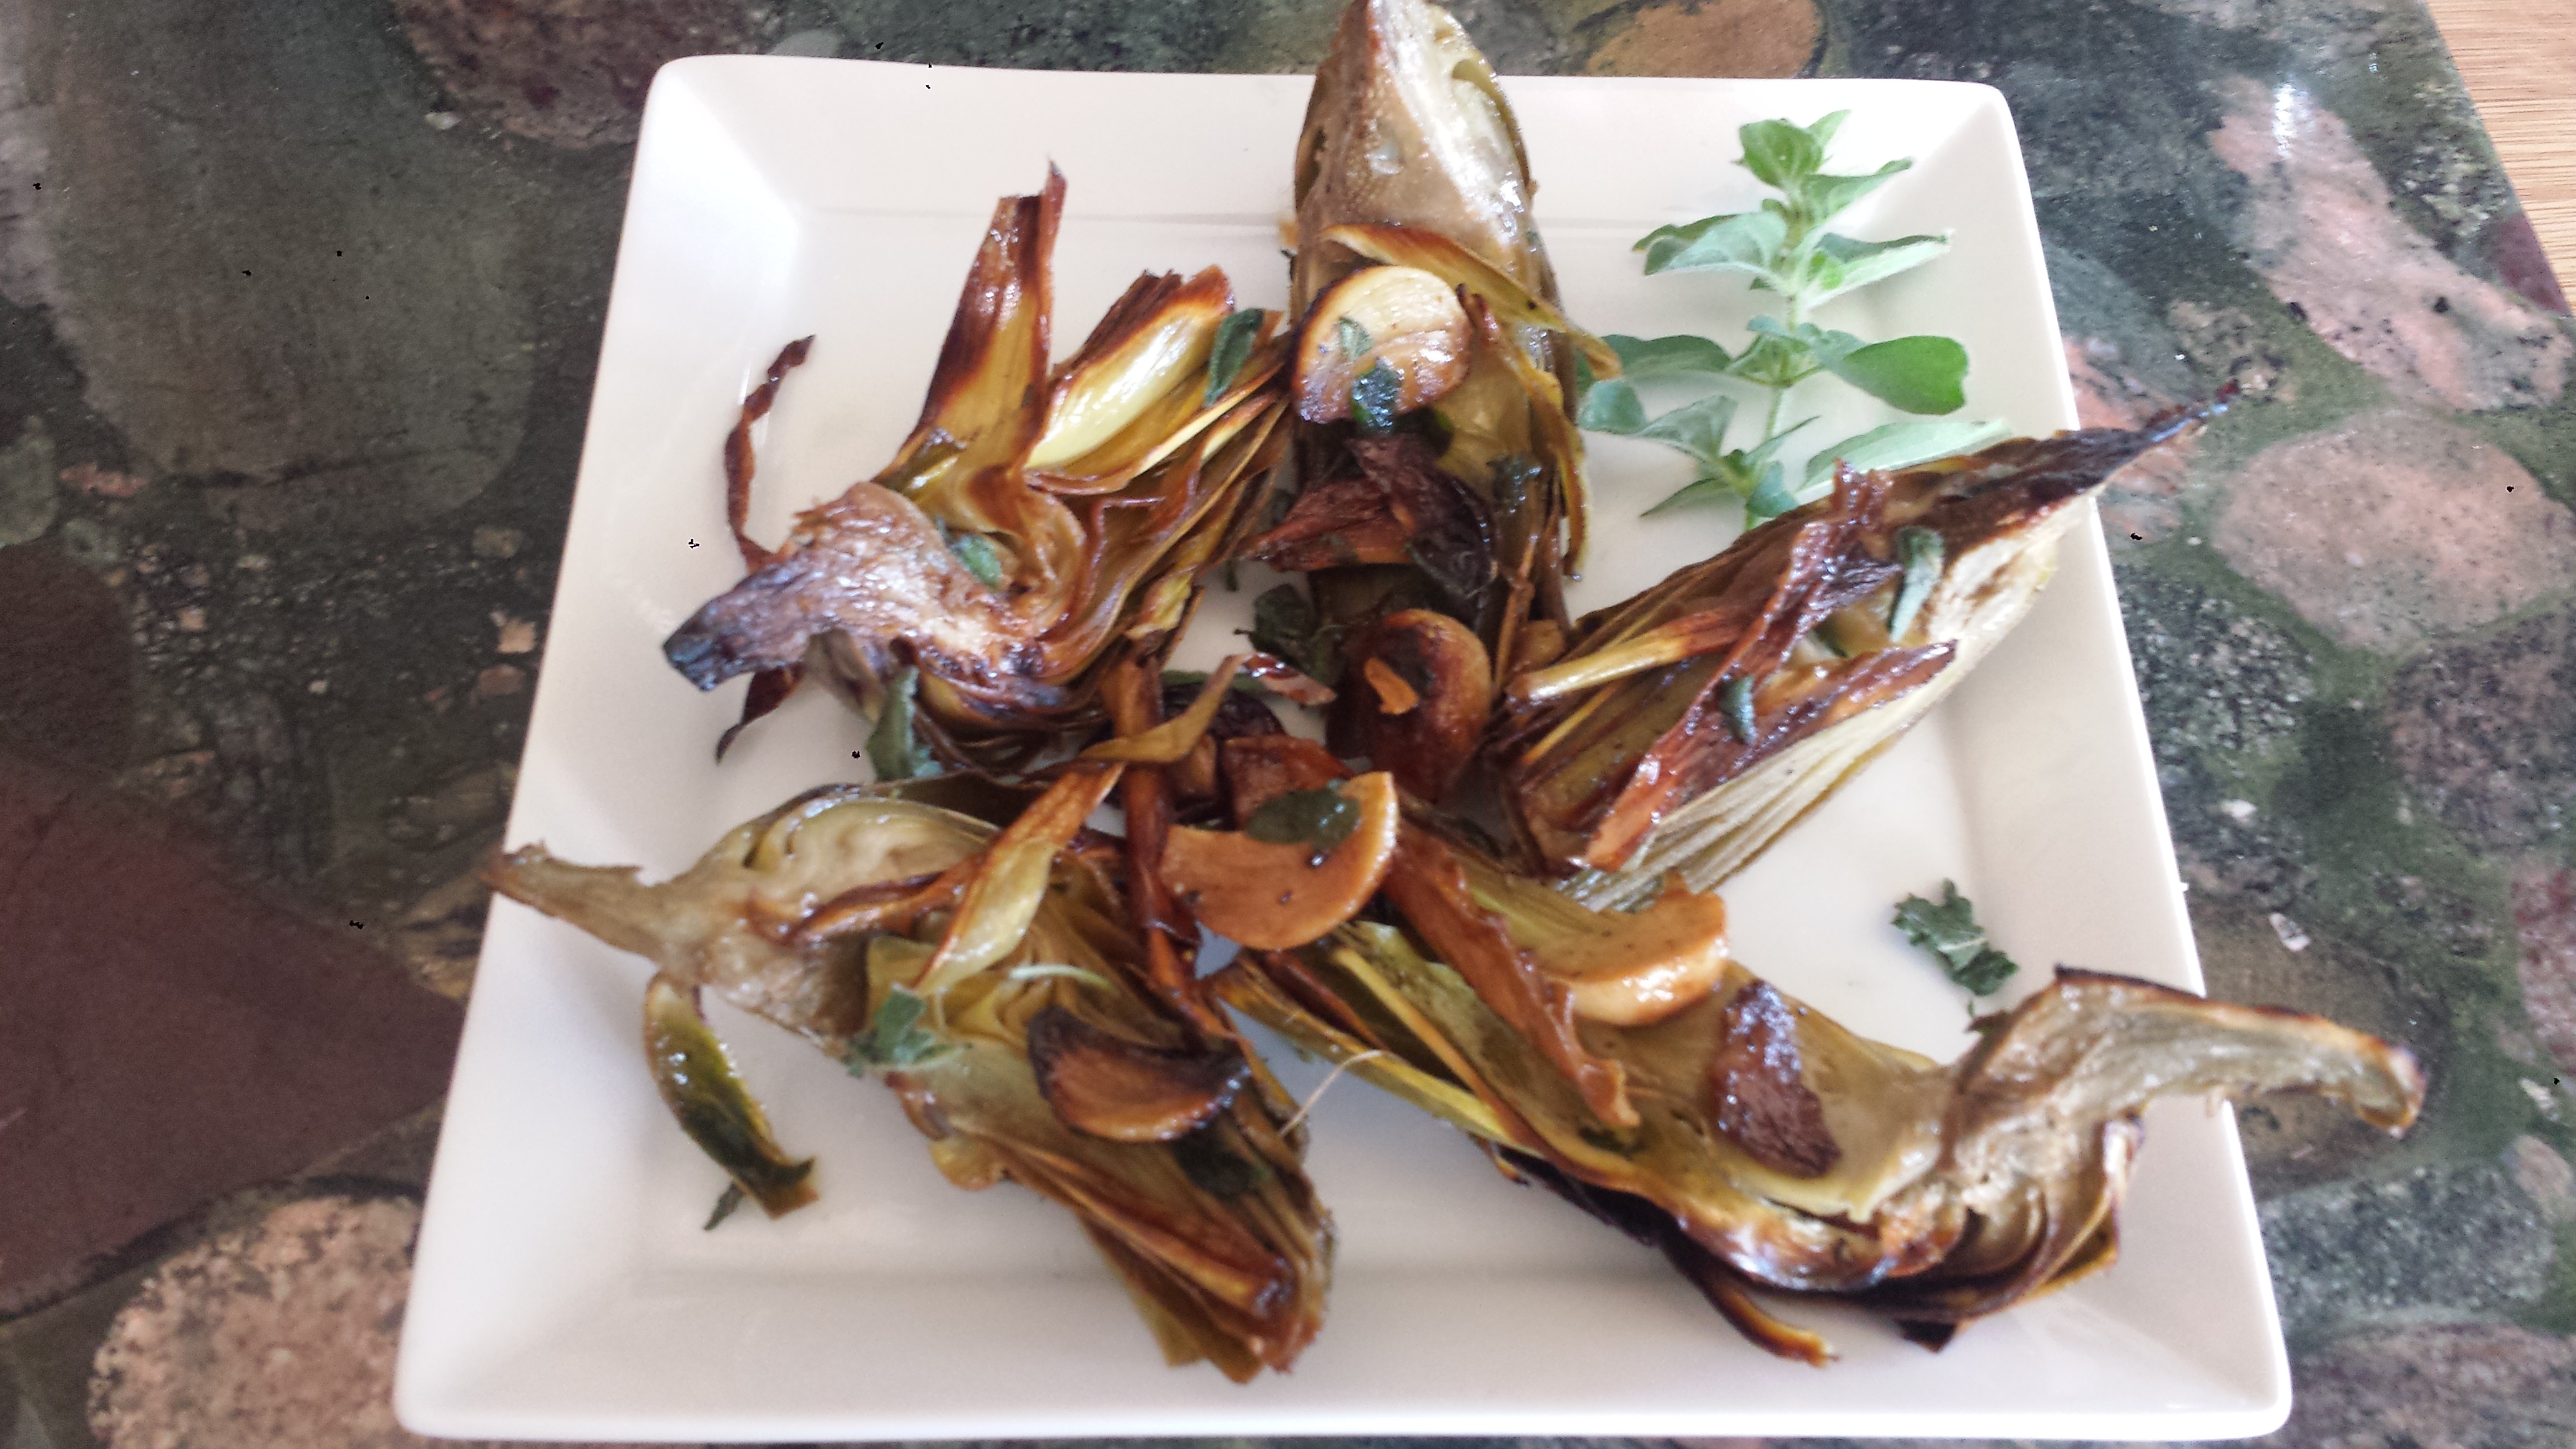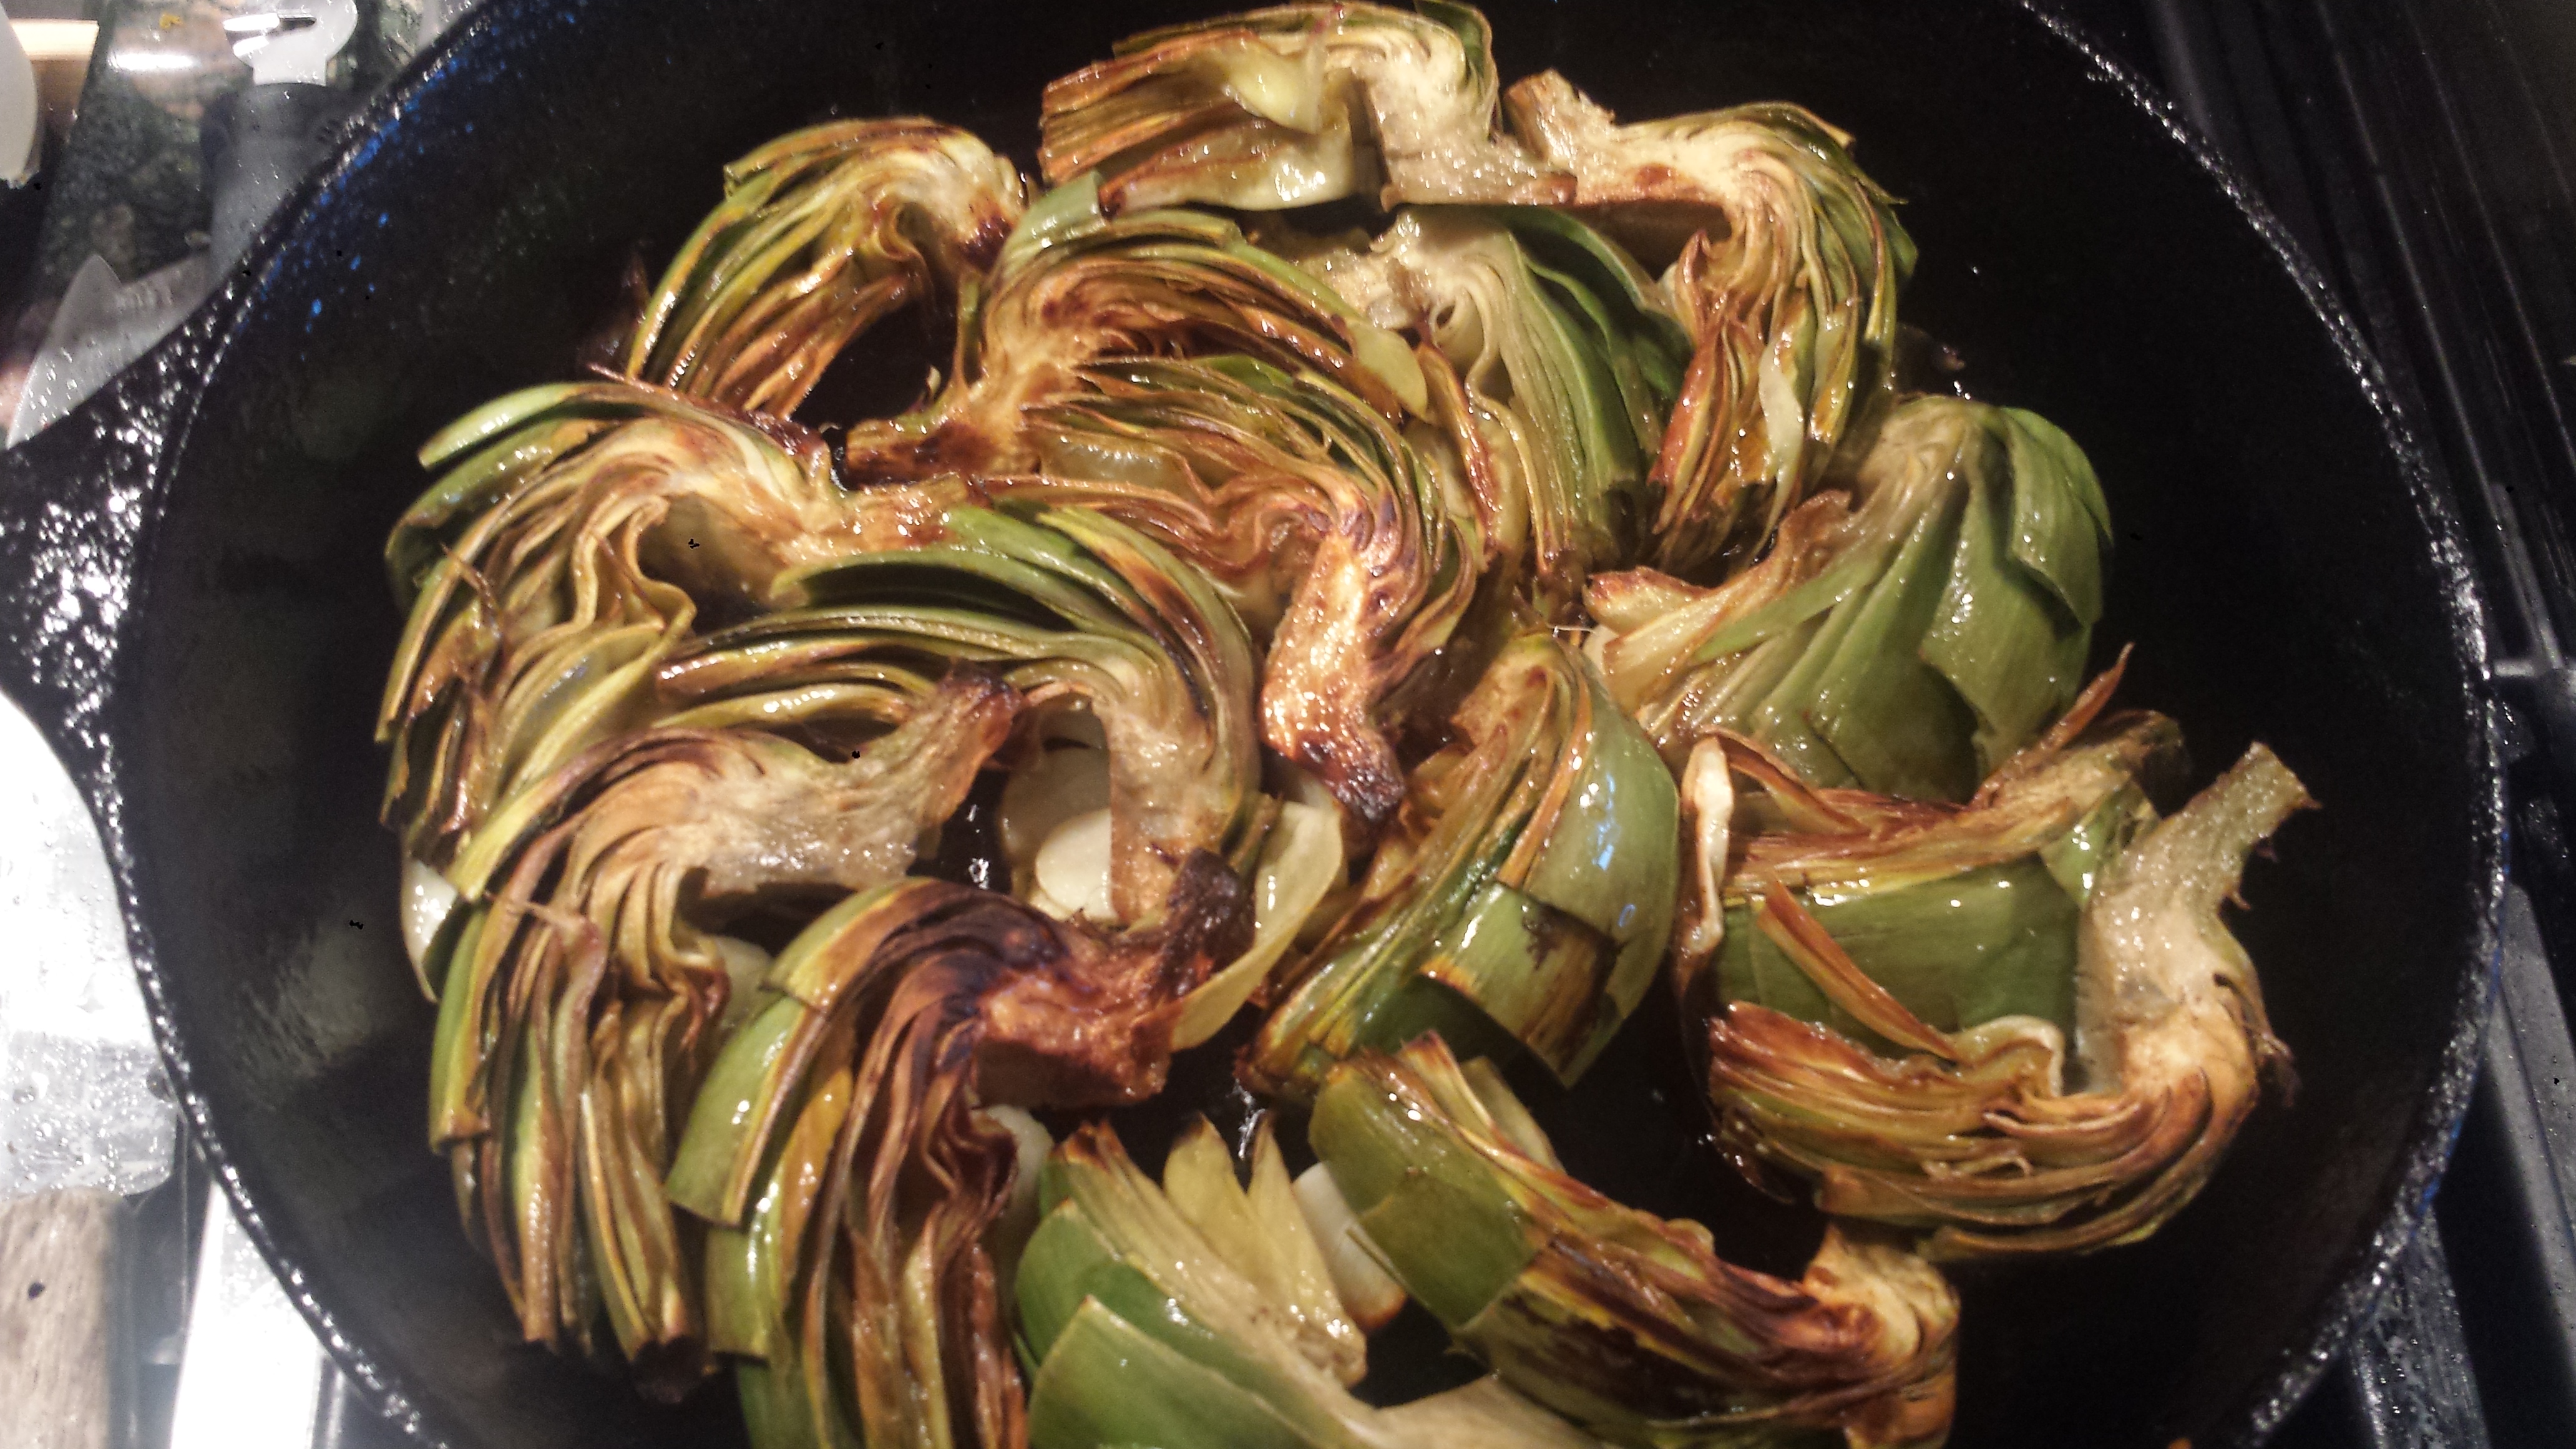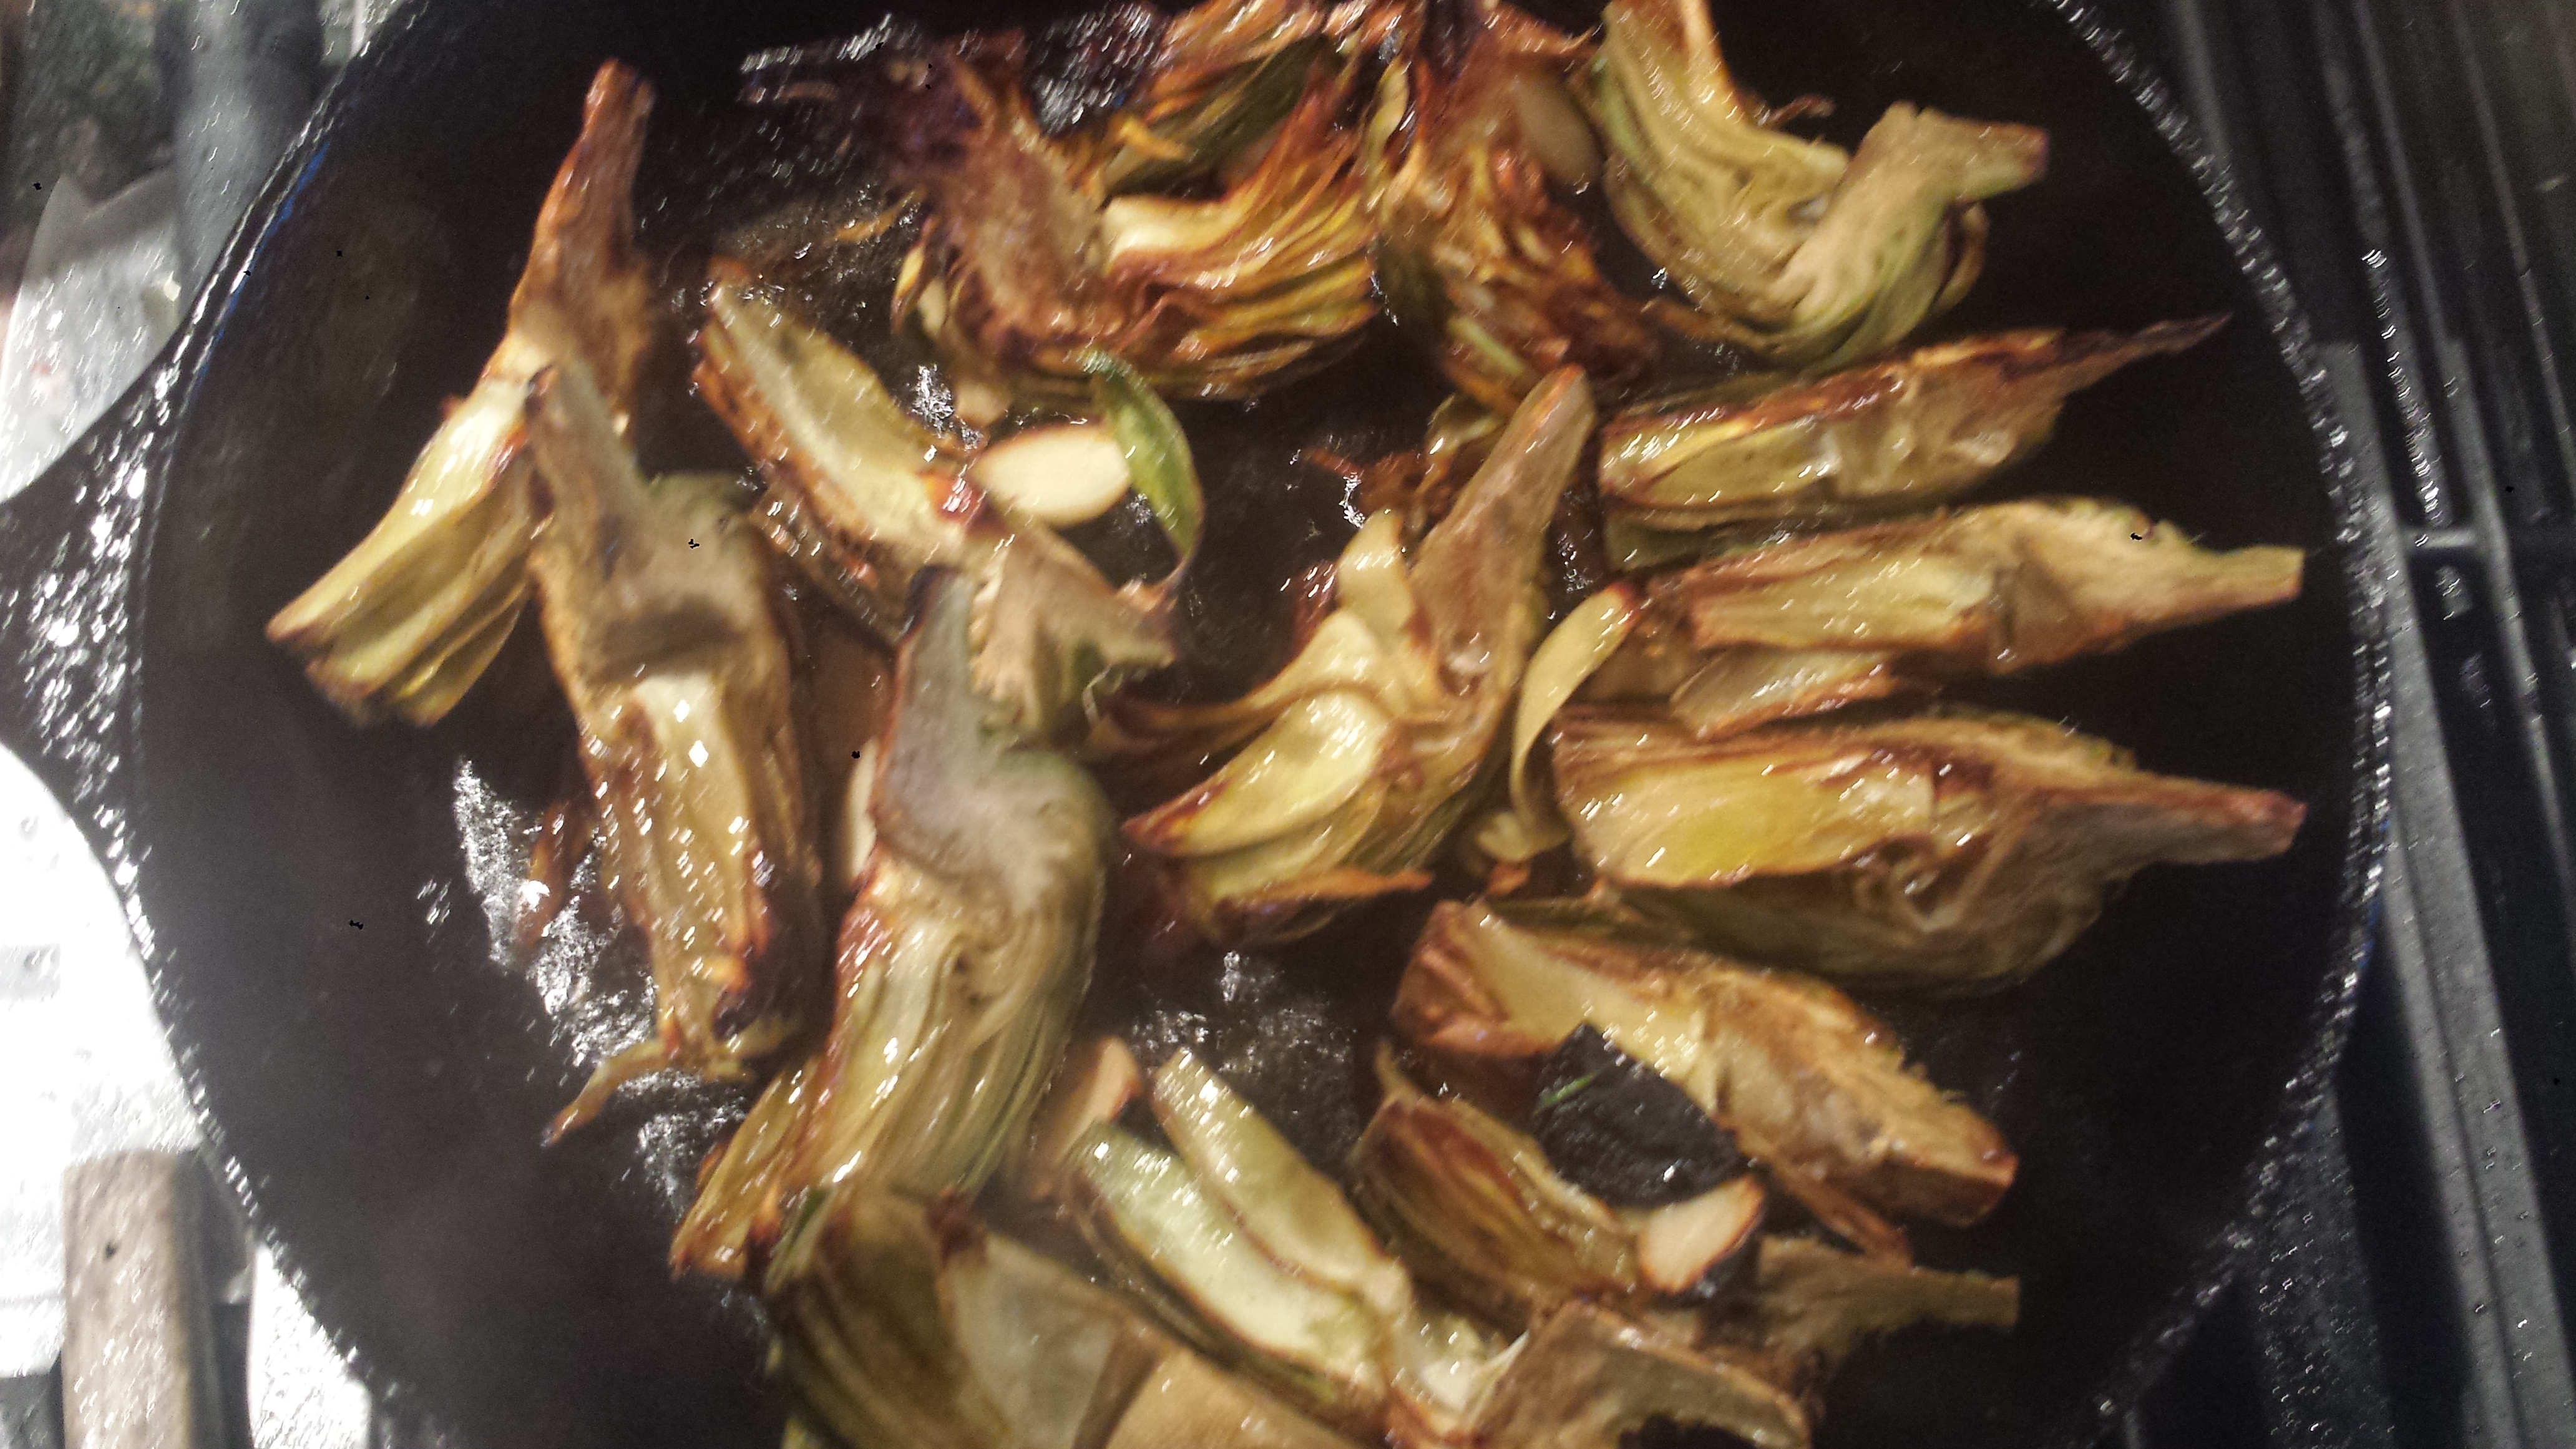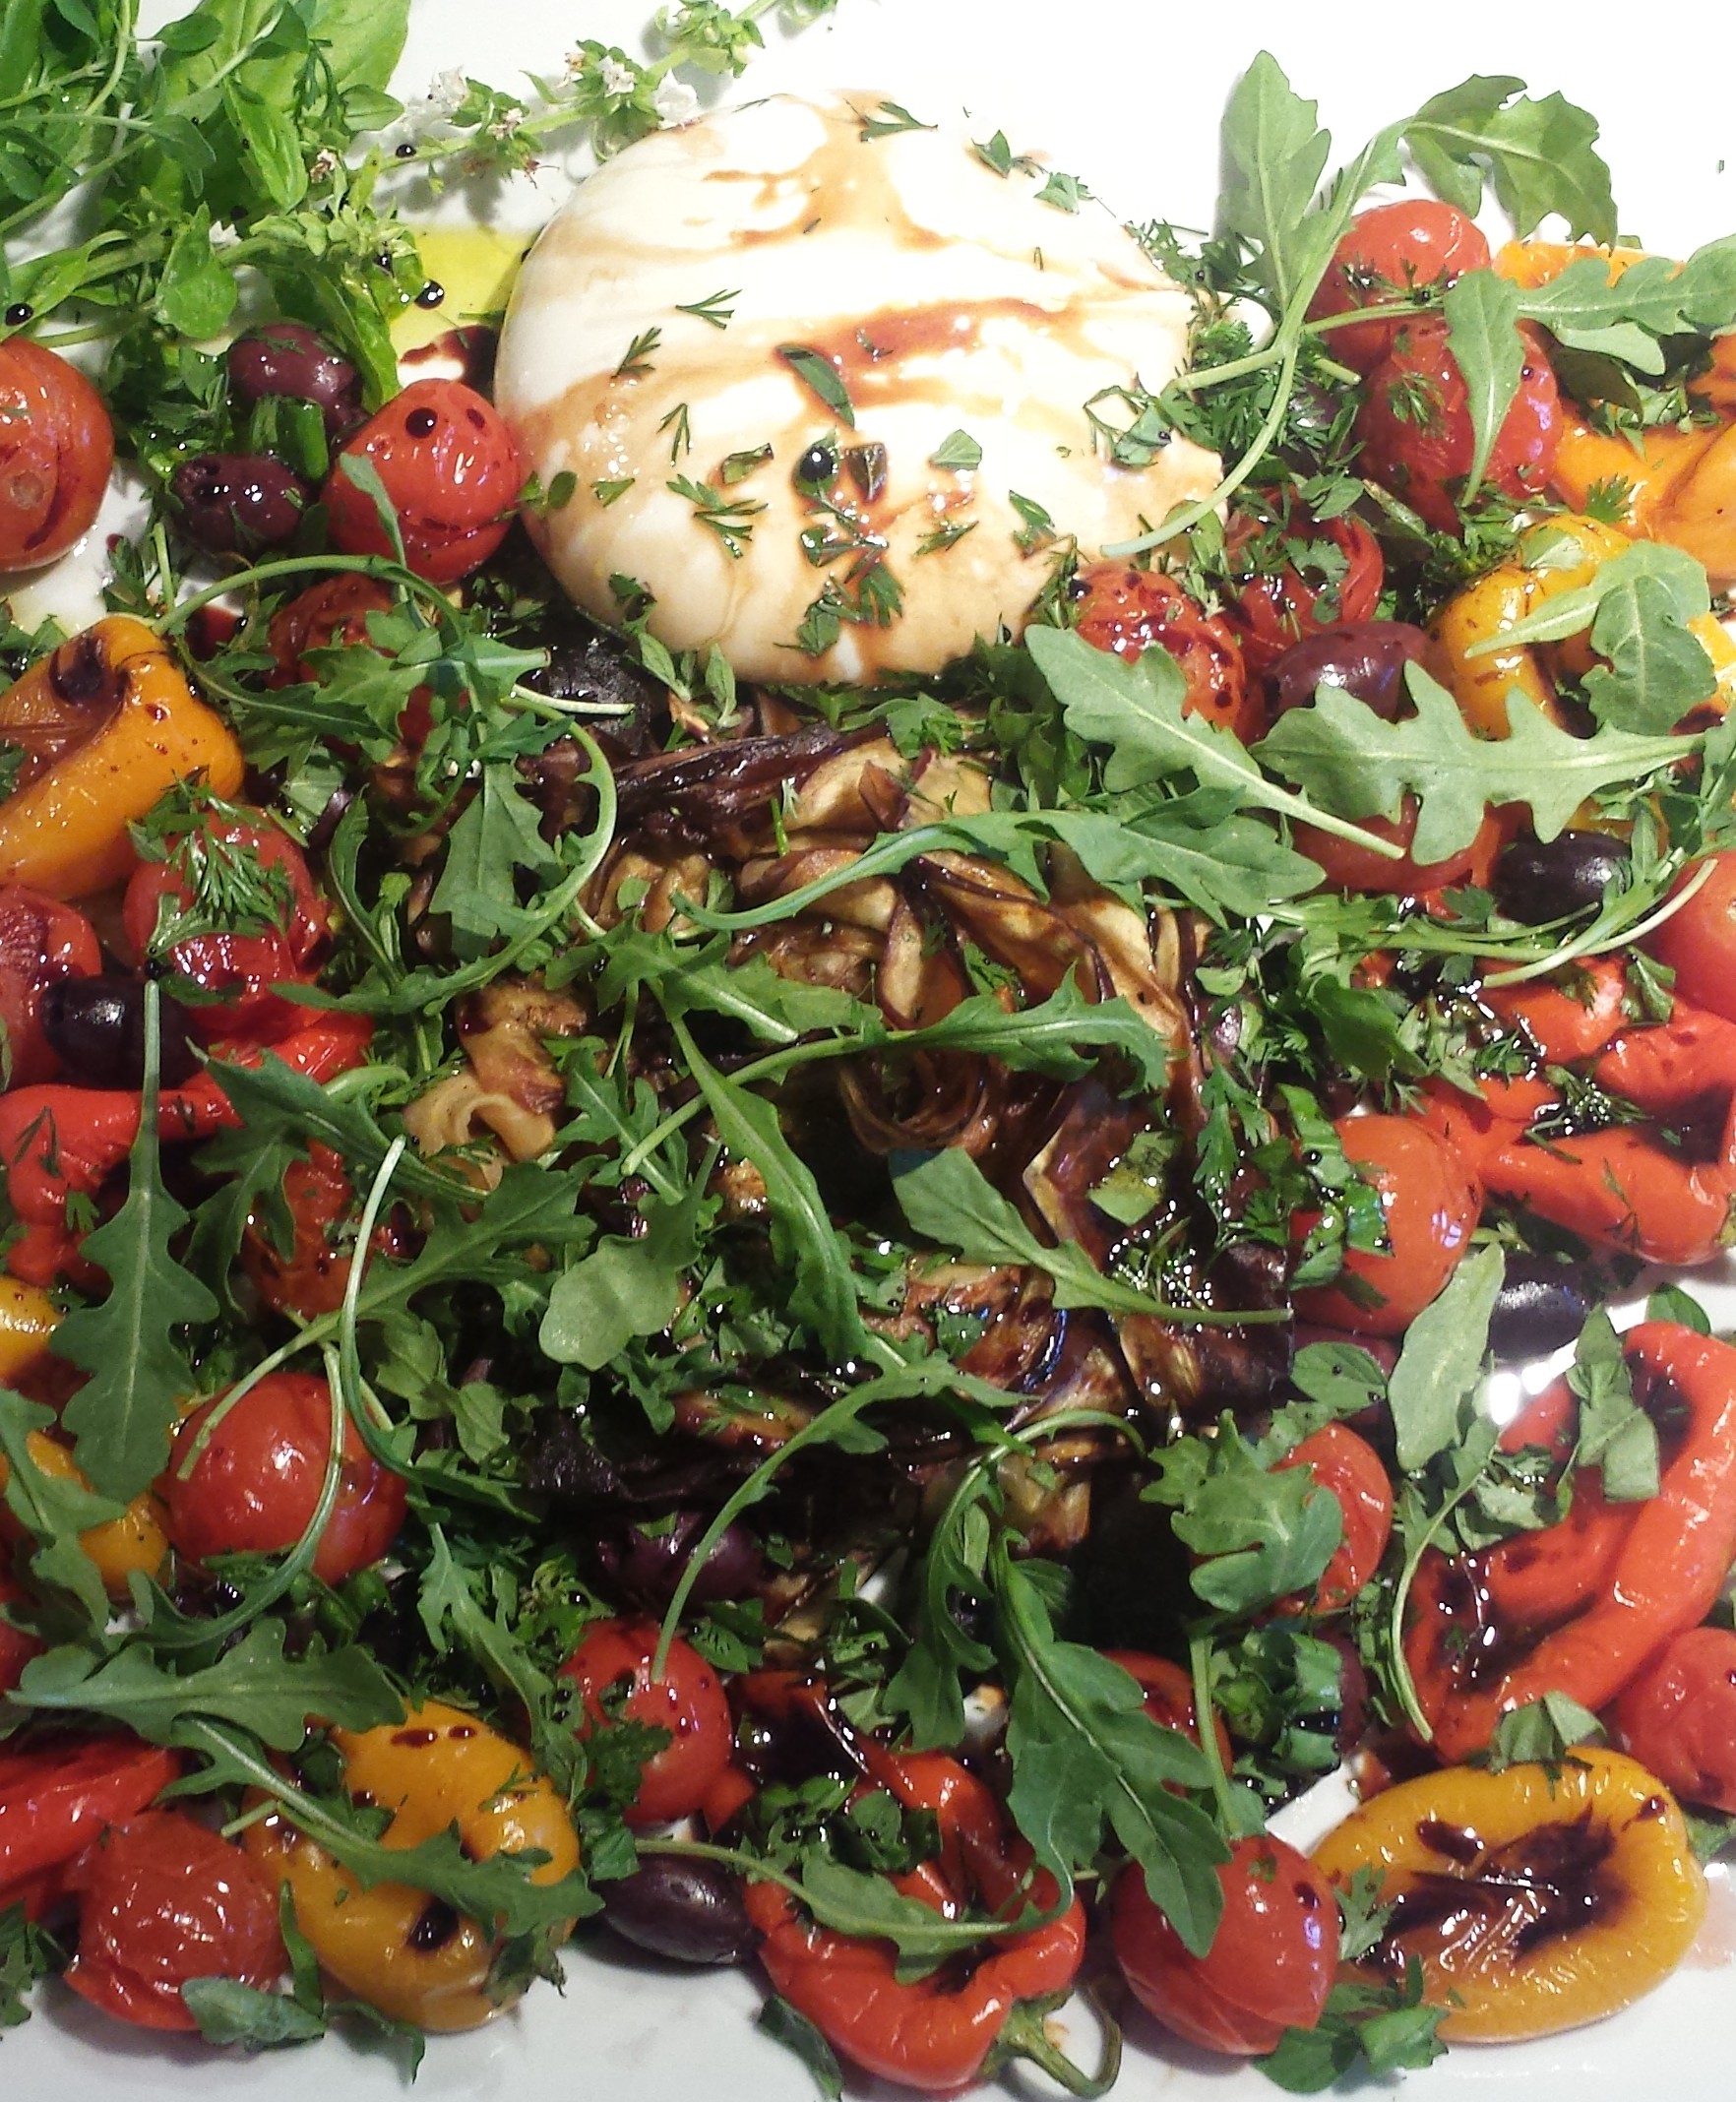
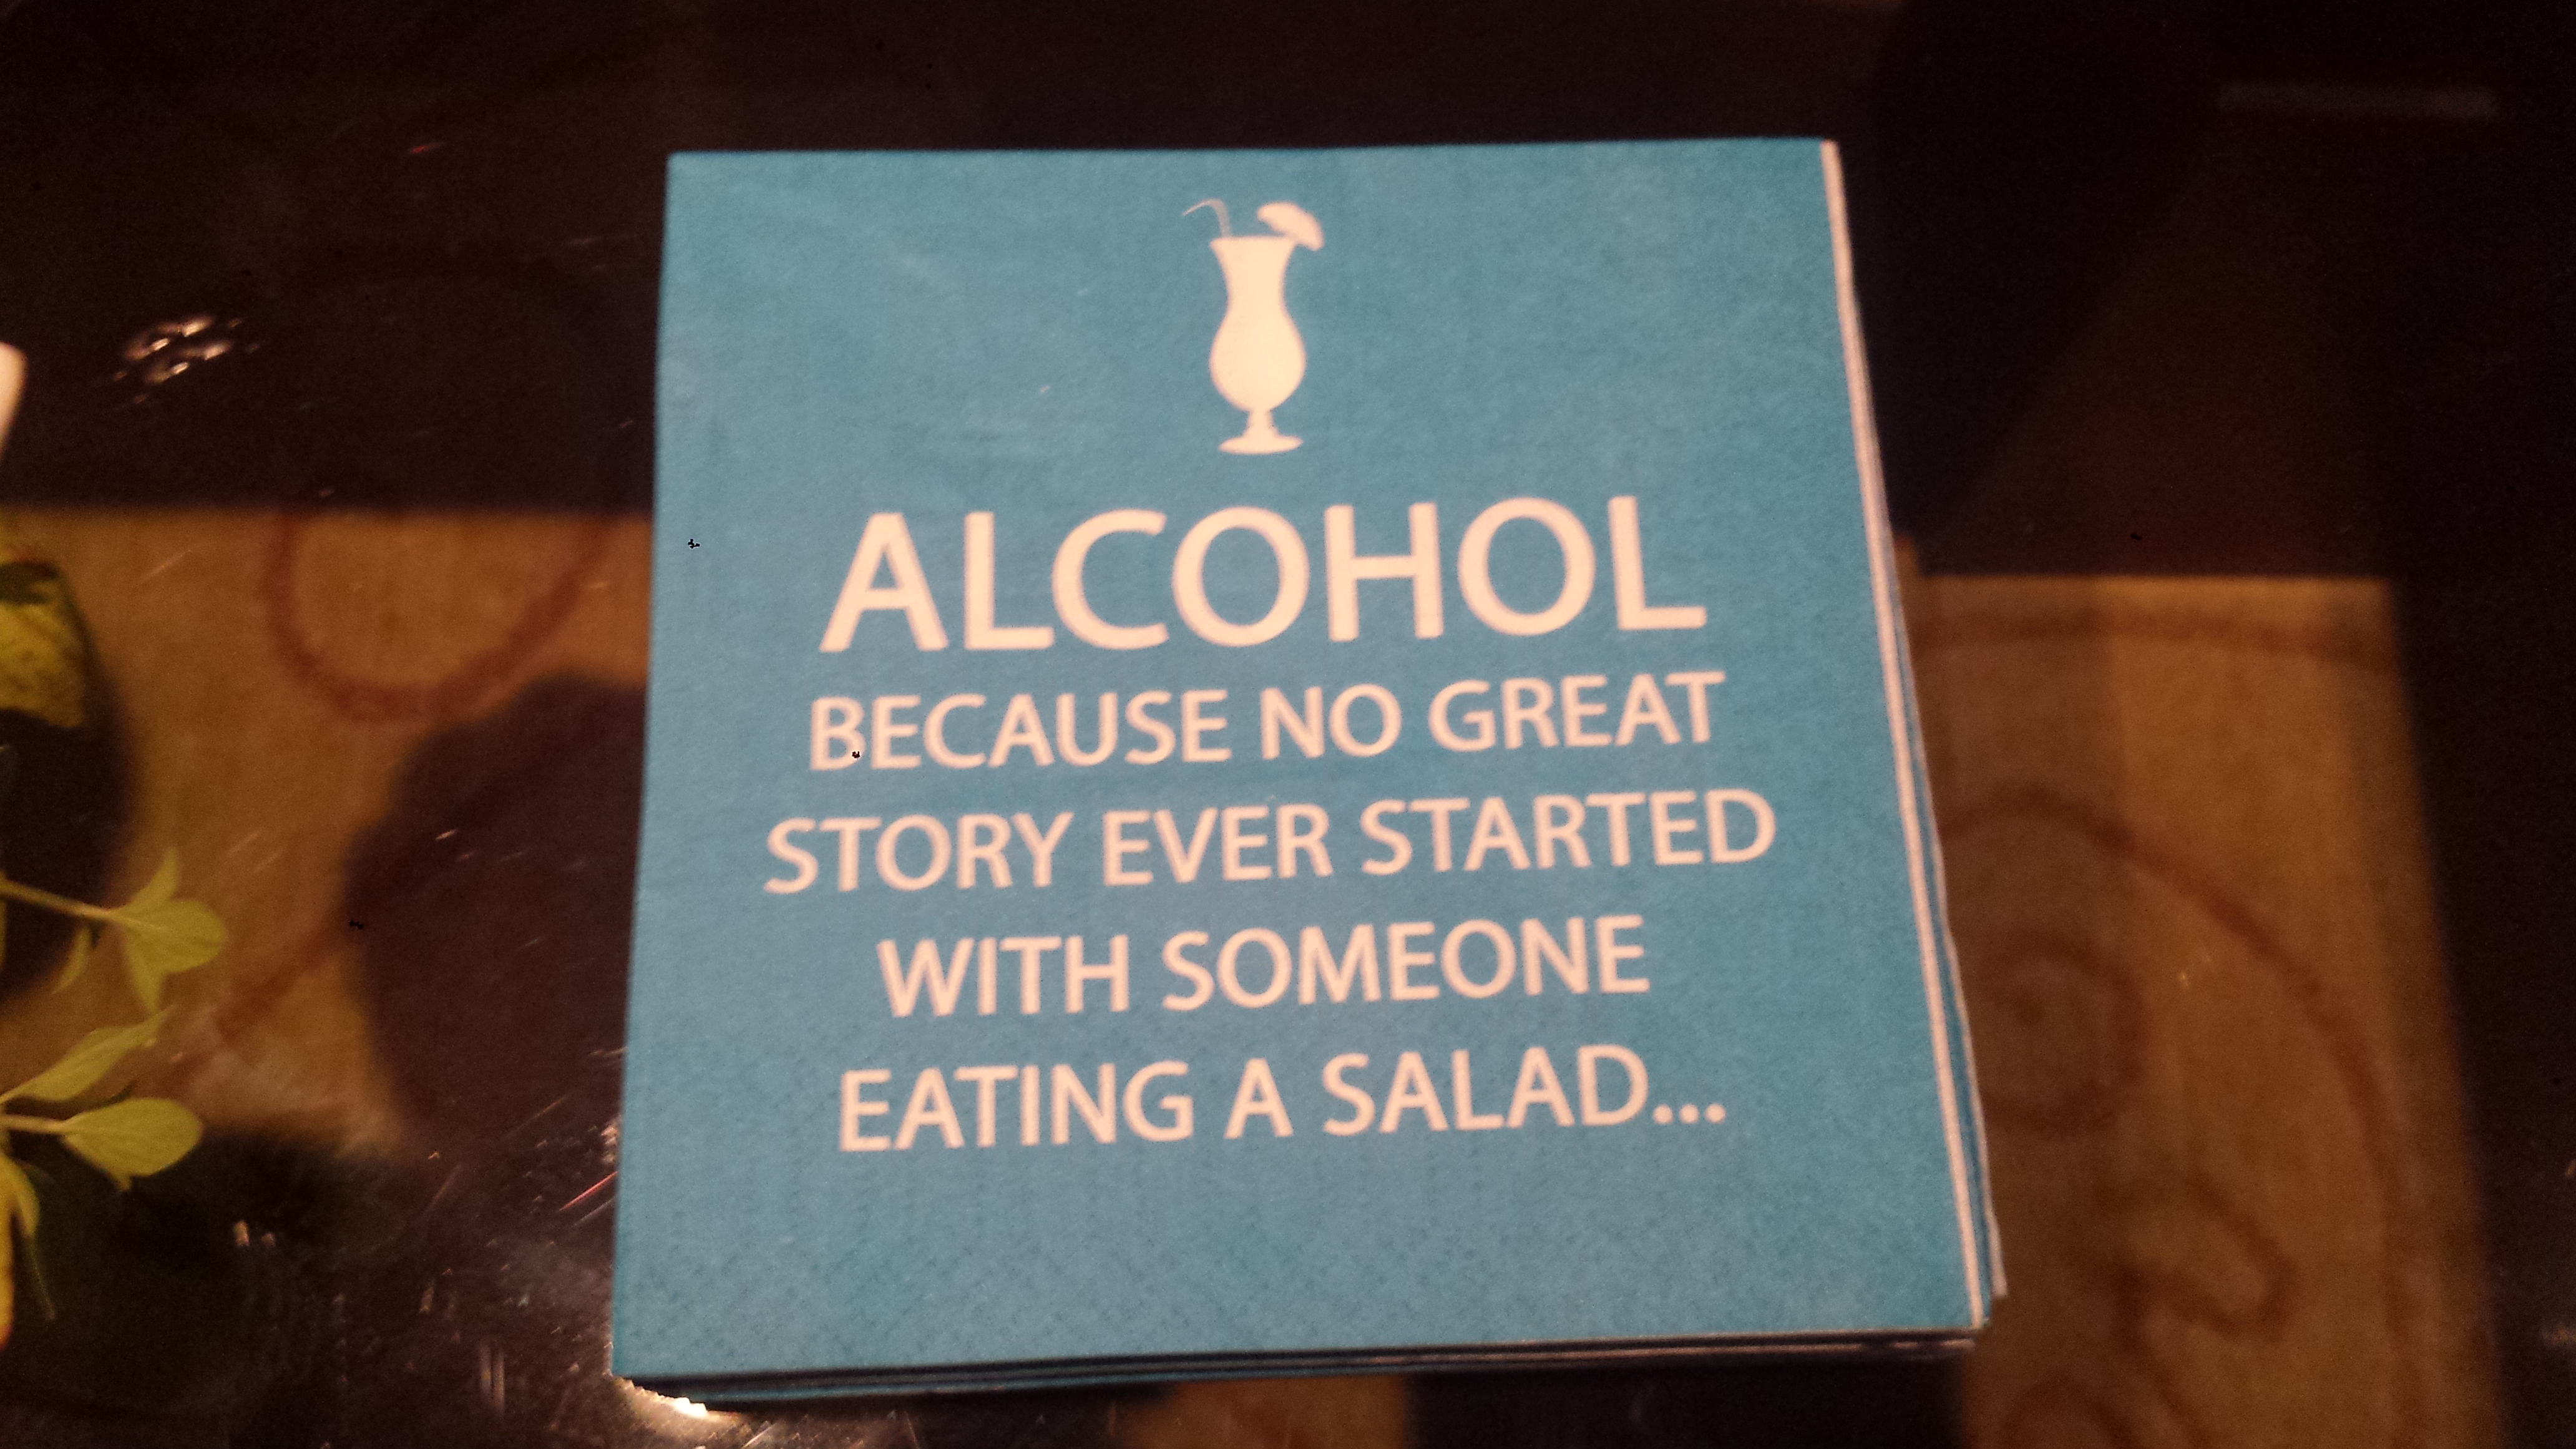
NBA Playoffs are here and my husband had an offer to go the the Warriors game LIVE, so I invited my two lovely neighbors over for some impromtu girl time. Yes, the game was on and the Warriors won! But more importantly, we watched female style, champagne in hand and a lovely antipasti platter spread before us. Needless to say, a good time was had by all and my platter with thin slices of roasted eggplant, charred mini sweet peppers, wilted cherry tomatoes, salty olives and creamy burrata passed the test! The eggplant was a rich and flavorful, the mini peppers just got sweeter through roasting and the burrata was a delight. The big winner though, was the balsamic reduction that I drizzled over the whole thing. Credit goes to my son, Eric, for that recipe. Yum! Oh, and here are our fun napkins…just because.
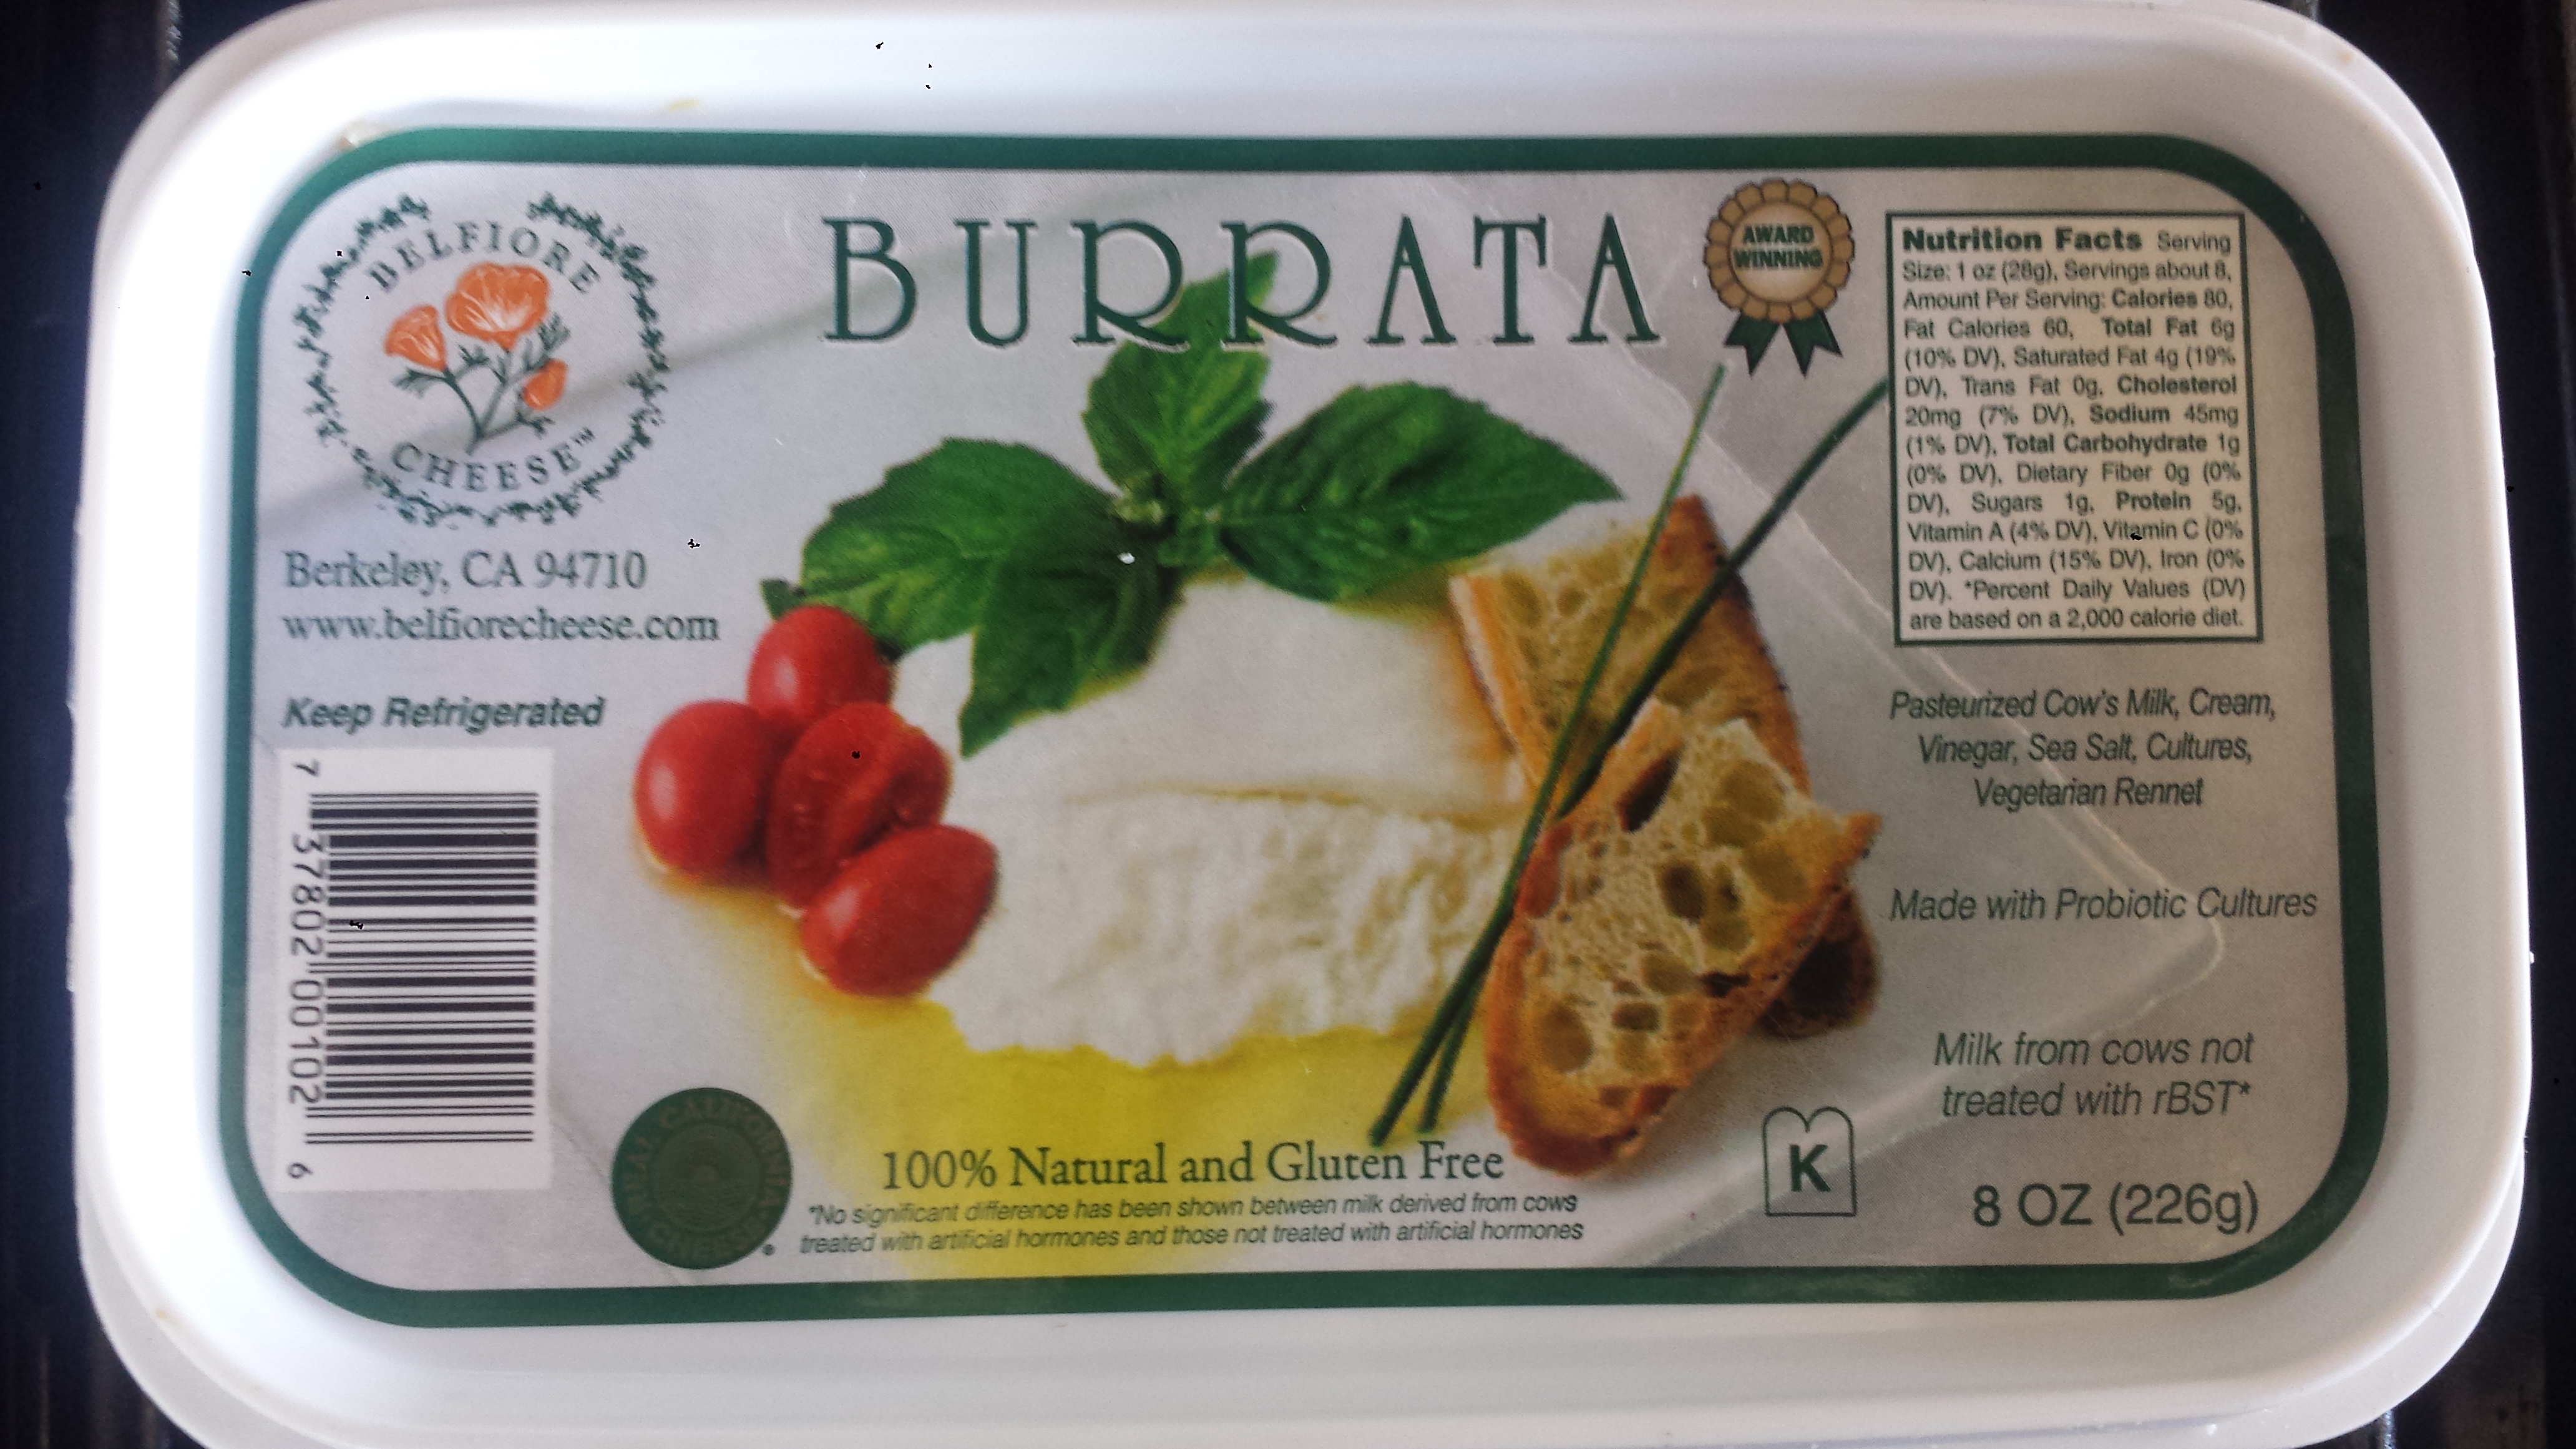
If you have never had burrata, it’s similar to fresh mozzarella but creamier and even more delicious! Burrata means ‘buttered’ in Italian if that gives you any indication of it’s yumminess. It resembles fresh mozzarella but it’s insides are soft and ooze out upon cutting it open. Mmmm….. I used a burrata from Belfiore, one of the few small family owned, cheesemakers in the SF Bay Area. I love to promote local companies, especially when they take such care to use only quality natural ingredients, and the owners just happen to be friends of mine – even better! Belfiore handcrafts their cheeses using no artificial ingredients, additives or preservatives. In addition I love that they use a vegetarian rennet in making their burrata. I really like this brand but there are many other good handcrafted cheese companies out there too so look around.
TIPS: I love fresh herbs on almost anything. I just walk outside my kitchen door and clip whatever I have on hand. This time it was fresh basil, thyme and parsley, however, any fresh herbs will work just fine. If you don’t have access to fresh herbs, sprinkle a bit of Italian Seasoning on top of everything before drizzling with balsamic reduction. The balsamic reduction is heavenly and I can think of dozens of ways to use it in the future. It’s easy to make but if you don’t want to go to the trouble, a sprinkle of balsamic vinegar and a drizzle of olive oil will be tasty too.

I will be out of town next week at Rancho La Puerta (an early birthday present to myself) so I will not be in my kitchen but getting inspiration from the wonderful chefs at The Ranch. So stay tuned, especially on FACEBOOK and INSTAGRAM for photos from my week at The Ranch. When I come back, I’m sure I will have a lot to share… Have a good week!-Joyce

ROASTED EGGPLANT, PEPPERS & TOMATOES WITH BURRATA
1 globe eggplant
1 pint cherry tomatoes
1 pint miniature sweet peppers
8 oz burrata, room temperature if possible
1/4 cup olive oil plus more for drizzling
1 cup fresh baby arugula
1/2 cup fresh mixed herbs, parsley, basil or thyme, roughly chopped
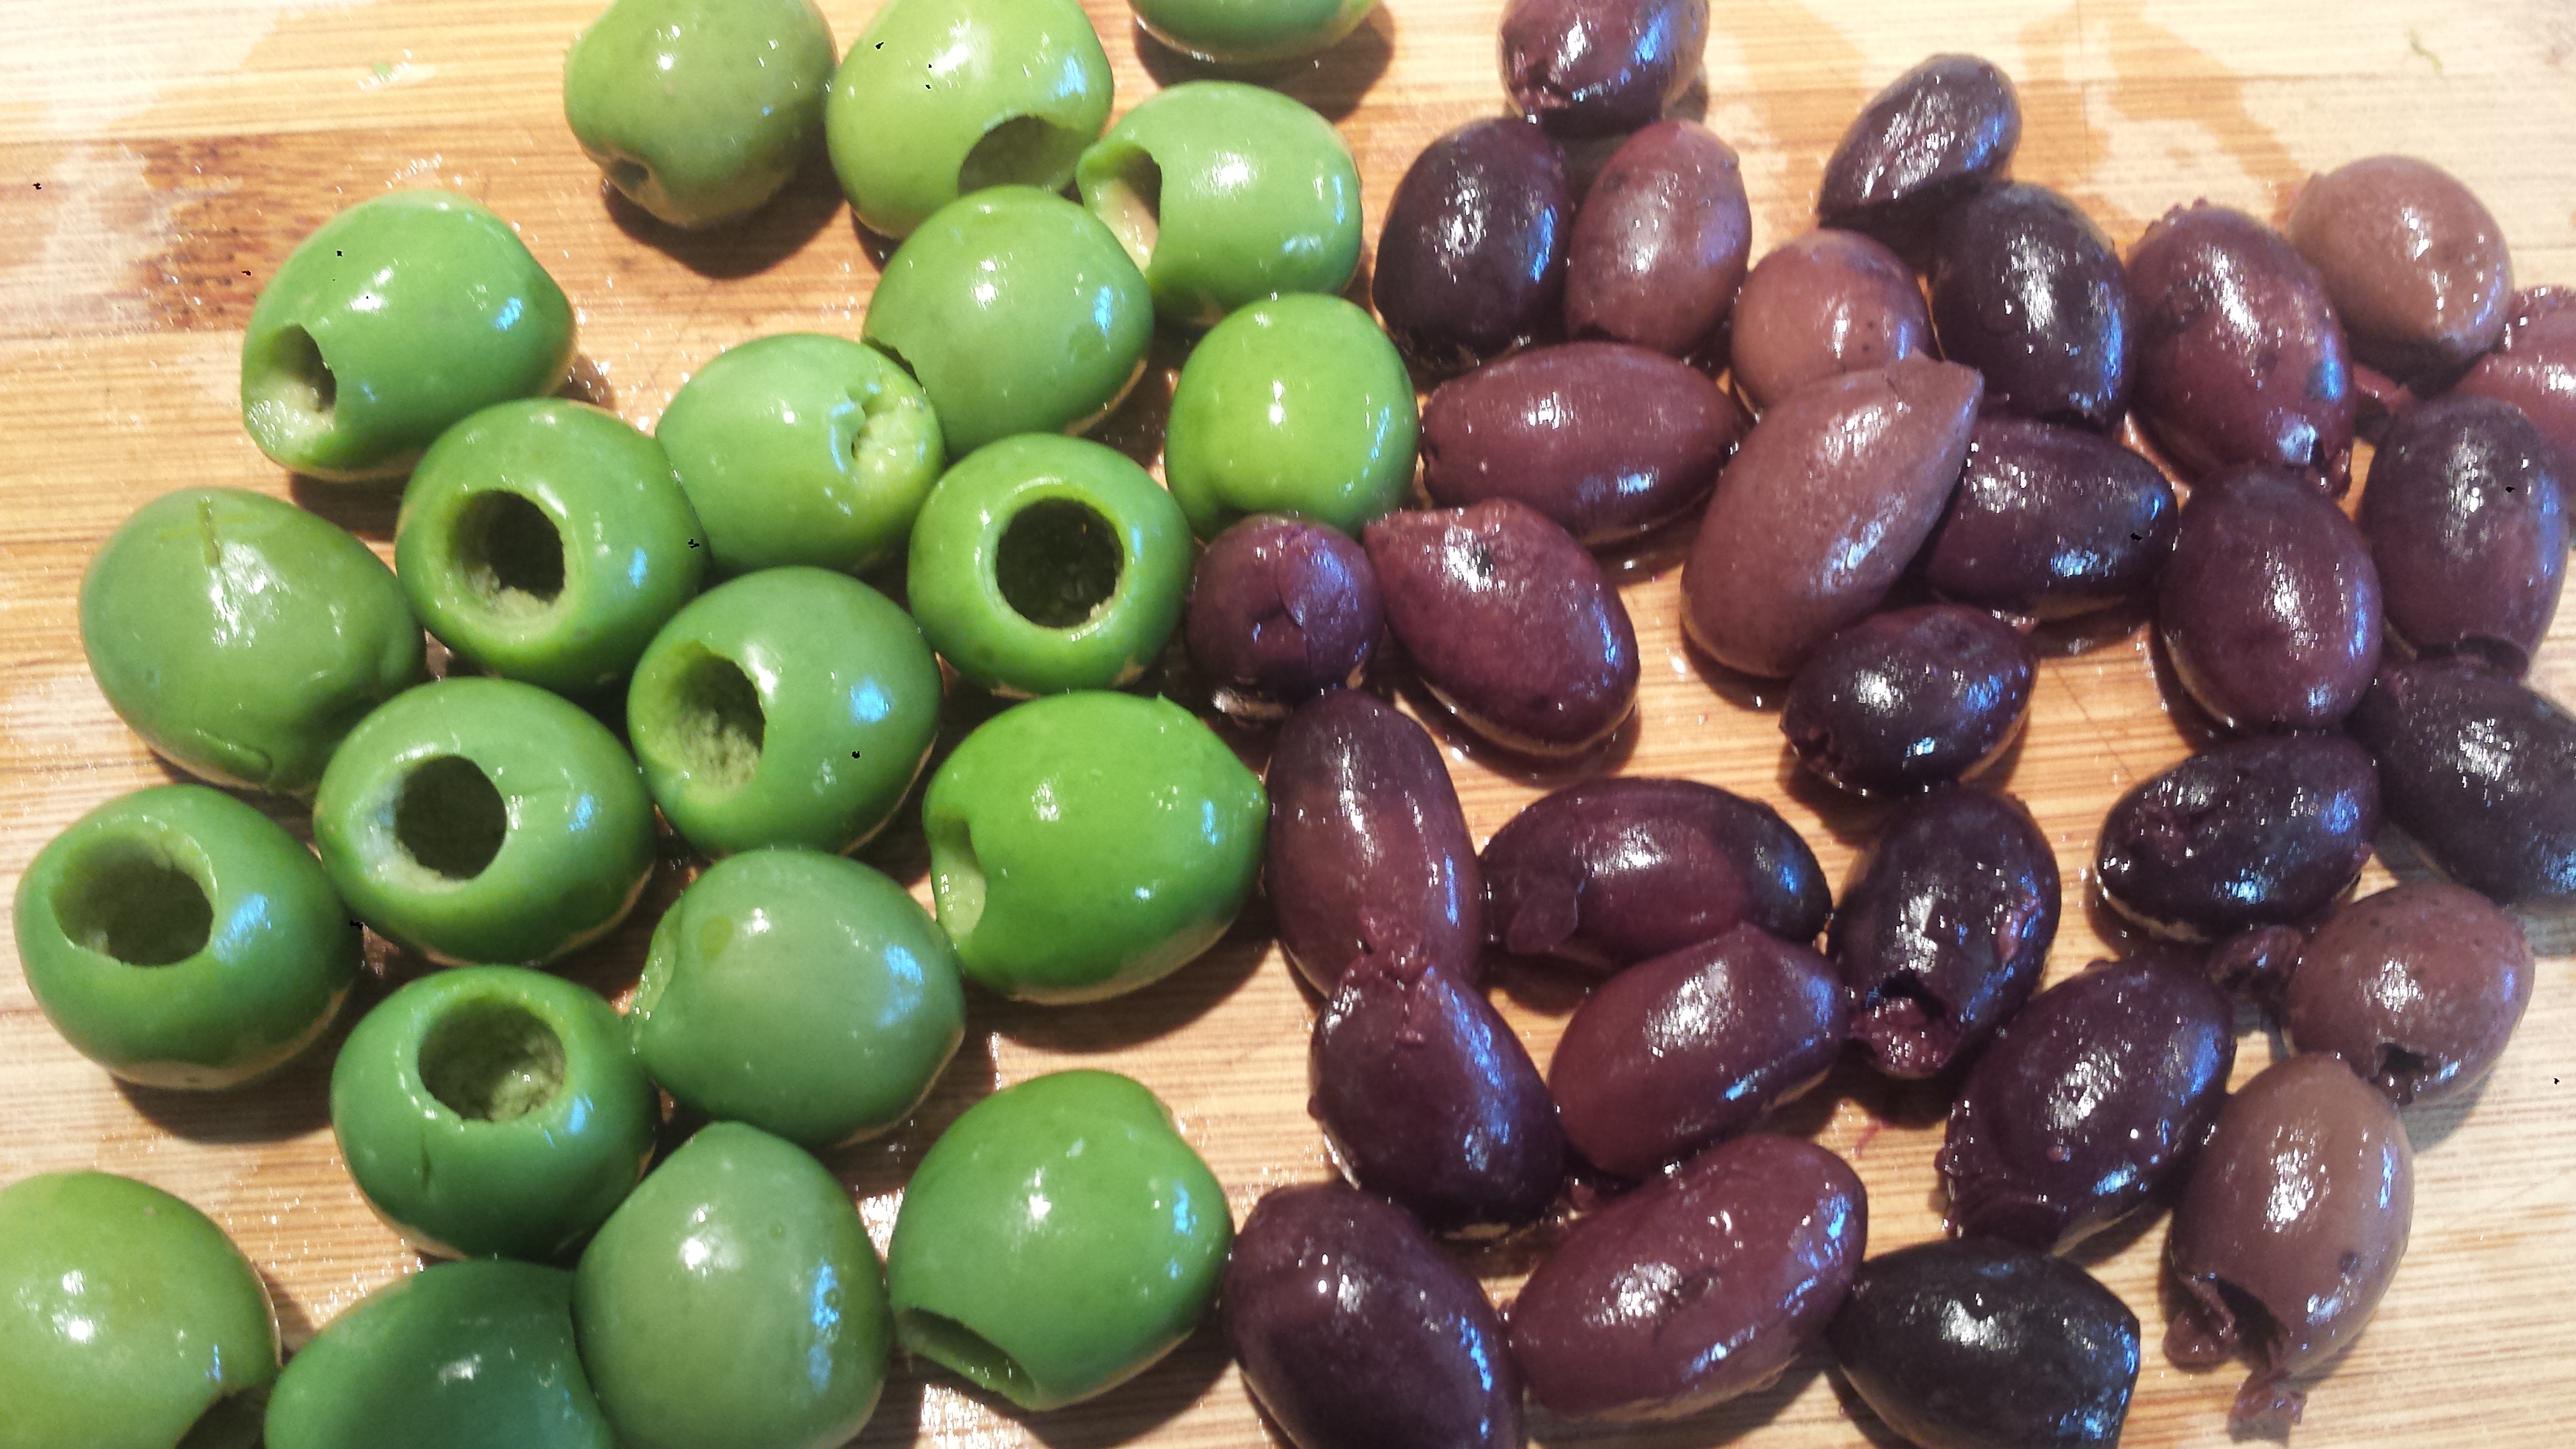
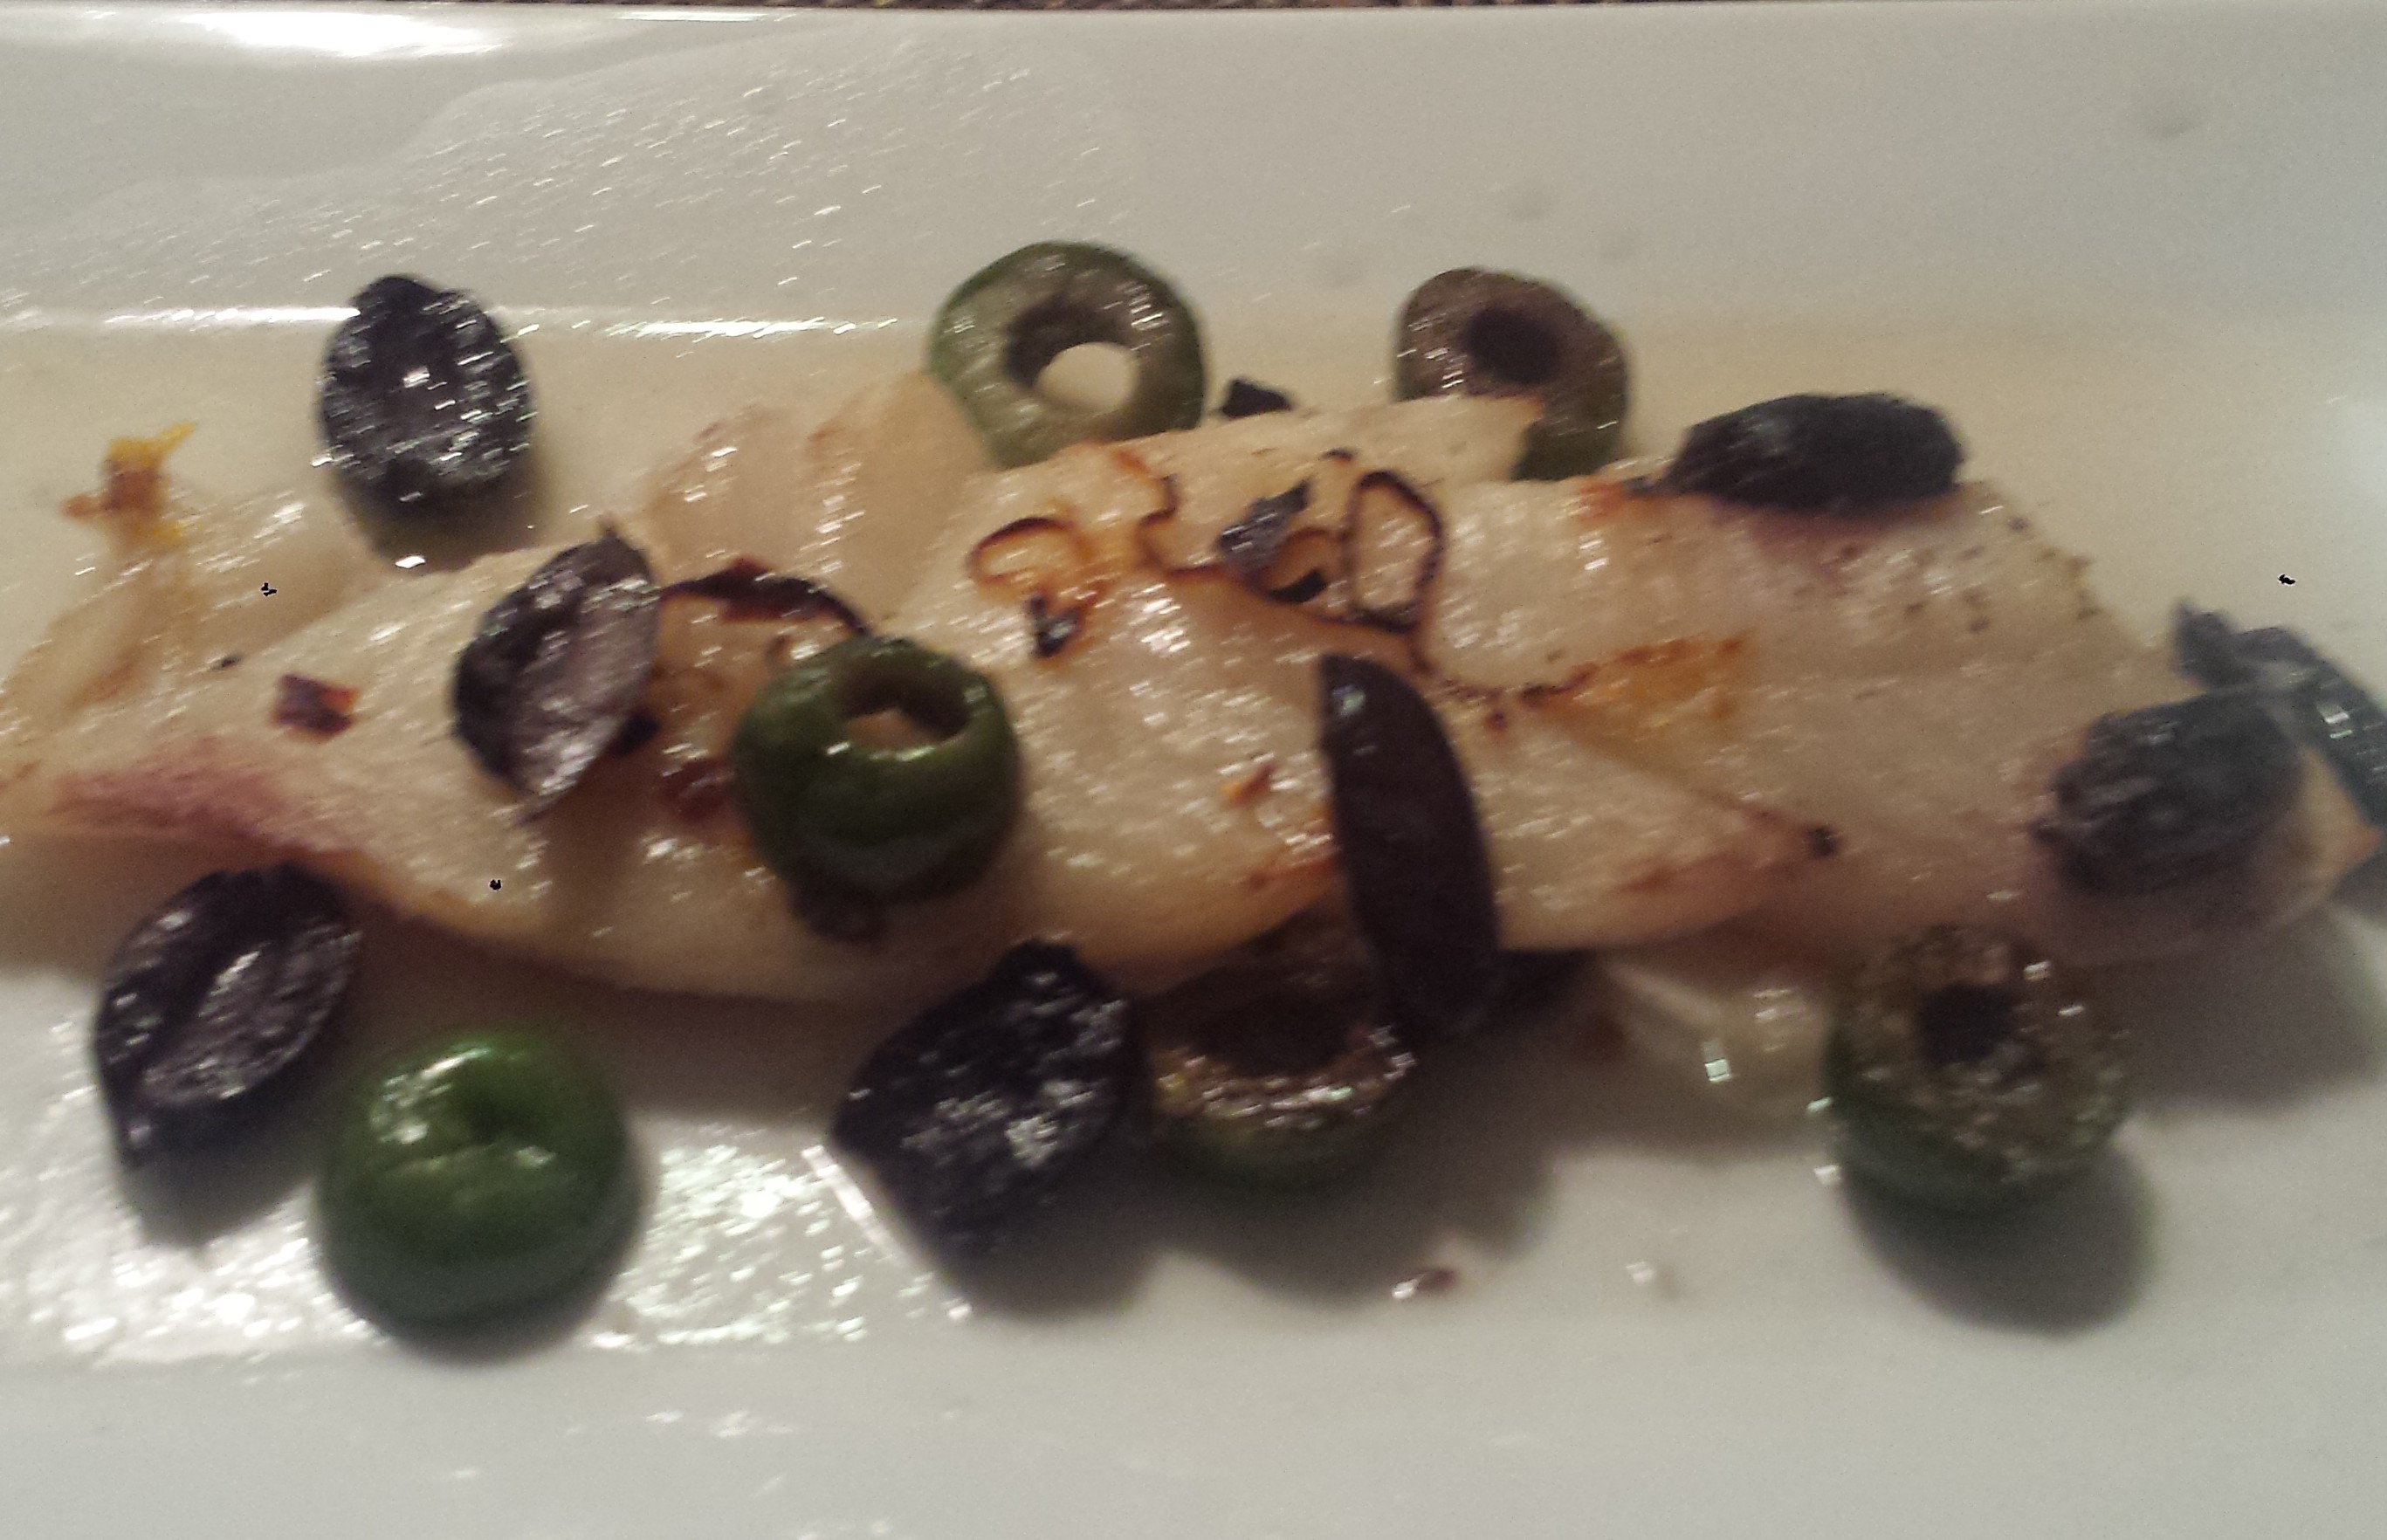
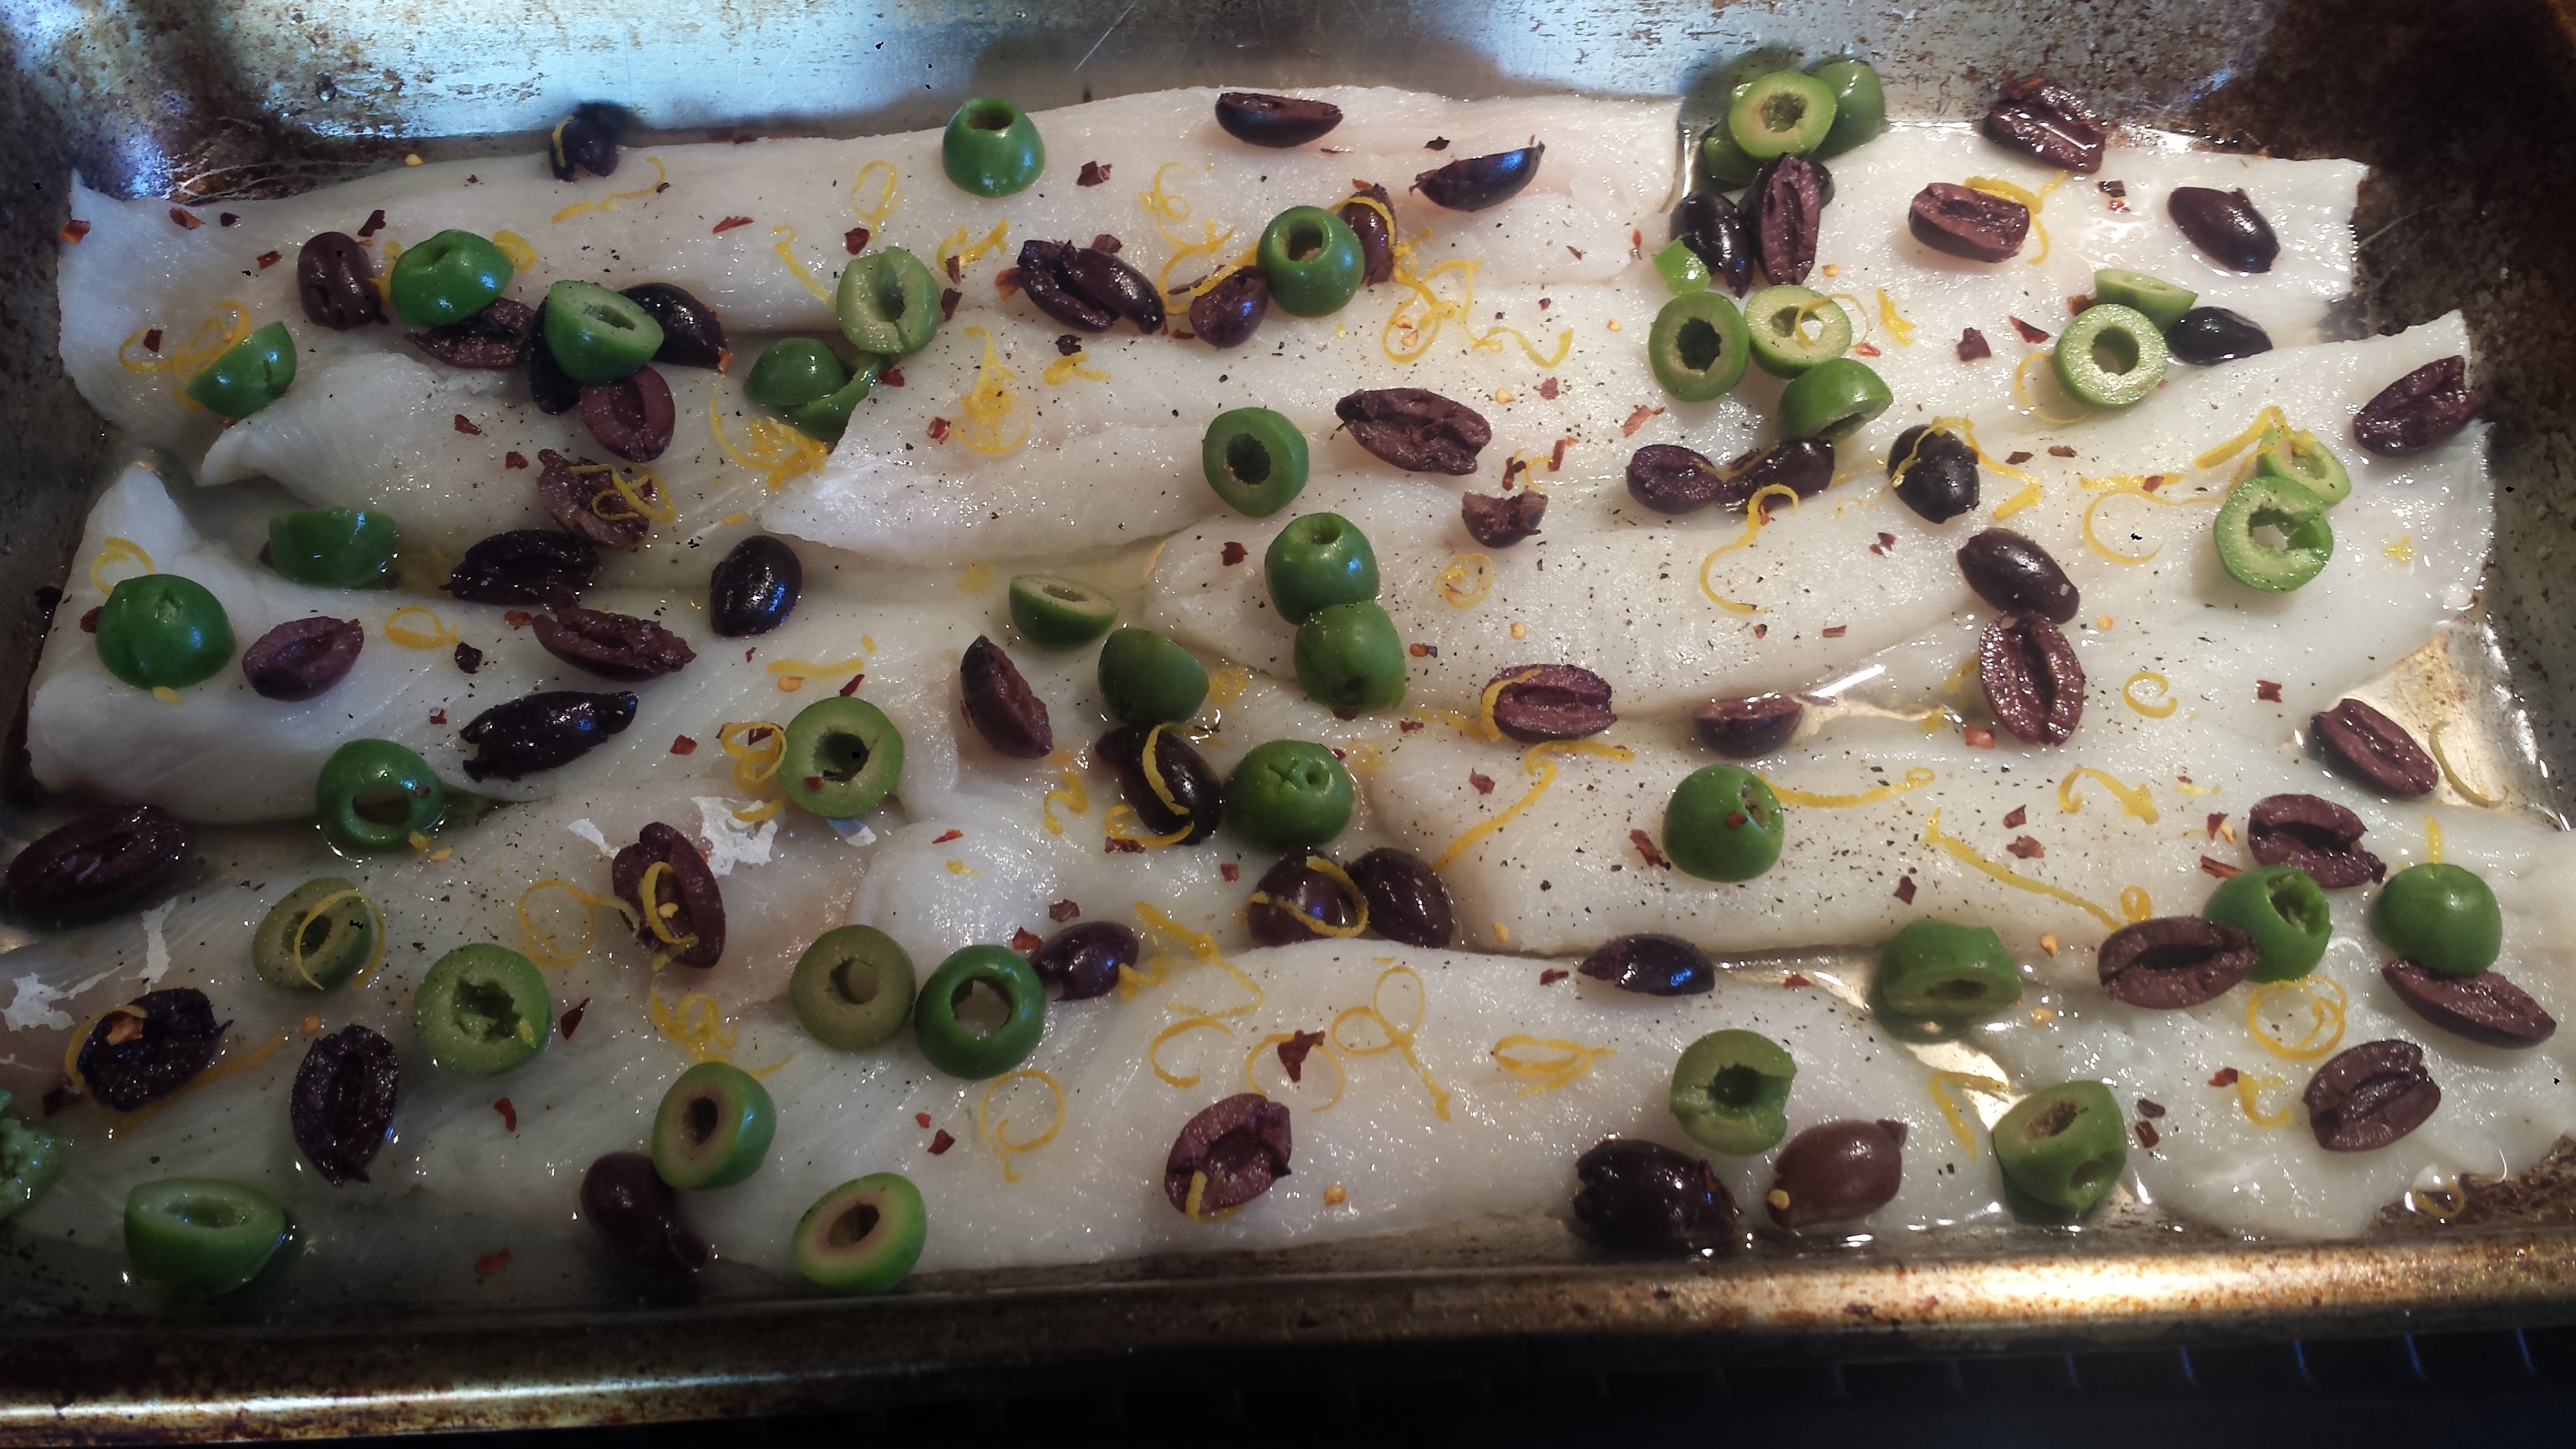
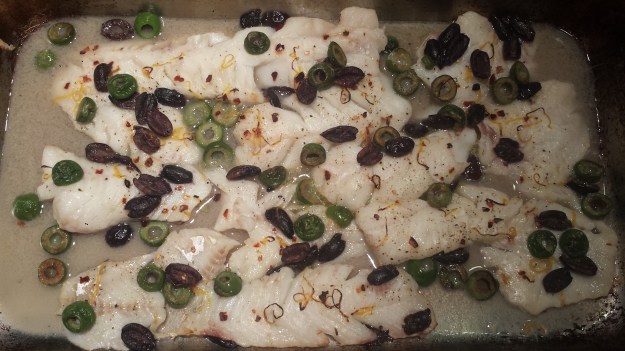
1/2 cup kalamata or black olives (optional)
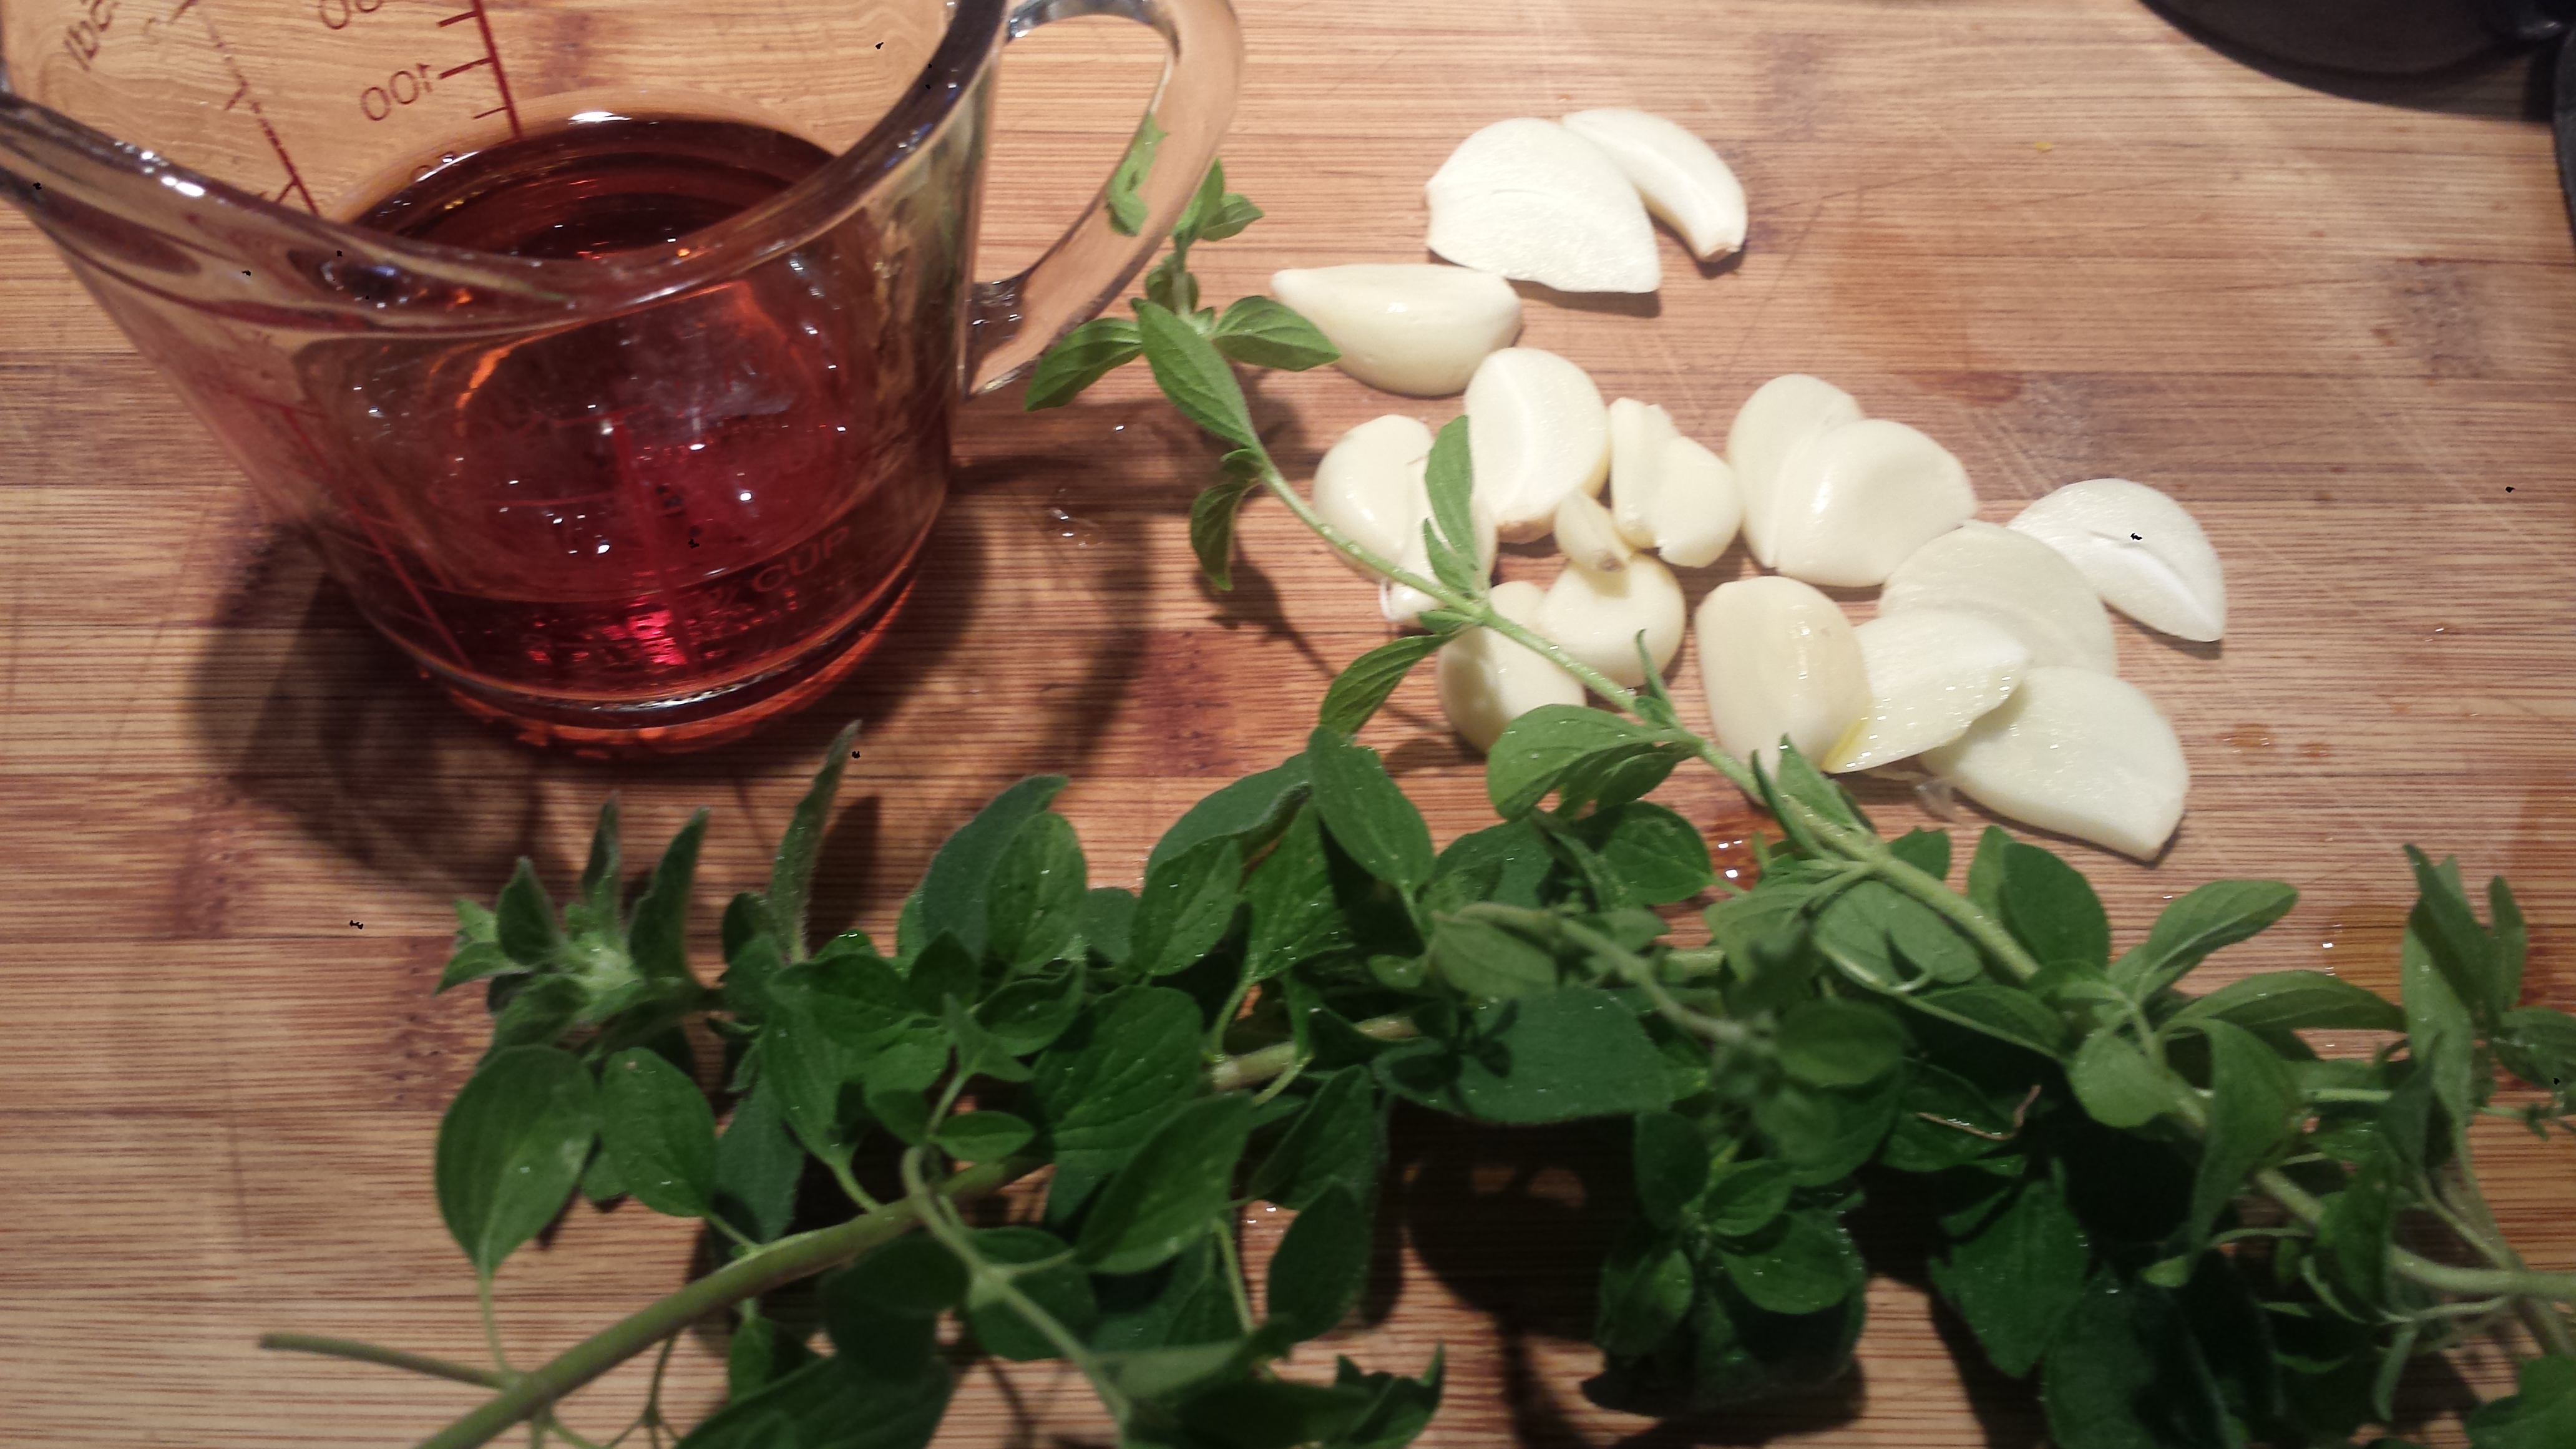
1 cup balsamic vinegar
2-3 Tbsn sugar, brown sugar or honey
Vinaigrette: 2 Tbsn olive oil, 2 Tbsn lemon juice, salt and pepper to taste
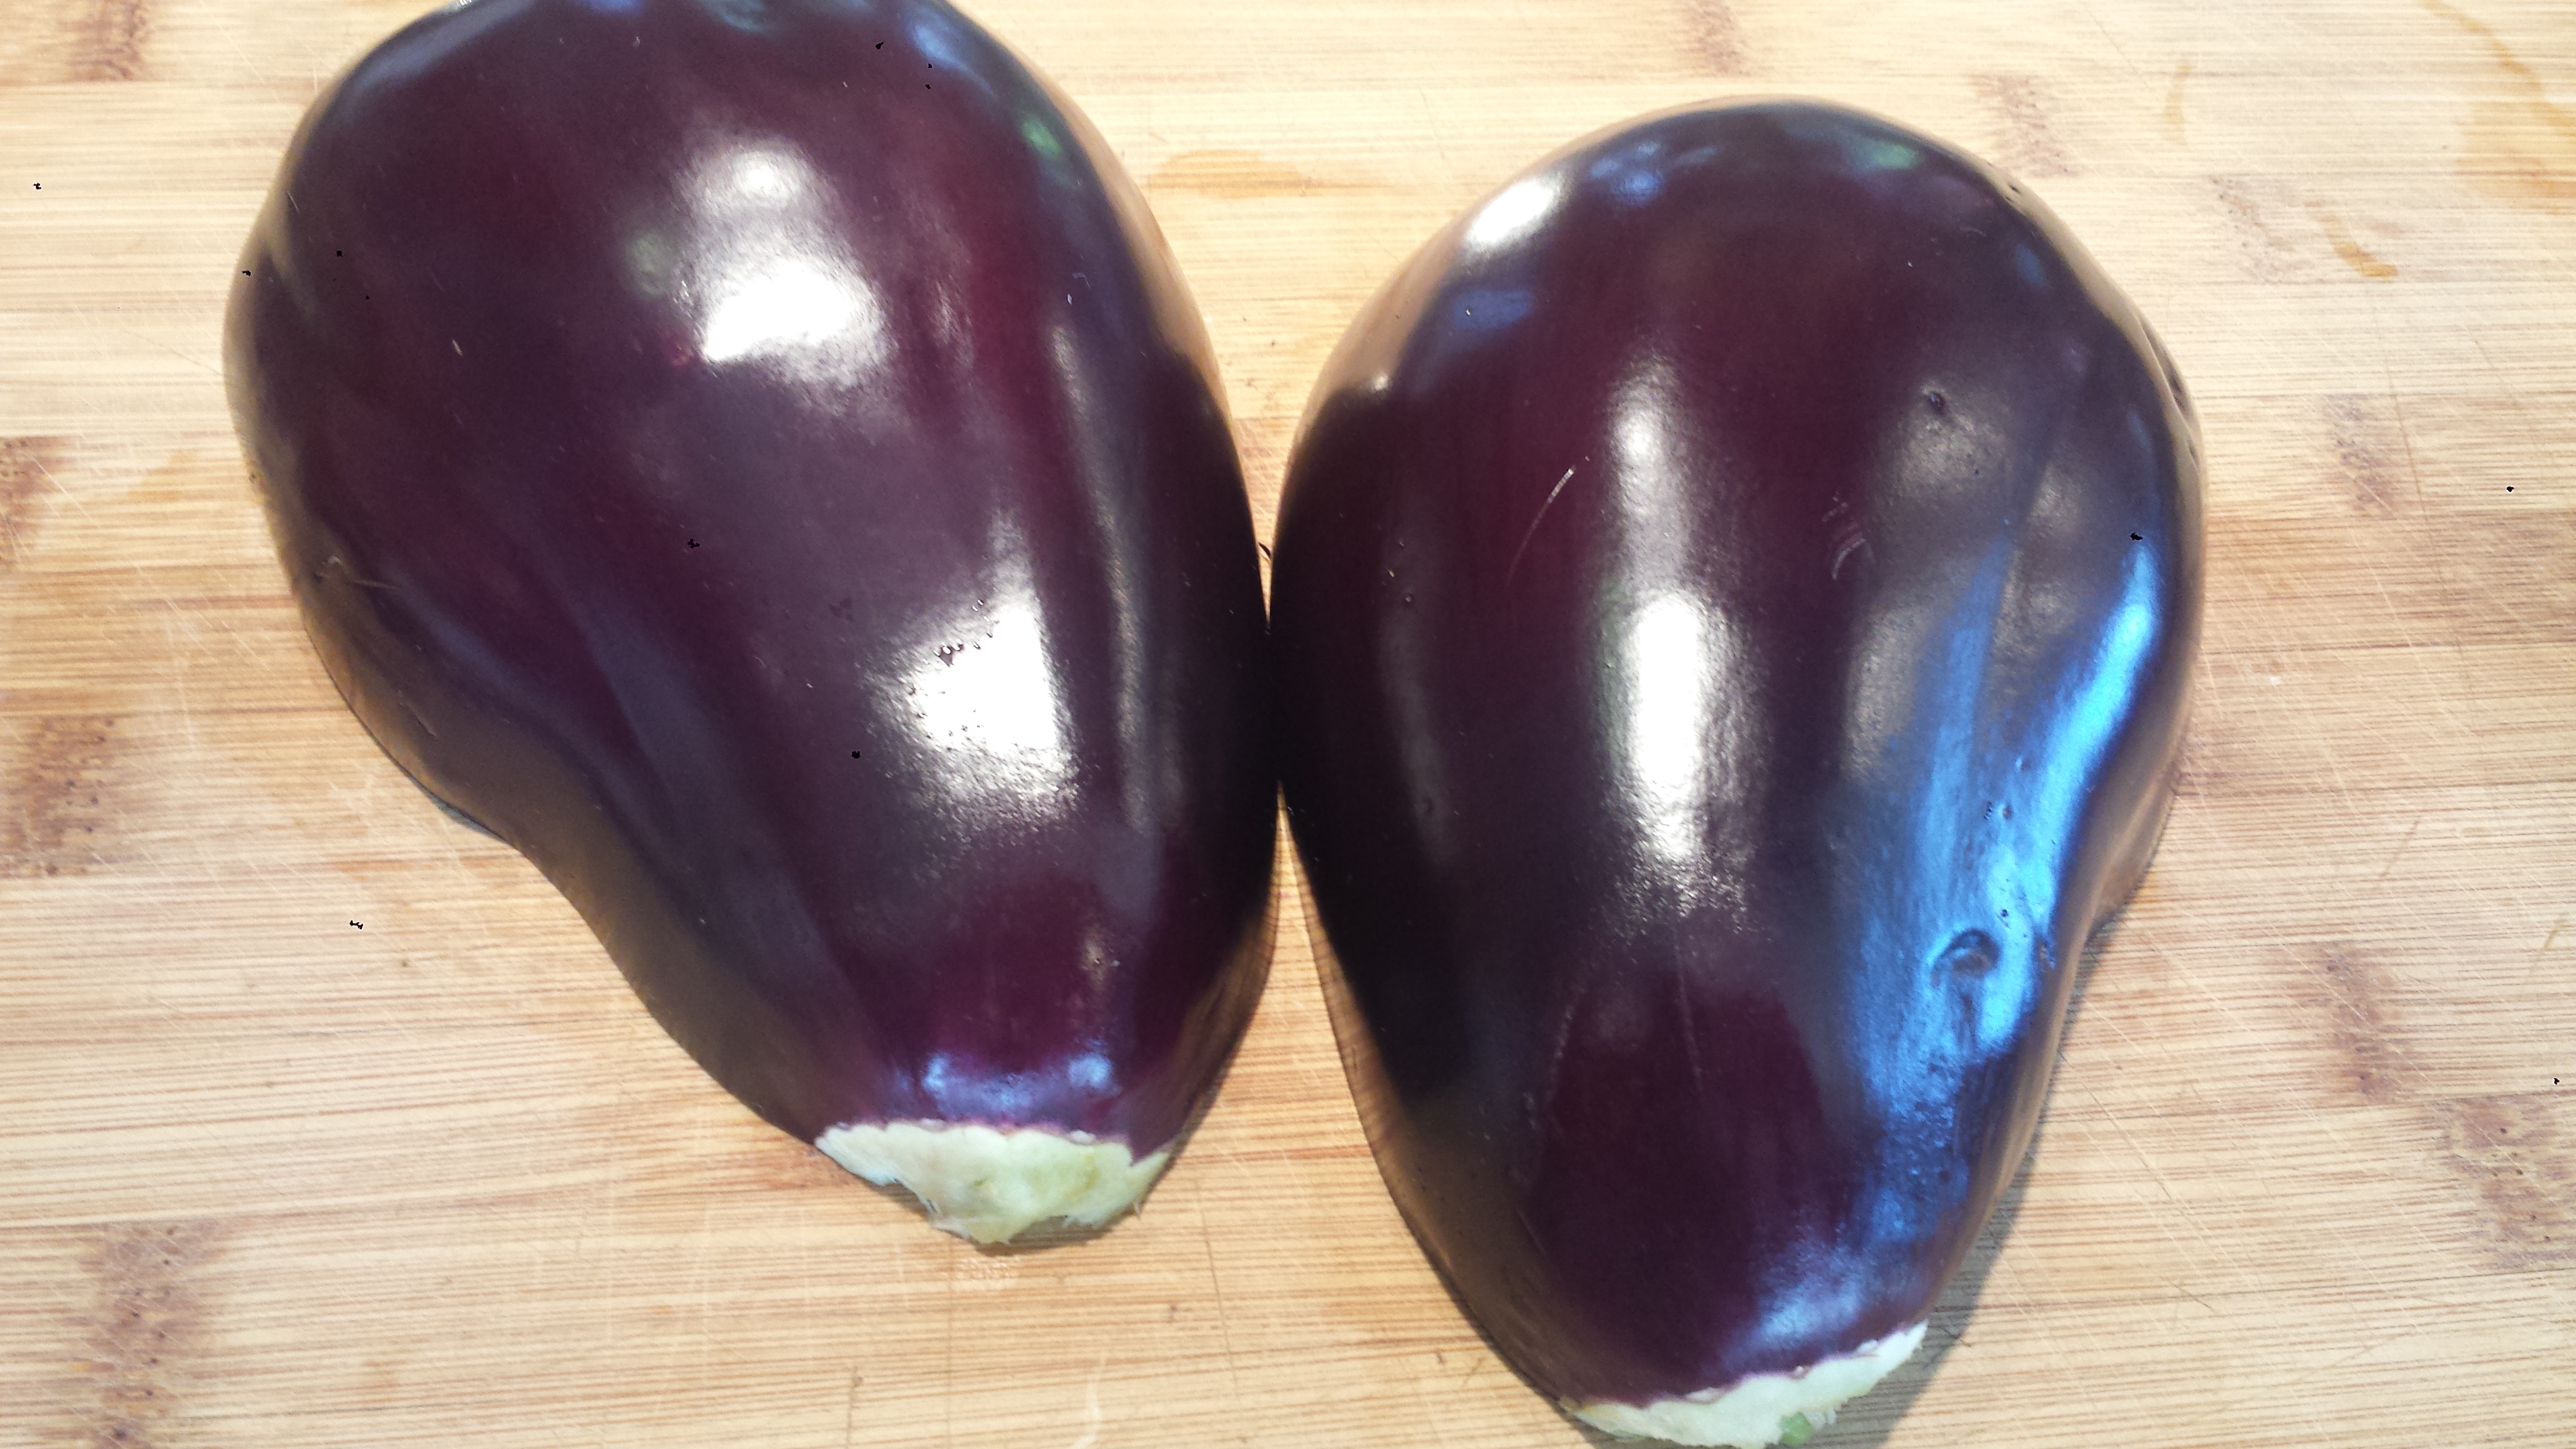
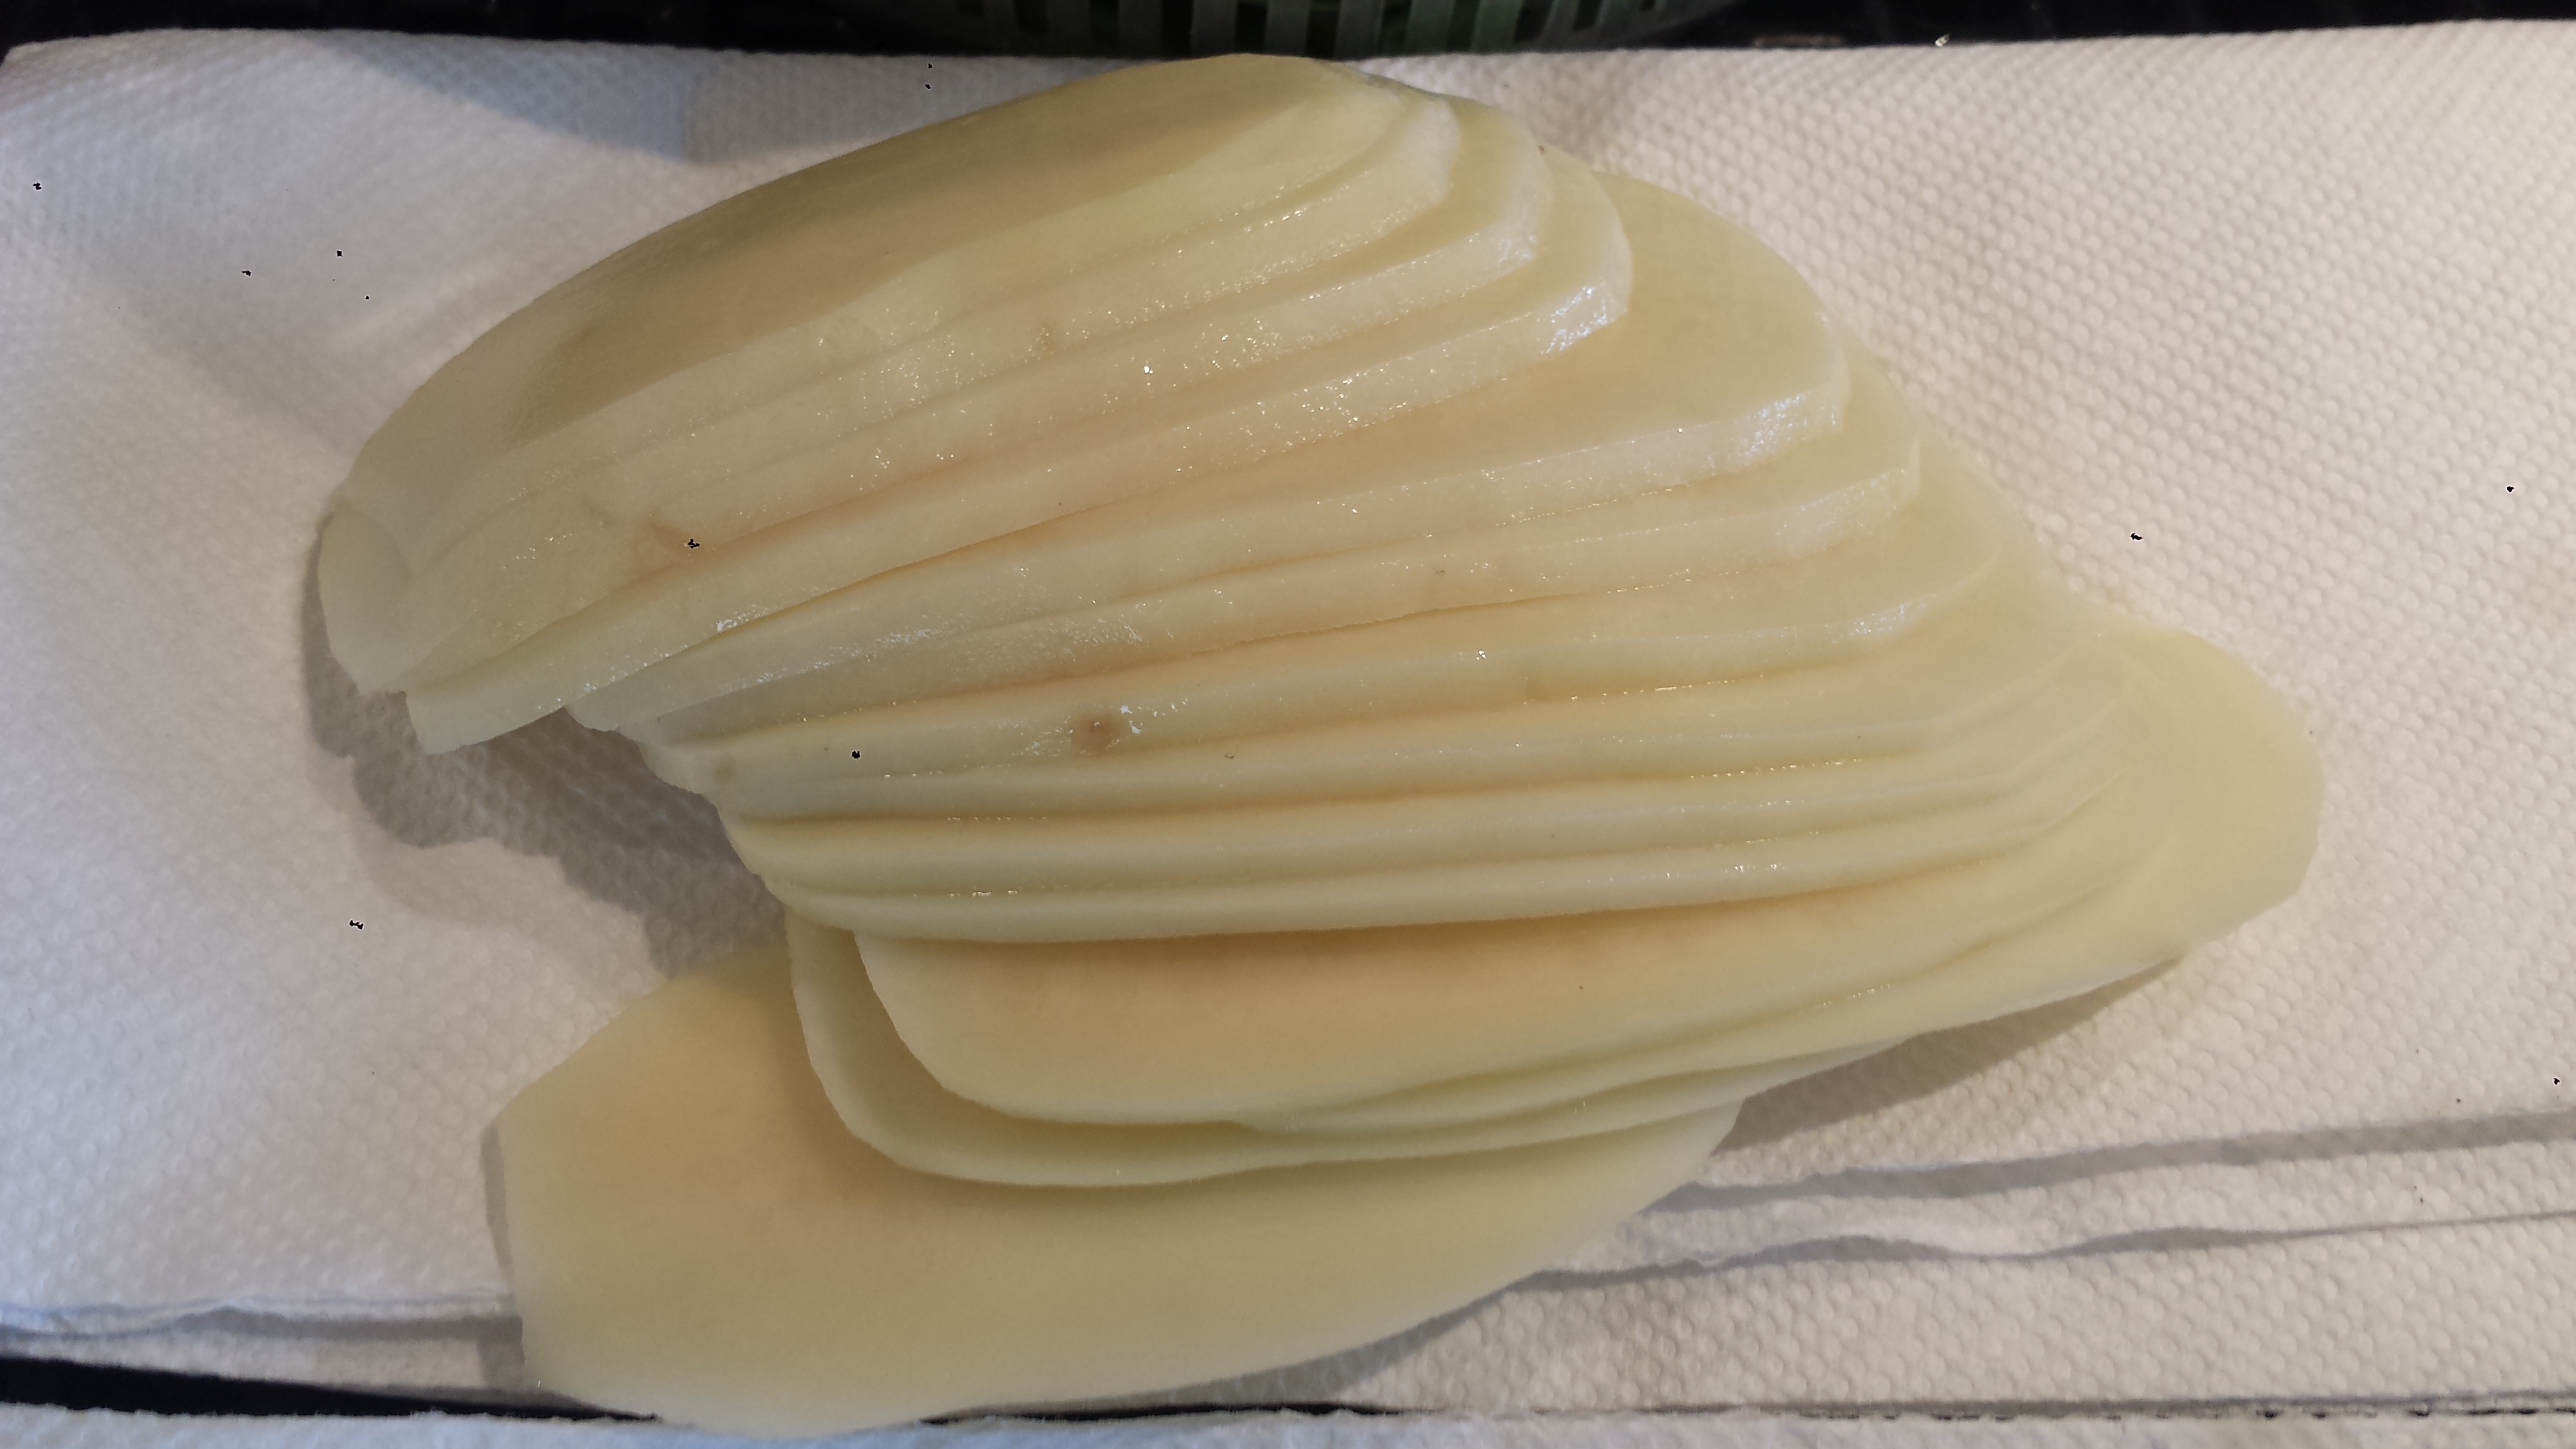
- Remove the leafy stem and cut the aubergine into half lengthwise

- Then slice thinly lengthwise using a sharp knife or a mandolin

- Spread the slices on papertowels and sprinkle liberally with salt. Let sit for at least 10 minutes to let the excess water come out.

- Wipe eggplant slices dry. Lightly oil a large cookie sheet and spread eggplant evenly in the pan in a single layer. You may need more than one pan depending on the thickness of the slices.

- Brush tops with olive oil and roast at 400°F until they turn light brown, about. 25-35 minutes

- Place cherry tomatoes and peppers in another lightly oiled pan and roast in the same oven until charred in spots and wilted. Turn peppers once.
- Stir balsamic vinegar and 2 Tbsn sugar together in a small saucepan and place over high heat. Bring to a boil, reduce heat to low, and simmer until the vinegar mixture has reduced to 1/3 cup, about 10 minutes. After 5 minutes, taste and add another Tbsn sugar if it seems too acidic and cook another 5 minutes.. Set the balsamic reduction aside to cool (It should be a syrupy consistency)

- Remove the eggplant from the oven and let cool slightly. Combine the vinaigrette ingredients in a small bowl and pour the vinaigrette onto the warm eggplant and lightly toss to combine.
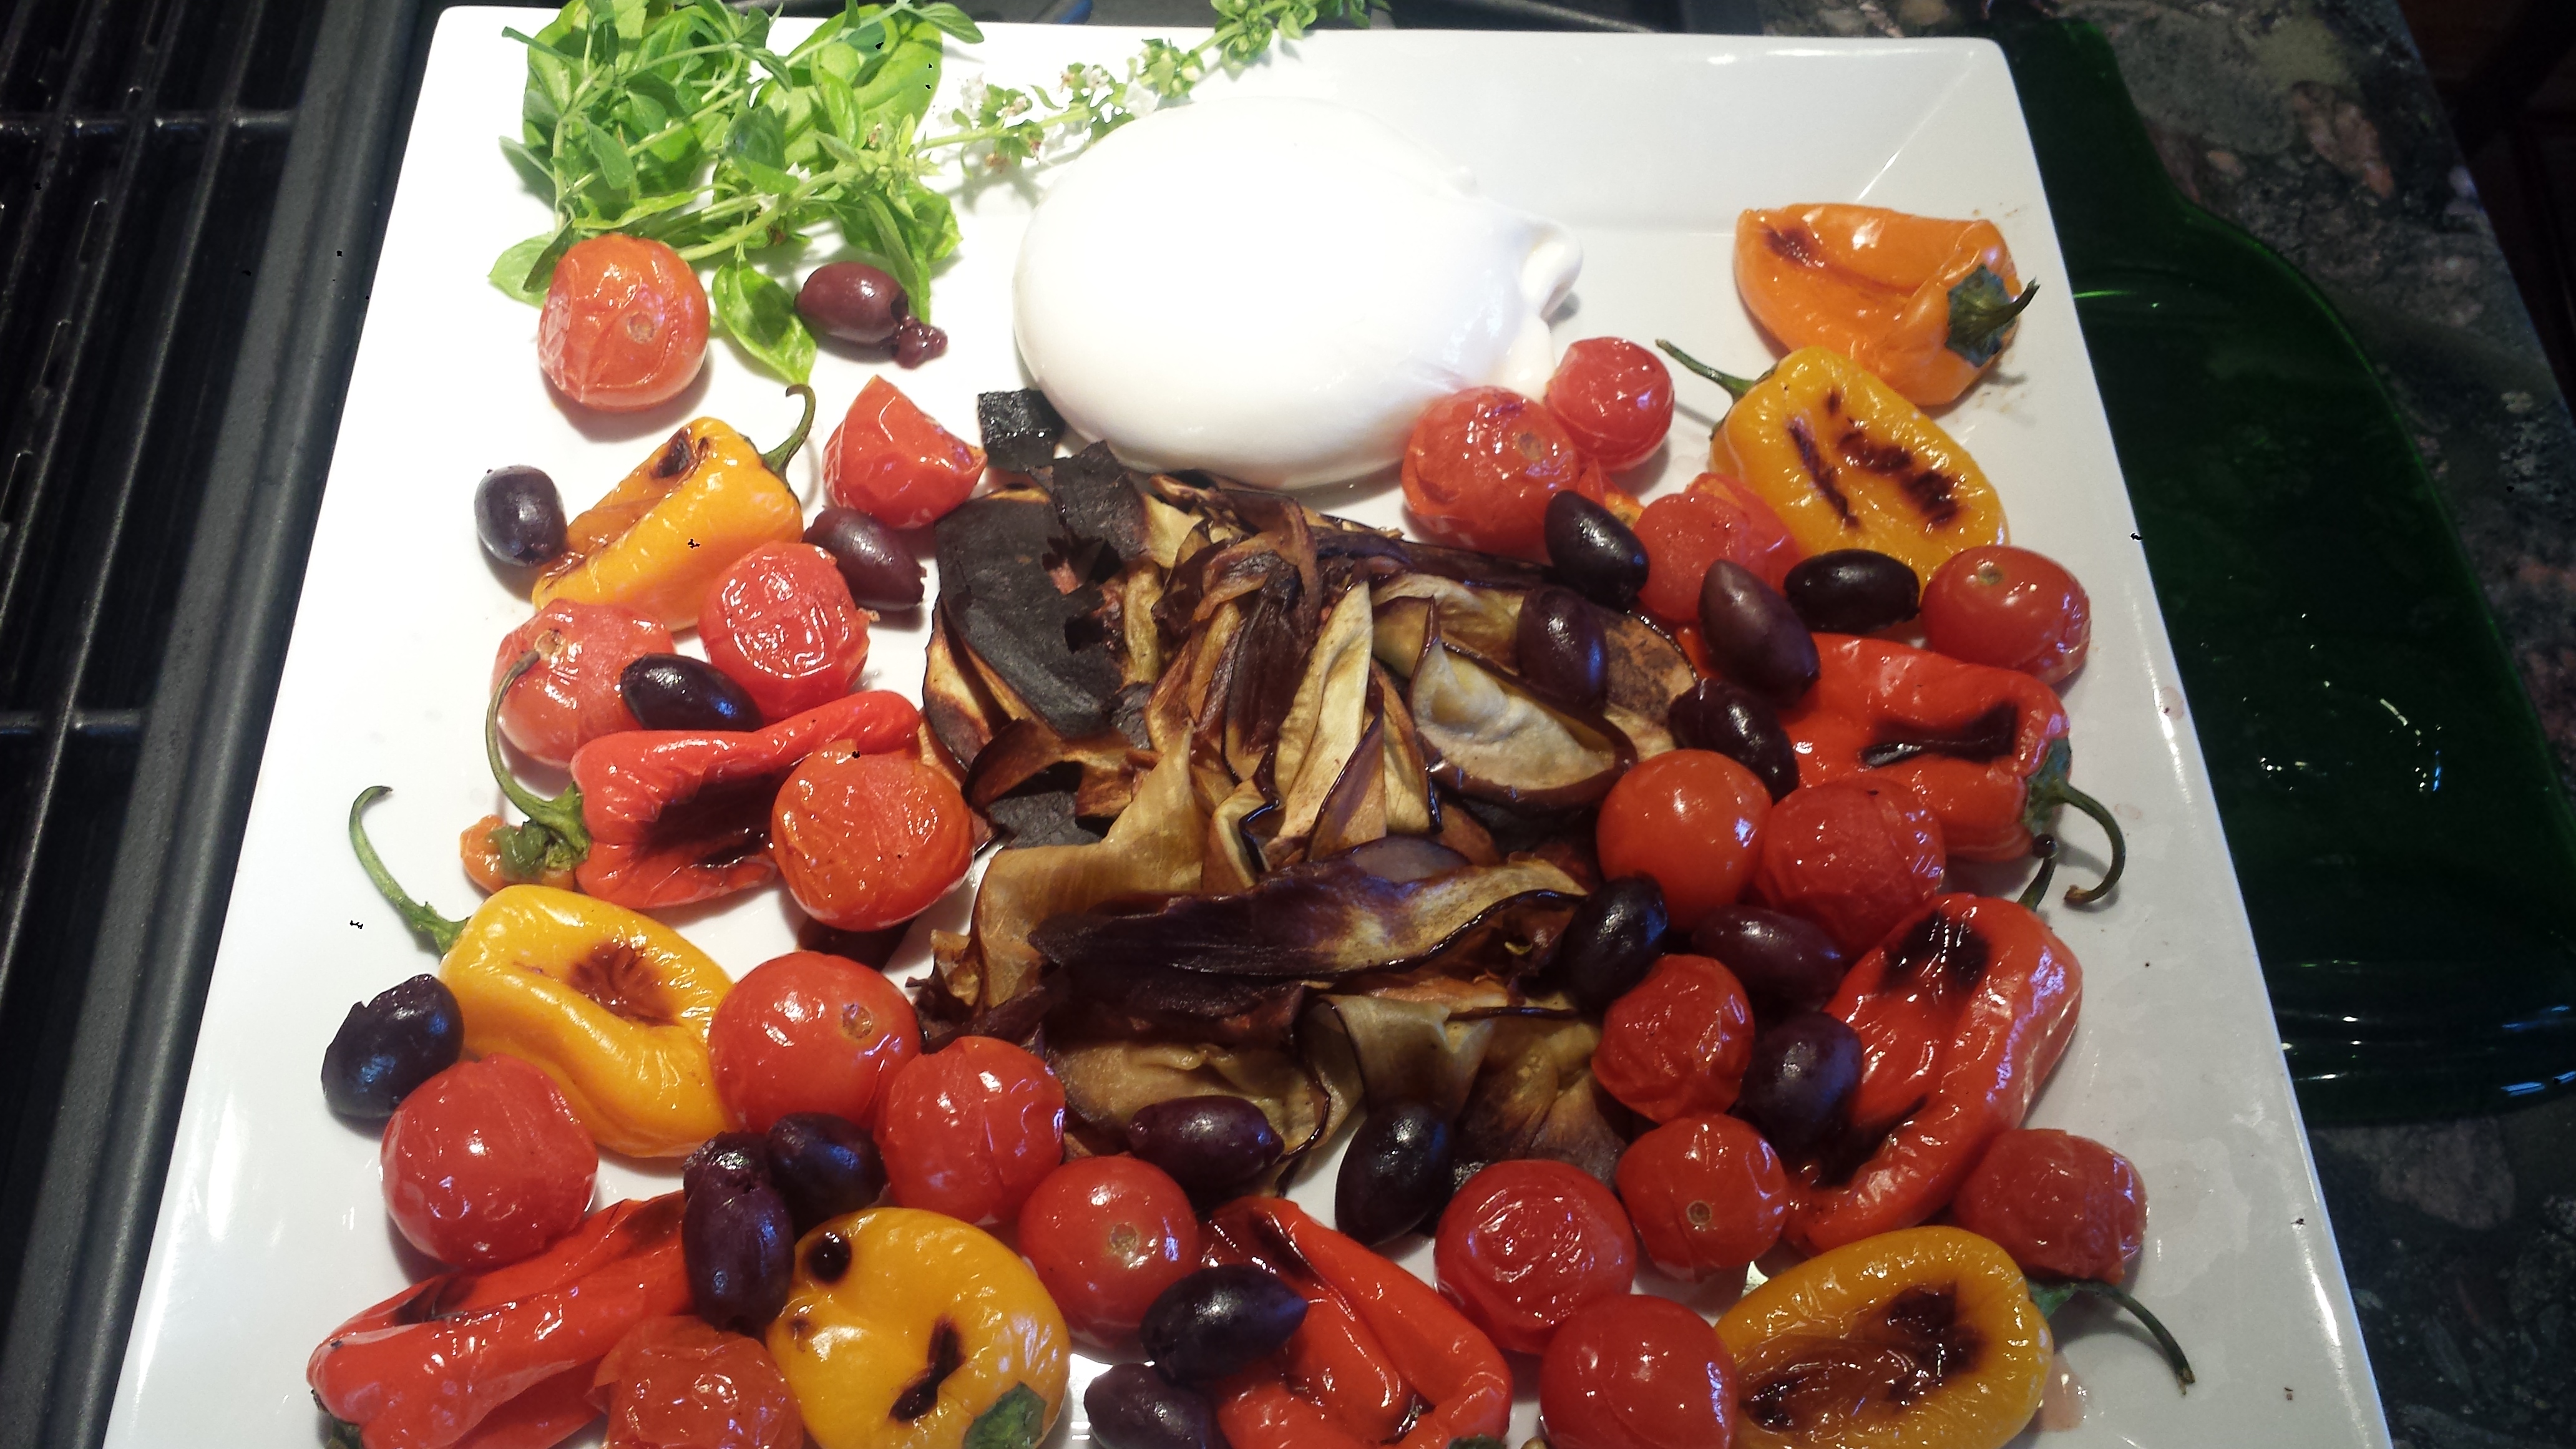
- Arrange eggplant, peppers, tomatoes, olives and burrata on a platter.
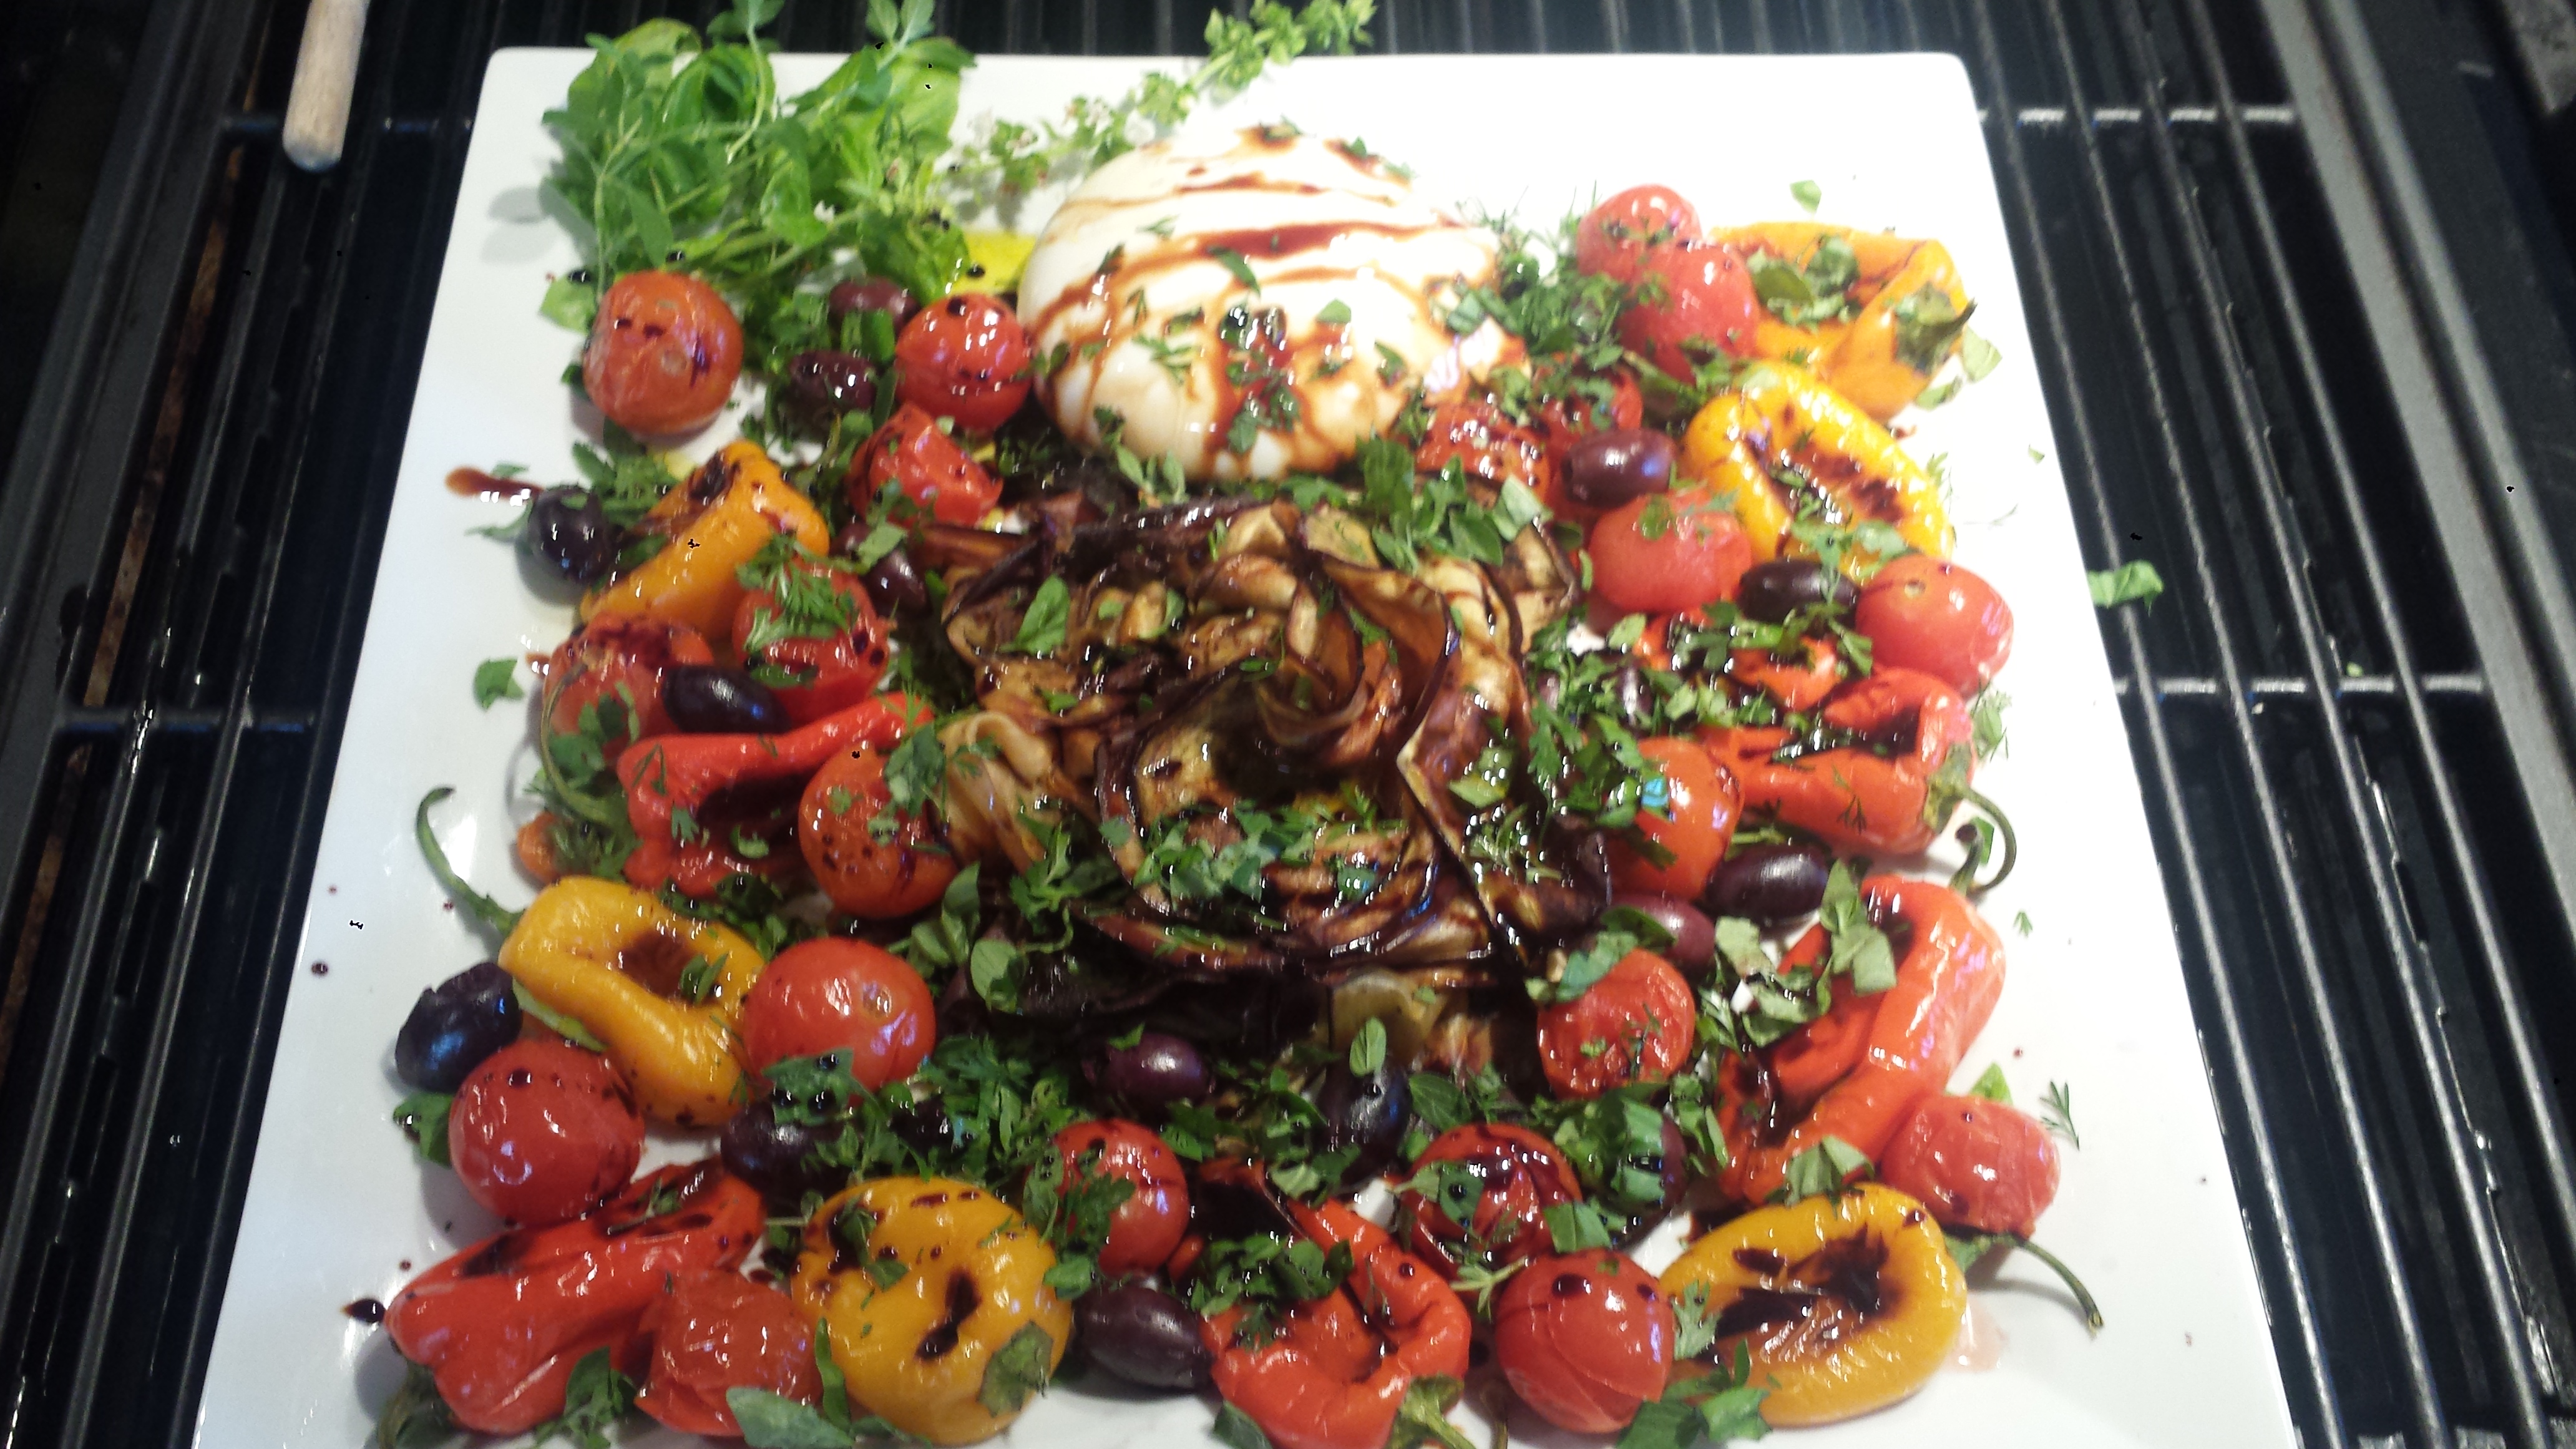
- Sprinkle herbs and arugula over the top. Drizzle with olive oil (optional) and balsamic reduction.

- Serve room temperature with crusty sourdough bread and the remaining balsamic reduction on the side.

1 globe eggplant Roasted Eggplant, Peppers & Tomatoes with Burrata
1 pint cherry tomatoes
1 pint miniature sweet peppers
8 oz burrata, room temperature if possible
1/4 cup olive oil plus more for drizzling
1 cup fresh baby arugula
1/2 cup fresh mixed herbs, parsley, basil or thyme, roughly chopped
1/2 cup kalamata or black olives (optional)
1 cup balsamic vinegar
2-3 Tbsn sugar, brown sugar or honey
Vinaigrette: 2 Tbsn olive oil, 2 Tbsn lemon juice, salt and pepper to taste