t 
Appetizers are the little things you keep eating until you lose your appetite. ~ Joe Moore
I don’t know who Joe Moore is but I’m with him on this. The way I look at it, you might as well make the appetizer as yummy and nutritious as dinner. This one is sure to satisfy, or at least start your night off on a delicious, healthy and low cal note. I’m loving the three bite salad!
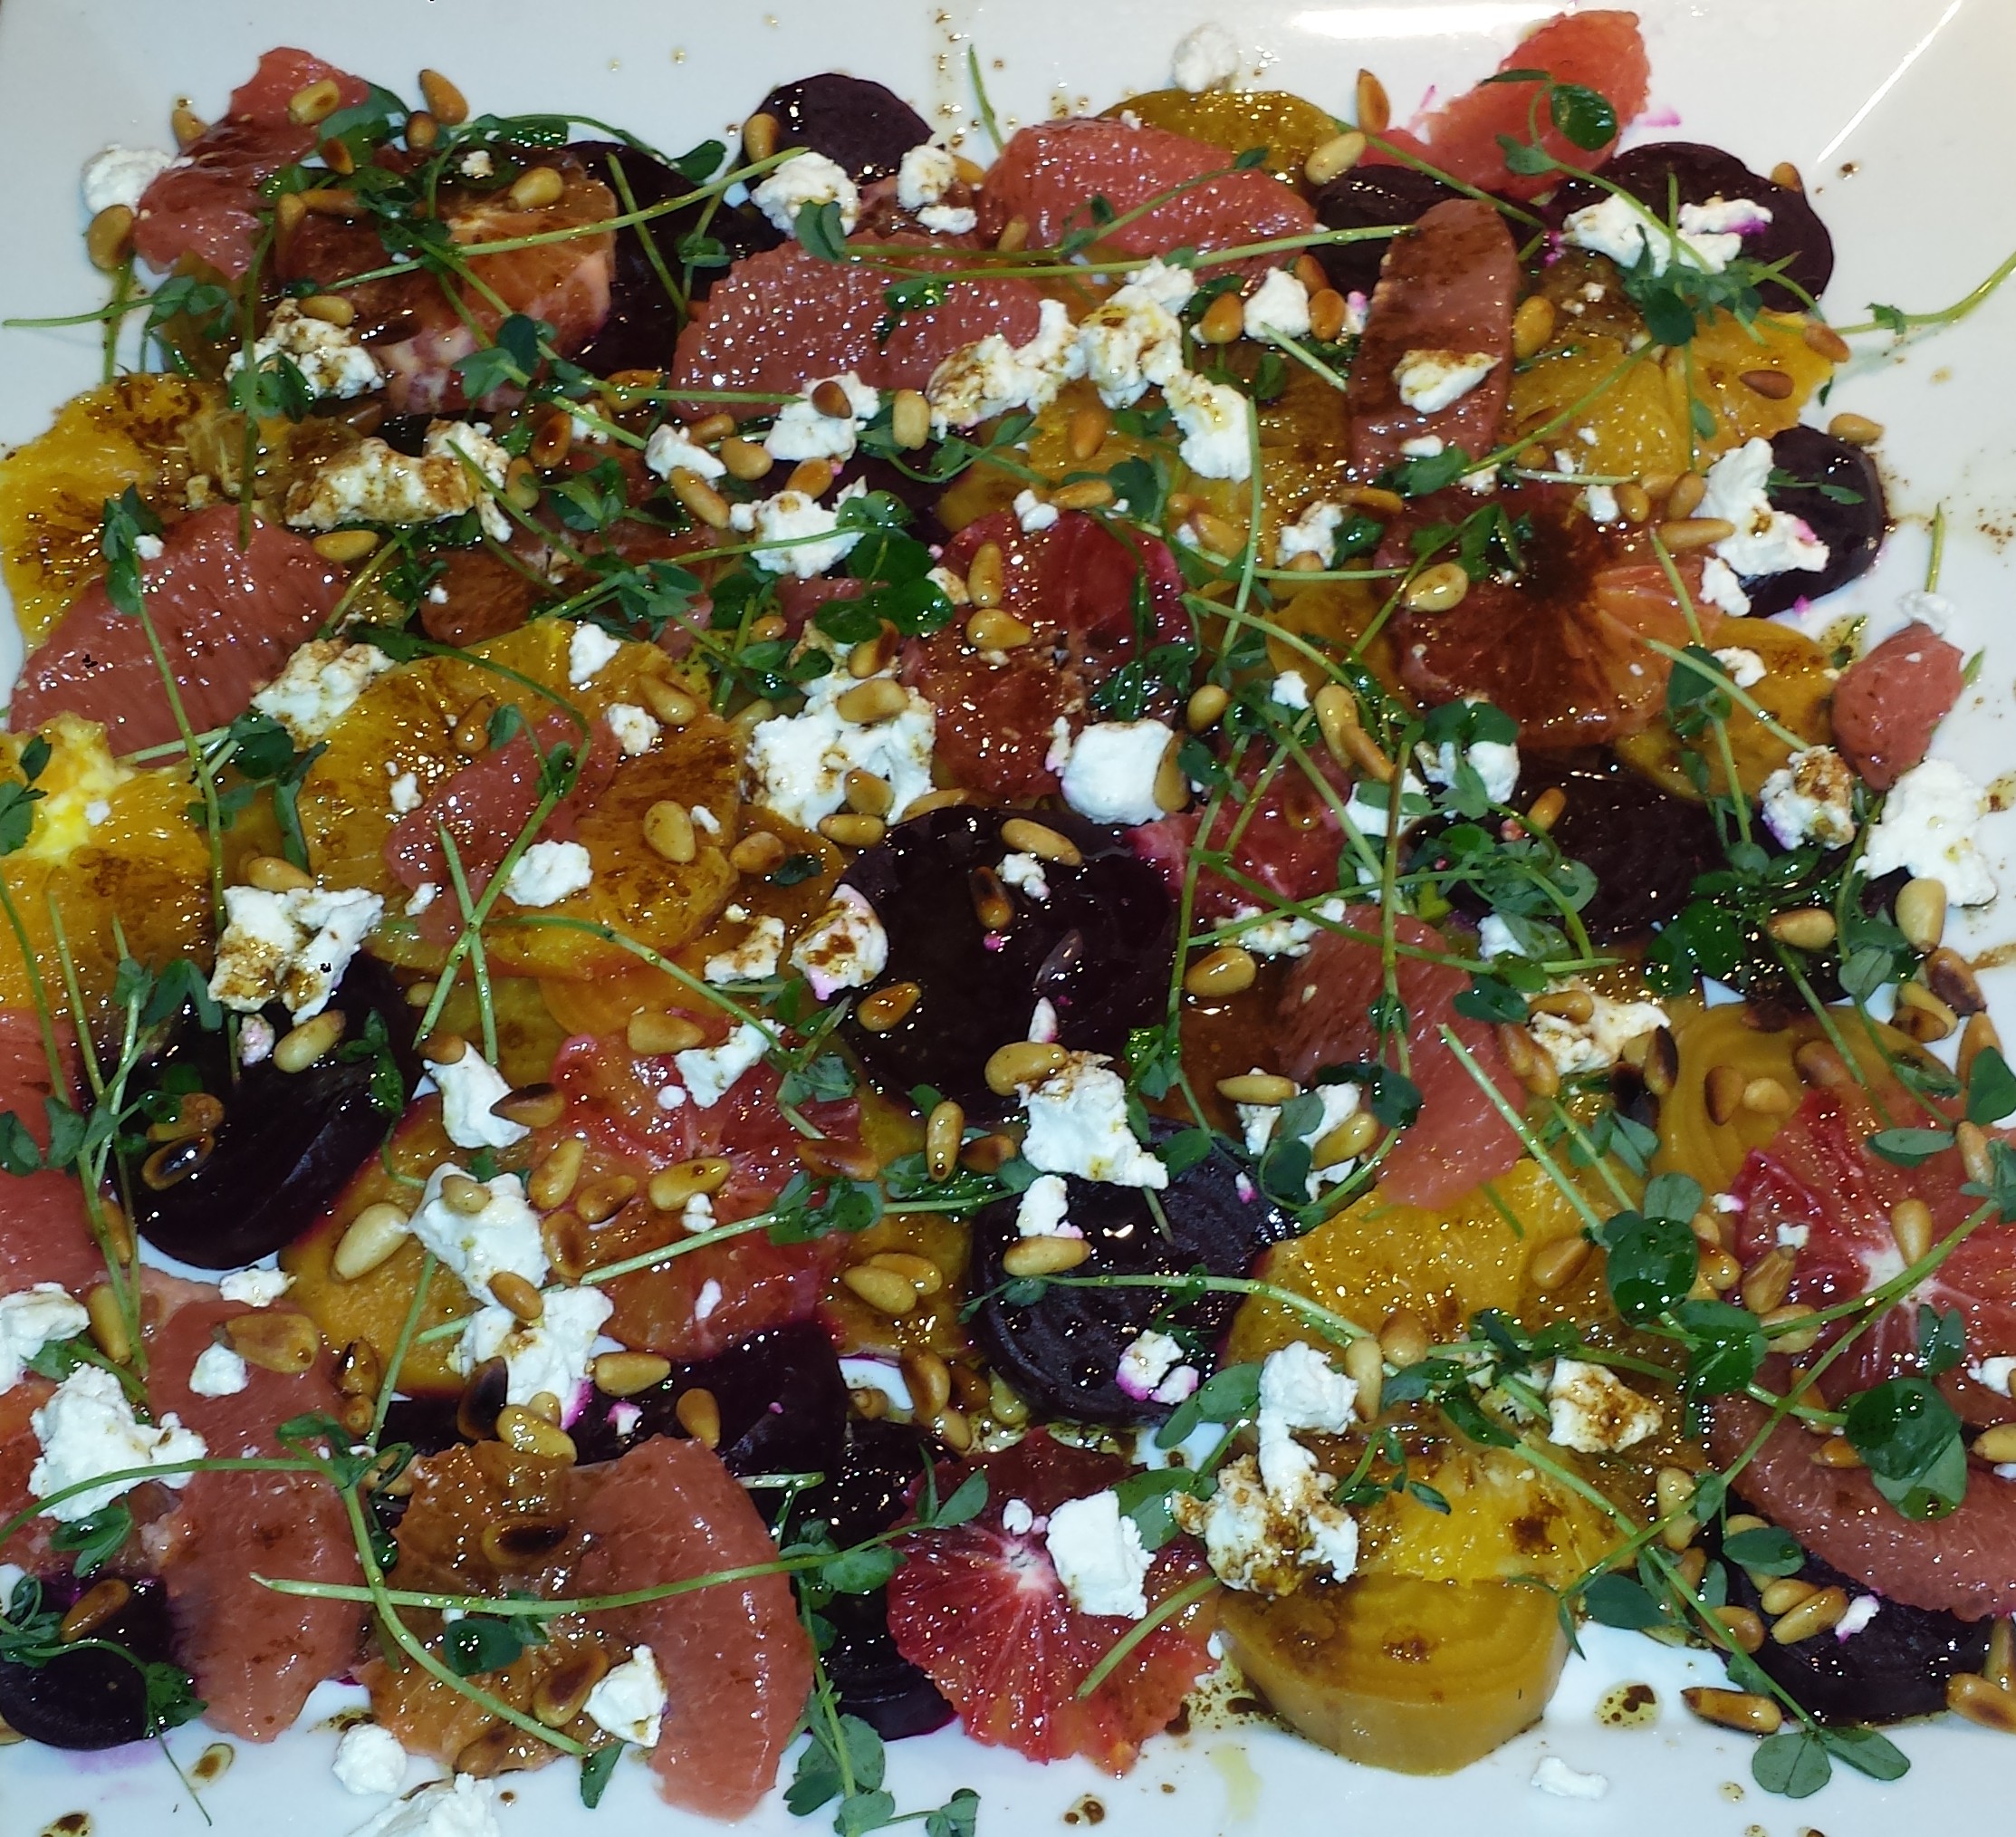
I was feeling a bit under the weather today, perhaps a result of spending so much time clearing out and planting my garden. My raging allergies have turned into a cold and the best remedy for a cold is soup. So I made a big pot of White Bean and Swiss Chard Soup for dinner last night, which is a personal favorite. It has luscious creaminess without any added cream or thickener. Click on the link for the recipe. I also had some endive from my CSA box that was not yet destined for anything so decided to make salad bites. I am a sucker for foods that have a nice presentation and are easy to eat appetizer style, my kind of eating! Their shape is perfect for stuffing. I just tossed all the salad ingredients with the dressing and piled them up in the endive spear, or boats as I have always thought of them. Their slight bitterness is offset by the sweetness of the orange and grapes and the creaminess of the avocado and goat cheese. The vinaigrette is simple but helps to blend the flavors nicely.

Alternatively, you could julienne the endive and toss the whole thing together as a large salad. Either way, delicious!

This is only the second time I can remember using endive. It definitely won’t be the last. I thought it was a really tasty salad/appetizer and I will make it again with whatever is in season. My CSA box came with an informational blurb on endive which I found quite interesting. Endive is a member of the chicory family (which makes me think of coffee for some reason). Belgiun endive is grown from chicory roots in a dark environment, which is why their tender leaves are such a light color. I was enthralled, so I googled, and here is what endive looks like growing. You can click on the photo link for the full story on endive.
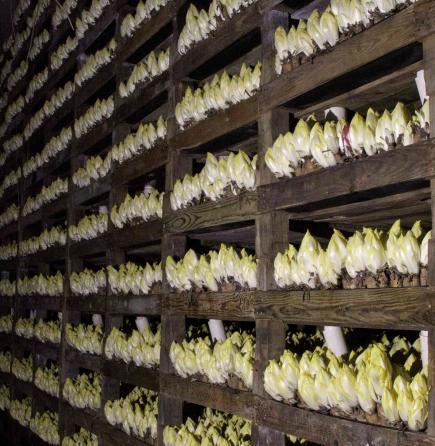
Photo Credit: http://endive.com/how-endive-is-grown
For their pale complexions, endive are surprisingly nutritious, providing many valuable vitamins and mnerals, including vitamin C, calcium, iron and zinc, among many others. The biggest surprise is that it is a good source of beta-carotene which we usually attribute to the orange vegetable family. But that’s not all. It has more than 50% of the potassium of a banana. Not too bad for our pale friend, the endive. It also makes a darn good edible appetizer boat.

ENDIVE SALAD BITES
1 head Belgian endive
1 orange or grapefruit
1 avocado
1/2 cup red grapes
4 scallions, chopped
1/3 cup crumbled goat, gorgonzola or blue cheese
1/3 cup cilantro or parsley, chopped (or more)
Marinade
2 Tbsn olive oil
1 Tbsn balsamic vinegar
1 Tbsn red wine or apple cider vinegar
salt and pepper to taste

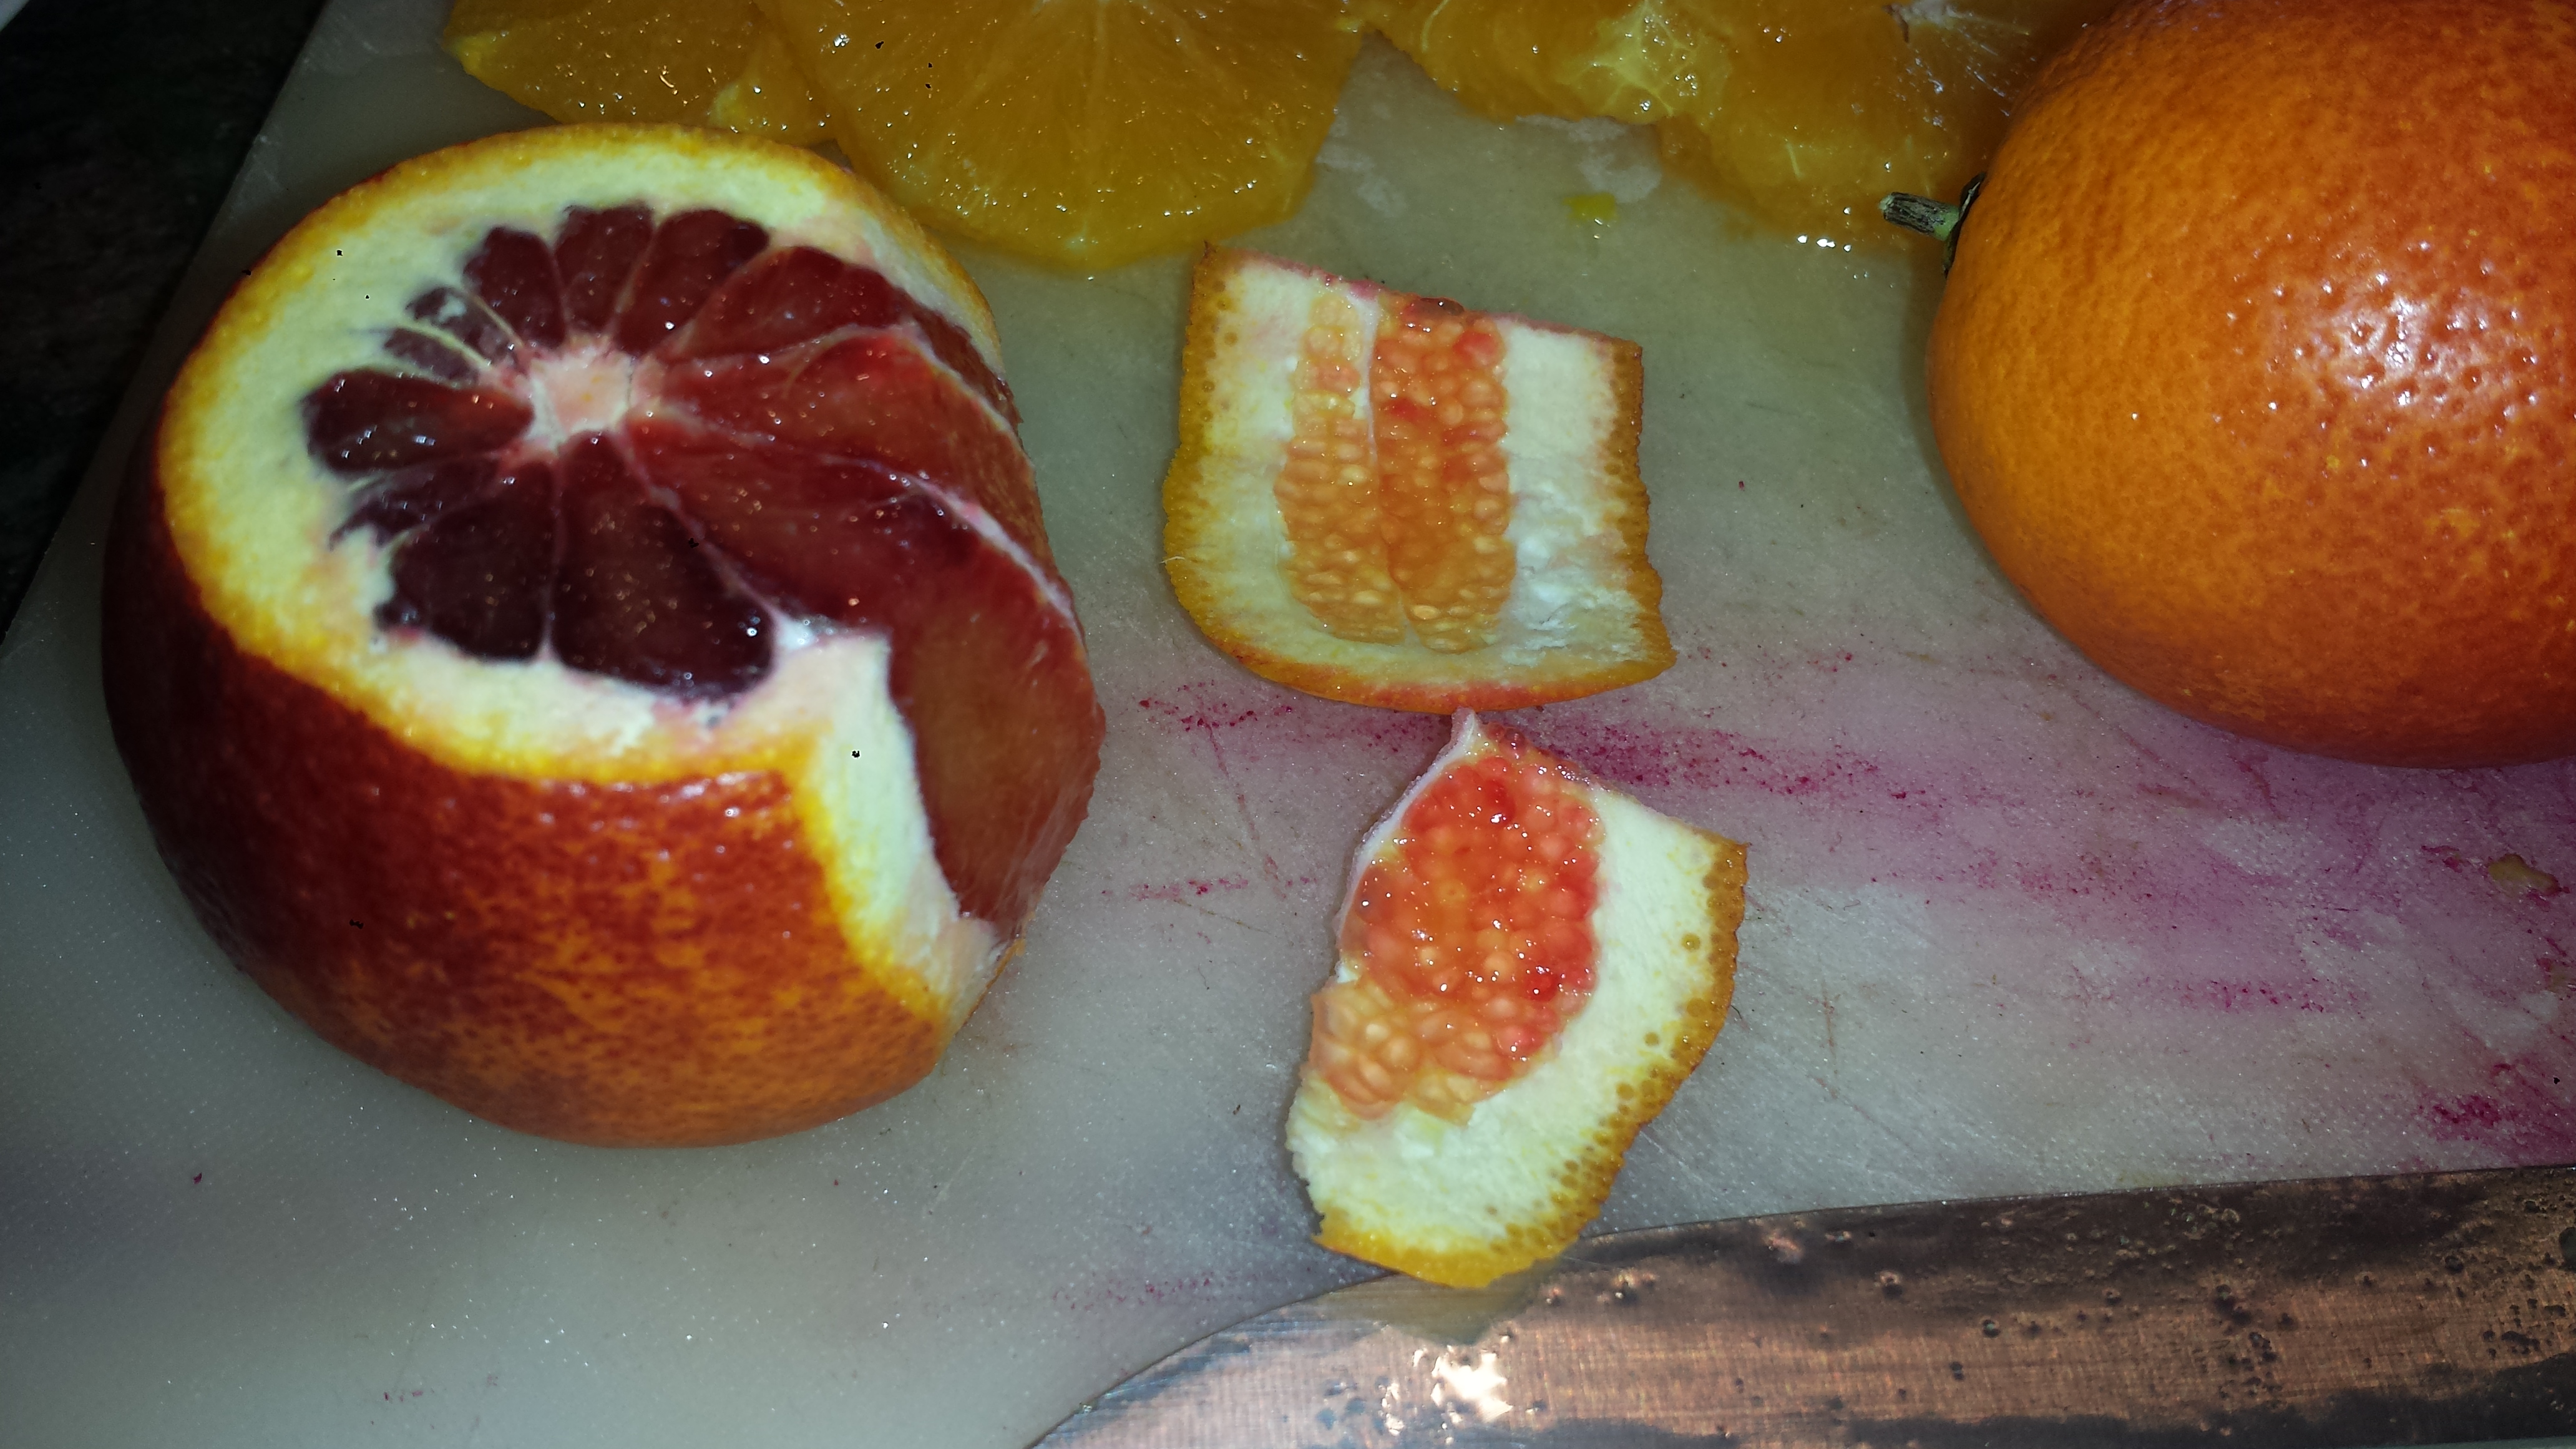
- Cut the ends off orange and remove the peel by cutting in a downward motion going all the way around. Cut into wheels and then sections. Place in a large bowl.

- Slice grapes and admire their gorgeous jewel toned colors.

- place in the bowl with the oranges.

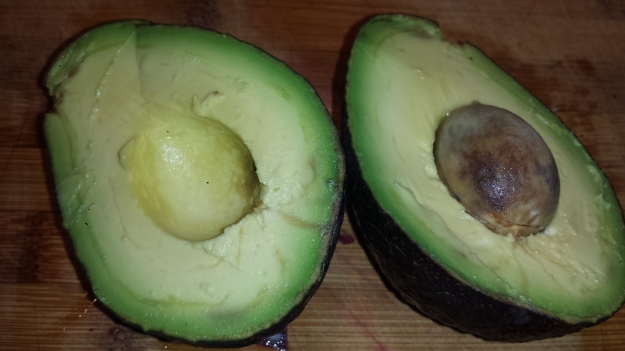
- Halve avocado and cut into pieces a similar size to the orange segments.

- Add avocado, cilantro, scallions and crumbled goat cheese to the bowl.

- Prepare marinade and drizzle over salad sparingly. You can always drizzle more later and since they are to be eaten by hand, you don’t want them too drippy.

- Cut the core end off the endive. Clean by gently wiping both sides with a lightly damp paper towel. Pull off as many leaves as you want to use. The remainder can be stored in the refrigerator under a lightly damp paper towel.Place 1-2 tablespoons of salad into each endive spear. Arrange on a platter and garish with extra cilantro.
Endive Salad Bites
1 head Belgian endive
1 orange or grapefruit
1 avocado
1/2 cup red grapes
4 scallions, chopped
1/3 cup crumbled goat, gorgonzola or blue cheese
1/3 cup cilantro or parsley, chopped (or more)
Marinade
2 Tbsn olive oil
1 Tbsn balsamic vinegar
1 Tbsn red wine or apple cider vinegar
salt and pepper to taste
- Cut the ends off orange and remove the peel by cutting in a downward motion going all the way around. Cut into wheels and then sections. Place in a large bowl.
- Slice grapes and place in the bowl with the oranges.
- Halve avocado and cut into pieces a similar size to the orange segments.
- Add avocado, cilantro and scallions to the bowl.
- Crumble goat cheese and add to the salad.
- Cut the core end off the endive. Clean by gently wiping both sides with a lightly damp paper towel. Pull off as many leaves as you want to use. The remainder can be stored in the refrigerator under a lightly damp paper towel.
- Prepare marinade and drizzle over salad sparingly. You can always drizzle more later and since they are to be eaten by hand, you don’t want them too messy.
- Place 1-2 tablespoons of salad into each endive spear. Arrange on a platter and garish with extra cilantro.