
I love shortcuts and life hacks – but only if they work! I will admit to sometimes using garlic paste from a tube, instead of chopping a pile of garlic cloves, or bags of pre-washed greens when I’m pressed for time and it can mean the difference between a home cooked meal and take out. Sometimes you just have to go with whatever works and often the shortcuts are just short of brilliant. For your reading pleasure I have provided a link to 40 Great Life Hacks which just may give you a good idea or two (or at least you will be impressed by the cleverness of some people).
Photo Credit: 40 Life Hacks
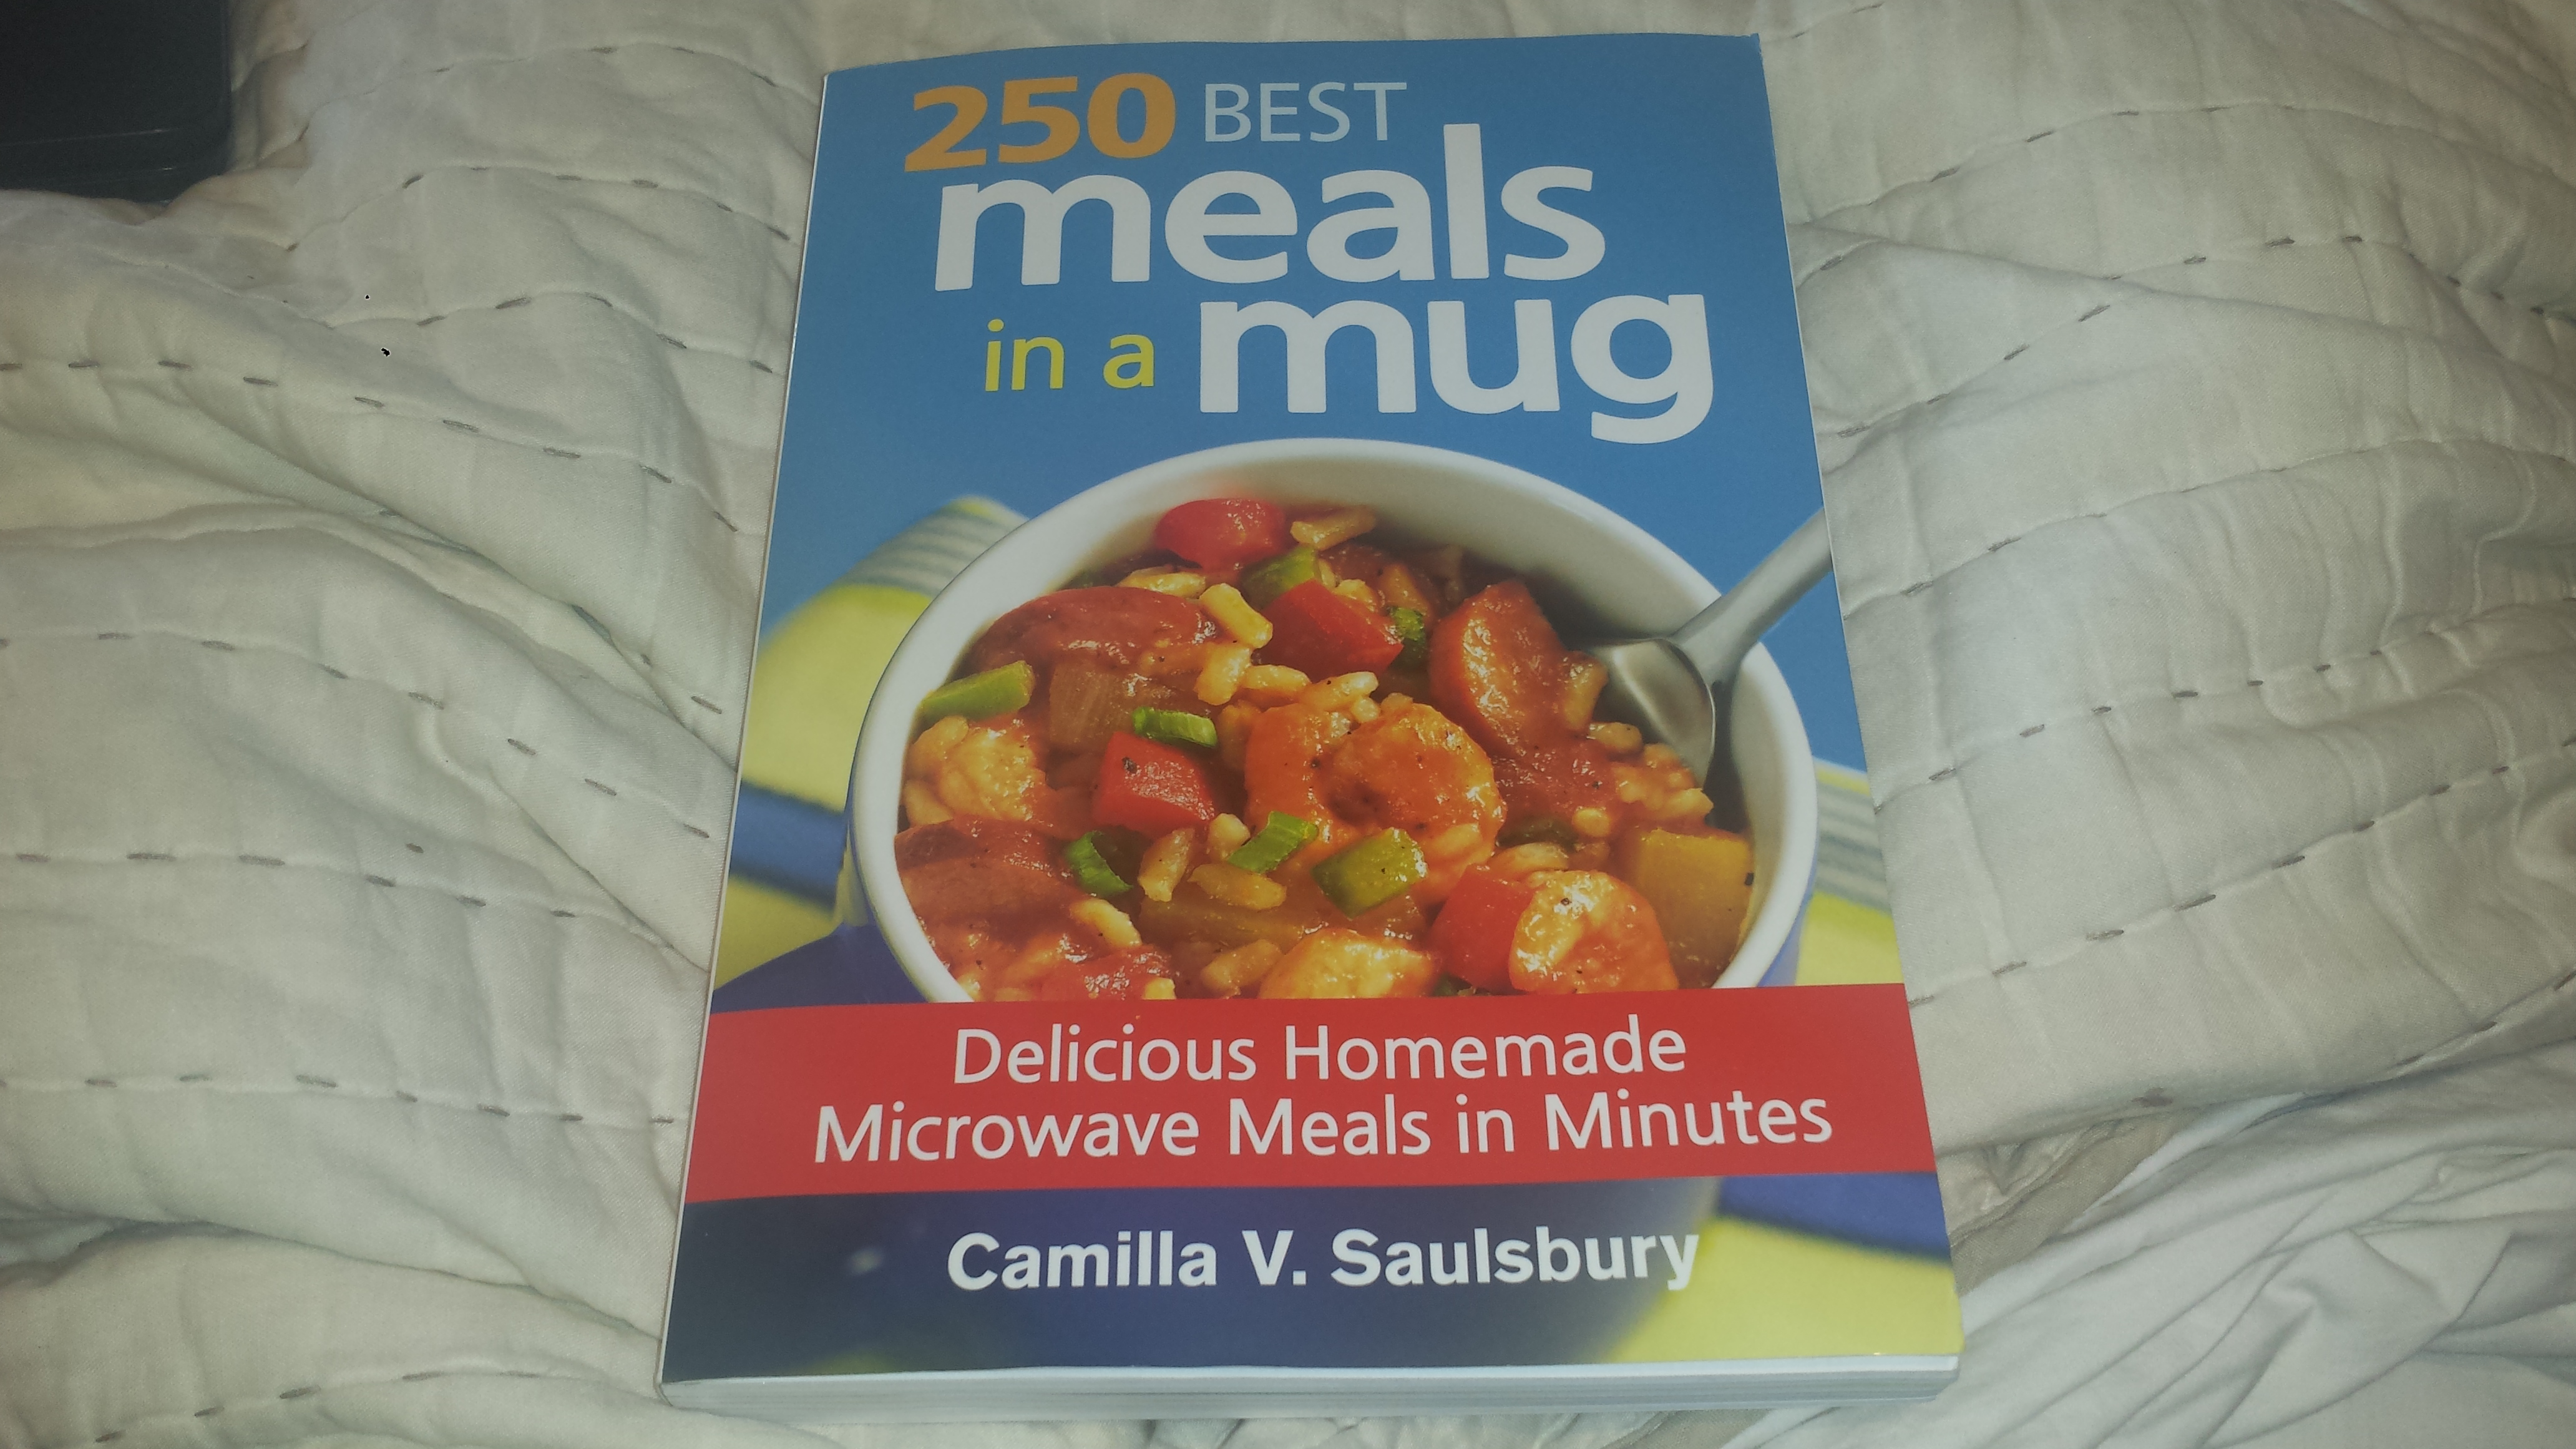
Knowing my interest in food (and avid GMD followers), my Mom and Dad sent me an early birthday present, “250 Best Meals in a Mug”, a cookbook by Camilla V. Saulsbury with single serve recipes that can be made start to finish in a mug. I know this is a departure from most of my recipes, but my parents thought it was a fun concept and so different from the way I usually cook. So I decided to check it out. Meals in a Mug has recipes for breakfast, lunch, dinner and dessert, all made and served in a mug for one. Brilliant! This not only solves the problem of making (and eating) too much food but also drastically reduces the prep and clean up time. No pots or pans to clean, just one mug and one spoon. How nice is that, especially at breakfast time when you’re trying to get out the door?
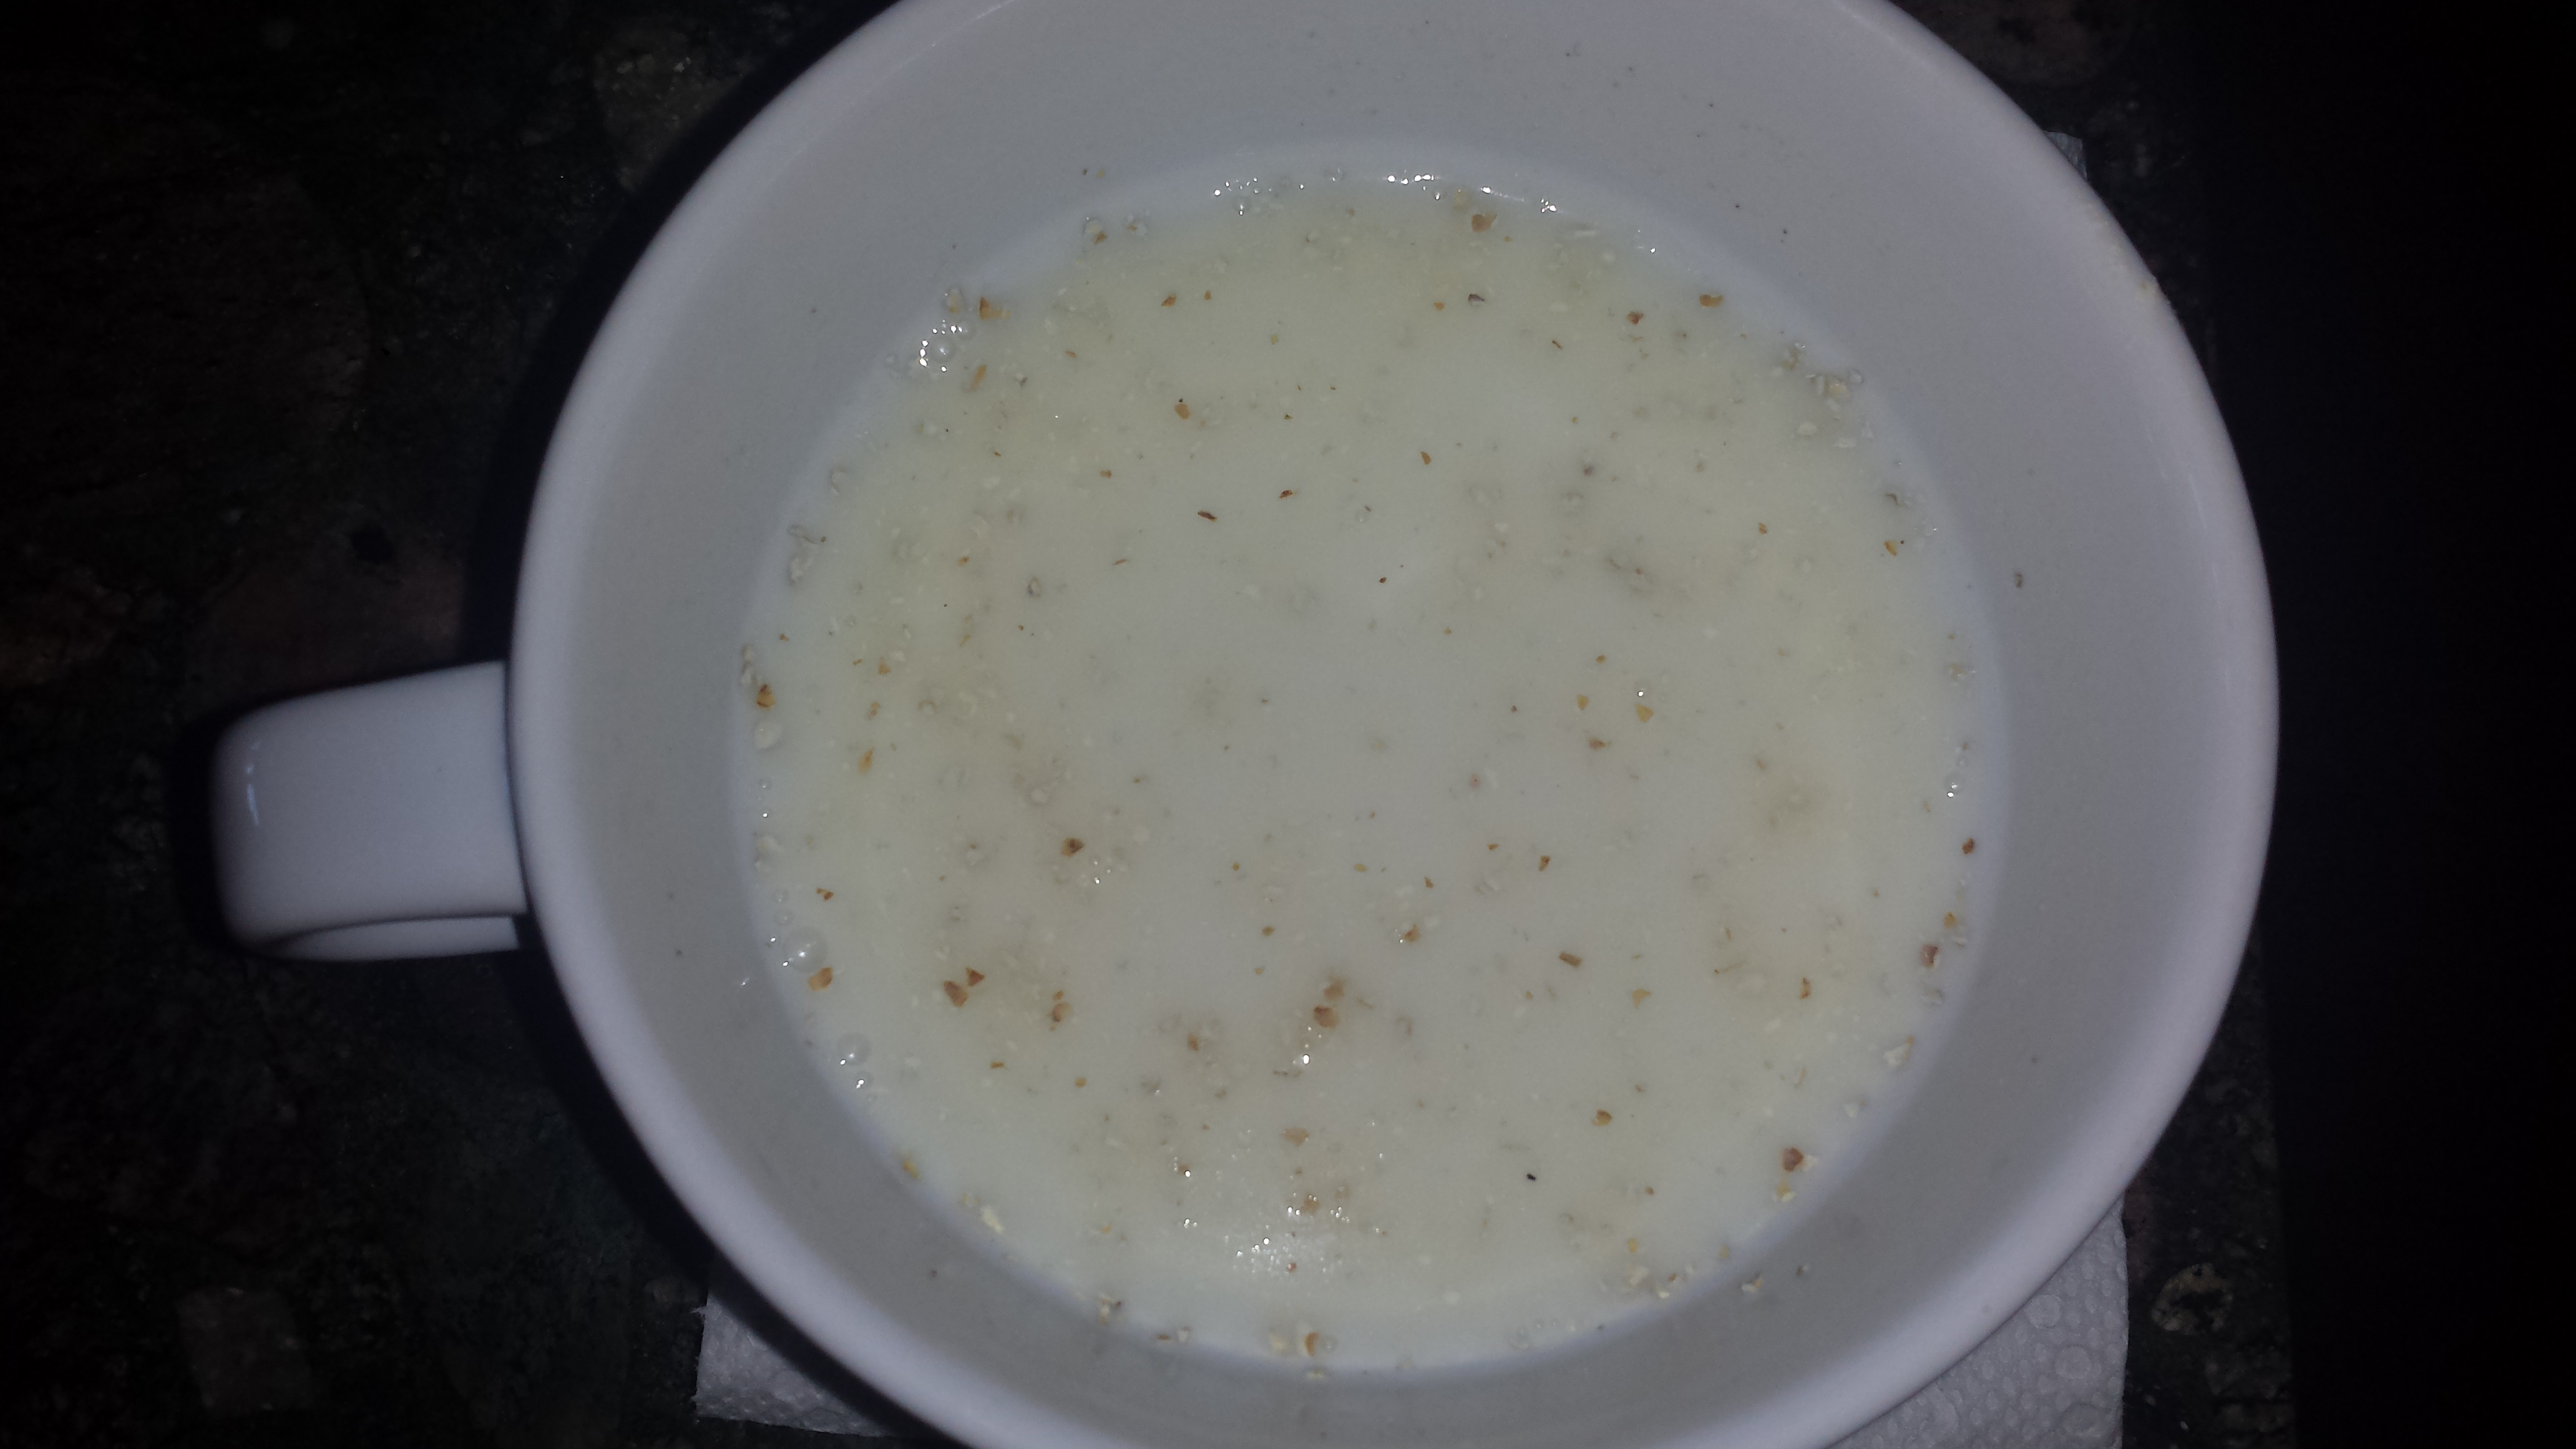
I was immediately drawn to her recipe for Brown Sugar Vanilla Polenta. You might have had creamy polenta for dinner but have you tried it for breakfast? Talk about comfort food, all warm and creamy, sprinkled with brown sugar and a swirl of butter. Yum! It tastes totally decadent and sinful yet, is surprisingly healthful. I used stone ground, non GMO, organic cornmeal which provides fiber, minerals (including magnesium and selenium) and vitamins (including B1 and B6), organic milk and dates, which are an underappreciated fruit. They are also a good source of fiber and a great source of iron plus their natural sugar is an excellent substitute for ordinary sugar. I had good success in the past using dates for their sweetness in my Oat Nut Bars which are addicting pretty darn good.

I rarely make polenta though because I am the only polenta eater in my house and I end up eating too much. However, the mug concept opens a whole new world of cooking for me, fast, easy and completely self-serving as I only have to cater to my own tastes. If you are really in a hurry in the morning, you can prepare the mug before bed. Measure the cornmeal, dried fruit and salt into the mug and let it sit on the counter overnight. You can also pre-measure the butter, vanilla, milk and water and refrigerate over night.

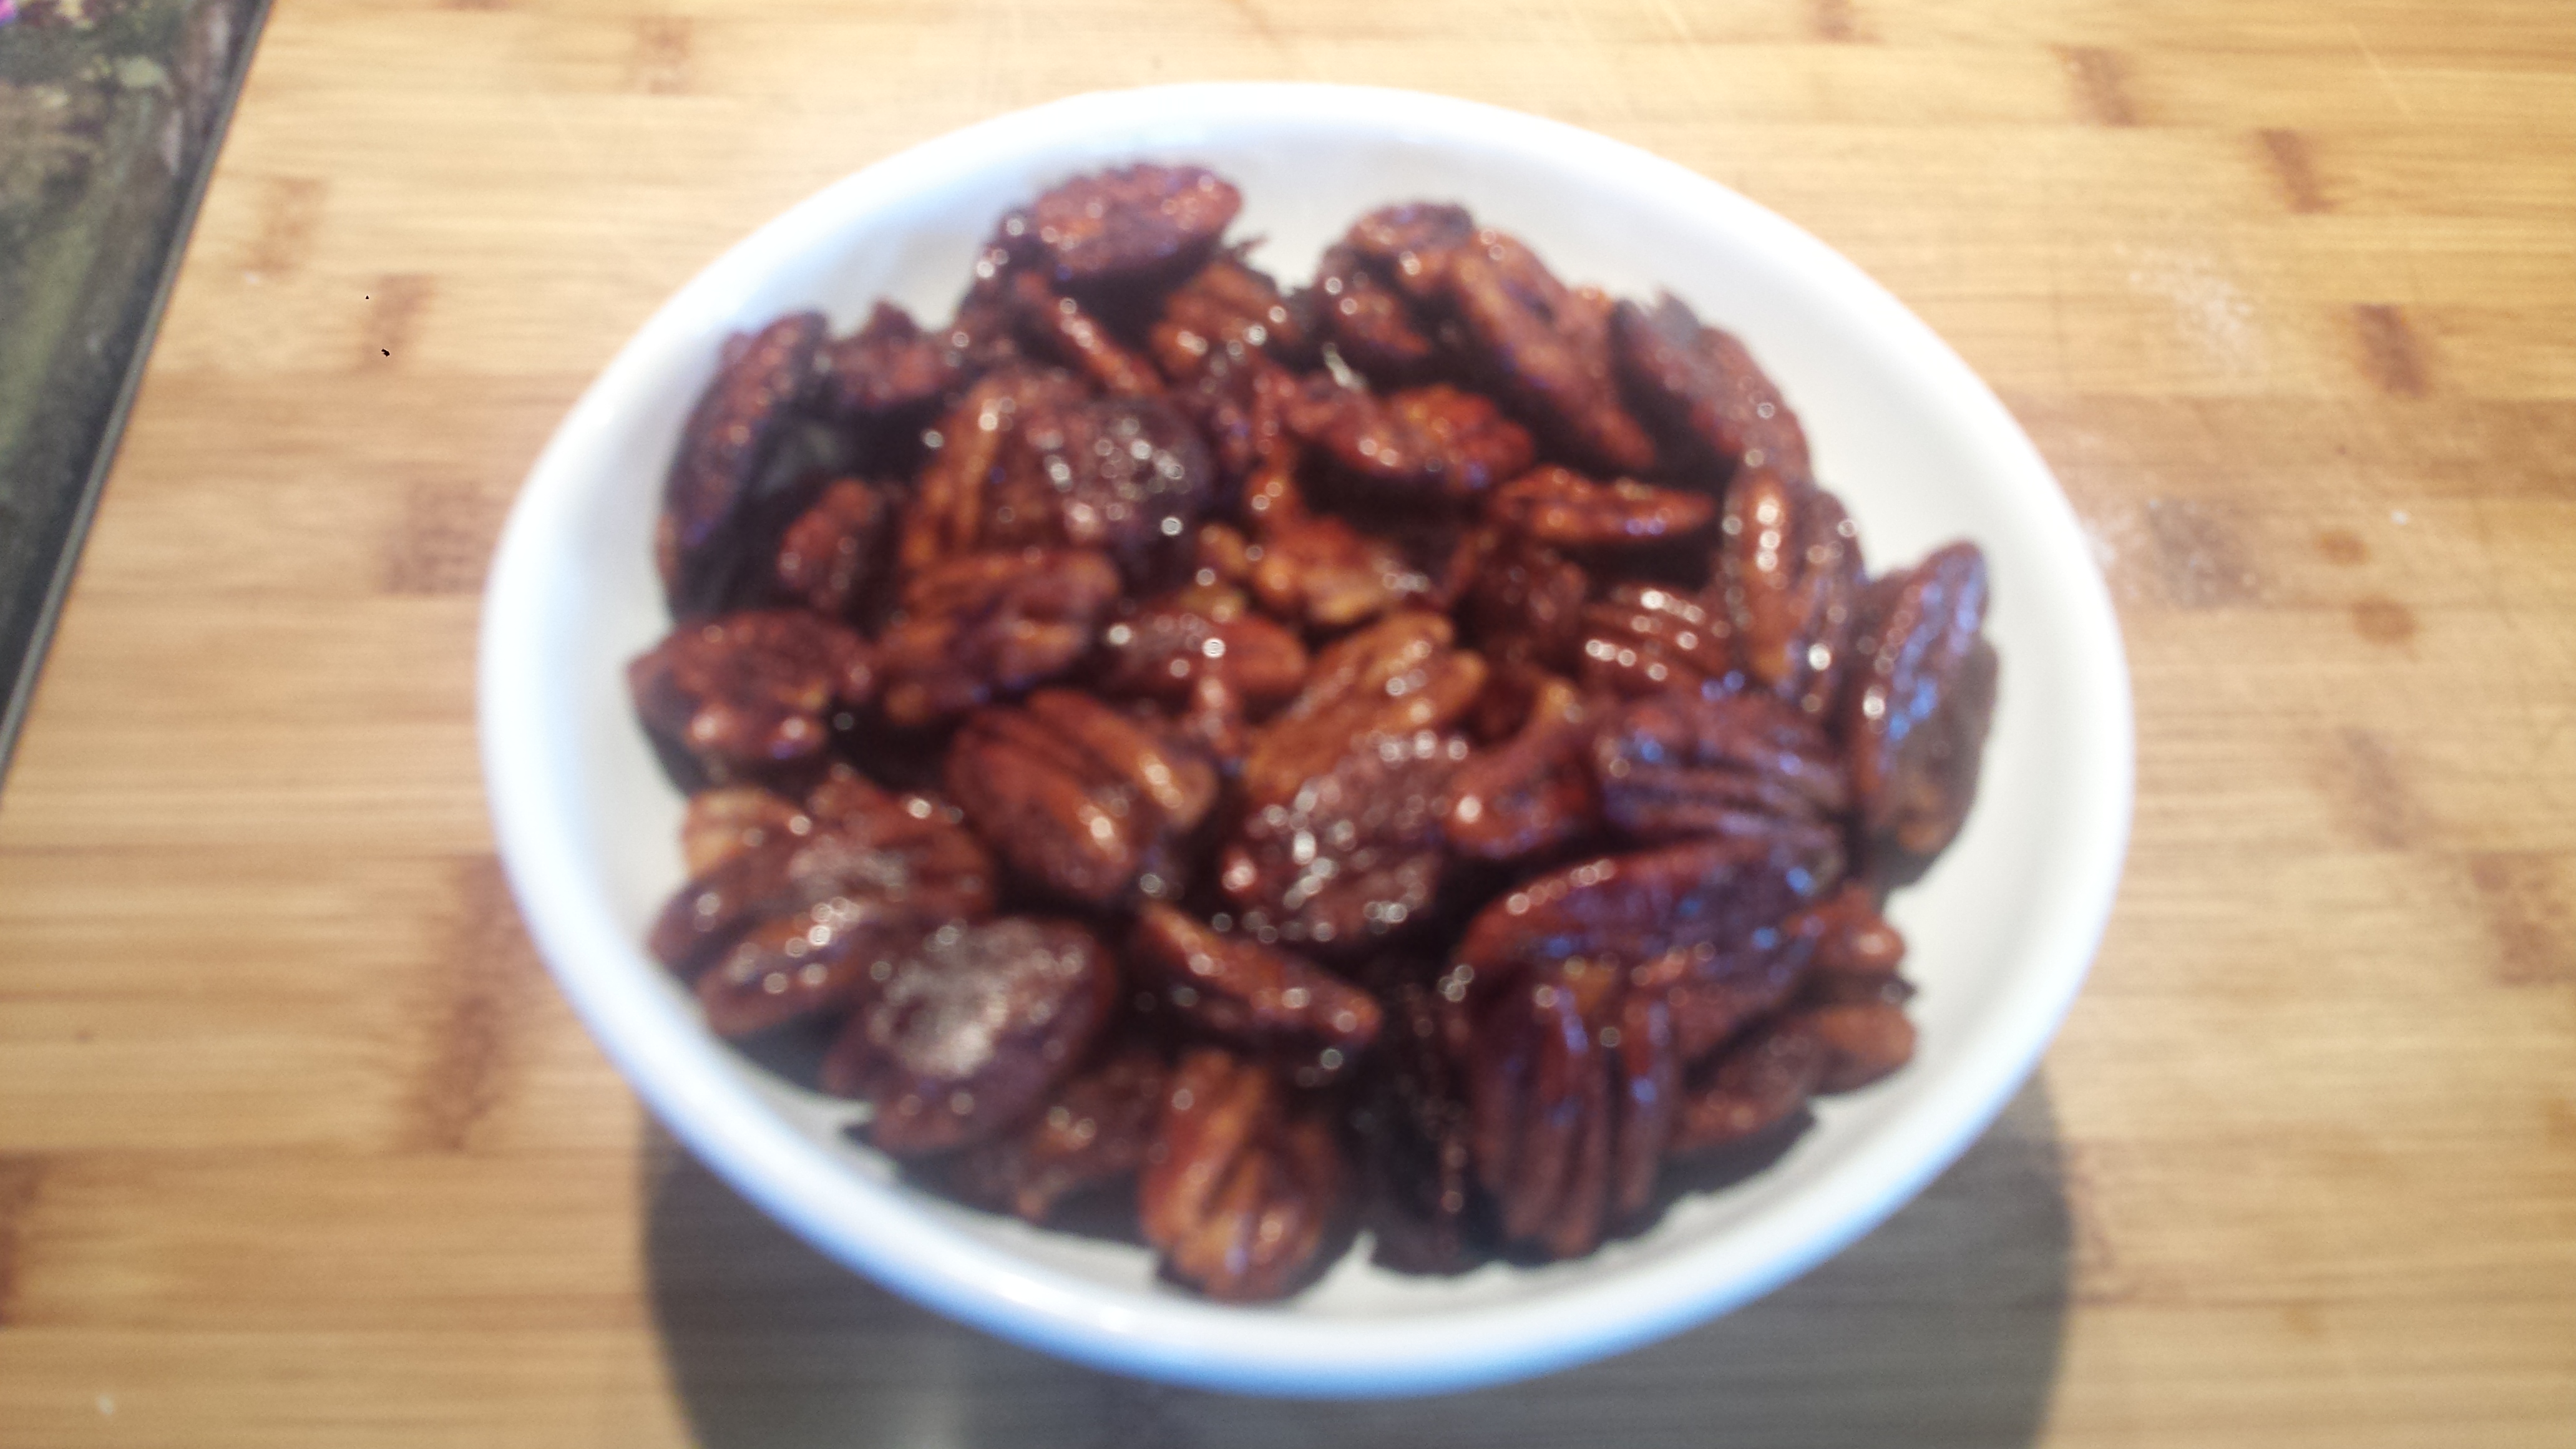
TIPS: I have never really used the microwave for anything other than reheating leftovers or making popcorn, so it took a couple of tries to get it right. My microwave must be more powerful than the cookbook author’s, since my first attempt boiled over, so I have adjusted the times based on my personal experience. I listed the cooking times as ranges because your microwave may take longer than mine, but I would start by using the shortest time at first. I also reduced the amount of brown sugar from the original recipe by a third because the dates made it sweet enough (even without the pecans). If you use cranberries or raisins you may need to add more sugar, depending on your tastes. The glazed pecans make a delicious topping for creamy polenta (or ice cream) but they are also a great snack. Just make them ahead and store them in a covered container or zip lock bag.
Breakfast Polenta in a Mug
1/4 cup yellow cornmeal (preferably non GMO stone-ground)
3 chopped dried dates (or 1 1/2 Tbsn raisins, cranberries or other dried fruit)
1/8 tsp salt
2/3 cup water
3/4 cup milk, divided
2 tsp butter or coconut oil (optional)
1/4 tsp vanilla extract
1 tsp packed brown sugar ( sugar, maple syrup, honey or agave necter)
1 Tbsn glazed pecans, recipe below (optional)
- In a mug, combine cornmeal, dried fruit, salt, 1/2 cup milk and water.
- Place in the microwave on top of a doubled paper towel and microwave on High for 2-3 Minutes.
- Stir, making sure you get the cornmeal off the bottom. Microwave on High for 1-2 minutes.
- Stir. Microwave on High for 1-2 minutes. Check for thickness. Microwave another minute if necessary.
- Stir in butter and vanilla and sprinkle with brown sugar. Drizzle with remaining milk, if desired and top with pecans or fresh fruit. Yum!
Glazed Pecans
1 Tbsn butter or coconut oil
1/8 teaspoon salt 2 Tbsn water
1 1/2 cup pecan halves (or walnut)
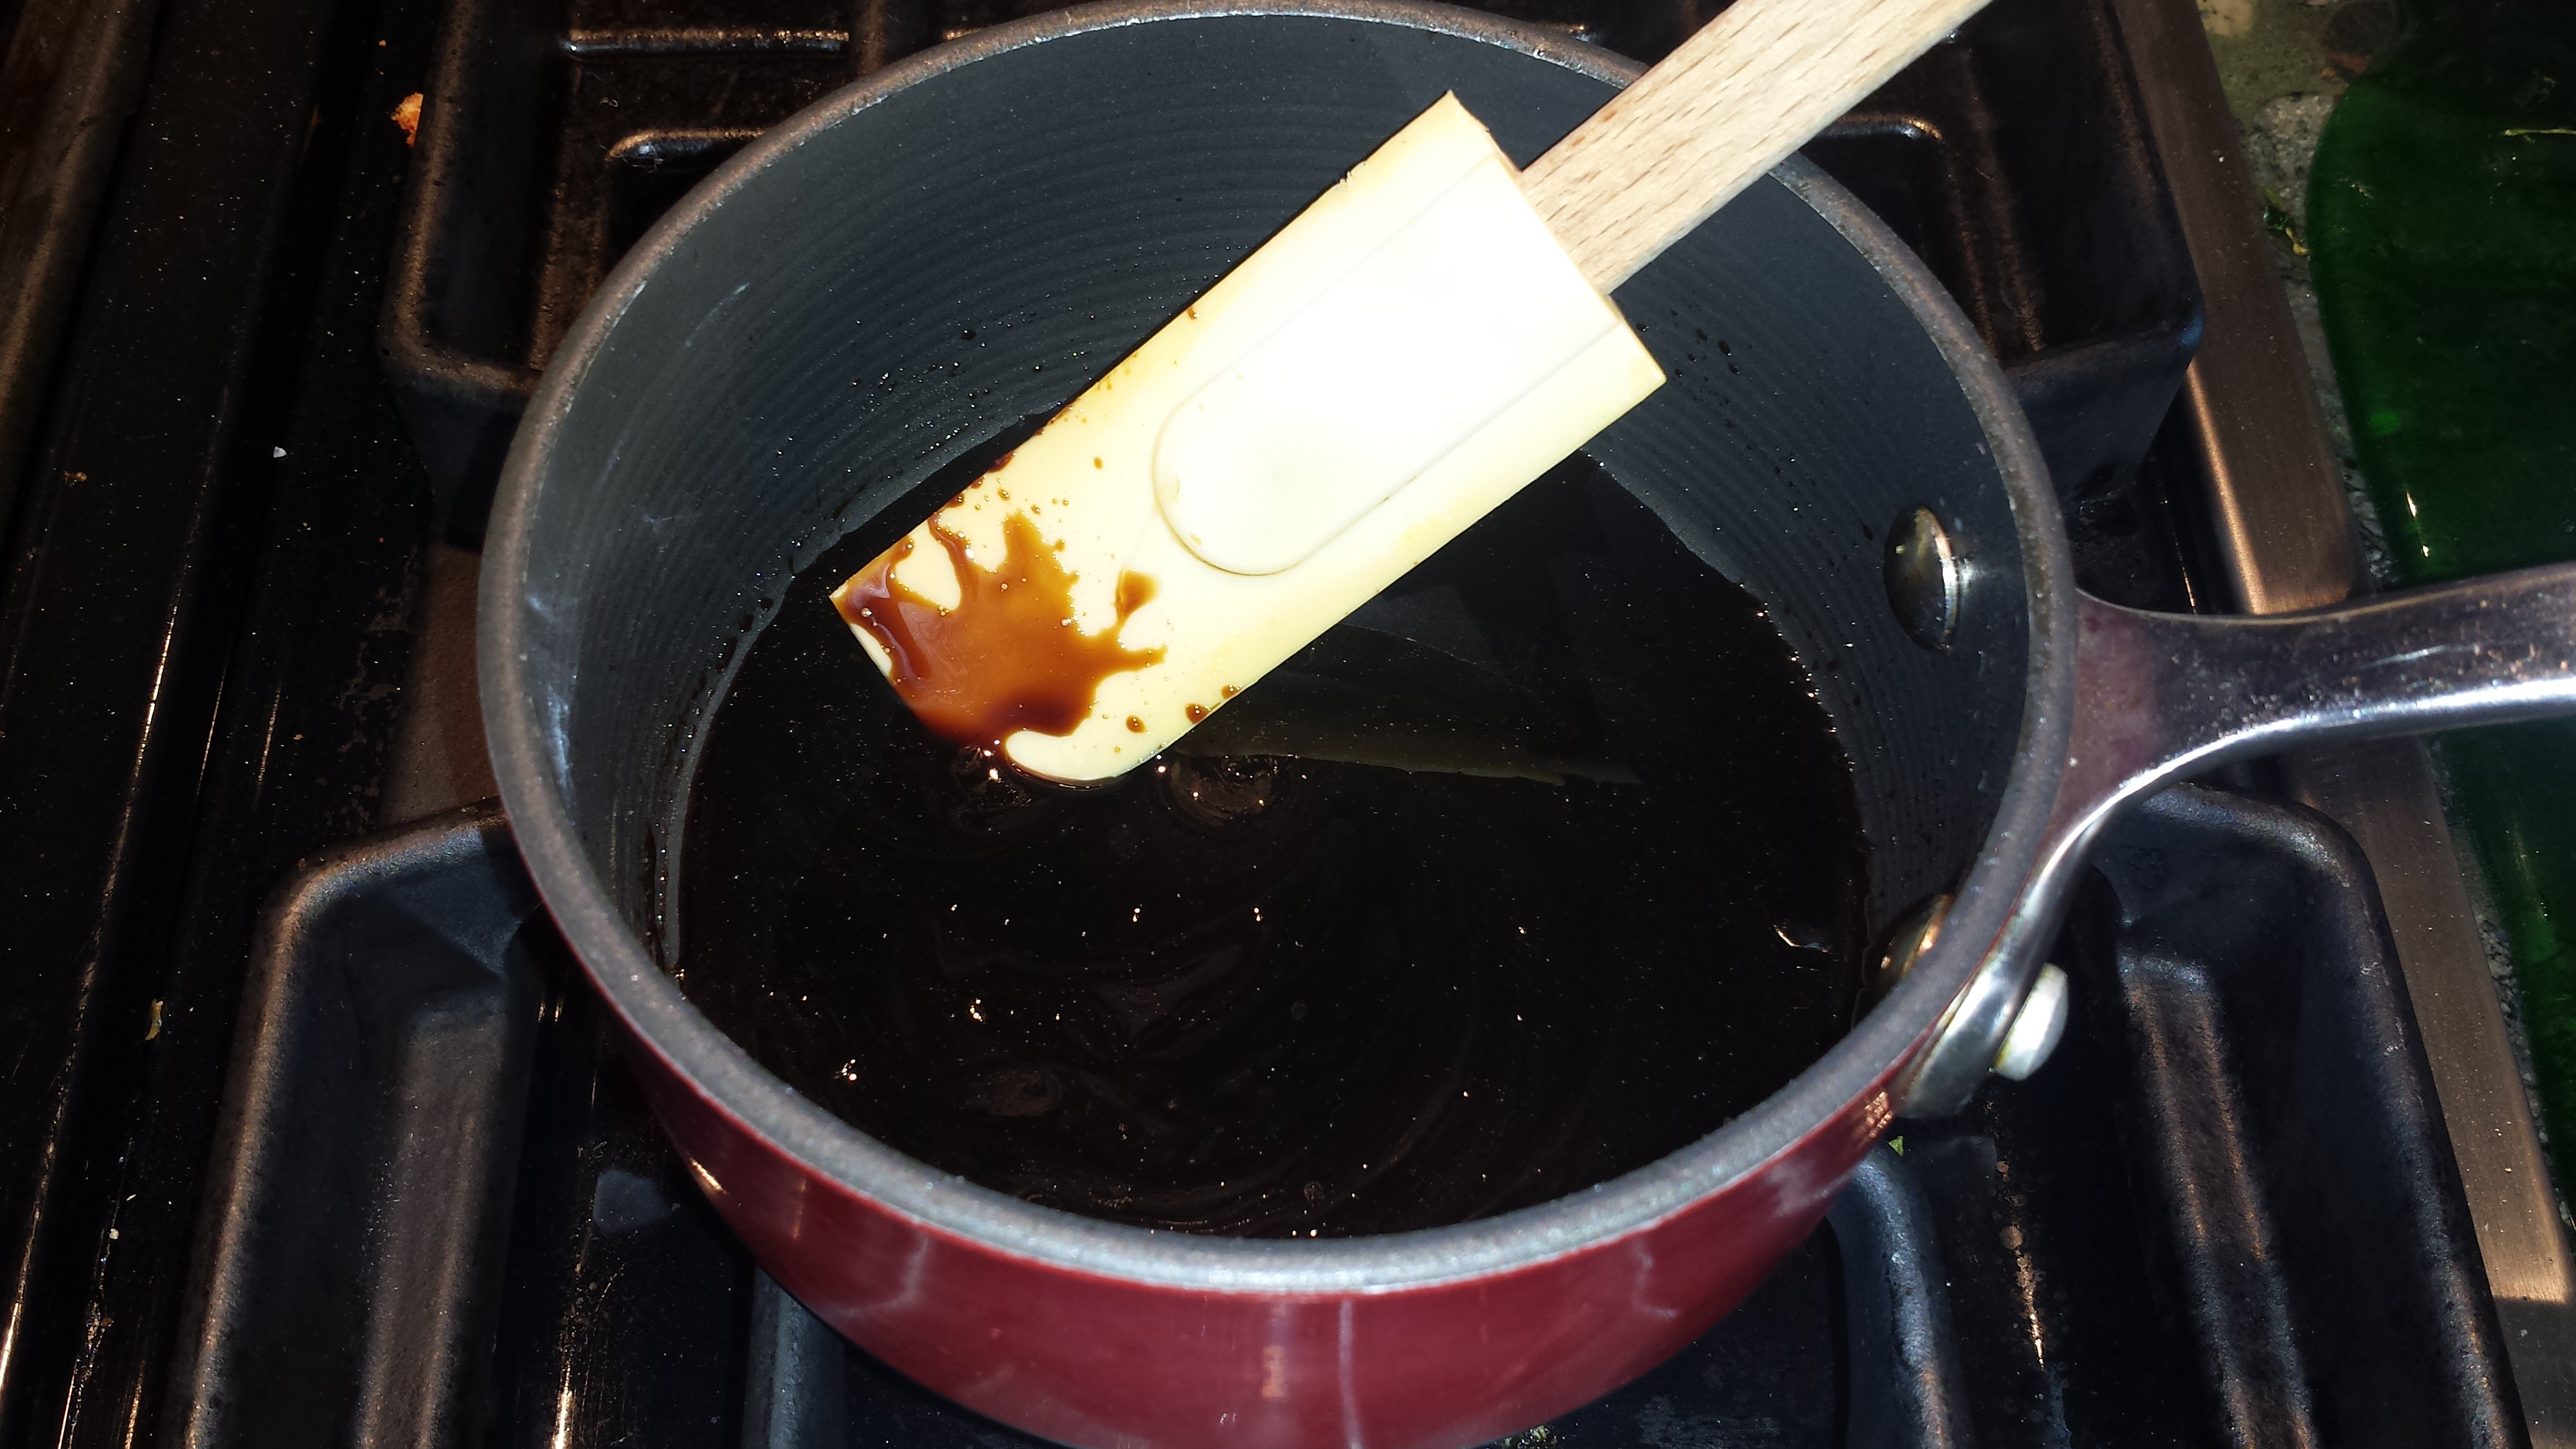
- Combine sugar, butter, water and salt in a large skillet and stir over medium heat until butter is melted.
- Add pecans and cook, stirring constantly, making sure pecans are evenly coated, for 5-7 minutes.
- Spread pecans in single layer on parchment paper and cool completely.
VARIATIONS: To make pecans for snacking add 1/4 to 1/2 teaspoon of cayenne pepper for a spicy kick. For a sweeter, dessert topping add 1/4 teaspoon vanilla or dash of cinnamon. You can even substitute the white sugar for brown sugar for more of a carmely ‘turtle’ type result (great over ice cream!).


