Is tofu good or evil? You may not be aware but the great tofu controversy abounds! I like tofu and have always thought of it as a healthful protein which is highly adaptable in recipes from stir frys to salad dressings. However, I keep hearing that tofu is bad for you, evil even, so I decided to check into it. Tofu is a low fat, plant based, good source of protein, yet it is a processed food, in that it is no longer in its original bean form. The beans have been made into milk, curdled, drained and pressed into blocks. The more I looked into the great tofu question, the more confusing the issue. Studies and opinions contradict each other-no surprise there. Remember when coconut oil was supposed to be so terrible for us and to be avoided at all costs, and now is being touted as having health benefits ranging from weight loss and prevention of heart disease to making your skin soft and pretty. Andrew Weil, a well respected natural health and wellness expert, still recommends tofu as part of a healthy diet. Click on his name to see why. The Truth About Soy, another seemingly unbiased view about tofu and soy (loads of information but long article) thinks the problem is not with soy but what we have done with soy (read Genetically Modified-Roundup Ready). 90 – 94% of soy is GMO but most of that is fed to our food animals or made into soy products like baby formula (which is a different problem) and not made into tofu. If the label says organic or Non GMO Project it’s not genetically modified-one more reason to buy organic. So, what did I come away with? If you like tofu, eat it. If you don’t like tofu, don’t.
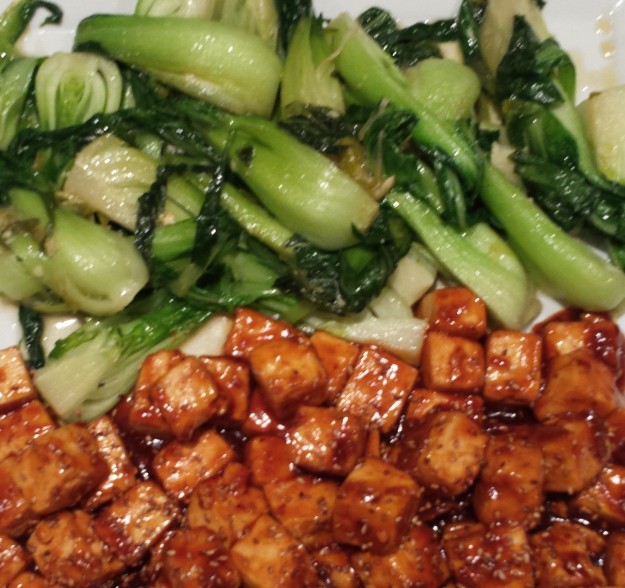
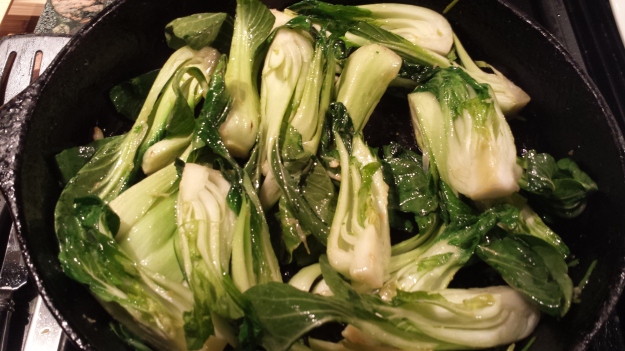
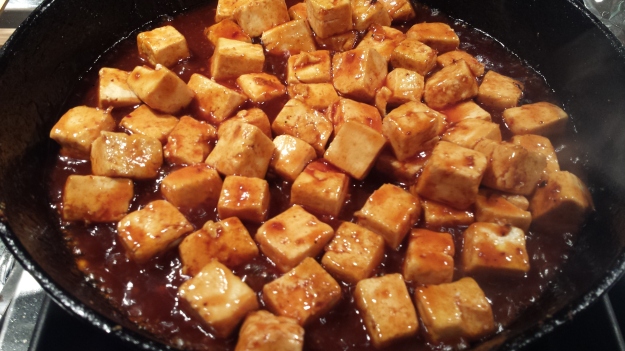
For those that DO like tofu, here is a delicious recipe for Crispy Glazed Tofu with Bok Choy, which I adapted from Eating Well, March/April, 2014. This is the perfect way to cook bok choy, which is delicately flavored with garlic and ginger. The tofu is browned in a skillet first and then sautéed in a flavorful plum sauce. The outside is a bit crispy and the inside soft and creamy. I reduced the amount of ketchup, since I’m not a ketchup lover, to let the other flavors shine, however, if you are a ketchup lover you can double or triple the amount. I also added red pepper flakes and ginger paste for more of a zing. Don’t skip the step of draining the tofu, which gets rid of excess water and allows the tofu to absorb the flavors. Otherwise this is a very simple and quick meal to get on the table. Serve over rice if desired.
Glazed Tofu and Bok Choy
1 14-ounce package extra-firm water-packed tofu, drained
1/4 cup plum (or hoisin) sauce
1 tablespoons ketchup
2 tablespoons soy sauce
1 tablespoon rice wine (or dry sherry/rice wine vinegar)
2 teaspoons oil plus 1 tablespoon, divided (I like avocado or coconut oil)
3 scallions, trimmed and cut into 2-inch lengths and then ribboned
1 teaspoon minced garlic
2 teaspoon minced fresh ginger, divided
1/2 teaspoon red pepper flakes
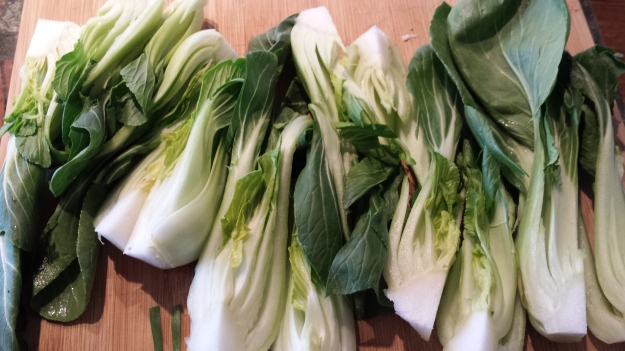
4-6 baby bok choy, quartered lengthwise
1/4 cup water
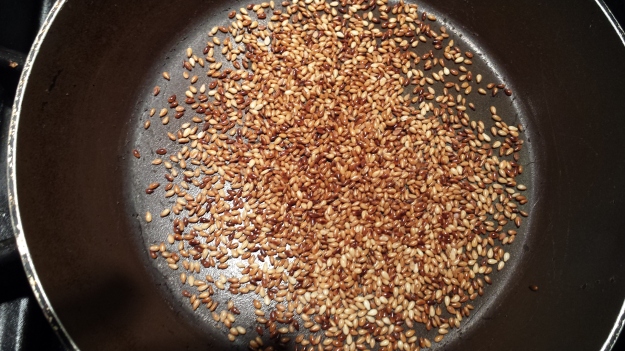
1 tsp sesame seeds
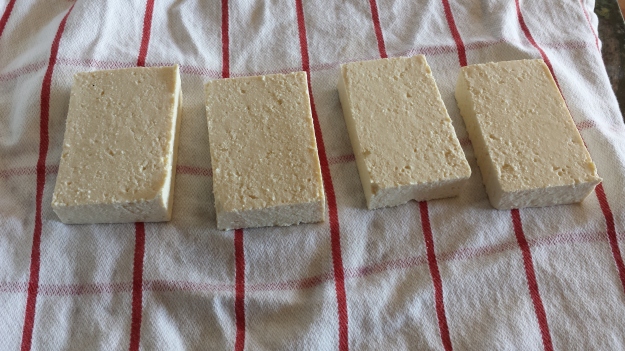
- Fold a kitchen towel in half and place on a cutting board. Cut tofu in half horizontally, (and then in half again leaving 4 equal pieces) and set on the towel. Put another folded towel and a weight (such as a heavy skillet) on the tofu; let drain for 15 minutes.
- Meanwhile, whisk plum sauce, ketchup, soy sauce and rice wine in a small bowl and place near the stove.
- Cut the pressed tofu into 3/4-inch cubes and place near the stove.
- Toast sesame seeds in a small pan over medium low heat for a few minutes, or until they turn golden brown.
- Heat 2 teaspoons oil in a large nonstick skillet over medium-high heat. Add scallions, garlic and ginger; cook, stirring, for 30 seconds. Add bok choy and cook, turning, until bright green, 1 to 2 minutes. Add water, cover and steam until tender, about 2 minutes. Transfer everything to a plate. Wipe the pan dry.
- Return the pan to medium-high heat, add the remaining 1 tablespoon oil and heat until shimmering. Add the tofu in a single layer. Cook, without stirring, until starting to brown, 2 to 3 minutes. Stir and continue cooking, stirring frequently, until brown on all sides, 6 to 8 minutes more. Add the sauce; cook, stirring, until the tofu is well coated, 1 to 2 minutes. Sprinkle with sesame seeds and serve with the bok choy over brown rice, if desired.


