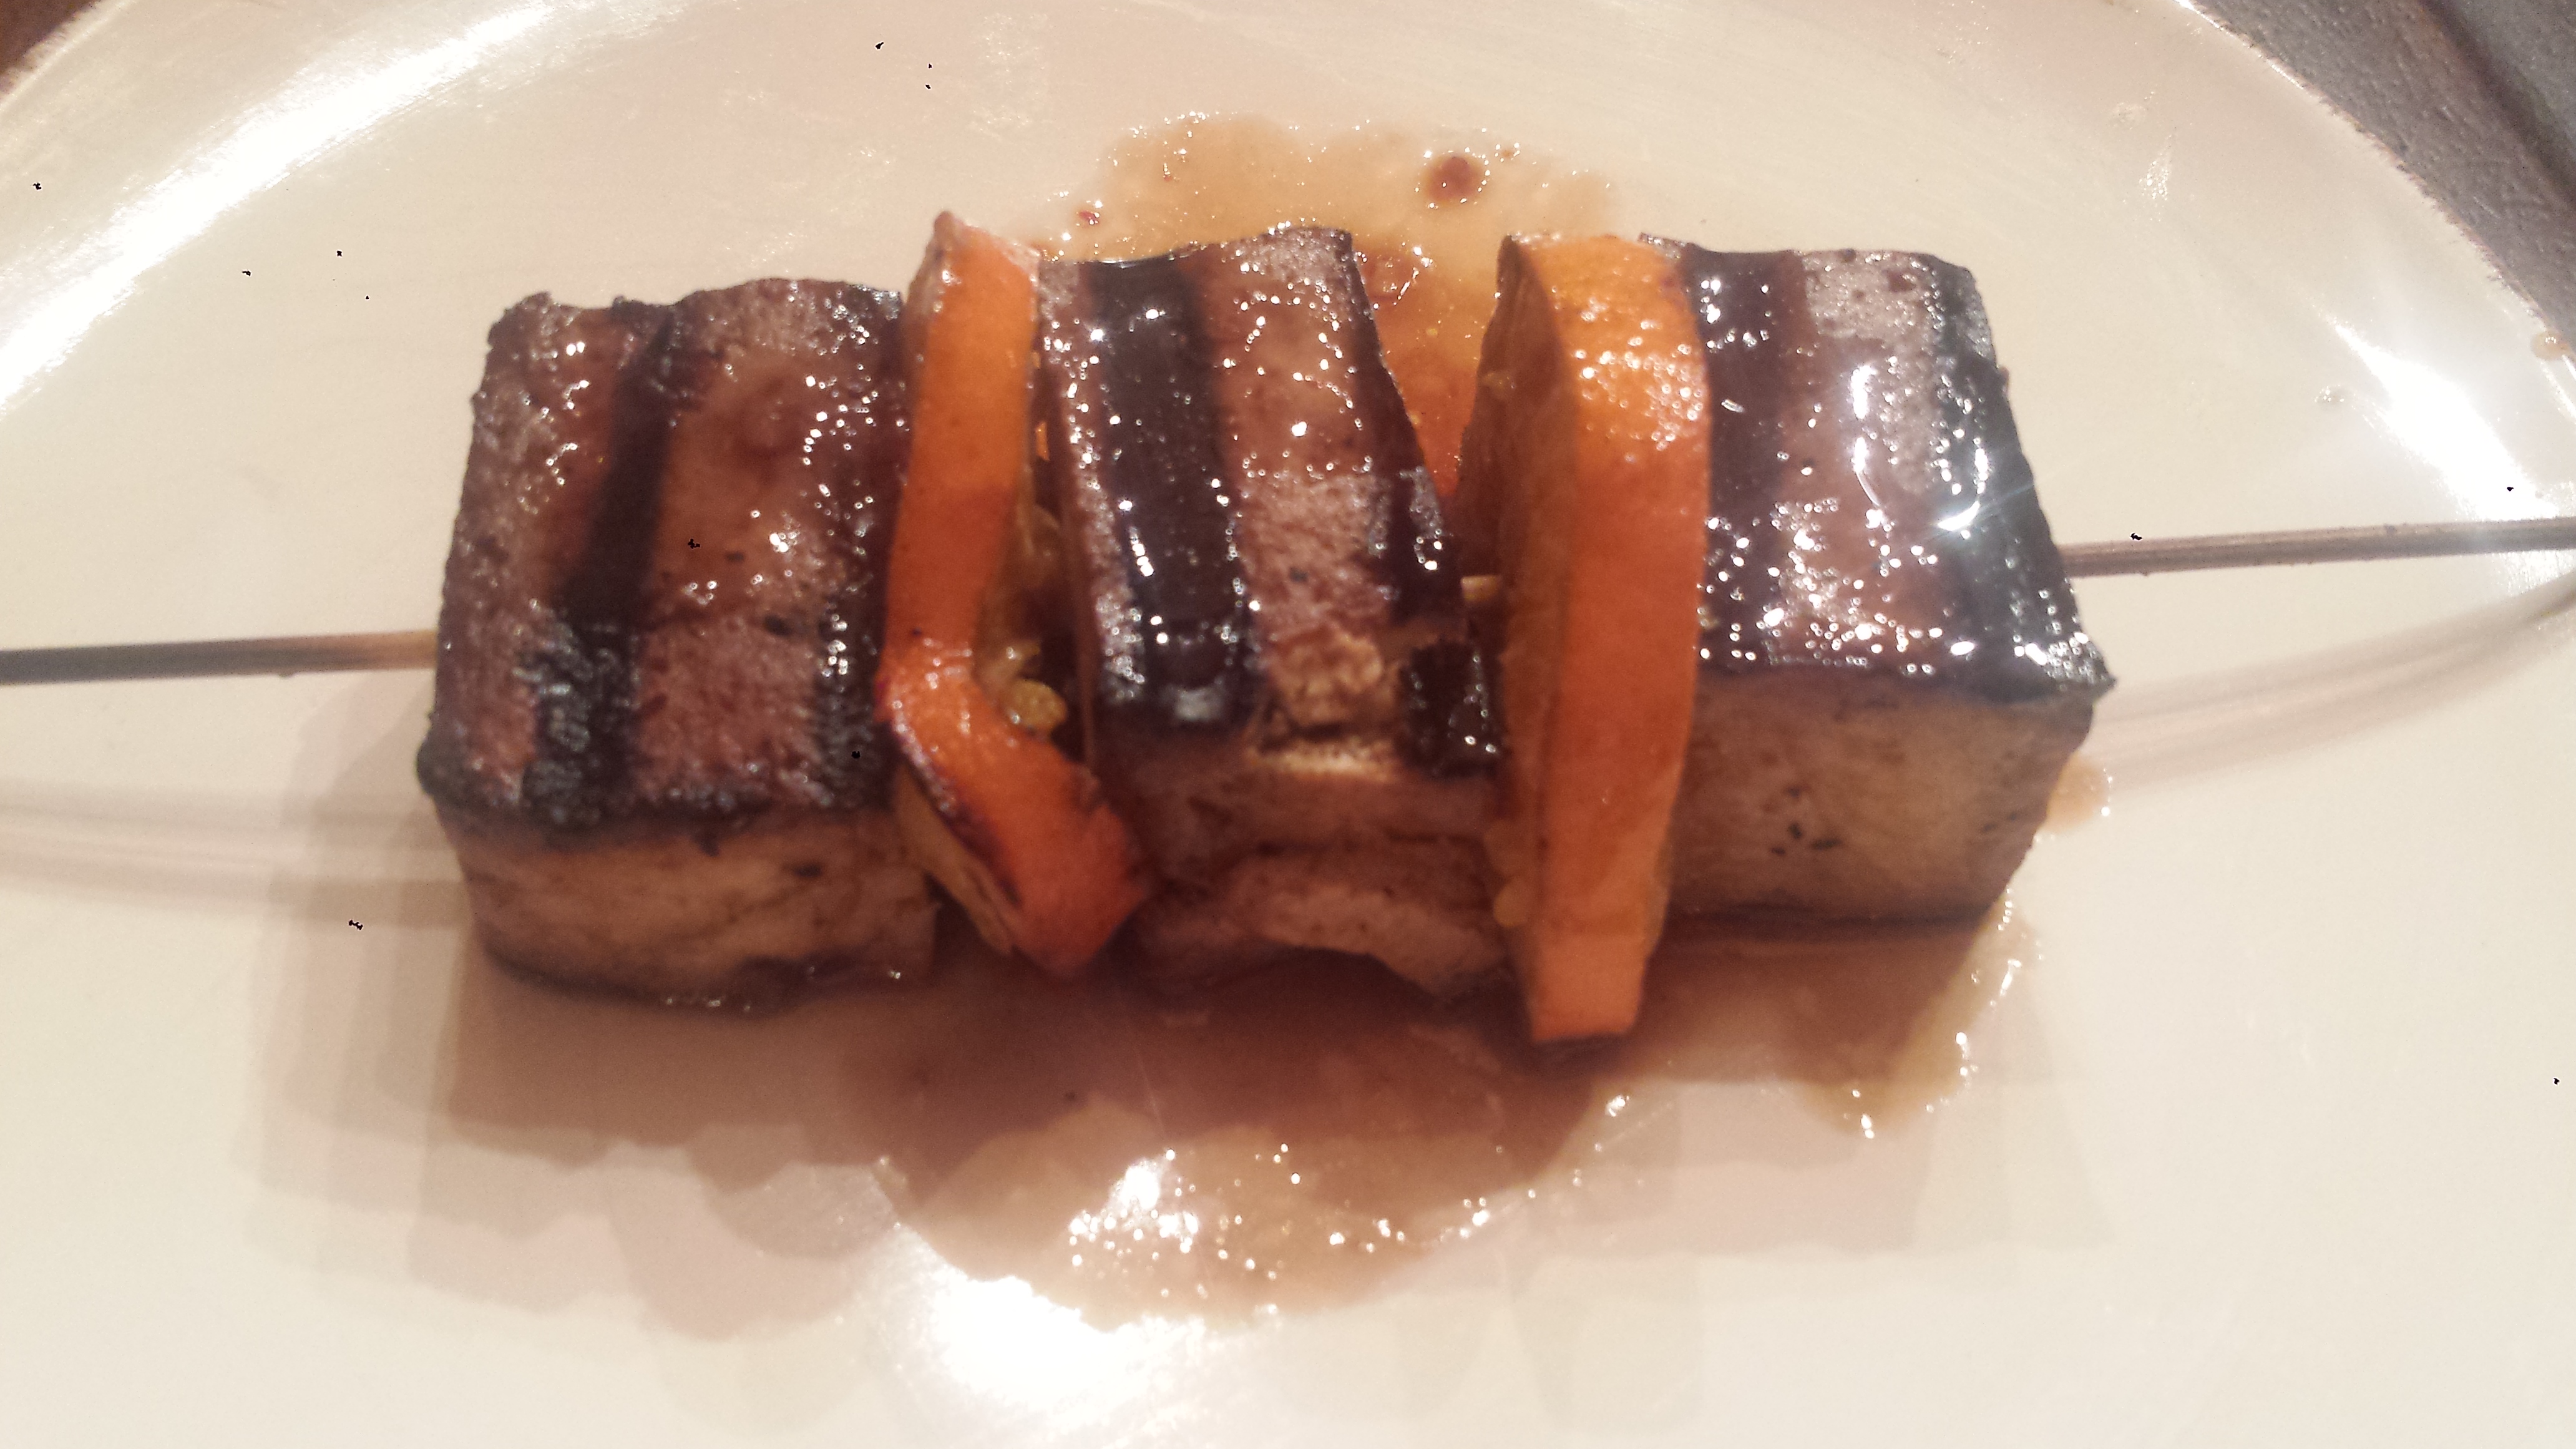
Grill marks are sexy! Barbecue aficionados know what I’m talking about. There is something completely satisfying about the getting that perfect sear, as evidenced by lovely straight grill marks. Well vegetarians can have it too! Now that grilling season is in full force, non-meat eaters can be part of the fun. There are many goodies that can be thrown on the grill that are not slabs of meat. These Tofu skewers are deliciously spicy and easy to make. They only take a few minutes for assembly but require about an hour to properly marinate. The sesame, soy, chili marinade is the key here, and tofu, which is normally fairly bland, is great at soaking up flavorful marinades. So get your grill on!

The mandarin slices are not just to make the skewers look pretty. When grilled, their flavor is intensified into a lovely smoky, sweetness and the rind chars, making the whole fruit good enough to eat. I don’t normally eat citrus skins (except for Meyer Lemon) because they are tough and bitter – but I ate these charred little orange wheels and they were delicious! They also add a dose of vitamin C, vitamin A and anti-oxidants, especially their skin which has higher concentrates of the nutrients! If you don’t have access to small orange citrus like clementines, tangerines or satsuma, lemons would also be a good choice.

Have you ever wondered what the difference is between oranges and the myriad other small orangish citrus fruits you see at the market? Oranges and Mandarin Oranges (also known as Tangerines) are part of the citrus family. Tangerines are related varieties of oranges which are smaller in size than oranges, and have a loose, easily peelable skin (officially called the pericarp) and a sweeter juicy flesh (known as arils). They are also known as mandarin oranges in Europe and satsumas in Japan. Here are a few more varieties on Tangerines:
- Tangelos, also known as honeybell, are hybrid between tangerine and orange (Citrus sinensis) or grapefruit (Citrus paradisi). Tangelos, like tangerines, have loose skin and juicy sweet flavored segments. They are distinguished from oranges by a characteristic knob at the stem end of the fruit.
- Tangors (Citrus nobilis) are cross between oranges (C. sinensis) and tangerine (C. reticulata). They feature large size, and sweet-tart flavor similar to oranges.
- Clementines, another member of citrus family, are cross between mandarin and sweet oranges. They are smaller, have smooth glossy skin, and very sweet, juicy, almost seedless segments.

TIPS: Tofu is great on the grill, just don’t forget to drain it on papertowels before putting it in the marinade or it won’t soak up the flavors properly. Unlike meat and poultry marinades, which must be cooked or thrown away, this marinade is multi-purpose. The marinade can be reserved and used to brush the tofu skewers while cooking and then again as a dip. If you prefer to serve the skewers with a thicker dipping/drizzling sauce, simmer marinade for several minutes in a small saucepan. Enjoy!
SPICY TOFU AND MANDARIN SKEWERS
1 block extra firm tofu
3 mandarins (or other small citrus fruit)
MARINADE
1/4 cup soy sauce
2 Tbsn sesame oil
1/4 cup rice vinegar
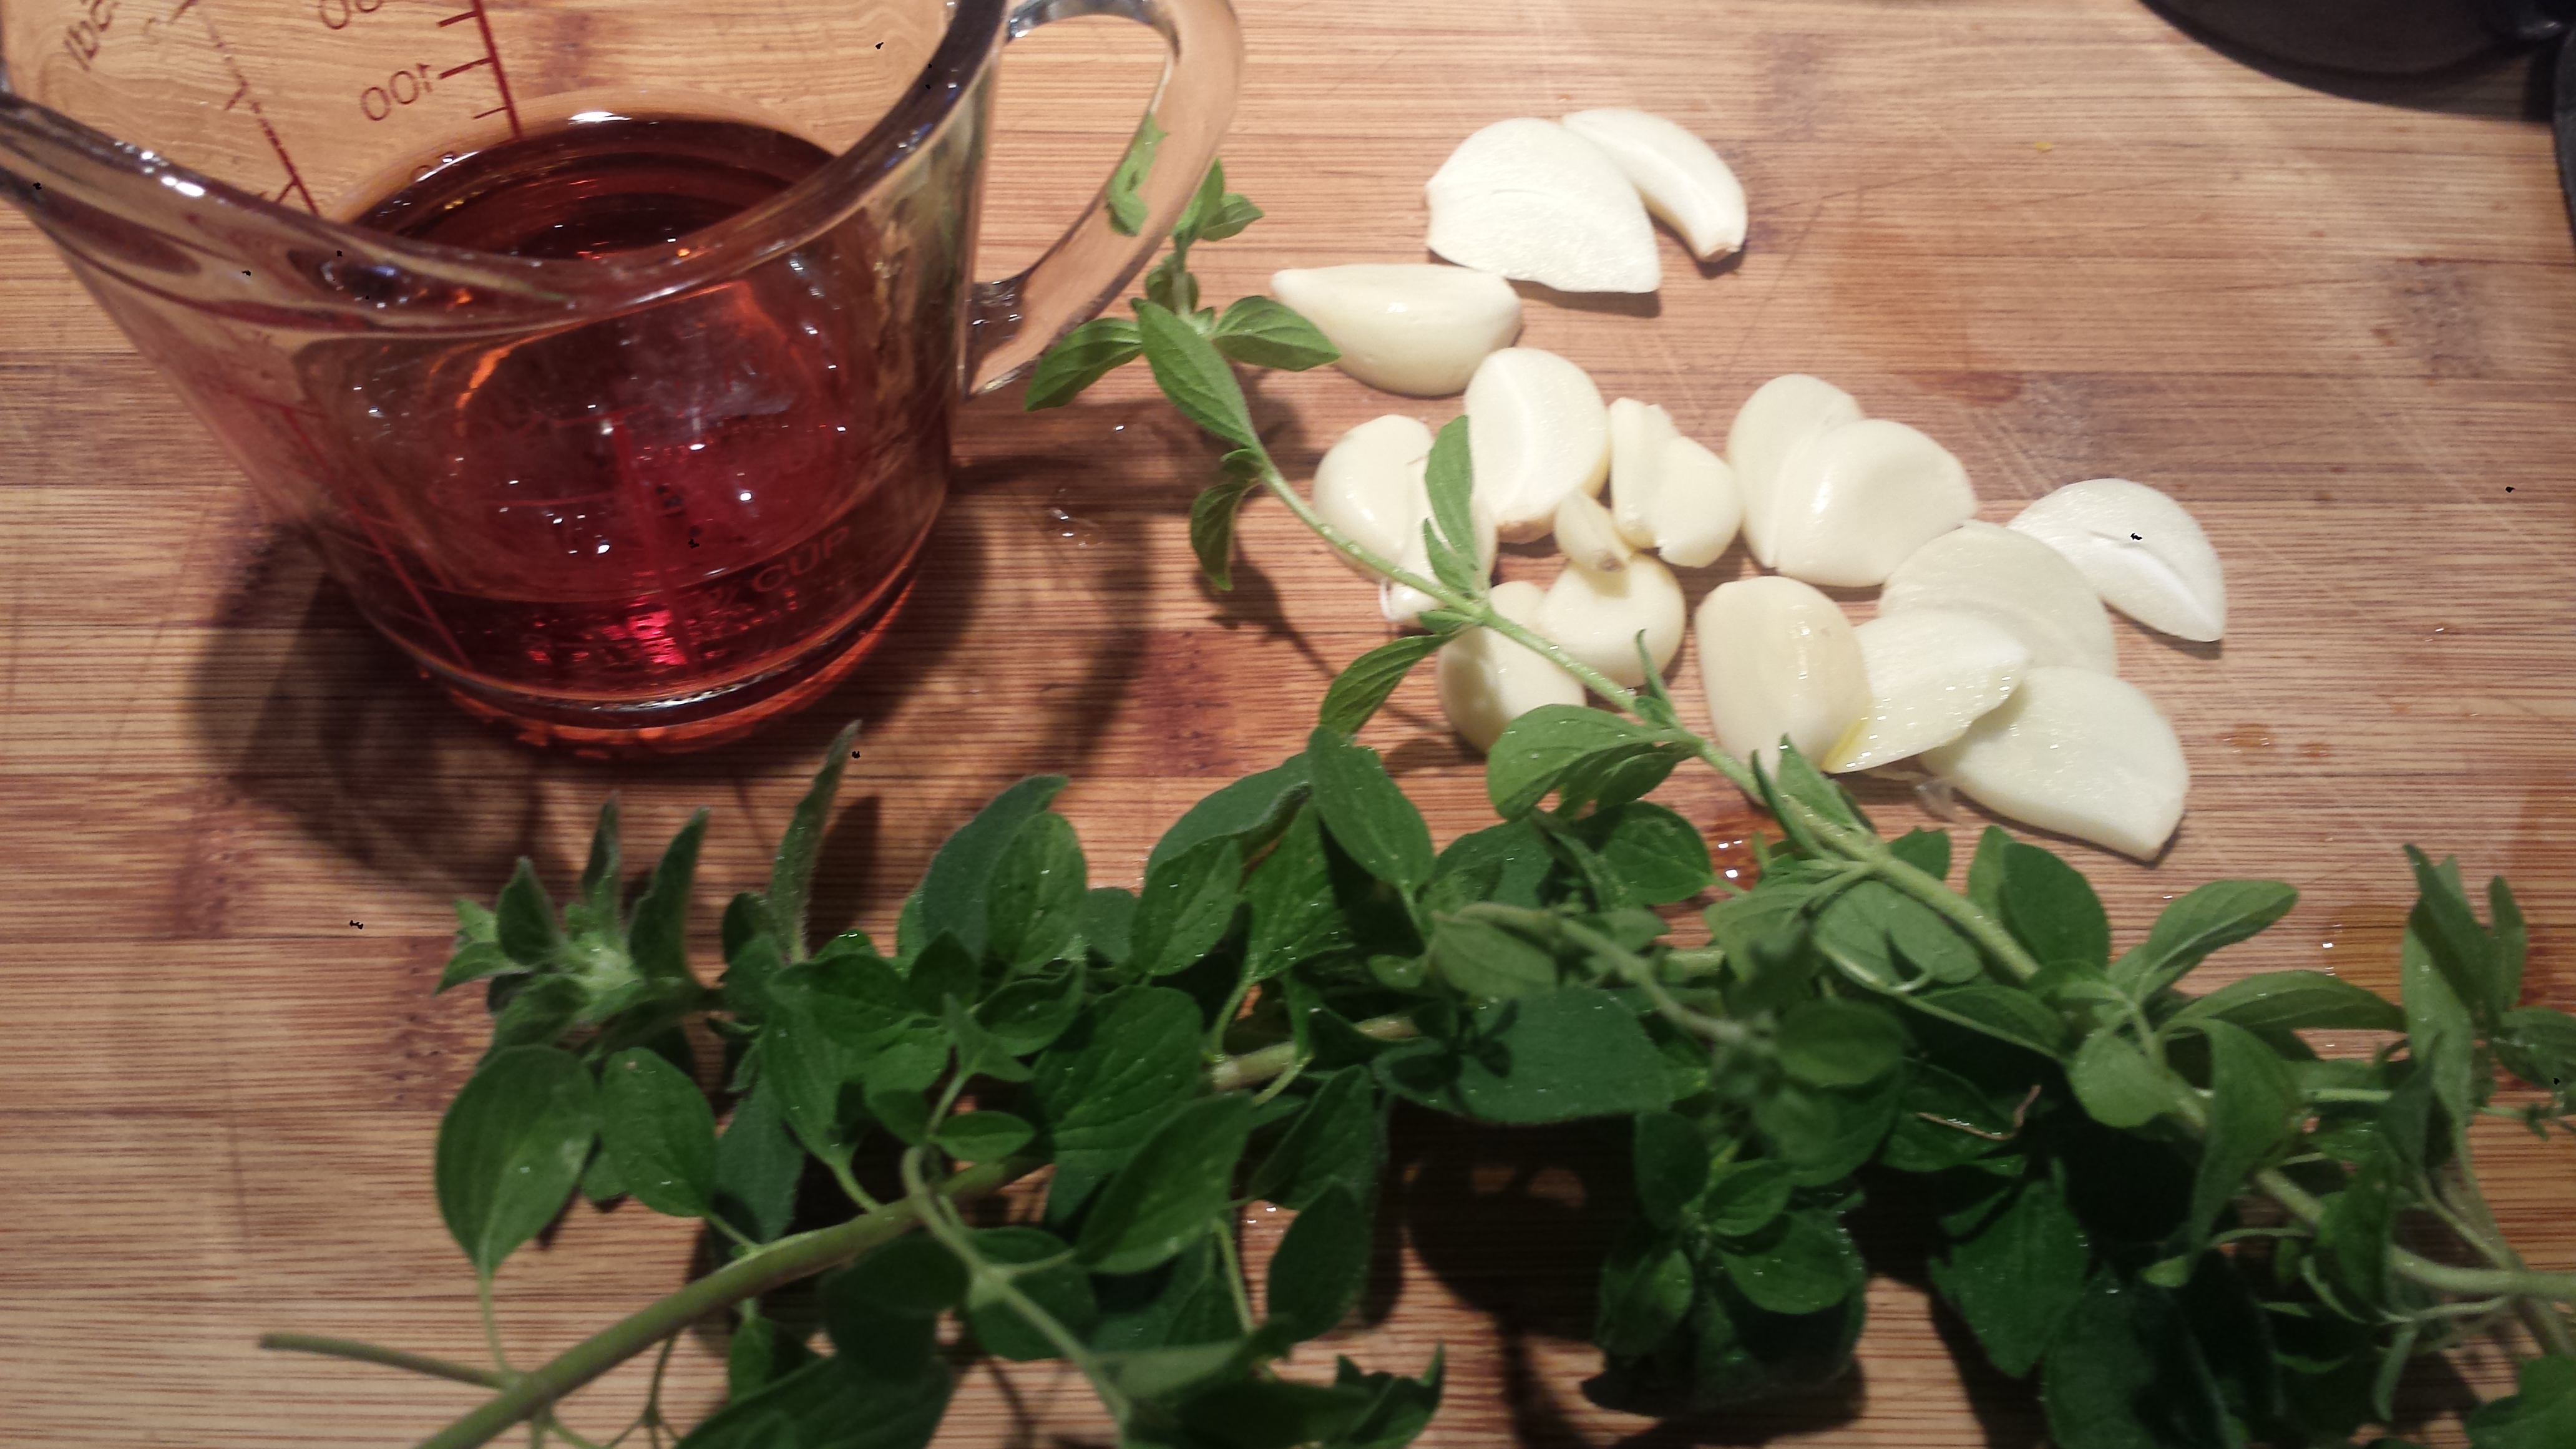
3-4 cloves garlic, minced
2 Tbsn red chili paste
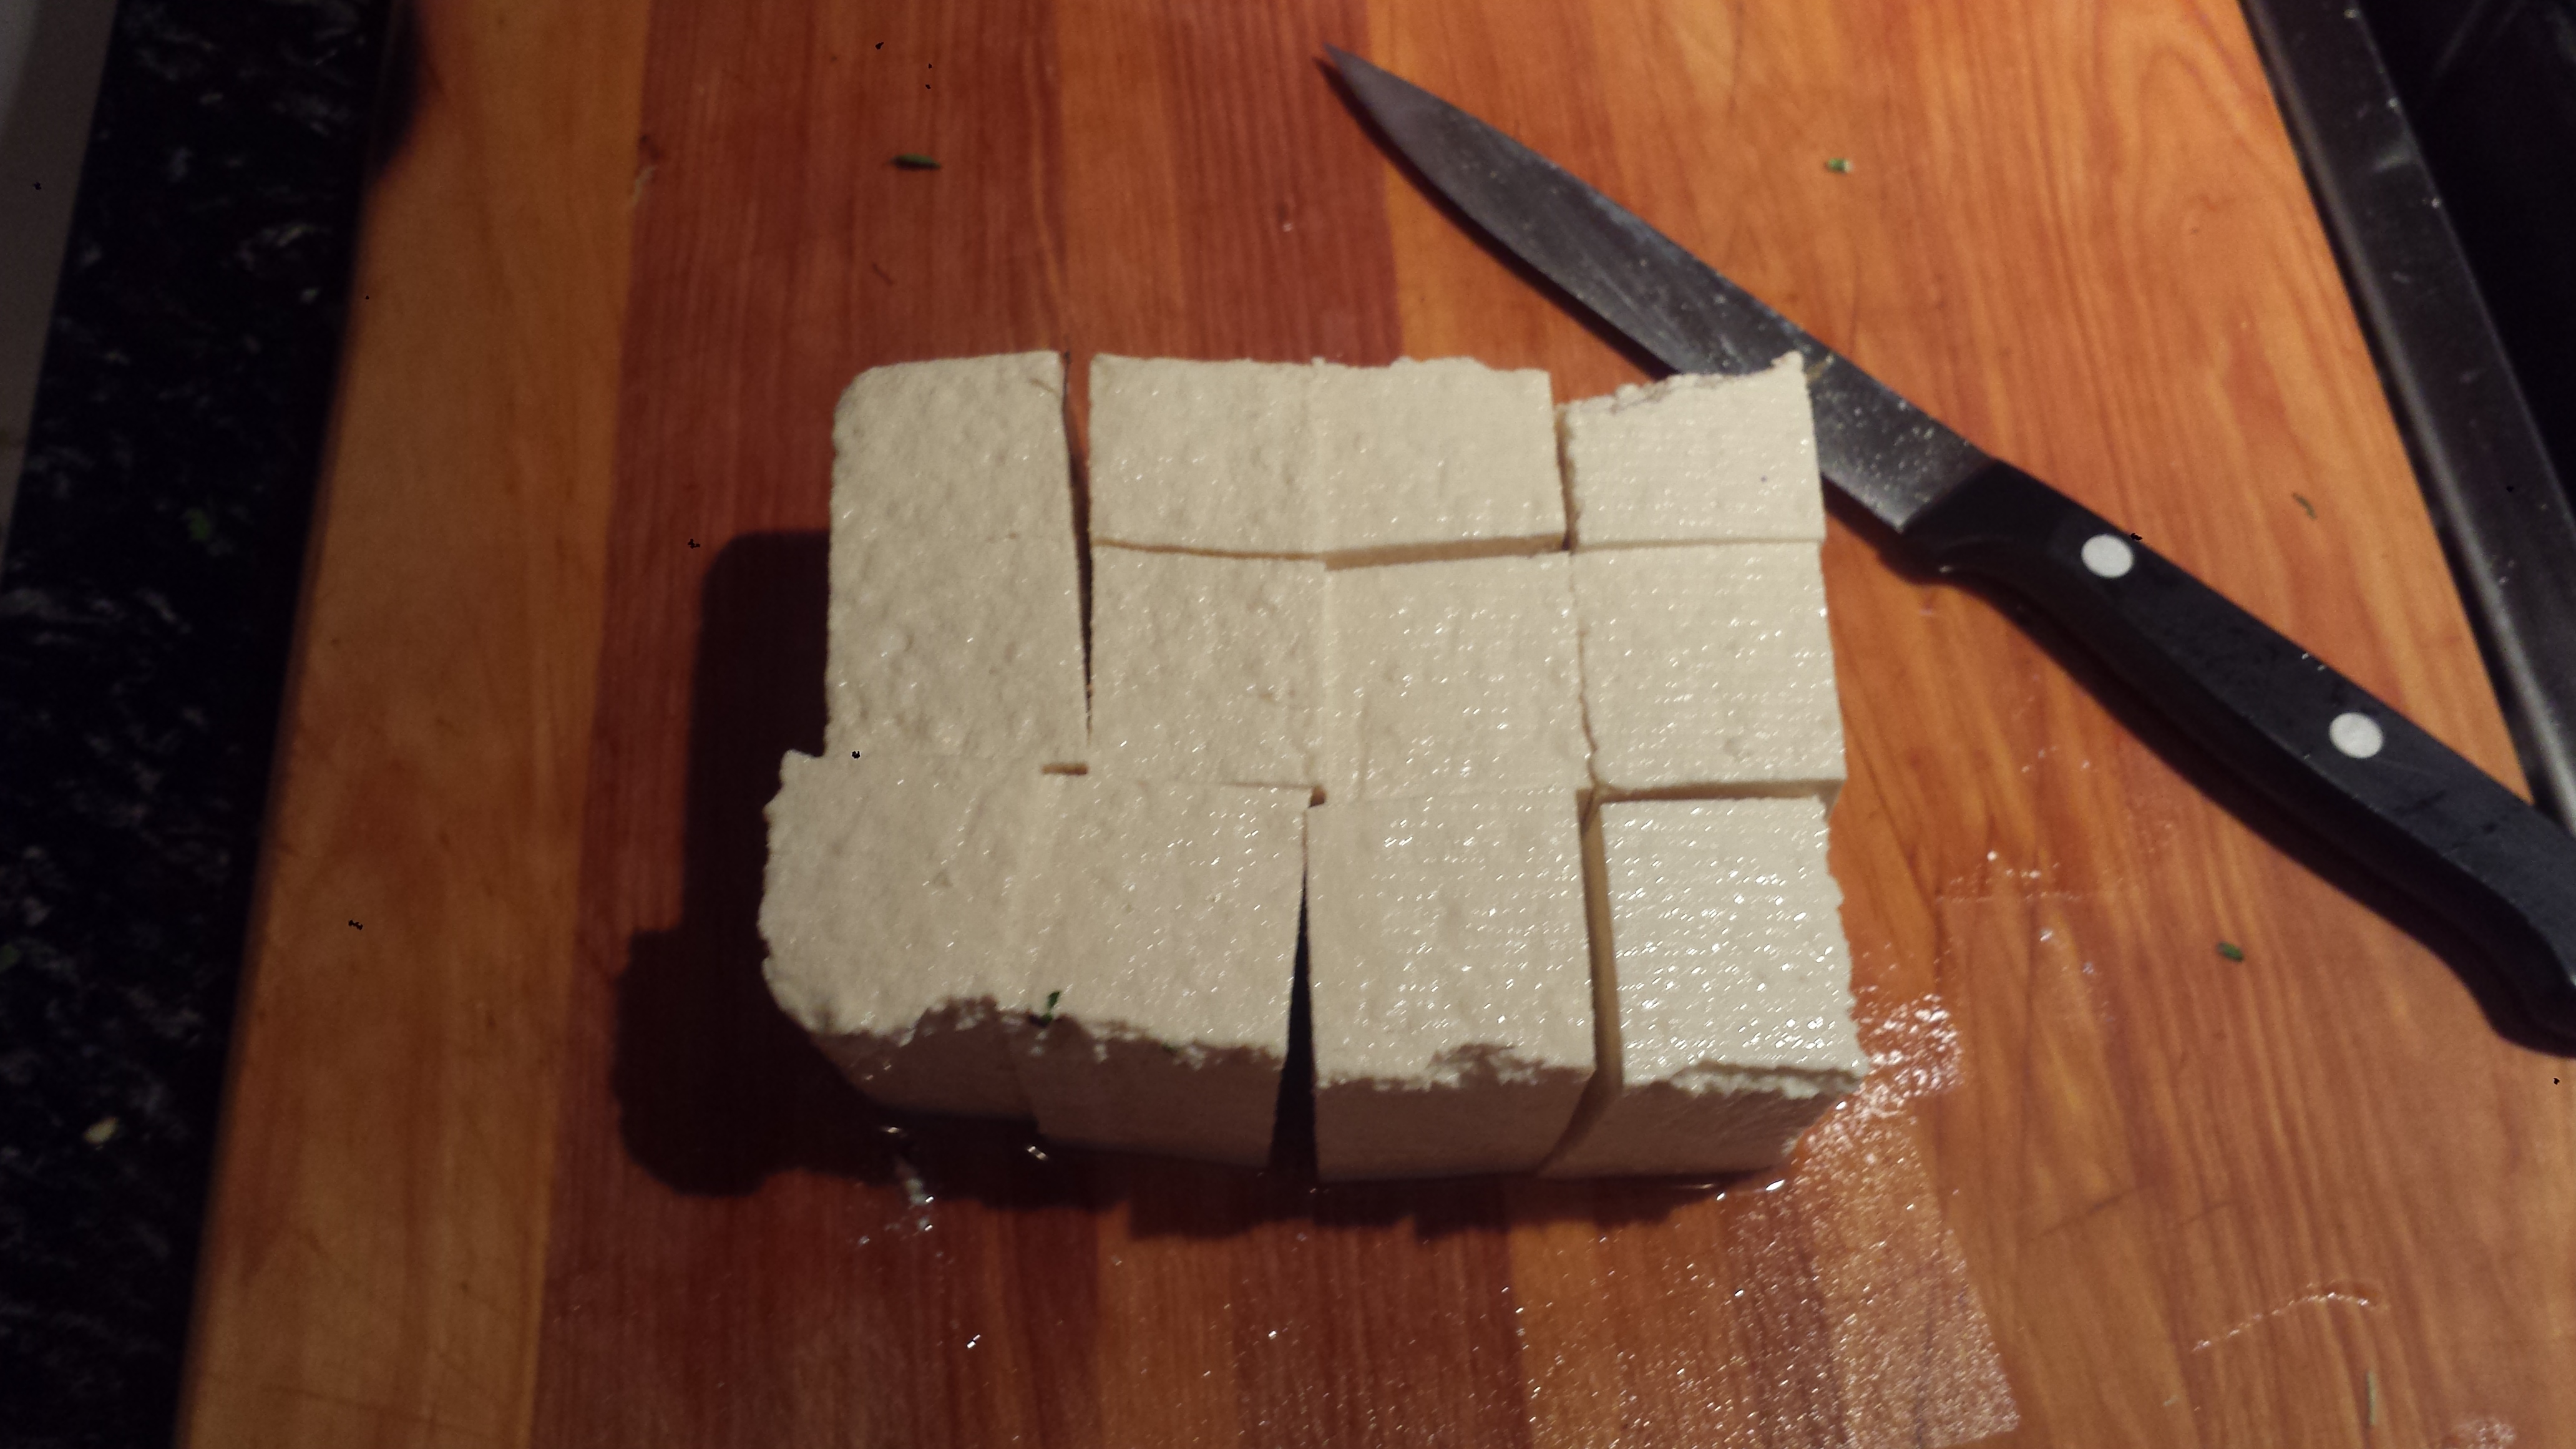
- Cut tofu block into 12 rectangular pieces. Place on double papertowels and cover with more papertowels. Set something heavy on top to help press out the water. Let sit about 15 minutes. If using bamboo or wooden skewers, let them s0ak in water for 20 minutes or so to prevent them from burning.
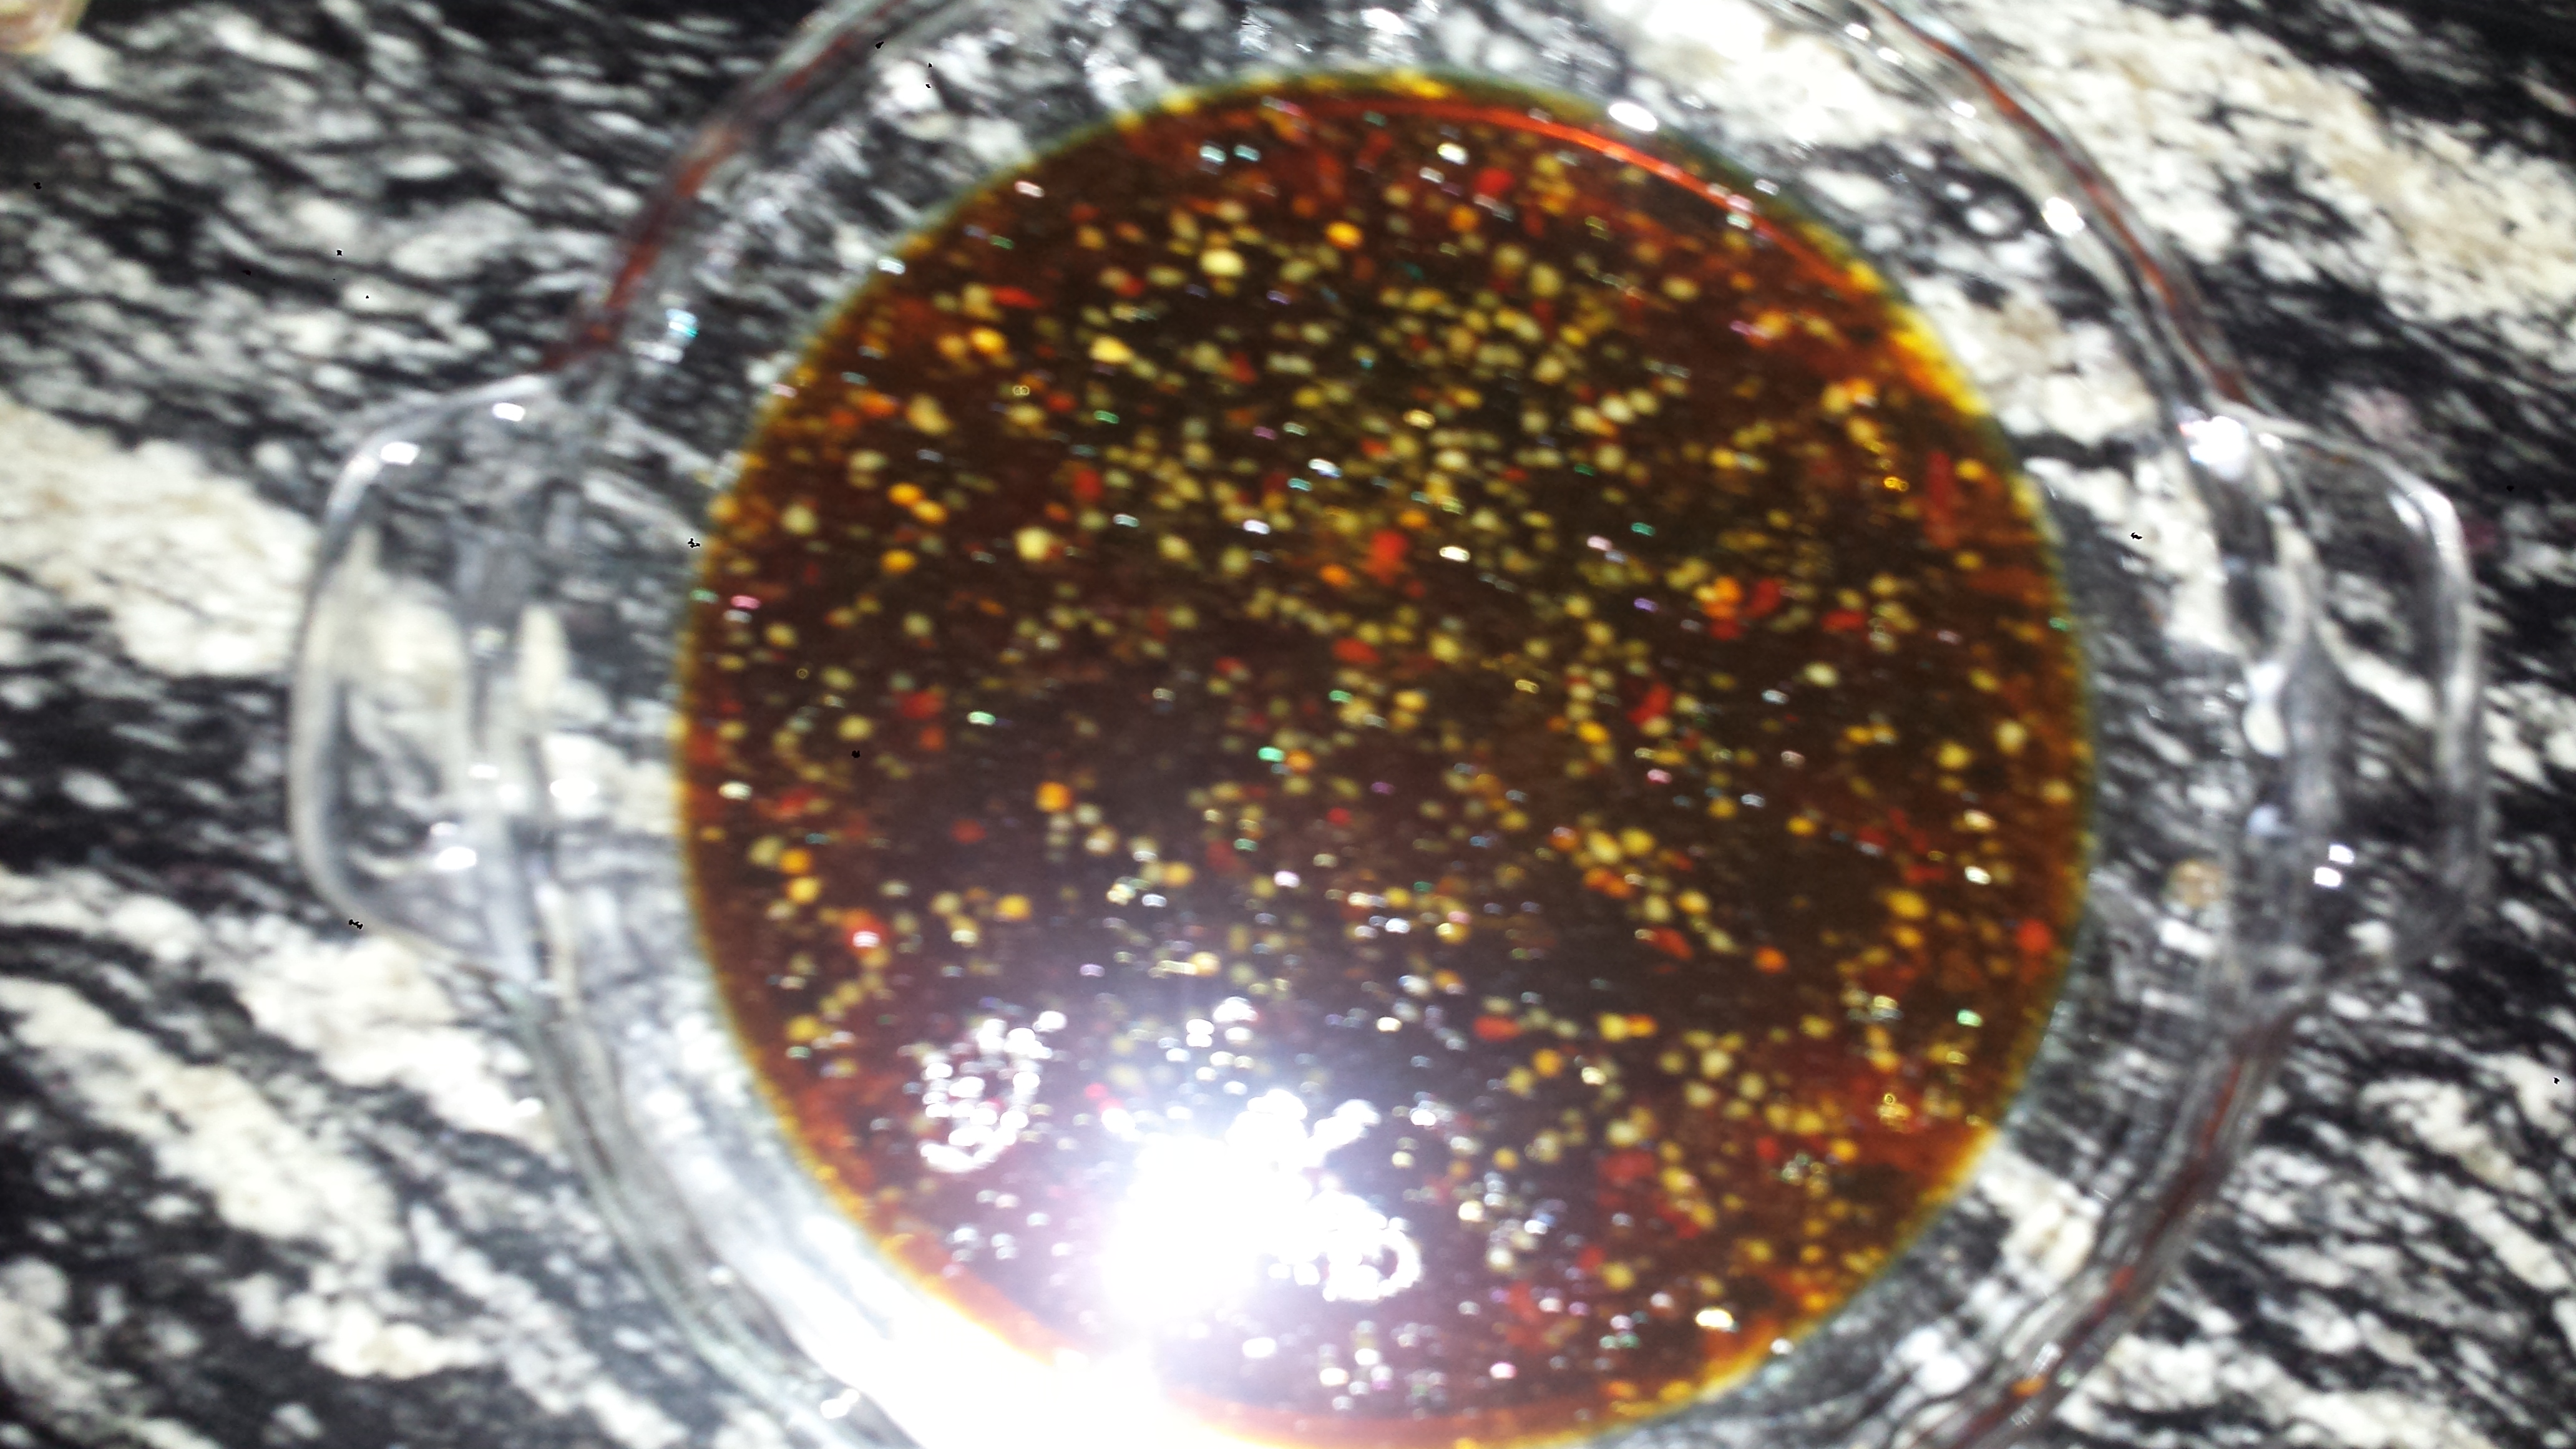
- In a bowl large enough to hold the tofu in a single layer, whisk together the marinade ingredients.

- Add tofu and spoon marinade over tofu to coat. Cover and let rest for 1 hour (and up to to 24 hours). For best results, turn the tofu so another side is down (in the marinade) every 10-15 minutes until all sides are coated (Or another option would be to marinate them in a ziploc bag).

- Slice mandarins into rounds, leaving skin on.
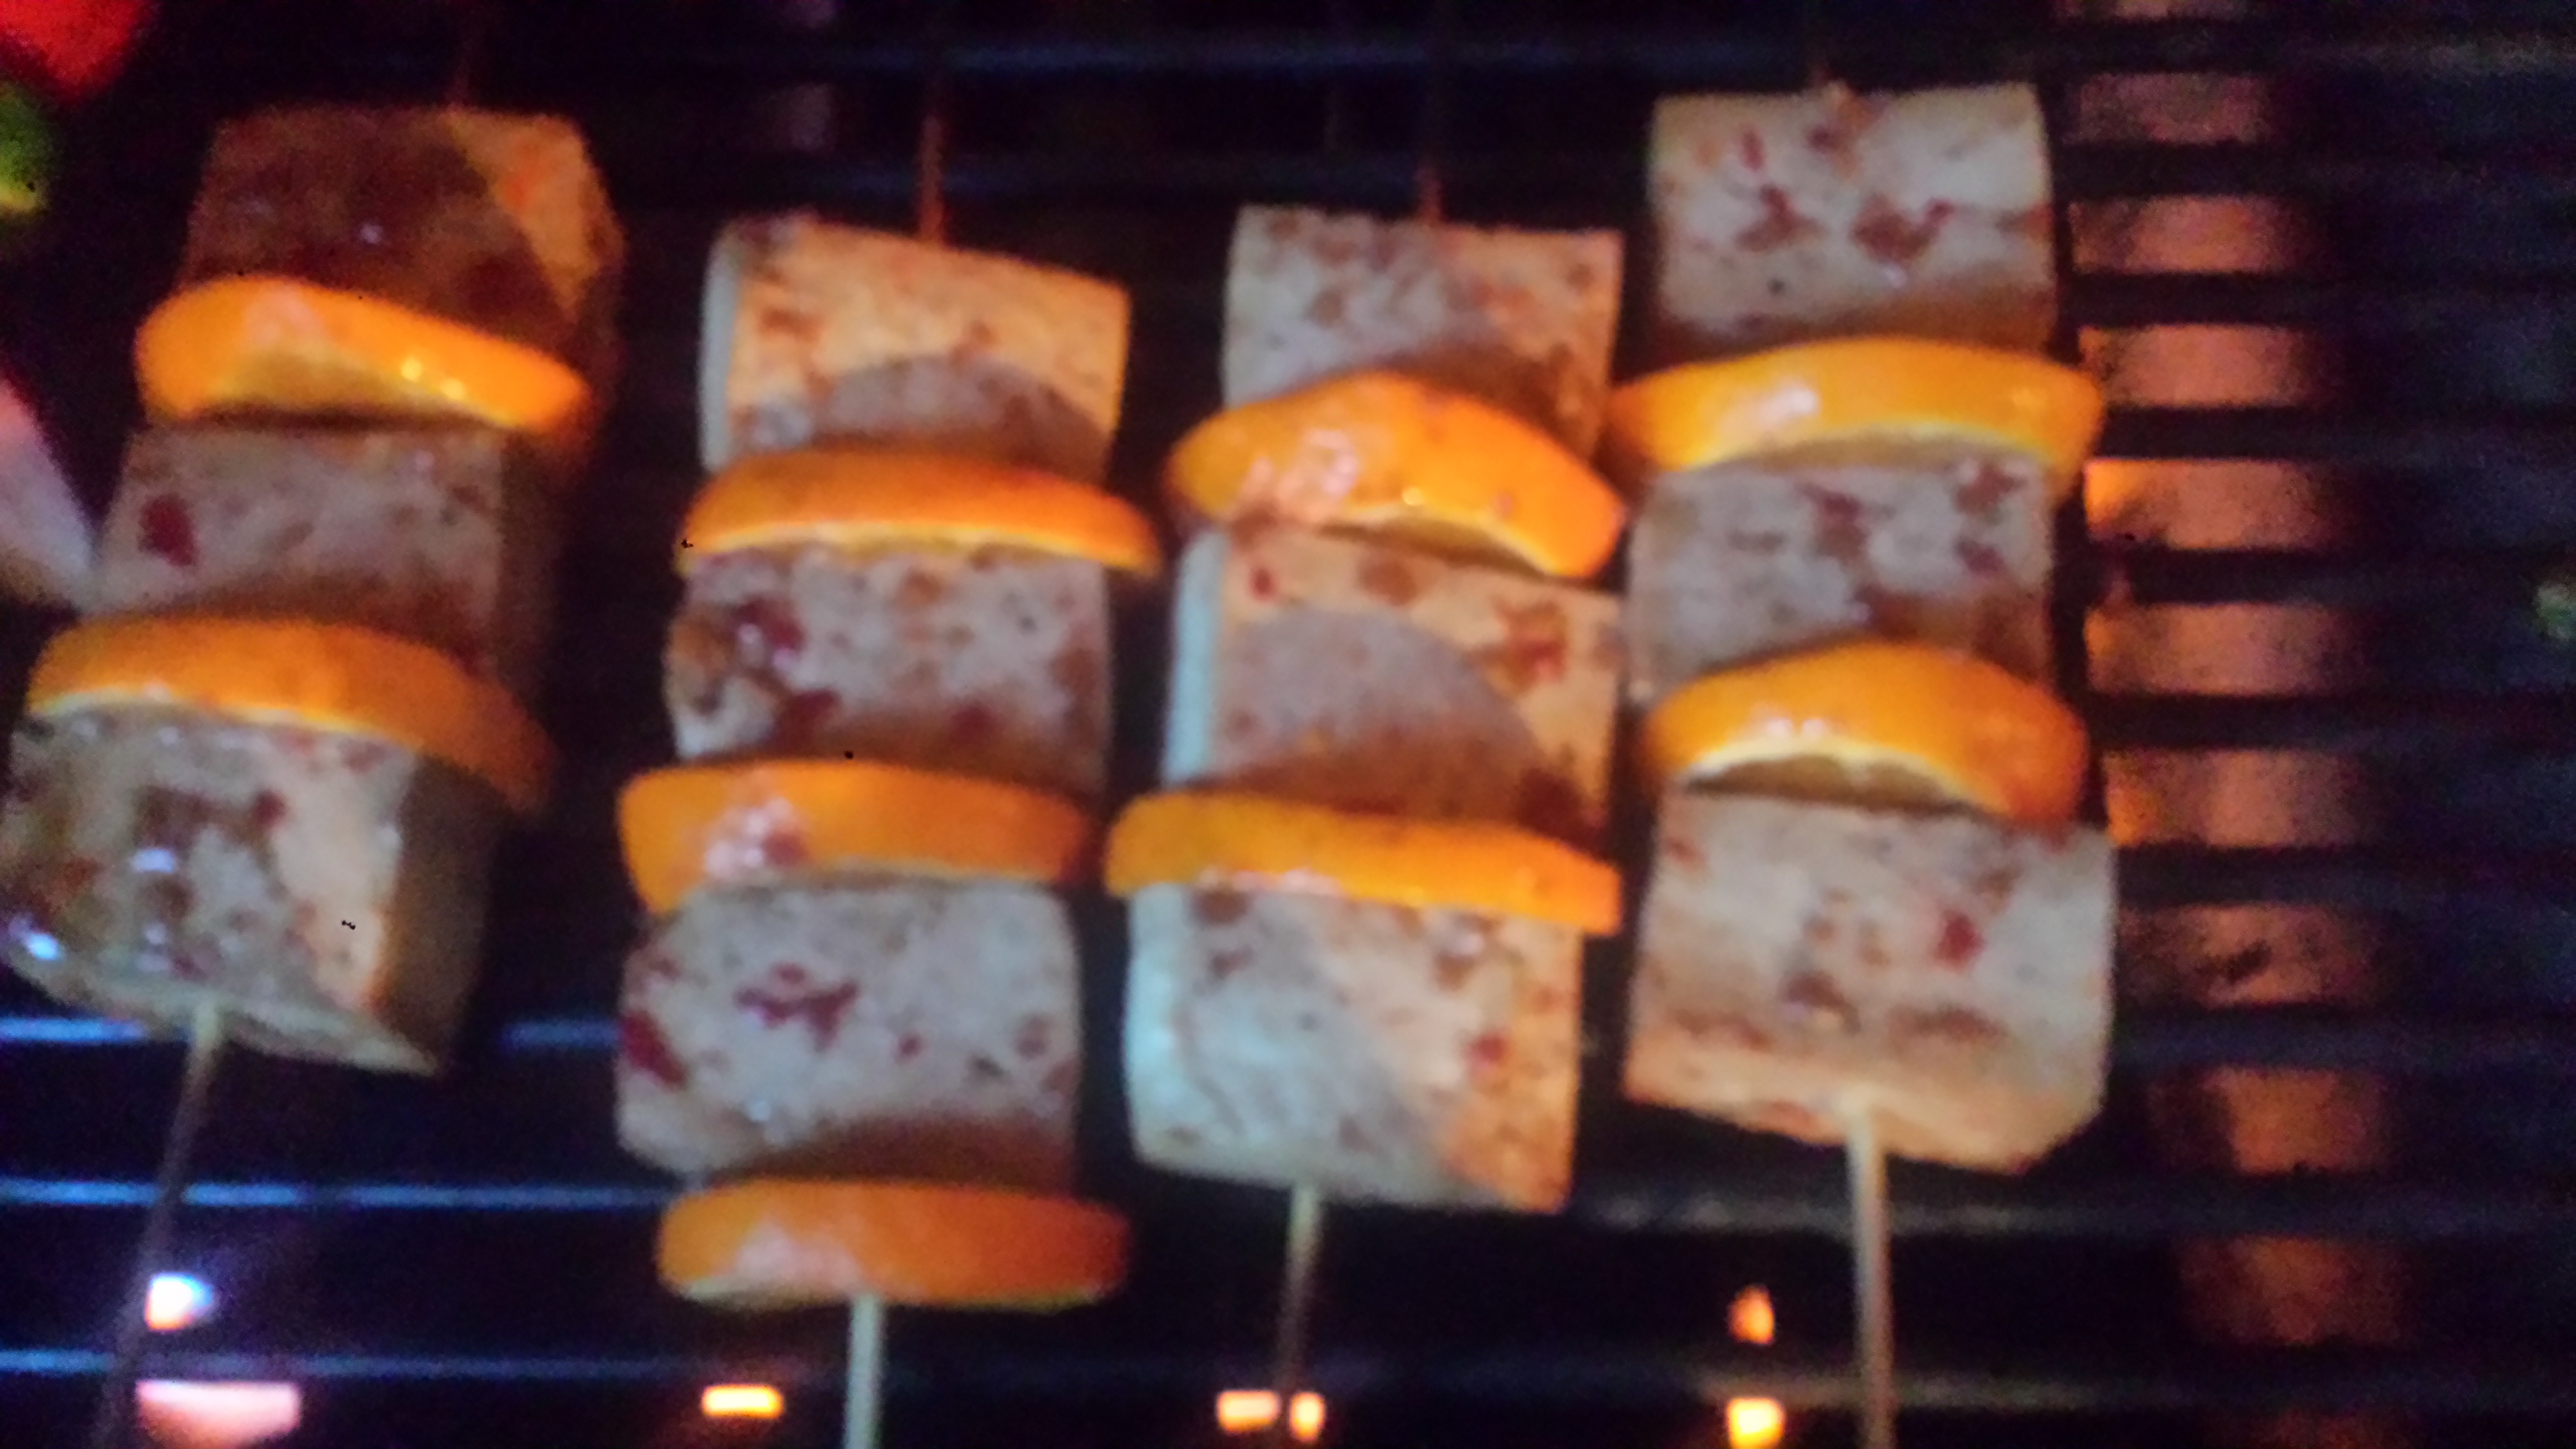
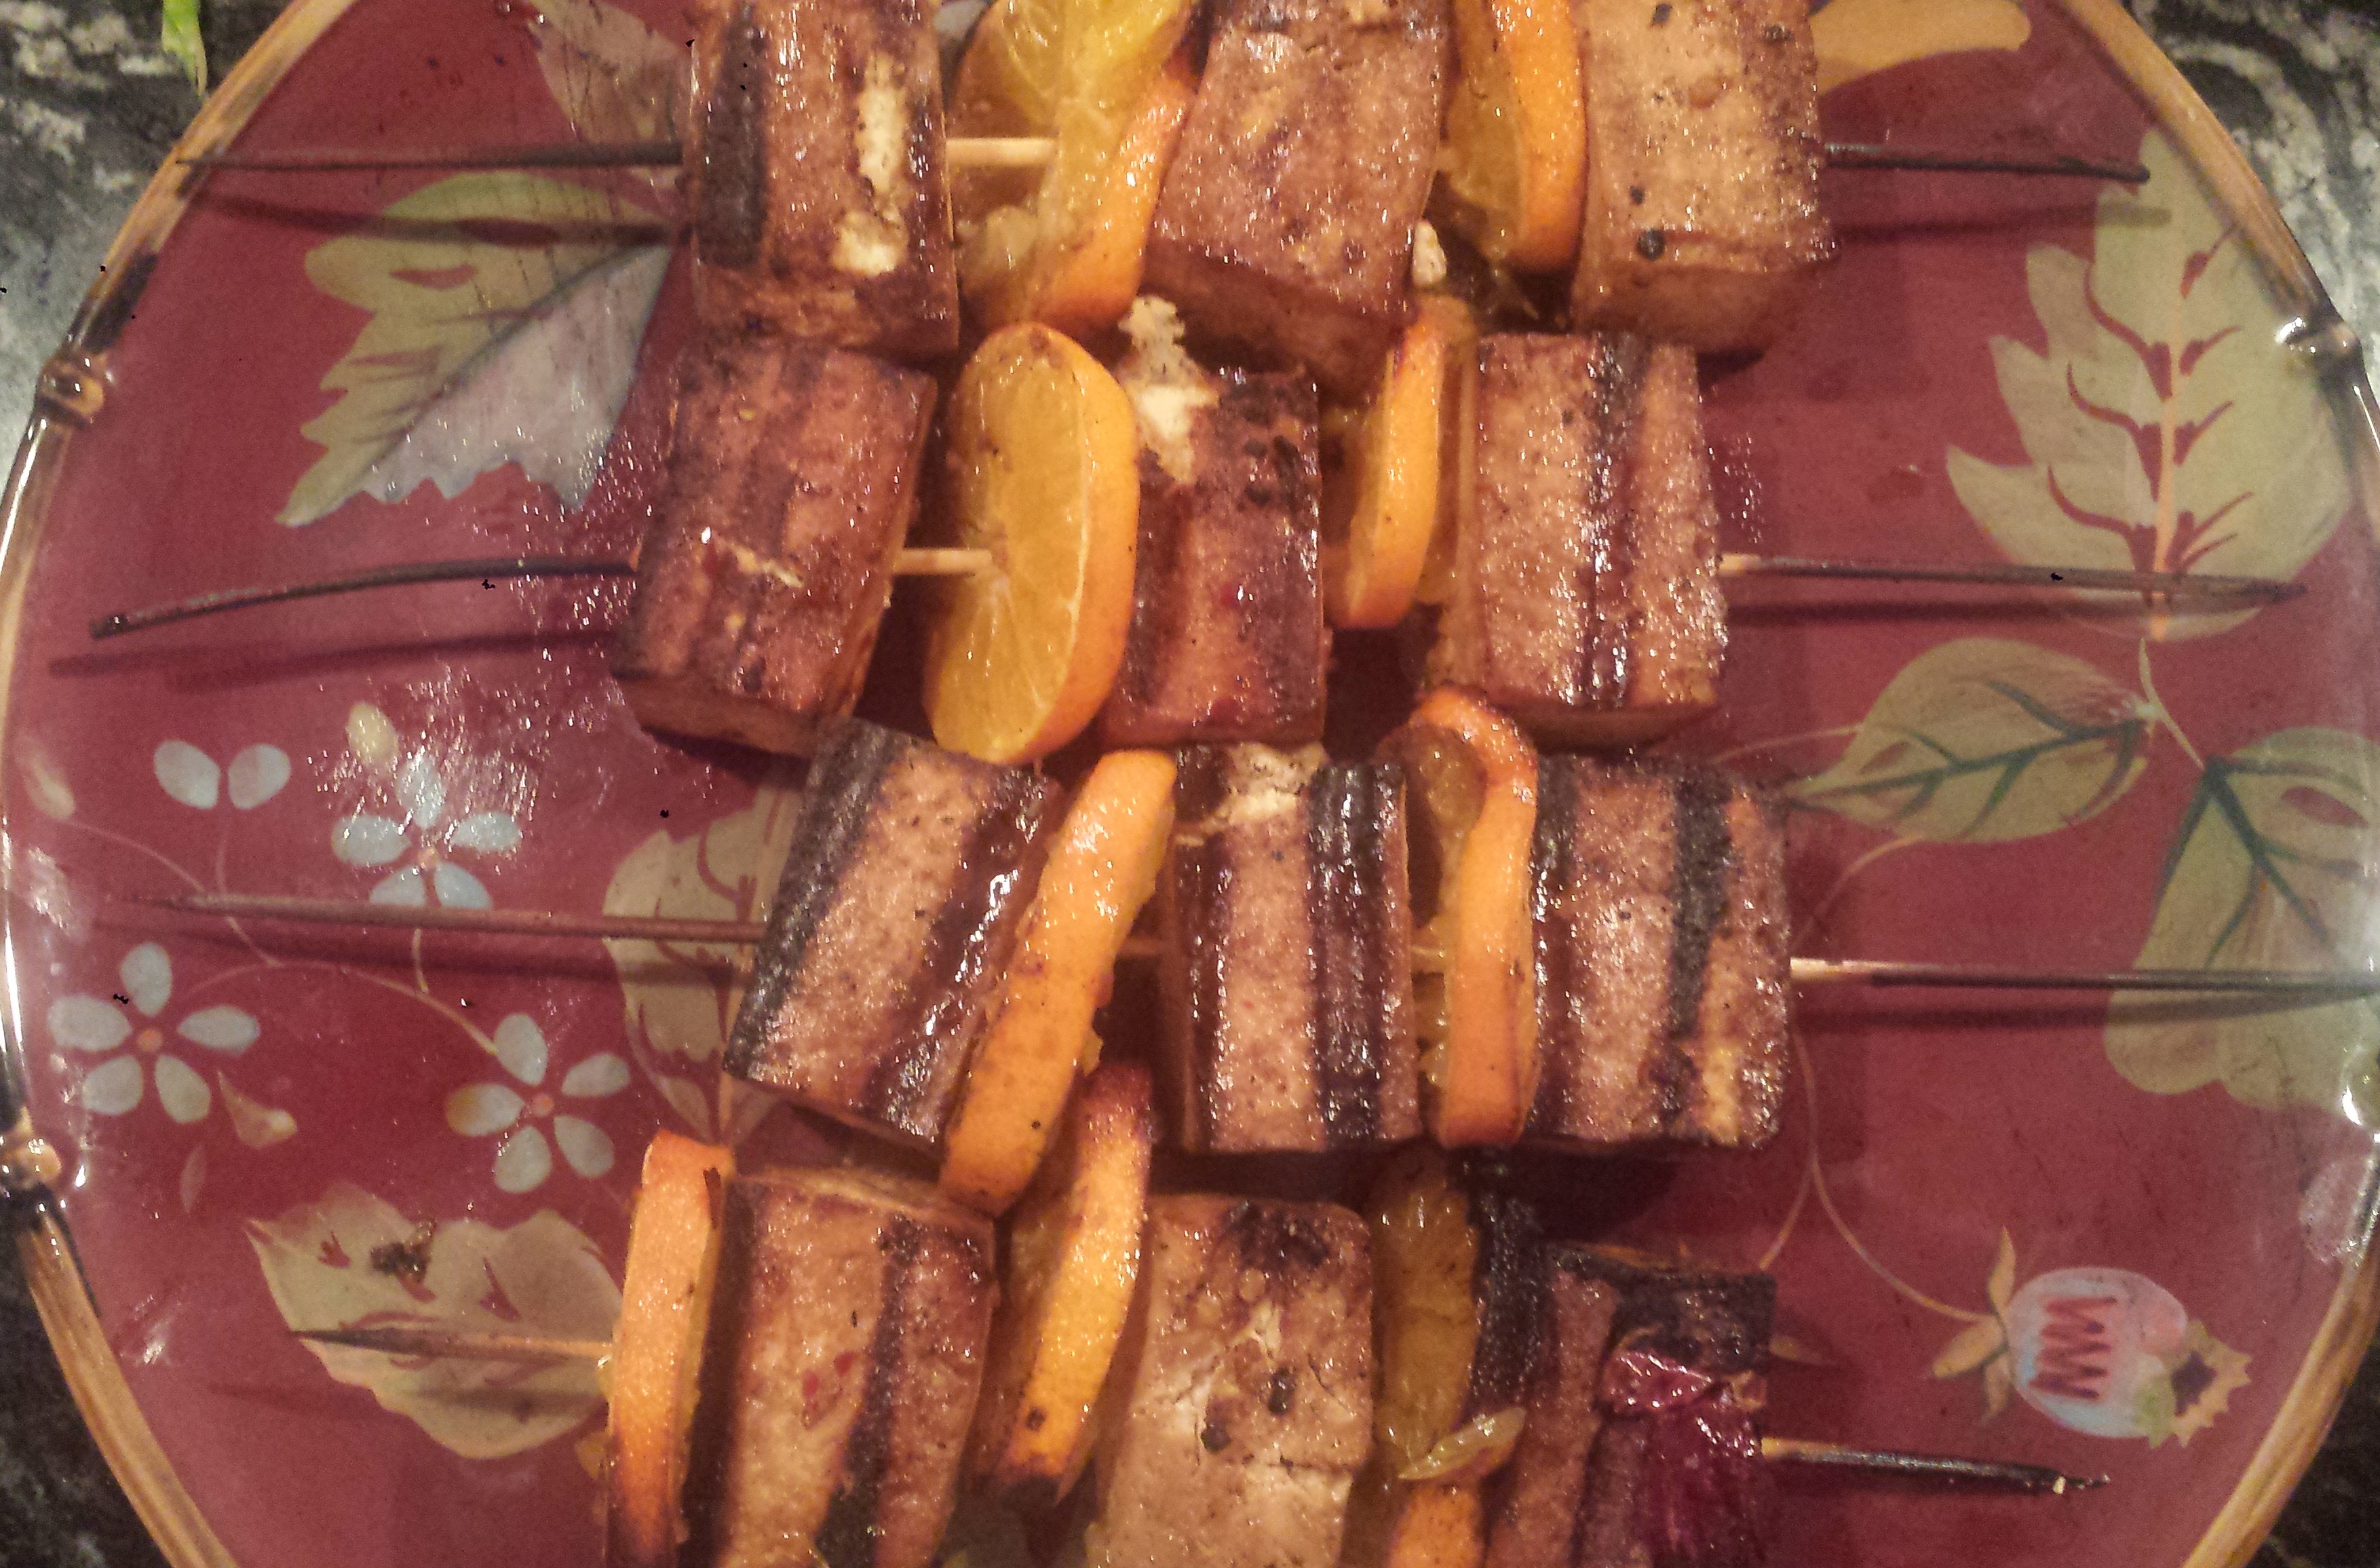
- Thread the tofu onto skewers adding a slice of mandarin between each piece. (reserve the marinade) Grill the skewers, turning once and basting frequently with the reserved marinade, until browned on both sides, 4 to 6 minutes total.

- Serve with reserved marinade.
1 block extra firm tofu MARINADESpicy Tofu and Mandarin Skewers
3 mandarins (or other small citrus fruit)
1/4 cup soy sauce
2 Tbsn sesame oil
1/4 cup rice vinegar
3-4 cloves garlic, minced
2 Tbsn red chili paste