Are you a lover or a hater? Tofu gets a bad rap and seems to trigger a love/hate reaction. I am totally a lover, I think it’s delicious and guilt free-just sayin’. Let’s talk about what’s good about tofu besides the obvious – no animals were harmed in the making of my dinner! Tofu is high in protein, low in fat, and naturally cholesterol-free. along with providing a whole slew of healthful nutrients. It is fairly bland in flavor and easily absorbs flavorful sauces and marinades so it’s easy to manipulate in cooking. So why does tofu get a bad rap? Well some people just don’t like the taste and texture but there is controversy beyond the likability aspect. Tofu is a processed soy product, and the verdict is still out on it’s health benefits and risks. For more info click HERE. It’s quite a complicated topic and no one seems to agree. So for now, I will keep making delicious (and guilt free) tofu dishes like this one with eggplant and a yummy black bean sauce.

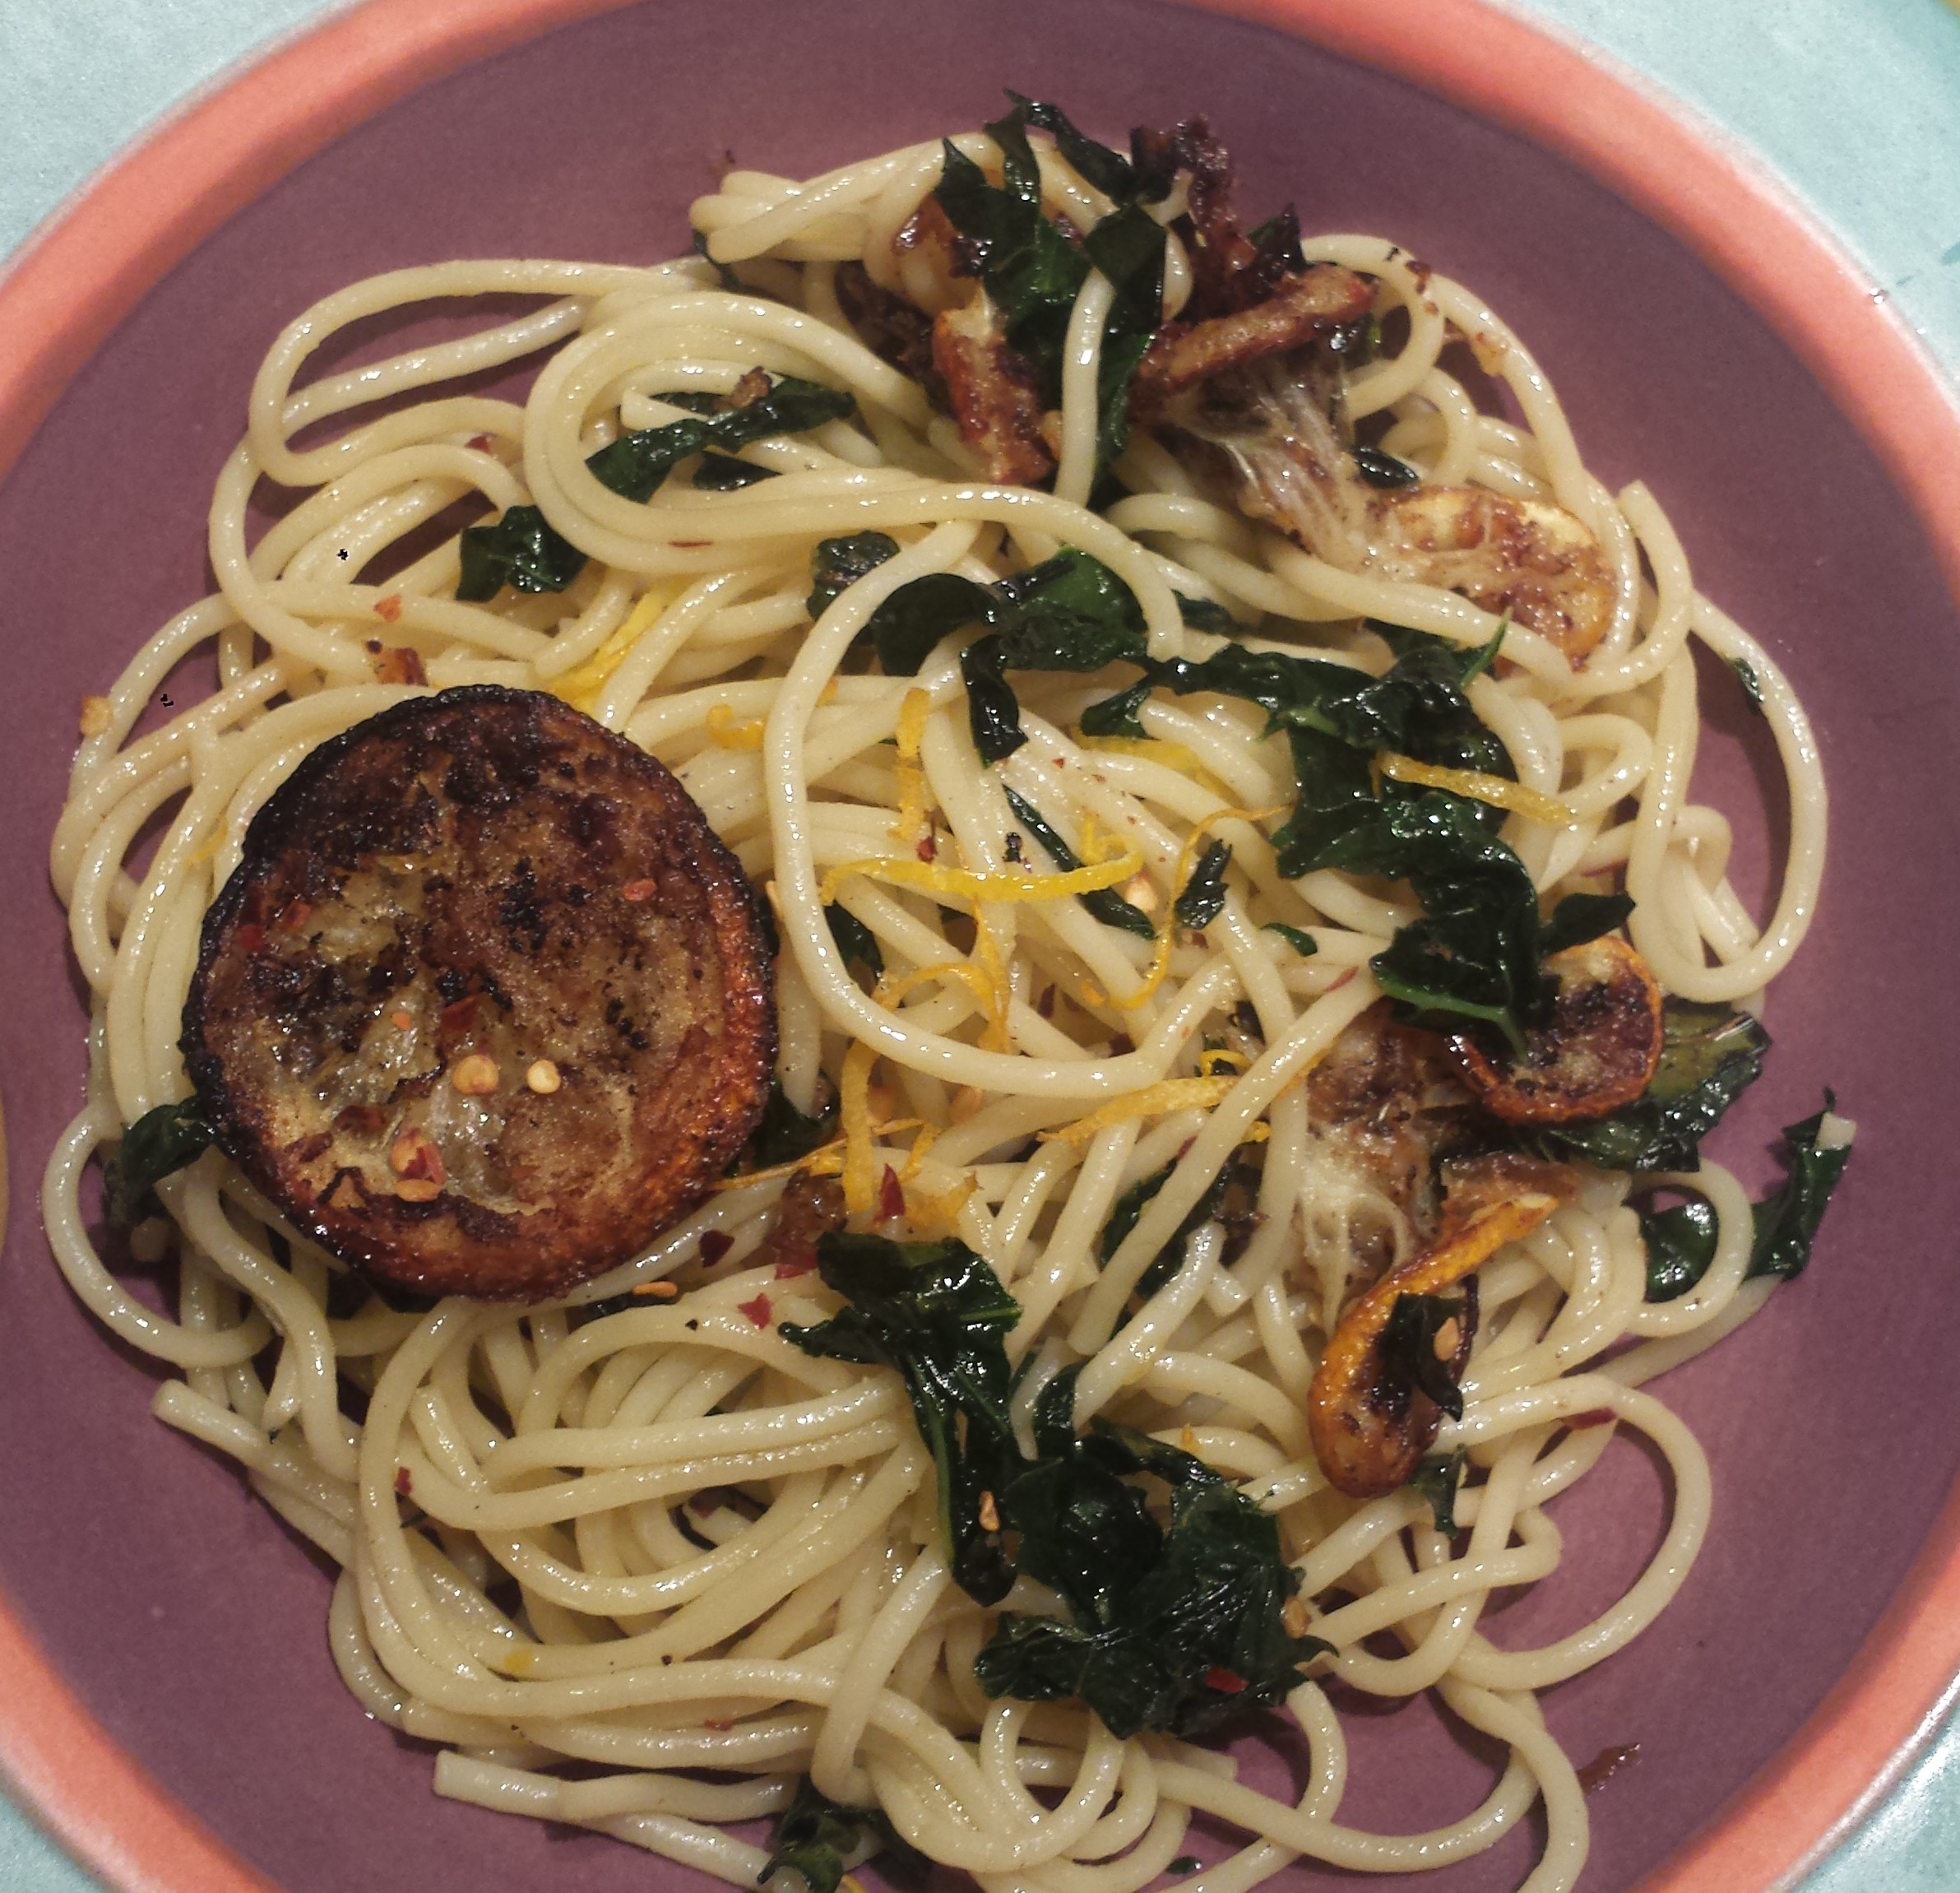
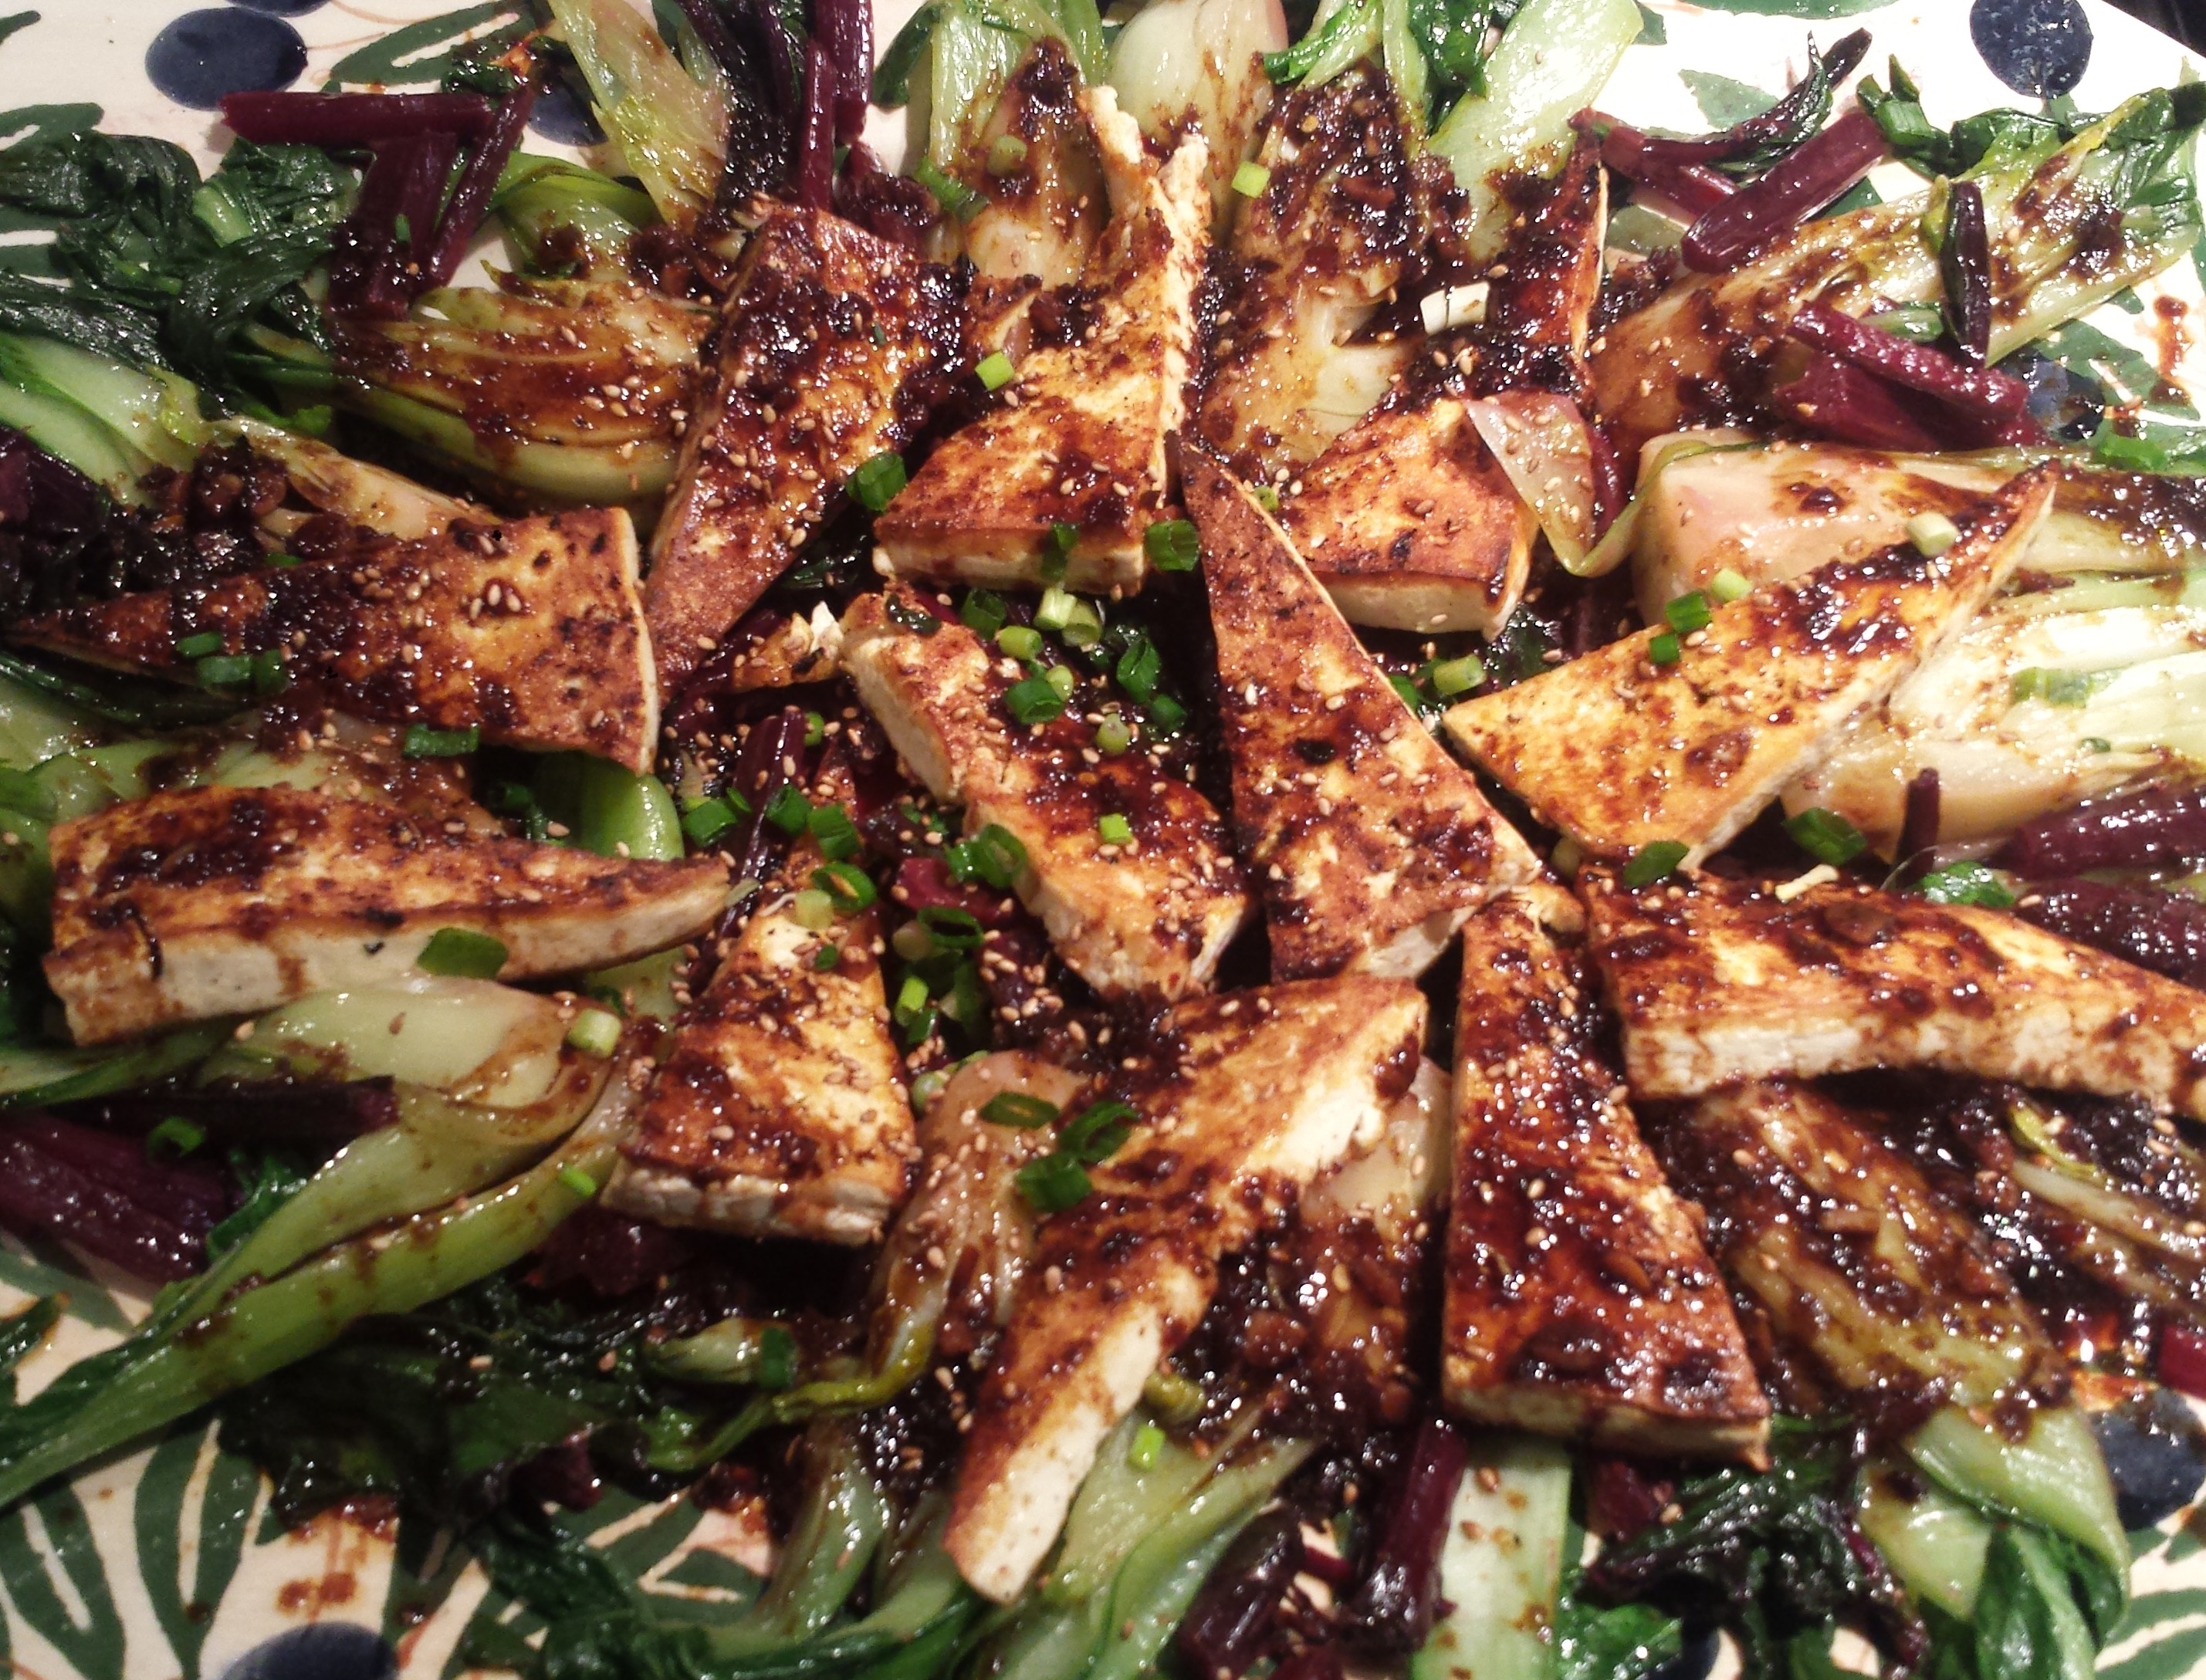
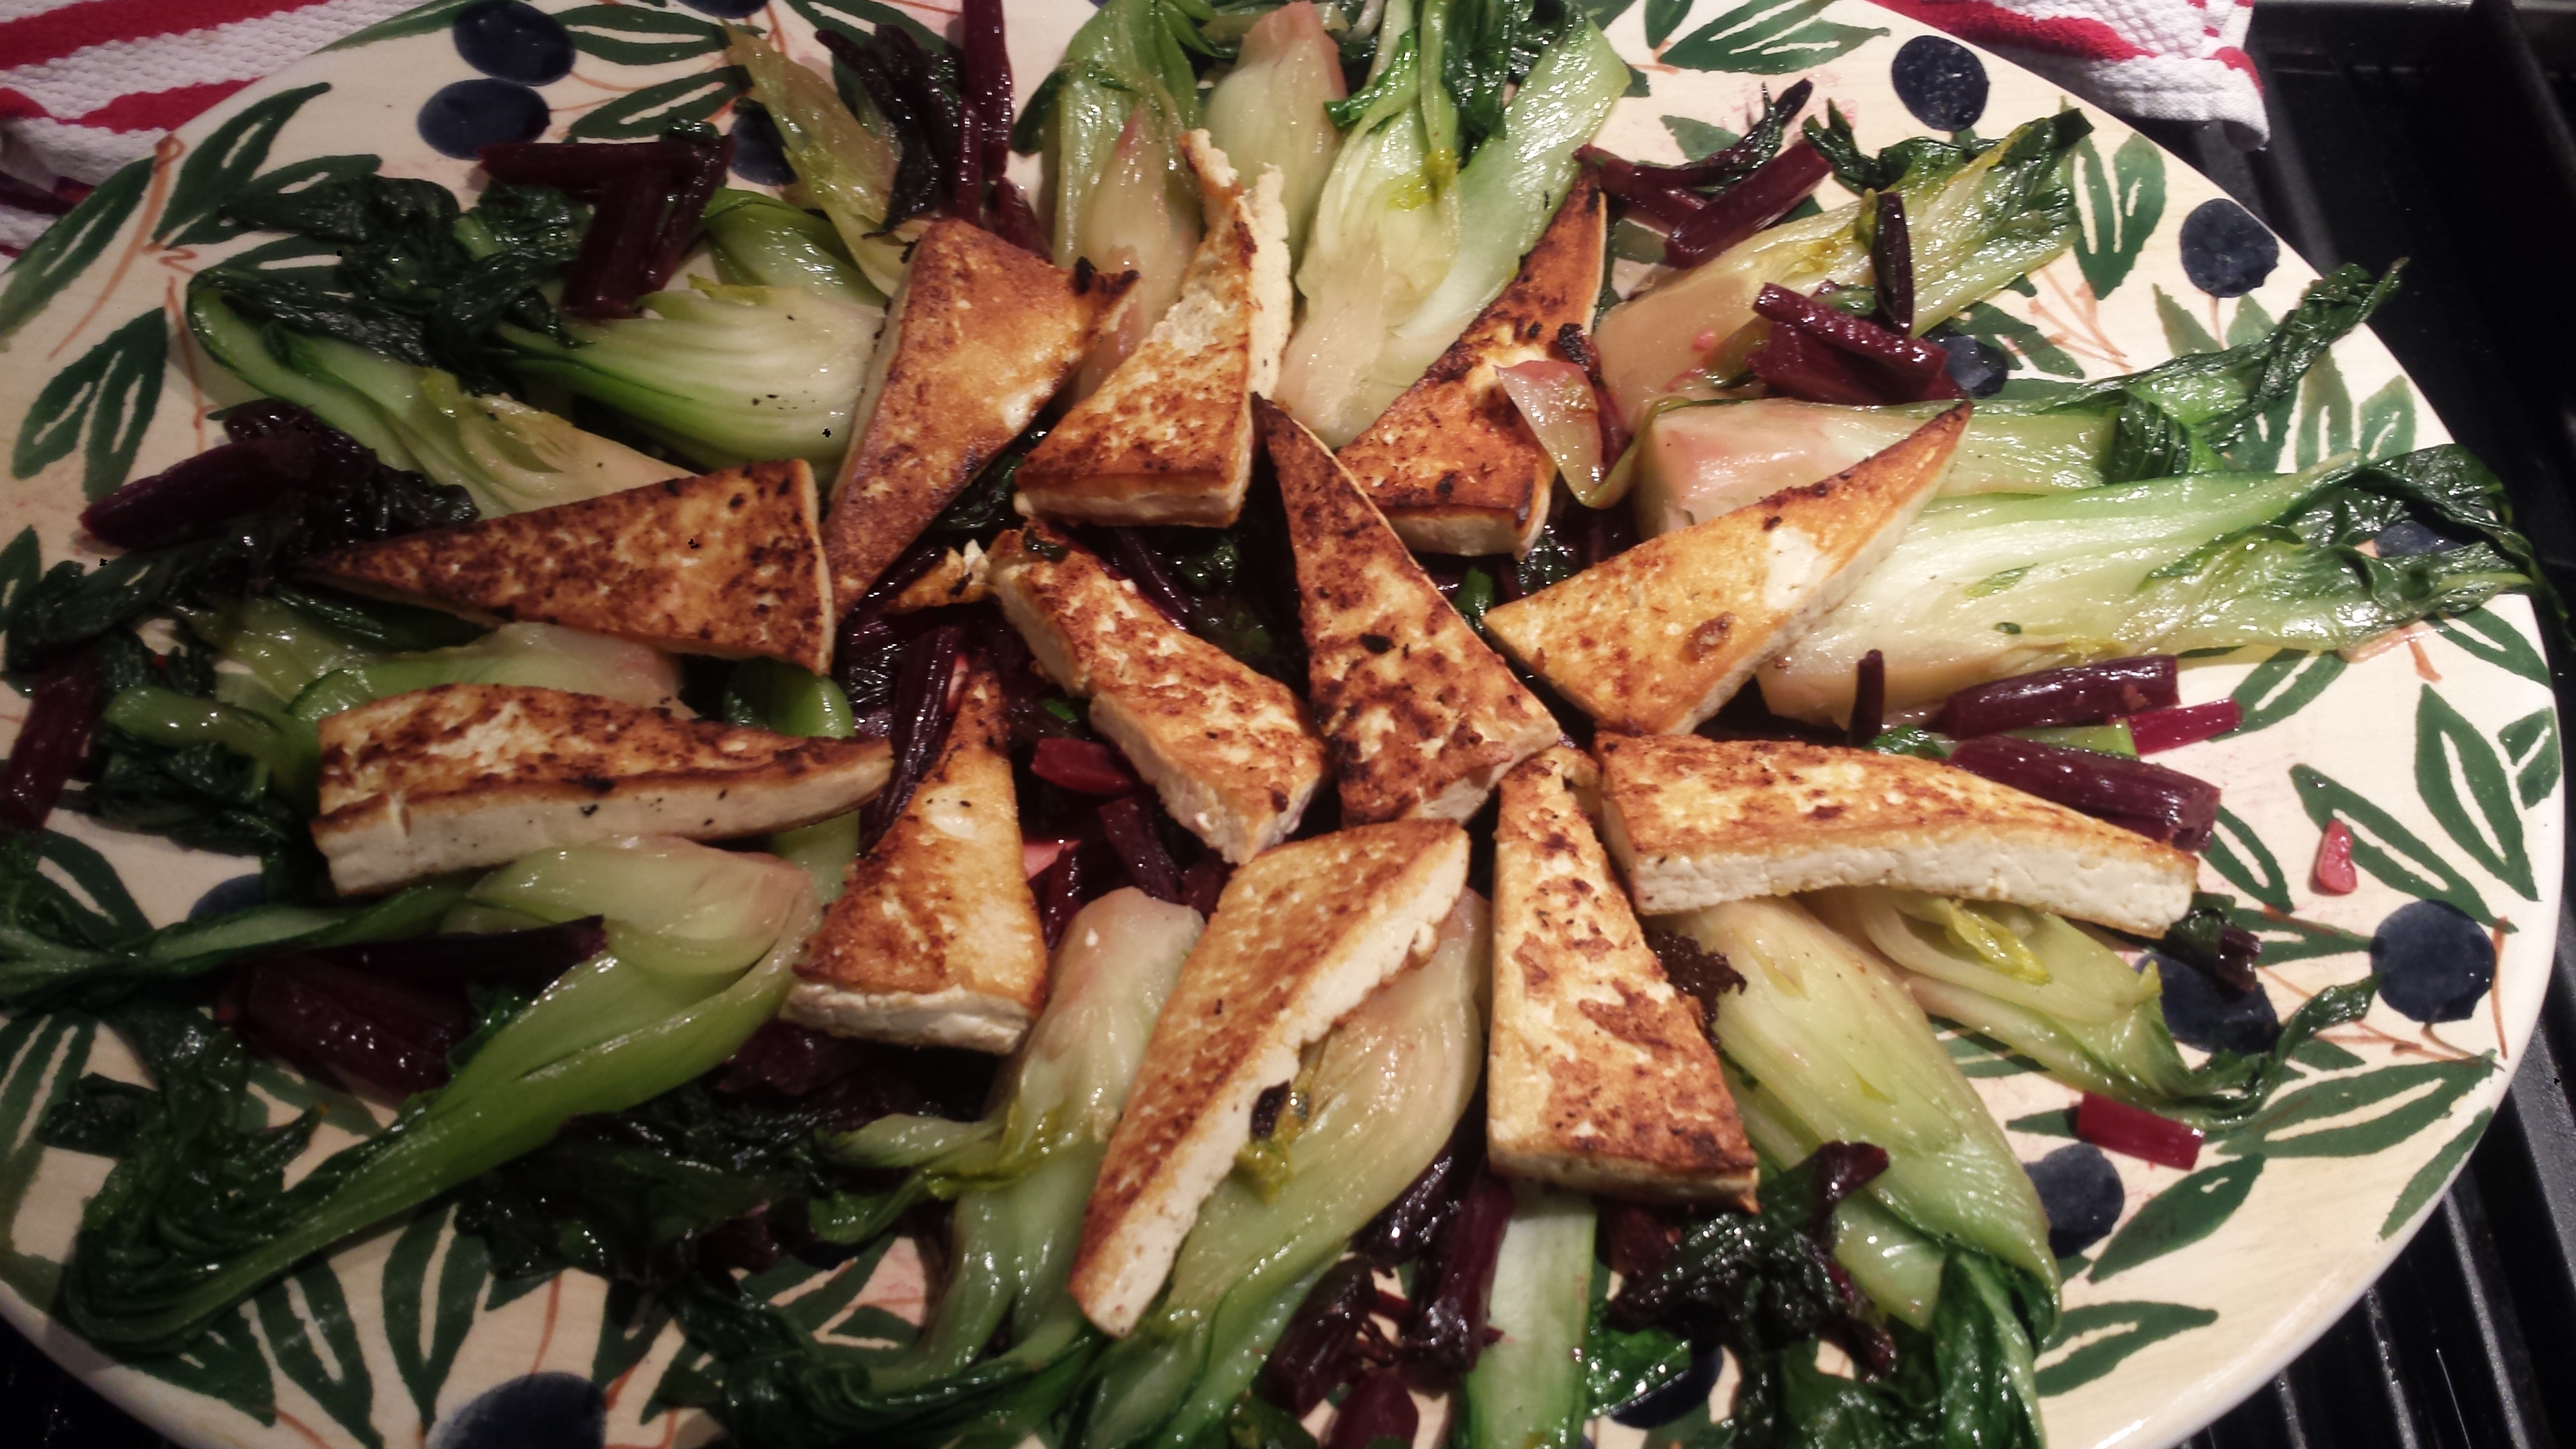
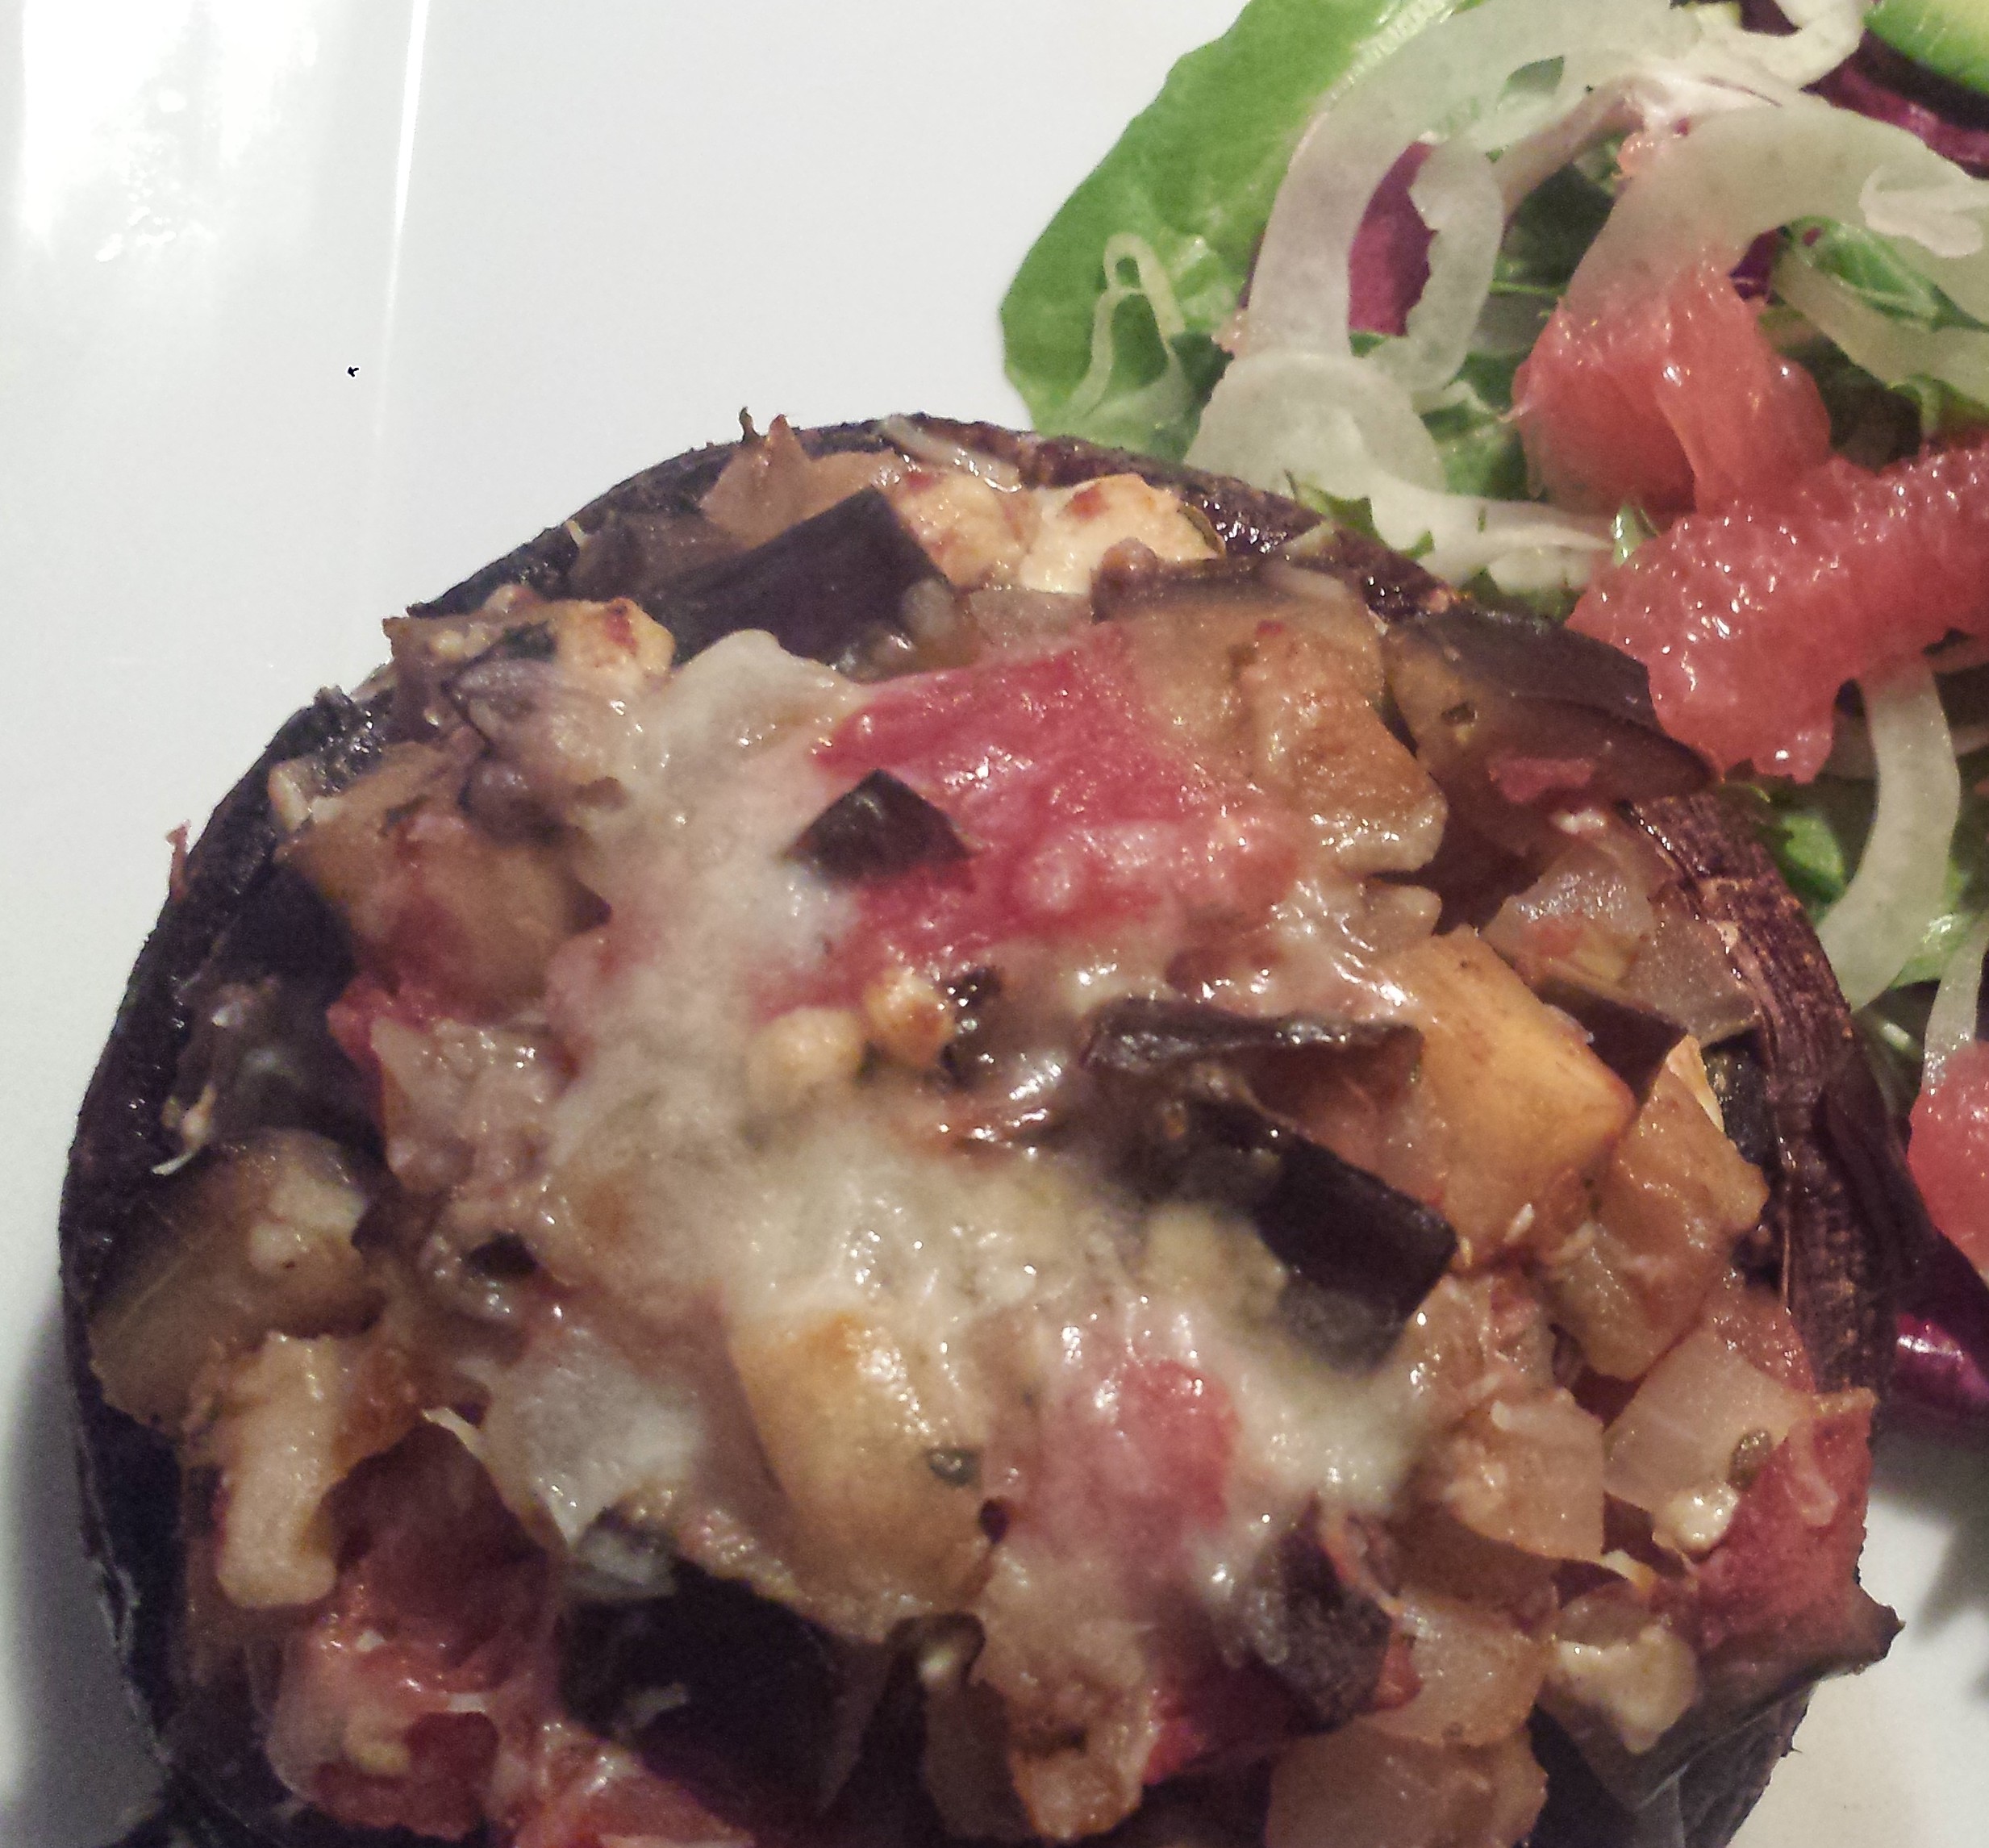
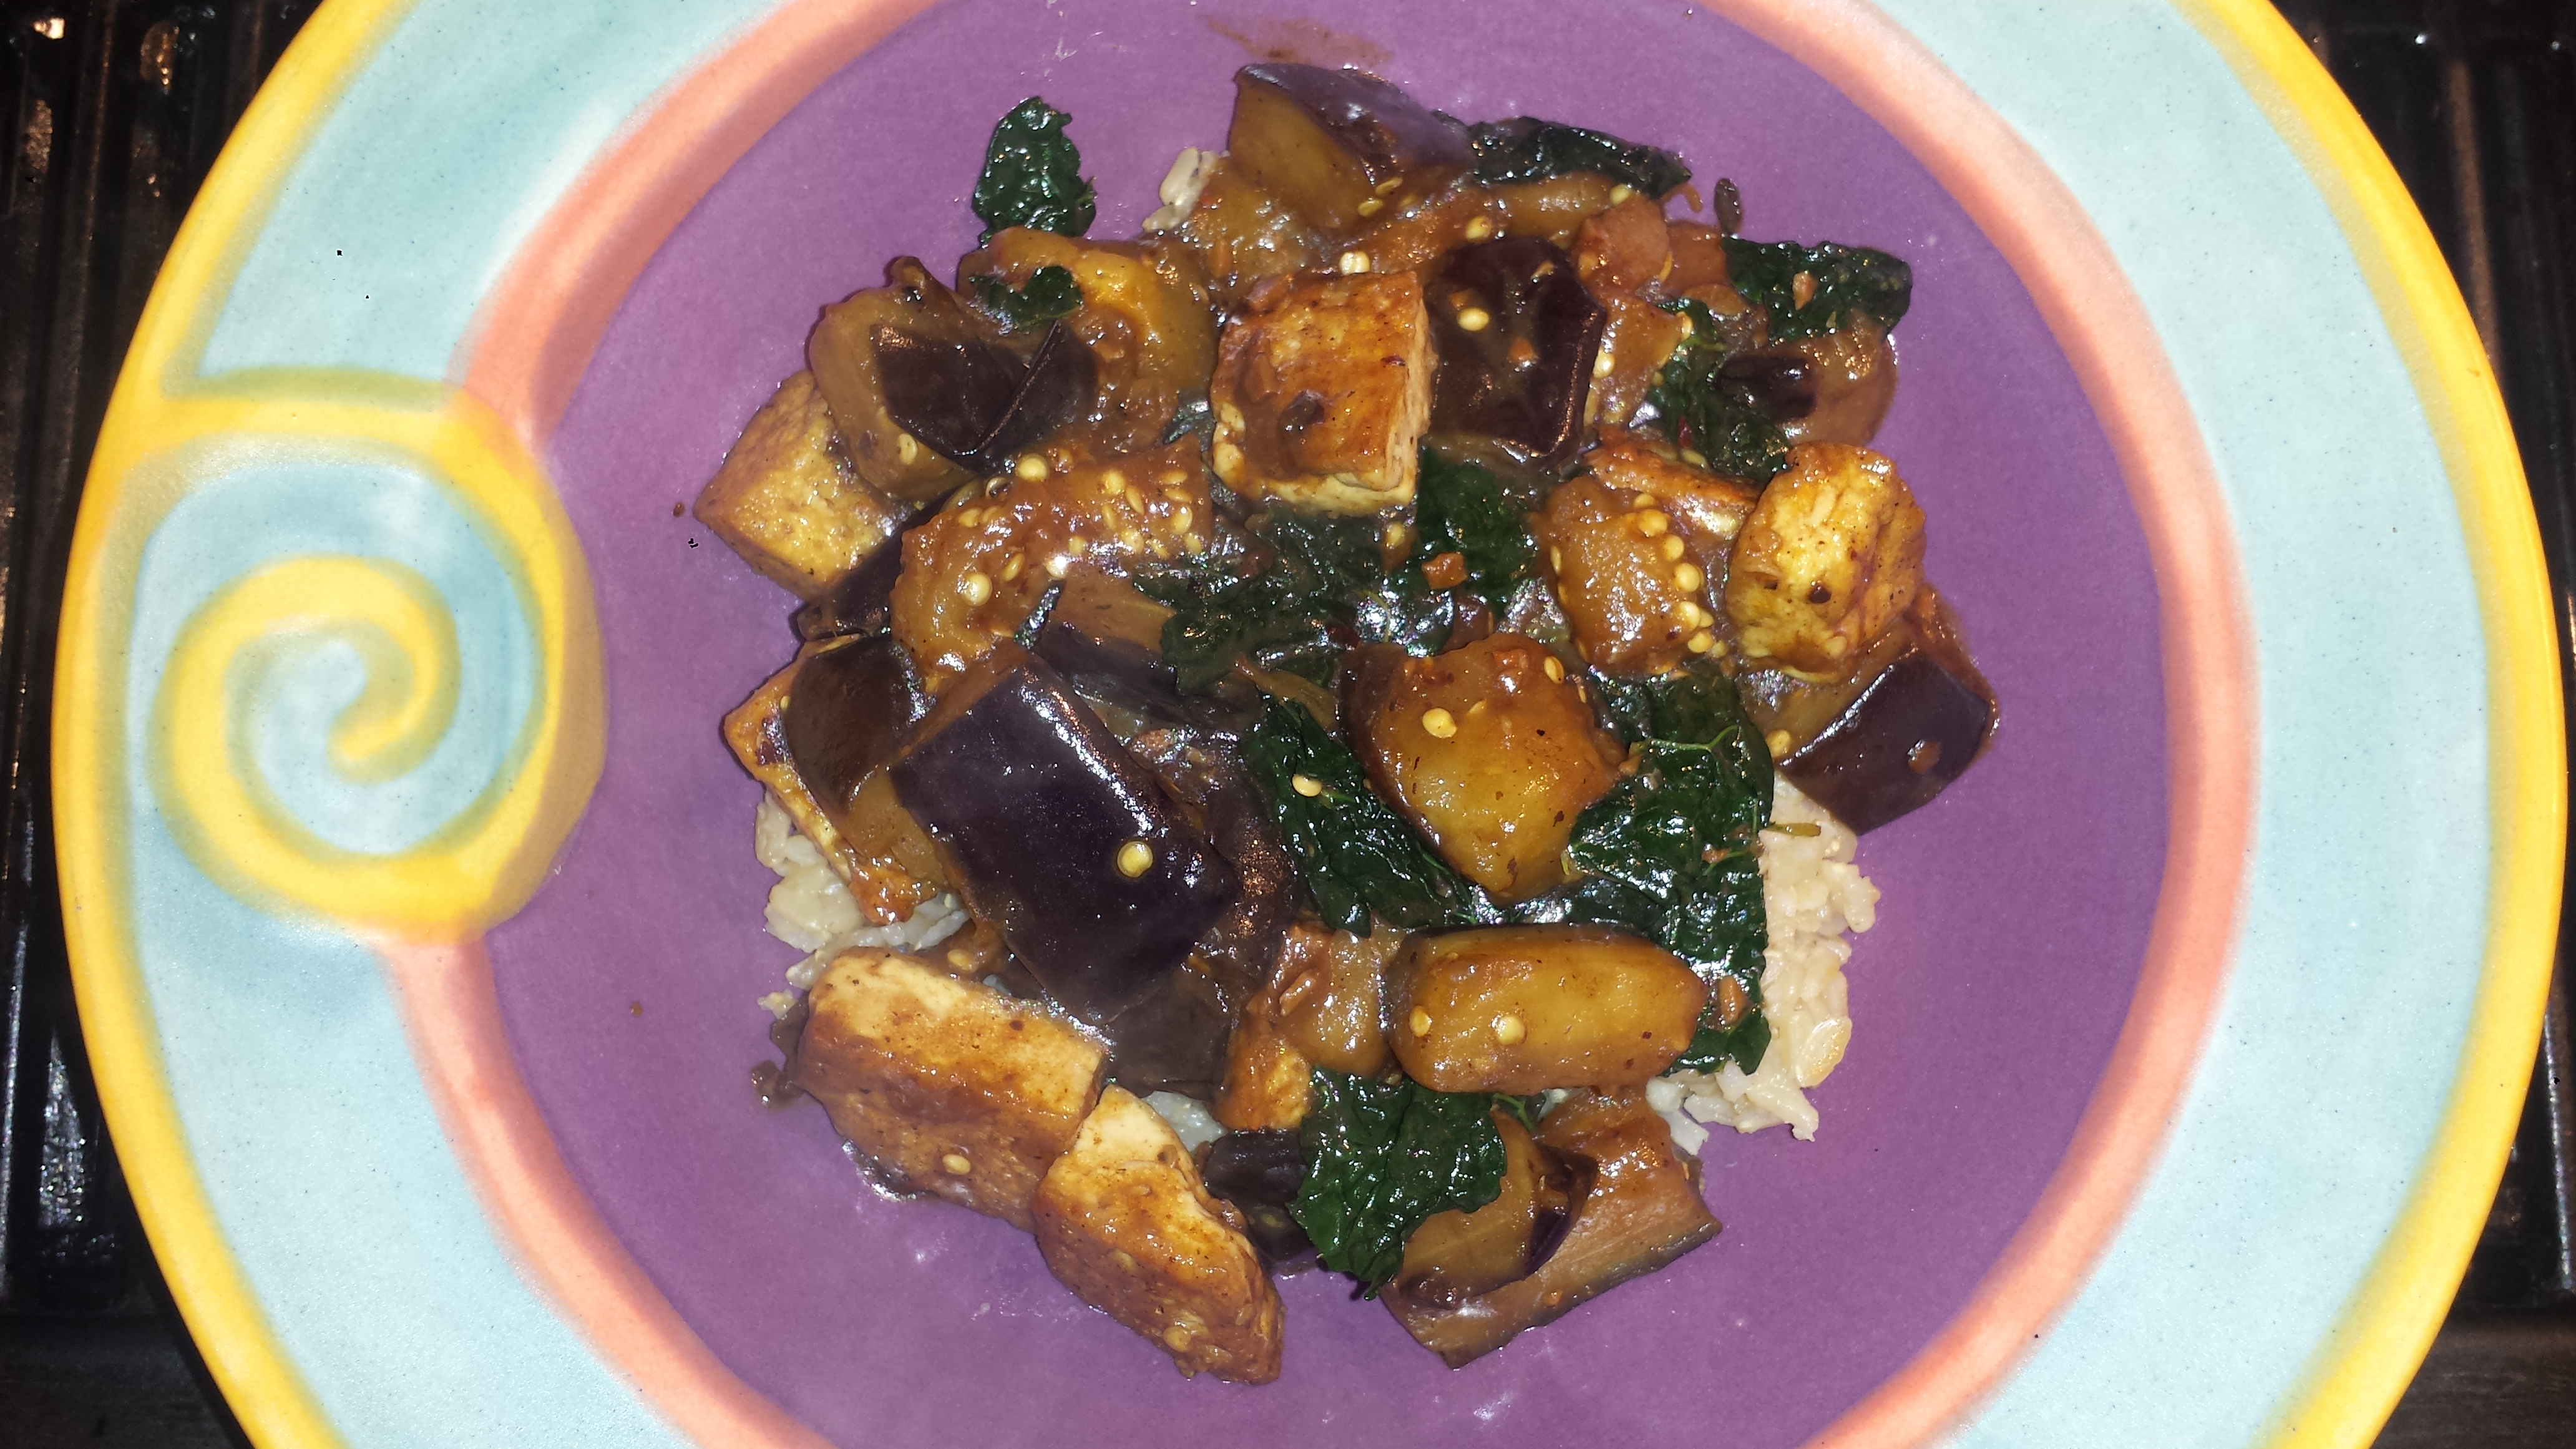
This dish was a bit hit in my house. Tofu, cooked to crispy perfection, sauteed with eggplant and kale (still the darling of the day) and coated with a tasty spicy black bean sauce. Delicious and ready in less than 30 minutes!
TIPS: Make sure you buy organic tofu. Over 90% of tofu produced in the U.S. is GMO and treated with ‘Roundup” which is a poison and shouldn’t be on your dinner plate. The more liquid you can squeeze out of your tofu, the more flavor can be absorbed.

EGGPLANT, KALE & TOFU WITH BLACK BEAN SAUCE
14 oz firm tofu
2 Tbsn vegetable oil (avocado, coconut or other high heat oil)
1 globe or 2 Japanese eggplants
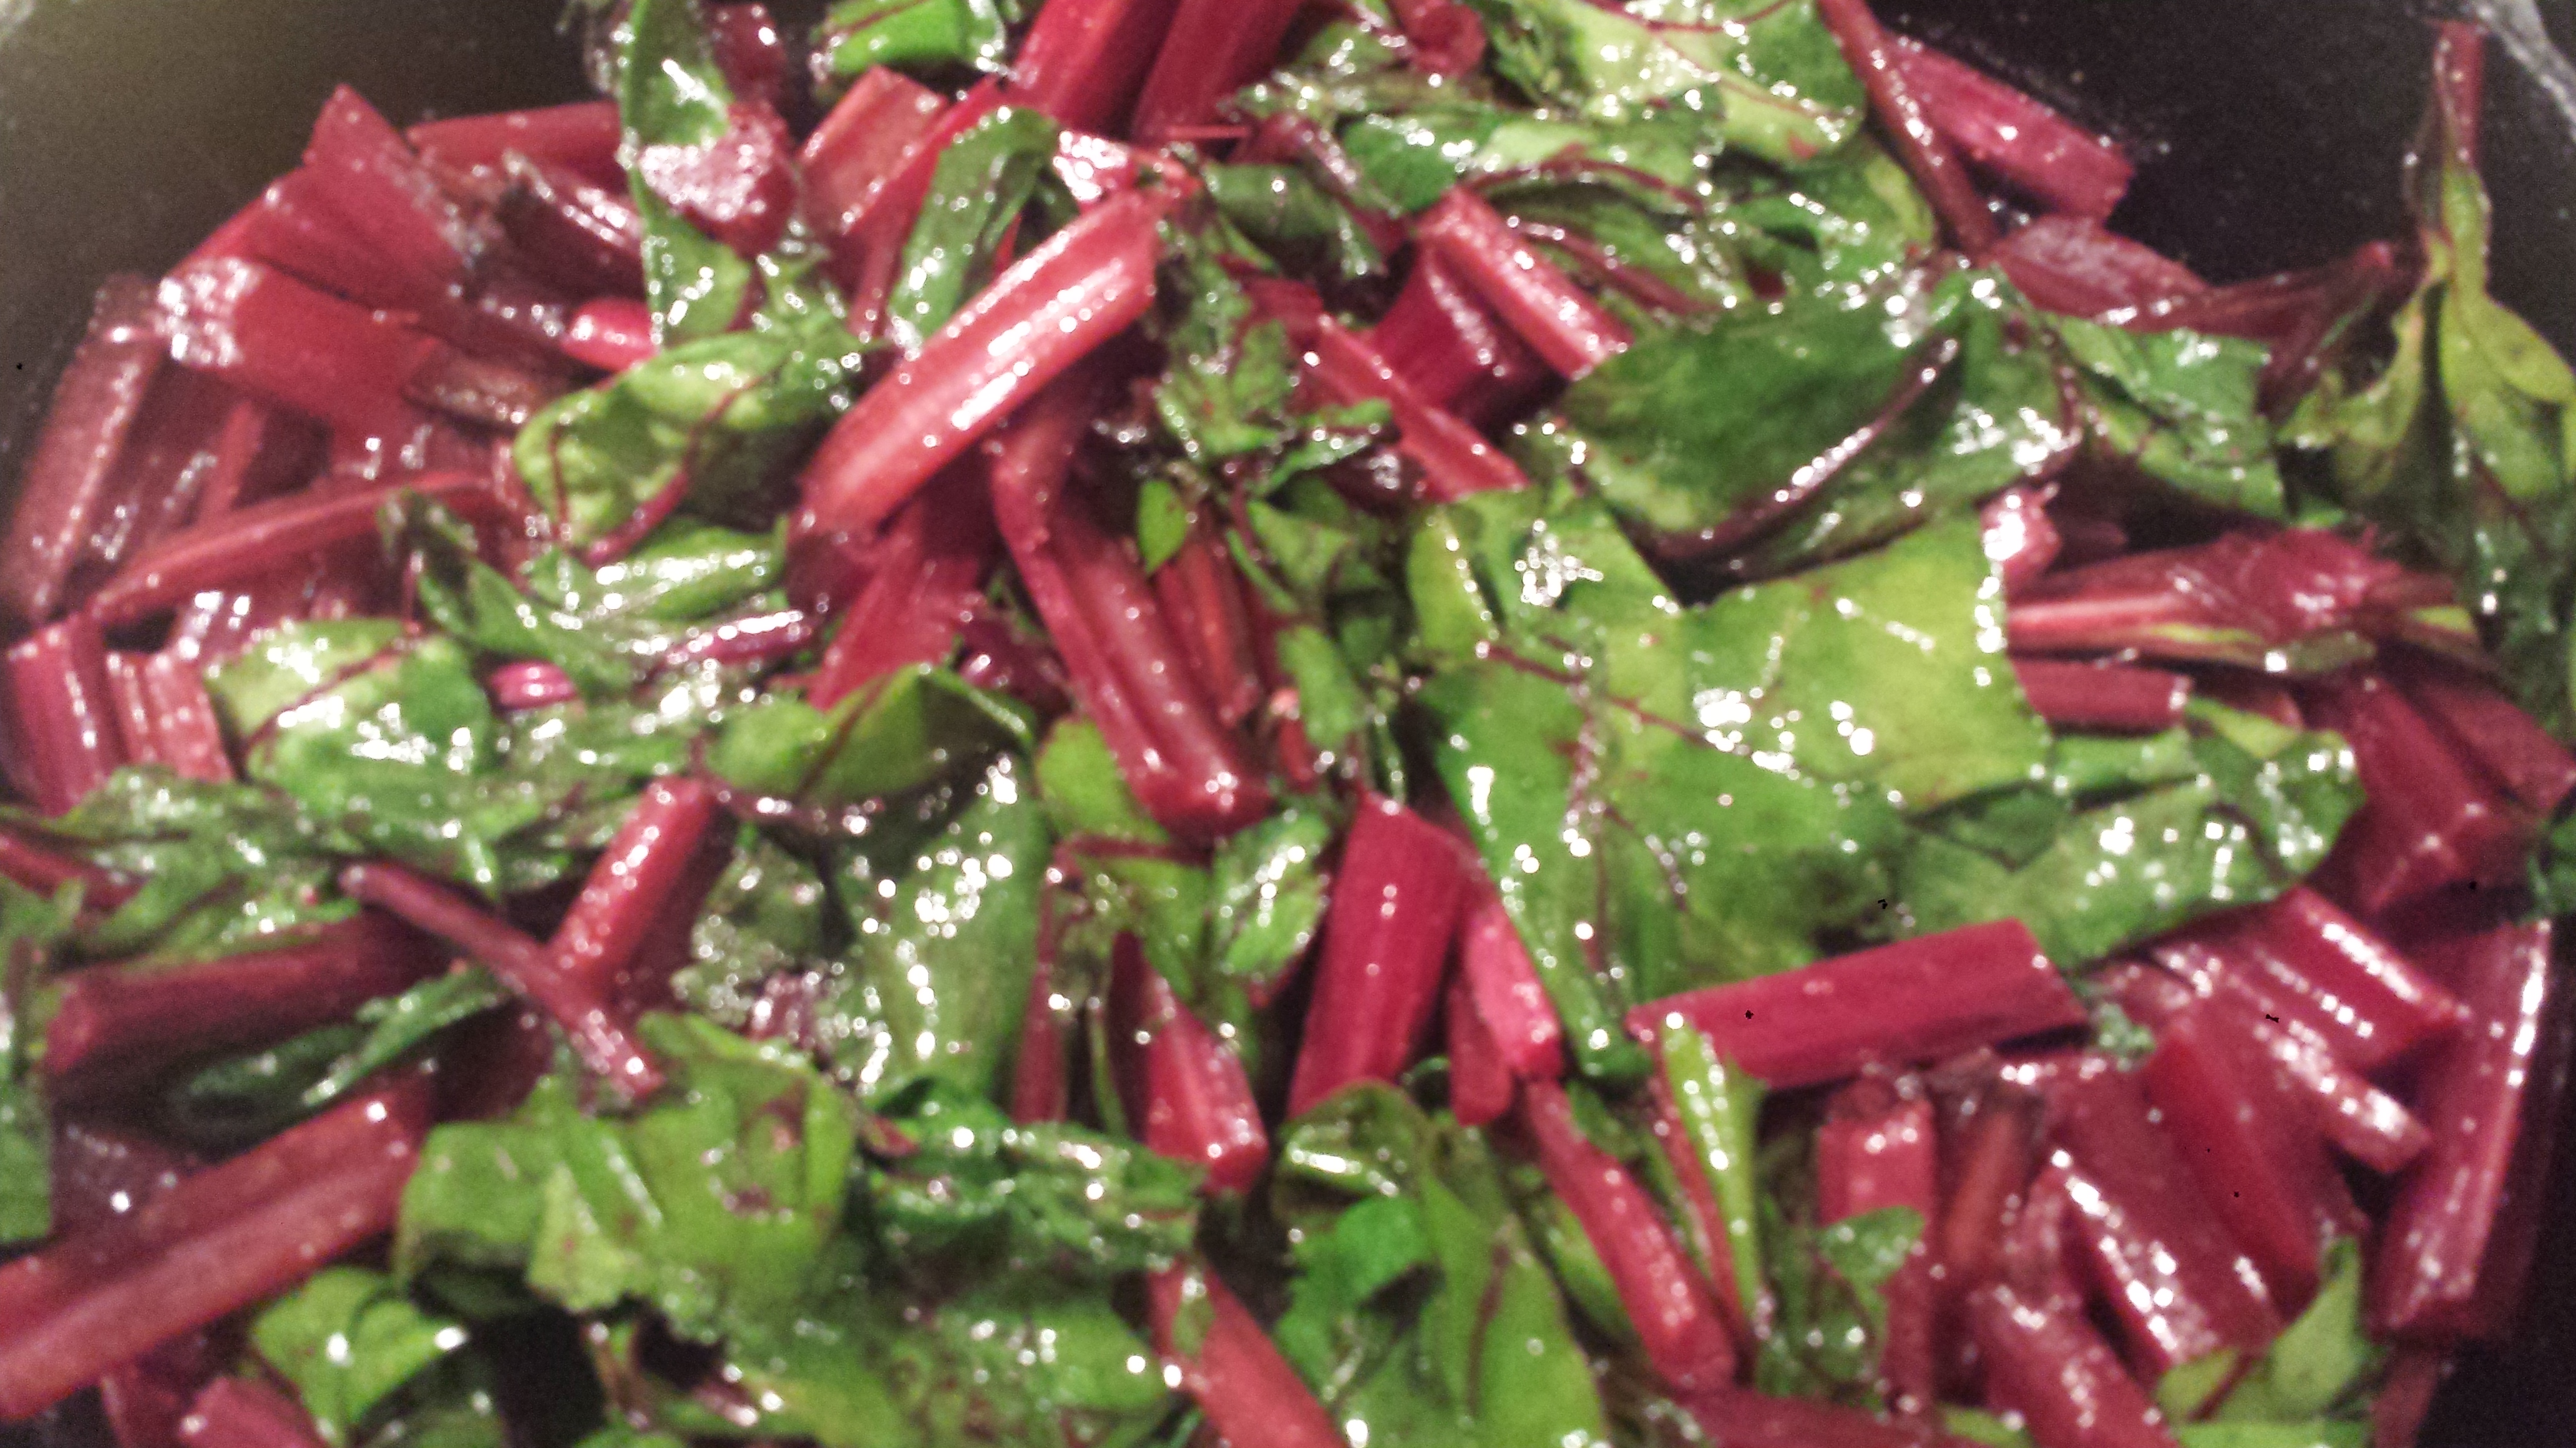
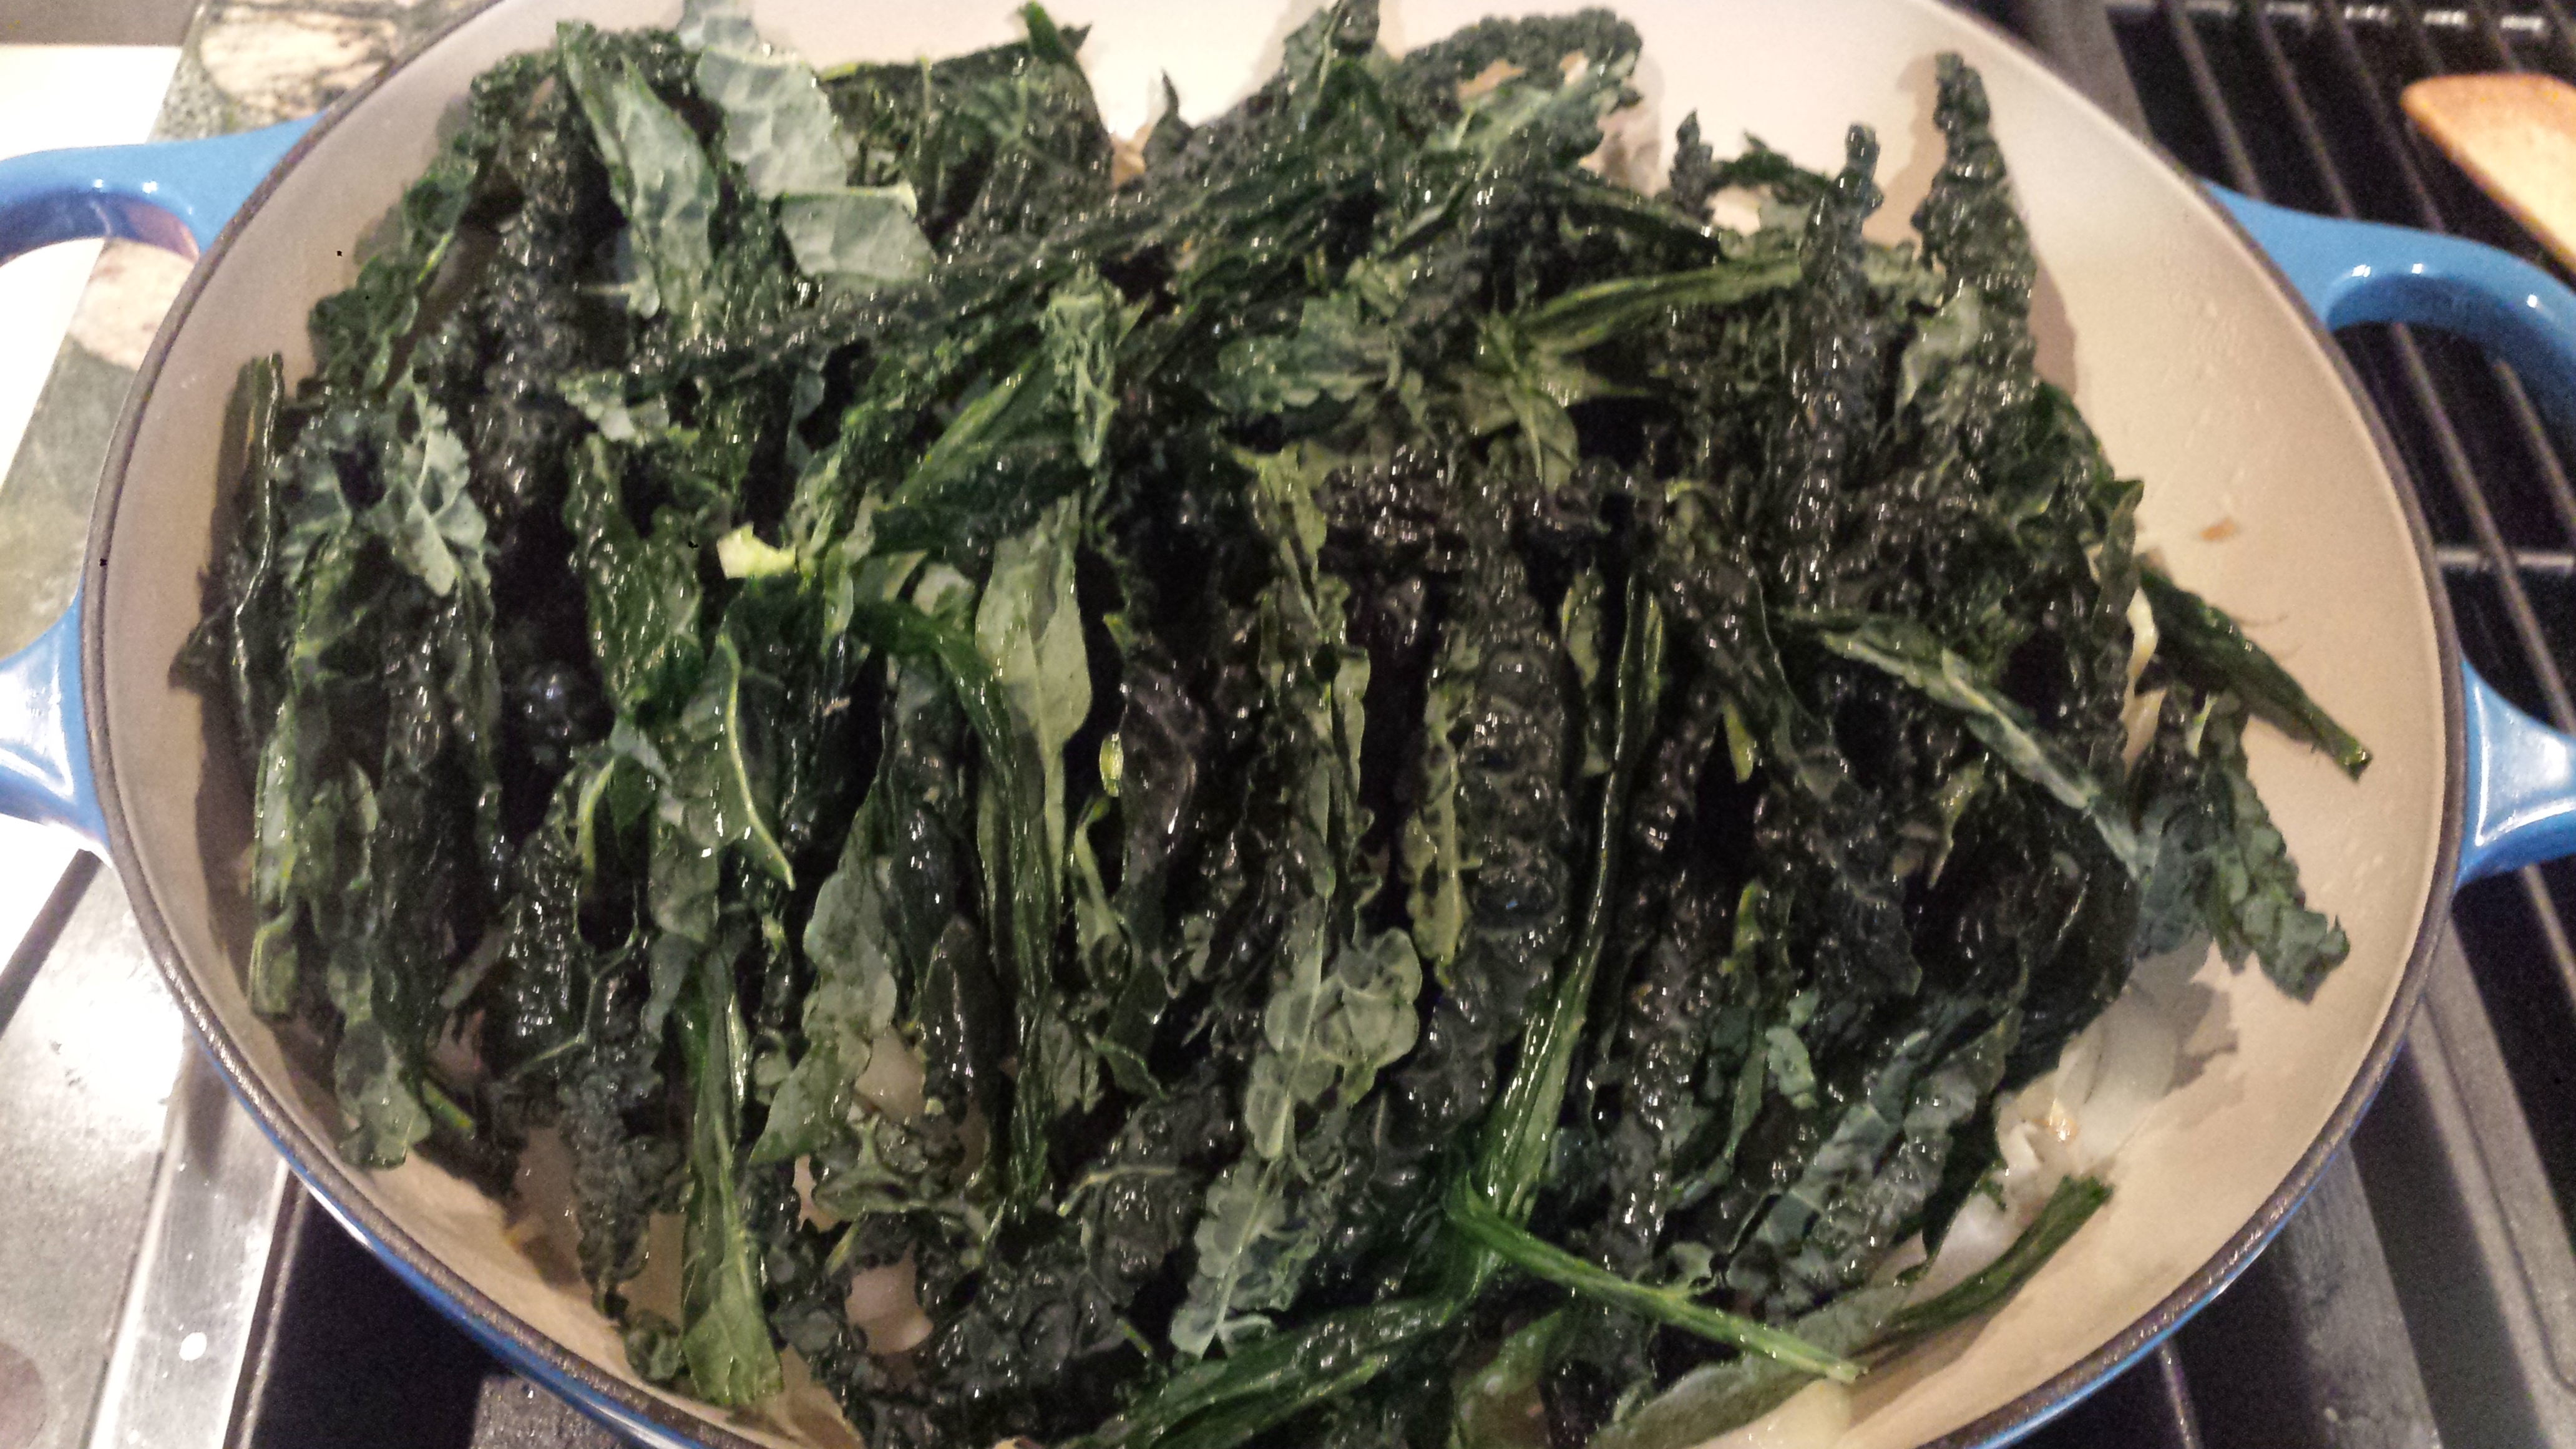
1/2 bunch (6-7 kale leaves, 0r other bitter green like collards, mustard greens or broccoli rabe)
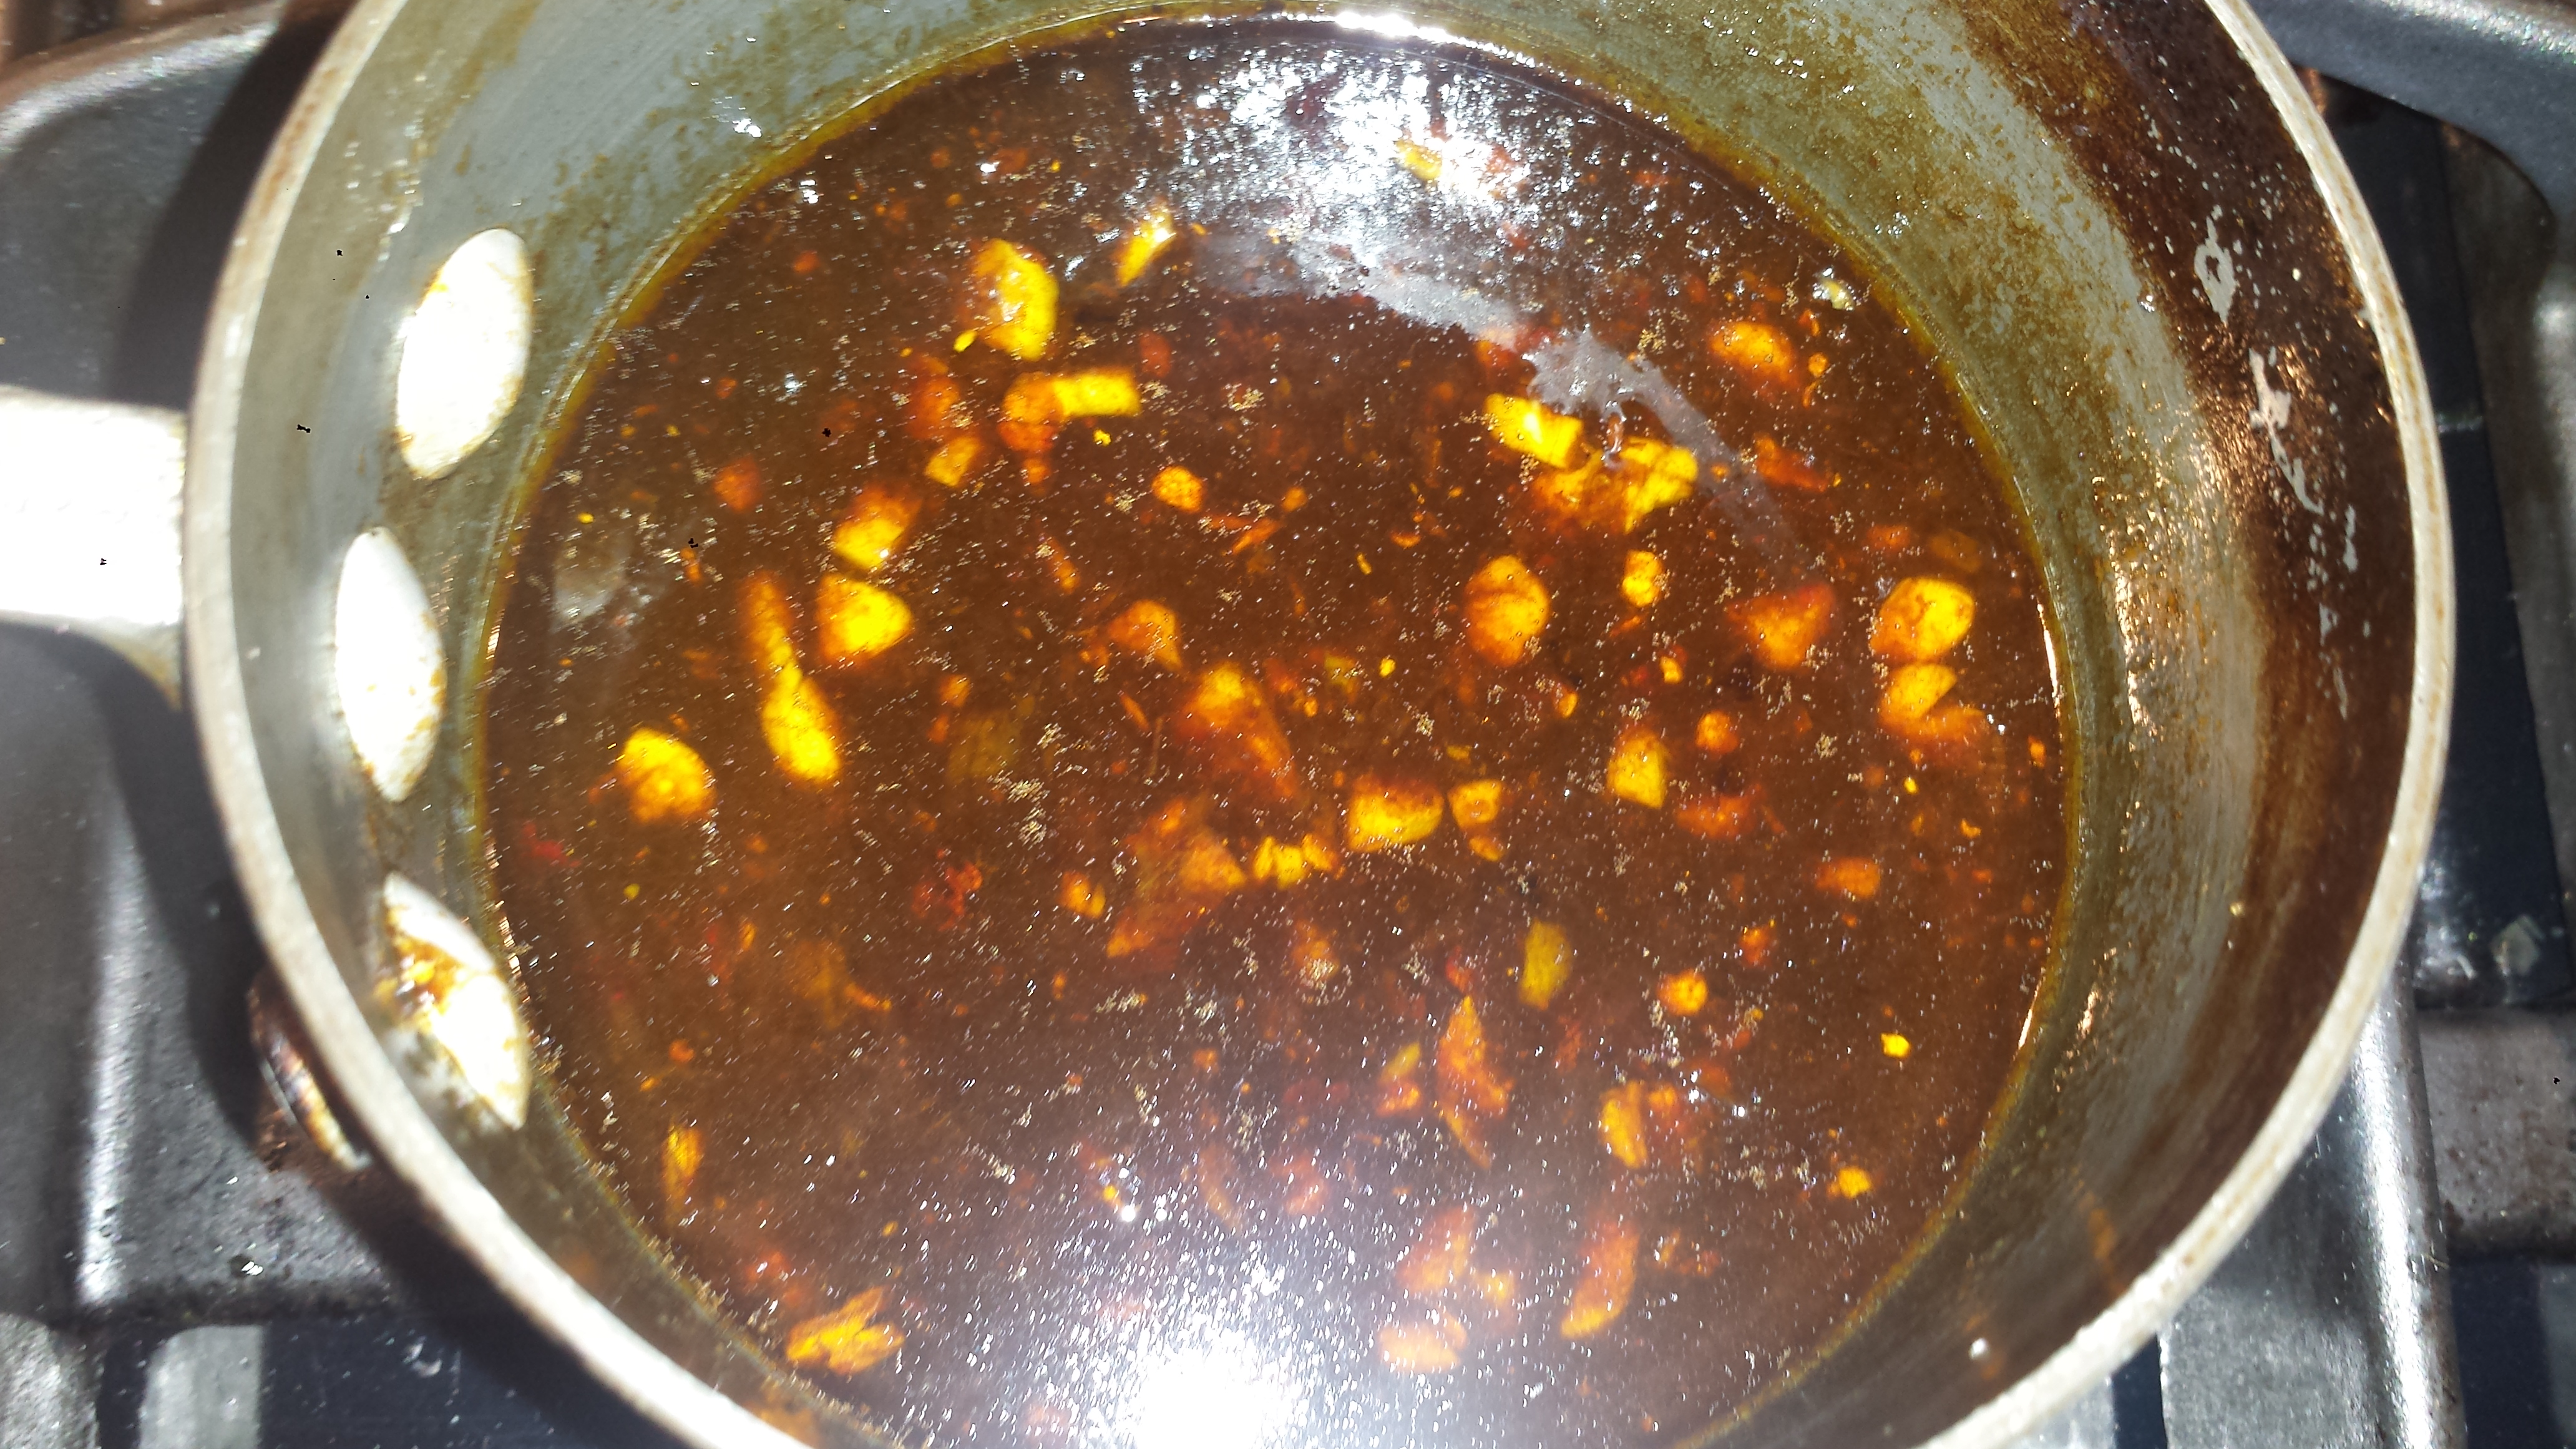
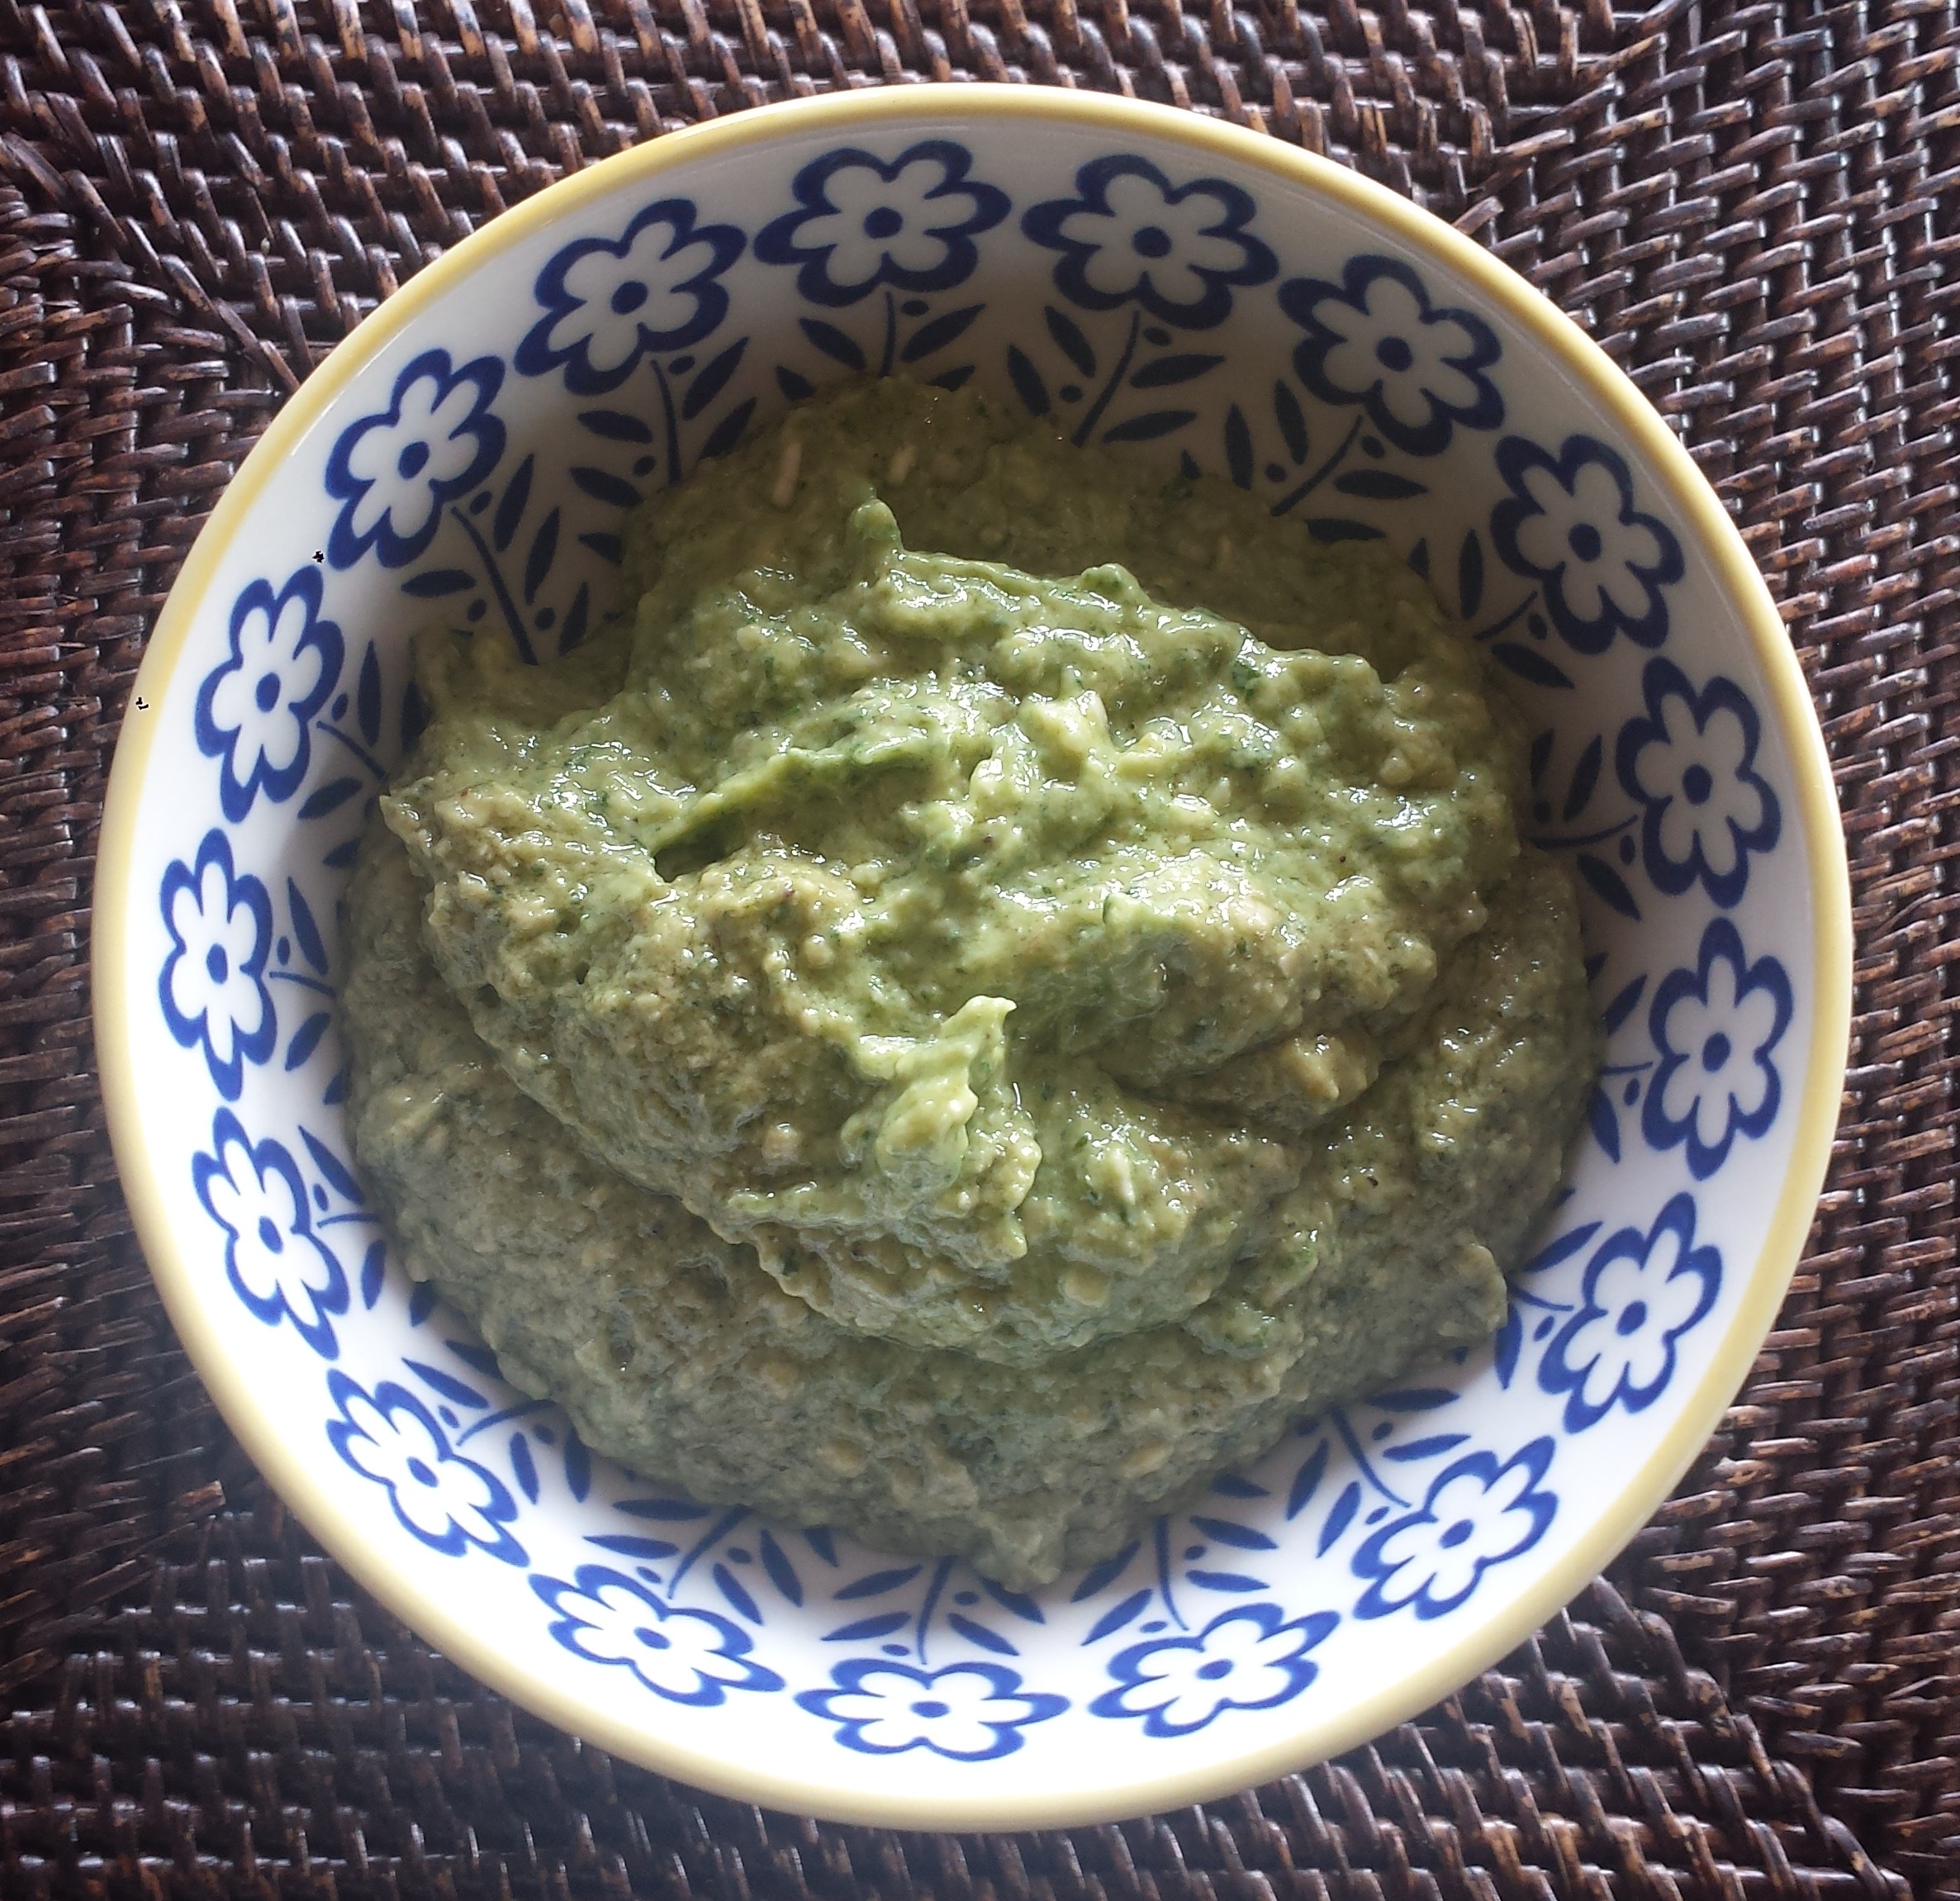
BLACK BEAN SAUCE
2 Tbsn black bean sauce
1 tsp chili sauce (or paste)
1 tsp honey
1 tsp corn starch
1/2 tsp white or apple cider vinegar
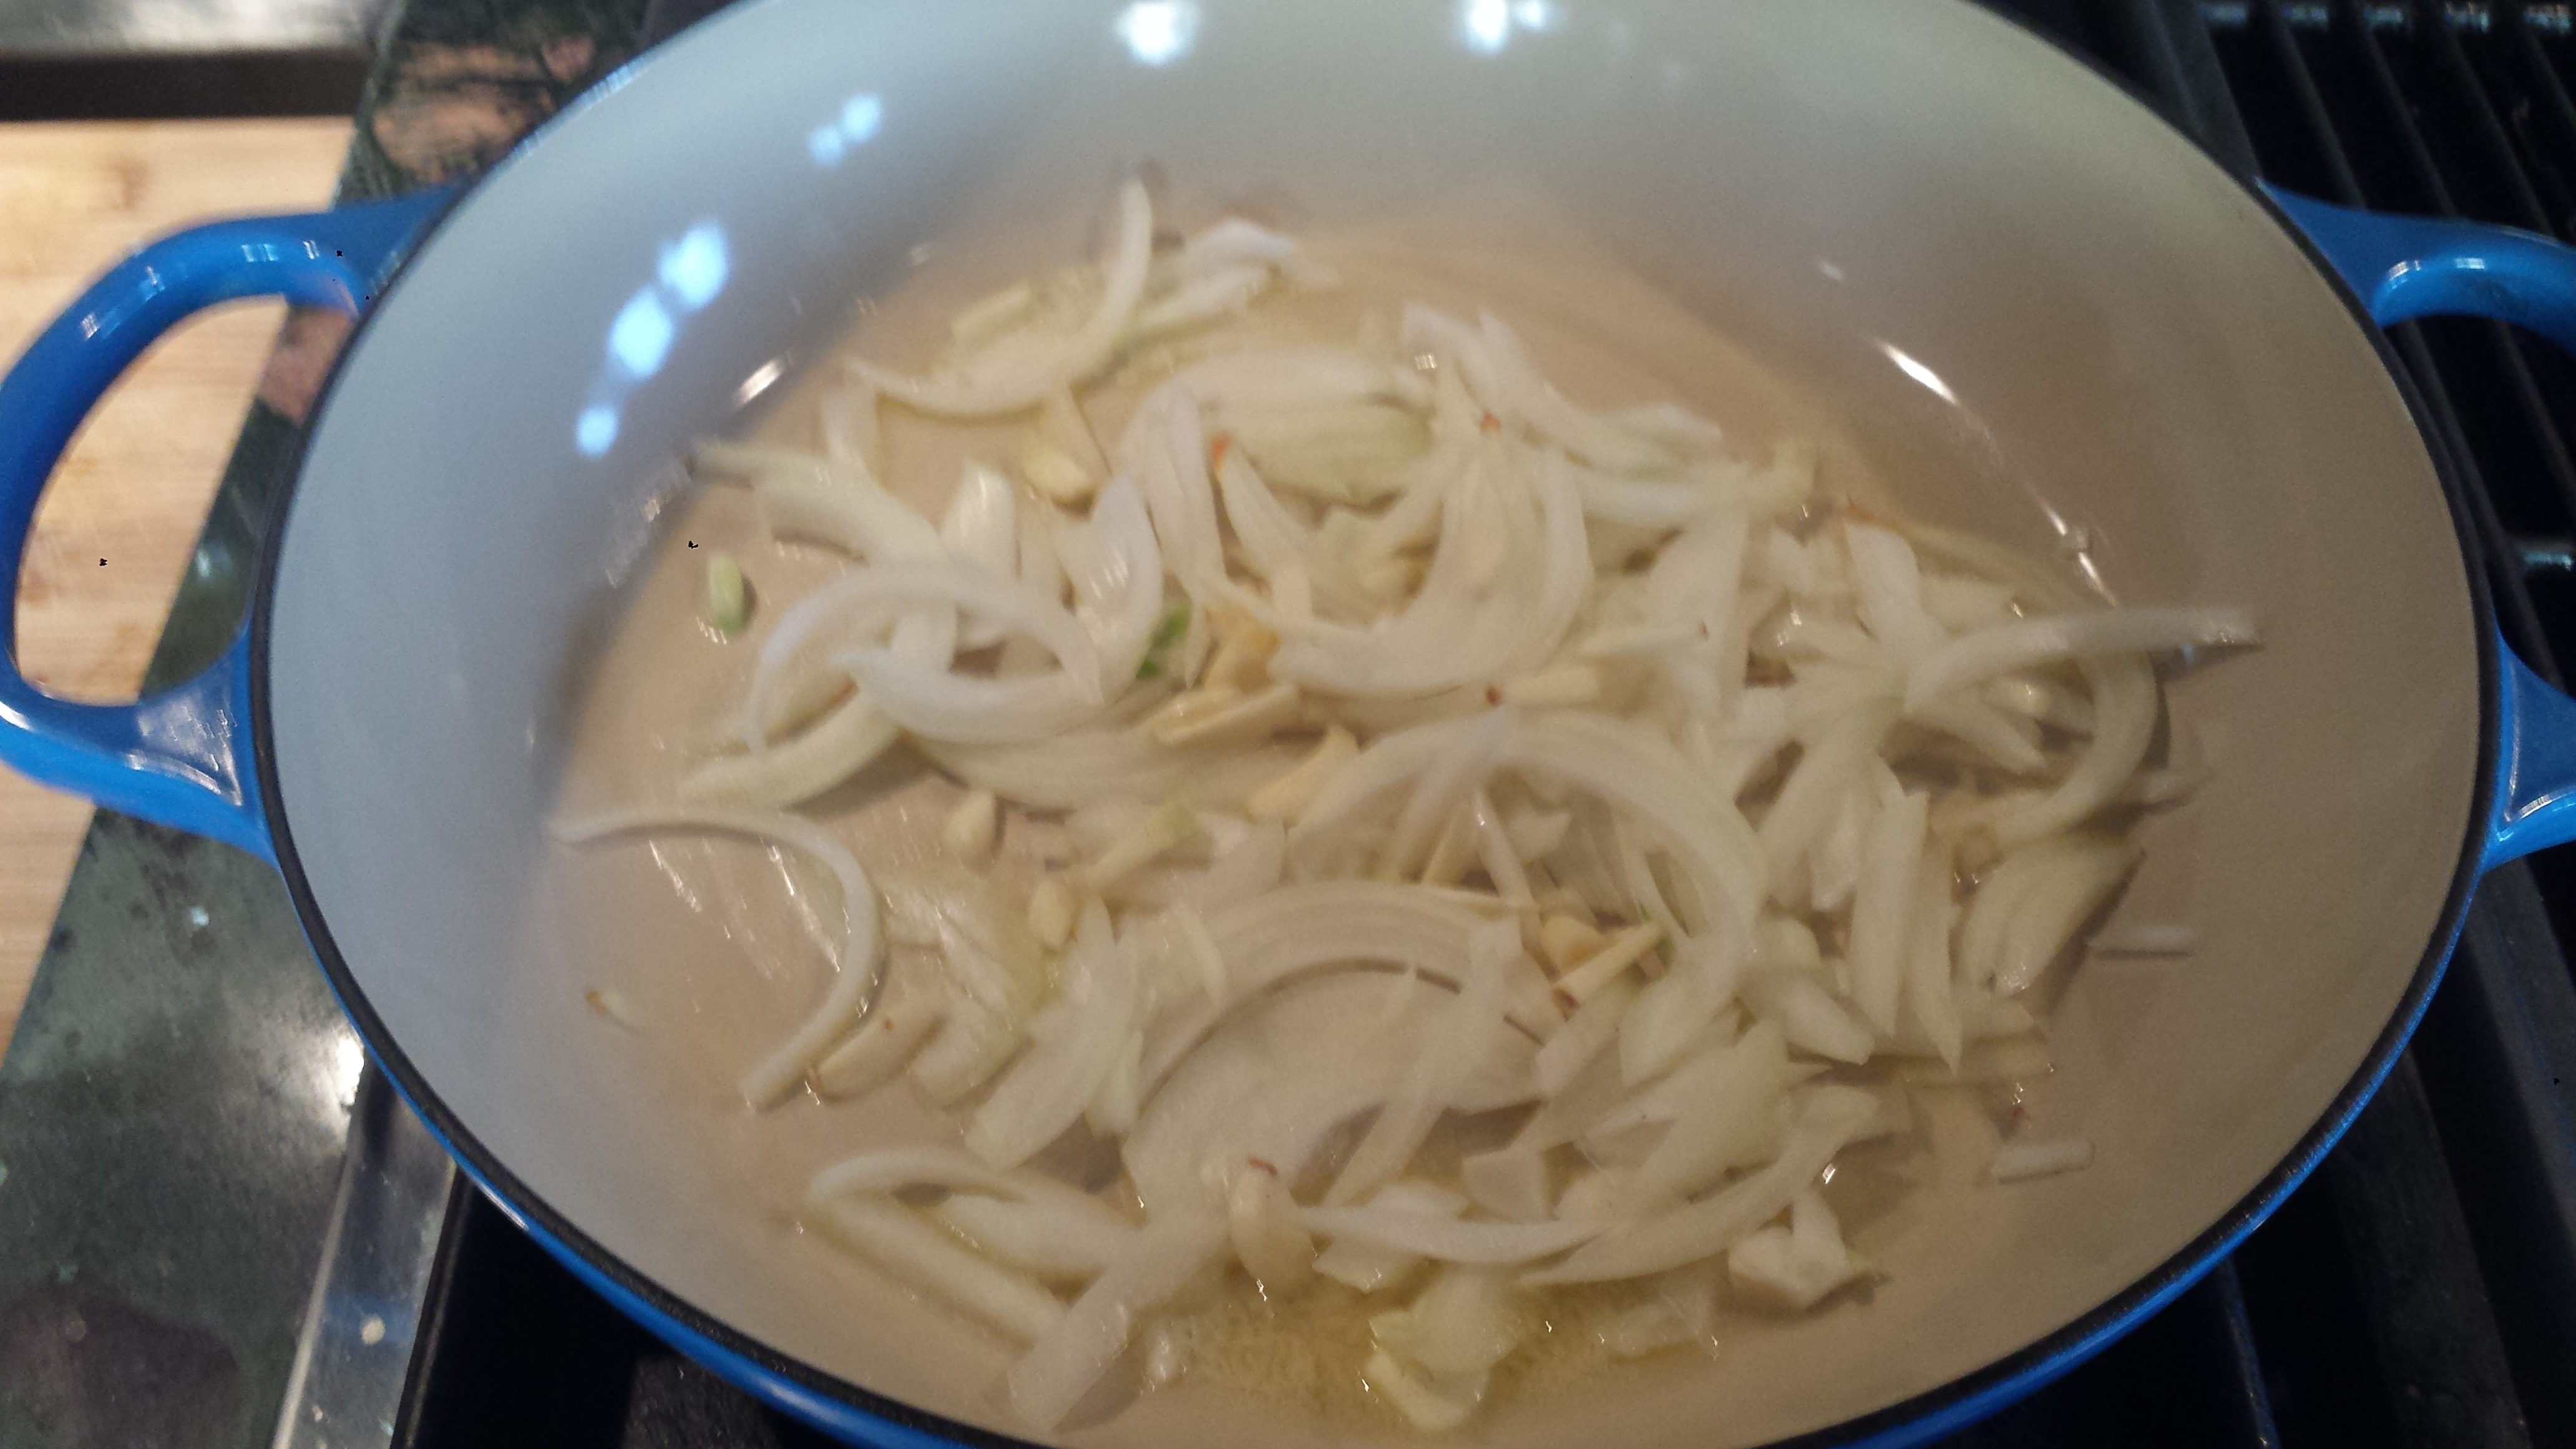
2-3 cloves garlic, finely minced (or 1 tsp garlic paste)
1/4 cup water
1/4 tsp red pepper flakes (optional)

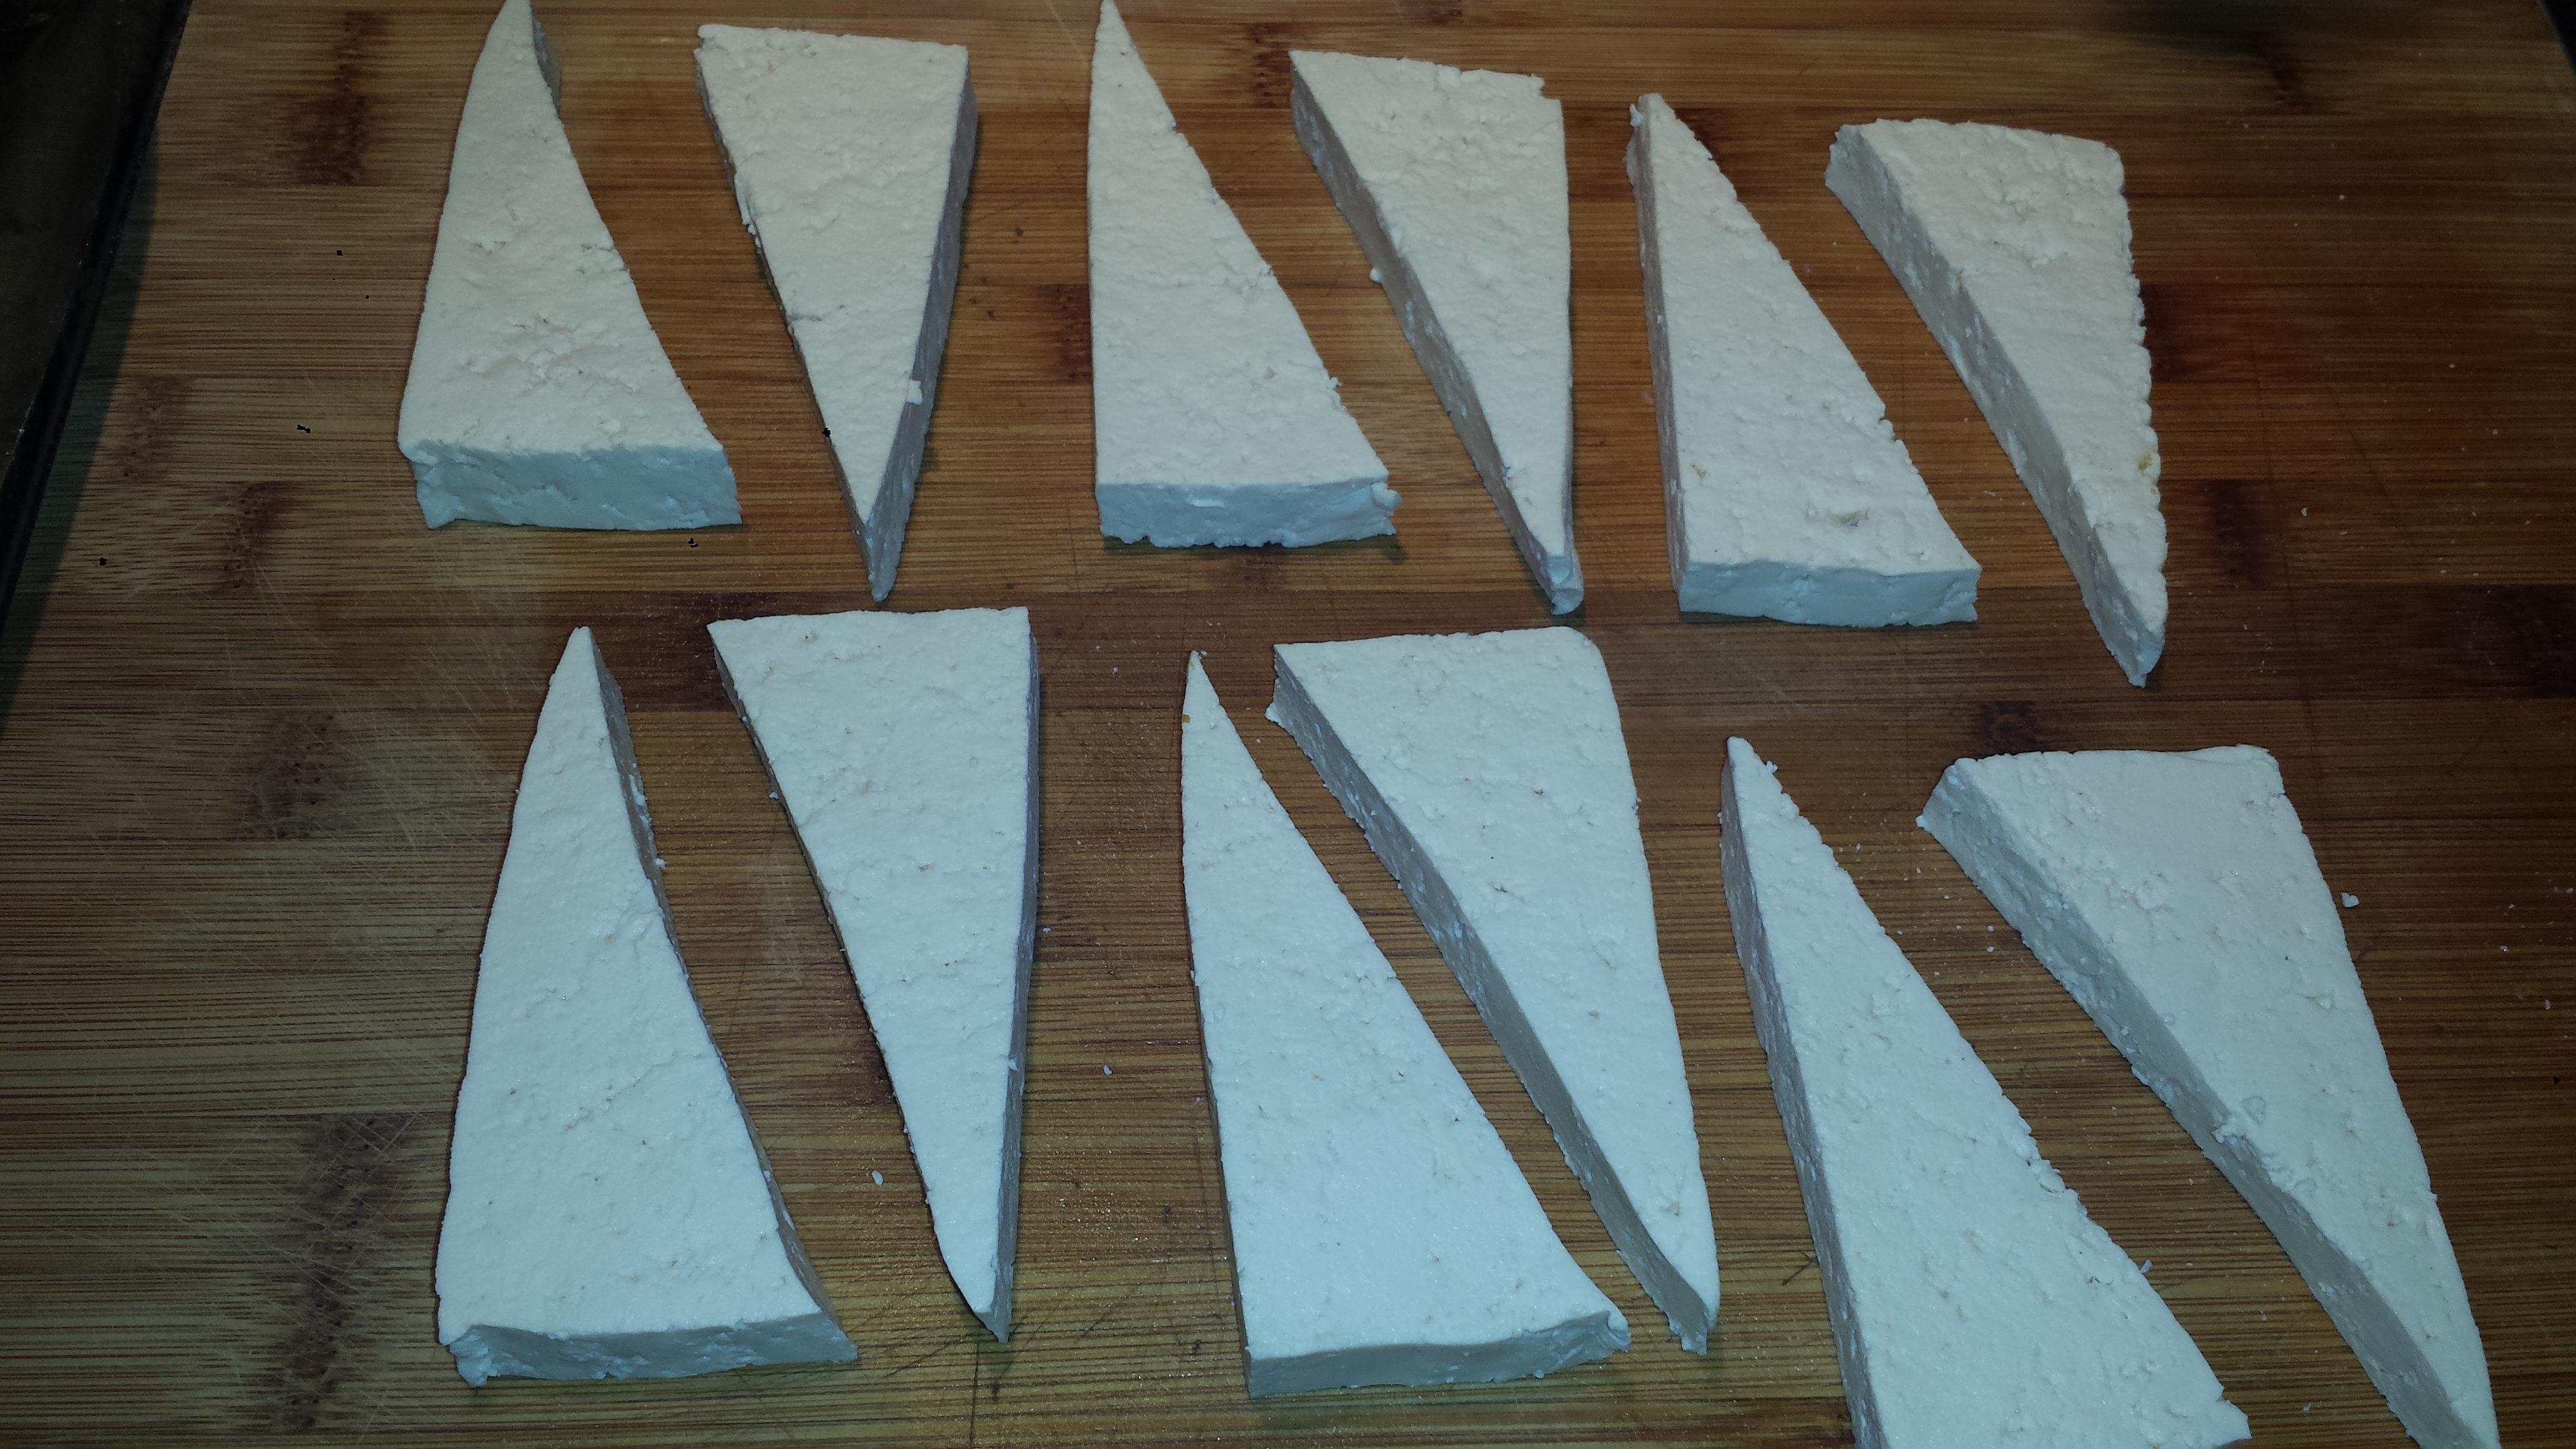
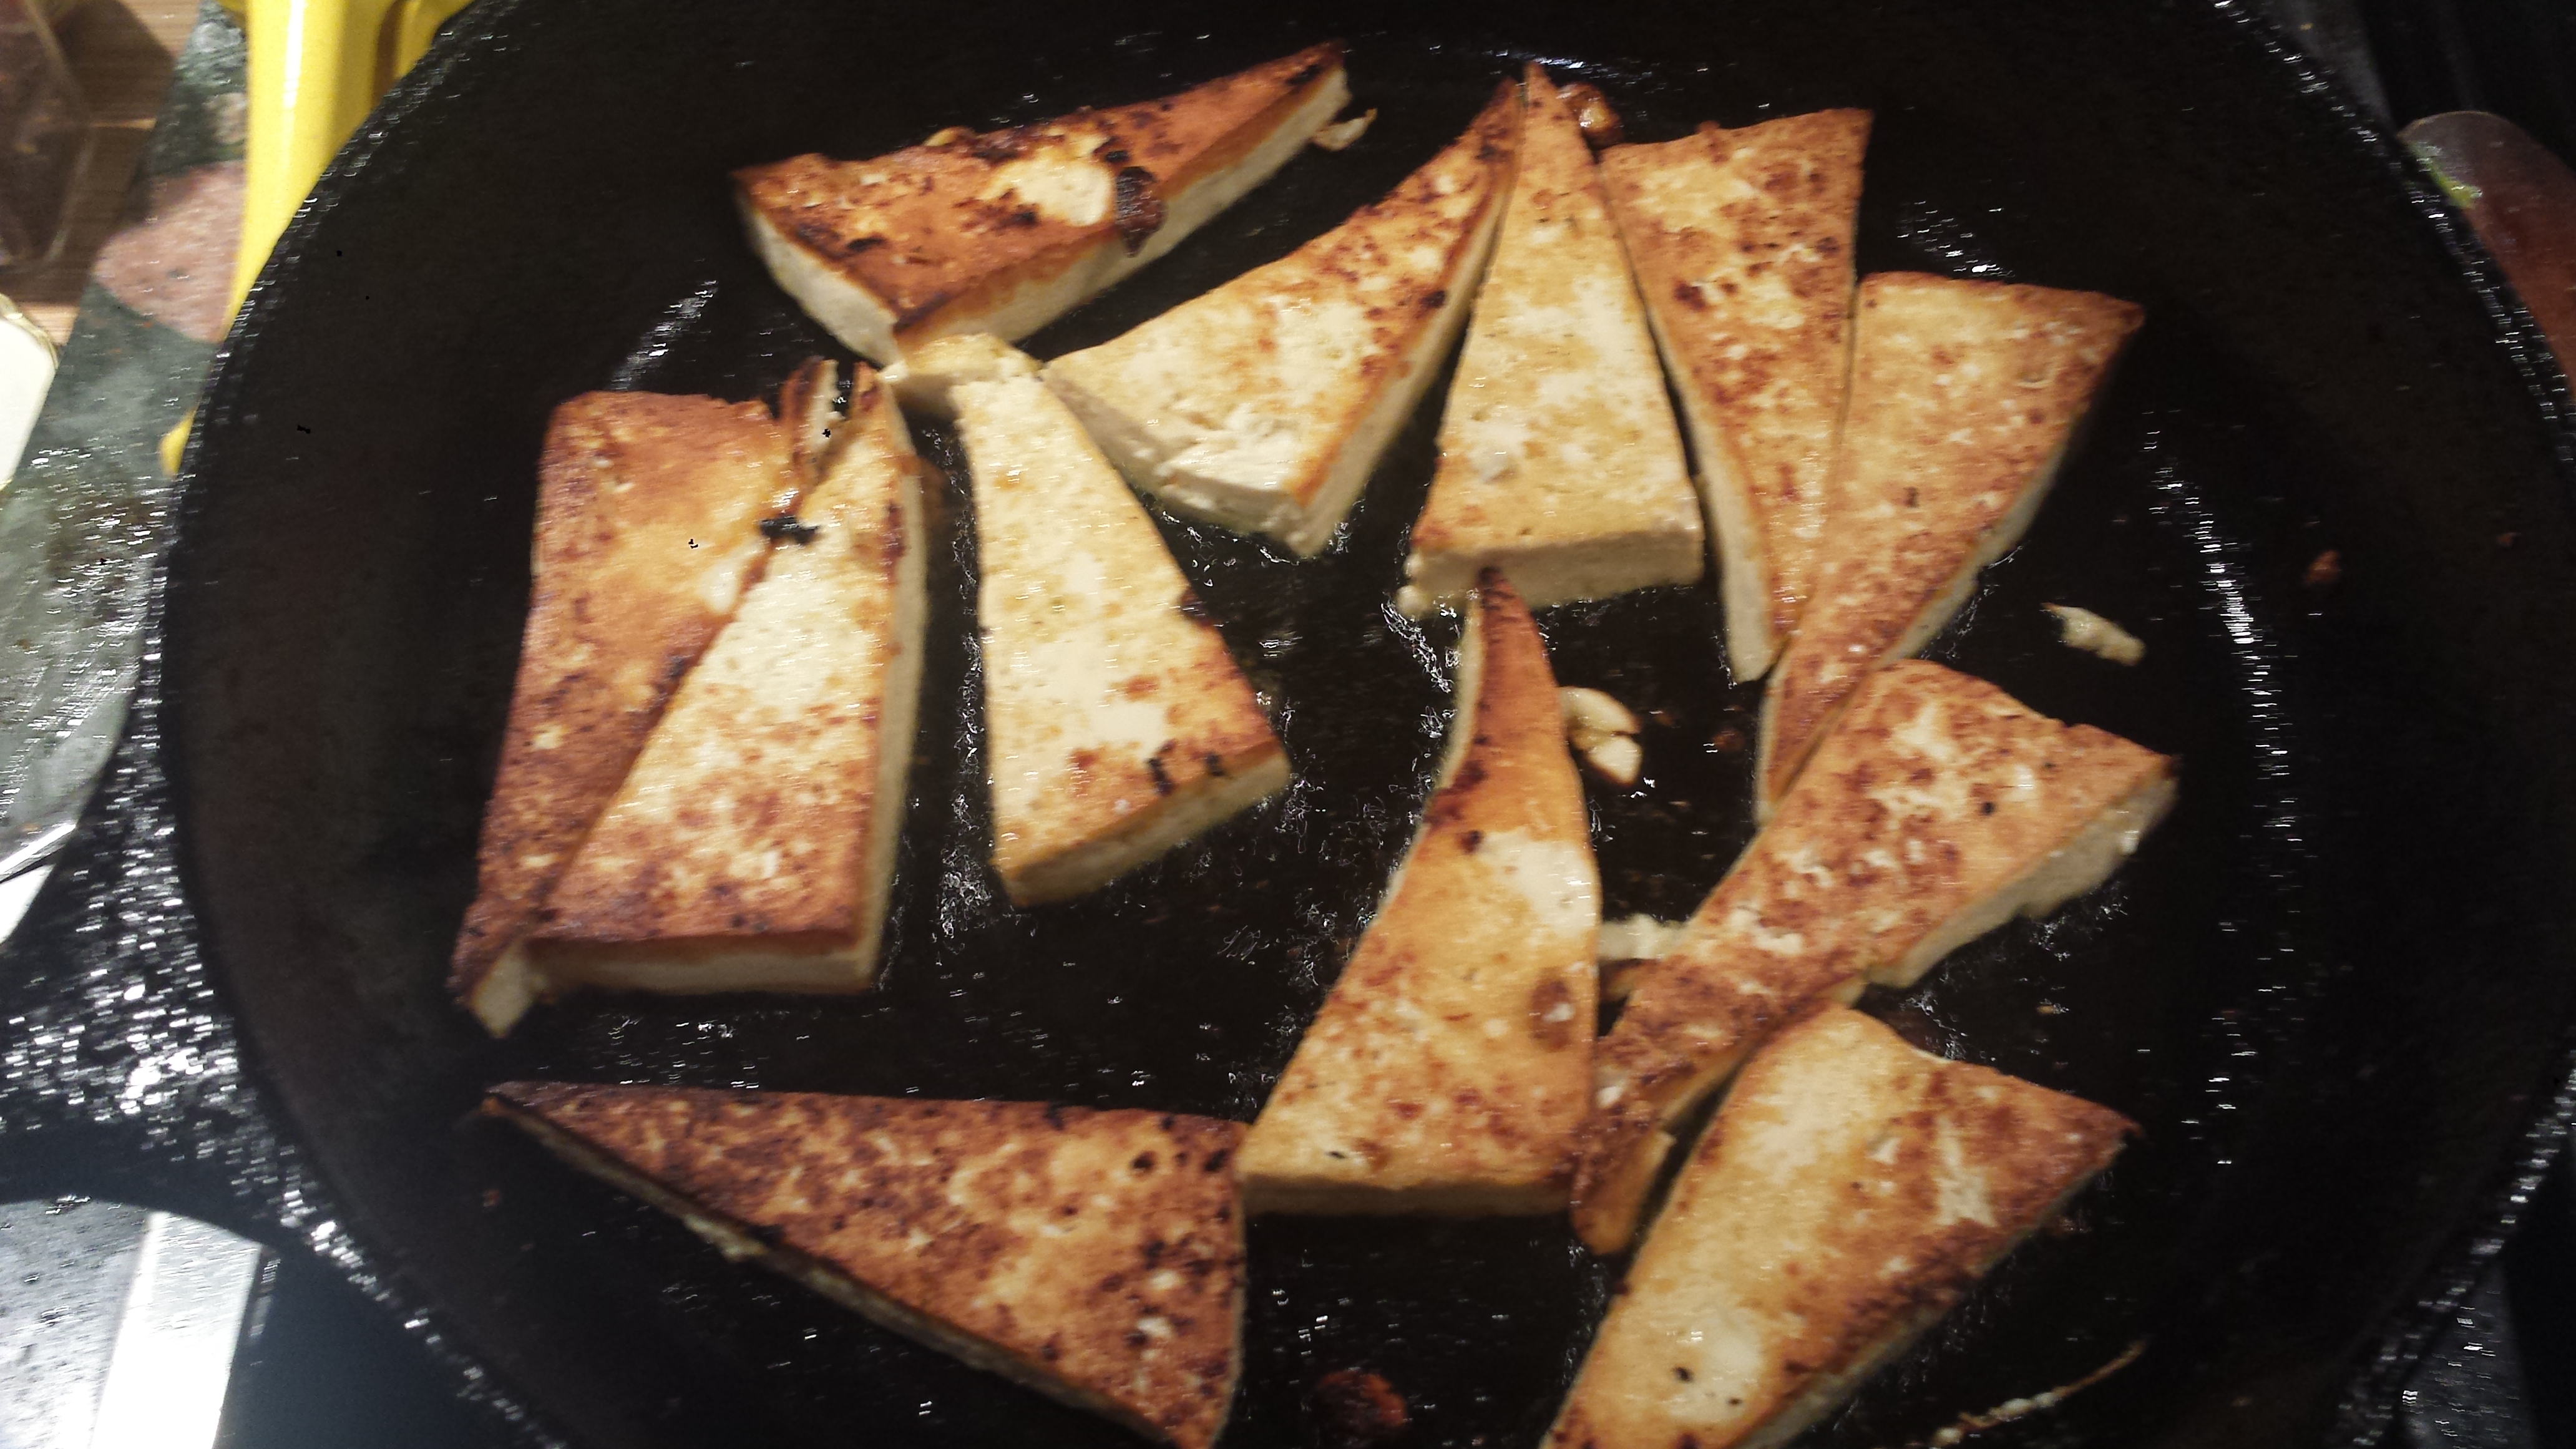
- Slice tofu block into 1 inch slices and place on double paper towels. Cover with double paper towels and place a heavy object on top (like a heavy pan or cutting board with canned goods) to press out the water. Let sit at least 10 minutes. Then cut into 1 inch dice. Set aside.
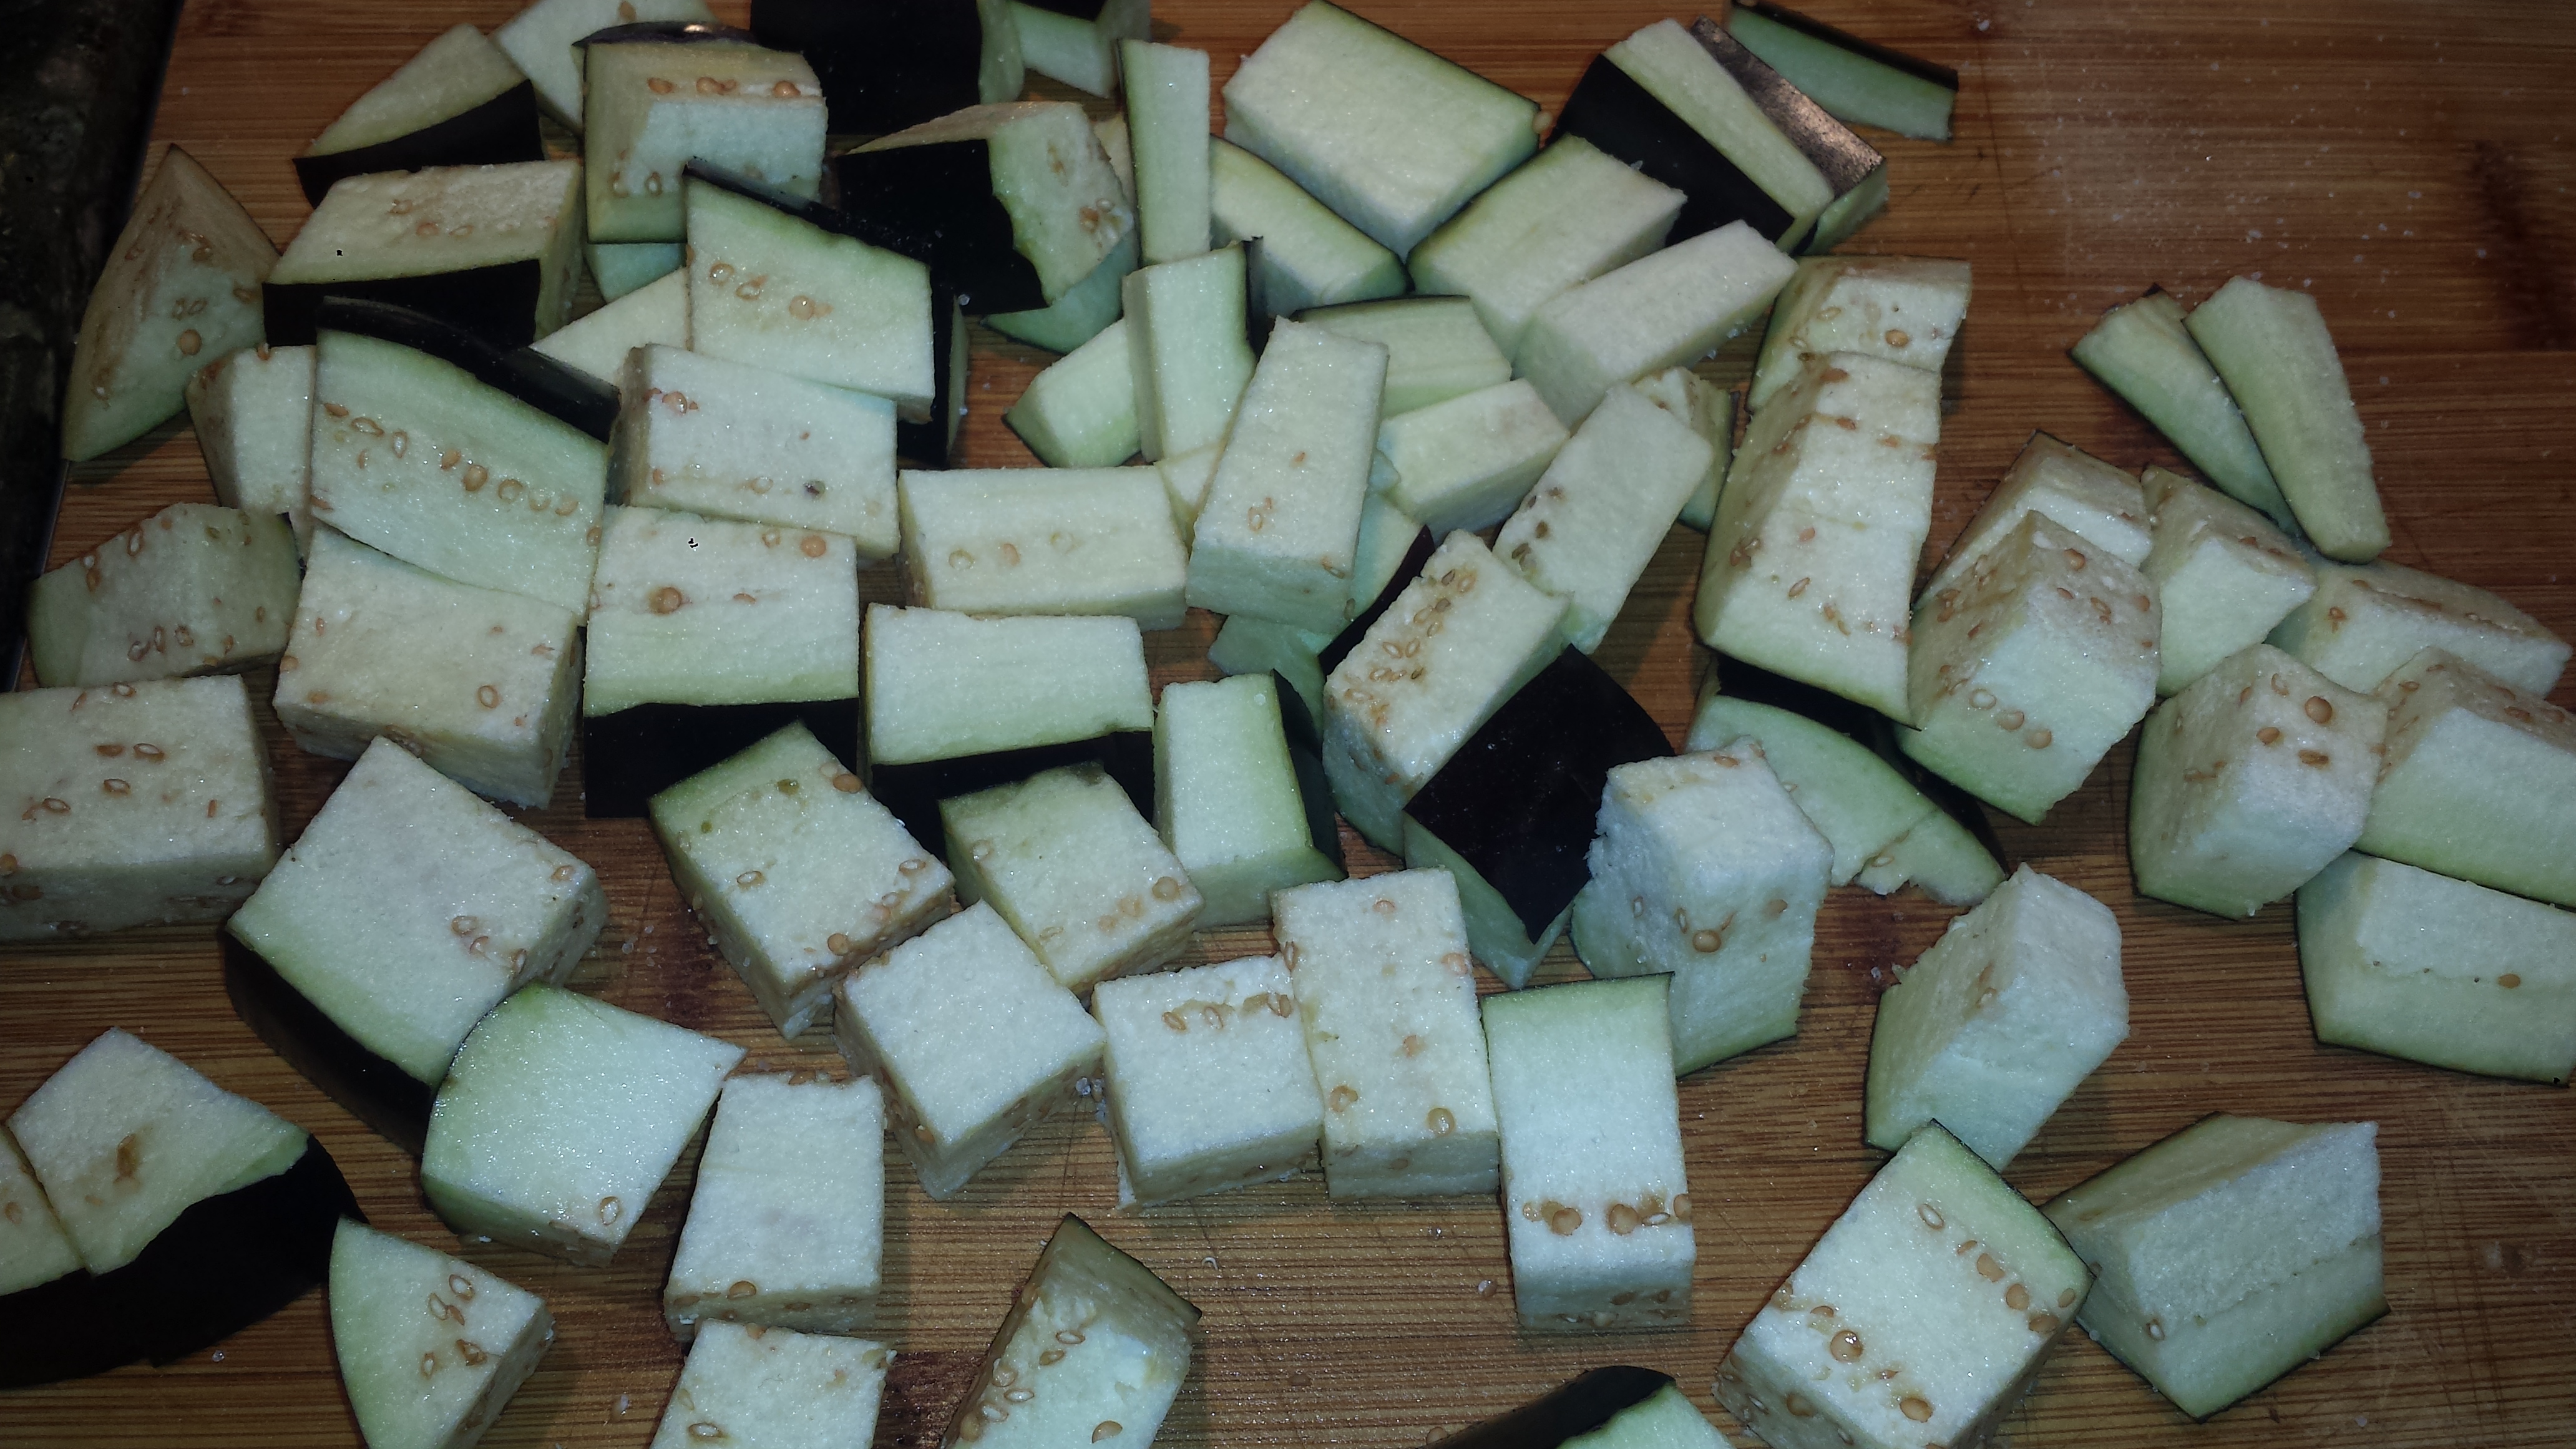
- Cut unpeeled eggplant into 1 inch dice. Set aside.

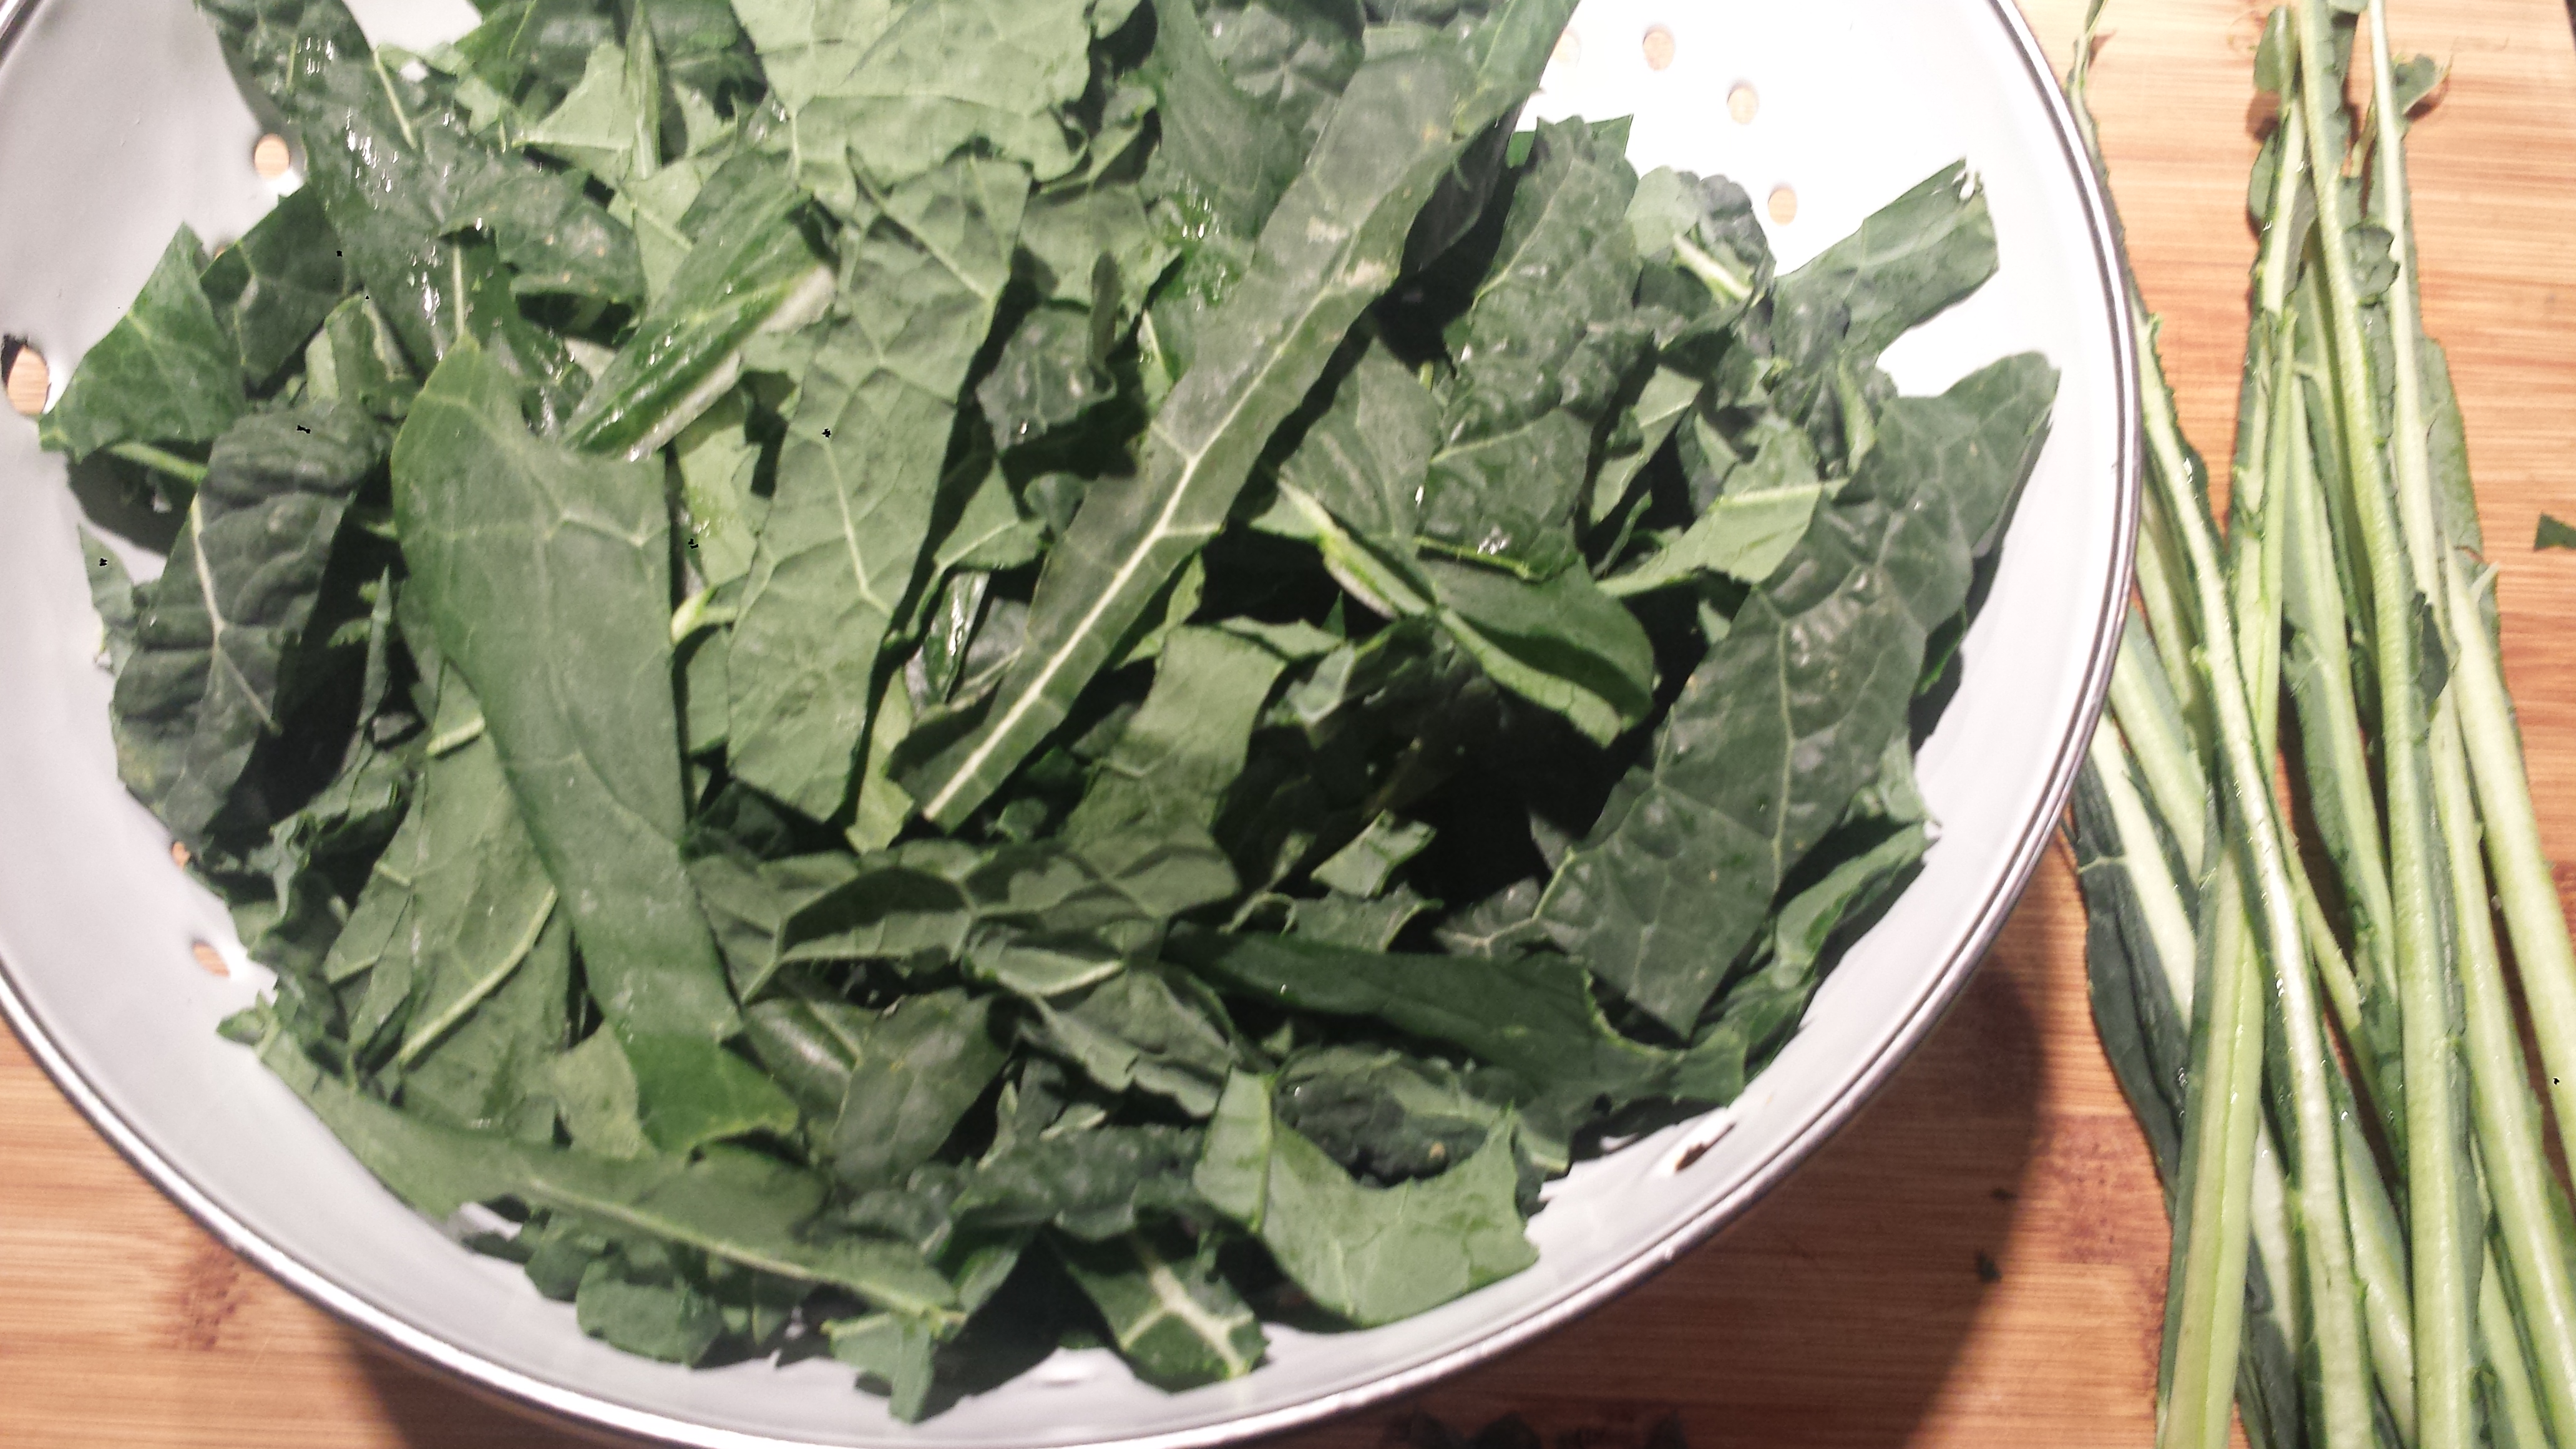
- Remove rib from kale (either tearing with your hands or using a sharp knife), then cut into 1-2 inch pieces. Set aside.

- In a small bowl whisk together the ingredients for the black bean sauce. Set aside.
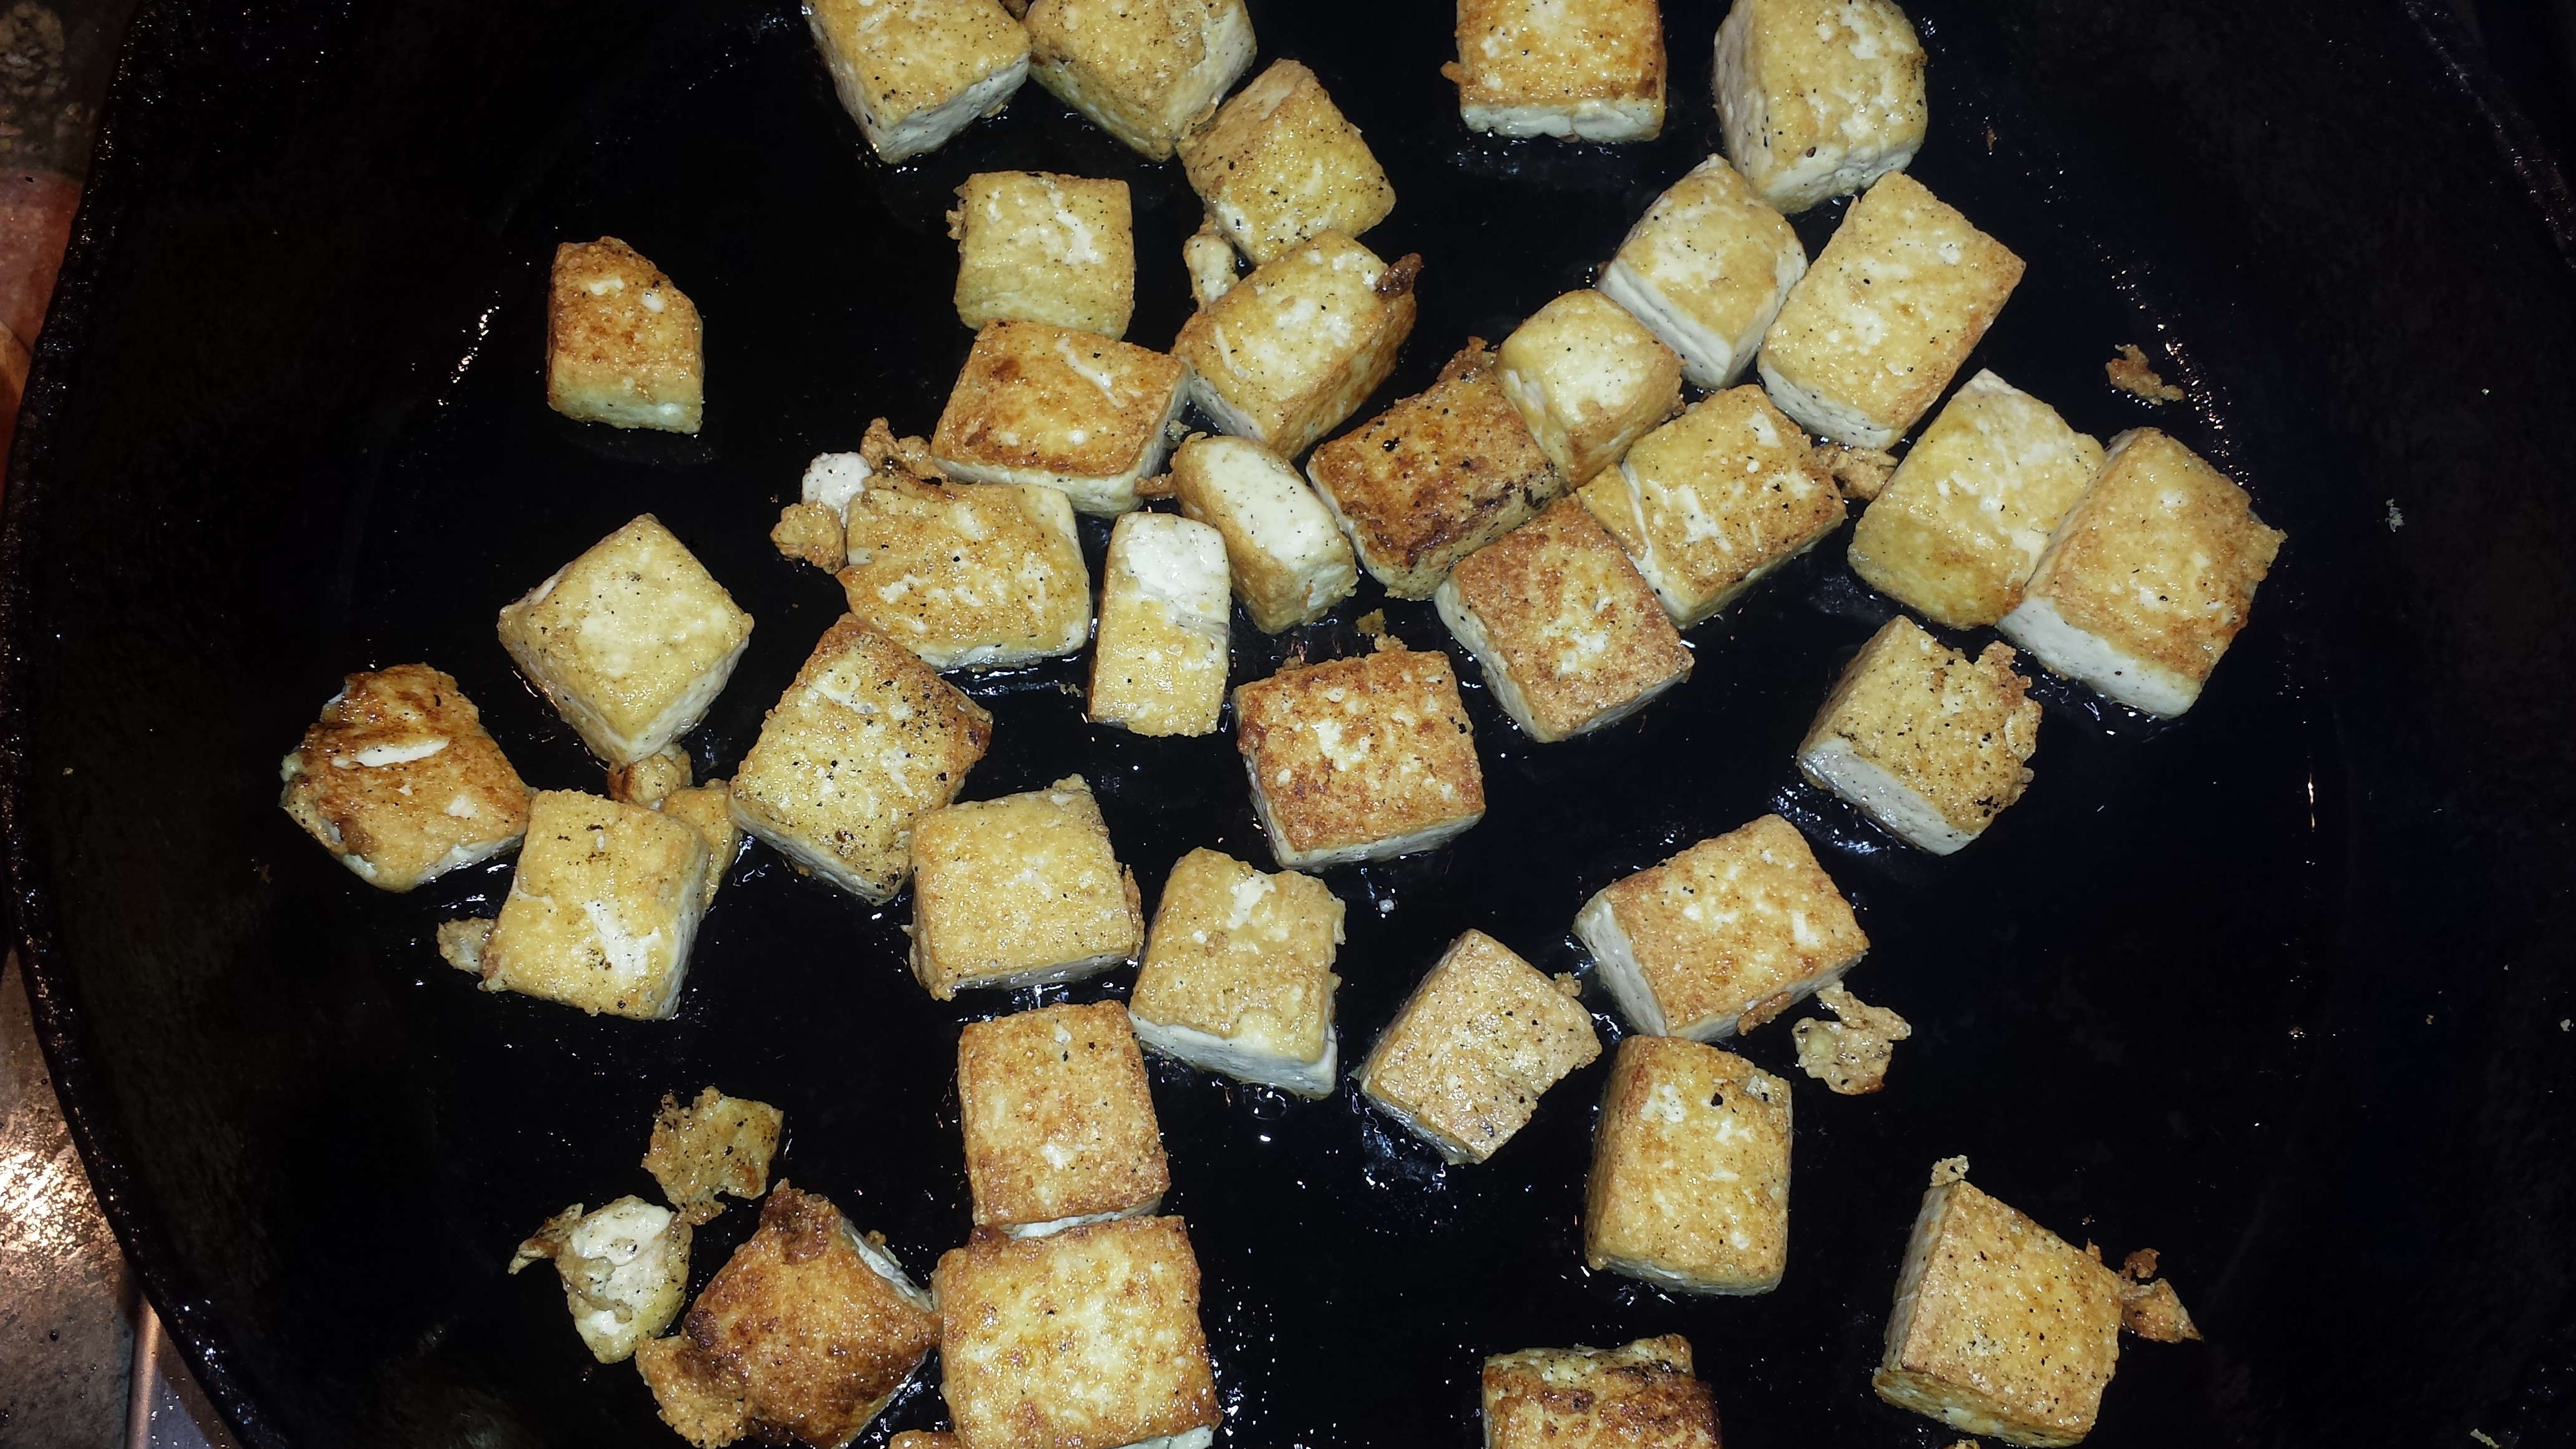
- Heat 1 tablespoon of the oil in a well-seasoned cast iron pan or non-stick pan over medium high heat. Add the tofu and cook until light brown, turning each piece over to brown all four sides, about 8-10 minutes. If tofu is sticking add a bit more oil. Remove tofu from pan and set aside.

- Add another tablespoon of oil to the pan over medium high heat. Add the eggplant and cook, stirring frequently, until it is soft, about 8-10 minutes. If it sticks or seems to dry, add a few tablespoons of water instead of more oil.

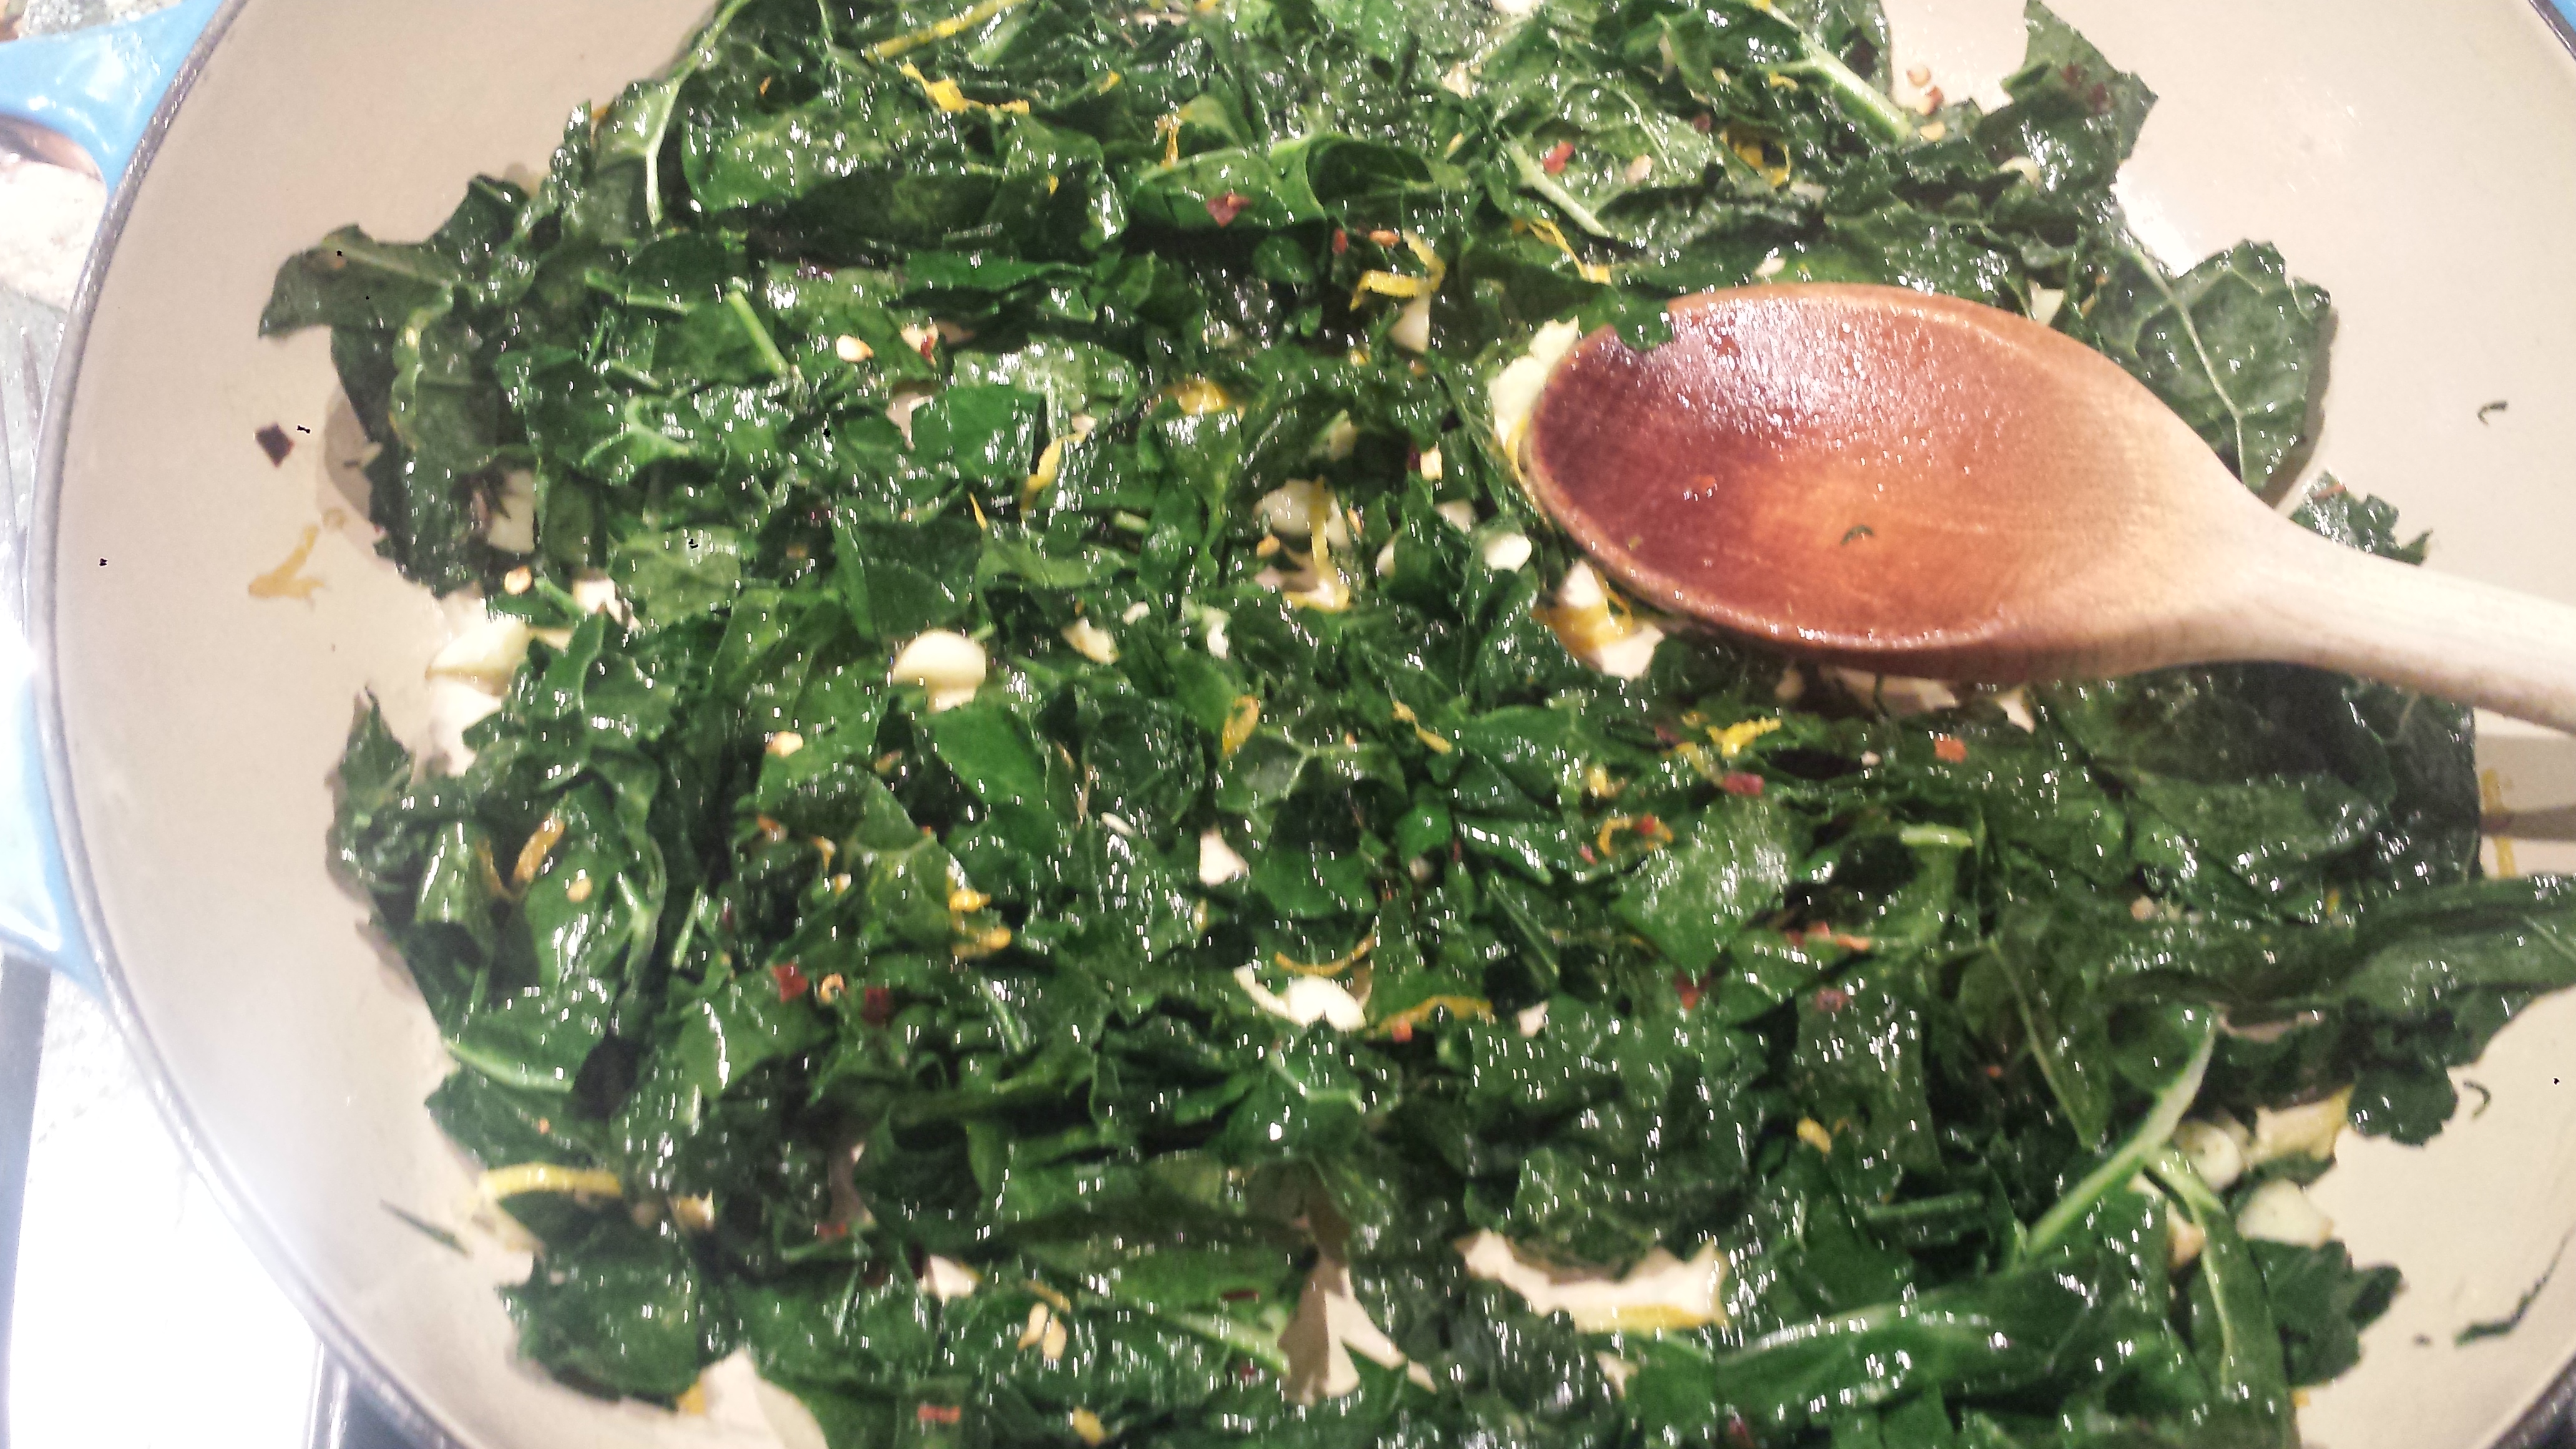
- Stir in the kale and cook until it softens, 2-3 minutes.
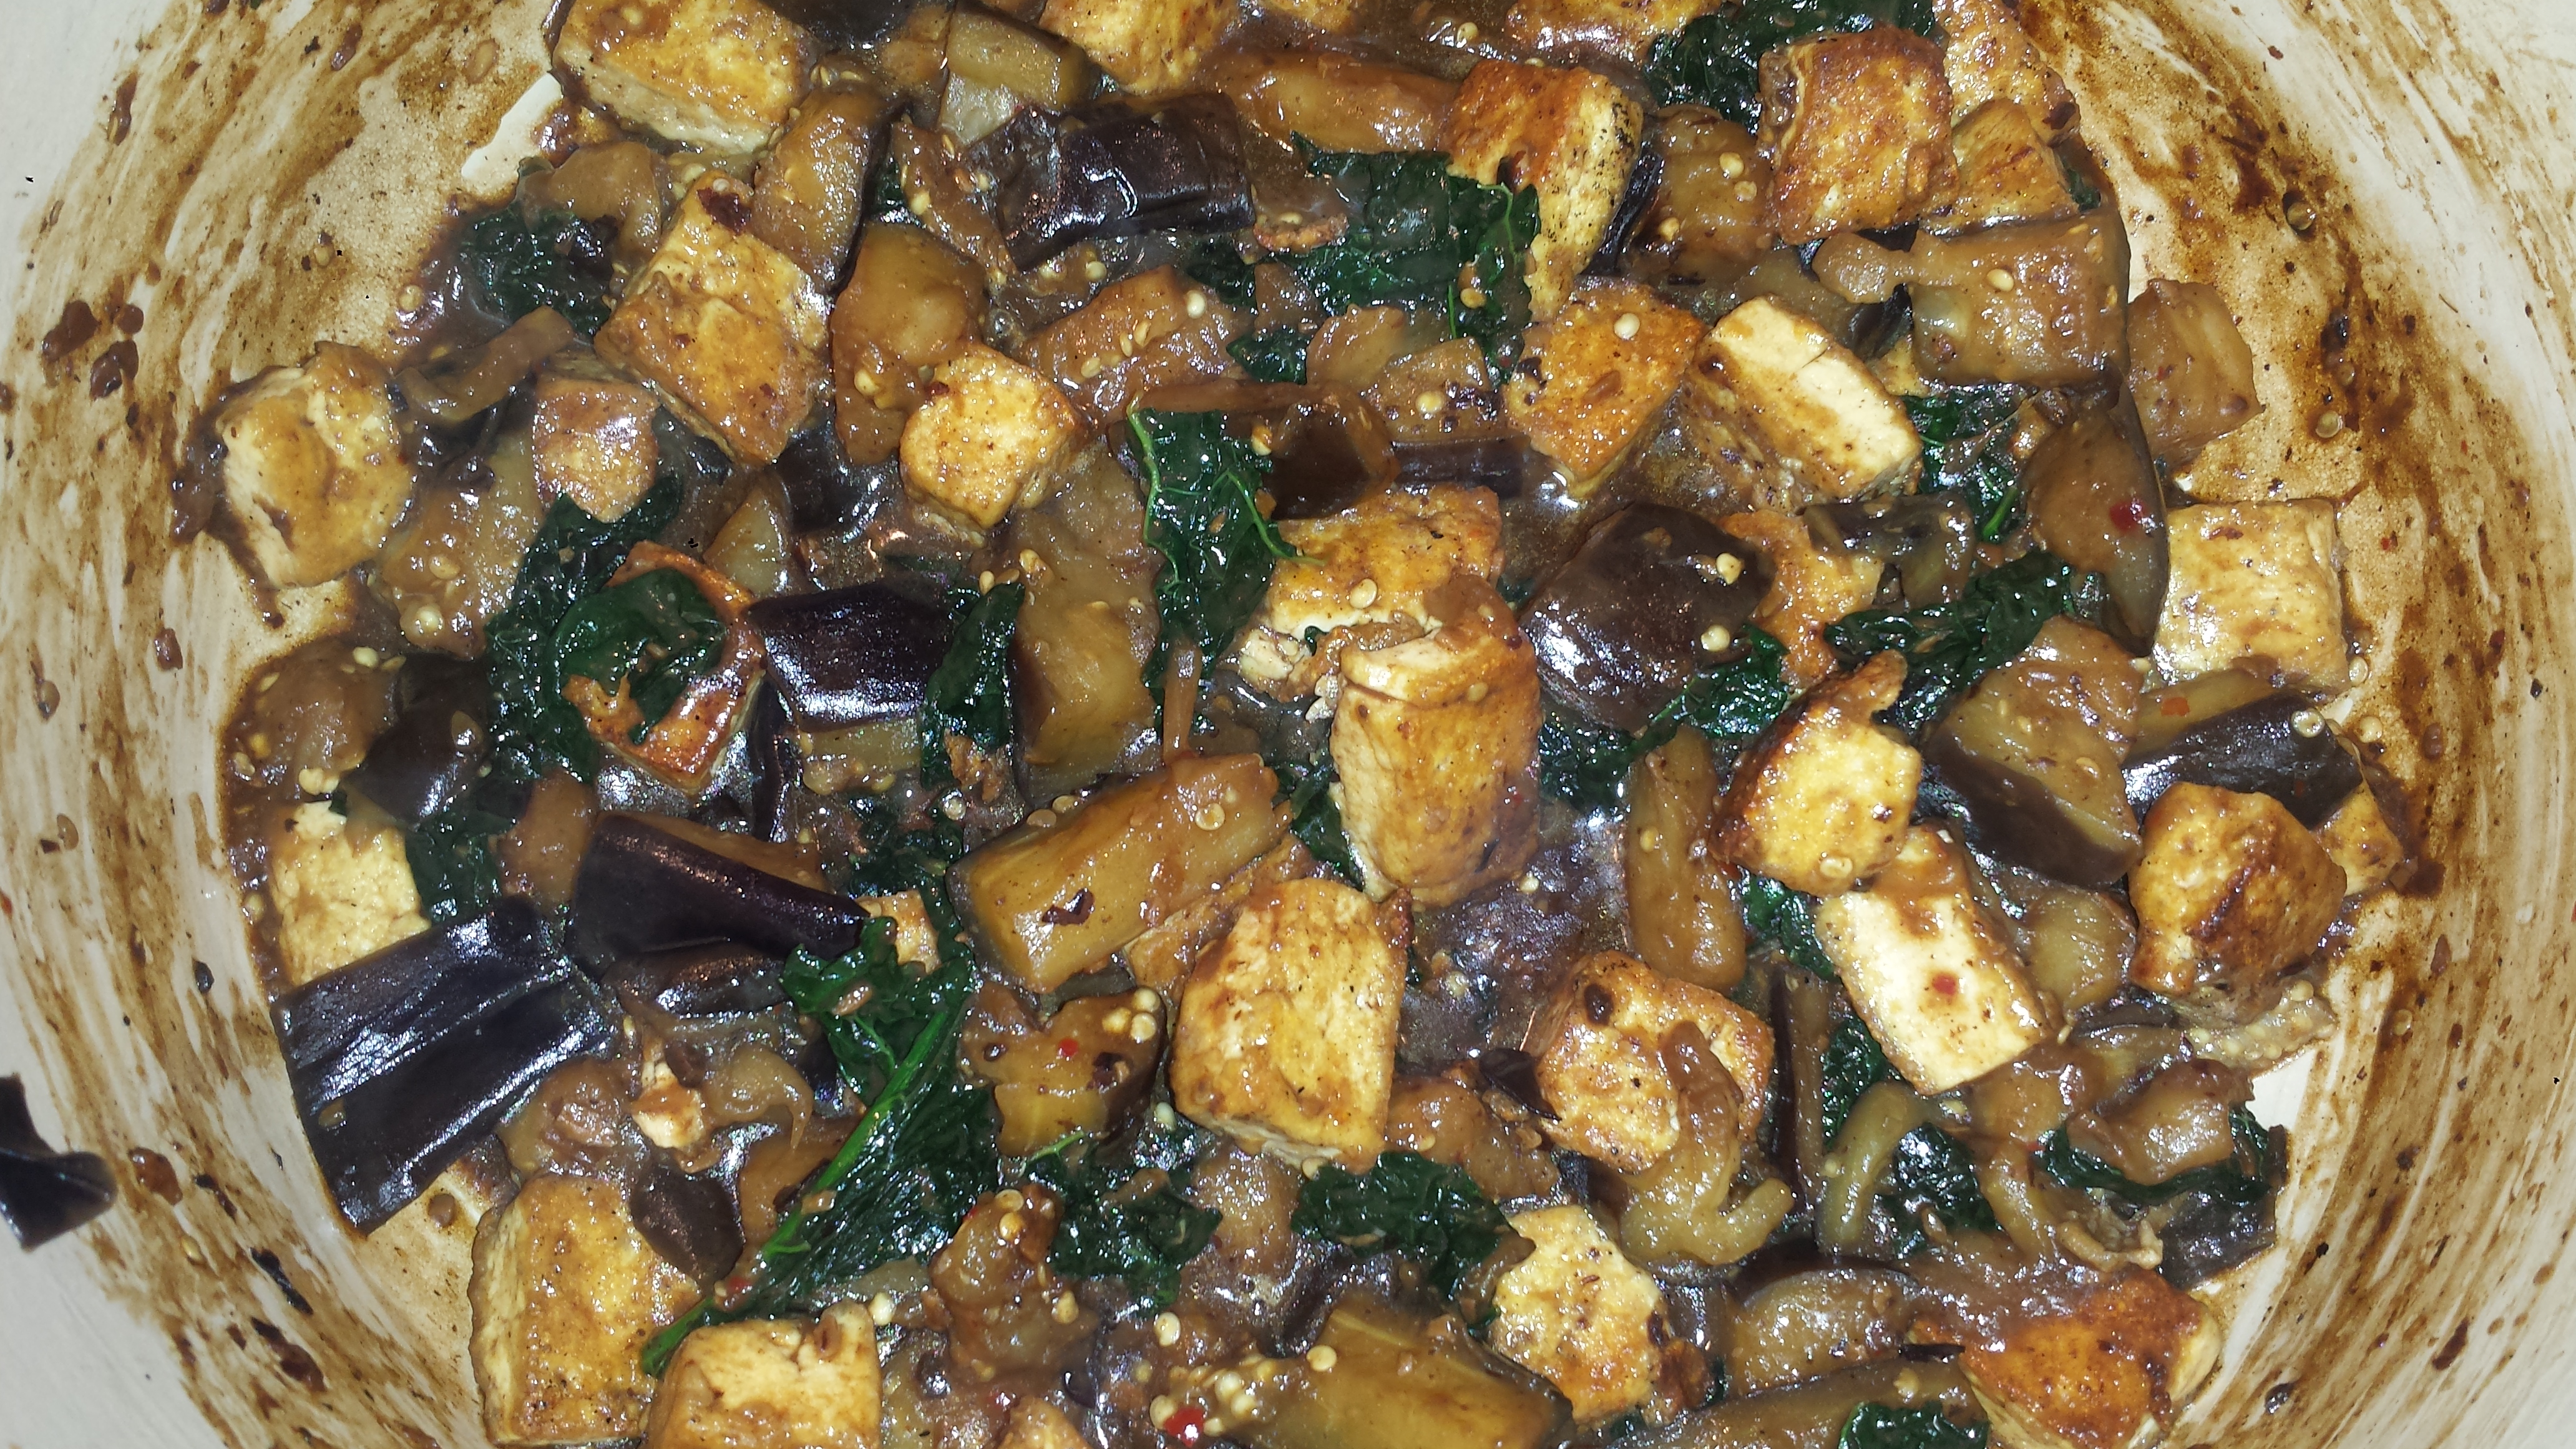
- Pour in the sauce and stir to combine. Fold in the crispy tofu and cook until the sauce is thick and coats the vegetables, about a minute.
- Serve with brown rice or noodles.
14 oz firm tofu BLACK BEAN SAUCE Eggplant, Kale & Tofu with Black Bean Sauce
2 Tbsn vegetable oil (avocado, coconut or other high heat oil)
1 globe or 2 Japanese eggplants
1/2 bunch (6-7 kale leaves, 0r other bitter green like collards, mustard greens or broccoli rabe)
2 Tbsn black bean sauce
1 tsp chili sauce (or paste)
1 tsp honey
1 tsp corn starch
1/2 tsp white or apple cider vinegar
2-3 cloves garlic, finely minced (or 1 tsp garlic paste)
1/4 cup water
1/4 tsp red pepper flakes (optional)