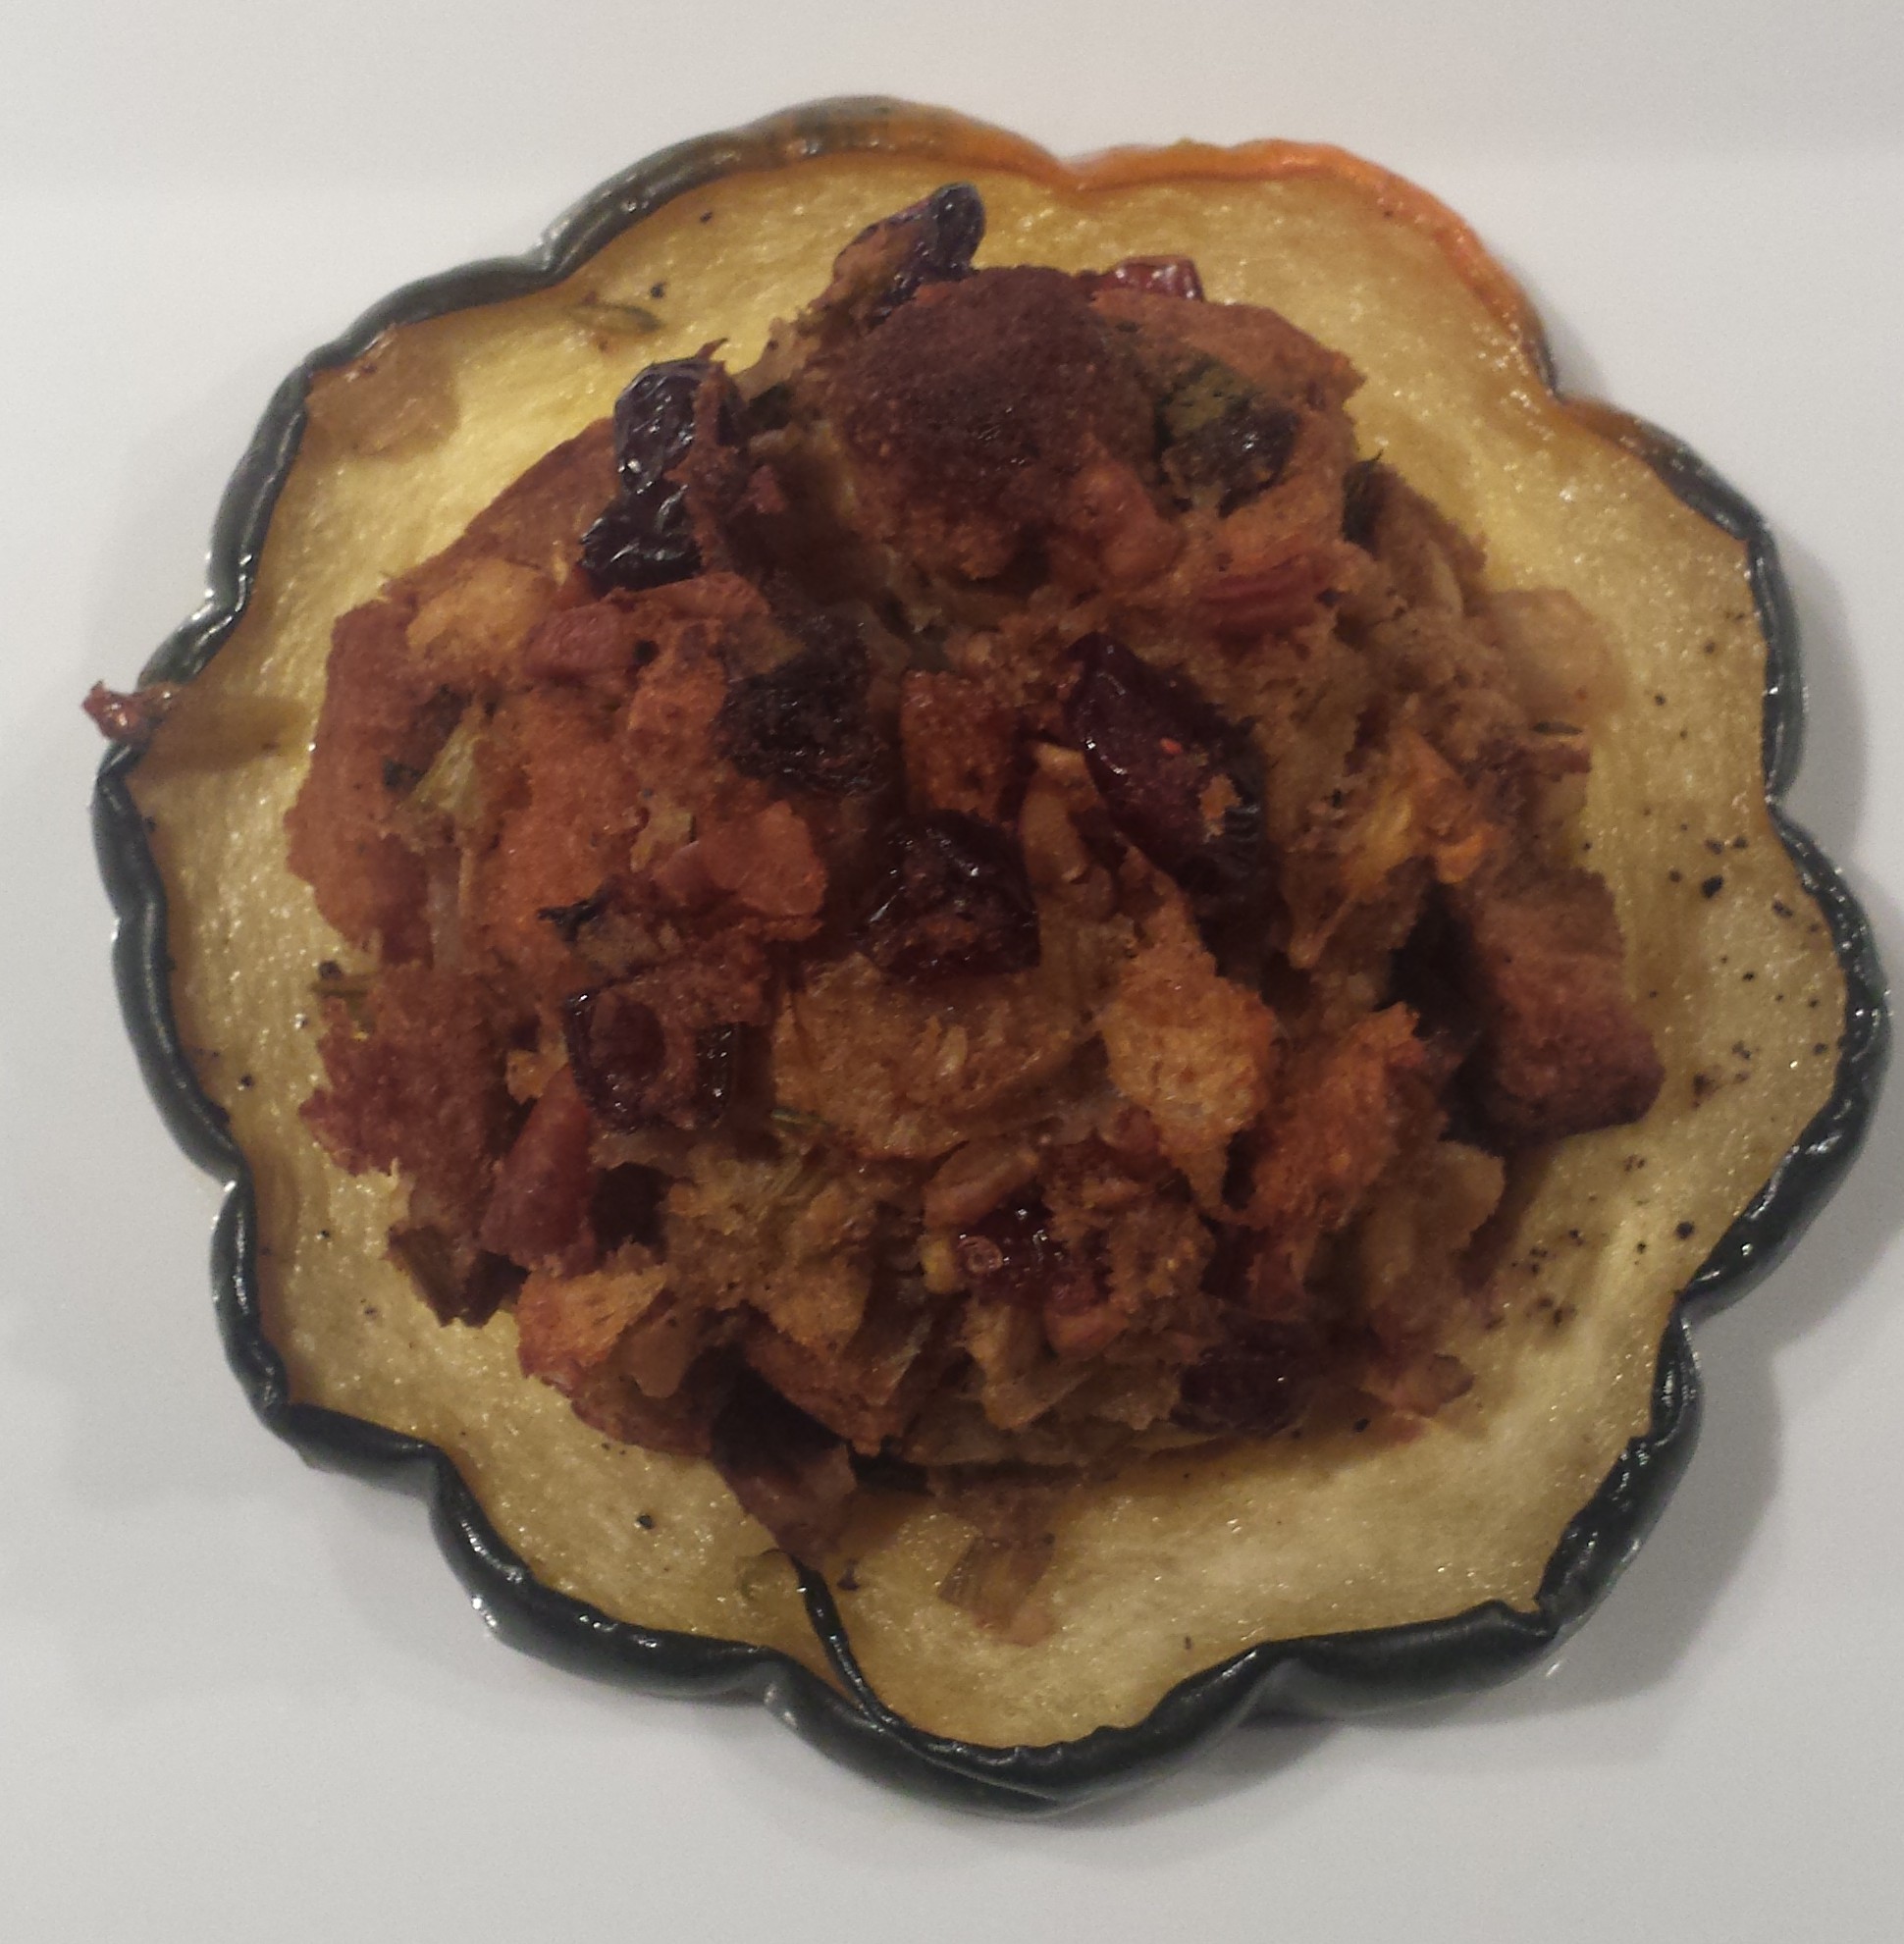
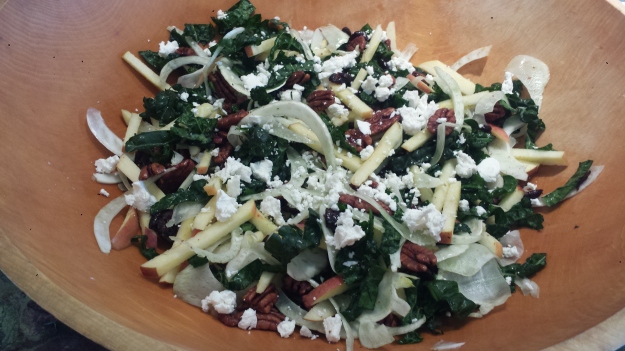
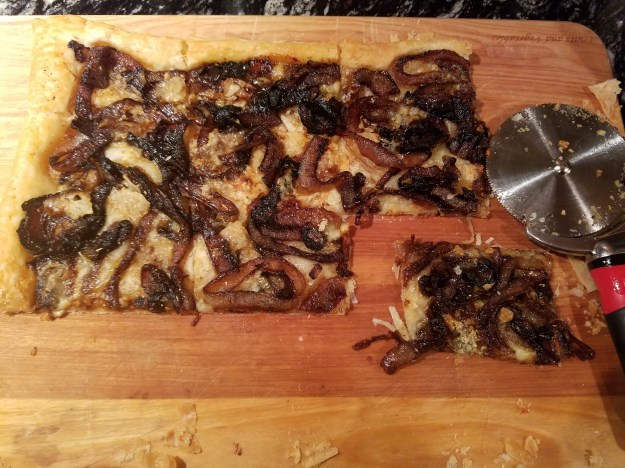
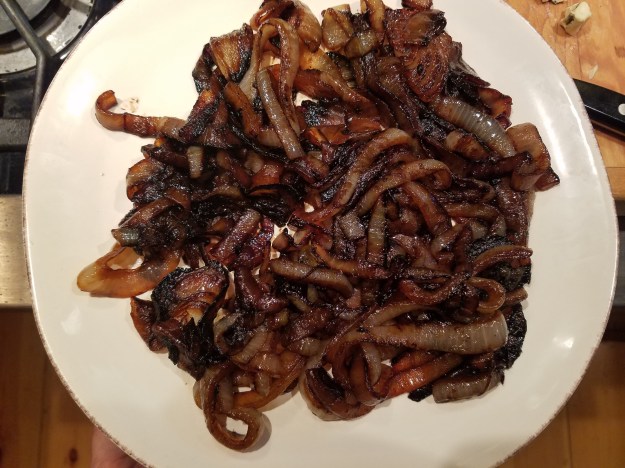
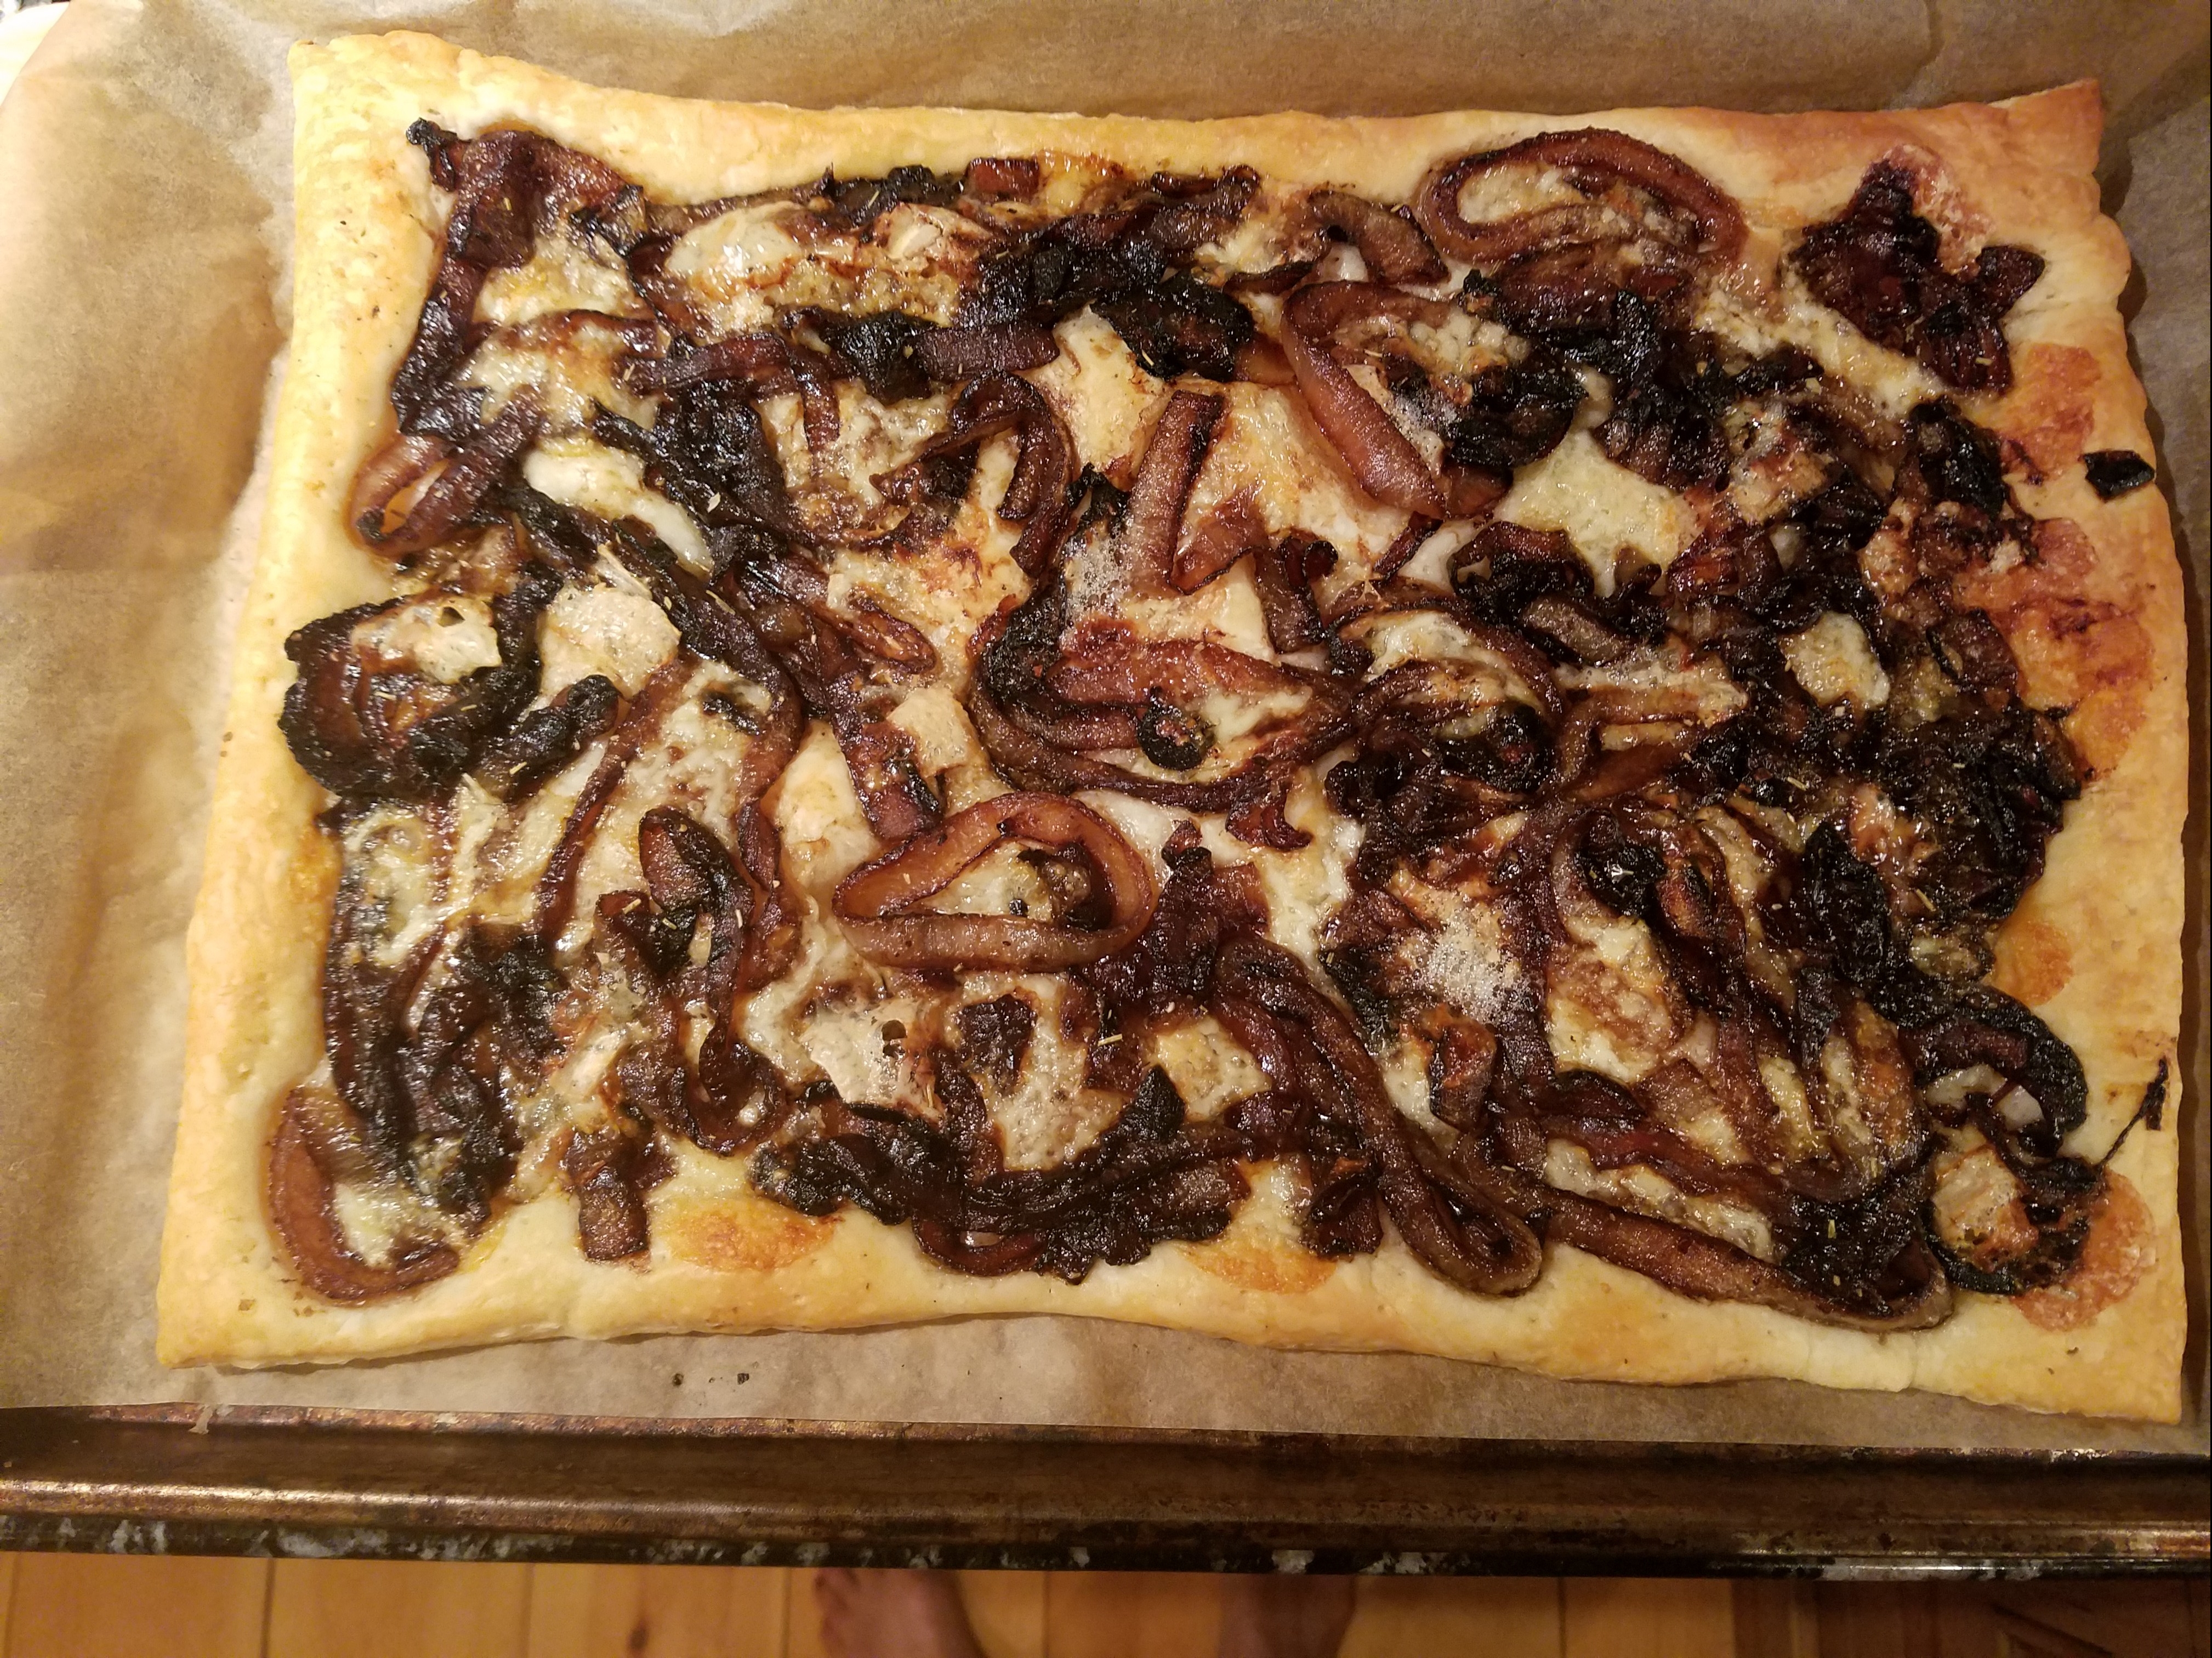
People seem to have strong feelings about brussels sprouts. They are either lovers or haters. Well, this delicious tart might persuade some of the haters to walk on the wild side. The caramelized onions add that mouthwatering flavor (officially called umami) that is created when an unassuming onion is thinly sliced and slowly sauteed to a silky brown deliciousness. Its a process that can’t be rushed but is totally worth the time. I also added gruyere cheese, a hard Swiss cheese with a nutty flavor that blends well with the onions and brussels sprouts. This is a main course worthy meal and particularly festive for the holidays.

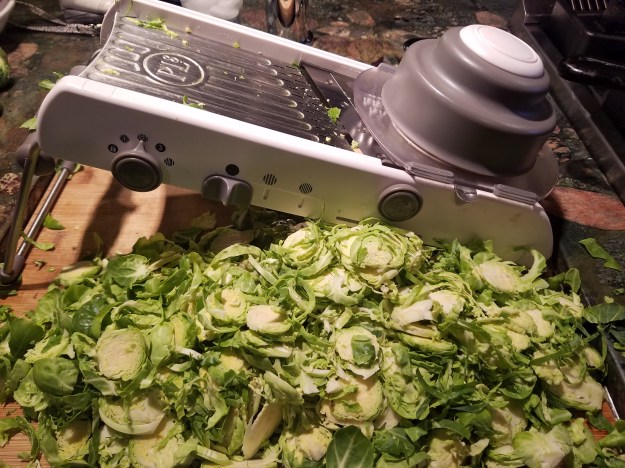
I had a 2 lb bag of brussels sprouts and was looking for a new way to prepare them. when I spotted this recipe in the new Eating Well magazine. This is not one of those recipes with a long laundry list of ingredients. You only need brussels sprouts, onions, garlic, any kind of cheese you like (even vegan), salt, pepper and olive oil. The pie crust is optional, as this recipe would also make a good baked casserole for those cutting carbs or gluten free. The original recipe called for layering the ingredients starting with the cheese on the bottom, caramelized onions and then the brussels sprouts on top with a final sprinkling of cheese. I liked the idea of a caramelized onion ‘crust’, so skipped the layering and loved the results. I don’t think you can really go wrong.
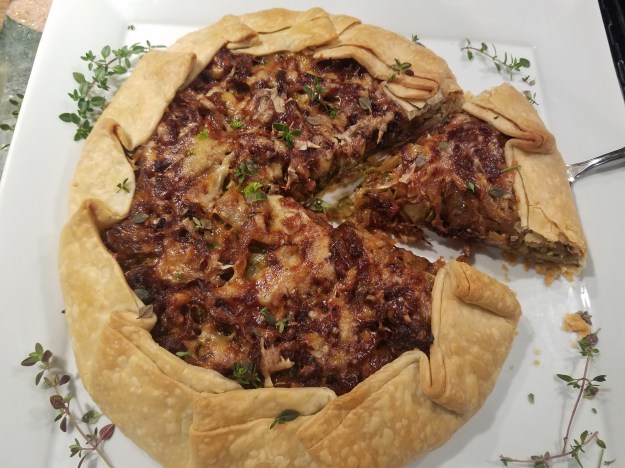
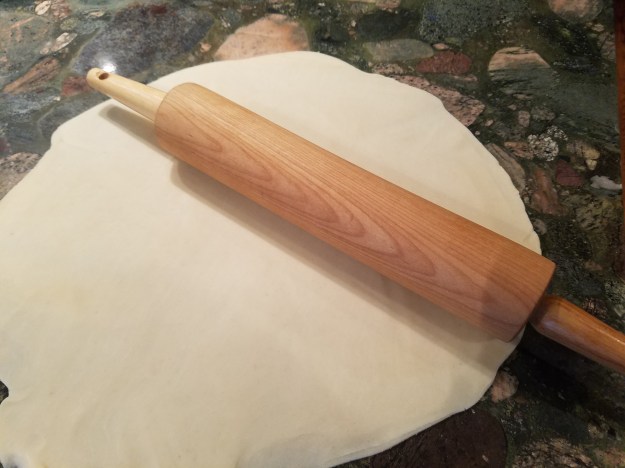
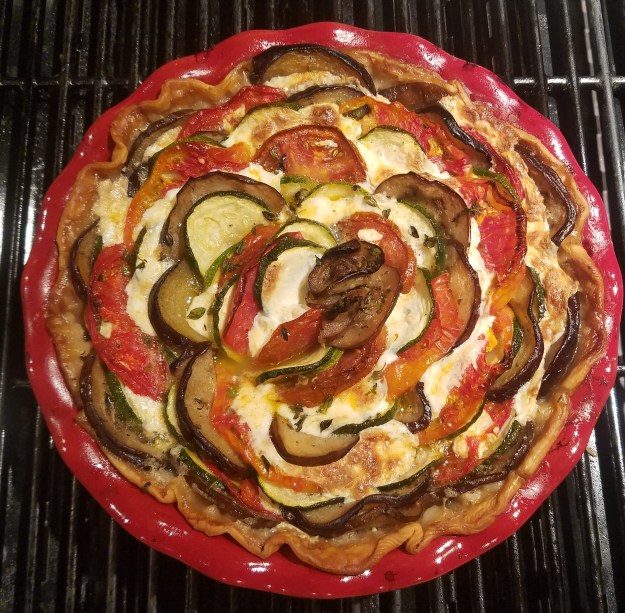
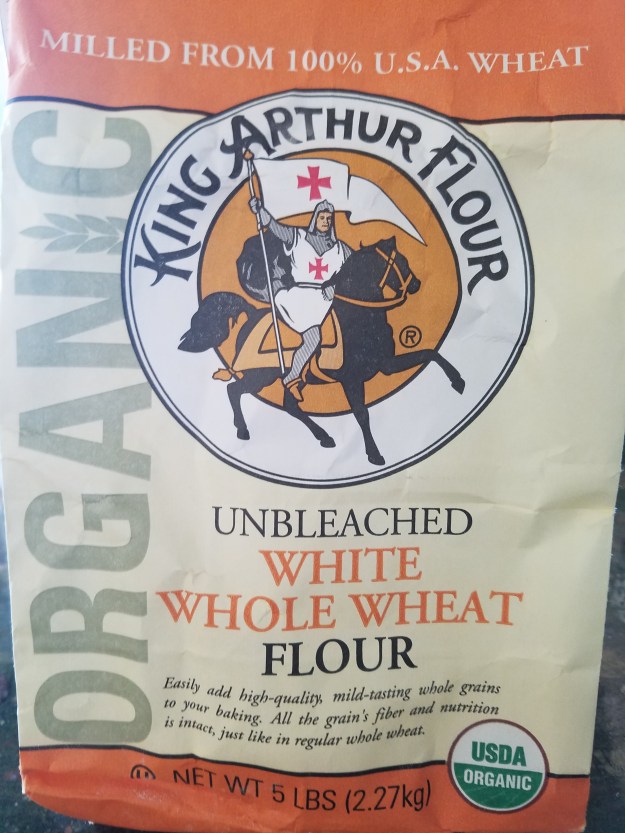
You might be wondering what the difference is between a tart, a pie and a galette. Well, I decided to look it up and the answer is actually not very exciting. A pie is cooked in a pie pan and a tart is cooked in a tart pan, while a galette (and it’s French relation, Crostata) are free form and cooked on a baking sheet. I love the rustic look of galettes and they are very forgiving. It almost looks like you wanted it to be misshapen. You will notice that this recipe calls for two prepared pie crusts which are placed on top of each other and rolled several inches larger to make sure that there is enough dough to fold over. Of course you can make your own crust if you are feeling industrious. Click through for a recipe for a good White Whole Wheat Pie Crust or a Gluten Free Pie Crust, both from King Arthur Flour.

Onions are pretty easy to slice with a sharp knife. You can do the same with brussels sprouts too but if you have a mandolin, it’s a lot faster. Just squeeze as many sprouts as you can in the bowl and slice them at the same time.

TIPS: This recipe is not hard but it takes about an hour and fifteen minutes to make but you can easily do some of the steps ahead of time. Caramelize the onions and saute the brussels sprouts and then refrigerate them for up to 1 day. Or you can bake the galette, let cool and refrigerate for up to 1 day, then reheat at 350°F for about 40 minutes.
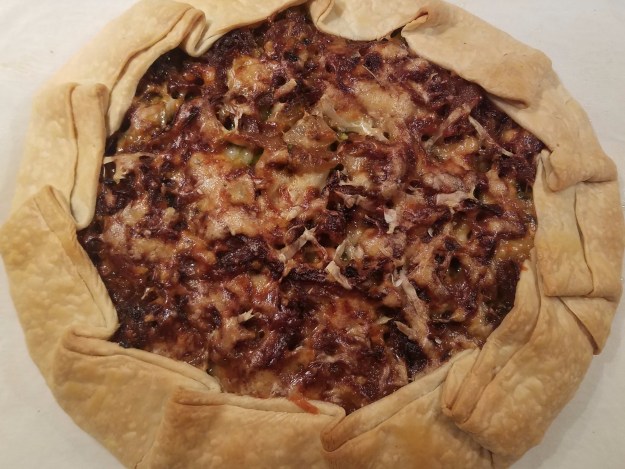
CARAMELIZED ONION & BRUSSELS SPROUTS GALETTE
- 4 cups thinly sliced onions (2-3 large)
- ¼ teaspoon kosher salt, divided
- ¼ teaspoon ground pepper, divided
- 5 cloves garlic, thinly sliced
- 12 ounces Brussels sprouts, trimmed and thinly sliced (4 cups)
- 1½ cups shredded Gruyère, cheddar or sharp Cheddar (6 ounces)
- 2 7- to 8-ounce prepared pie crusts, thawed if frozen
- fresh thyme, chopped (optional)
- Peel and thinly slice onions

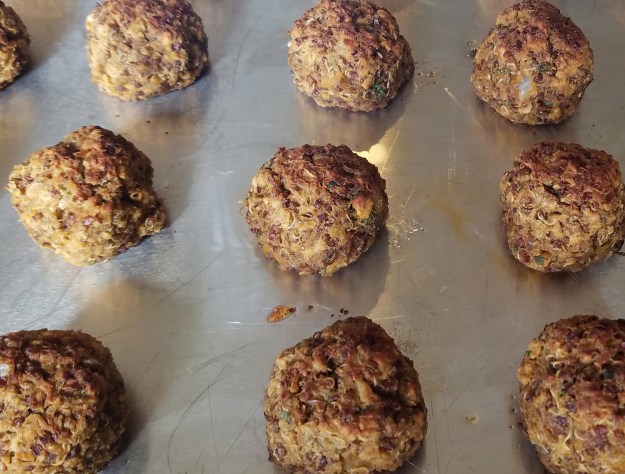
- Using a sharp knife or a mandolin, slice brussels sprouts.
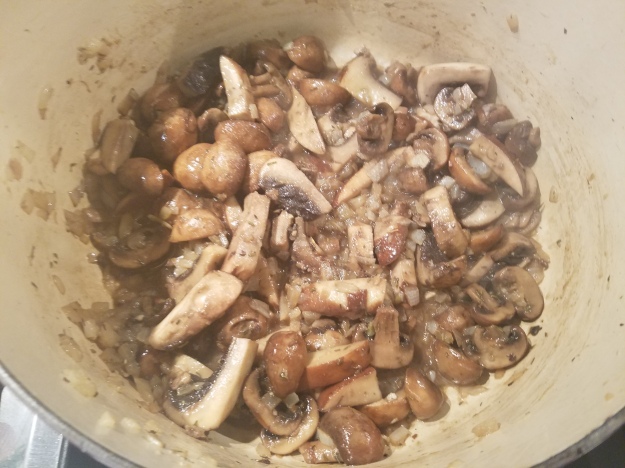
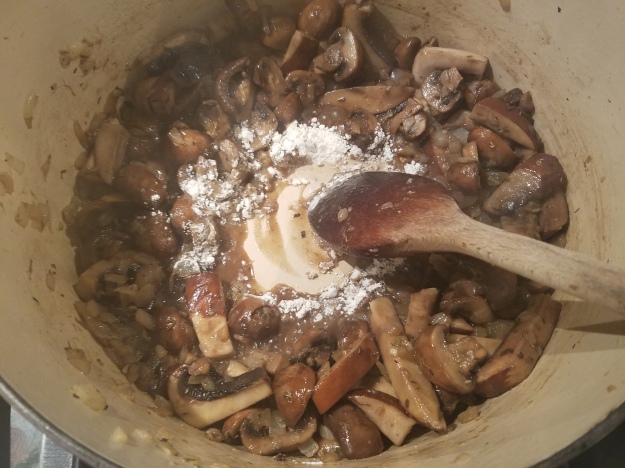
- Heat 1 tablespoon oil in a large skillet over medium heat. Add onions and ⅛ teaspoon each salt and pepper; cook, stirring occasionally, until the onions are tender and browned, 15 to 20 minutes. (deeply caramelized onions might take longer) Add water, 1 tablespoon at a time, if they start to burn. Add garlic and cook, stirring, for 1 minute more. Transfer to a large bowl.

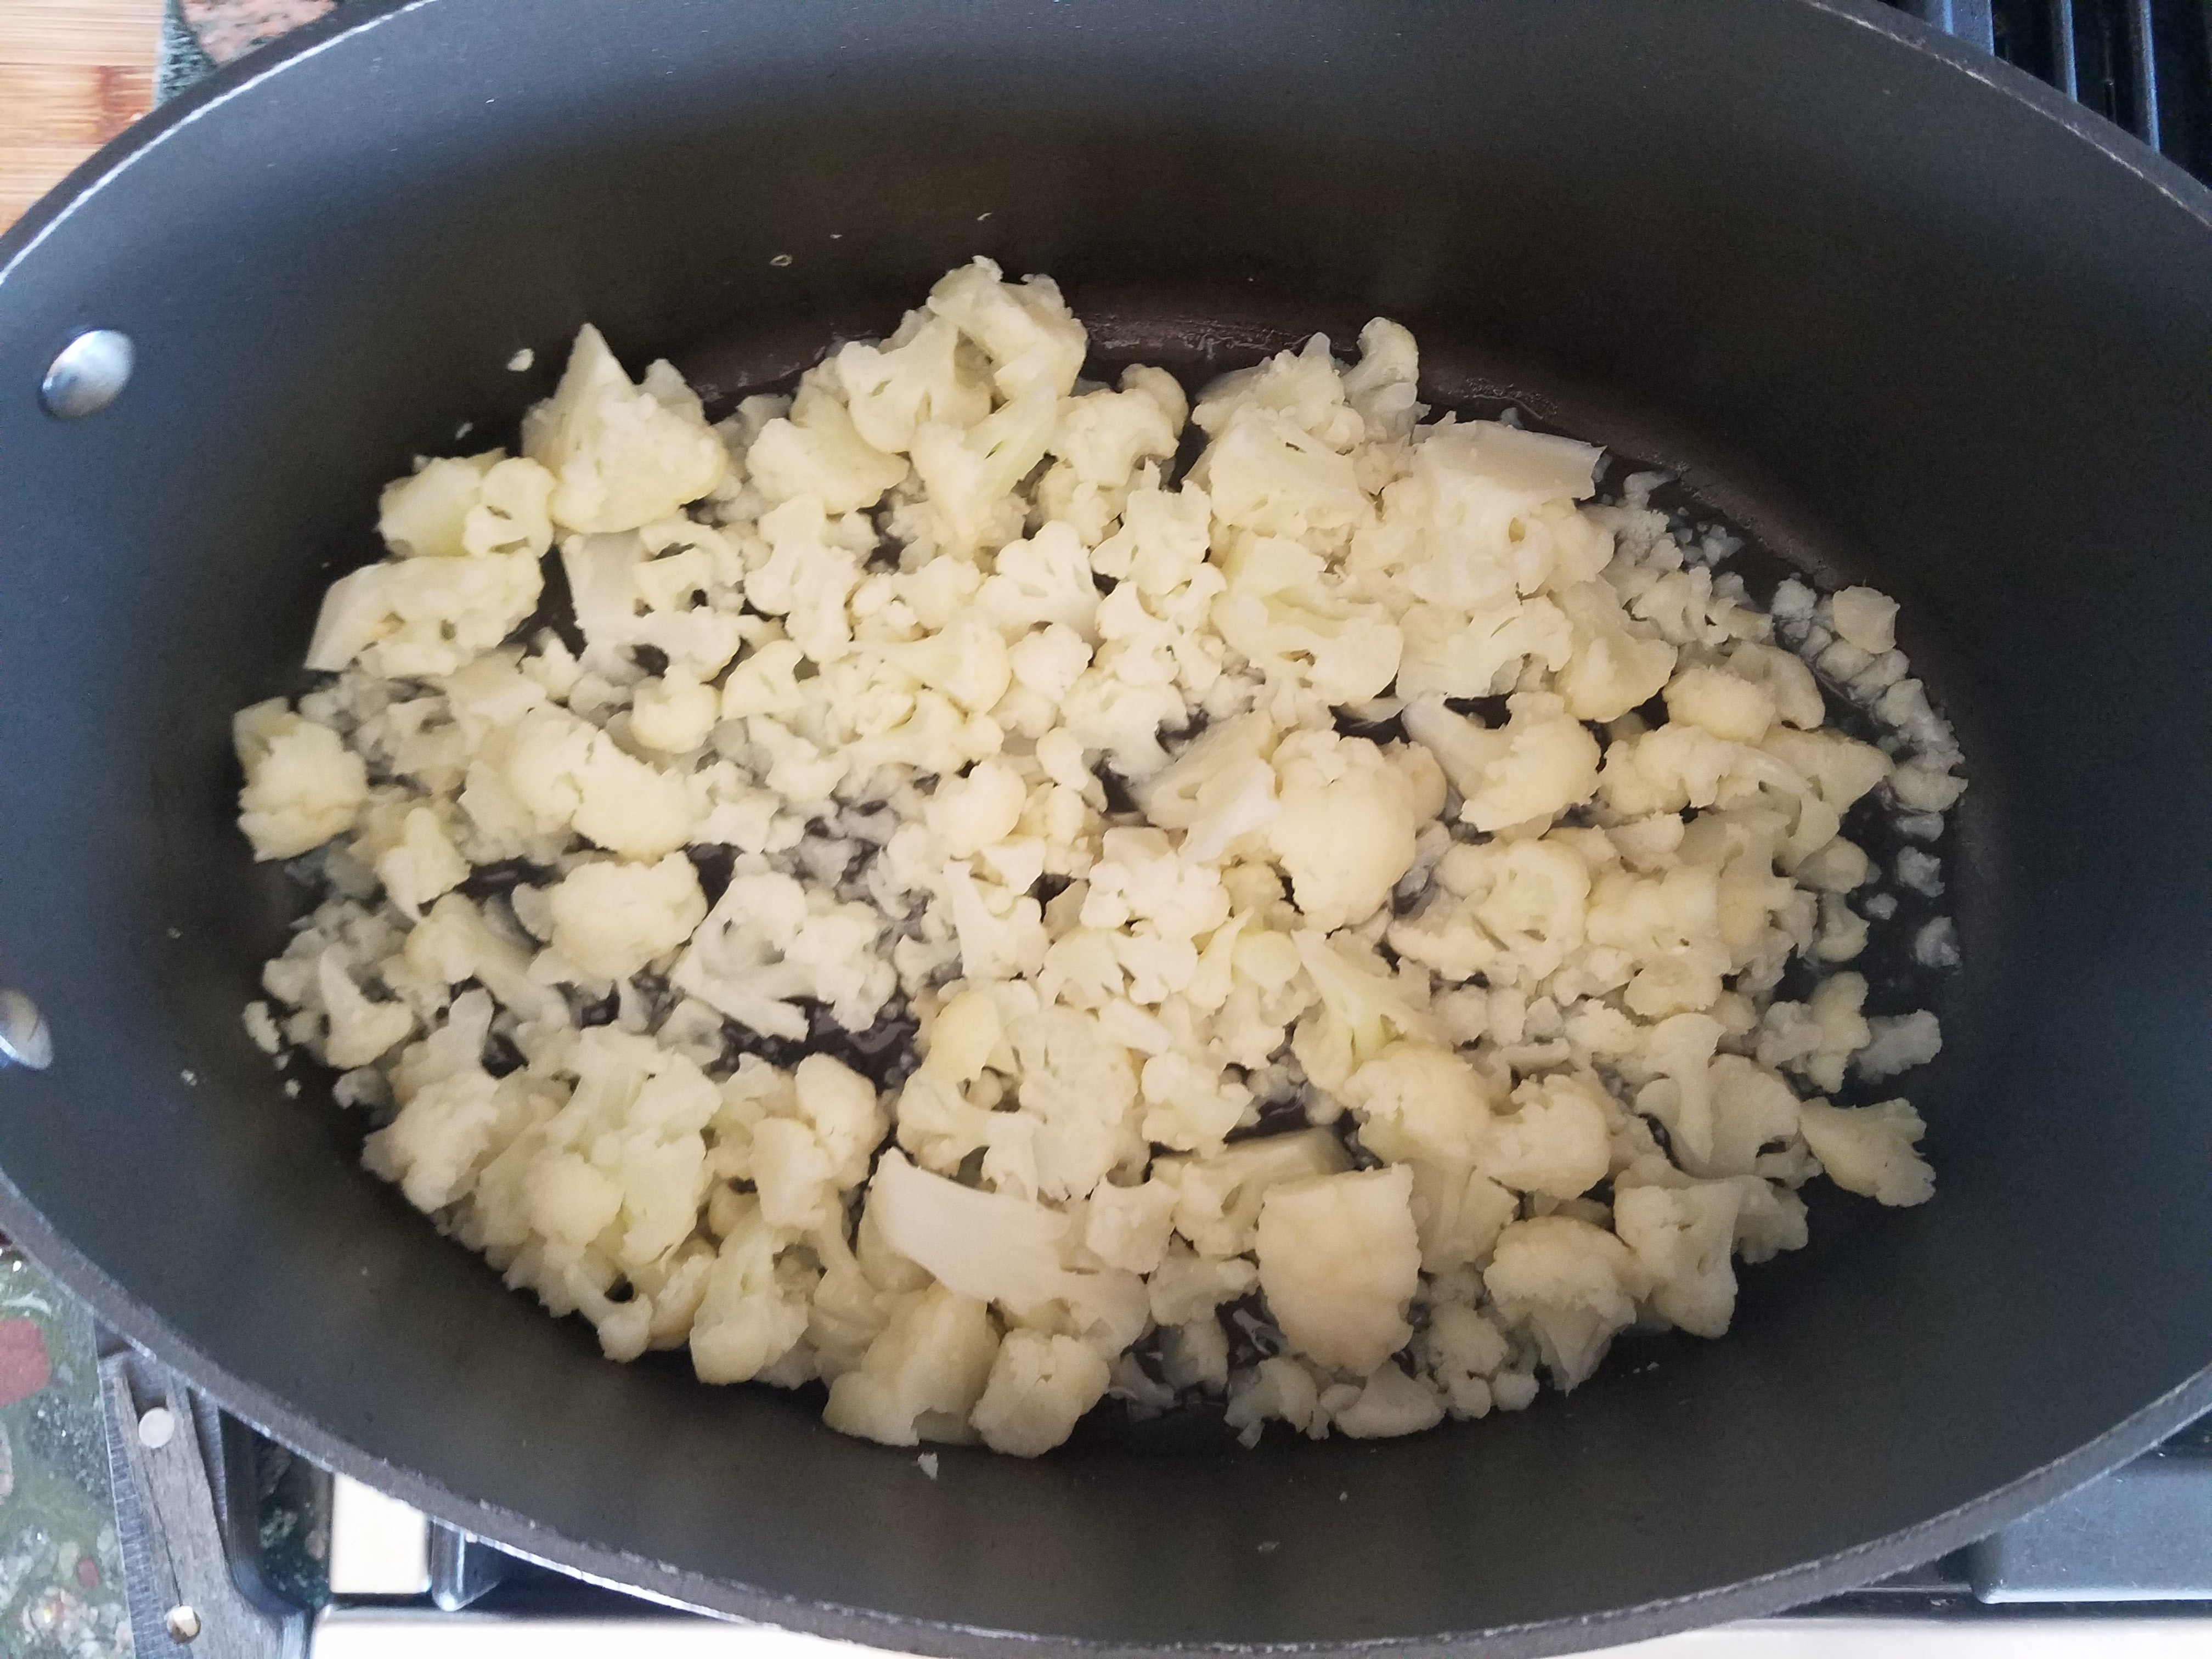
- Heat the remaining 1 tablespoon oil in the pan. Add Brussels sprouts and the remaining ⅛ teaspoon each salt and pepper. Reduce heat to medium-low and cook, stirring occasionally, until tender and lightly browned, 8 to 10 minutes.

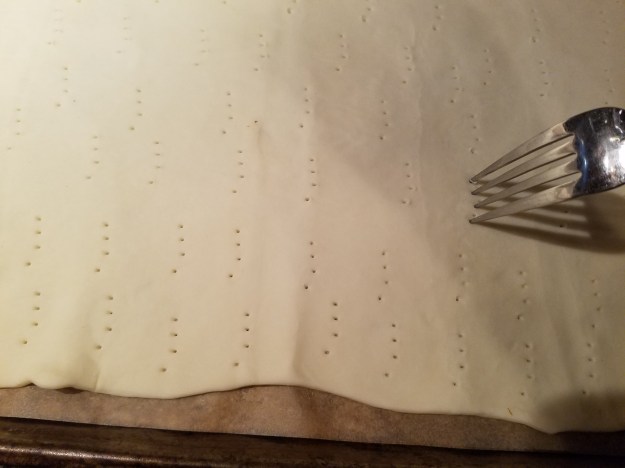
- Preheat oven to 400°F. Line a large baking sheet with parchment paper. Stack pie crusts on top of each other so you have a double-thick crust. Roll out on a lightly floured surface into a 13- to 14-inch circle.
- Transfer to the prepared baking sheet.

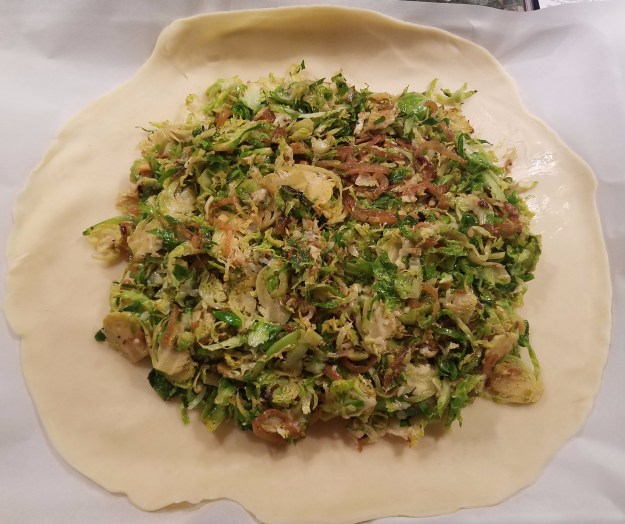
- Remove half of the caramelized onions from the bowl and reserve. Add brussels sprouts and one cup of the shredded cheese to the onions and stir to combine.

- Spread the brussels mixture on the pastry crust, leaving a 1½-2 inch border around the edge. If you are making a crustless casserole, oil the baking dish well before adding the brussels mixture.
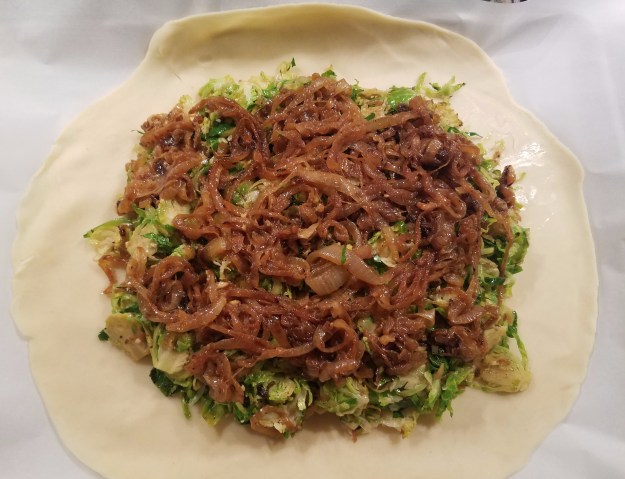
- Spread the remaining onions on top of the brussels mixture
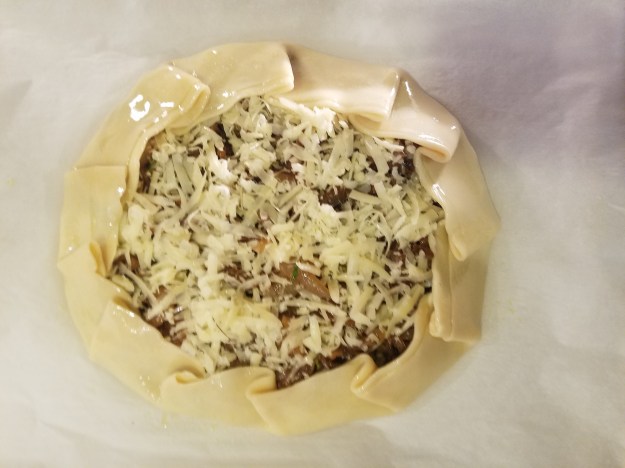
- Top with the rest of the cheese.

- Fold the edge of the dough over the filling, pleating every 3 inches. If you like a shiny crust, spray the edges lightly with olive oil or brush with an egg wash.
- Bake until the crust is lightly browned, 30 to 35 minutes. Let cool for 10 minutes before serving.
- Garnish with fresh thyme, if using.

Caramelized Onions & Brussels Sprouts Galette

- 4 cups thinly sliced onions (2-3 large)
- ¼ teaspoon kosher salt, divided
- ¼ teaspoon ground pepper, divided
- 5 cloves garlic, thinly sliced
- 12 ounces Brussels sprouts, trimmed and thinly sliced (4 cups)
- 1½ cups shredded Gruyère, cheddar or sharp Cheddar (6 ounces)
- 2 7- to 8-ounce prepared pie crusts, thawed if frozen
- fresh thyme, chopped (optional)
- Peel and thinly slice onions
- Using a sharp knife or a mandolin, slice brussels sprouts.
- Heat 1 tablespoon oil in a large skillet over medium heat. Add onions and ⅛ teaspoon each salt and pepper; cook, stirring occasionally, until the onions are tender and browned, 15 to 20 minutes. (deeply caramelized onions might take longer) Add water, 1 tablespoon at a time, if they start to burn. Add garlic and cook, stirring, for 1 minute more. Transfer to a large bowl.
- Heat the remaining 1 tablespoon oil in the pan. Add Brussels sprouts and the remaining ⅛ teaspoon each salt and pepper. Reduce heat to medium-low and cook, stirring occasionally, until tender and lightly browned, 8 to 10 minutes.
- Preheat oven to 400°F. Line a large baking sheet with parchment paper.
- Stack pie crusts on top of each other so you have a double-thick crust. Roll out on a lightly floured surface into a 13- to 14-inch circle. Transfer to the prepared baking sheet.
- Remove half of the caramelized onions from the bowl and reserve. Add brussels sprouts and one cup of the shredded cheese to the onions and stir to combine.
- Spread the brussels mixture on the pastry crust, leaving a 1½-2 inch border around the edge. If you are making a crustless casserole, oil the baking dish well before adding the brussels mixture.
- Spread the remaining onions on top of the brussels mixture and top with the rest of the cheese.
- Fold the edge of the dough over the filling, pleating every 3 inches. If you like a shiny crust, spray the edges lightly with olive oil or brush with an egg wash.
- Bake until the crust is lightly browned, 30 to 35 minutes. Let cool for 10 minutes before serving.
- Garnish with fresh thyme, if using.


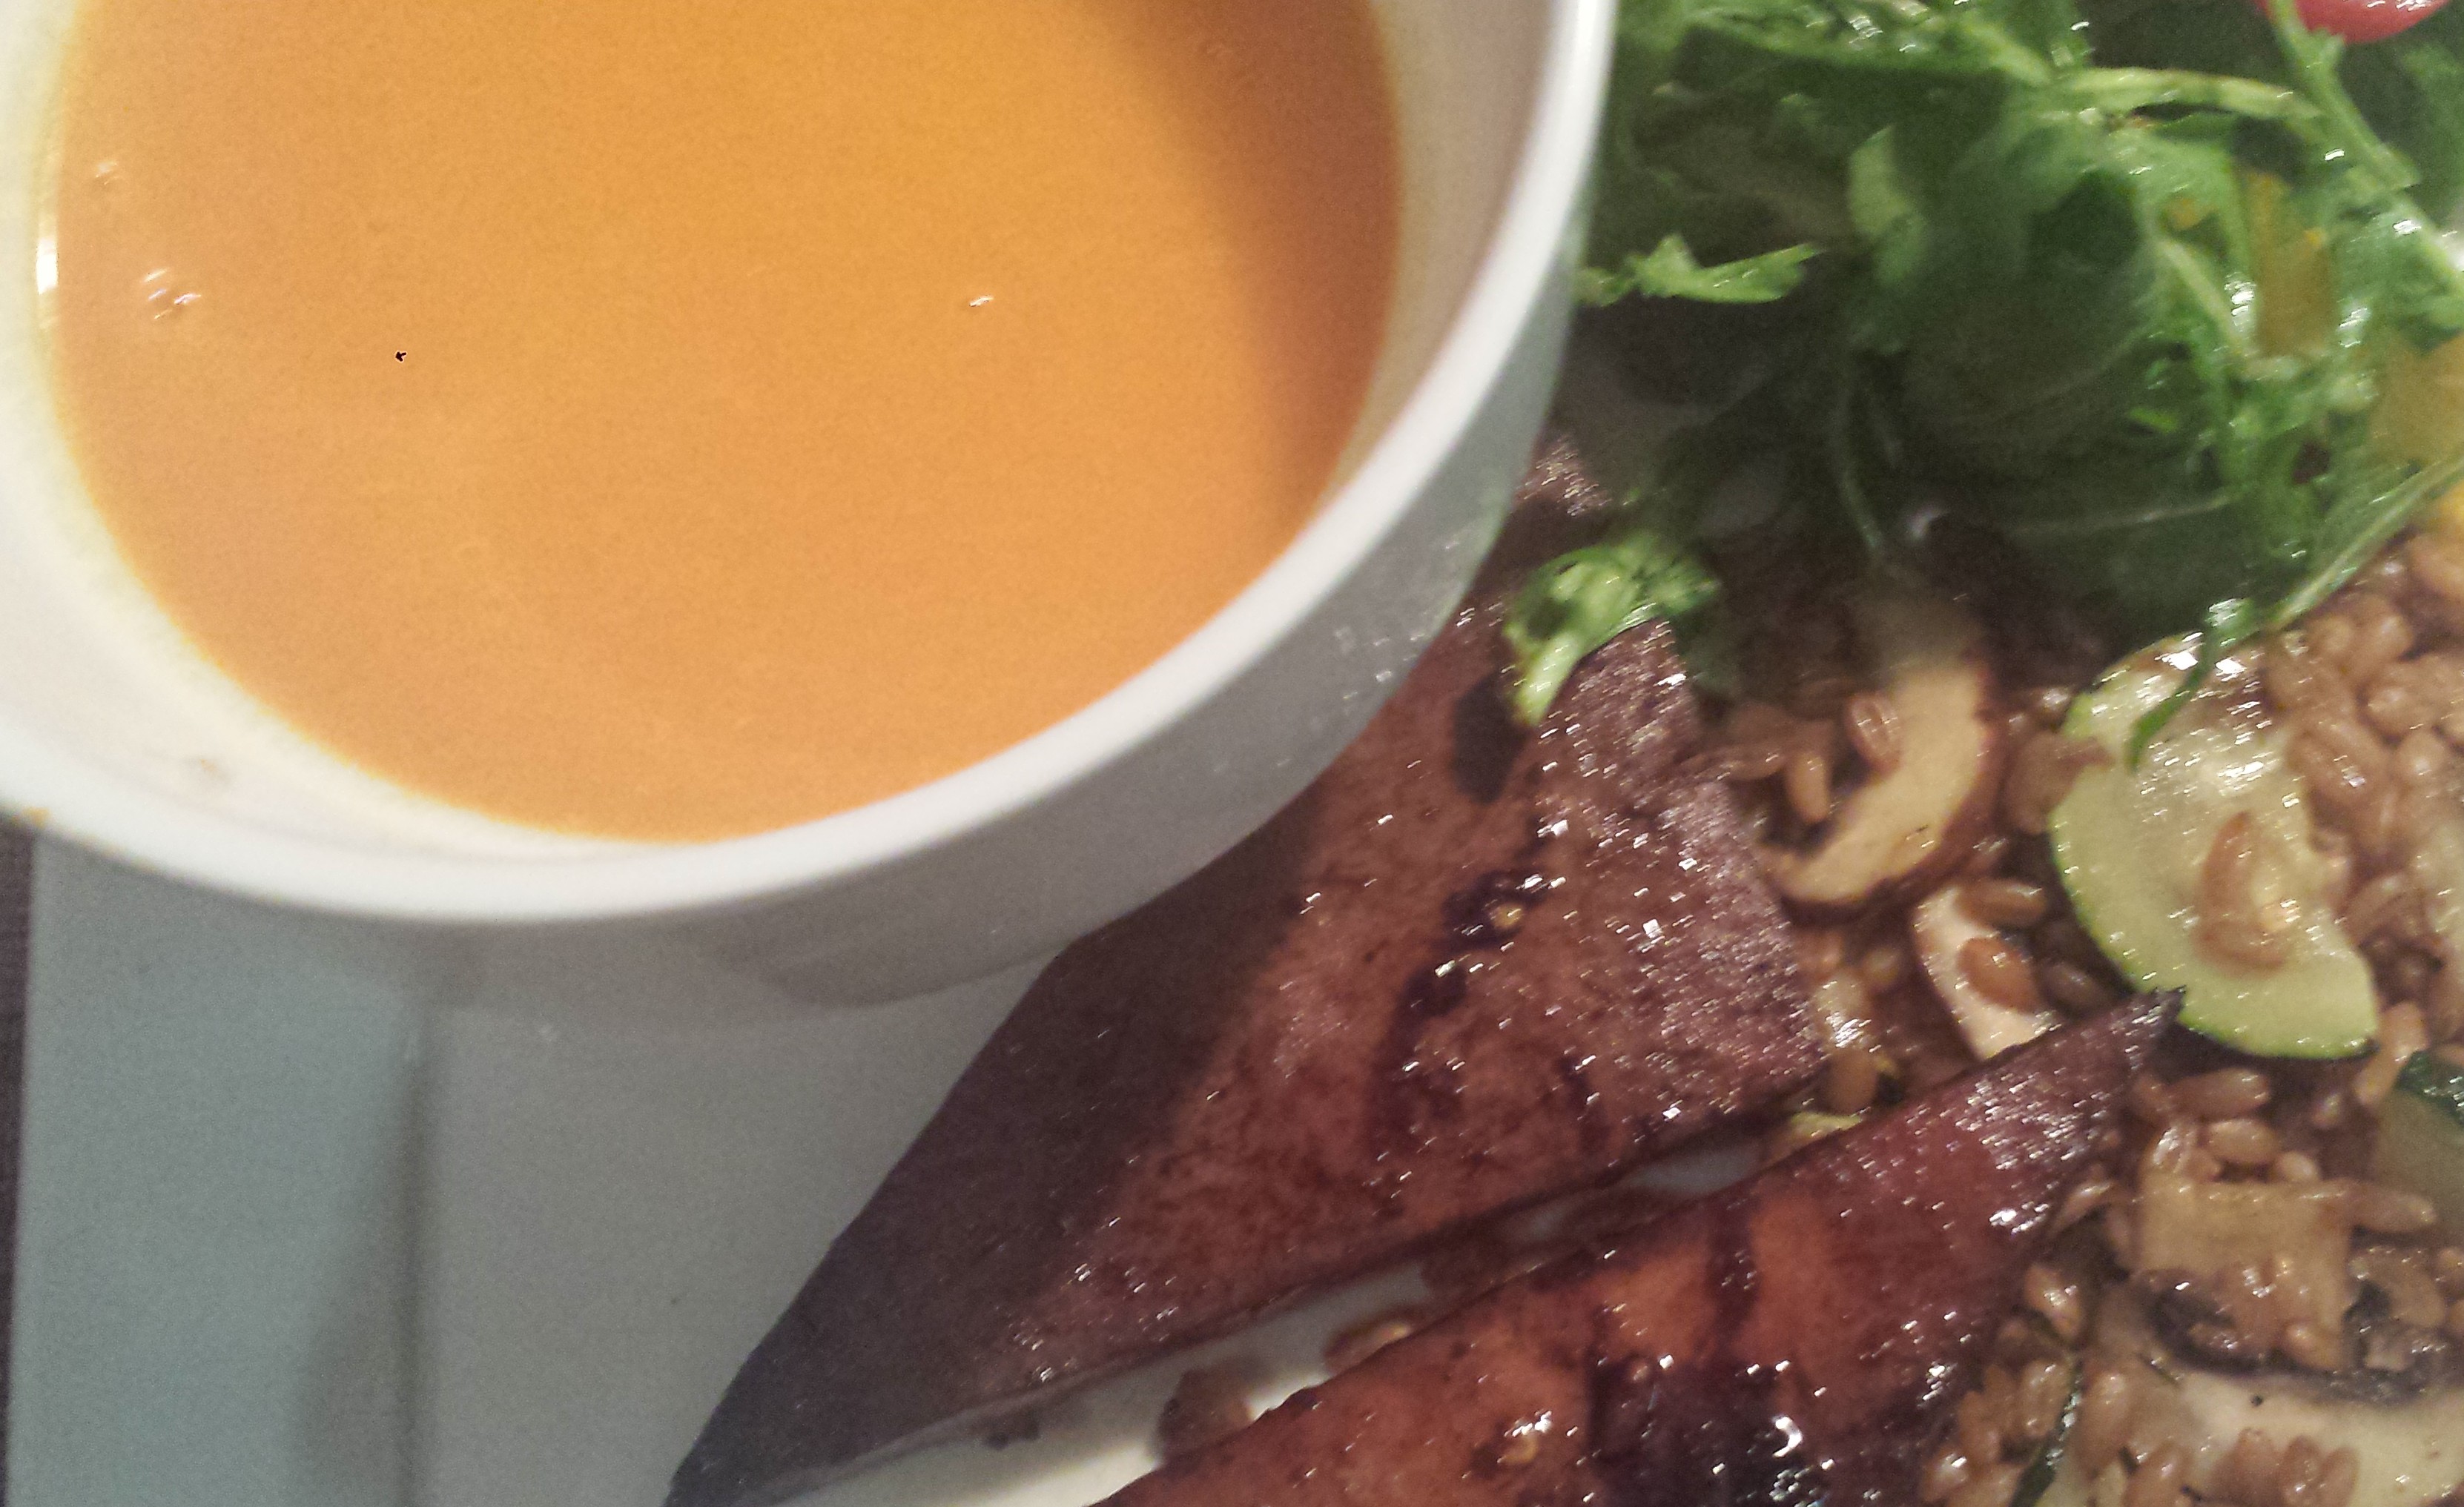
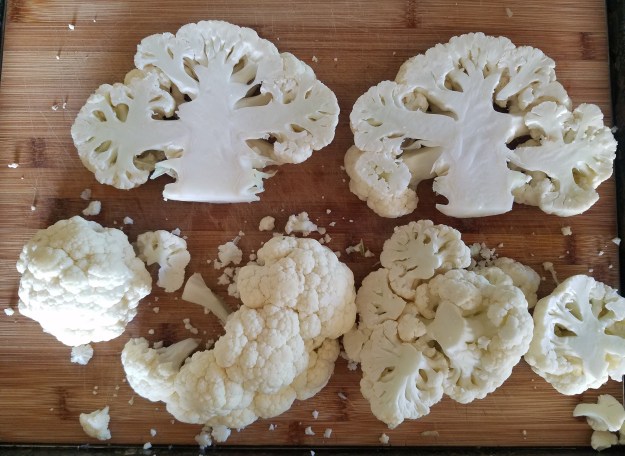
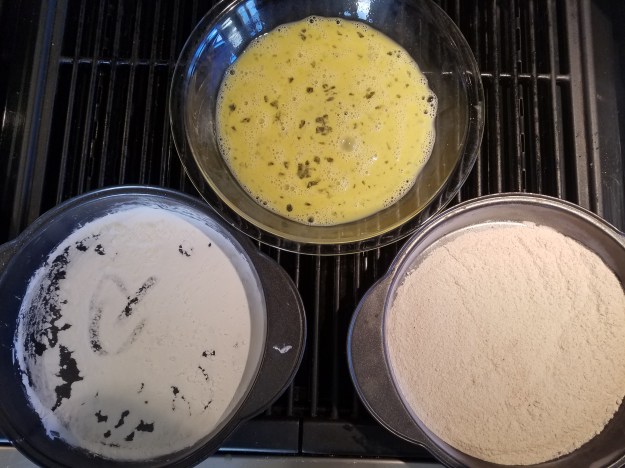
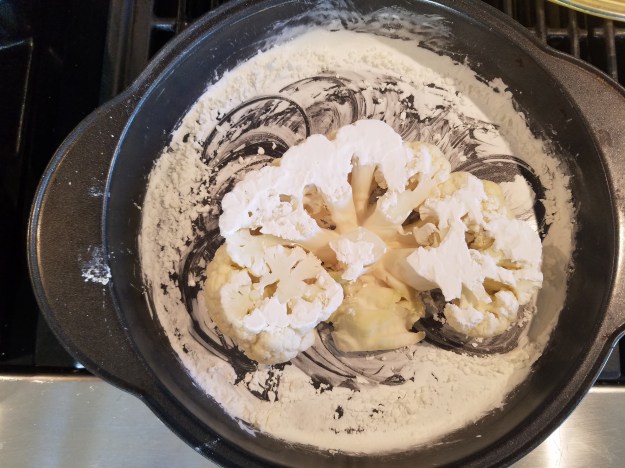
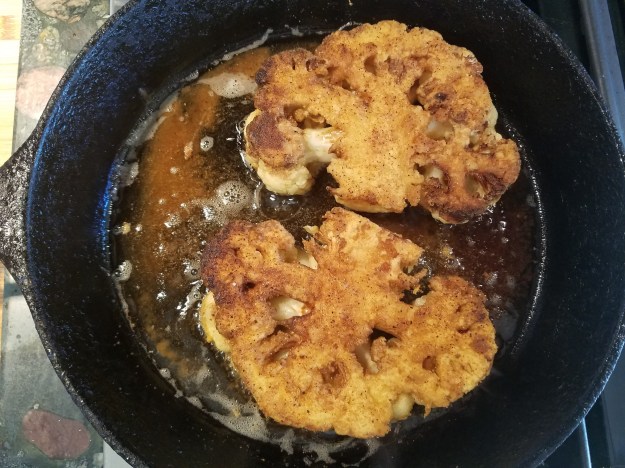
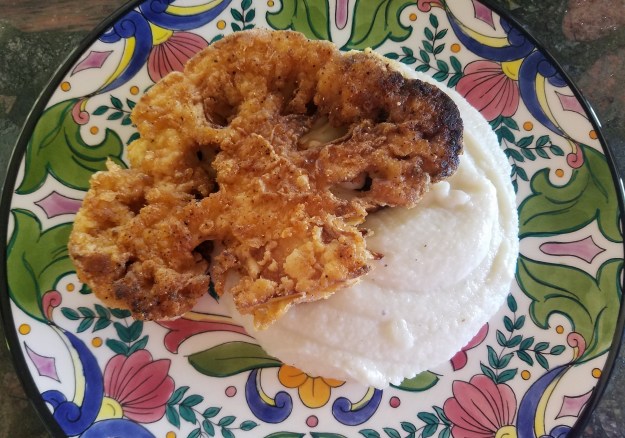
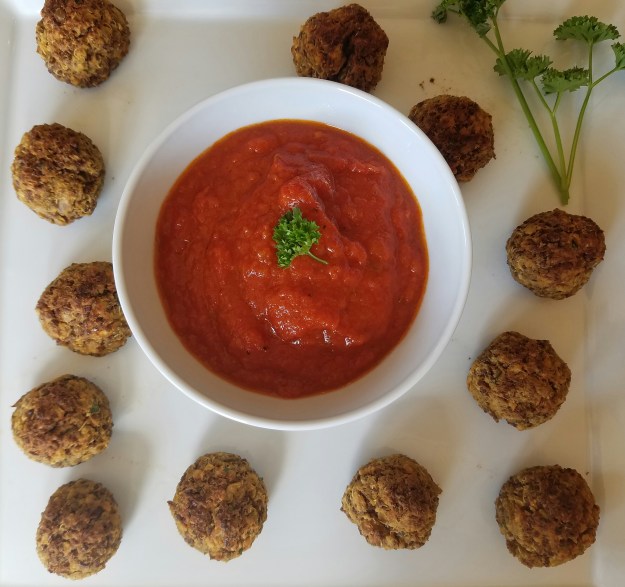
 Here’s a vegetarian or vegan twist on the classic comfort food, Chicken Fried Steak, nestled on a bed of creamy mash. This version has all the yummy flavor with none of the guilt, perfect for your summer barbecue or picnic. Cauliflower, the chameleon of veggies, makes a great couple of center cut ‘steaks’ while the rest is pureed into a silky, creamy cauliflower mash. This recipe makes use of the whole head of cauliflower and requires very few other ingredients, other than spices that you probably already have in your pantry. Now you can make a healthier, lower fat and meat free version of this popular dish. Its an easy and surprisingly satisfying meal that can be ready in about 30 minutes. You just might lick the plate clean…
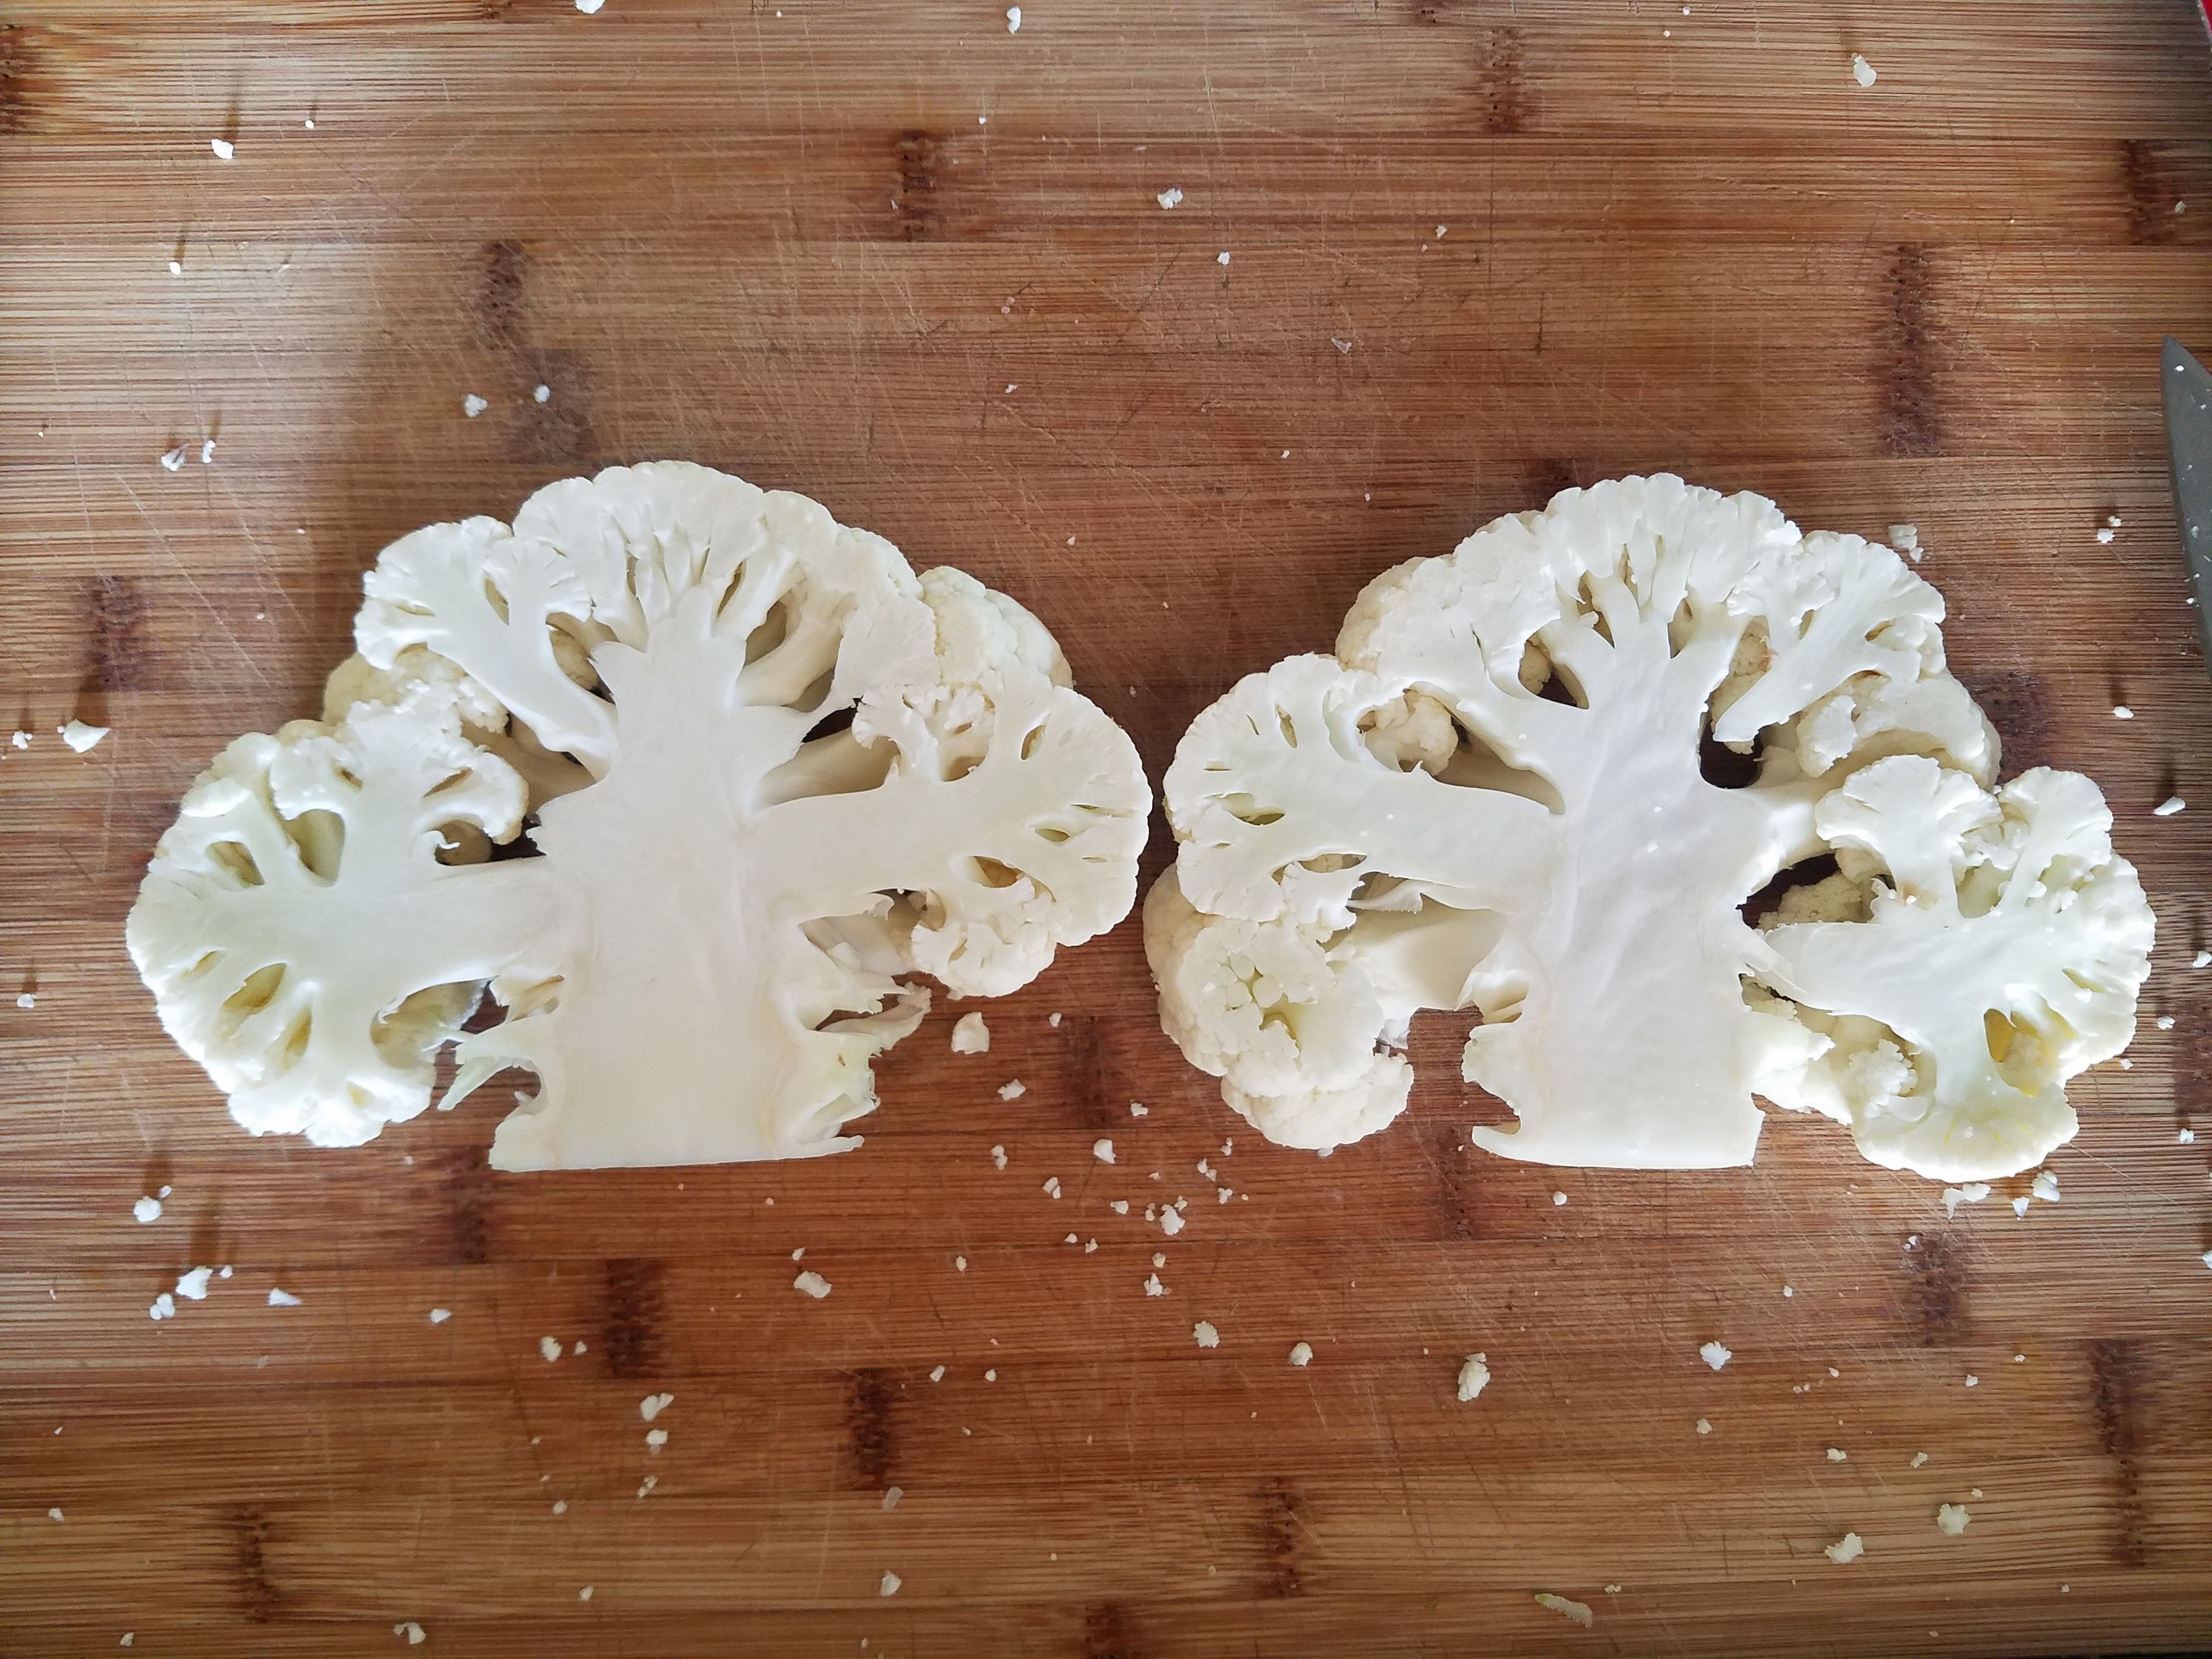


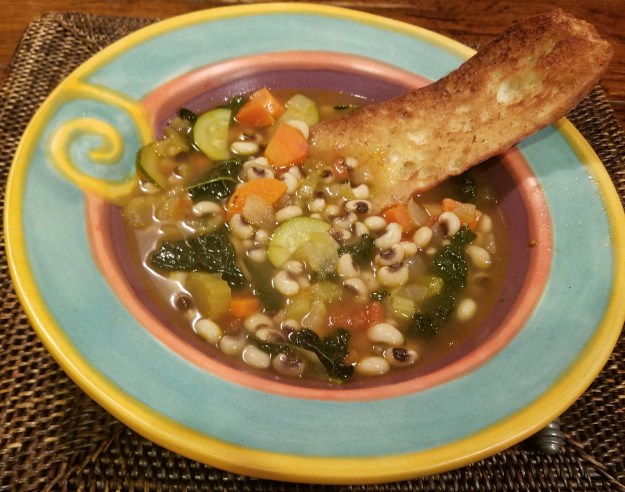


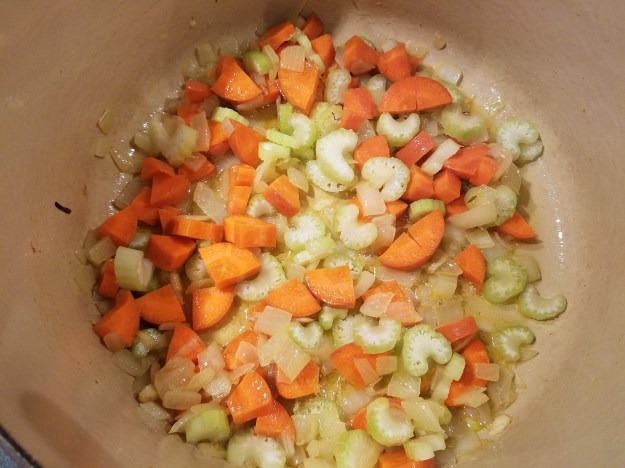
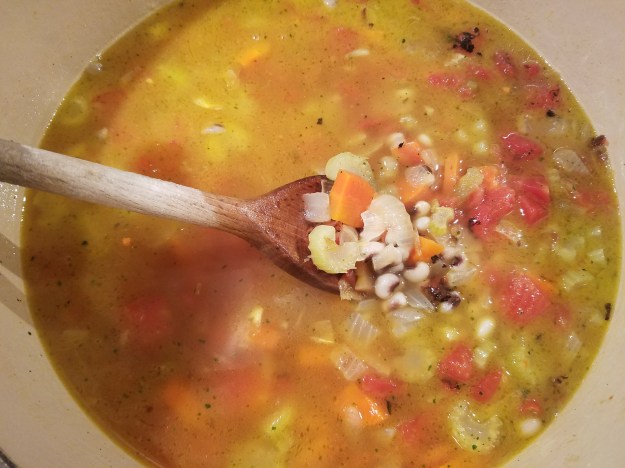


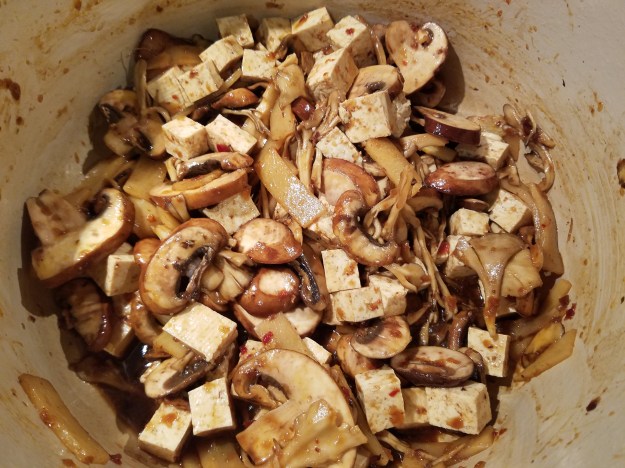

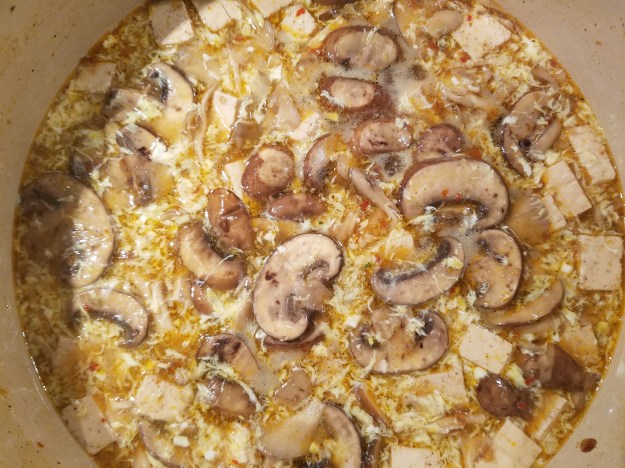

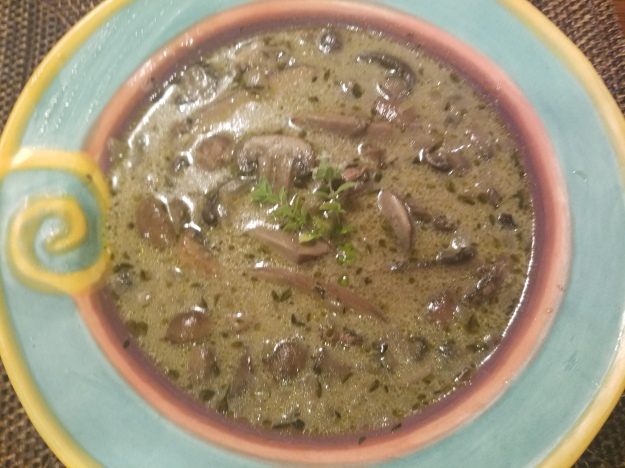

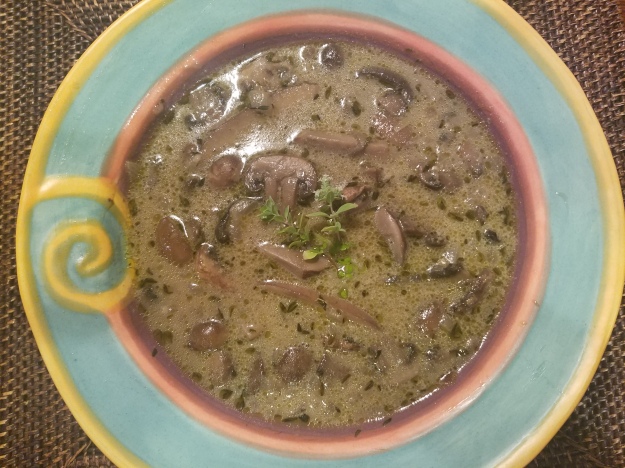


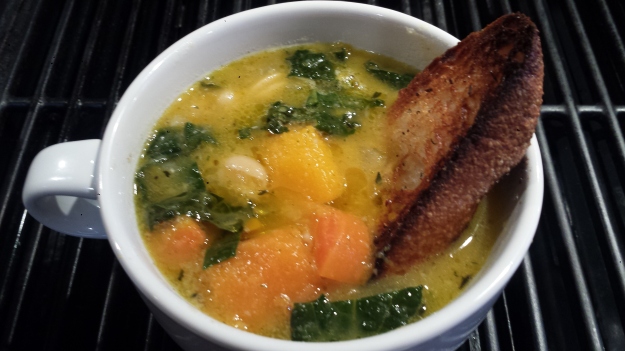
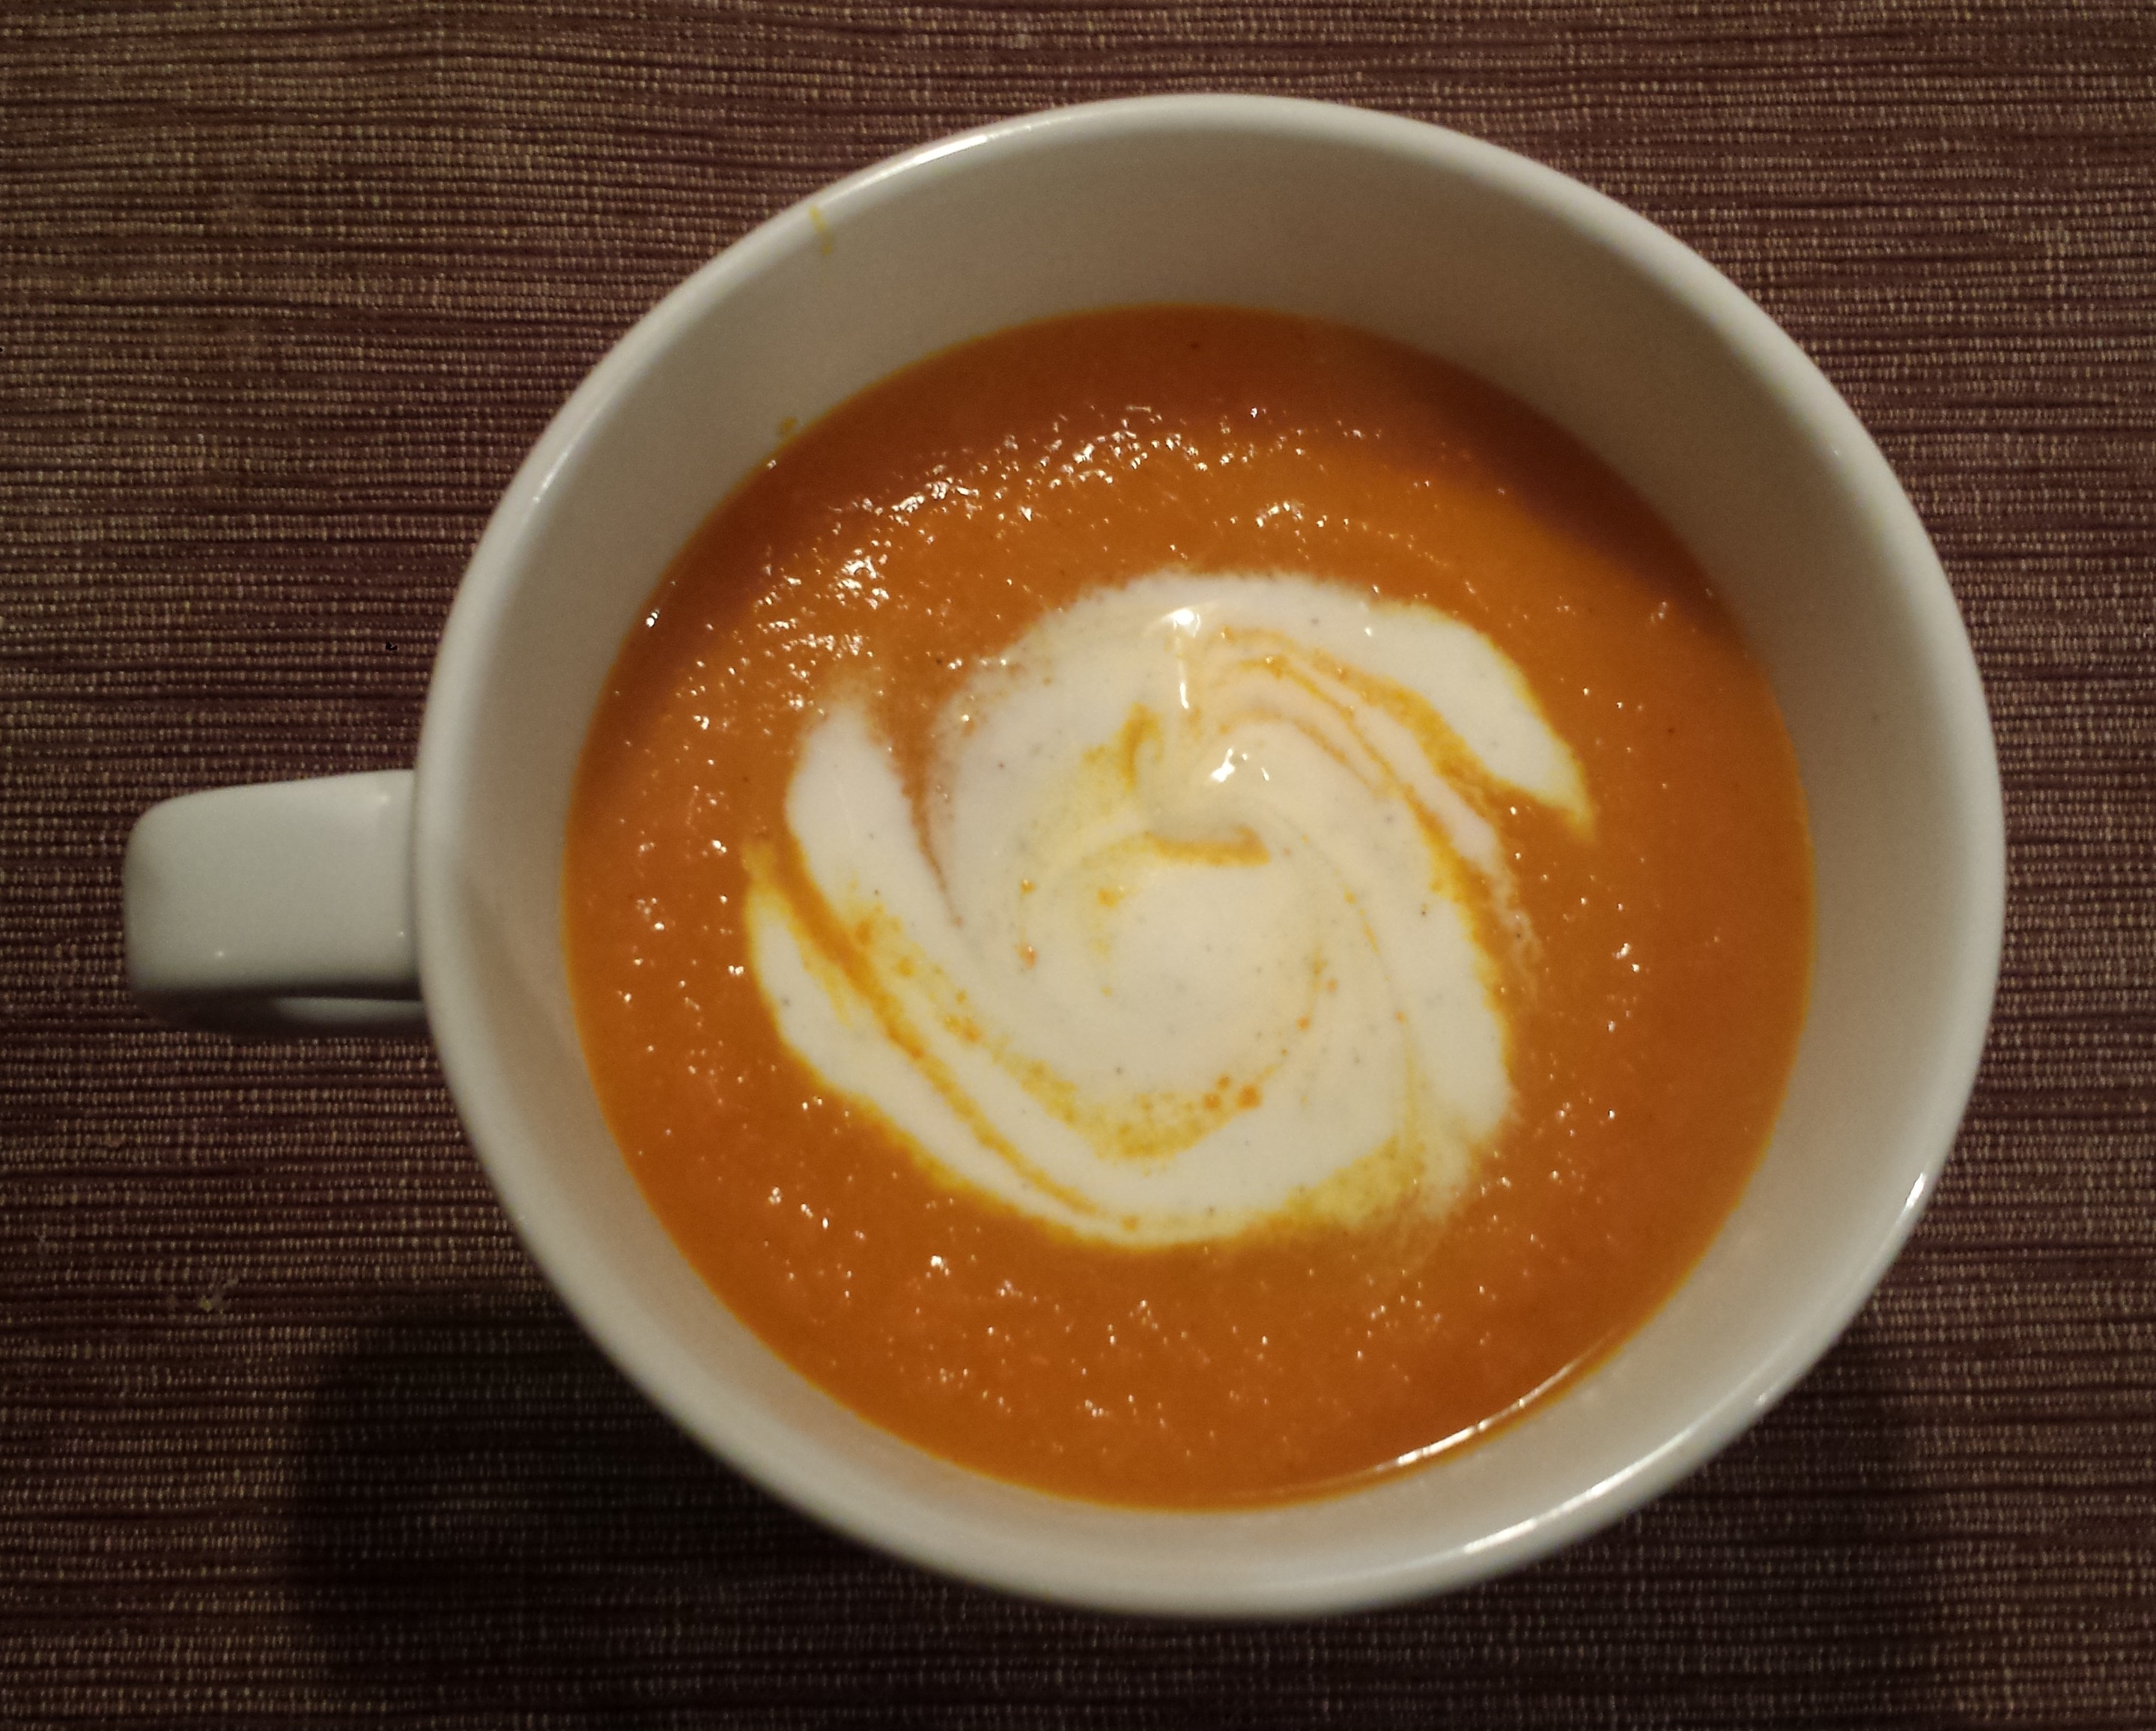
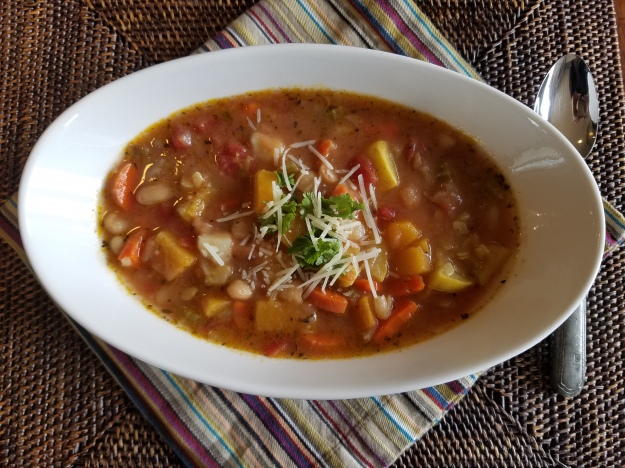
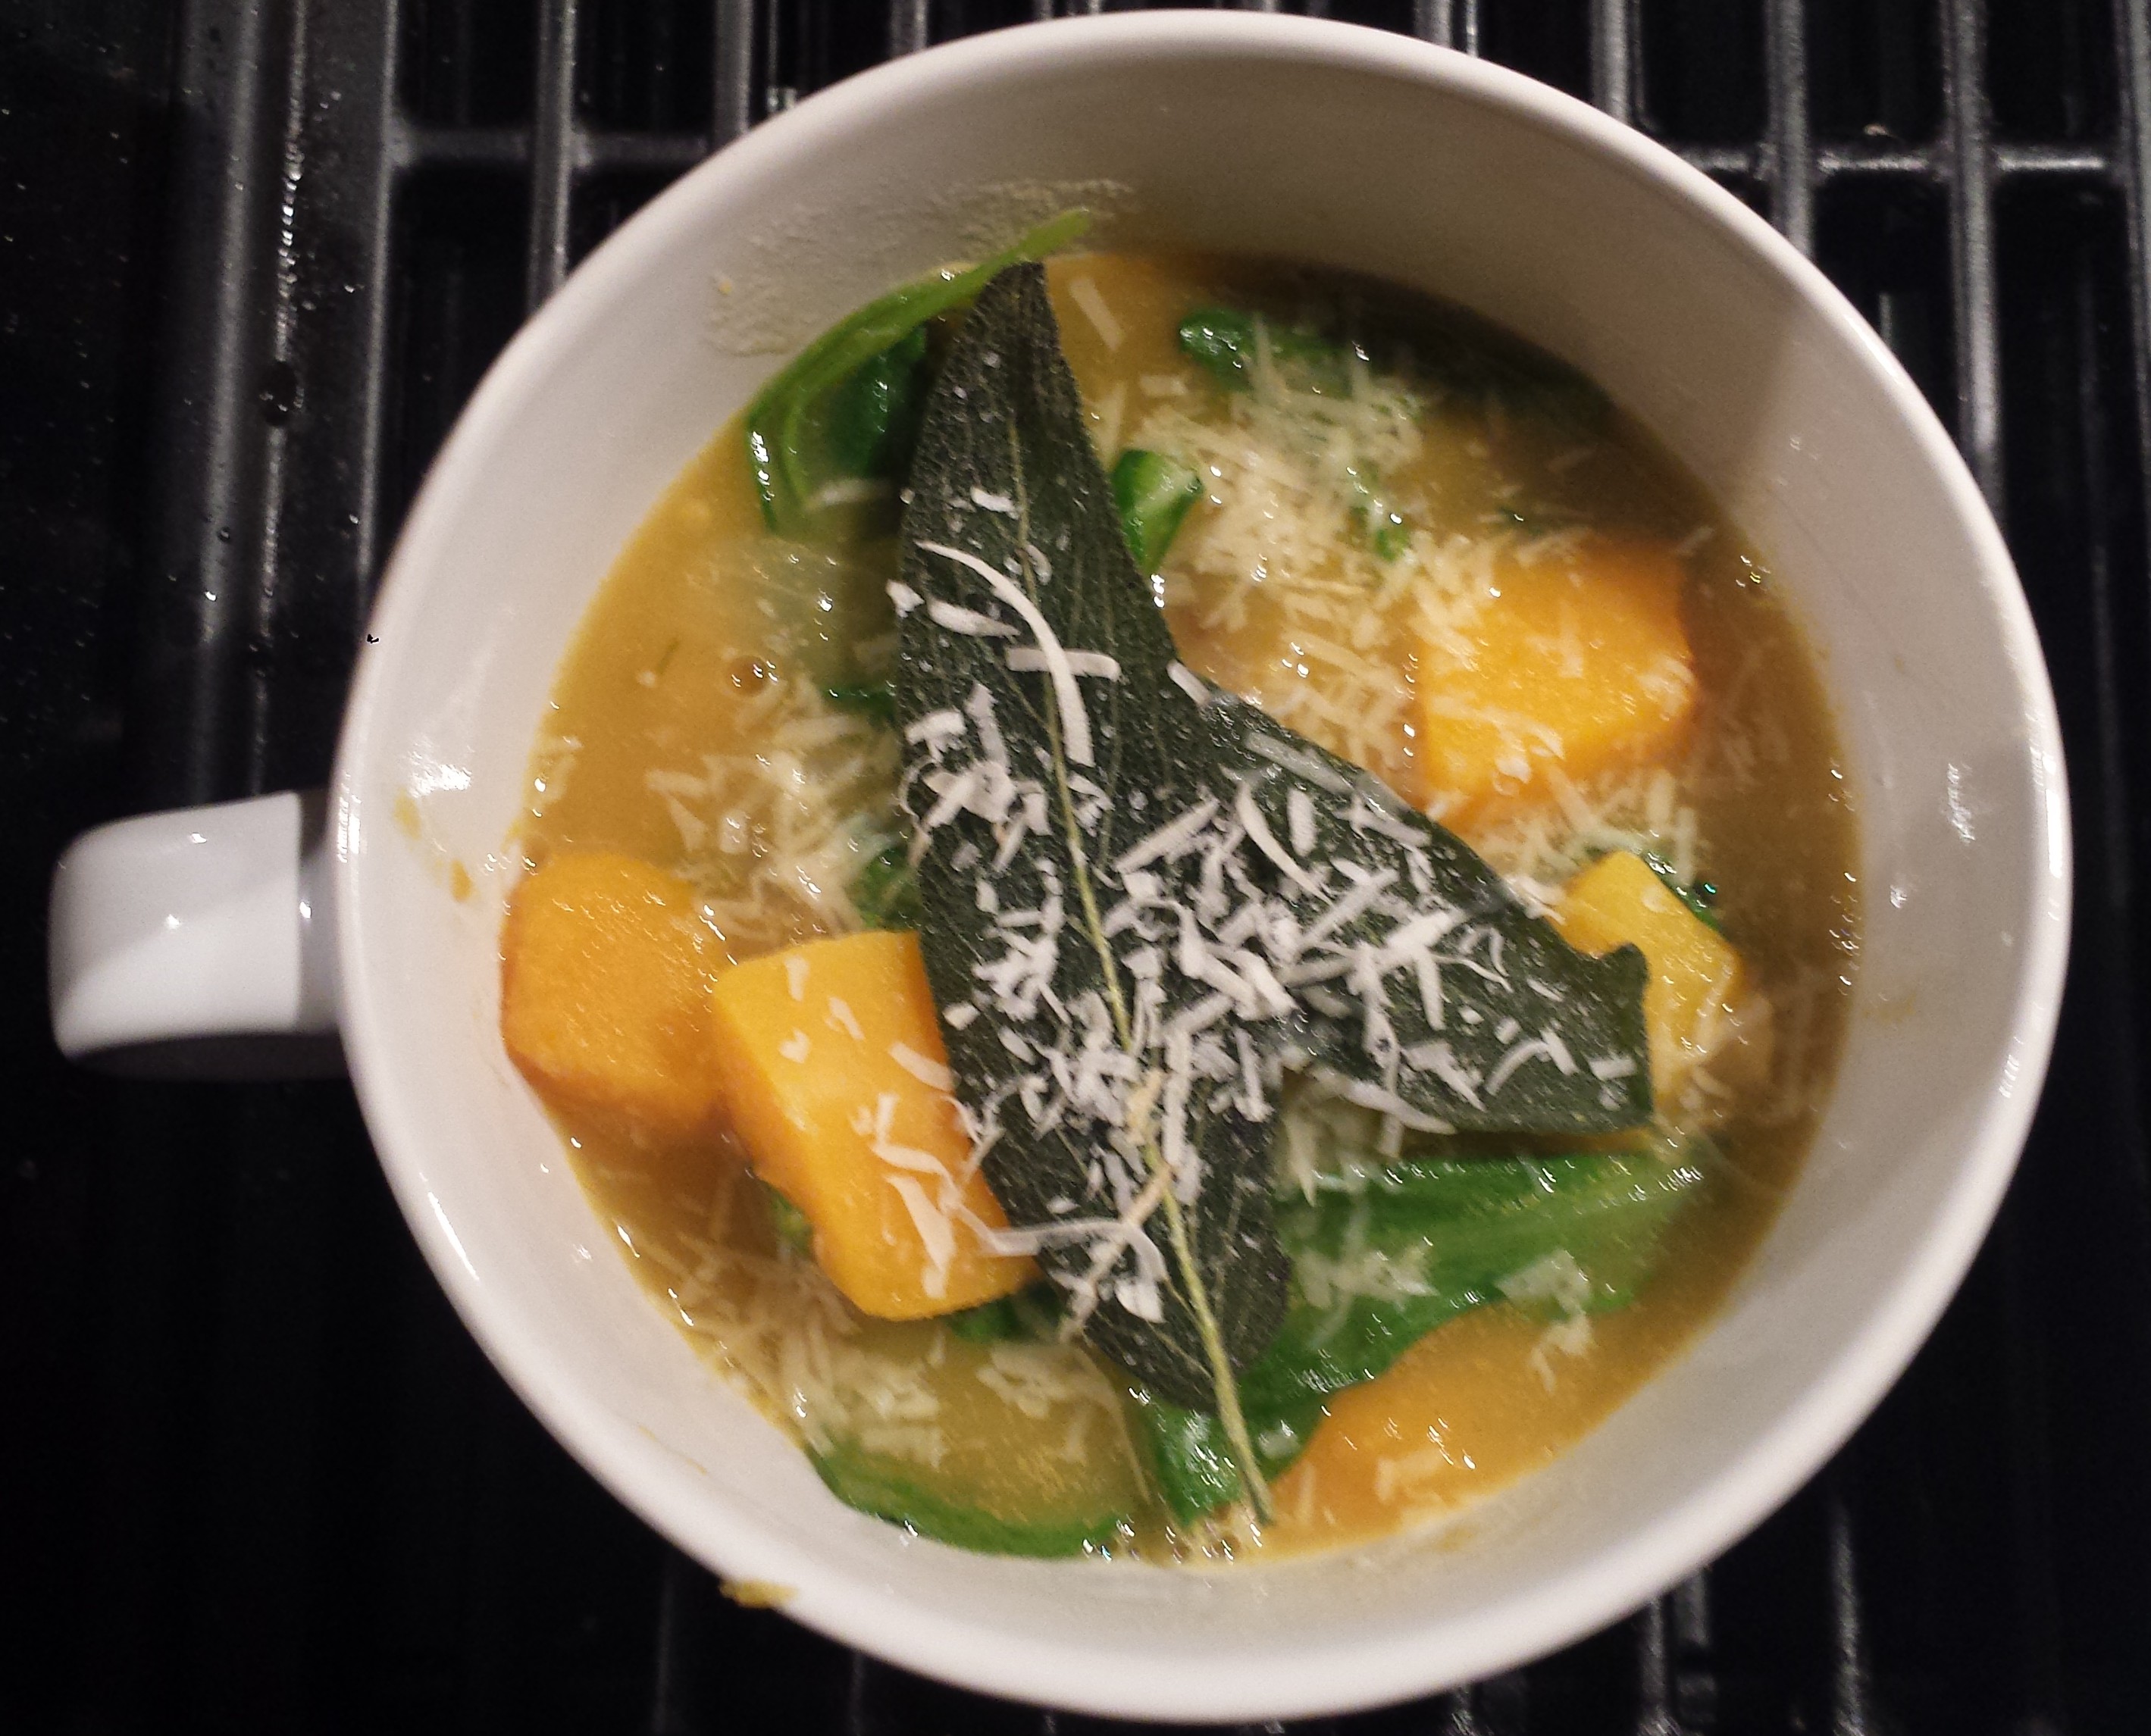
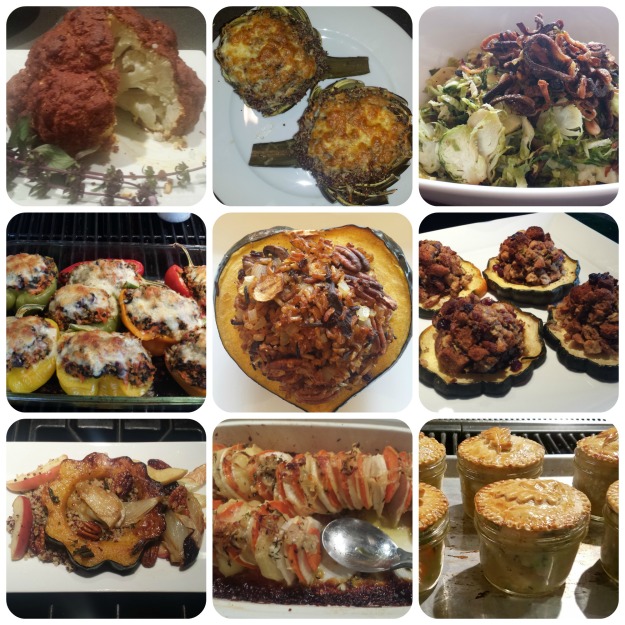
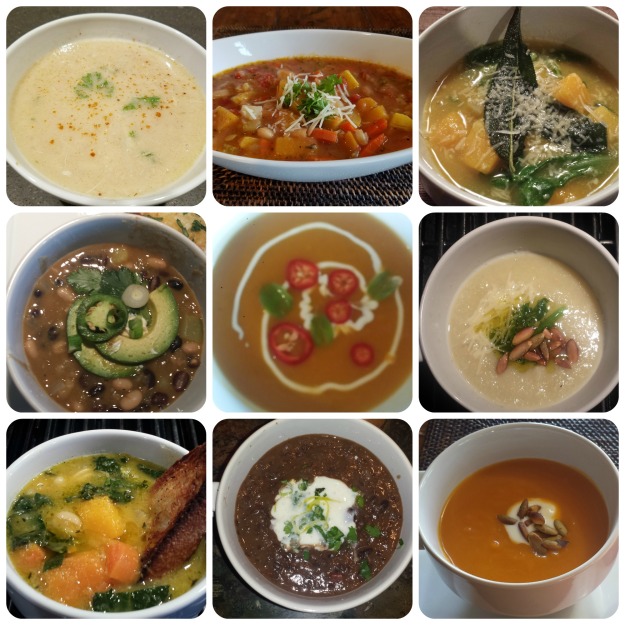 SOUP GLORIOUS SOUP! Soup is the ultimate comfort food for cold, rainy or snowy days. It’s hot, steamy goodness warms you up from the inside out. As promised, here is a collection of twelve of my favorite soups. Mmm, so good! All soups are vegetarian or vegan (or easily adapted for vegans) and gluten and wheat free. Since they are meat free, they are naturally low in calories but nutrient dense, so dig in! Each link will send you to the recipe and original blog post. Sharing is caring. -J