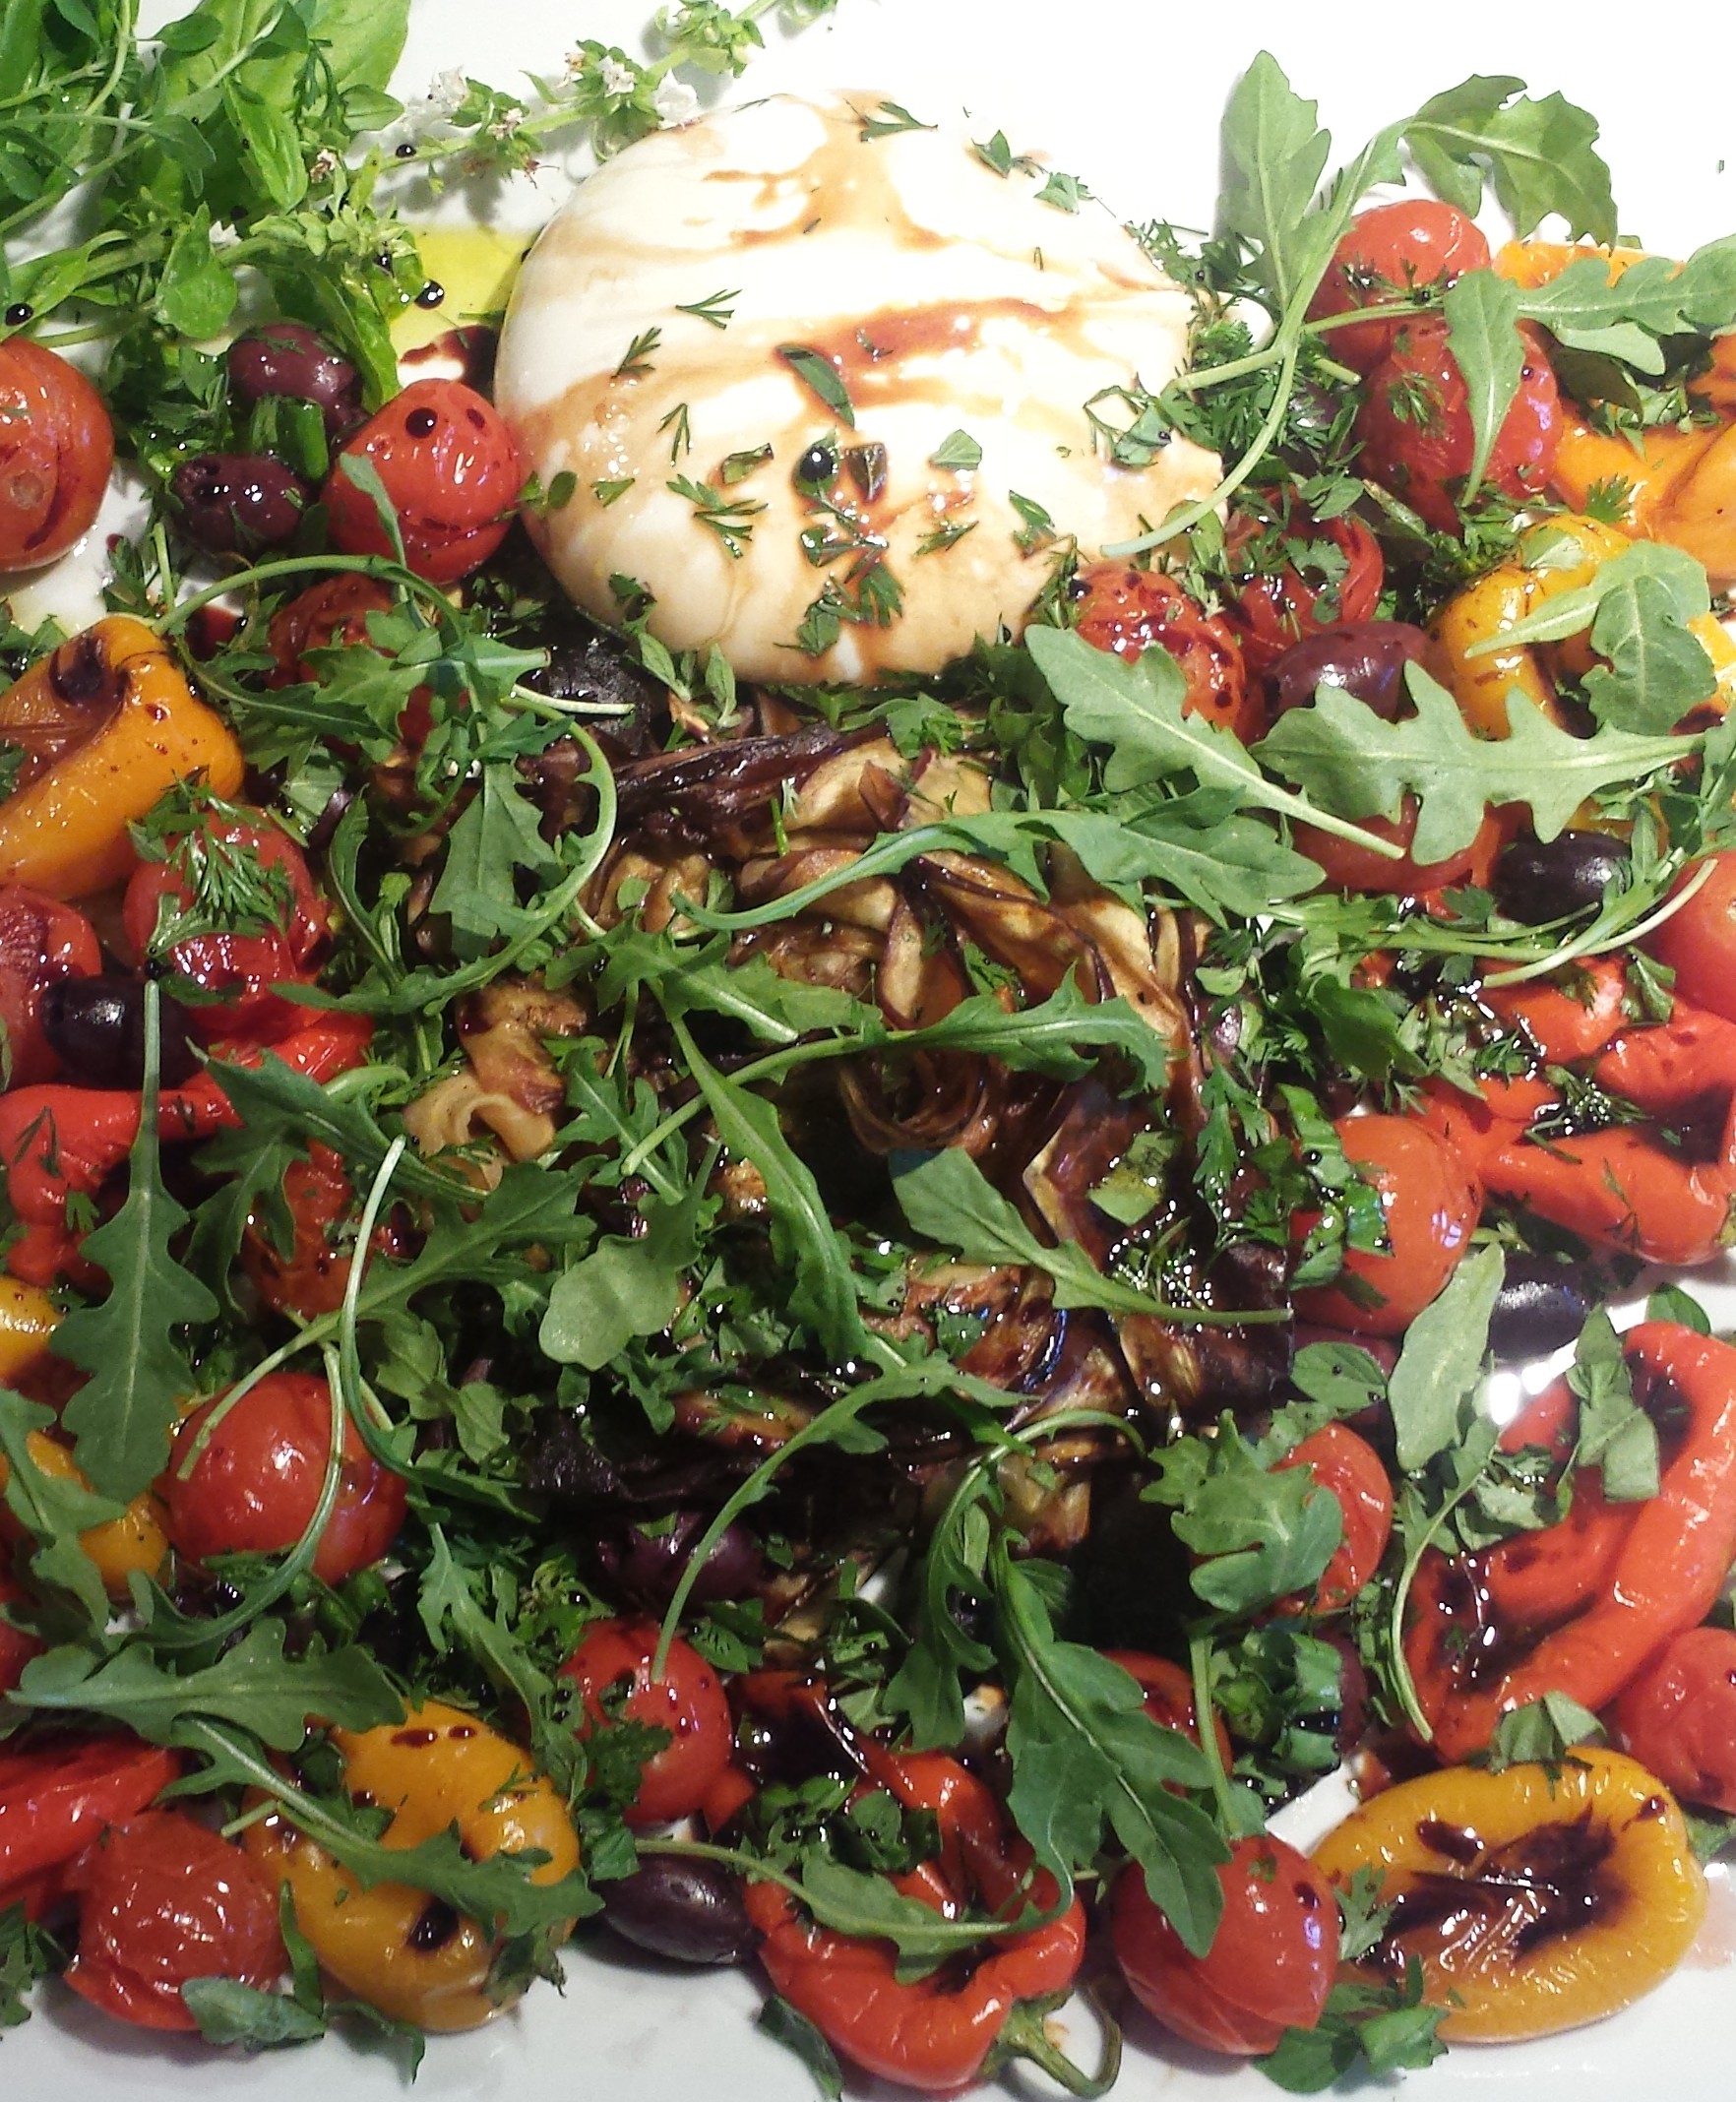
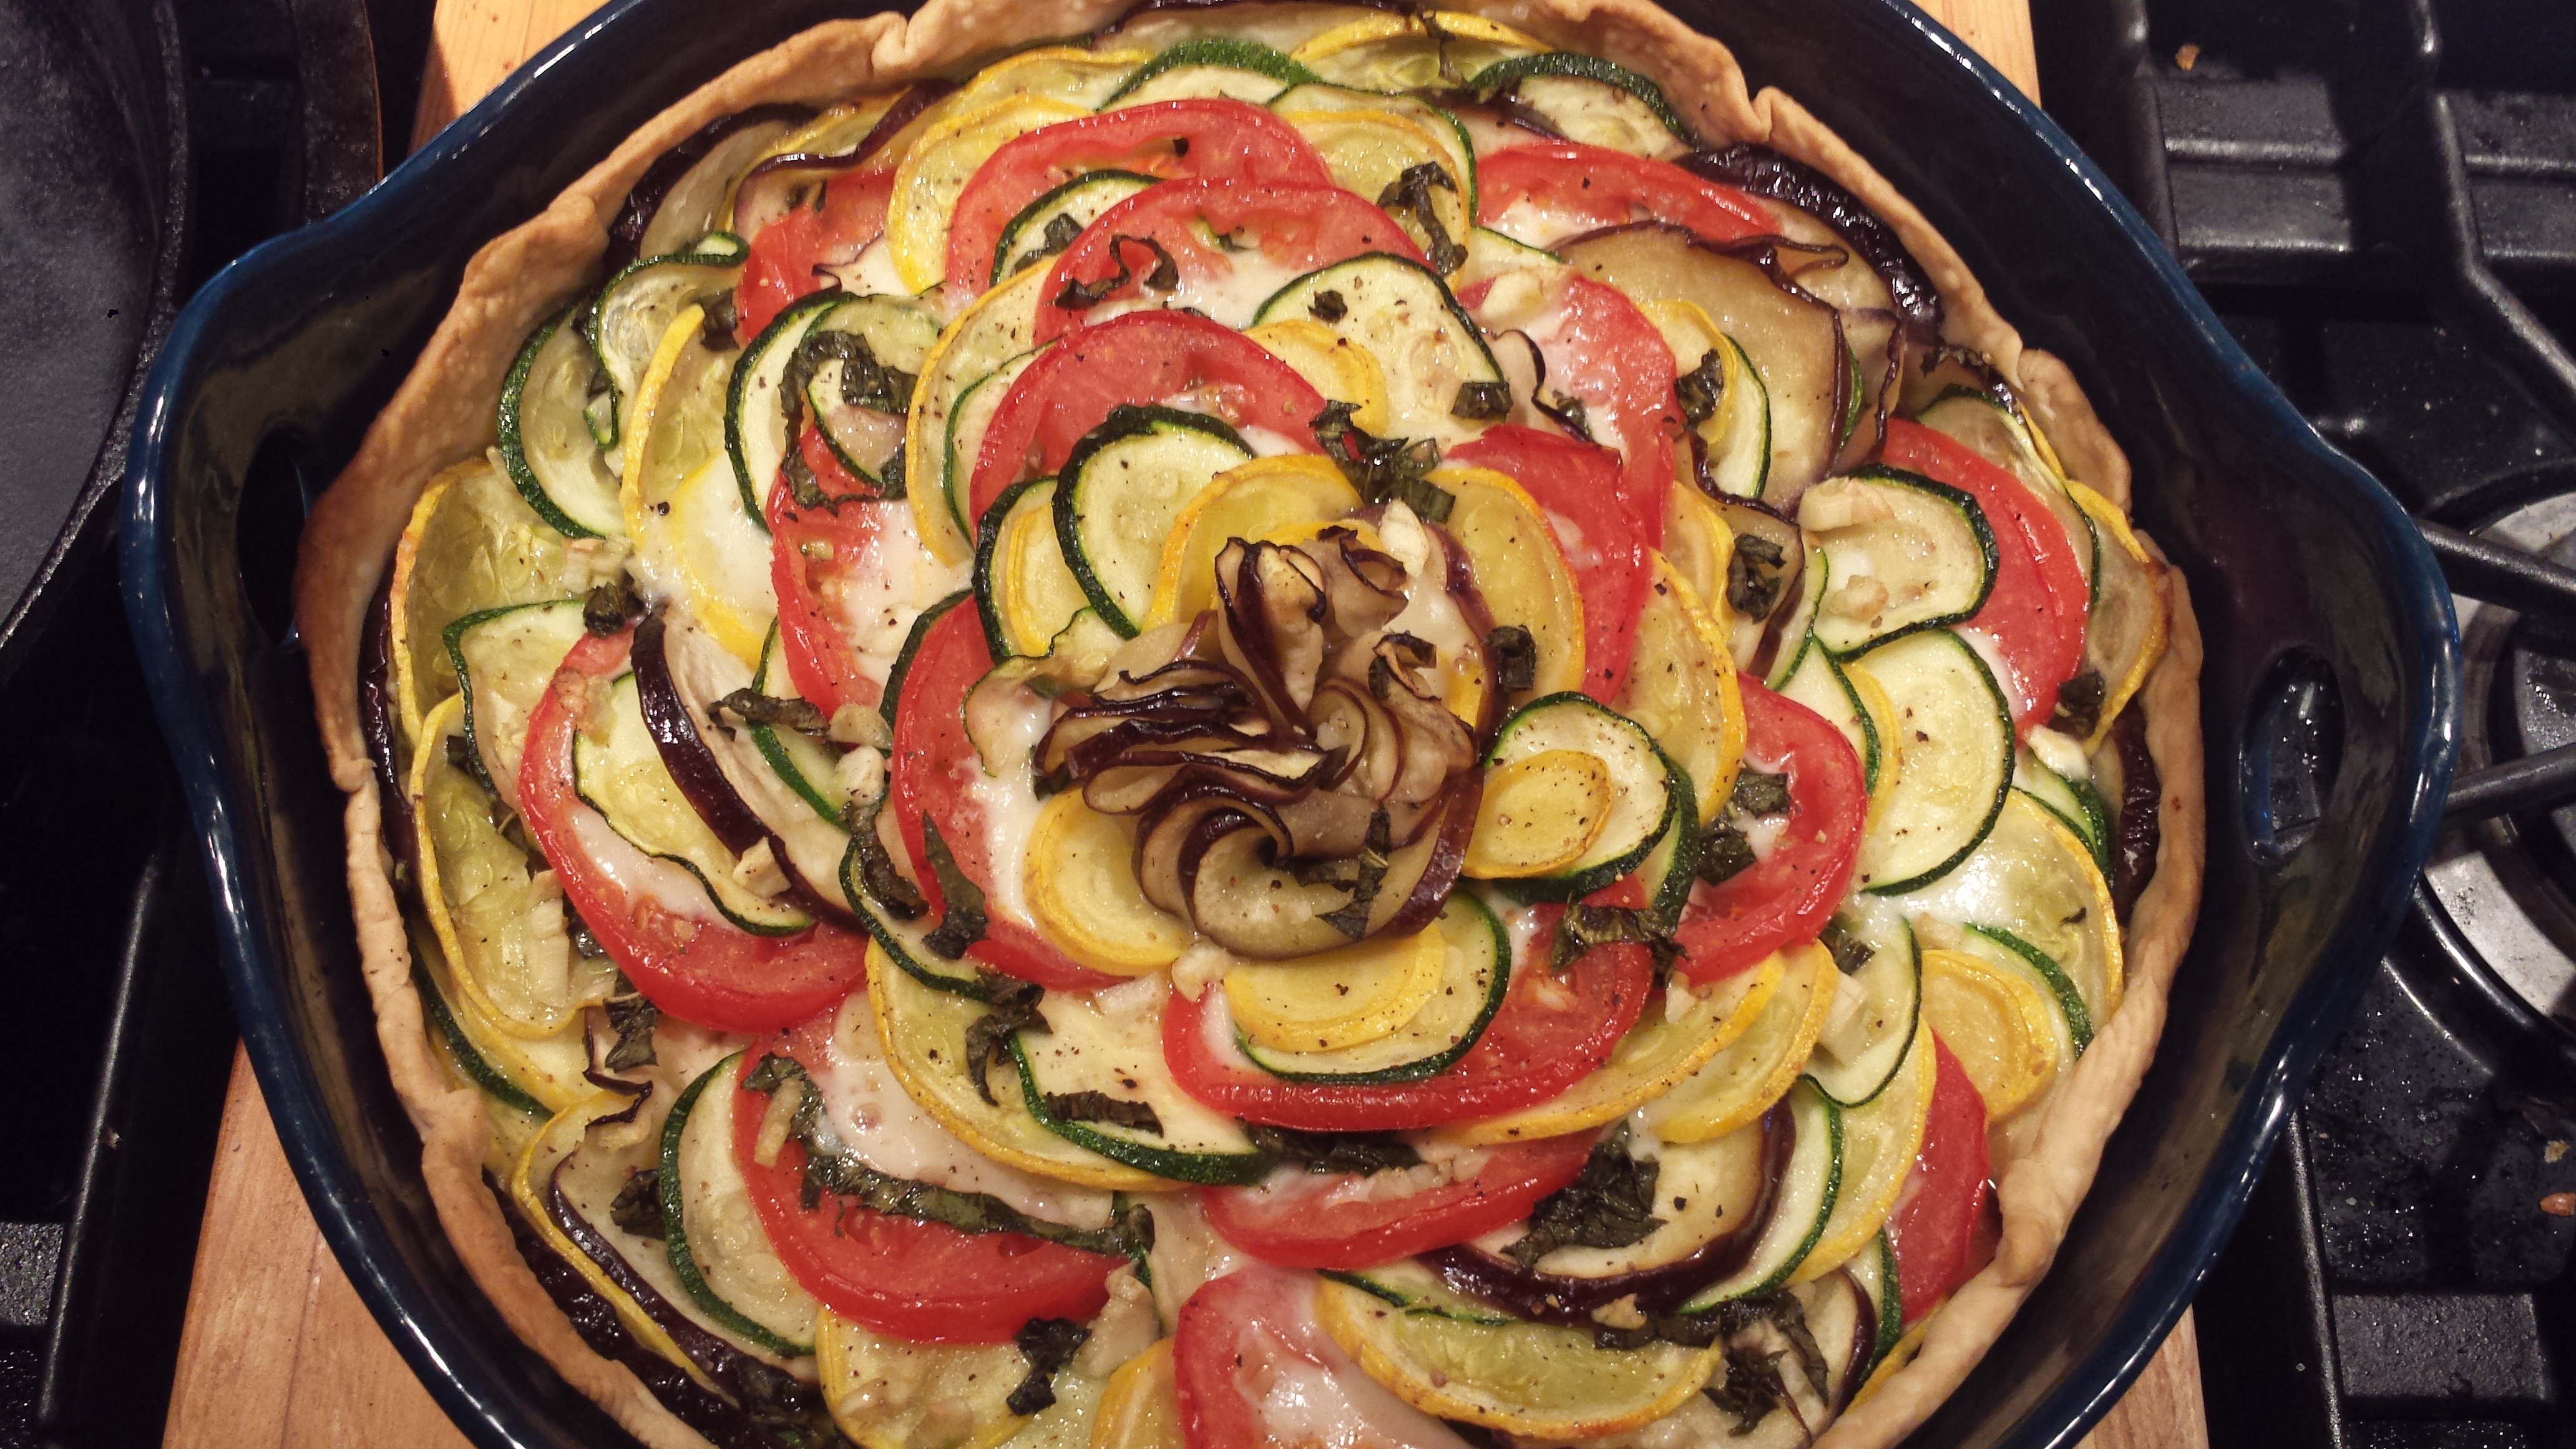
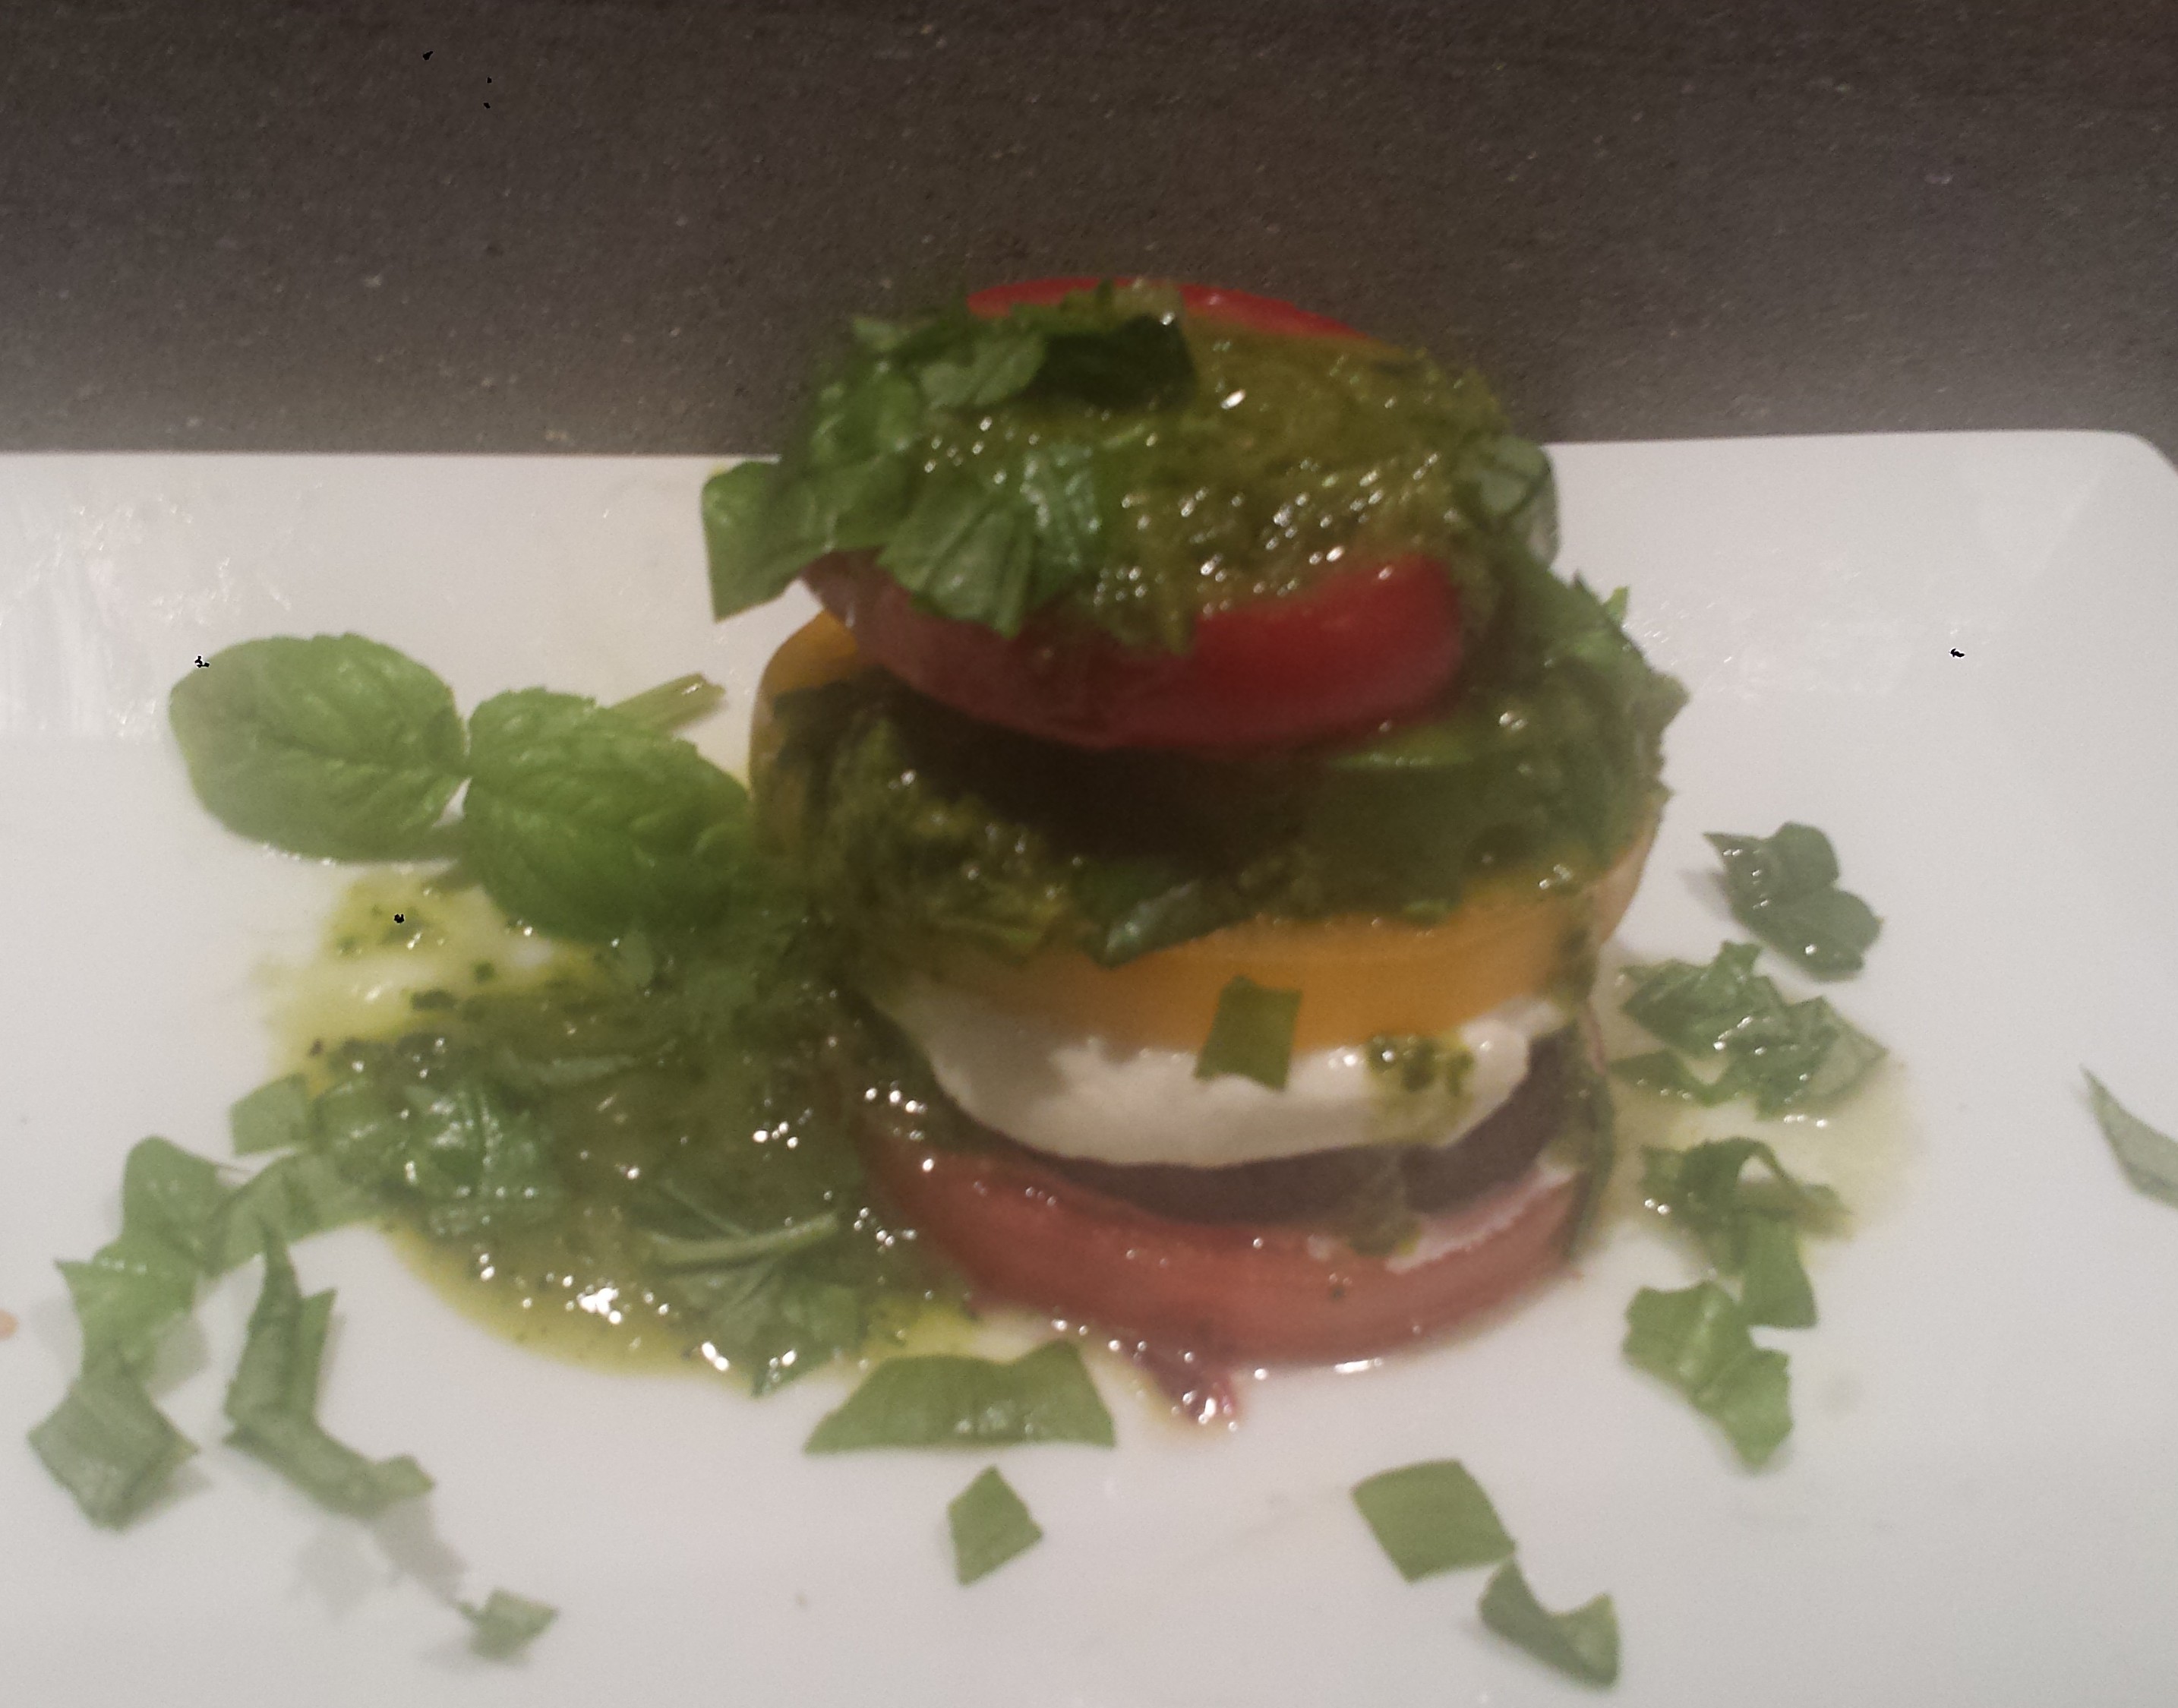
I can’t say enough about these roasted tomatoes – drizzled with balsamic and honey and slow roasted until they reach caramelized perfection. Their cooking juice alone is worth the price of admission, delicious as a dipping sauce for a crusty baguette. But that’s not all! I layered the lovely roasted tomatoes over a bed of fresh mozzarella and then folded it all in a buttery crust to form a rustic tart. You would never know that the crust is actually good for you because it’s so yummmy, but it’s made with 100% White Whole Wheat Flour. No that wasn’t a typo. I used a whole grain flour made from white whole wheat, which is a different kind of wheat whose germ has a lighter color and milder in flavor than the more traditional ‘red’ wheat. It has the same nutritional value as whole wheat but is not as heavy, making it a better choice for baking. I believe in making food healthy but not at the expense of taste. Win, Win!

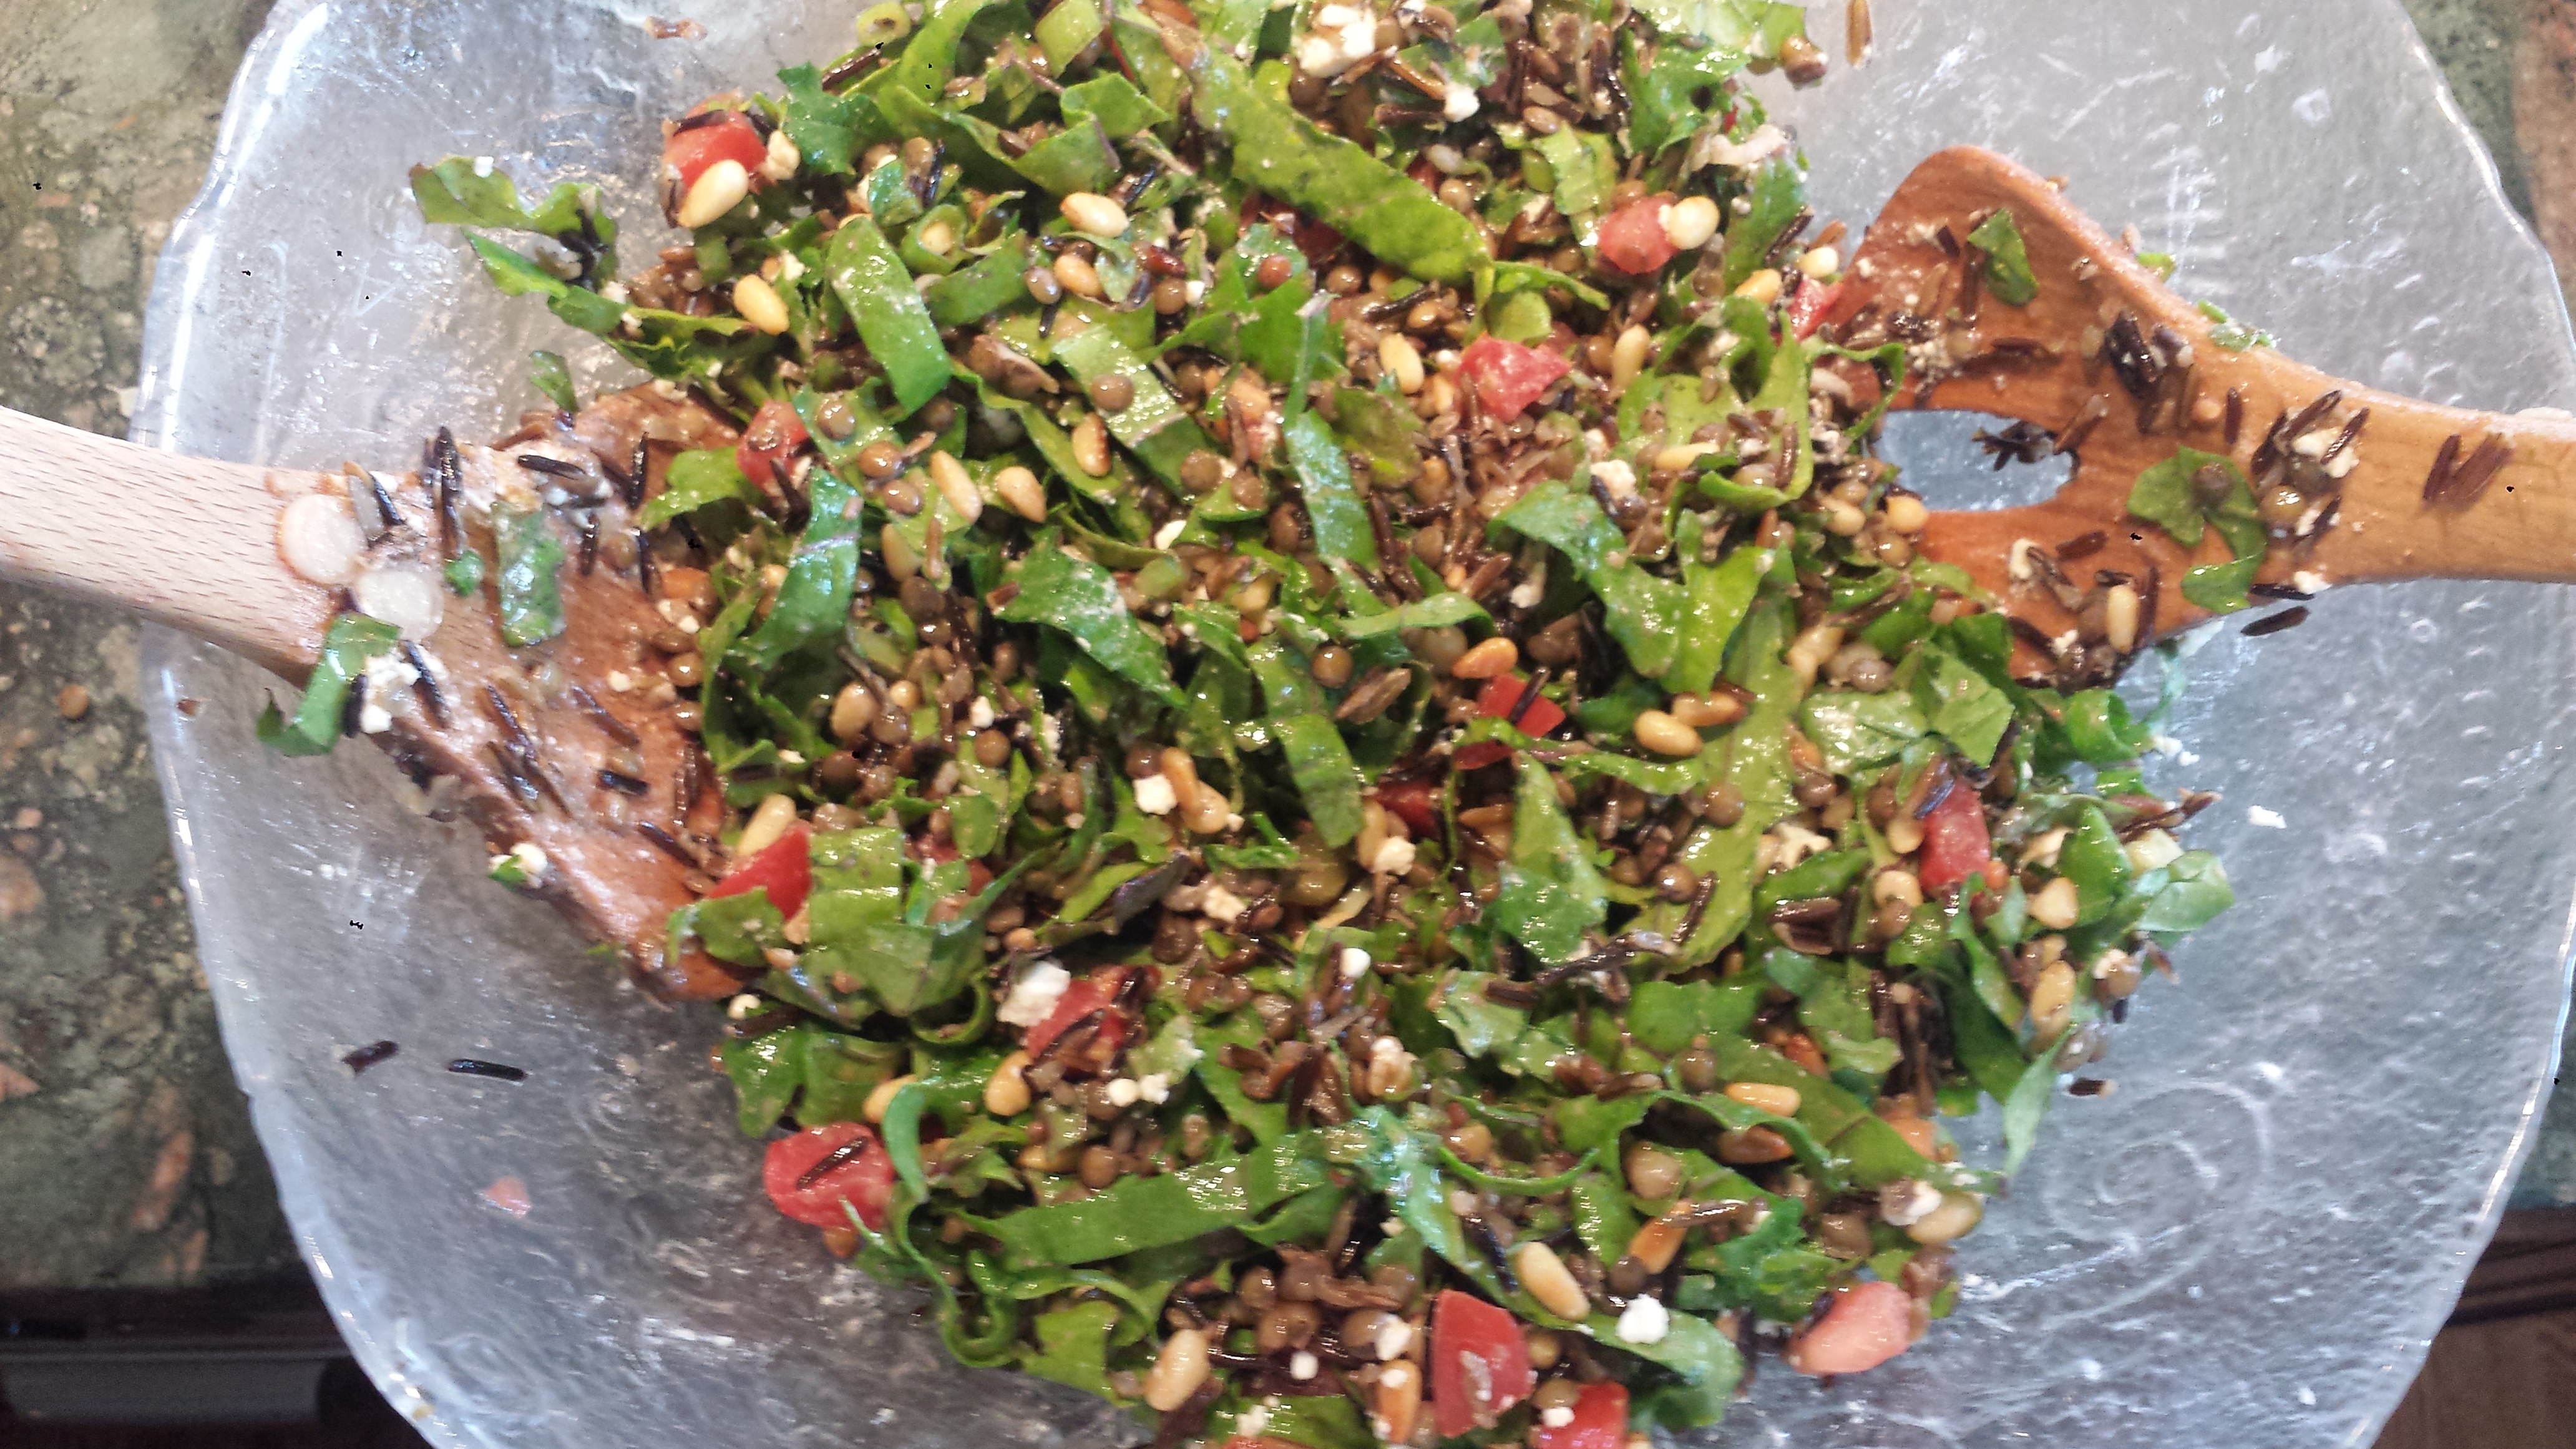
These roasted tomatoes are really sweet and flavorful, great layered in sandwiches or mixed in with other vegetables. I know I will be making these over and over again! I know I already said this, but it bears repeating. The sauce is ‘to die for’ so carefully pour every last drop into a small bowl and use it as a dipping sauce.

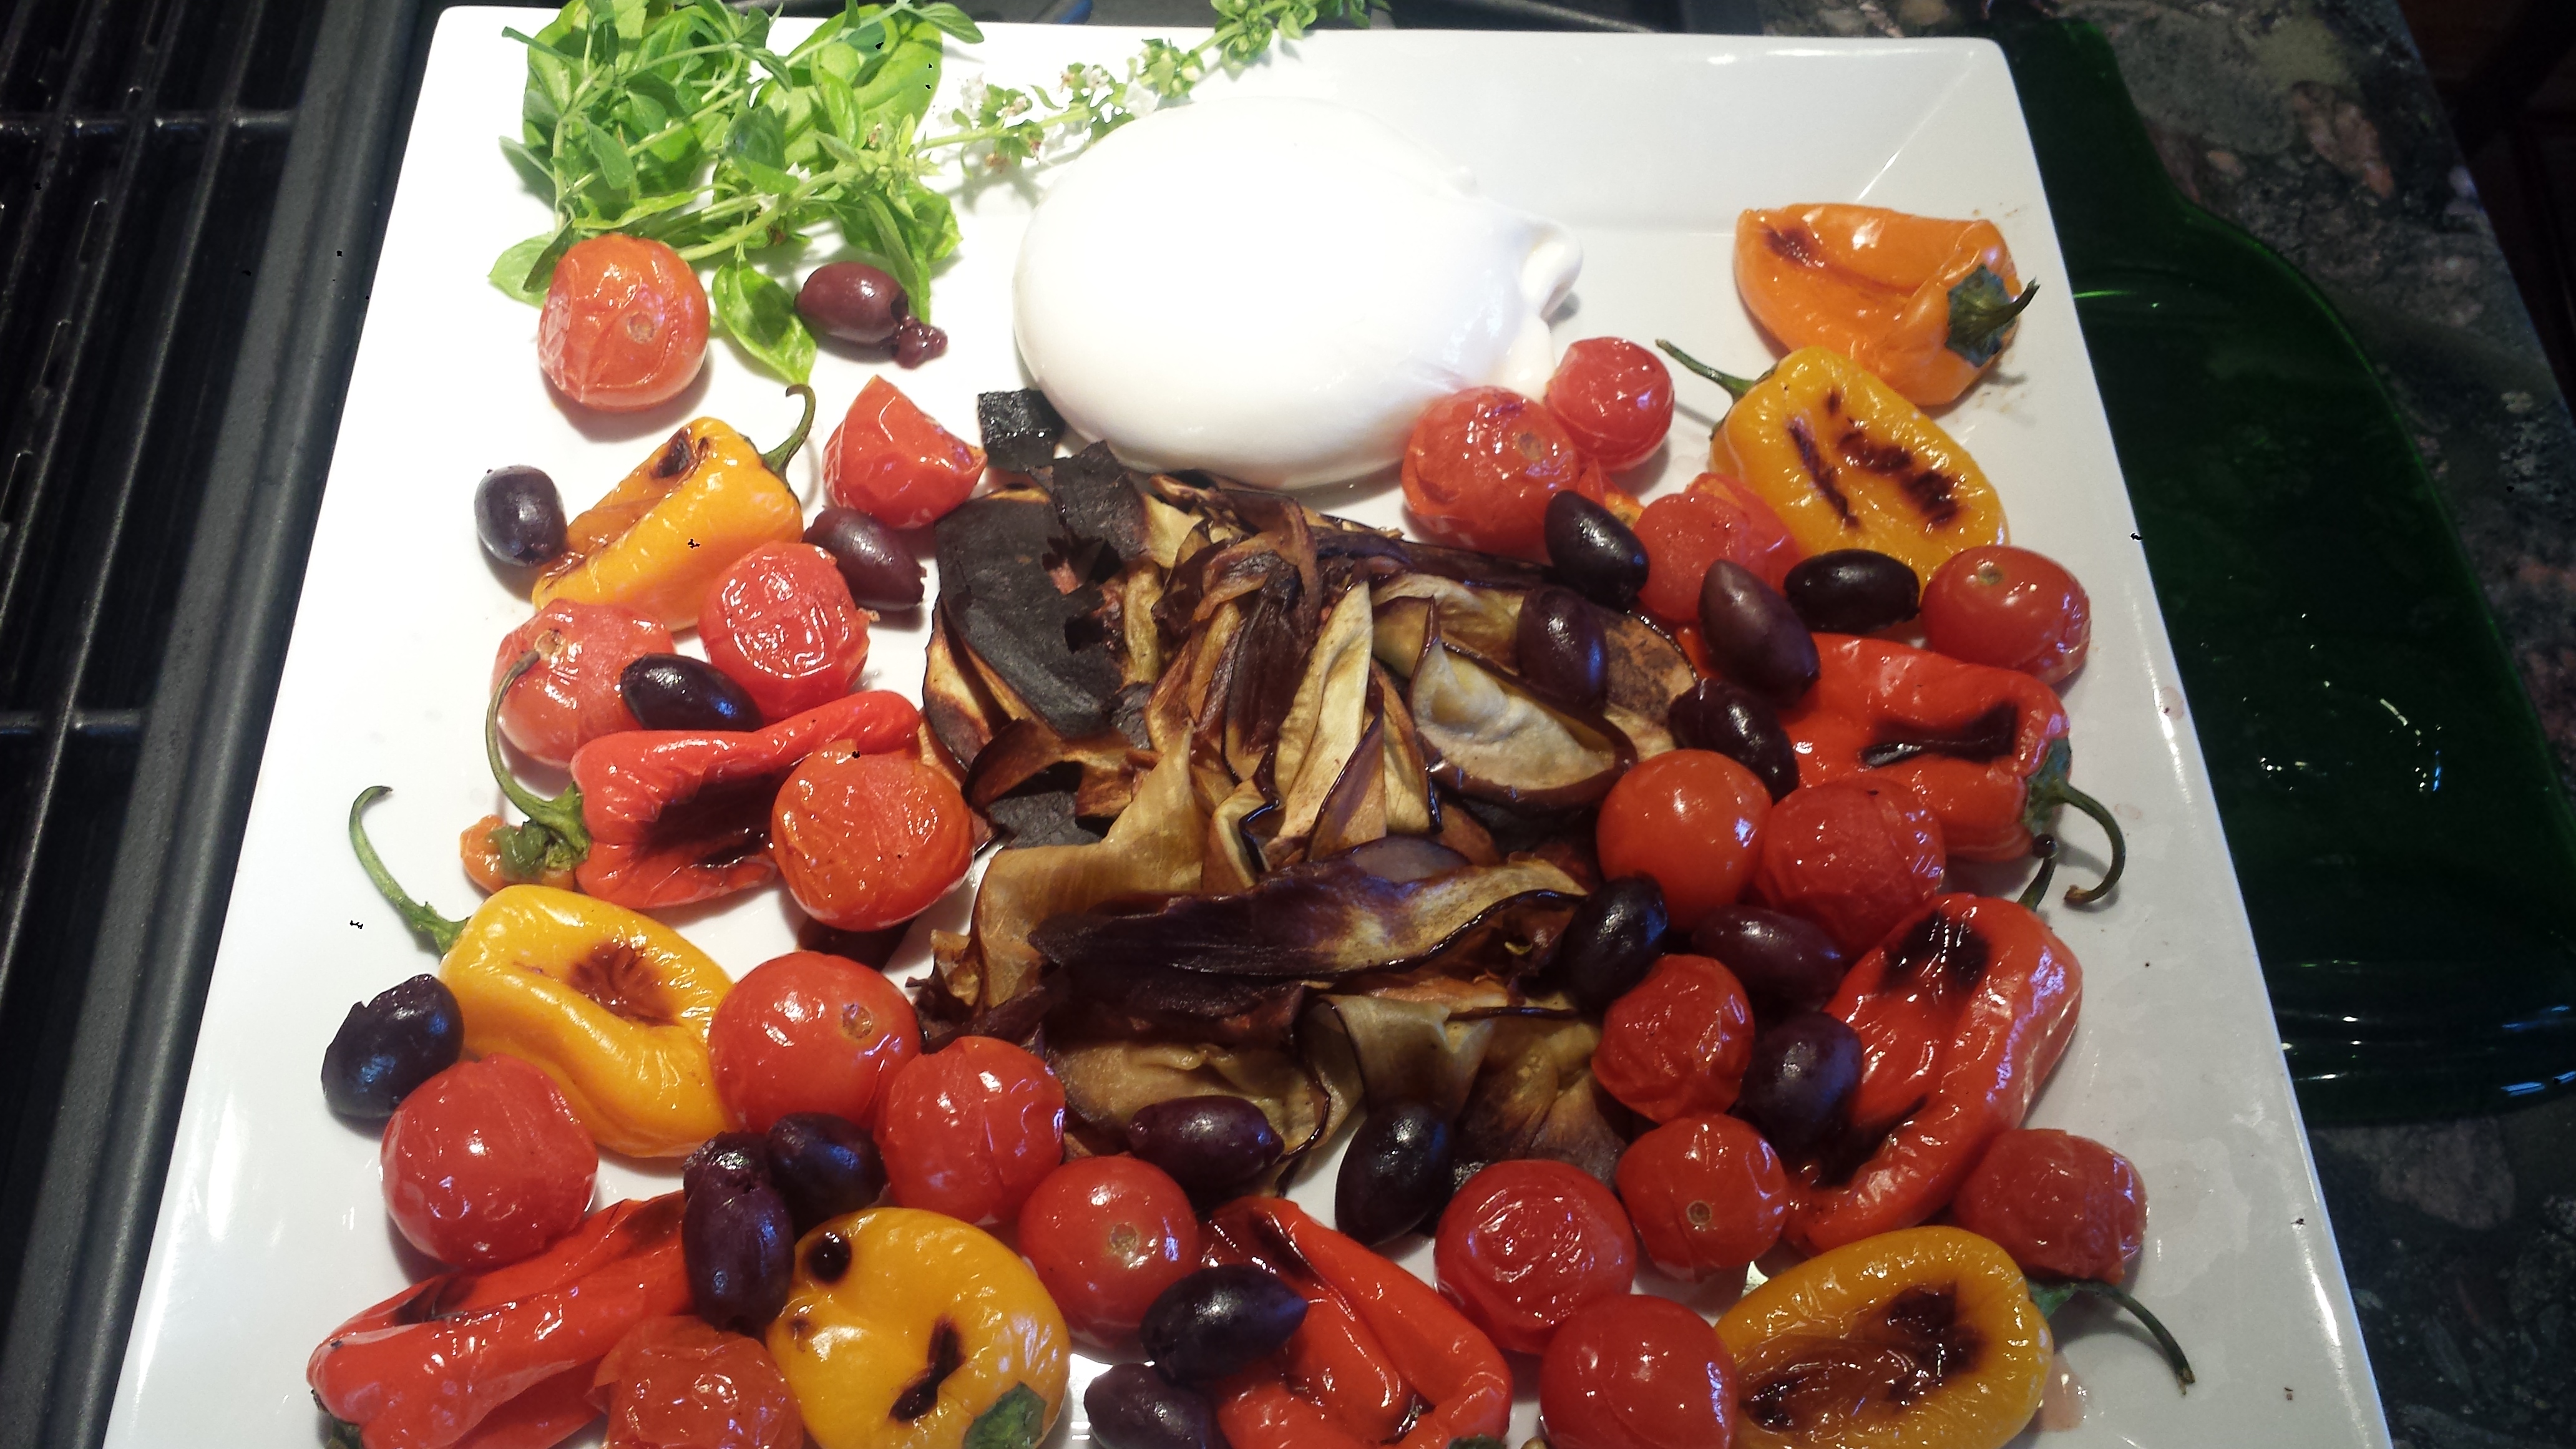
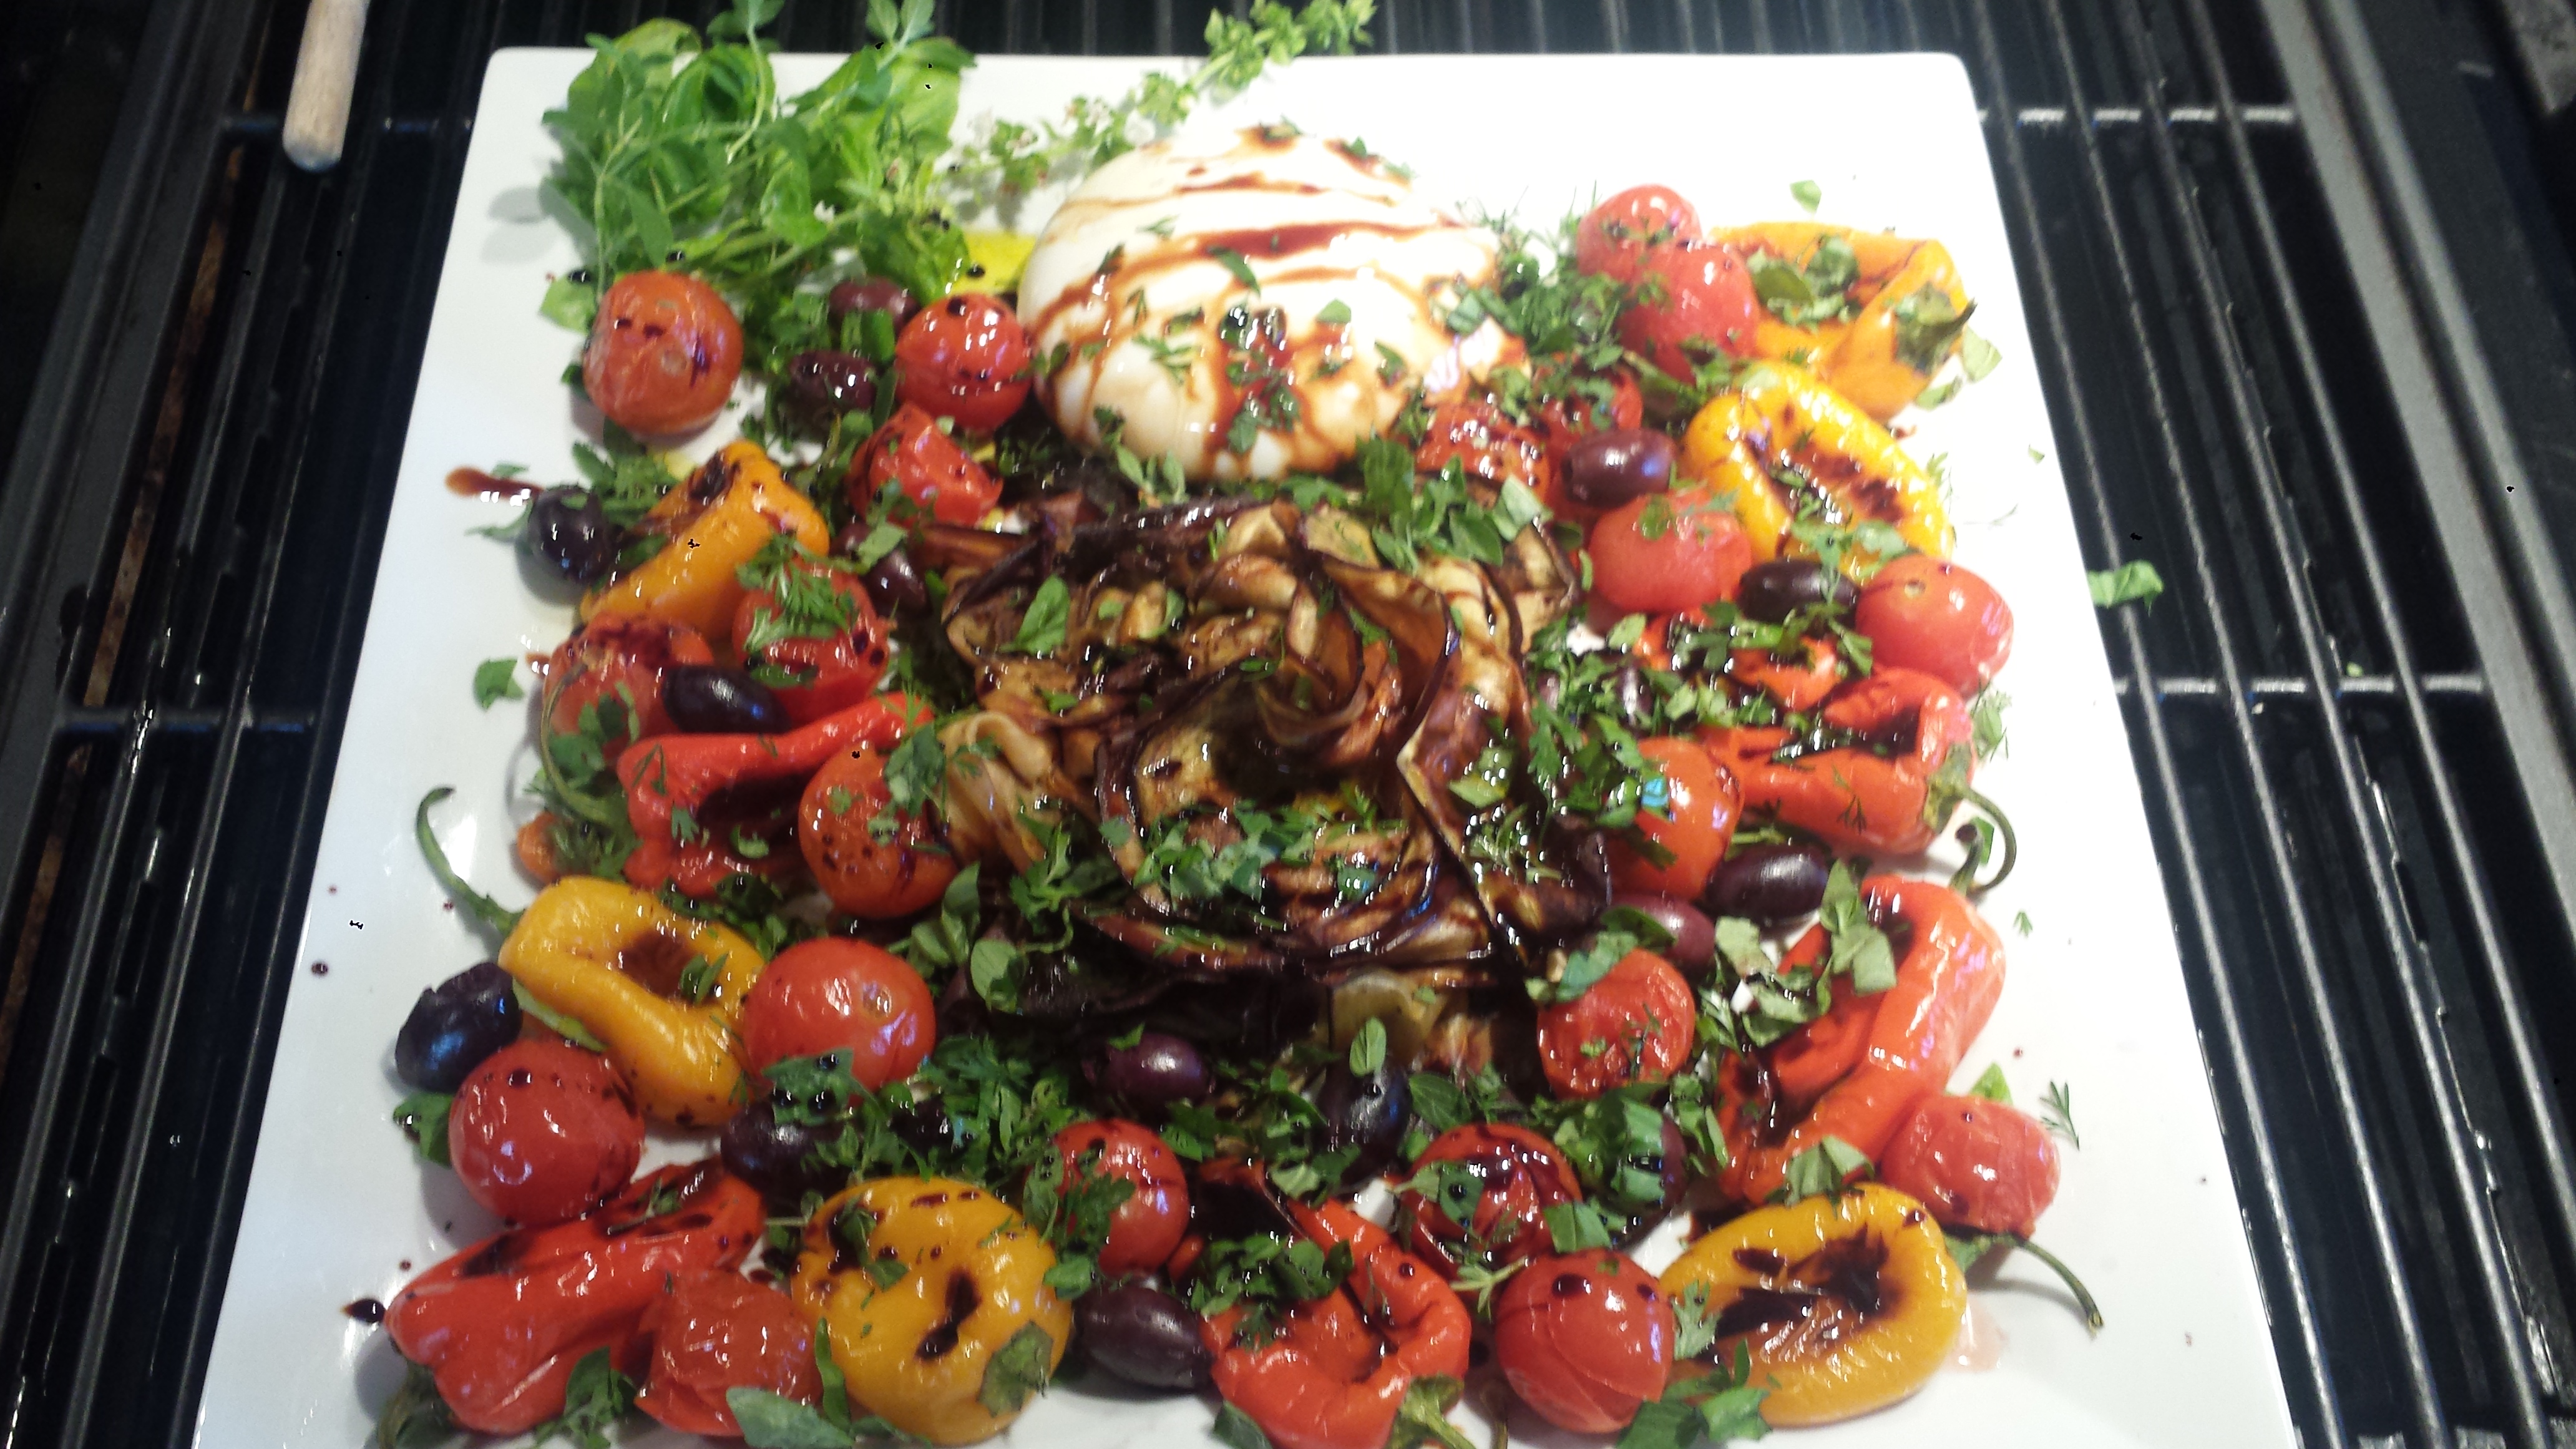
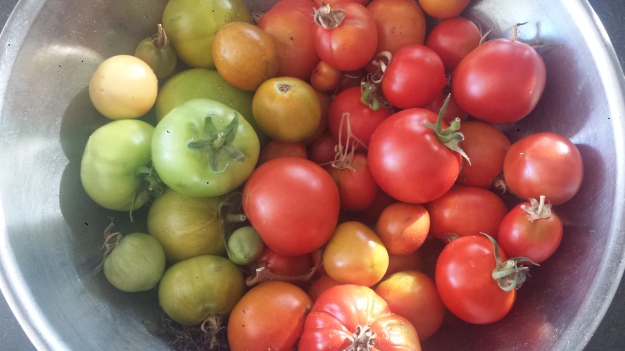
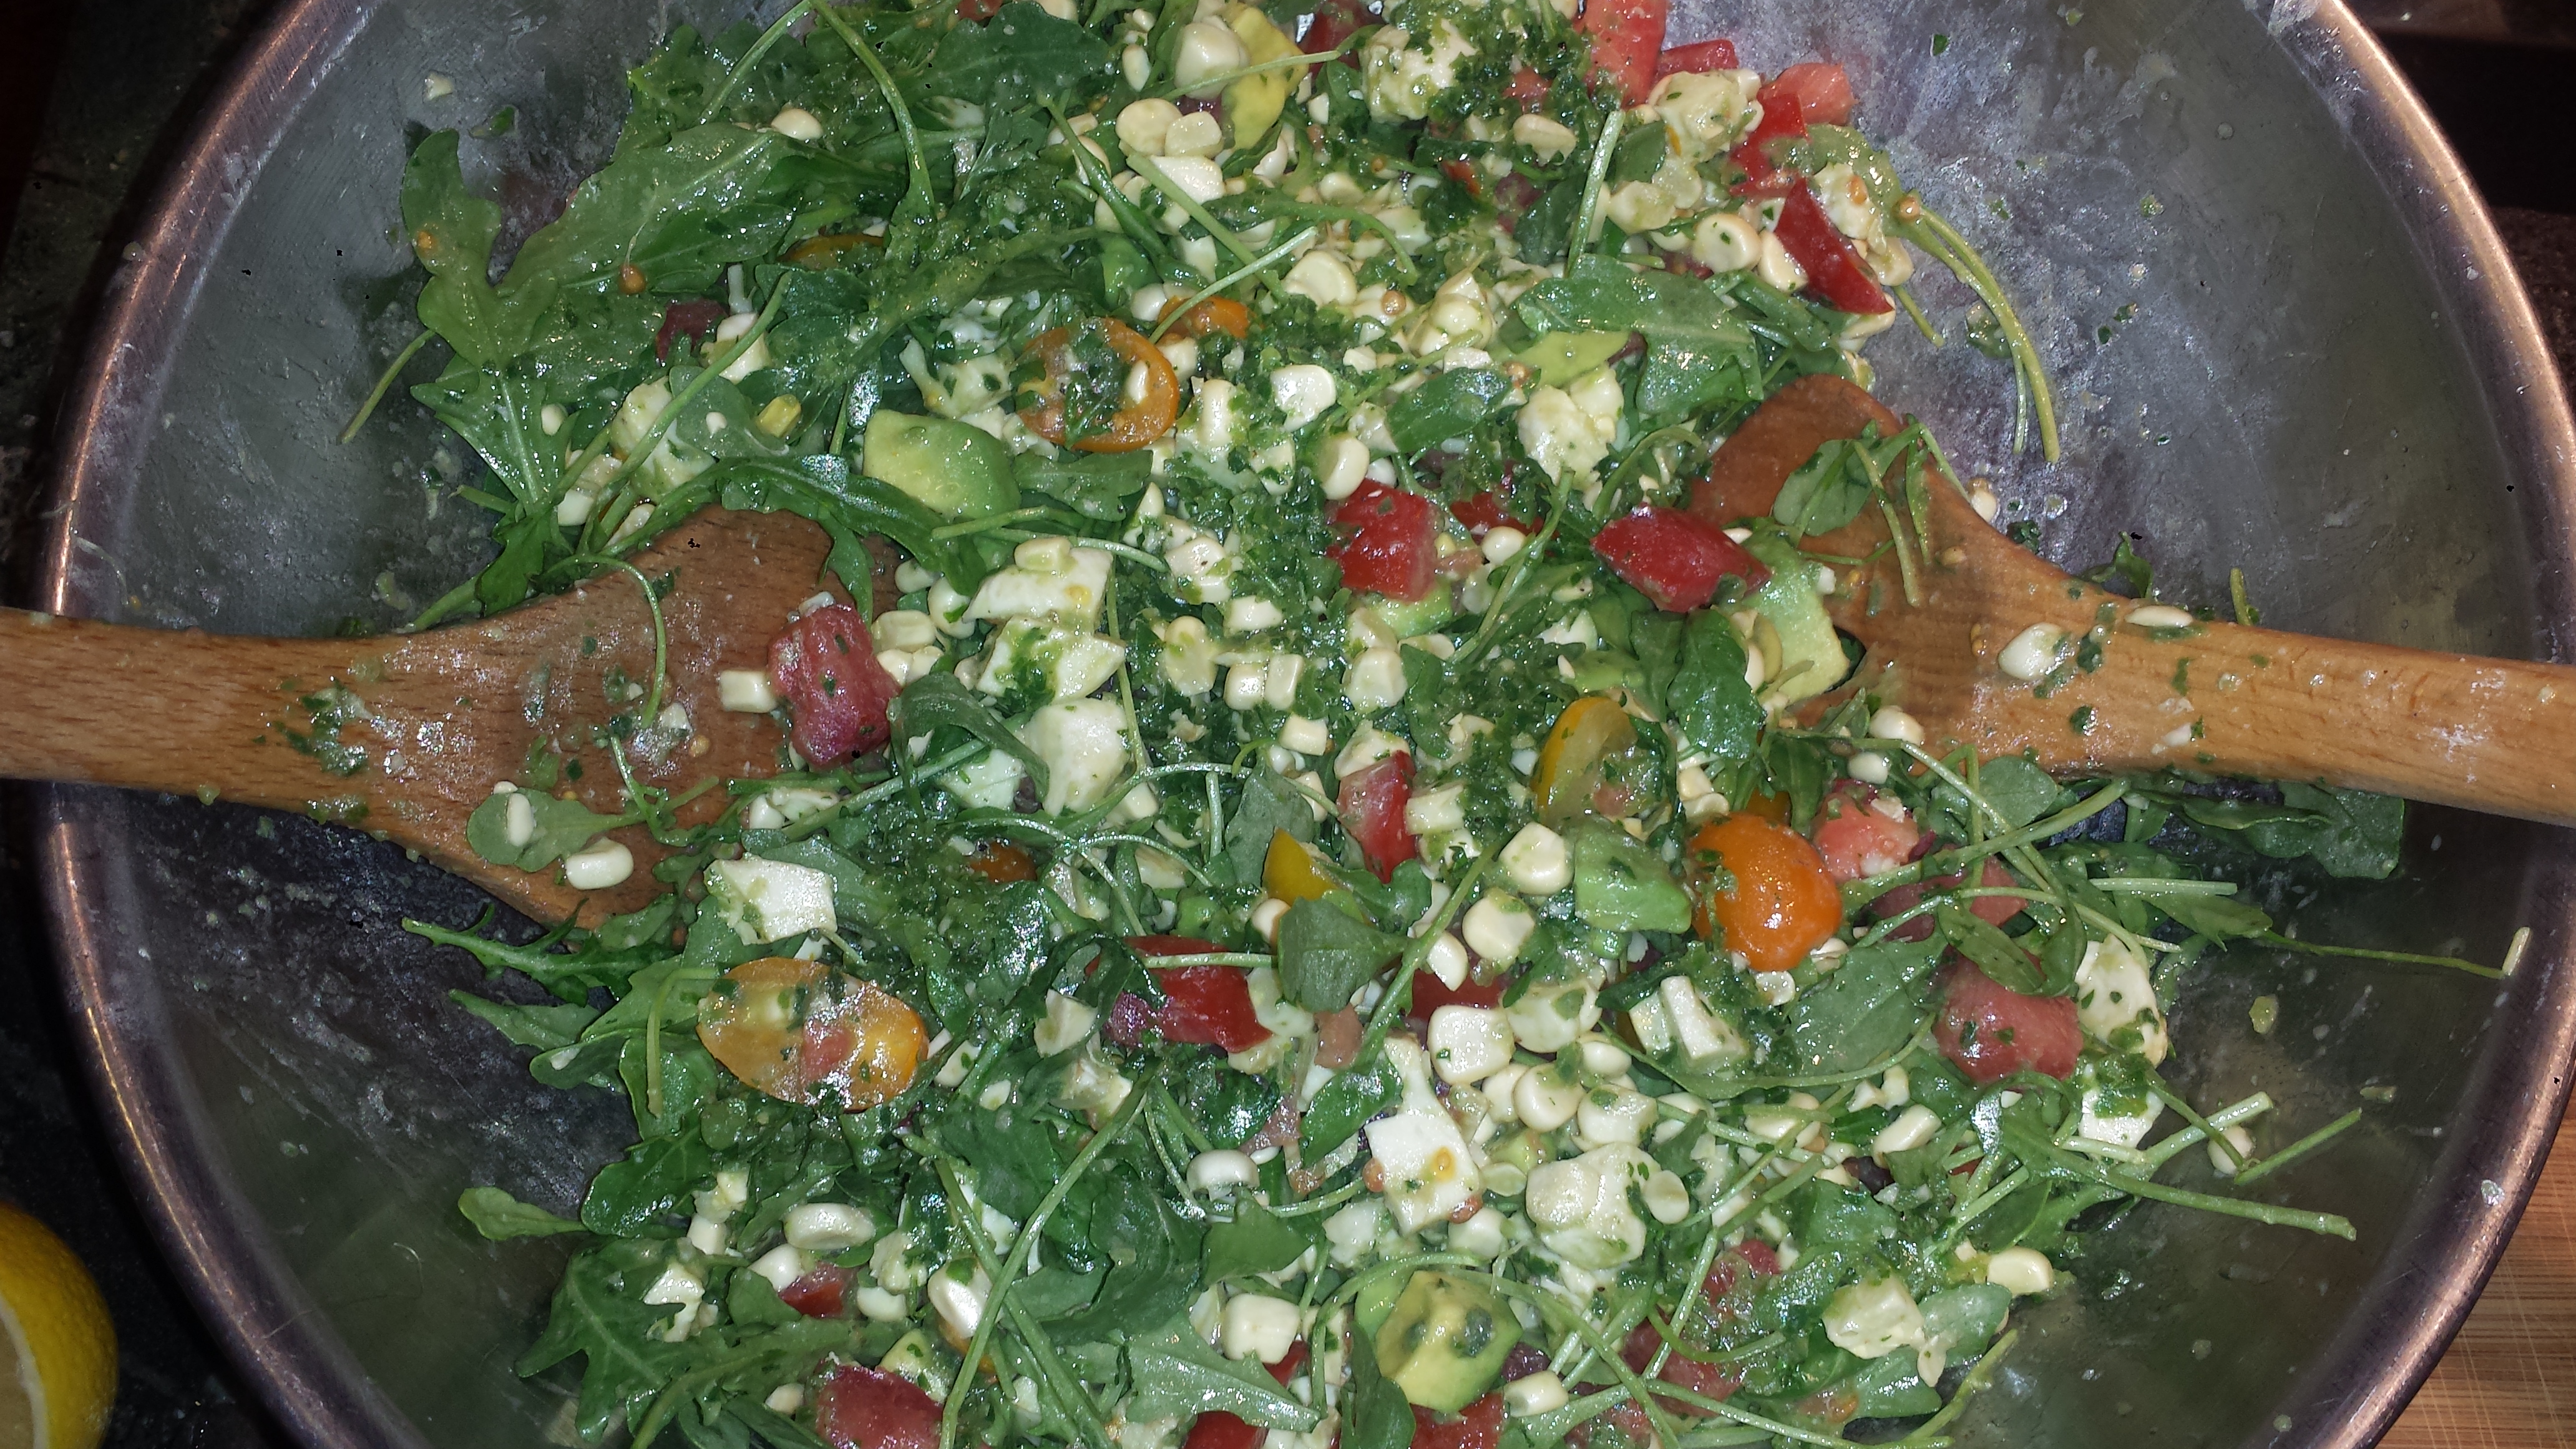
Tomatoes are America’s favorite vegetable (even though it’s technically a fruit) and they are so wonderful when they are in season like right now, fresh from the vine. You can just taste the goodness! If you are worried that cooking tomatoes, destroys the nutrients, don’t. Tomatoes are one of the veggies that actually benefits from being cooked. Most people know that tomatoes are loaded with vitamins and nutrients, like lycopene, an antioxidant that helps protect our immune systems. The best way to get lycopene, which is in the skin and gives tomatoes their red color, is through cooked or processed tomatoes. Cooking them with a little healthy oil helps carry the lycopene into the bloodstream. ( Best Health Magazine) So roast away! You won’t regret it…
TIPS: This recipe would be easy to make vegan. Just omit the cheeses which are not necessary anyway, as the star of this dish is really the roasted tomatoes. To veganize the crust, substitute a vegan butter or oil and brush the crust with non-dairy milk before cooking. Then I would suggest sprinkling the tomatoes and especially the crust with a coarse salt and more herbs before baking.

I spotted this recipe in the Farm Fresh – Summer, 2015 magazine, although I added a layer of fresh mozzarella beneath the tomatoes and used white whole wheat flour for the crust for a more nutritious tart.
RUSTIC ROASTED TOMATO TART
7-8 ripe tomatoes
1/3 cup olive oil
1 Tbsn balsamic vinegar
2 tsp honey
3 tsp fresh thyme (or 1 1/2 tsp dried)-divided
1/2 tsp salt
6 oz fresh mozzarella, sliced (optional)
1/4 cup parmesan, shredded(optional)
CRUST (or your favorite pre-made crust)
1 cup white whole wheat flour (or all purpose flour)plus more for dusting the surface
2 tsp sugar
1/4 tsp salt
1 stick (1/2 cup) cold unsalted butter
2 Tbsn + 1 tsp ice water
1 egg (for glazing the crust)

- If you are making dough for a crust, combine the flour, sugar and salt in a food processor and pulse briefly to combine. Cut butter into slices and add to the flour mixture. Pulse about 20 times or until the butter particles are small. With the motor running, add the ice water and process until the dough is beginning to come together. It will be loose but will come together if you pinch it. Turn the loose dough out onto a mixing bowl and knead it briefly Shape it into a flat disc and wrap in plastic. Refrigerate for at least 45 minutes and up to 2 days. (Or to save time later, you can roll it into a 12 inch round, then wrap it in plastic and store in the refrigerator)

- Pre-heat the oven to 425. Line a heavy duty rimmed baking sheet with parchment paper. Brush with with olive oil. Combine the olive oil, balsamic vinegar and honey in a small bowl.

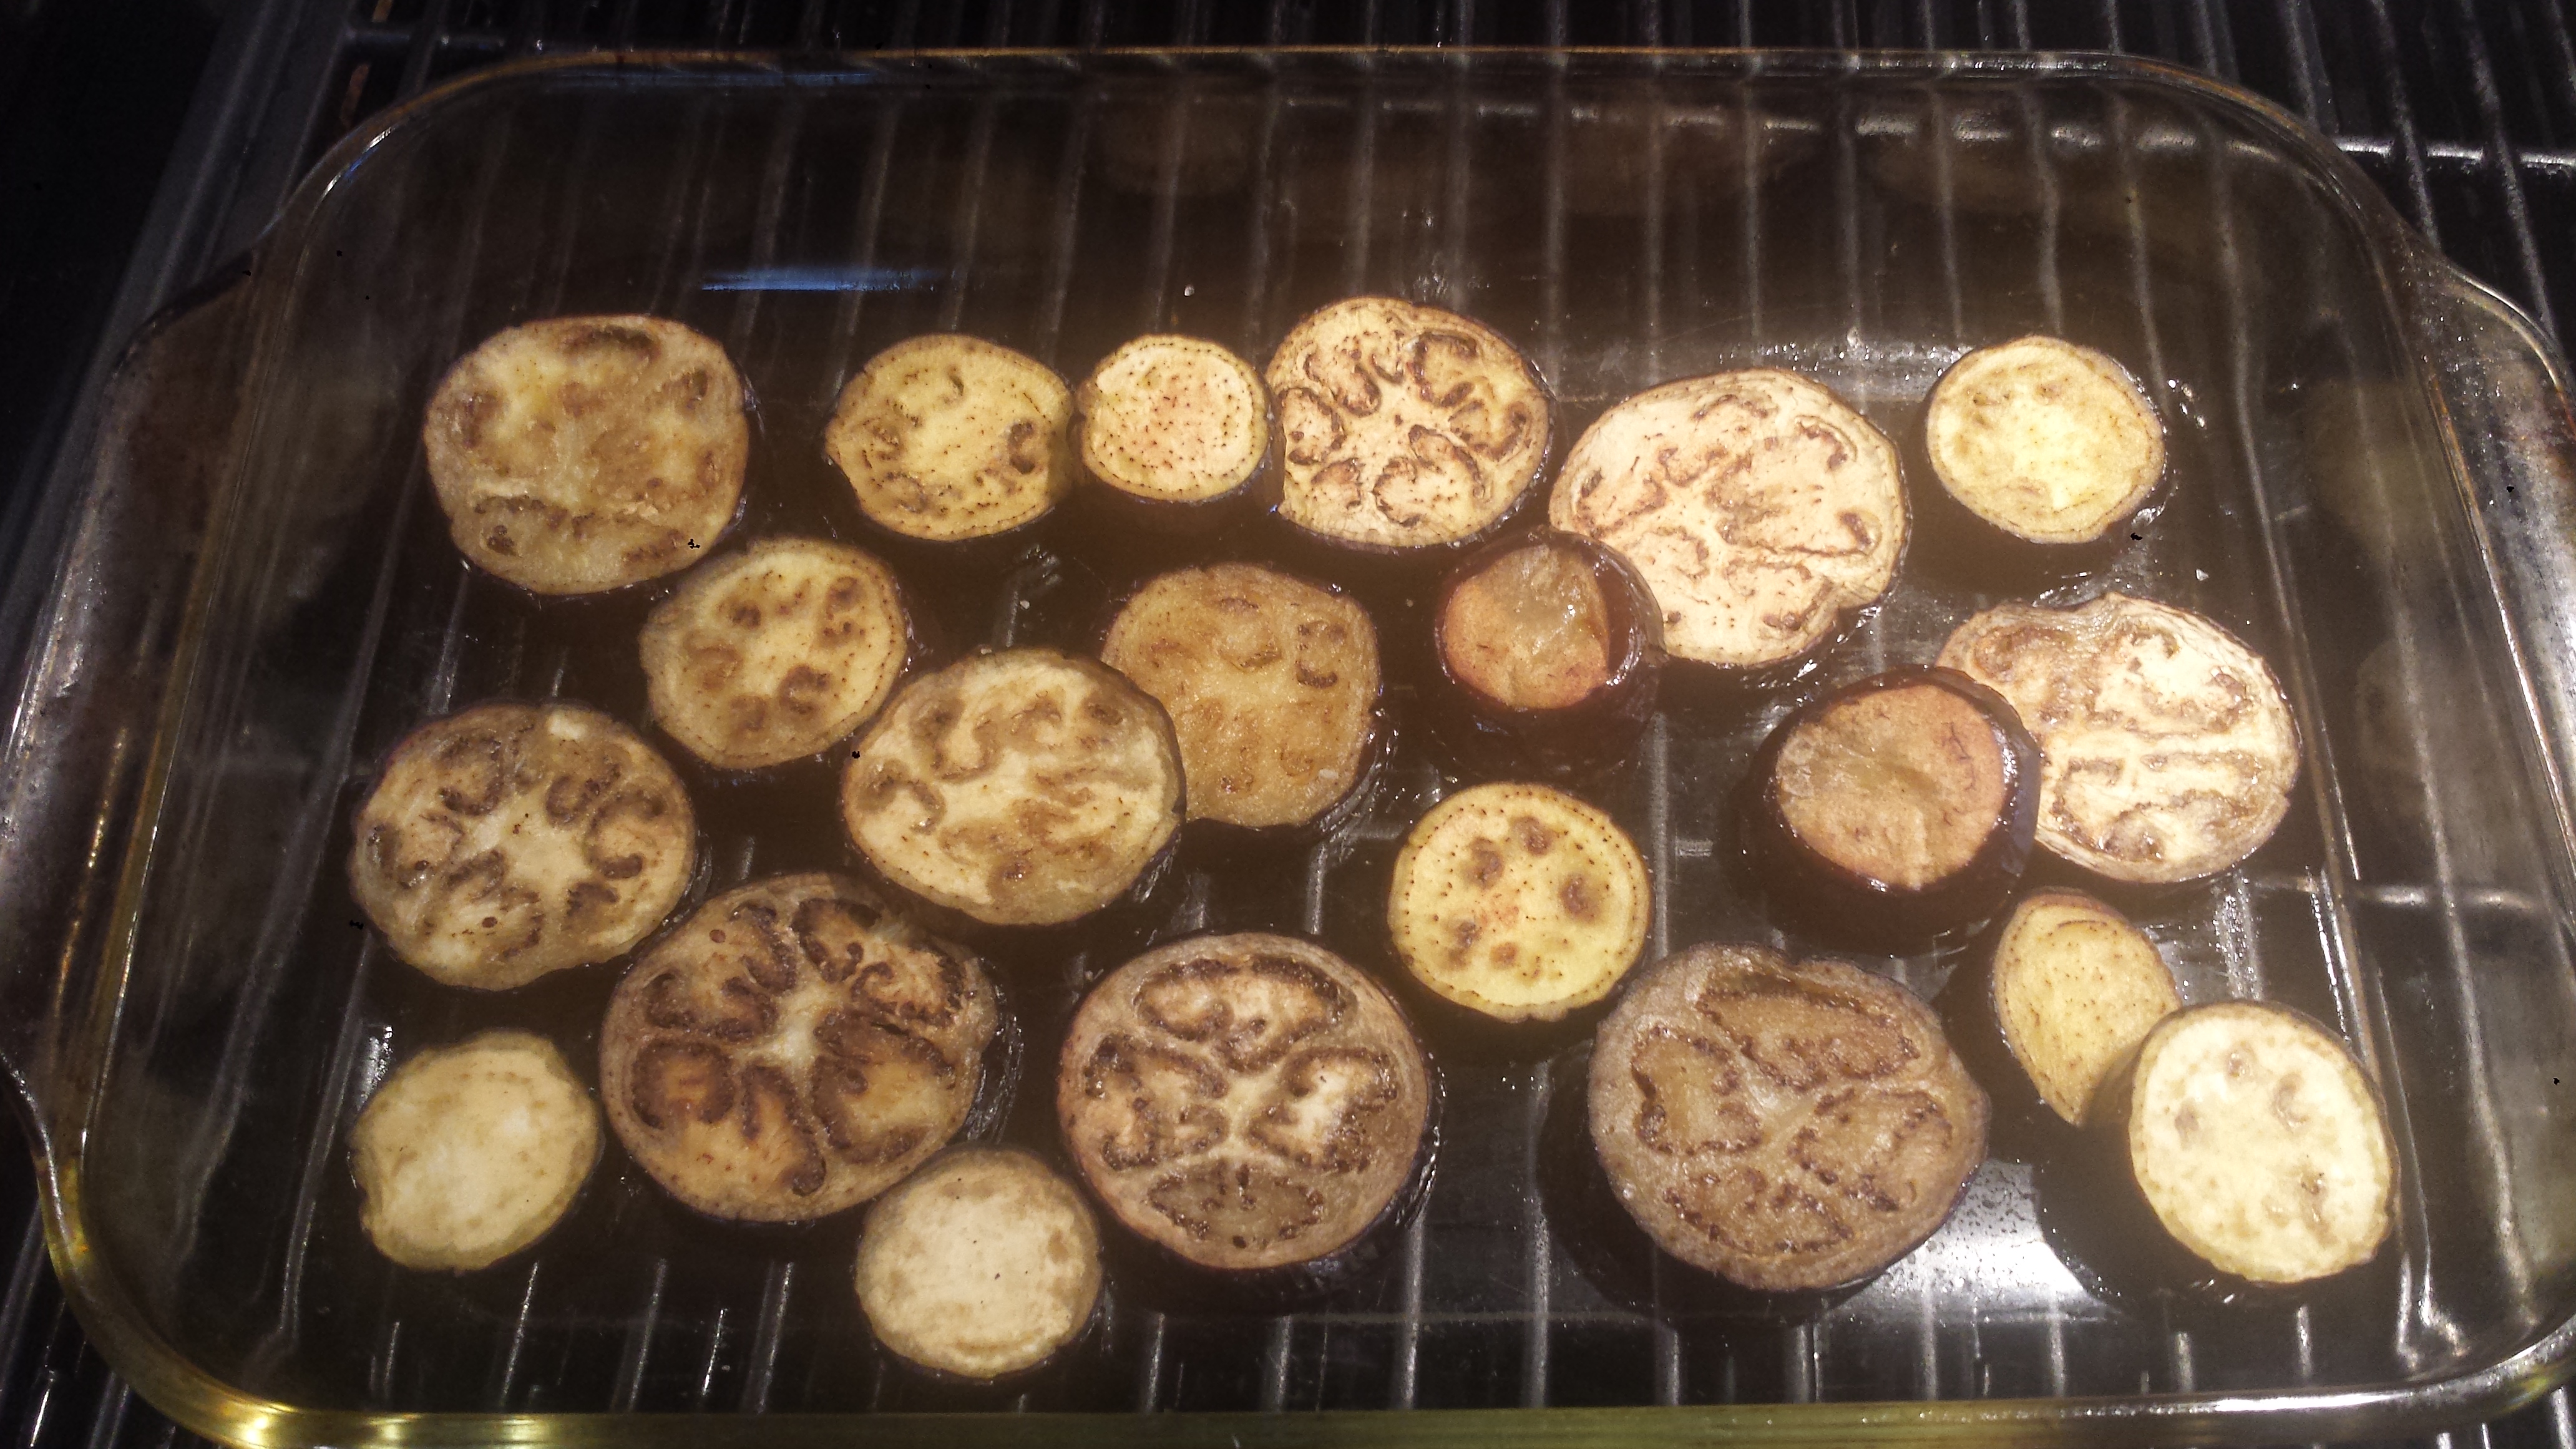
- Cut tomatoes in half horizontally and carefully remove seeds.

- Place tomatoes cut side up on the baking sheet and lightly sprinkle with salt.

- Pour the balsamic mixture into each tomato half, distributing as evenly as possible. Sprinkle with 2 tsp thyme.
- Roast the tomatoes until they are brown on the edges and collapsed, about an hour. Let them cool. Save any pan juices to serve with crusty sourdough bread!

- While the tomatoes are cooling, remove the dough from the refrigerator and let come to room temperature. Heat oven to 400. Line a heavy duty rimmed baking sheet with parchment paper. Place the dough on a lightly floured surface and roll into a 12 inch round, then transfer to parchment paper. Don’t worry if the edges aren’t perfect. I think it makes a more interesting tart.

- Arrange mozzarella slices in the center of the round, leaving a 2 inch border of dough.

- Arrange the roasted tomato halves over the mozzarella, starting in the center and slightly overlapping, still leaving a 2 inch border.

- Fold the edge of the dough up and over the tomatoes, pleating as you go.

- Brush the dough (including under the folds) with beaten egg. Sprinkle the tart with parmesan and remaining thyme. Bake until the crust is golden brown, about 40 minutes.


- Let cool slightly and transfer to a cutting board or serving platter. Serve warm or at room temperature.

7-8 ripe tomatoes
1/3 cup olive oil
1 Tbsn balsamic vinegar
2 tsp honey
3 tsp fresh thyme (or 1 1/2 tsp dried)-divided
1/2 tsp salt
6 oz fresh mozzarella, sliced (optional)
1/4 cup parmesan, shredded(optional)
CRUST (or your favorite pre-made crust)
1 cup white whole wheat flour (or all purpose flour)plus more for dusting the surface
2 tsp sugar
1/4 tsp salt
1 stick (1/2 cup) cold unsalted butter
2 Tbsn + 1 tsp ice water
1 egg (for glazing the crust)
- If you are making dough for a crust, combine the flour, sugar and salt in a food processor and pulse briefly to combine. Cut butter into slices and add to the flour mixture. Pulse about 20 times or until the butter particles are small. With the motor running, add the ice water and process until the dough is beginning to come together. It will be loose but will come together if you pinch it. Turn the loose dough out onto a mixing bowl and knead it briefly Shape it into a flat disc and wrap in plastic. Refrigerate for at least 45 minutes and up to 2 days.
- Pre-heat the oven to 425. Line a heavy duty rimmed baking sheet with parchment paper. Brush with with olive oil. Combine the olive oil, balsamic vinegar and honey in a small bowl.
- Cut tomatoes in half horizontally and carefully remove seeds.
- Place tomatoes cut side up on the baking sheet and lightly sprinkle with salt.
- Pour the balsamic mixture into each tomato half, distributing as evenly as possible. Sprinkle with 2 tsp thyme. Roast the tomatoes until they are brown on the edges and collapsed, about an hour. Let them cool. Save any pan juices to serve with crusty sourdough bread!
- While the tomatoes are cooling, remove the dough from the refrigerator and let come to room temperature. Heat oven to 400. Line a heavy duty rimmed baking sheet with parchment paper. Place the dough on a lightly floured surface and roll into a 12 inch round, then transfer to parchment paper. Don’t worry if the edges aren’t perfect. I think it makes a more interesting tart.
- Arrange mozzarella slices in the center of the round, leaving a 2 inch border of dough.
- Arrange the roasted tomato halves over the mozzarella, starting in the center and slightly overlapping, still leaving a 2 inch border.
- Fold the edge of the dough up and over the tomatoes, pleating as you go.
- Brush the dough (including under the folds) with beaten egg. Sprinkle the tart with parmesan and remaining thyme. Bake until the crust is golden brown, about 40 minutes.
- Let cool slightly and transfer to a cutting board or serving platter. Serve warm or at room temperature.


 .
.


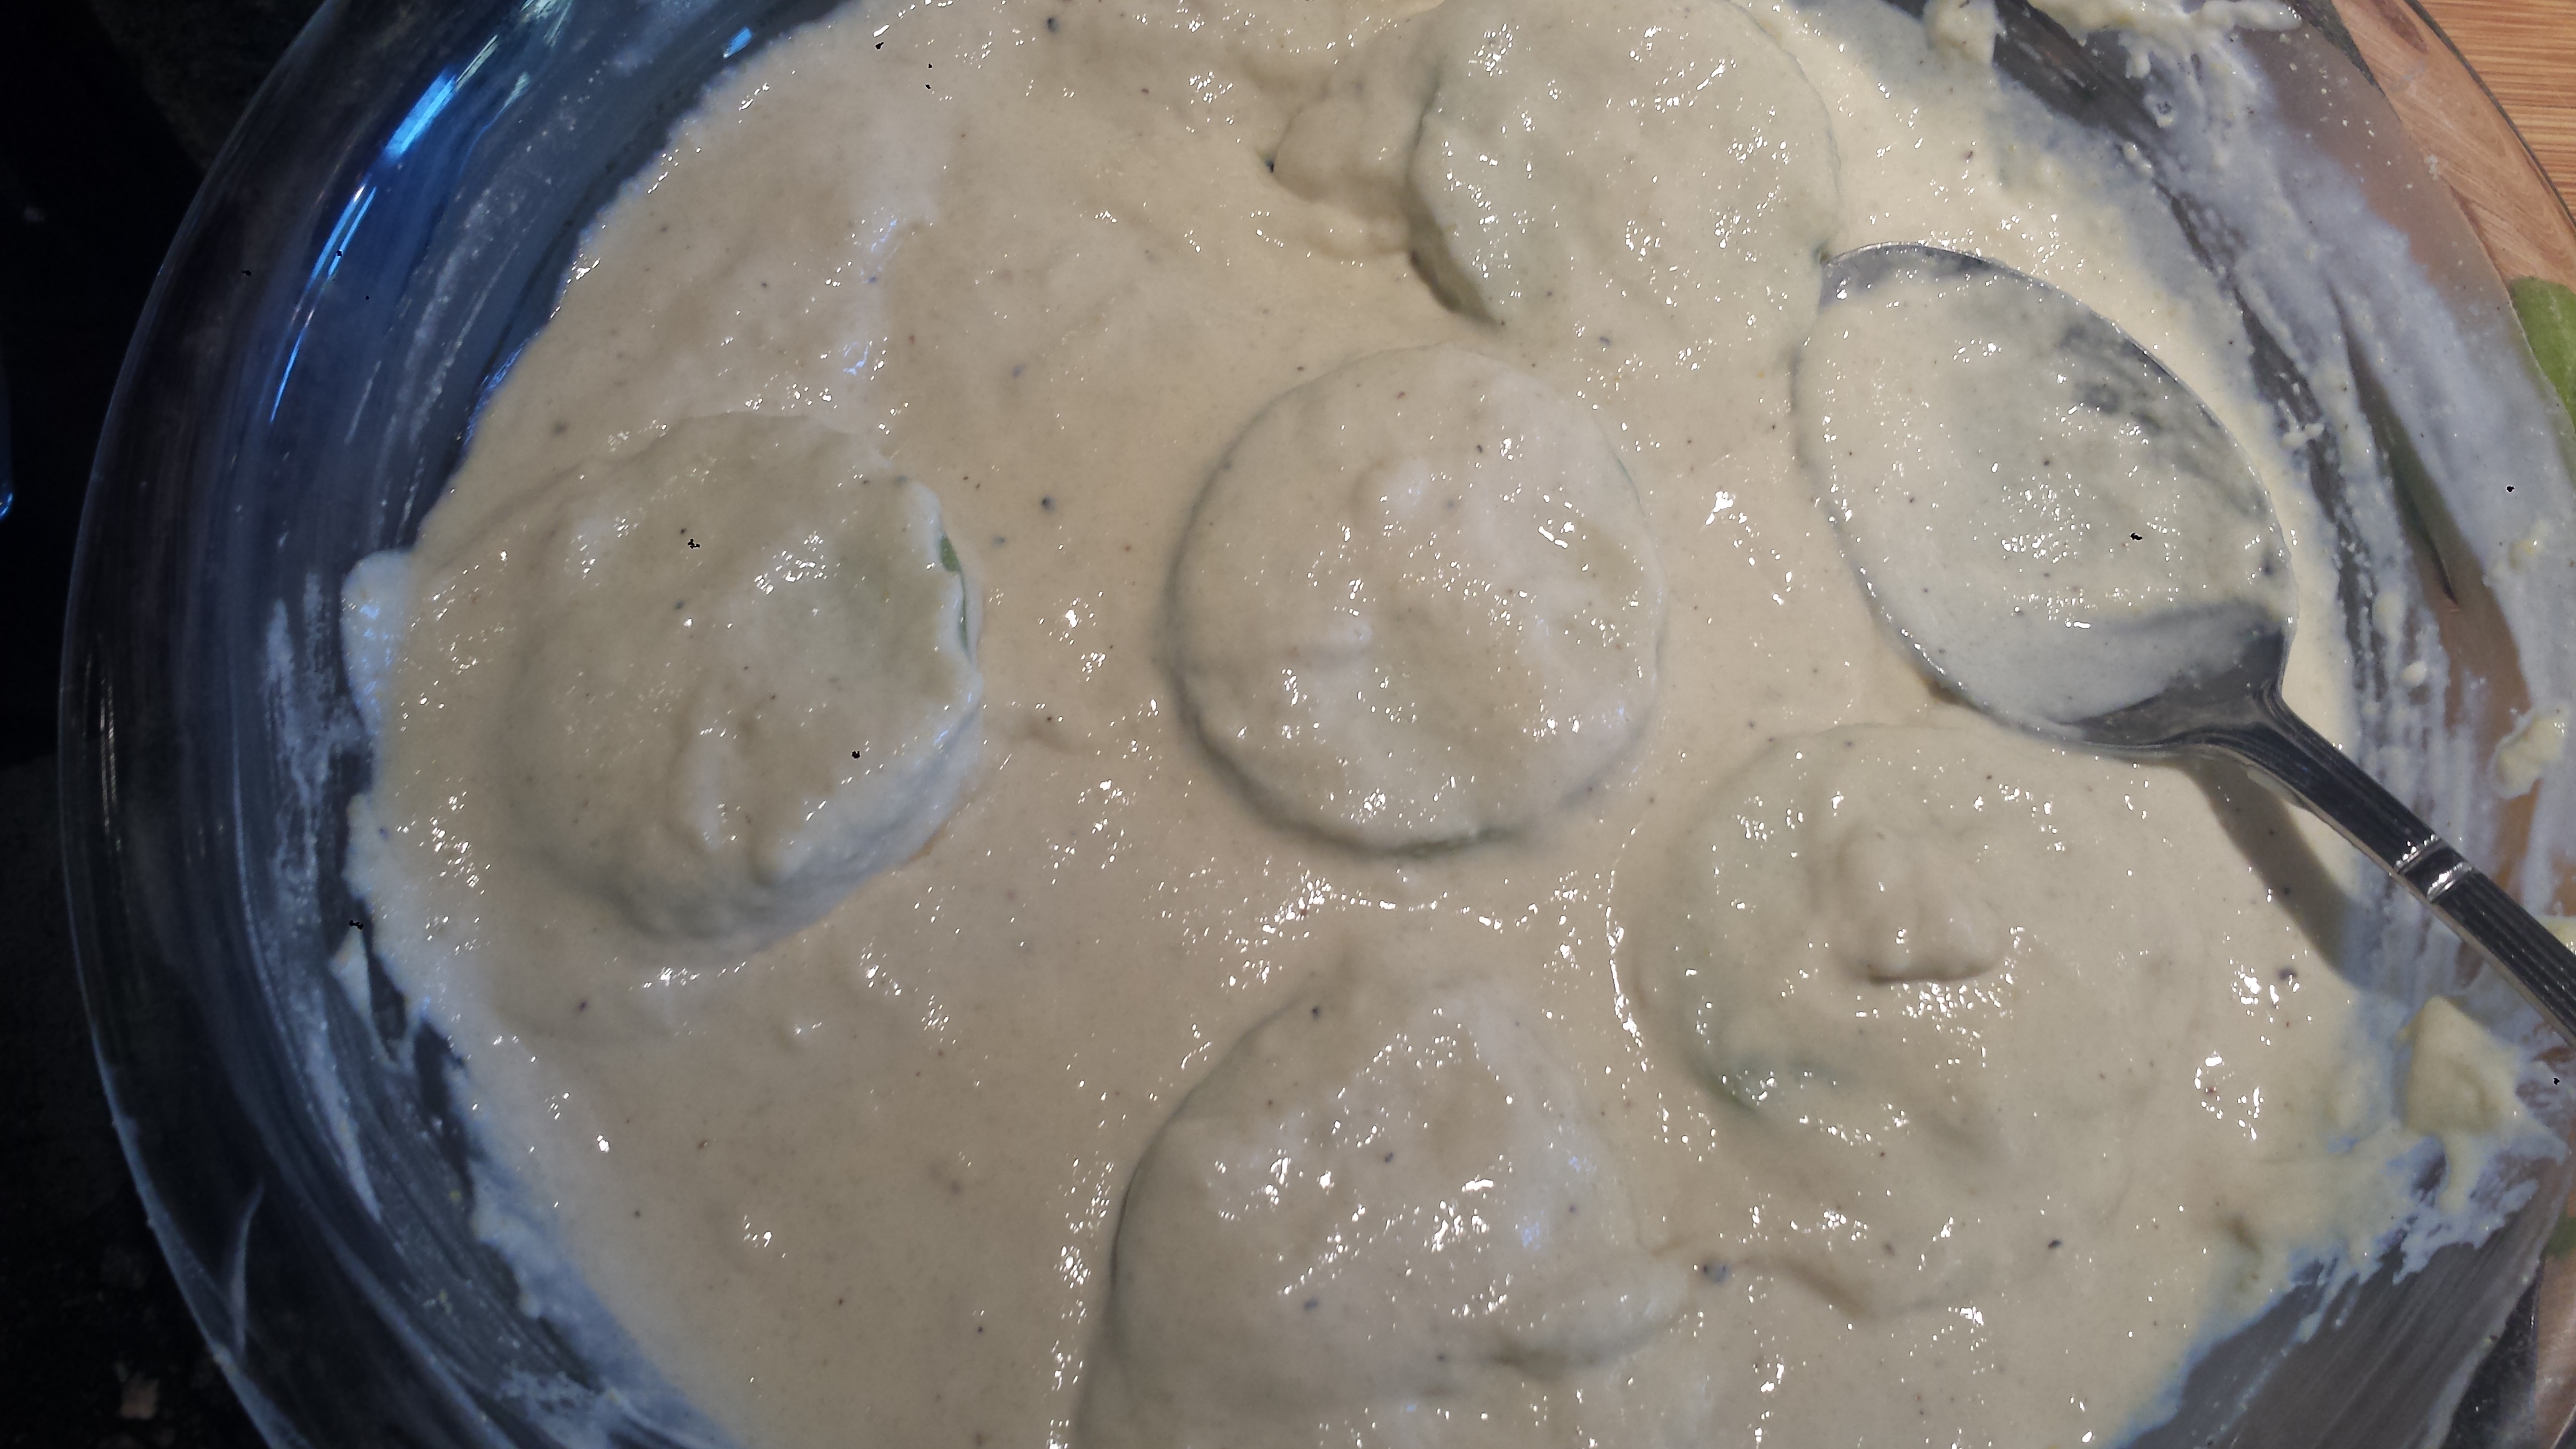
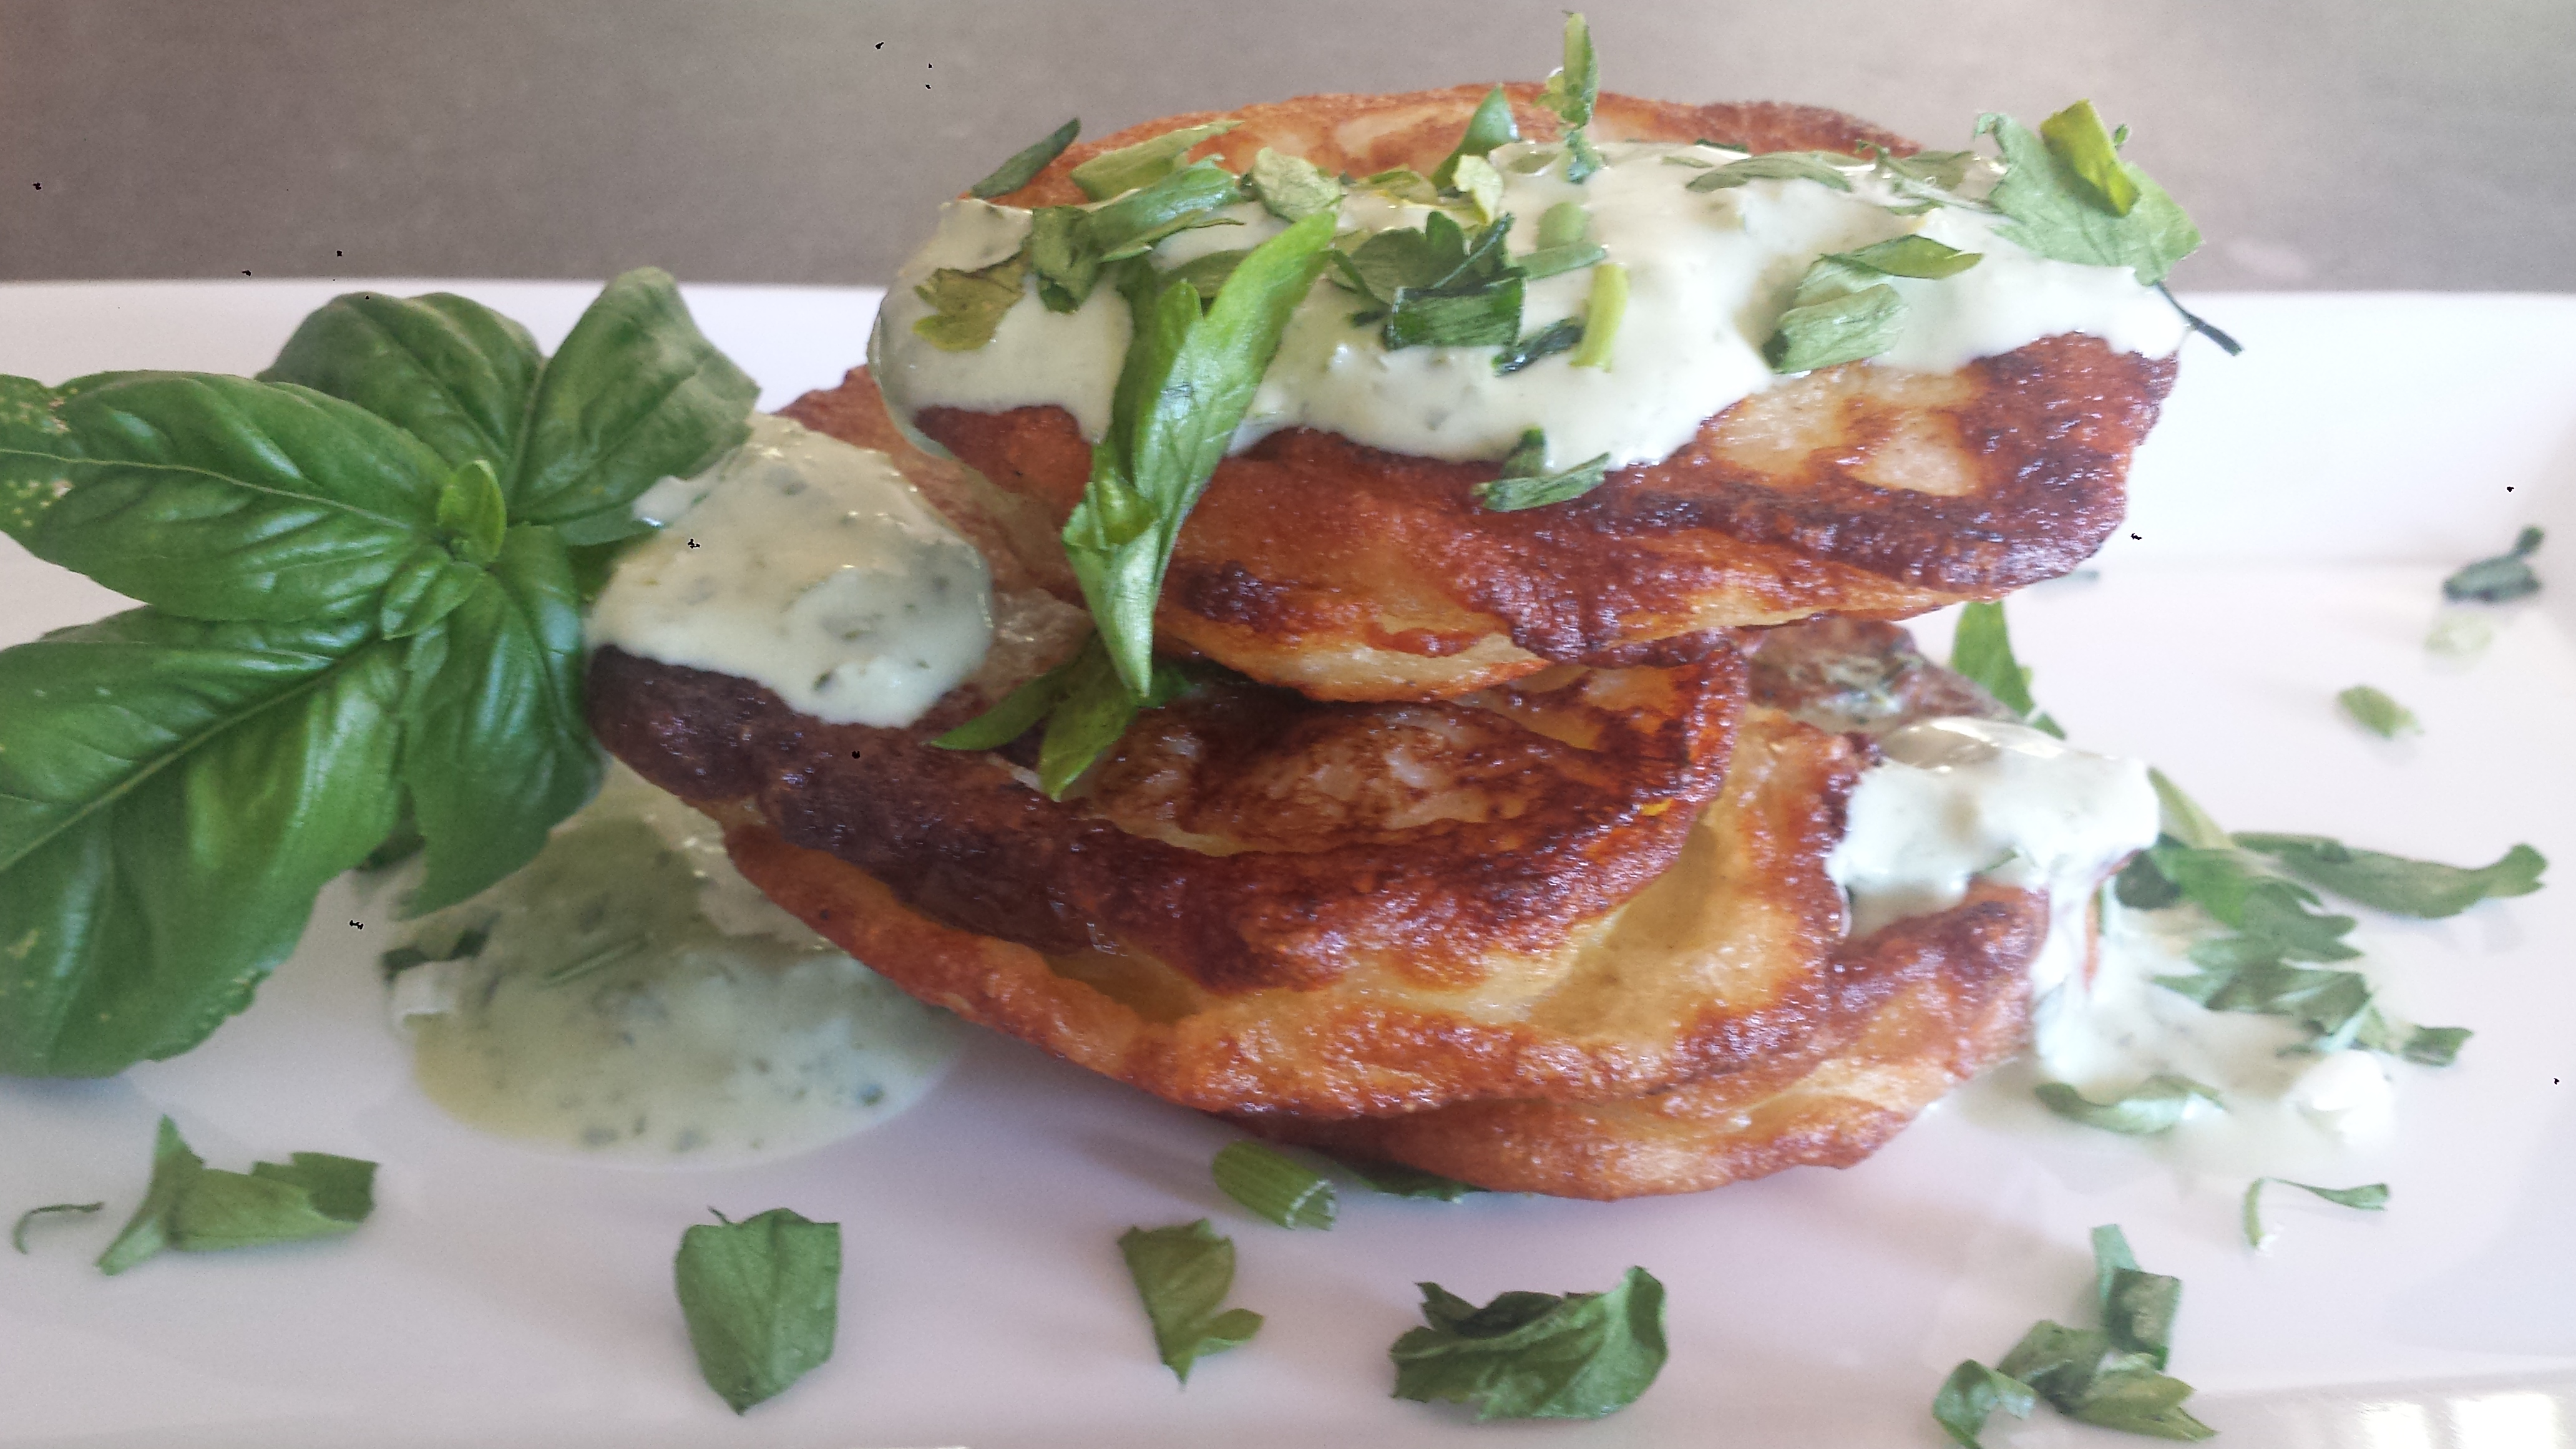
 Happy Monday! I had a wonderful week at Rancho La Puerta and am just starting to ease back into my own kitchen. I was thrilled to find a recipe for one of my favorite meals, their famous Chile Rellenos and wanted to share. This recipe comes from the Rancho La Puerta Blog by Kathryn B. Enjoy a little part of The Ranch!