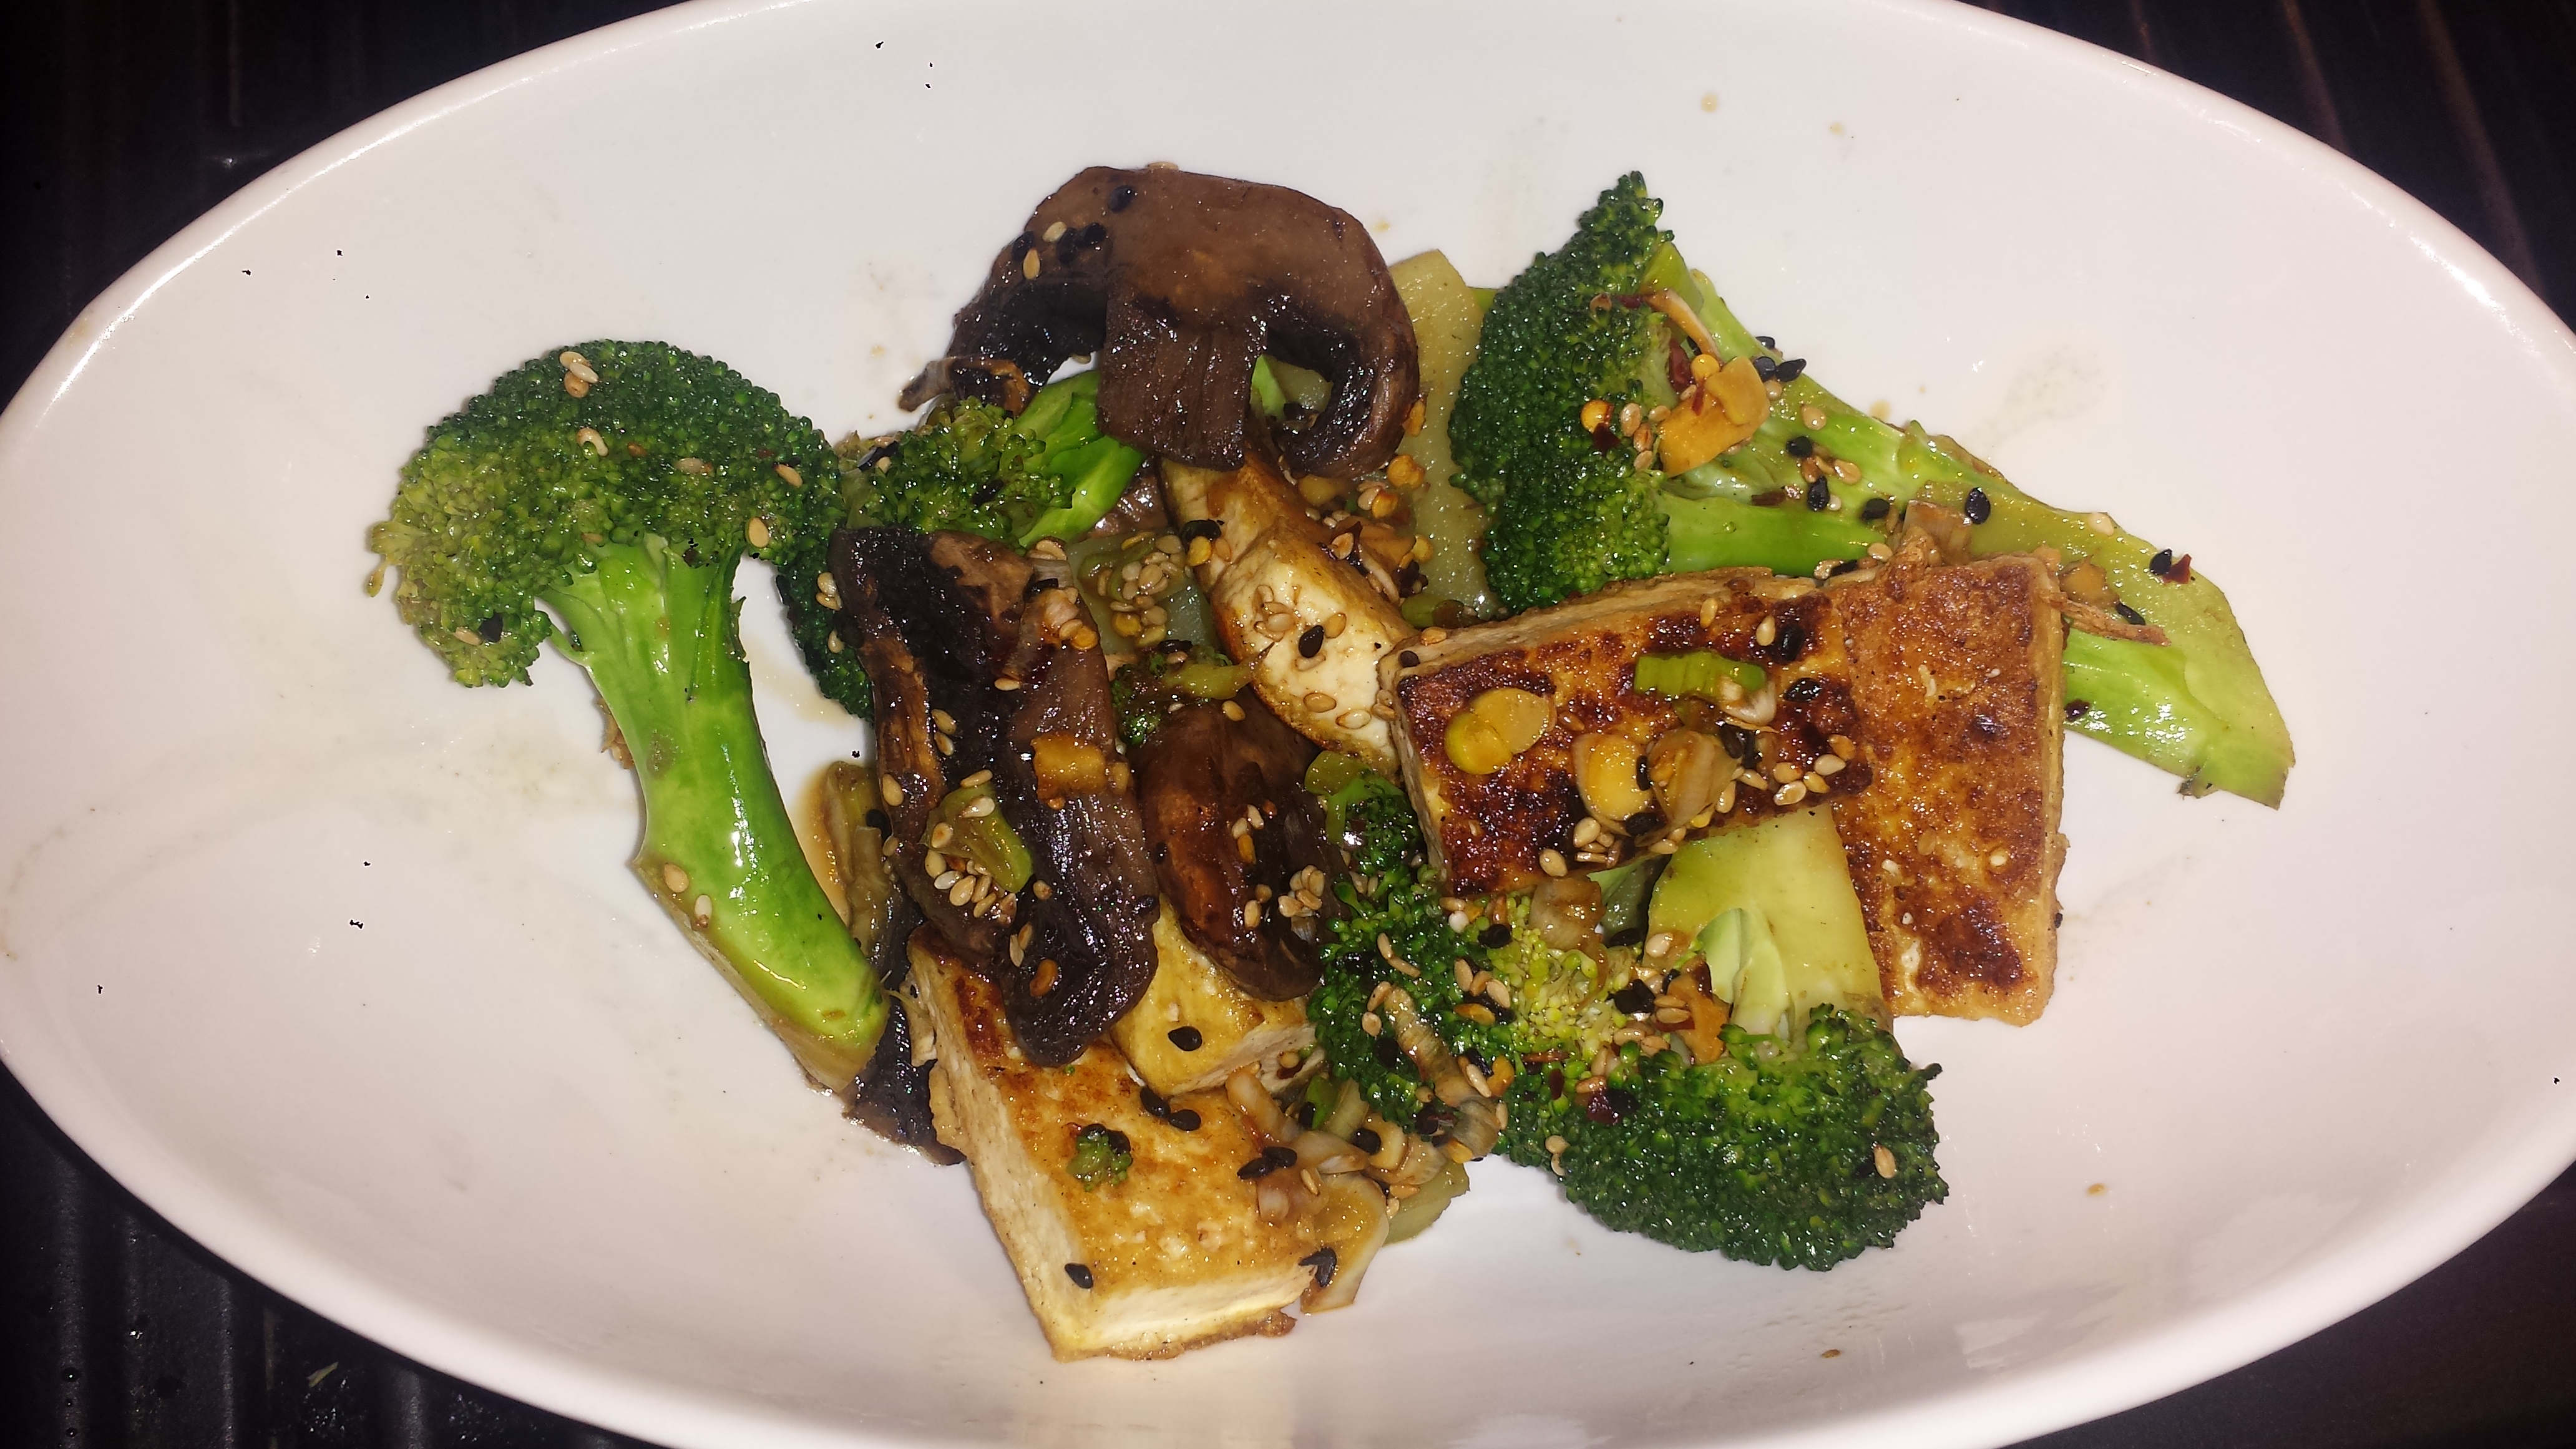
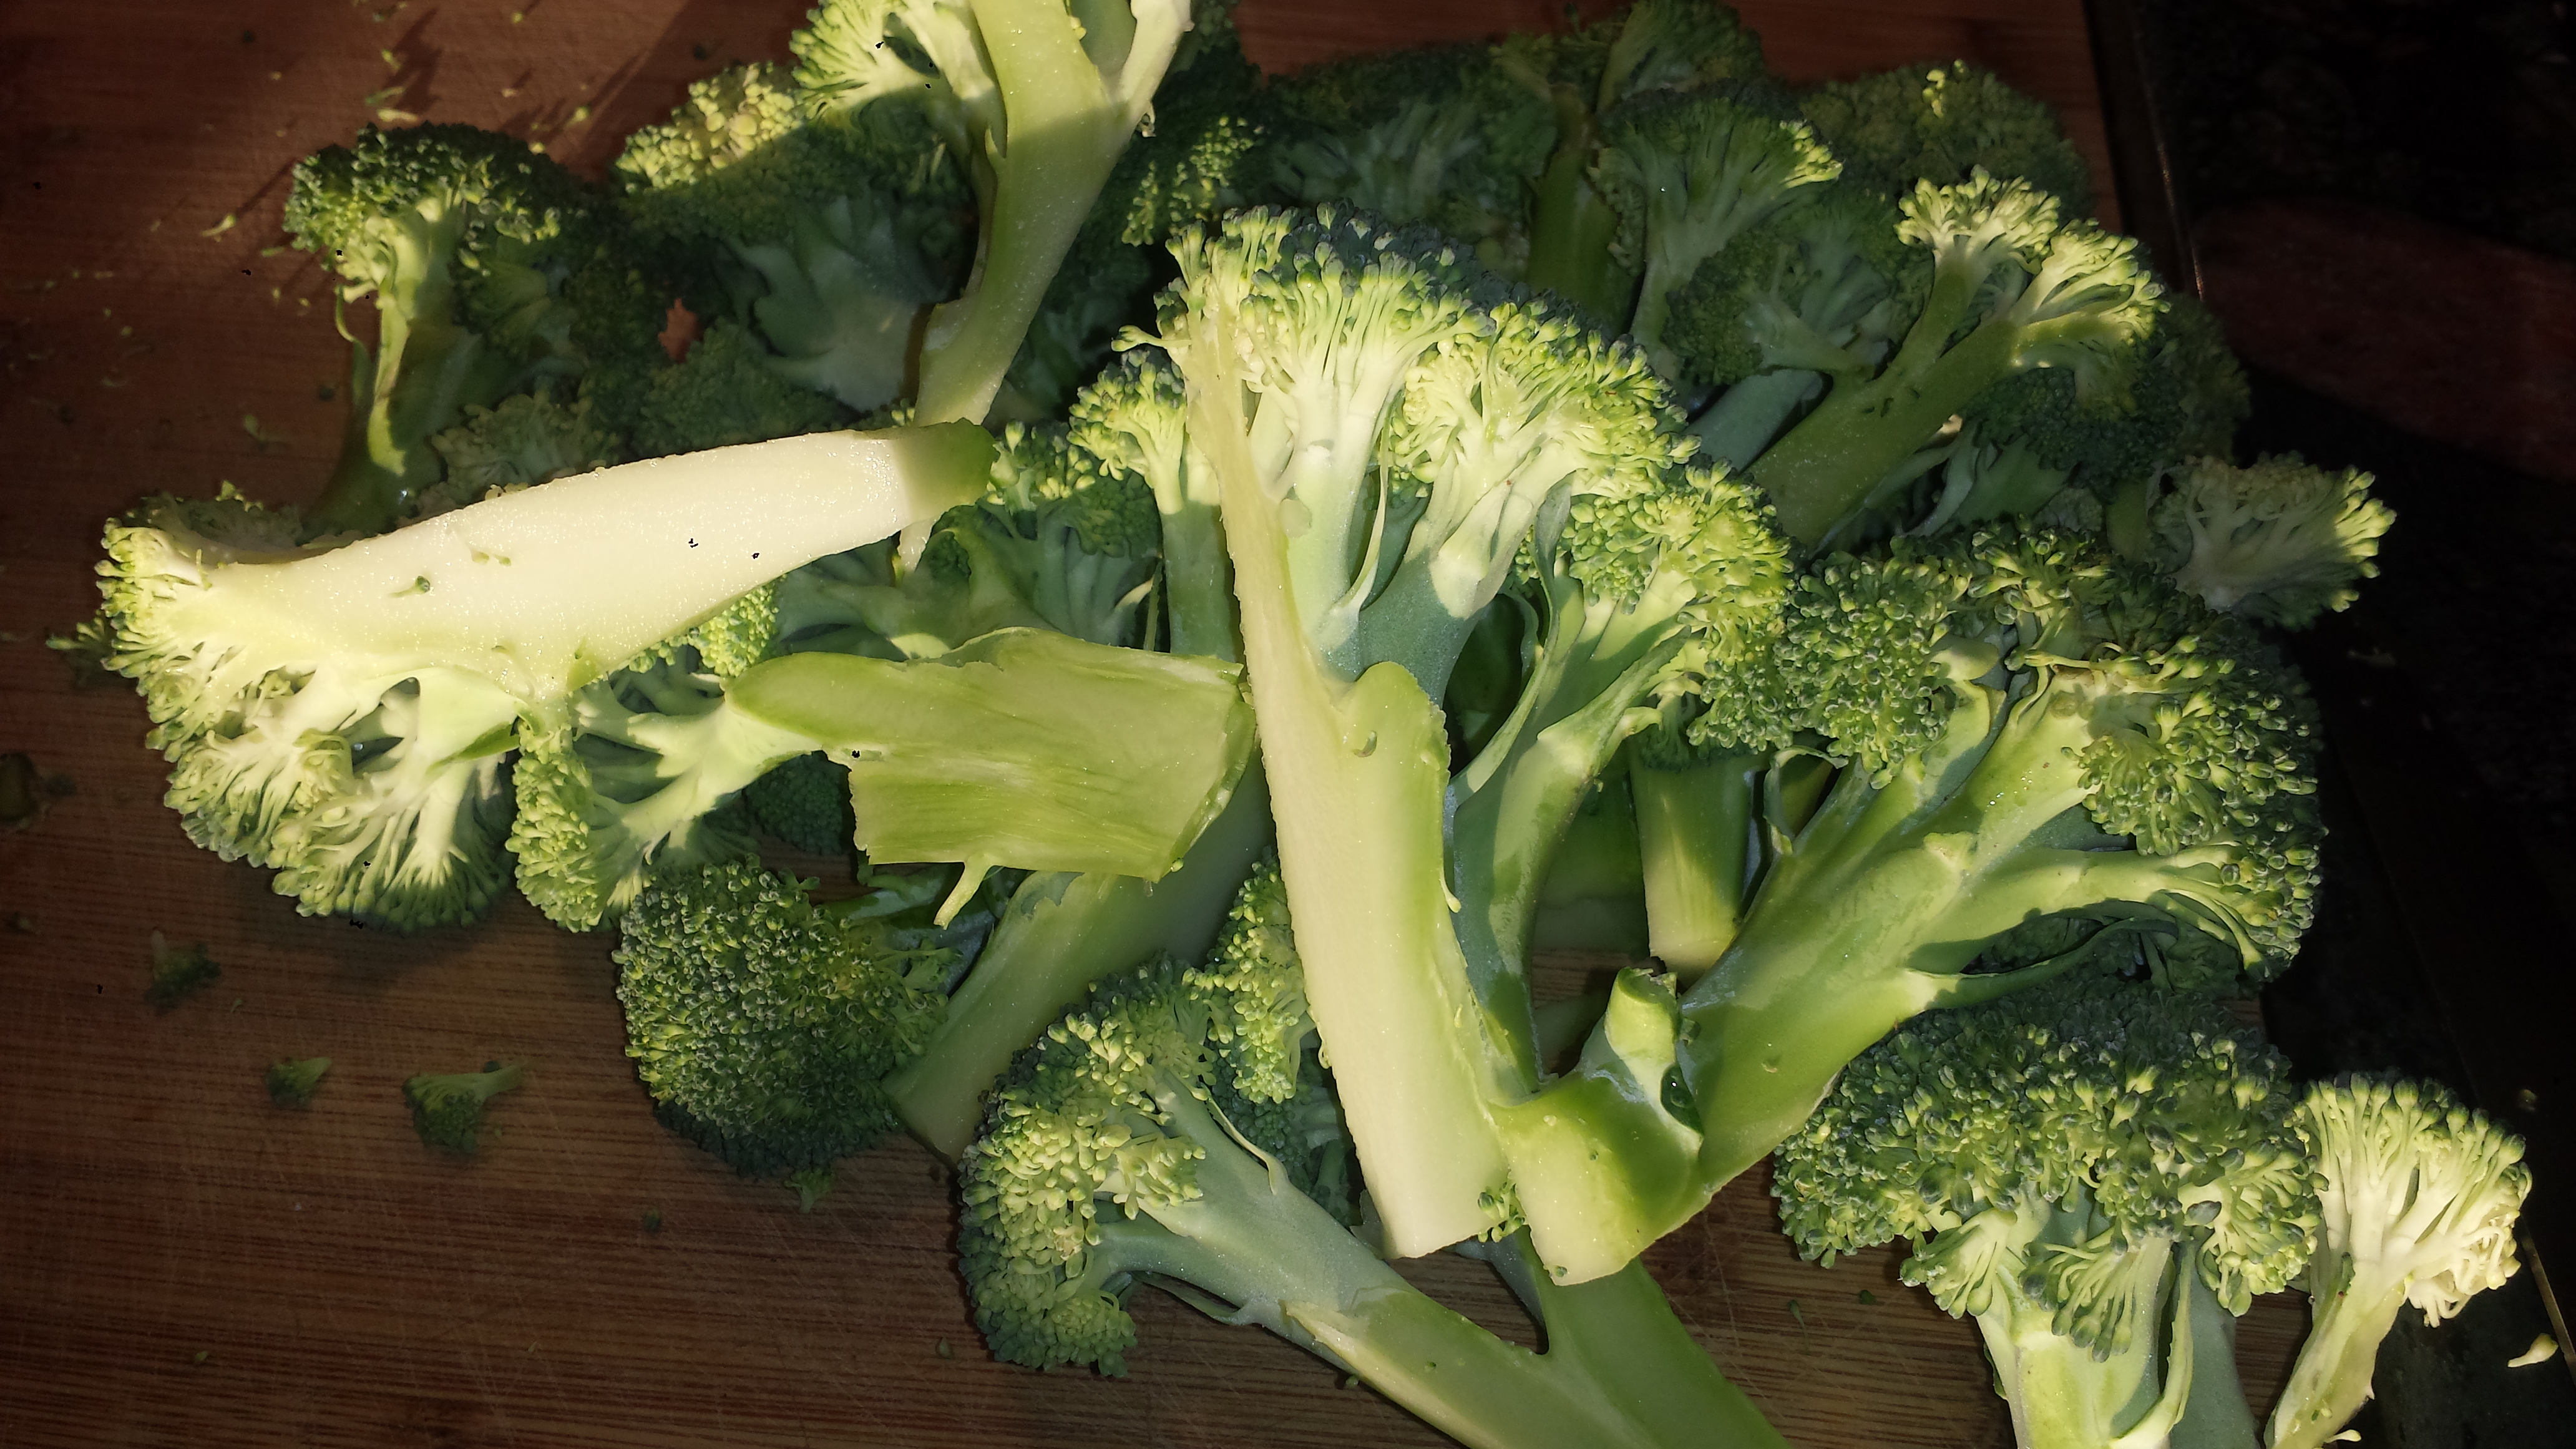
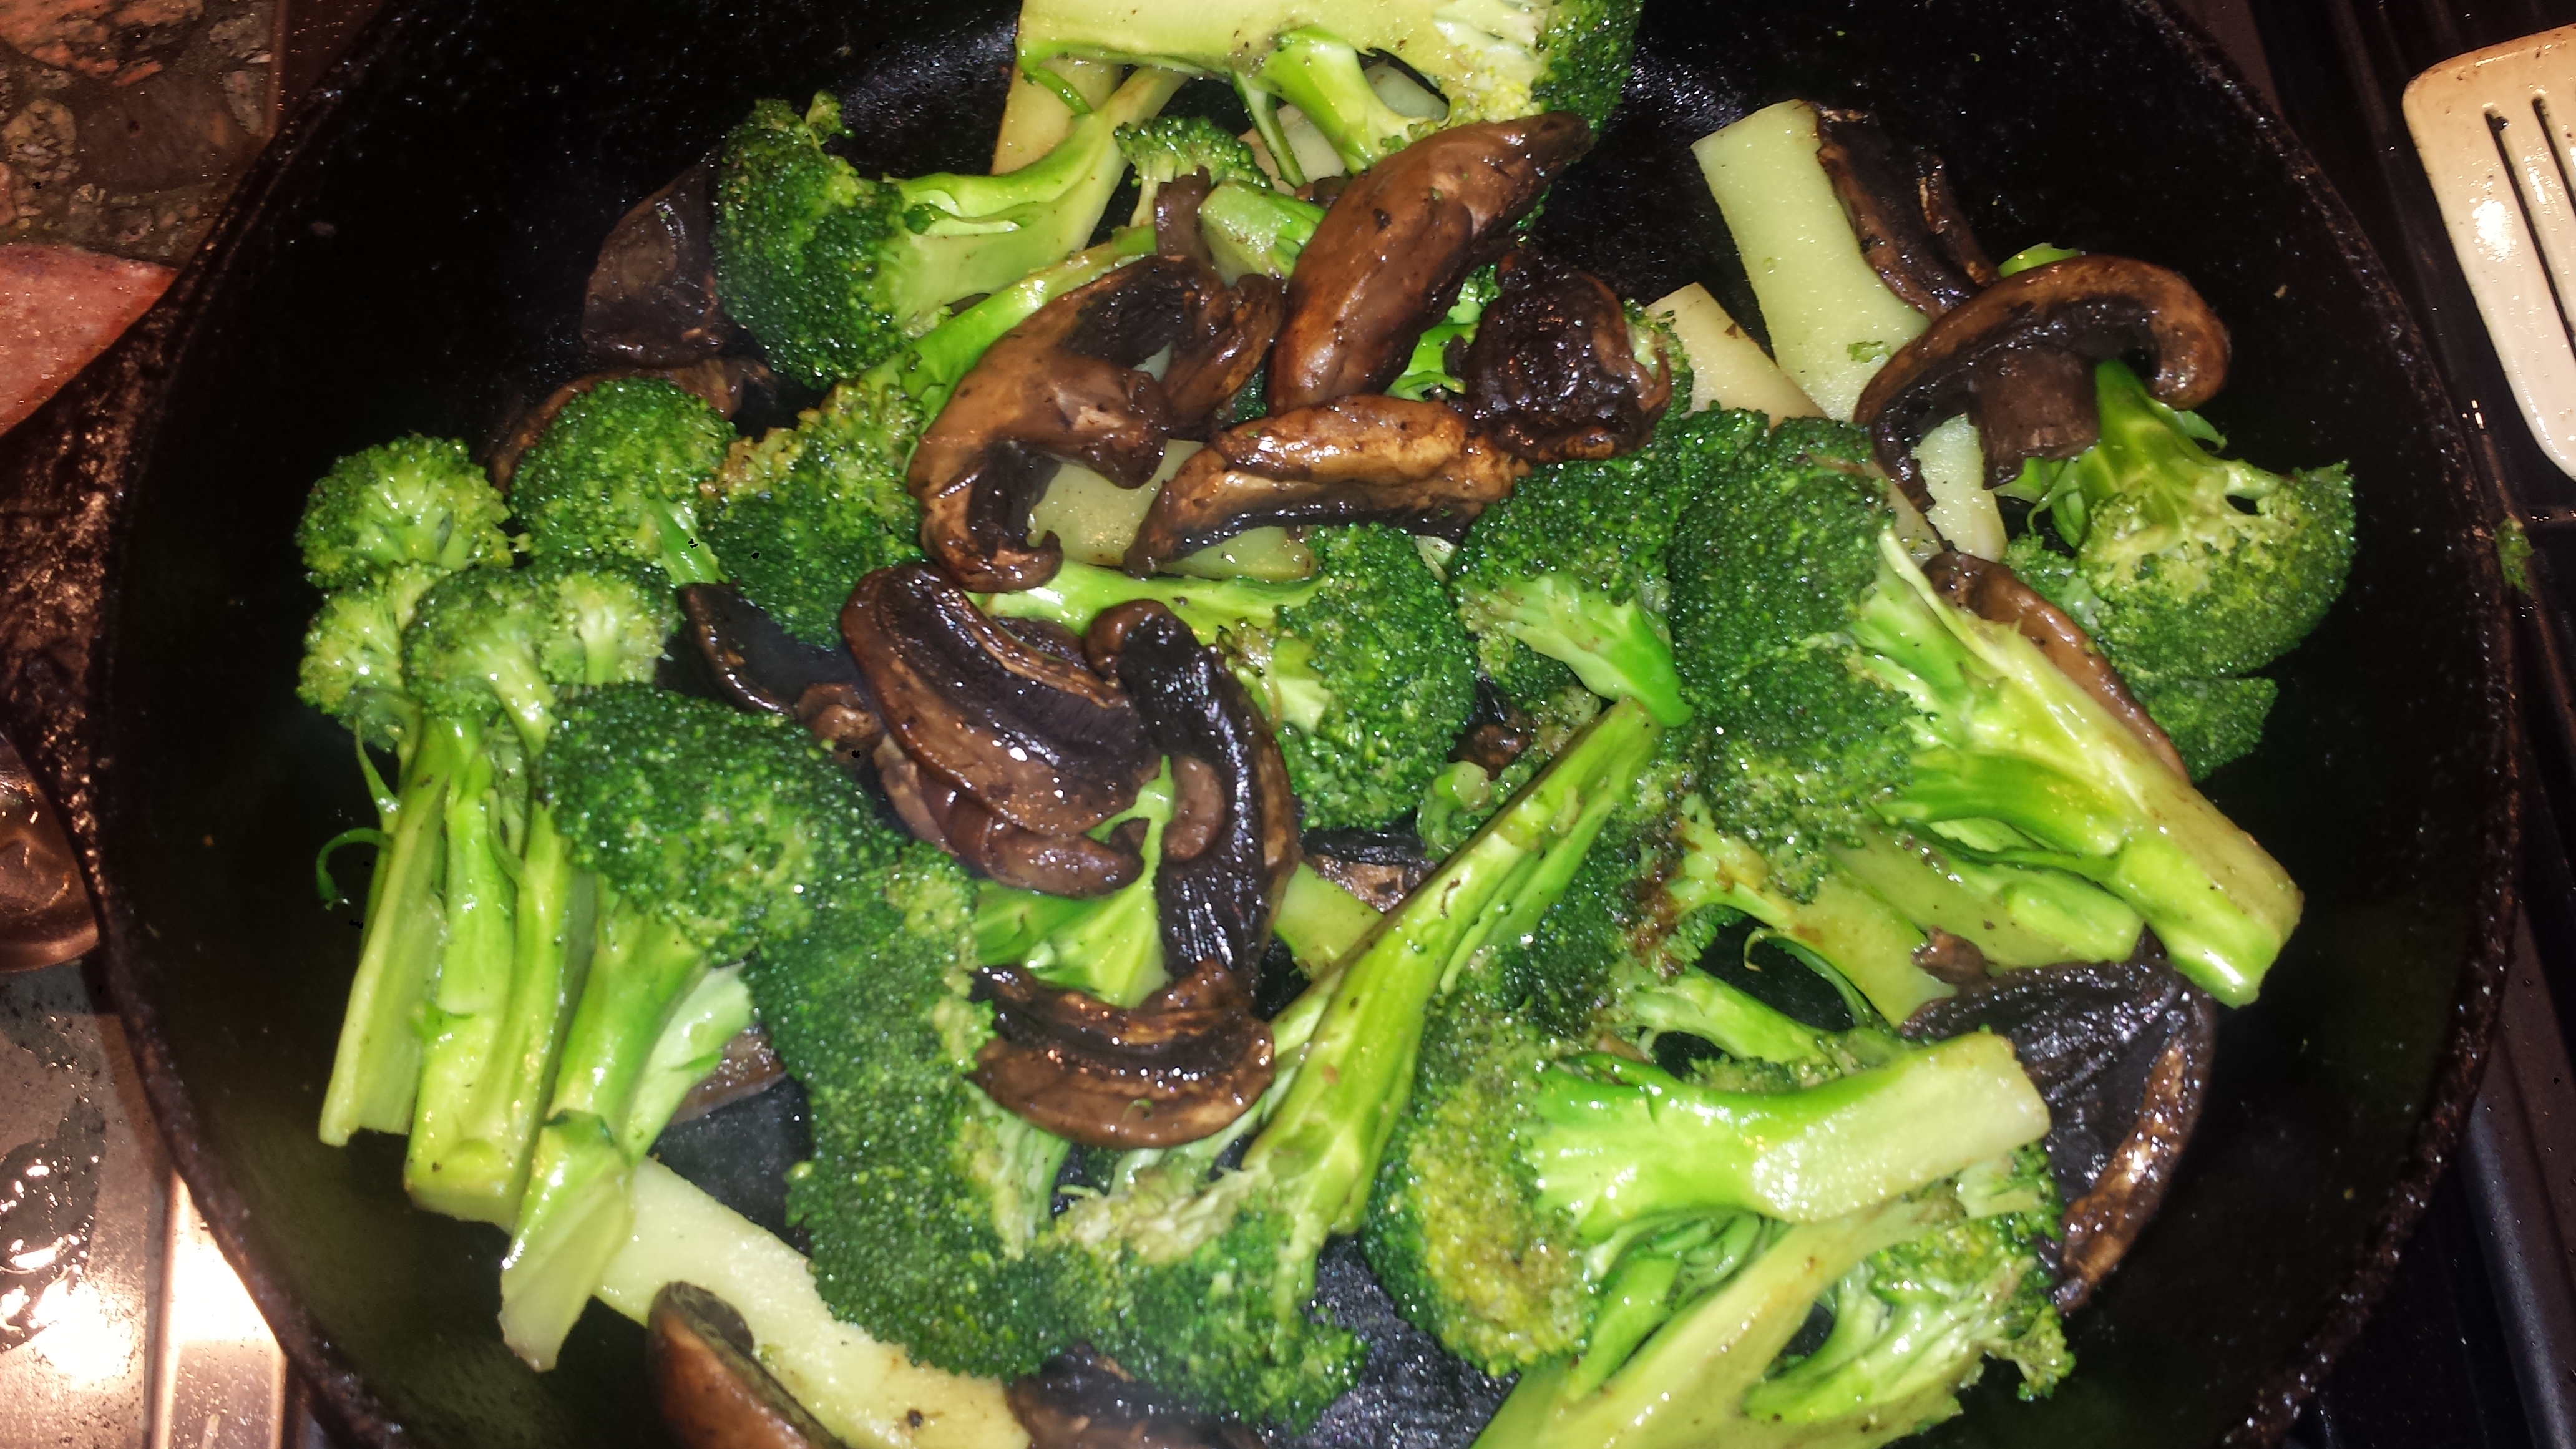
Is there a place where meat lovers and vegans can co-exist in happiness? I think I’ve found the holy grail! Here is a ‘steak’ a meat lover will find tasty and satisfying while a vegetarian will be in raptures… Each tofu steak is a hefty seven ounces and my meat loving husband devoured his (I’m talking a full member of the clean plate club) and went back for seconds. Furthermore, when my 20 year old son walked into the kitchen, he said “It smells so good in here!” Winning! The tofu is first brushed with a spicy and savory marinade and then pan seared and topped with a fresh and zesty chimichurri sauce, a South and Latin American condiment that is loaded with chili peppers, fresh herbs and garlic. I also sauteed broccolini and topped that with a bit of chimichurri for added punch. Trust me, chimichurri is good on almost anything and it can be made spicy or mild depending on your taste. No wonder it’s so popular. Originating in Argentina, it is commonly used to top grilled steak, which is one reason it’s so good on this dish. Long grained brown basmati rice served as a nice base but these tofu steaks would also be great in a sandwich with crusty bread, some fresh greens and, of course, chimichurri. I will definitely be making this again!

Even though the tofu should be allowed to drain for about 10 minutes, this recipe still takes less than 30 minutes. Just slice the tofu and let it drain. While it’s draining, prepare the chimichurri sauce and the marinade. Brush the tofu with the marinade and let sit while you prepare the rice or other veggies you’re serving. The tofu only takes about 6 minutes to cook. Easy, fast, delicious!

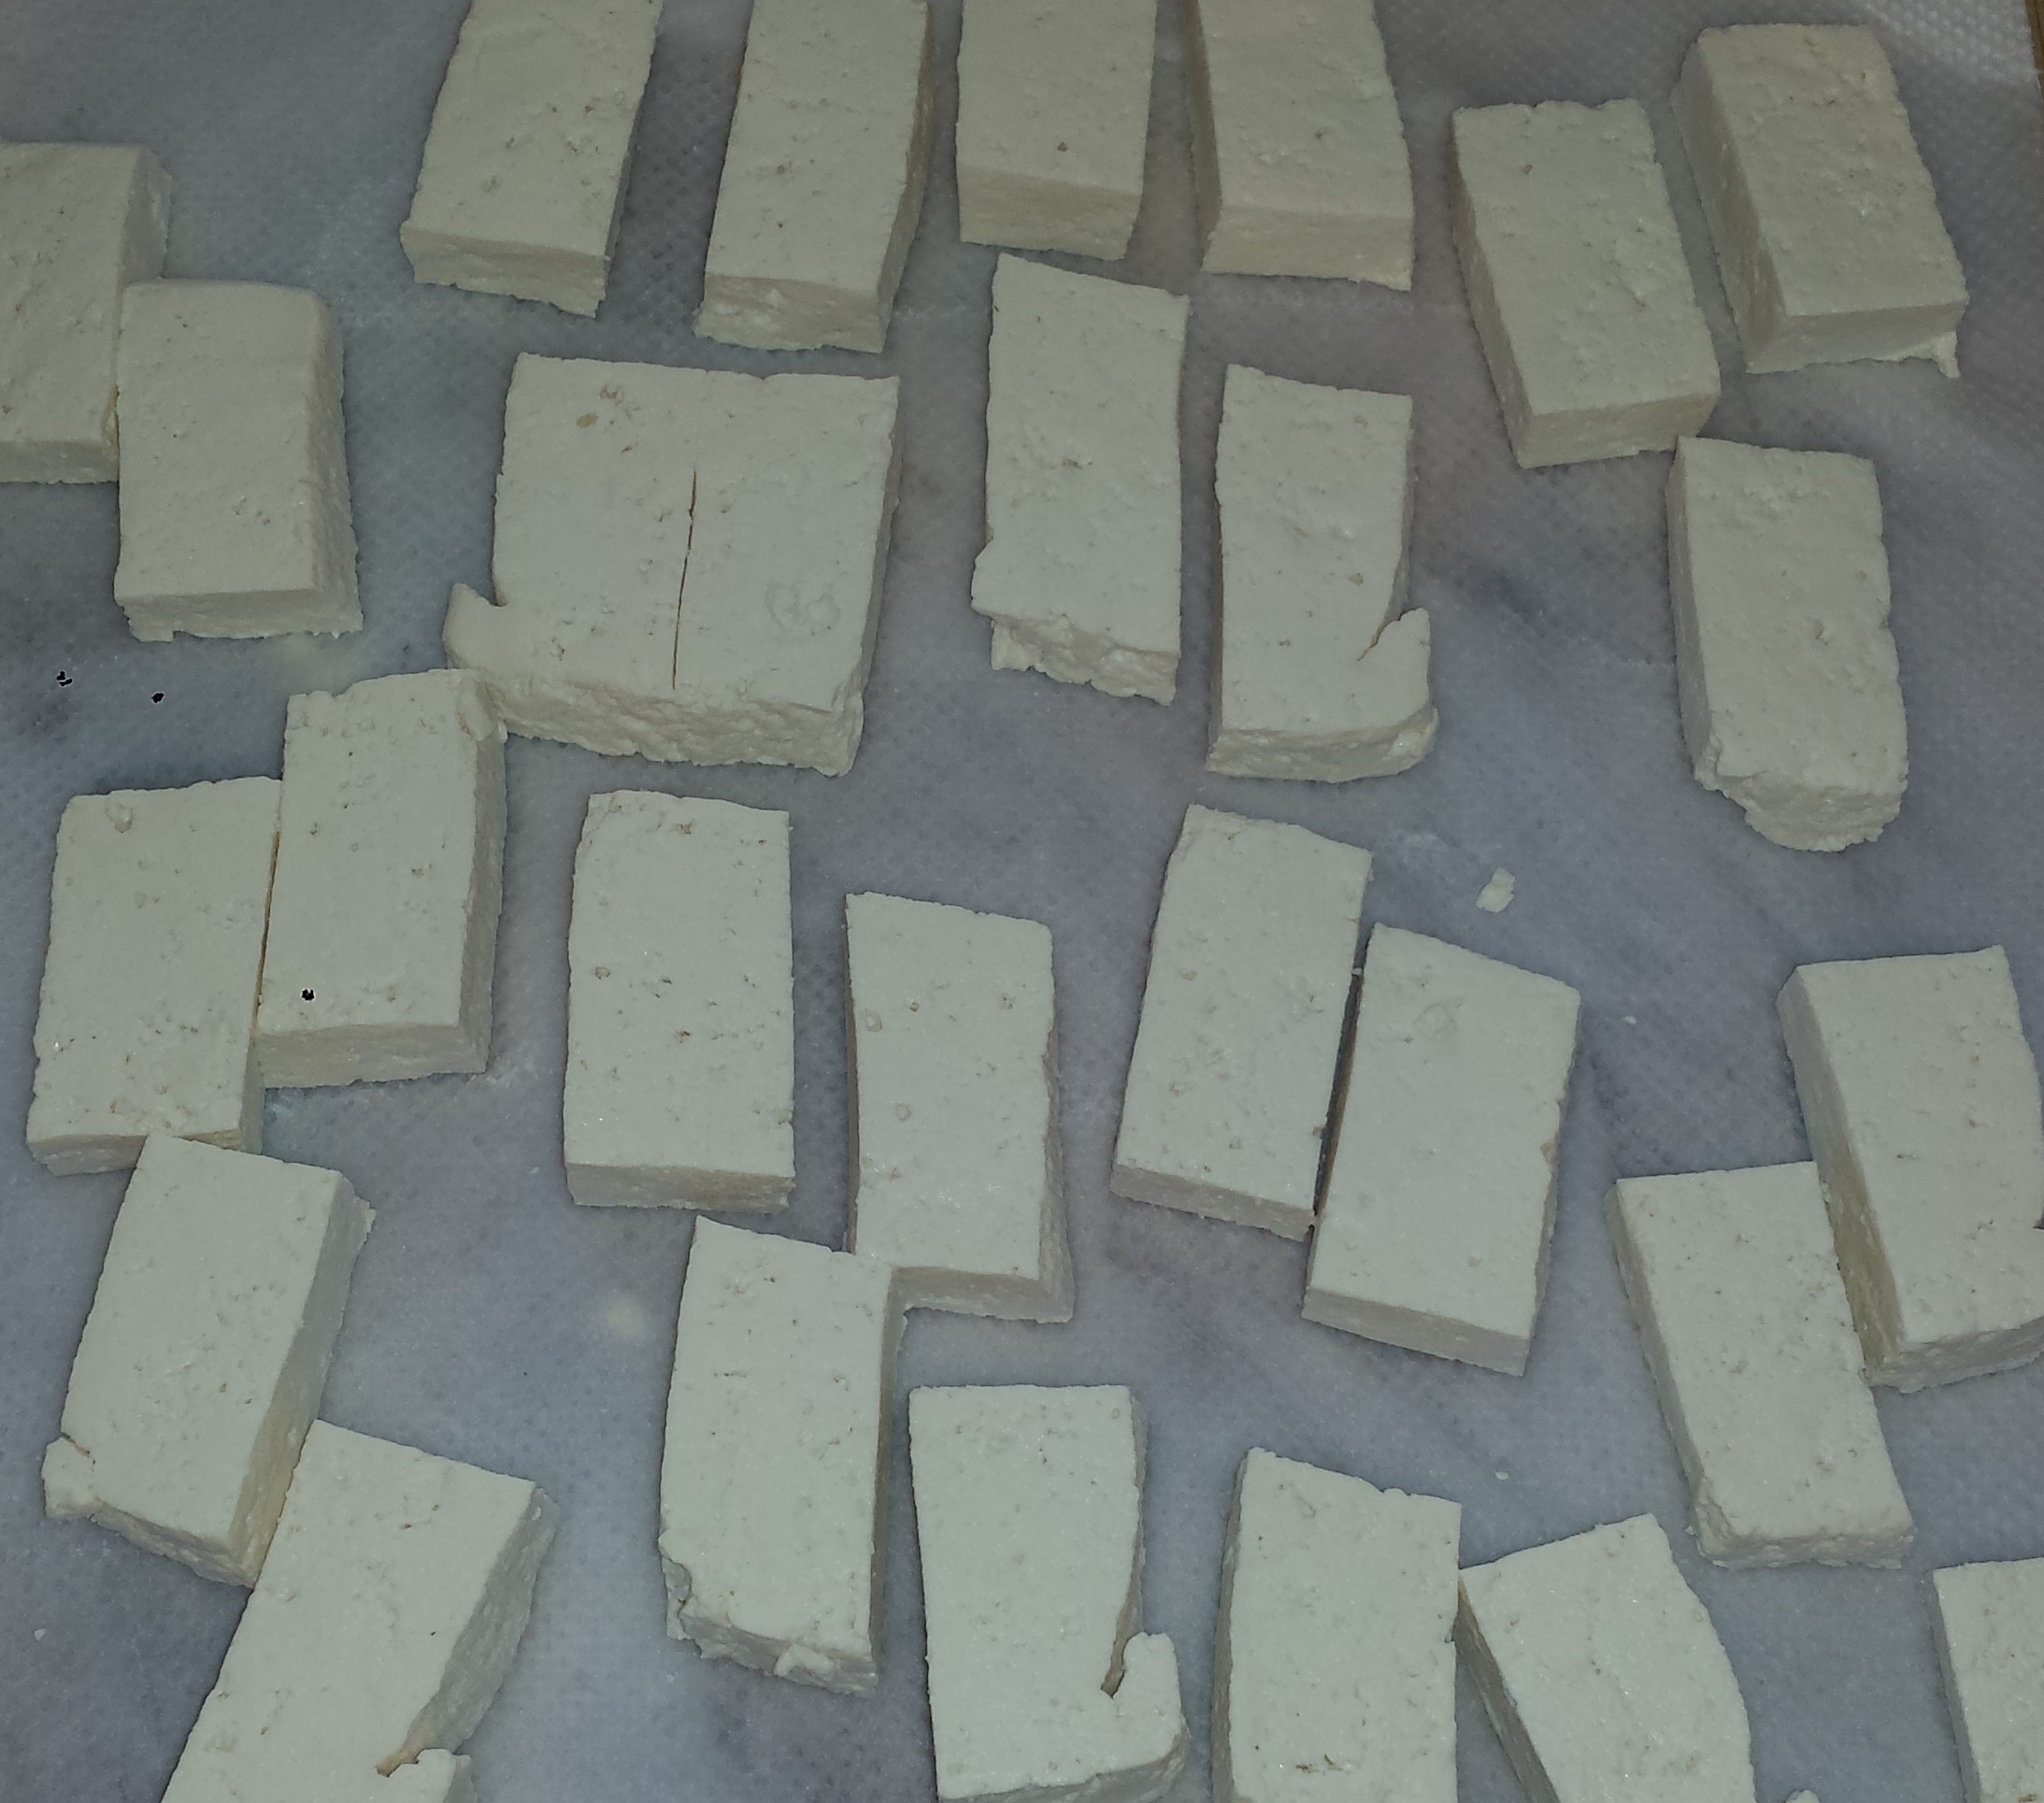
TIPS: I made dinner for two using one block of extra firm tofu but I knew I had a hearty appetite to consider (my husband), however, you can cut the block into fourths OR buy two blocks. I loved the thickness (about one inch) of the steaks and my husband loved the size (7 oz each). Tofu is normally cut into thinner slices or cubes so this is a nice difference. The outside was so flavorful and the inside had a wonderful consistency that you don’t get with thinner pieces. If you cut one block into fourths, stand the tofu on an end and slice lengthwise through the narrow side into 1 inch thick halves. Then cut each half in half crosswise, resulting in four smaller one inch thick 3.5 oz. rectangles. (That is the size of my serving).

TOFU ‘STEAKS’ WITH CHIMICHURRI SAUCE
15 – 16 oz extra firm tofu
1/4 cup avocado oil (or other high heat oil)
1 bunch broccolini(optional)
1 cup brown rice (optional)
Tofu Marinade:
2 Tbsn olive oil
1 tsp garlic powder
1 tsp onion powder
1 tsp cumin
1/2 tsp cayenne pepper
1/2 tsp salt
1/2 tsp pepper
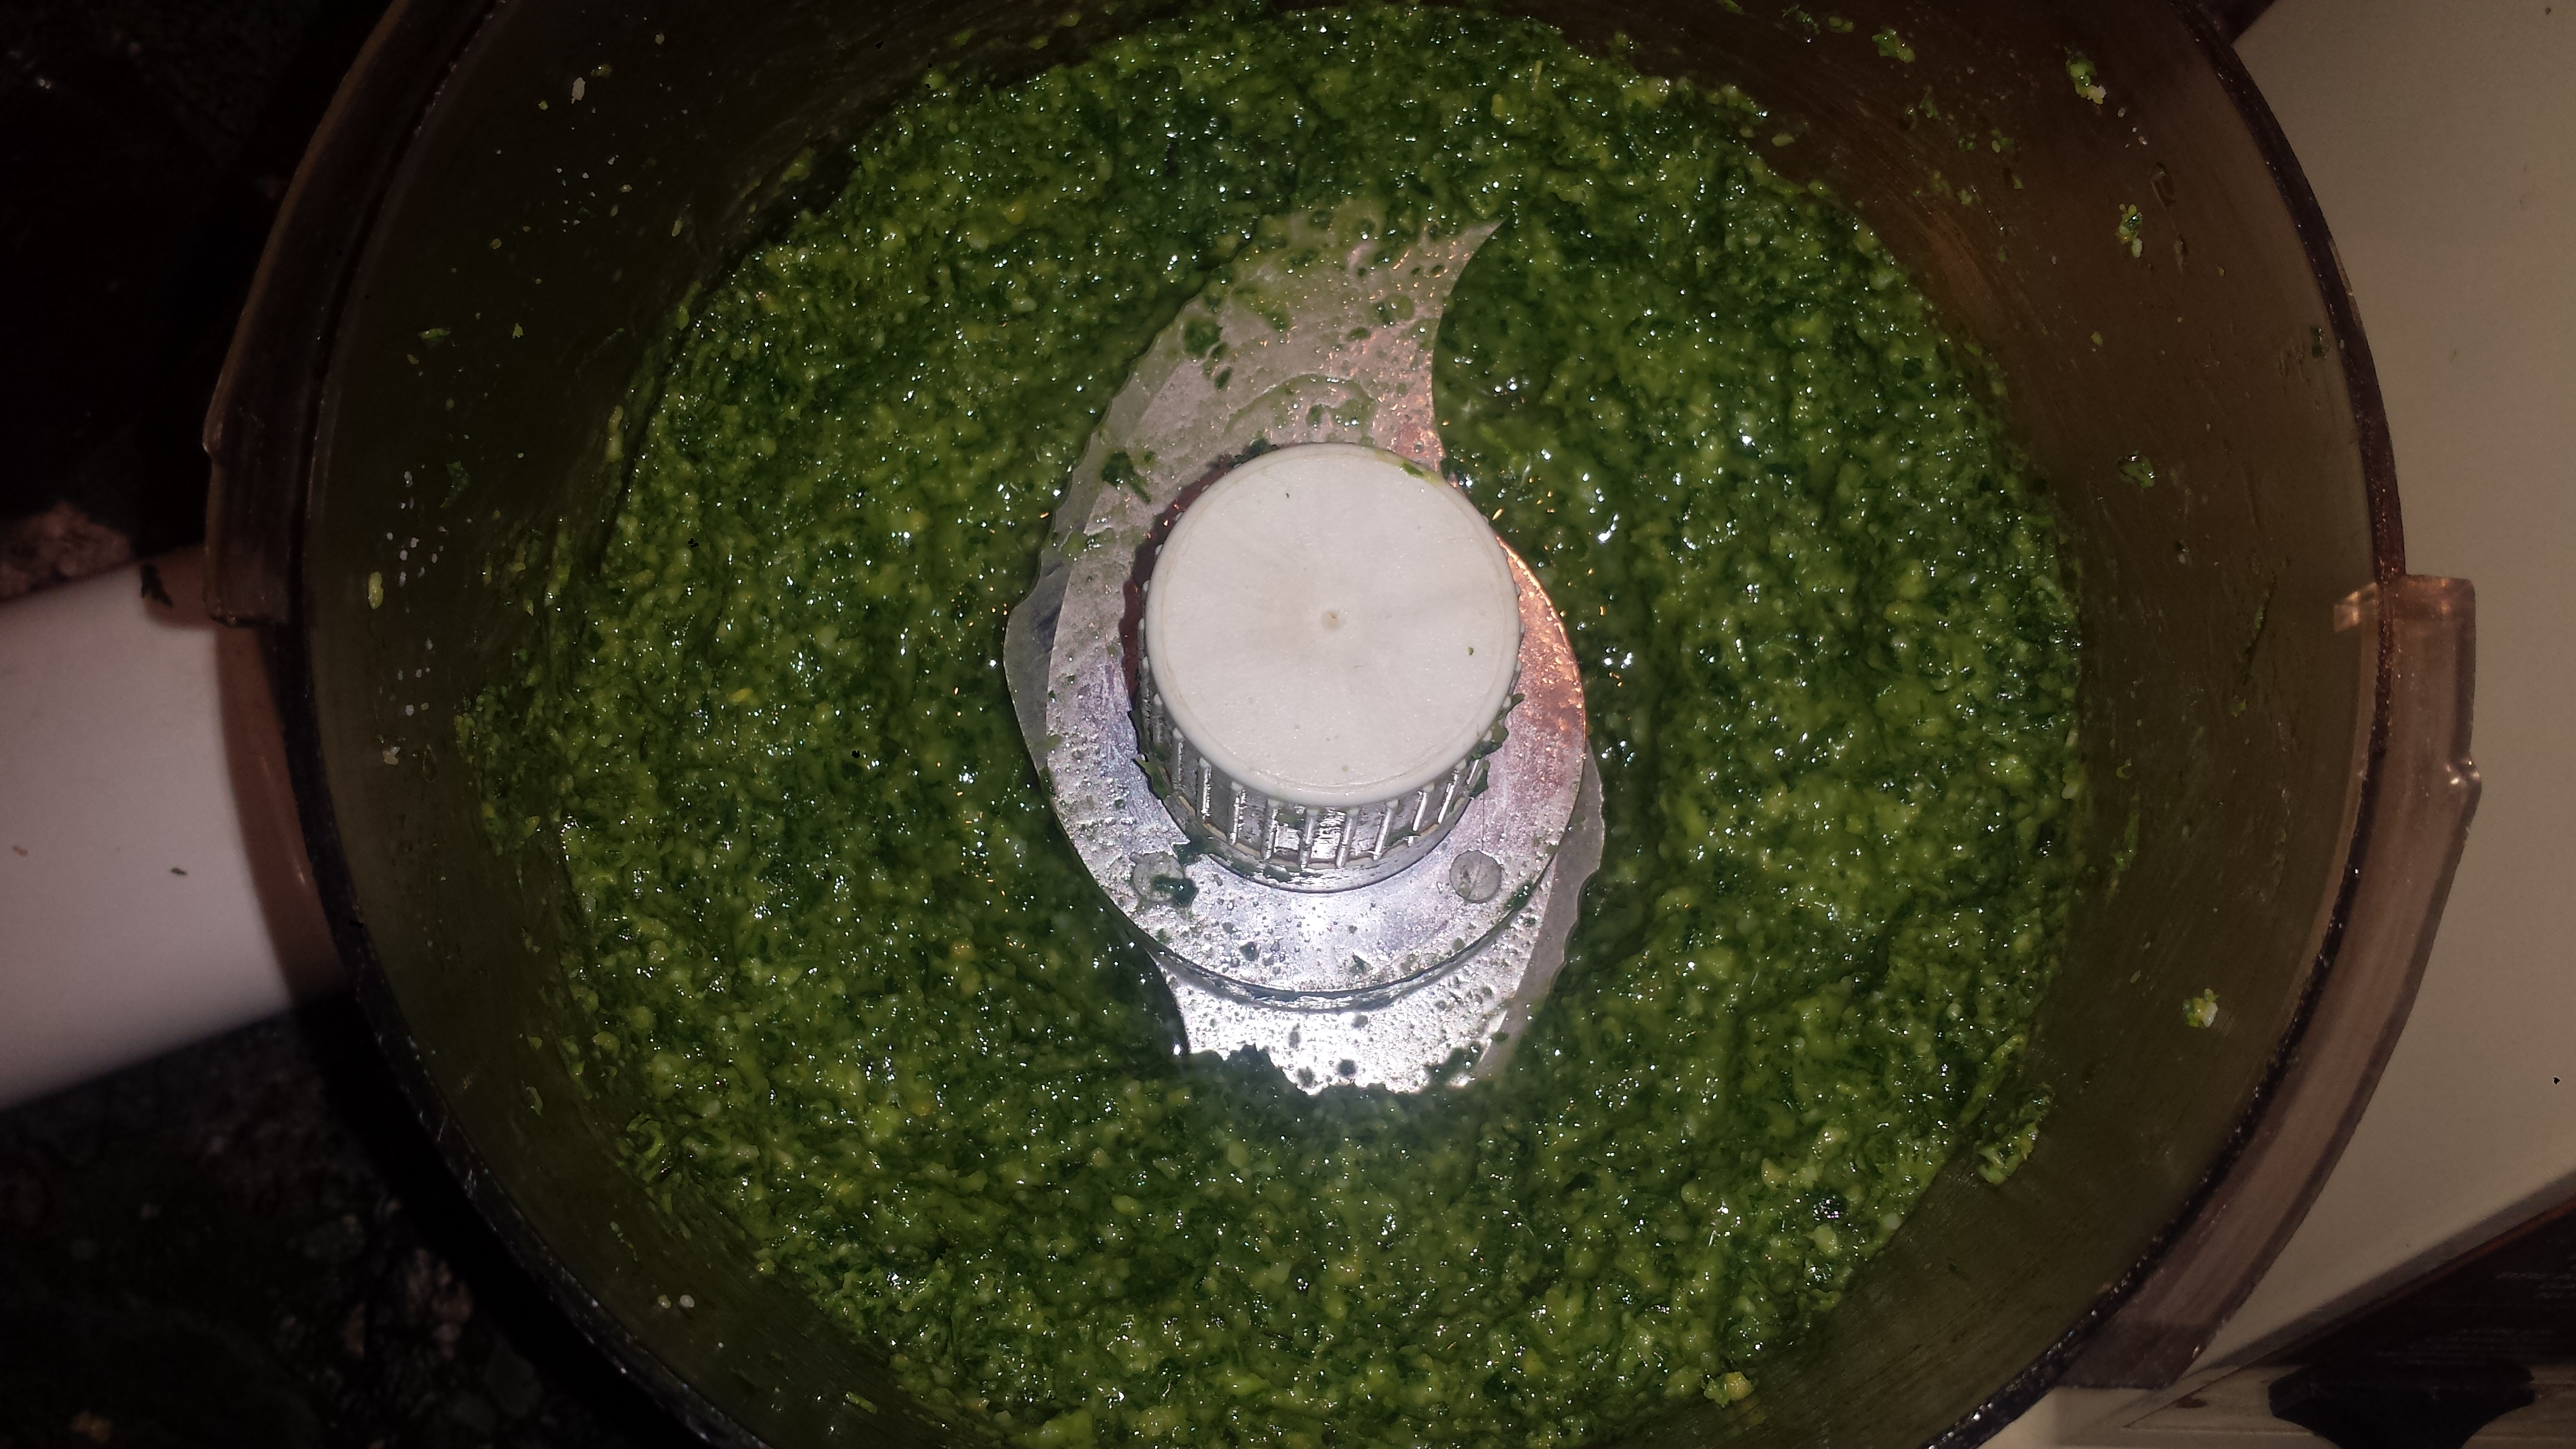
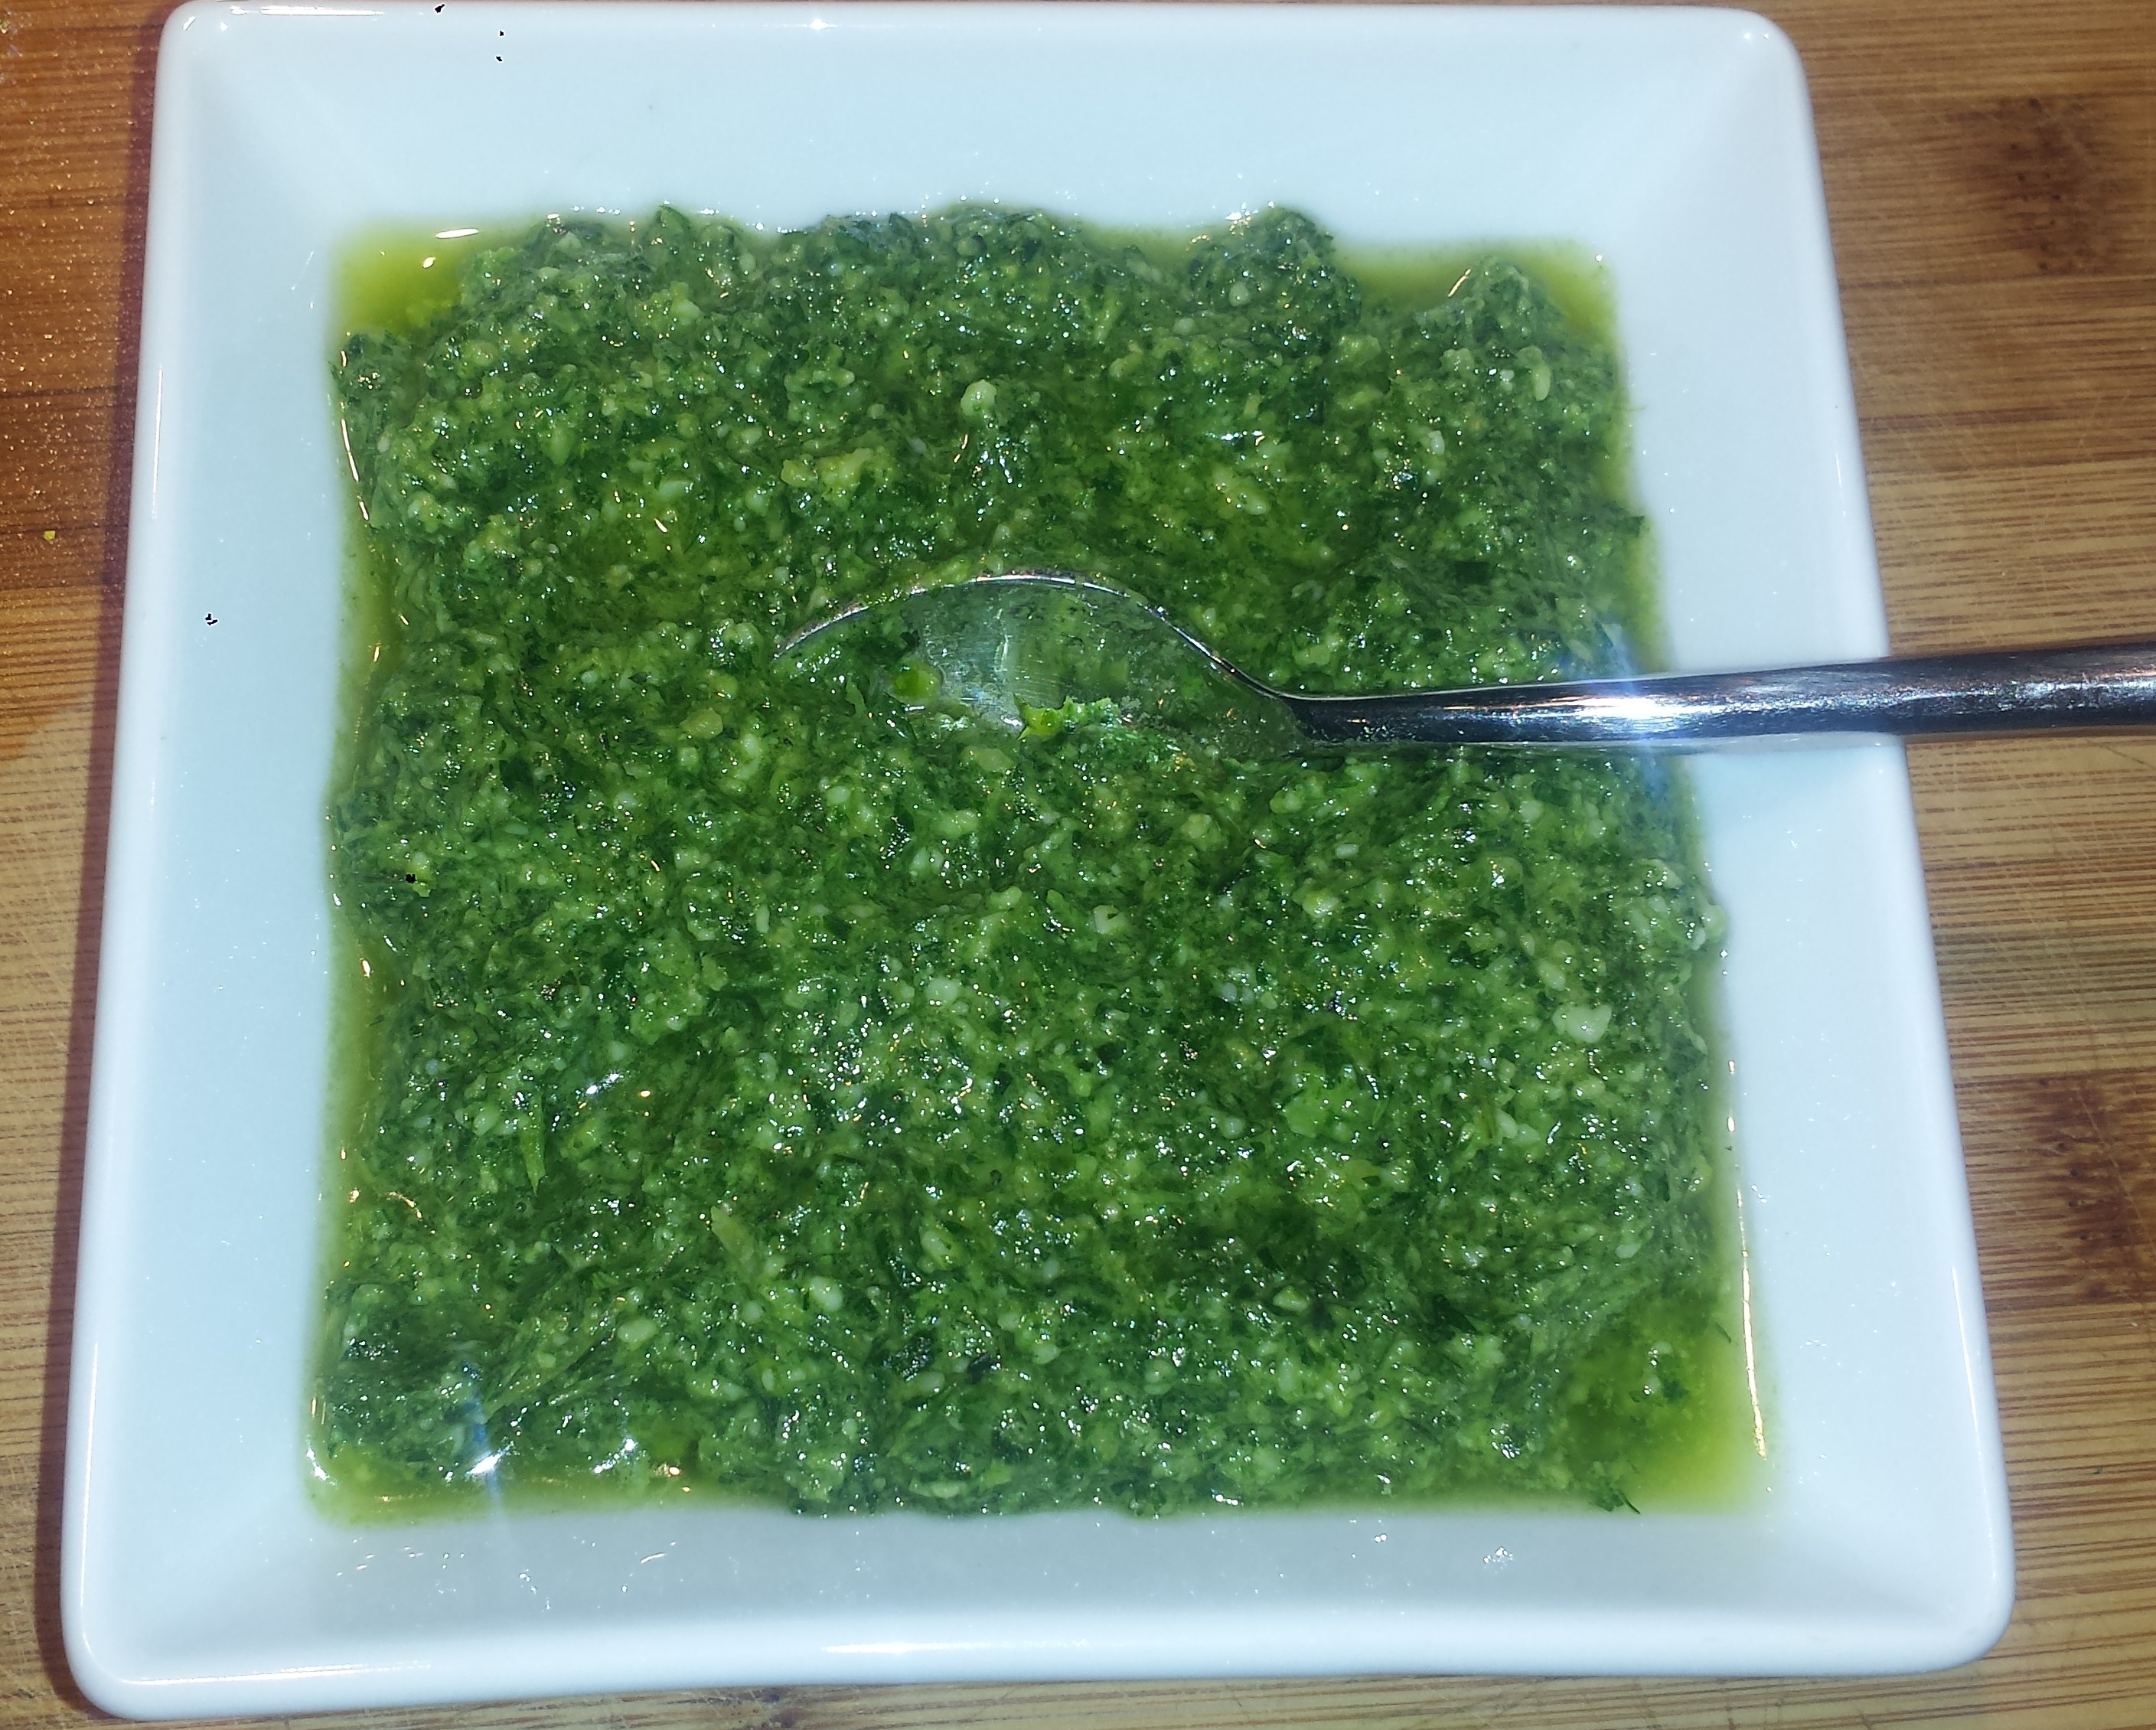
Chimichurri Sauce:
1/3 cup extra-virgin olive oil
1/4 cup freshly squeezed lemon juice (or red wine vinegar)
2 large garlic cloves, minced
1/4 cup fresh oregano, finely chopped
1/2 cup flat-leaf parsley, finely chopped
1/2 tsp salt
1 fresh red chili pepper, seeded and minced (or 1 tsp dried hot pepper flakes-or both)

- Drain tofu and stand it on it’s end and cut in half vertically on the narrow side so you end up with two wide one inch slices. Place tofu on double thick paper towels and top with another paper towel and place something heavy (like a cast iron pan) on top to help press out the water. Let sit at least 10 minutes. Tofu can be cut into 7 oz or 3/5 oz ‘steaks’. See TIPS.
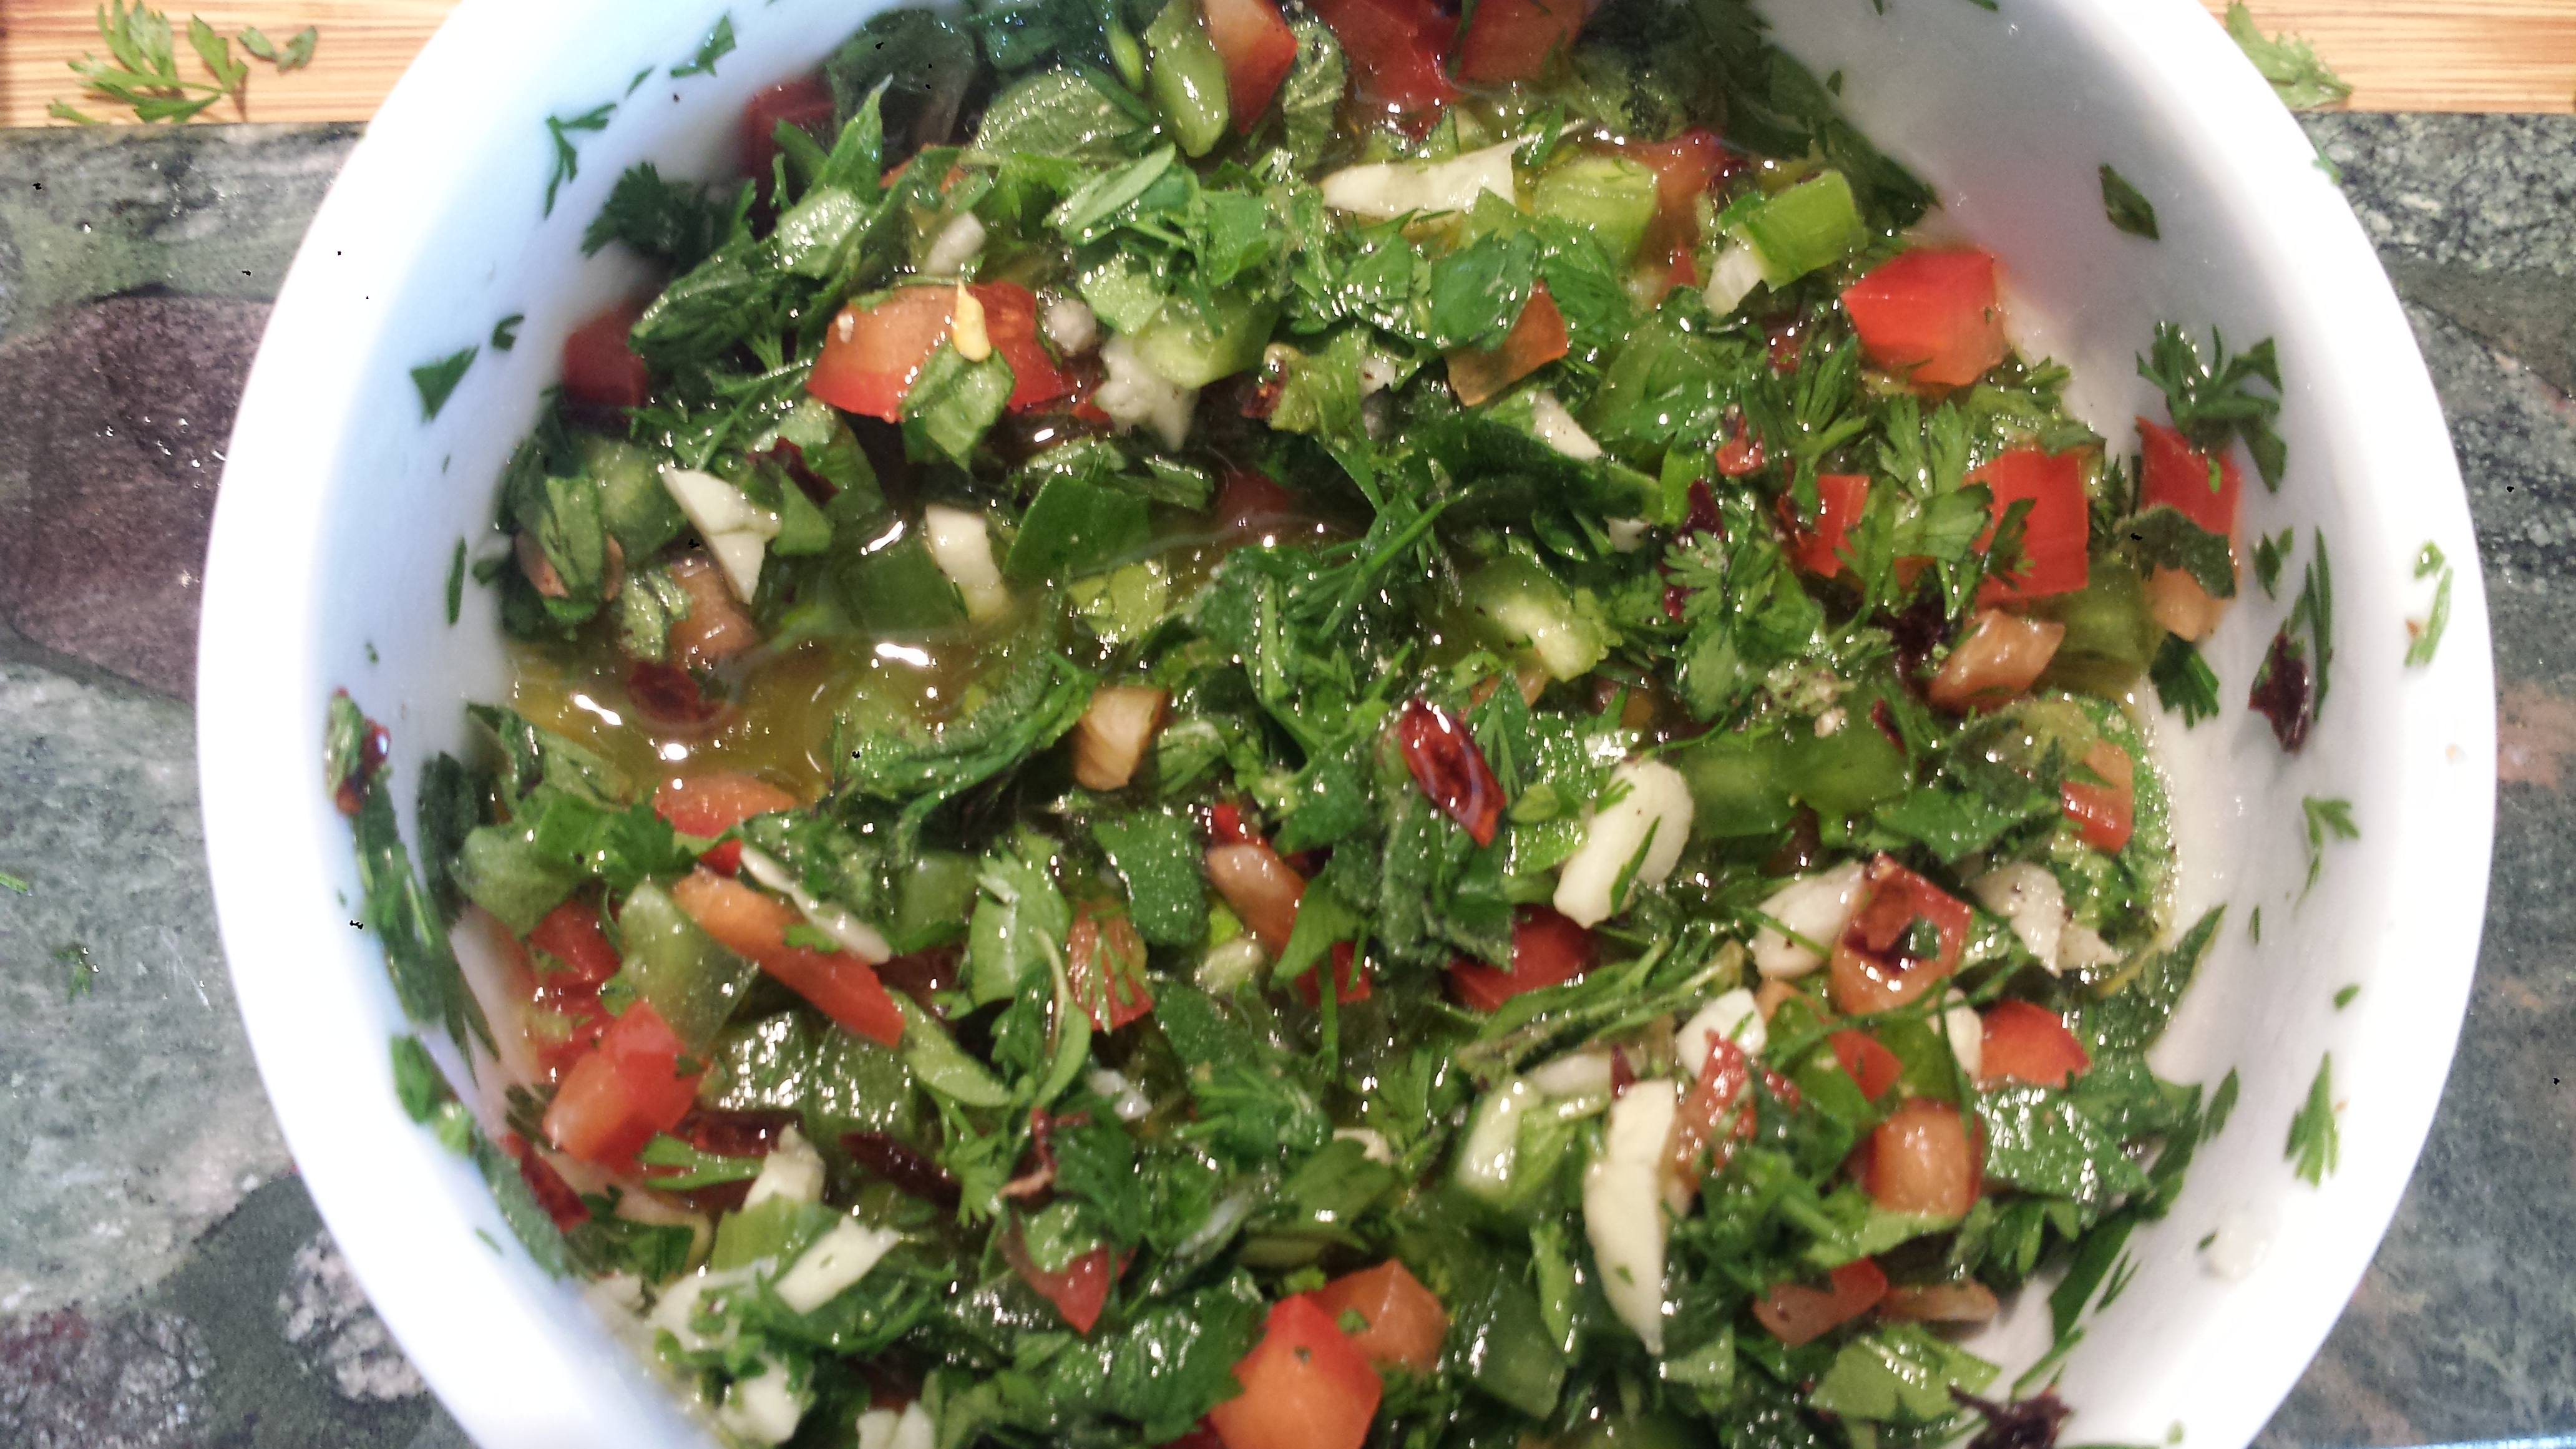
- Mix all Chimichurri ingredients together in a small bowl and set aside.

- Combine tofu marinade ingredients and brush them onto tofu covering top, bottom and all sides. Marinade should be fairly thick and pasty. Set aside.

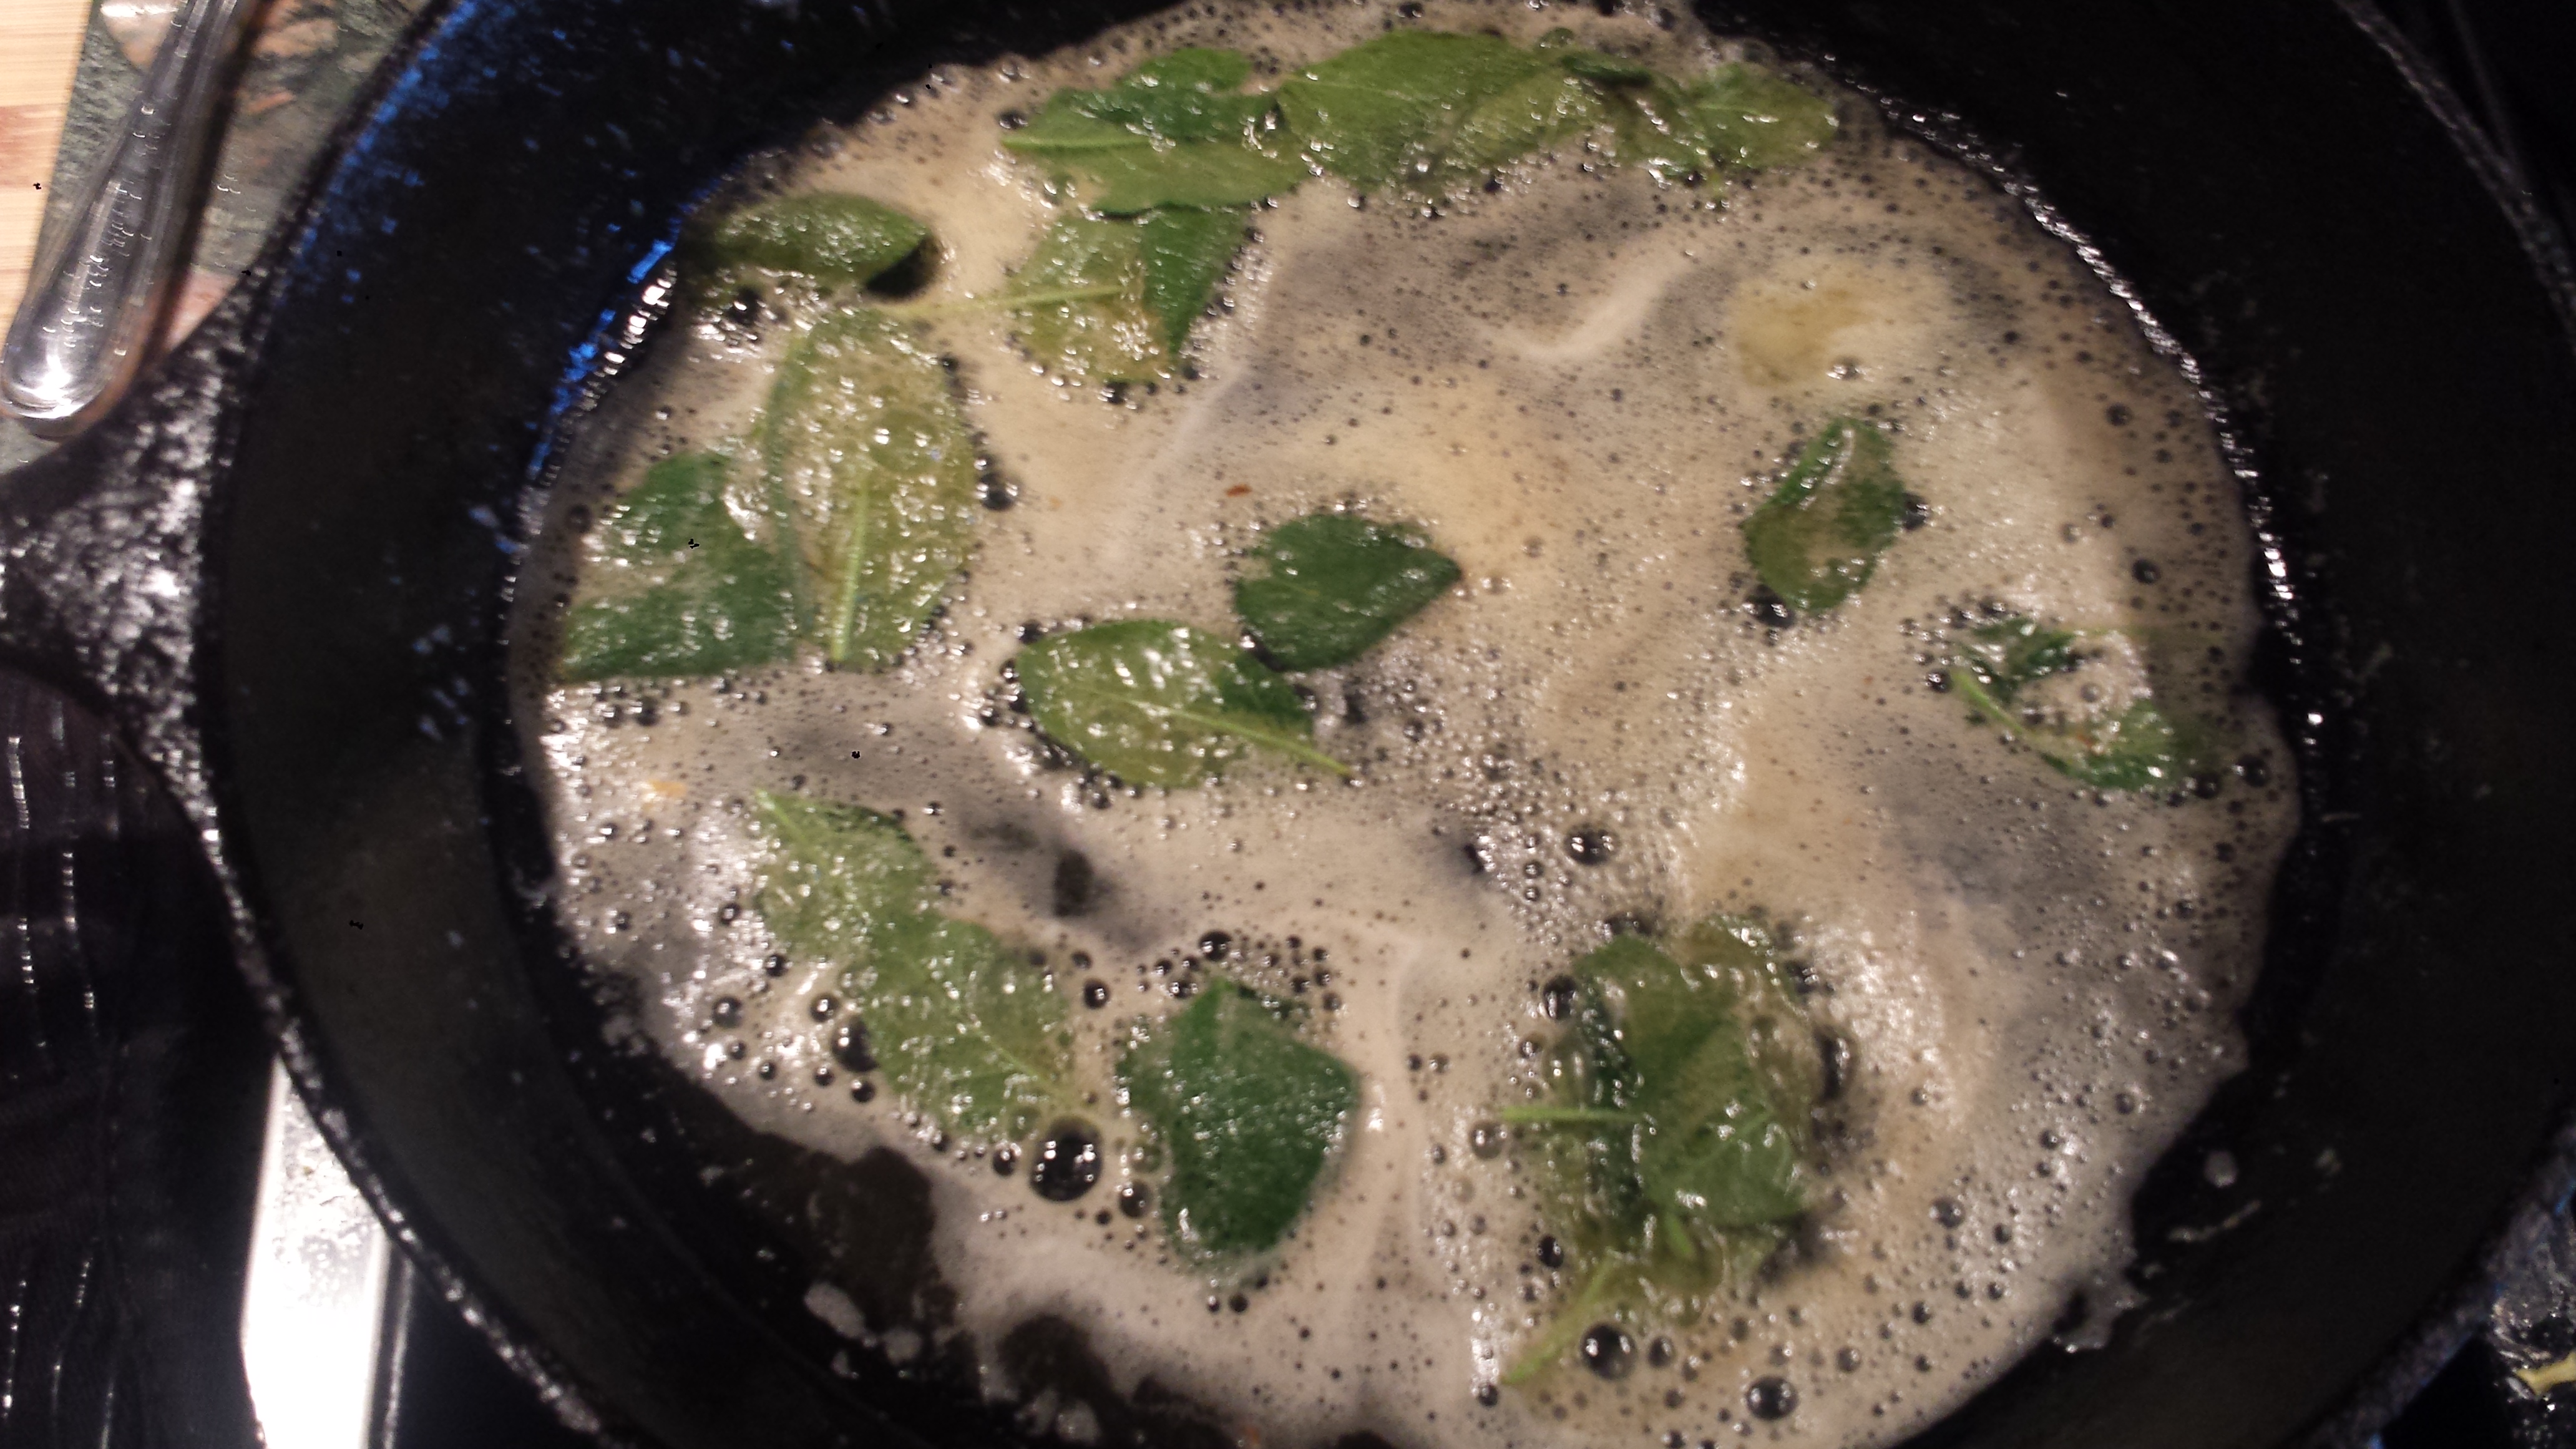
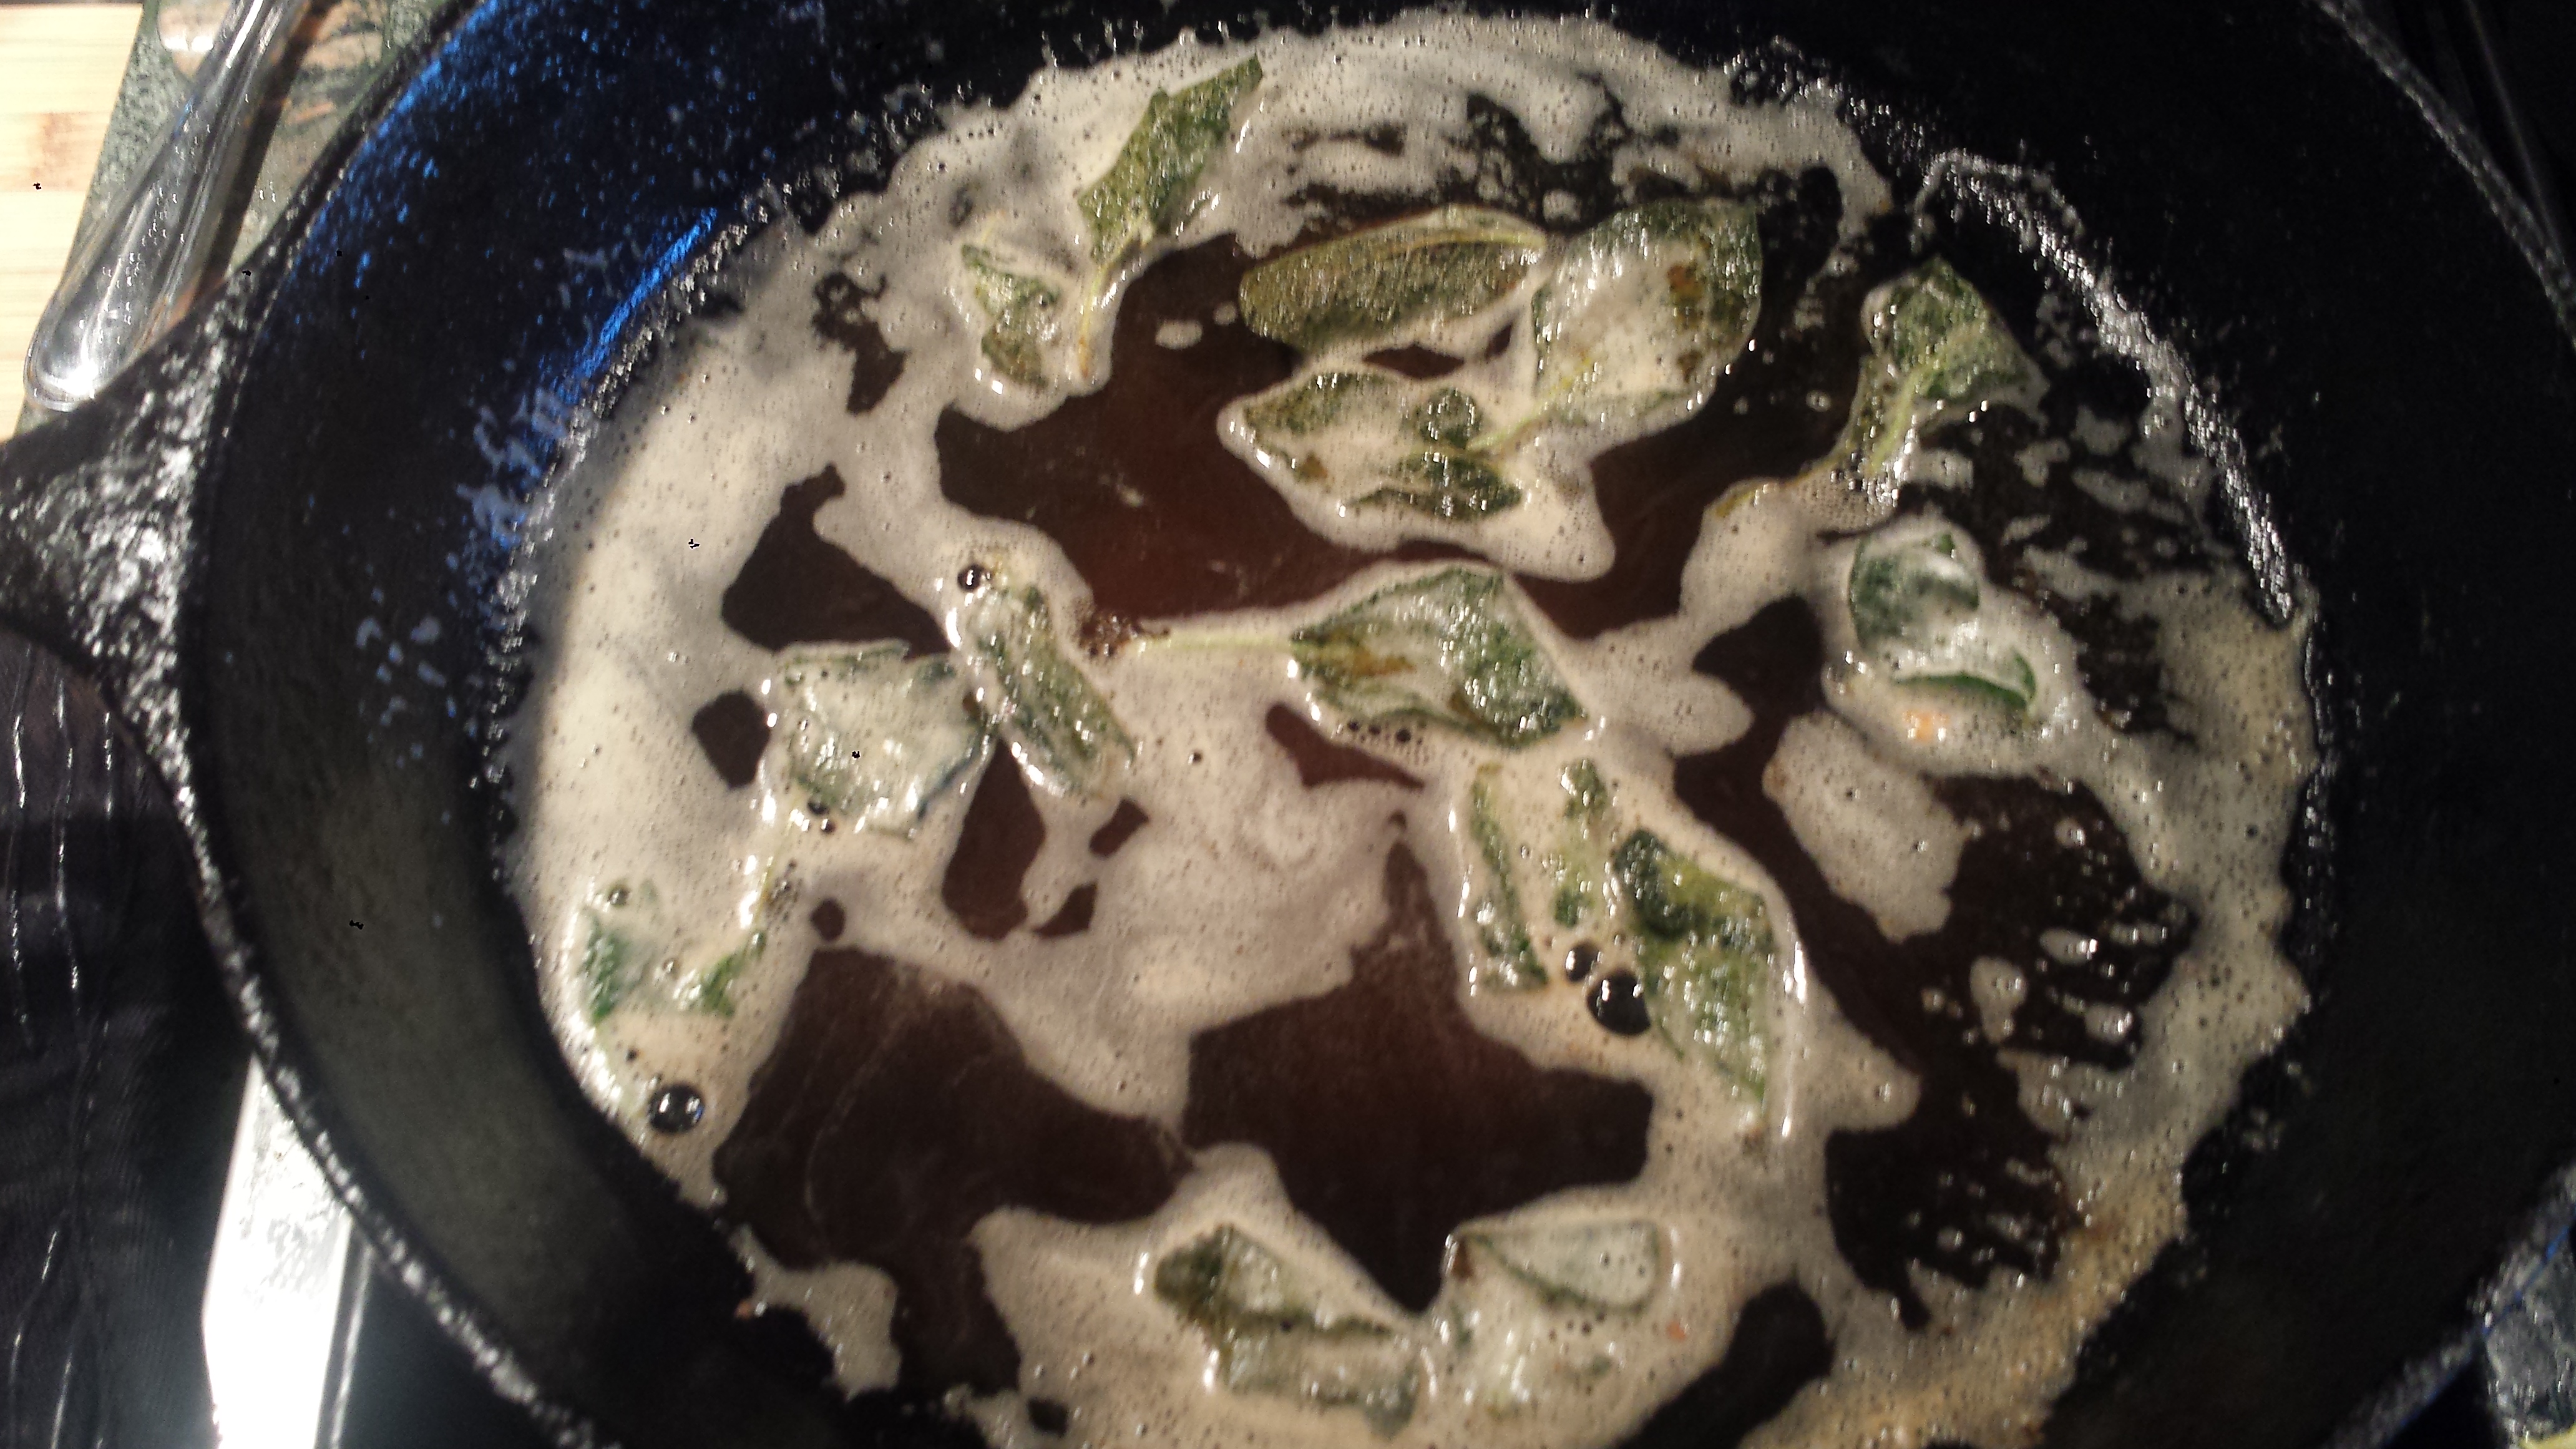
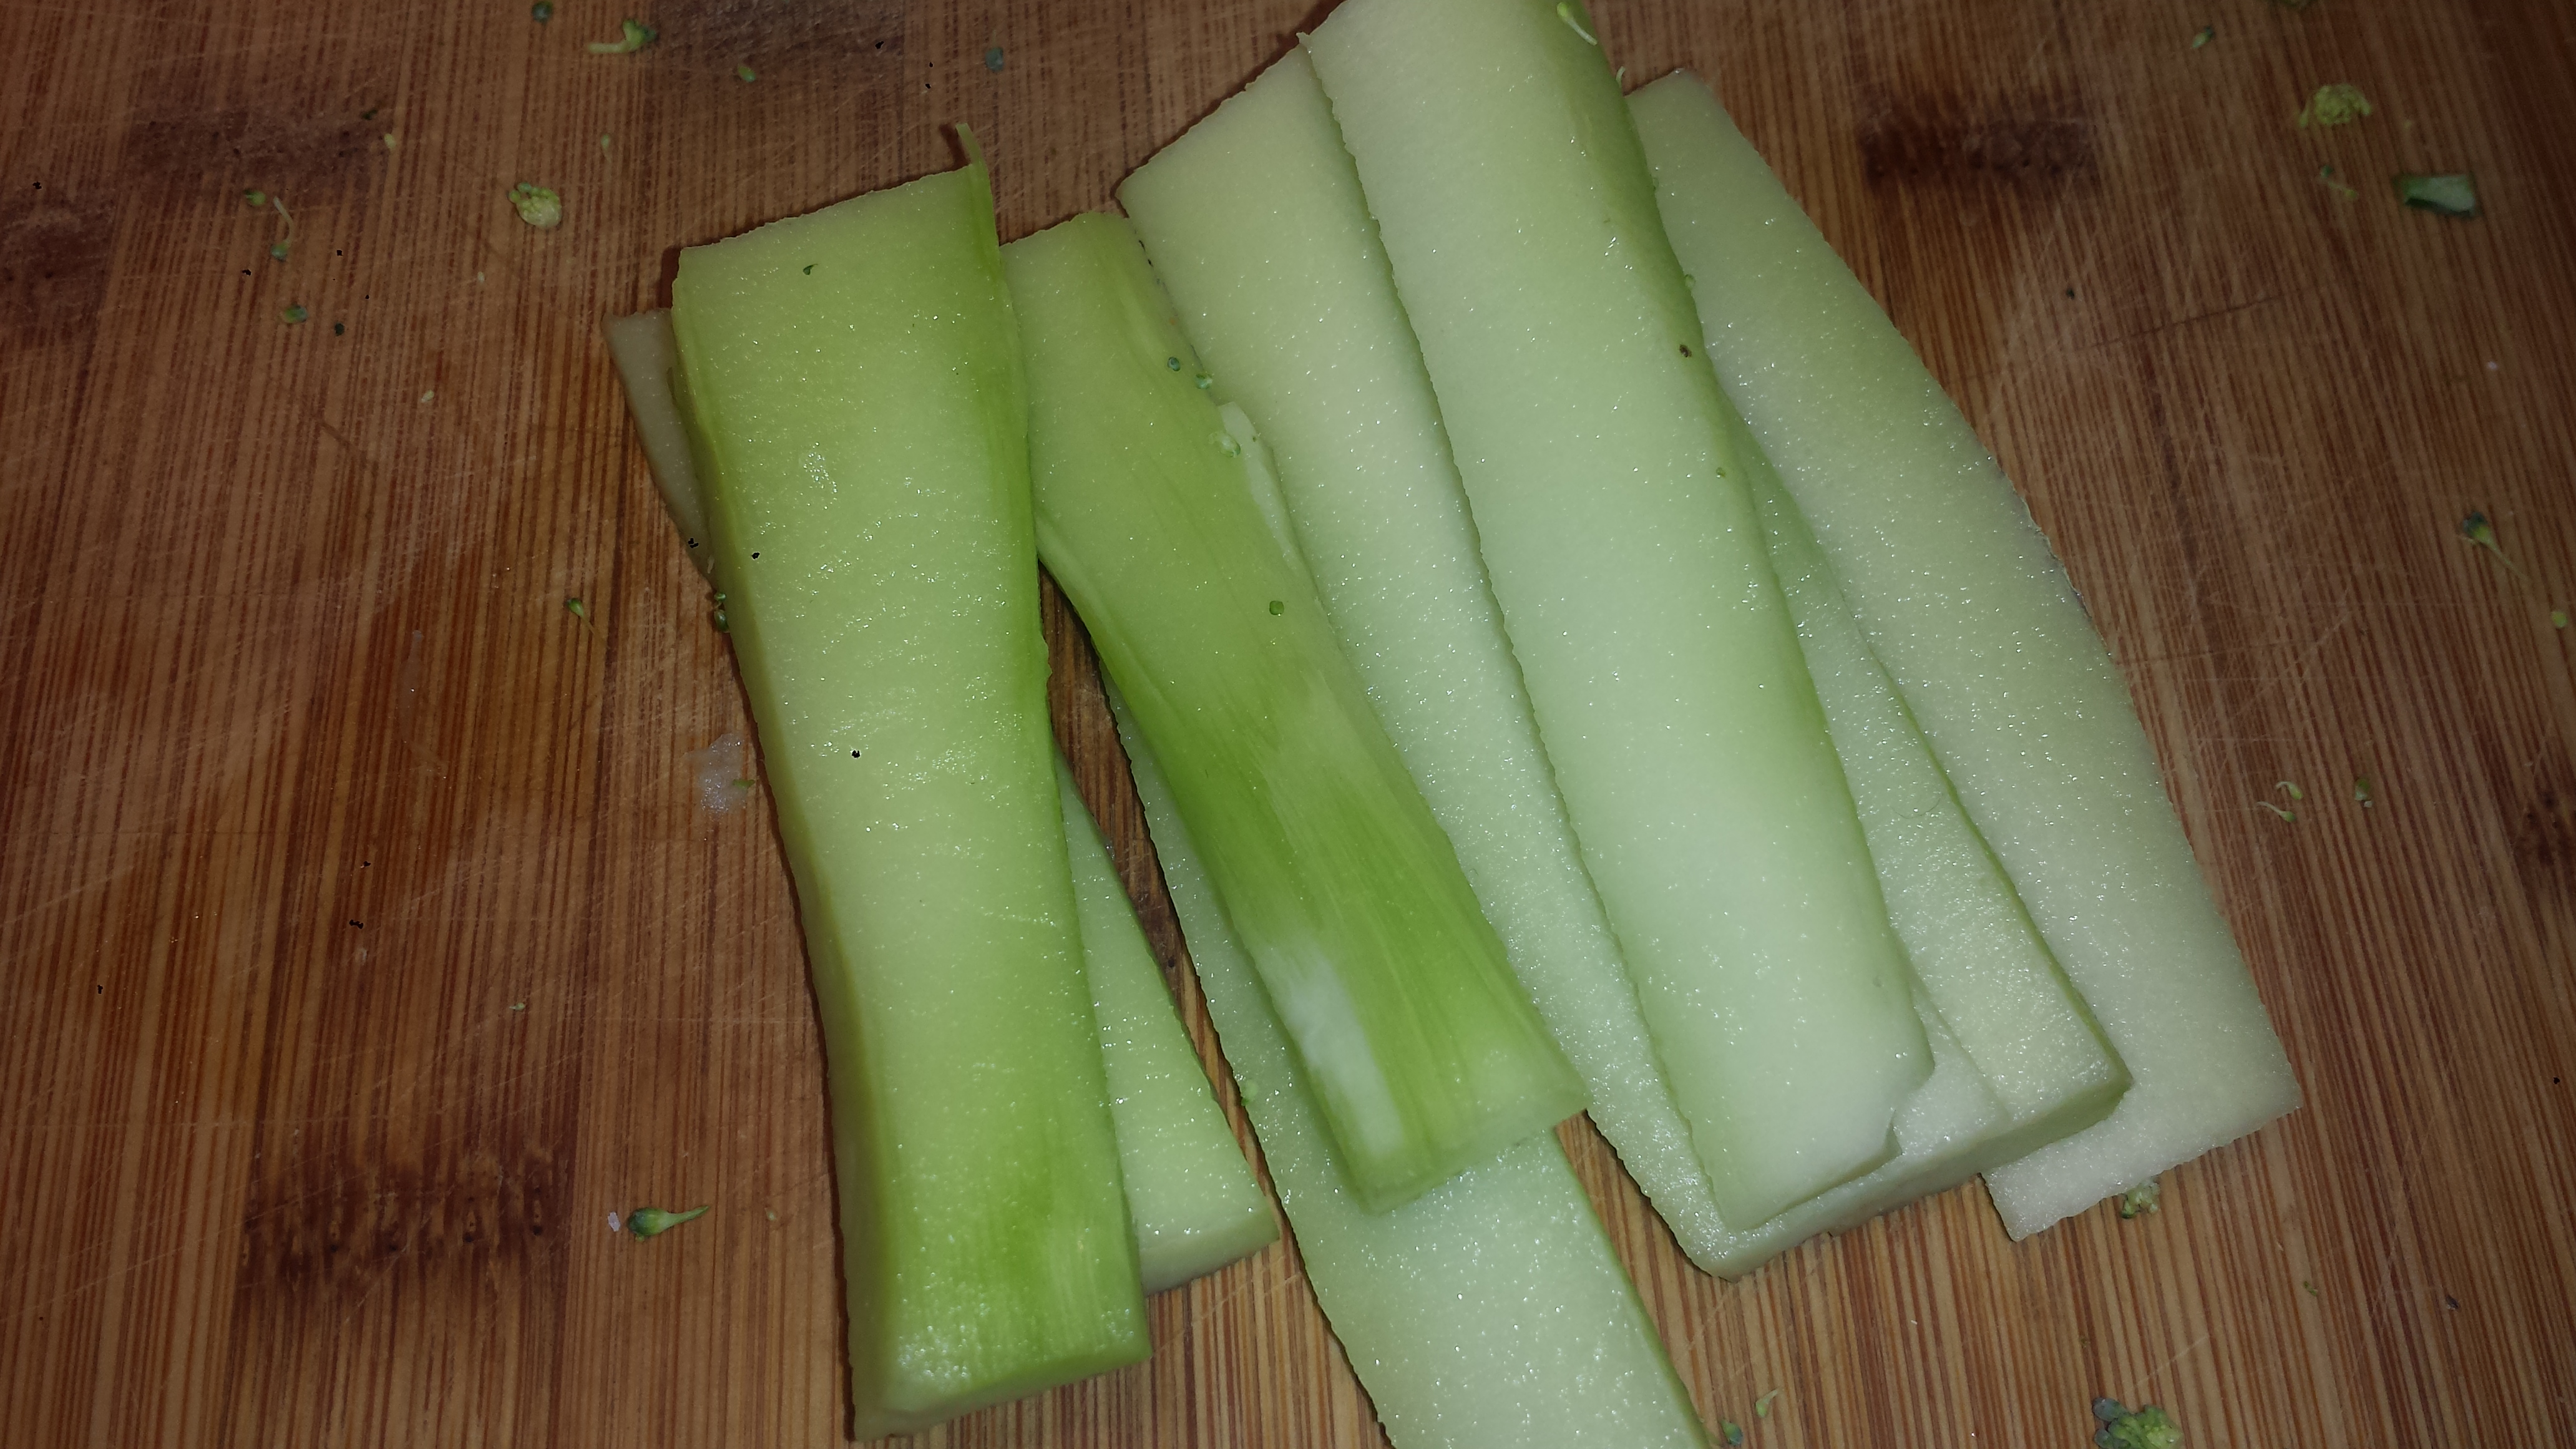
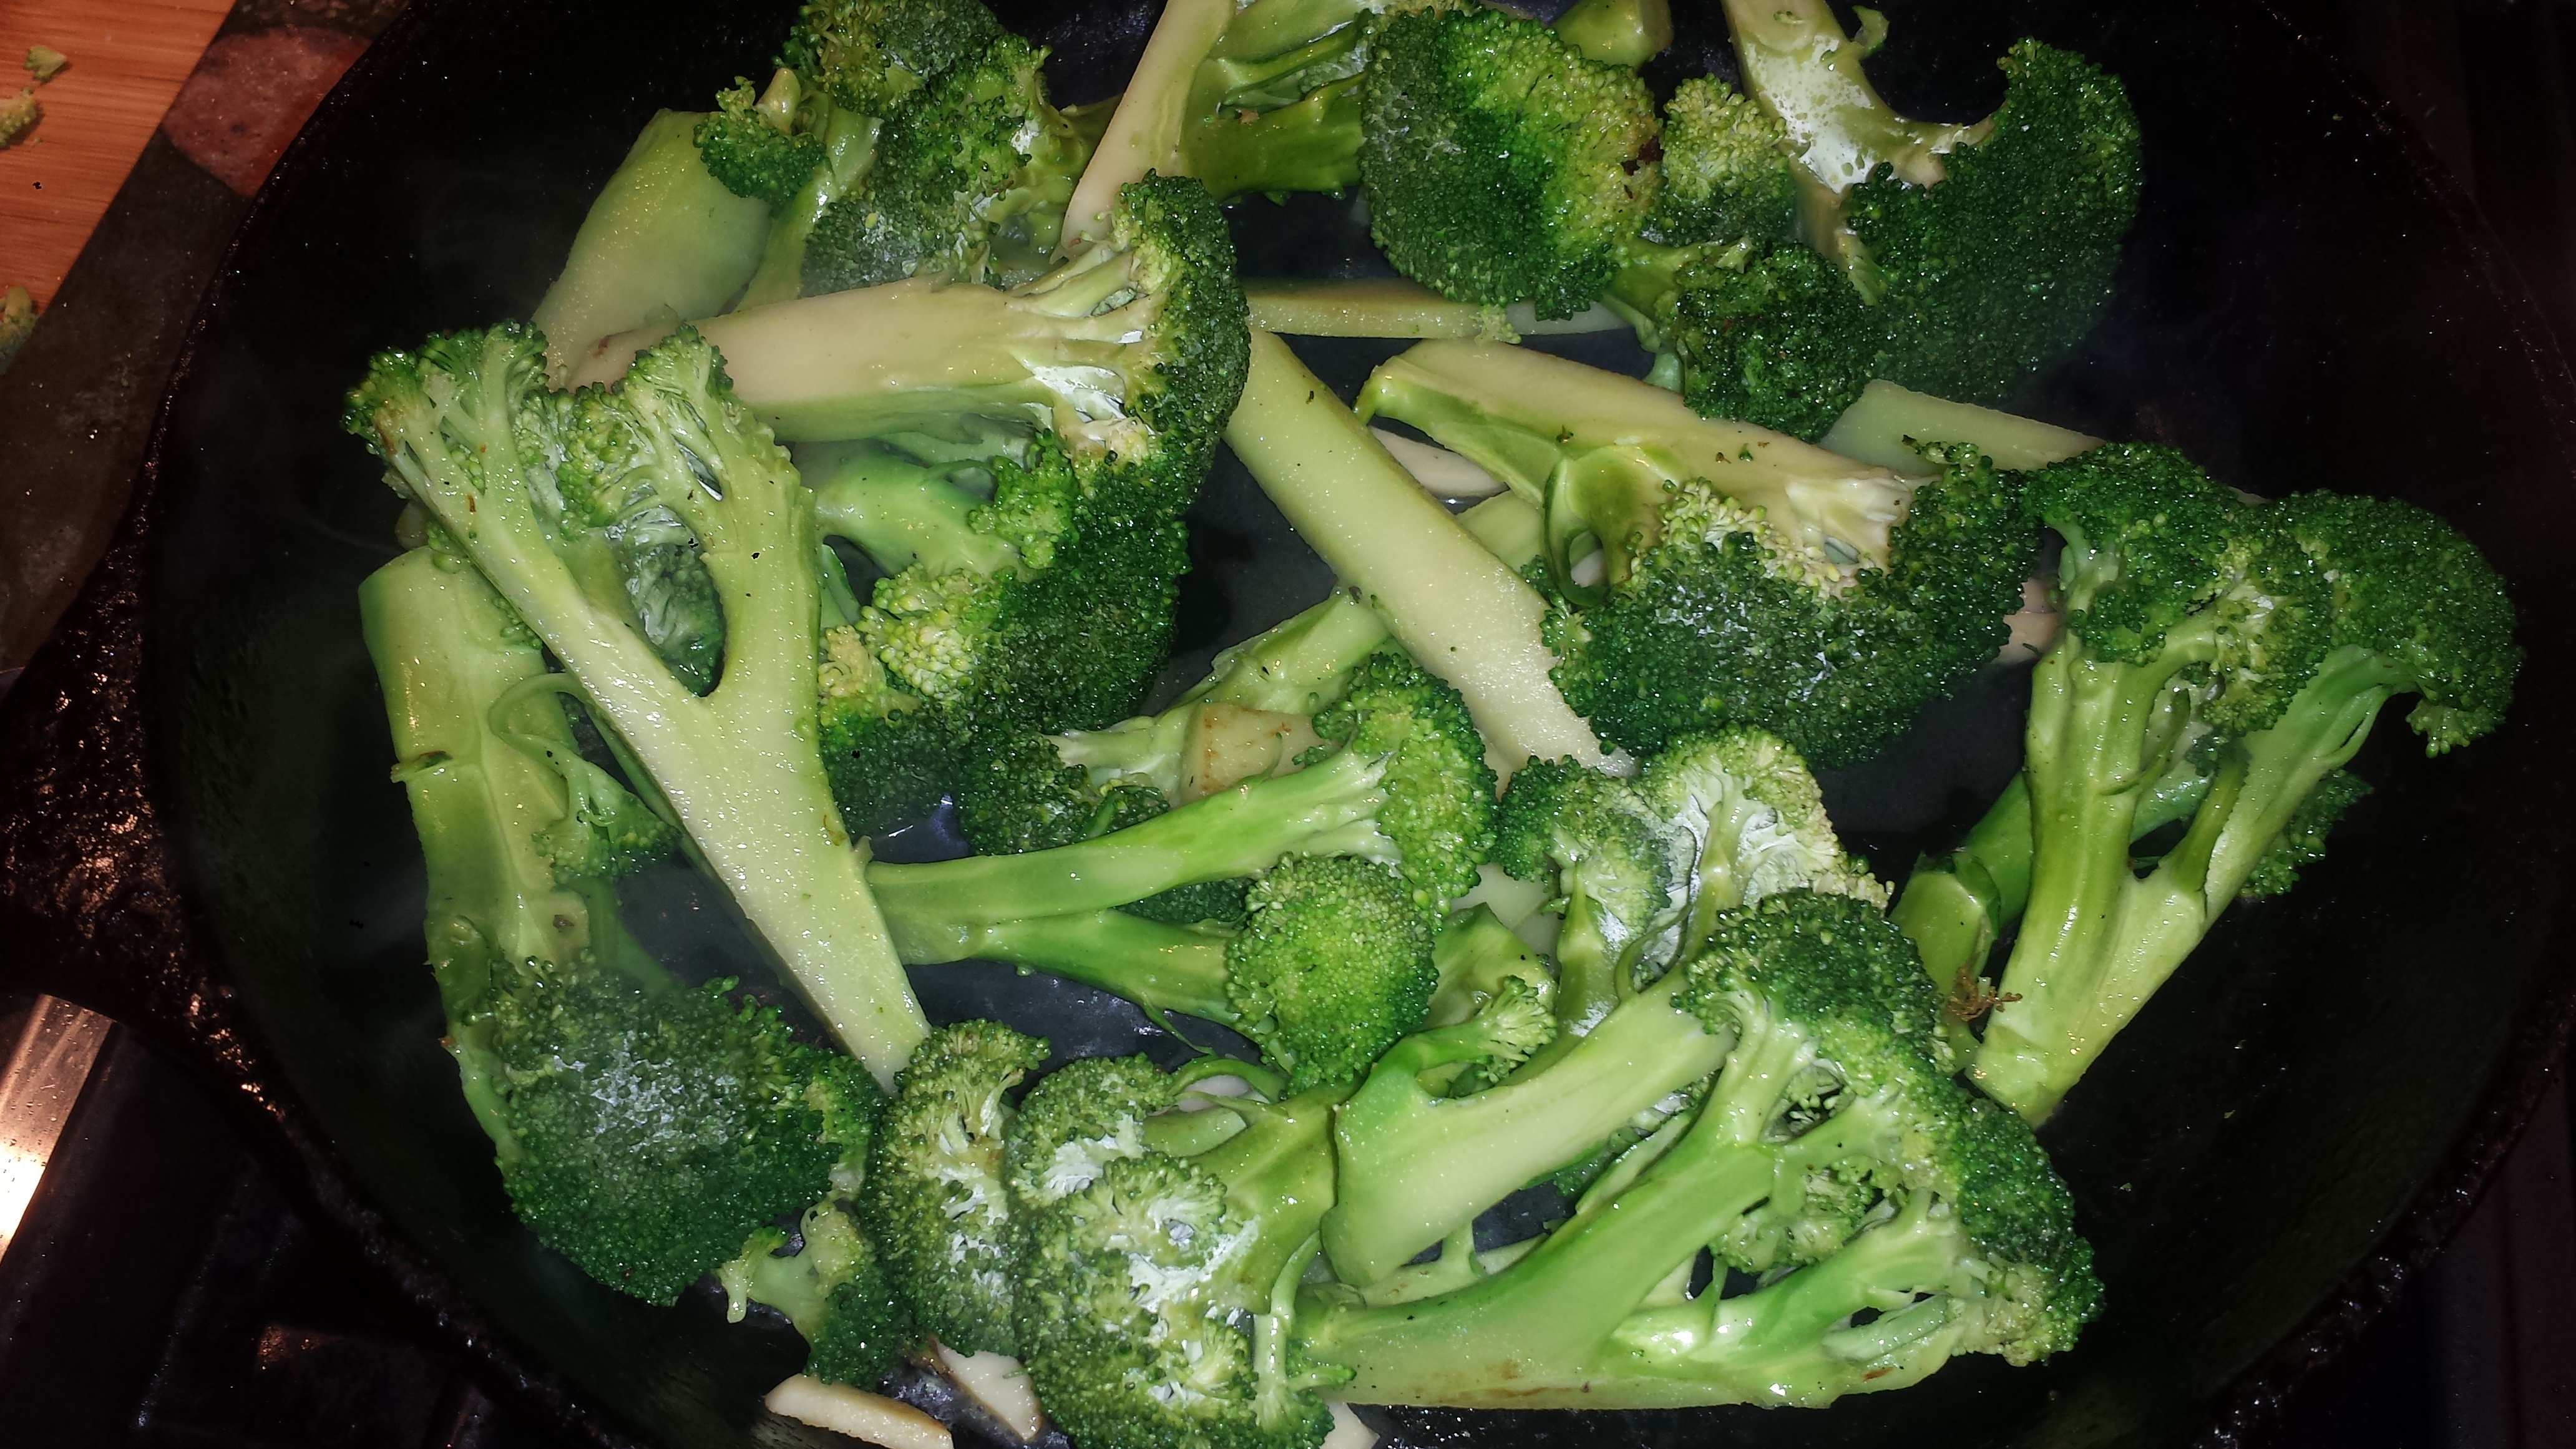
- If you are serving with rice, get it started. If you are preparing a vegetable, like baby broccolini, heat 2-3 tablespoons olive oil in a heavy skillet and saute broccolini with some chopped garlic, 8 to 10 minutes. Sprinkle with salt and pepper. Remove from pan and tent with foil or cover and use a new pan for the tofu.

- Add more oil to the pan if necessary, or use a grill pan or grill, and heat on medium high until almost smoking. Add tofu and cook 3-4 minutes until golden brown. Turn and cook the other side another 3-4 minutes.
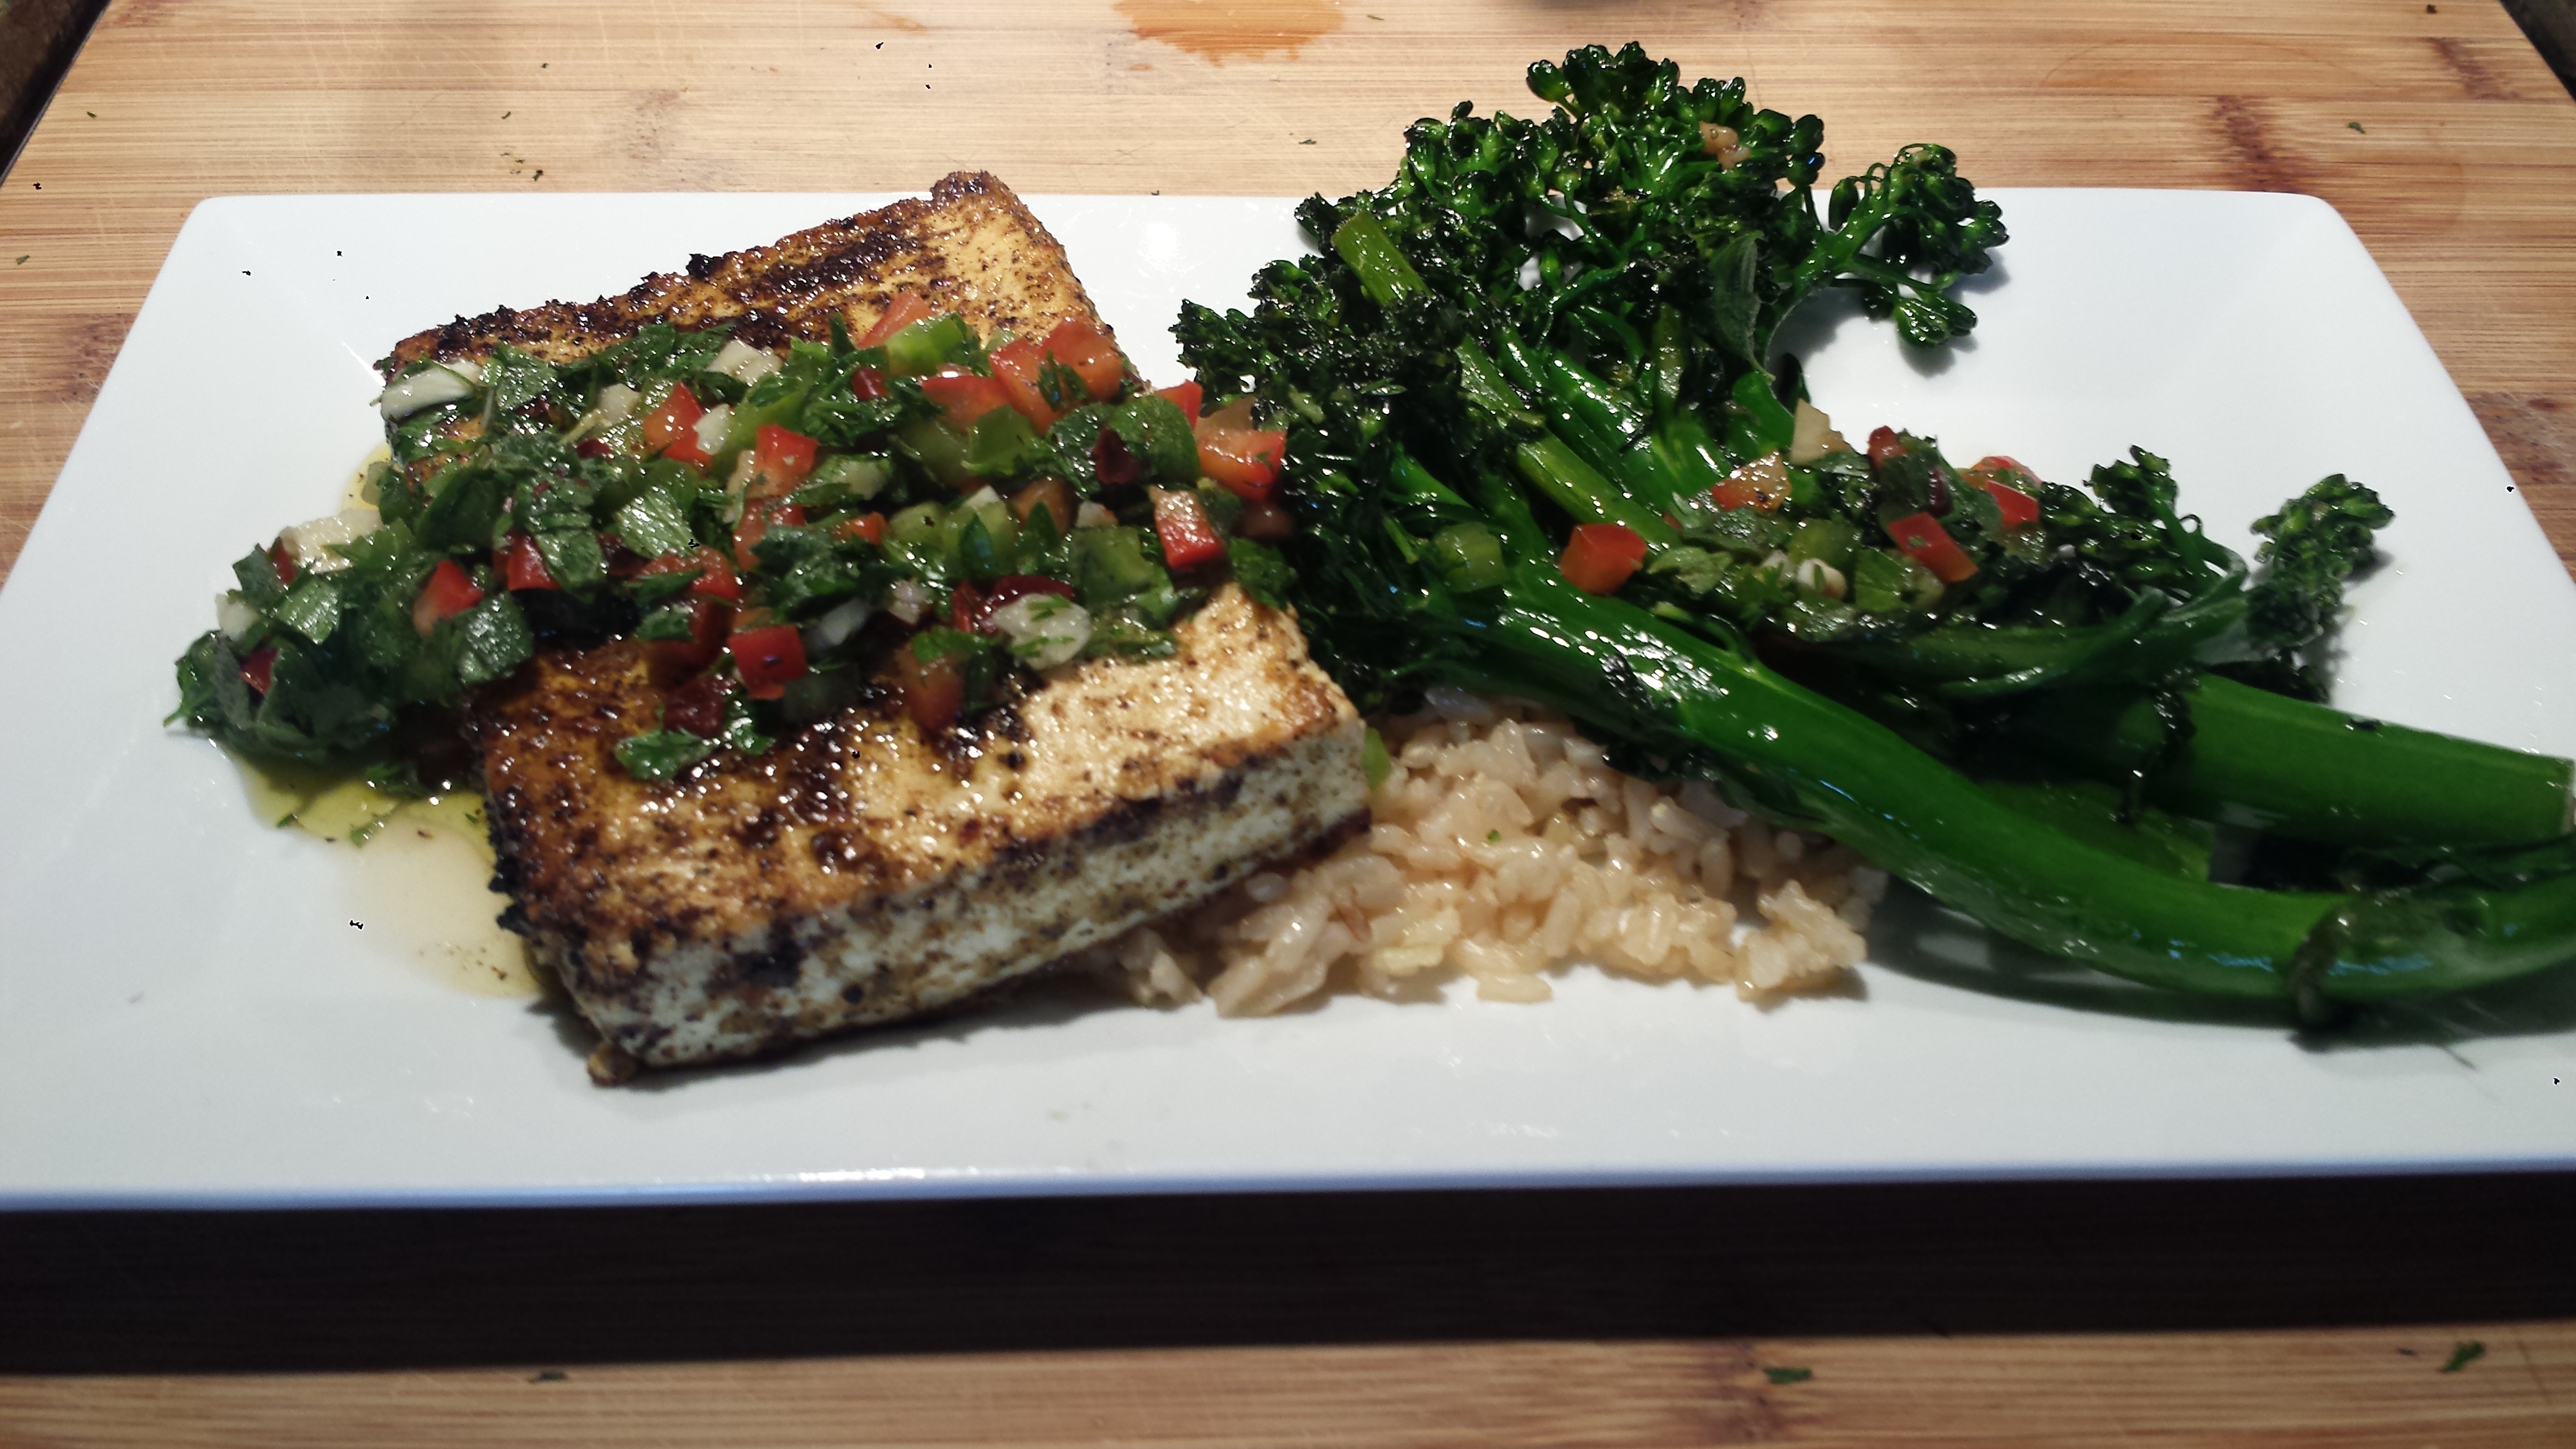
- Serve with a big spoonful of chimichurri sauce.
15 – 16 oz extra firm tofu Tofu Marinade: Chimichurri Sauce:Tofu Steaks with Chimichurri Sauce
1/4 cup avocado oil (or other high heat oil)
1 bunch broccolini(optional)
1 cup brown rice (optional)
2 Tbsn olive oil
1 tsp garlic powder
1 tsp onion powder
1 tsp cumin
1/2 tsp cayenne pepper
1/2 tsp salt
1/2 tsp pepper
1/3 cup extra-virgin olive oil
1/4 cup freshly squeezed lemon juice (or red wine vinegar)
2 large garlic cloves, minced
1/4 cup fresh oregano, finely chopped
1/2 cup flat-leaf parsley, finely chopped
1/2 tsp salt
1 fresh red chili pepper, seeded and minced (or 1 tsp dried hot pepper flakes-or both)