OKRA, Love it or Leave it? Where do you come down on this divisive vegetable? There doesn’t seem to be room for ambivalence here. People seem to love it or hate it. Okra happens to be my husband’s absolute favorite vegetable, and unfortunately for him, it has always been my least favorite, so I have avoided it as much as possible, until now. I have always found okra to be gluey and sticky so when I ran across a recipe which chars the okra in a ‘screaming hot pan’ to cook off the mucilage that makes okra slimy slippery, I was hoping for a winner. Well I was not disappointed. Thank you Keith at Mad Delicious for the excellent recipe! You have made me an okra believer! Even those who are not fans of okra may change their minds with this one which combines smokey okra, charred onion and garlic, along with sweet wilted tomato and a sprinkling of fresh herbs and lemon zest. You just may be pleasantly surprised!

What is okra anyway? Okra, which is also called ladies’ fingers, bhindi, bamia, ochro or gumbo depending on where you are in the world, is a flowering plant in the mallow family which makes it related to cotton, cocoa, and hibiscus. I couldn’t really see the connection between these seemingly dis-similar plants until I ran across the following photo of an okra flower in bloom which actually looks kind of like a hibiscus flower – mystery solved.

Okra Flower Photo Credit: Wikipedia
In spite of it’s reputation for being a somewhat unpopular vegetable (unless you are in the South where it is well loved), Okra is considered a nutrient dense food, which means it supplies a lot of nutrients for a relatively low number of calories. Okra is a good source of calcium, fiber, vitamin C, protein, folate, manganese and magnesium plus phytonutrients; beta carotene, lutein, zeaxanthin (for those keeping track). These are some pretty good reasons to give okra another try. It might just win you over too…

TIPS: The original recipe called for peeling the tomatoes with a serrated peeler before cooking. I don’t have a serrated peeler (my potato peeler didn’t work) and I didn’t want to go to the trouble to blanch and shock the tomatoes in ice water to remove the peels, so I left the skins on with very good results. When selecting okra at the market, choose smaller pods which are less likely to get slippery when cooked. Food gets done pretty quickly when cooked on high heat, so I would recommend having everything chopped and measured before you start cooking.
Recipe adapted from Keith Schroeder,Mad Delicious-Cooking Light July 2015 He’s also got a new cookbook coming out for Cooking Light, “Mad Delicious“, which looks like it might be a good one!
CHARRED OKRA WITH TOMATOES
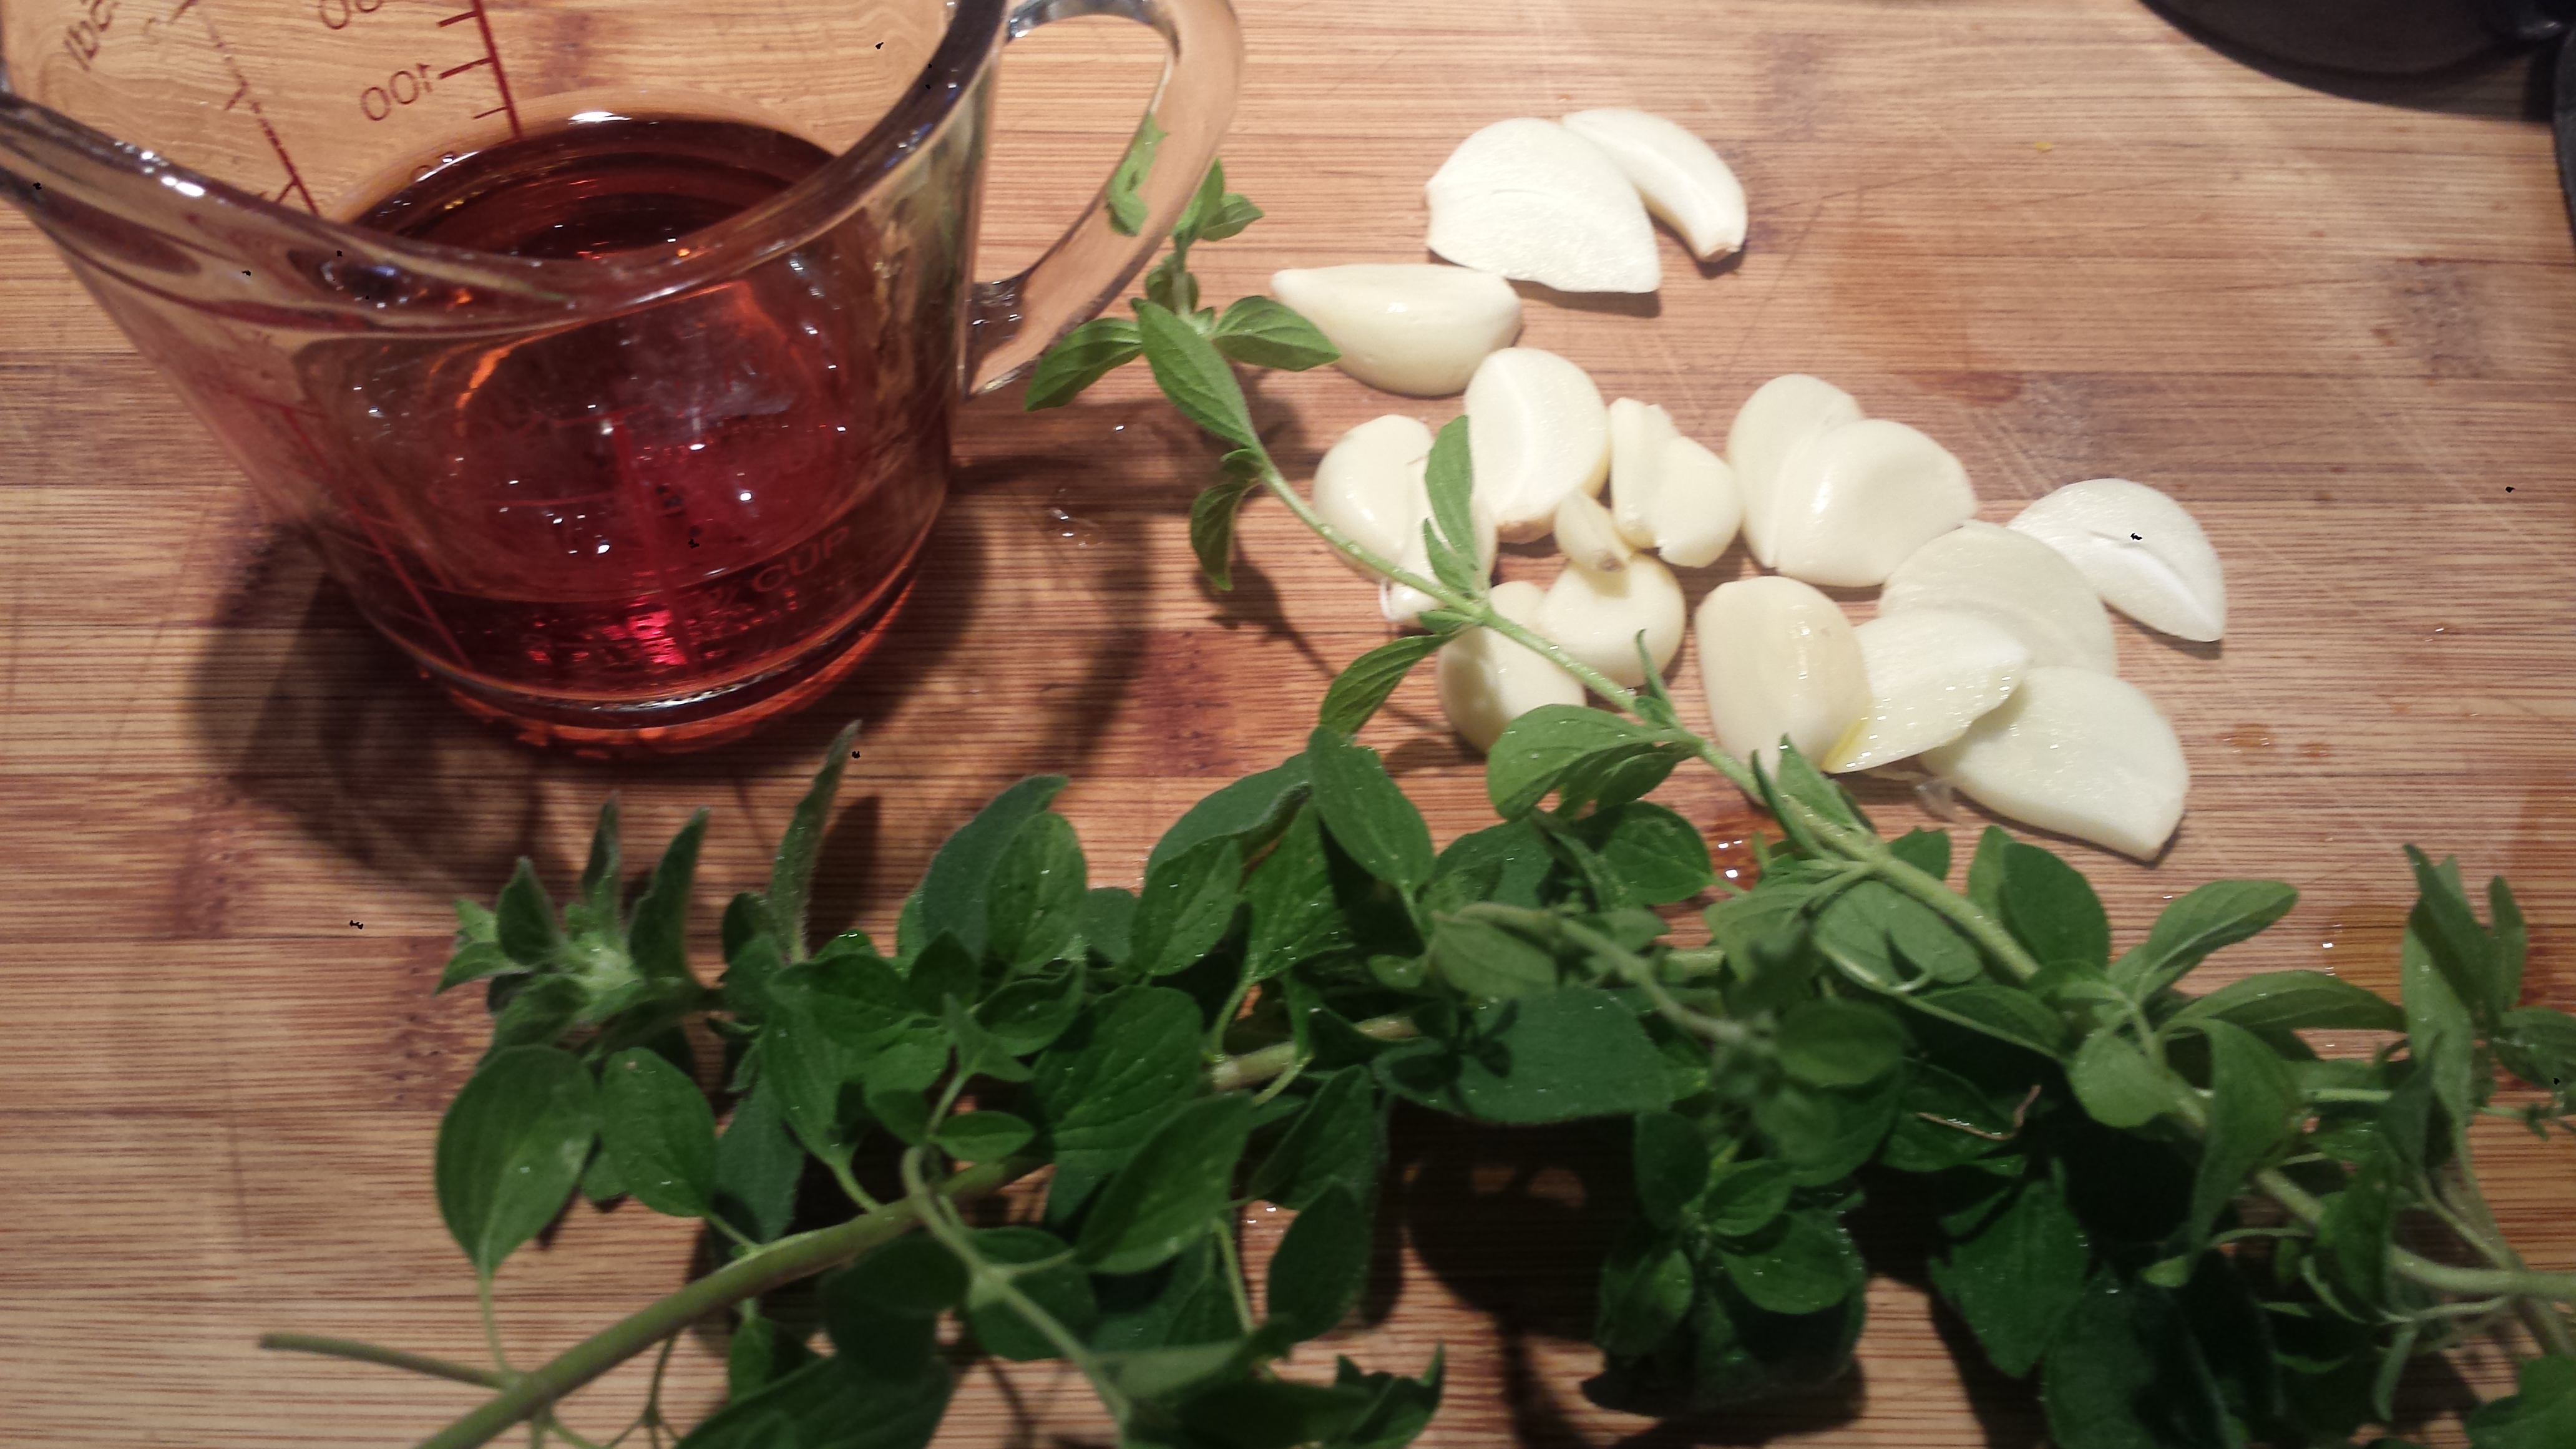
1-2 Tbsn high heat oil (avocado, olive or coconut are good choices)
1/2 lb fresh okra
1 small or 1/2 large onion
3-5 cloves garlic
2-3 plum tomatoes
1/4 tsp sugar
1/4 tsp red pepper flakes
1 Tbsn butter
2 tsp fresh thyme, chopped
1 tsp grated lemon zest
1/2 tsp salt

- Prepare the vegetables. Slice okra in half lengthwise. Halve and slice the onion into thin wedges. Seed and julienne the tomatoes.

- Measure out the sugar, red pepper, butter chopped thyme, lemon zest and salt.

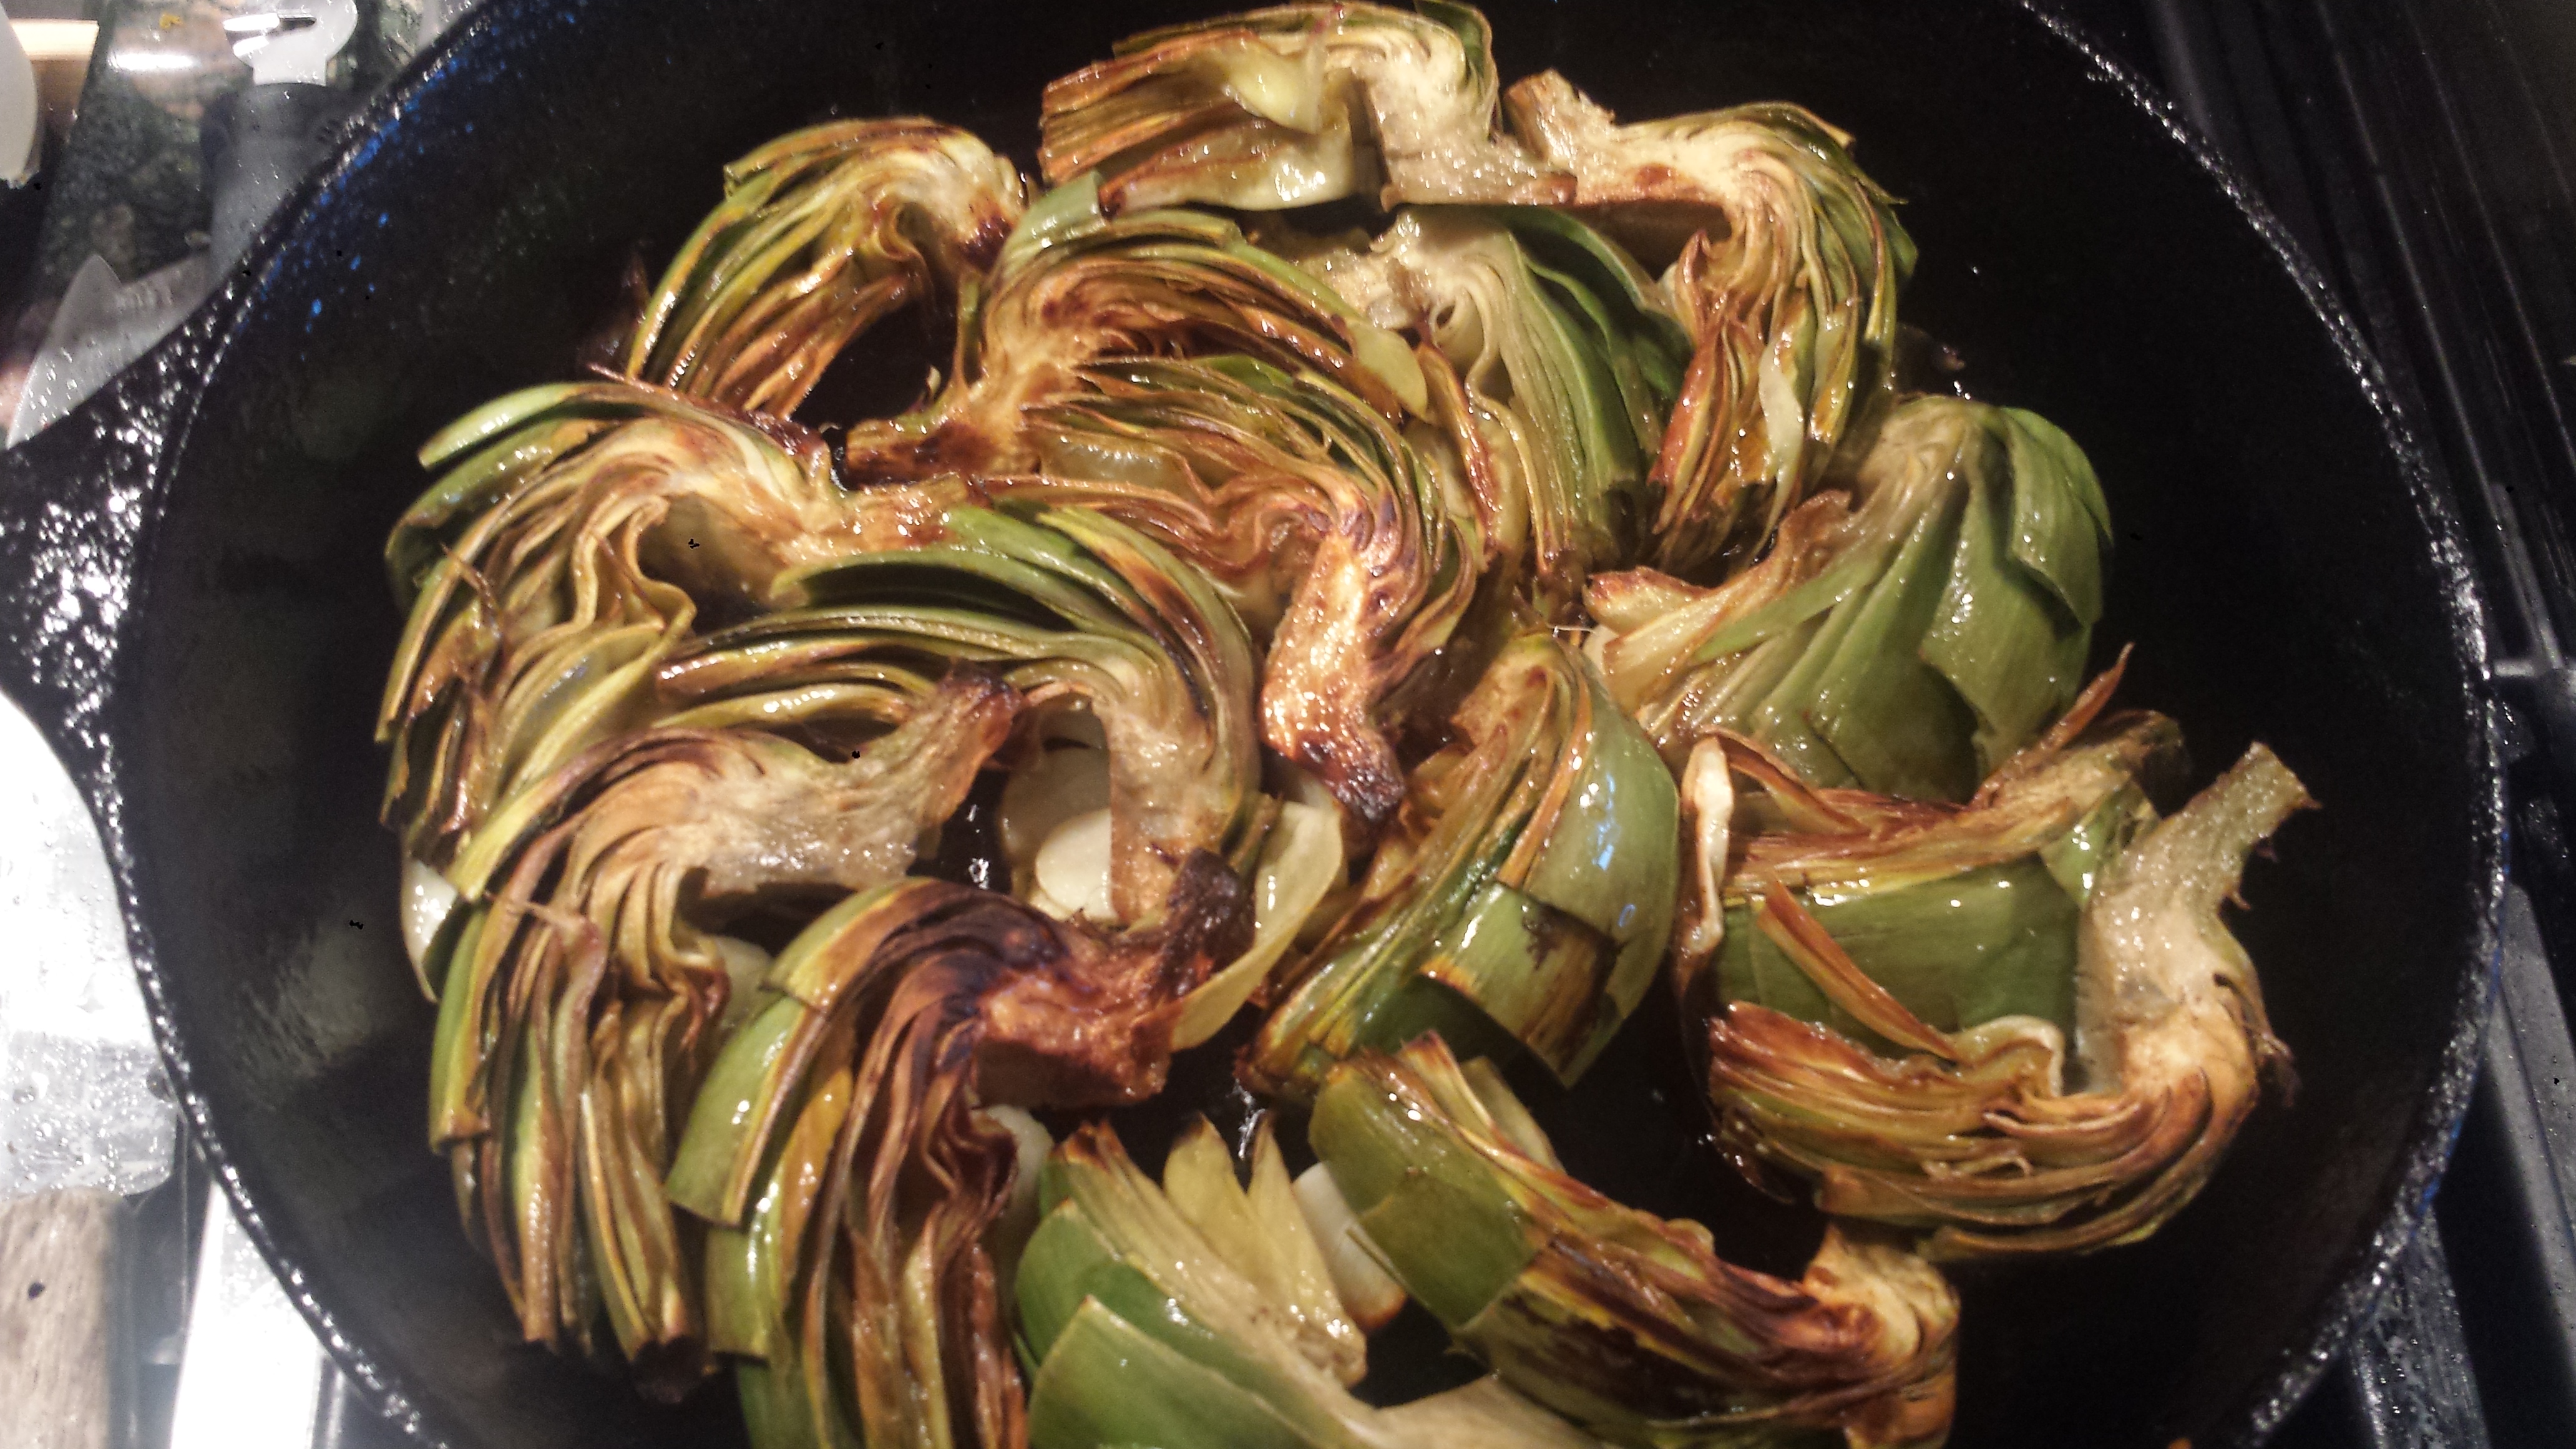
- Heat a large skillet (cast iron if possible) over high heat. Add oil to pan and allow to get hot. Add okra in a single layer, seed side down, and cook without stirring for about 3 minutes or until charred. Stir. (Do in batches if necessary and then stir to combine).

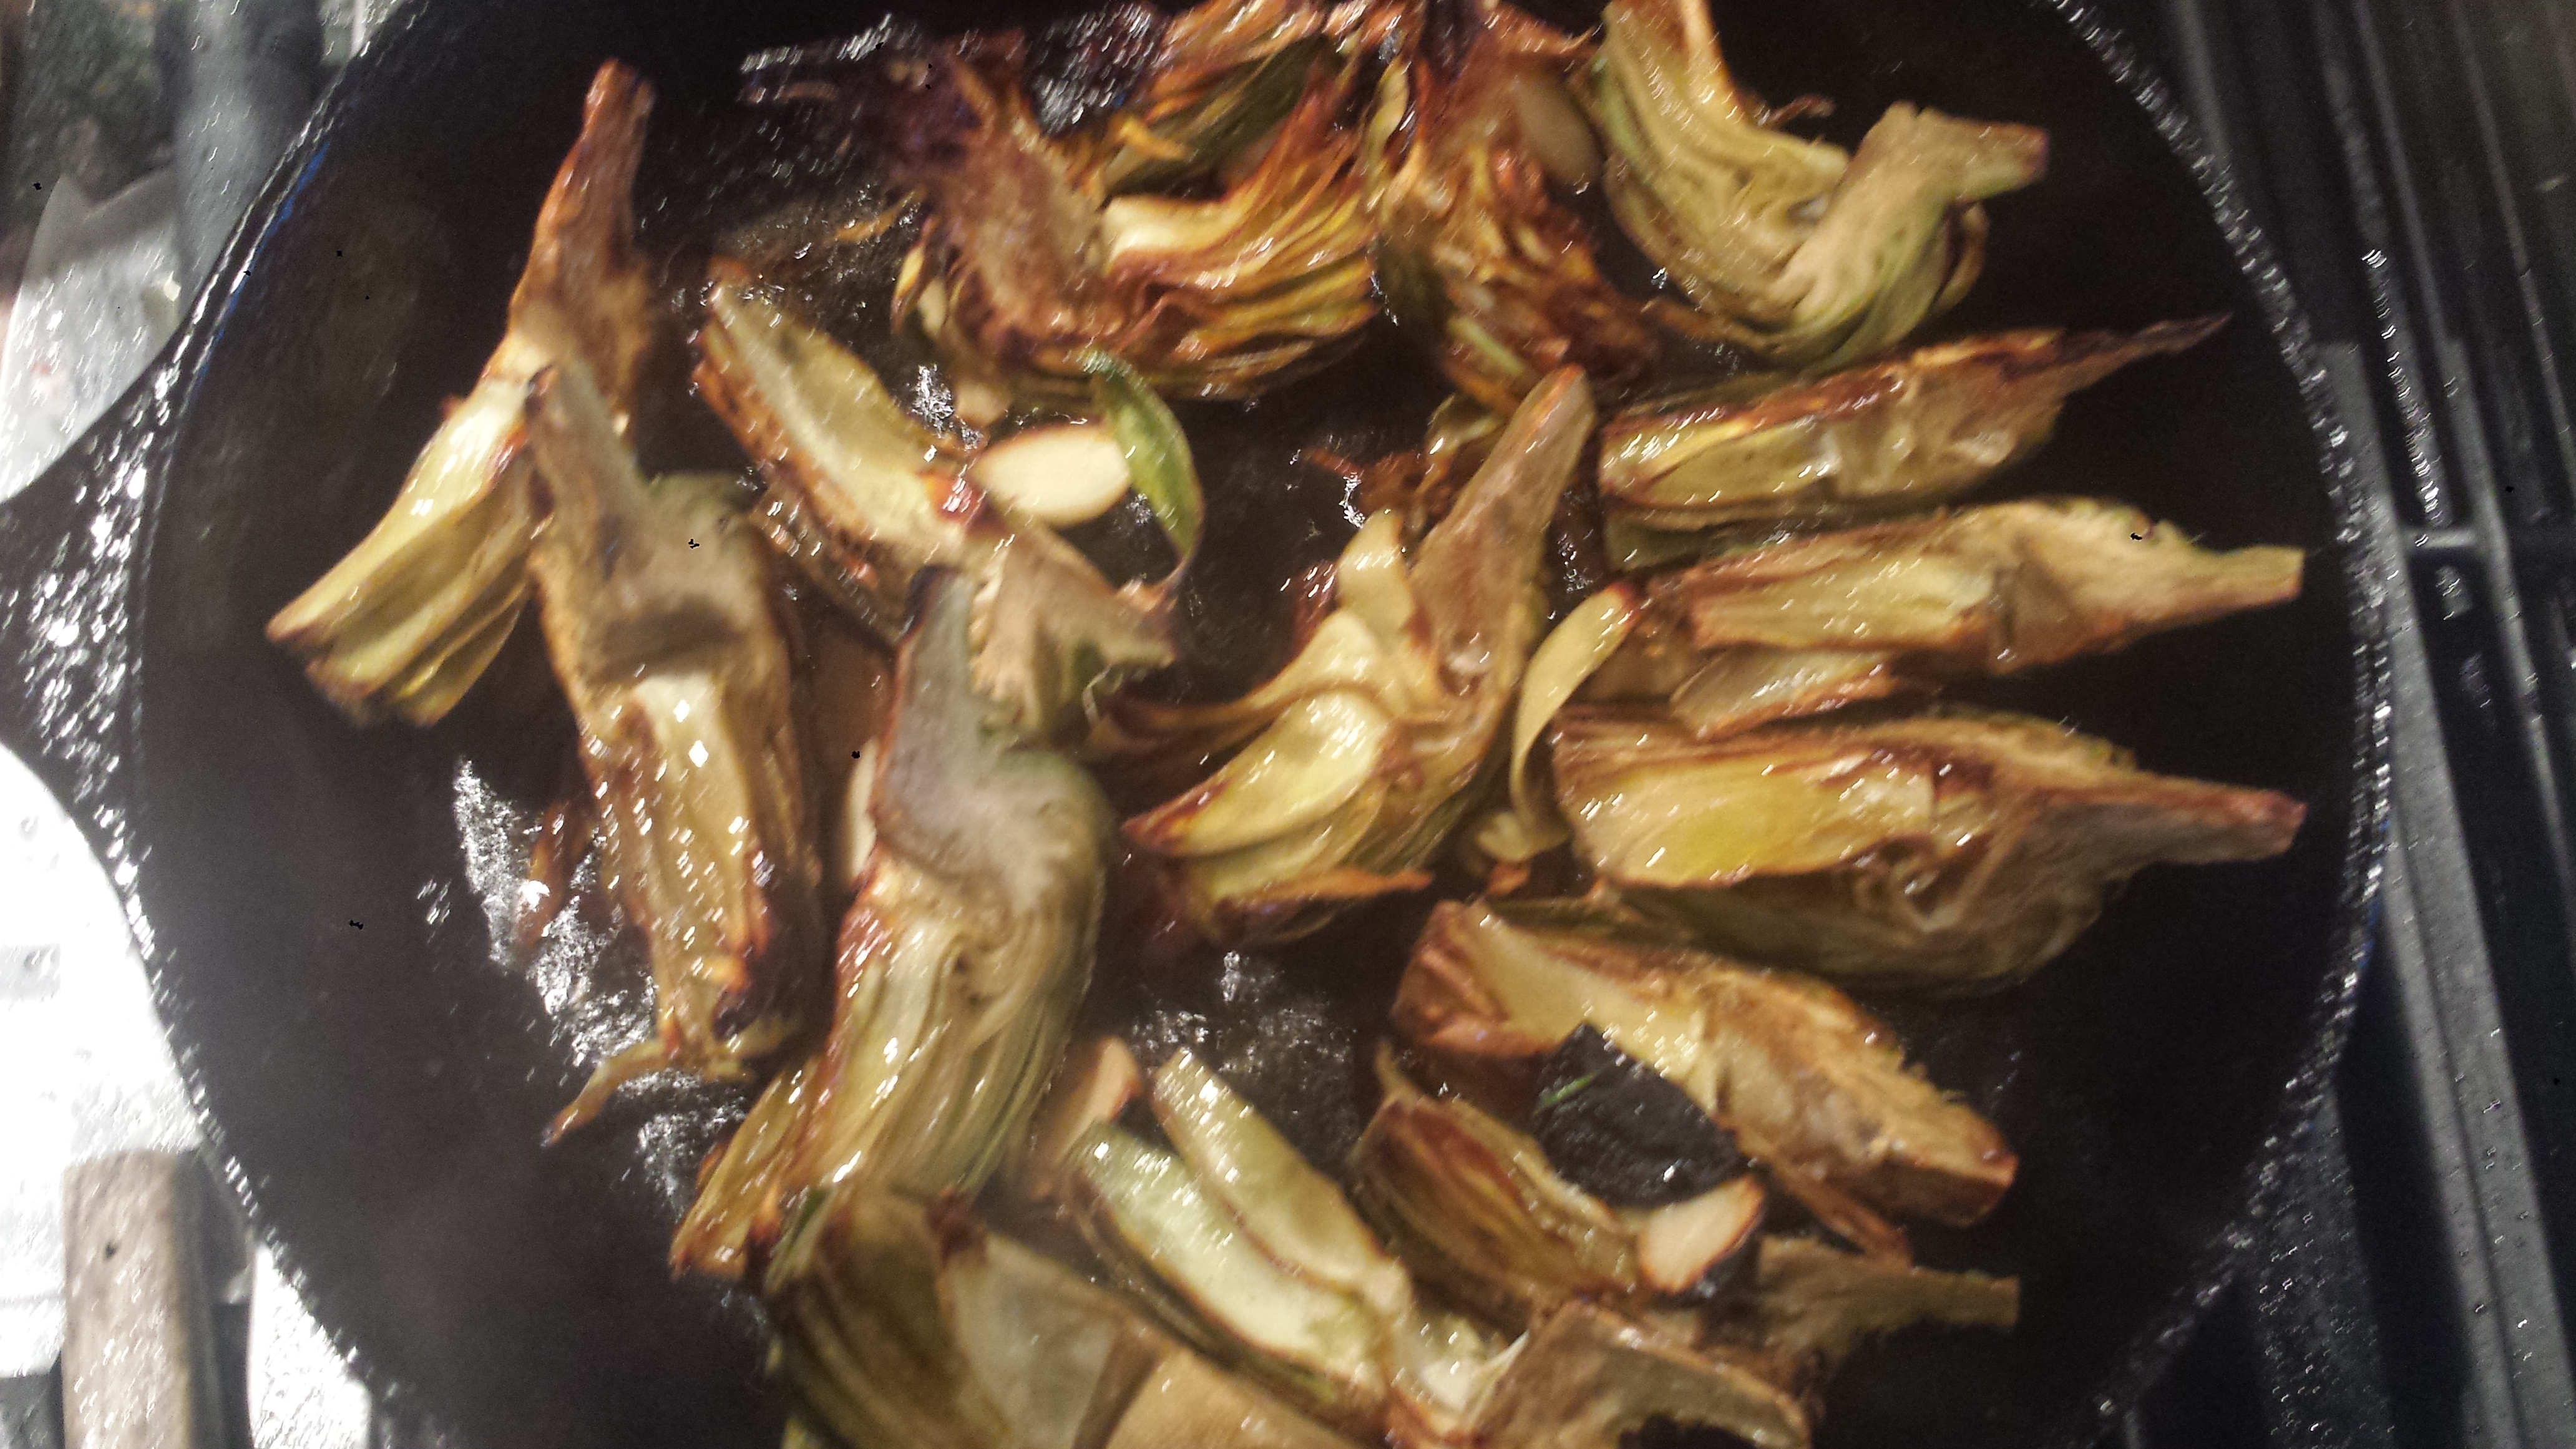
- Add onion and garlic and cook 2-3 minutes or until lightly charred.

- Add tomato, sugar and pepper and cook about a minute, or just to soften the tomatoes.

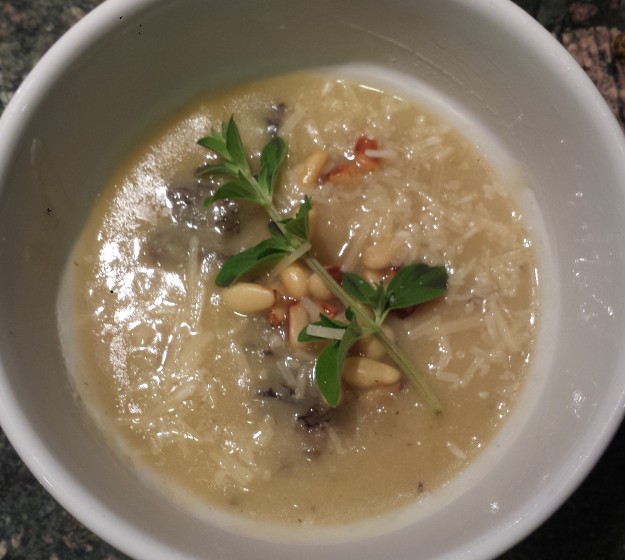
- Remove from heat and stir in butter, thyme, zest and salt.
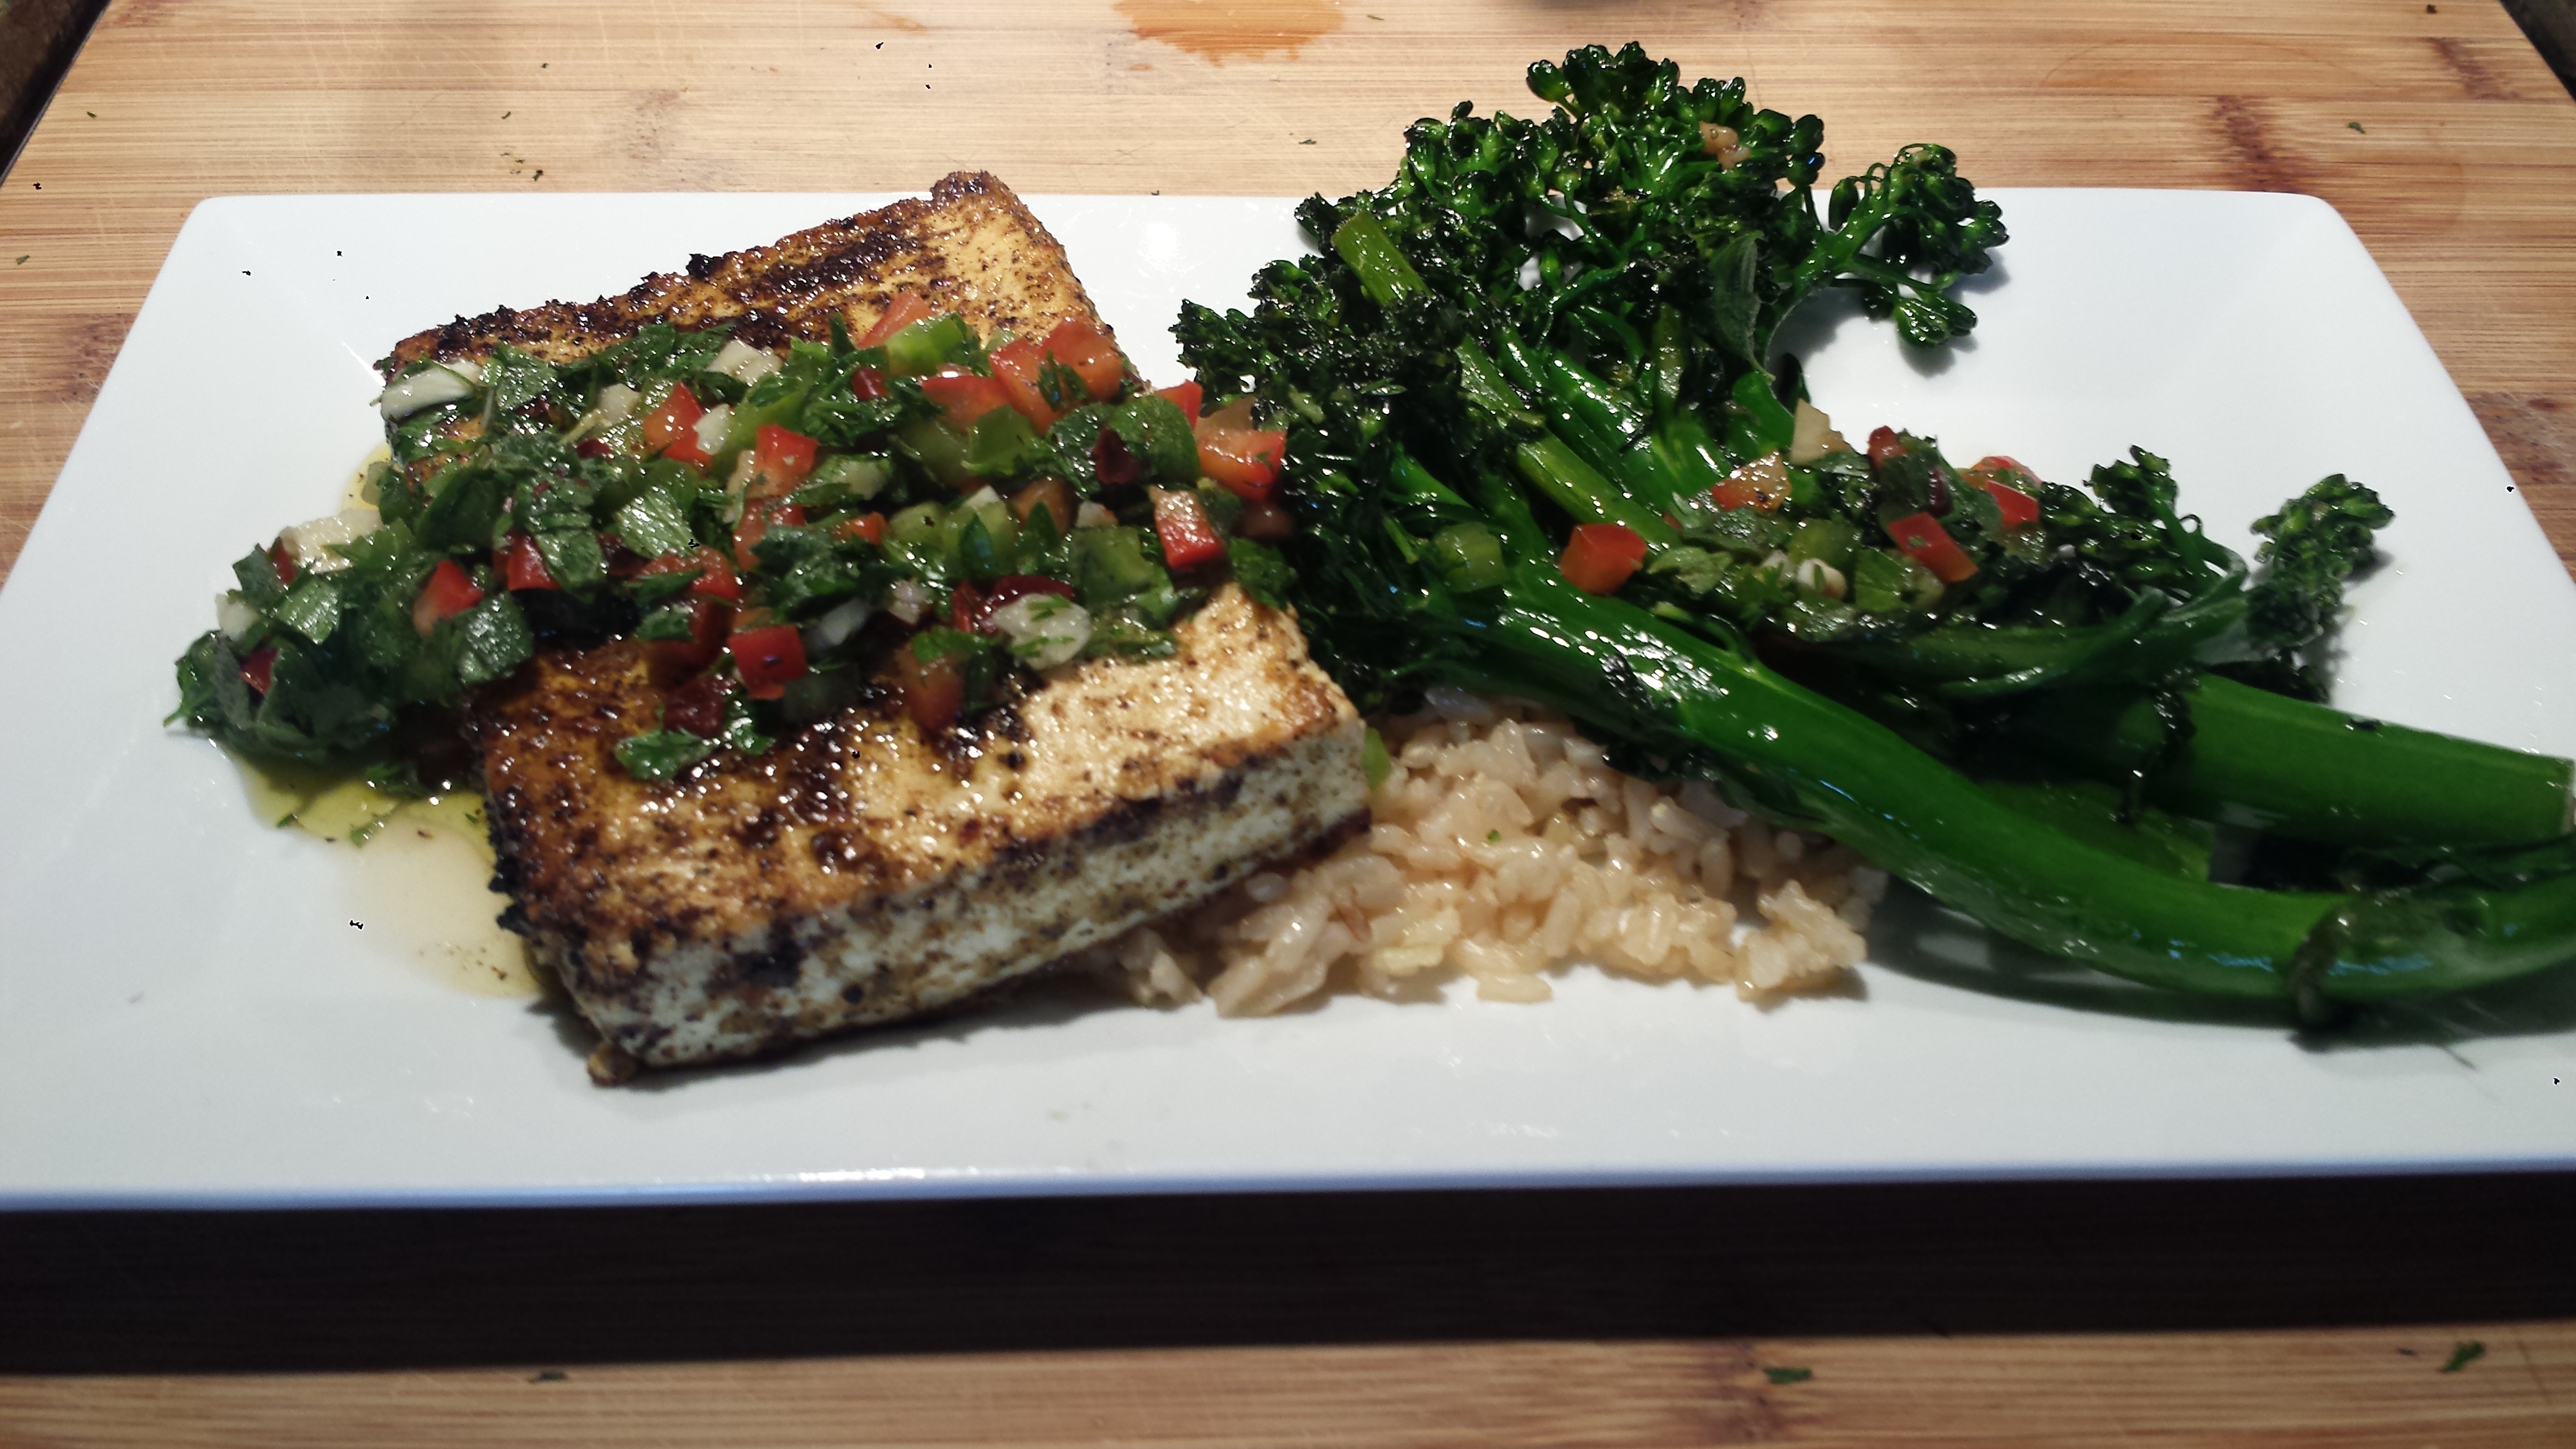
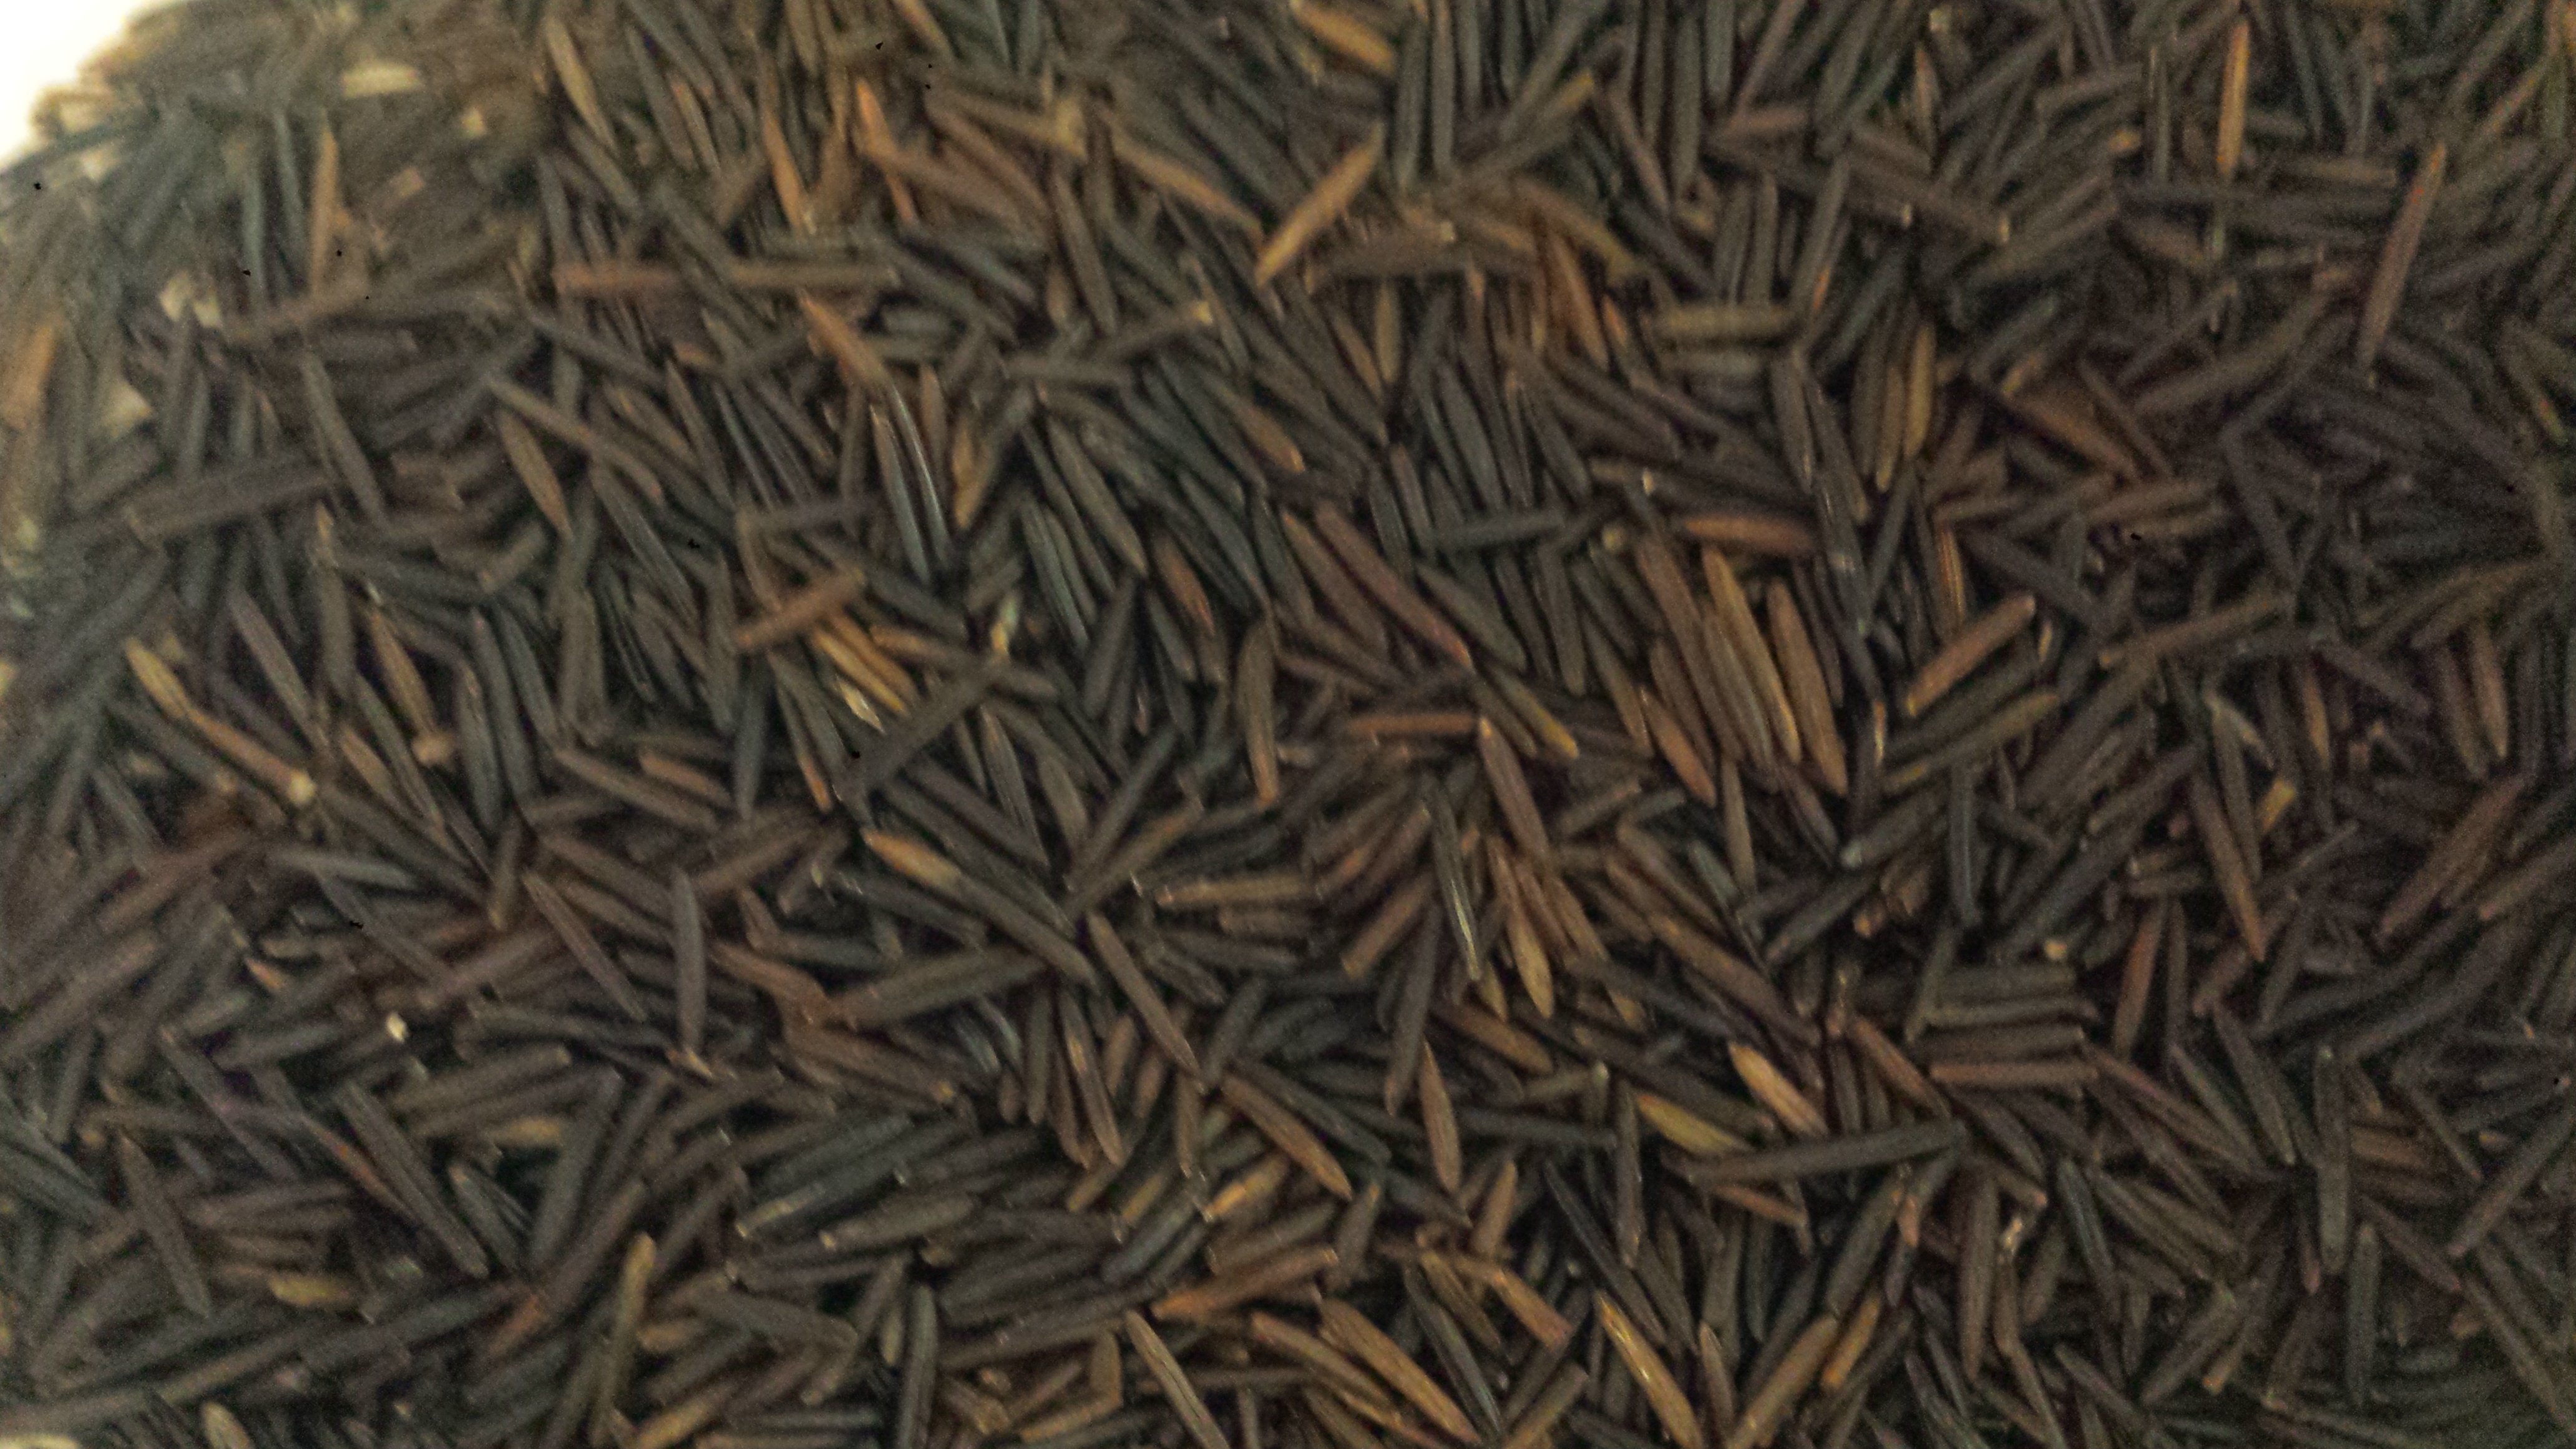
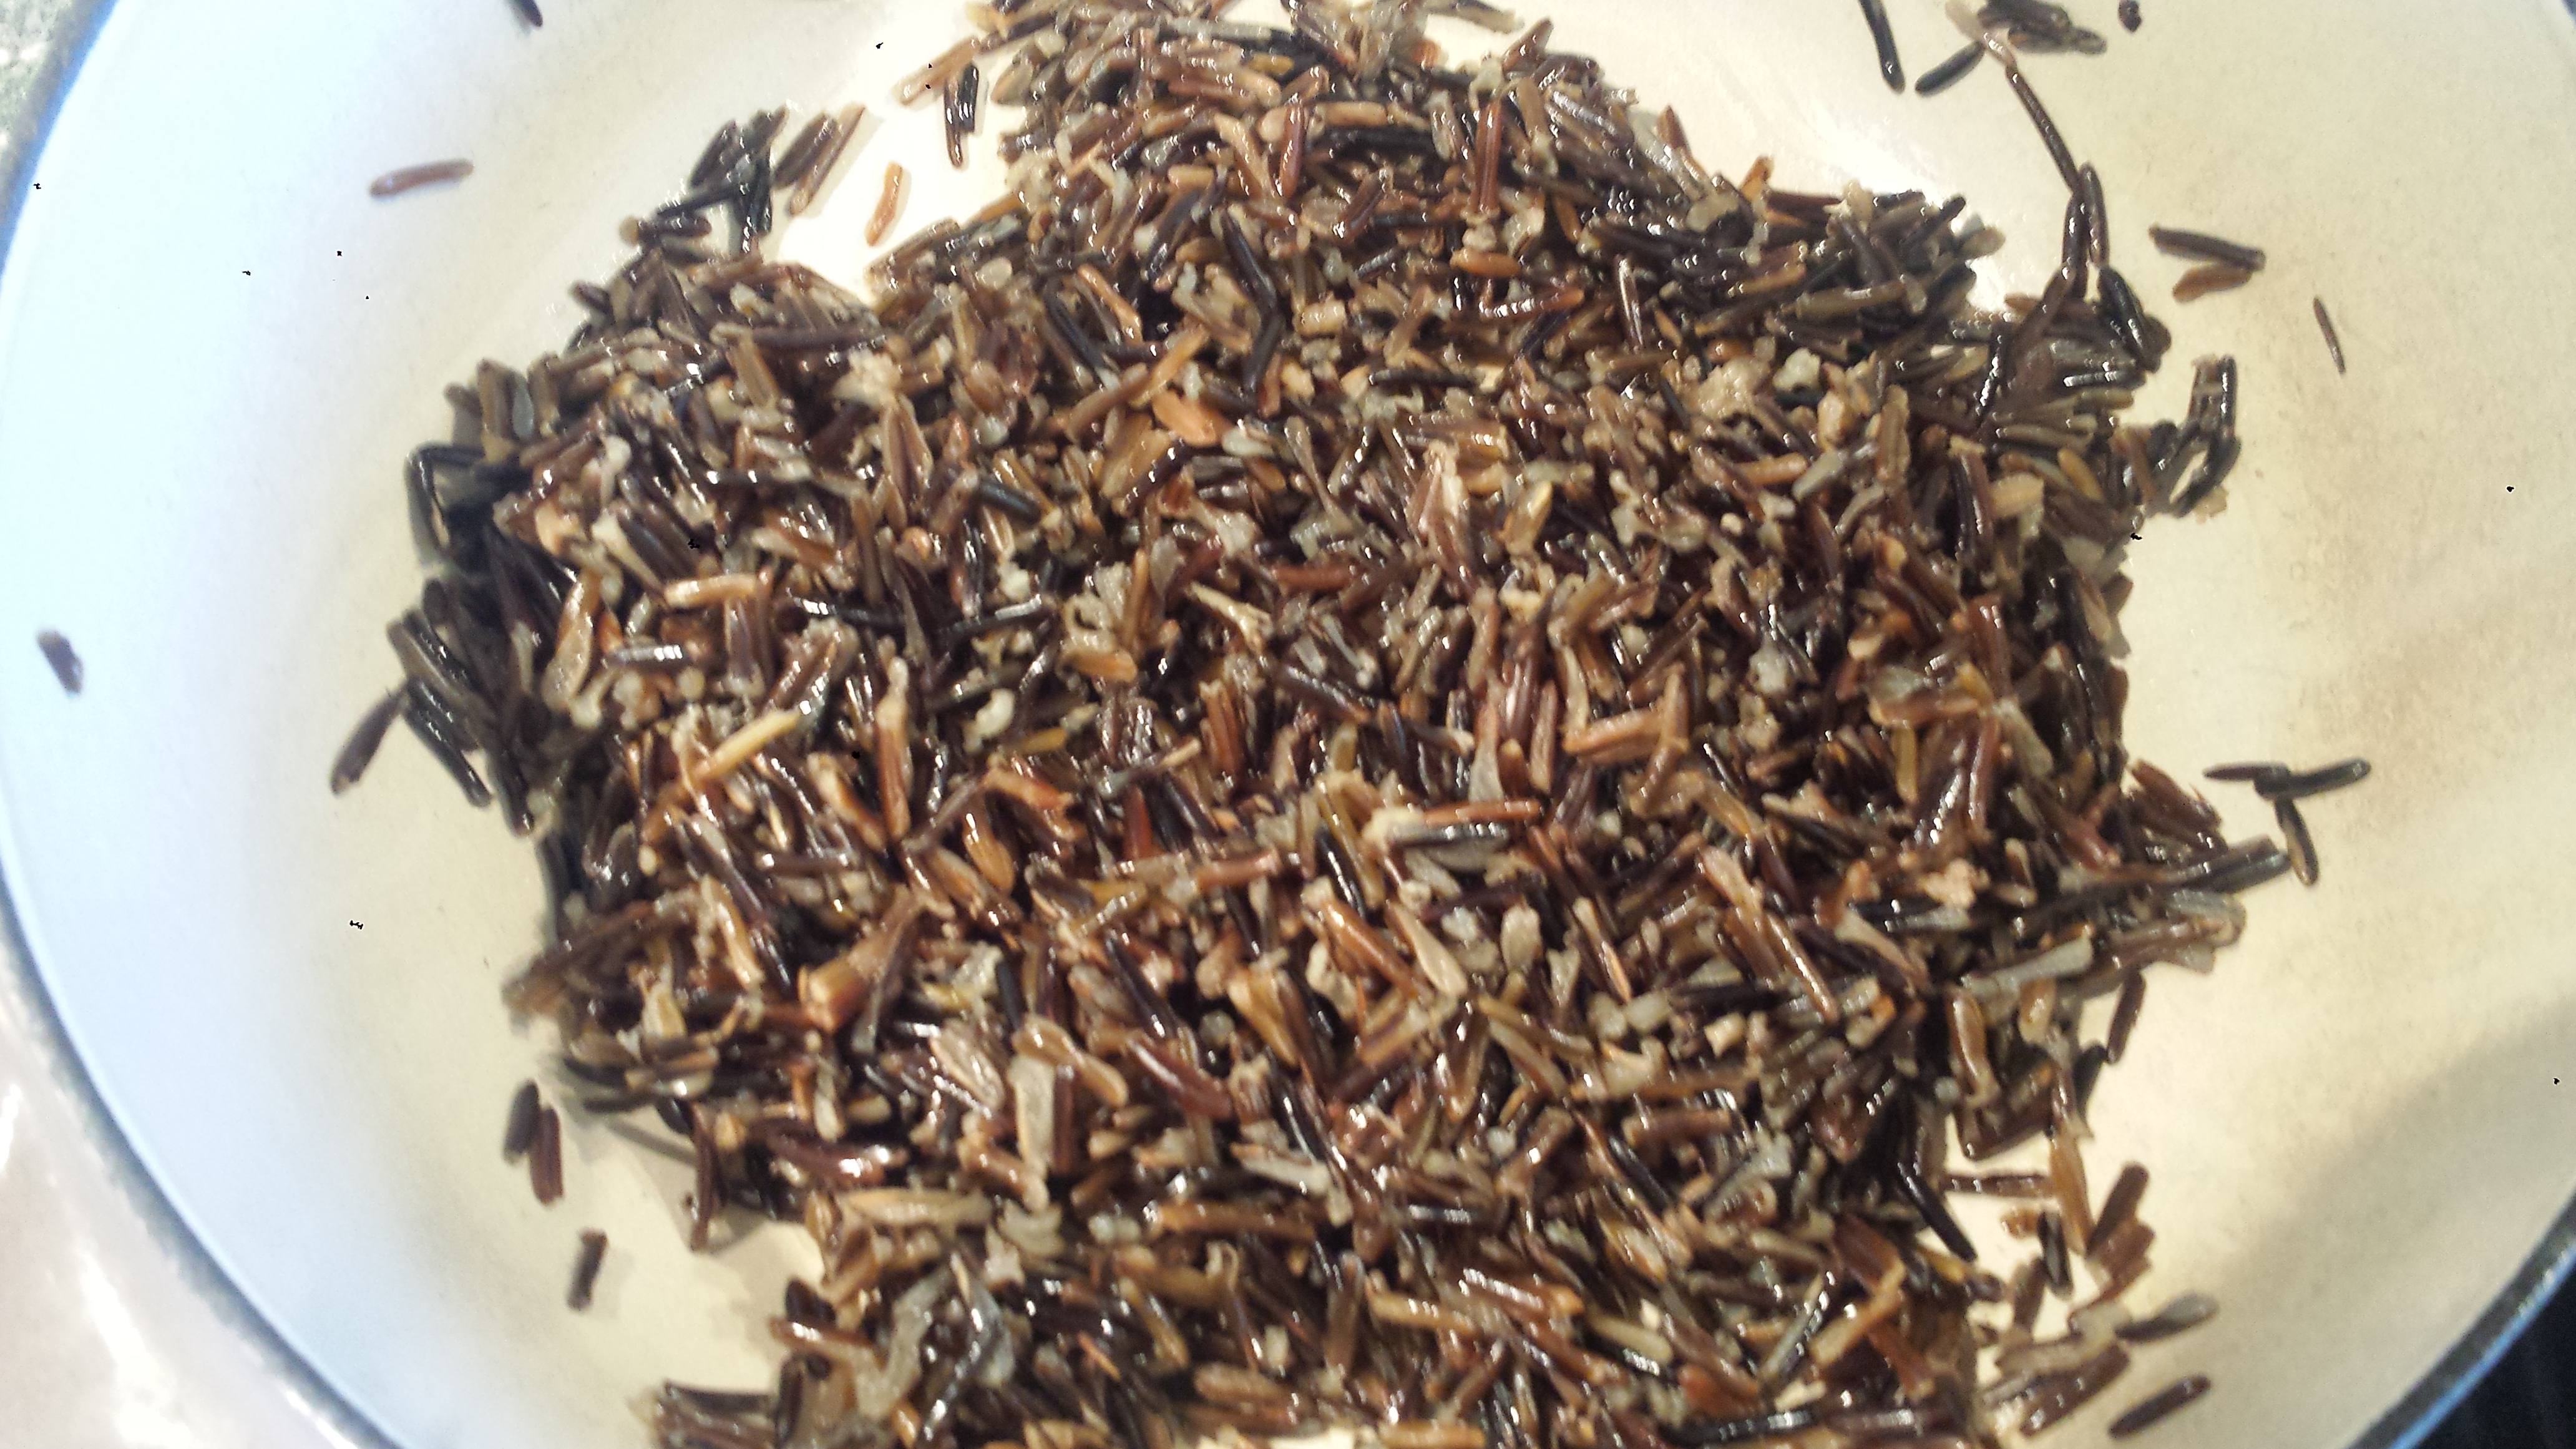
- Serve over red or brown rice, if desired.
Charred Okra with Tomatoes

1-2 Tbsn high heat oil (avocado, olive or coconut are good choices)
1/2 lb fresh okra
1 small or 1/2 large onion
3-5 cloves garlic
2-3 plum tomatoes
1/4 tsp sugar
1/4 tsp red pepper flakes
1 Tbsn butter
2 tsp fresh thyme, chopped
1 tsp grated lemon zest
1/2 tsp salt
- Prepare the vegetables. Slice okra in half lengthwise. Halve and slice the onion into thin wedges. Seed and julienne the tomatoes.
- Measure out the sugar, red pepper, butter chopped thyme, lemon zest and salt.
- Heat a large skillet (cast iron if possible) over high heat. Add oil to pan and allow to get hot. Add okra in a single layer, seed side down, and cook without stirring for about 3 minutes or until charred. Stir. (Do in batches if necessary and then stir to combine).
- Ad onion and garlic and cook 2-3 minutes or until lightly charred.
- Add tomato, sugar and pepper and cook about a minute, or just to soften the tomatoes.
- Remove from heat and stir in butter, thyme, zest and salt.
- Serve over red or brown rice, if desired.


 .
.