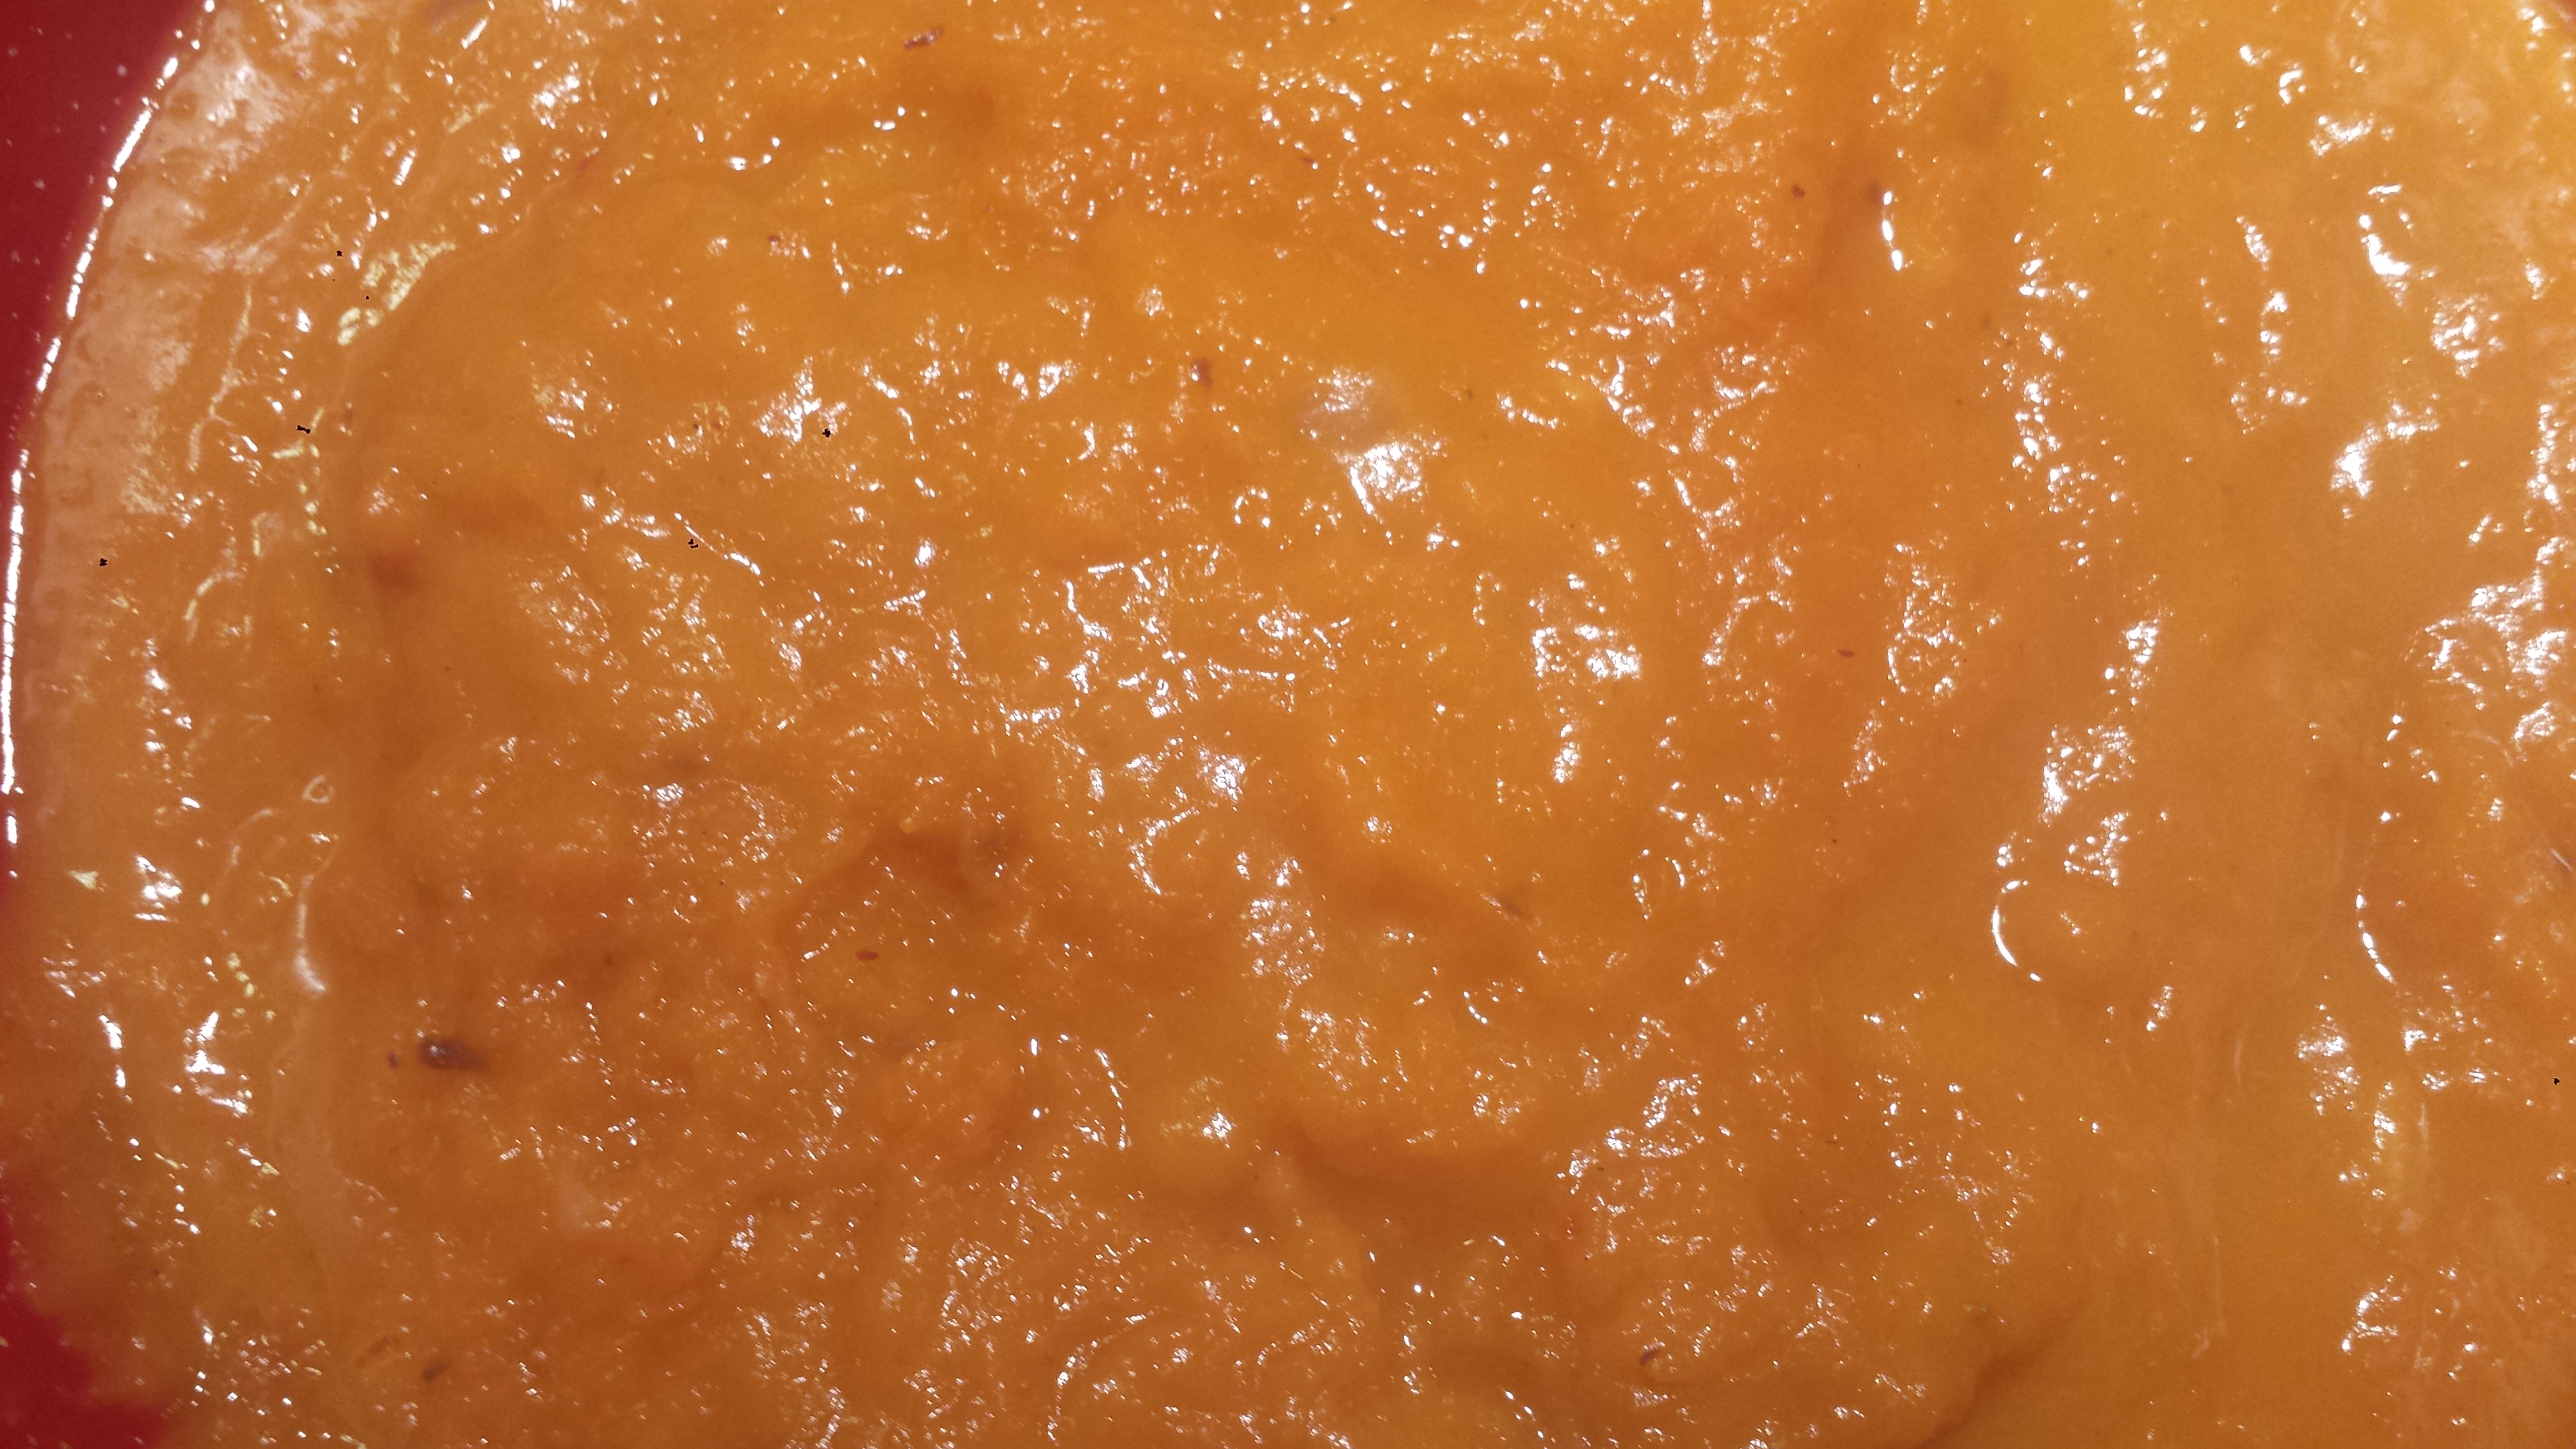
Do you love rich and creamy soups but wish they didn’t have all the heavy cream (read extra calories)? I am not usually a calorie counter but in general, this is one area where ‘more is not better’. Fear not, there are simple ways to eat deliciously and nutritiously without adding unwanted calories which seem to go directly to the hips without passing GO! This recipe employs a cooking technique that tricks your tastebuds into thinking that the delicible flavors crossing the tongue include creamy deliciousness while in reality it’s vegan, just veggies and broth. Leeks and cabbage are sauteed until soft and then simmered with potatoes in broth and herbs until potatoes are almost falling apart. Then half the soup is blended into a fine puree in a food processor or blender and added back into the soup, which yields a surprisingly creamy consistency without adding any cream, flour or other thickeners. Brilliant! I have used this technique in the past with equal success, particularly in the yummy White Bean and Swiss Chard Soup which is from Gwyneth Paltrow’s book, “It’s All Good”.

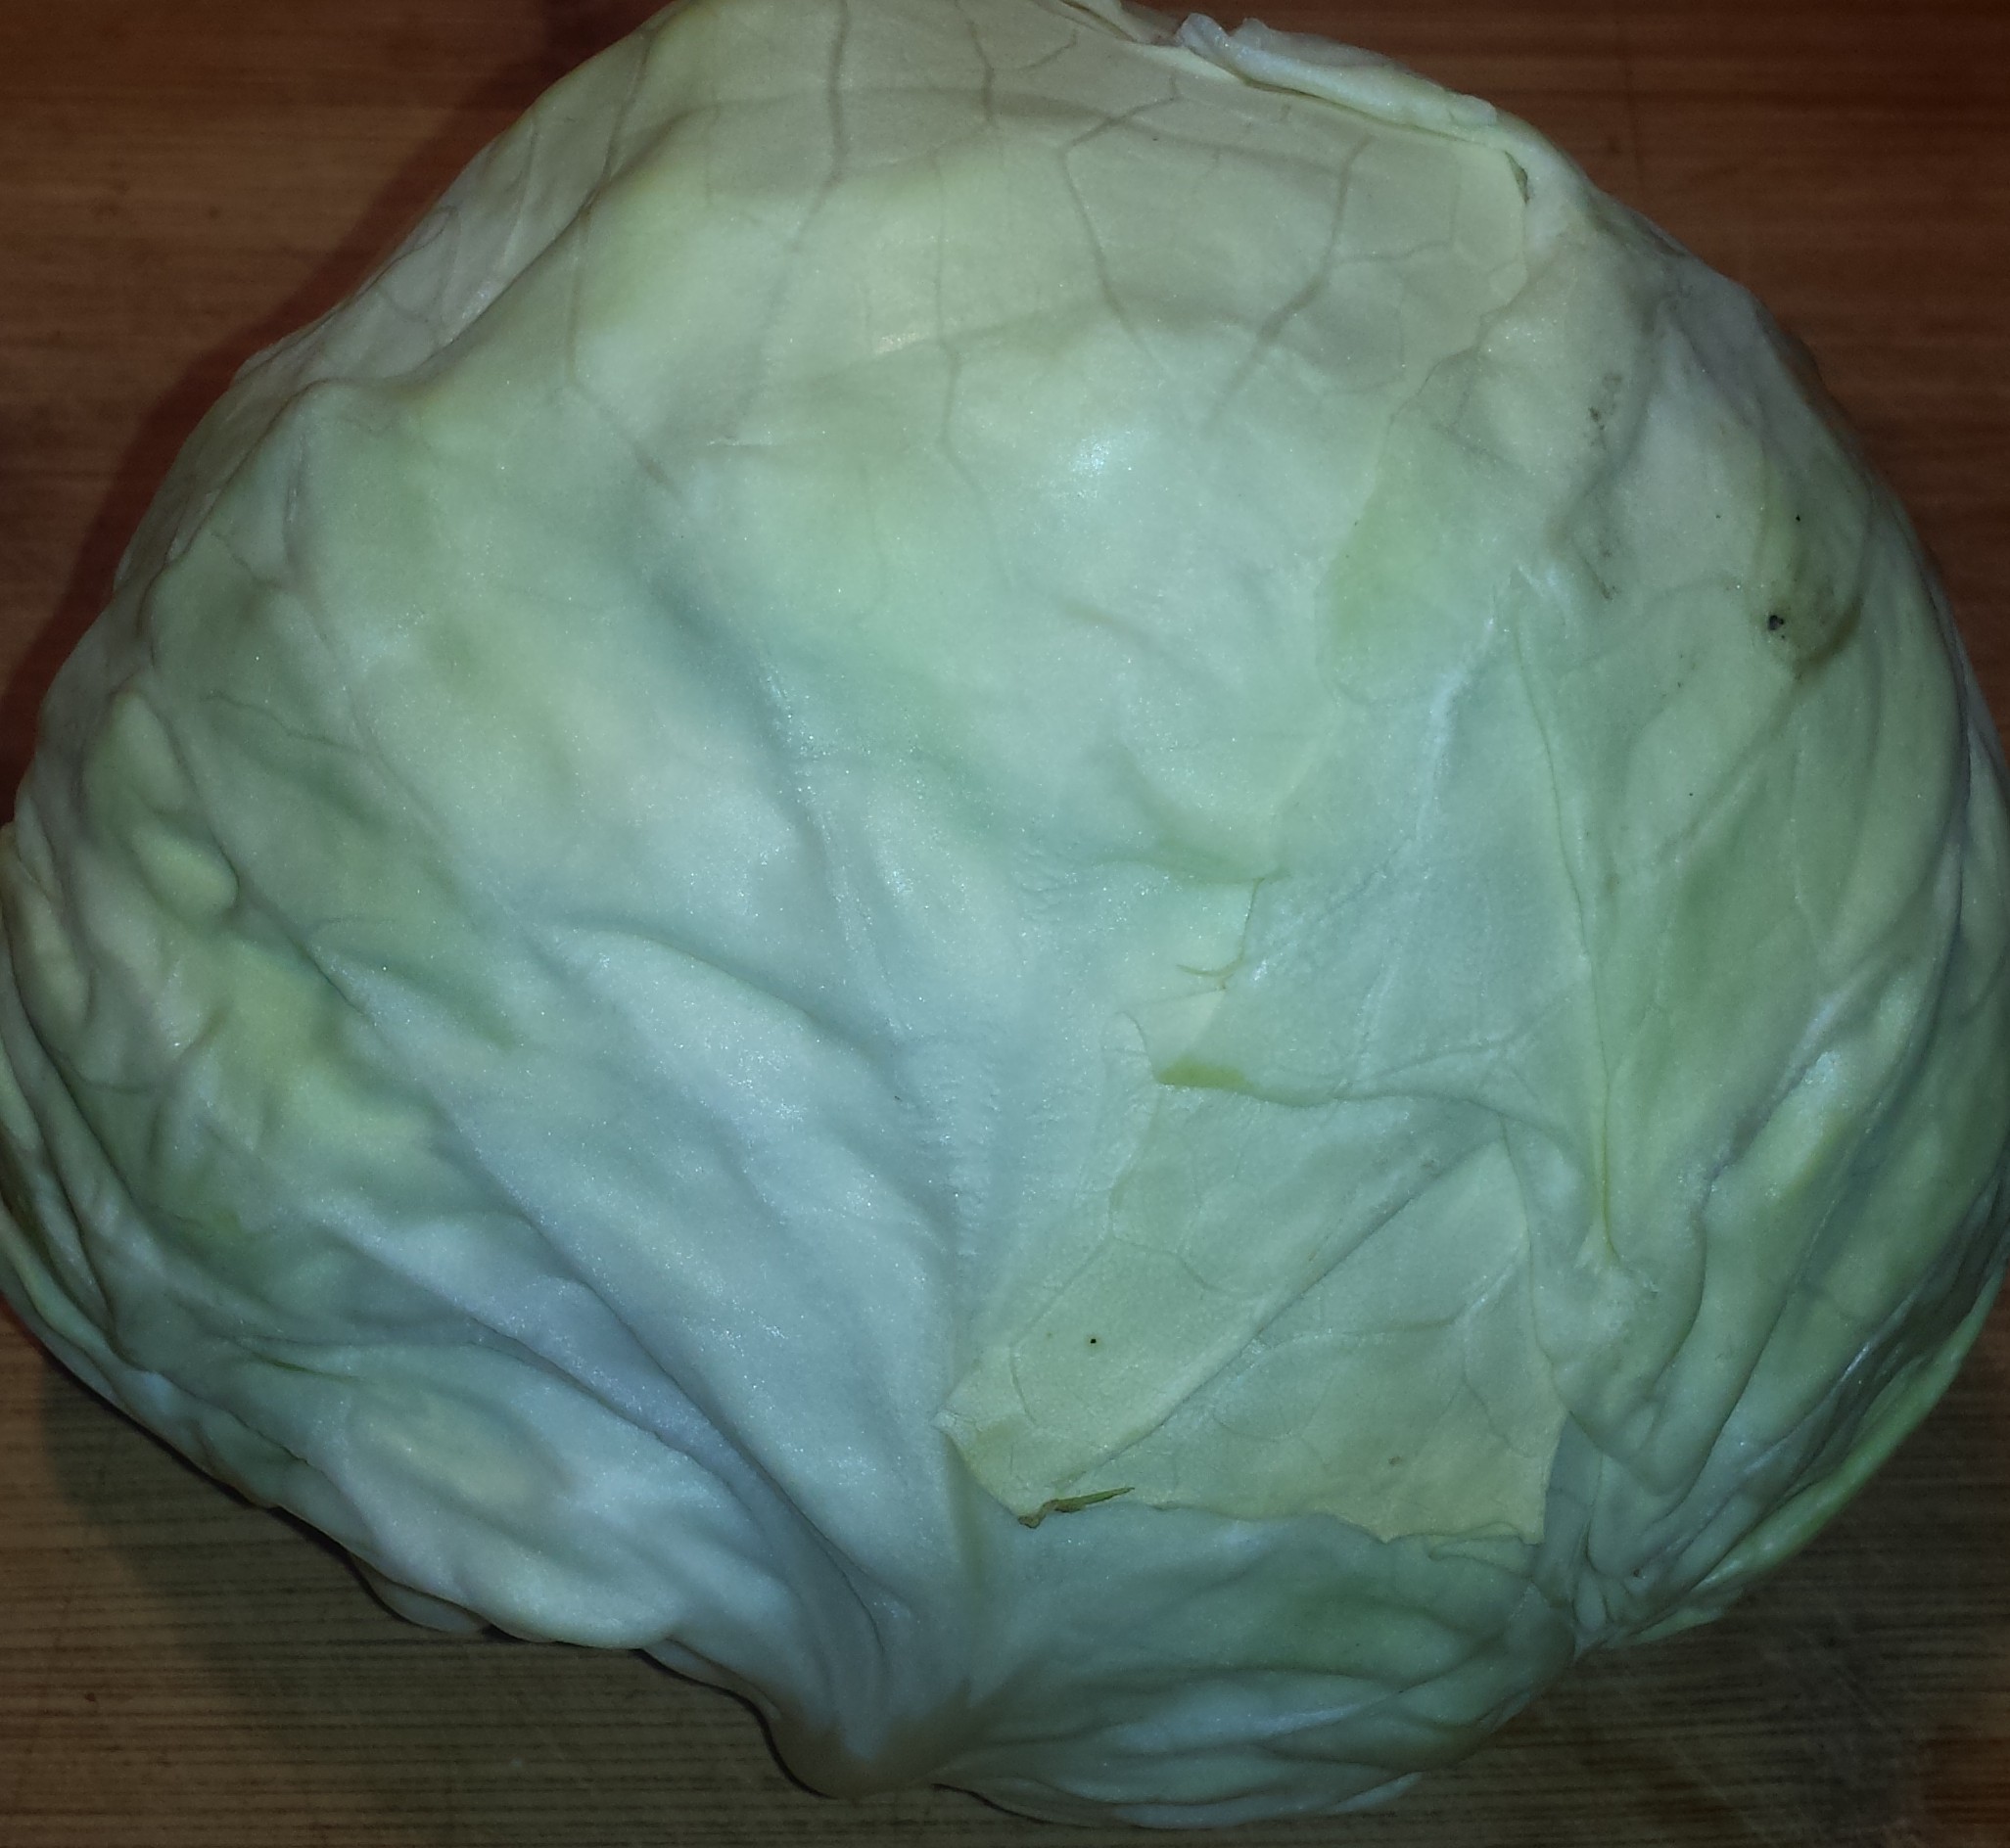
My Dad is always asking me where I get the ideas for my recipes. All I can say is that if you are truly interested in a topic, say food, the ideas naturally just come to you. I get cooking inspiration everywhere I go. It helps that I love to read cooking magazines and I own dozens of great cookbooks. I even peruse the local newspapers for recipes. Often, I don’t use the recipe that has caught my eye. Rather it might remind me I better make something with the squash or eggplant sitting on my counter or that I have roasted beets in the refrigerator and I am off onto the next idea. If I use a recipe created by someone else, I give them full credit and a link back to them, if possible. Otherwise, it’s trial and error, and trust me, I have plenty of kitchen fails… This particular recipe was prompted by this week’s Farm Fresh To You CSA box, which, even a month or so later, every Tuesday still feels like a gift from a secret admirer even though I ordered and paid for it. (I know, I’m easily pleased fooled). I opened the box, and pulled out a head of green cabbage, large leek and four bintje potatoes. Hmmm, just what could I do with these? Well, spoiler alert, I already ruined the surprise by posting the photo of this tasty soup.
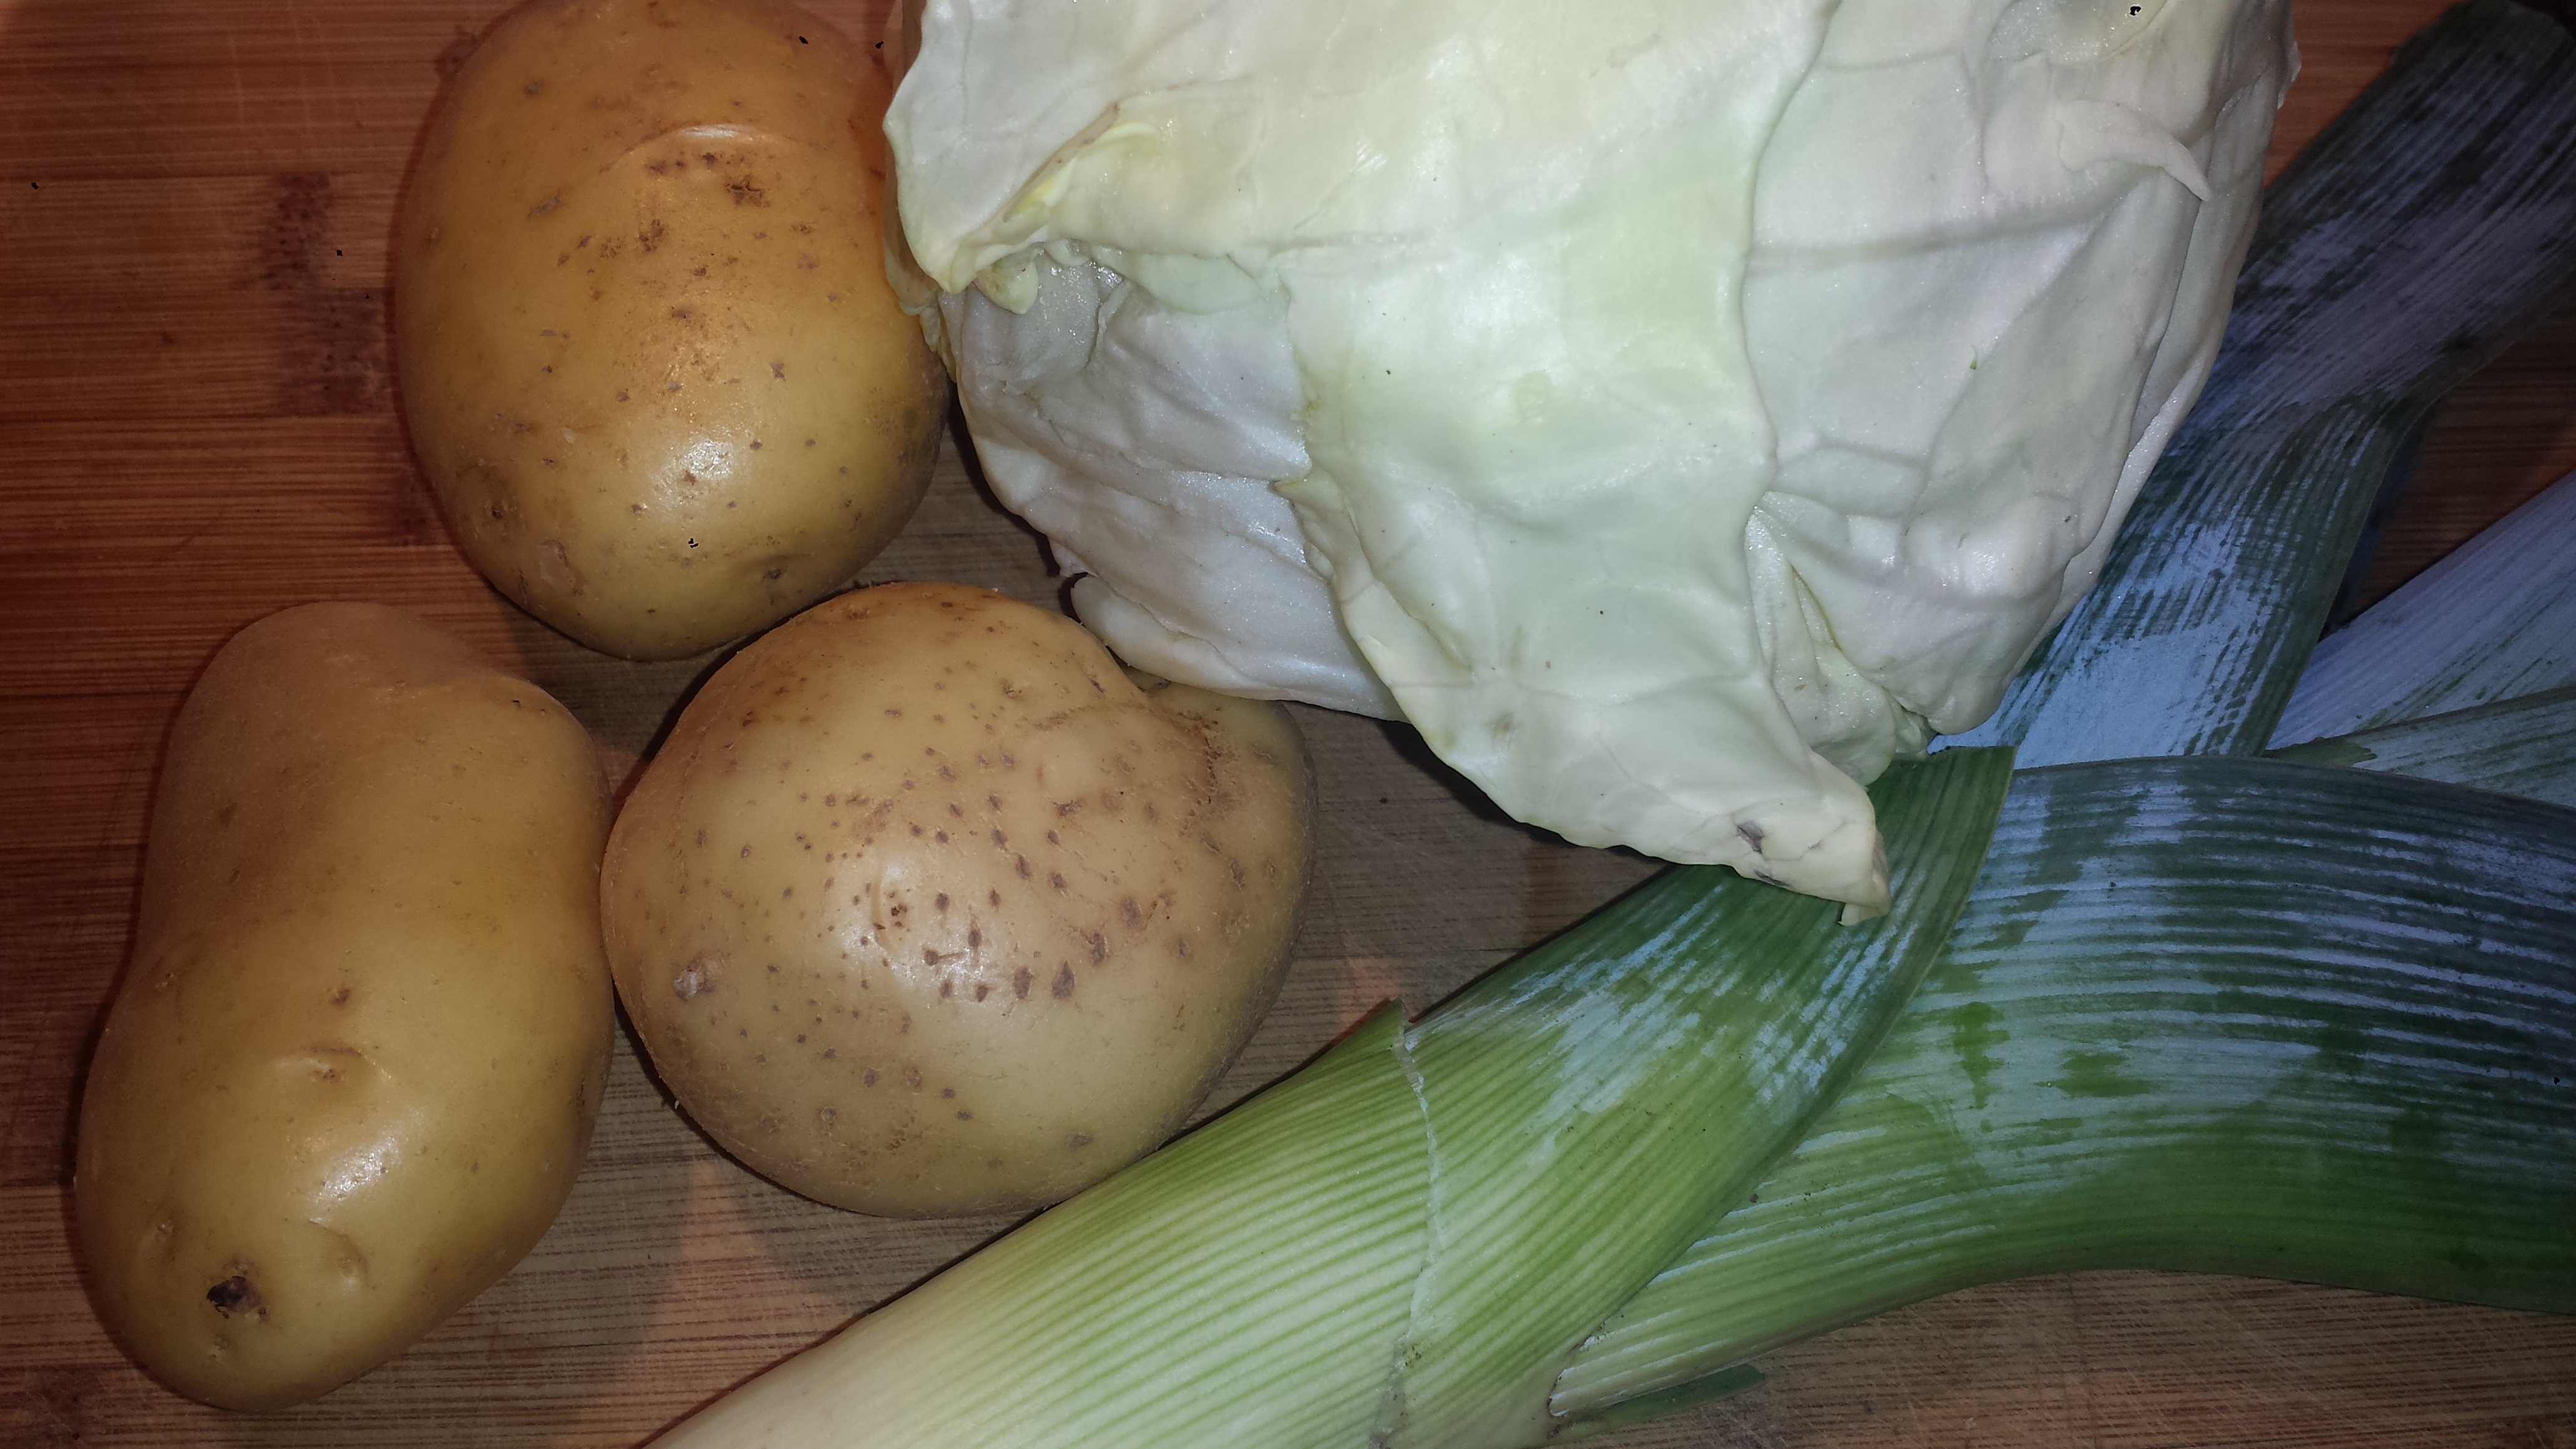
What, might you ask, are Bintje Potatoes? I had never heard of them before this so had to look them up. They are a large oval-shaped tuber with pale yellow skin and yellow flesh. They are good for boiling, baking, and are particularly good for making french fries and potato chips, although I haven’t tried those yet. Since they are yellower in color than a russet potato, they will make soup that is not as white, especially when adding turmeric and cumin. Any kind of potato will work in this recipe though, so use whatever you have available.

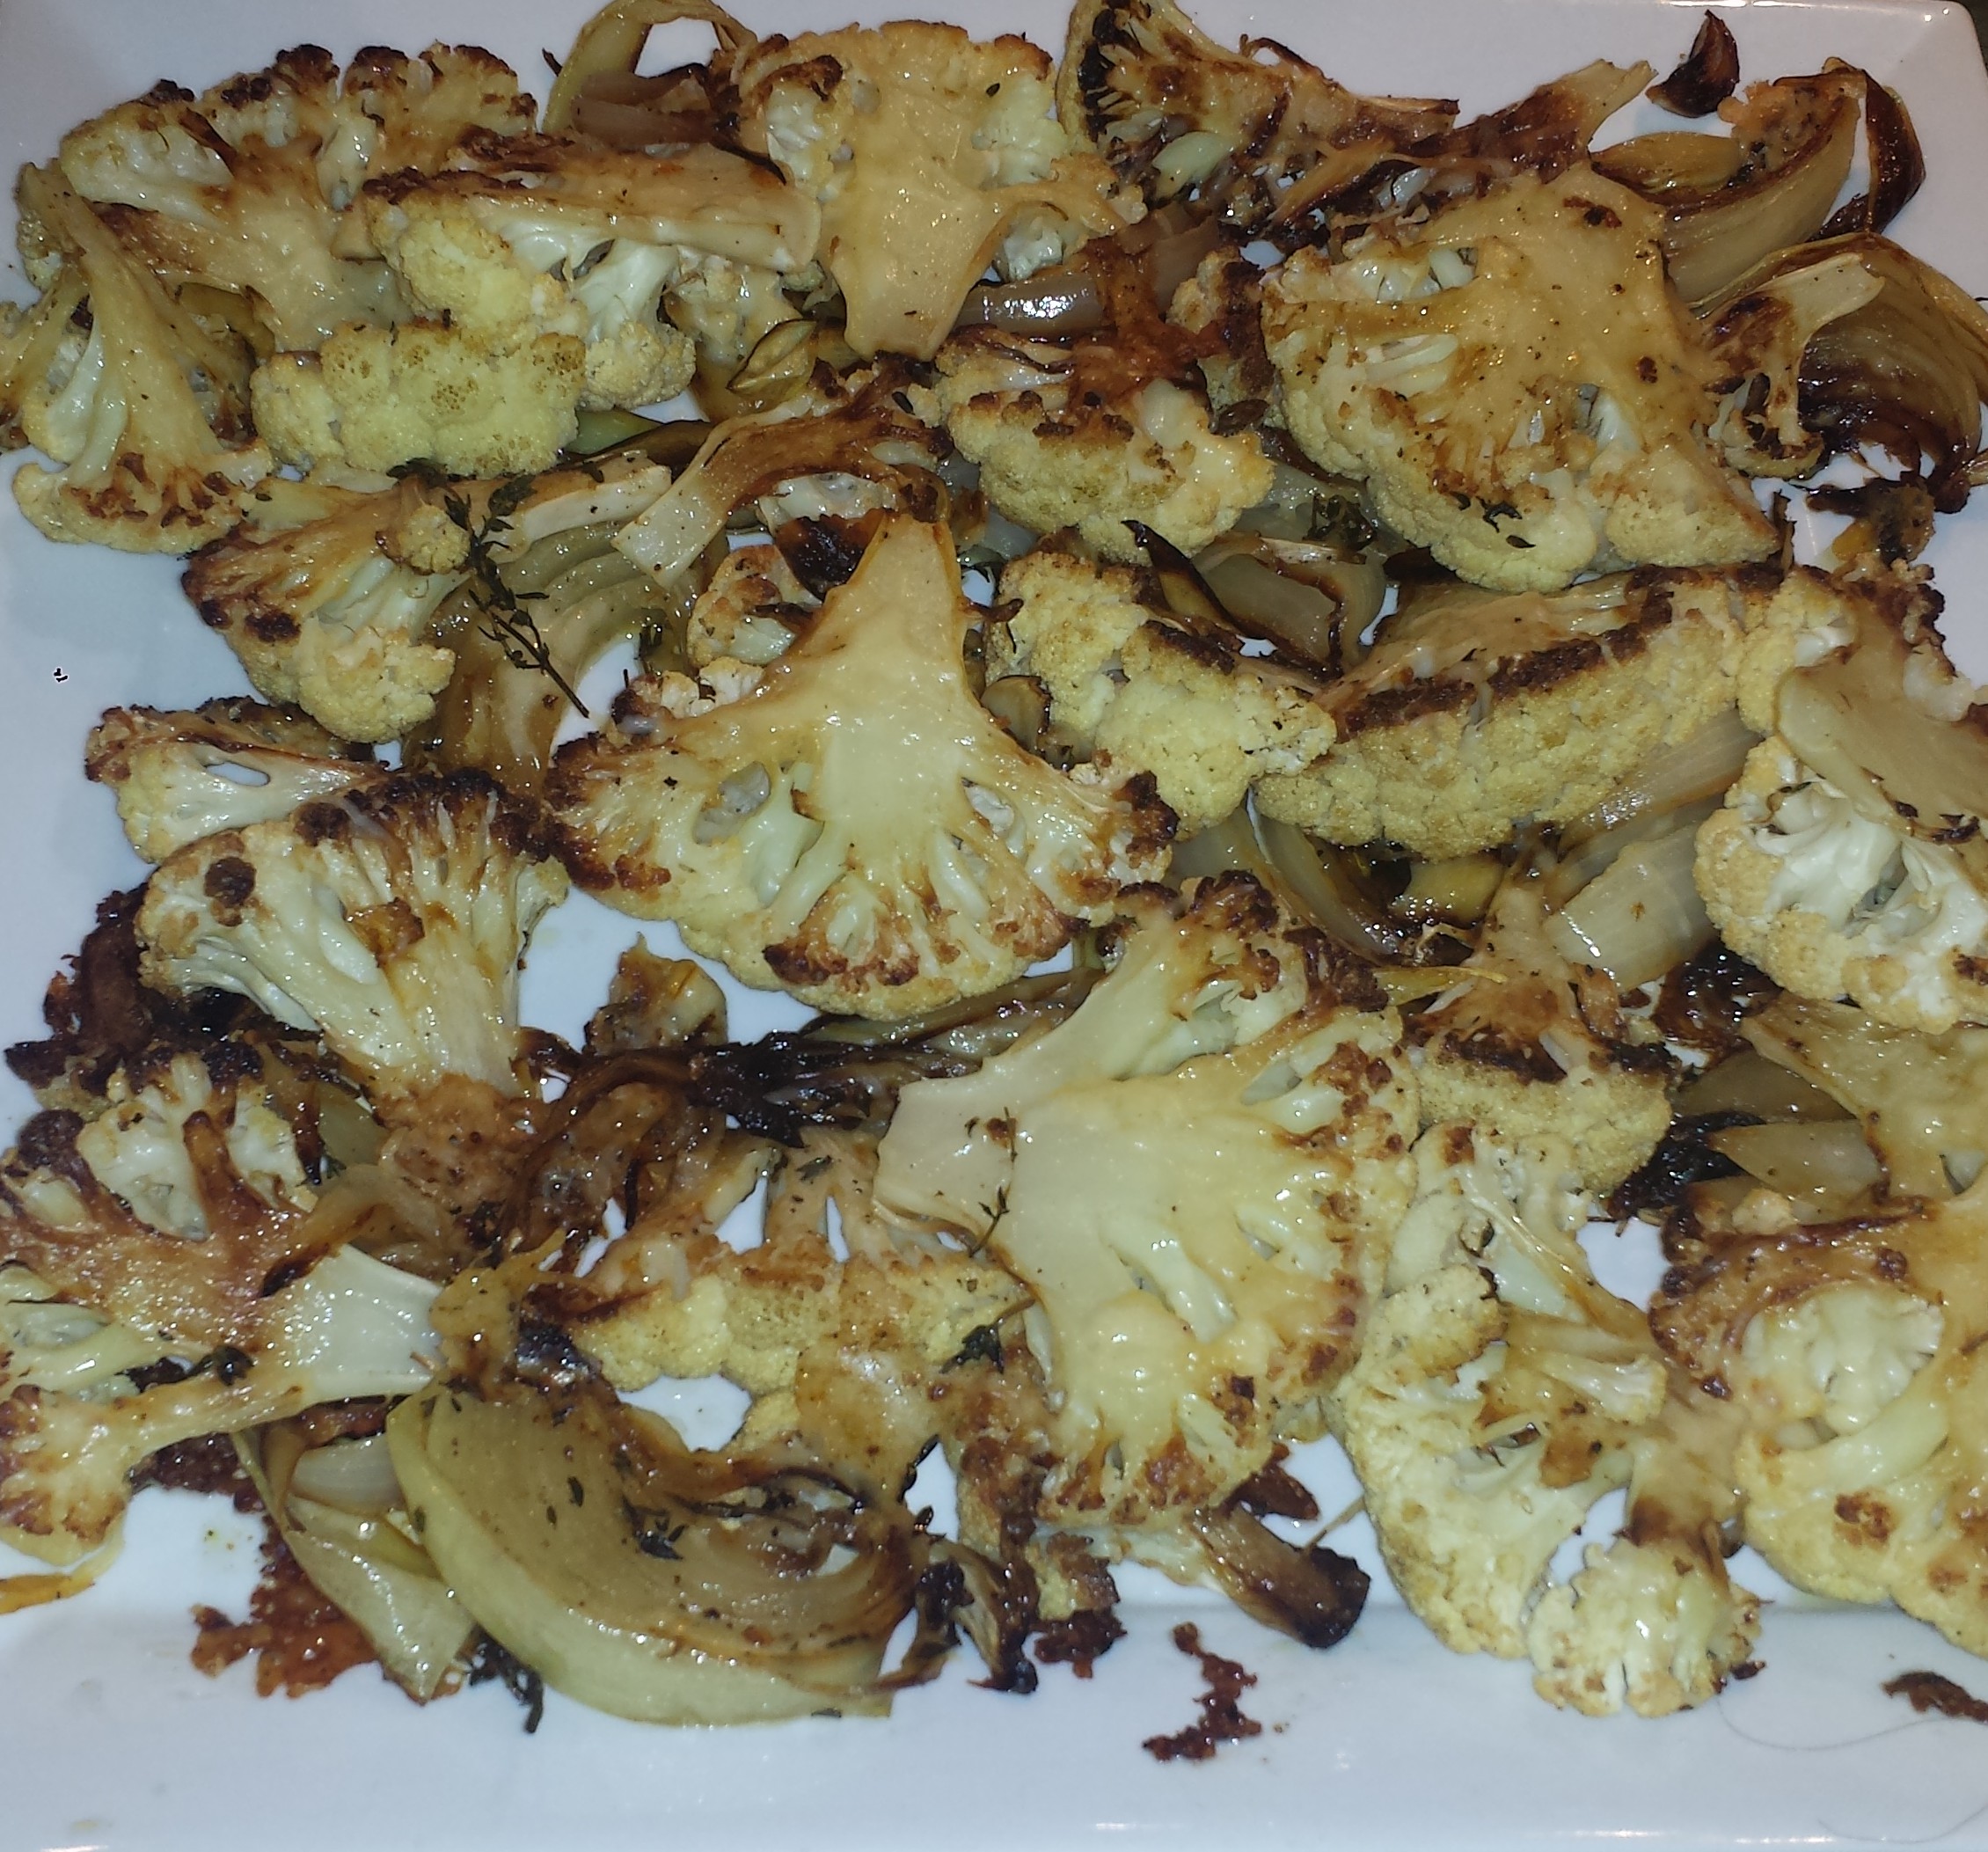
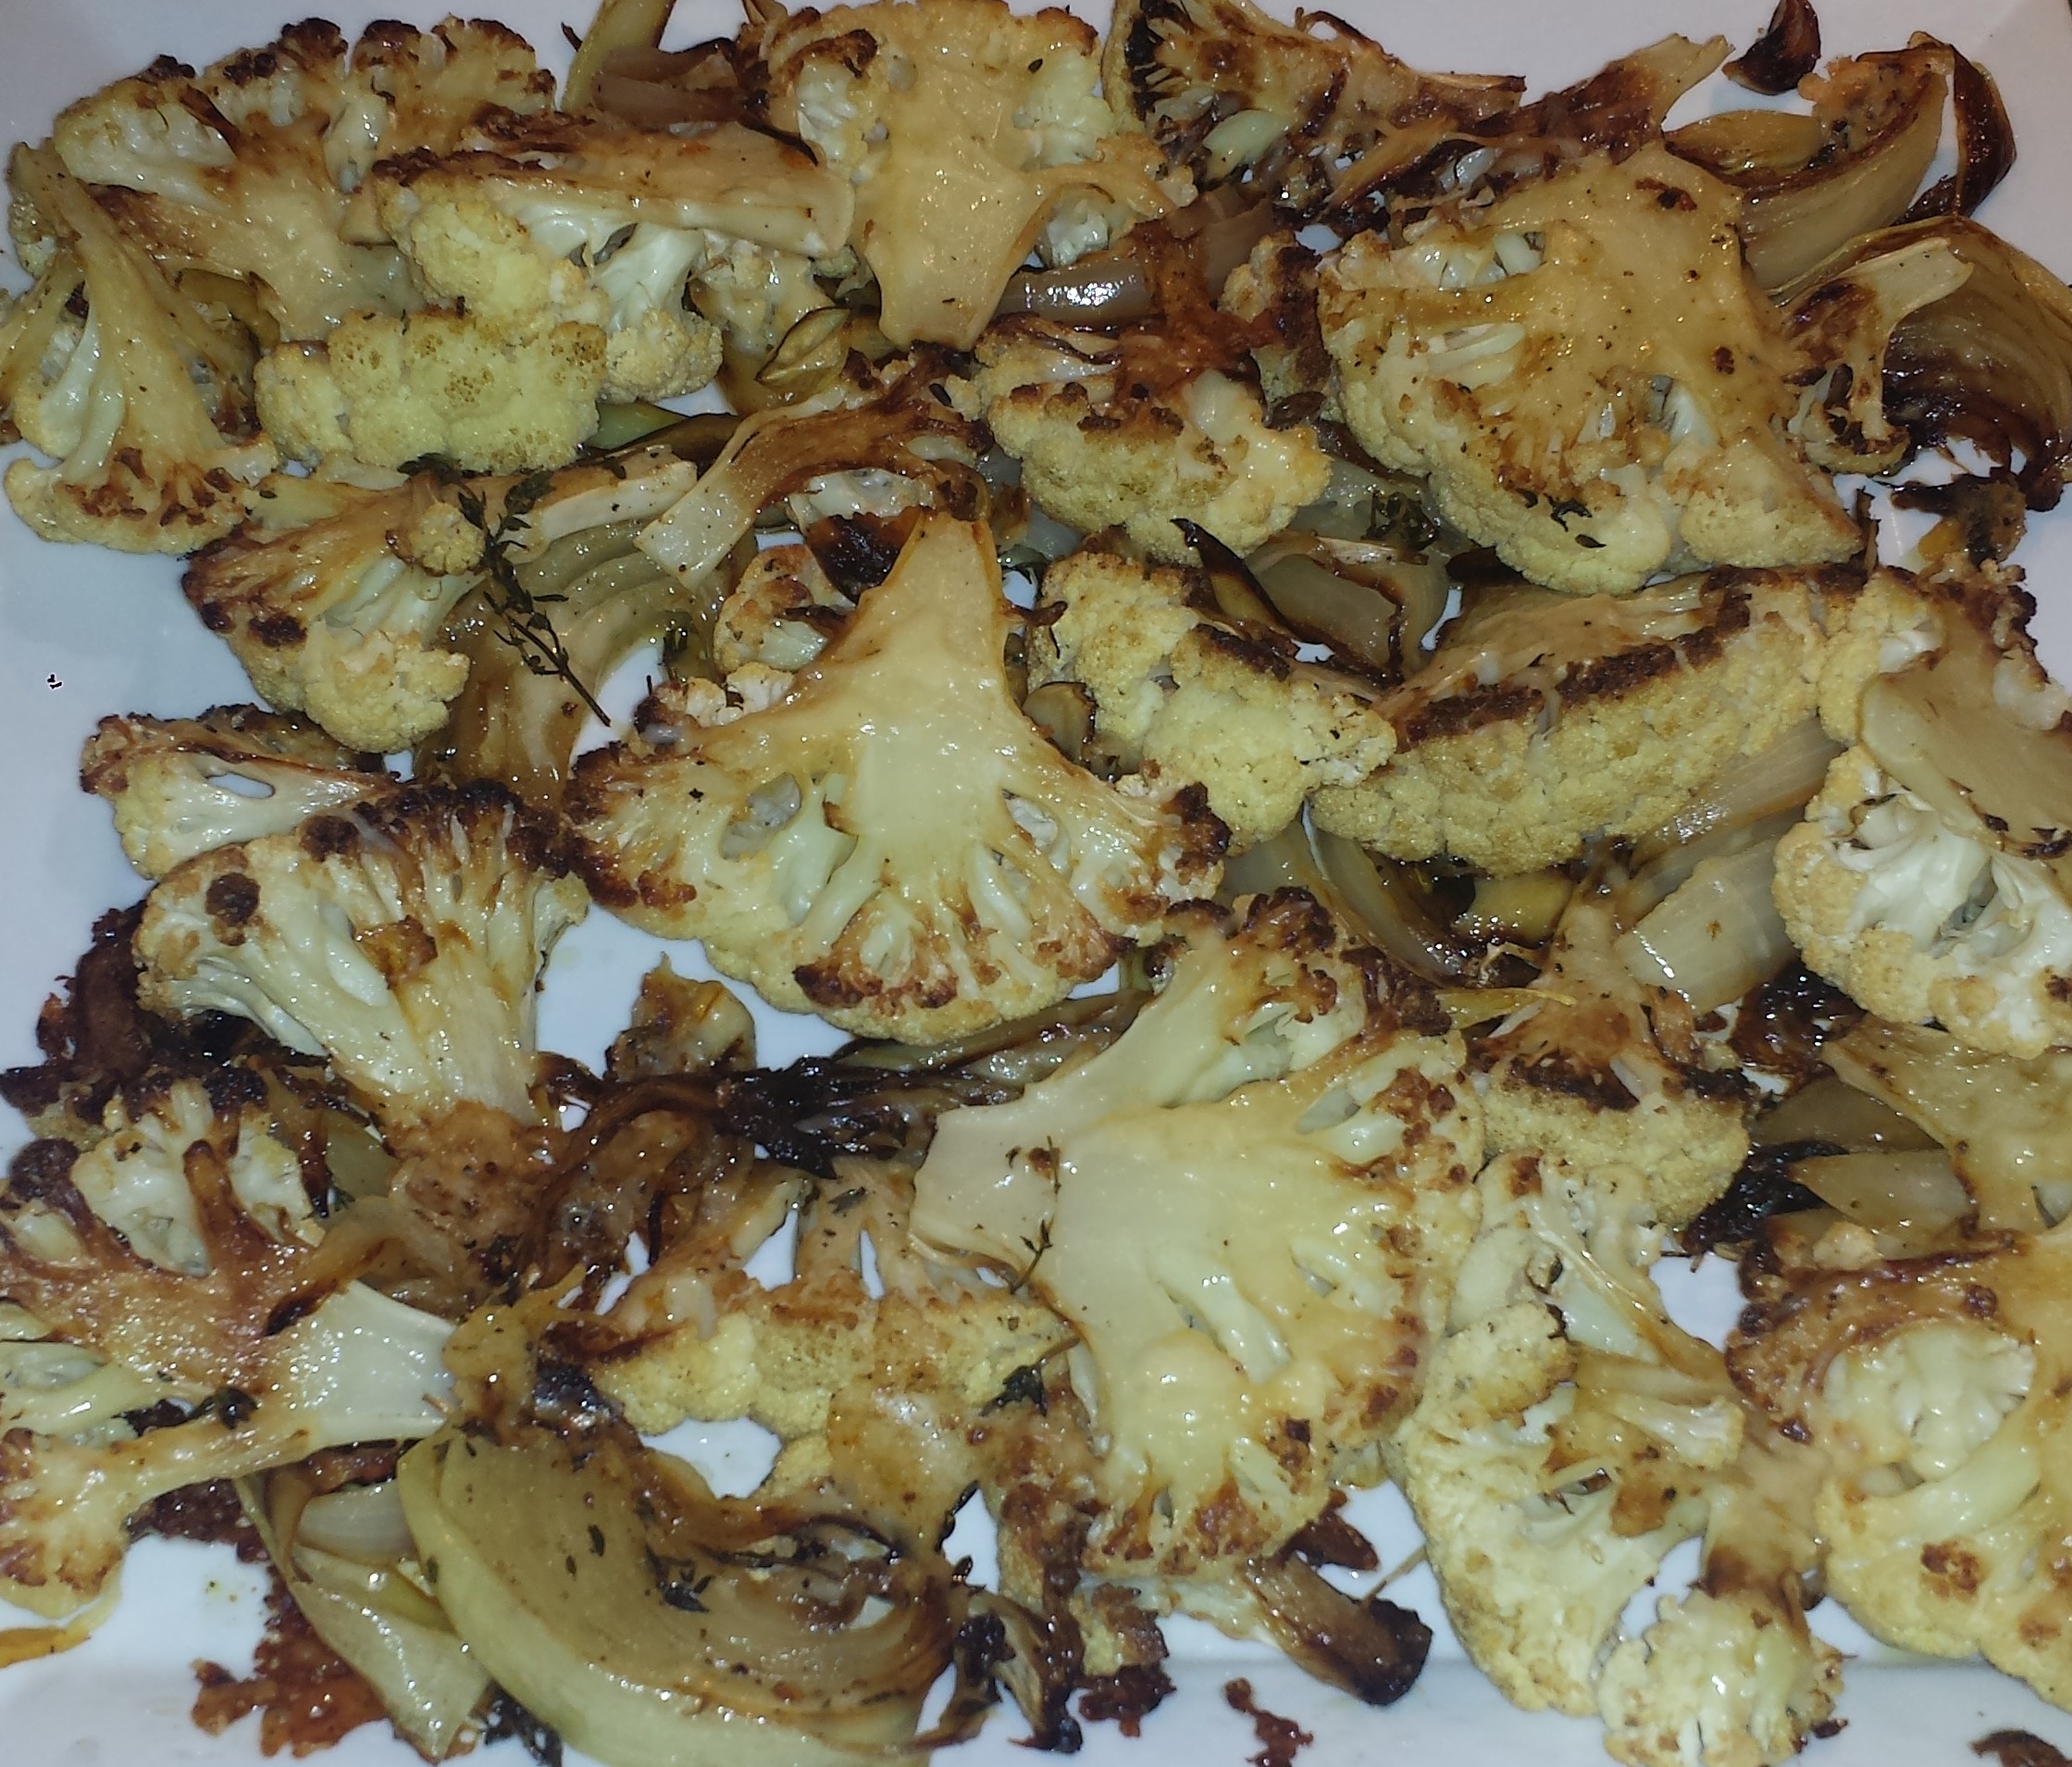
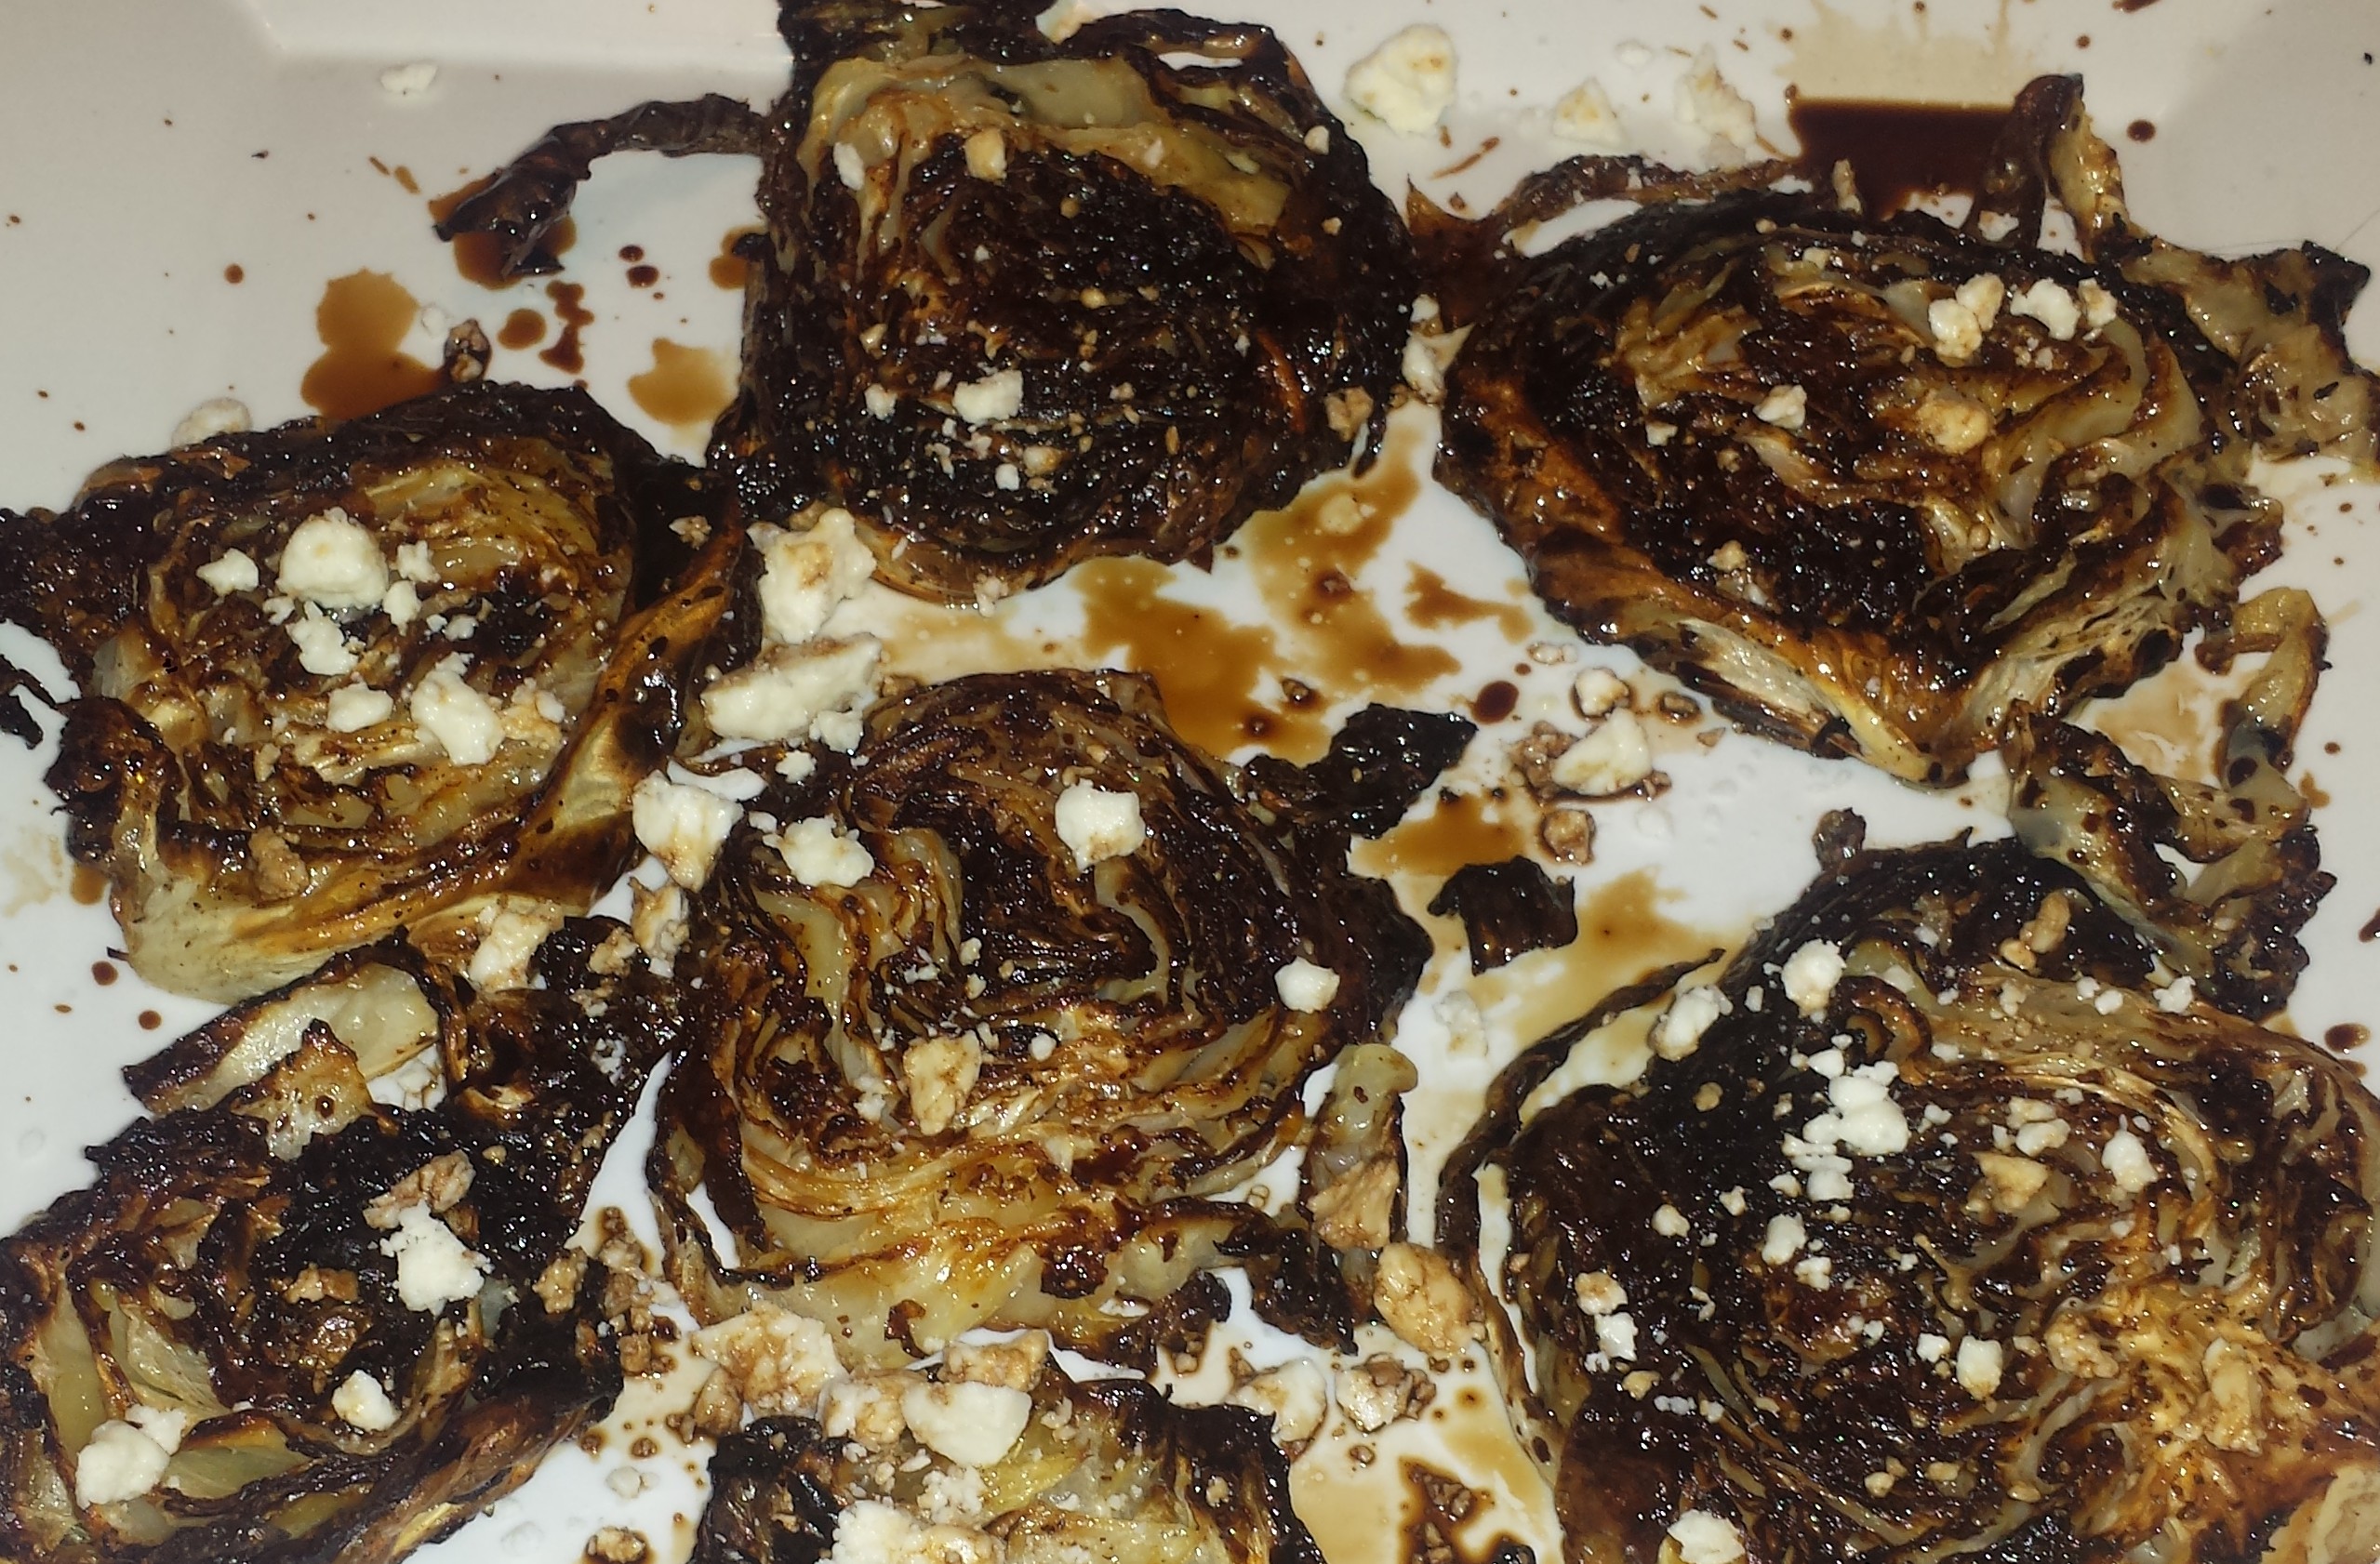
Cabbage may seem like a strange ingredient to put in soup but in reality cabbage becomes sweet when cooked and adds a nice texture in combination with the potatoes. Cabbage is also loaded with fiber and vitamins and minerals including vitamin C, K and vitamin B6 and beneficial phytonutrients. Throw in superstar turmeric and you have a really-good-for-you-soup. Since this recipe only calls for a half head of cabbage, if you are looking for something to do with the other half, or if you are just a cabbage lover, check out the recipe for Roasted Cabbage ‘Steaks’

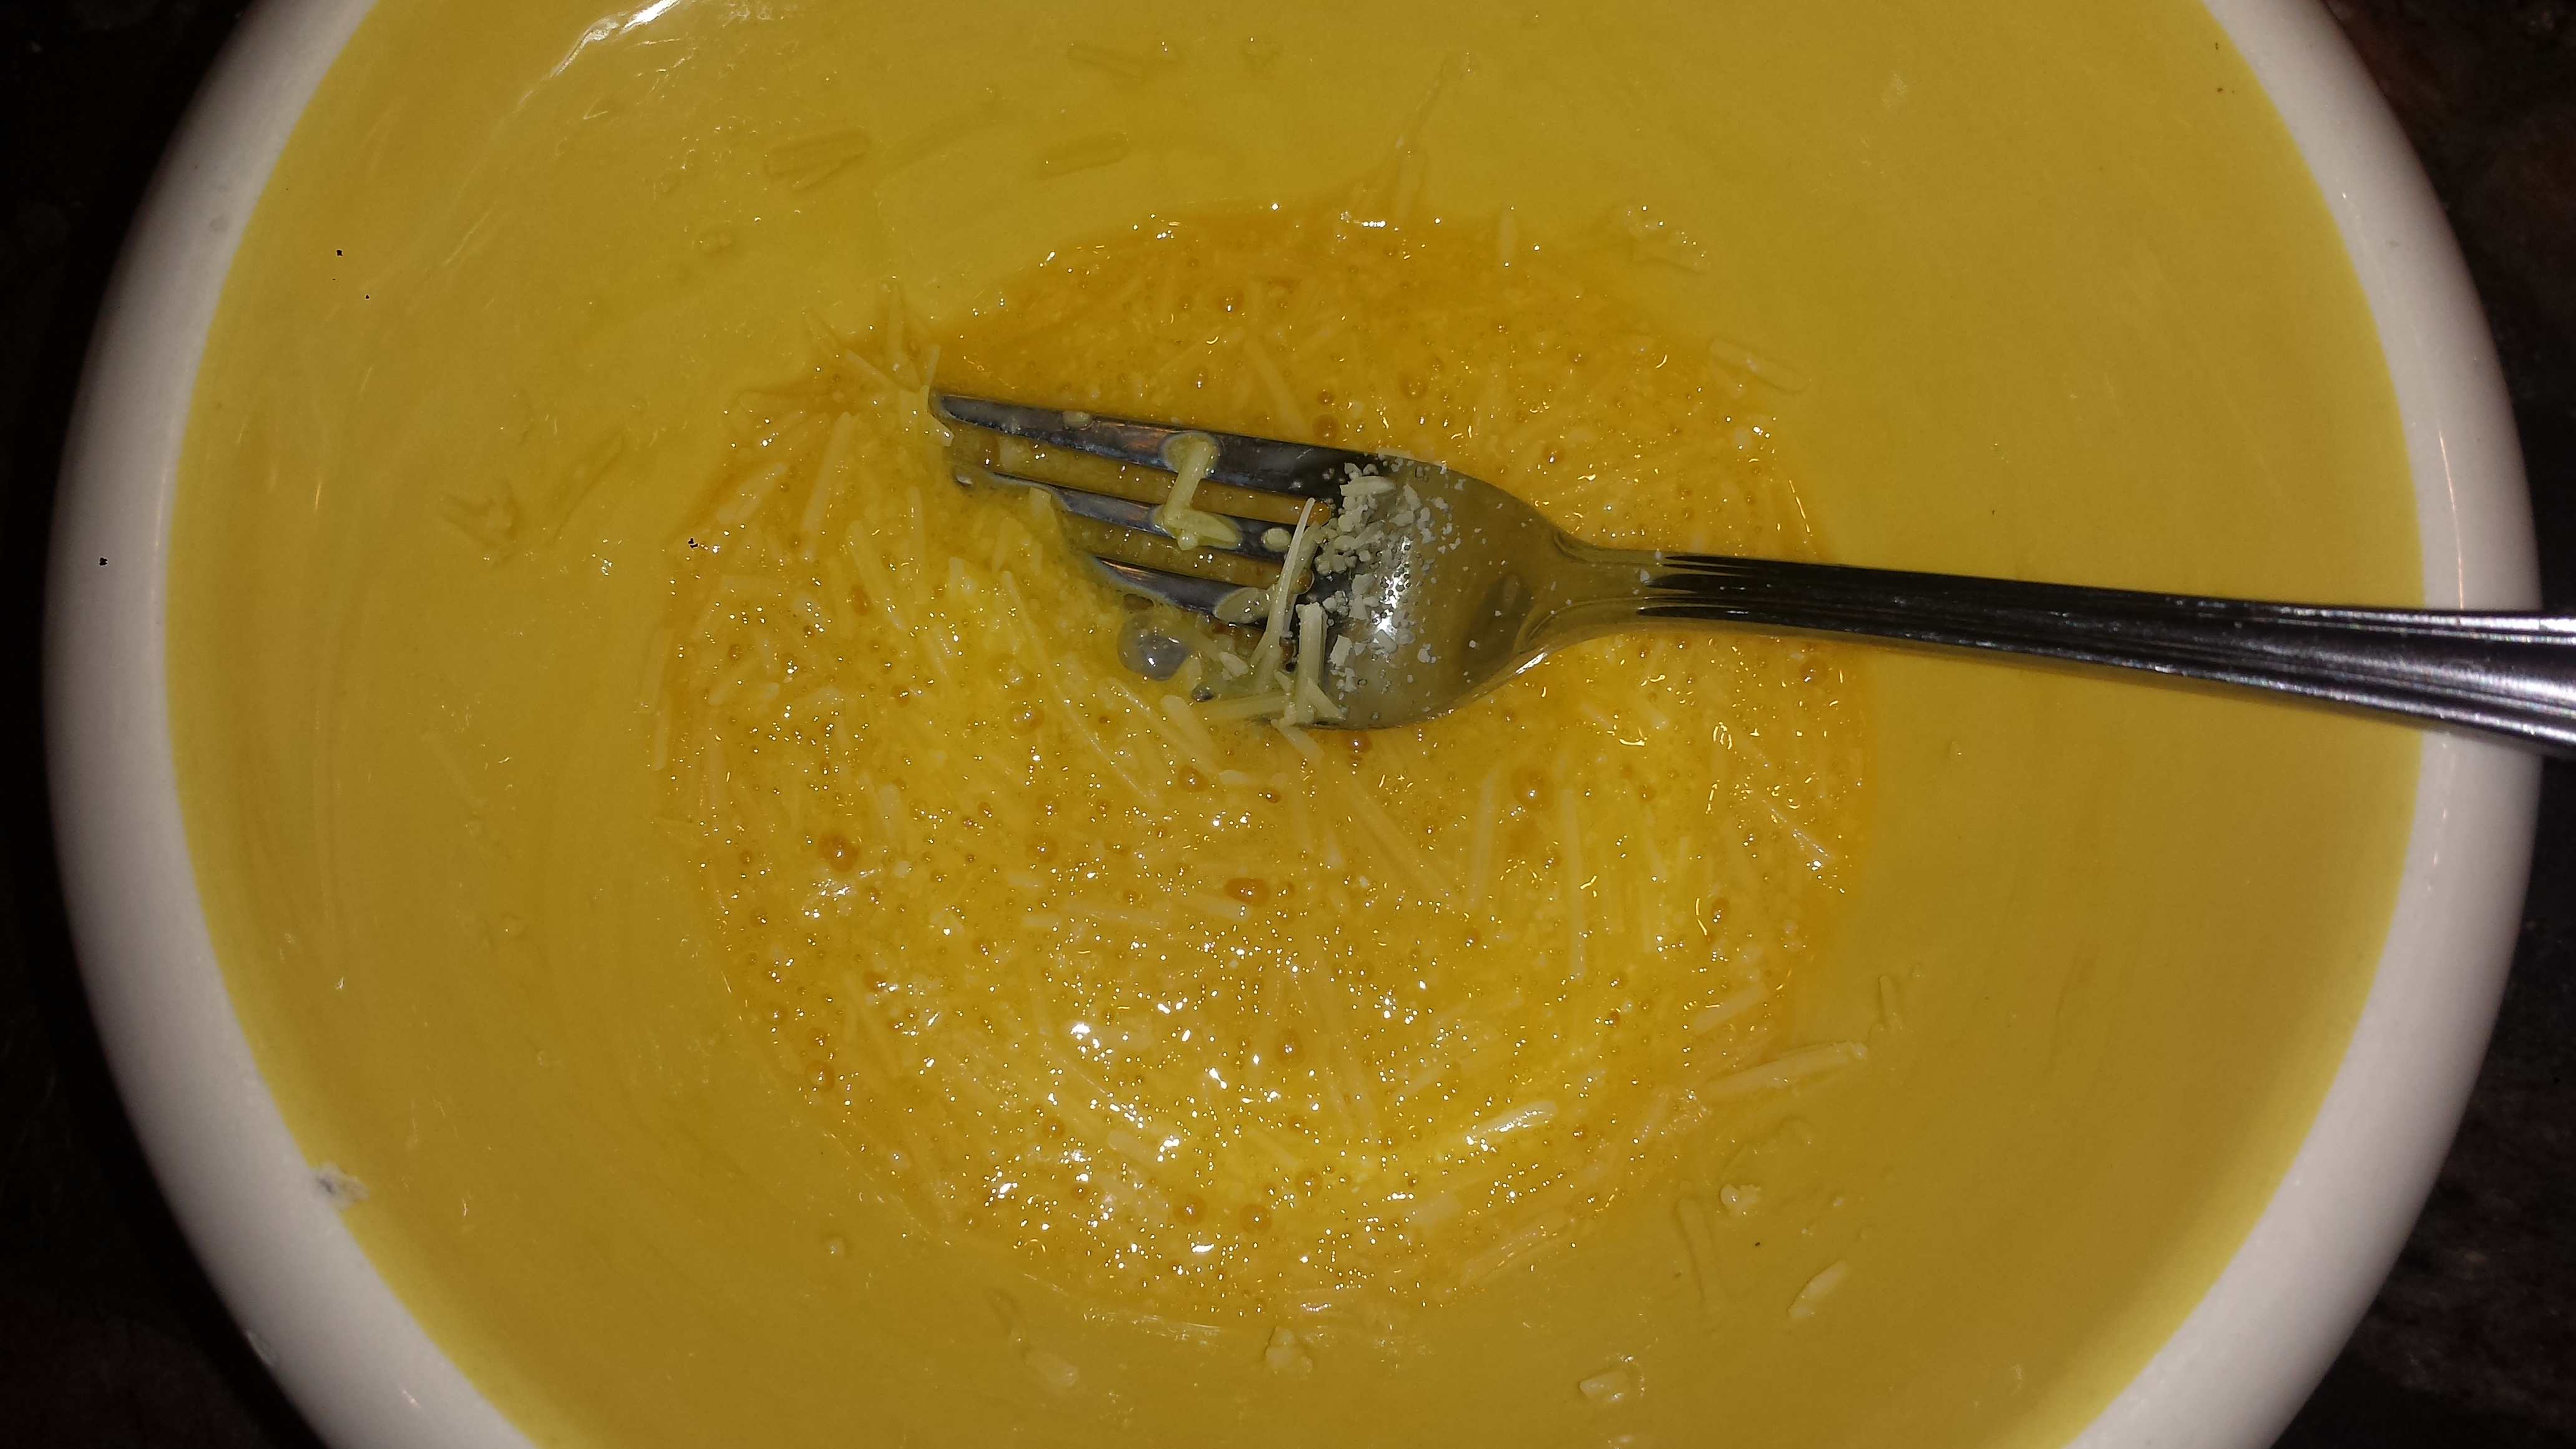
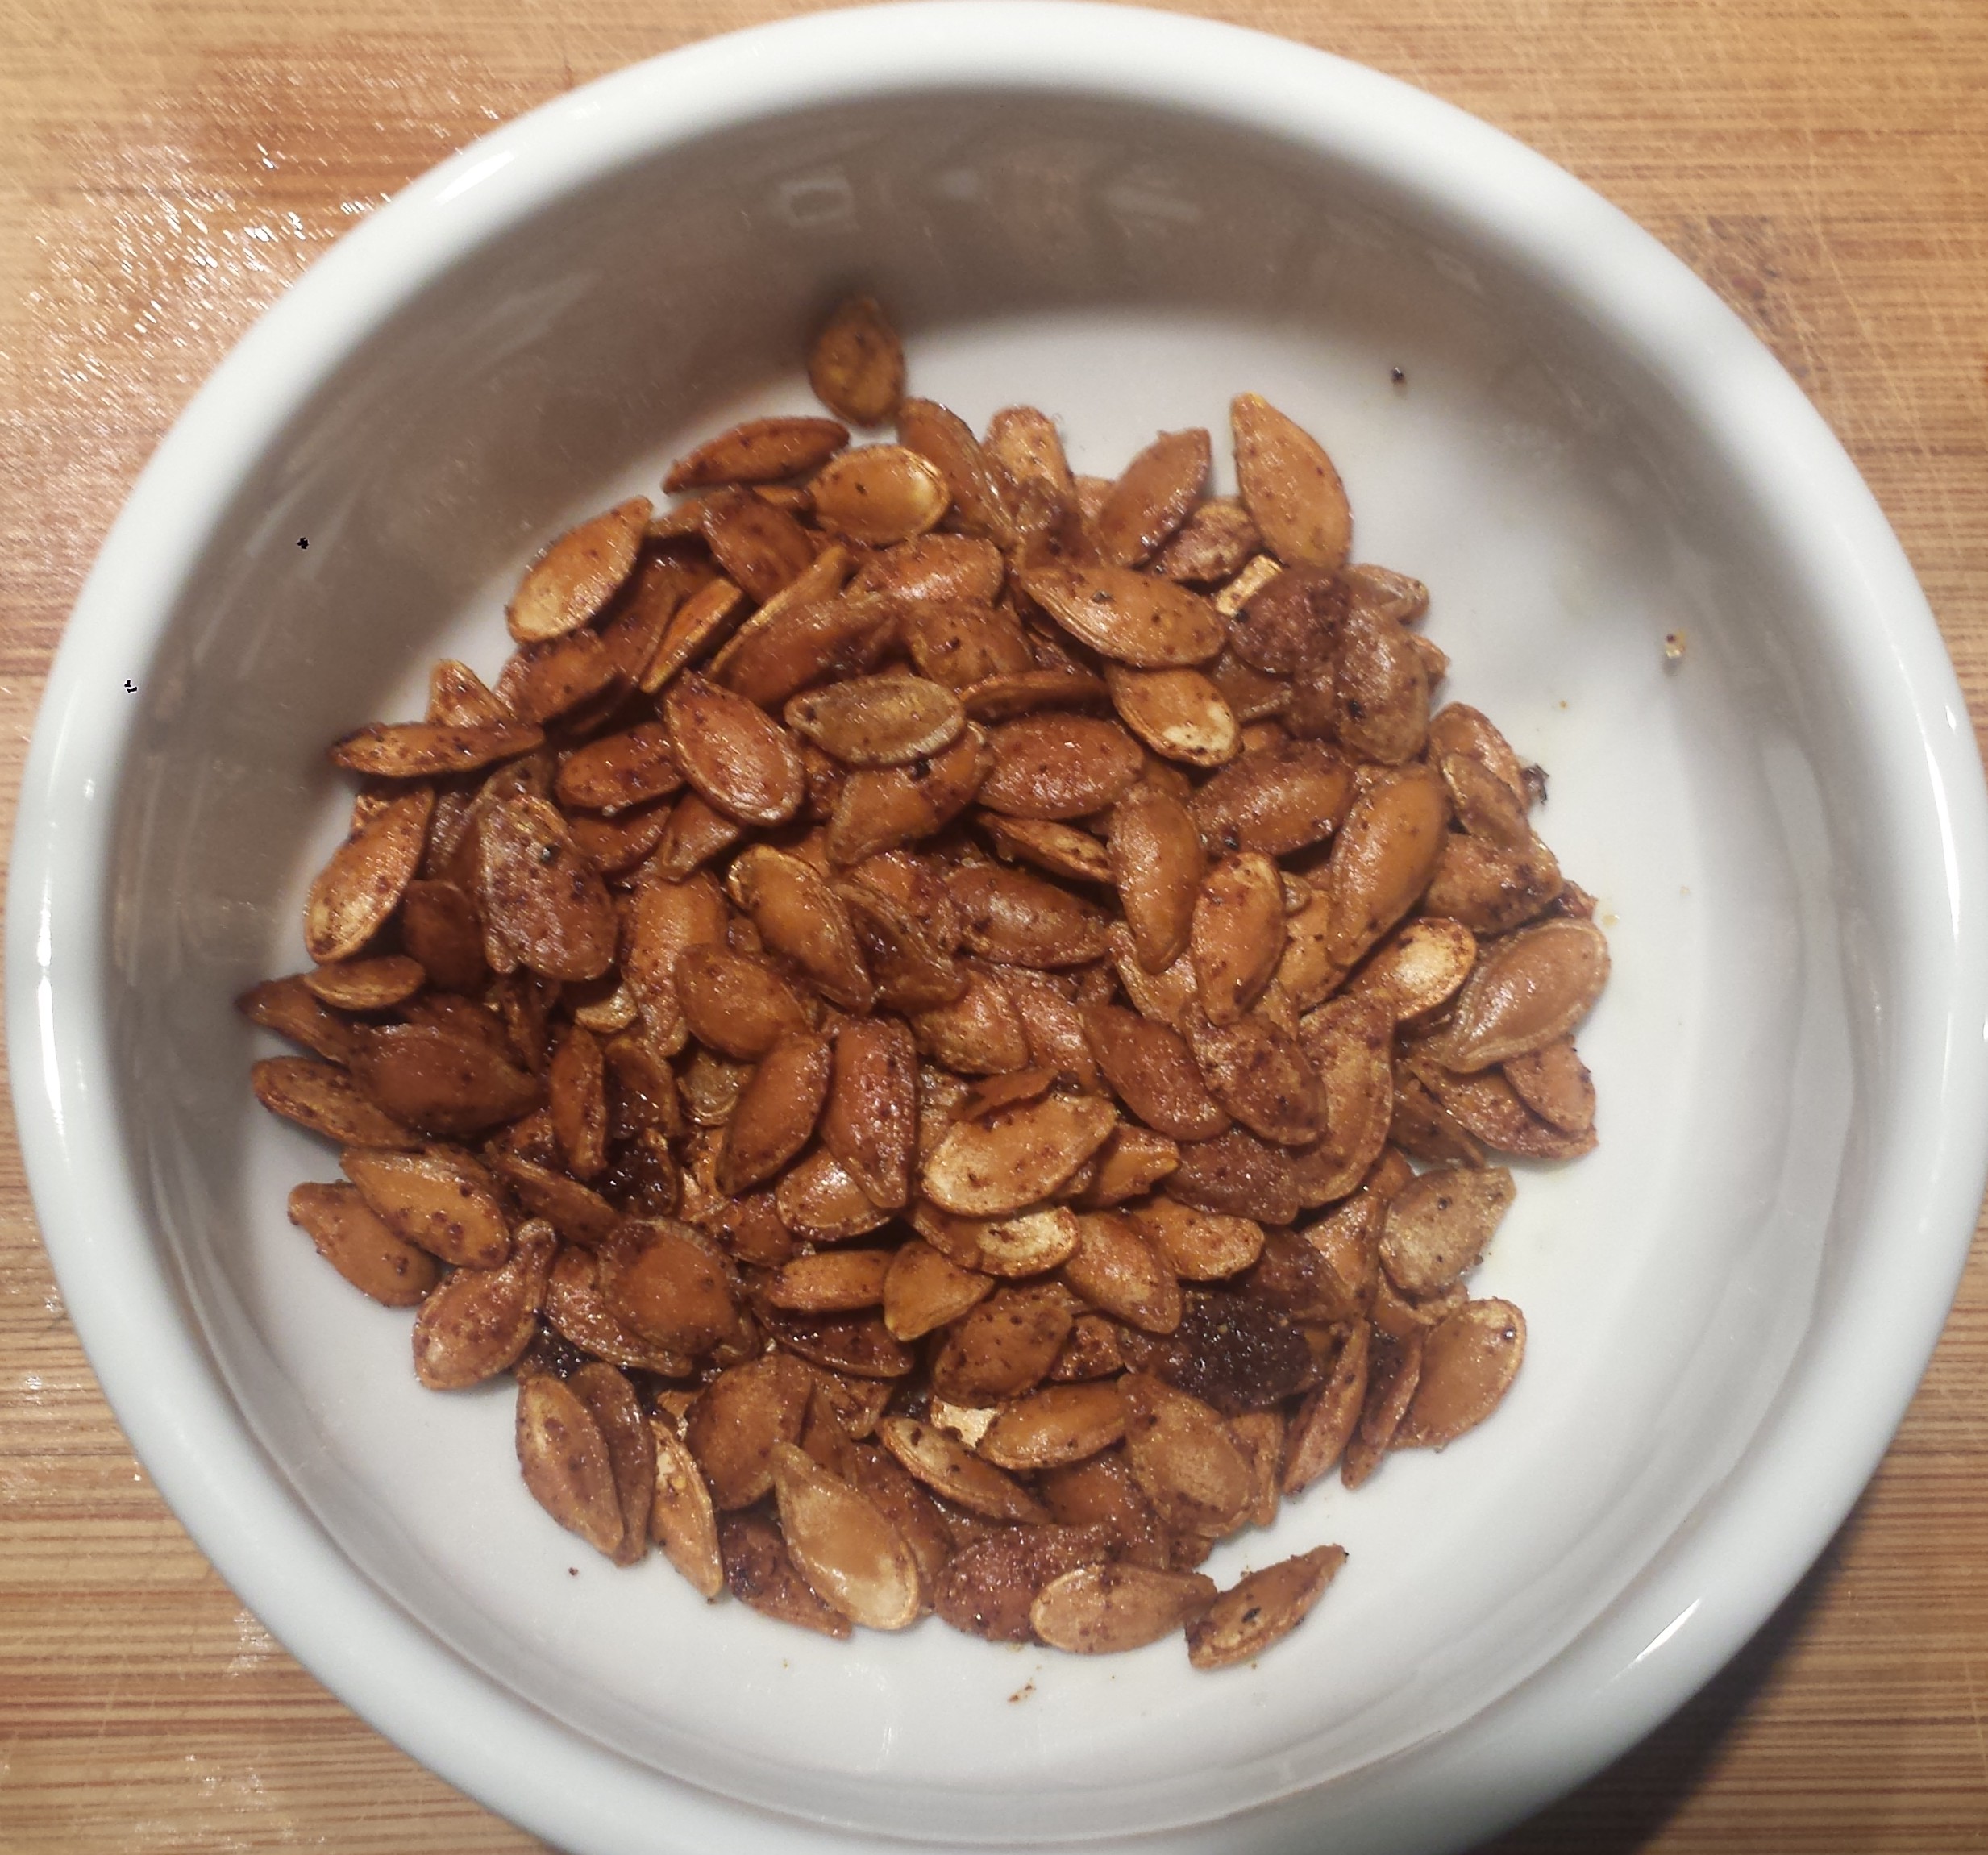
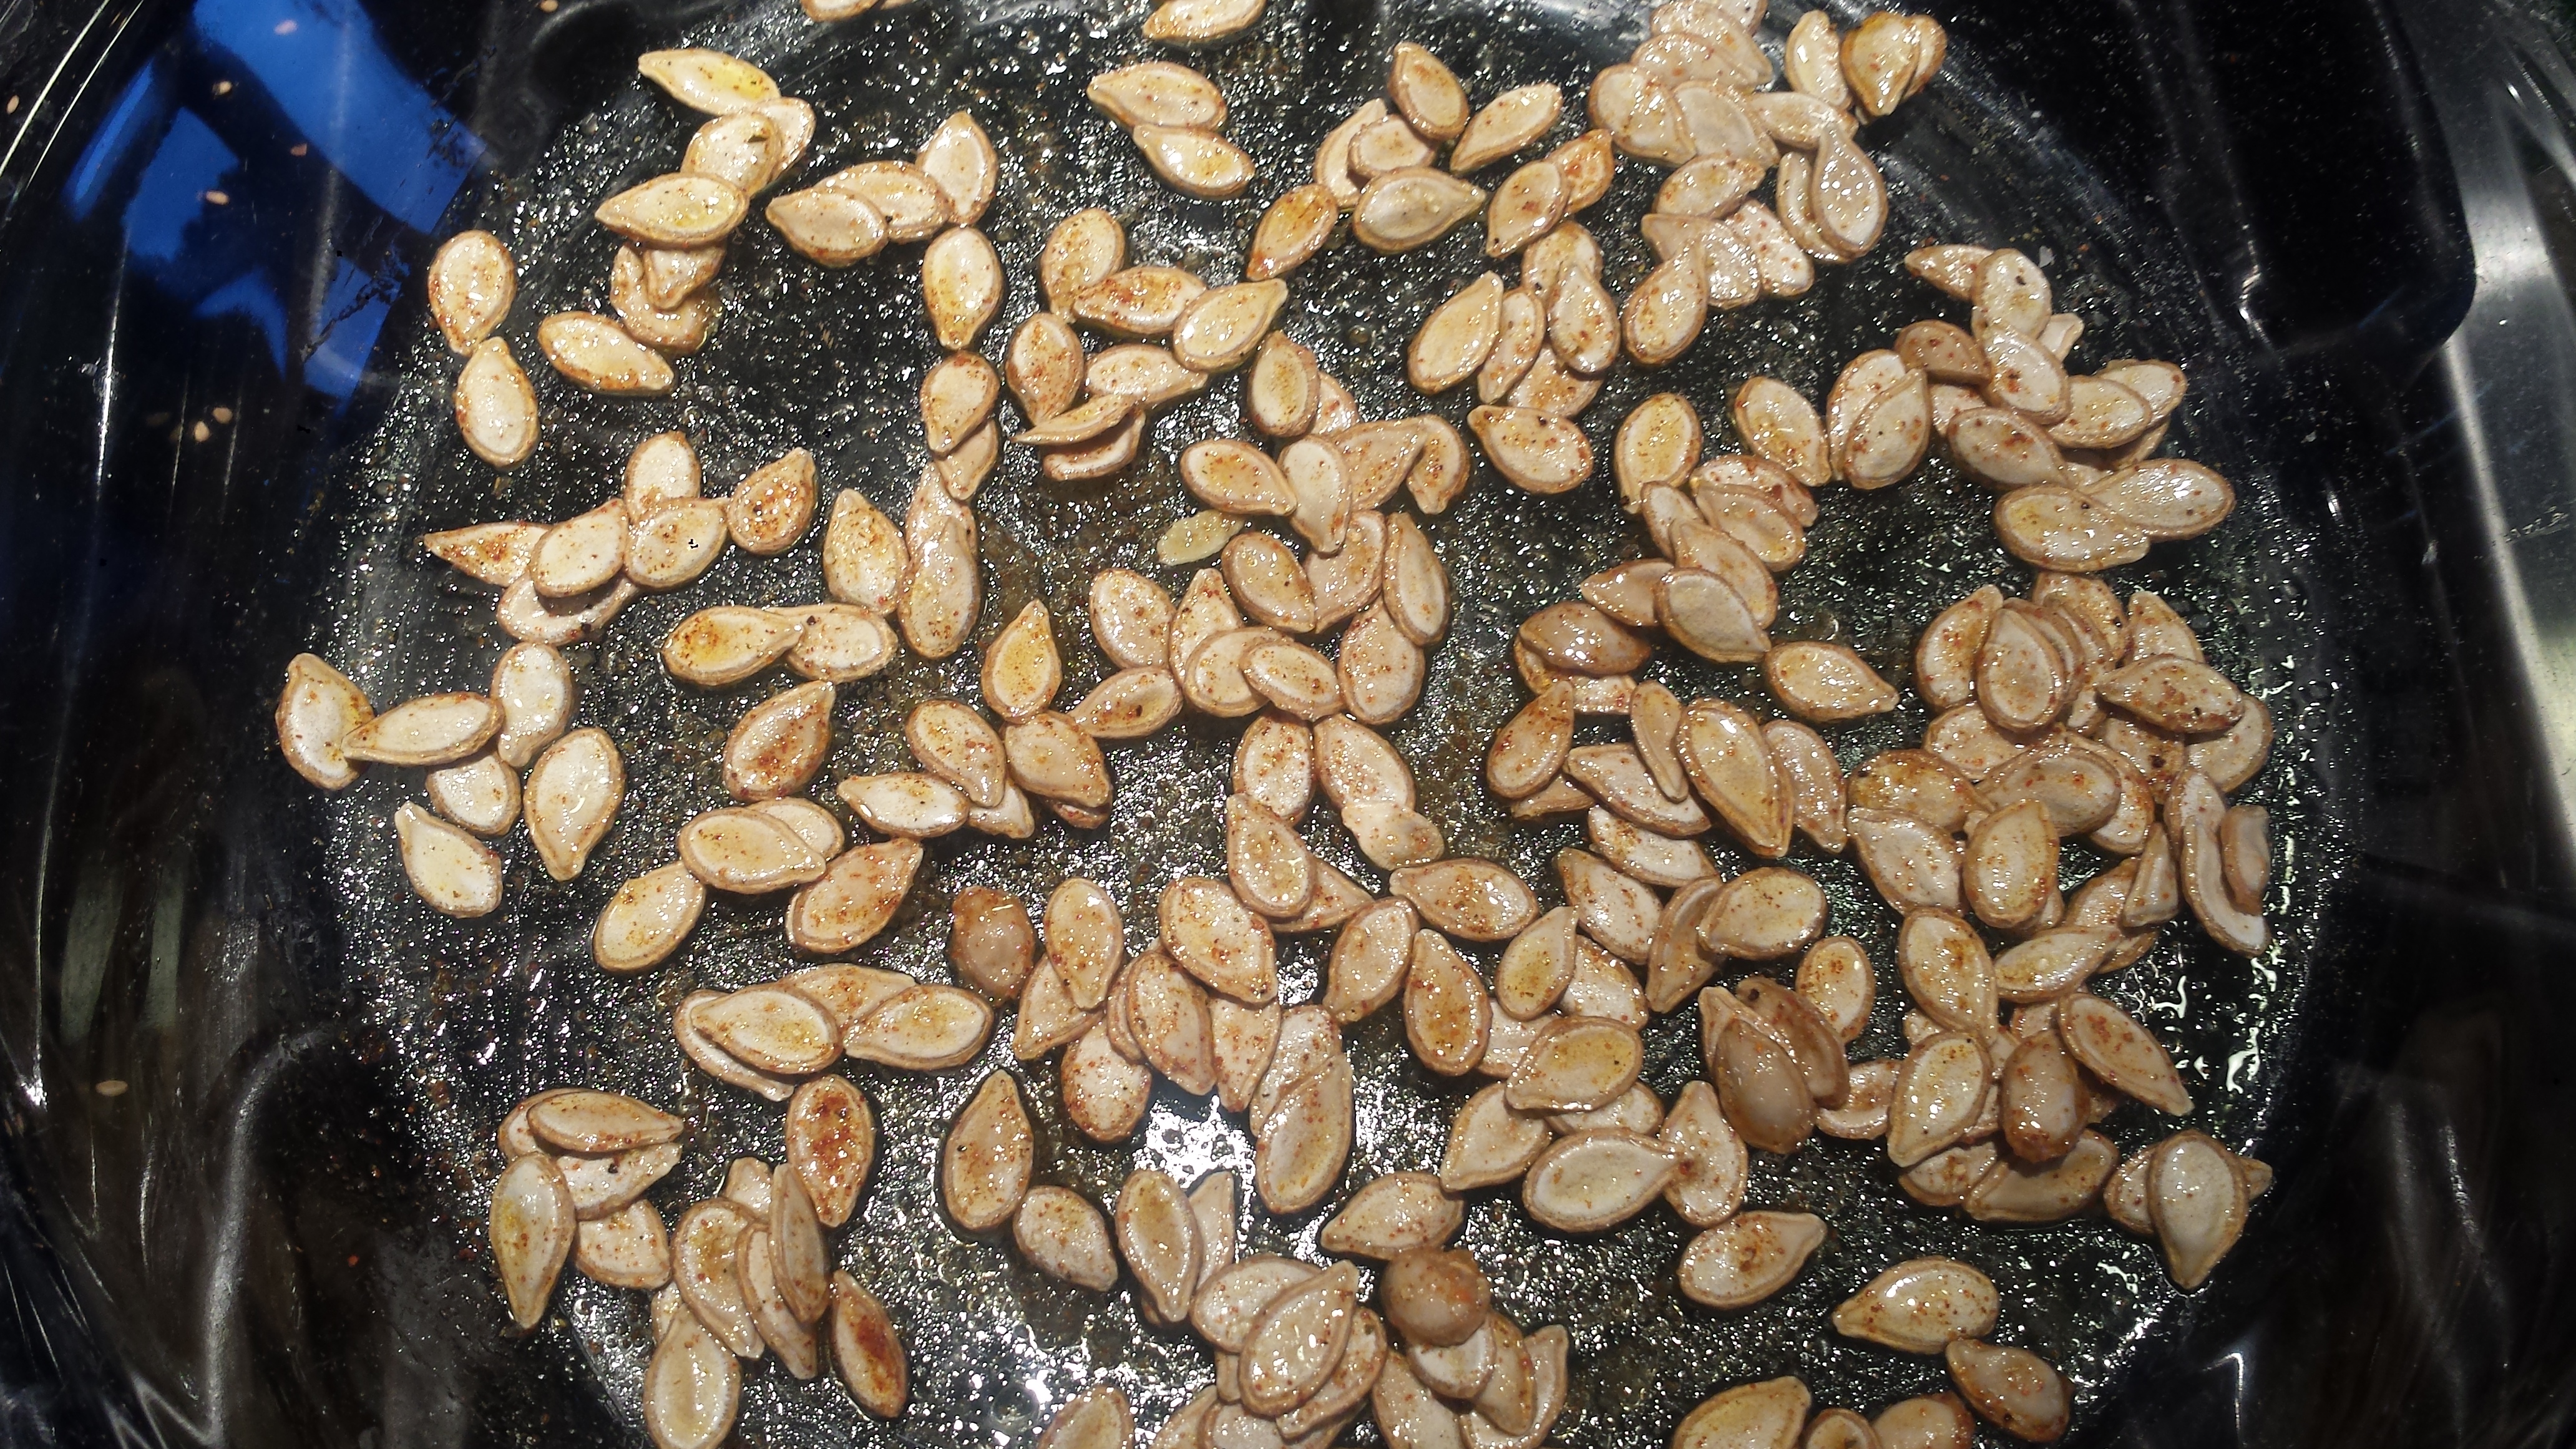
TIPS: If you like your soup extra smooth and creamy, just puree it all in 2 or 3 batches, clean out the pot and return the puree to the clean pot to reheat. This soup can be eaten plain or topped with various garnishes. My favorites are toasted pepitos (shelled pumpkin seeds), shredded or flaked parmesan and sprigs of fresh thyme. Plain yogurt is also a good topping, especially if you sprinkle it with a bit of cumin. If you have raw shelled pumpkin seeds, you can toast them in a dry pan for several minutes until they are golden and aromatic.
I really liked this soup but don’t take my word for it! I brought a preview of the Leek, Potato and Cabbage Soup, along with a few other goodies, to my amazing friend, Lis, a breast cancer survivor who just finished her first week as Patient #1 in a clinical trial at UCSF. Below is a photo Lis sent to me along with her lovely comment: “Thank you for the absolutely delicious and hearty soup! It fed all of us lunch today. The toasty pumpkin seeds added a nice crunch and the shredded Parmesan gave it a little decadent cheesiness!” – Lis

LEEK, POTATO & CABBAGE SOUP WITH TURMERIC
6 Tbsn coconut oil, olive oil or butter
2 medium or 1 large leeks, white and light green parts, thinly sliced
1/2 head green cabbage
2 garlic cloves, finely chopped
2 large potatoes, peeled and diced
4 cups vegetable broth
1 tsp fresh thyme
1 tsp turmeric
1/2 tsp cumin
½ teaspoon black pepper
salt to taste
Optional toppings: parmesan, toasted pumpkin seeds, plain yogurt, fresh sprigs of thyme

- Trim ends of leeks, saving only white and light green part. Slice in half lengthwise and run under water to clean each layer by fanning like a deck of cards. Slice each half horizontally into thin strips.
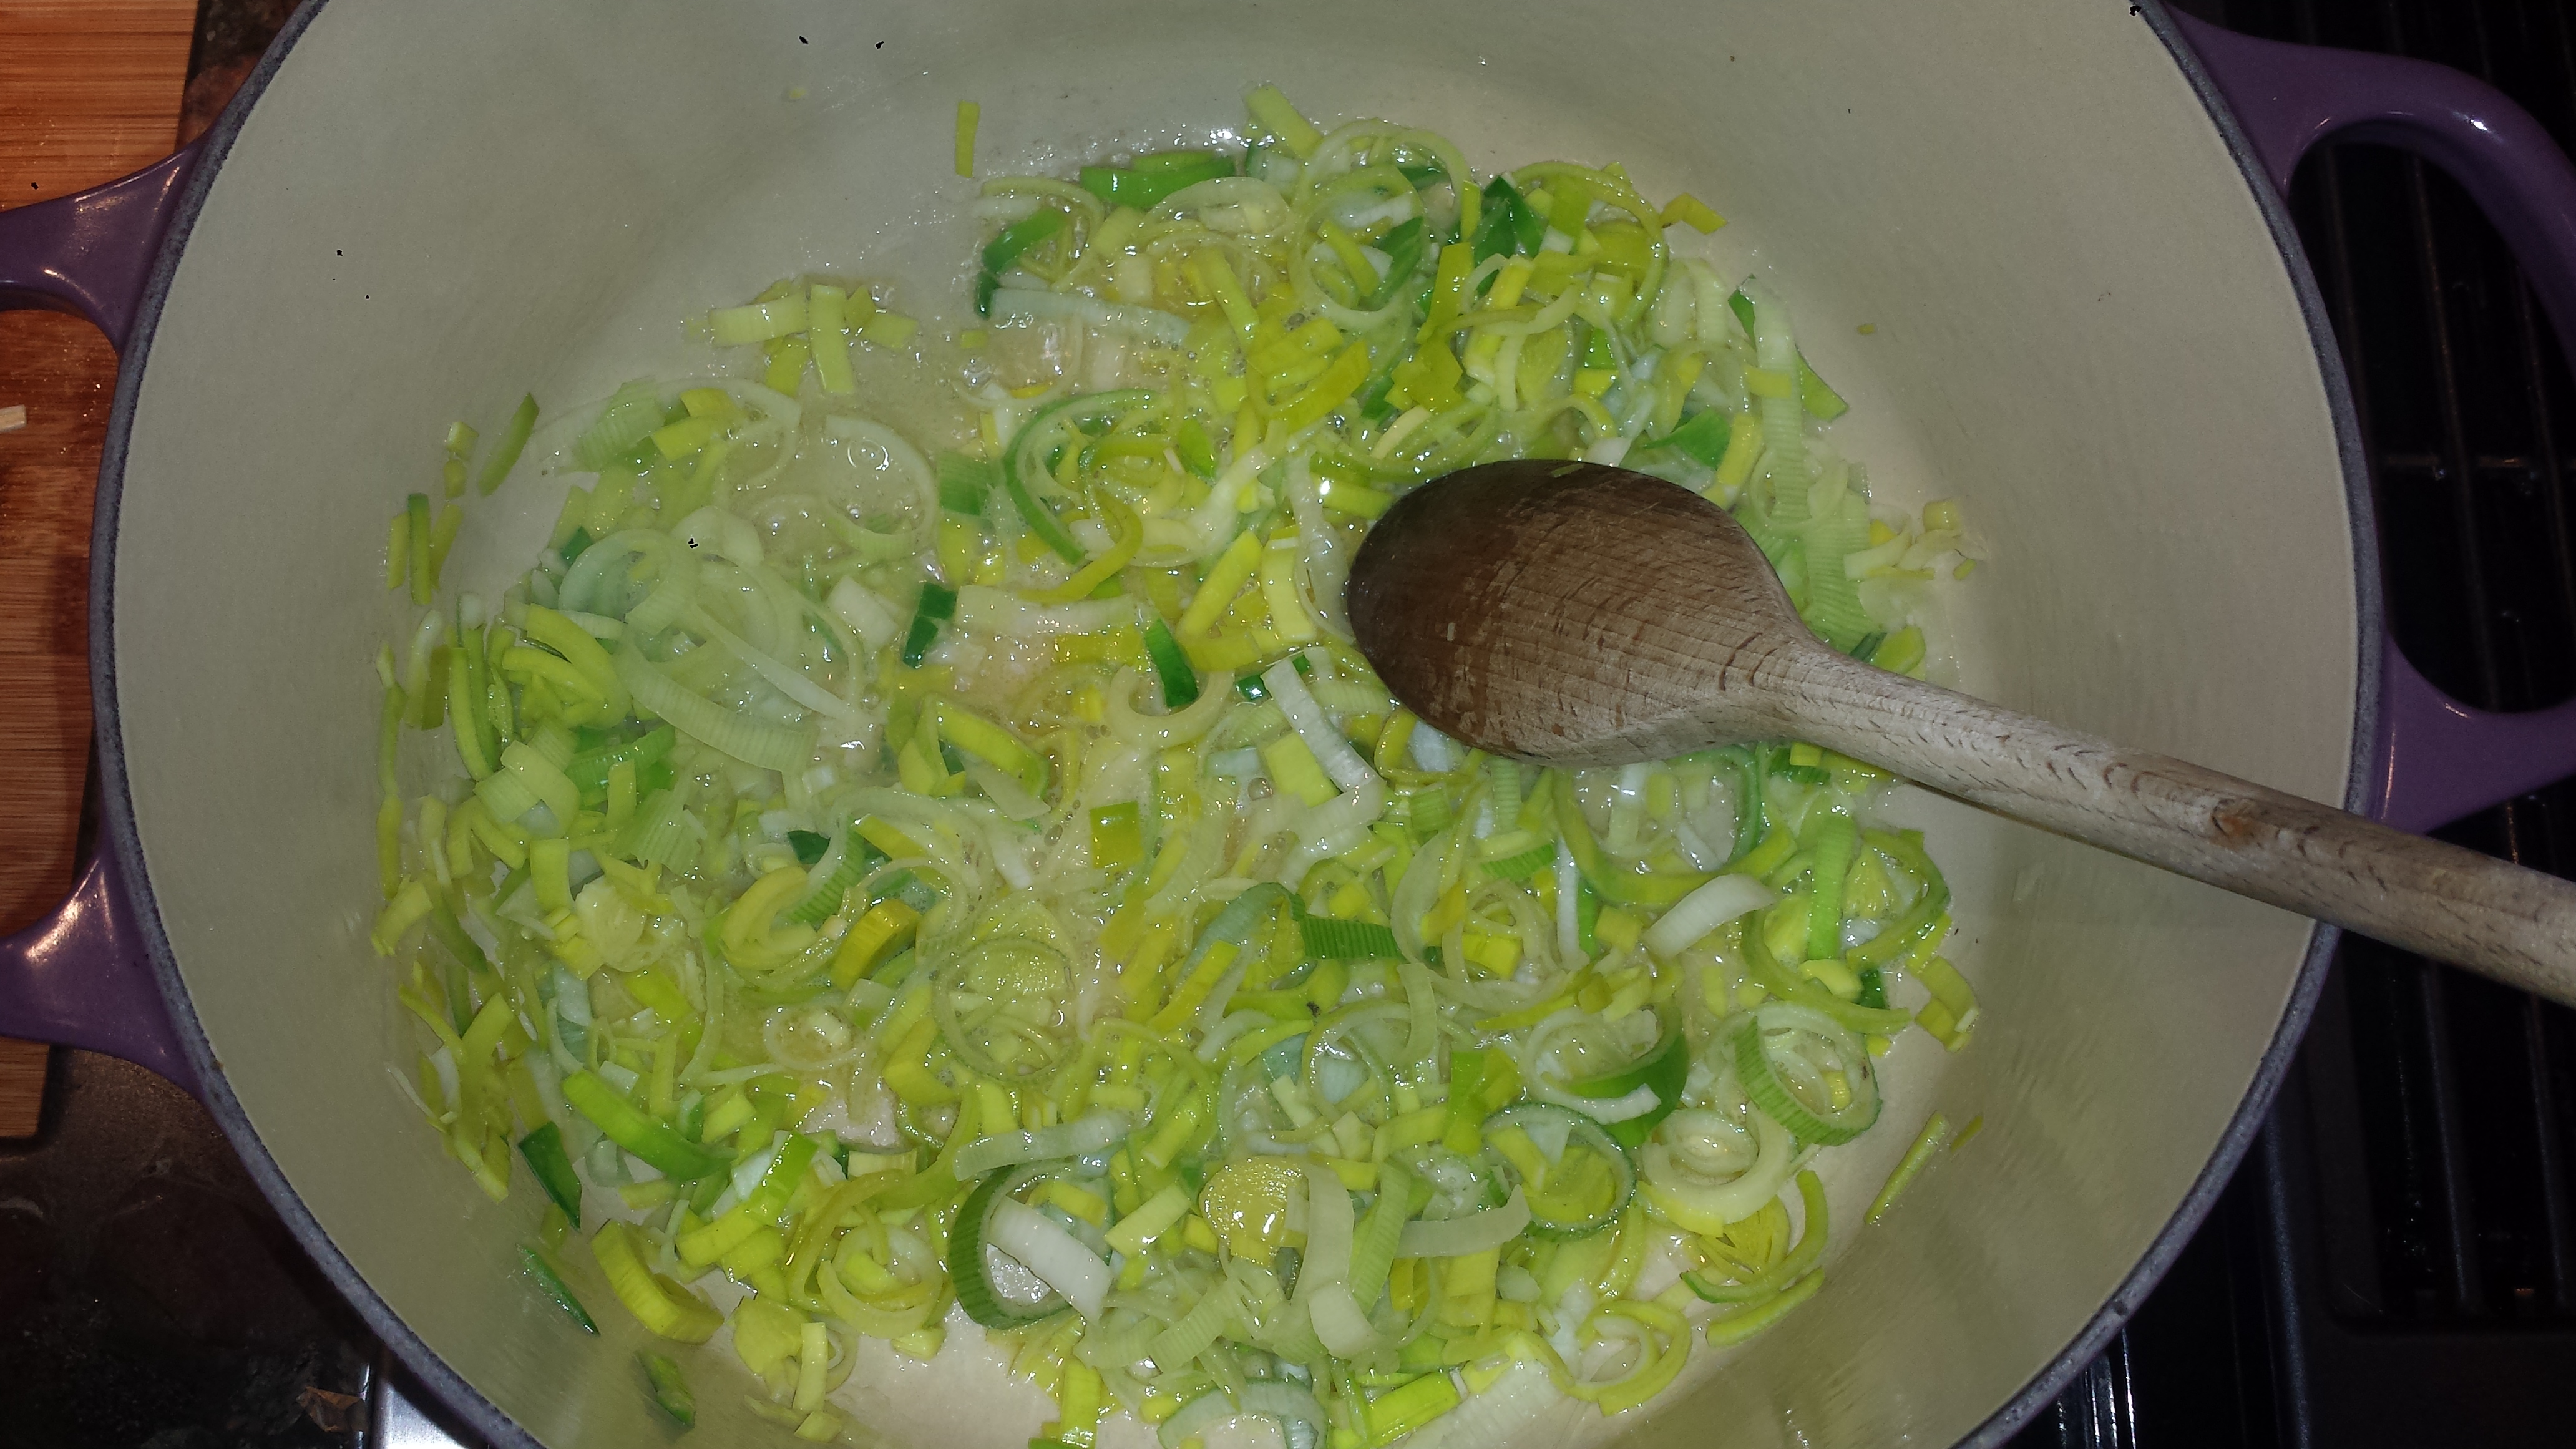
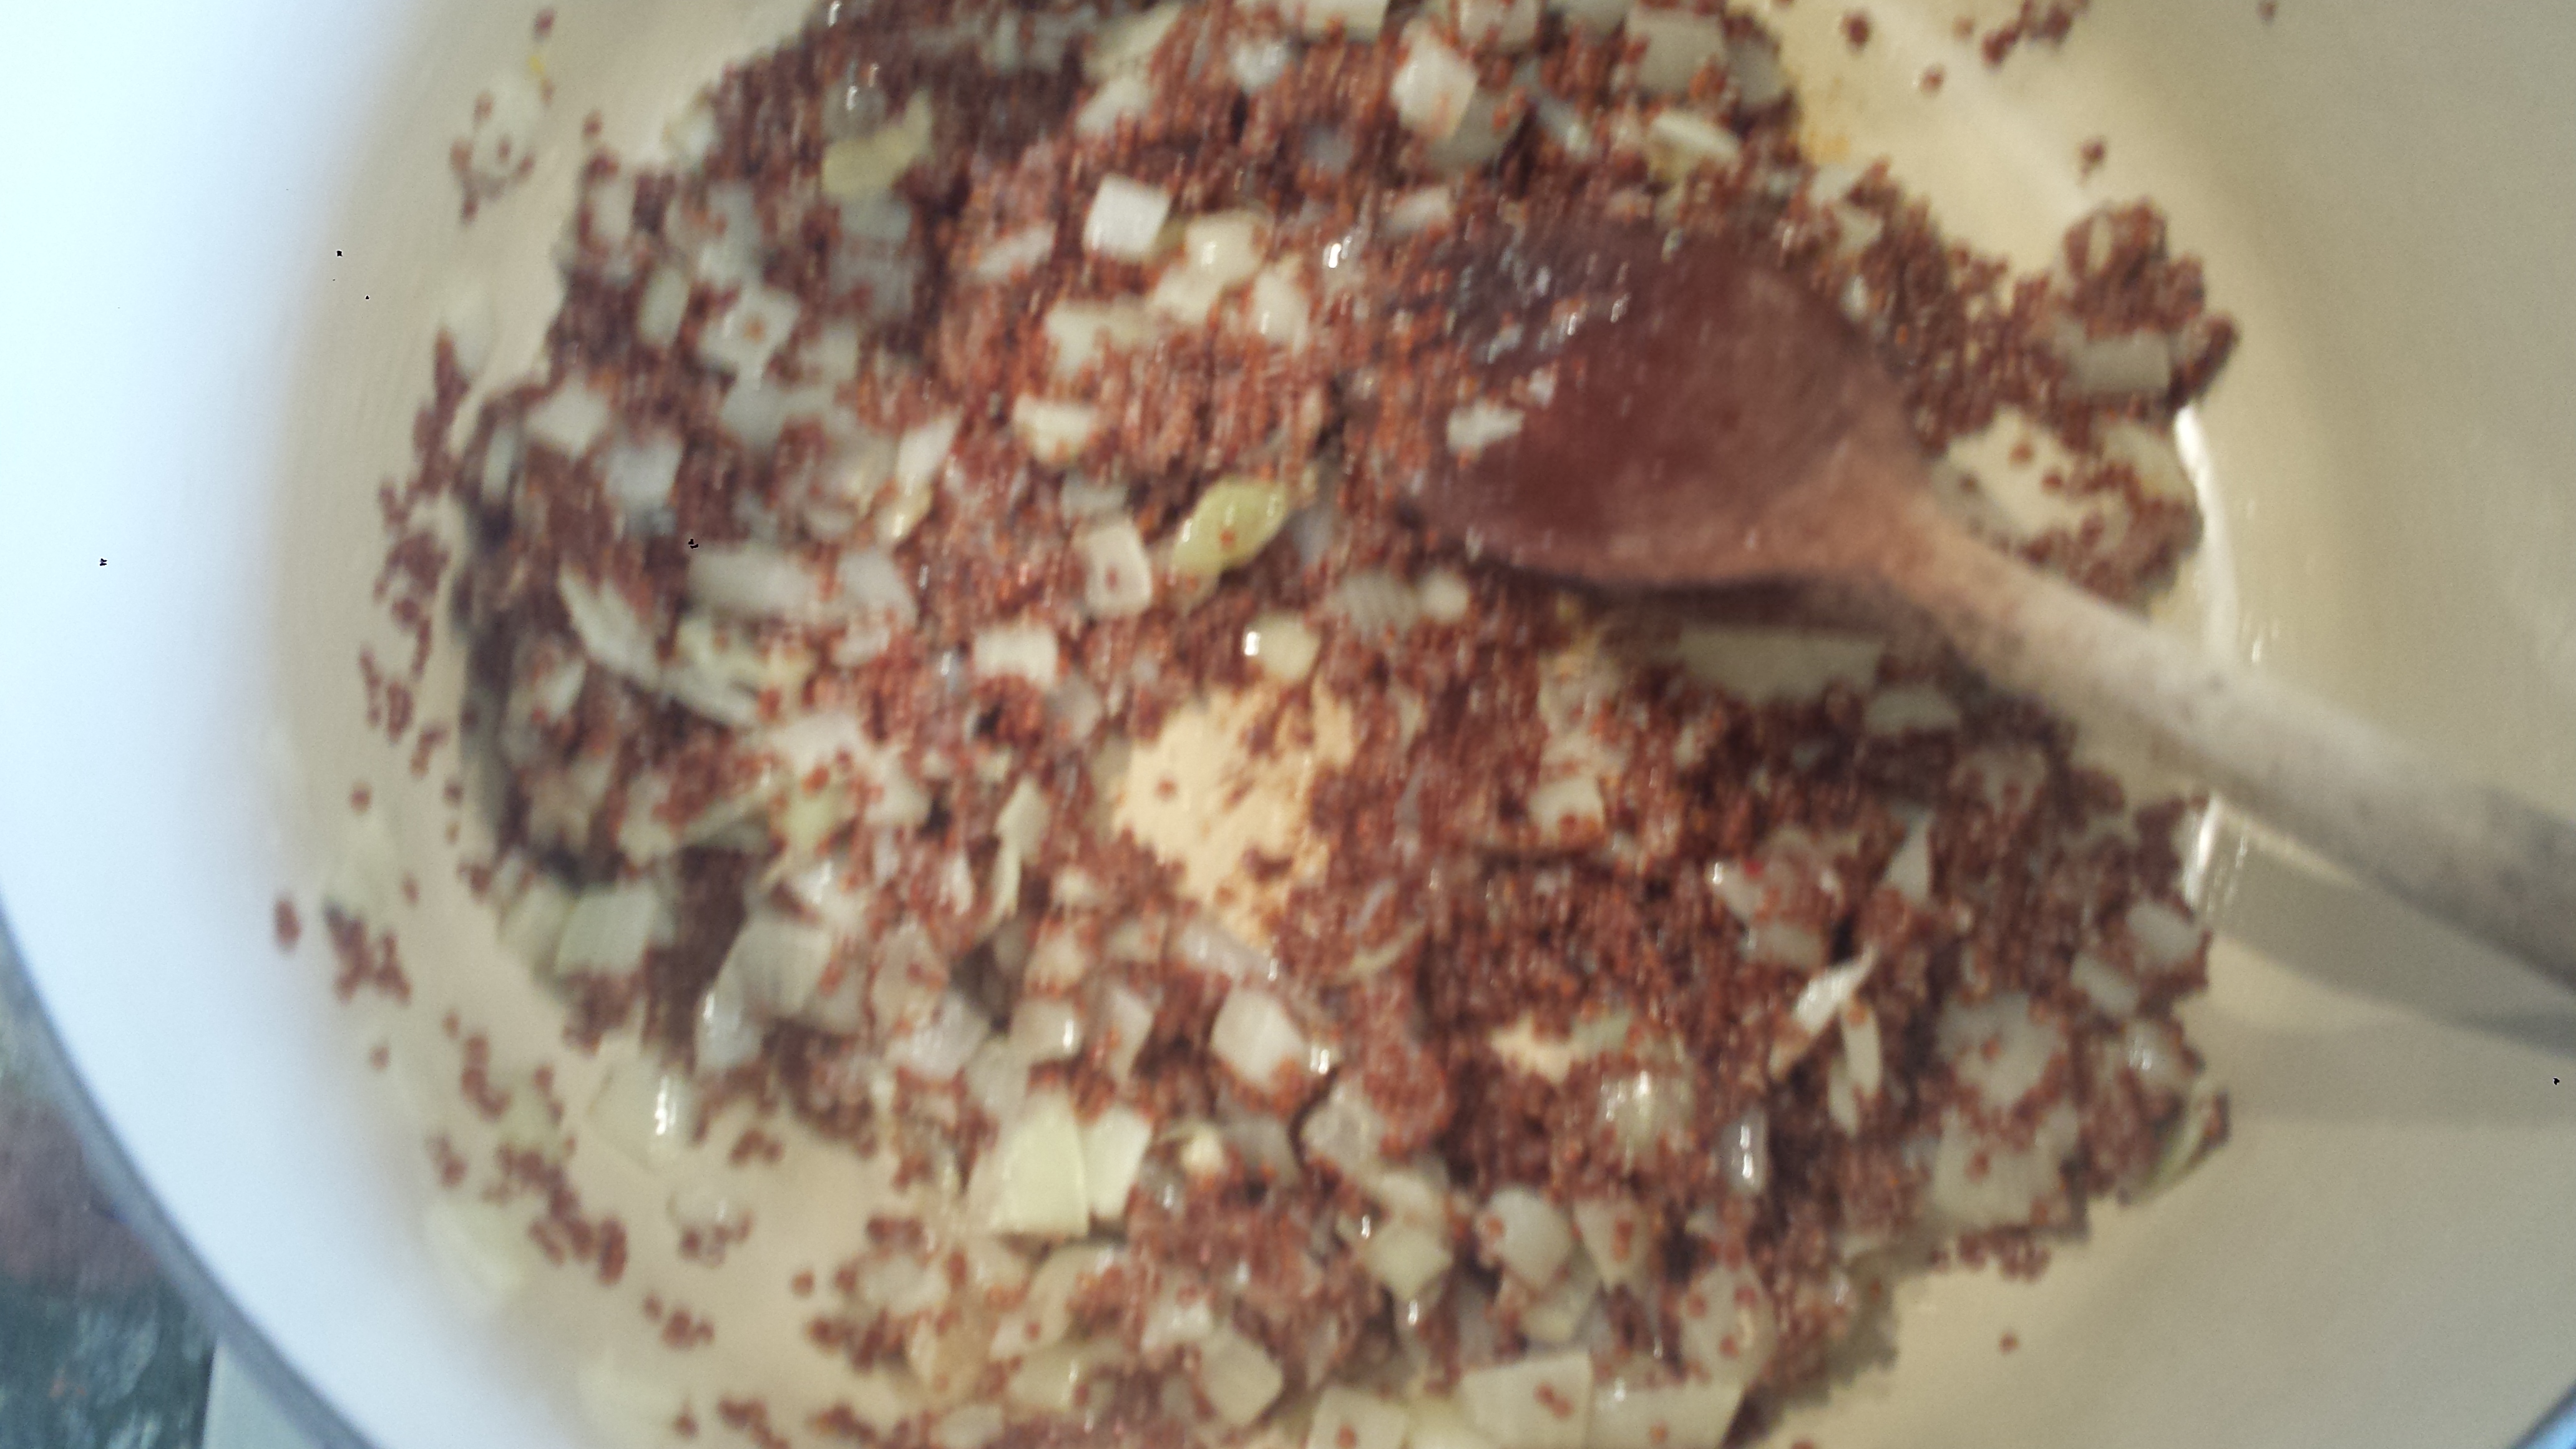
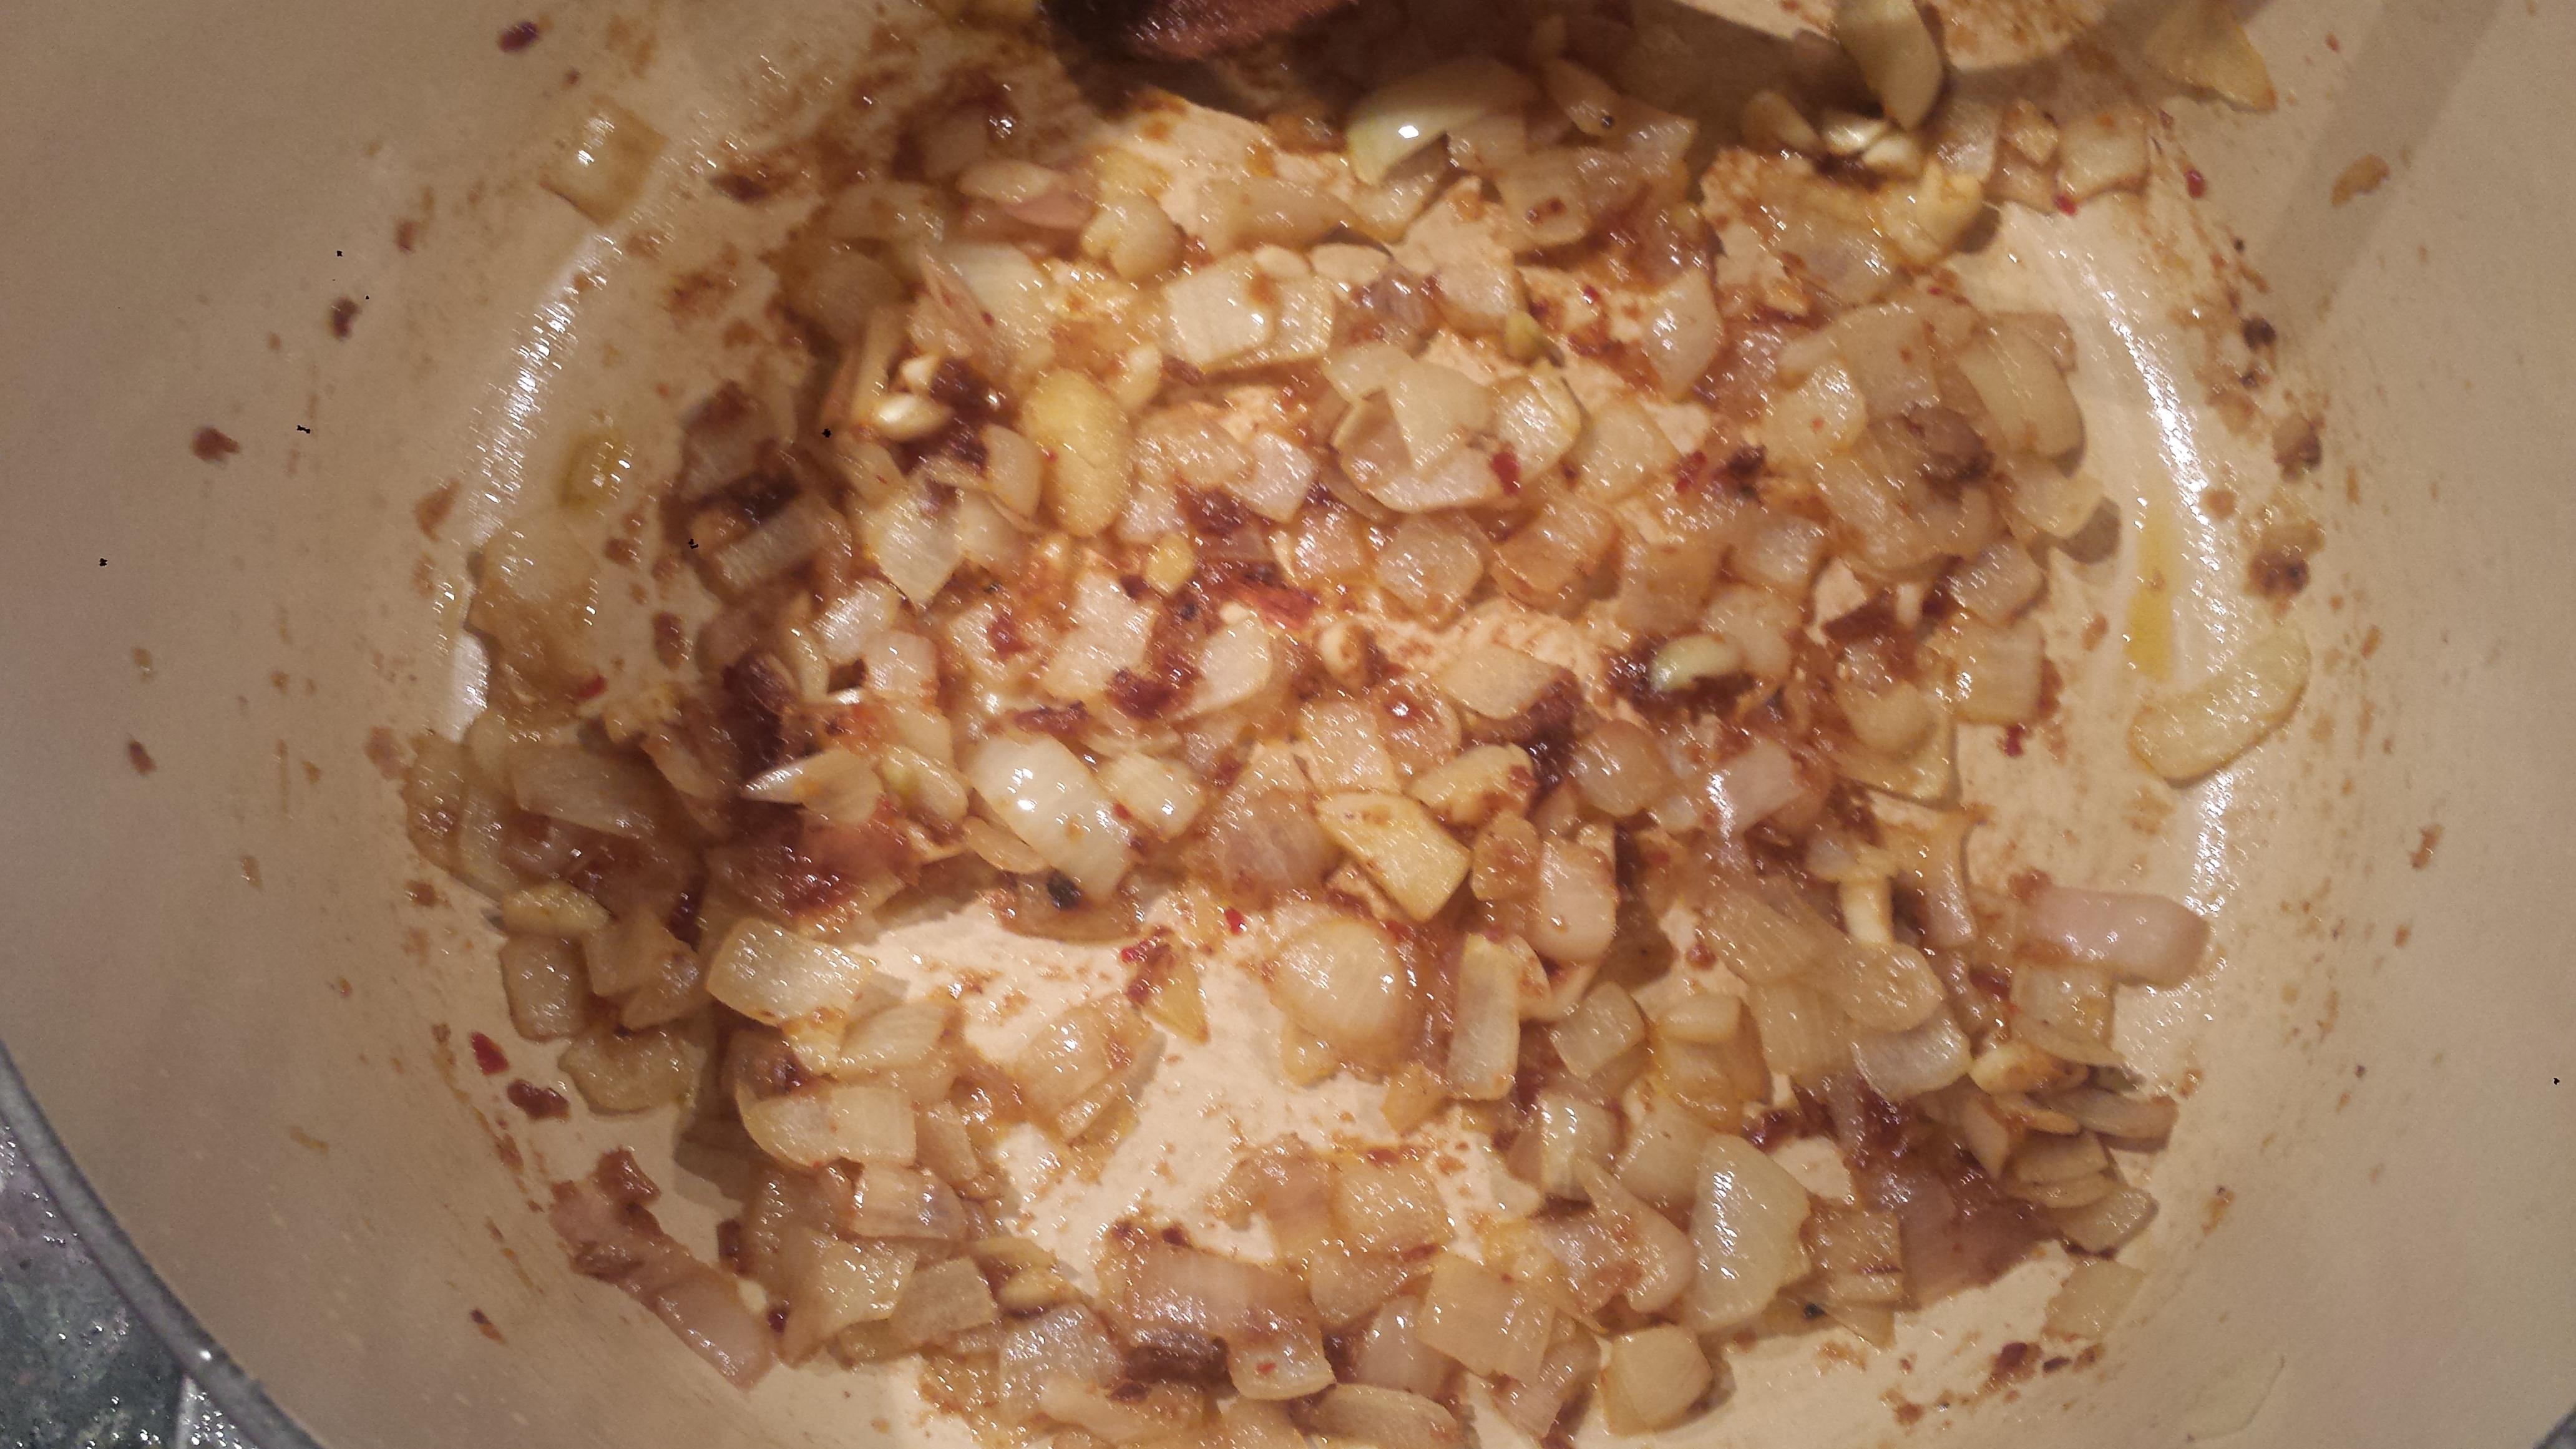
- Saute the leeks in the oil/butter and cook until soft and golden around the edges, 5 to 7 minutes.

- Thinly slice or shred cabbage

- Add the cabbage and garlic to the leeks and cook, stirring occasionally, about 10 minutes.
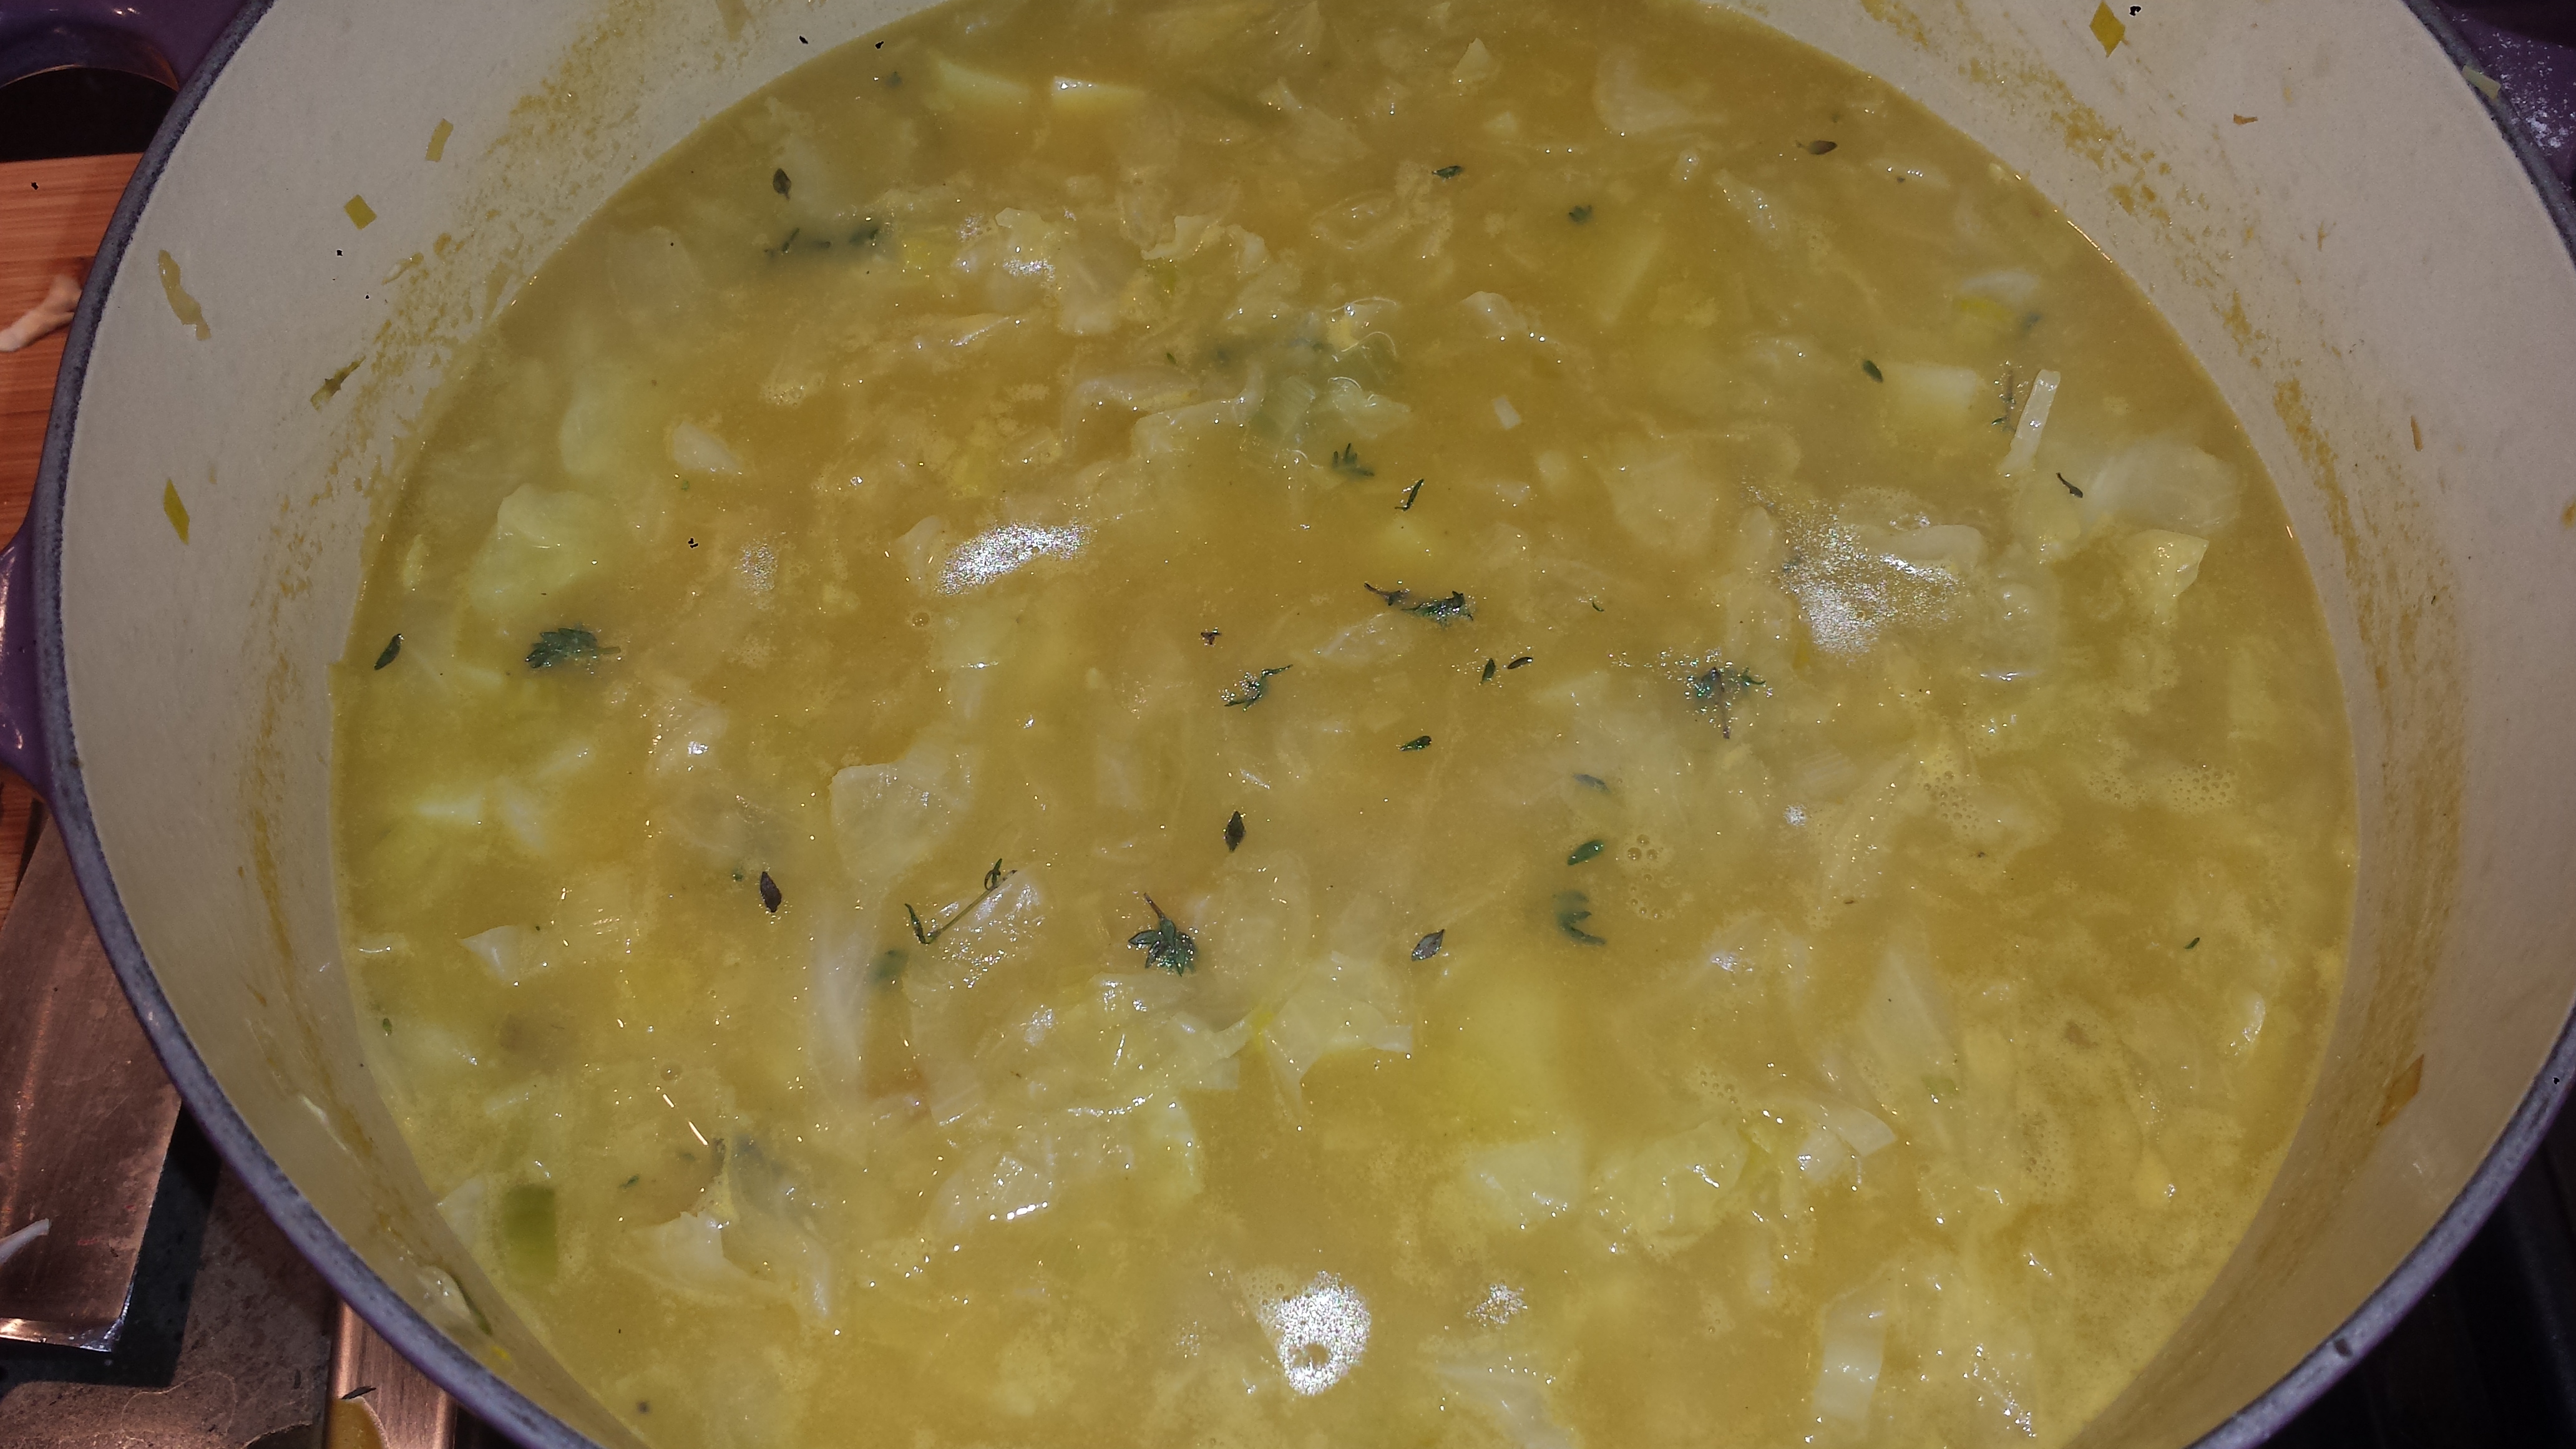
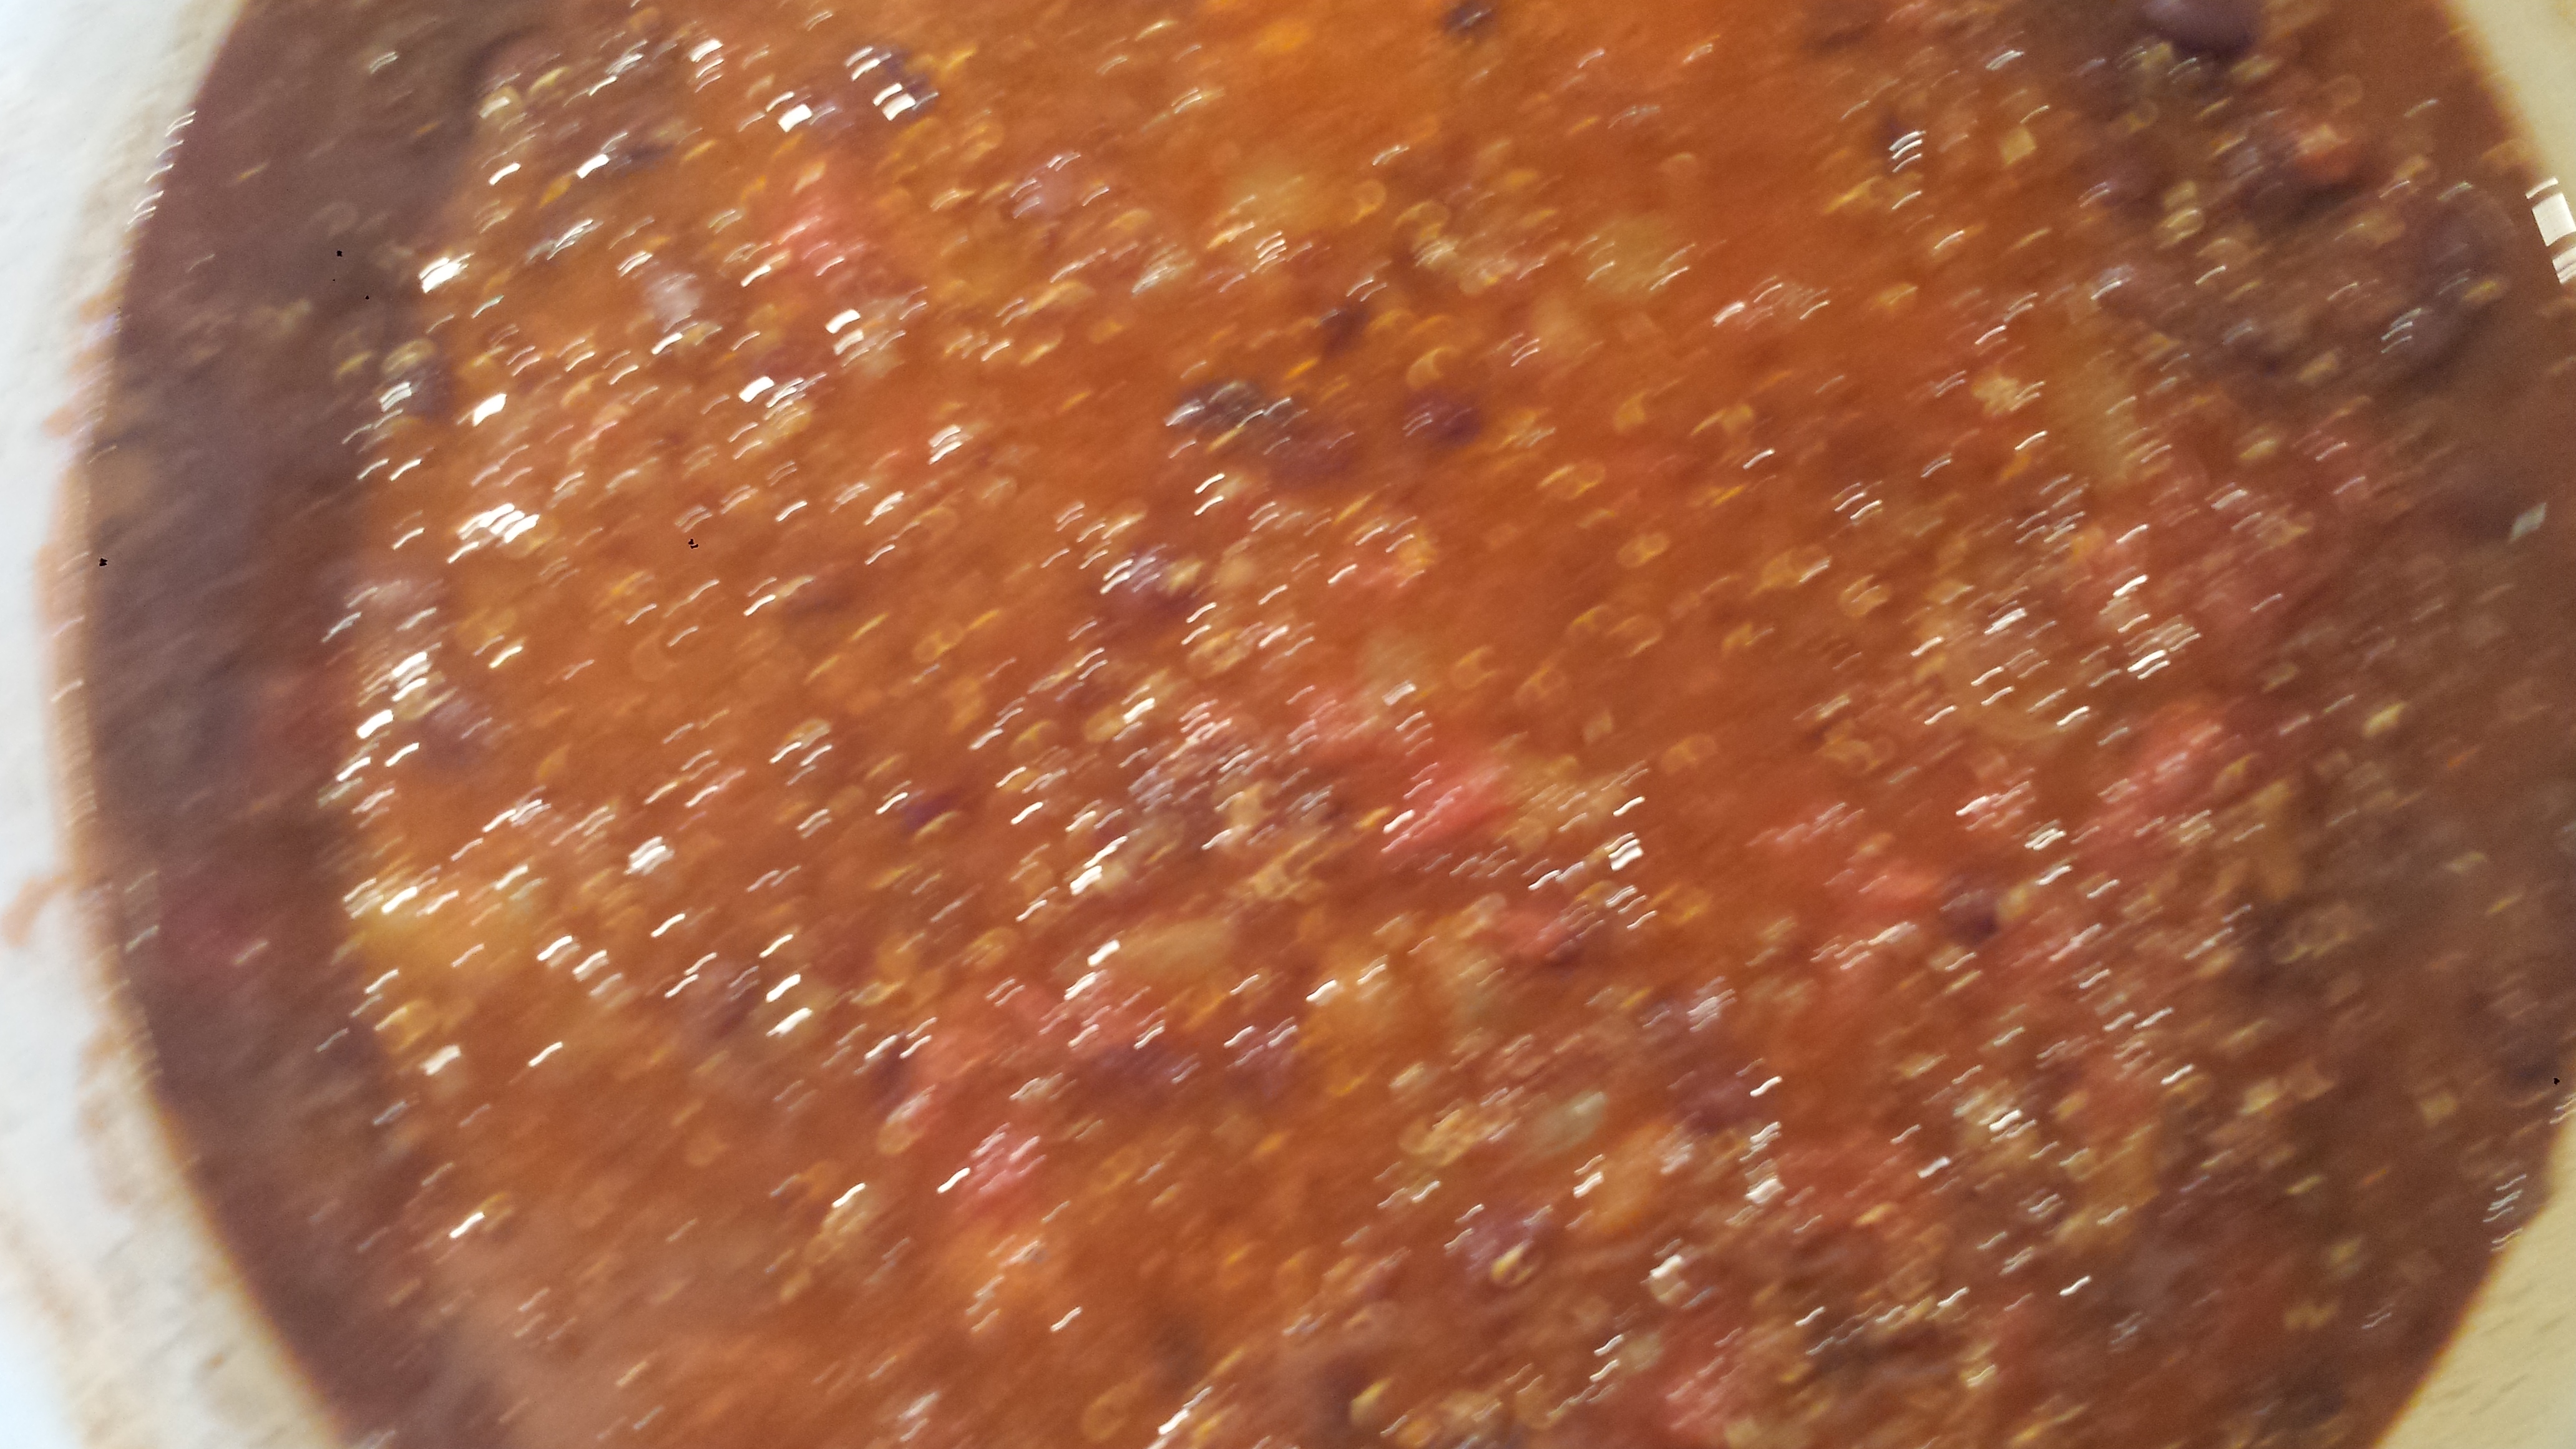
- Peel and dice potatoes and add them to the vegetable mixture along with broth, 4 cups water and spices except for salt. Bring soup to a simmer and cook, partly covered, until potatoes are very soft, 45 to 50 minutes. Add more water, as needed.
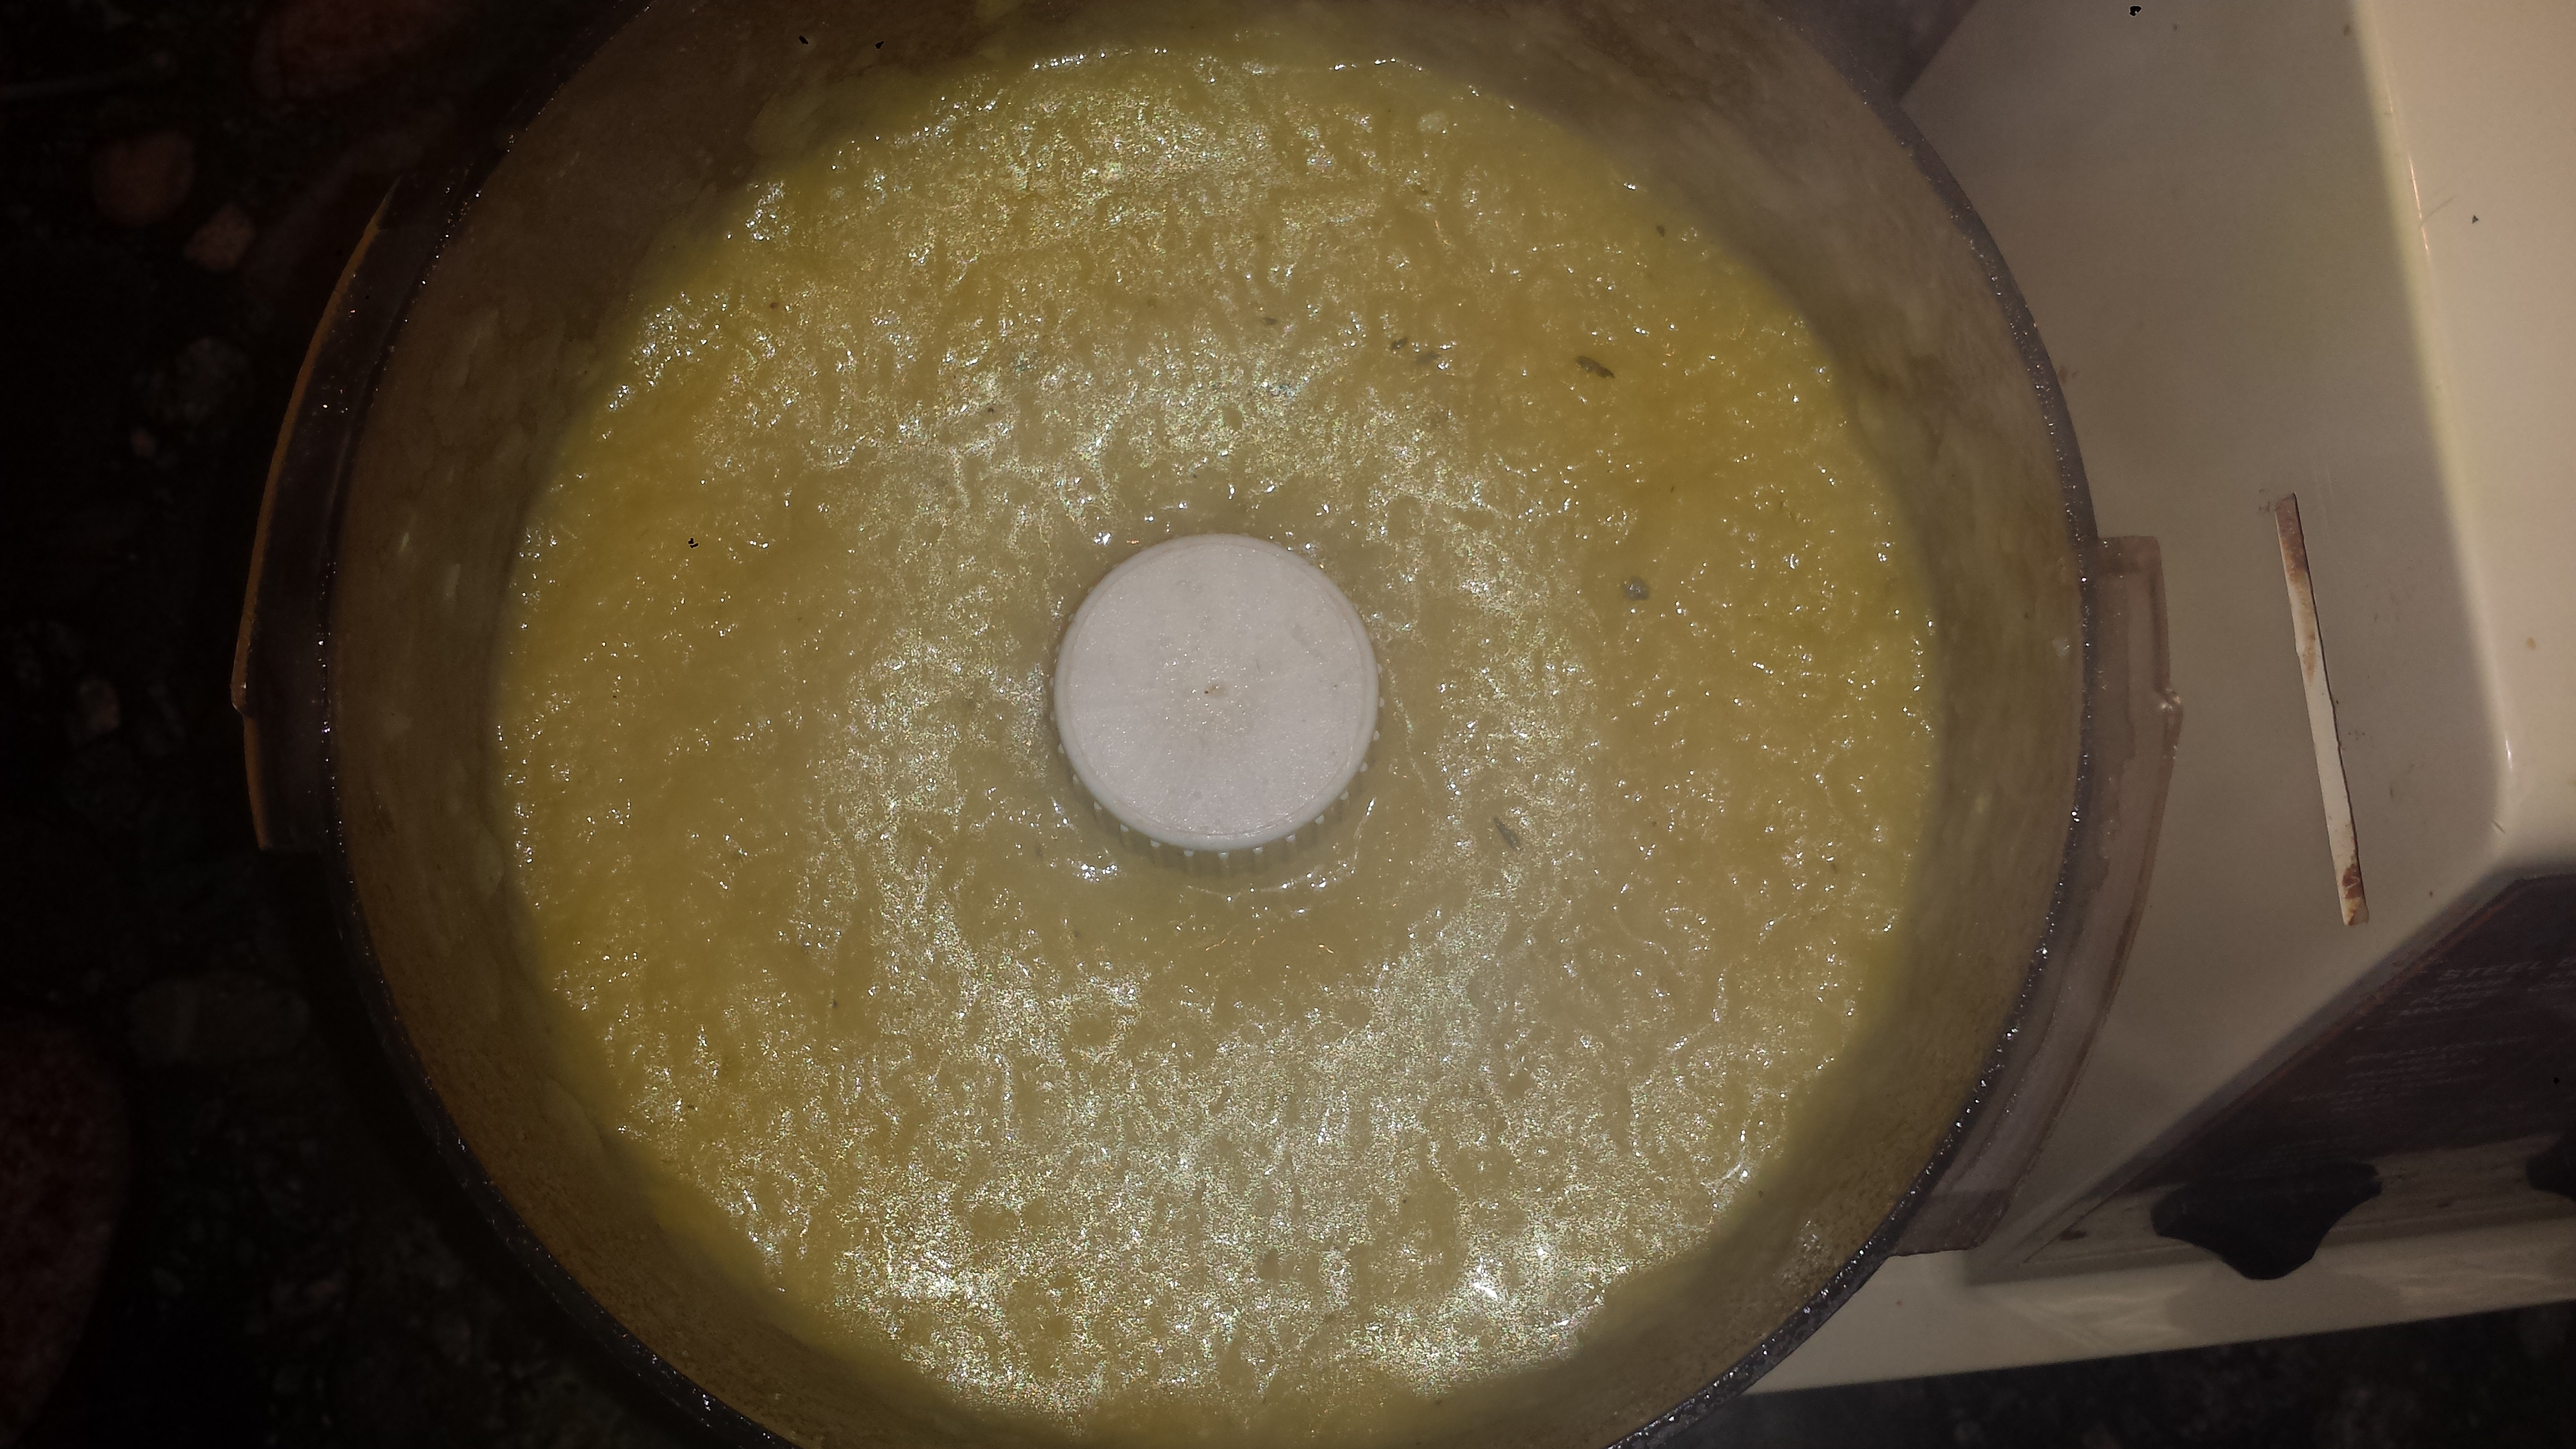
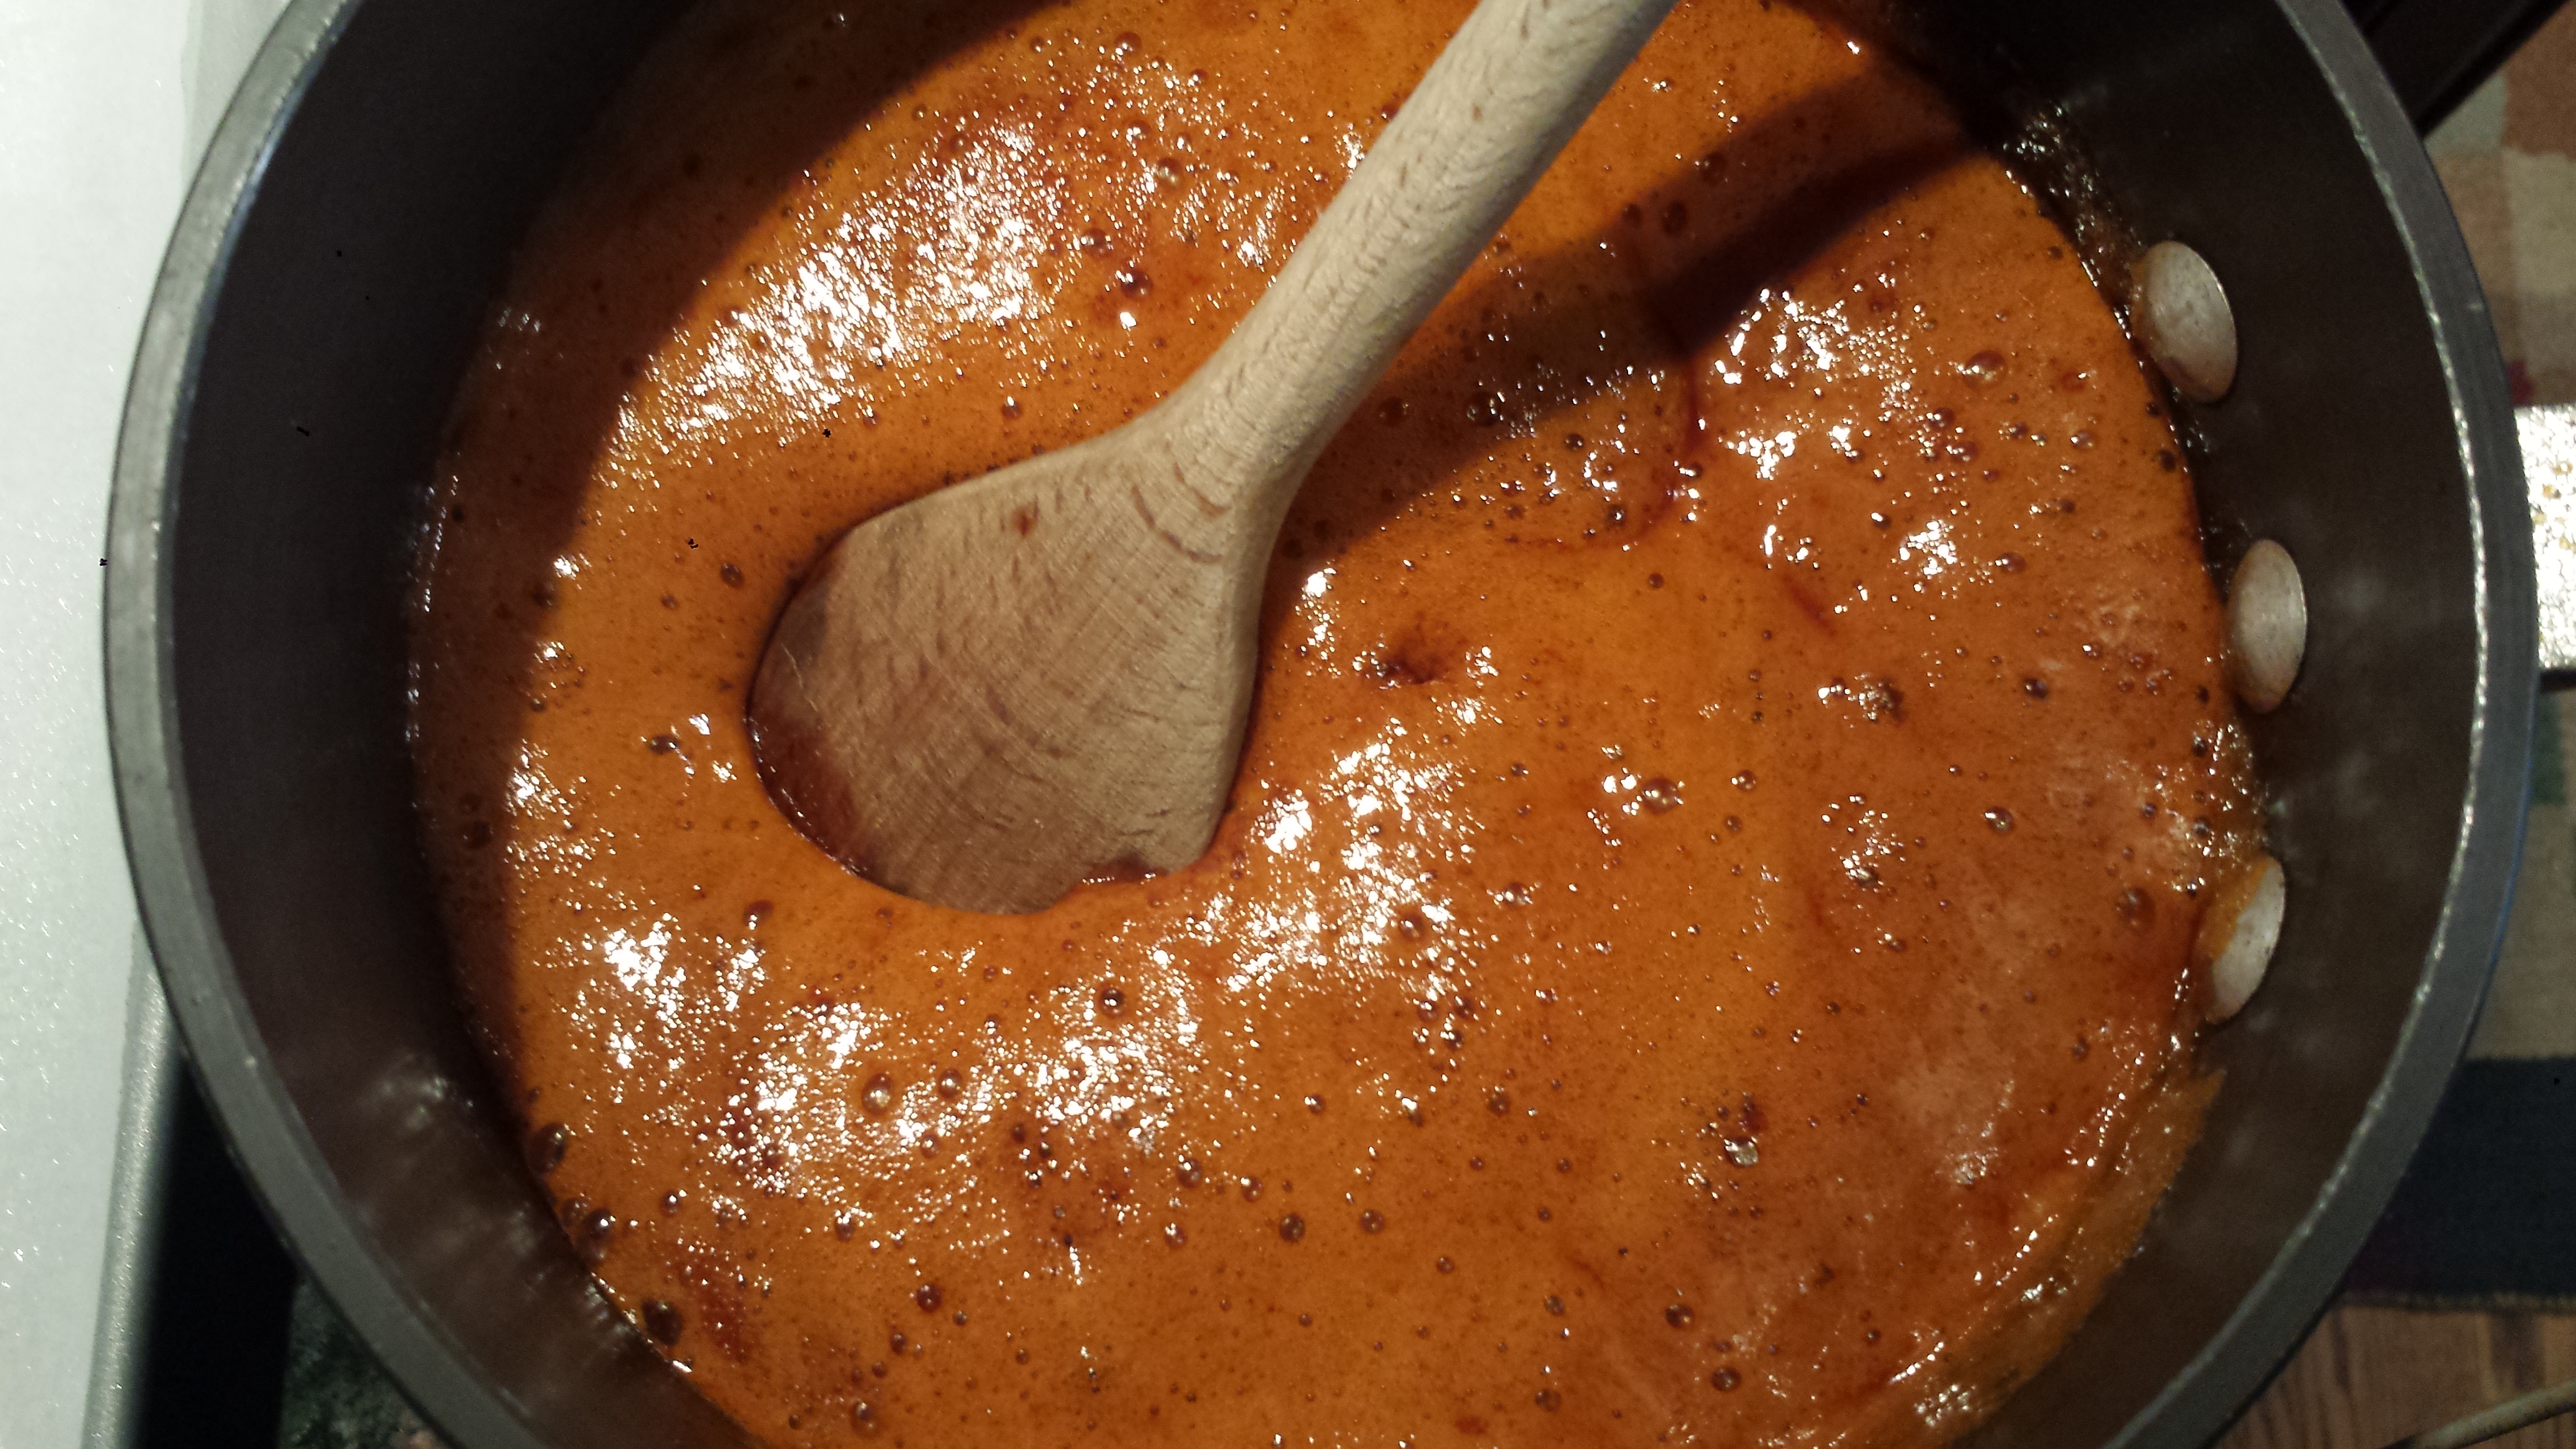
- Check for seasoning and add salt and more spices to taste. You can serve chunky like this or process half the soup in a food processor or blender until smooth for a creamier consistency (highly recommended)

- Serve plain or topped with parmesan, toasted pumpkin seeds, plain yogurt and fresh thyme.

6 Tbsn coconut oil, olive oil or butter Optional toppings: parmesan, toasted pumpkin seeds, plain yogurt, fresh sprigs of thyme Leek, Potato & Cabbage Soup with Turmeric
2 medium or 1 large leeks, white and light green parts, thinly sliced
1/2 head green cabbage
2 garlic cloves, finely chopped
2 large potatoes, peeled and diced
4 cups vegetable broth
1 tsp fresh thyme
1 tsp turmeric
1/2 tsp cumin
½ teaspoon black pepper
salt to taste