Hippopotamus soup? If you lived around 6000 BC that is what you could be having for dinner. How about a nice hot bowl of Spicy Black Bean Soup instead? Do you love soup? You are not alone. Soup has a huge place in history that you are probably not aware . There is a reason why you feel better after having a hot bowl of soup. Soup has always been known as the curative for any ailment of the heart, mind, soul and body… and this old Yiddish saying says it best… “Troubles are easier to take with soup than without.”
Here are some known and little-known soup facts that I found kind of interesting (Compliments of Sara Gray)!
o Americans sip over 10 BILLION bowls of soup every single year! That’s a lot of soup!
o When was the earliest evidence of our ancestors eating soup? About 6000 BC! And guess what kind of soup it was? Hippopotamus!
o So, in the late 1700s, apparently the French King was so enamored with himself that he had his royal chefs create a soup that would allow him to see his own reflection in the bowl. Sheesh! But as a result, consommé (clear broth) was born.
o Since we’re talking about the French here’s another interesting tidbit of soup lore that I had to include on this Soup Facts page. In the French Court of Louis XI, the ladies’ meals were mostly soup. Guess what the reasoning was? They were afraid that chewing would make them break out in facial wrinkles! If this were true today, it would put plastic surgeons out of business!
oThis one cracked me up! And yet, it’s a fact that intertwines fashion, eating utensils and of course, soup! Here it is: Why did thin soups became all the rage in Europe during the 17th century? The spoon was invented. (How did they eat soup before the spoon???) Why was the spoon invented? Because of the latest fashion trend: large and stiff ruffles that the men and the women of the high courts wore around their necks. (I bet that’s how clowns got their ideas for their costumes!) The design of the spoon was to accommodate wearers of those large ruffles and keep themselves from getting dripped on!
o Frank Sinatra always asked for chicken and rice soup to be available to him in his dressing rooms before he went on stage. Another famous person who loved soup was Andy Warhol. He told someone that he painted those famous soup cans because its what he had for lunch – every day for 20 years!

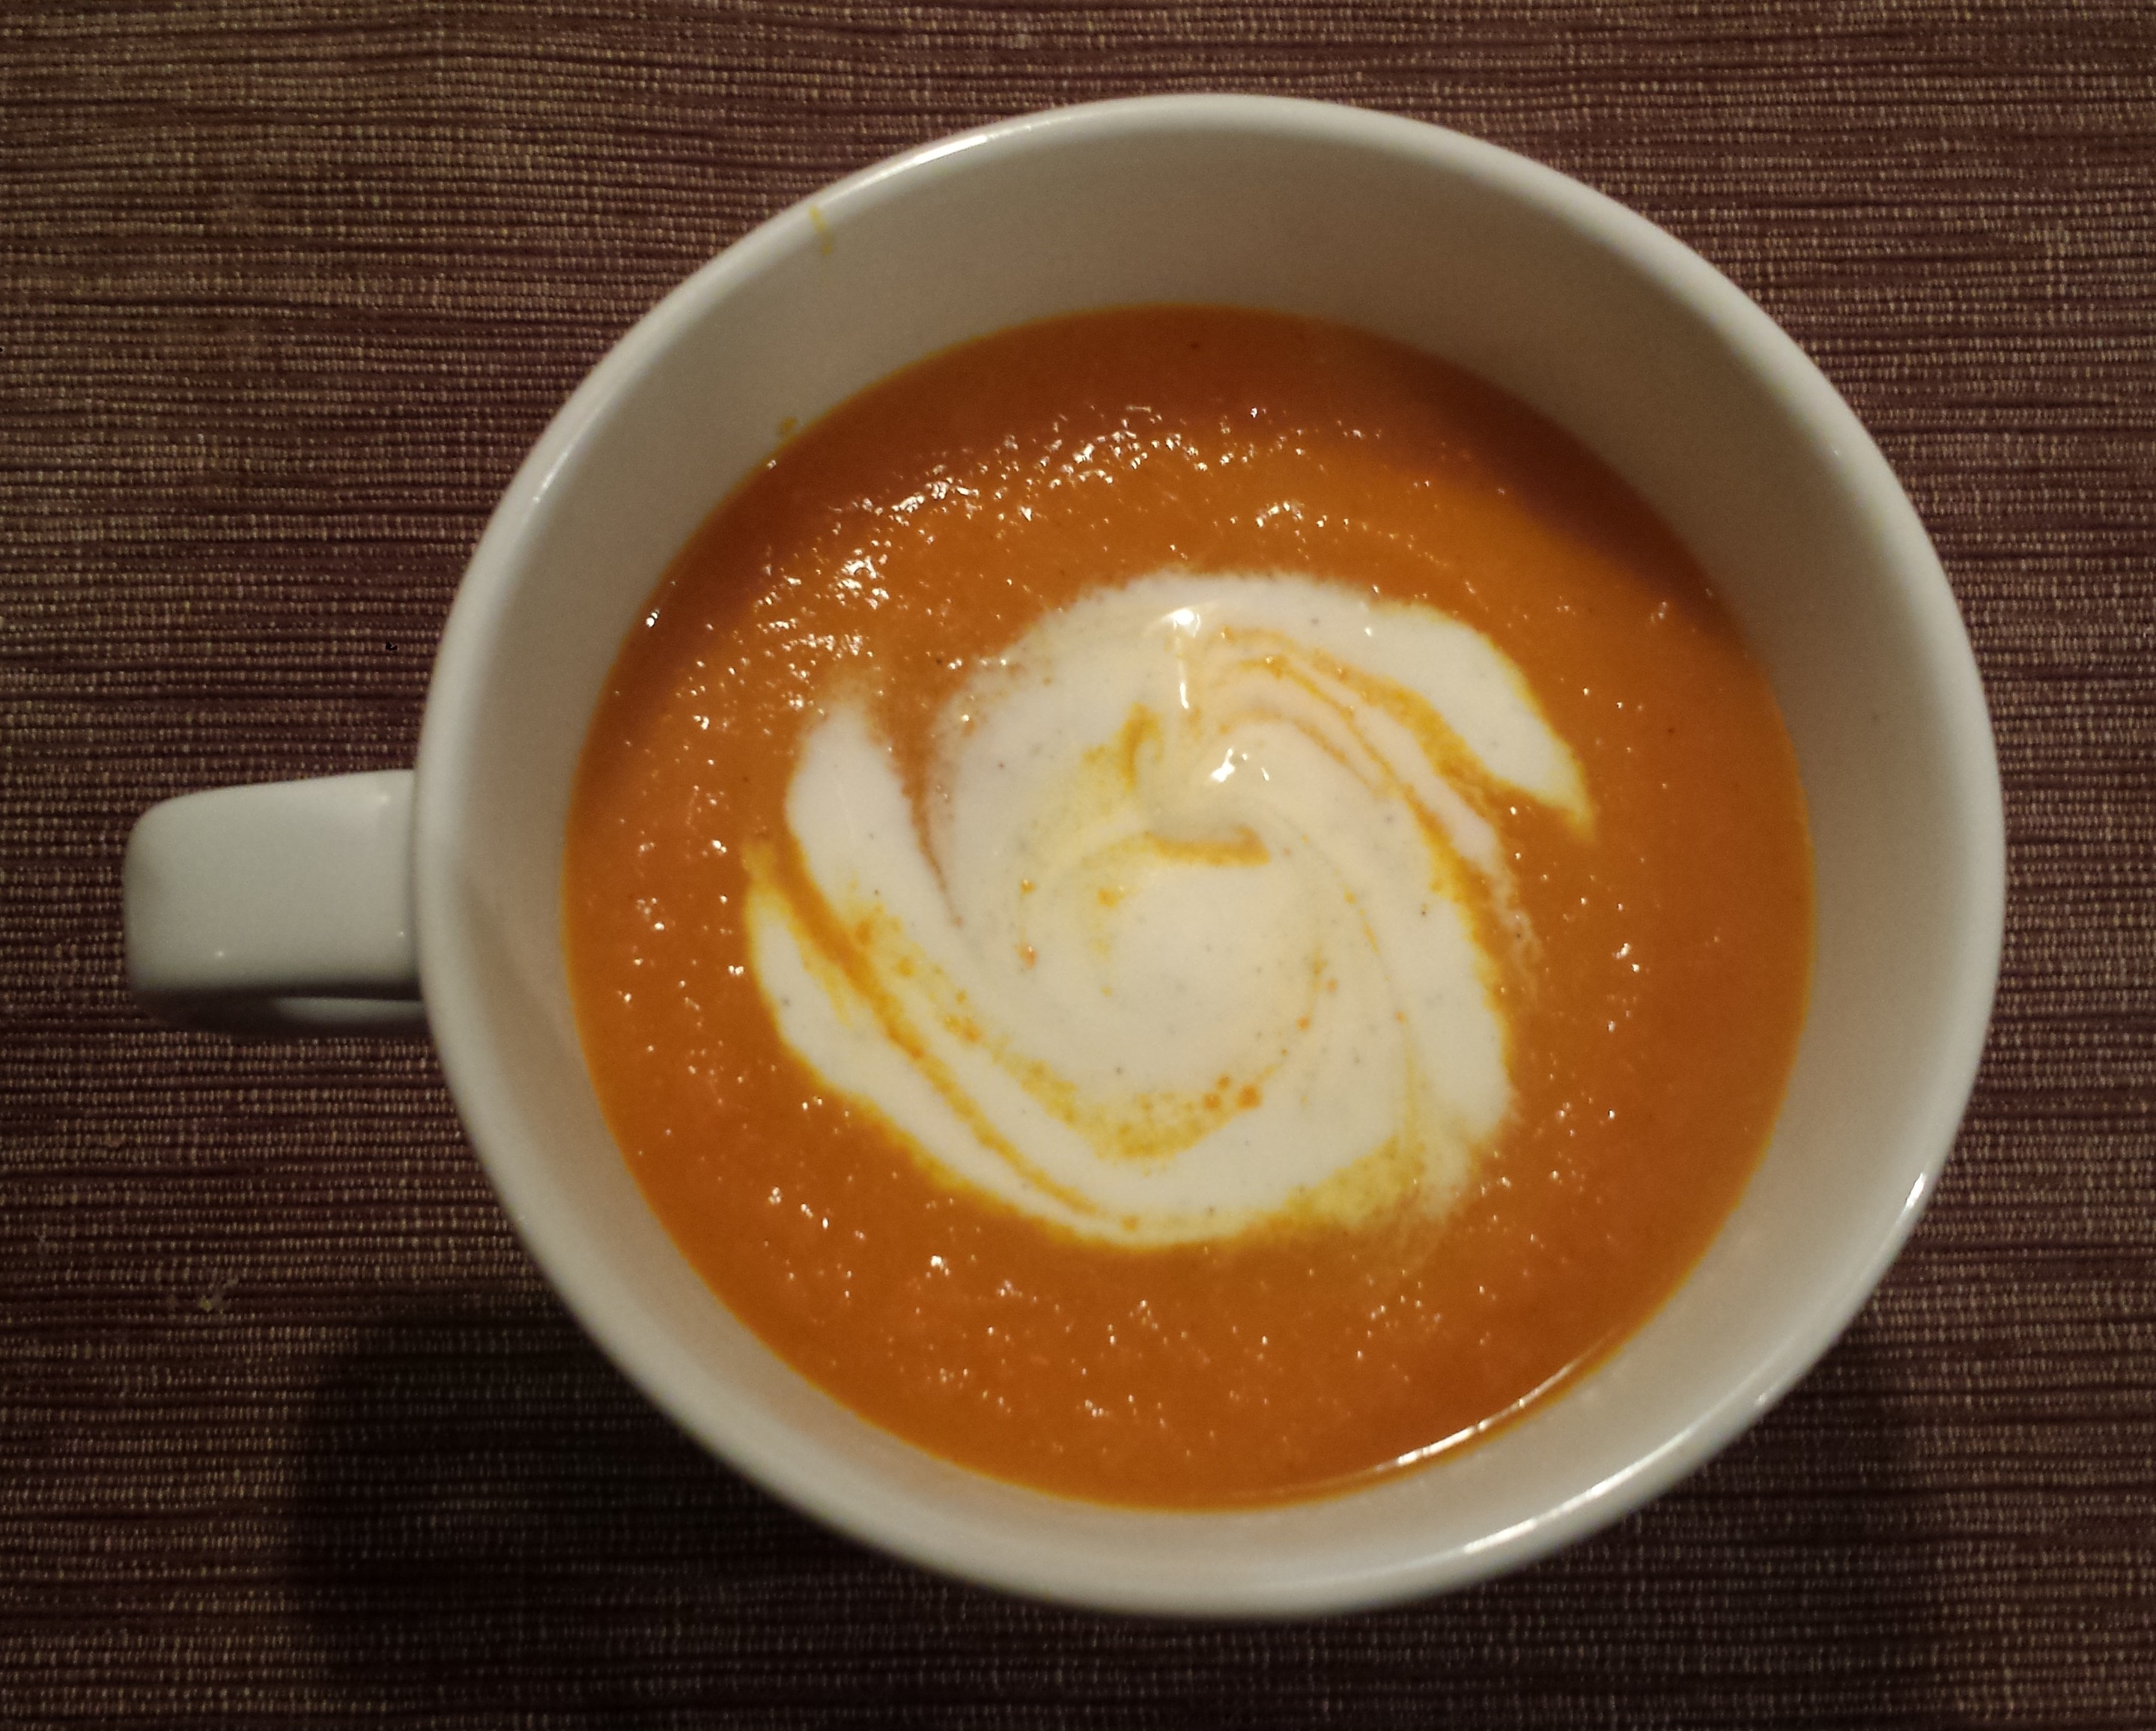
SPICY BLACK BEAN SOUP
2 Tbsn olive oil
1/2 onion, finely chopped
1/2 jalapeno, seeded and diced
2 cloves garlic, minced
2 tsp cumin
2 tsp chili powder
1/2 tsp cayenne (or more to taste)
3 (15-ounce) cans black beans, drained and rinsed
4 cups vegetable broth
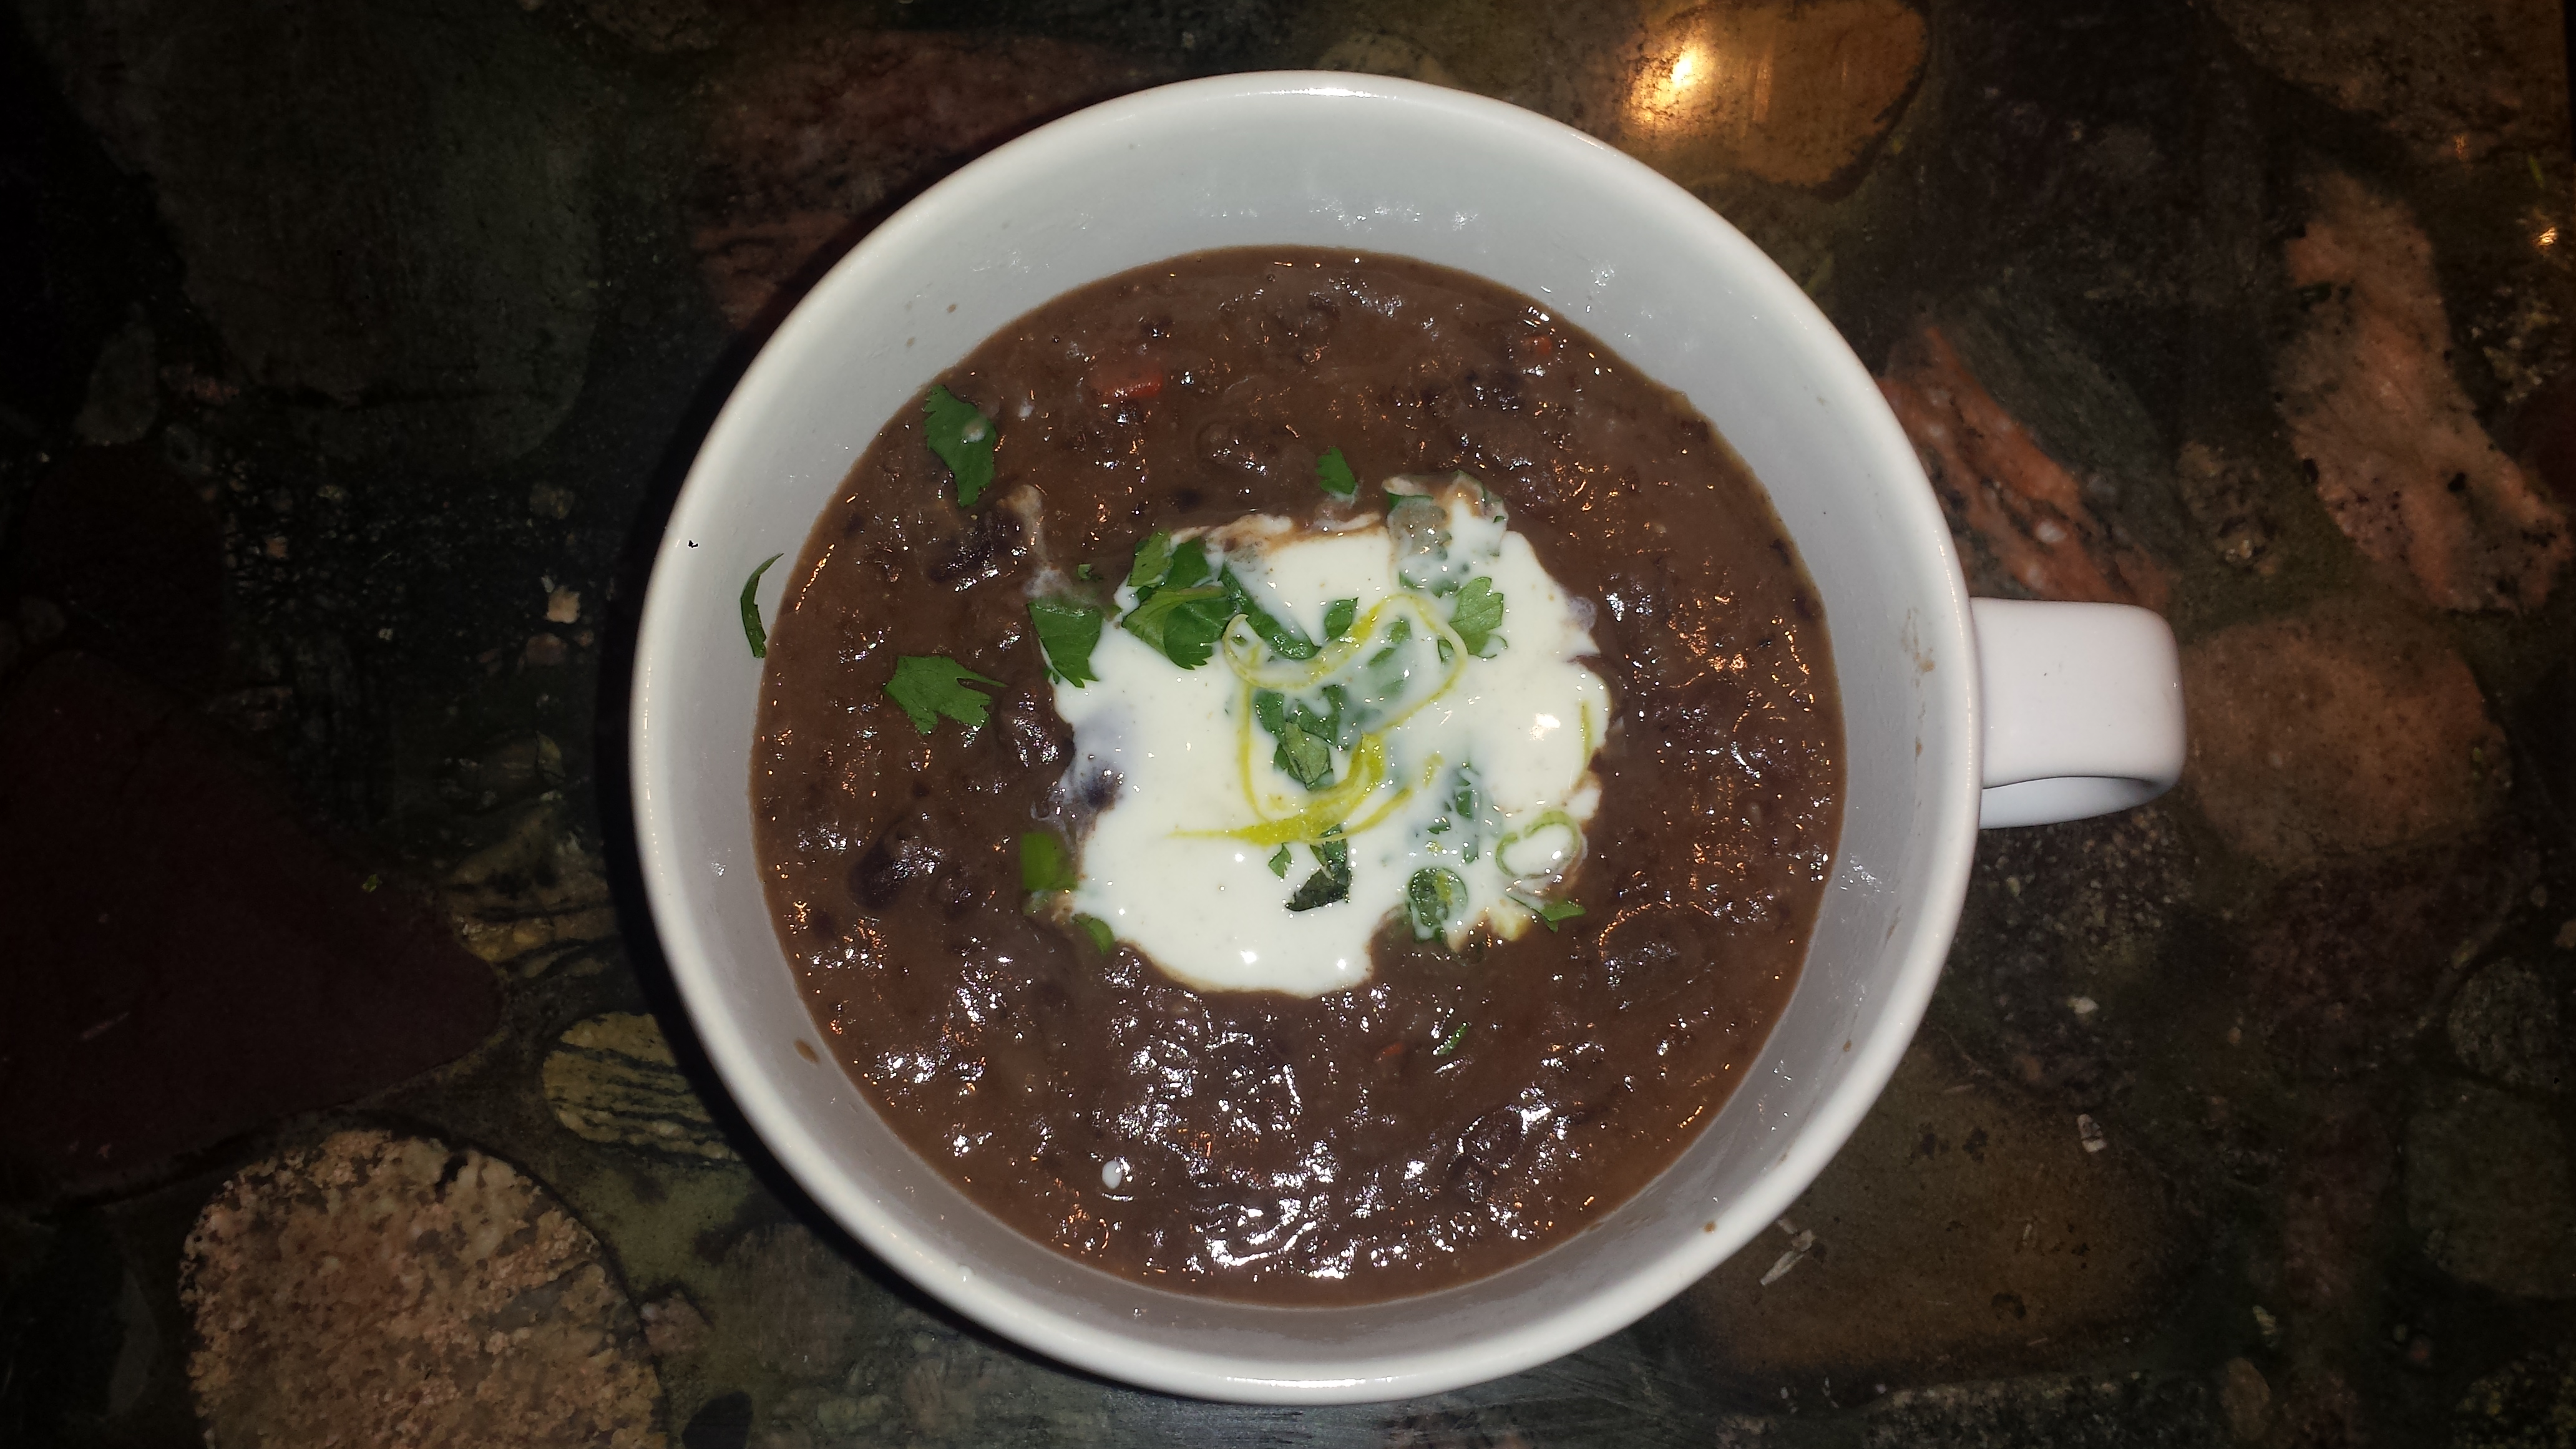
Sliced green onions, chopped cilantro and sriracha, as toppings (optional)
Cumin Lime Yogurt/Sour Cream (Optional) Recipe Below
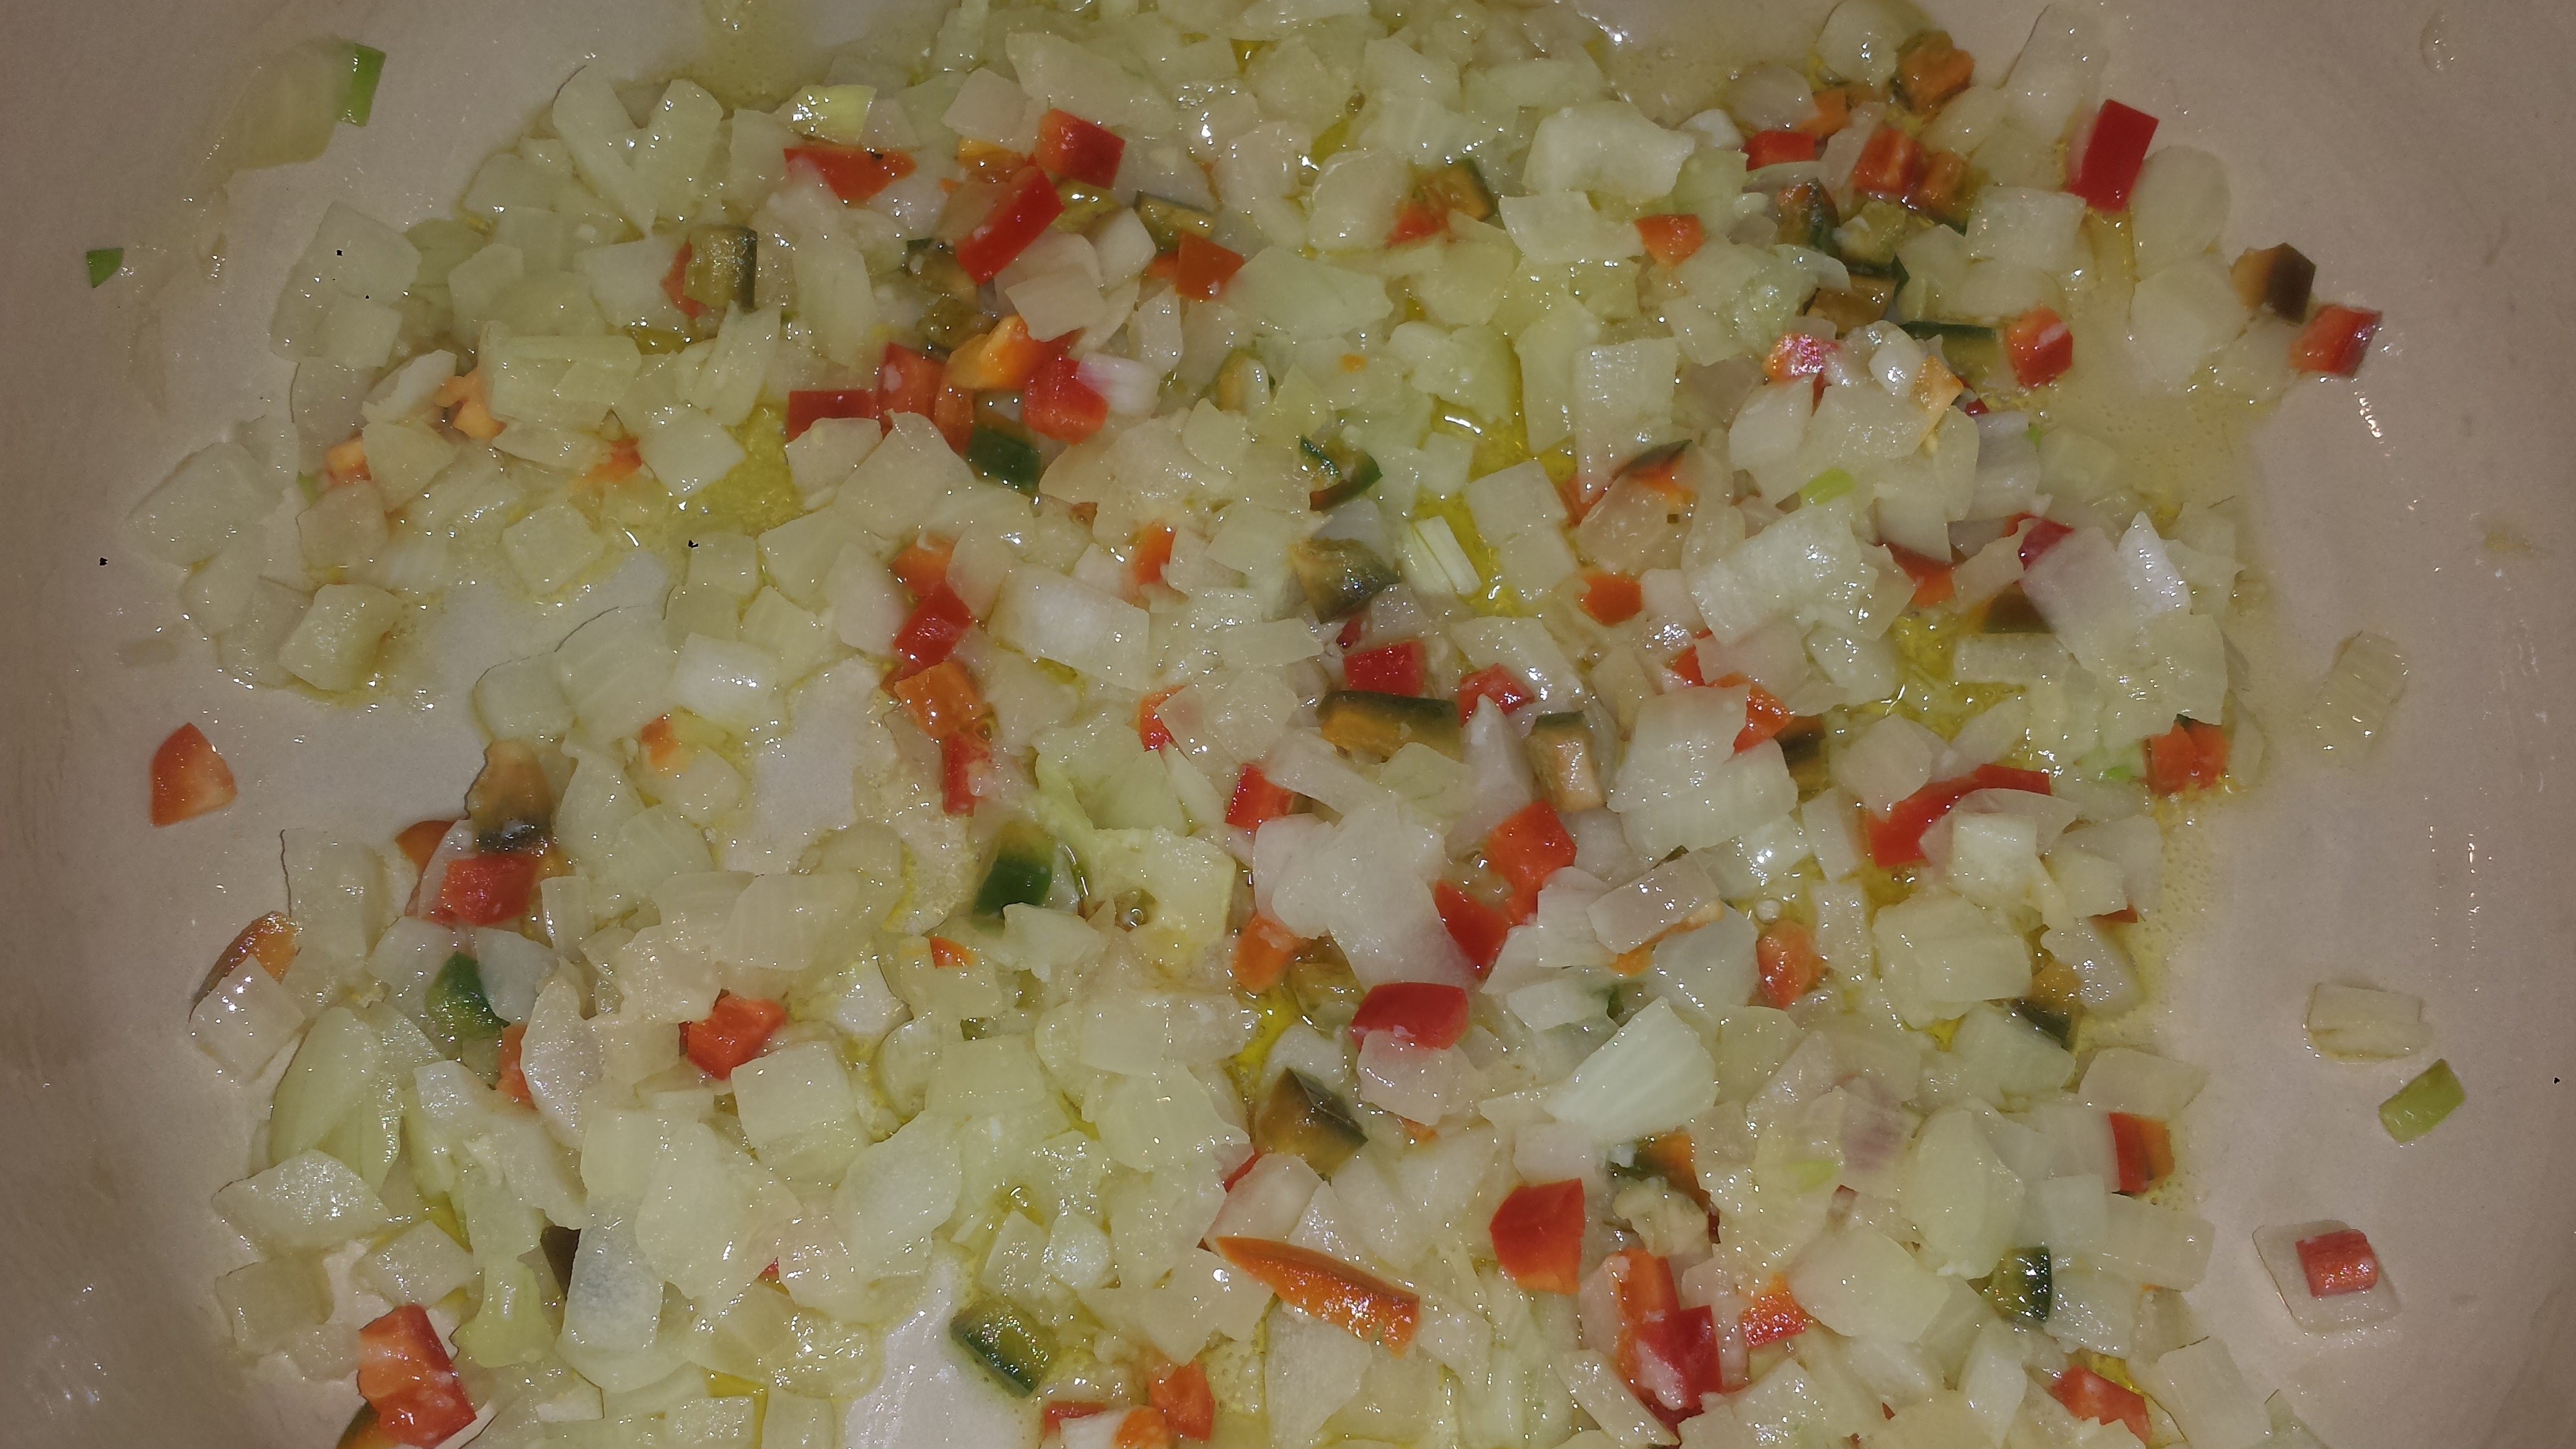
- Saute the onions, garlic and jalapeno over medium heat until tender, about 4 minutes.
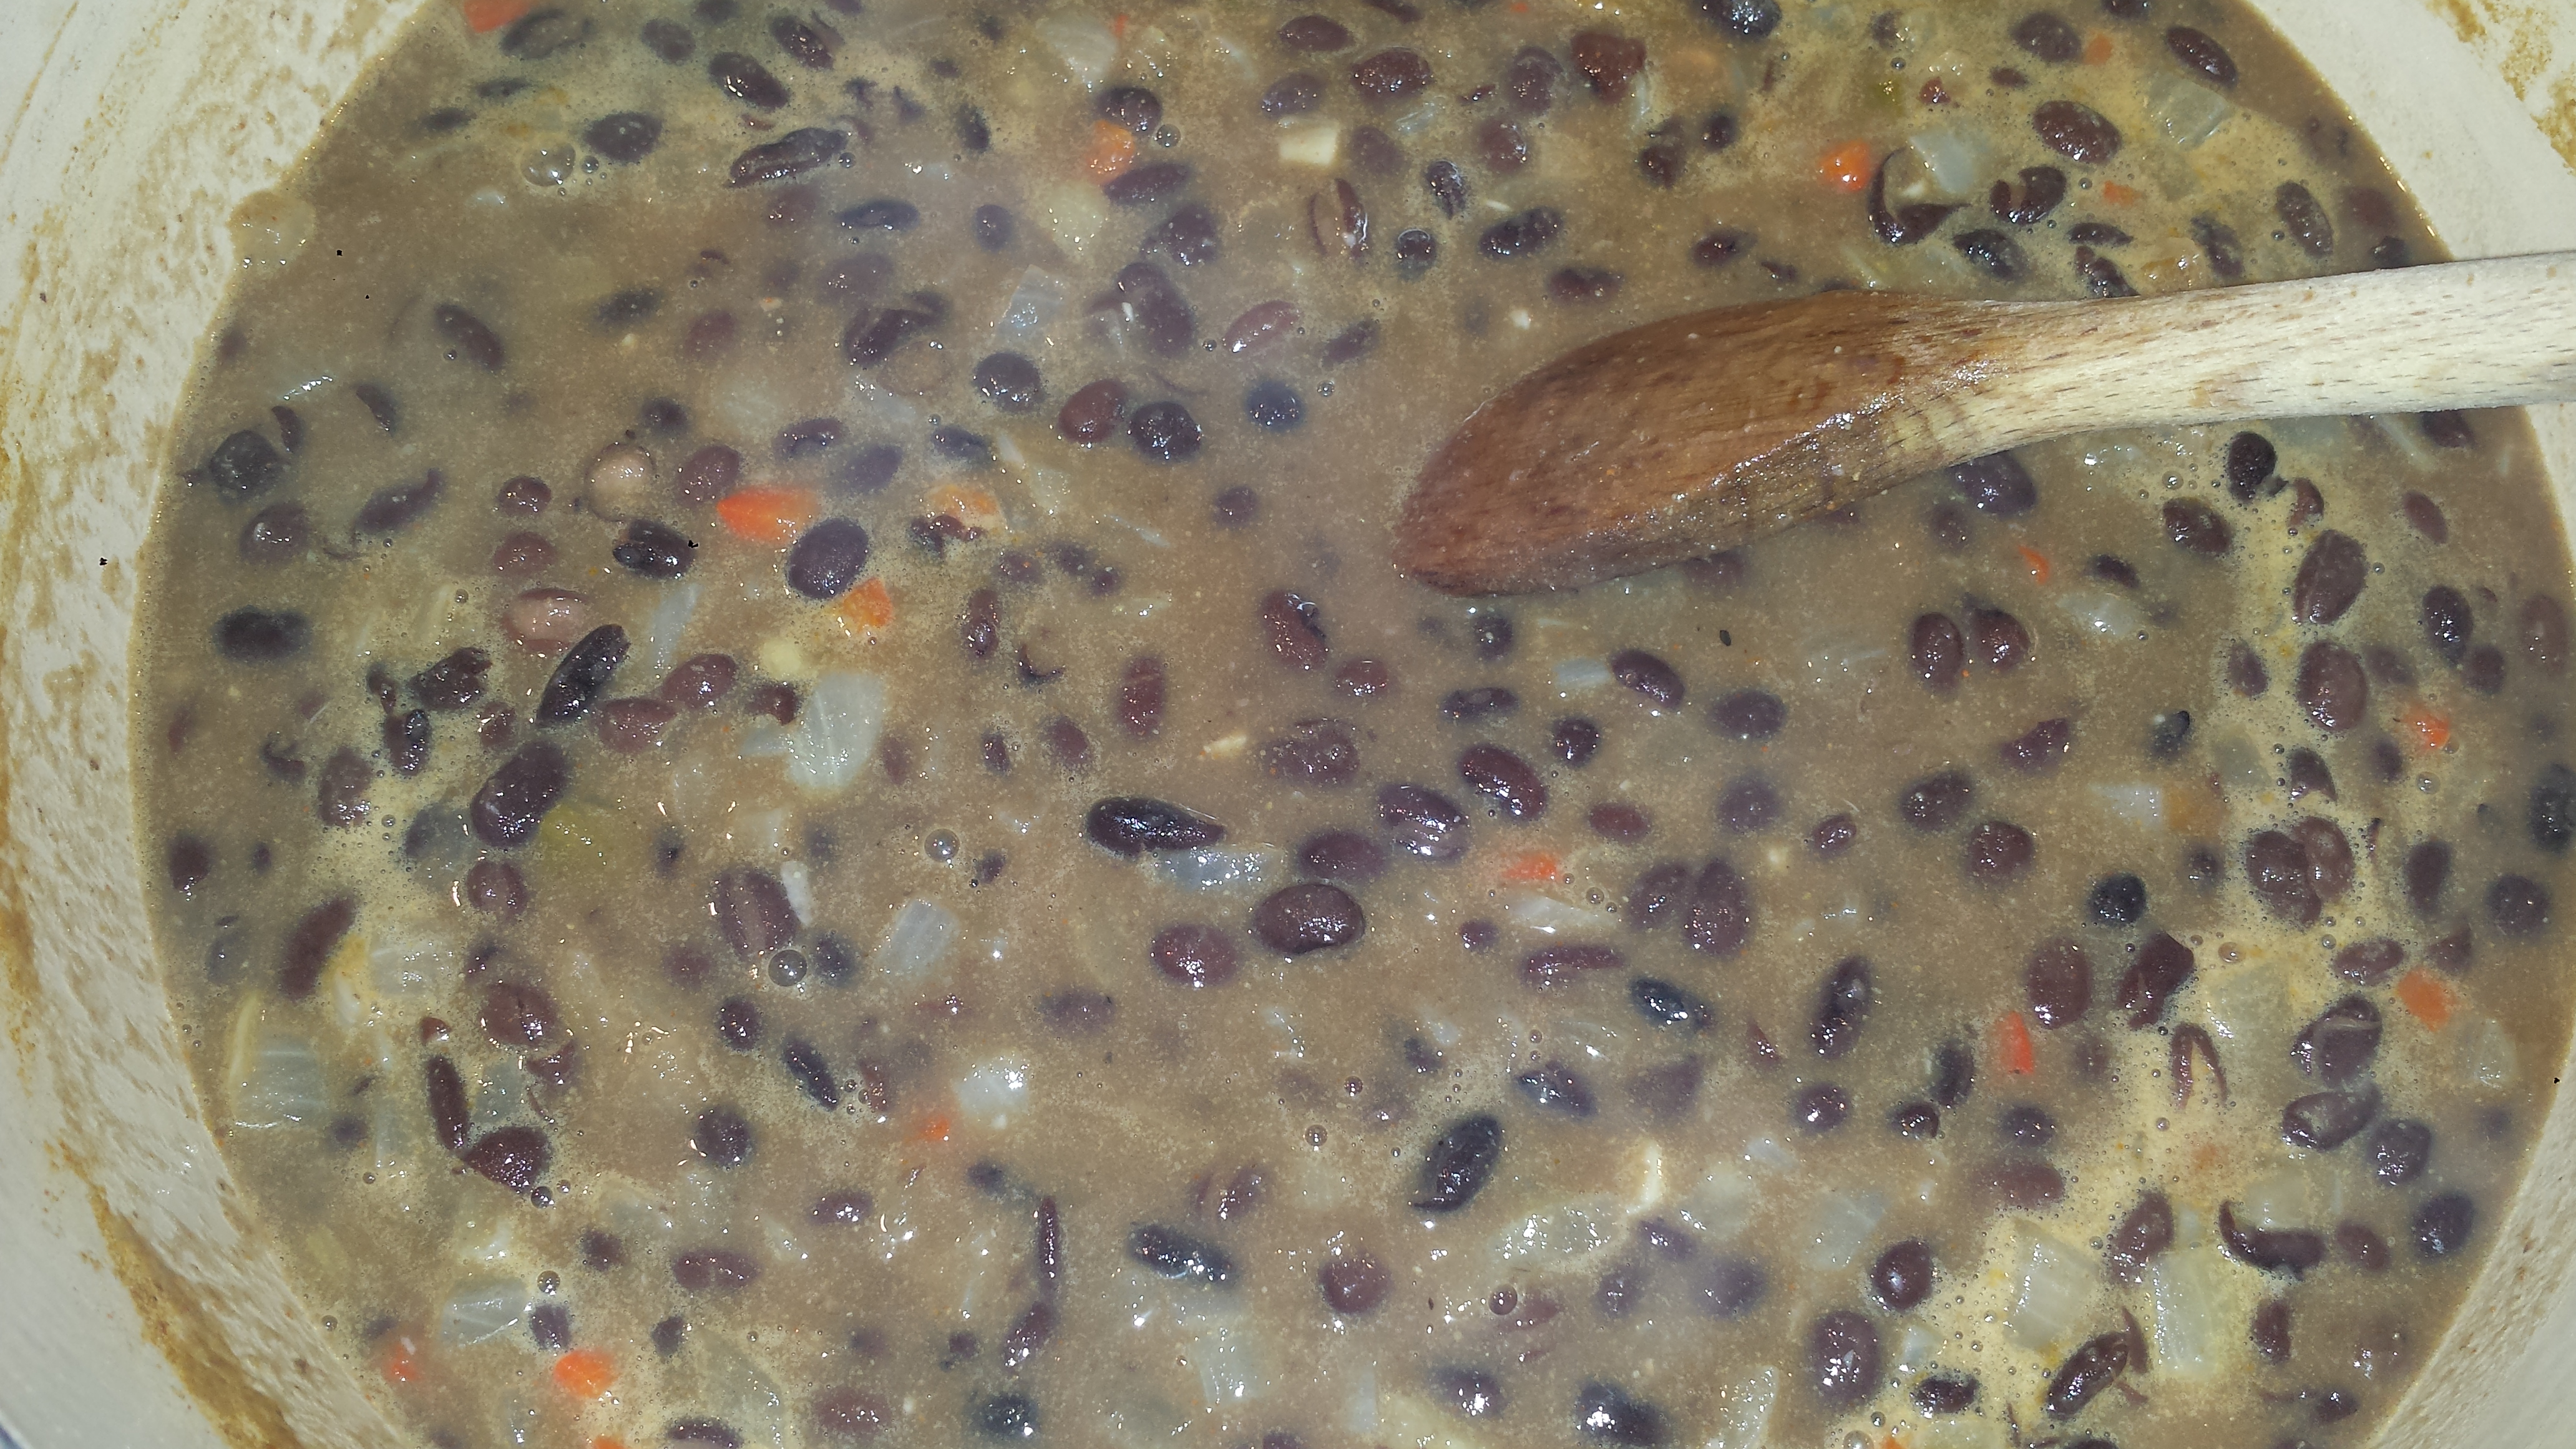
- Add the black beans, cumin, chili powder, cayenne and broth and simmer for 25 minutes.

- Blend one third to half of the soup, using a food processor, a blender or an immersion blender, leaving some whole beans for texture.
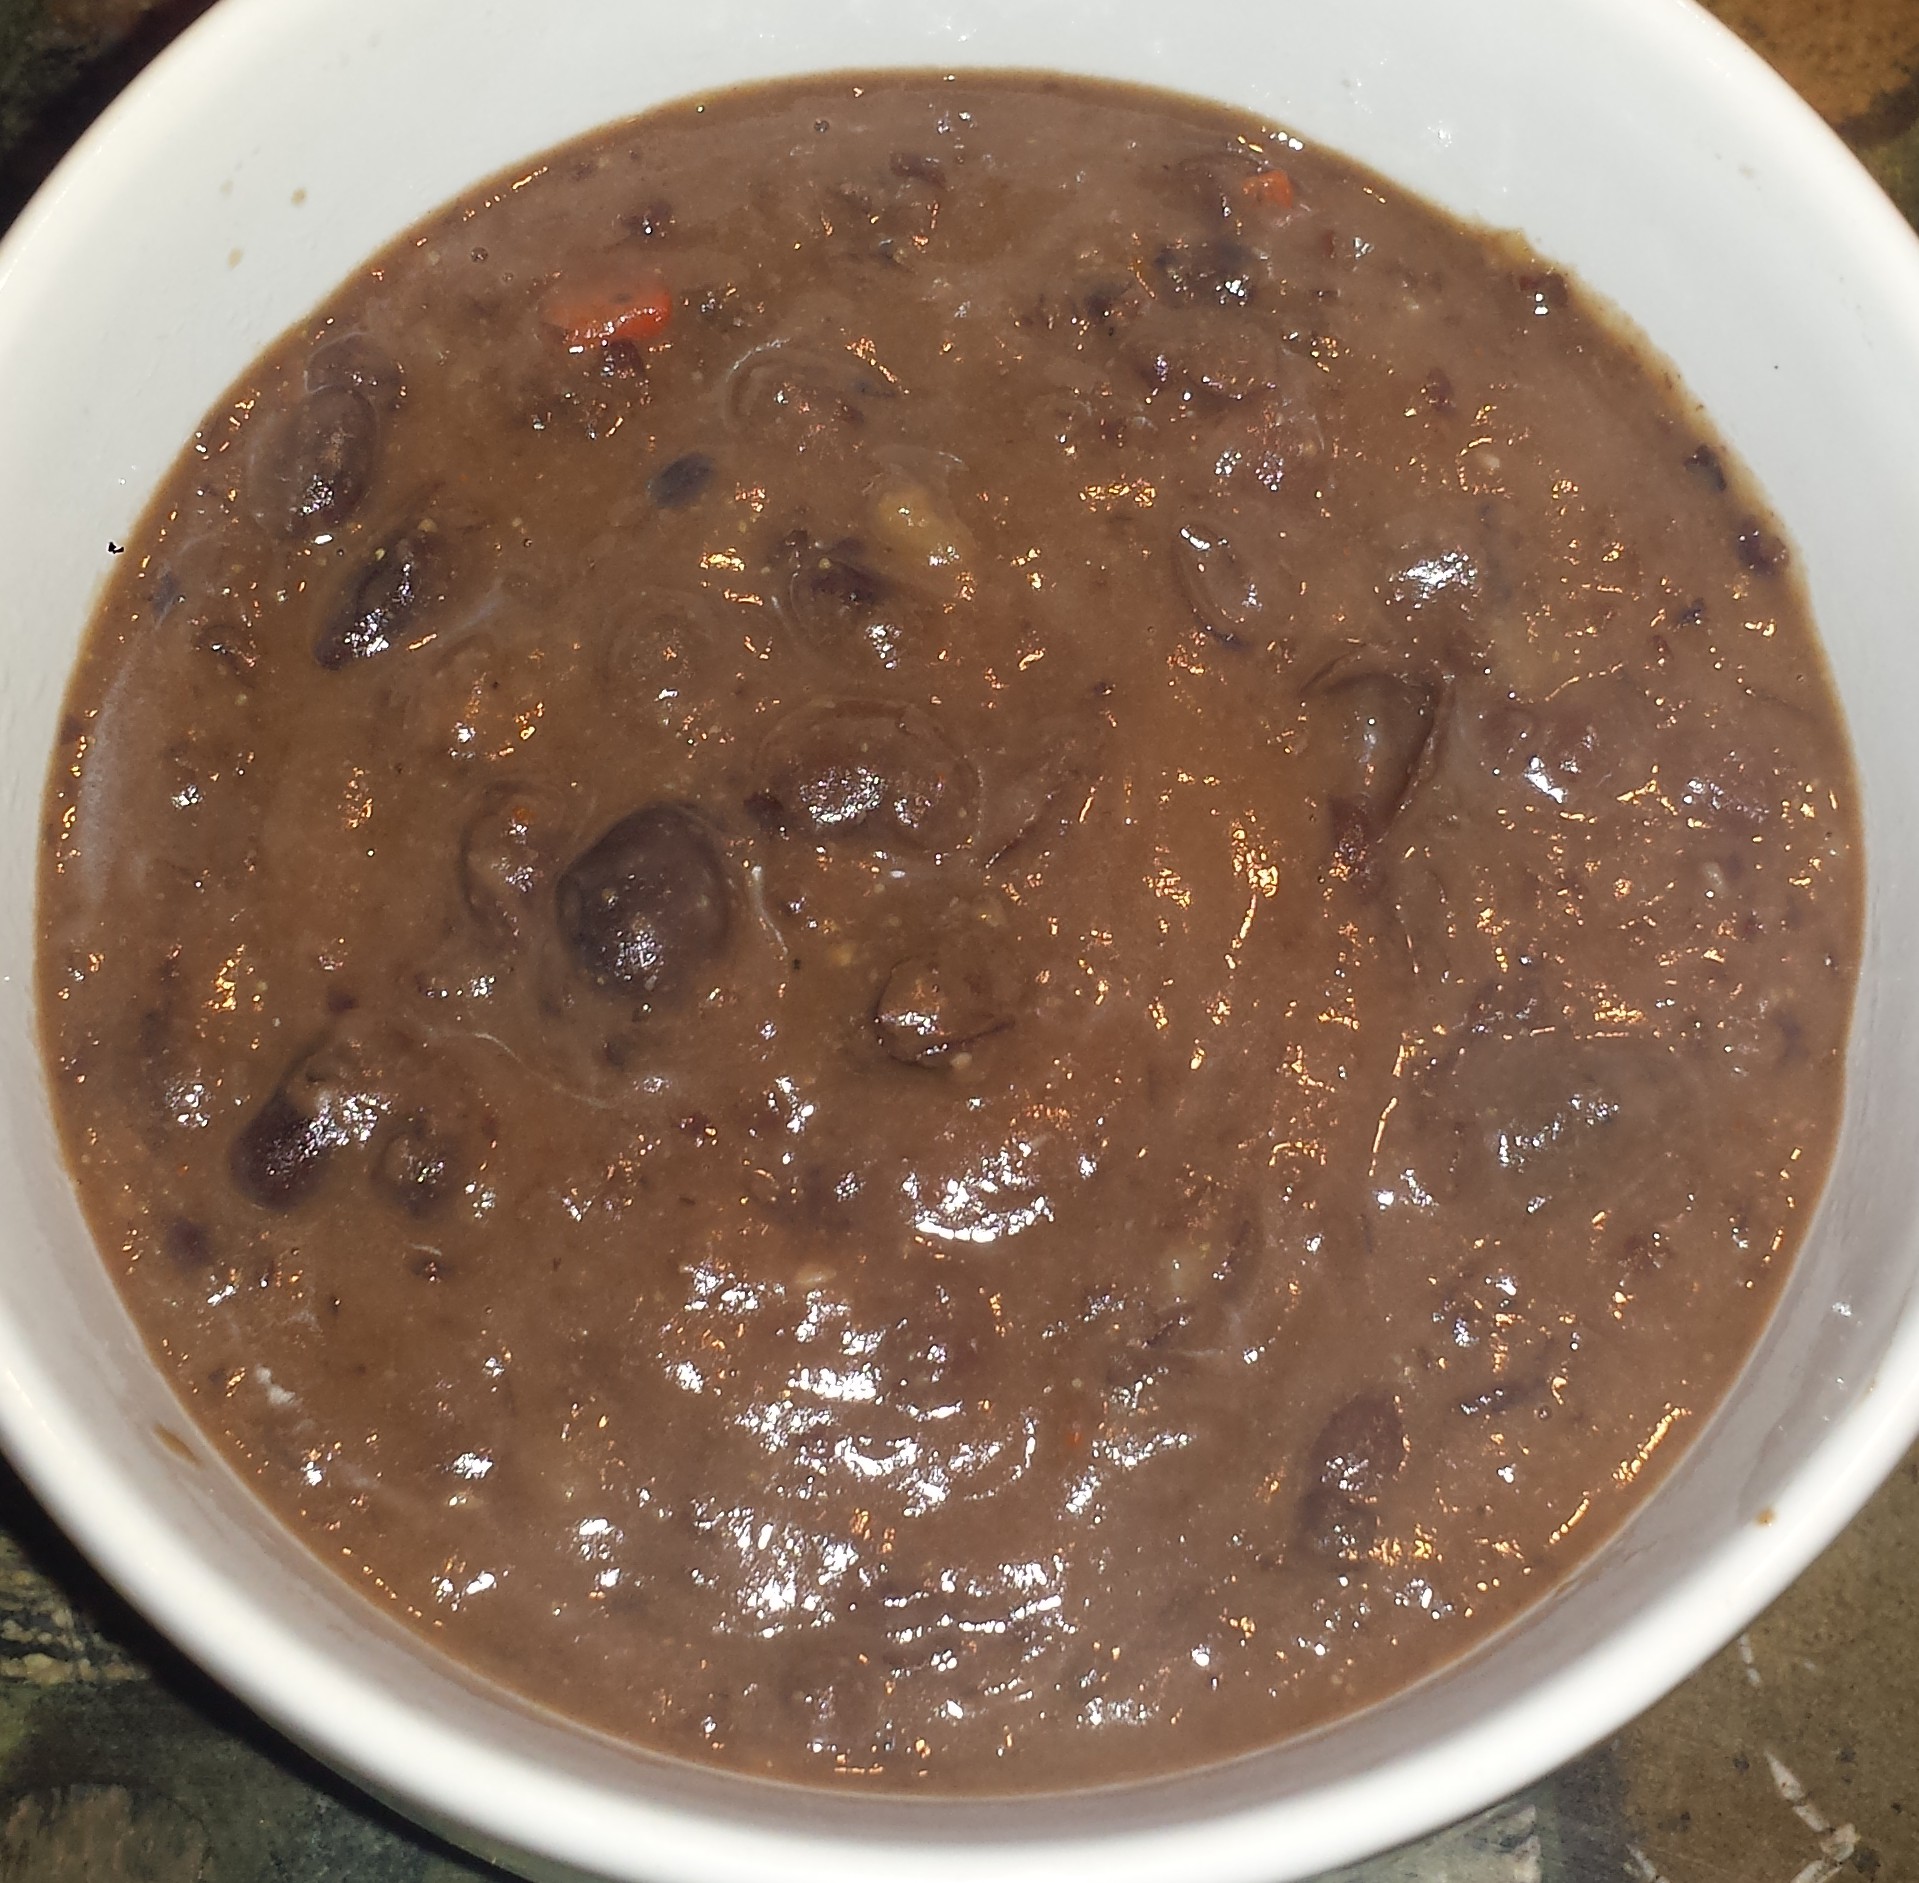
- Return the blended beans to the soup and stir to combine. Check seasoning and add cayenne, salt and pepper to taste.

- Serve with Cumin Lime Yogurt (recipe below), chopped cilantro and sliced scallions
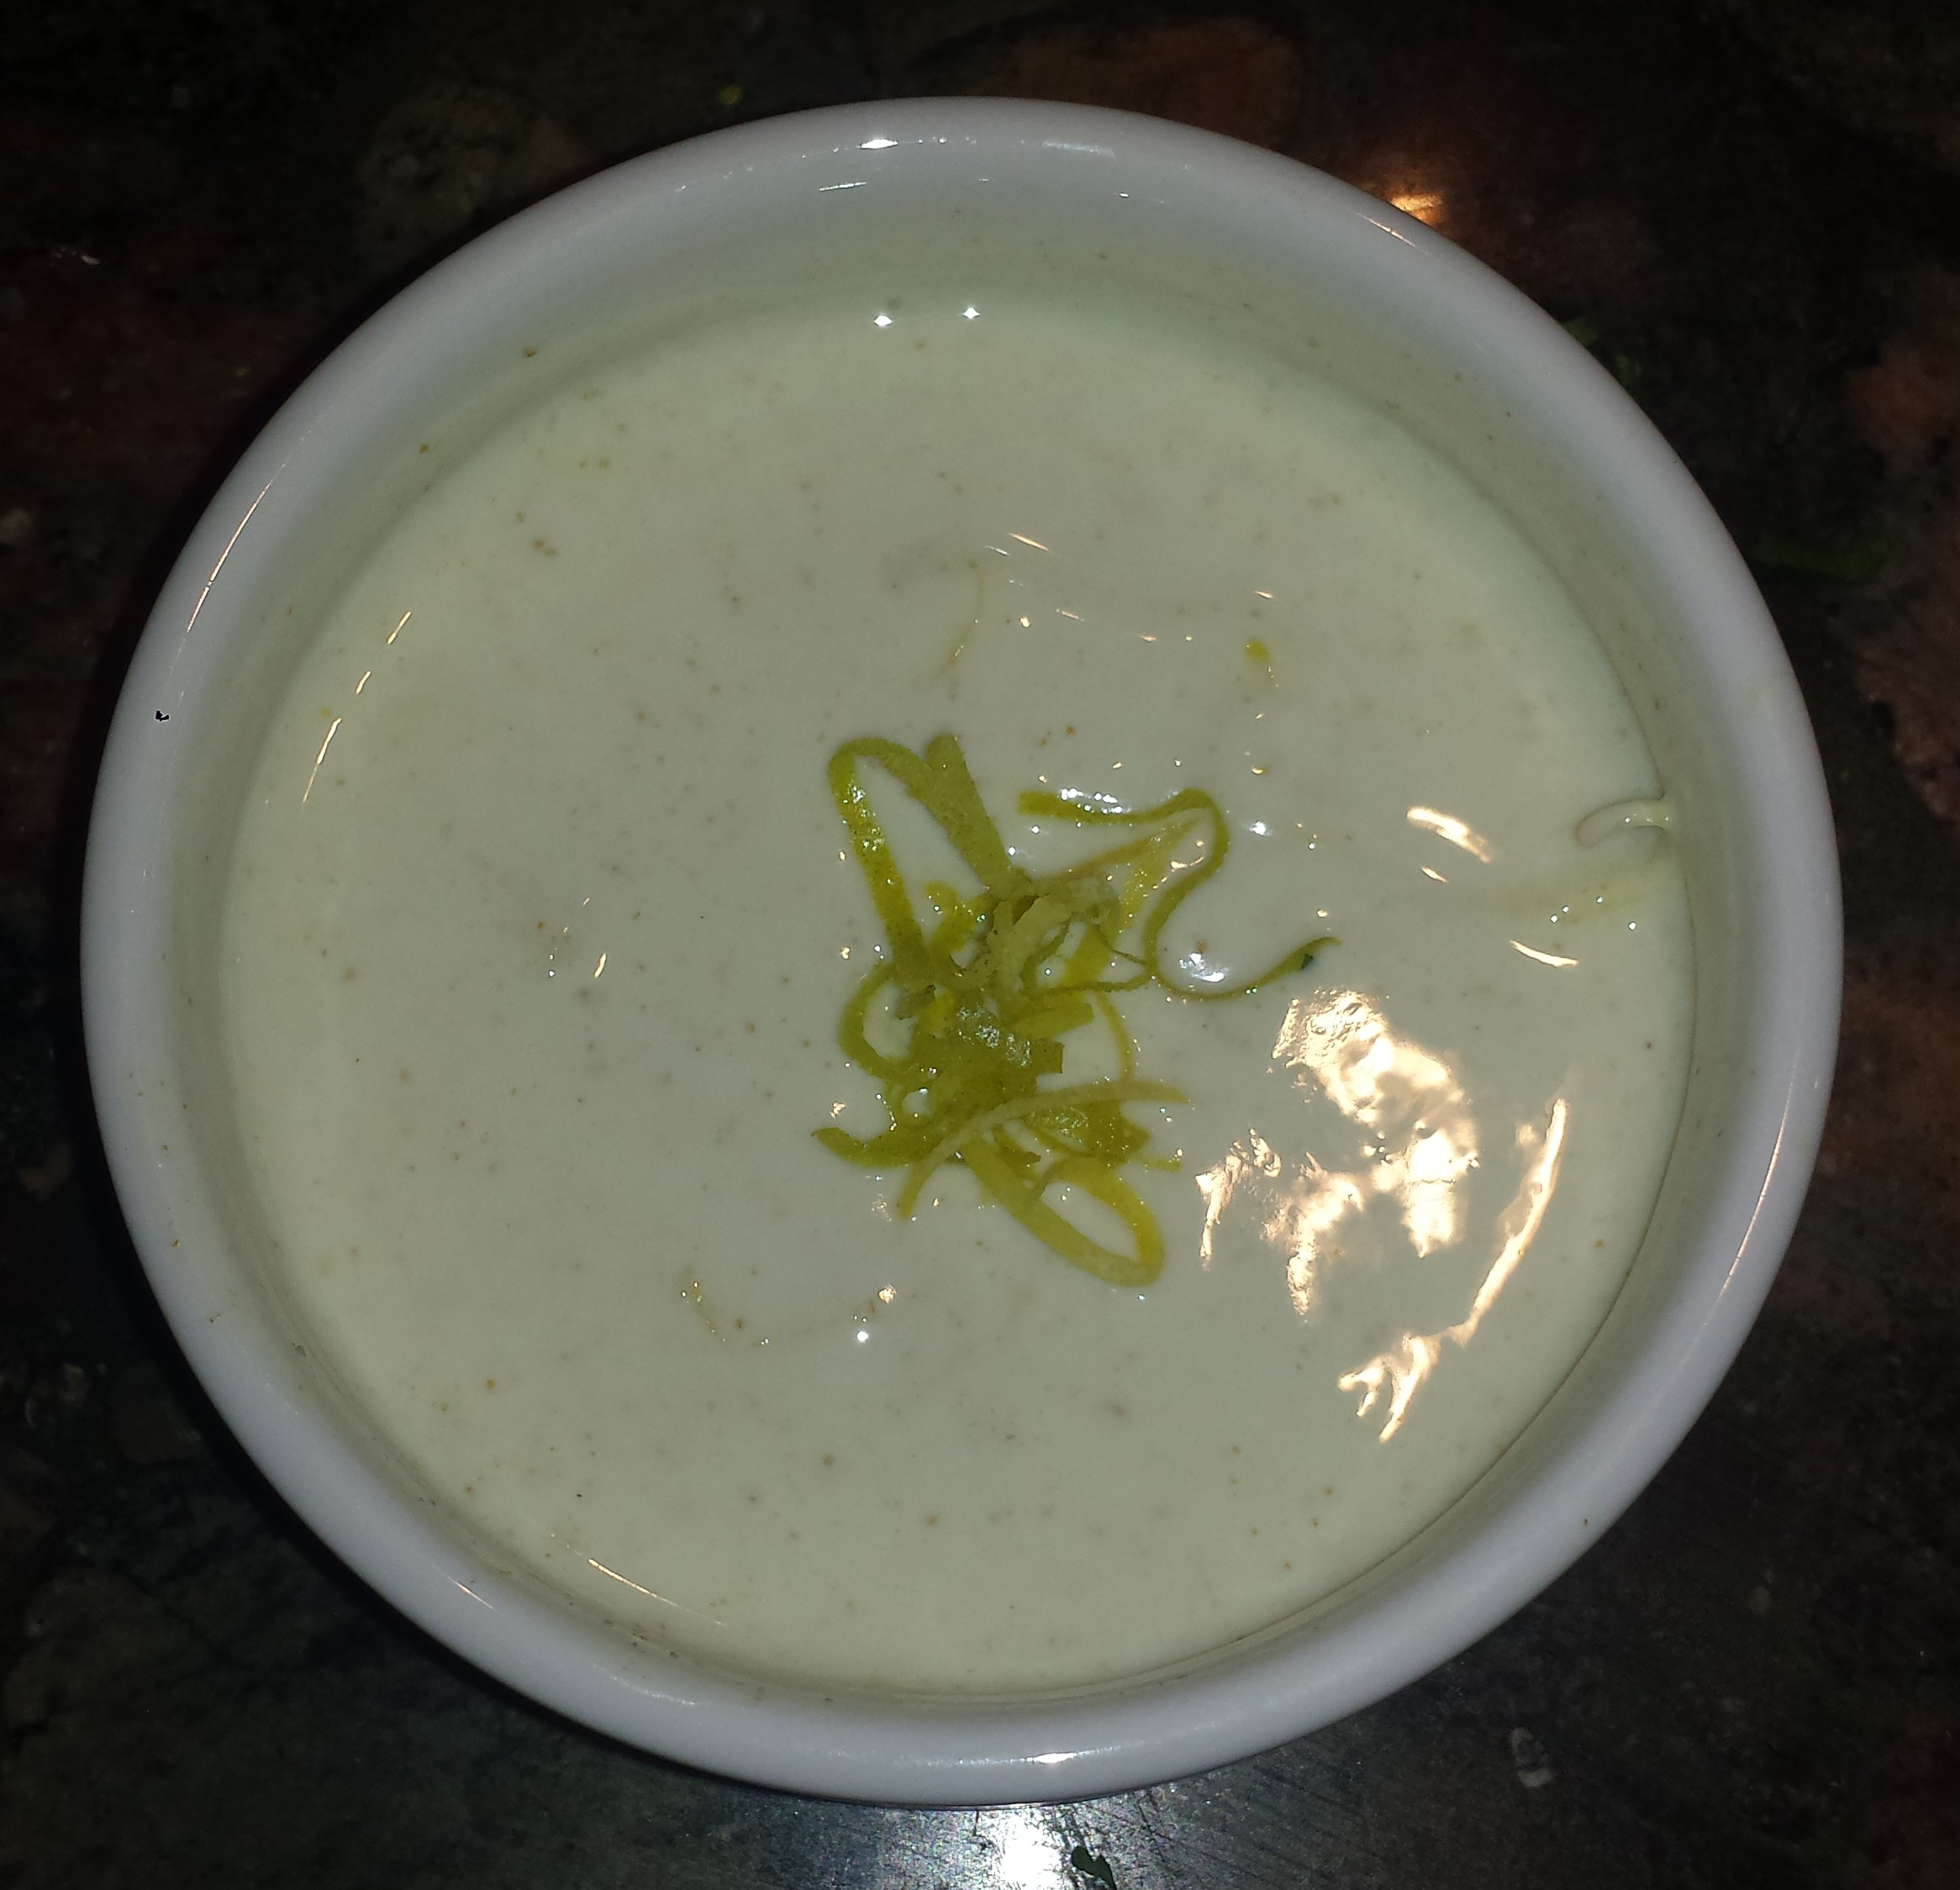
CUMIN LIME YOGURT/SOUR CREAM:
1/2 cup yogurt, vegan yogurt or sour cream
1 teaspoon ground cumin
Zest and juice of 1/2 a lime
pinch of sugar or honey
- Zest lime before cutting or squeezing. Combine all ingredients in a small bowl. Check seasonings and add more sugar, lime juice and cumin to taste. Top with more zest for fun.
2 Tbsn olive oil Cumin Lime Yogurt/Sour Cream: CUMIN LIME YOGURT/SOUR CREAM:Black Bean Soup
1/2 onion, finely chopped
1/2 jalapeno, seeded and diced
2 cloves garlic, minced
2 tsp cumin
2 tsp chili powder
1/2 tsp cayenne (or more to taste)
3 (15-ounce) cans black beans, drained and rinsed
4 cups vegetable broth
Sliced green onions, chopped cilantro and sriracha, as toppings (optional)
1/2 cup yogurt or sour cream
1 teaspoon ground cumin
Zest and juice of 1/2 a lime
pinch of sugar or honey
salt and pepper to taste
1/2 cup yogurt, vegan yogurt or sour cream
1 teaspoon ground cumin
Zest and juice of 1/2 a lime
pinch of sugar or honey