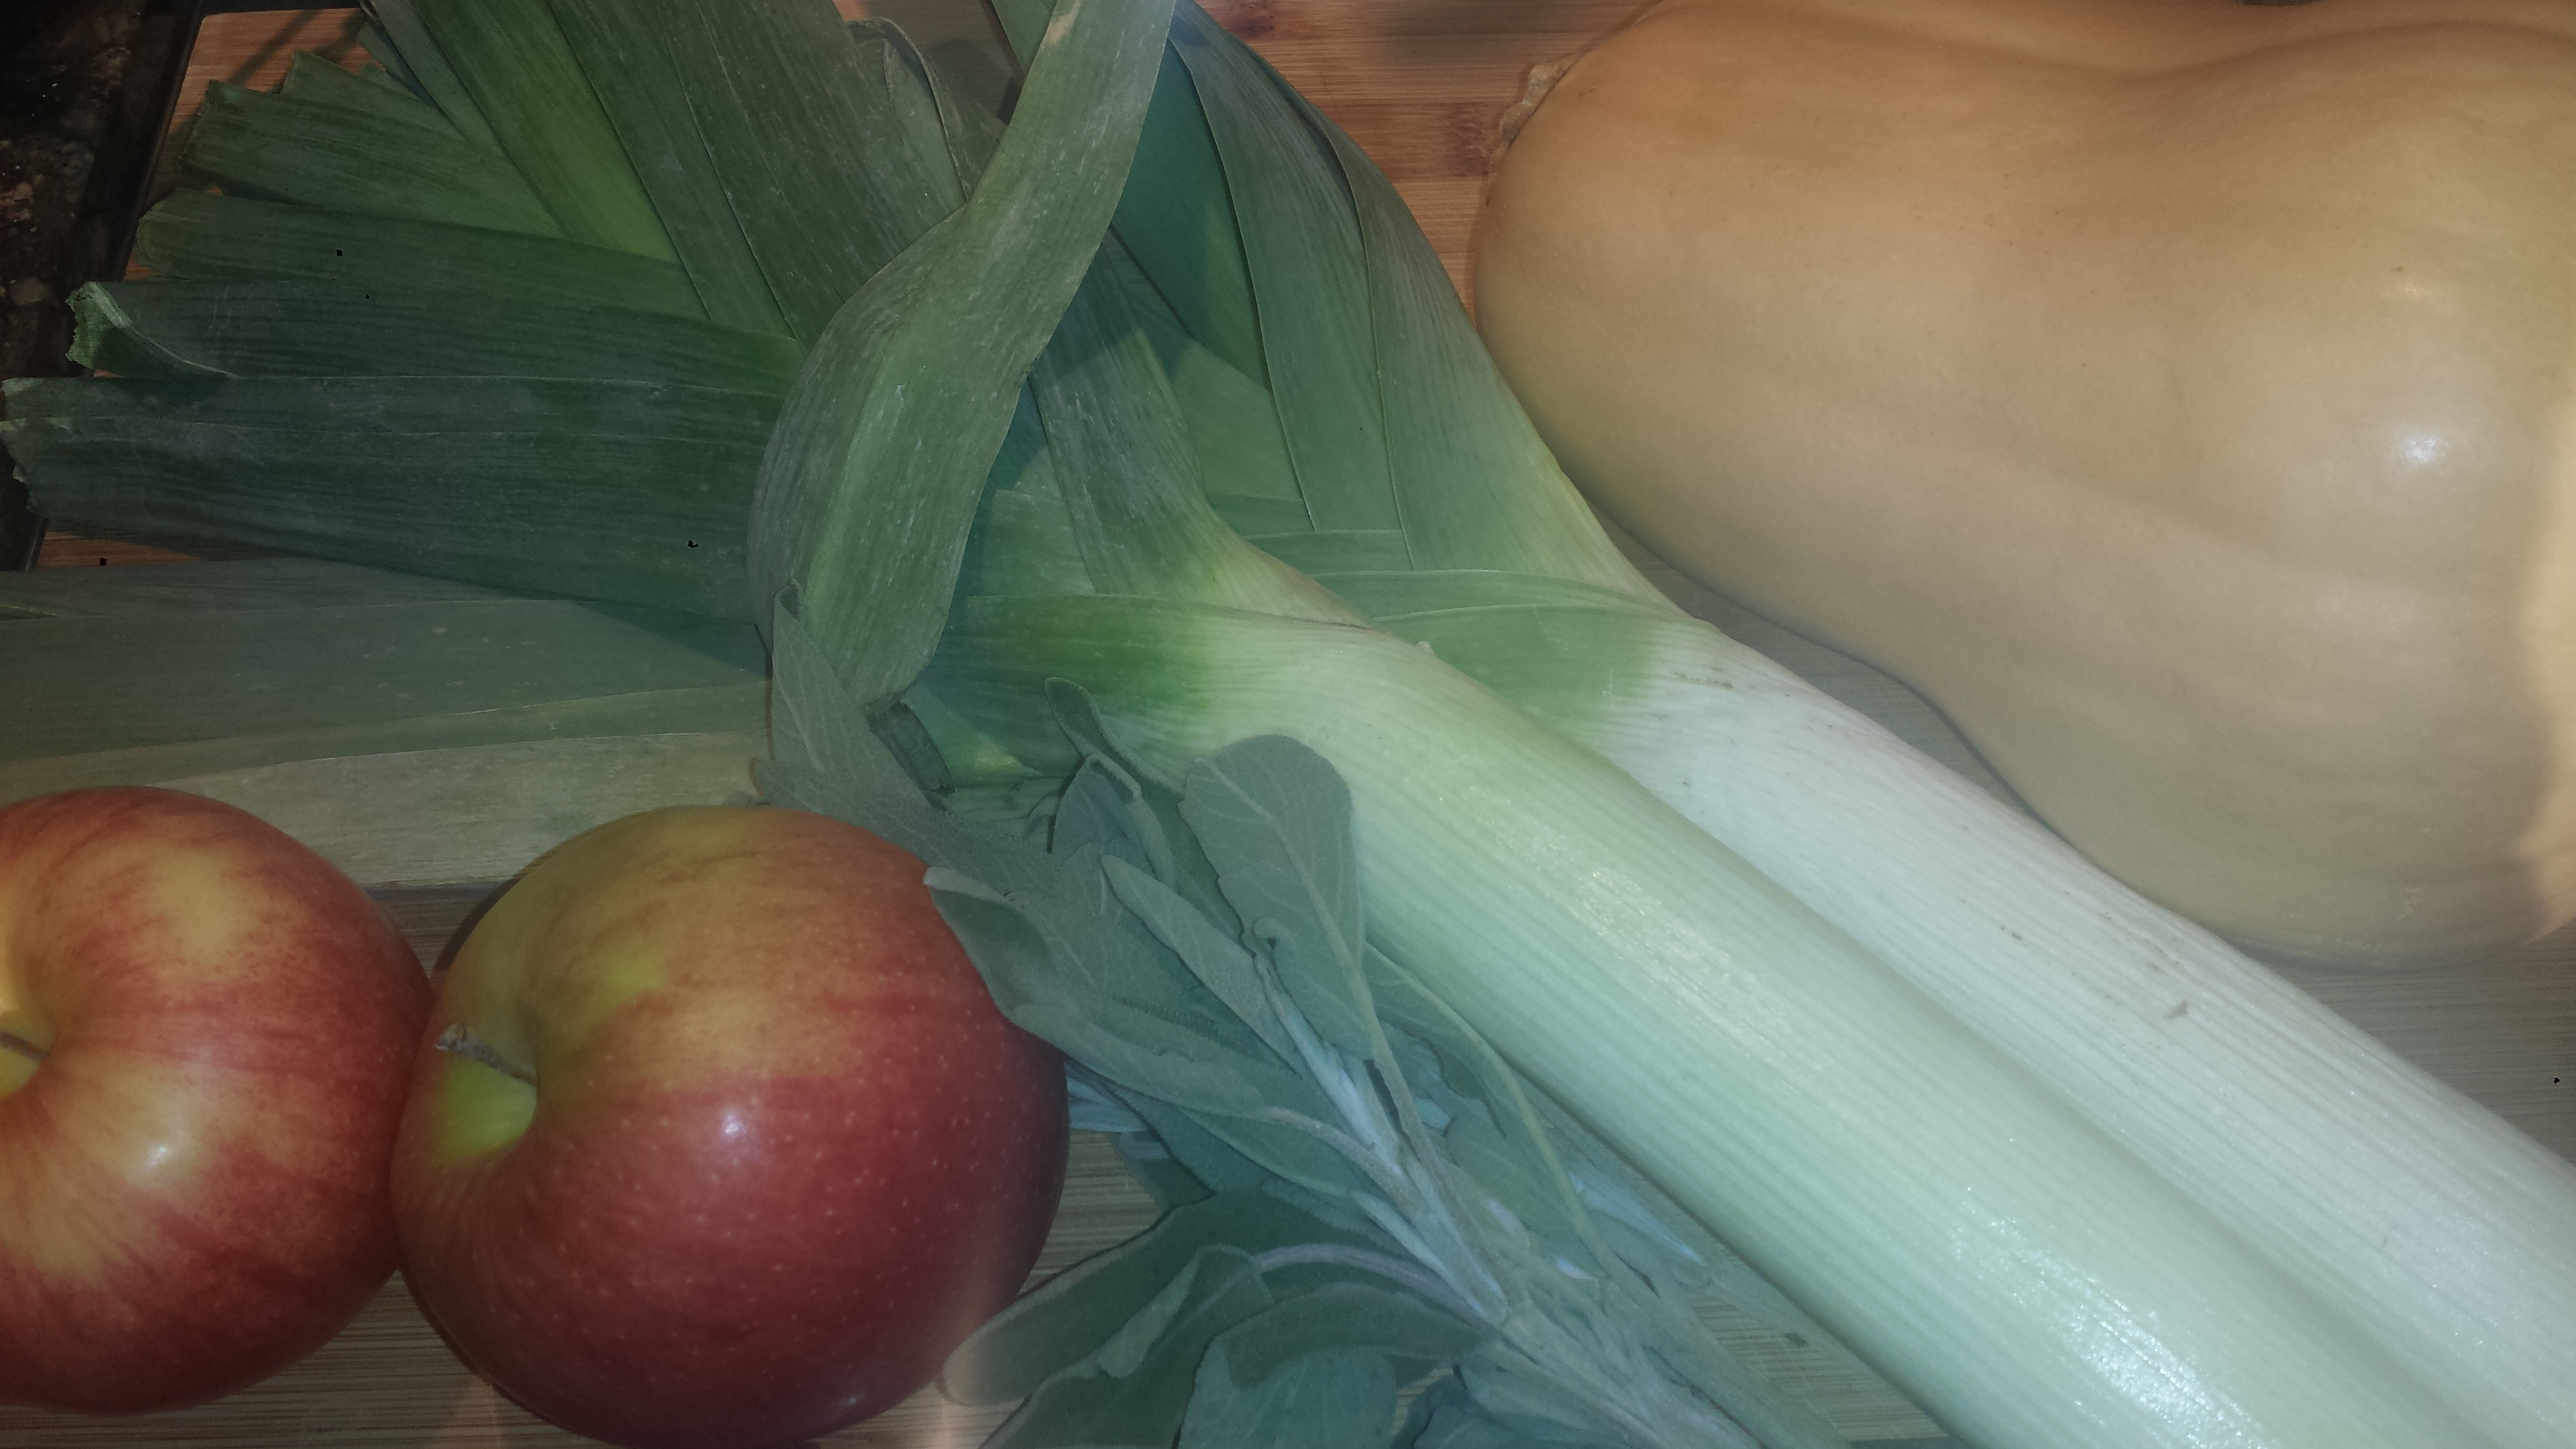
Butternut squash, leeks and apples baked under a savory crust of sharp cheddar, parmesan and buttery breadcrumbs. Need I say more? This is a lovely dish which fills your home with a wonderful, homey, spent all day (not) in the kitchen smell. There is a reason butternut squash is the most popular hard winter squash. It has a sweet, buttery flavor (hence the name) that enhances soups and casseroles or can be a showstopper all on it’s own. It’s skin is fairly thin but hard which helps preserve the interior of the squash and prolong it’s shelf life. The squash’s seed cavity is relatively small so the yield of the edible portion is pretty high. It’s gorgeous brilliant orange color is from Beta carotene which gets converted to vitamin A by our bodies. Butternut Squash provides many other nutrients including vitamin C, potassium, calcium and fiber.

I love a meal that requires little clean up, in other words, doesn’t use every pot and pan you have in the kitchen. This gratin can be made as a one pot meal if you have a large cast iron pan that can go from stovetop to oven. Just keep adding each step to the same pan. Otherwise, saute the leeks first and deglaze the pan with wine and vegetable broth, then combine with apples and squash in baking dish. Either way it’s a pretty easy dish to make. This could be just what your Thanksgiving table needs!
TIPS: If you have any leftover, dried bread, it’s easy to make your own bread crumbs. The better the bread, the more delicious the dish. I used two day old ciabatta that was stored in a paper bag.

If the bread is completely dry, slice into small pieces and whirl in your food processor or finely chop with a heavy knife.
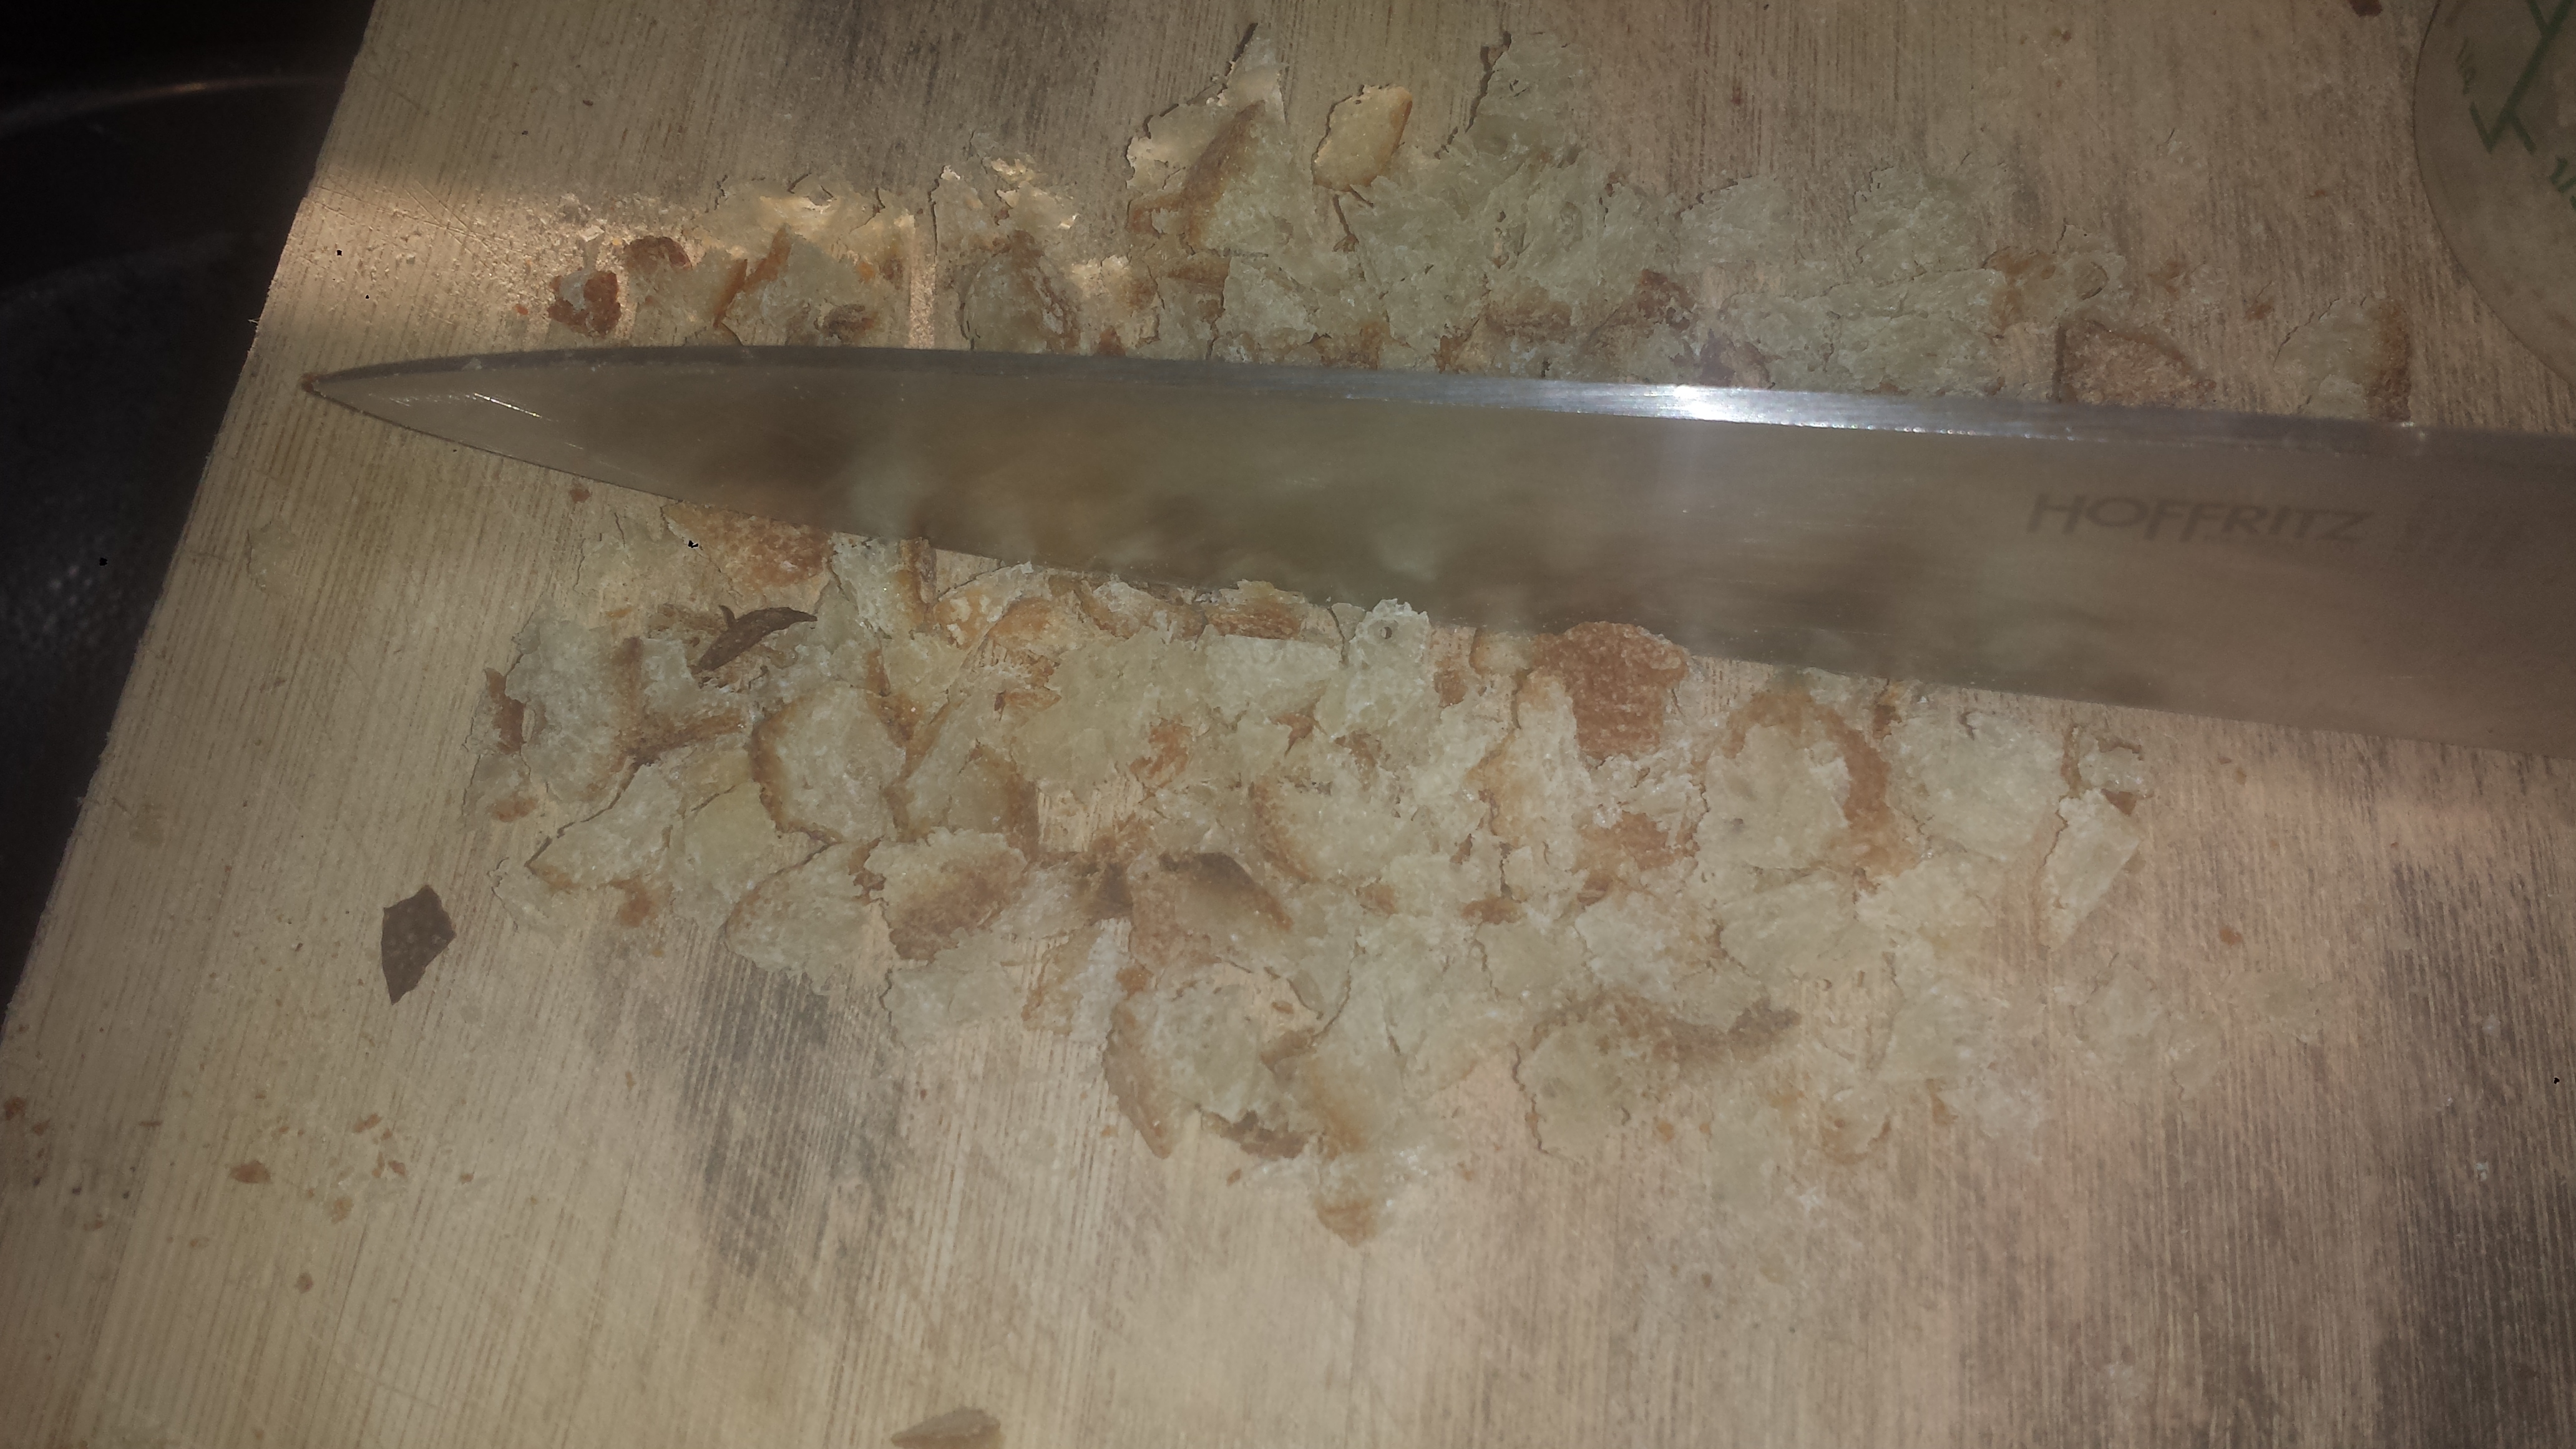
If the bread is still slightly soft, slice and toast in the oven to dry it out, then chop or grind into coarse bread crumbs.
BUTTERNUT SQUASH, LEEK AND APPLE GRATIN
Topping:
2 Tbsn butter, melted
1 cup coarse dry breadcrumbs
1/2 cup shredded sharp cheddar cheese
1/2 cup shredded parmesan
1 tsp fresh thyme leaves, or 1/2 tsp dried
salt and pepper to taste
Filling:
1 tablespoon Olive Oil
2 Tbsn butter
4-5 cloves garlic, minced
2 leeks
1/3 cup white wine
2 tsp fresh thyme (or 1 tsp dried)
2 cups vegetable broth
2 Tbsn all purpose flour
1 apple
1 medium butternut squash (or 3-4 cups sliced or chopped)
1/2 shredded parmesan

- To prepare topping, combine all ingredients in a small bowl and set aside. Add salt and pepper to taste. Set aside.

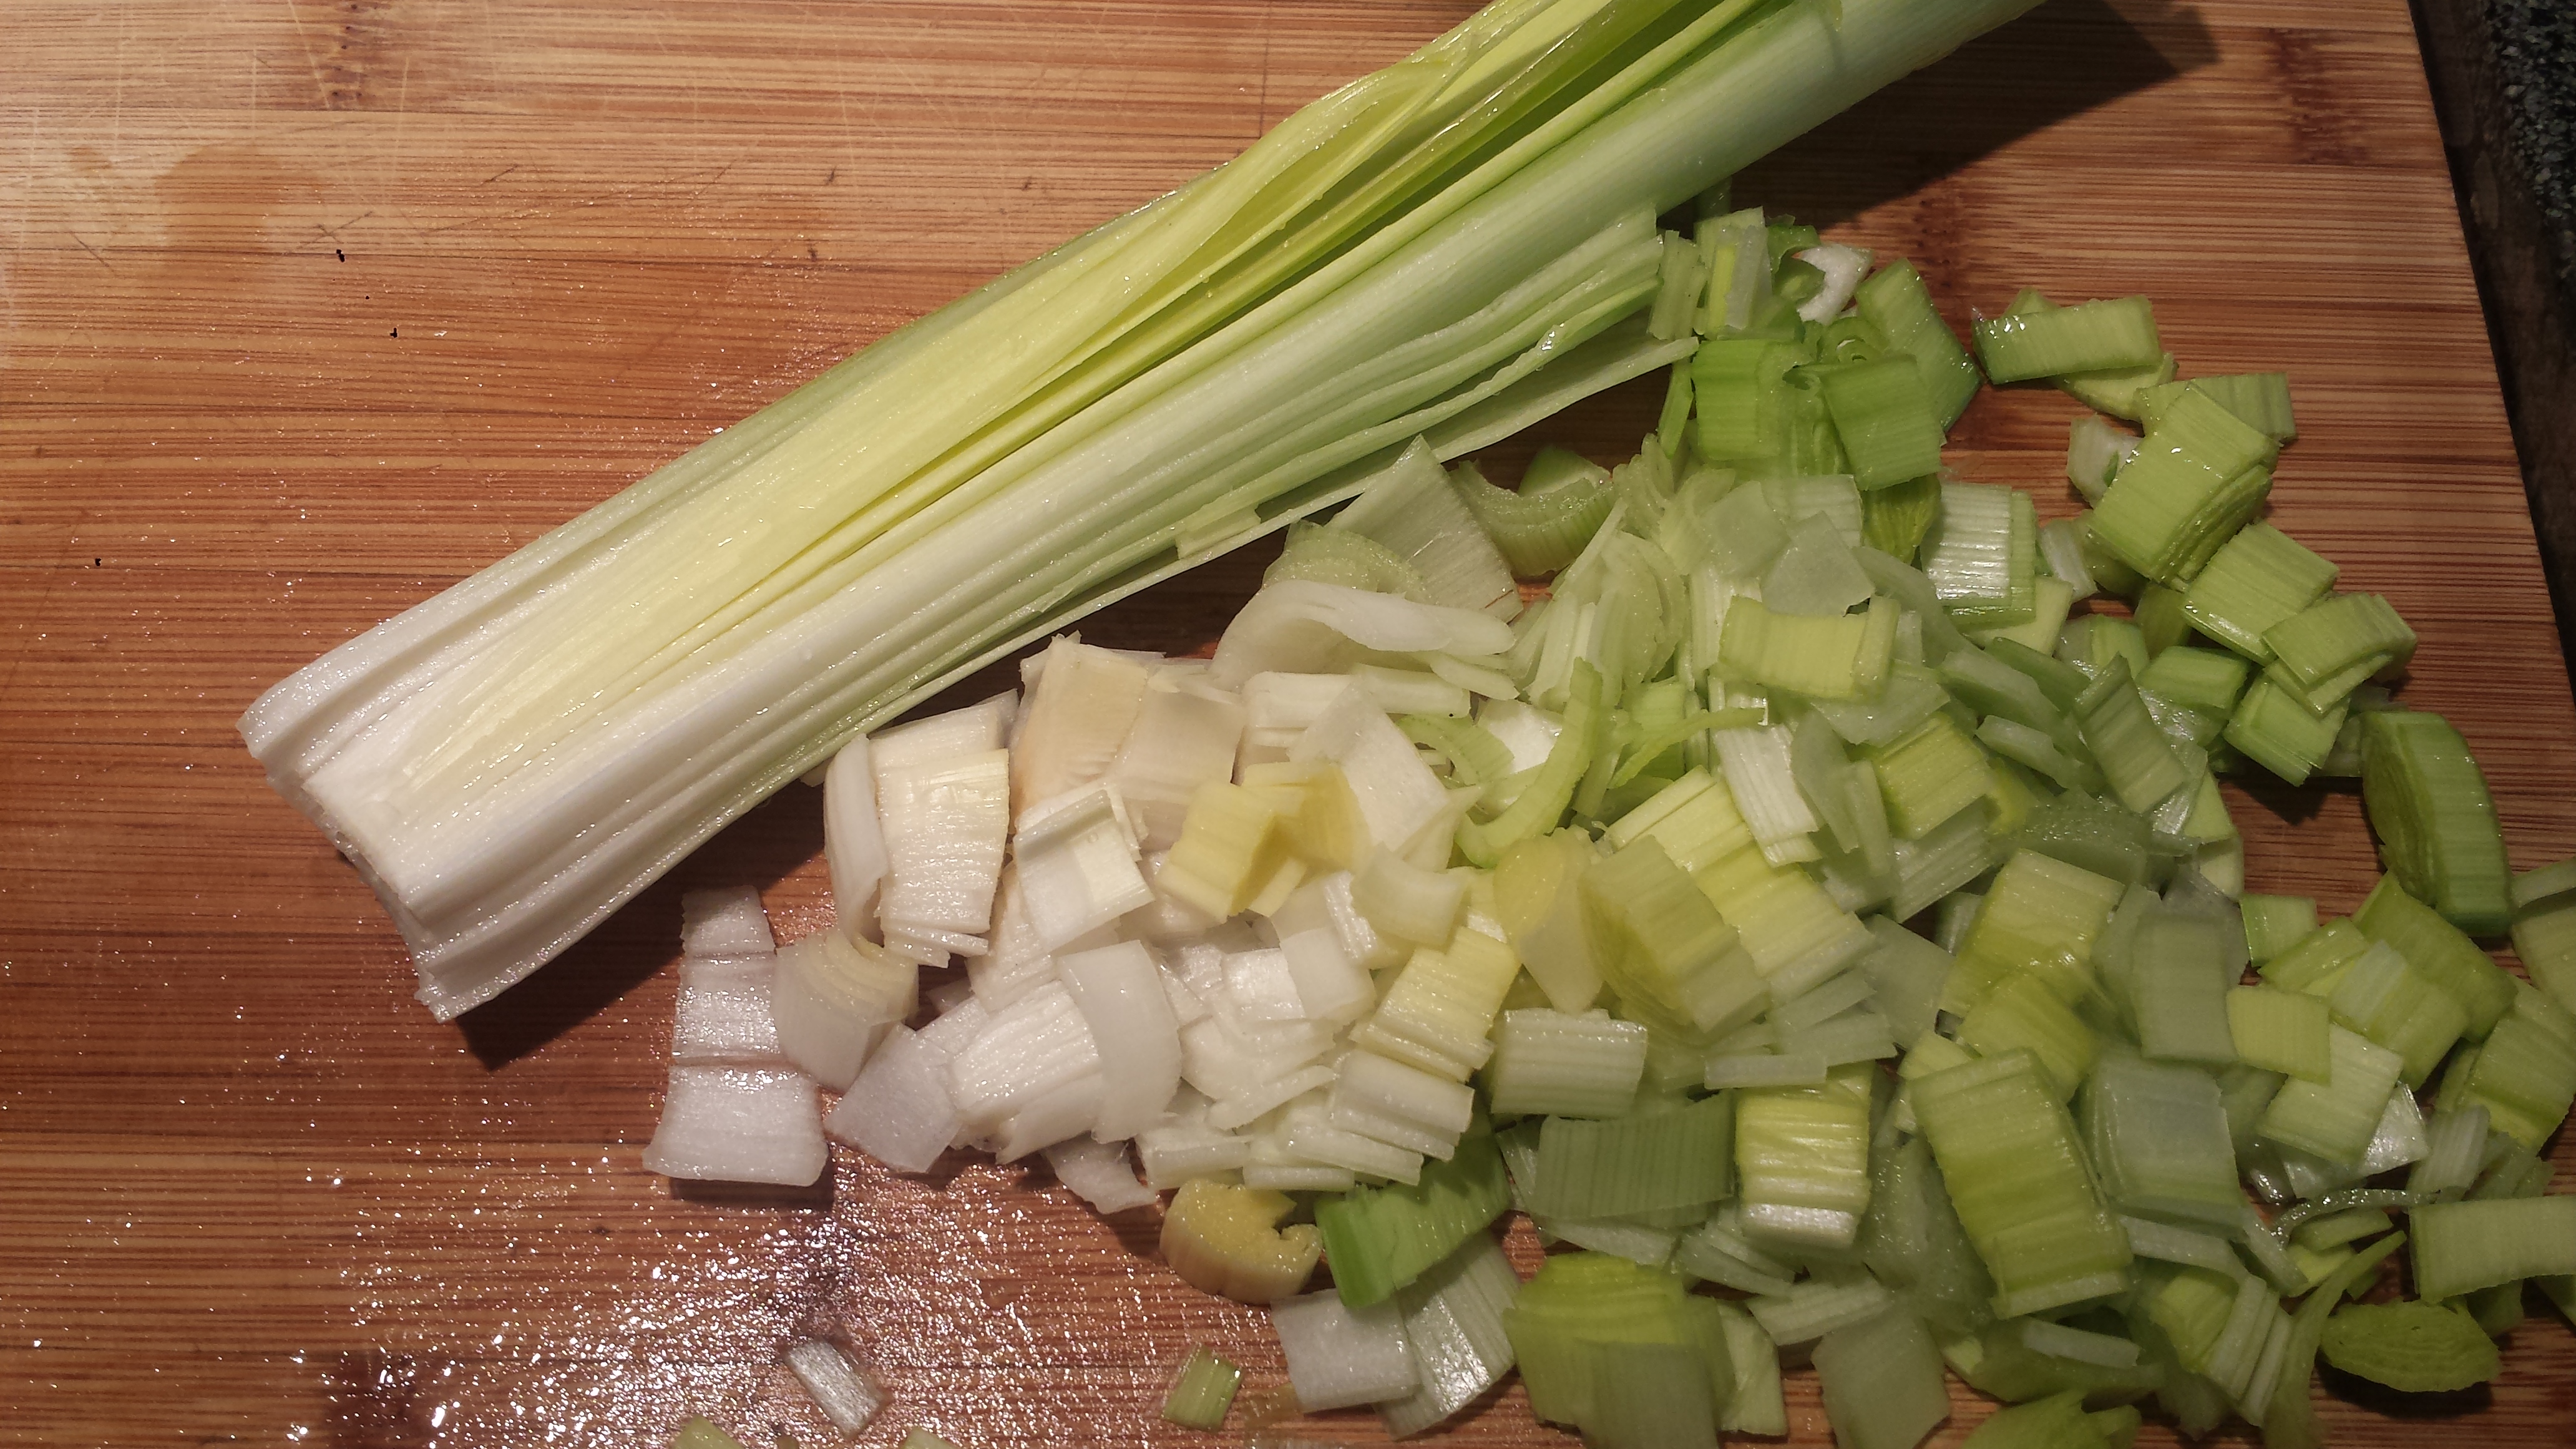
- Cut ends off of leeks and slice lengthwise. Rinse under running water, fanning the layers like a deck of cards to remove any remaining grit, then coarsely chop.

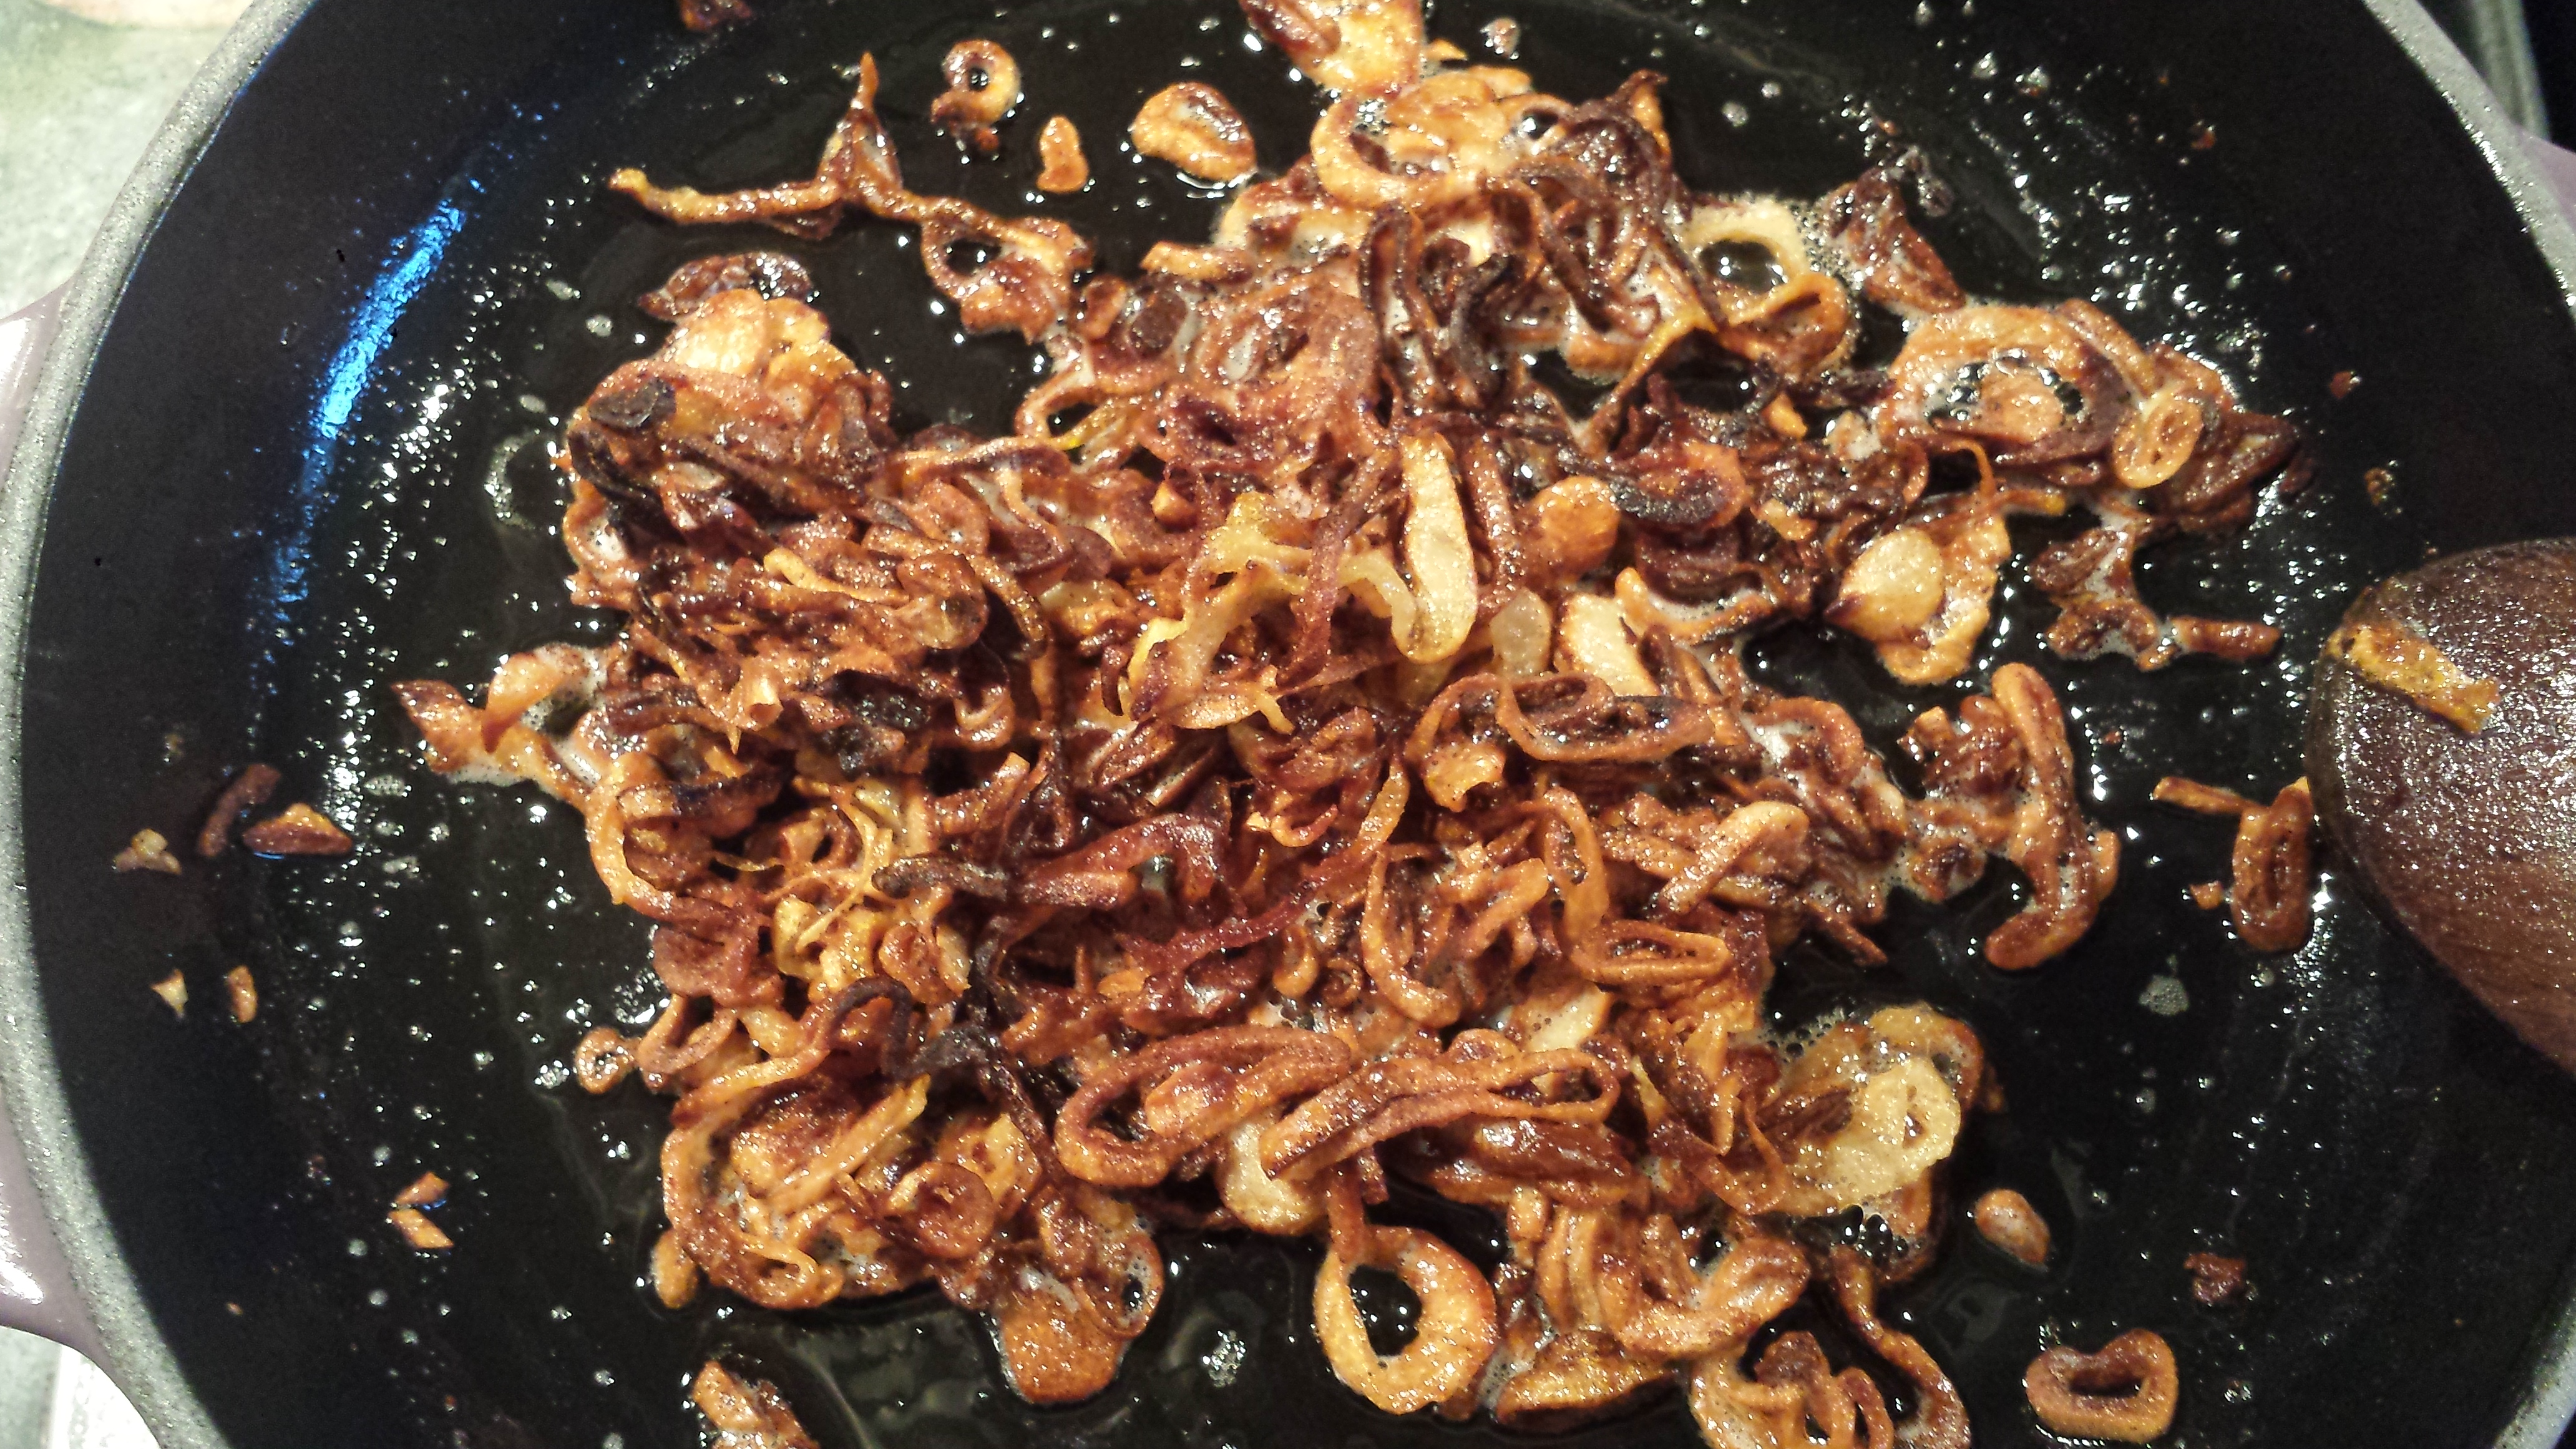
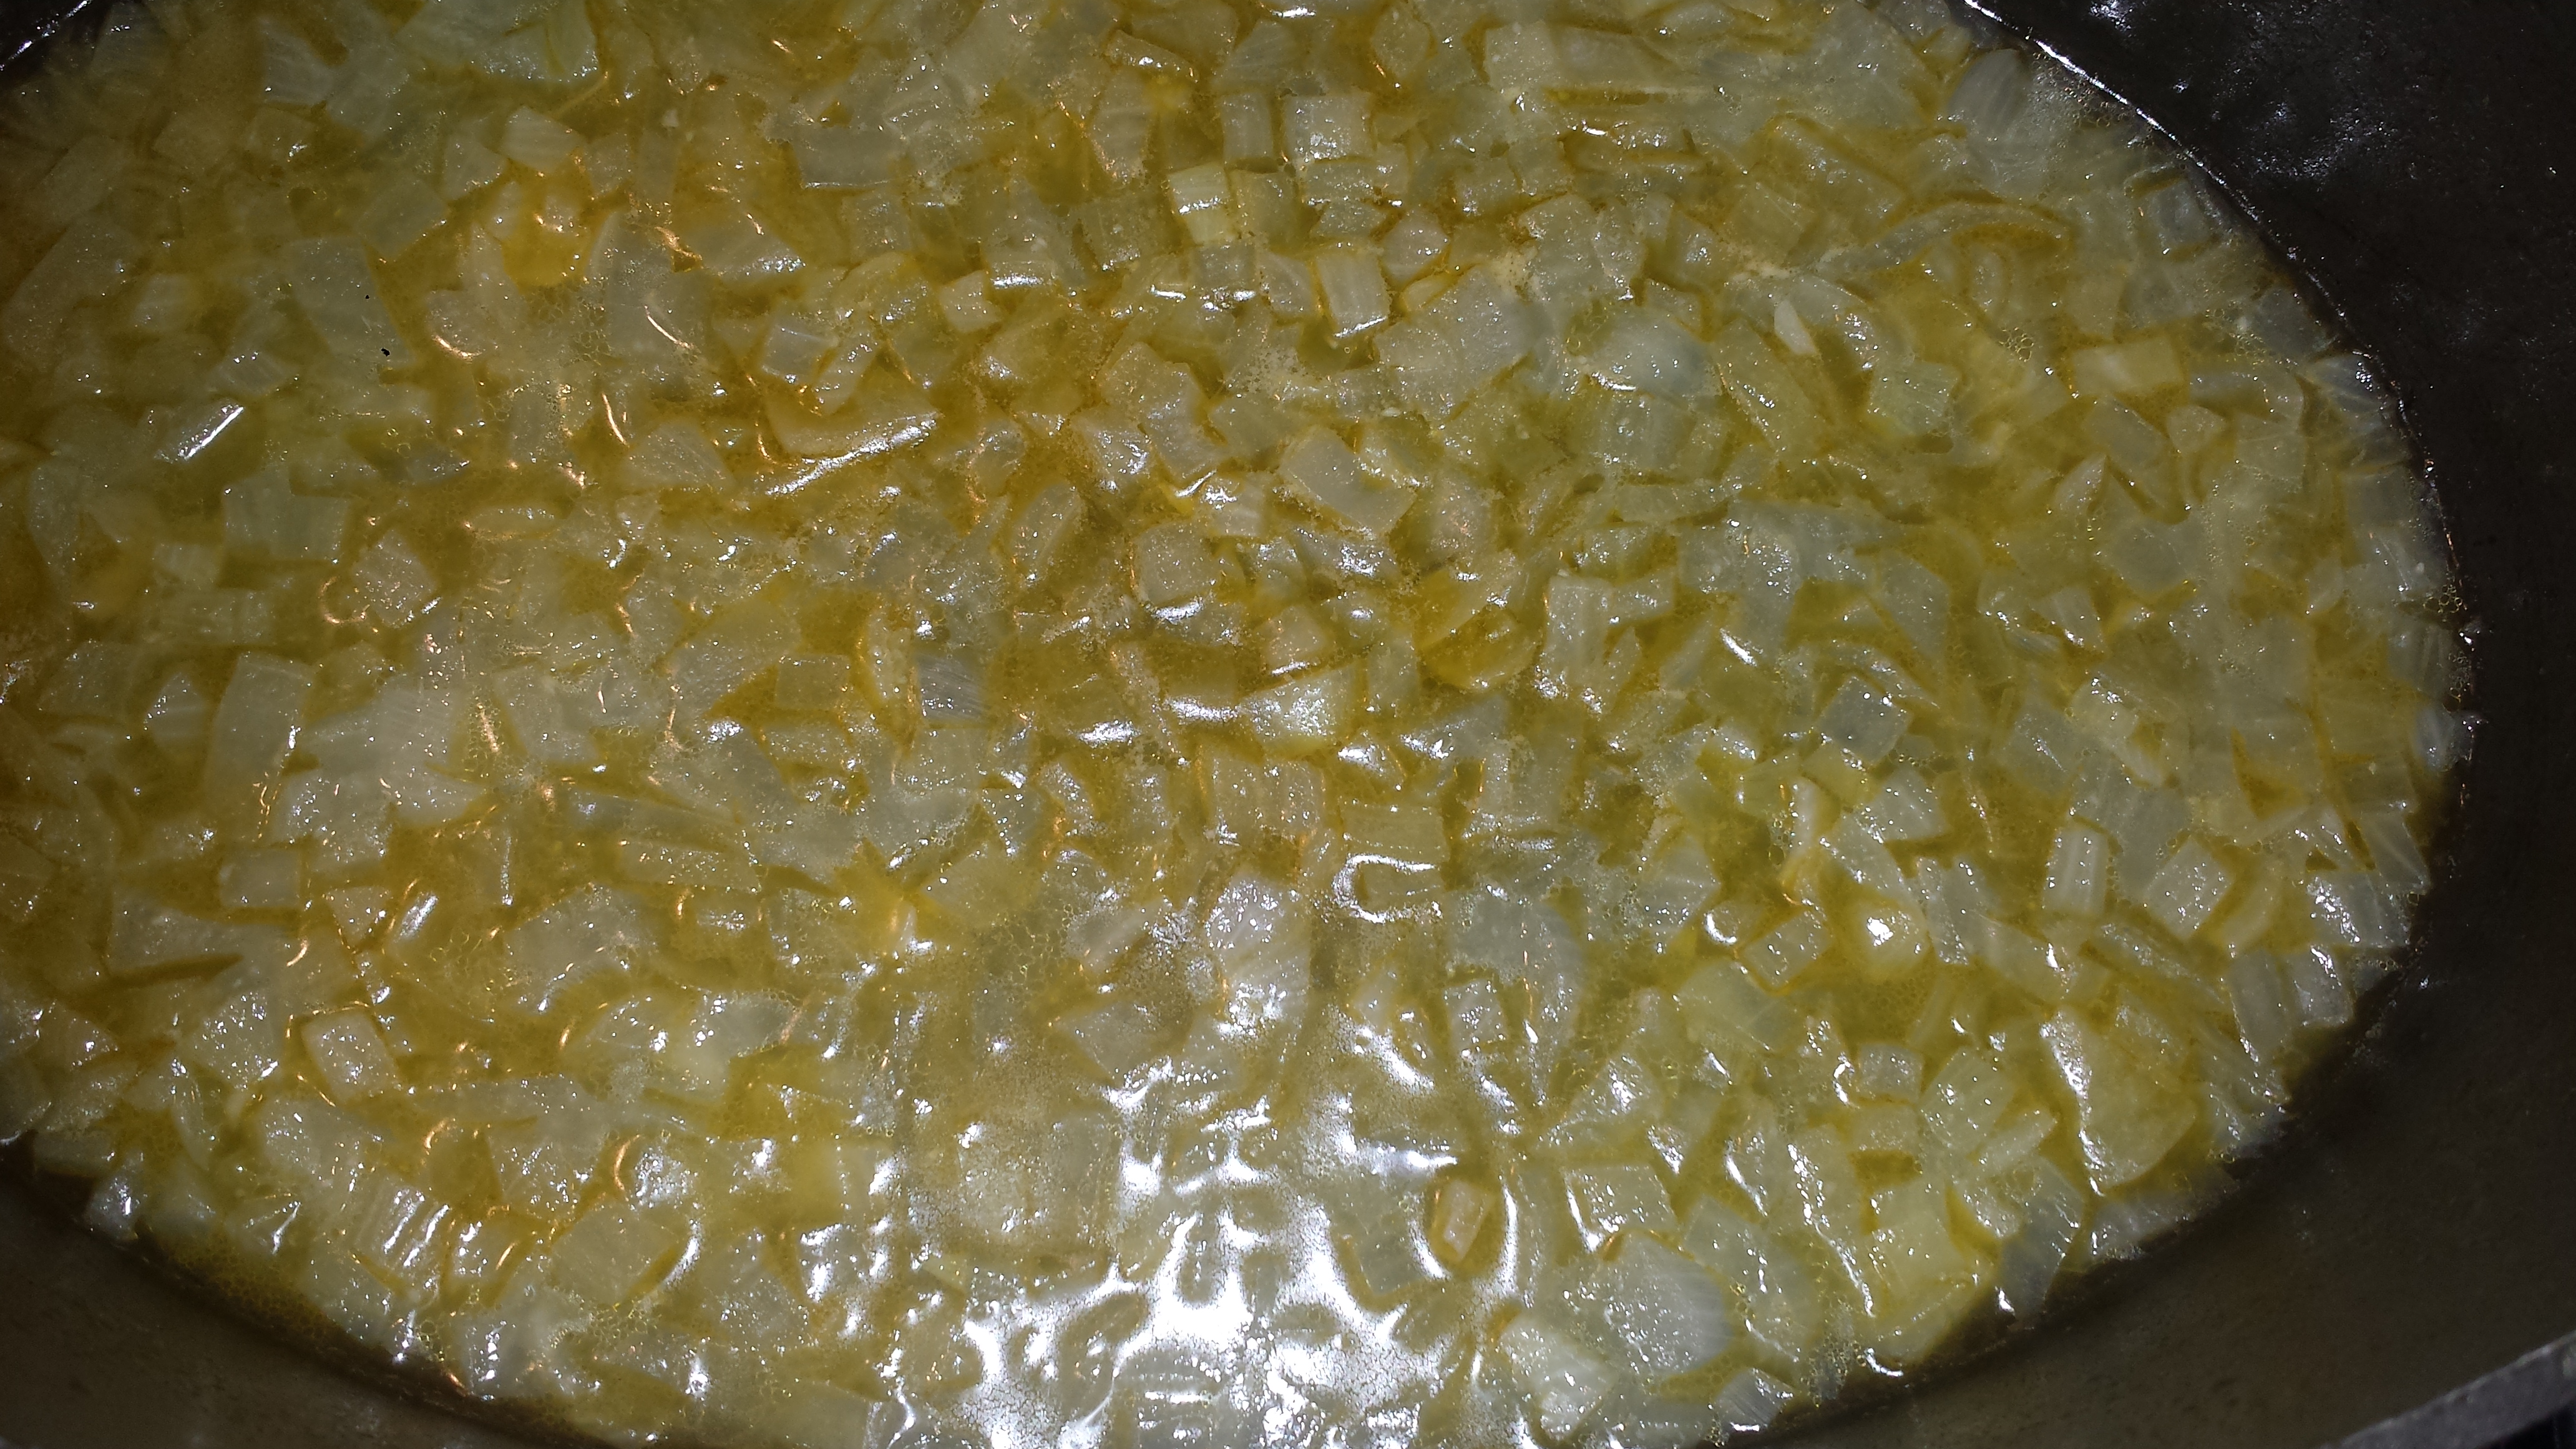
- Saute leeks in butter and olive oil over medium-low heat until soft, about 10 minutes.

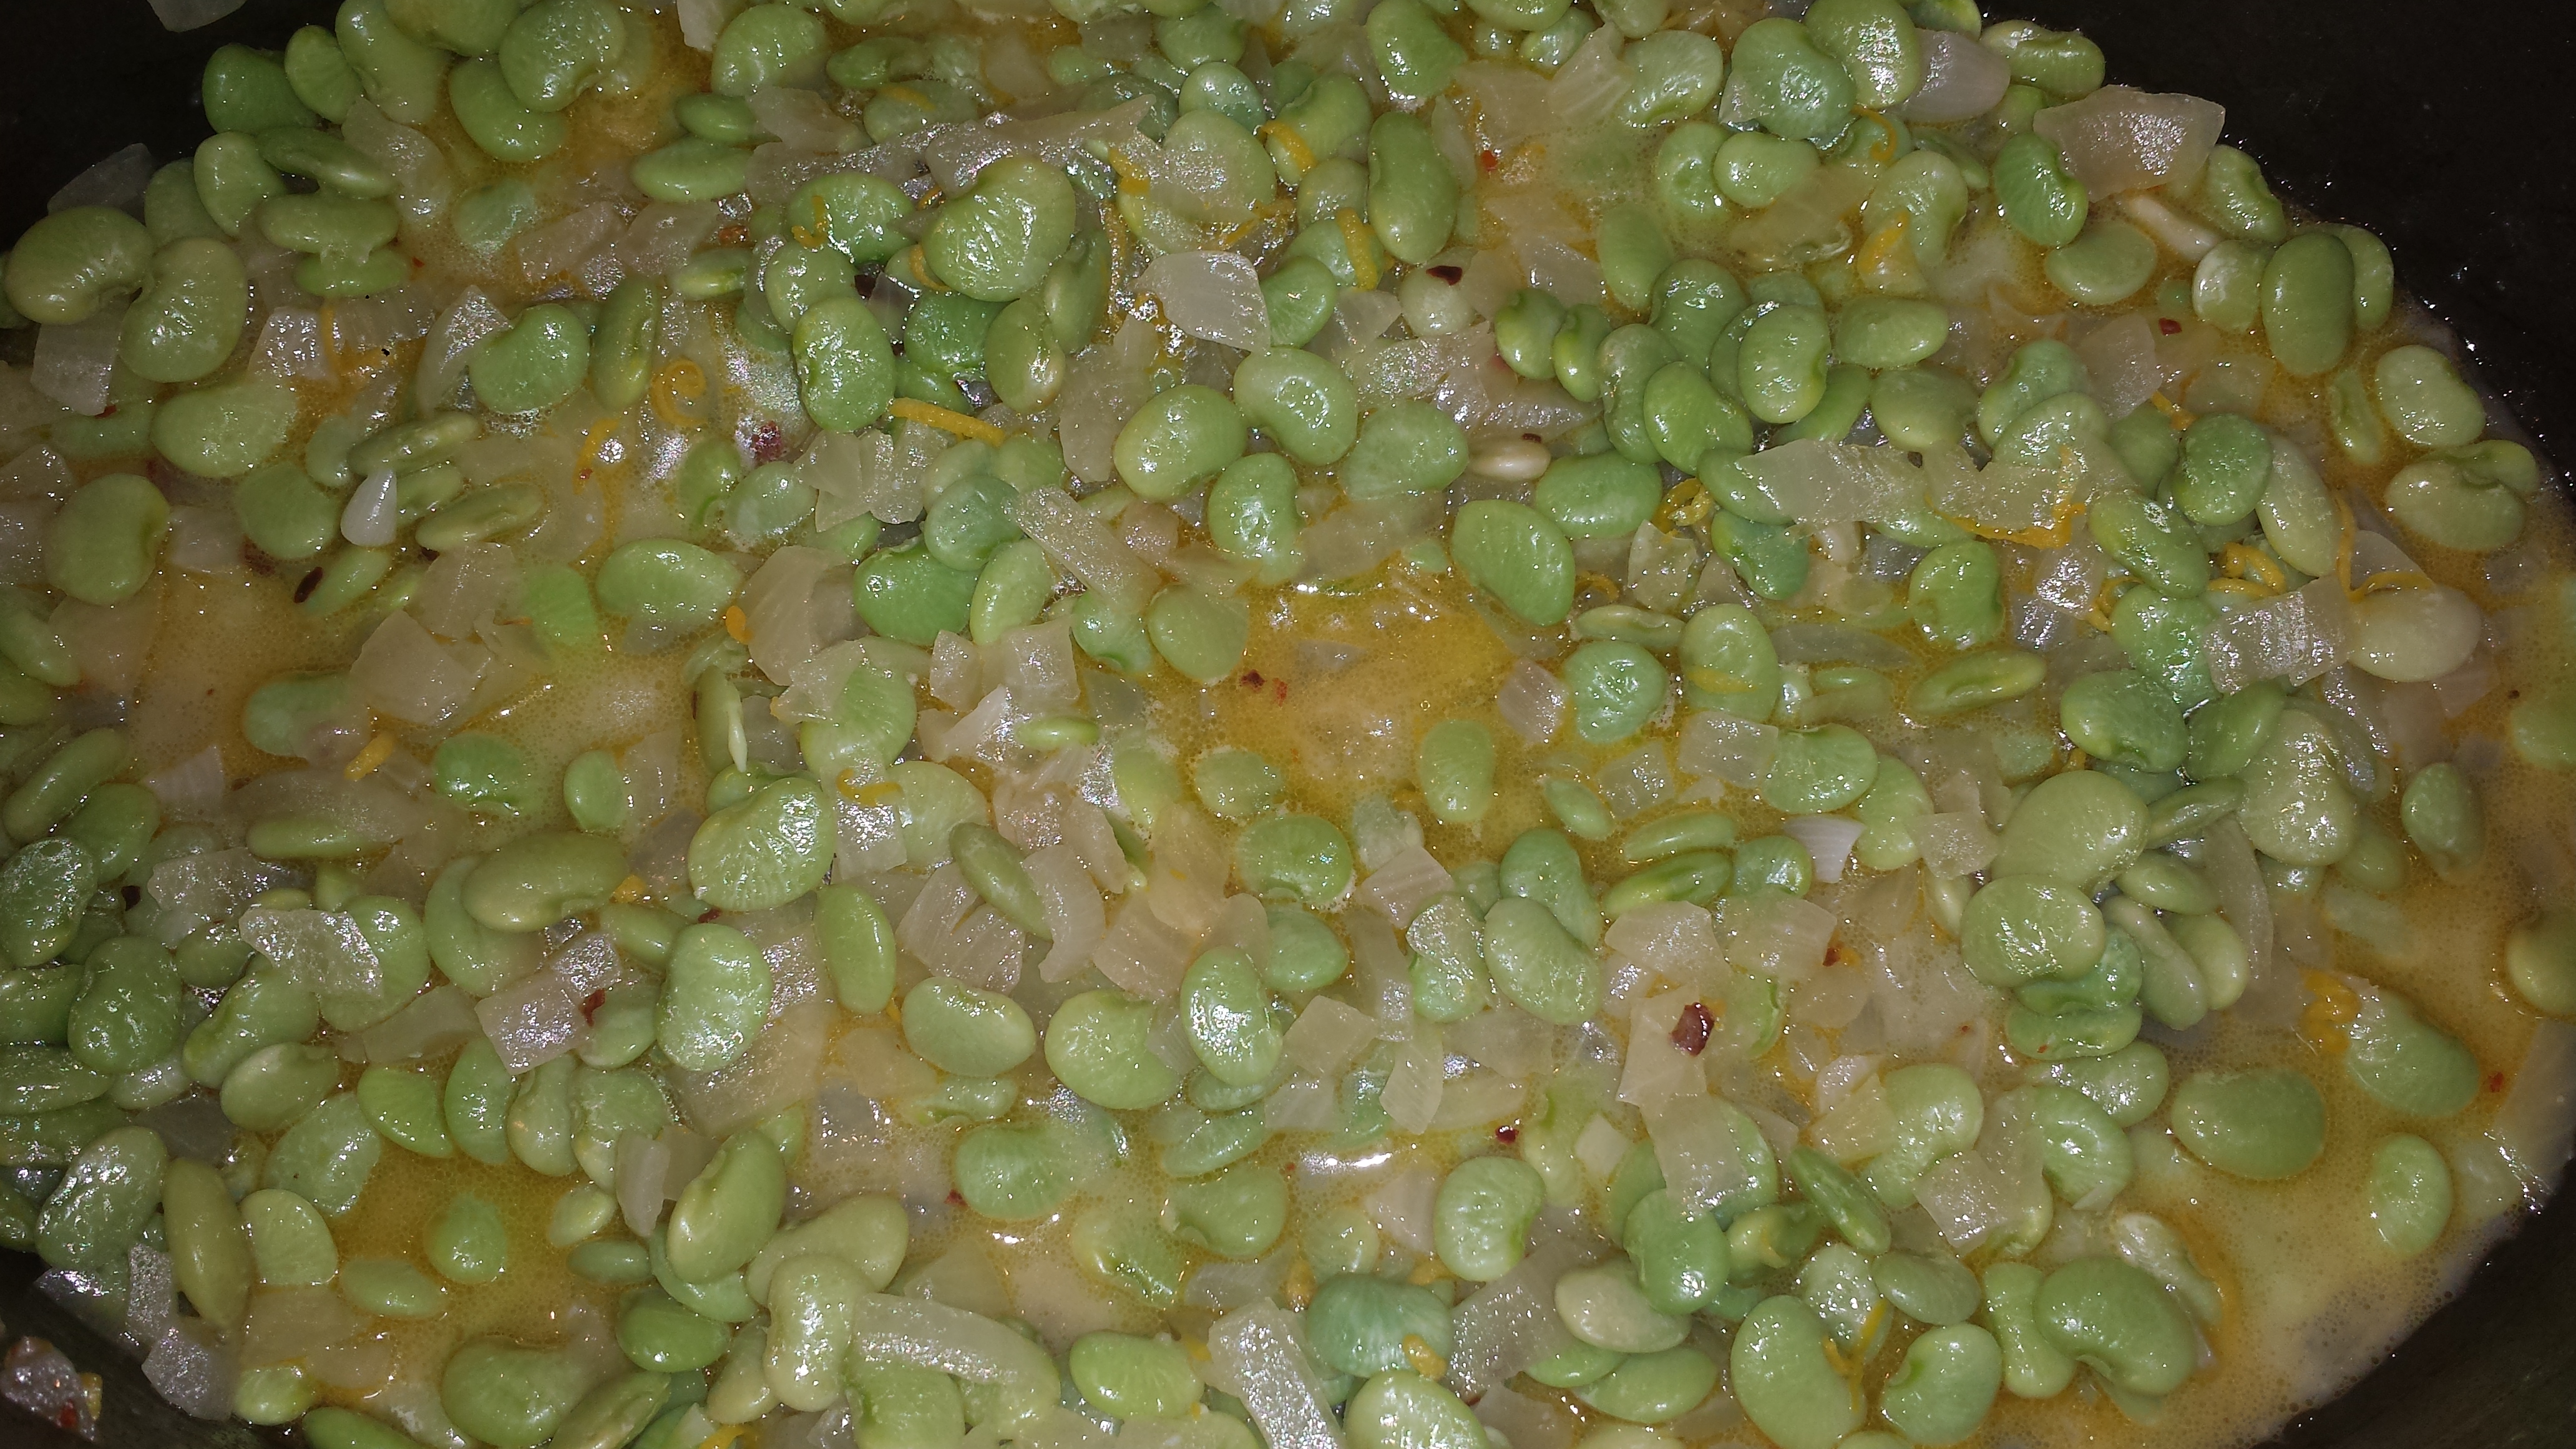
- Add garlic, thyme, wine and broth and reduce liquid by half.
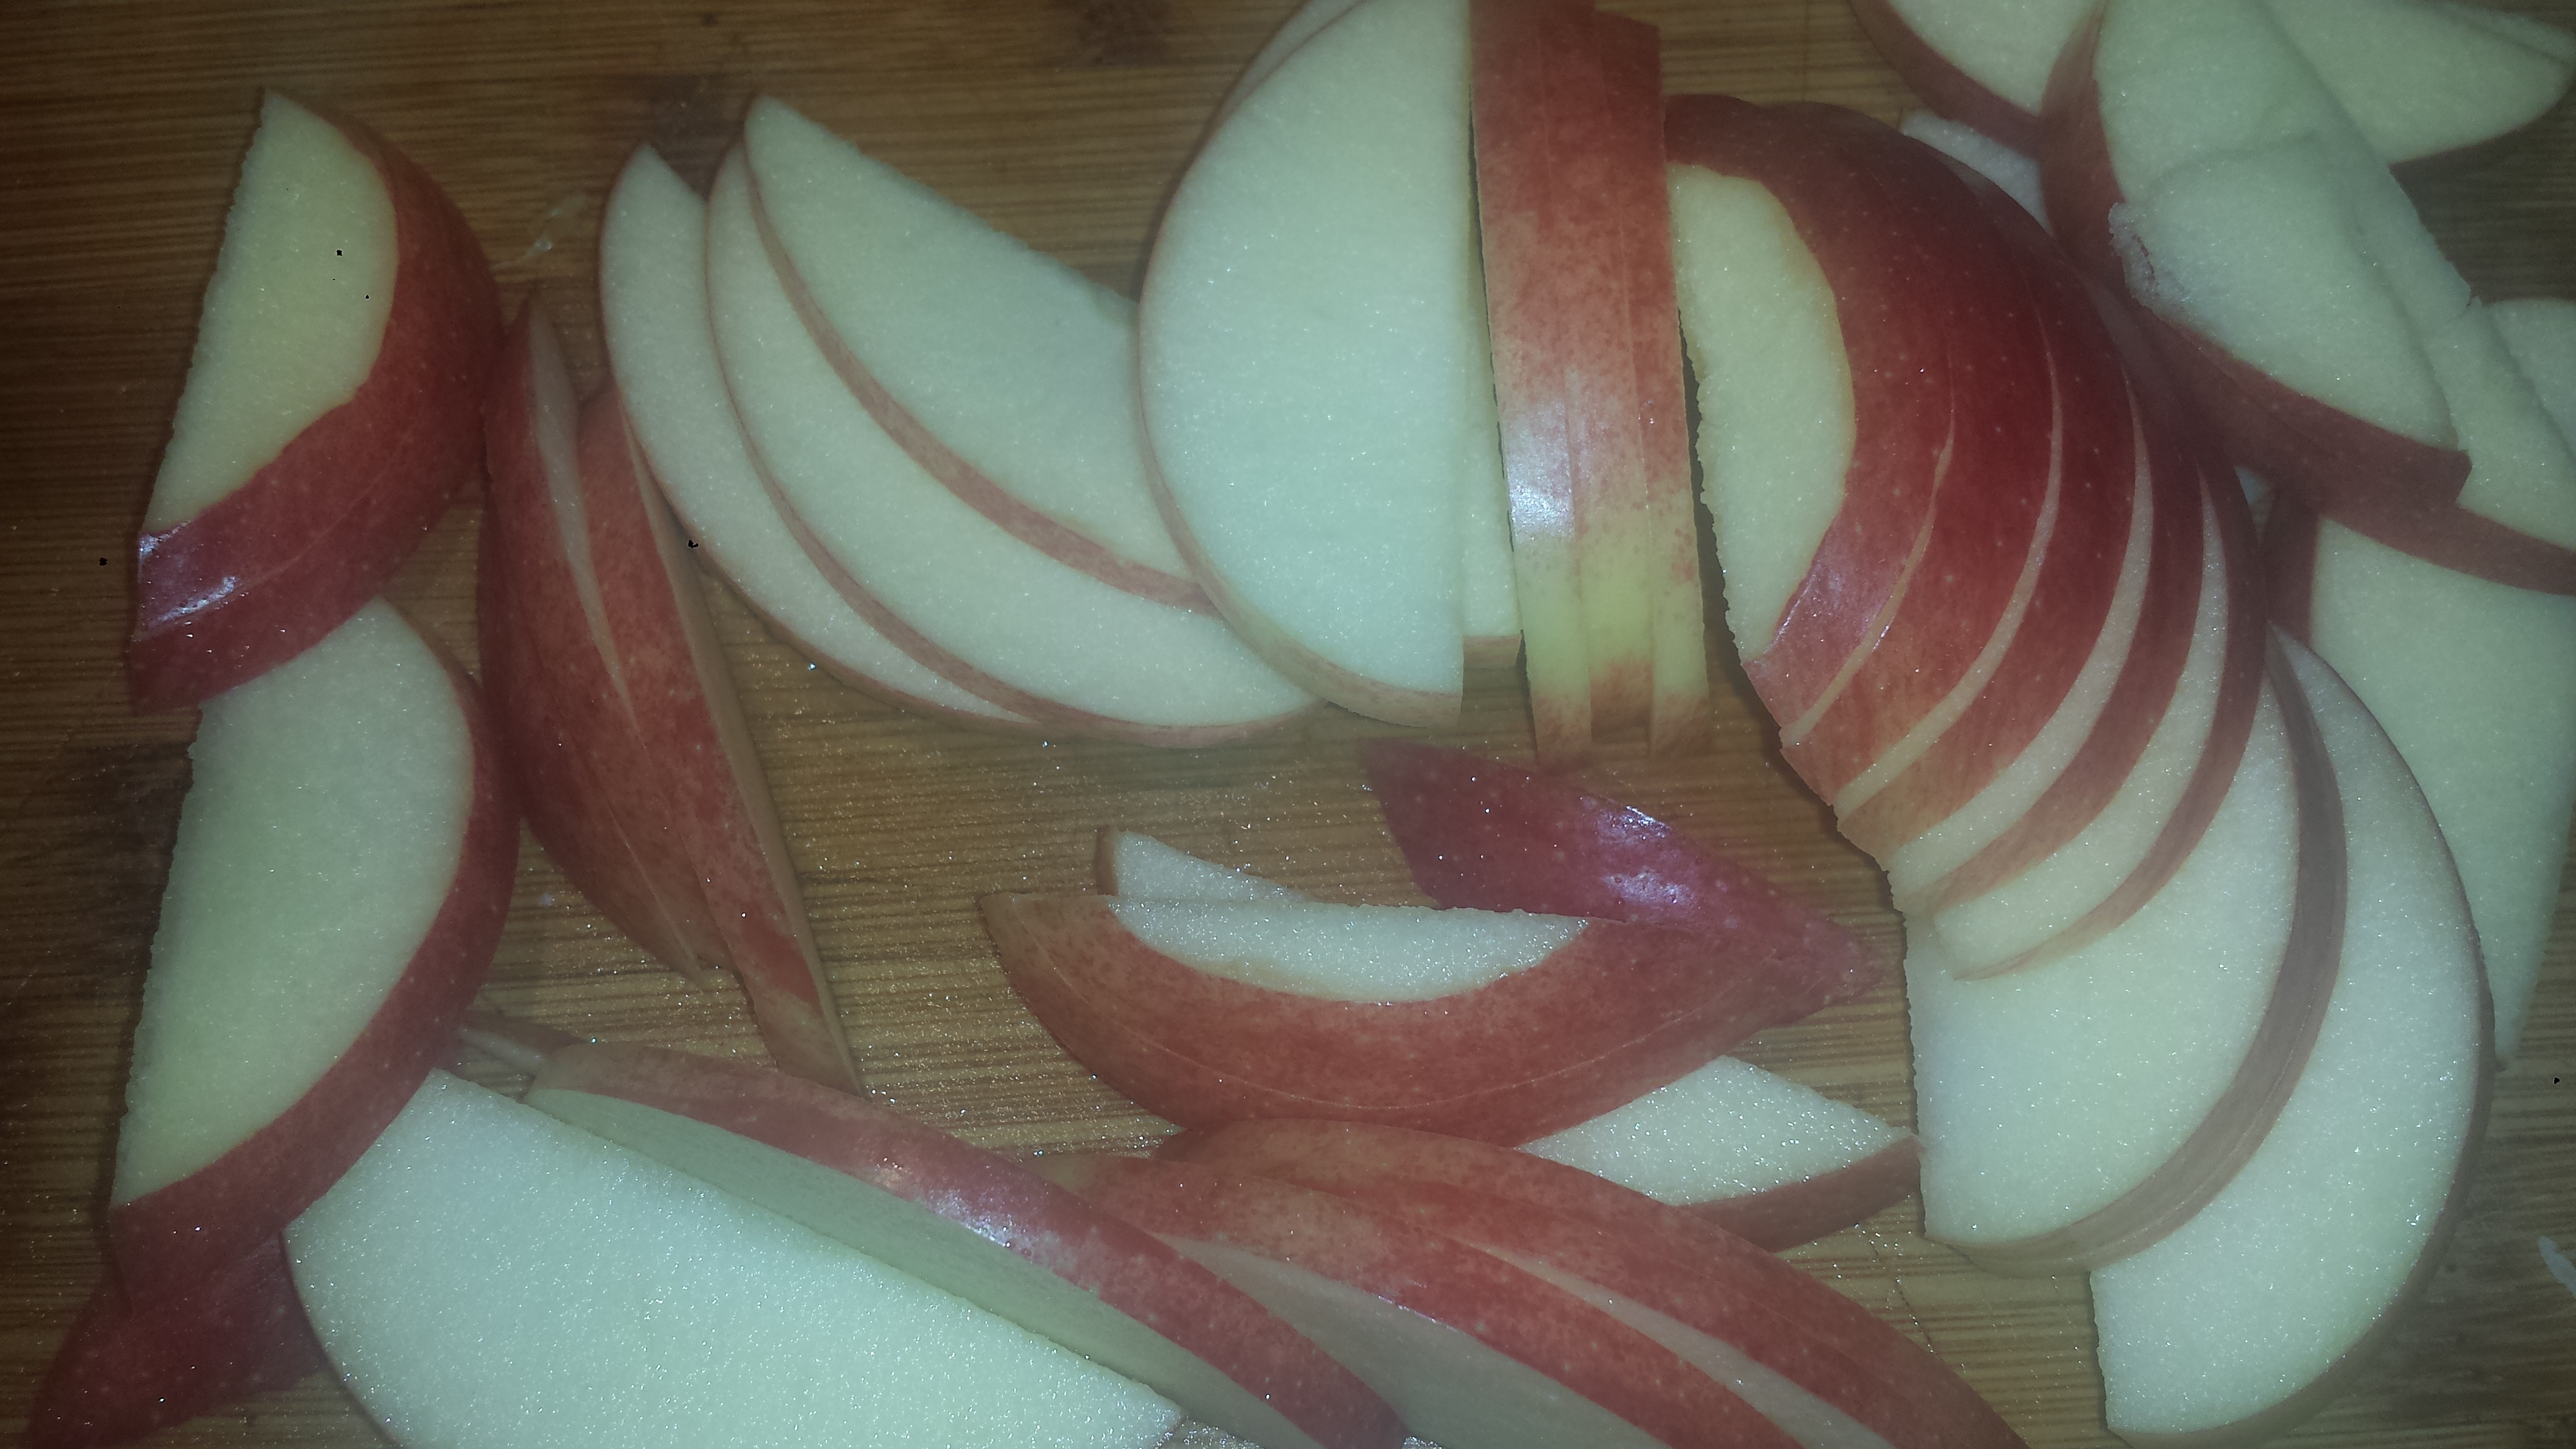
- Thinly slice apple.
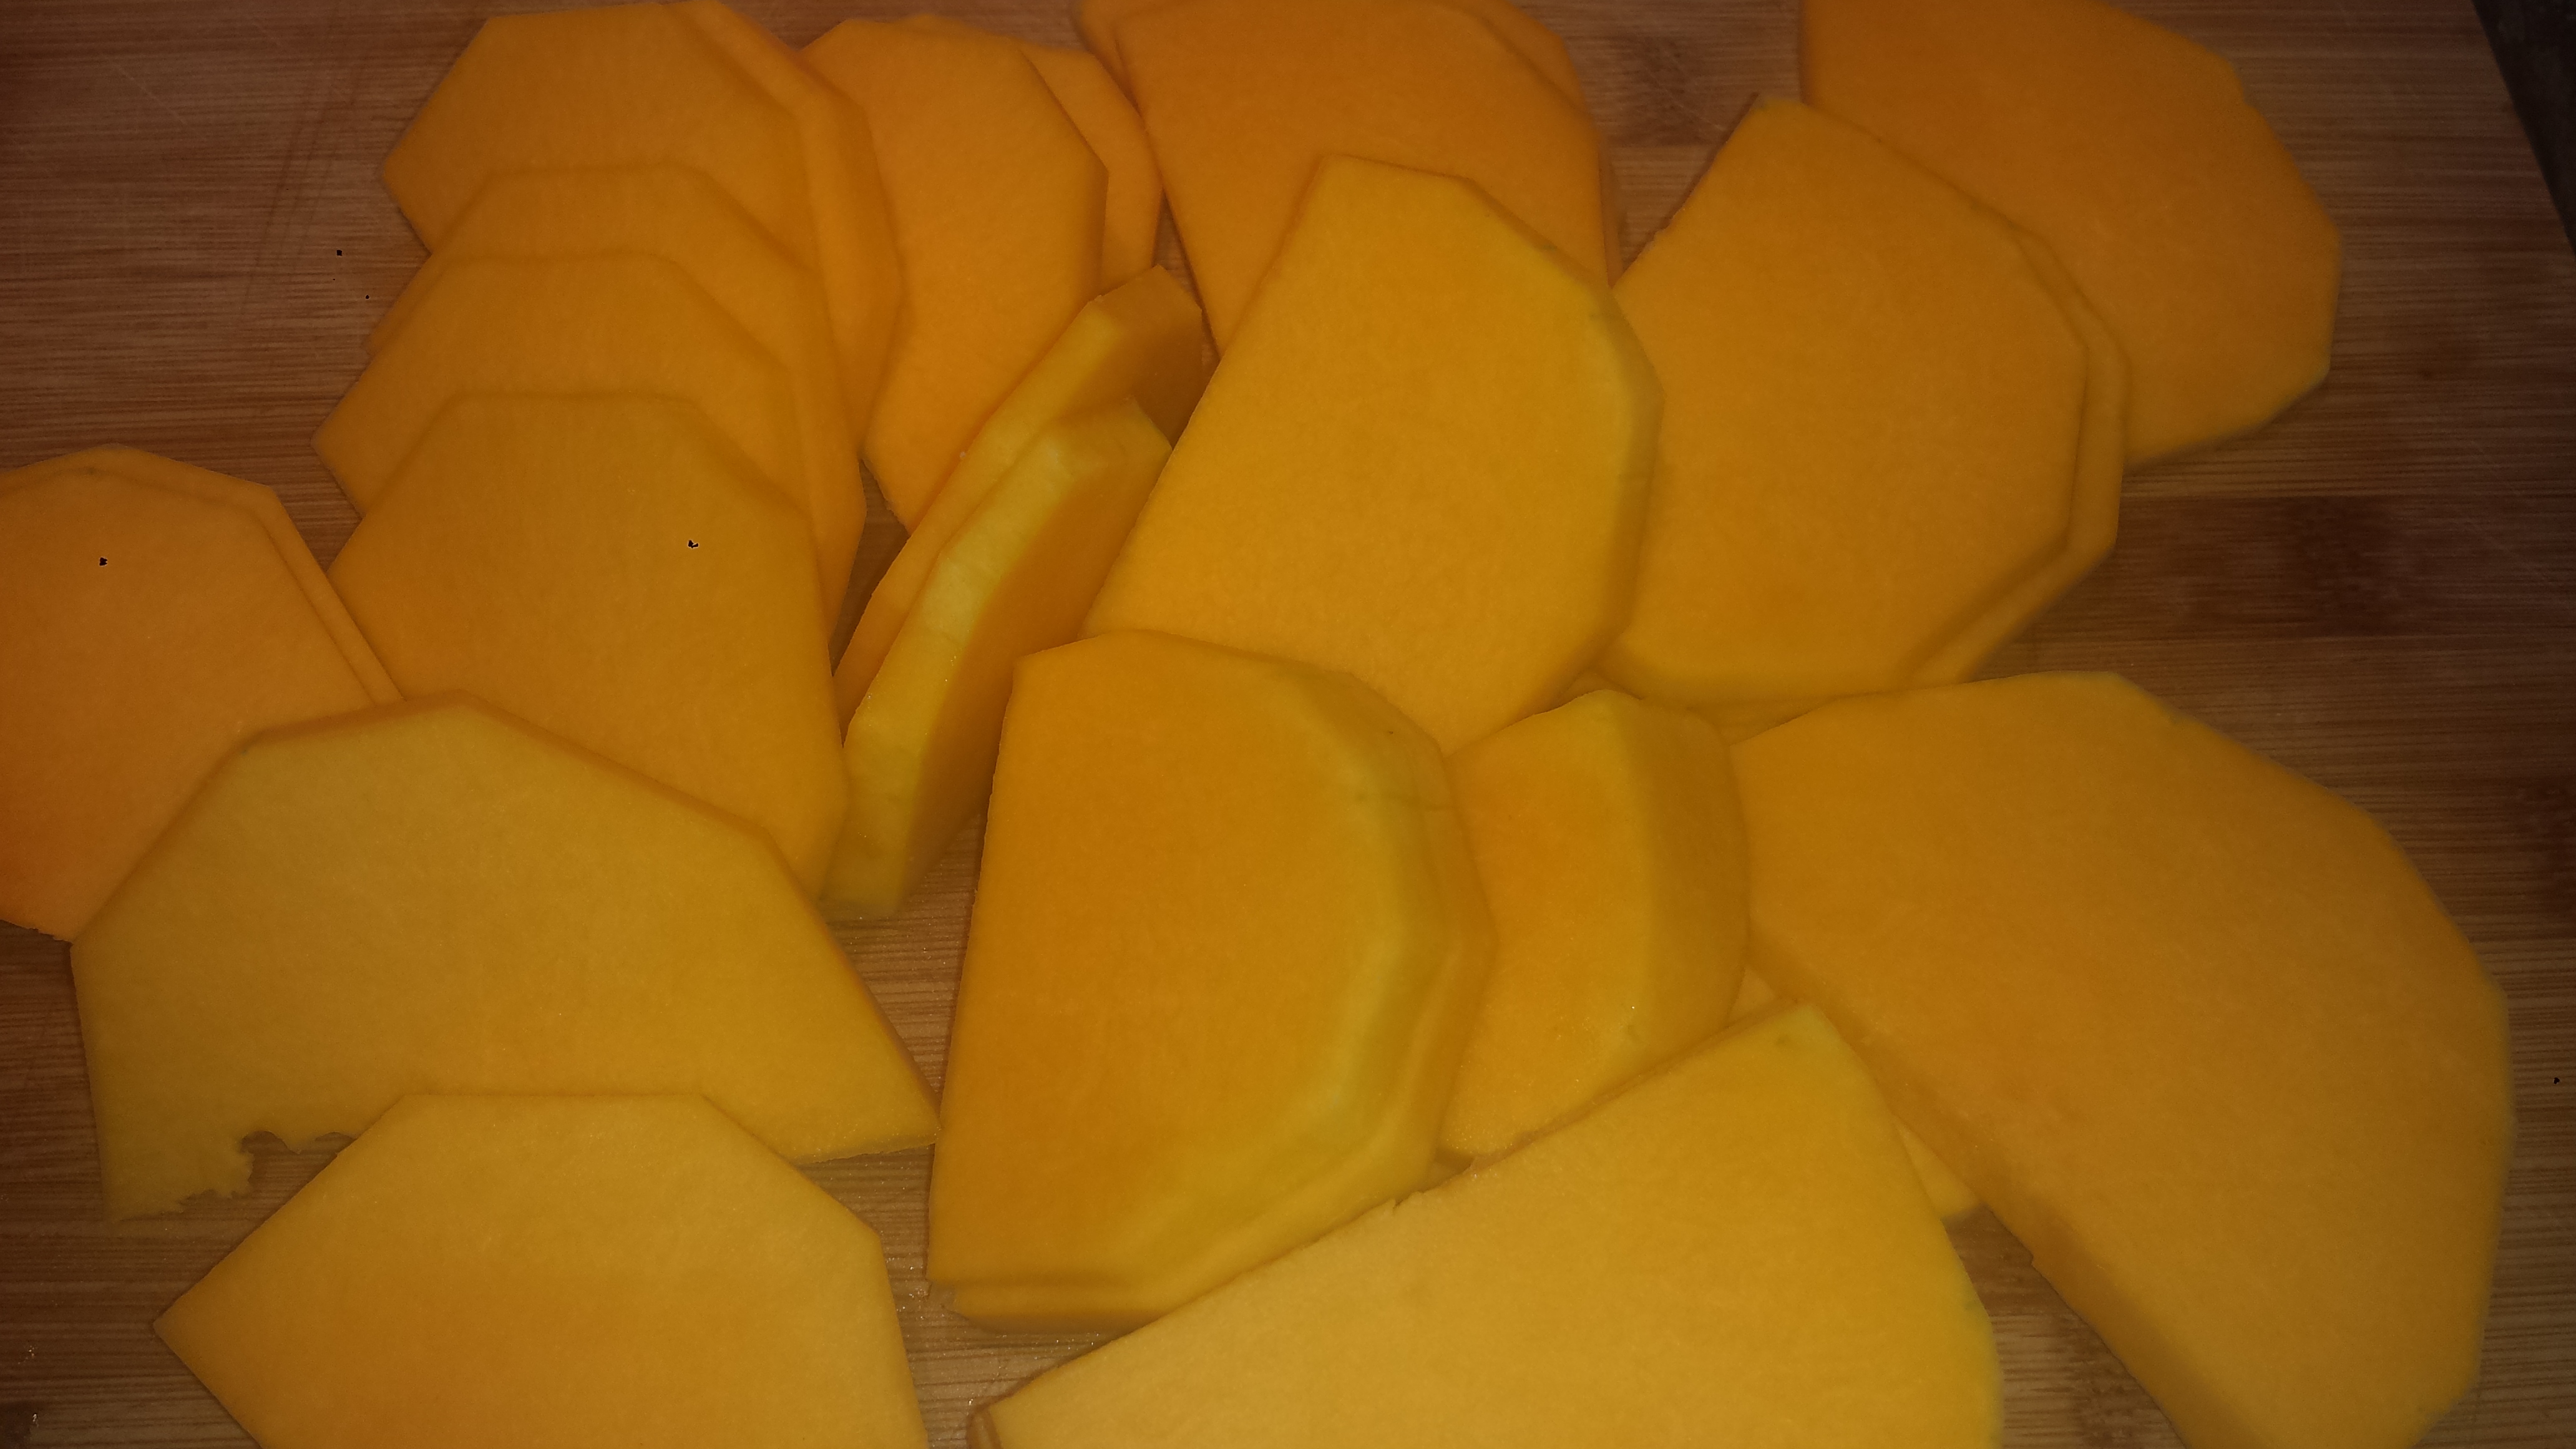
- Cut squash in half, remove seeds, peel and slice crosswise.

- In the baking dish, fold in squash, apple, parmesan, flour and leek mixture. (For an even distribution you can sprinkle the squash with the flour before folding). Add salt and pepper if necessary. Veggies should not be dry. Add a bit more broth if necessary.

- Spread the topping evenly to cover and bake for 45 minutes to an hour, or until the top is golden brown. If the top is browning too fast, cover with aluminum foil.
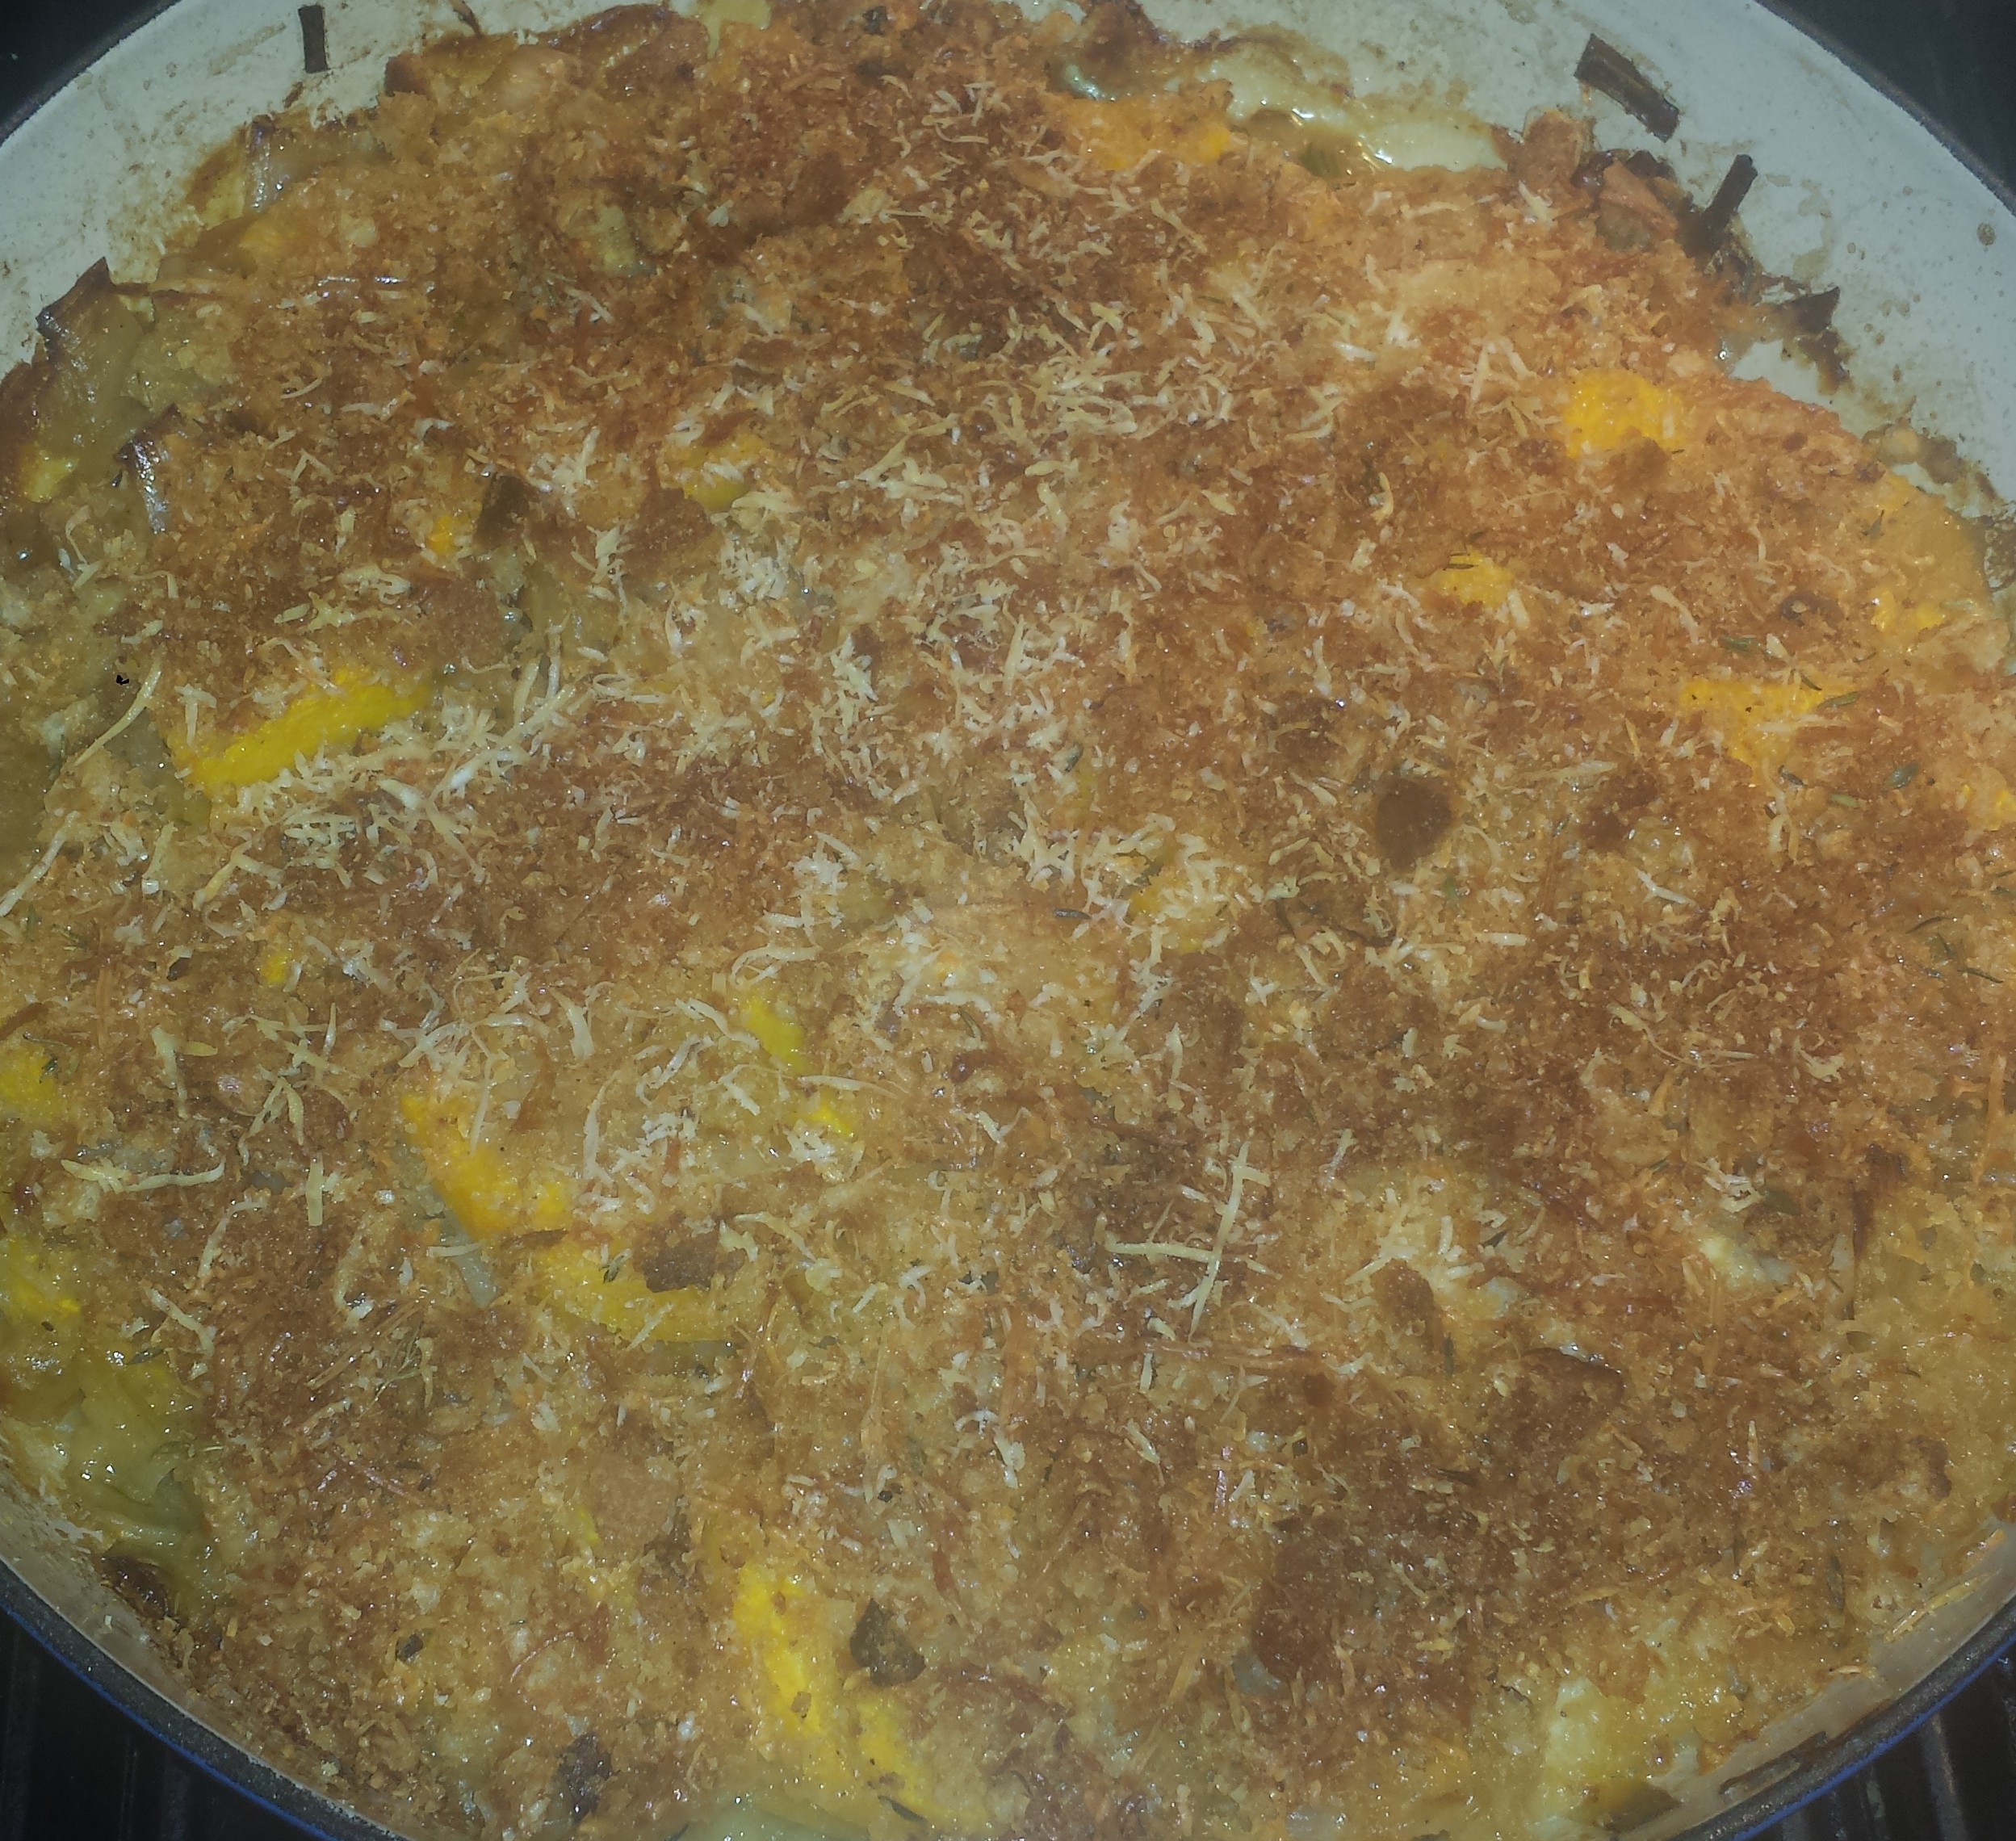
- Remove from oven and let rest for 10 minutes before serving.

Topping: Filling:Butternut Squash, Leek and Apple Gratin
2 Tbsn butter, melted
1 cup coarse dry breadcrumb
1/2 cup shredded sharp Cheddar Cheese
1/2 cup Shredded parmesan
1 tsp fresh thyme leaves
salt and pepper to taste
1 tablespoon Olive Oil
2 Tbsn butter
4-5 cloves garlic, minced
2 leeks
1/3 cup white wine
2 tsp fresh thype (or 1 tsp dried)
2 cups vegetable broth
2 Tbsn all purpose flour
1 apple
1 medium butternut squash (or 3-4 cups sliced or chopped)
1/2 shredded parmesan