
What is the Vegetarian Times most popular recipe of all time? Drumroll please… Quinoa Stuffed Peppers! Who knew the humble stuffed pepper would get such high honors? I decided to give the recipe a whirl in honor of VT’s 40th anniversary this month. With those bragging rights, how could I go wrong?
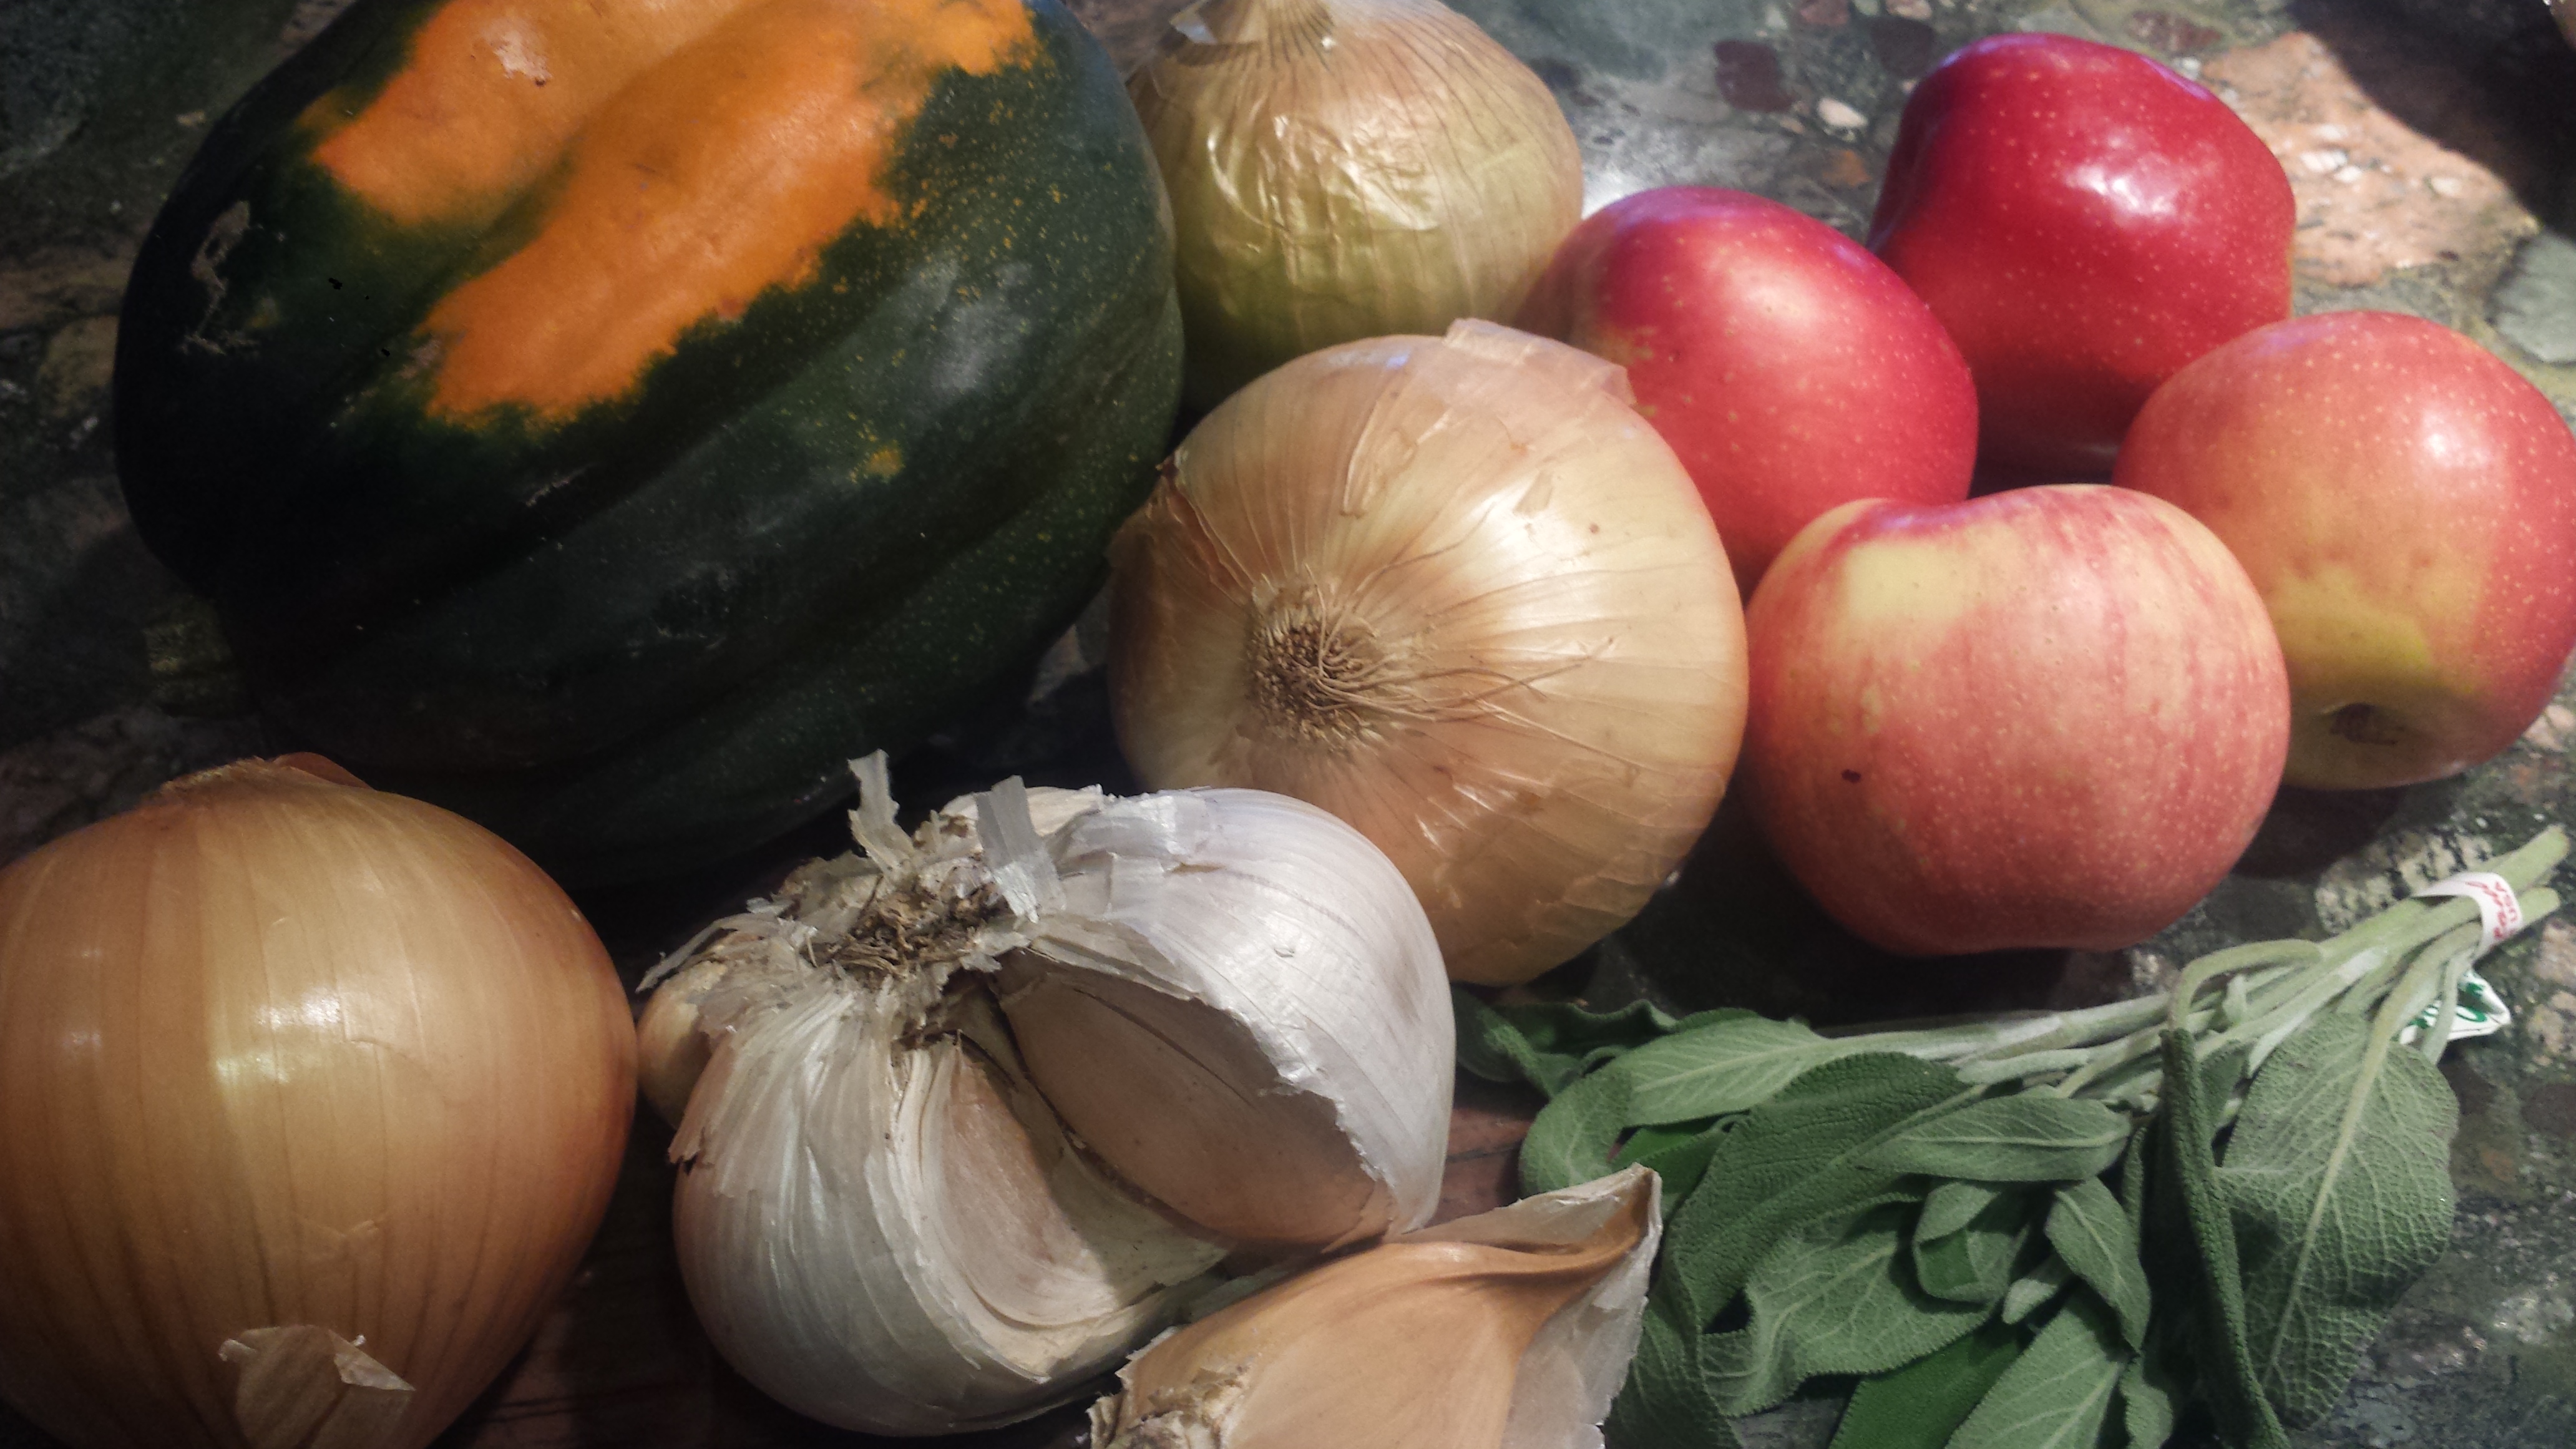
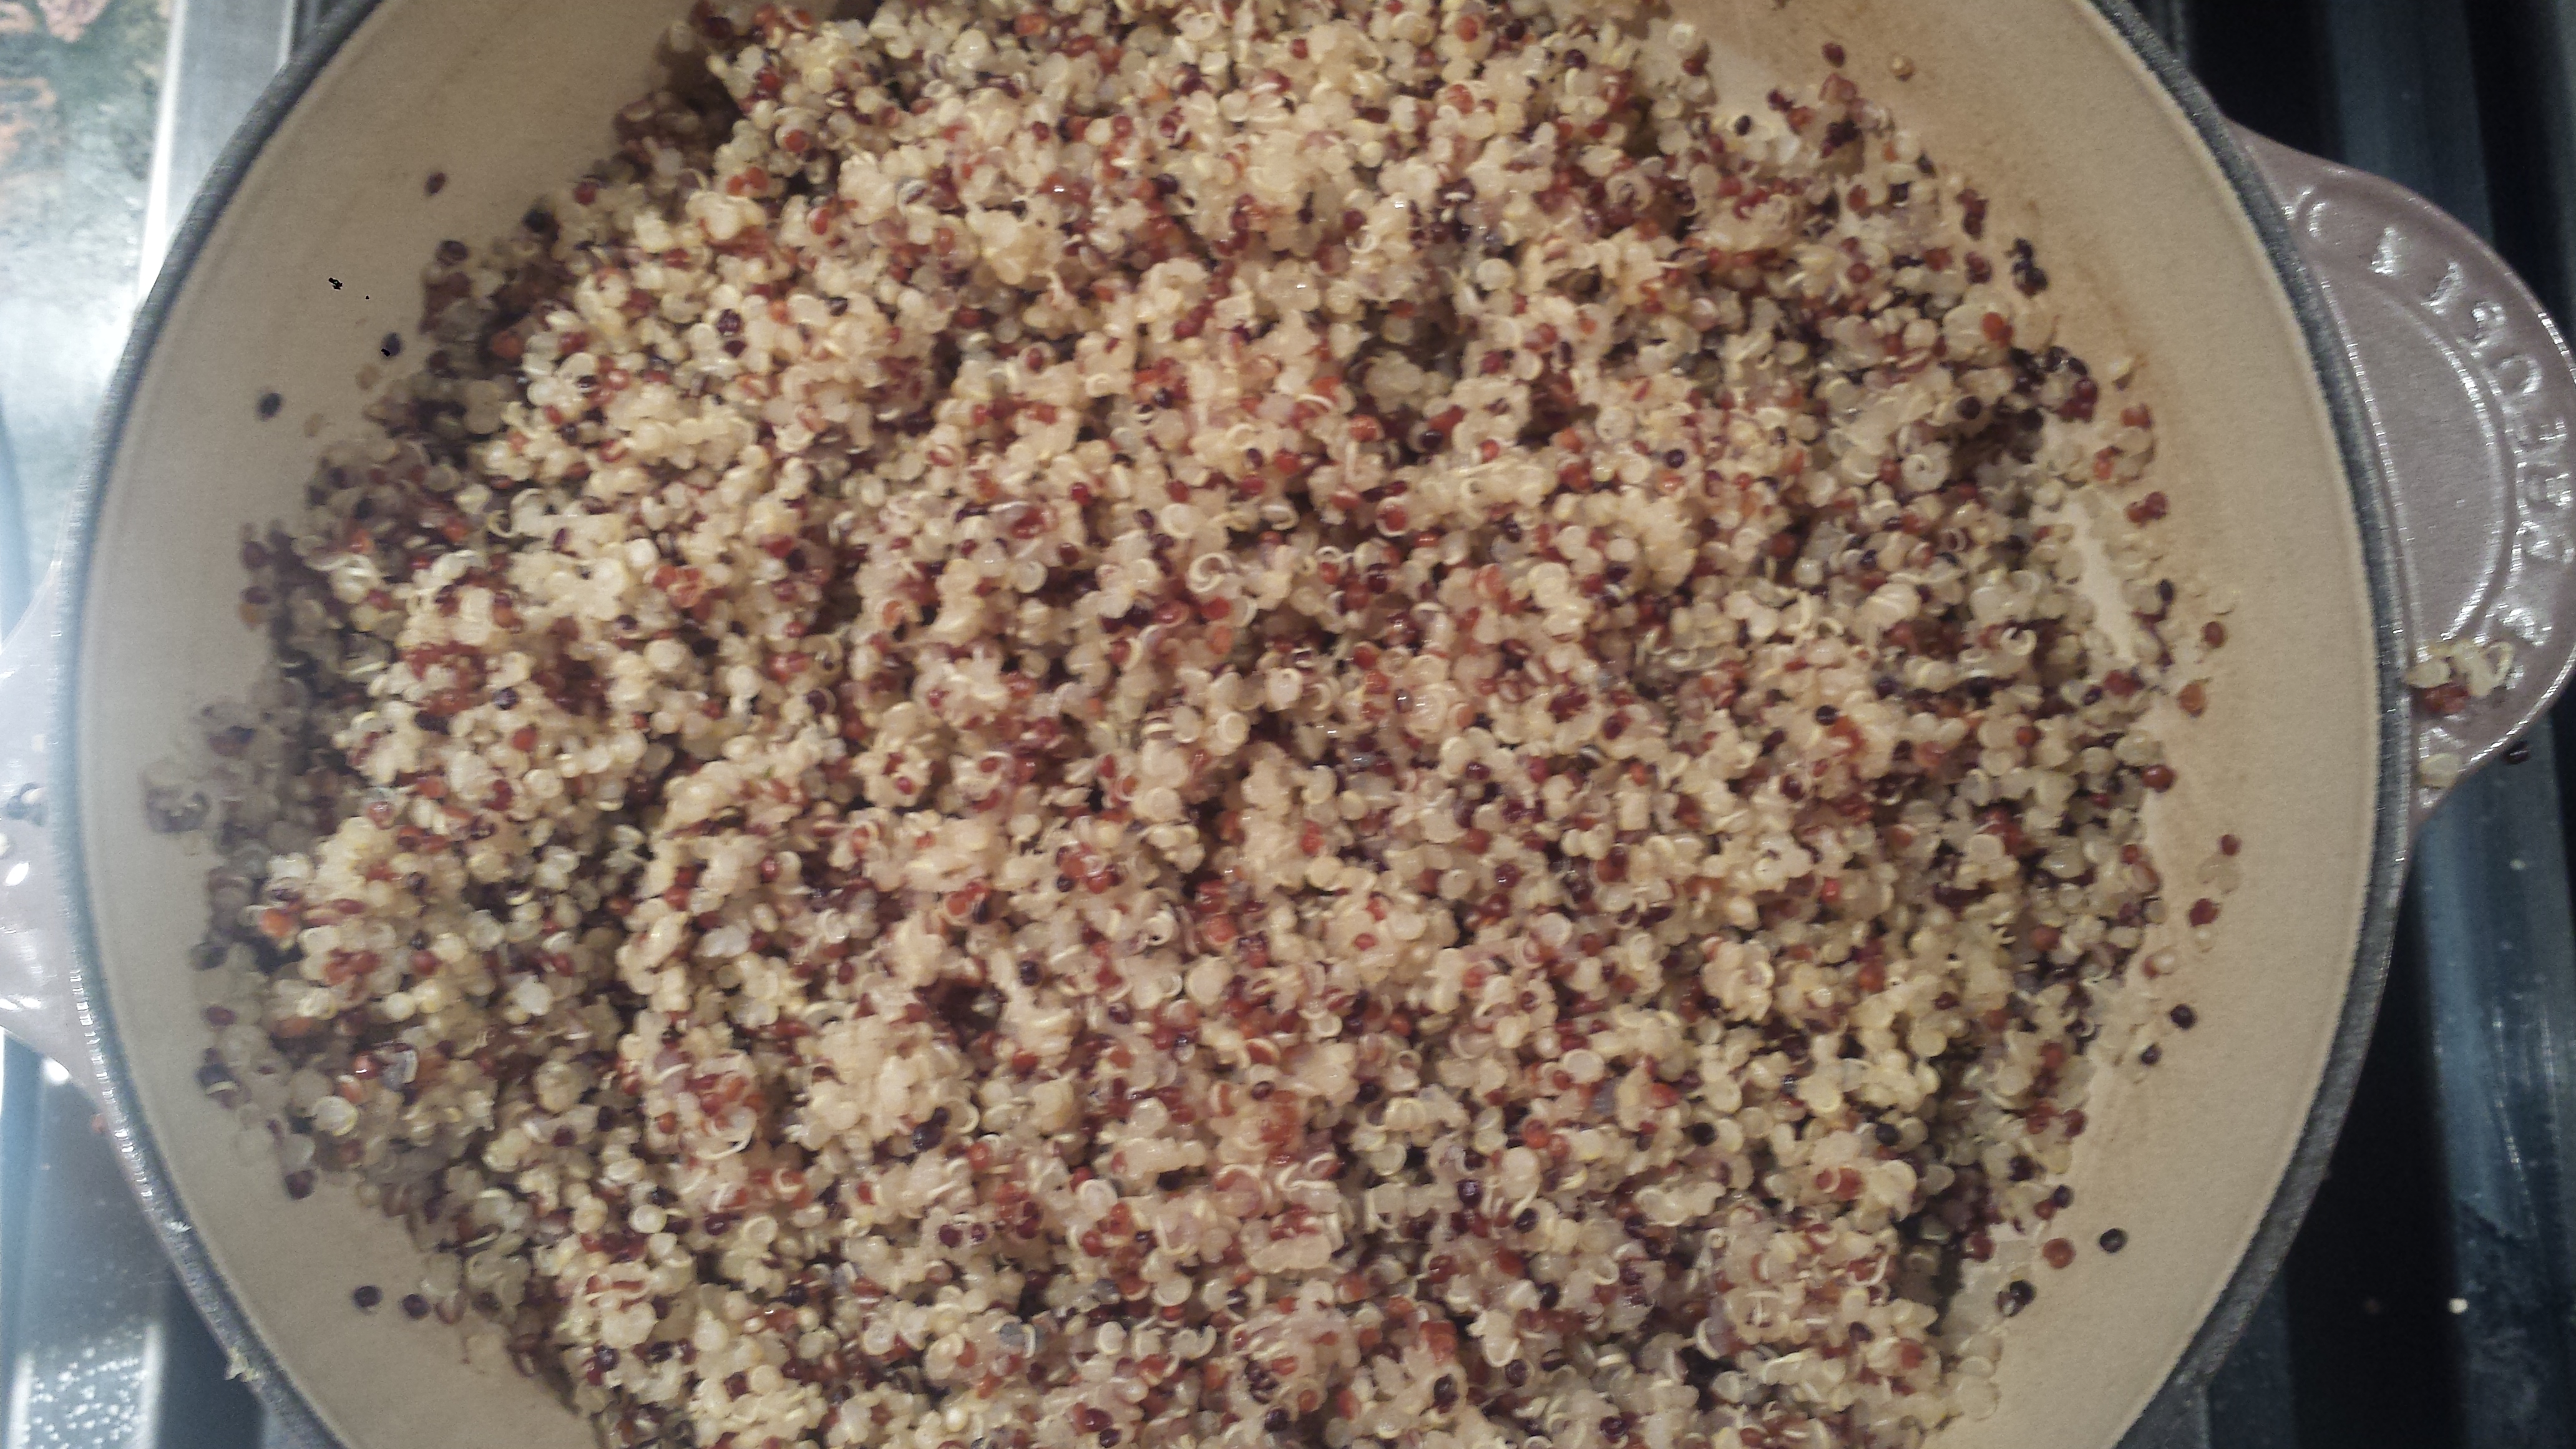
My Mom used to make stuffed green peppers with a tasty mixture of ground beef, onions and rice. Of course as a kid, I used to eat around the green pepper like it was a bowl. Now, of course, the pepper is my favorite part. I have also stuffed bell peppers with spicy sausage and other savory goodies but this is my first attempt at a vegetarian stuffed pepper. I would probably not thought to have put these specific ingredients together but they really do work well together and they combine to pack a huge nutritional punch at a low calorie and low fat cost. If you haven’t tried cooking with quinoa yet, don’t be shy. There is a reason it’s everywhere so popular. Quinoa is very easy to prepare and it’s nutrient rich, one of the only grains considered a complete protein source. In this recipe, the quinoa and black beans provide a large amount of protein and nutrients and the multiple veggies, spinach, celery, tomatoes, carrots and peppers, add even more vitamins, minerals and fiber. The cumin, garlic and pepper jack cheese infuse the quinoa mixture with a flavorful, slightly spicy deliciousness. Yum! I can see why this is a fan favorite! Congratulations Vegetarian Times on 40 years of promoting a health-conscious, eco-friendly and delicious lifestyle!

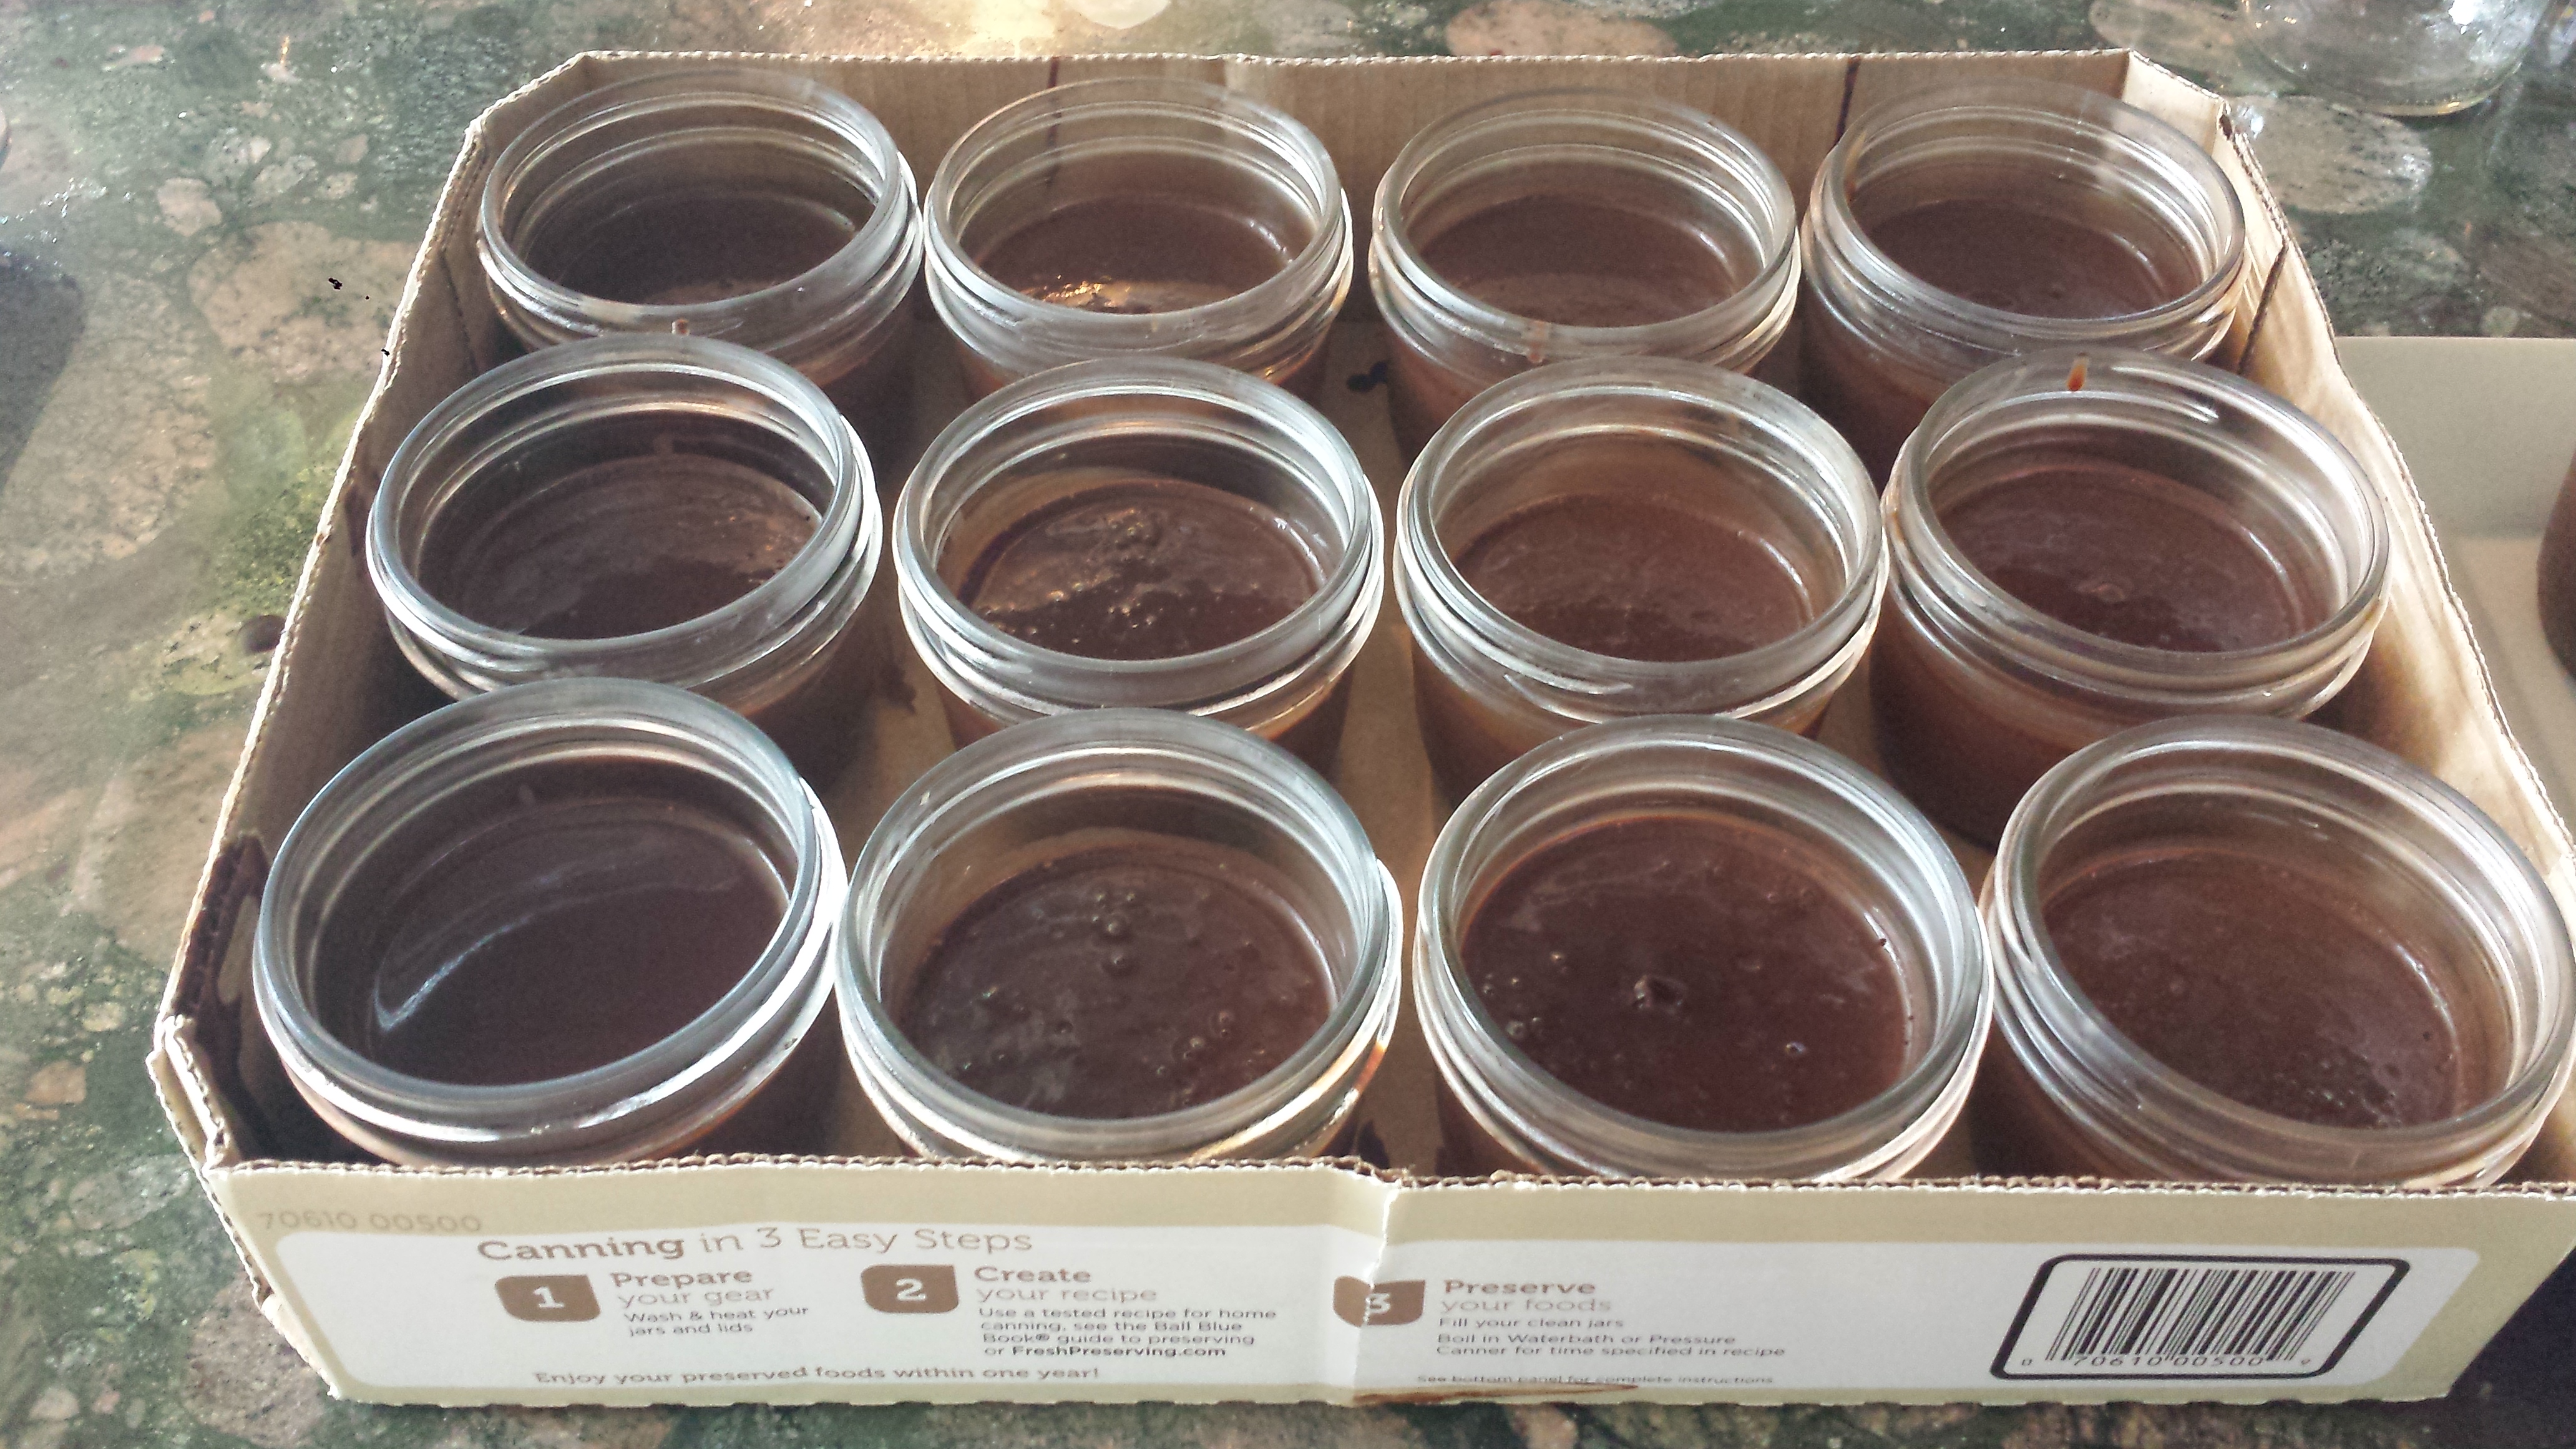
TIPS: Don’t forget to rinse the quinoa before cooking to remove the naturally occurring bitter saponins sometimes still remaining. This recipe provides fairly healthy proportions. (I had some quinoa mixture left over even after stuffing 8 bell pepper halves) Leftovers freeze well and, if you package the peppers separately, make wonderful and convenient individual servings right from your freezer. Or you could easily halve the recipe to serve four (2 bell peppers) or possibly a couple more if there is extra stuffing. I doubled up the cumin and the garlic for extra flavor and because I’m a cumin freak. Otherwise I followed the recipe with great results.
QUINOA STUFFED PEPPERS
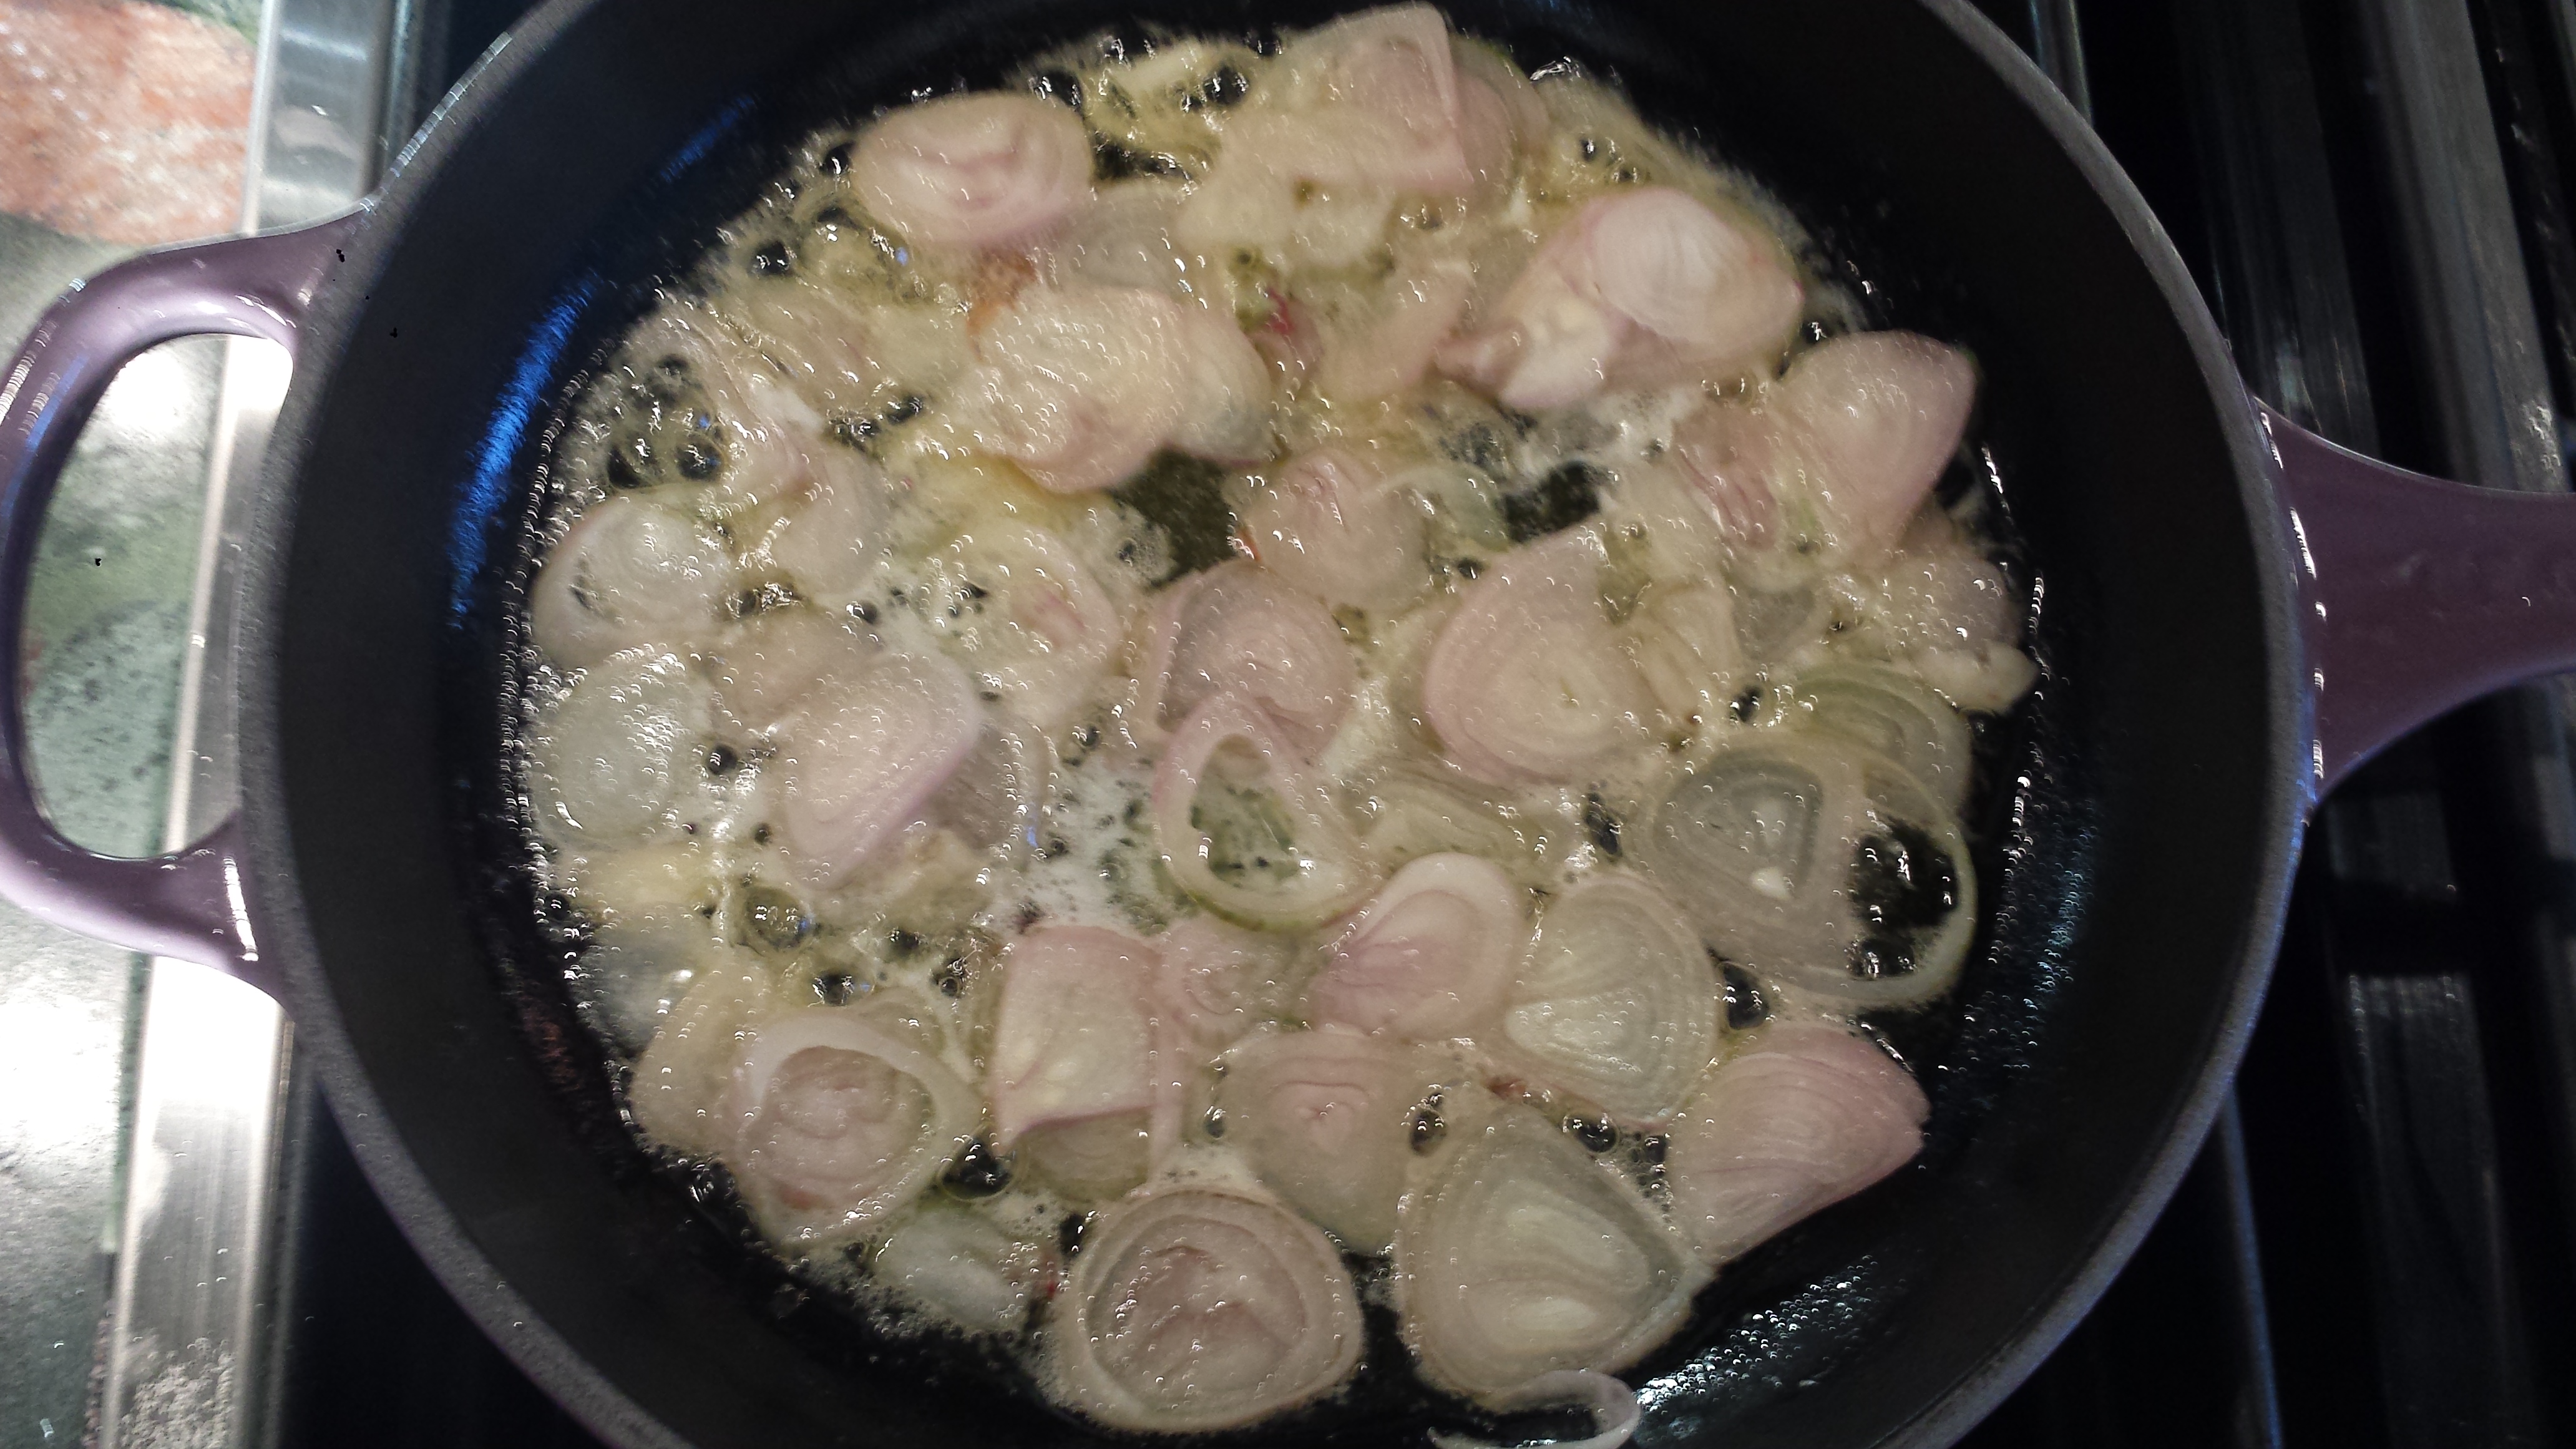
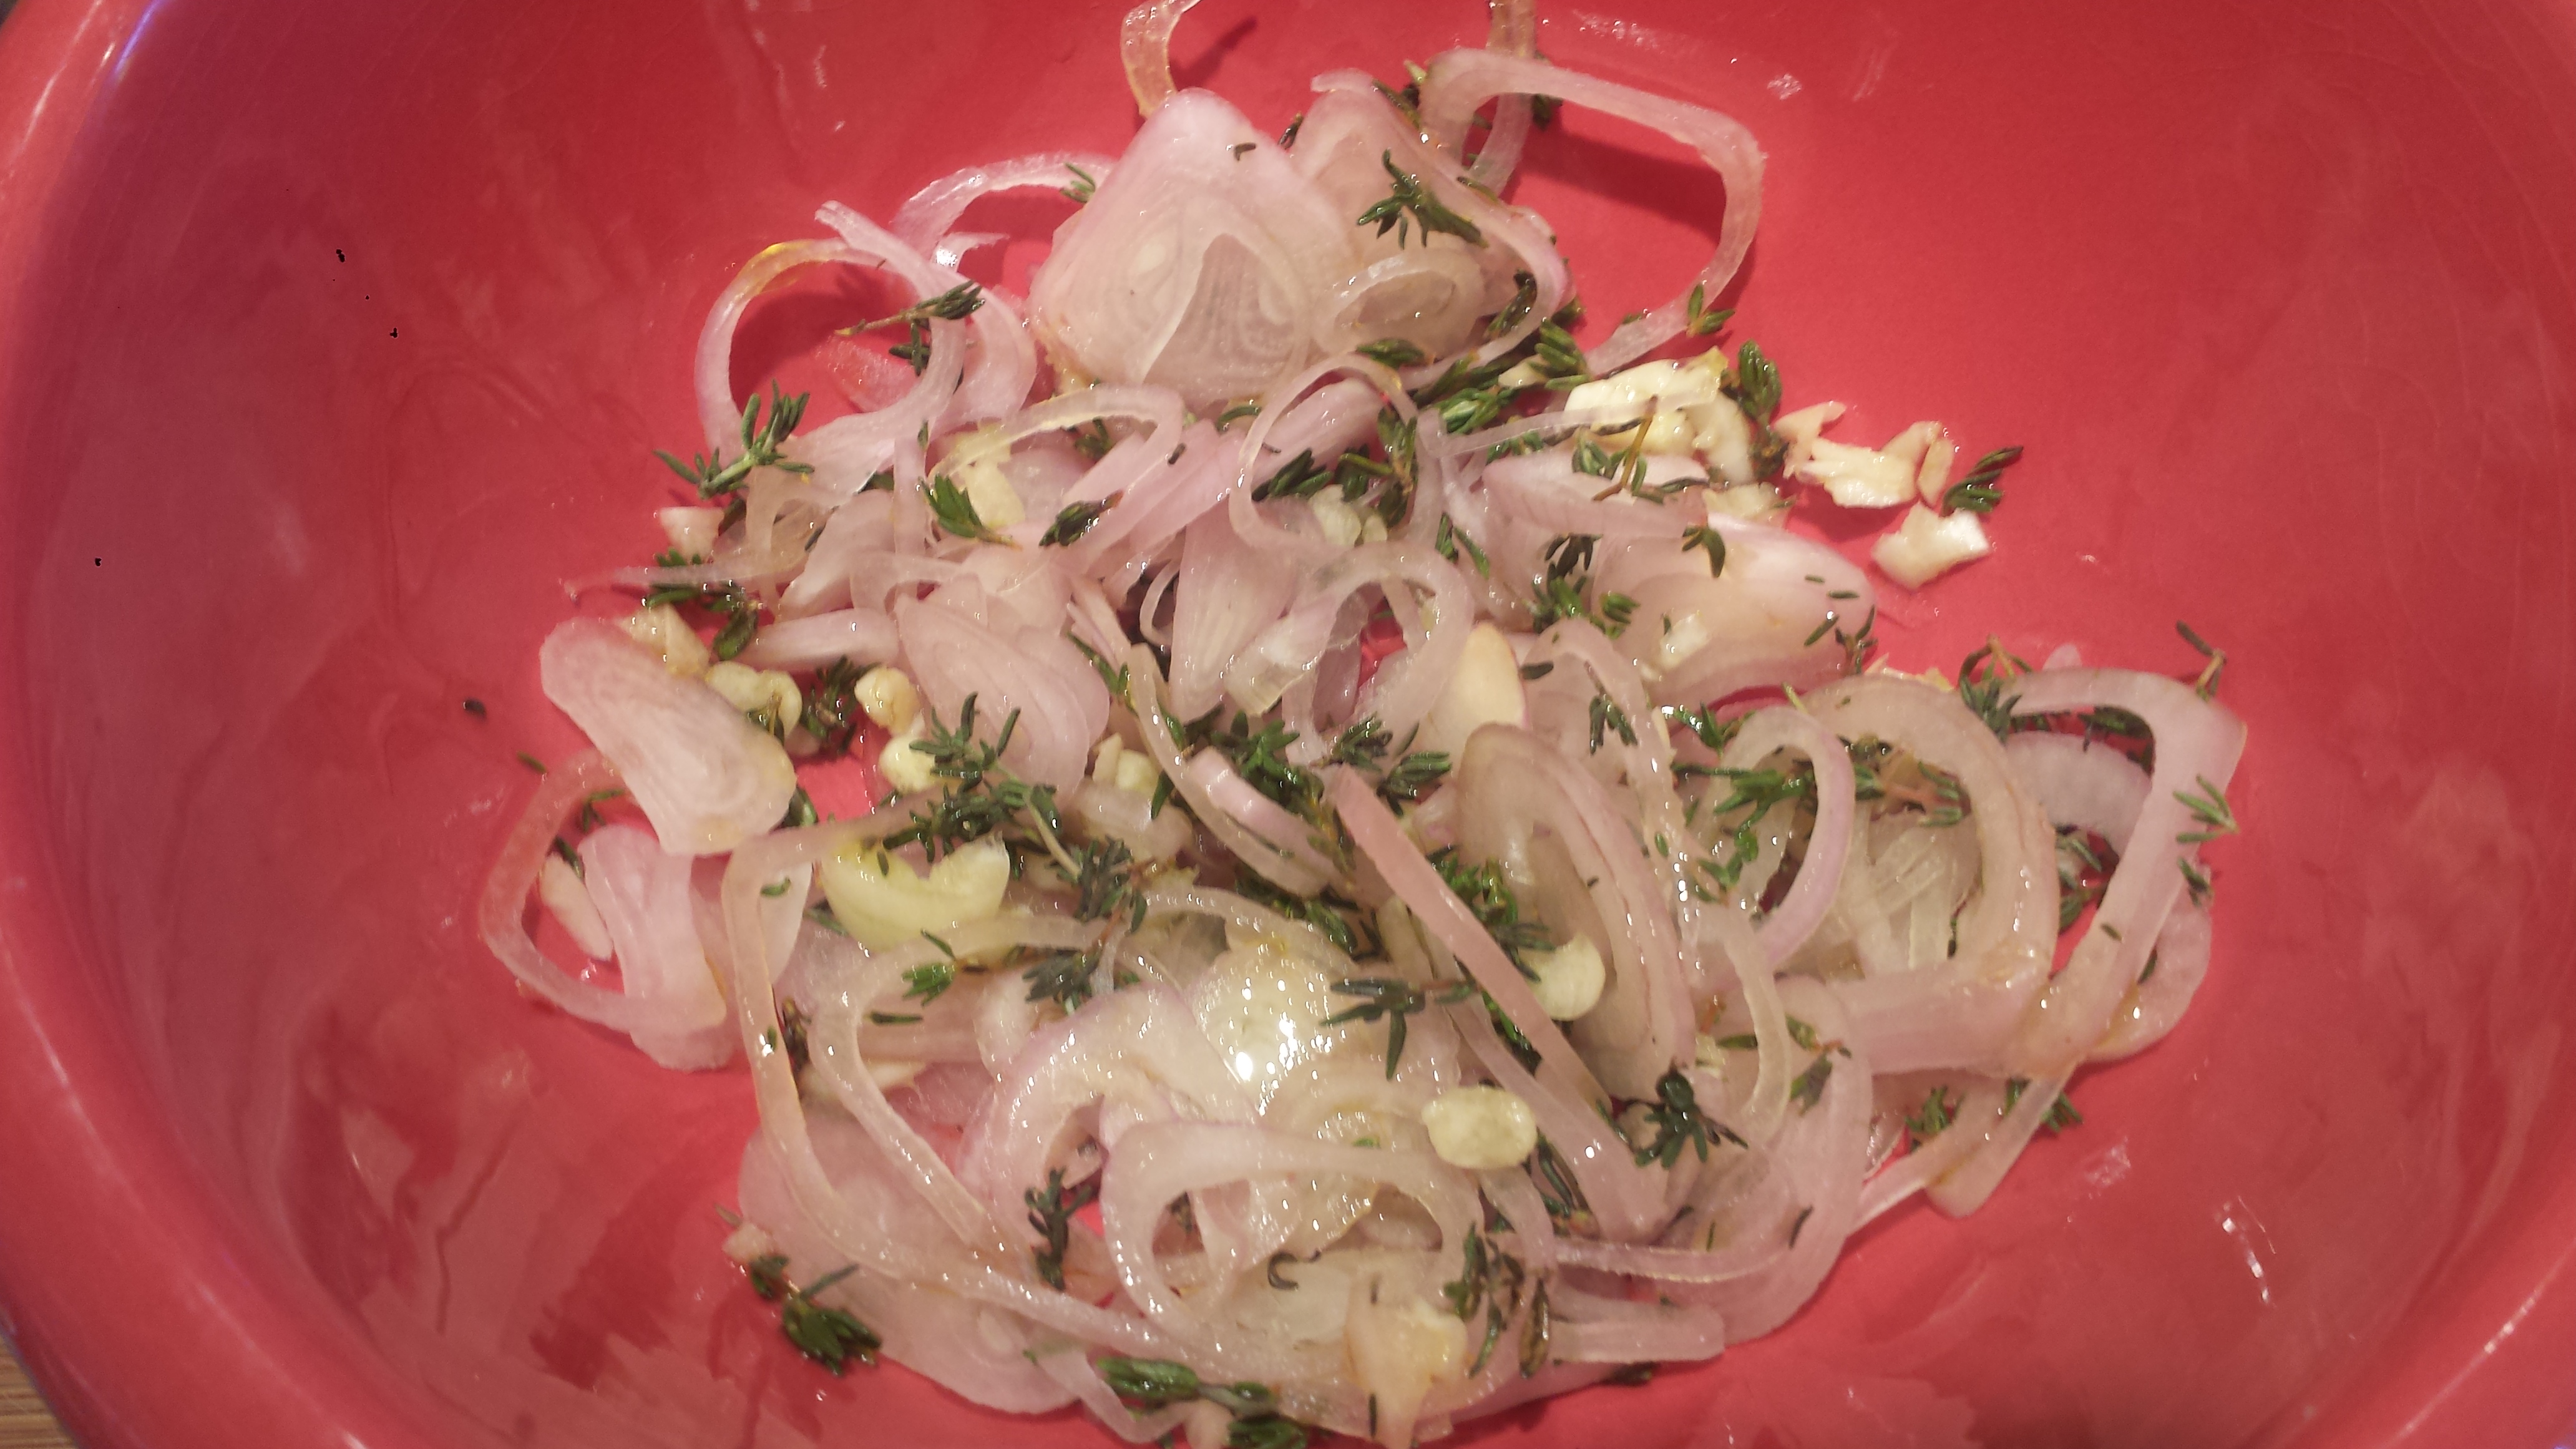
1 medium onion, finely chopped (1 cup)
2 Tbs. olive oil
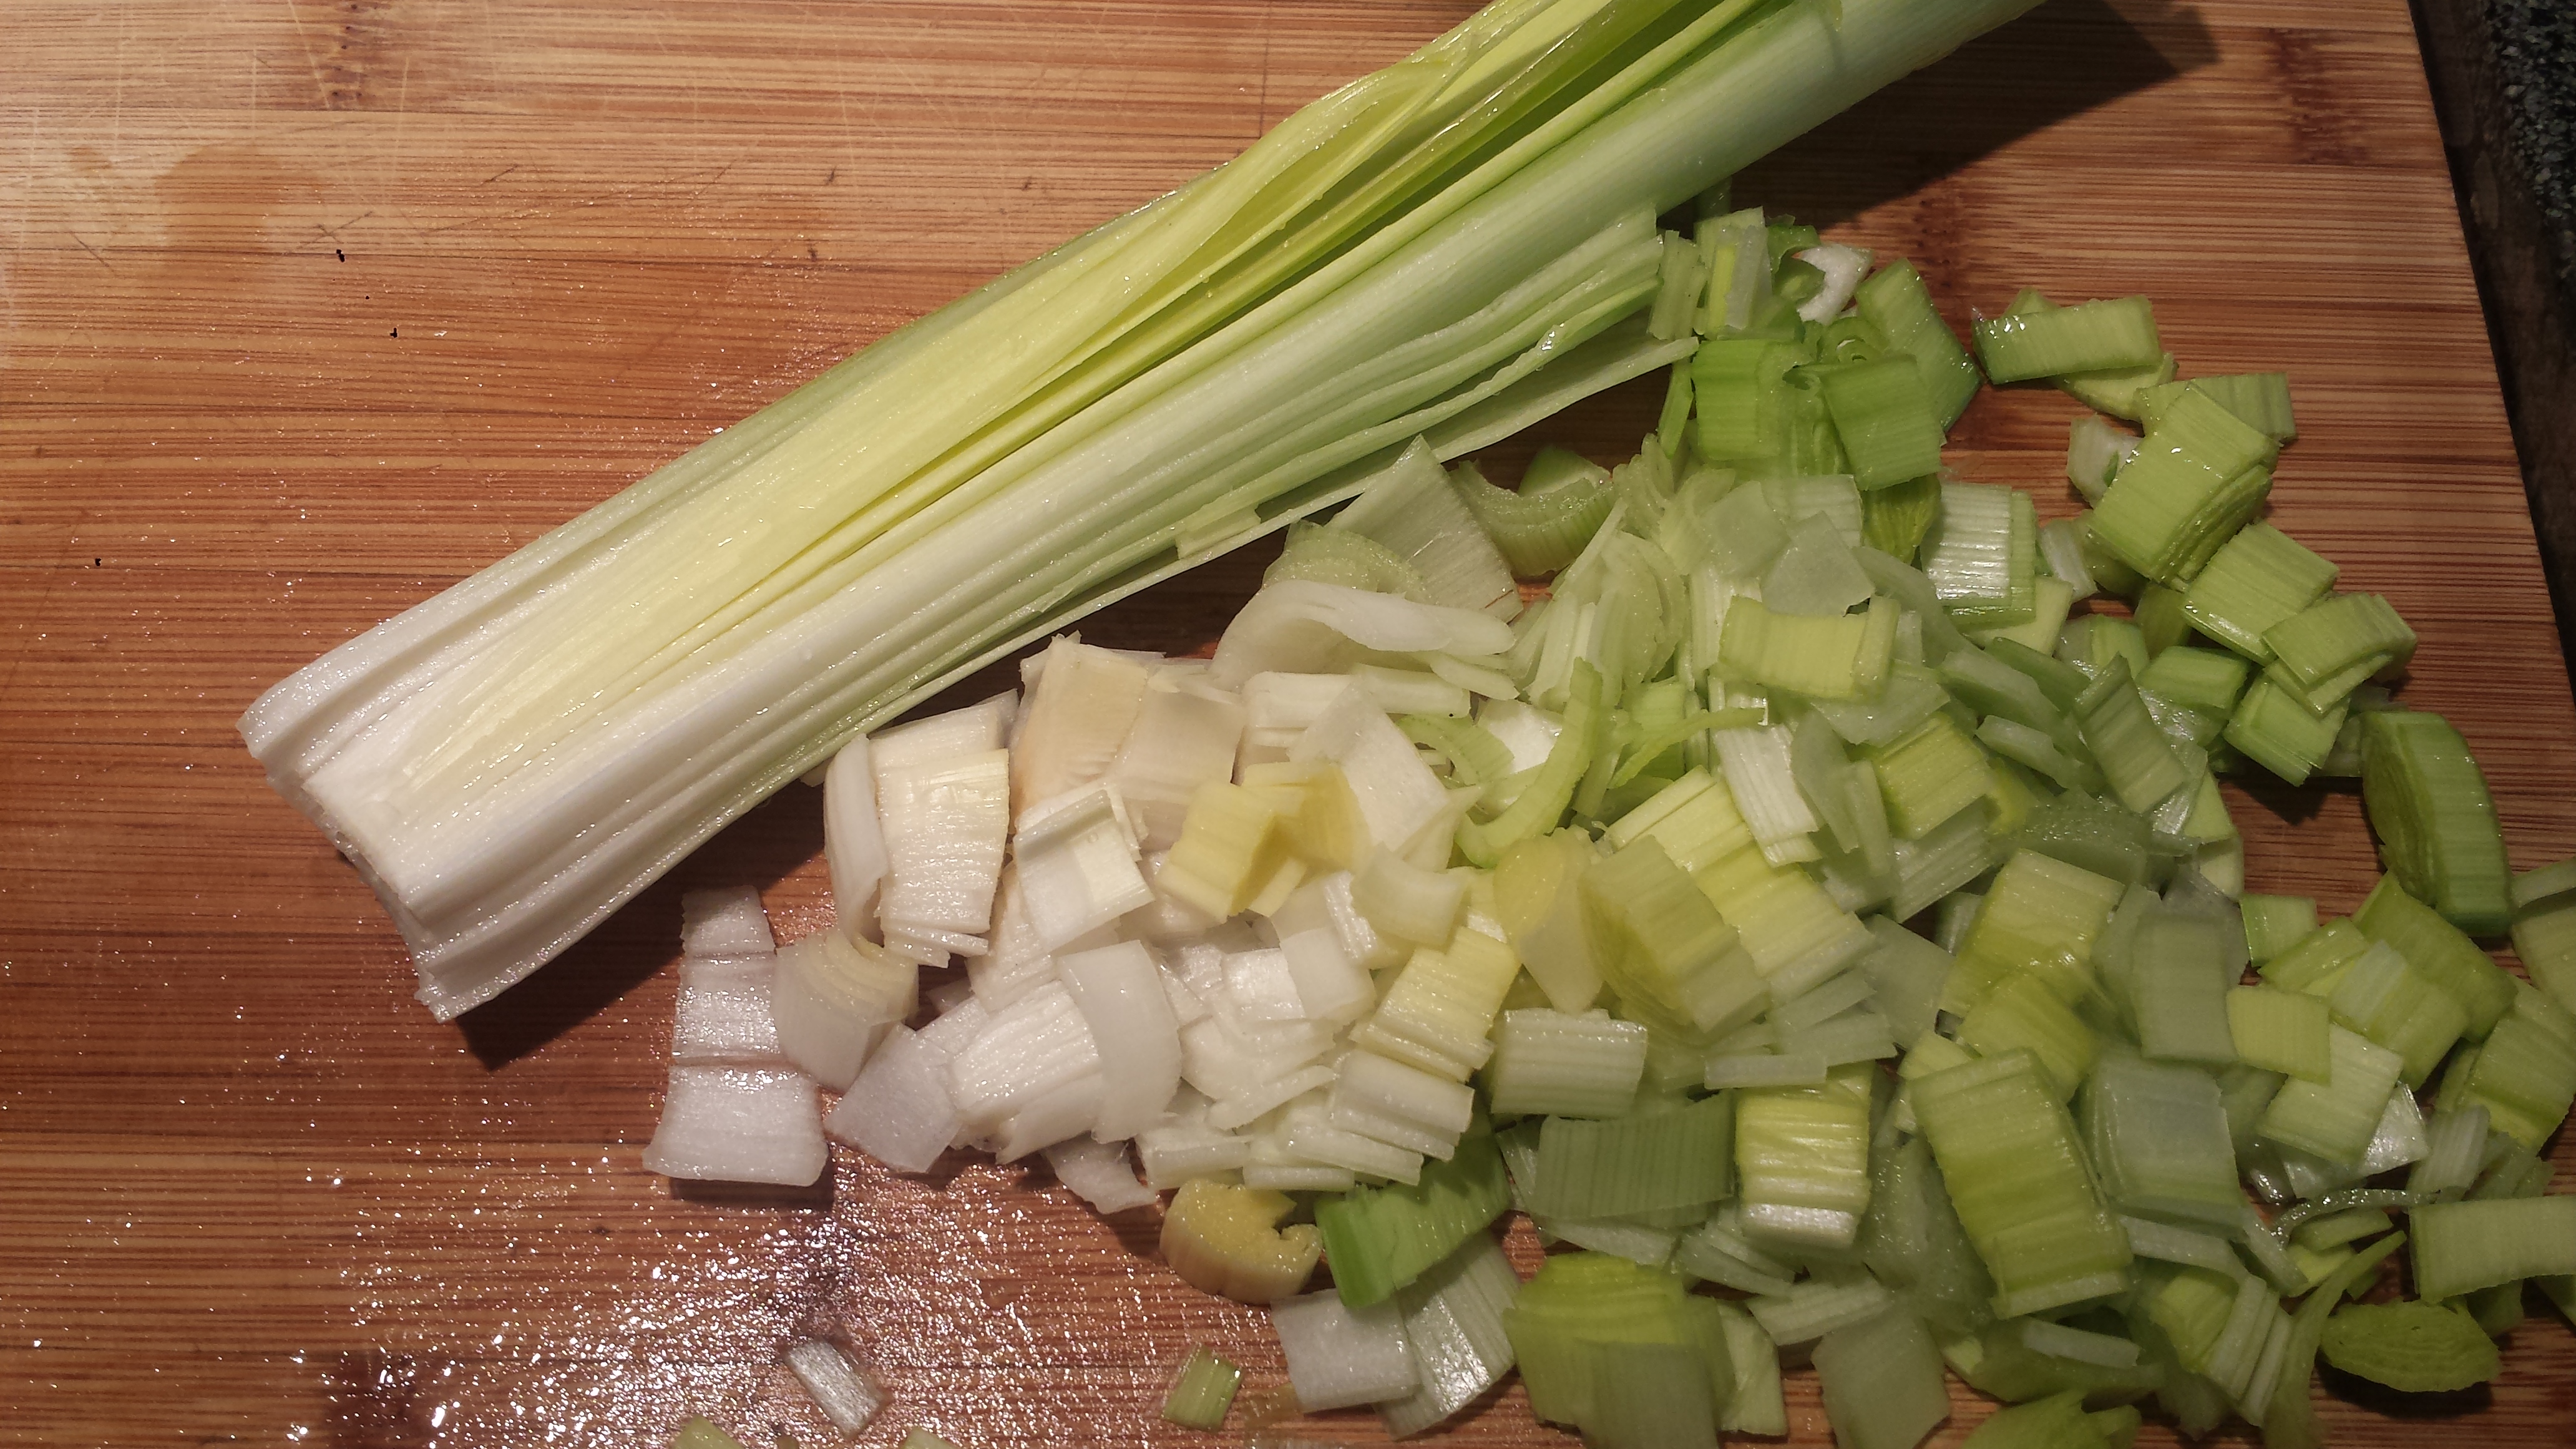
2 ribs celery, finely chopped (½ cup)
1 Tbs. ground cumin (or more to taste)
2 cloves garlic, minced (2 tsp. or more to taste)
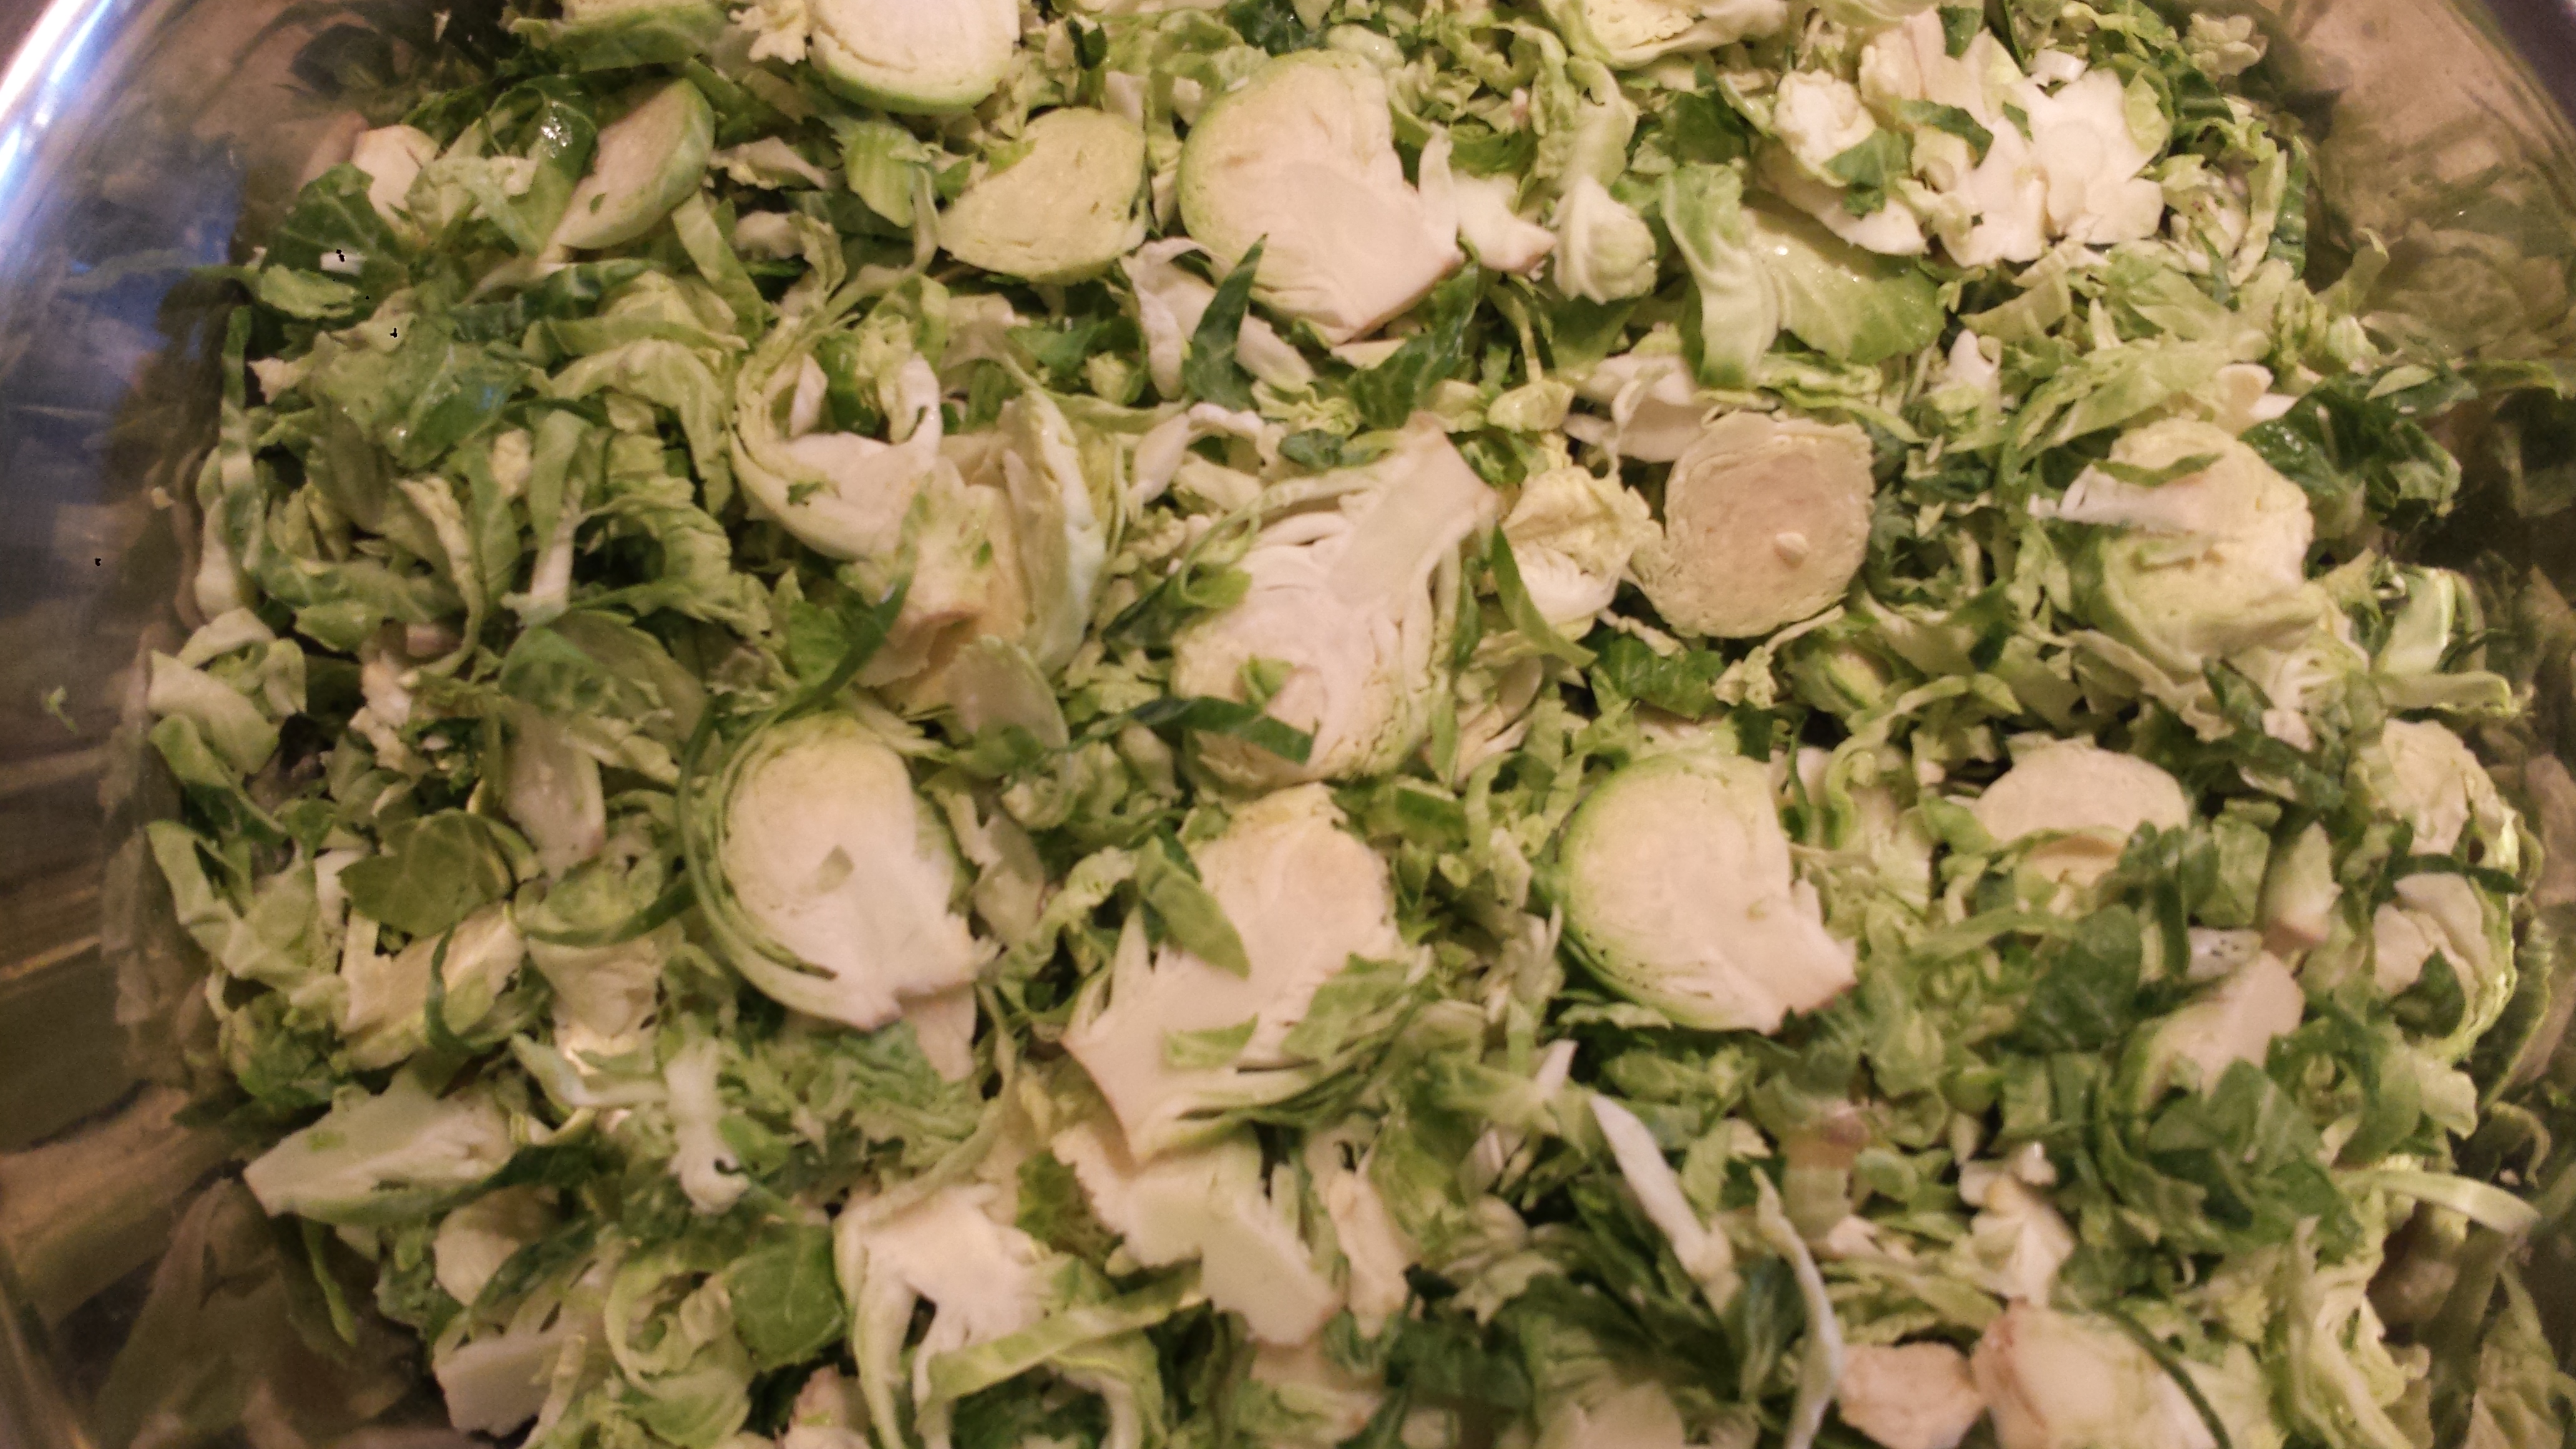
1 10-oz. pkg. frozen chopped spinach, thawed and squeezed dry
2 15-oz. cans diced tomatoes, drained, liquid reserved
1 15-oz. can black beans, rinsed and drained
¾ cup quinoa, rinsed and drained
3 large carrots, grated (1½ cups)
1½ cups grated reduced-fat pepper Jack cheese, divided
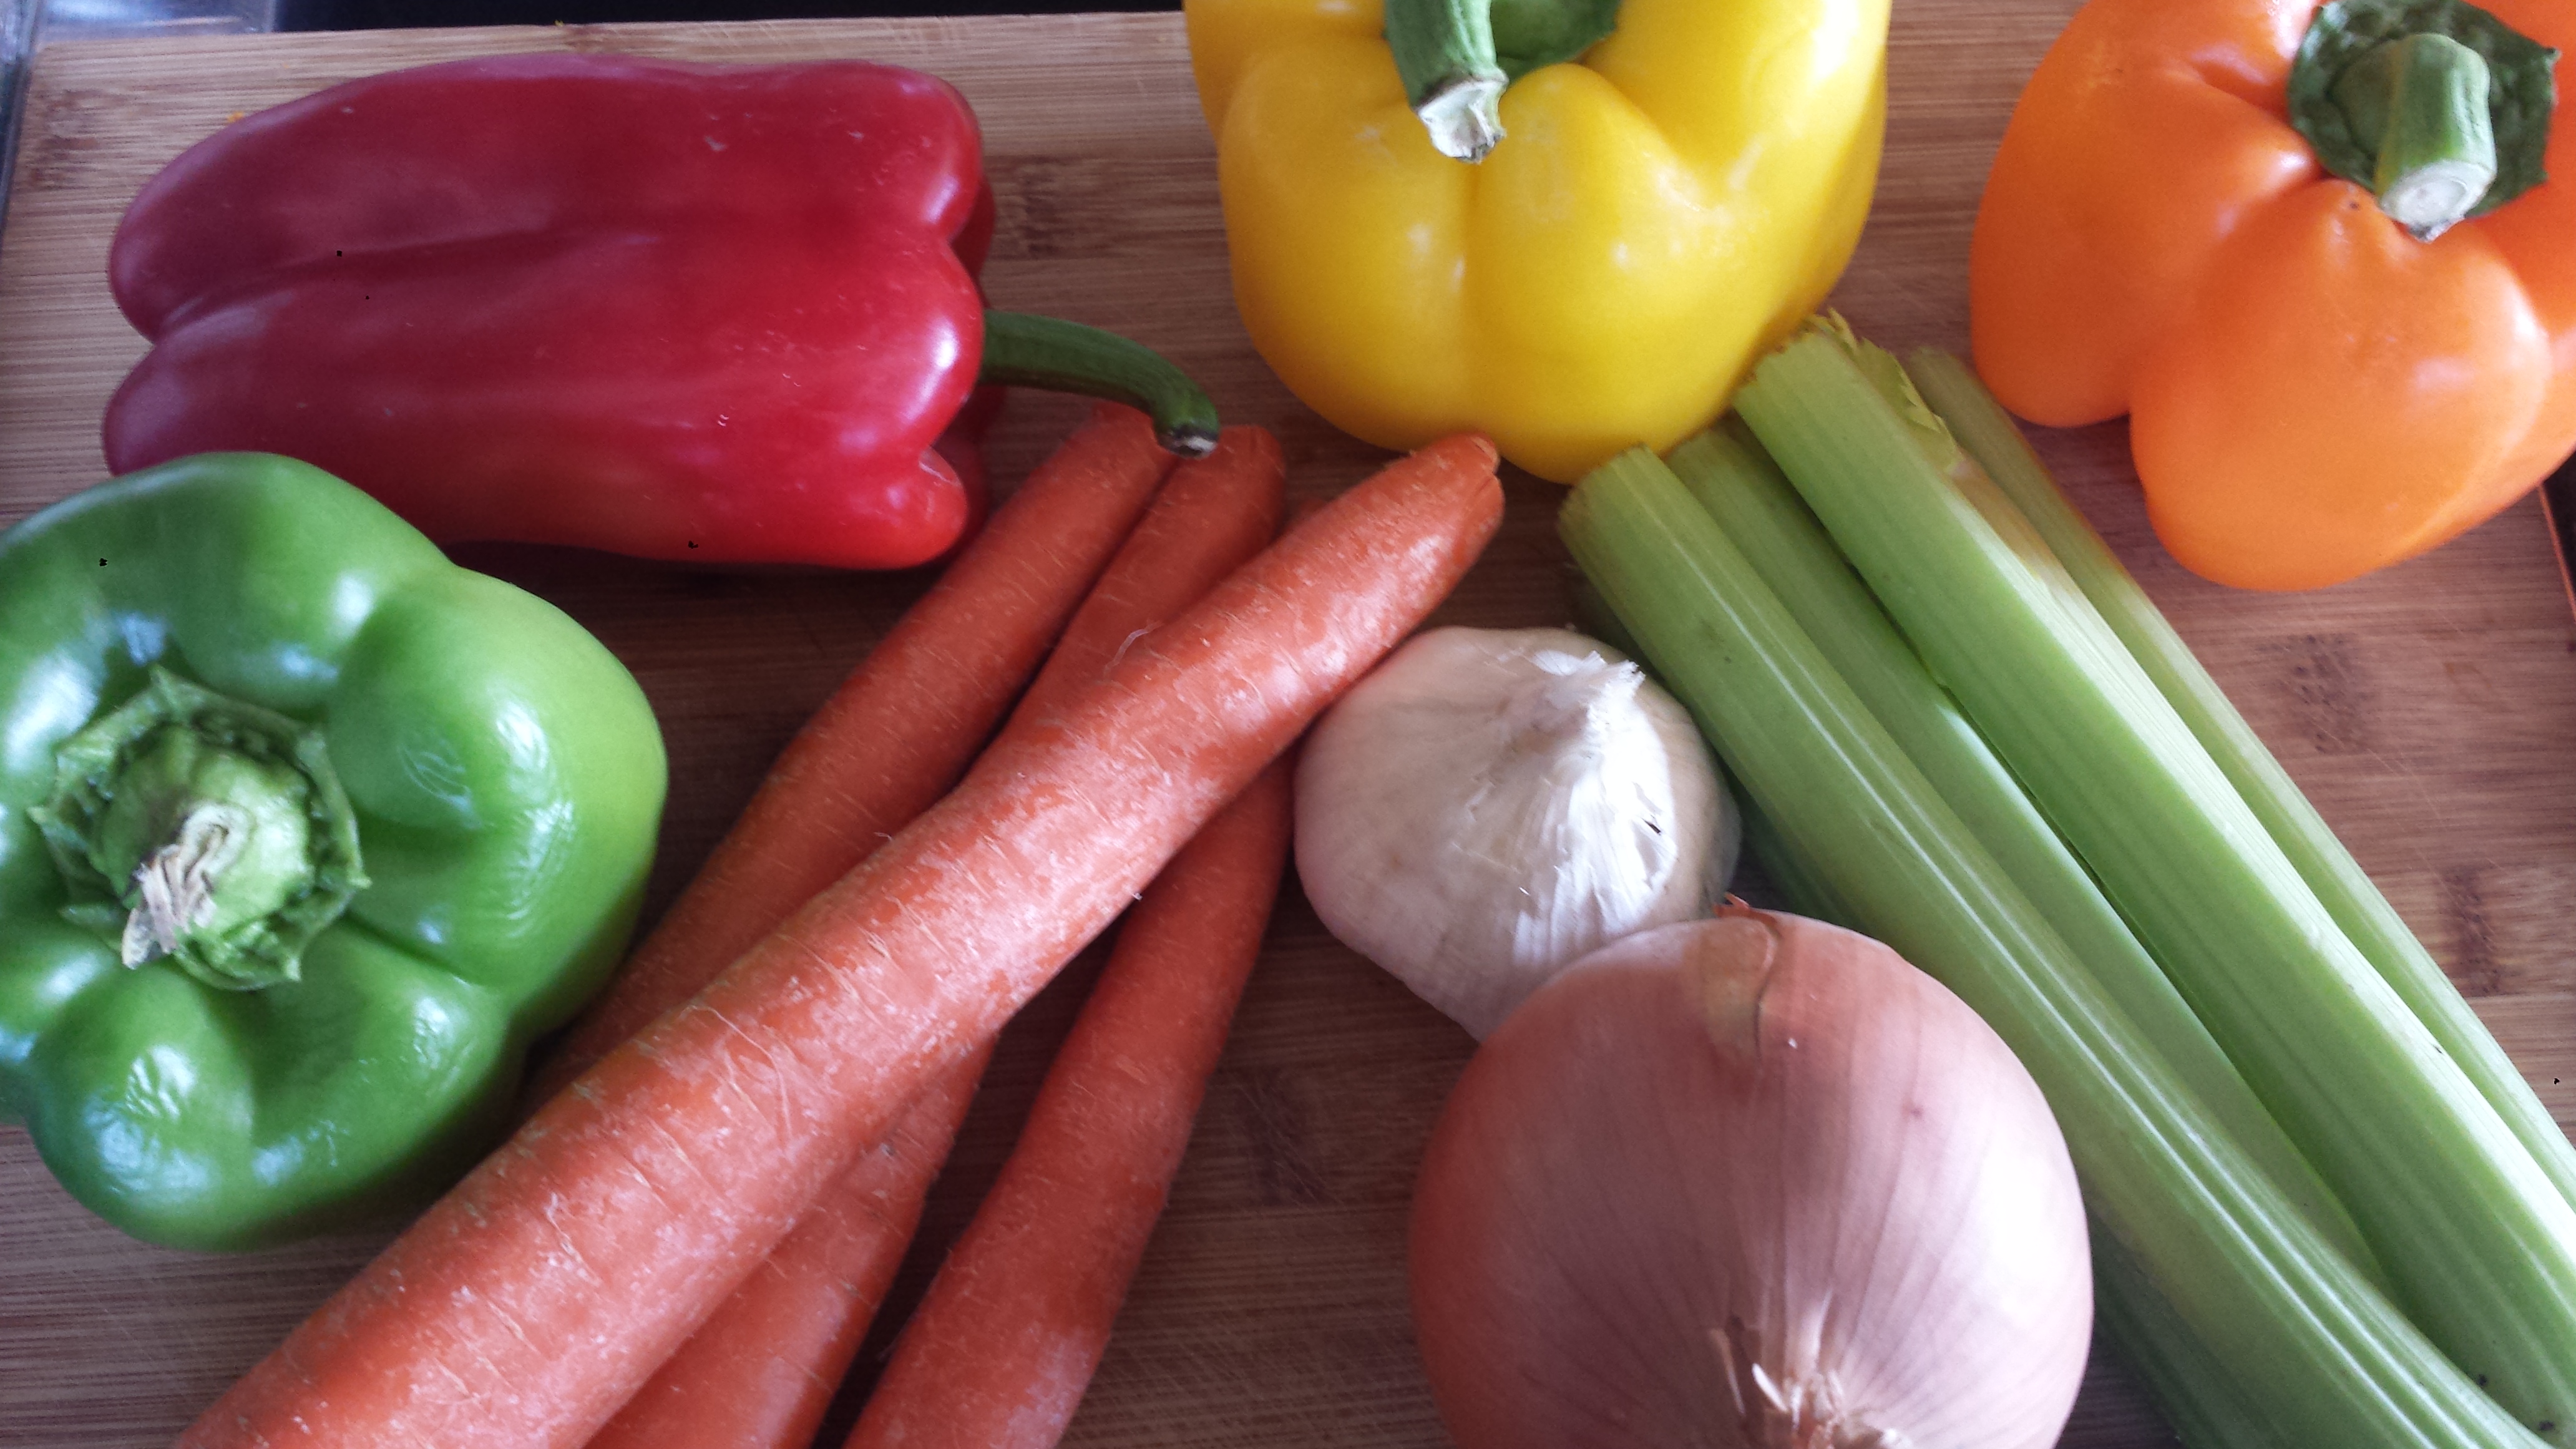
4 large red bell peppers, halved lengthwise, ribs removed

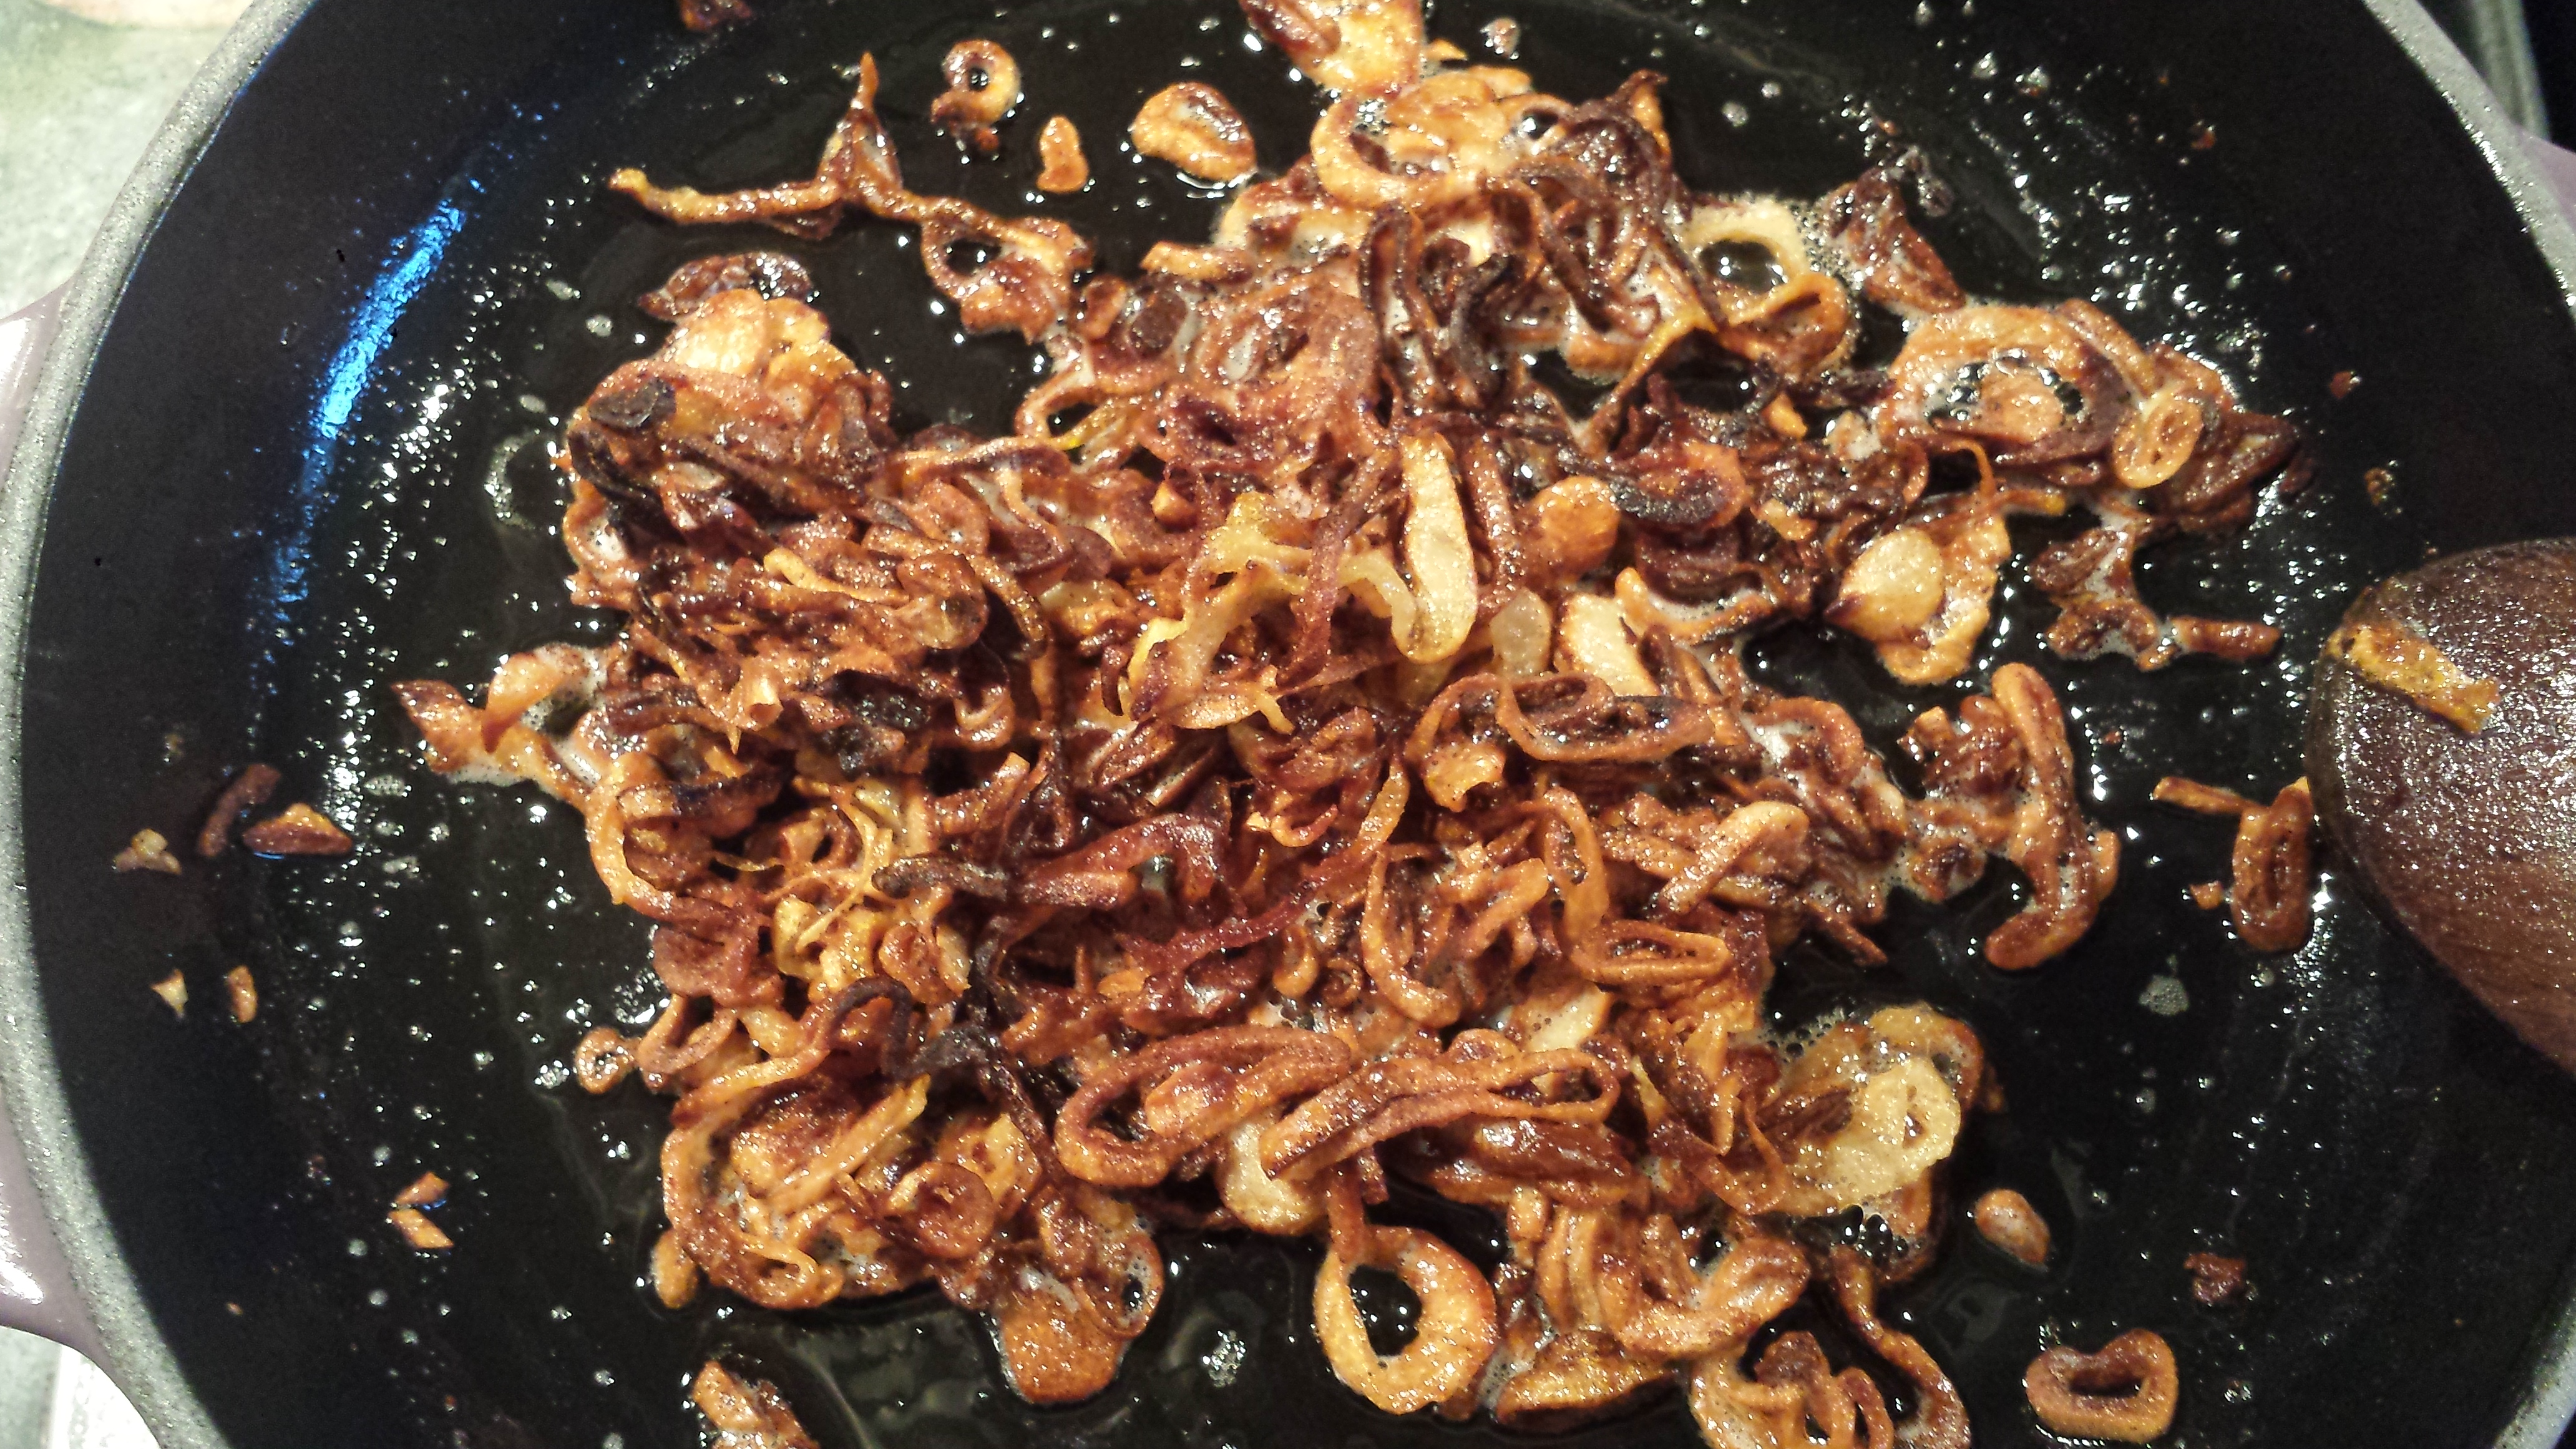
- Heat oil in saucepan over medium heat. Add onion and celery, and cook 5 minutes, or until soft. Add cumin and garlic, and sauté 1 minute.

- Stir in spinach and drained tomatoes. Cook 5 minutes, or until most of liquid has evaporated. Stir in black beans, quinoa, carrots, and 2 cups water. Cover, and bring to a boil. Reduce heat to medium-low, and simmer 20 minutes, or until quinoa is tender.
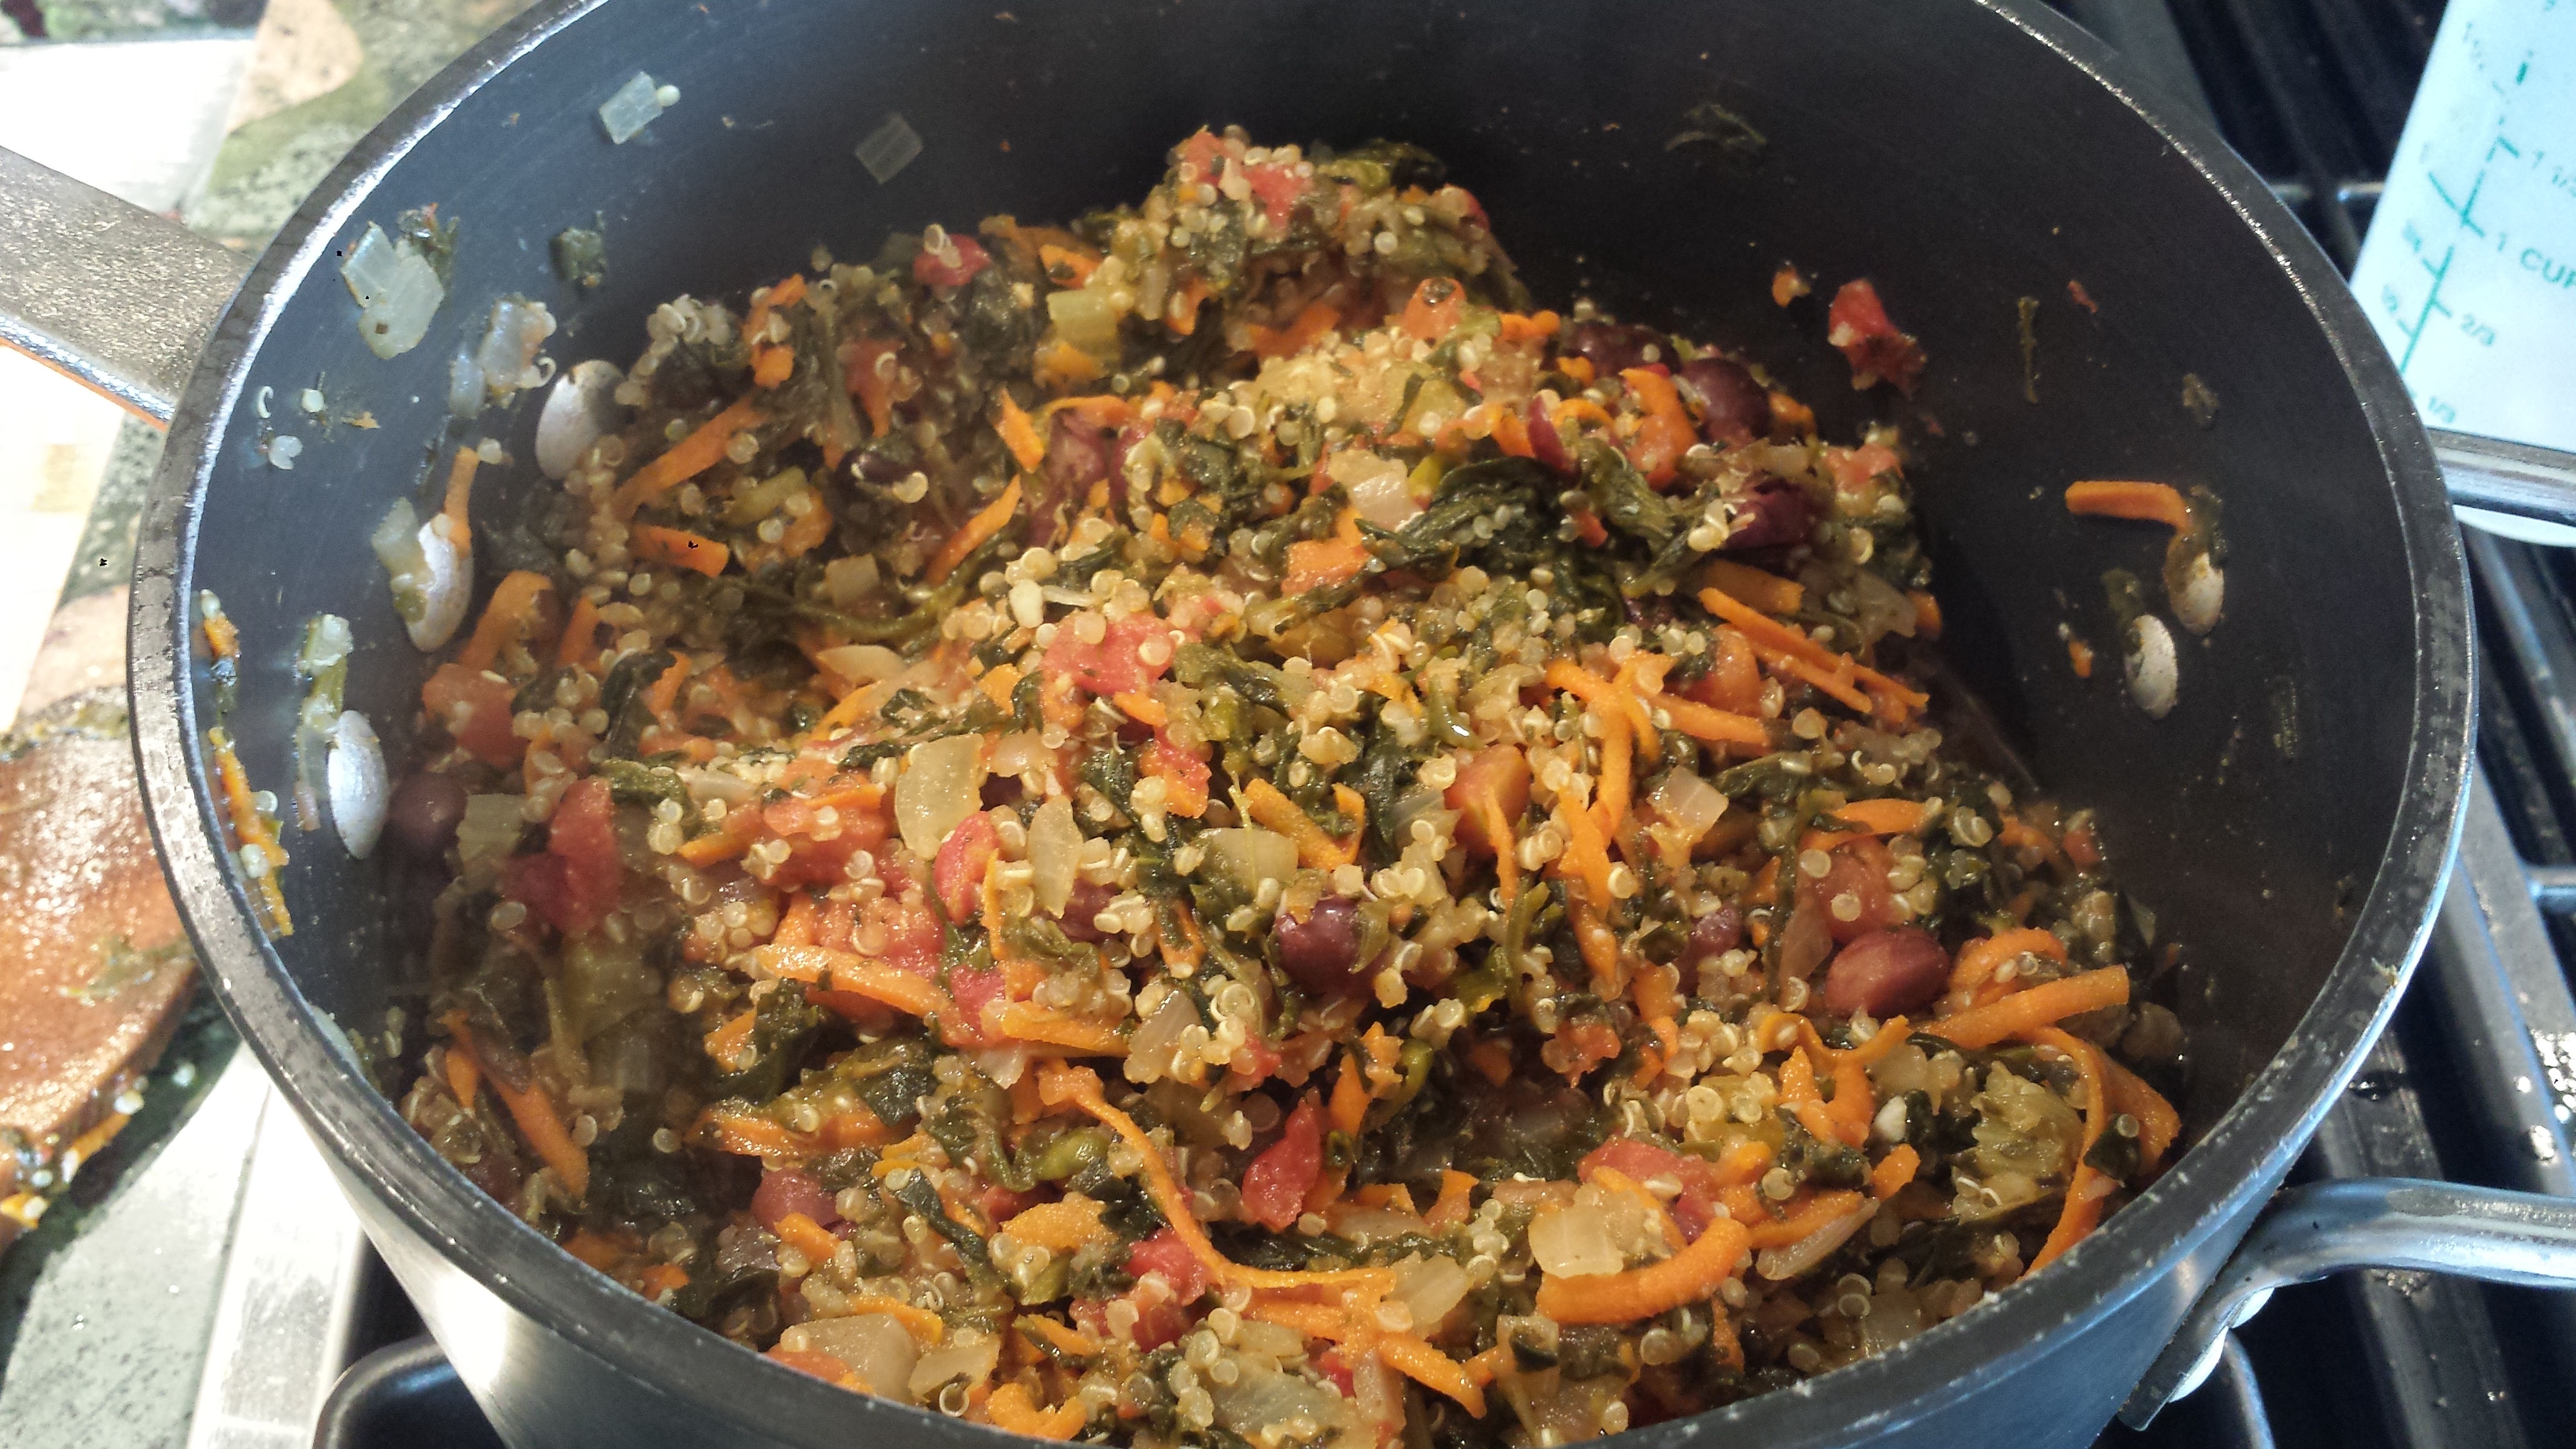
- Stir in 1 cup cheese. Season with salt and pepper, if desired.

- Preheat oven to 350°F. Pour liquid from tomatoes (or a splash of olive oil and 1/4 cup water) in bottom of baking dish. Fill each bell pepper half with heaping ¾-cup quinoa mixture, and place in baking dish.

- Cover with foil, and bake 1 hour.
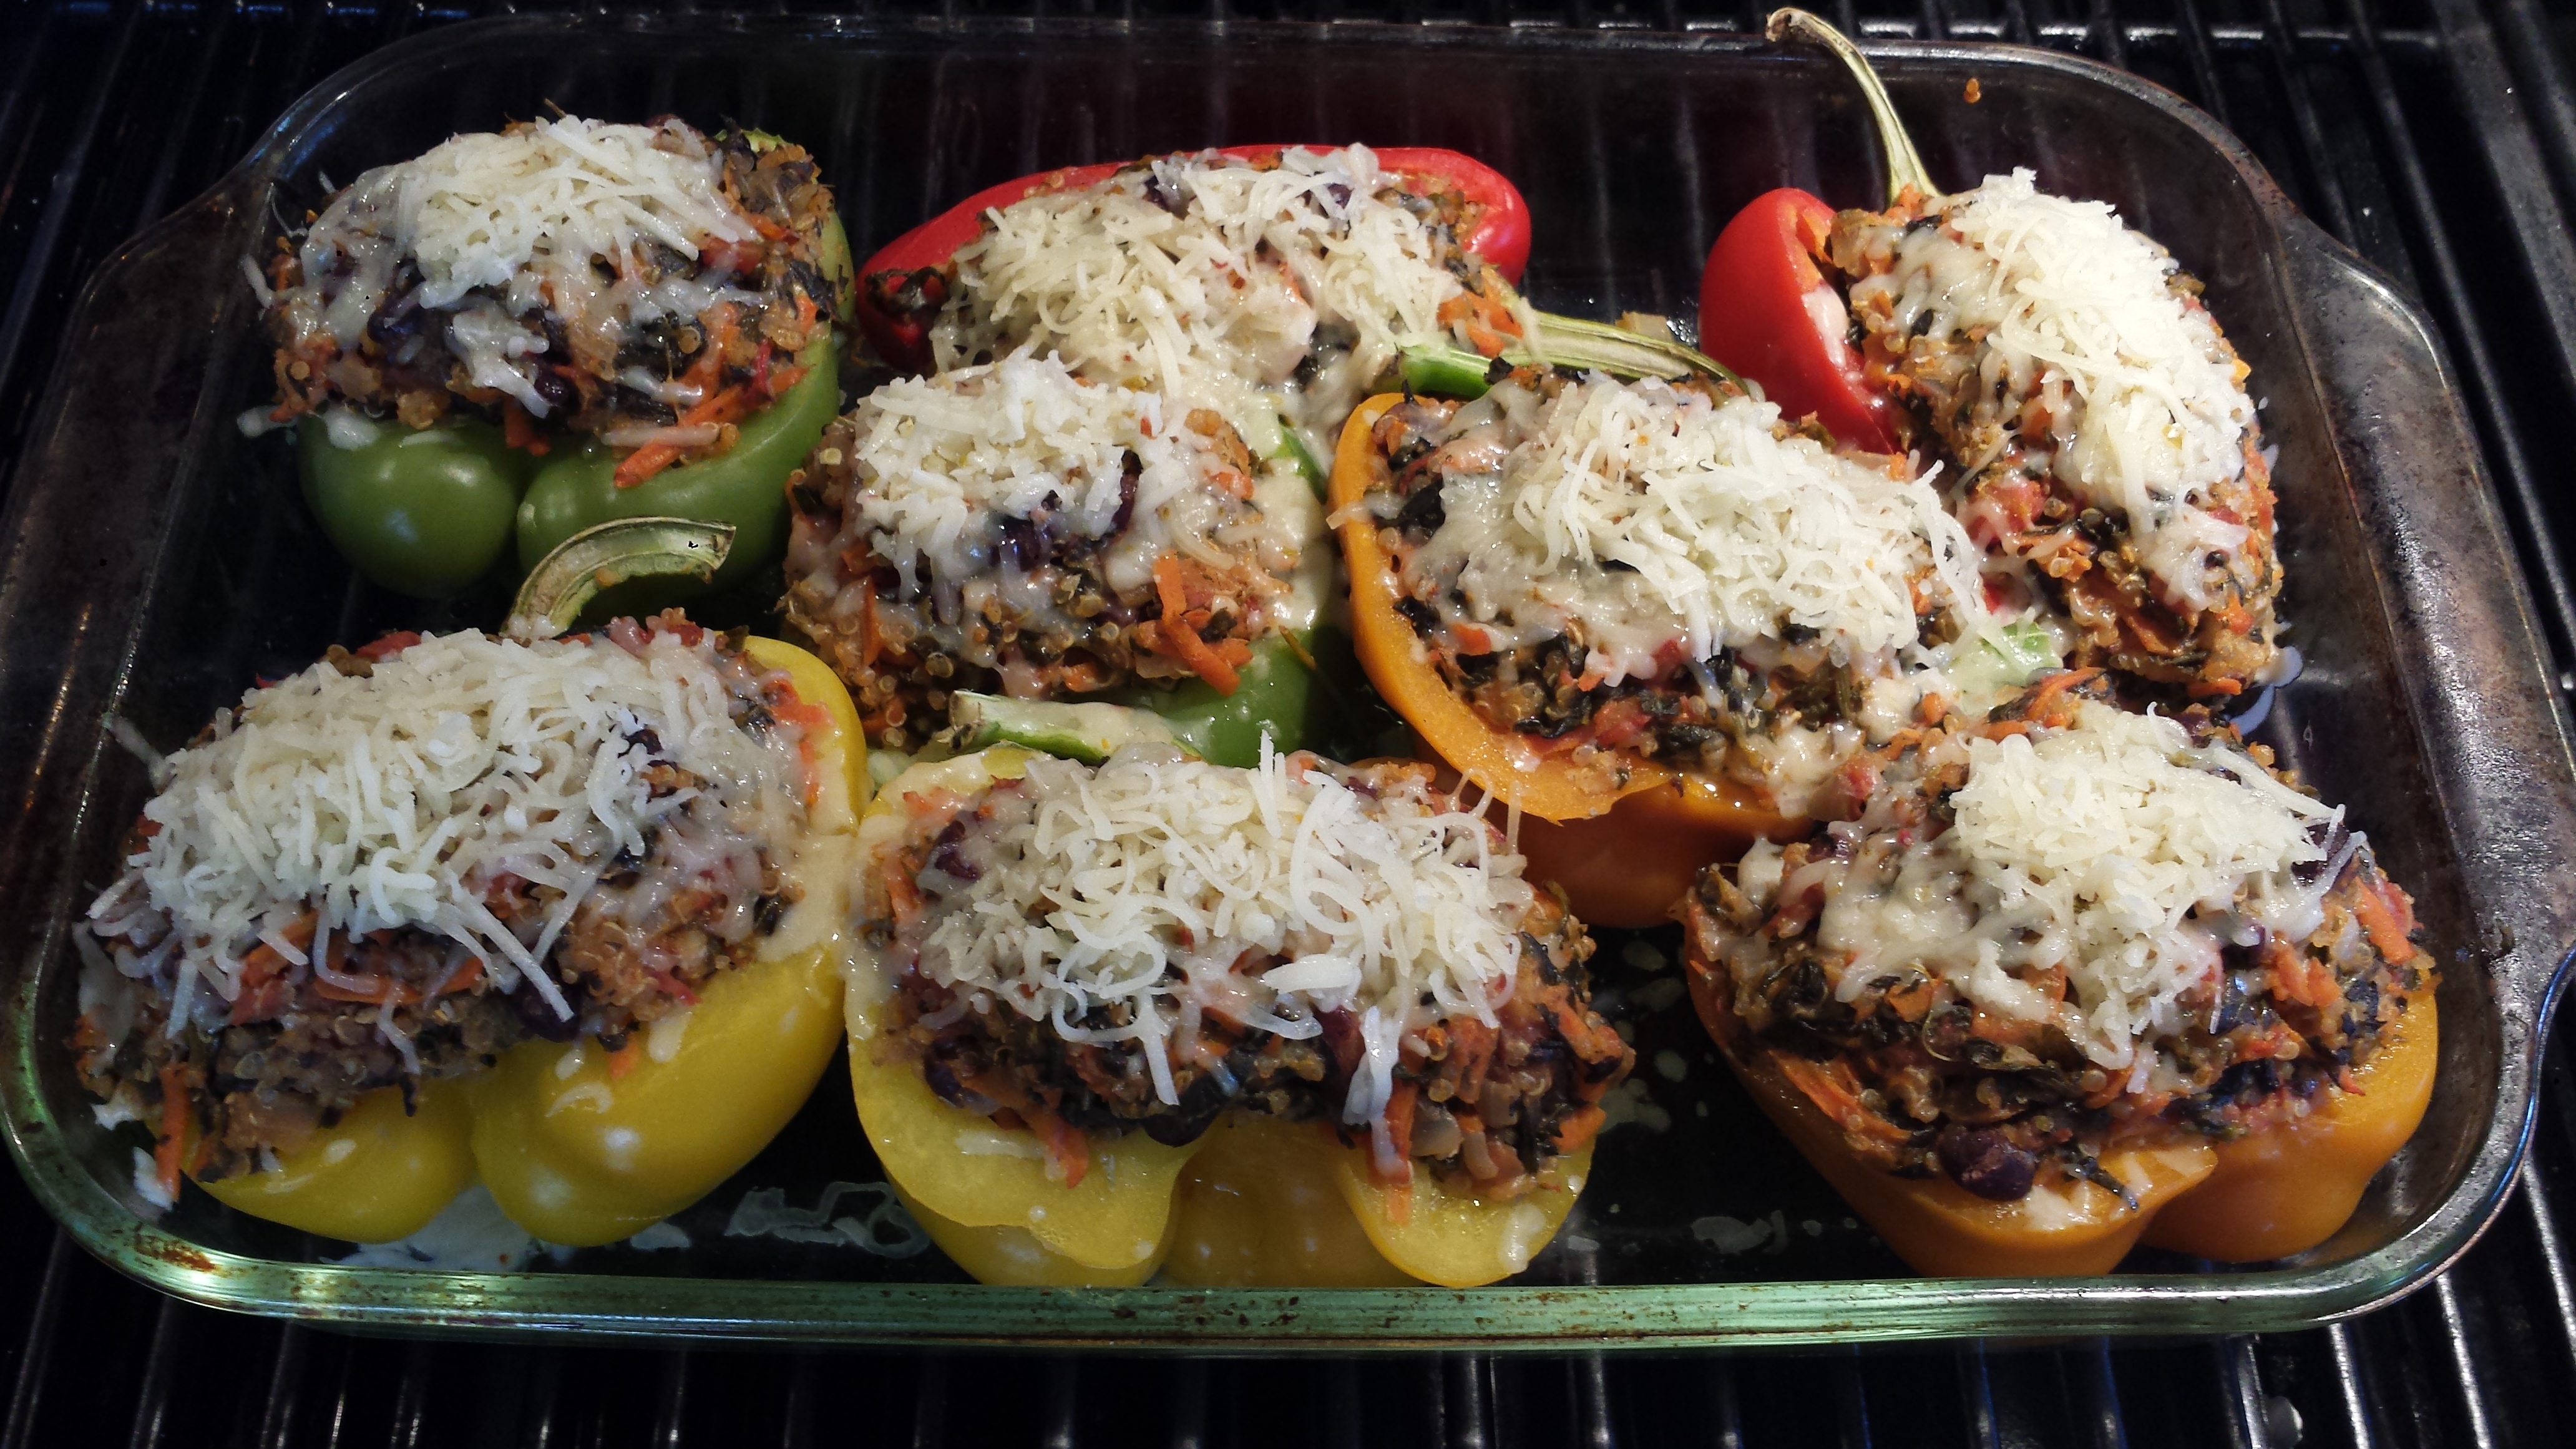
- Uncover, and sprinkle each pepper with 1 Tbs. remaining cheese.

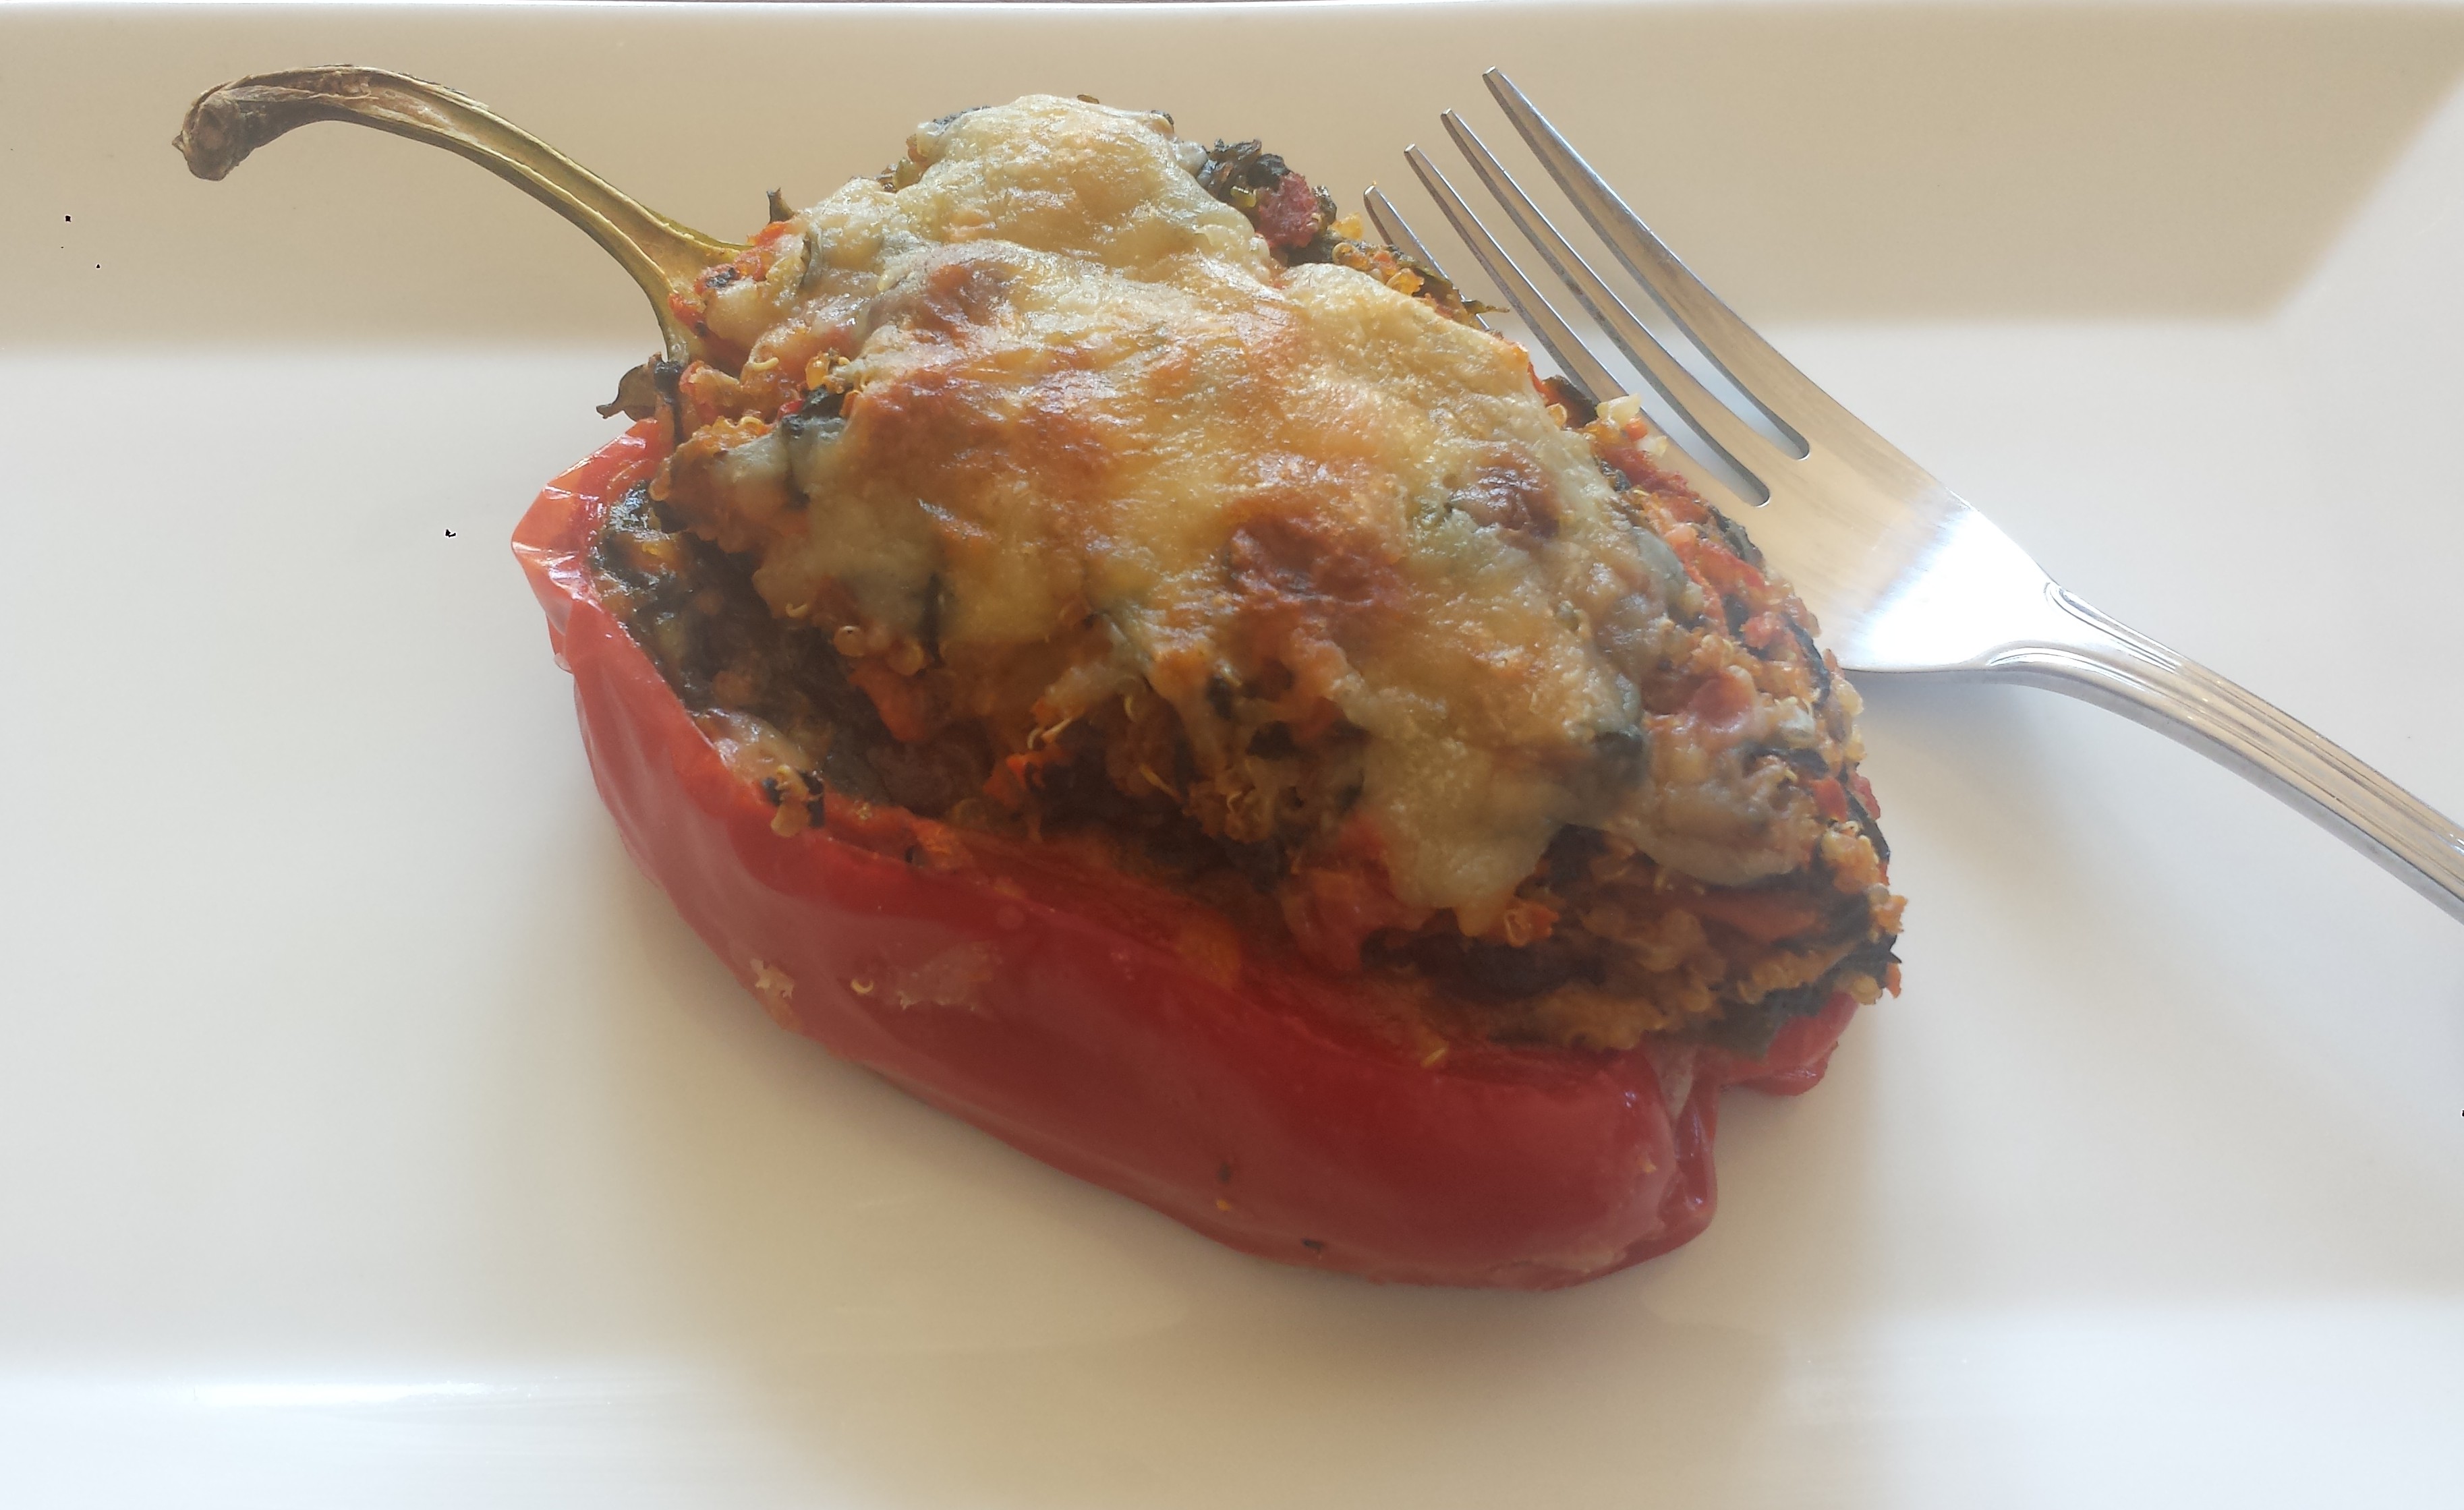
- Bake 15 minutes more, or until tops of stuffed peppers are browned. Let stand 5 minutes. Transfer stuffed peppers to serving plates, and drizzle each with pan juices before serving
1 medium onion, finely chopped (1 cup)Quinoa Stuffed Peppers
2 Tbs. olive oil
2 ribs celery, finely chopped (½ cup)
1 Tbs. ground cumin (or more to taste)
2 cloves garlic, minced (2 tsp. or more to taste)
1 10-oz. pkg. frozen chopped spinach, thawed and squeezed dry
2 15-oz. cans diced tomatoes, drained, liquid reserved
1 15-oz. can black beans, rinsed and drained
¾ cup quinoa
3 large carrots, grated (1½ cups)
1½ cups grated reduced-fat pepper Jack cheese, divided
4 large red bell peppers, halved lengthwise, ribs removed


